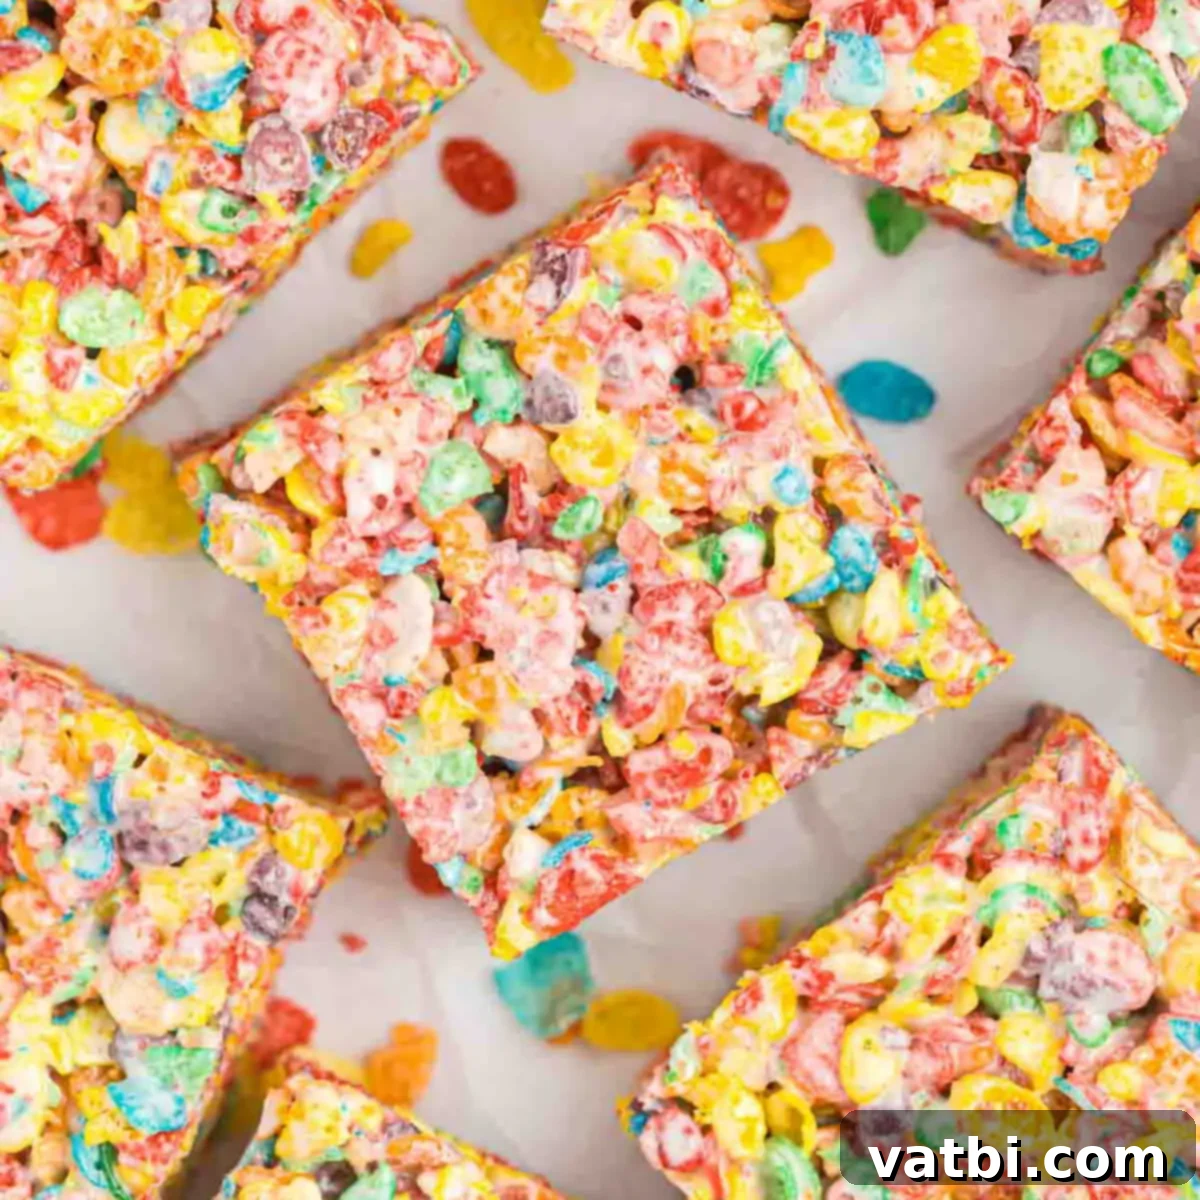
Delicious & Easy Fruity Pebble Rice Crispy Treats: The Ultimate No-Bake Recipe
Get ready for a vibrant and delightful twist on a beloved classic! These Fruity Pebble Rice Crispy Treats take everything you love about the original marshmallow cereal bar and infuse it with a burst of color and fruity flavor. Imagine soft, gooey marshmallow enveloping crunchy, brightly colored Fruity Pebbles cereal, creating a treat that’s not just incredibly tasty but also visually stunning. It’s a guaranteed family favorite that brings a smile to everyone’s face, perfect for any occasion.
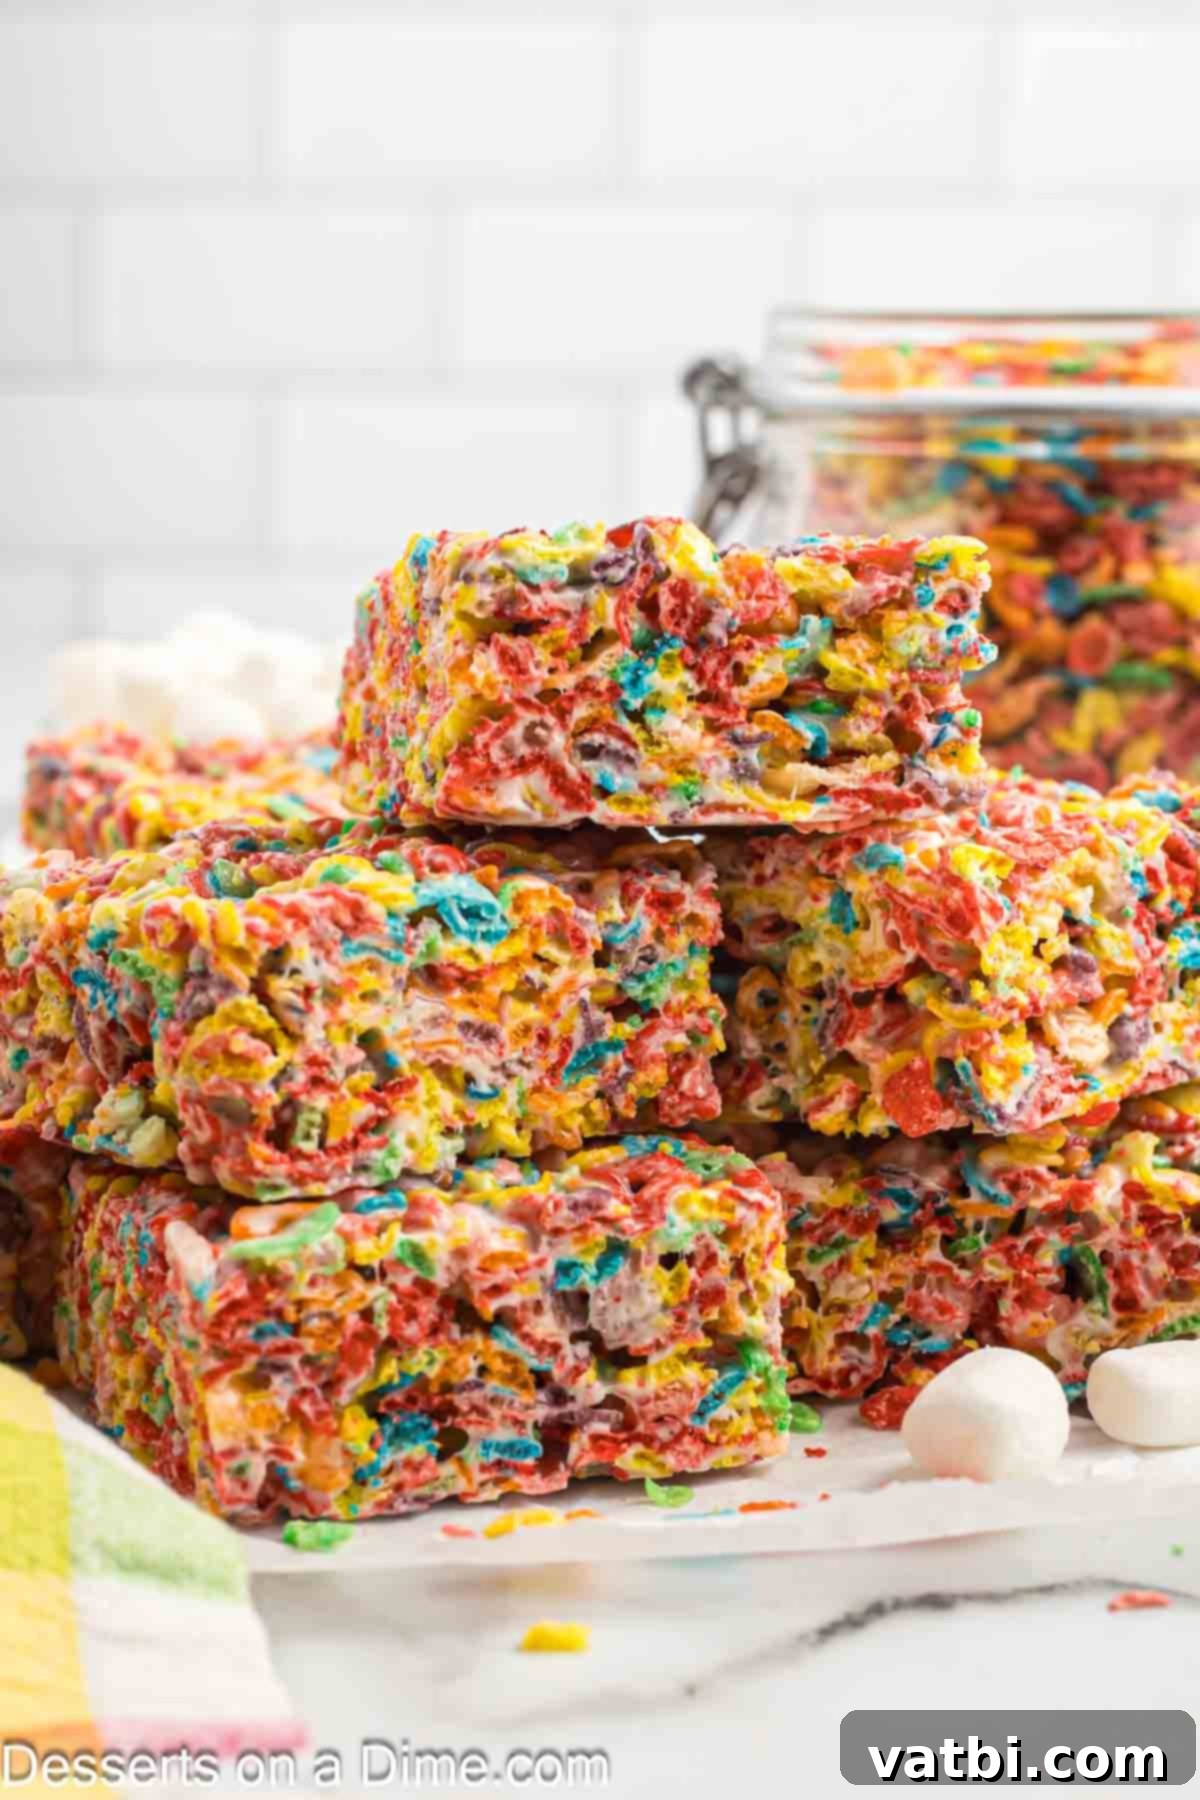
If your household is anything like ours, Fruity Pebbles Cereal is a pantry staple. My kids adore eating it by the bowlful, which makes it the perfect ingredient for creating exciting new desserts. Over the years, we’ve explored various ways to incorporate this fun cereal into our baking, from delightful Fruity Pebbles Cupcakes to decadent Fruity Pebbles Cheesecake. It was only a matter of time before we decided to transform our favorite classic Rice Krispie Treat Recipe into these amazing Fruity Pebbles Treats.
This recipe is an absolute game-changer, especially for those who love quick and easy desserts. It’s one of the best no-bake dessert recipes you’ll ever encounter, requiring minimal effort and delivering maximum flavor. Whether you’re a seasoned baker or just starting out, these colorful bars are simple to prepare and offer a delightful escape from traditional desserts. Their vibrant appearance makes them ideal for parties, potlucks, or simply as a fun after-school snack.
Table of Contents
- Why You’ll Love This Recipe
- Ingredients for Fruity Pebble Treats
- Delicious Variations
- How to Make Fruity Pebbles Treats
- Expert Tips for Perfect Treats
- Frequently Asked Questions
- More No-Bake Cereal Treats to Try
Why You’ll Love This Recipe
There are countless reasons why these Fruity Pebble Rice Crispy Treats have become a staple in our home. They offer a nostalgic trip back to childhood with every bite, combining the beloved taste of Fruity Pebbles cereal with the comforting chewiness of marshmallow treats. Here’s why we, and soon you, will absolutely adore this recipe:
- Effortlessly Easy: This recipe is incredibly simple, making it perfect for novice bakers, busy parents, or even a fun cooking project with the kids. No oven is required, and the steps are straightforward and quick.
- Budget-Friendly: Made with just a few basic ingredients that are readily available and affordable, these treats are a fantastic option for a delicious dessert that won’t break the bank.
- Irresistibly Delicious: The sweet, fruity flavor of Fruity Pebbles perfectly complements the gooey, melt-in-your-mouth marshmallow. It’s a unique taste combination that’s truly addictive.
- Visually Stunning: The vibrant colors of Fruity Pebbles create a rainbow effect, making these bars incredibly appealing and festive. They’re sure to stand out on any dessert table!
- Crowd-Pleaser: From school parties to family gatherings, these treats are always a hit. Everyone, regardless of age, seems to fall in love with their playful appearance and delicious taste.
- Quick & Convenient: With only about 10 minutes of active prep time, you can whip up a batch in a flash. Perfect for last-minute desserts or when a craving strikes!
- No-Bake Perfection: Skip the oven and the heat! This no-bake recipe is ideal for hot summer days or anytime you want a sweet treat without turning on the oven.
Ingredients for Fruity Pebble Treats
You’ll be amazed at how few ingredients are needed to create these spectacular Fruity Pebble Rice Crispy Treats. Each component plays a crucial role in achieving that perfect balance of crispiness and gooey sweetness. Here’s what you’ll need:
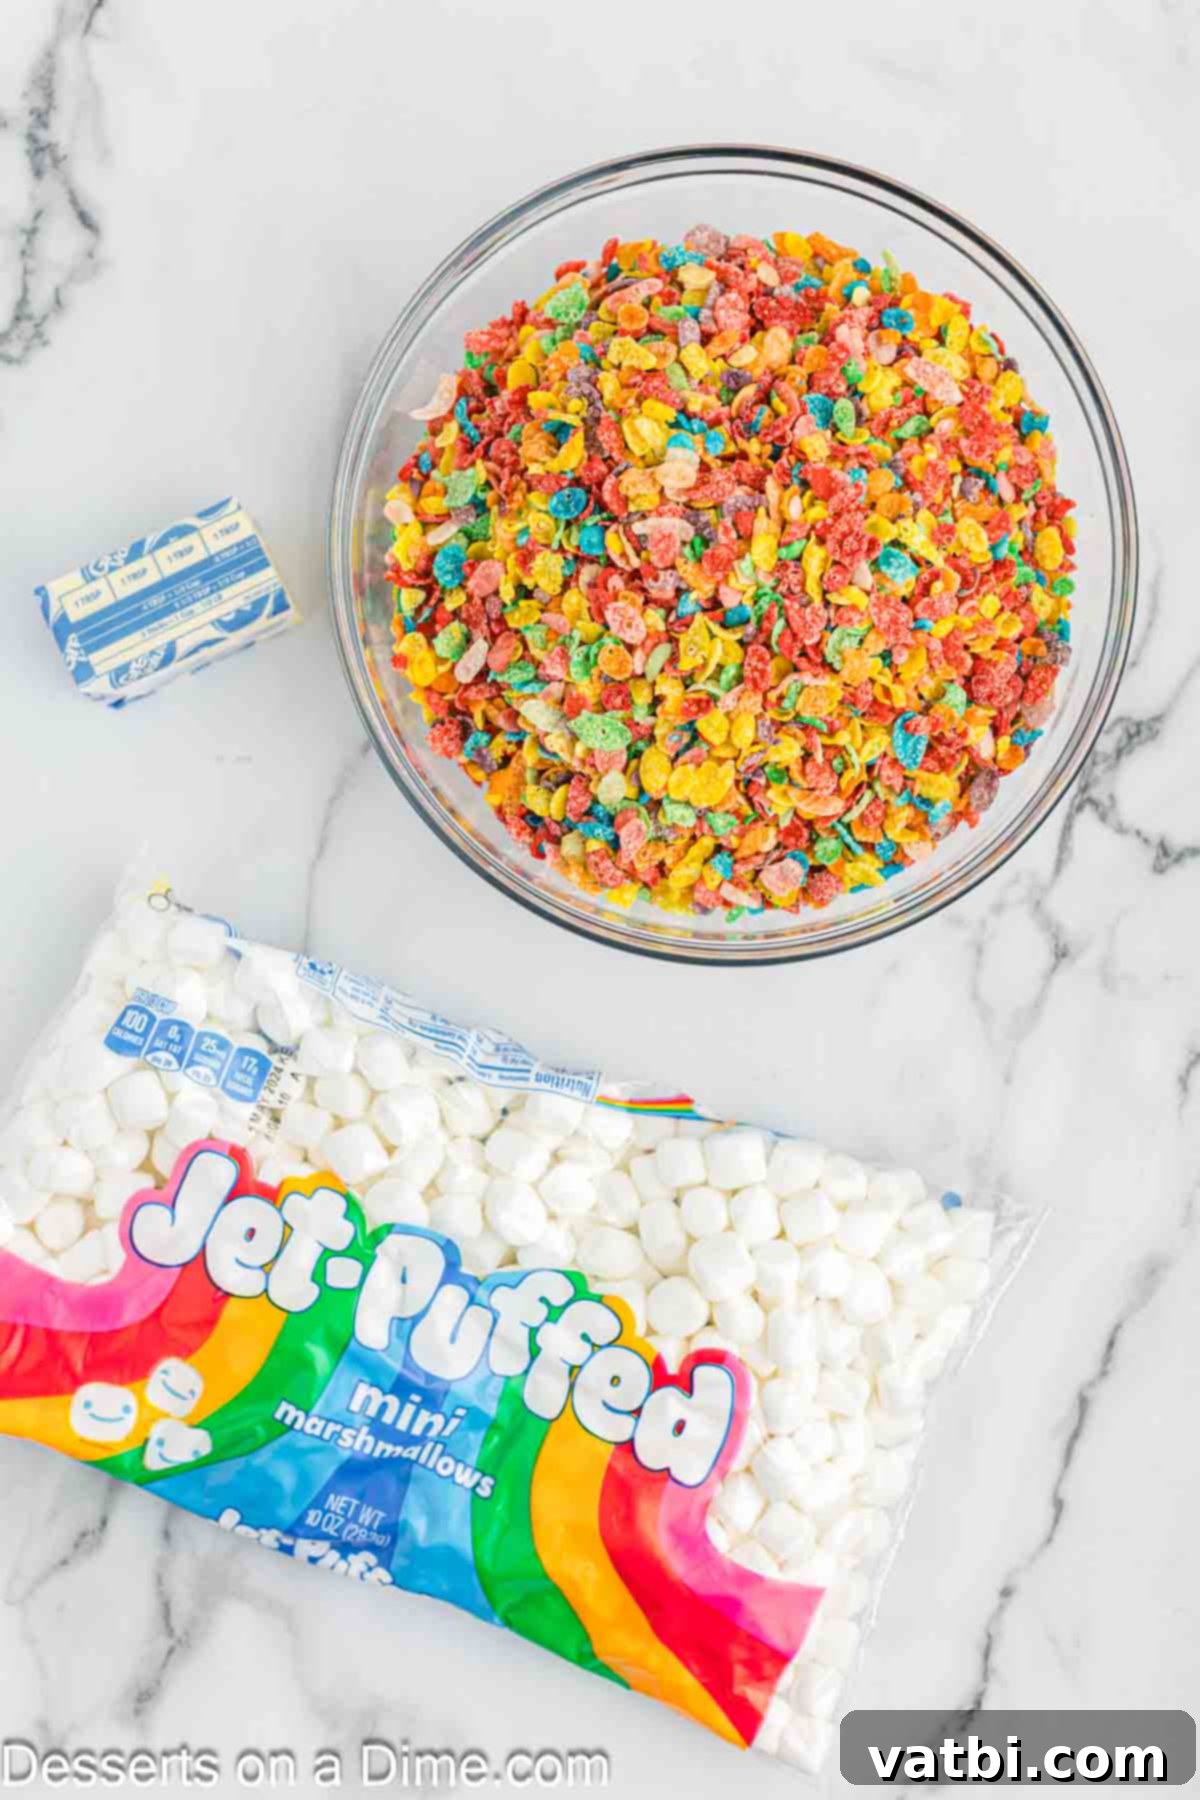
- Fruity Pebbles Cereal: This is the star of the show! For the best texture and flavor, it’s absolutely essential for the cereal to be fresh and crispy. Stale cereal will result in a less satisfying treat. You can usually find a large box perfect for this recipe.
- Mini Marshmallows: Mini marshmallows are the perfect choice for this recipe. They melt quickly and evenly, creating that signature gooey binder that holds the treats together. While large marshmallows can be used in a pinch, you might need to cut them down for faster melting, and the final texture might be slightly different.
- Butter: I always recommend using real butter for the richest flavor. Both salted and unsalted butter work well. If you use salted butter, it will add a subtle salty-sweet contrast that many people enjoy. Unsalted butter allows you to control the saltiness yourself. For an extra depth of flavor, consider browning your butter slightly before adding the marshmallows – it adds a nutty, caramelized note that takes these treats to the next level!
- Optional: Vanilla Extract: A teaspoon of good quality vanilla extract can truly elevate the flavor profile, adding a warm, aromatic note that enhances the sweetness of the marshmallows and the fruitiness of the cereal. Add it in after the marshmallows are melted, just before combining with the cereal.
For the complete ingredient list with exact measurements and step-by-step instructions for these incredible Fruity Pebbles Rice Krispie Treats, scroll down to the printable recipe card at the bottom of this post.
Delicious Variations
While the classic Fruity Pebble Rice Crispy Treat is amazing on its own, there are many fun ways to customize them and make them even more special. Get creative and try some of these exciting variations:
- Cereal Swaps: Don’t limit yourself to just Fruity Pebbles! This recipe is incredibly adaptable. Try swapping it out with other colorful or flavored cereals like Cocoa Pebbles for a chocolatey twist, Lucky Charms for a magical marshmallow explosion, or even Cinnamon Toast Crunch for a spicy-sweet treat. Cheerios or other crisp rice cereals also work well if you prefer a less intense flavor.
- Add Food Coloring: Want to make your treats even more vibrant or theme-specific? Add a few drops of gel food coloring to the melted marshmallow mixture before adding the cereal. Think green for St. Patrick’s Day, red and green for Christmas, or school colors for a special event.
- Mix in Chocolate Chips: Introduce a delightful chocolatey element by folding in mini chocolate chips (milk, dark, or white chocolate) with the cereal. You can also melt some chocolate and drizzle it over the top of the set treats for an elegant finish. Peanut butter chips or butterscotch chips would also be delicious!
- Extra Marshmallow Layer: For the ultimate gooey experience, reserve about a cup of mini marshmallows and fold them into the mixture just before pressing into the pan. This will result in pockets of whole, unmelted marshmallows throughout your treats.
- Sprinkles Galore: After pressing the mixture into the pan, immediately sprinkle the top with your favorite colorful sprinkles. This adds extra festivity and a satisfying crunch.
- Extract Enhancements: Beyond vanilla, experiment with other extracts like almond, lemon, or even a tiny bit of peppermint extract (especially around the holidays) to add unique flavor notes.
- Peanut Butter Swirl: For peanut butter lovers, gently swirl in a few tablespoons of melted peanut butter into the marshmallow mixture just before adding the cereal.
How to Make Fruity Pebbles Treats
Making these no-bake treats is incredibly simple and quick. Follow these easy steps to create your own batch of colorful, gooey goodness:
- Step 1. Prepare Your Baking Dish: Start by lightly greasing an 8×8 inch baking pan with non-stick cooking spray. For even easier removal and cleanup, you can also line the pan with parchment paper, leaving an overhang on the sides. This allows you to lift the entire batch out once cooled, making cutting a breeze. An 8×8 inch pan will give you thicker, chewier treats, which we prefer. If you desire thinner bars, a 9×13 inch pan can be used, or you can double the recipe for a thicker treat in the larger pan.
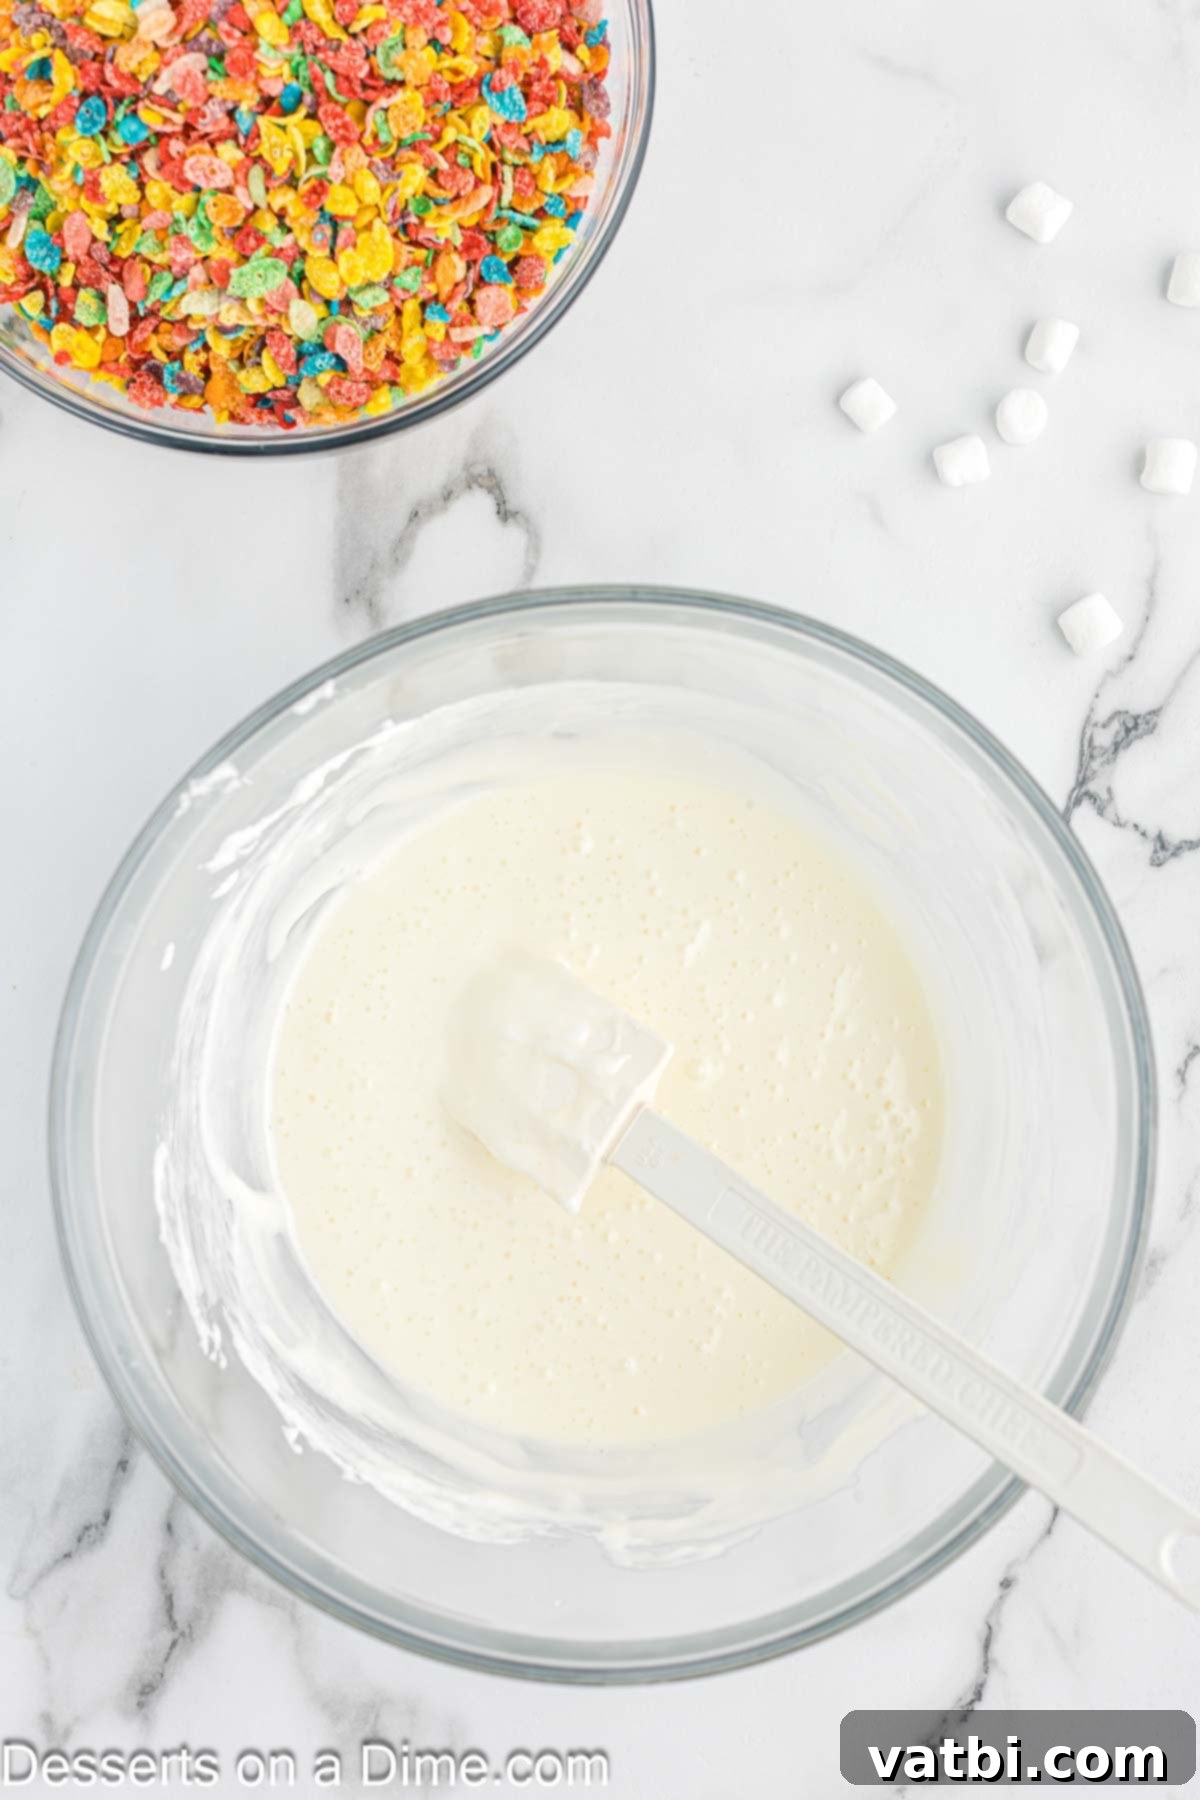
Step 2. Melt the Marshmallows and Butter: In a large, microwave-safe bowl, combine the butter and mini marshmallows. Heat the mixture in the microwave in 30-second intervals, stirring thoroughly after each interval. Continue heating and stirring until the marshmallow mixture is completely melted and smoothly combined. Be careful not to overheat the marshmallows, as this can make your treats hard. Alternatively, you can melt them on the stovetop in a large saucepan over medium-low heat, stirring constantly until smooth.
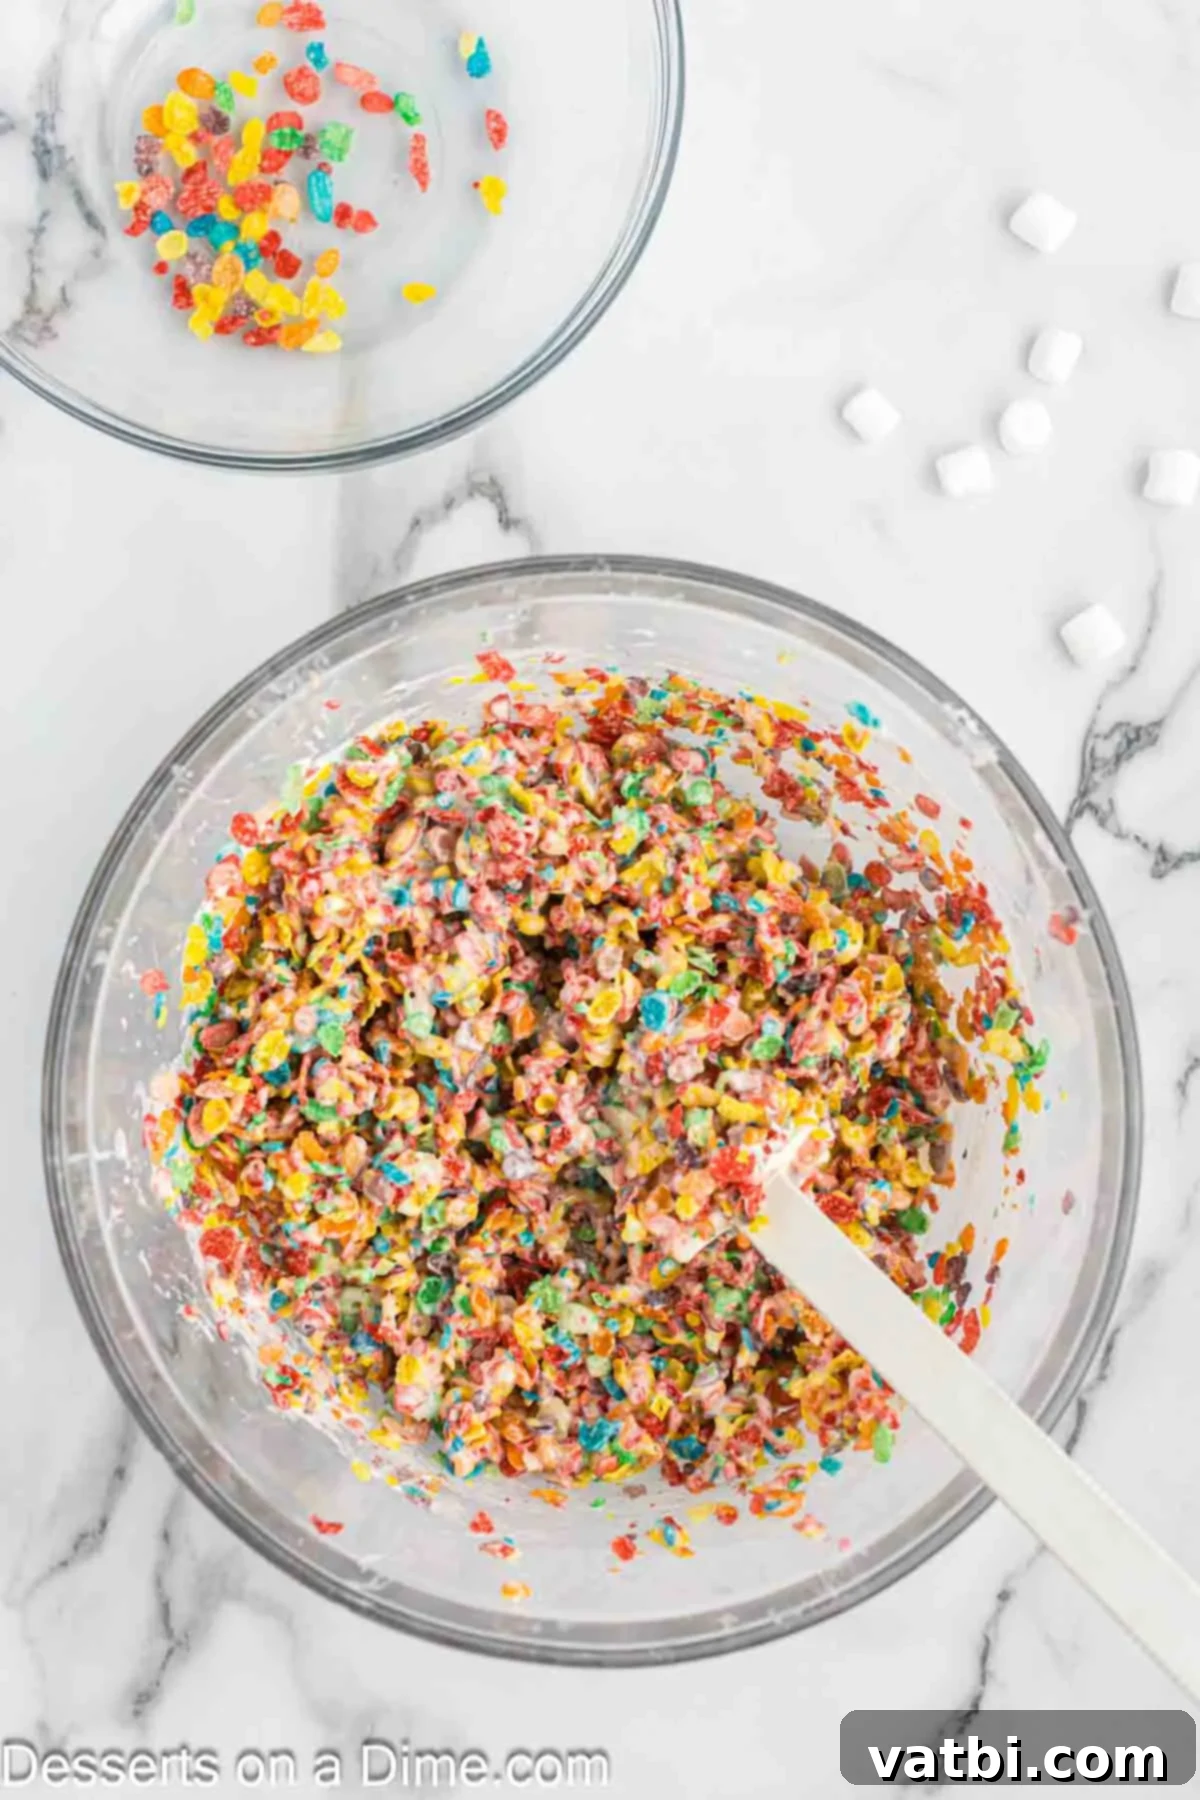
Step 3. Combine with Cereal: Once your marshmallow mixture is perfectly melted and smooth, gently add the Fruity Pebbles cereal to the bowl. Using a spatula (greased with cooking spray if it’s too sticky), mix until the cereal is evenly coated with the gooey marshmallow. Work quickly but gently to avoid crushing the cereal and to ensure everything is well combined before the mixture sets.
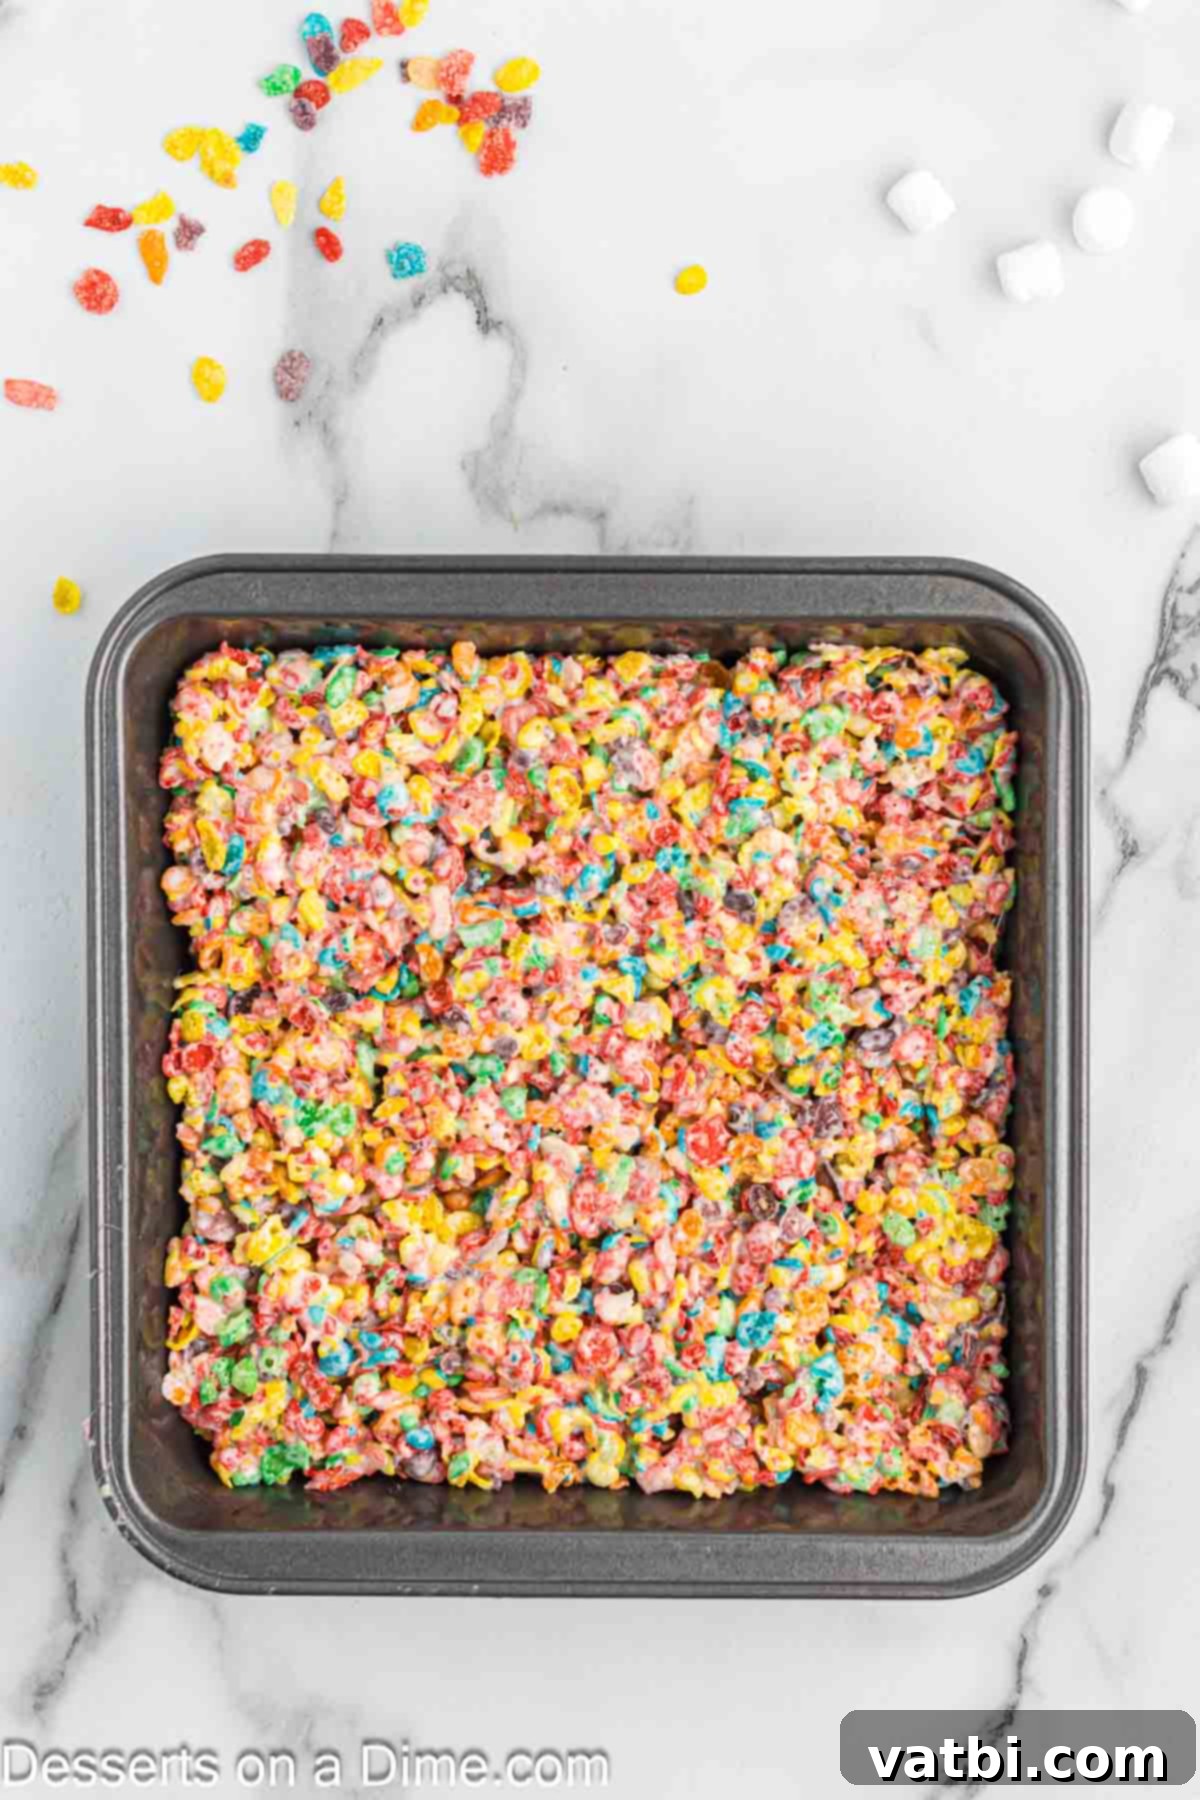
Step 4. Press into the Pan: Transfer the Fruity Pebble mixture into your prepared baking dish. Using a piece of greased wax paper or a buttered spatula, gently press the mixture evenly into the pan. The key here is to press *gently*. Over-compressing the mixture will result in dense, hard treats instead of light and airy ones. Just enough pressure to create an even layer is perfect.
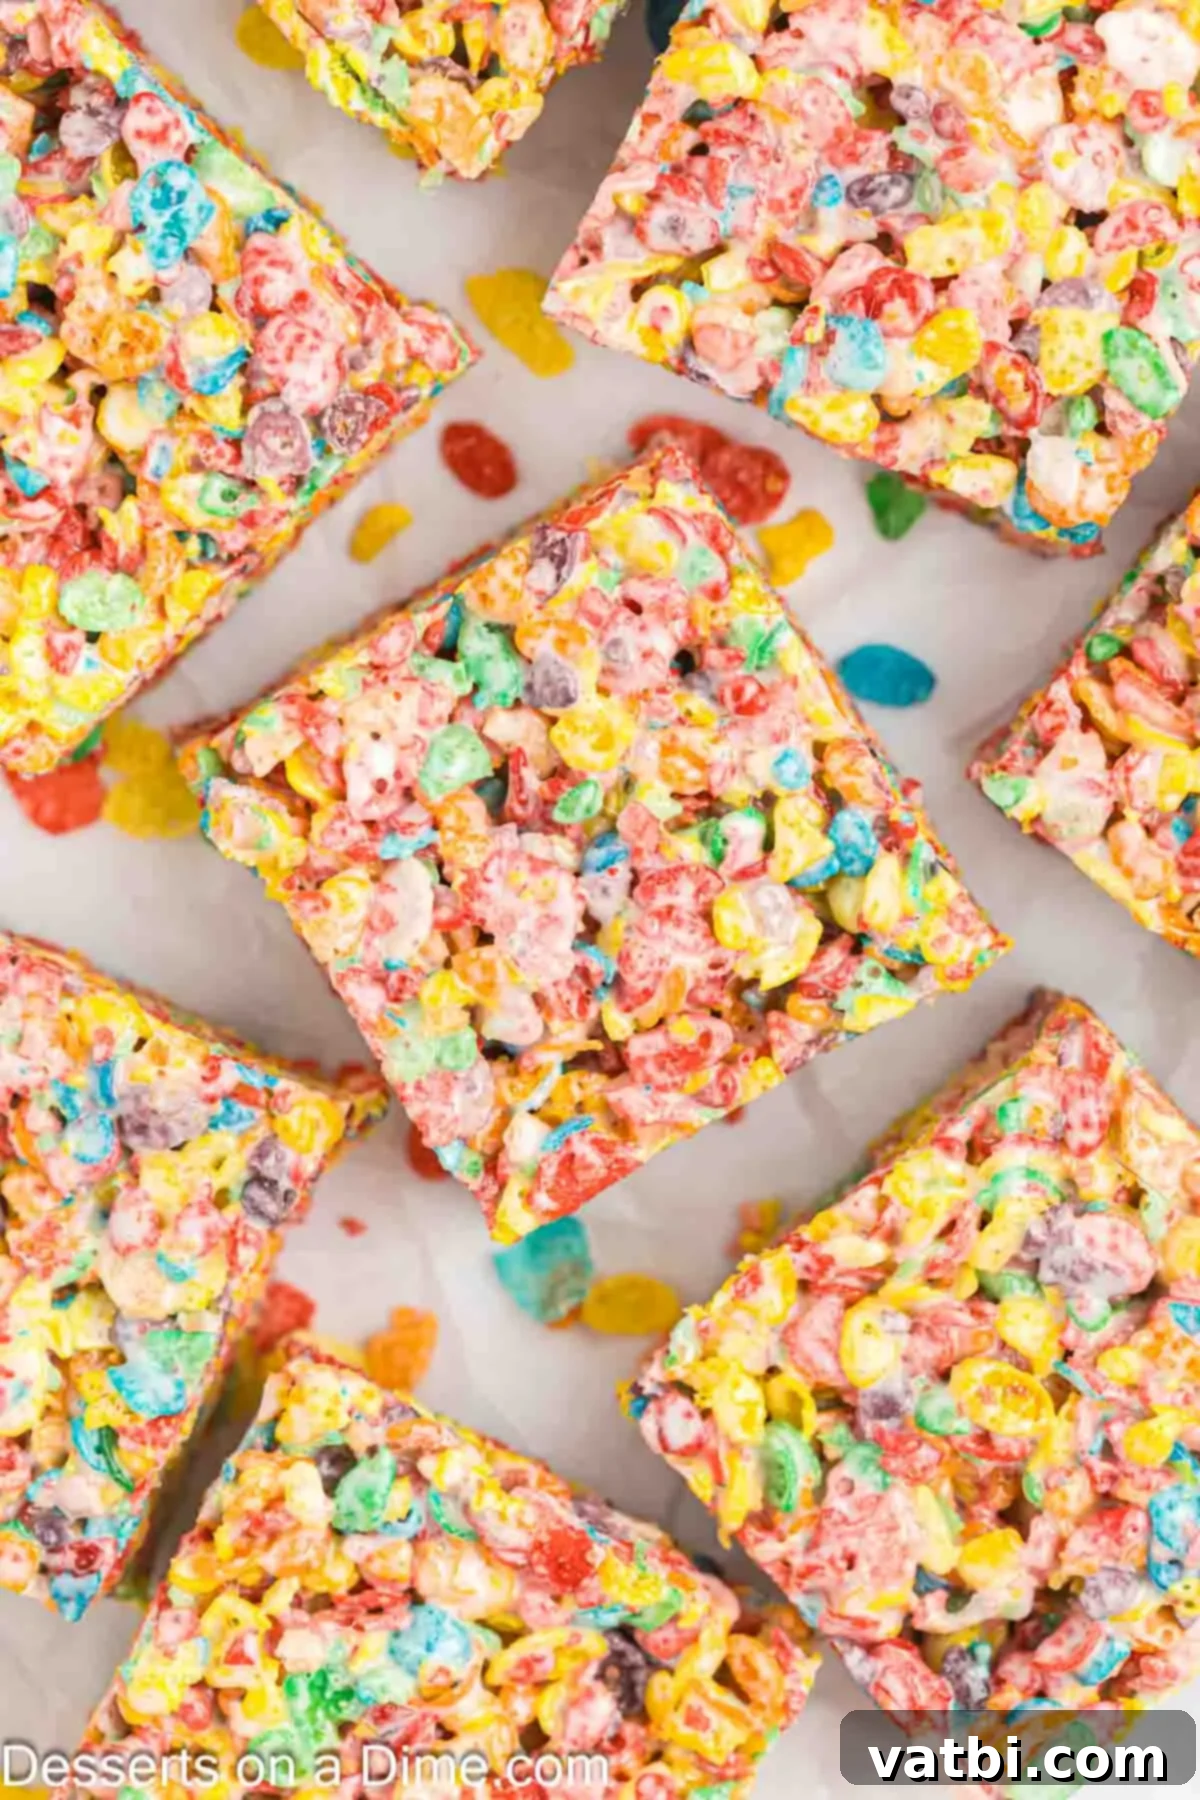
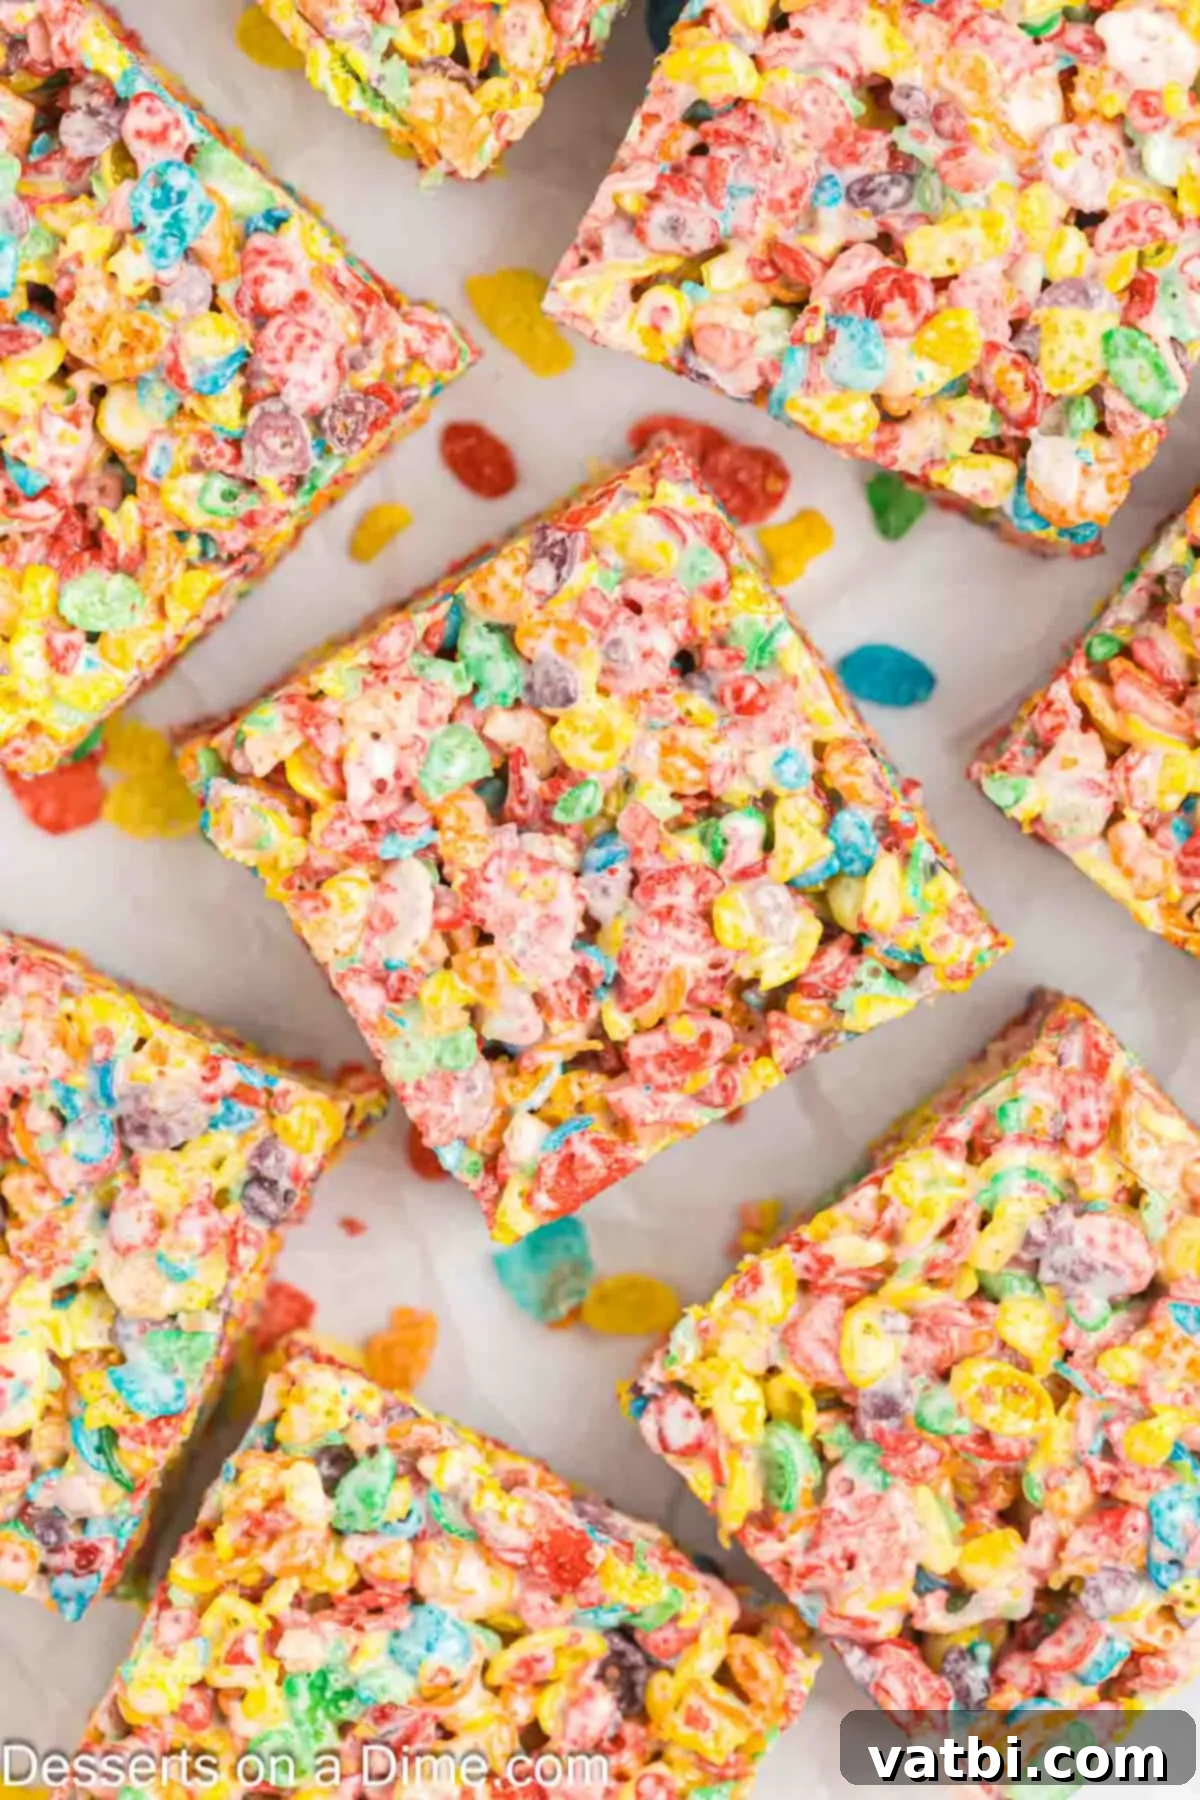
Step 5. Cool and Cut: Allow the treats to cool completely at room temperature for at least an hour. This allows them to set properly, ensuring they hold their shape when cut. Once fully cooled, use a buttered knife to cut the cereal treats into squares or bars of your desired size. The butter on the knife prevents sticking and makes for clean cuts. Serve and enjoy!
Expert Tips for Perfect Treats
Achieving the perfect Fruity Pebble Rice Crispy Treat is all about a few key techniques. Follow these expert tips for treats that are always gooey, crispy, and delicious:
- Store at Room Temperature: This is crucial! Never store your treats in the refrigerator. The cold temperature will make them hard and chewy rather than soft and gooey. They are best left to cool and stored at room temperature to maintain their ideal texture.
- Use Greased Wax Paper or Spatula: The marshmallow mixture is incredibly sticky. To prevent it from clinging to your hands or utensils when pressing it into the pan, spray a piece of wax paper or a rubber spatula with non-stick cooking spray, or lightly butter it. This simple trick makes the process much cleaner and easier.
- Gently Press into Pan: When transferring the Fruity Pebble mixture to the baking pan, resist the urge to compact it tightly. Press it gently and evenly. Over-compressing the mixture will result in dense, hard treats that are difficult to bite into. A light touch ensures a perfectly airy and chewy texture.
- Slowly Heat Marshmallows: Whether you’re using the microwave or stovetop, slow and low is the way to go when melting marshmallows. High heat can cause them to seize up, become grainy, or even burn, which will result in hard, unappetizing treats. Heat them gradually, stirring frequently, until just melted and smooth. This yields the chewiest, goo-iest marshmallow binder.
- Fresh Marshmallows are Key: Always use fresh, in-date marshmallows for this recipe. Older marshmallows can be drier and may not melt as smoothly or create the same gooey texture. Fresh marshmallows are essential for soft, pliable treats.
- Add Vanilla Extract: For an extra layer of flavor, stir in a teaspoon of vanilla extract just after the marshmallows are fully melted and combined with the butter. It adds a warm, sweet aroma that perfectly complements the fruity cereal.
- Grease All Your Supplies: This recipe is notoriously sticky, so it’s helpful to grease anything that will come into contact with the marshmallow mixture. This includes your mixing spoon or spatula, the bowl you’re melting marshmallows in, and even the knife you use to cut the cooled treats.
- Use Fresh Cereal: Just like with marshmallows, fresh cereal contributes to the best texture. Stale cereal will make your treats taste old and less crispy.
- Cool Completely: Allow the treats to cool entirely before cutting and serving. This gives the marshmallow time to set and firm up, ensuring clean cuts and a stable bar. Rushing this step can lead to a messy, falling-apart treat.
- Cut with a Buttered Knife: Once cooled, use a knife that has been lightly buttered or sprayed with cooking spray. This will glide through the sticky treats without pulling or tearing them, resulting in neat, clean squares.
Frequently Asked Questions
We typically use an 8×8 inch pan for this recipe because we love our Fruity Pebble treats to be thick and wonderfully chewy. This size yields perfectly proportioned bars. However, if you prefer thinner treats, you can absolutely use a larger 9×13 inch pan. Keep in mind that the thinner bars might set a bit faster. If you want thicker treats in a 9×13 inch pan, simply double the recipe to get that desired substantial bite!
Yes, you can use large marshmallows if that’s all you have on hand, but mini marshmallows are generally preferred. Mini marshmallows melt more quickly and evenly, contributing to a smoother, more consistent gooey texture. If you’re using large marshmallows, you might want to cut them into smaller pieces to help them melt faster. We sometimes add a handful of extra mini marshmallows at the very end of the melting process to achieve an extra-gooey, stringy texture – this effect is harder to achieve with large marshmallows.
If your marshmallow treats are falling apart, it’s most likely due to the marshmallows being overcooked. When marshmallows are heated too much, they lose their sticky binding properties and can become brittle. It’s crucial to heat them just until they are melted and smooth, stirring frequently. Also, ensuring you use the exact measurements for butter, marshmallows, and cereal is important. Finally, allow your treats to cool and set for at least an hour at room temperature before cutting. This cooling period is vital for the structure to firm up properly.
Proper storage is key to keeping your Fruity Pebble Treats fresh and delicious. Store any leftovers in an airtight container at room temperature. They will stay fresh and perfectly gooey for up to 1 week. To maintain their freshness and prevent them from sticking together, you can also wrap individual bars in plastic wrap before placing them in the airtight container. For longer storage, you can even freeze them! Wrap them tightly in plastic wrap, then aluminum foil, and store in a freezer-safe bag for up to 6 weeks. Thaw at room temperature before enjoying.
Absolutely not! While the microwave is a quick and convenient method, you can easily melt the butter and marshmallows on the stovetop. Use a large saucepan or a Dutch oven over medium-low heat. Add the butter and let it melt, then add the marshmallows and stir constantly until they are fully melted and smooth. Be sure to keep the heat low and stir frequently to prevent burning. Either method is perfectly suitable for making delicious Fruity Pebble Rice Crispy Treats.
Fruity Pebbles cereal itself is typically gluten-free, and the other ingredients (butter, marshmallows) are also naturally gluten-free. However, it’s always crucial to check the ingredient labels of all your components to ensure they are certified gluten-free, especially if you have a severe allergy. Some brands may have different processing or ingredients. If you’re strict, look for labels that explicitly state “gluten-free.”
Yes, these treats are perfect for making ahead! Since they store well at room temperature for up to a week, you can prepare them a day or two before an event or party. This makes them an ideal dessert for meal prep or busy schedules. Just ensure they are stored in an airtight container to keep them fresh and prevent them from drying out.
There you have it – a vibrant, easy, and incredibly tasty recipe for Fruity Pebble Rice Crispy Treats! They’re proof that sometimes, the simplest ingredients can create the most memorable desserts. Their bright colors and irresistible chewiness make them a standout treat that will surely be requested again and again. Perfect for a quick snack, a party dessert, or a fun activity with the kids, these no-bake bars are a true winner in every sense.
More No-Bake Cereal Treats to Try
If you’ve fallen in love with these Fruity Pebble Rice Crispy Treats, you’re in for a treat! The world of Rice Krispie creations is vast and delicious. Here are some more fantastic no-bake cereal bar recipes that offer unique flavors and are just as easy to make:
- Brown Butter Rice Krispie Treats: Elevate the classic with a rich, nutty brown butter flavor. It adds an incredible depth that makes these treats feel gourmet.
- Red White and Blue Rice Krispie Treats: Perfect for patriotic holidays or themed parties, these colorful treats are fun, festive, and delicious.
- S’mores Rice Krispie Treats: Capture all the flavors of a campfire s’more – chocolate, graham cracker, and marshmallow – in an easy, no-bake bar.
- Butterscotch Rice Krispie Treats: A sweet and buttery twist that’s incredibly addictive. If you love butterscotch, this one’s for you!
Each of these recipes offers a delightful variation on the traditional cereal treat, proving that you can get incredibly creative with just a few simple ingredients. Give this easy Fruity Pebbles Treats recipe a try first, then come back and leave a comment to tell us what you think! And don’t forget to explore these other amazing no-bake options for more sweet inspiration.
Pin
Fruity Pebble Rice Crispy Treats
Ingredients
- 5 cups Fruity Pebbles Cereal
- 10 oz Mini Marshmallows
- 4 Tbsp Butter
Instructions
-
Spray an 8X8 baking dish with non-stick cooking spray, or line with parchment paper for easy removal.
-
Place the butter and marshmallows in a large, microwave-safe bowl. Heat the mixture in the microwave in 30-second intervals, stirring after each interval, until the mixture is completely melted and smoothly combined. Alternatively, melt in a large saucepan over medium-low heat, stirring constantly.
-
Gently stir in the Fruity Pebbles cereal until it is fully combined and coated with the marshmallow mixture.
-
Pour the mixture into the prepared baking dish. Using a piece of wax paper or a spatula lightly sprayed with non-stick cooking spray, gently press the mixture evenly into the dish. Avoid compacting too tightly.
-
Allow the treats to cool completely at room temperature for at least 1 hour before cutting into bars and serving.
Recipe Notes
Nutrition Facts
Pin This Now to Remember It Later
Pin Recipe
