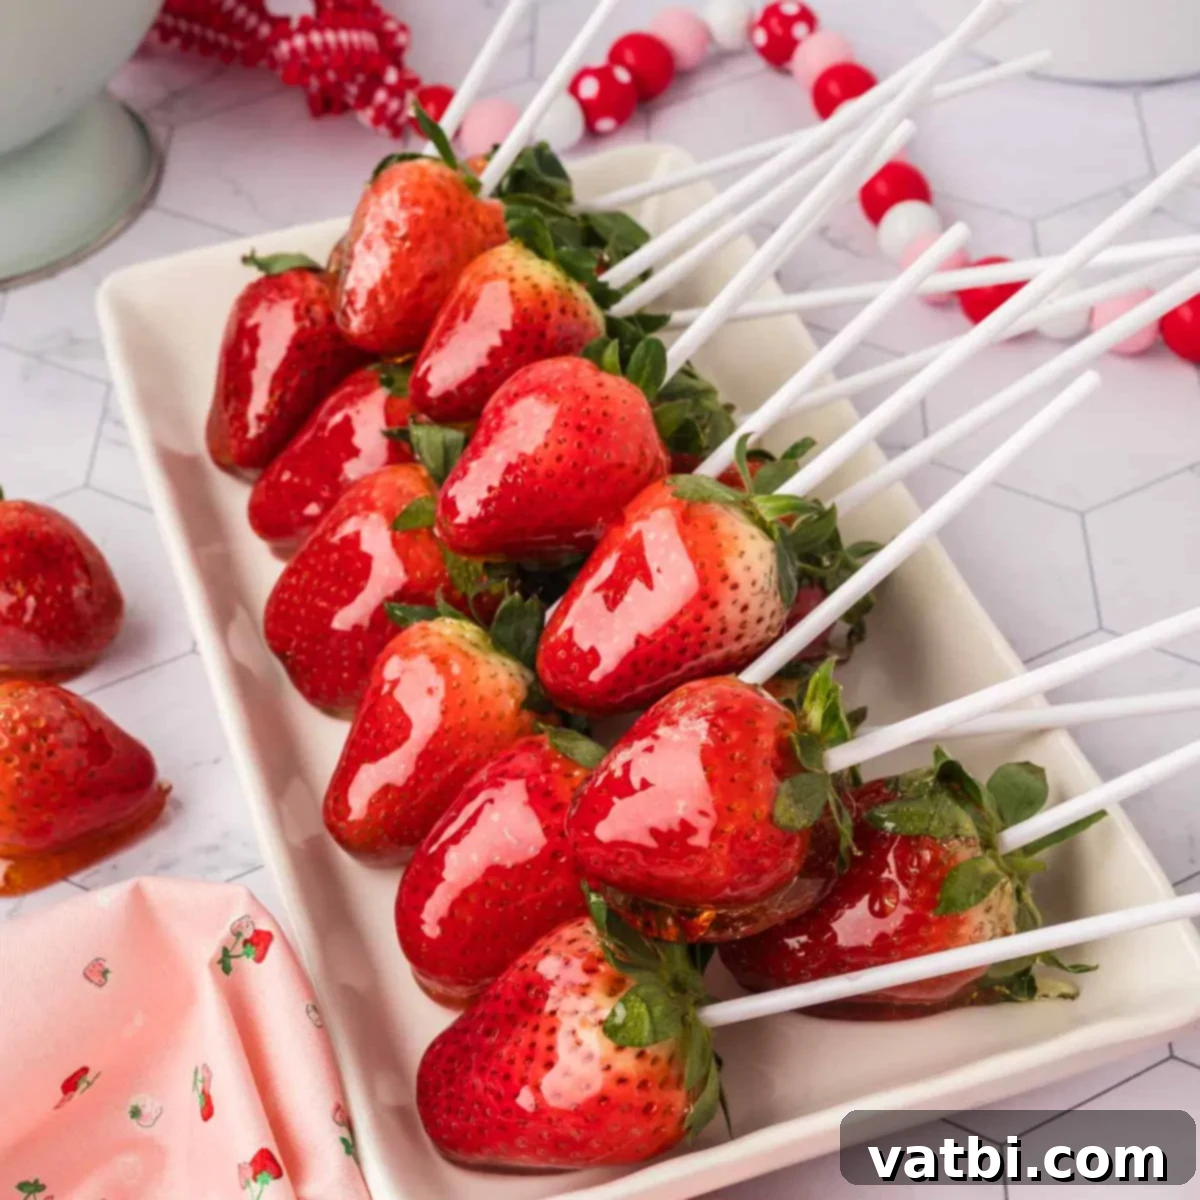
Irresistibly Easy Homemade Candied Strawberries: Your Guide to a Sweet, Crunchy Delight!
Prepare to be enchanted by the delightful simplicity and incredible taste of homemade Candied Strawberries! This viral sensation, also known as Tanghulu in China, is astonishingly easy to create with just four basic ingredients. Each bite offers a satisfyingly crunchy candy coating that shatters to reveal a burst of sweet, juicy strawberry goodness inside. Forget complicated desserts; this recipe promises a dazzling treat that’s perfect for any occasion, from a casual snack to an elegant party favor.
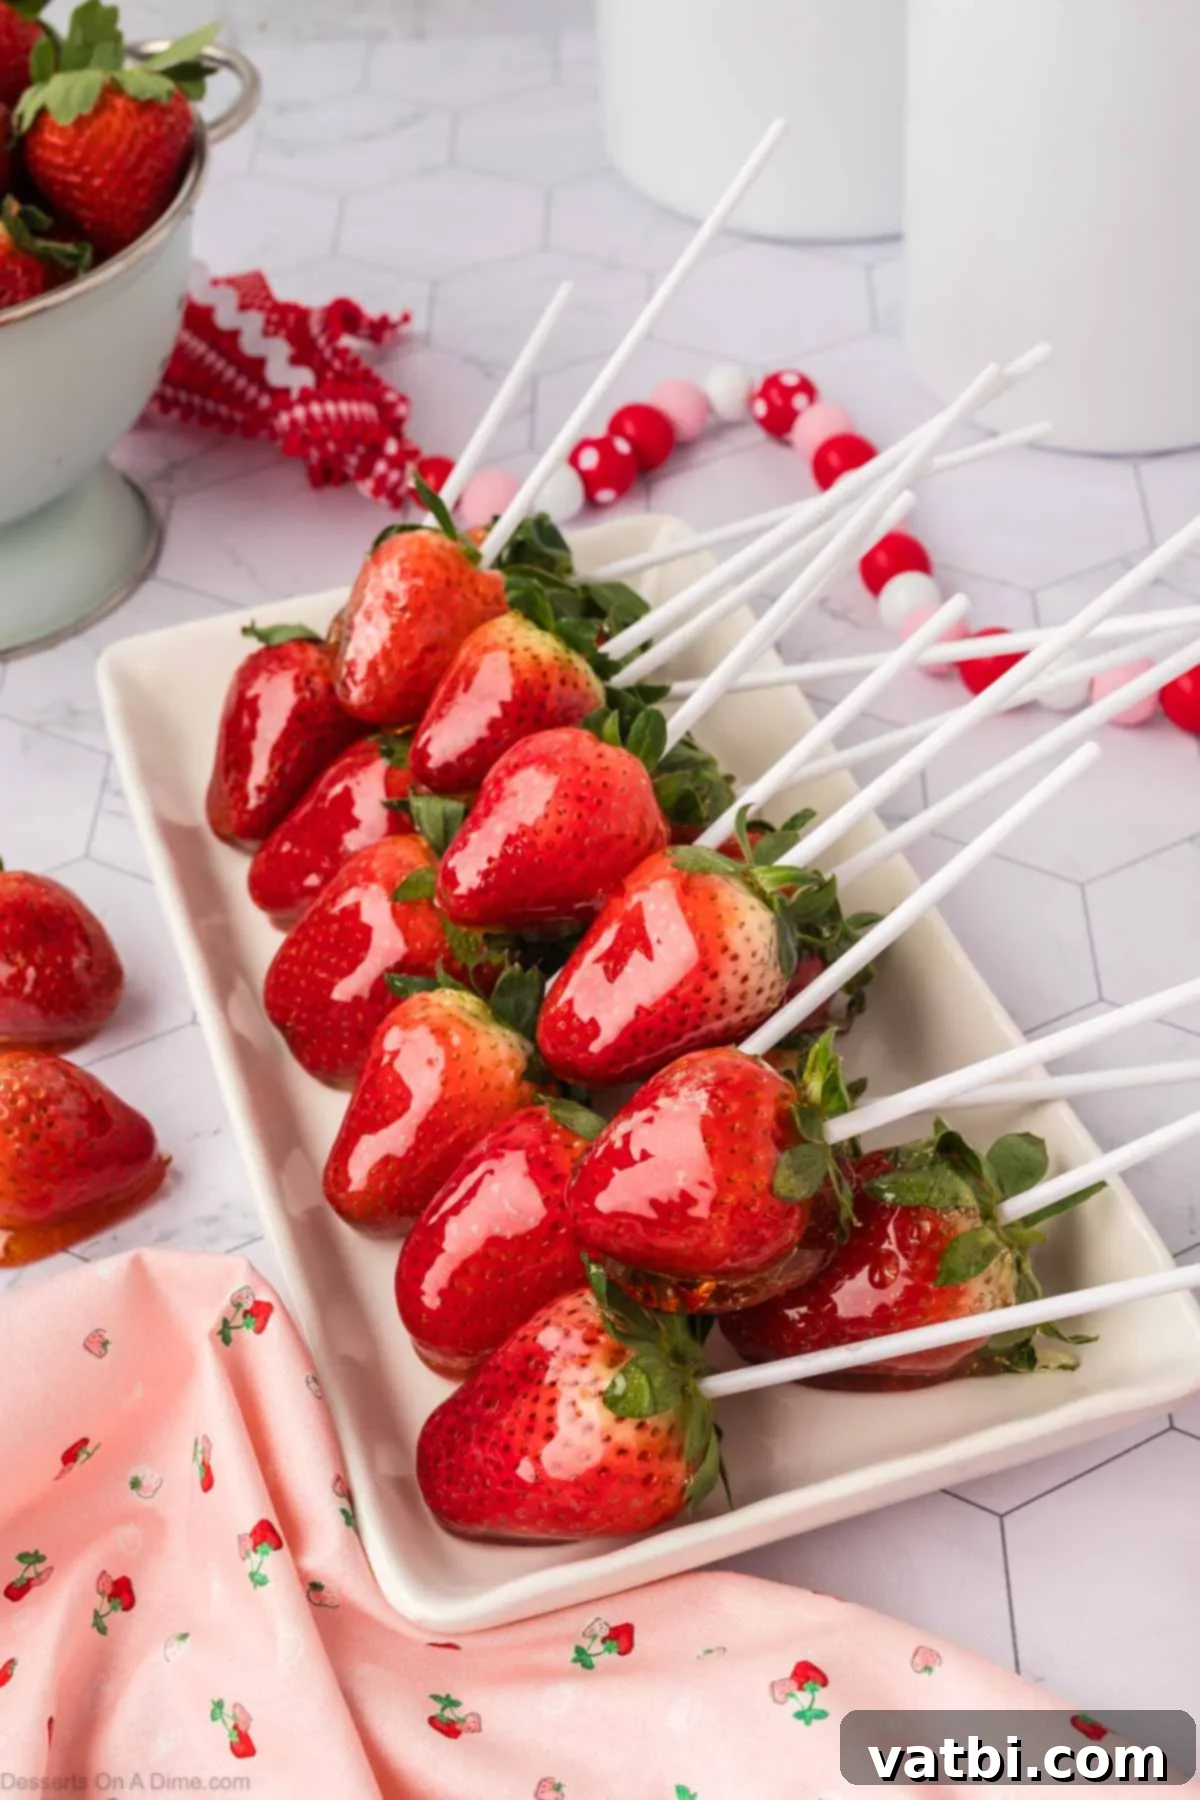
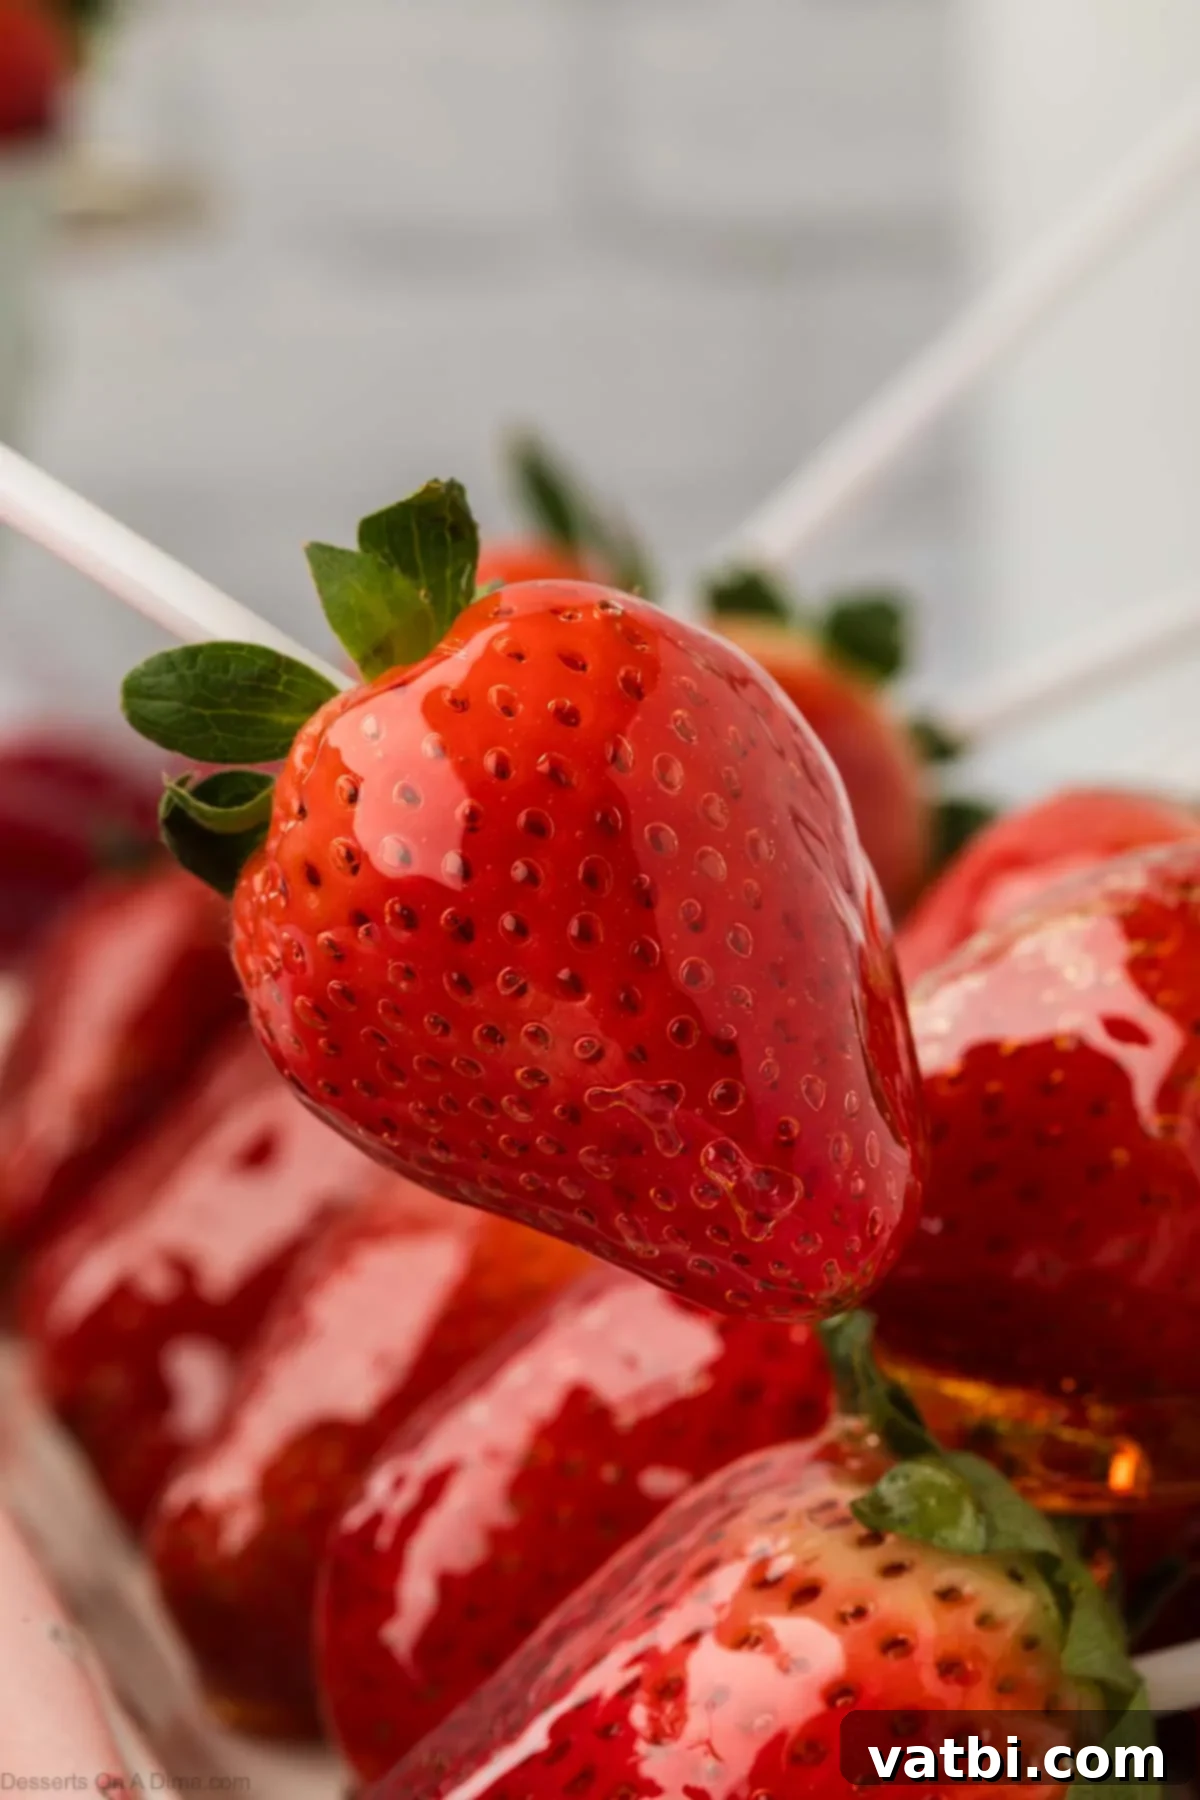
Making candied strawberries takes mere minutes of active preparation, but the result is nothing short of spectacular. The delicate, glass-like sugar shell provides an addictive crispness and a delightful sweetness that beautifully complements the fresh, vibrant flavor of the fruit. While I absolutely adore making Chocolate Covered Strawberries, this candied version offers a lighter, equally irresistible alternative that shines in its own unique way. It’s a fantastic recipe to master, allowing the natural beauty and taste of the strawberries to truly stand out.
If you’re a fan of no-bake dessert recipes and love the refreshing taste of fresh fruit, then this effortless recipe featuring succulent strawberries is tailor-made for you. Strawberries are incredibly versatile and delicious, forming the base for many of our favorite treats, including our festive Red White and Blue Strawberries. This candied version elevates the humble strawberry into a gourmet-like experience that’s deceptively simple to achieve at home.
What’s in this post: Candied Strawberries
- Why We Love This Recipe
- Ingredients for Candied Strawberries
- Step By Step Instructions
- Proper Storage for Candied Strawberries
- Expert Pro Tips for Perfect Candied Strawberries
- Frequently Asked Questions (FAQ)
- Candied Strawberries Recipe Card
Why We Love This Recipe
There are countless reasons why these candied strawberries have become a household favorite. Their undeniable charm lies in a few key factors that make them a standout dessert:
- Only 4 Ingredients. You won’t believe how much flavor and elegance can come from such a short ingredient list! The recipe requires only strawberries, granulated sugar, corn syrup, and water – truly minimal and pantry-friendly.
- Doesn’t take much time. From start to finish, the active cooking and dipping process is incredibly quick, making this a perfect last-minute dessert or a fun activity that yields fast results.
- Taste delicious. The textural contrast is simply divine. Each bite is a wonderful combination of a surprisingly crispy, delicate candy coating and the tender, naturally sweet, and slightly tart fruit beneath. It’s a flavor explosion that leaves you wanting more.
- Visually Stunning. These glistening, jewel-toned strawberries are incredibly photogenic and make for an impressive presentation. They add a touch of sophistication to any dessert spread without requiring hours in the kitchen.
- Customizable Fun. While delicious on their own, candied strawberries can be customized with food coloring for themed events or enjoyed with various dipping sauces, adding to their appeal.
Ingredients for Candied Strawberries
Gathering your ingredients is the first step to creating these beautiful, crunchy delights. You’ll be amazed at how simple the list is for such an impressive result. Here’s what you’ll need and some tips for selecting the best ones:
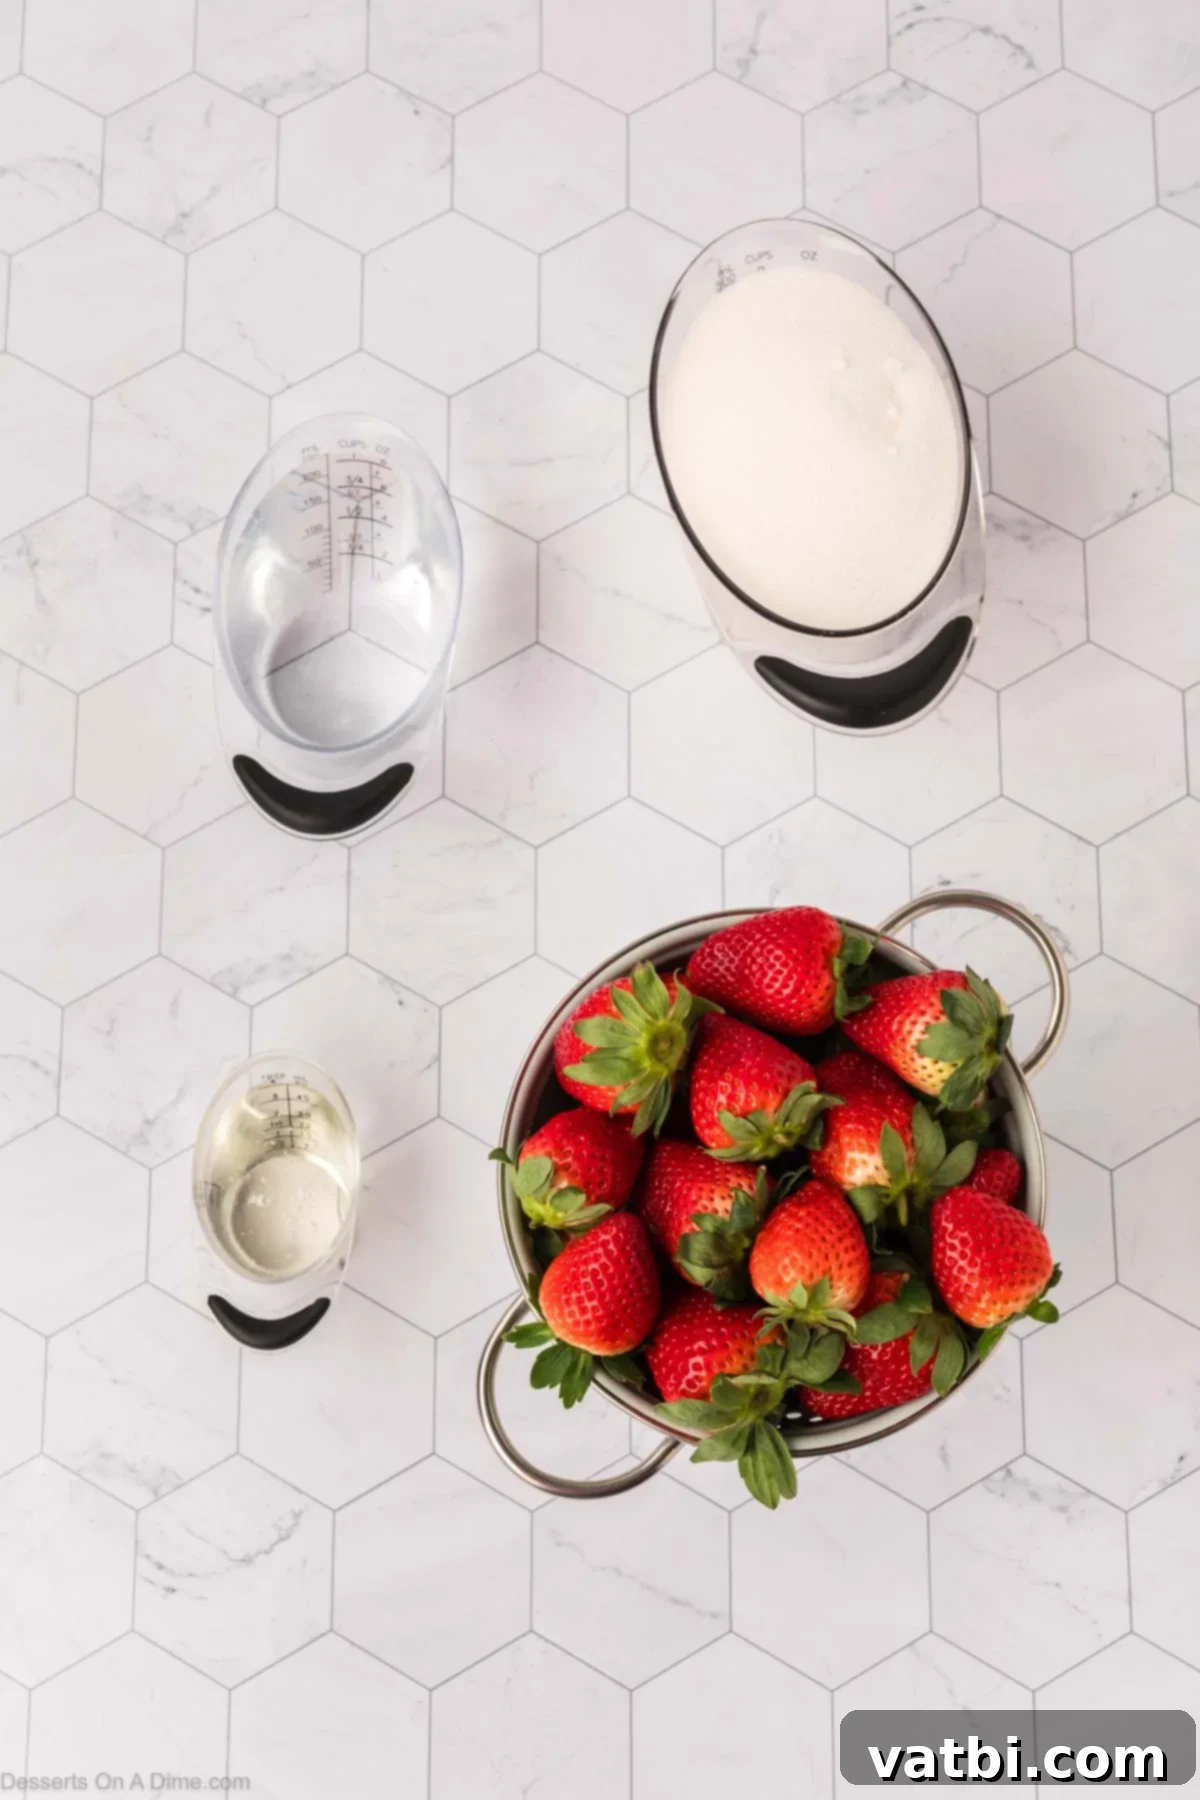
- Strawberries. You will need about a pound of fresh, firm strawberries. Choose berries that are ripe but not overly soft or bruised. Medium-sized strawberries work best for easy dipping and a good coating-to-fruit ratio. Ensure they are thoroughly washed and completely dry before use. Any moisture can cause the candy coating to become grainy or fail to adhere properly.
- Granulated Sugar. Just regular white sugar is all you need for this recipe. It’s crucial for achieving that clear, crunchy candy shell. Avoid using brown sugar, as it will impart a molasses flavor and a darker, less translucent color to the coating.
- Corn Syrup. This ingredient is essential! Corn syrup helps prevent the sugar syrup from crystallizing, ensuring a smooth, clear, and perfectly crunchy candy coating. Do not skip it, as it’s key to the optimal texture. Light corn syrup is preferred for its neutral flavor and clarity.
- Water. Used to dissolve the sugar and corn syrup to create the initial syrup base. The ratio of water to sugar is important for reaching the correct candy stage.
Find the complete list of ingredients with precise measurements at the bottom of the page in the detailed recipe card.
Step By Step Instructions
Making candied strawberries is a straightforward process, but precision, especially with temperature, is key to success. Follow these steps carefully for perfect results:
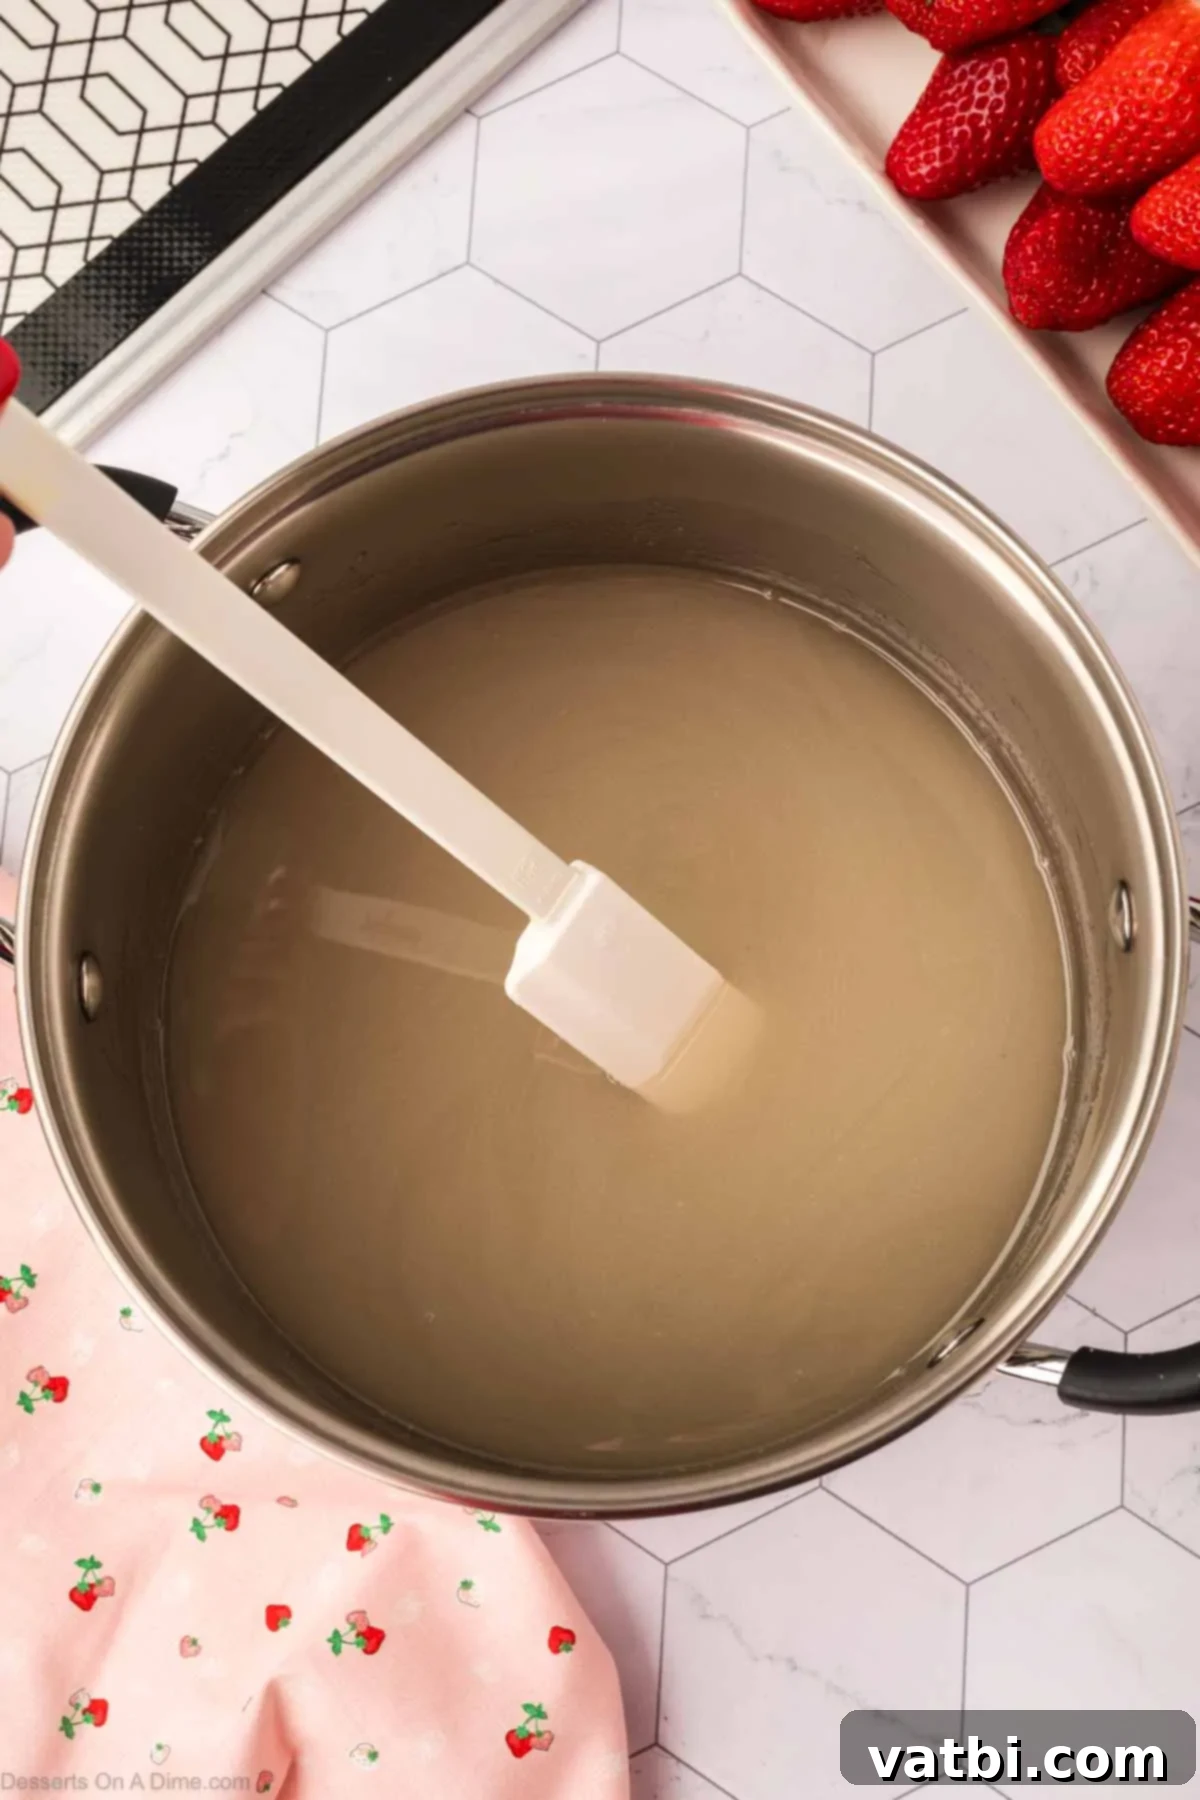
Step 1. Begin by thoroughly washing and drying your strawberries. This is a critical step; any residual moisture can ruin the candy coating. Once the berries are prepped, stir together the granulated sugar, corn syrup, and water in a medium-sized, heavy-bottomed saucepan. This ensures that all ingredients are well combined before heating. Place the saucepan over medium-high heat. You will need to watch the mixture carefully and continue to stir until the sugar is completely dissolved and the syrup begins to bubble lightly. Dissolving the sugar crystals at this stage is important for a smooth candy.
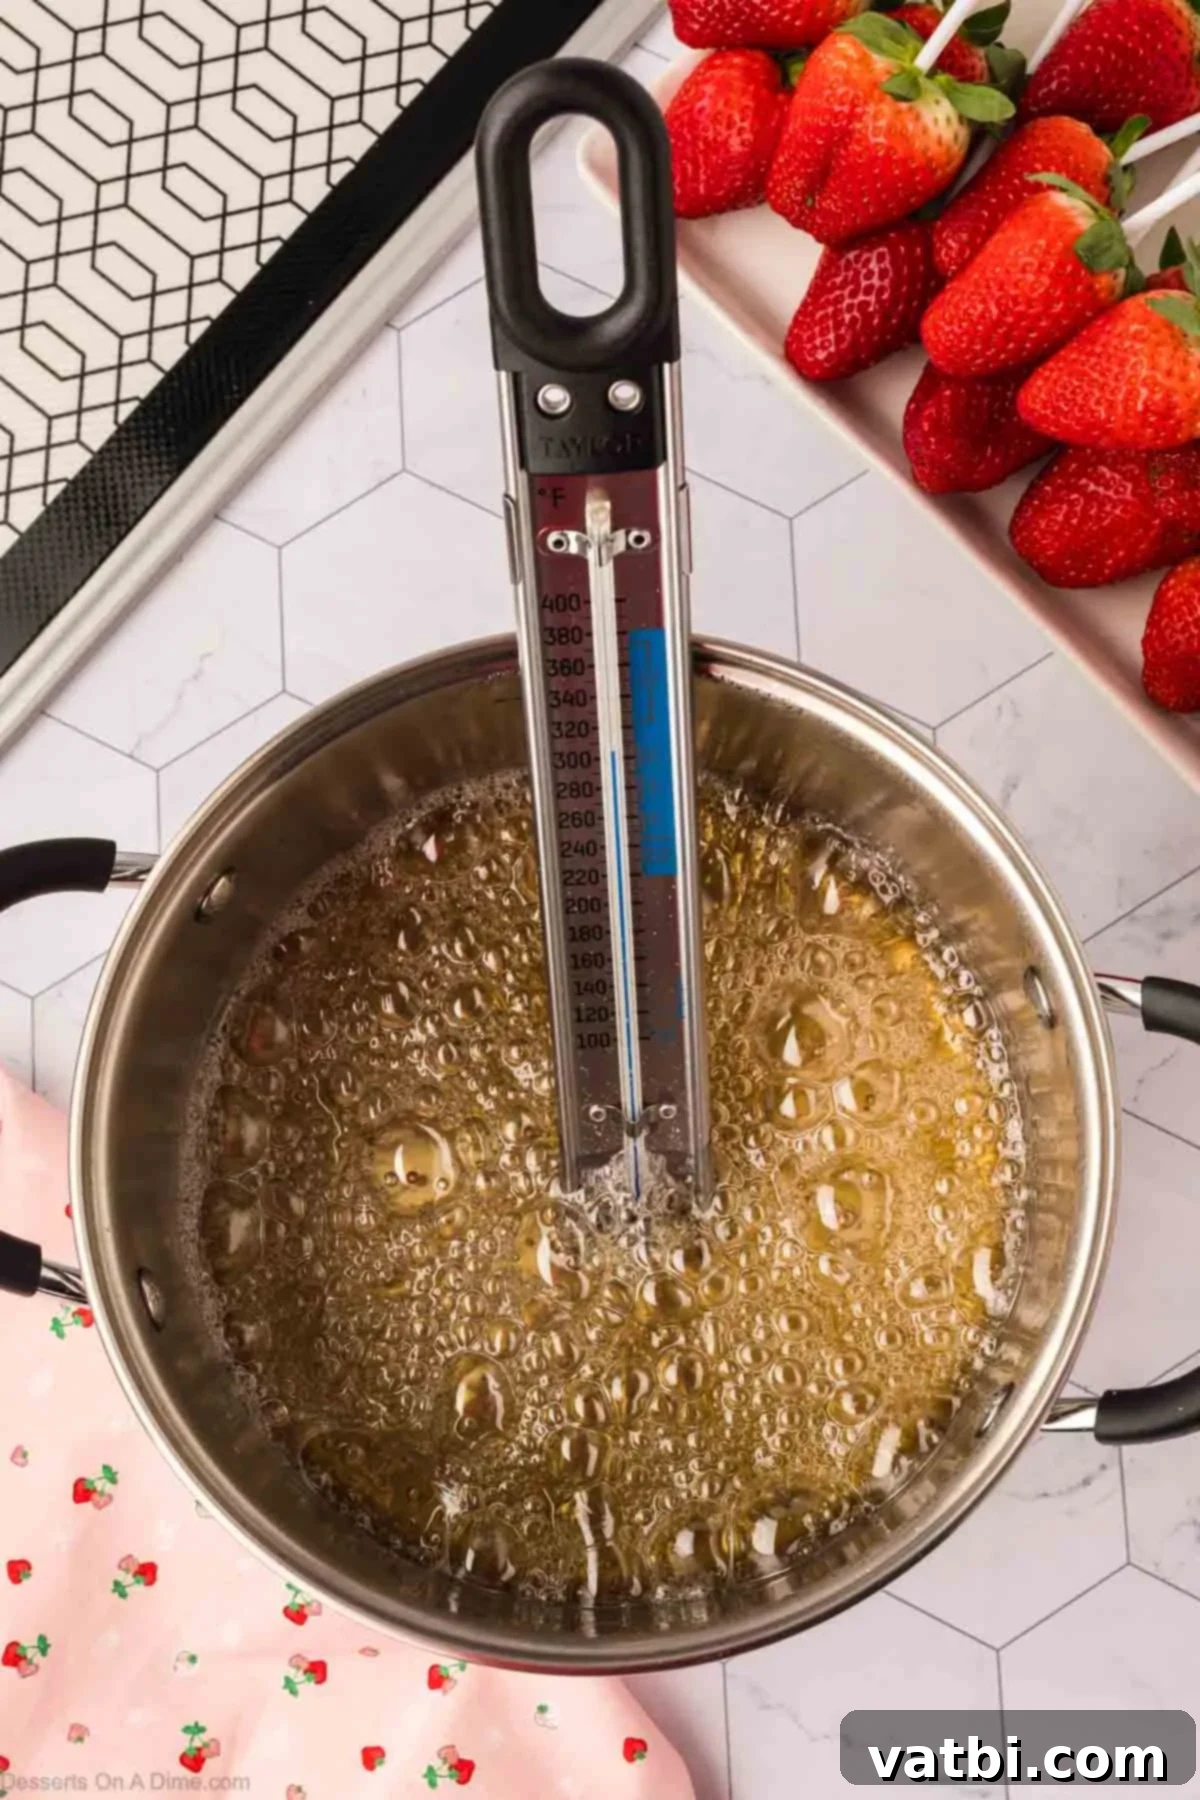
Step 2. Once the sugar is fully dissolved and the mixture is lightly bubbling, increase the heat to high and bring the syrup to a rolling boil. At this point, it is crucial to *stop stirring*. Insert a candy thermometer into the syrup, ensuring it doesn’t touch the bottom of the pan. Continue to boil without stirring until the mixture reaches precisely 300 degrees Fahrenheit (149 degrees Celsius). This is the “hard crack” stage, where the sugar will become brittle and crunchy when cooled. The syrup should transform into a beautiful caramel, golden color, indicating it’s ready.
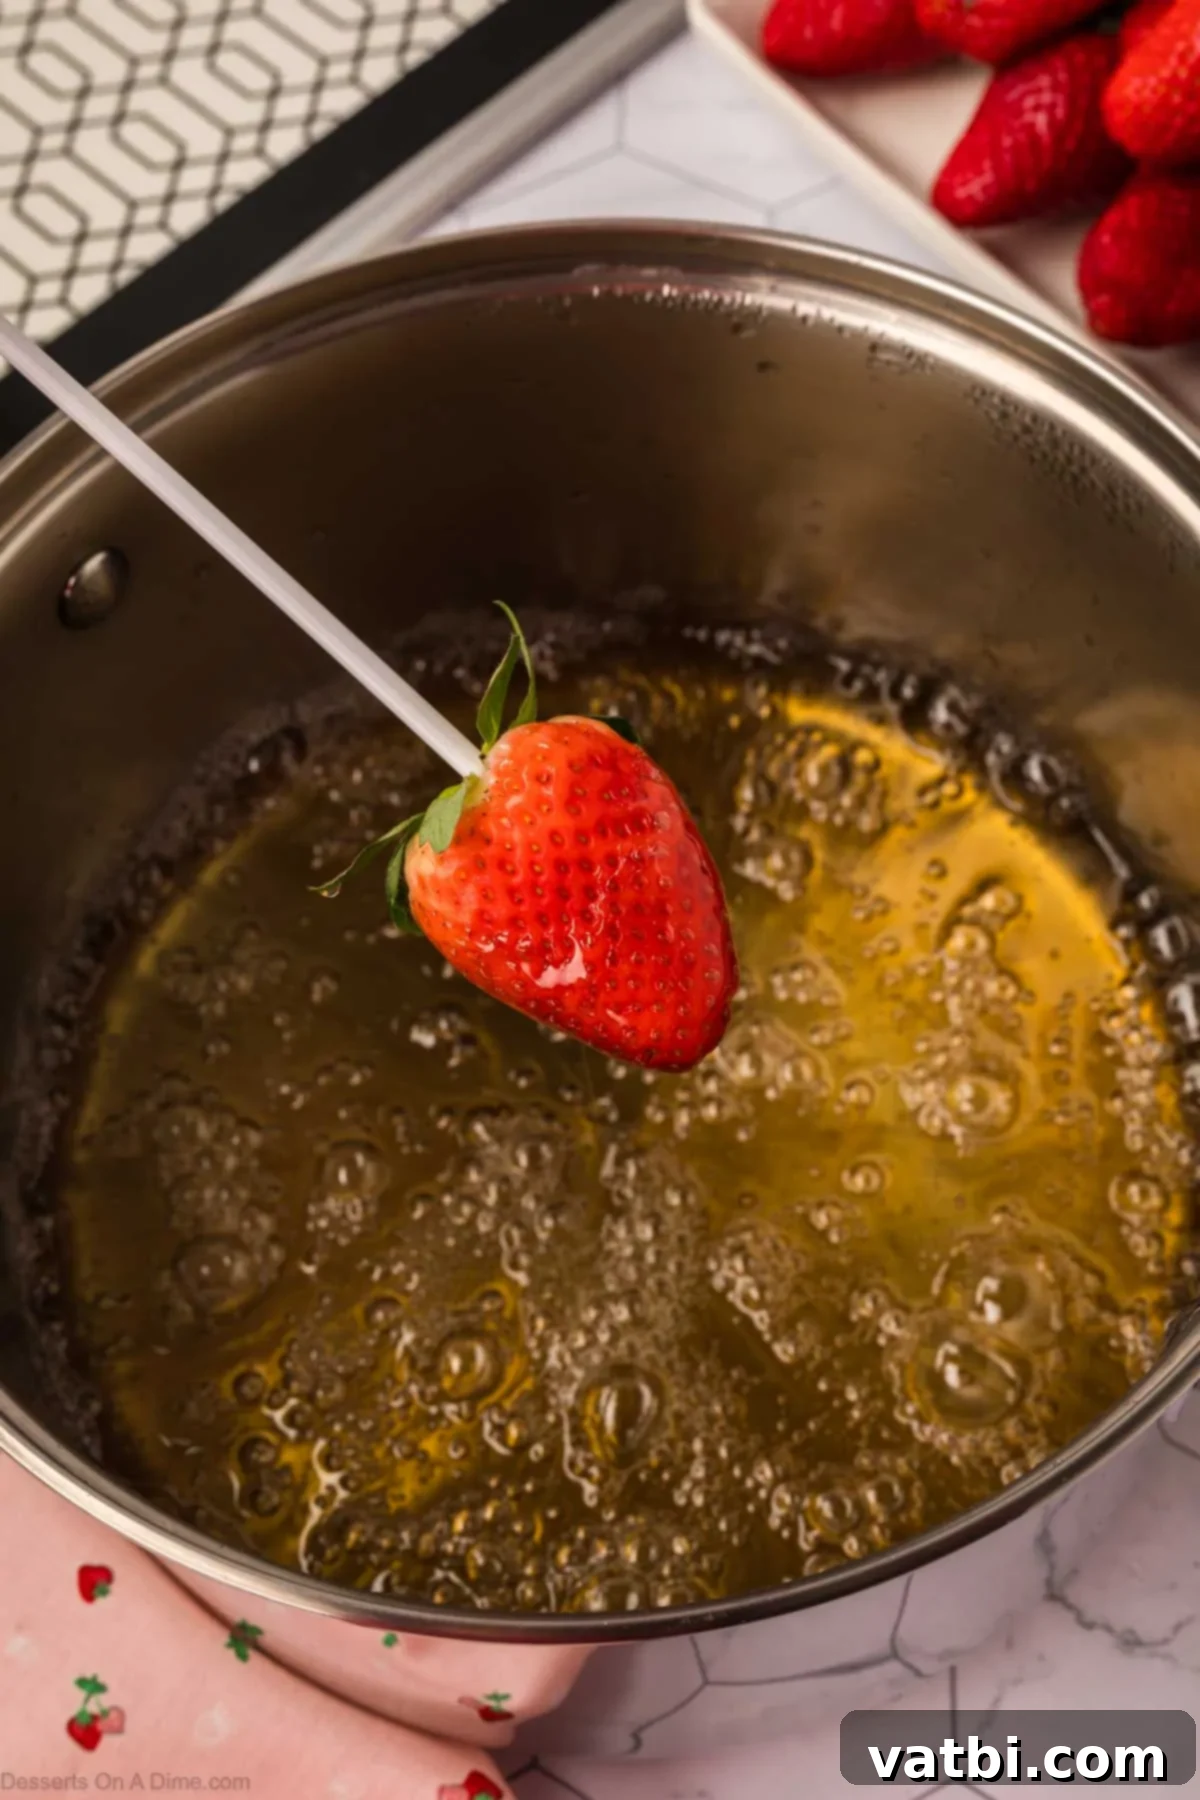
Step 3. As soon as the syrup reaches 300 degrees F, turn off the heat immediately. This prevents the sugar from burning. Working quickly and carefully, dip each strawberry into the hot candied mixture. Use a skewer or a lollipop stick inserted into the stem end of the strawberry to hold it. Swirl the strawberry gently to ensure an even, thin coating all around. The syrup will be extremely hot, so exercise extreme caution and do not touch it with your bare hands.
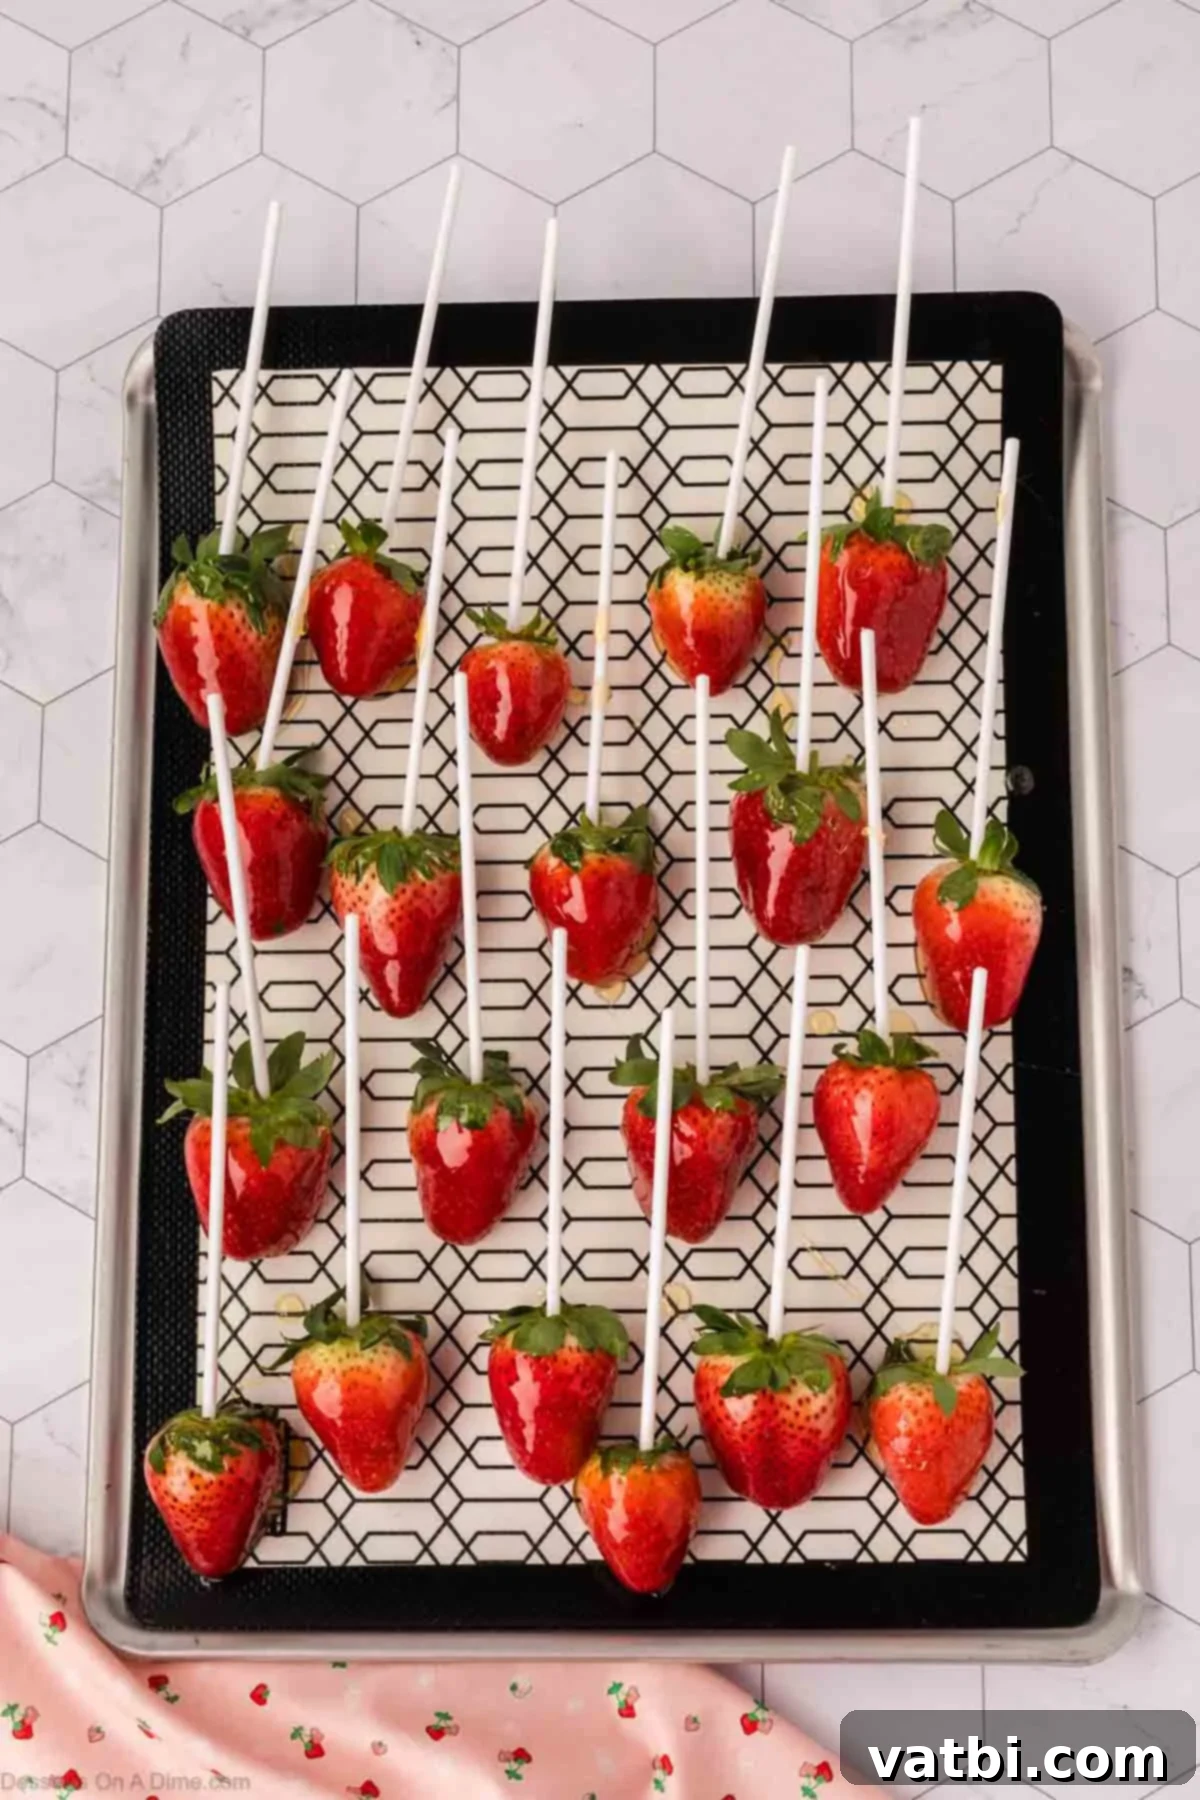
Step 4. After thoroughly coating each strawberry, gently tap it on the side of the saucepan to remove any excess syrup. This helps achieve a perfectly thin and even shell, preventing sugary puddles. Immediately place the coated strawberries on a baking sheet that has been lined with a silicone mat. A silicone mat is highly recommended over parchment paper for this recipe, as the candy can be very sticky and the mat allows for easy removal and cleanup. Allow the candied strawberries to cool completely and harden at room temperature. Once the coating has set and become brittle (usually within 10-15 minutes), they are ready to serve right away on the tray for the best possible crunch.
Proper Storage for Candied Strawberries
For the absolute best texture and crunch, I highly recommend serving these candied strawberries as soon as the candy coating has fully hardened. The crispness of the sugar shell is at its peak immediately after cooling. The delicate nature of the hard candy shell, combined with the moisture from the fruit and ambient humidity, means they don’t store well for extended periods.
If you absolutely must store them, place the candied strawberries inside an airtight container and refrigerate them for a very short duration, up to a maximum of 5 hours. Beyond this timeframe, the thin hard candy shell coating will begin to absorb moisture from the air and the strawberries themselves. This will cause the coating to soften, become sticky, and eventually puddle, losing its signature crunchy texture. Therefore, plan to make and enjoy these delightful treats on the same day for optimal enjoyment.
Expert Pro Tips for Perfect Candied Strawberries
Achieving perfectly crisp and glistening candied strawberries is all about precision and a few clever tricks. Here are my top pro tips to ensure your success:
- Use a Candy Thermometer for Accuracy. This is perhaps the most critical tool for this recipe. Accurately reaching the “hard crack” stage (300 degrees F) is non-negotiable for a brittle, non-sticky coating. Watch the boiling mixture carefully; the temperature can rise quickly. Even exceeding 300 degrees by a small margin can cause the sugar to burn, resulting in a dark, bitter syrup. Invest in a reliable candy thermometer for consistent results.
- Thoroughly Wash and Dry the Fruit. Any moisture on the strawberries can prevent the candy coating from adhering properly, leading to a grainy or sticky finish. After washing, pat each berry thoroughly dry with paper towels. For extra assurance, you can even let them air dry for a short while before dipping.
- Remove Excess Coating for an Even Shell. Once you dip a strawberry, gently tap it against the side of the saucepan to allow any excess syrup to drip off. This creates a beautifully thin, even coating and prevents sugary pools from forming at the base of the strawberries when they cool.
- Prepare the Pan with a Silicone Mat. Lining your baking sheet with a silicone mat is a game-changer for this recipe. The sticky candy coating releases effortlessly from a silicone mat, unlike parchment paper, which can sometimes stick and make cleanup difficult. It ensures easy removal without breakage.
- Exercise Extreme Caution with Hot Syrup. The sugar syrup reaches extremely high temperatures (300 degrees F), which can cause severe burns if it comes into contact with skin. Always use caution when dipping the strawberries. Use long skewers or lollipop sticks to keep your hands a safe distance from the hot liquid. Never taste the hot syrup directly.
- Select Fresh, Firm Strawberries. The quality of your fruit directly impacts the final result. Choose ripe but firm strawberries that are free of blemishes. Overly soft or bruised berries can release too much moisture and negatively affect the candy coating.
- Work Quickly and Efficiently. The sugar syrup will begin to cool and thicken once it’s off the heat. Work as quickly and efficiently as possible when dipping your strawberries to ensure a smooth, even coating before the syrup becomes too thick to work with. If it starts to thicken too much, you can briefly place it back on very low heat (or a warm water bath) to re-liquefy, but be careful not to raise the temperature past 300F again.
- Consider a Deep, Narrow Pot. Using a pot that is deeper and narrower than it is wide can make the dipping process easier, as it allows the syrup to have more depth for a full immersion of the strawberry while using less volume of syrup.
Frequently Asked Questions (FAQ)
Have more questions about making these delightful candied strawberries? Here are some common queries and their answers to help you perfect your recipe:
Candied Strawberries, or more broadly, candied fruit, are famously known as Tanghulu (糖葫芦) in China. This traditional Chinese snack features various fruits, often hawthorn berries, coated in a crunchy, transparent sugar shell and served on skewers. It’s a beloved street food, cherished for its beautiful appearance and the exciting contrast of textures and flavors. Our candied strawberries are a delicious and easy-to-make variation of this classic treat.
Yes, absolutely! I highly recommend using a candy thermometer for this recipe. Achieving the precise “hard crack” stage at 300 degrees Fahrenheit (149°C) is crucial for the candy coating to be hard and crunchy, not soft or sticky. Guessing the temperature often leads to unsatisfactory results. A good candy thermometer is an inexpensive tool that guarantees success in all your candy-making endeavors.
Indeed! The sugar coating is incredibly versatile and delicious on an assortment of fruits. While strawberries are a favorite, feel free to experiment with other firm, low-moisture fruits. Great options include blueberries, pineapple chunks, seedless grapes, apple slices (dried very well), or tangerine segments. Just ensure the fruit is completely dry before dipping for the best results.
To safely dip the strawberries into the extremely hot sugar syrup, you’ll need something long enough to keep your hands away from the heat. Skewers, wooden chopsticks, or lollipop sticks work perfectly. Insert the stick firmly through the stem end of the strawberry. This provides a handle for easy dipping and maneuvering.
While brown sugar technically “works” to create a candy coating, it’s not recommended for this recipe. Brown sugar contains molasses, which will give the coating a distinct molasses flavor and a darker, less translucent color. For the classic clear, crisp, and pure sweet taste of candied strawberries, granulated white sugar is the best choice.
There are a few common culprits. Firstly, the syrup might not have reached the full 300°F (hard crack stage). If it’s too cool, it won’t harden properly. Secondly, humidity in the air can cause the candy to absorb moisture and become sticky. Try to make these on a dry day. Lastly, if the strawberries weren’t perfectly dry, the moisture from the fruit can also cause the coating to soften or become grainy.
Absolutely! If you want to add a fun pop of color, you can incorporate a few drops of gel food coloring into the sugar syrup *after* it has reached 300°F and you’ve removed it from the heat. Stir it in quickly just before you start dipping. Gel food coloring is preferred as it won’t add extra liquid to the syrup, unlike liquid food coloring.
More Delightful Candy Recipes to Try
Easy Candy
Classic Chocolate Covered Cherries
Easy Candy
Old Fashioned Divinity Candy Recipe
Easy Candy
Simple Rocky Road Candy
These candied strawberries are a testament to how simple ingredients can create extraordinary desserts. Their dazzling appearance and satisfying crunch make them a memorable treat for any occasion. Don’t be intimidated by candy making – with a reliable thermometer and these straightforward steps, you’ll be a pro in no time!
Make this delicious recipe today and leave a comment below sharing your experience and any creative twists you added. It’s so much fun to hear from you and see your beautiful creations! Enjoy the sweet crunch!
Pin
Candied Strawberries
Ingredients
- 15-20 Strawberries (approximately 1 pound, fresh and firm)
- 2 Cups Granulated Sugar
- 1/4 Cup Corn Syrup
- 1 Cup Water
Instructions
-
First, ensure your strawberries are washed and completely dry. Then, combine the sugar, corn syrup, and water in a medium saucepan. Place the saucepan over medium heat, stirring continuously until the sugar crystals are fully dissolved. This initial step is vital for a smooth syrup.
-
Increase the heat to high and bring the mixture to a rapid boil. Once boiling vigorously, stop stirring completely.
-
Carefully insert a candy thermometer into the syrup, ensuring it doesn’t touch the bottom of the pan. Continue to boil without stirring until the mixture reaches precisely 300 degrees Fahrenheit (149°C), which is the hard crack stage. The syrup will turn a beautiful golden caramel color.
-
Immediately turn off the heat. Working quickly and carefully, dip each strawberry into the hot syrup using a skewer or lollipop stick inserted into the stem end. Swirl to get an even coating, and gently tap off any excess syrup against the side of the pan.
-
Place the coated strawberries on a baking sheet lined with a silicone mat. This prevents sticking and makes for easy removal once hardened.
-
Allow the strawberries to cool completely at room temperature until the candy coating is hard and brittle. This usually takes about 10-15 minutes.
-
Once hardened, the candied strawberries are ready to serve and enjoy immediately for the best crunchy texture!
Recipe Notes
To achieve a perfectly thin and even candy shell, gently tap any excess syrup from the strawberries on the side of the pan before placing them on the baking sheet to cool. This prevents unsightly pooling and ensures uniform crunch.
Lining your baking pan with a silicone liner is highly recommended. In my experience, it works significantly better than parchment paper with the sticky candy coating, ensuring effortless release and making for much easier cleanup.
These candied strawberries are truly best served immediately after the coating has hardened. While you can store them in an airtight container in the refrigerator for up to 5 hours, be aware that the coating will gradually soften and become sticky due to moisture absorption from both the fruit and the environment. Enjoy them fresh for optimal crispness!
Ensure your strawberries are absolutely dry. Any moisture on the surface can cause the sugar to crystallize or not adhere properly, leading to a dull or grainy coating. Pat them dry thoroughly after washing.
Nutrition Facts
Pin This Now to Remember It Later
Pin Recipe
