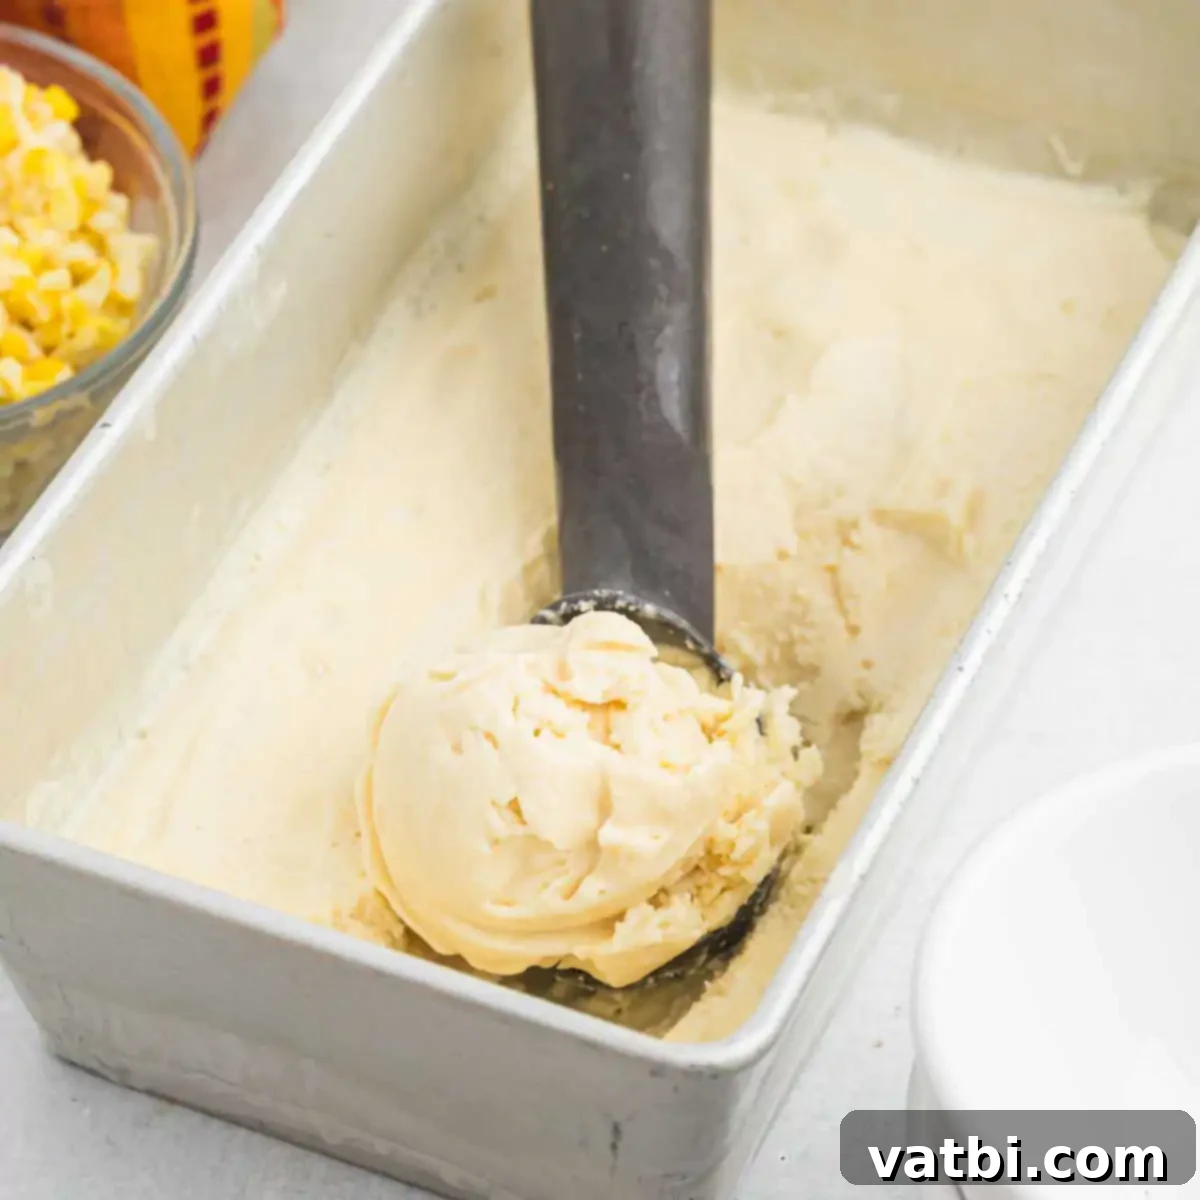
Homemade Creamy Sweet Corn Ice Cream Recipe: A Unique Summer Dessert
Prepare to be delighted by this incredibly creamy Corn Ice Cream, a truly unique dessert that beautifully highlights the natural sweetness and subtle flavor of fresh sweet corn. Each luscious scoop offers a smooth, rich texture and an unexpected burst of summery goodness, making it an unforgettable treat for any occasion.
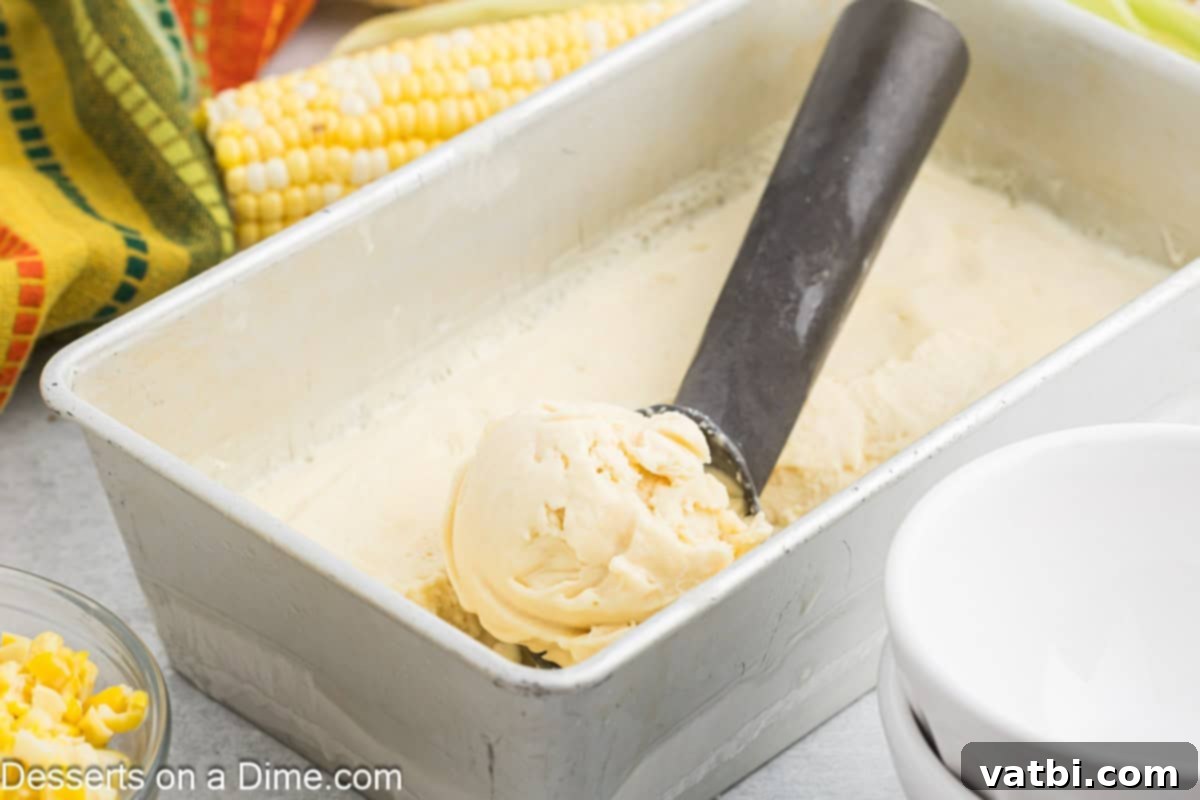
This Sweet Corn Ice Cream is more than just a dessert; it’s a culinary adventure that transforms a beloved vegetable into a refreshingly creamy indulgence. Ideal for hot summer days, holiday gatherings, or simply when you crave an extraordinary homemade dessert, it perfectly marries a silky-smooth consistency with a distinct, sweet corn essence. The recipe is surprisingly straightforward, using readily available ingredients and simple techniques, proving that extraordinary flavors can be created right in your kitchen, often without the need for a specialized ice cream maker.
Whether served on its own, enhanced with a luxurious drizzle of caramel sauce, or paired as a fascinating counterpoint to a warm fruit pie, this ice cream offers a versatile and delicious twist. Its comforting yet sophisticated profile makes it a standout. We are always enthusiastic about exploring new Ice Cream Recipes, and this corn-infused version has quickly become a cherished favorite.
Table of Contents
- Why We Love This Corn Ice Cream
- Key Ingredients for Sweet Corn Ice Cream
- Step-by-Step Instructions to Make Corn Ice Cream
- Storing Your Homemade Corn Ice Cream
- Expert Tips for the Best Corn Ice Cream
- Delicious Variations for Corn Ice Cream
- More Easy No-Churn Ice Cream Recipes
- Printable Recipe Card
Why We Love This Corn Ice Cream
There are countless reasons why this corn ice cream recipe deserves a prime spot in your dessert repertoire. Its innovative flavor and delightful texture make it a crowd-pleaser and a fascinating conversation starter. Here’s a deeper dive into why we adore this unique frozen treat:
- Unique and Surprising Flavor: At the heart of this recipe is the extraordinary transformation of fresh corn into a sweet dessert. It’s not just sweet; it’s a nuanced sweetness with earthy undertones that only real corn can provide. This natural, slightly savory-sweet profile offers a refreshing departure from traditional fruit or chocolate ice creams, inviting an adventurous palate to explore new dimensions of flavor. It perfectly encapsulates the essence of summer harvest in a cool, creamy form.
- Simple, Accessible Ingredients: You don’t need exotic components to create this gourmet-level dessert. The recipe relies on basic pantry staples like fresh corn, heavy cream, sweetened condensed milk, corn syrup, vanilla, and a touch of salt. This accessibility means you can whip up a batch anytime the craving strikes, without a special trip to a gourmet store. Furthermore, many versions of this recipe can be made without an ice cream machine, simplifying the process for home cooks.
- Incredibly Versatile Serving Options: While undeniably delicious on its own, this corn ice cream acts as a fantastic canvas for various accompaniments. Drizzle it with a rich caramel sauce for added decadence, pair it with fresh berries for a vibrant contrast, or serve it alongside a warm slice of apple or peach pie for a delightful blend of temperatures and textures. It also complements spicy dishes beautifully, offering a cooling, sweet finish. Its adaptability makes it suitable for casual family dinners and elegant dessert spreads alike.
- Smooth and Refreshing Texture: The combination of heavy whipping cream and sweetened condensed milk, along with the secret ingredient of corn syrup, ensures an exceptionally smooth and creamy consistency that melts beautifully in your mouth. This rich, yet refreshing texture is utterly delightful, especially when combating the summer heat. It’s truly a luxurious treat that feels indulgent without being overly heavy.
- Seasonal Celebration: Making corn ice cream during peak corn season is a wonderful way to celebrate the bounty of summer. Using fresh, ripe corn ensures the most vibrant flavor and natural sweetness, making the experience even more special and connected to the season.
- A Crowd-Pleaser and Conversation Starter: Given its unconventional yet delicious flavor, this ice cream is always a hit at gatherings. It’s a fantastic way to introduce guests to new culinary experiences and is sure to spark curiosity and praise.
Key Ingredients for Sweet Corn Ice Cream
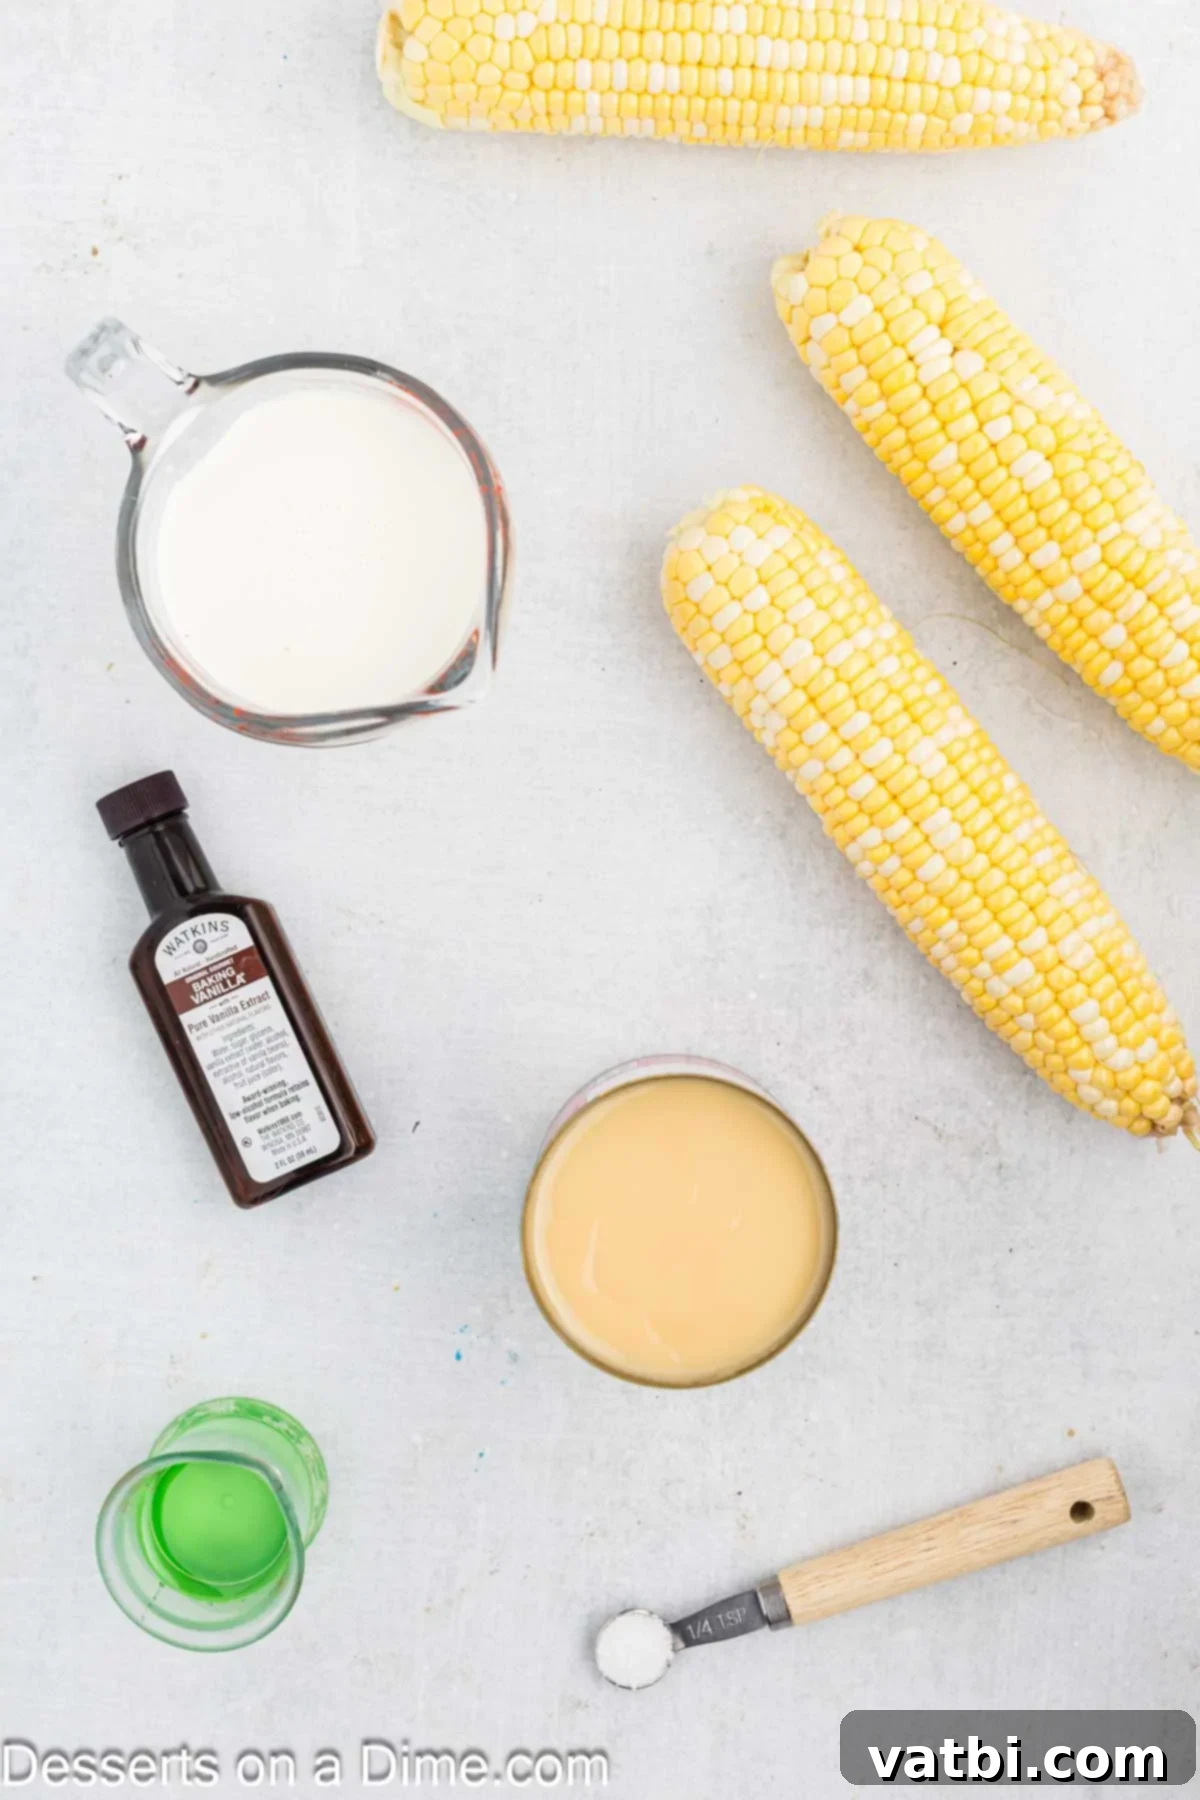
Crafting this unique ice cream requires just a few key ingredients, each playing a crucial role in developing its signature flavor and creamy texture. Here’s a closer look at what you’ll need and why:
- Fresh Corn: The star of our show! For the absolute best results, choose sweet, fresh yellow corn. The natural sugars in ripe corn are essential for that delicate, authentic flavor. When selecting corn, look for bright green husks, moist silk, and plump kernels. While fresh is preferred, you can use frozen corn kernels as an alternative if fresh is out of season. Just be sure to thaw and drain them well before using to avoid excess water. You’ll need about 2 ¼ cups of kernels, which typically comes from 3 large ears of corn.
- Heavy Whipping Cream: This forms the rich, creamy base of our ice cream. With a high fat content (typically 36% or more), heavy cream whips up beautifully to incorporate air, which is vital for a light, airy, and smooth ice cream texture, especially in no-churn recipes. Do not substitute with lighter creams or milk, as they will not achieve the desired consistency.
- Sweetened Condensed Milk: A magical ingredient for no-churn ice cream! Sweetened condensed milk serves two primary purposes: it provides the perfect level of sweetness without adding extra sugar crystals, and its thick, emulsified consistency helps create an incredibly smooth and luscious ice cream base. It’s essentially milk that has been cooked down and sweetened, eliminating the need for a custard base and complex tempering steps.
- Light Corn Syrup: This ingredient is a secret weapon for achieving a truly silky consistency and preventing ice crystals from forming. Corn syrup is an invert sugar, which means it interferes with the crystallization of sucrose (from the condensed milk), ensuring your ice cream remains wonderfully smooth and scoopable straight from the freezer. Don’t worry; it won’t make your ice cream taste like corn syrup, only improve its texture.
- Vanilla Extract & Salt: These essential flavor enhancers elevate the overall taste profile. A touch of vanilla extract adds warmth and depth, complementing the corn’s sweetness. Salt, often overlooked in desserts, is crucial for balancing the sweetness and intensifying the natural flavor of the corn, making it pop without tasting overtly salty.
Step-by-Step Instructions to Make Corn Ice Cream
Creating this delightful sweet corn ice cream is a rewarding process. Follow these detailed steps to ensure a perfect, creamy batch every time:
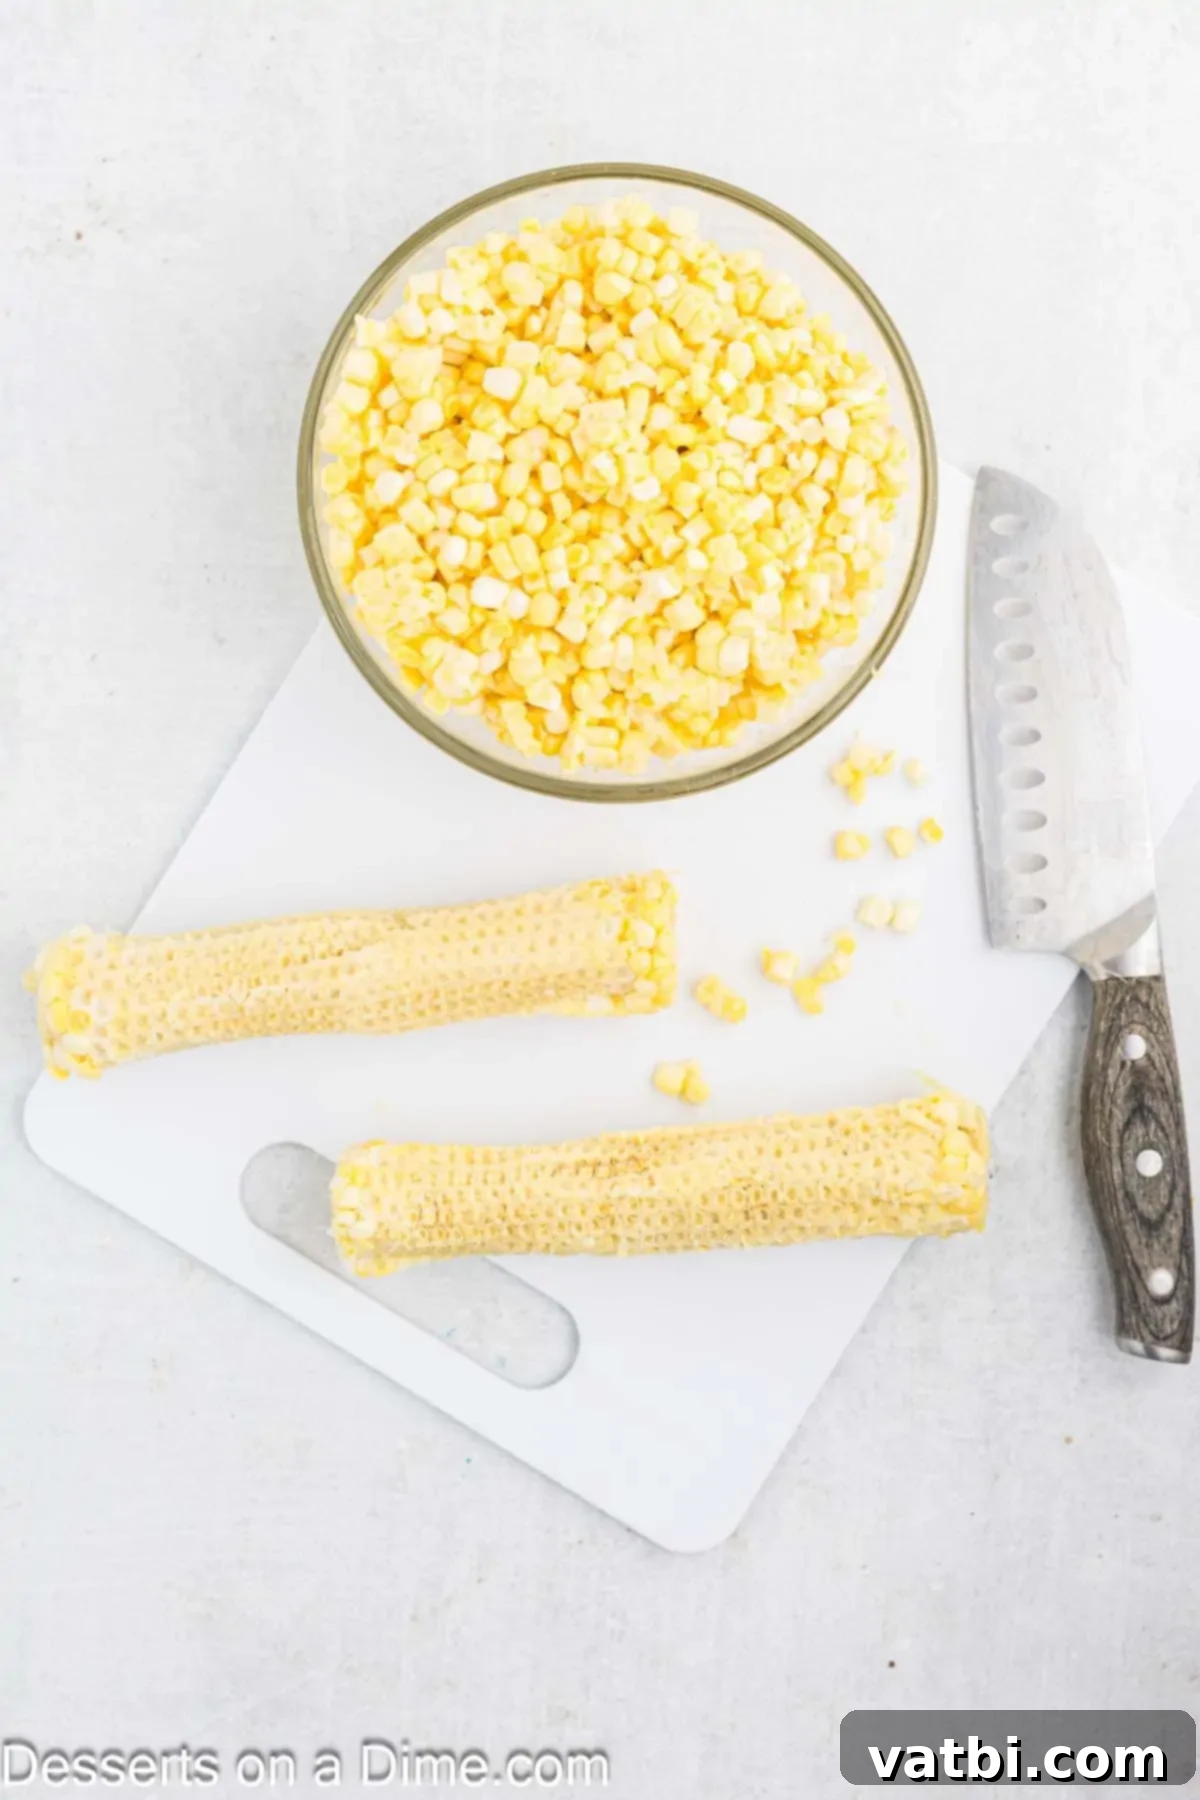
Step 1. Prepare the Corn. Begin by carefully cutting the kernels from the fresh corn cobs. Hold the cob upright in a large bowl to catch all the kernels and any corn “milk” that might release. Aim for approximately 2 ¼ cups of kernels. Importantly, do not discard the cobs; set them aside, as they will be crucial for extracting maximum corn flavor.
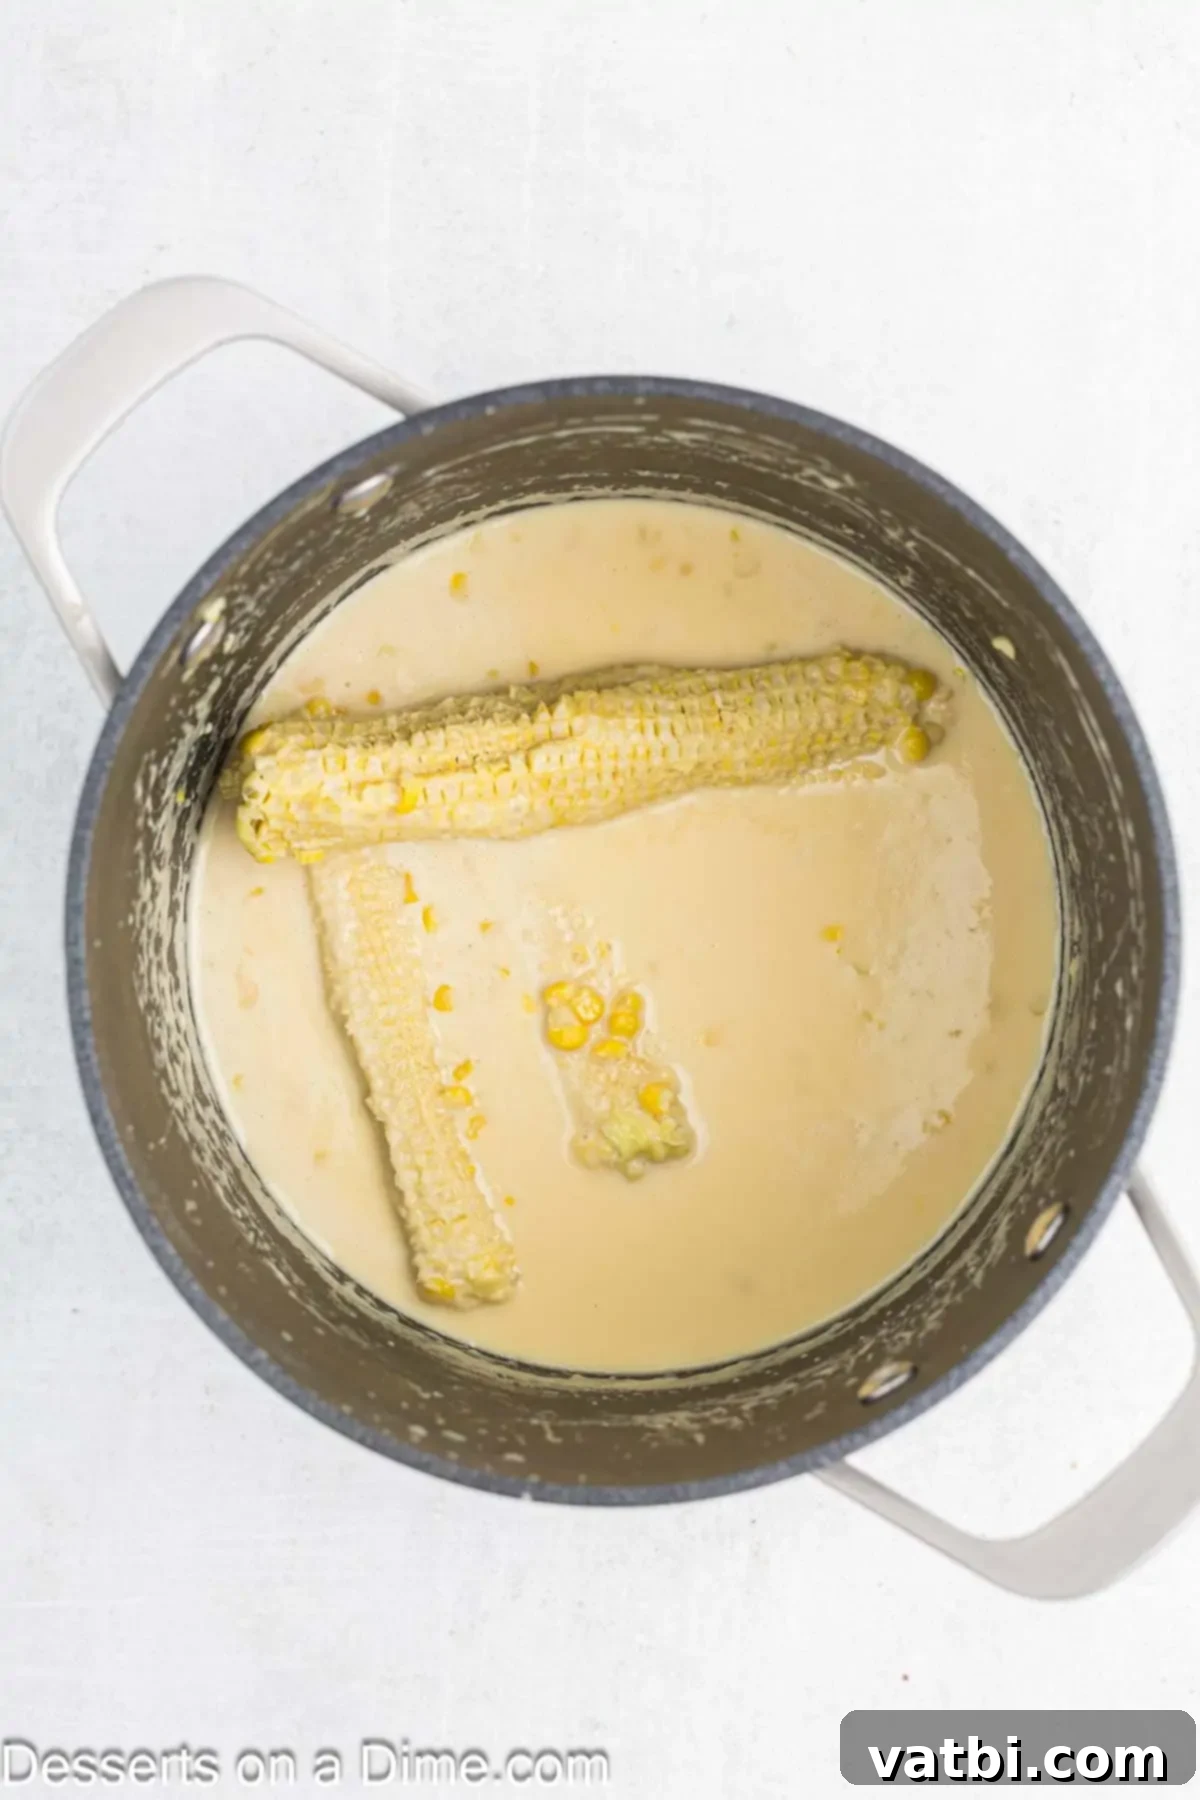
Step 2. Simmer the Corn Custard Base. In a large, heavy-bottomed pot (choose one with ample room to prevent boiling over), combine the freshly cut corn kernels, the reserved cobs, heavy cream, sweetened condensed milk, and salt. Place the pot over medium heat and bring the mixture to a gentle simmer, stirring frequently to prevent scorching on the bottom. Once simmering, reduce the heat to medium-low and continue to cook for about 6 minutes, or until the corn kernels are just tender. This gentle simmering process allows the cobs to release their deep, sweet corn essence into the cream base, creating an intensely flavorful foundation.
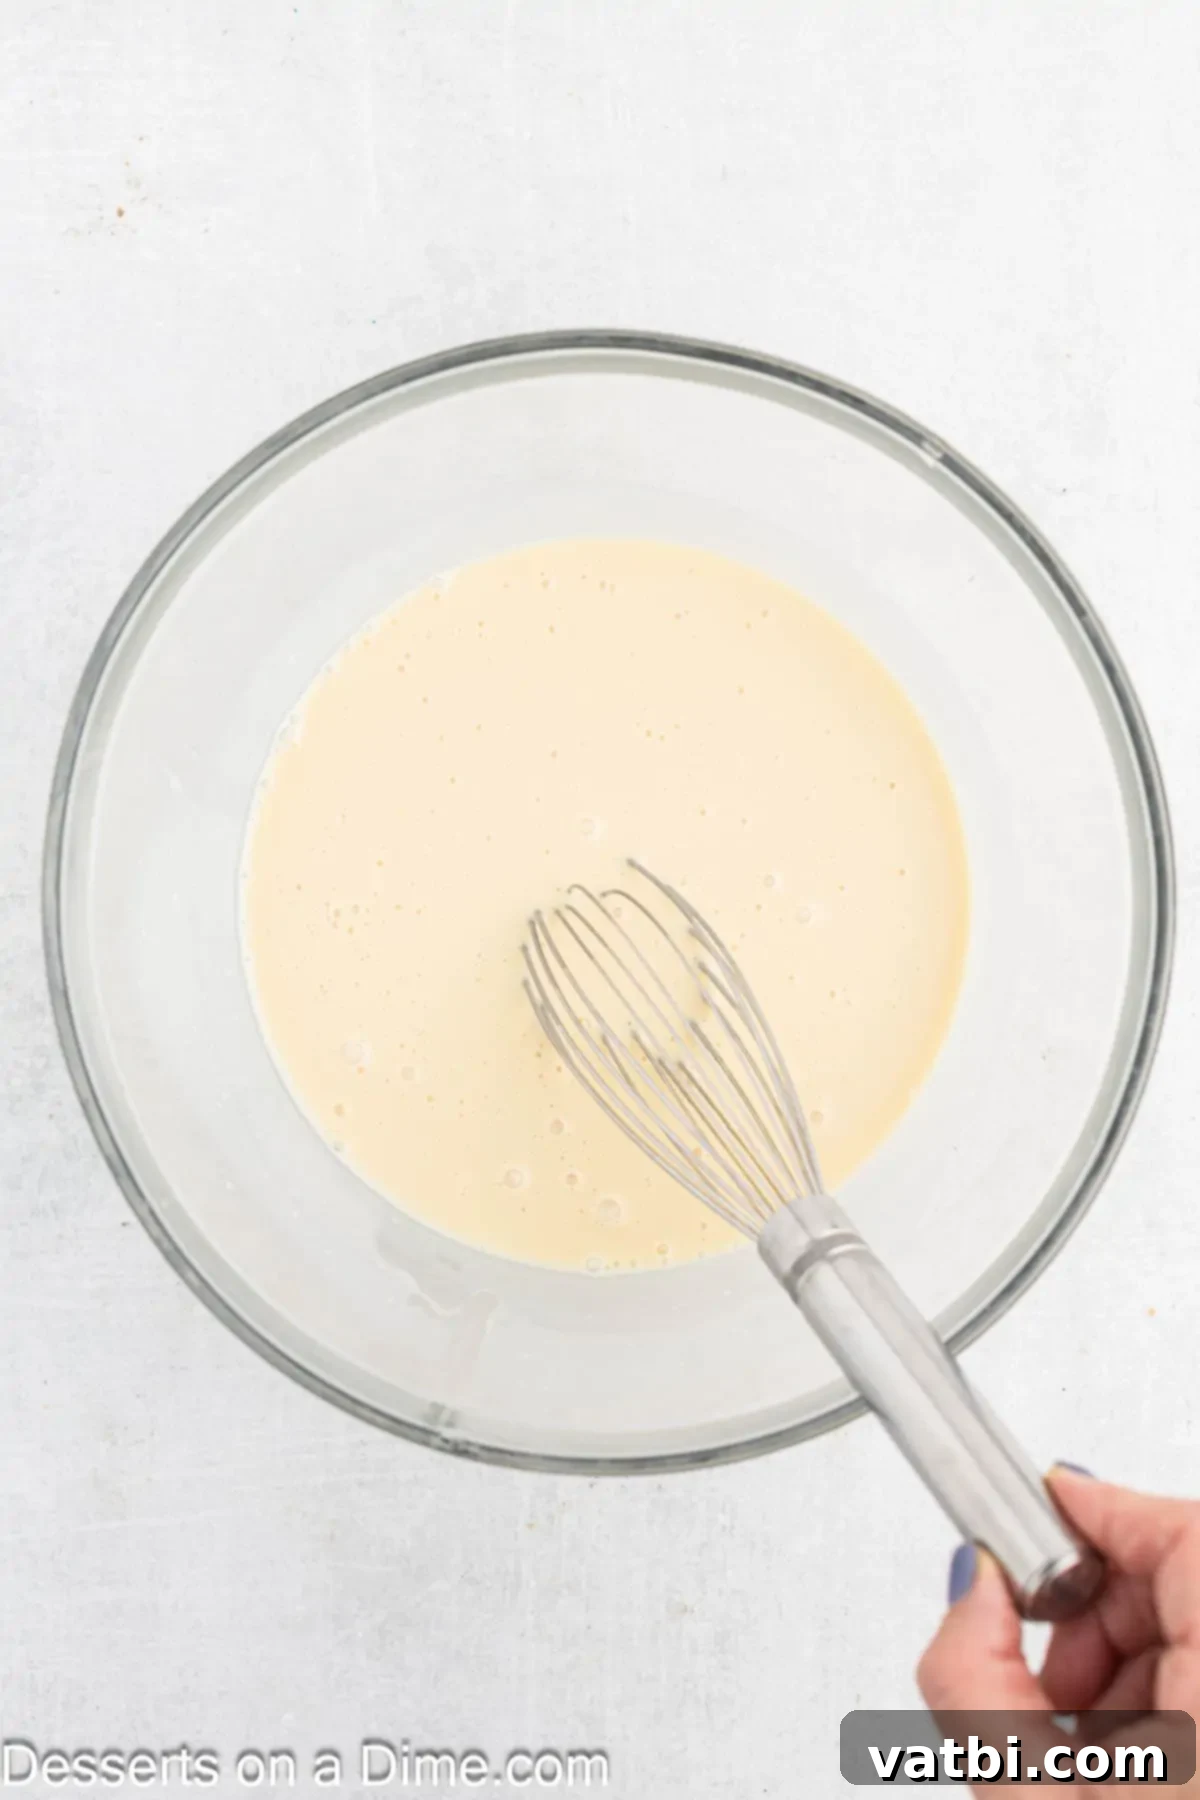
Step 3. Chill the Mixture. Carefully pour the hot corn custard mixture into a large, heatproof bowl. It’s crucial to allow this mixture to cool down completely before proceeding. Place the bowl in the refrigerator, uncovered, stirring occasionally (every 30-45 minutes) to ensure even cooling and to prevent a skin from forming. This chilling process will take approximately 3 hours. Proper chilling is essential for the mixture to thicken and for the flavors to meld beautifully, leading to a superior final product.
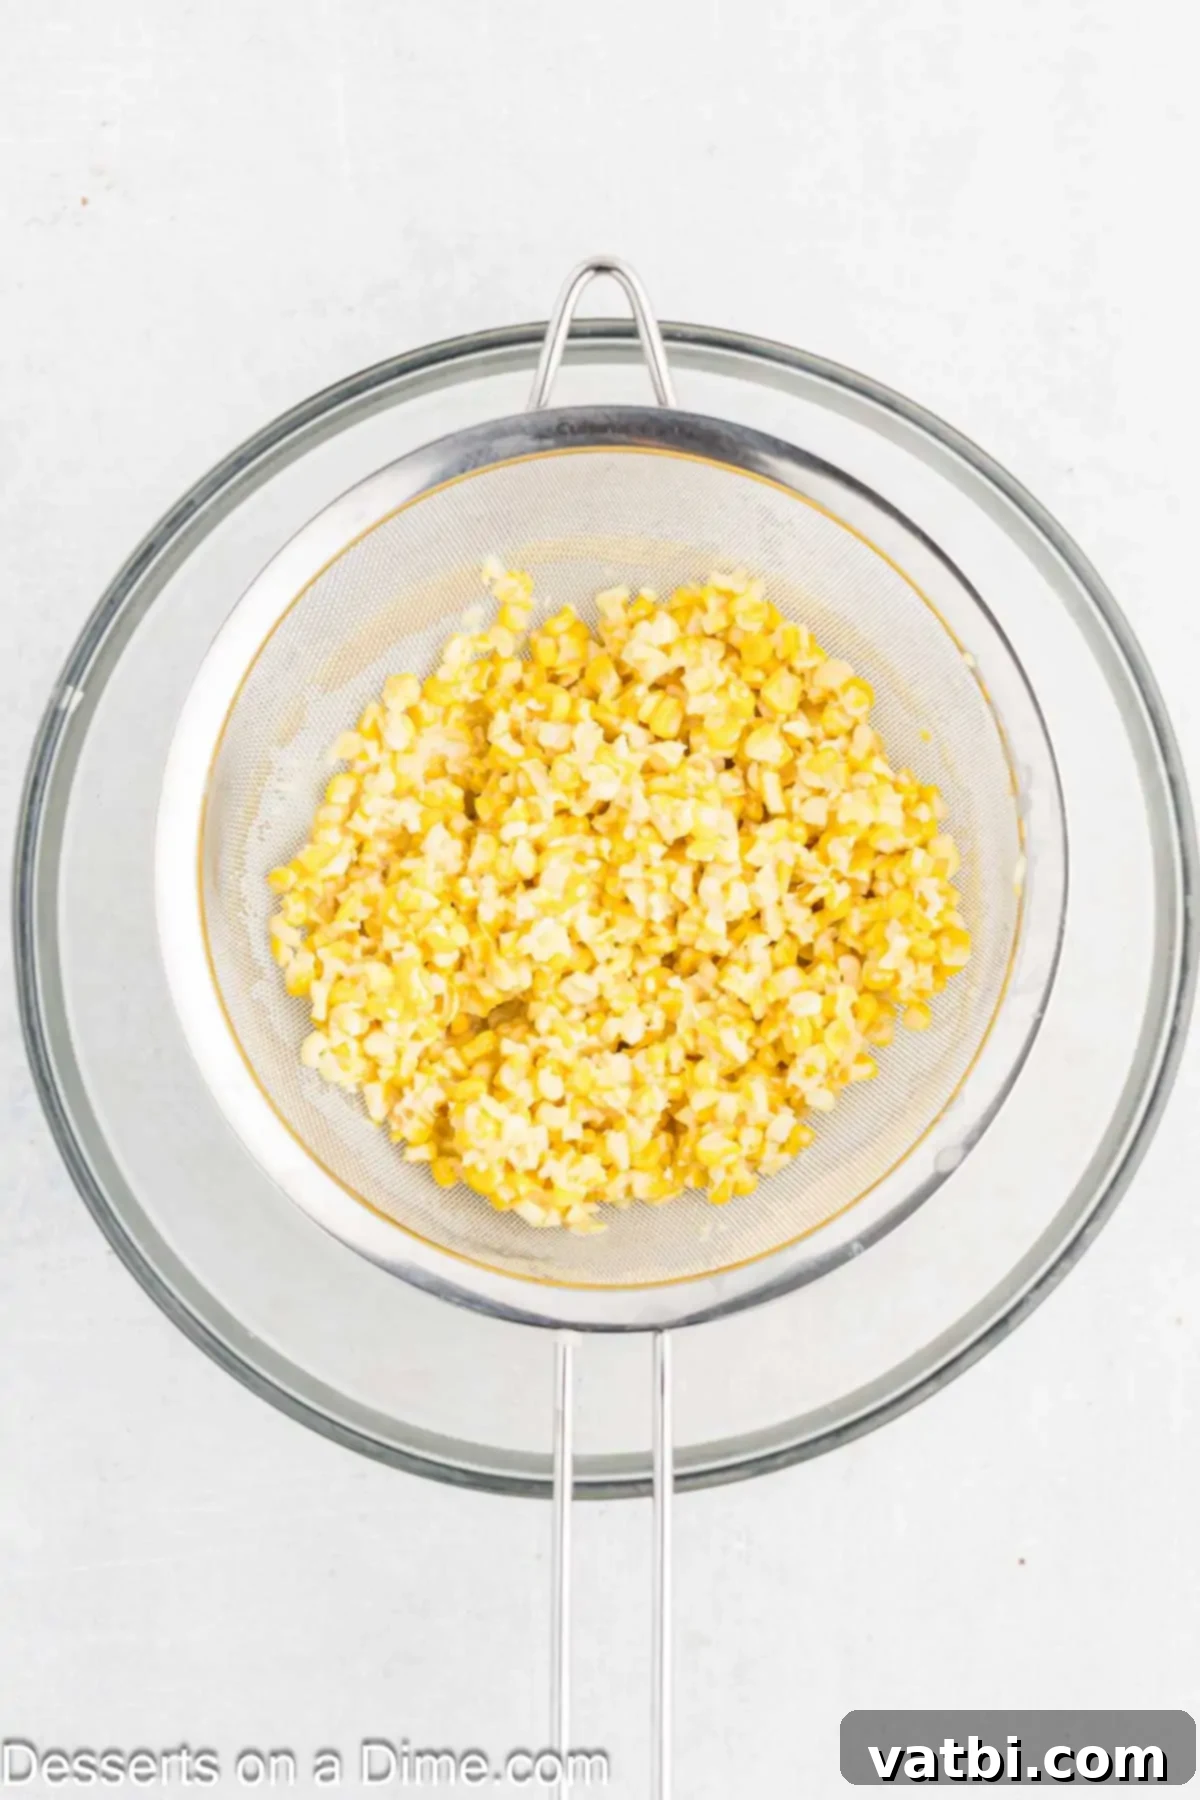
Step 4. Strain and Flavor the Base. Once the mixture is thoroughly chilled, remove and discard the corn cobs. Be sure to scrape any remaining liquid or pulp from the cobs back into the bowl. Next, strain the entire mixture through a fine-mesh sieve into another large, clean bowl. Press firmly on the corn solids with the back of a spoon or a spatula to extract as much of the flavorful liquid as possible. This step ensures a wonderfully smooth ice cream texture. Finally, whisk in the light corn syrup and vanilla extract until fully incorporated. The corn syrup will work its magic to keep the ice cream scoopable and free of large ice crystals.
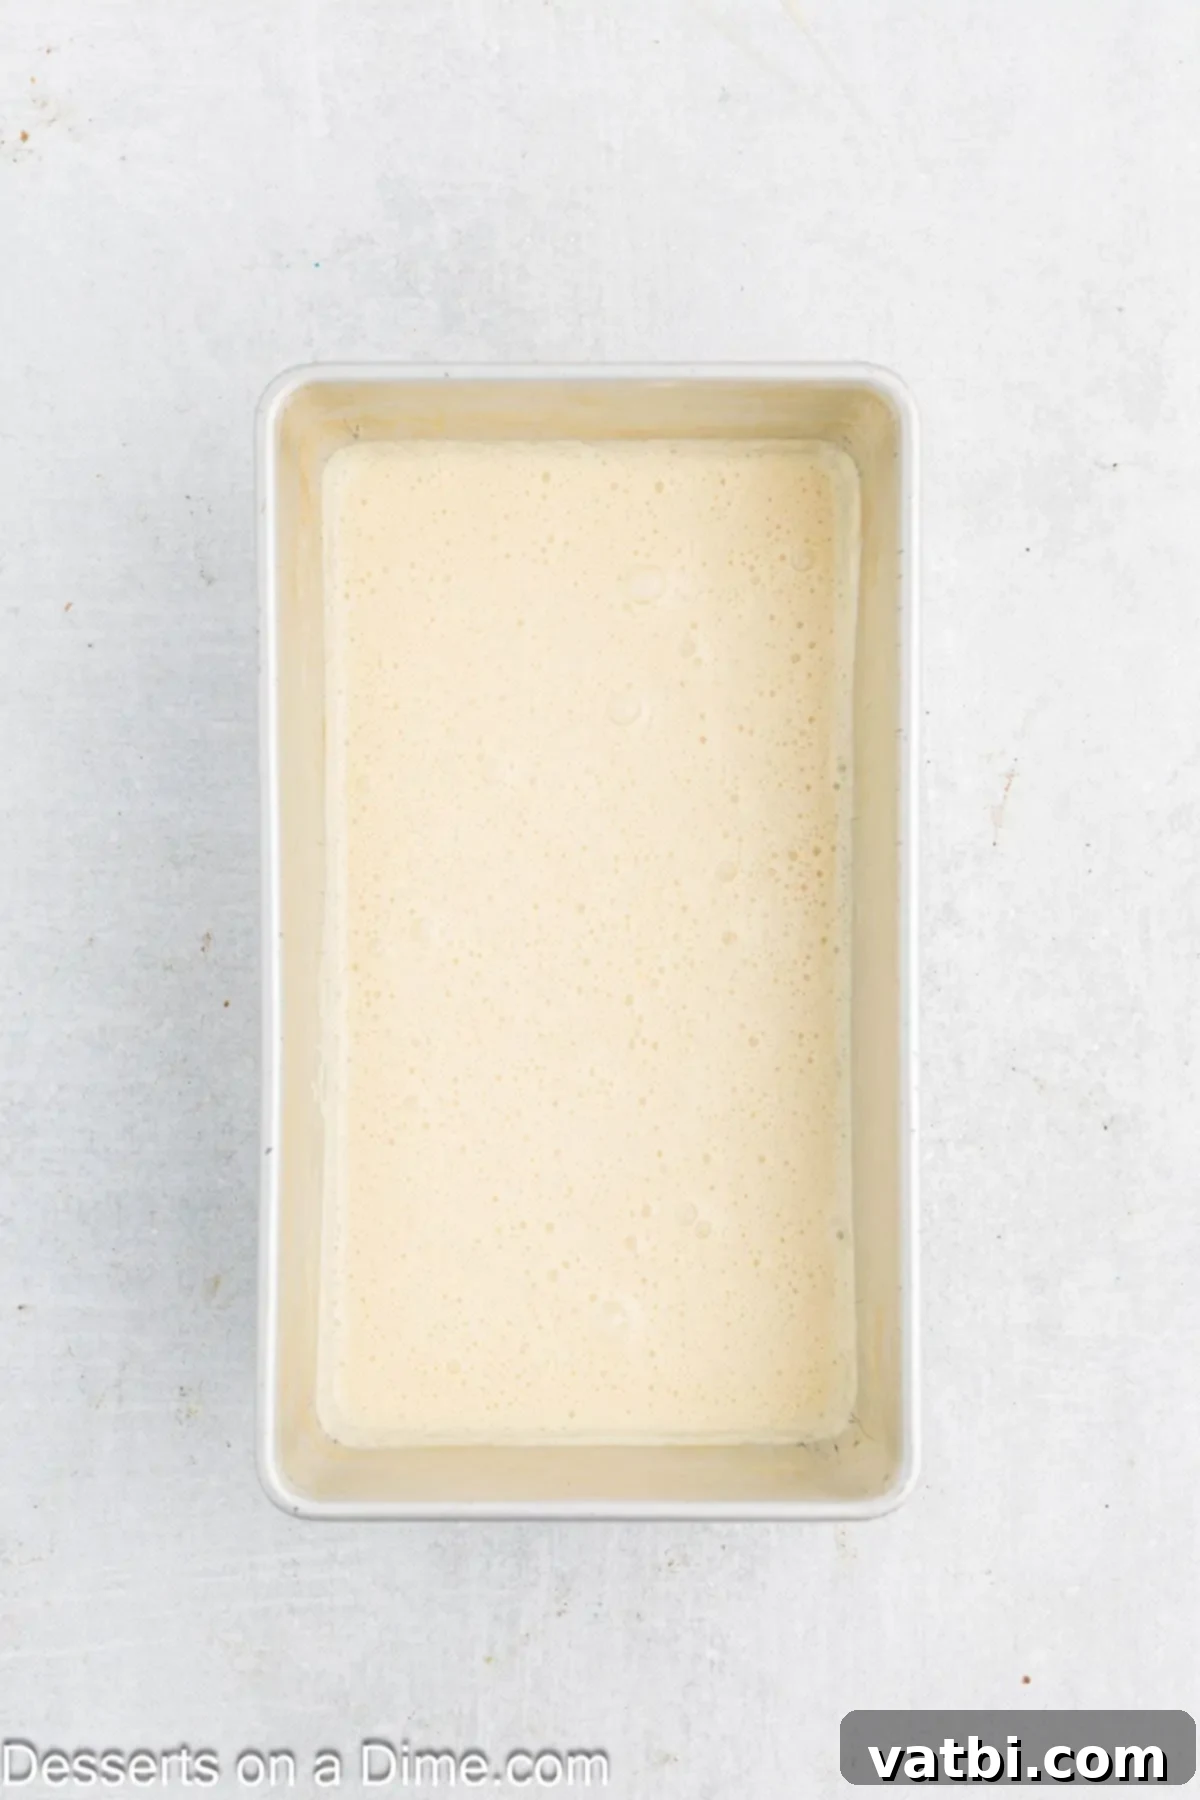
Step 5. Whip and Prepare for Freezing. If you wish to use some of the strained corn kernels as a garnish, set a small portion aside in an airtight container in the refrigerator. Now, using an electric mixer (either a stand mixer with a whisk attachment or a hand mixer) on medium-high speed, beat the strained cream mixture. Continue beating for about 5-6 minutes until the mixture becomes aerated, light, and fluffy, almost doubling in volume. This aeration is key to achieving a light, no-churn ice cream. Once fluffy, gently pour and spread the mixture evenly into a freezer-safe 9×5-inch loaf pan or a similar shallow container. Place a layer of plastic wrap directly on the surface of the ice cream mixture, pressing it down to eliminate air pockets. This prevents ice crystals from forming on the surface.
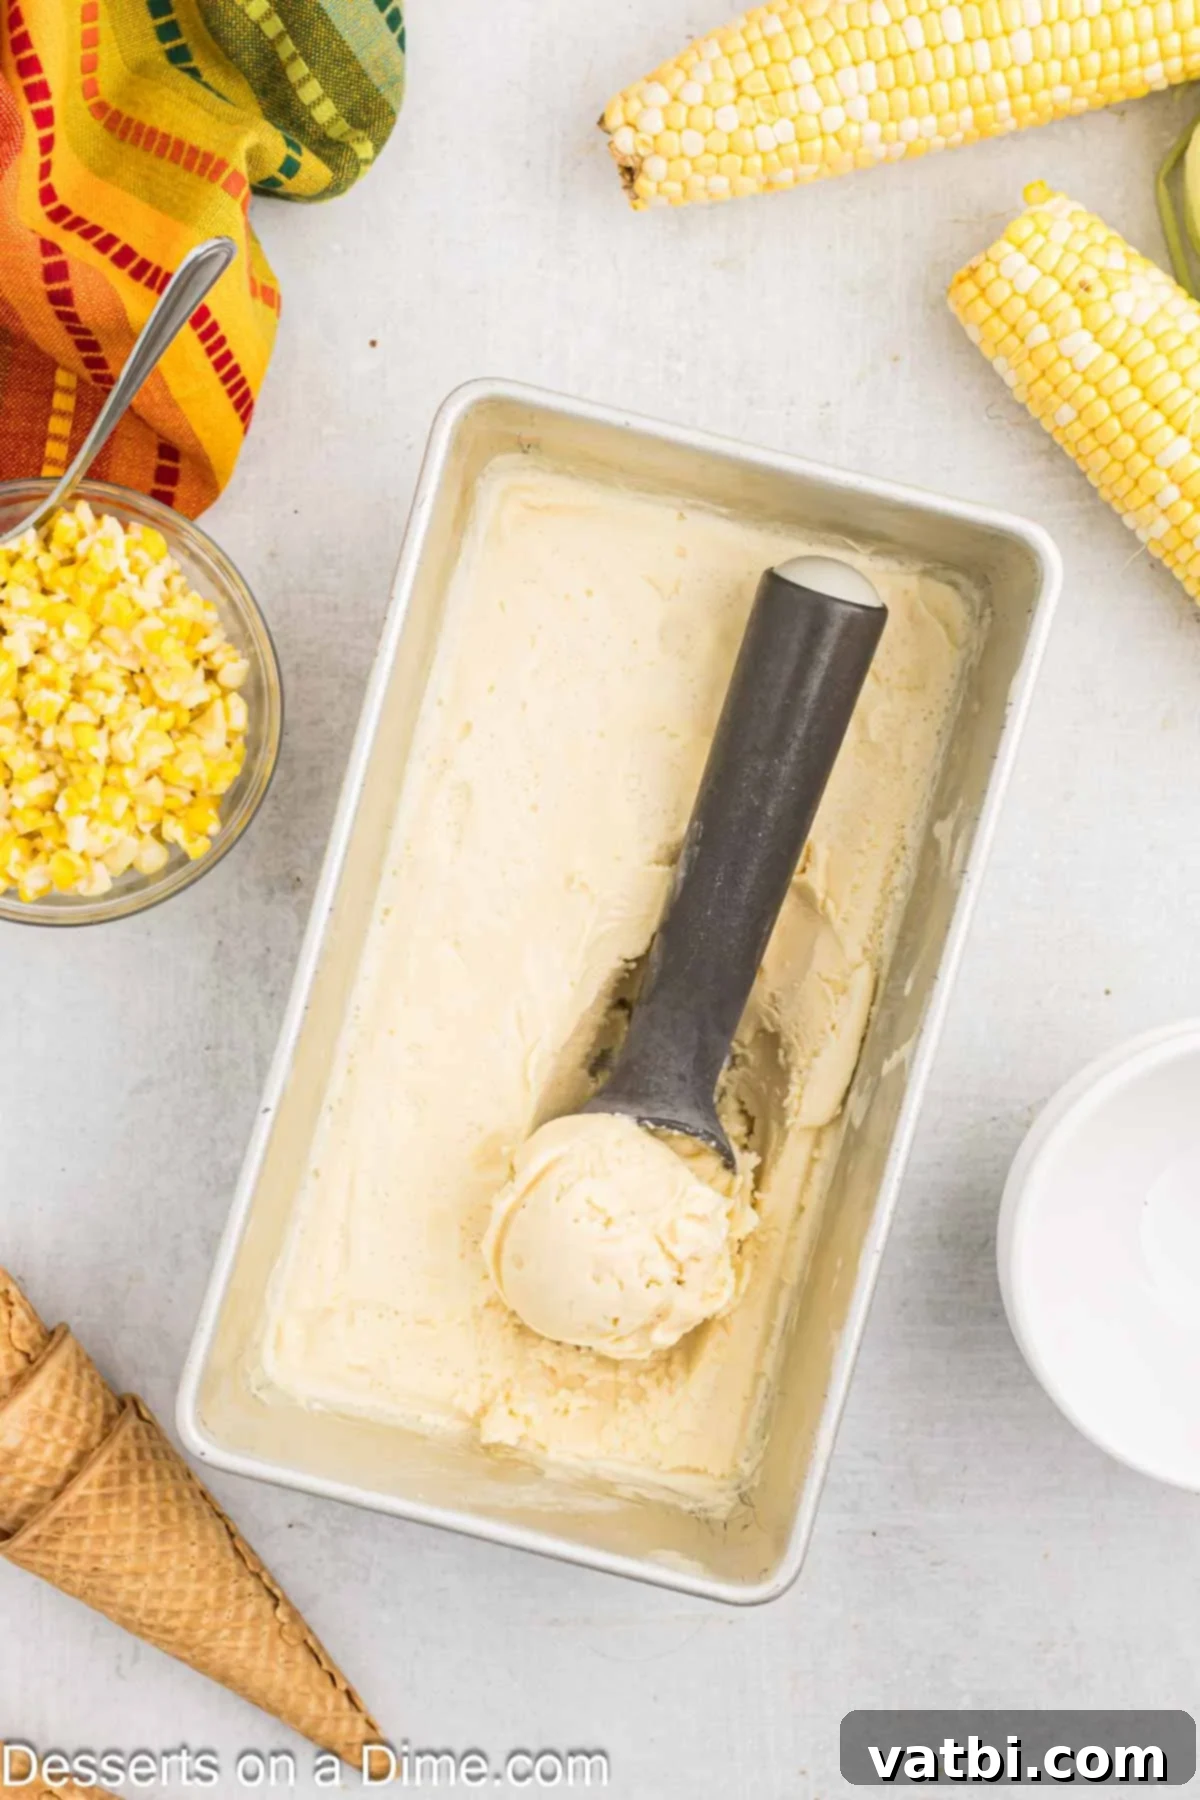
Step 6. Freeze and Serve. Transfer the loaf pan to the freezer and allow the mixture to freeze undisturbed until it is completely firm. This will take a minimum of 6 hours, but for the best results and a truly solid, scoopable consistency, freezing it overnight is highly recommended. Once firm, remove the ice cream from the freezer. If it’s too hard to scoop immediately, let it sit at room temperature for a few minutes to soften slightly. Use a sturdy ice cream scoop to serve generous portions into bowls, and if desired, garnish with the reserved corn kernels for an extra touch of flavor and visual appeal. Enjoy your homemade, delightfully unique sweet corn ice cream!
Storing Your Homemade Corn Ice Cream
Proper storage is essential to maintain the creamy texture and exquisite flavor of your homemade corn ice cream. Here’s how to keep it fresh and delicious for as long as possible:
- Freezing: Always store your corn ice cream in an airtight container in the coldest part of your freezer. A good quality, heavy-duty freezer-safe container with a tight-fitting lid will protect the ice cream from freezer burn and prevent it from absorbing any unwanted odors from other foods in the freezer. For added protection, you can press a piece of plastic wrap directly onto the surface of the ice cream before sealing the container.
- Shelf Life: While homemade ice cream lacks the stabilizers found in commercial varieties, this corn ice cream is best enjoyed within 1-2 weeks for optimal texture and flavor. Beyond this period, you might notice a slight degradation in creaminess and an increase in ice crystals, though it will still be safe to eat for up to 4 weeks. The sooner you consume it, the better the quality will be.
- Serving Tip: For the perfect scoop, especially after prolonged freezing, allow the ice cream to sit at room temperature for about 5-10 minutes before serving. This brief tempering period allows the ice cream to soften slightly, making it much easier to scoop and enhancing its creamy mouthfeel.
Expert Tips for the Best Corn Ice Cream
Achieving the perfect scoop of sweet corn ice cream is easier with these expert tips:
- Don’t Skip Steeping the Cobs: This is arguably the most crucial step for maximizing flavor. The corn cobs contain a tremendous amount of sweet, milky flavor. Steeping them along with the kernels in the milk mixture allows these flavors to infuse deeply into the base, creating a richer, more authentic corn essence that would otherwise be missed. Think of it like making a powerful corn stock for your dessert.
- Scrape Kernels Thoroughly: When cutting the kernels from the cob, try to get as close to the cob as possible. After cutting off the bulk of the kernels, use the back of your knife to scrape down the cobs. This extracts the remaining “corn milk” and small pieces of pulp, which are packed with flavor and natural sweetness, further enhancing your ice cream.
- Ensure a Smooth Base: After simmering and chilling, make sure to strain the mixture through a fine-mesh sieve, pressing firmly on the corn solids. While some recipes might blend the corn, straining creates a remarkably smooth ice cream that lets the delicate corn flavor shine without a fibrous texture. If you prefer a slightly chunkier texture, you can reserve a small portion of finely diced cooked kernels to fold in after whipping.
- Always Use Fresh, Sweet Corn: The quality of your corn directly impacts the flavor of your ice cream. Opt for the freshest, sweetest yellow corn you can find, preferably in season. If fresh corn is unavailable, good quality frozen corn can be used, but ensure it’s thawed and well-drained to avoid watering down the flavor.
- Adjust Sweetness to Taste: The natural sweetness of corn can vary. Taste your chilled ice cream base (before whipping and freezing) and adjust the sweetness if necessary. If your corn is exceptionally sweet, you might need slightly less sweetened condensed milk; if it’s a bit bland, a tiny pinch more can help. Remember, frozen desserts taste less sweet than their unfrozen counterparts.
- Corn Syrup for Creaminess: Don’t skip the light corn syrup. It’s not just a sweetener; it’s a vital ingredient that helps prevent the formation of large ice crystals during freezing. This results in an incredibly smooth, scoopable, and desirable creamy texture, making your homemade ice cream feel professional.
- Chill Thoroughly: A fully chilled base is essential before whipping. Warm liquid won’t whip properly and will result in a less airy and ultimately less creamy ice cream. Allow the mixture ample time to cool completely in the refrigerator, stirring occasionally.
- Don’t Overbeat the Cream Mixture: While you want the cream mixture to be fluffy and aerated, be careful not to overbeat it past stiff peaks. Overbeating can cause it to become grainy or separated once frozen. Beat until it holds soft to medium peaks.
Delicious Variations for Corn Ice Cream
While classic sweet corn ice cream is a delight on its own, its versatile flavor profile makes it an excellent base for creative variations. Here are some ideas to inspire your next batch:
- Honey Corn Ice Cream: For a floral, earthy sweetness, consider substituting half of the sweetened condensed milk with an equal amount of good quality honey. This adds a beautiful depth of flavor that pairs wonderfully with corn.
- Spiced Corn Ice Cream: Infuse your ice cream with warm spices. Add a pinch of ground cinnamon, nutmeg, or a tiny dash of cardamom to the milk mixture while it simmers. These spices complement the corn’s natural sweetness and add a comforting aroma. For a subtle kick, a tiny pinch of cayenne pepper can also create a surprising yet harmonious balance.
- Corn and Berry Swirl: After whipping your ice cream base, gently swirl in a homemade berry compote. Raspberry, blueberry, or blackberry compotes offer a vibrant, tart contrast to the sweet corn, creating a beautiful marbled effect and a burst of fruity flavor.
- Vanilla Bean Corn Ice Cream: For an even richer and more aromatic vanilla flavor, split and scrape the seeds from one vanilla bean. Add both the seeds and the spent pod to the milk mixture as it simmers, then remove the pod before chilling. This provides a more complex and luxurious vanilla note than extract alone.
- Sweet Corn and Coconut: For a tropical twist or a dairy-free option, substitute half or all of the heavy cream with full-fat coconut milk (from a can, chilled overnight, scoop out the thick cream). The creamy, subtly sweet coconut flavor melds wonderfully with the corn, creating an exotic dessert.
- Corn and Caramel Swirl: Elevate your ice cream with a rich caramel swirl. After layering half of the whipped ice cream mixture into your loaf pan, drizzle generously with homemade or high-quality store-bought caramel sauce, then add the remaining ice cream and another caramel swirl. This creates pockets of decadent caramel throughout.
- Roasted Corn Ice Cream: For a deeper, more caramelized corn flavor, roast your corn kernels before adding them to the cream mixture. Spread the kernels on a baking sheet and roast at 400°F (200°C) for 15-20 minutes until slightly browned and fragrant. This adds a smoky, intense sweetness.
- Brown Butter Corn Ice Cream: Brown some butter in a saucepan until it turns amber and smells nutty. Let it cool slightly, then add it to your corn mixture while simmering. Brown butter adds an incredible depth and richness, perfectly complementing the corn.
More Easy No-Churn Ice Cream Recipes
If you’re looking for more simple and delicious no-churn ice cream ideas, check out these other fantastic recipes:
- Butterbeer Ice Cream
- Fruit Ice Cream
- Cinnamon Ice Cream
- Lemon Shortbread Ice Cream
Don’t wait any longer! This creamy, naturally sweet corn ice cream is a revelation. It’s the perfect way to bring a taste of summer’s bounty directly to your table, offering a refreshing and uniquely satisfying dessert experience. Give this recipe a try today, get creative with the variations, and share your delicious creations with us! We’d love to hear which variation becomes your new favorite!
Corn Ice Cream
Enjoy creamy Corn Ice Cream made with fresh sweet corn for a rich, smooth dessert. This unique treat captures the sweet, natural flavor of corn in every bite.
Prep Time: 3 hrs 15 mins
Cook Time: 15 mins
Freeze Time: 6 hrs
Total Time: 9 hrs 30 mins
Servings: 6
Cuisine: American
Course: Dessert
Calories: 542 kcal
Author: Carrie Barnard
Ingredients
- 3 large ears fresh yellow corn
- 2 cups heavy whipping cream
- 14 oz. sweetened condensed milk
- ⅛ teaspoon salt
- 2 tablespoons light corn syrup
- ¼ teaspoon vanilla extract
Instructions
- Cut kernels from the cobs to yield about 2 ¼ cups, reserving the cobs.
- In a large pot, combine the corn kernels, reserved cobs, heavy cream, condensed milk, and salt.
- Bring to a simmer over medium heat. Reduce to medium-low and cook, stirring frequently, until kernels are just tender (about 6 minutes).
- Transfer mixture to a large heatproof bowl. Refrigerate uncovered, stirring occasionally, until fully chilled (about 3 hours).
- Remove and discard the cobs, scraping any liquid back into the bowl.
- Strain the mixture through a fine-mesh sieve into a large bowl, pressing on solids to extract as much liquid as possible.
- Whisk in corn syrup and vanilla extract.
- If desired, store the strained kernels separately in an airtight container in the refrigerator for later use as garnish.
- Using an electric mixer on medium speed, beat the strained cream mixture until aerated and fluffy (about 6 minutes).
- Spread mixture evenly into a freezer-safe 9 x 5-inch loaf pan.
- Place plastic wrap directly on the surface.
- Freeze until firm, at least 6 hours or overnight.
- Scoop into bowls and garnish with reserved kernels if desired. Enjoy!
Recipe Notes
Store, covered, in the freezer for up to 4 weeks.
It’s very important to steep the cobs with the milk mixture as it adds a ton of flavor, so ensure that you add to the kernels and reserved cobs for this step.
Nutrition Facts
Calories 542kcal, Carbohydrates 52g, Protein 9g, Fat 35g, Saturated Fat 22g, Polyunsaturated Fat 2g, Monounsaturated Fat 9g, Trans Fat 0.003g, Cholesterol 112mg, Sodium 165mg, Potassium 443mg, Fiber 1g, Sugar 47g, Vitamin A 1427IU, Vitamin C 5mg, Calcium 242mg, Iron 0.4mg
Pin This Now to Remember It Later
Pin Recipe
