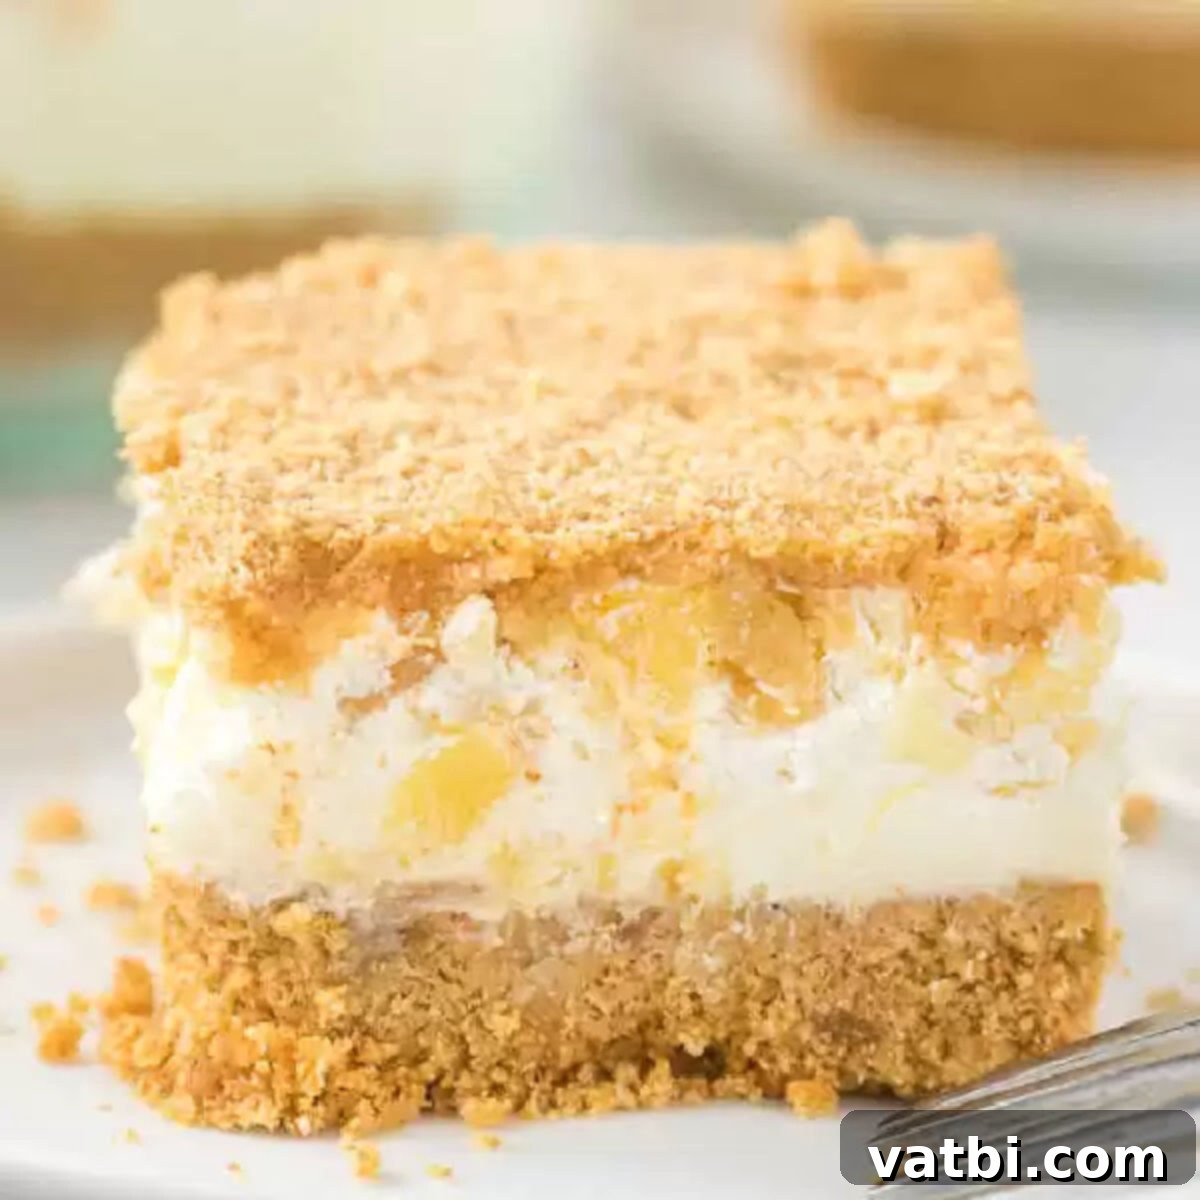
Easy No-Bake Pineapple Dream Dessert: Your Ultimate Guide to a Refreshing Tropical Treat
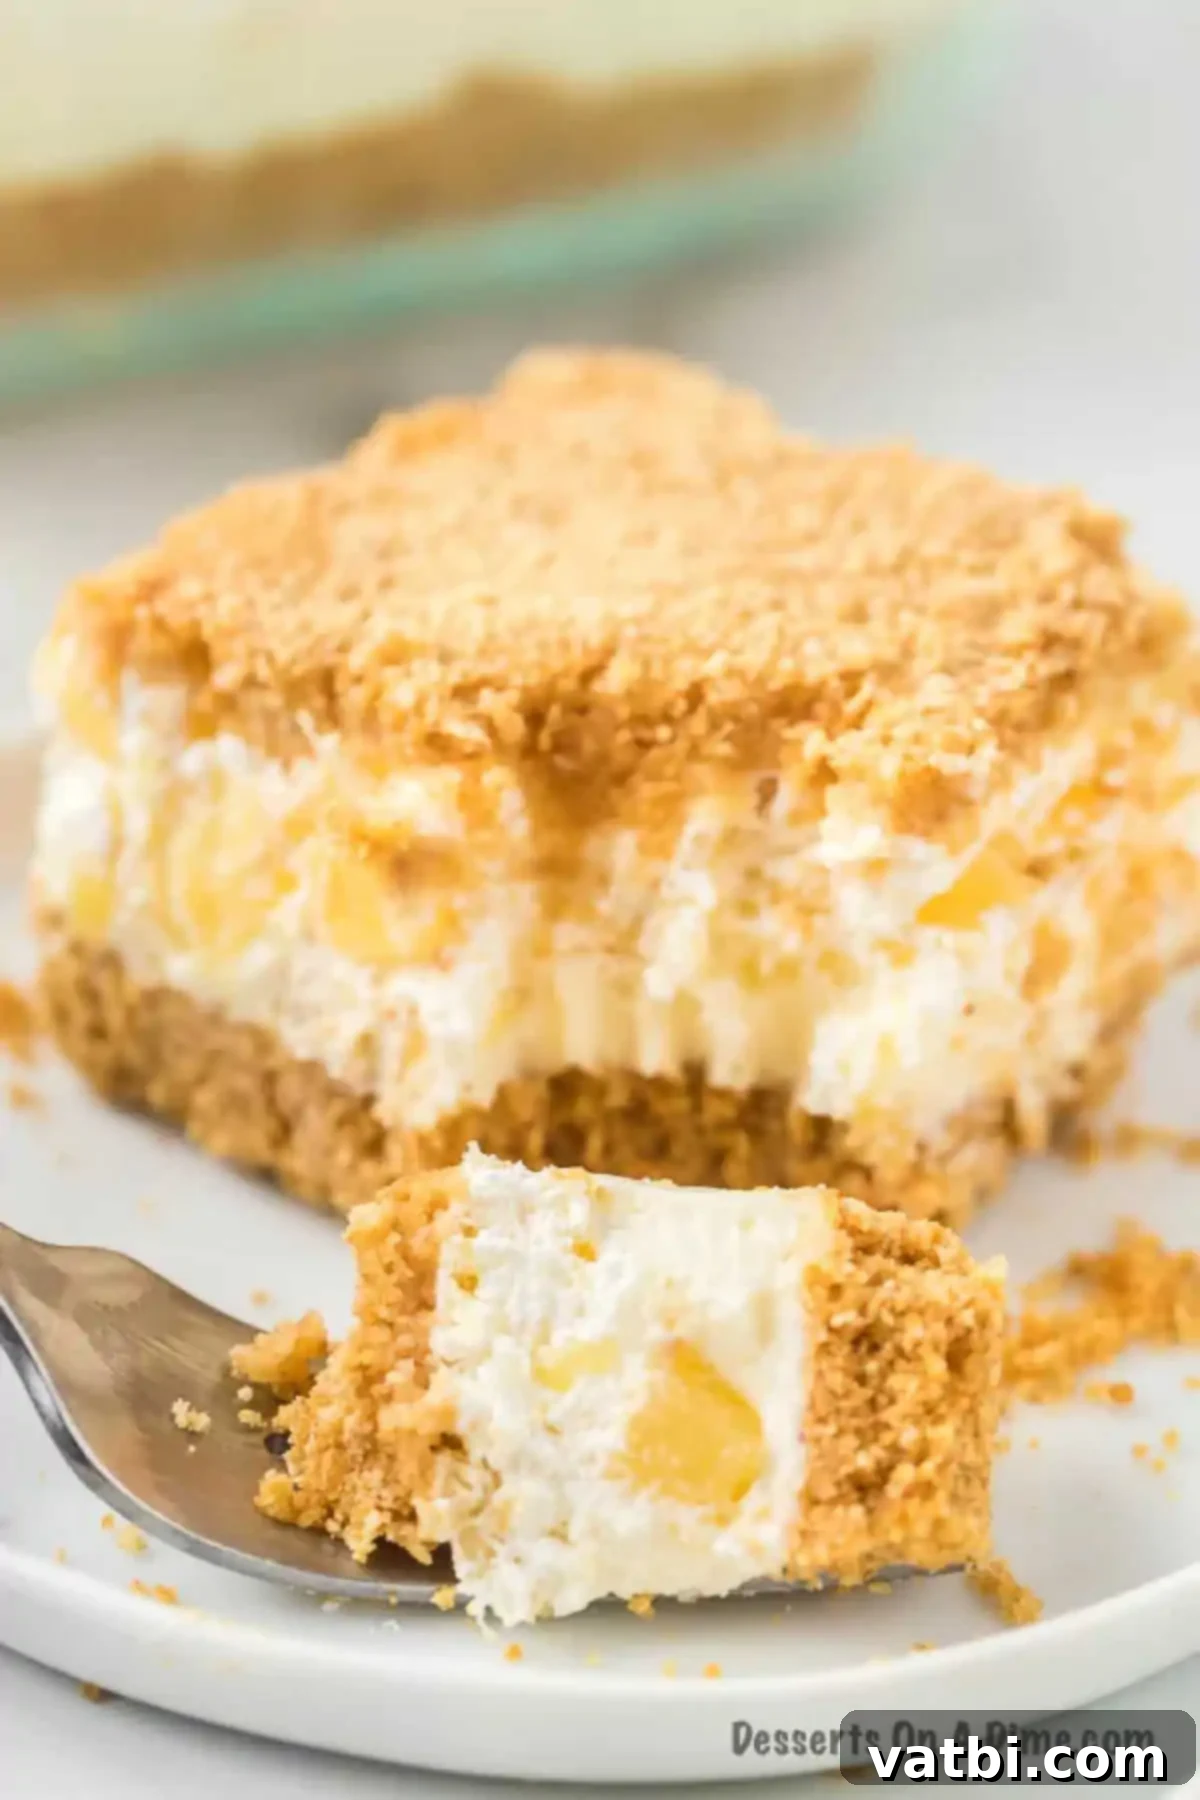
Prepare to be enchanted by this incredibly easy and wonderfully creamy Pineapple Dream Dessert. It’s a delightful no-bake treat (with an optional quick bake for the crust) featuring luscious layers of juicy crushed pineapple, a light and airy whipped topping, and a perfectly buttery graham cracker crust. This dessert is designed to impress with minimal effort, making it the ideal choice for any gathering – from lively summer parties and casual potlucks to elegant holiday celebrations. Its bright, tropical flavors and creamy texture will transport your taste buds to a sunny paradise, making it a guaranteed crowd-pleaser for all ages.
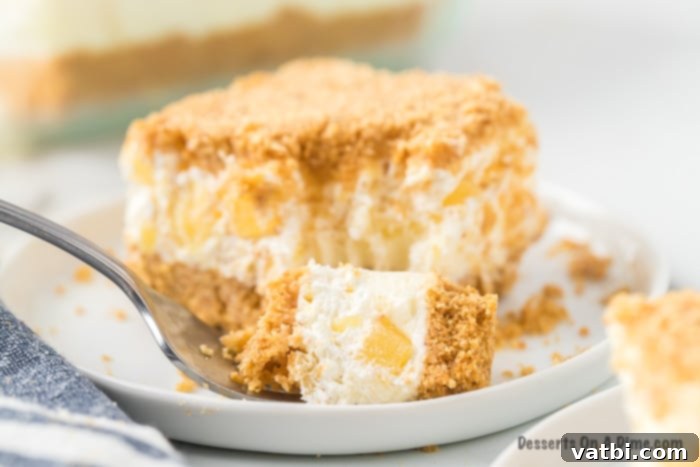
If you’re in search of a dessert that is light, refreshingly sweet, and utterly irresistible, look no further than this Pineapple Dream Dessert. This recipe masterfully combines layers of smooth, tangy cream cheese filling with sweet, crushed pineapple, all nestled upon a sturdy and flavorful graham cracker crust. It’s the perfect balance of creamy and crunchy, sweet and tart, creating a harmonious symphony of flavors in every bite. Whether you’re planning a backyard barbecue, a family get-together, or simply craving something sweet and effortless on a warm evening, this dessert fits the bill perfectly.
This nostalgic recipe has graced family tables for generations, evoking cherished memories of simpler times and delicious homemade treats. Its enduring popularity stems from its ease of preparation and universally loved flavor profile. Once you experience its delightful taste and texture, you’ll quickly understand why it has remained a timeless favorite. Much like other layered desserts such as Cherry Yum Yum, the combination of a crisp base and a creamy, fruity filling is simply unbeatable.
Table of contents
- Why You’ll Adore This Easy Pineapple Dessert
- Essential Ingredients for Your Dream Dessert
- The Perfect Graham Cracker Crust
- Creamy Filling & Whipped Topping
- Step-by-Step: How to Make Pineapple Dream Dessert
- Expert Tips for a Flawless Dessert
- More Delightful Pineapple Dessert Recipes
Why You’ll Adore This Easy Pineapple Dessert
There are countless reasons why this Pineapple Dream Dessert earns a permanent spot in so many recipe collections. Its delightful attributes make it a go-to for both seasoned bakers and novice dessert makers alike:
- Bright and Refreshing: The star of the show, crushed pineapple, lends a vibrant, tropical sweetness with just the right amount of tartness. This fruitiness beautifully complements the rich, creamy filling, ensuring each bite is light, exhilarating, and deeply satisfying. It’s a true palate cleanser and a wonderful relief on a hot day.
- Classic Comfort and Nostalgia: This dessert possesses that timeless, comforting appeal, much like the cherished recipes passed down through generations. It has a retro charm that reminds many of beloved childhood treats or grandma’s special Sunday desserts, creating a warm, fuzzy feeling with every spoonful.
- Simple, Accessible Ingredients: You won’t need to hunt for exotic items for this recipe. It relies on readily available pantry staples such as cream cheese, canned crushed pineapple, and graham crackers. This not only makes it incredibly budget-friendly but also ensures it’s easy to whip up whenever a sweet craving strikes.
- Perfect for Any Occasion: Its versatility is one of its greatest strengths. Whether you’re hosting a casual summer barbecue, contributing to a holiday potluck, or simply looking for a sweet ending to a weeknight meal, this dessert is always a crowd-pleaser. It travels well and serves a large group, making entertaining a breeze.
- Effortless Preparation: While it looks elegant and intricate, the preparation is surprisingly straightforward. With mostly no-bake steps and clear instructions, even beginners can achieve a perfect Pineapple Dream Dessert without stress or extensive culinary skills.
Essential Ingredients for Your Dream Dessert
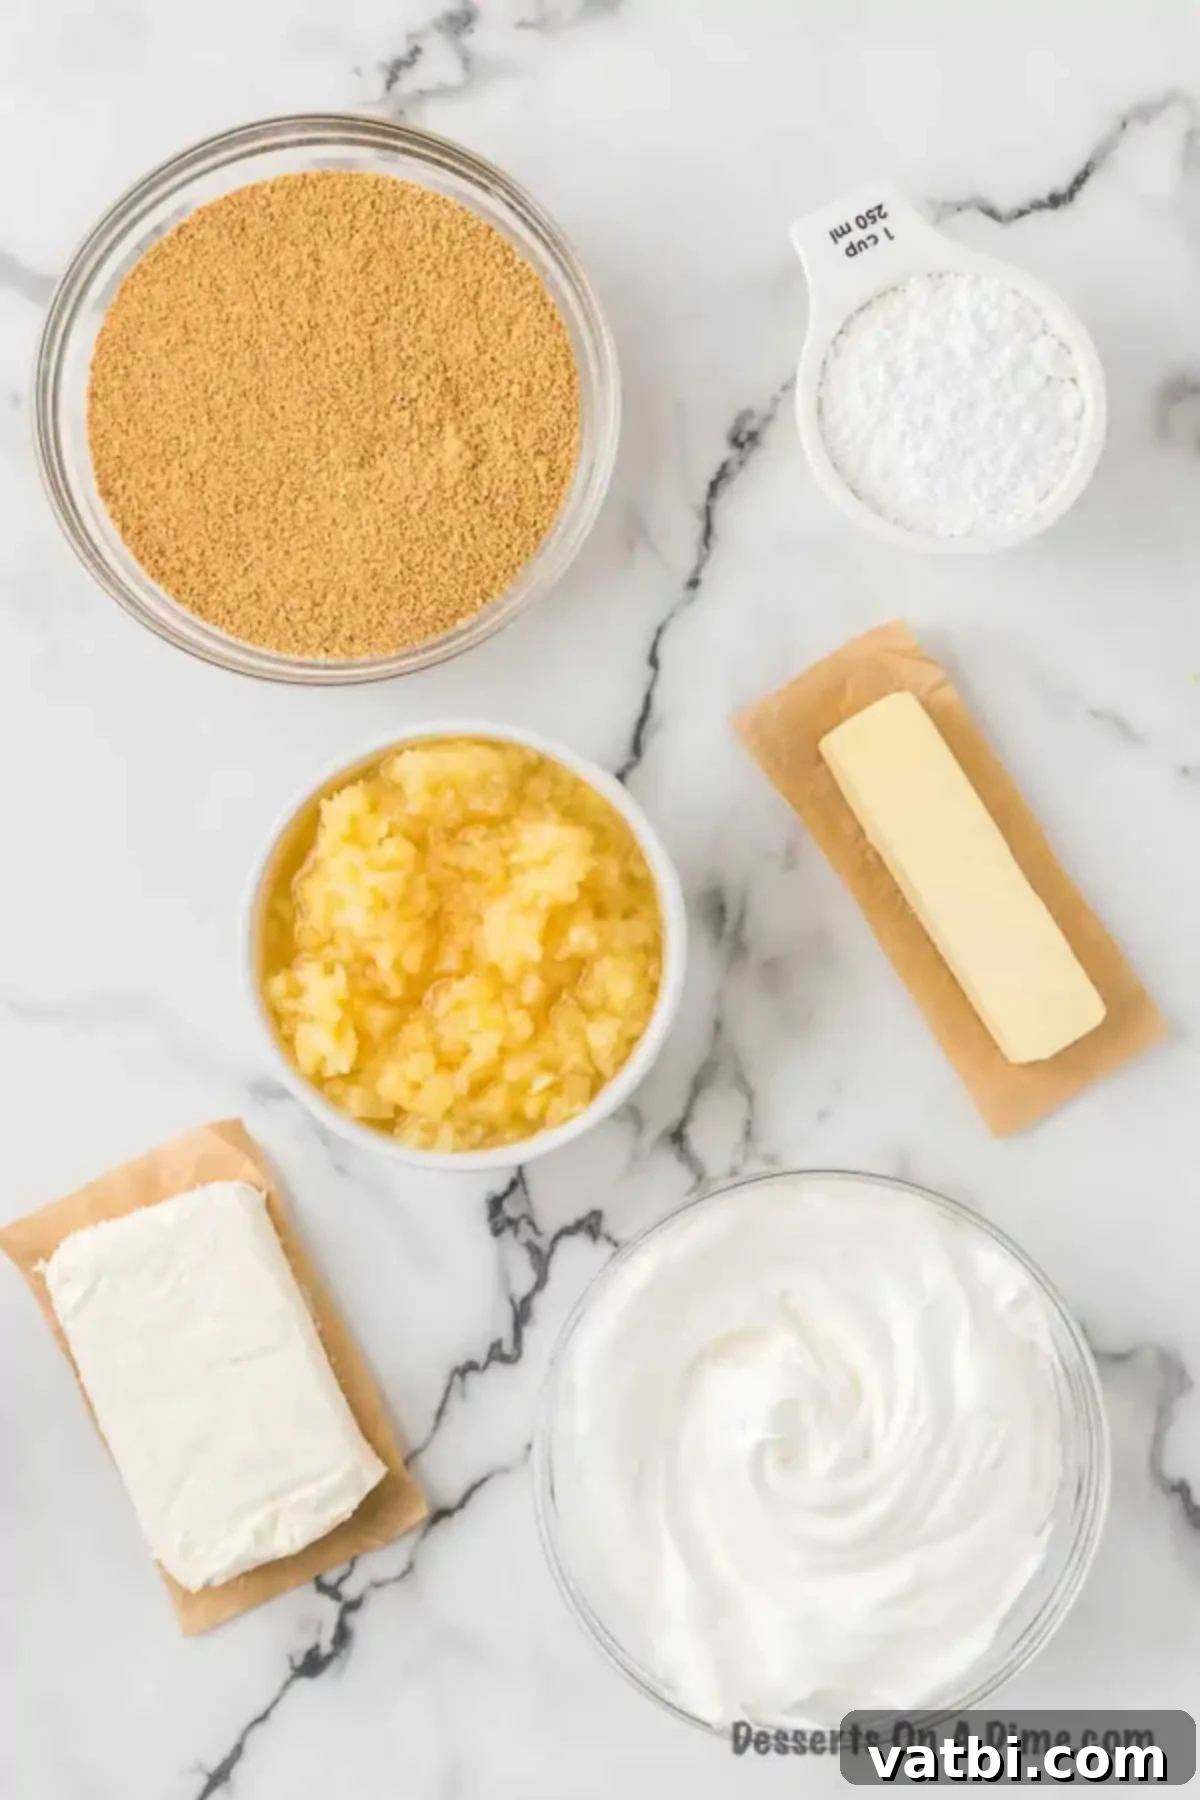
Crafting this incredible dessert requires just a few key ingredients, each playing a crucial role in achieving its signature taste and texture. High-quality ingredients, even simple ones, will make a noticeable difference in the final product. Here’s what you’ll need:
The Perfect Graham Cracker Crust
- Graham Cracker Crumbs: These form the foundation of our dessert, providing a sweet, slightly spiced, and crunchy base. You can opt for convenience by purchasing pre-crushed graham cracker crumbs. However, for a fresher flavor and a more desirable coarser texture, consider crushing whole graham crackers yourself using a food processor or a zip-top bag and a rolling pin.
- Unsalted Butter (Melted): Melted butter acts as the binding agent for the graham cracker crumbs, ensuring your crust is sturdy and holds its shape beautifully. Always use real, unsalted butter for the purest flavor and optimal texture. If you only have salted butter, reduce the amount of added salt in the recipe if applicable, though for this crust, it’s generally fine.
Creamy Filling & Whipped Topping
- Powdered Sugar: Also known as confectioners’ sugar, this ingredient sweetens the cream cheese layer, contributing to its smooth and silky texture. It’s crucial to sift your powdered sugar if it appears lumpy to prevent any grainy bits in your otherwise perfectly creamy filling.
- Cream Cheese (Full-Fat, Block-Style): The backbone of our creamy layer, full-fat, block-style cream cheese provides the necessary structure, richness, and classic tangy flavor. Avoid using whipped or tub-style cream cheese, as these varieties have a higher water content and a softer consistency that can result in a runny or less stable filling. Ensure it’s softened to room temperature for easier blending.
- Whipped Topping (Thawed): This adds incredible fluffiness and a light, airy texture to the creamy layer and serves as the final elegant top layer. Popular options include Cool Whip or any reliable store-brand non-dairy whipped topping. Make sure it’s fully thawed in the refrigerator before use, but still chilled.
- Crushed Pineapple (Drained Well): This tropical fruit is essential for that burst of sweet and tangy flavor. The most critical step here is to drain the crushed pineapple thoroughly. Excess moisture can make your dessert watery and soggy, compromising the texture of the creamy layers and the crust. Press it gently in a fine-mesh sieve to remove as much liquid as possible.
You can find the complete ingredient list with precise measurements in the recipe card at the bottom of the page. Gather your ingredients, and let’s create some magic!
Step-by-Step: How to Make Pineapple Dream Dessert
Making this Pineapple Dream Dessert is a straightforward process, broken down into easy-to-follow steps. Pay attention to thorough draining of the pineapple and proper chilling times for the best results.
- Step 1. Prepare Your Oven: Begin by preheating your oven to 300 degrees Fahrenheit (150 degrees Celsius). This is for baking the graham cracker crust, which gives it a slightly toasted flavor and firmer texture. If you prefer a completely no-bake version, you can skip this step and refrigerate the crust instead.
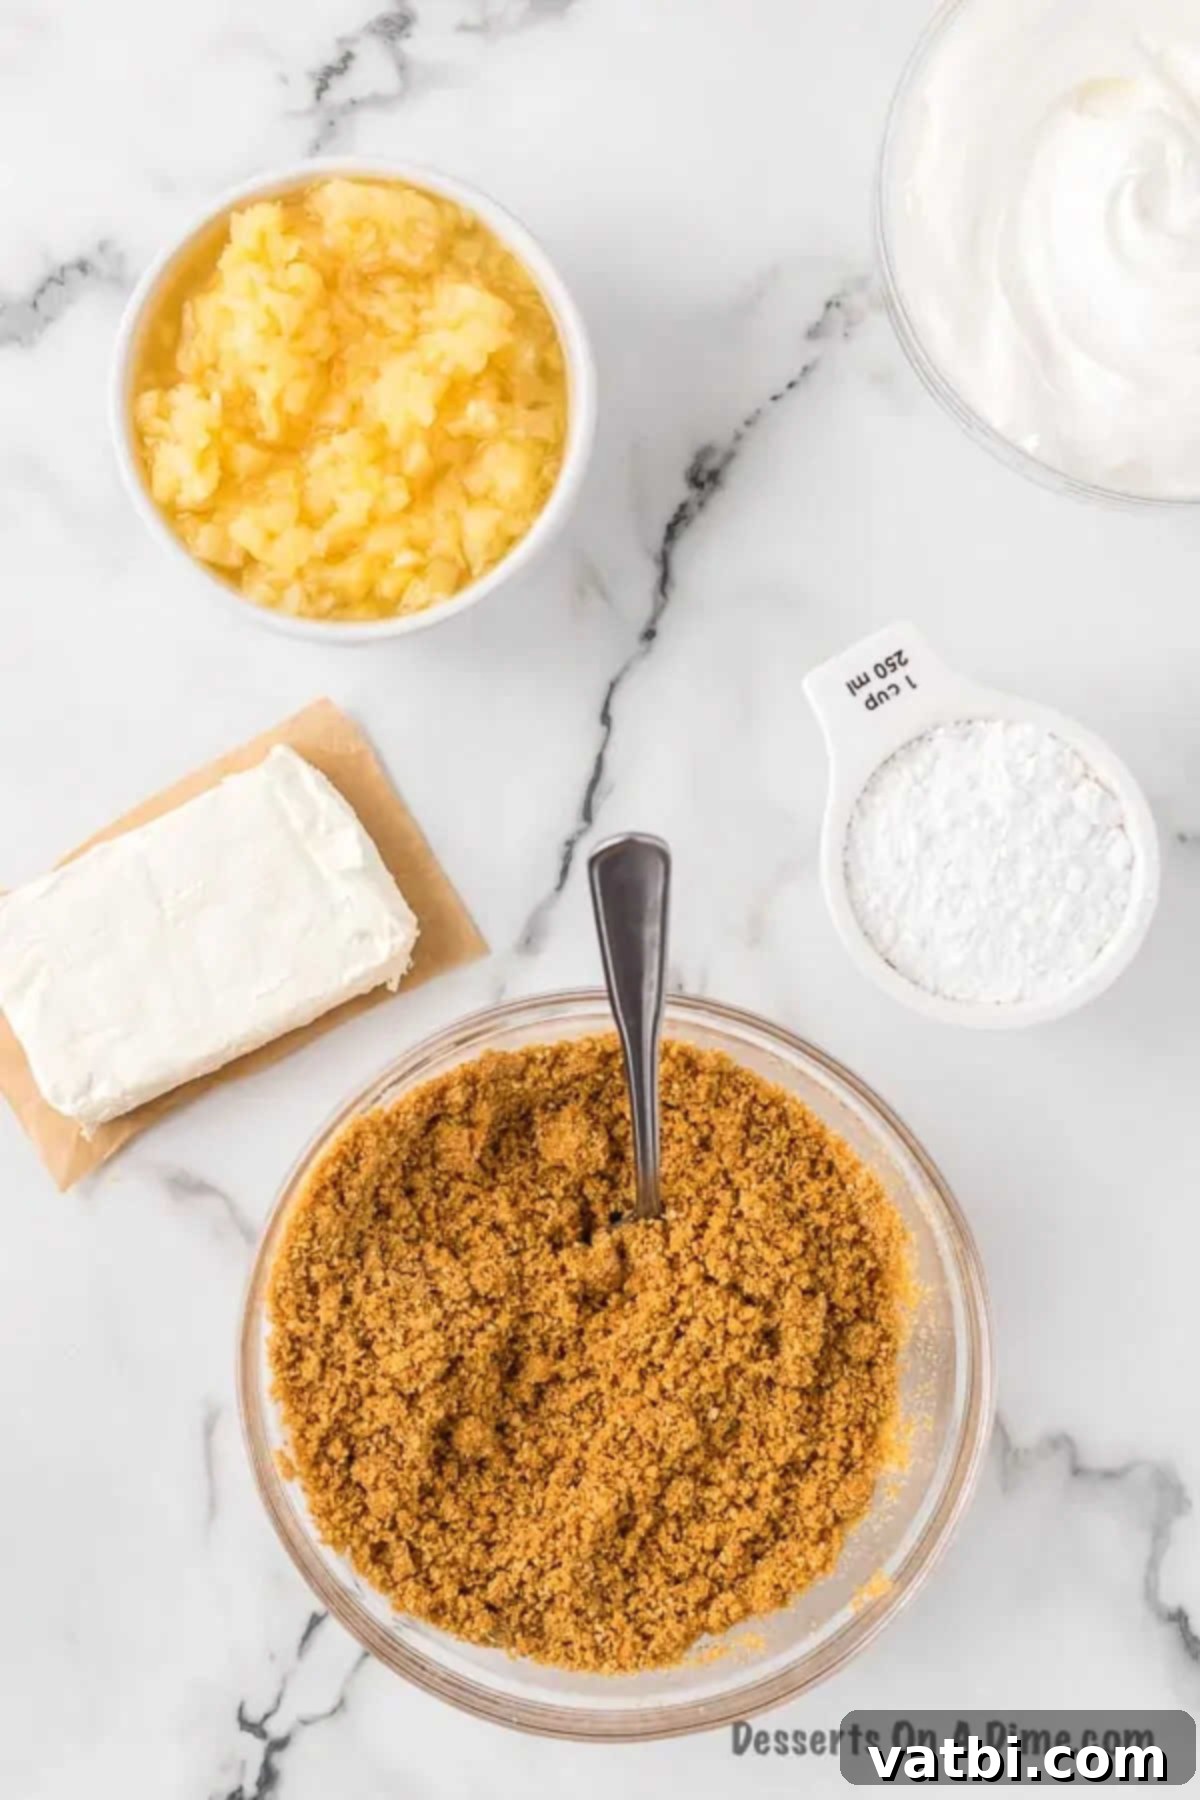
Step 2. Create the Crust Mixture: First, melt the specified amount of unsalted butter in a microwave-safe bowl or a small saucepan. Once fully melted, transfer it to a large mixing bowl. Add the graham cracker crumbs to the melted butter and stir vigorously until all the crumbs are thoroughly moistened and evenly coated. The mixture should resemble wet sand.
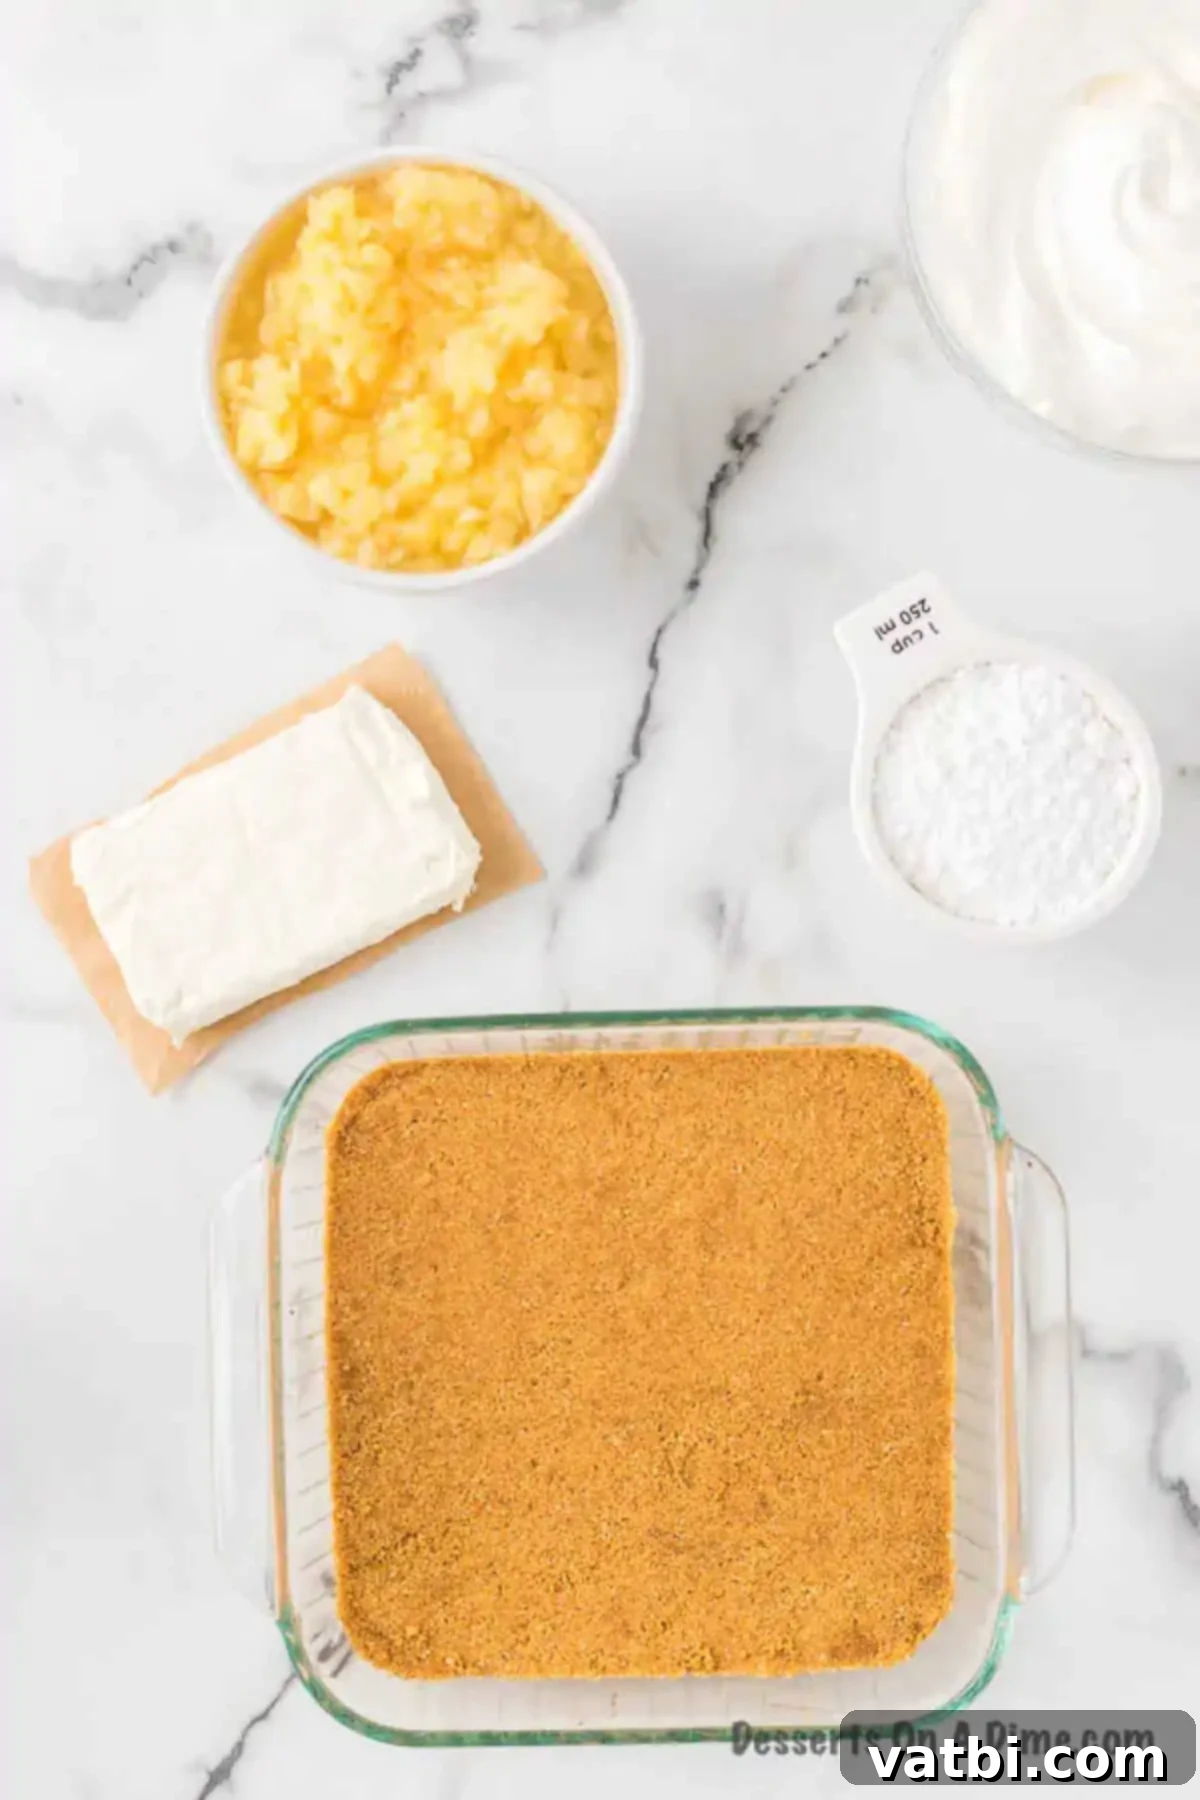
Step 3. Press and Bake the Crust: Take a 9×9 inch (or similar sized) baking pan and pour the graham cracker crumb mixture into it. Use the back of a spoon, a flat-bottomed glass, or your fingers to firmly and evenly press the mixture across the bottom of the pan. Ensure it’s compact and consistent. Bake the crust in the preheated oven for about 8-10 minutes, just until it’s lightly golden and fragrant. Remove from the oven and allow it to cool completely on a wire rack before proceeding. A fully cooled crust is essential to prevent the creamy layers from melting.
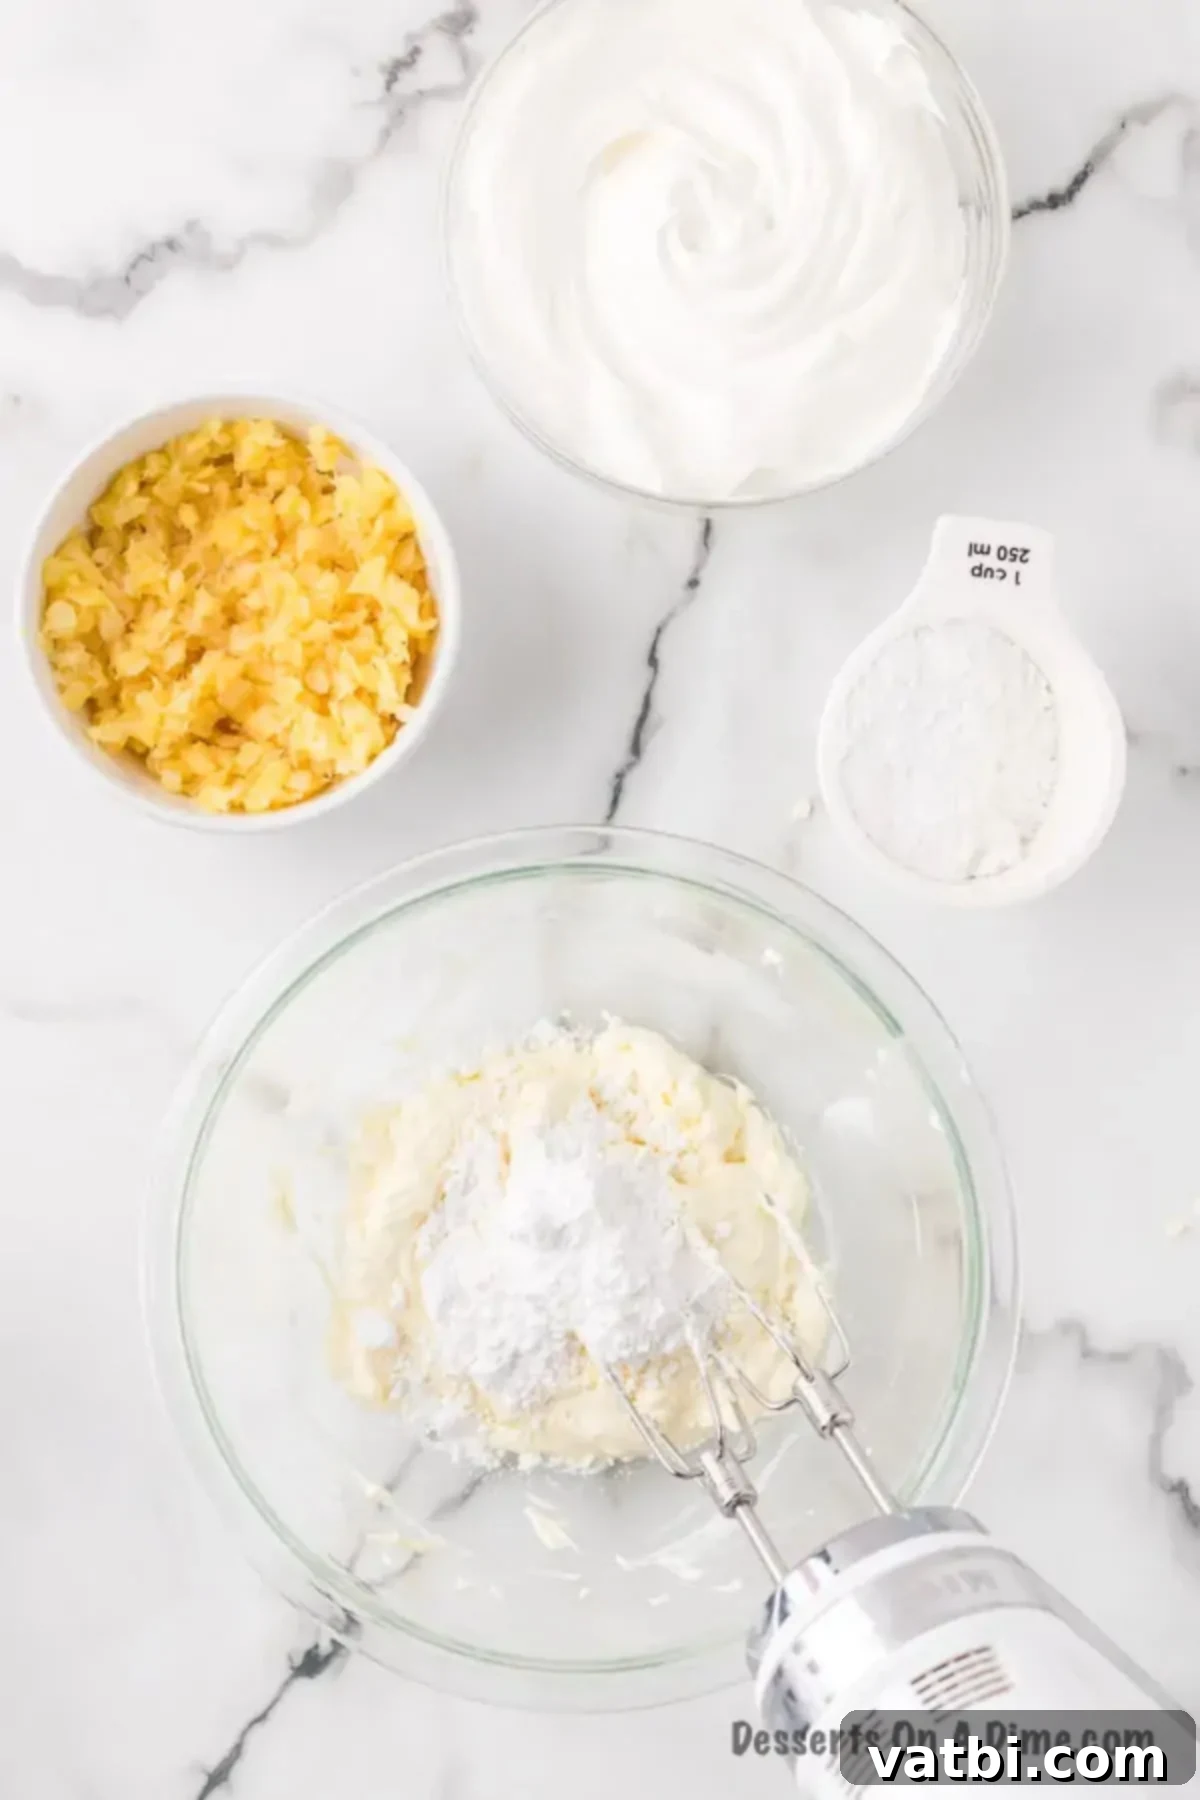
Step 4. Prepare the Cream Cheese Layer: While your crust cools, begin preparing the delightful cream cheese filling. In a large mixing bowl, combine the softened cream cheese and the softened butter. Using an electric mixer (either a handheld or stand mixer), beat these two ingredients together until the mixture is light, fluffy, and completely smooth, with no lumps of cream cheese remaining. Gradually add the powdered sugar, a little at a time, continuing to beat until it’s fully incorporated and the mixture is wonderfully creamy and sweet. Avoid overmixing once the sugar is in.
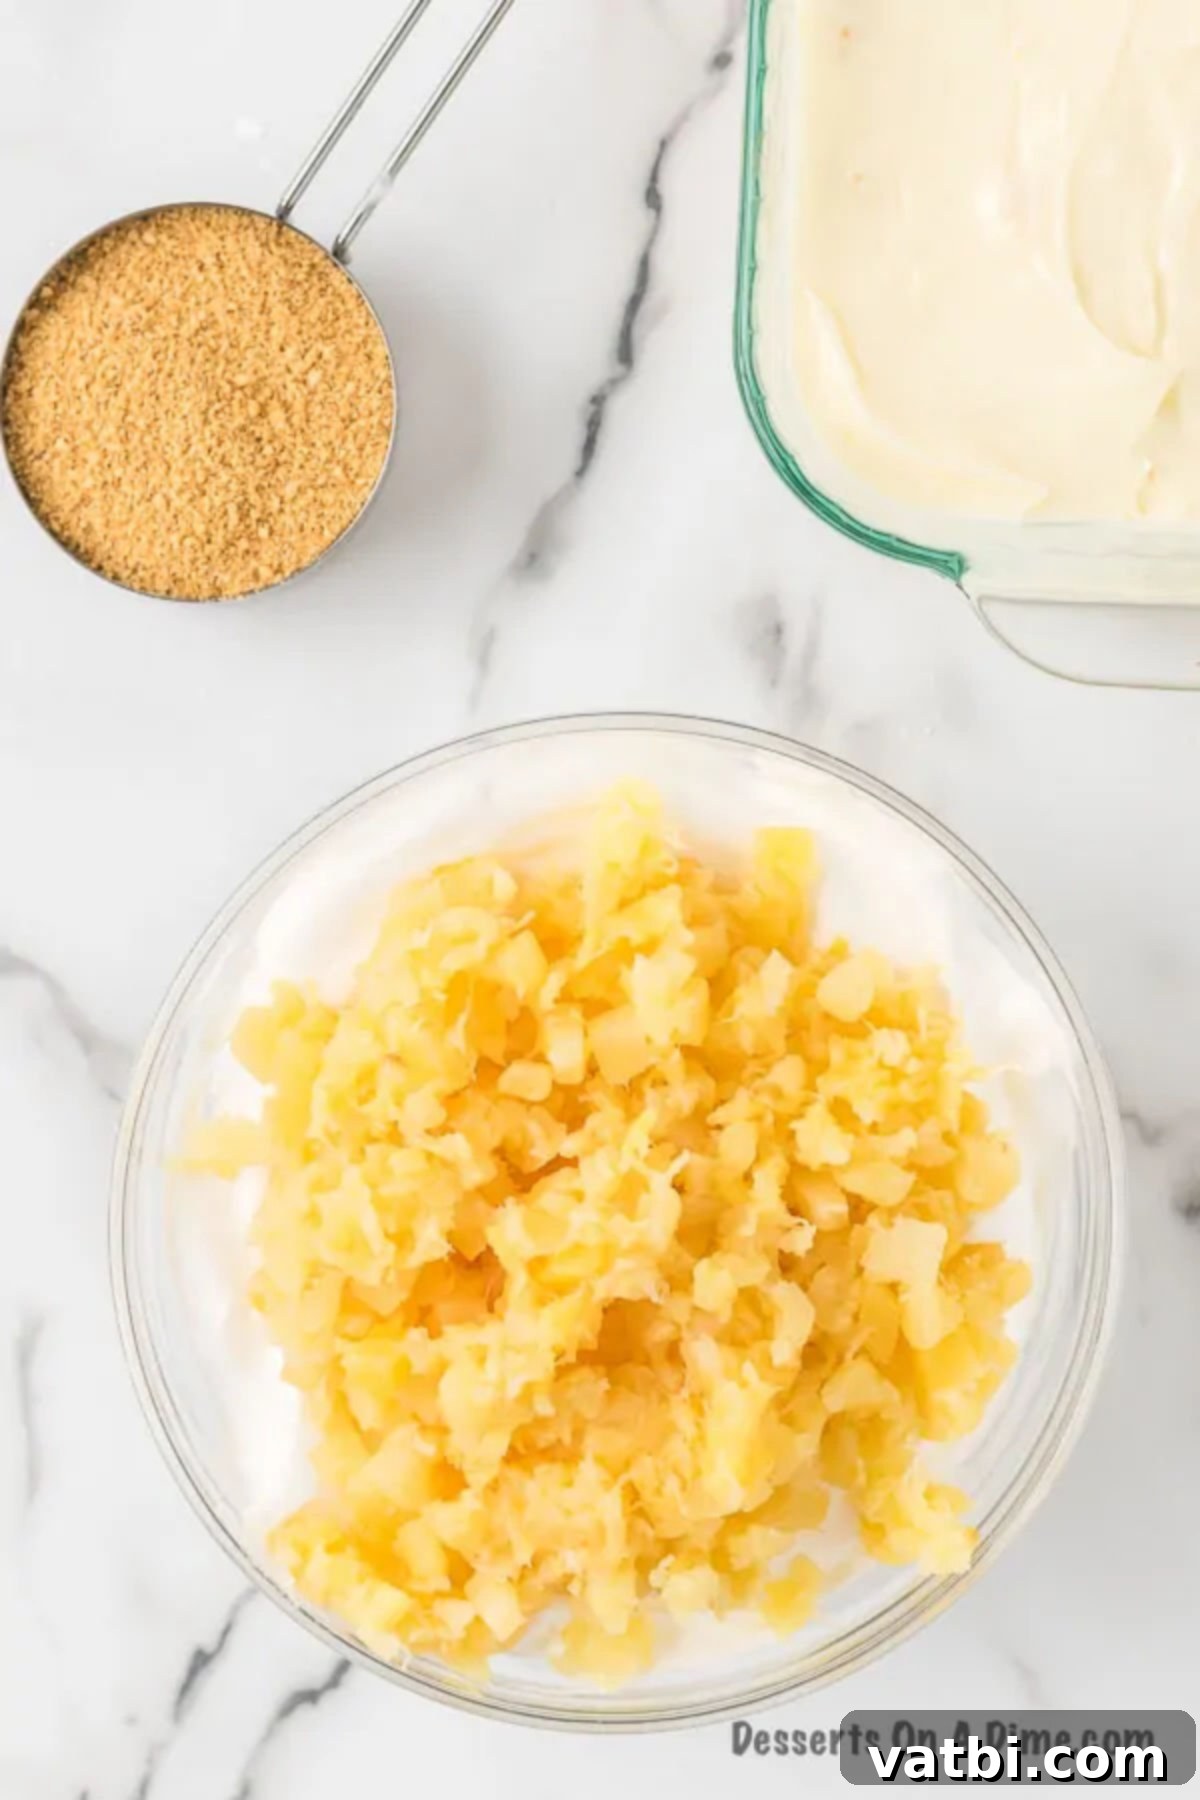
Step 5. Incorporate the Pineapple: Once your cream cheese mixture is smooth, gently fold in about one tablespoon of the thoroughly drained crushed pineapple (reserving the rest for the topping). It’s important to do this by hand using a spatula, not the electric mixer, to maintain the light and airy texture of the cream cheese filling. Distribute the pineapple evenly throughout the mixture.
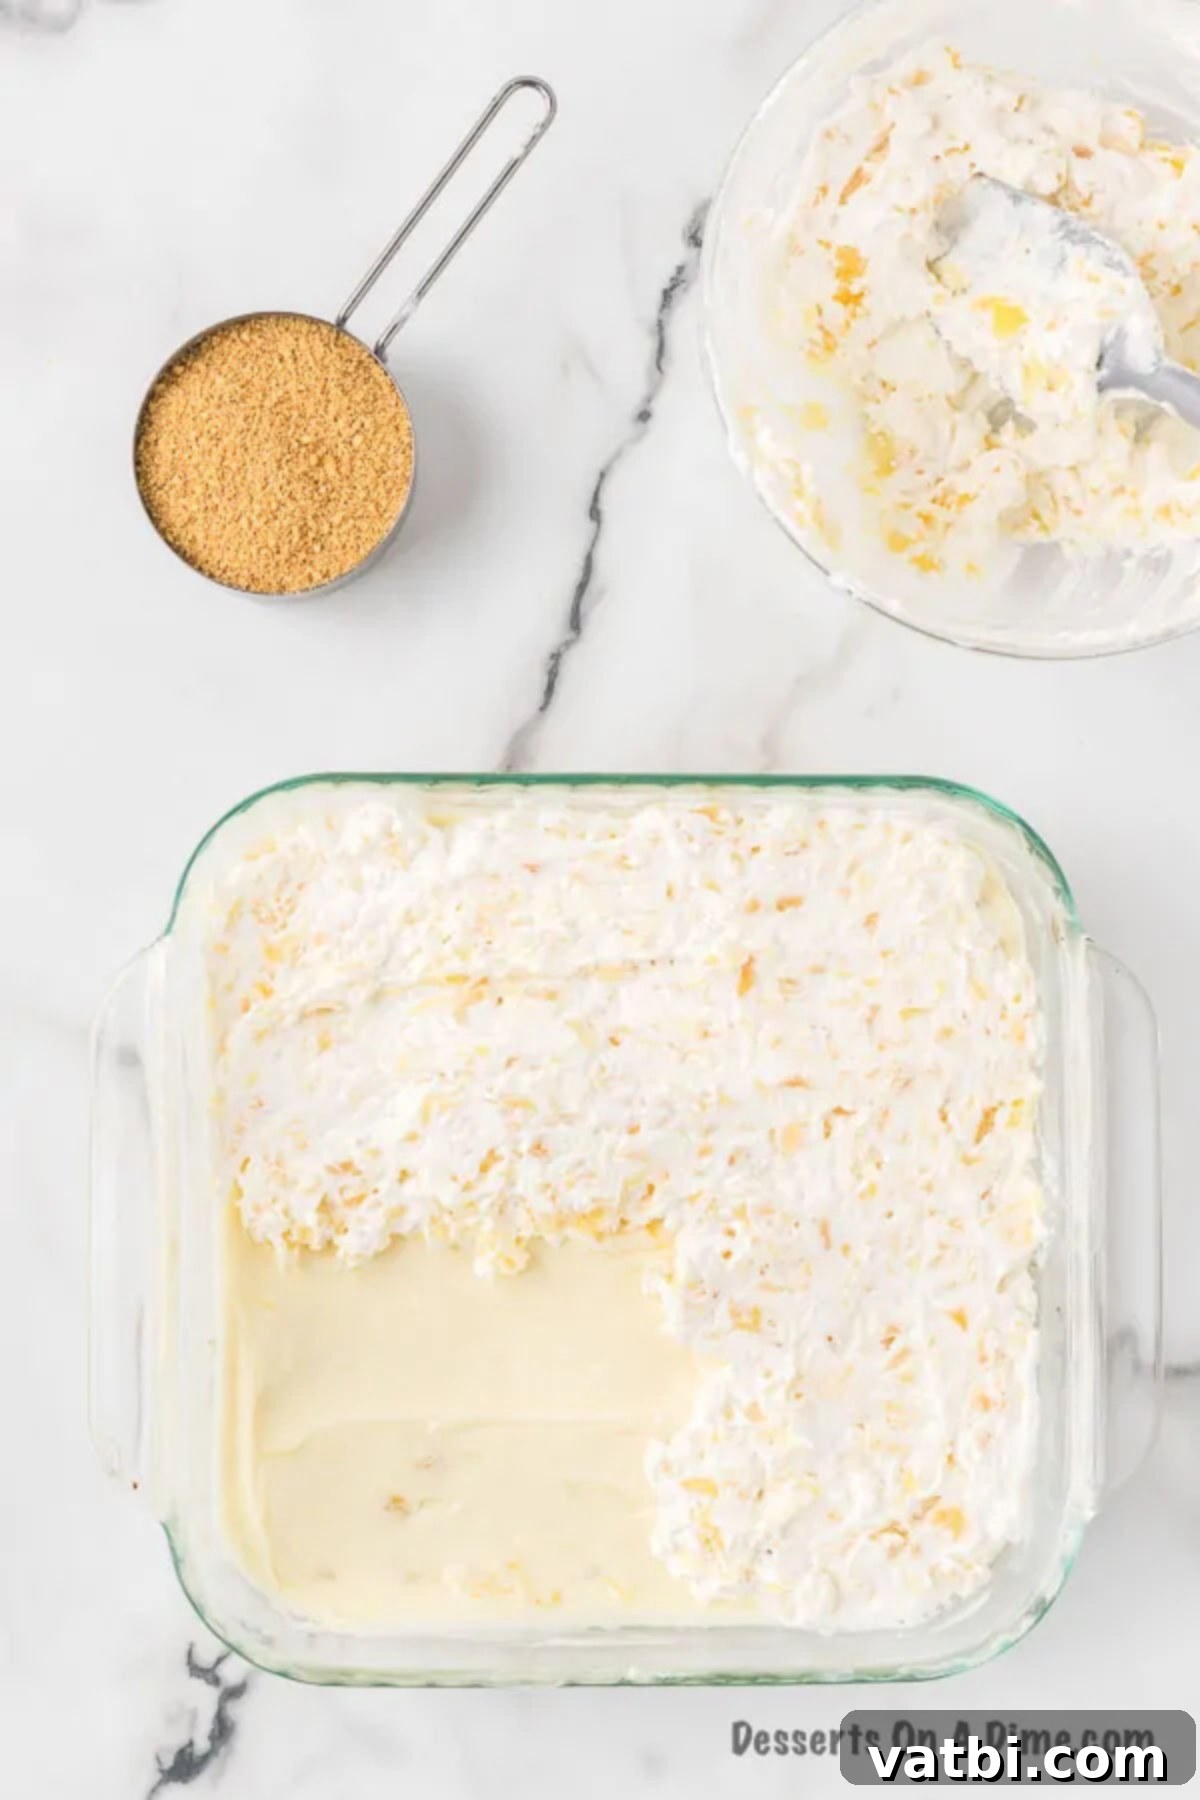
Step 6. Layer the Cream Cheese Mixture: Carefully spread the pineapple cream cheese mixture over the completely cooled graham cracker crust. Use a spatula to gently smooth it out into an even layer, ensuring it reaches all edges of the pan. Take your time to create a neat and appealing middle layer.
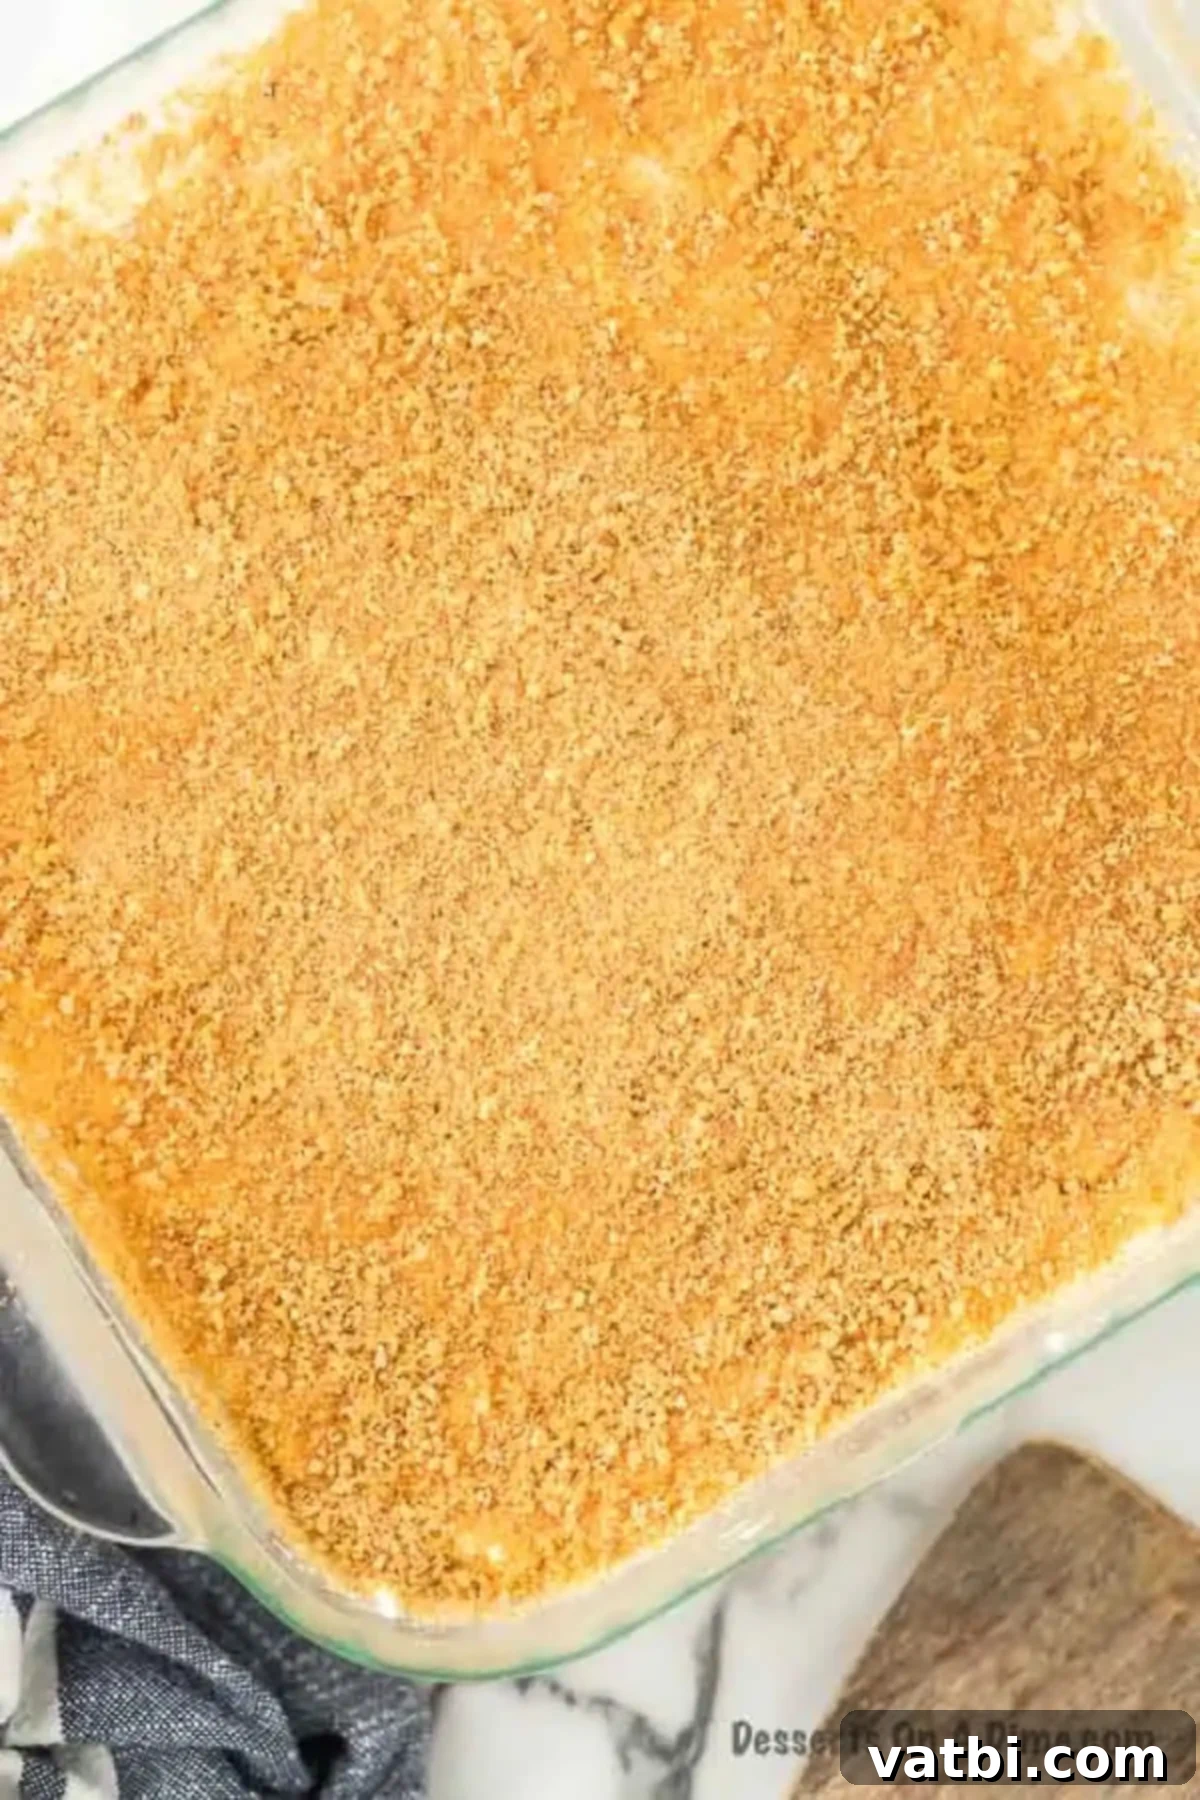
Step 7. Add the Whipped Topping and Chill: In a separate bowl, gently combine the thawed whipped topping with the remaining thoroughly drained crushed pineapple. Once combined, carefully spread this light and fluffy mixture evenly over the cream cheese layer in the pan. For an extra touch of texture and visual appeal, sprinkle any remaining graham cracker crumbs over the top. Now, cover the pan tightly with plastic wrap and refrigerate the dessert for at least 4 hours. This crucial chilling time allows all the layers to set properly and the flavors to meld beautifully, ensuring a firm, sliceable, and utterly delicious dessert. For the best results, chilling overnight is highly recommended.
Expert Tips for a Flawless Dessert
Achieving the perfect Pineapple Dream Dessert is simple, but a few expert tips can elevate your creation from good to absolutely unforgettable. Follow these suggestions for best results:
- Embrace the No-Bake Option: If you’re short on time or prefer to keep your oven off, especially during warmer months, this dessert can easily be made completely no-bake. Instead of baking the graham cracker crust, simply press it into the pan and refrigerate it for at least 2 hours. This extended chilling time allows the butter to firm up and bind the crumbs effectively, creating a perfectly sturdy crust without the heat.
- Master Homemade Graham Cracker Crumbs: For the freshest flavor and ideal texture, consider making your own graham cracker crumbs. A food processor makes quick work of this, creating fine, even crumbs in seconds. If you don’t have a food processor, place the crackers in a sturdy zip-top bag and crush them thoroughly with a rolling pin or the bottom of a heavy glass.
- Avoid Overmixing the Cream Cheese Layer: When combining the cream cheese, butter, and powdered sugar, beat the mixture just until it’s smooth, creamy, and visibly fluffy. Overmixing can incorporate too much air or break down the cream cheese structure, potentially leading to a filling that is too soft or separates.
- Gently Fold in Pineapple by Hand: Once your cream cheese mixture is ready, it’s crucial to gently stir in the thoroughly drained crushed pineapple using a spatula. Resist the urge to use an electric mixer for this step. Folding by hand ensures the delicate texture of the cream cheese layer is maintained, and the pineapple pieces are evenly distributed without being broken down.
- Experiment with a Pretzel Crust Variation: For those who love a delightful sweet and salty combination, swap out the traditional graham cracker crumbs for crushed pretzels. This creates a unique pretzel crust, reminiscent of a classic pretzel salad, adding an intriguing depth of flavor and an extra crunch that beautifully complements the creamy pineapple.
- Thorough Chilling is Non-Negotiable: This is perhaps the most important tip for a successful layered dessert. After assembling, refrigerate the Pineapple Dream Dessert for a minimum of 4 hours, though chilling it overnight is highly recommended. This allows the layers to set completely, firming up the cream cheese and whipped topping, and giving all the flavors ample time to meld and deepen.
- Choose the Right Pan: For optimal setting and slicing, use a glass or metal baking pan. Plastic containers can sometimes retain moisture, which might affect the texture of the graham cracker crust, making it less crisp.
- Achieve Clean Slices with a Warm Knife: To serve picture-perfect slices, run a sharp knife under warm water for a few seconds, then wipe it dry before making each cut. Repeat this process for every slice. The warm, clean blade will glide through the layers effortlessly, resulting in smooth, neat portions every time.
- Garnish for Extra Flair: Before serving, consider adding a simple garnish for an enhanced presentation. A sprinkle of toasted coconut flakes, a few fresh mint leaves, or a small wedge of fresh pineapple can add visual appeal and an extra layer of flavor.
- Make Ahead Convenience: This dessert is an excellent make-ahead option. You can prepare it a day in advance, allowing flavors to deepen and textures to set perfectly. Just cover it tightly with plastic wrap and keep it in the refrigerator.
More Delightful Pineapple Dessert Recipes
If you’ve fallen in love with the tropical charm of pineapple, you’re in luck! There’s a whole world of pineapple-infused desserts to explore. Here are some more fantastic recipes featuring this beloved fruit:
- 2 Ingredient Pineapple Angel Food Cake Recipe: An unbelievably simple yet delicious cake that’s light, airy, and bursting with pineapple flavor.
- Baked Pineapple Dessert: A warm, comforting, and slightly caramelized baked treat that highlights the sweetness of pineapple.
- Dole Whip Recipe: Recreate the iconic Disney theme park treat at home with this refreshing and creamy pineapple soft-serve.
- Pineapple Upside Down Cupcakes: All the classic charm of an upside-down cake, miniaturized into adorable and perfectly portioned cupcakes.
- Cherry Pineapple Dump Cake: An incredibly easy, minimal-effort cake that combines the tartness of cherries with the sweetness of pineapple.
- Pineapple Poke Cake: A moist and flavorful cake infused with a sweet pineapple mixture and topped with a creamy frosting.
We hope you enjoy making this delicious Pineapple Dream Dessert with very little effort. It’s truly a recipe that disappears quickly, so be prepared for requests for more! Don’t forget to leave a comment and a star rating once you try this easy dessert recipe – we love hearing your feedback and seeing your creations.
Pin
Pineapple Dream Dessert
Ingredients
- For the Crust:
- 2 1/2 cup Graham Cracker Crumbs
- 1/2 cup unsalted Butter
- For the Layers:
- 1 cup Powdered Sugar
- 1/2 cup unsalted butter softened
- 8 oz cream cheese softened
- 8 oz cool Whip thawed
- 20 oz can of Crushed Pineapple Drained Well
Instructions
-
Preheat the oven to 300 degrees F (150 degrees C).
-
Melt the butter for the crust. Once melted, stir in 2 cups of graham cracker crumbs until evenly combined. Press this mixture firmly into the bottom of a 9×9 inch baking pan. Bake for 8-10 minutes, then remove and let cool completely on a wire rack.
-
In a large bowl, beat together the softened cream cheese and 1/2 cup softened unsalted butter using a handheld or stand mixer until the mixture is smooth and creamy.
-
Gradually add in the powdered sugar, beating until it is fully incorporated into the cream cheese and butter mixture and the filling is light and fluffy.
-
By hand, gently stir in 1 tablespoon of the thoroughly drained crushed pineapple into the cream cheese mixture.
-
Carefully spread this pineapple cream cheese mixture evenly over the cooled graham cracker crust using a spatula.
-
In a separate bowl, stir together the thawed whipped topping and the remaining drained crushed pineapple. Spread this mixture smoothly on top of the cream cheese layer in the pan.
-
Optionally, sprinkle the remaining graham cracker crumbs over the whipped topping for an added garnish. Cover the pan and refrigerate for at least 4 hours (or preferably overnight) to allow the layers to set and flavors to blend.
-
Once thoroughly chilled, slice into squares, serve, and enjoy your delightful Pineapple Dream Dessert!
Recipe Notes
Nutrition Facts
Pin This Now to Remember It Later
Pin Recipe
