Homemade Vanilla Wafer Cookies: Your Ultimate Guide to Buttery, Delicious Perfection
There’s something truly magical about homemade treats, and these **homemade vanilla wafer cookies** are no exception. Each bite is a testament to the simplicity of real ingredients transformed into something extraordinary. This easy **vanilla wafer cookies recipe** yields rich, buttery, and perfectly crisp cookies that are a world apart from anything you can find on a grocery store shelf.

If you’ve ever thought about making vanilla wafers from scratch, you’ll be delighted to know it’s a very simple cookie recipe. The process is straightforward, and the results are truly amazing. These cookies are wonderfully light, airy, and bursting with genuine vanilla flavor – a depth that store-bought versions simply can’t replicate.
Enjoy these delicate, buttery delights on their own as a satisfying snack, or elevate your favorite desserts. They are an absolute game-changer in a classic banana pudding recipe and add an irresistible texture and flavor to countless other sweet creations.
Once you experience the ease and superior taste of making your own **easy vanilla wafers** at home, you’ll be completely hooked. They are incredibly buttery, wonderfully tasty, and surprisingly effortless to prepare. Say goodbye to artificial flavors and hello to genuine homemade goodness!
If you love vanilla as much as we do, you might also enjoy exploring some of these other fantastic Vanilla Desserts. And for another beloved classic, I’ve been perfecting my Italian Cookies Recipe for years, which I’m sure you’ll adore.
Table of contents
- Why You’ll Adore This Homemade Vanilla Wafer Recipe
- Essential Equipment for Perfect Wafers
- Key Ingredients for Vanilla Wafer Cookies
- Step-by-Step Guide: How to Make Vanilla Wafer Cookies
- Storing Your Delicious Vanilla Wafers
- Creative Ways to Serve Vanilla Wafer Cookies
- Pro Tips for the Best Vanilla Wafers
- Homemade Vanilla Wafers in Banana Pudding: A Match Made in Heaven?
- Troubleshooting Common Vanilla Wafer Issues
- More Irresistible Homemade Cookie Recipes
Why You’ll Adore This Homemade Vanilla Wafer Recipe
There are countless reasons to fall in love with making your own vanilla wafer cookies, but here are the top ones:
- Unbeatable Flavor and Texture: These homemade wafers are infinitely better than anything you can buy at the grocery store. They boast an incredibly rich, buttery taste and a delicate, crisp texture that melts in your mouth, leaving a lingering, sweet vanilla finish. The difference is truly astounding.
- Wholesome Ingredients: Store-bought wafers are often loaded with artificial flavors, preservatives, and a long list of ingredients you can barely pronounce. With this homemade recipe, you’re in control, using simple, pure ingredients for a healthier and more authentic flavor. Once you taste the real difference, you’ll never go back.
- Easy to Make: Despite their gourmet taste, these cookies are surprisingly easy to prepare. No fancy techniques or complex steps are required, making them perfect for bakers of all skill levels.
- Incredibly Versatile: Whether enjoyed as a stand-alone snack, crushed for a pie crust, or layered in a classic banana pudding, these vanilla wafers elevate any dish.
- Cost-Effective: Making your own cookies from scratch is often more economical than repeatedly purchasing pre-packaged versions, especially when you consider the quality you’re getting.
Essential Equipment for Perfect Wafers
Gathering your tools before you start baking ensures a smooth and enjoyable process. Here’s what you’ll need to make these delightful vanilla wafer cookies:
- Stand Mixer or Electric Hand Mixer: Essential for creaming the butter and sugar until light and fluffy.
- Large Mixing Bowls: You’ll need at least two – one for wet ingredients and one for dry.
- Measuring Cups and Spoons: For accurate ingredient measurements.
- Rubber Spatula: Perfect for scraping down the sides of your bowl and gently folding ingredients.
- Baking Sheets: Several are ideal so you can bake multiple batches.
- Parchment Paper: A must-have for non-stick baking and easy cleanup.
- Cookie Scoop (or Piping Bag): A cookie scoop ensures uniform cookies, leading to even baking.
- Wire Cooling Rack: To allow your cookies to cool completely and prevent them from becoming soggy.
Key Ingredients for Vanilla Wafer Cookies
The secret to these incredibly flavorful homemade vanilla wafers lies in a short list of high-quality, pantry-staple ingredients. Each component plays a crucial role in achieving that signature rich, buttery taste and delicate texture.
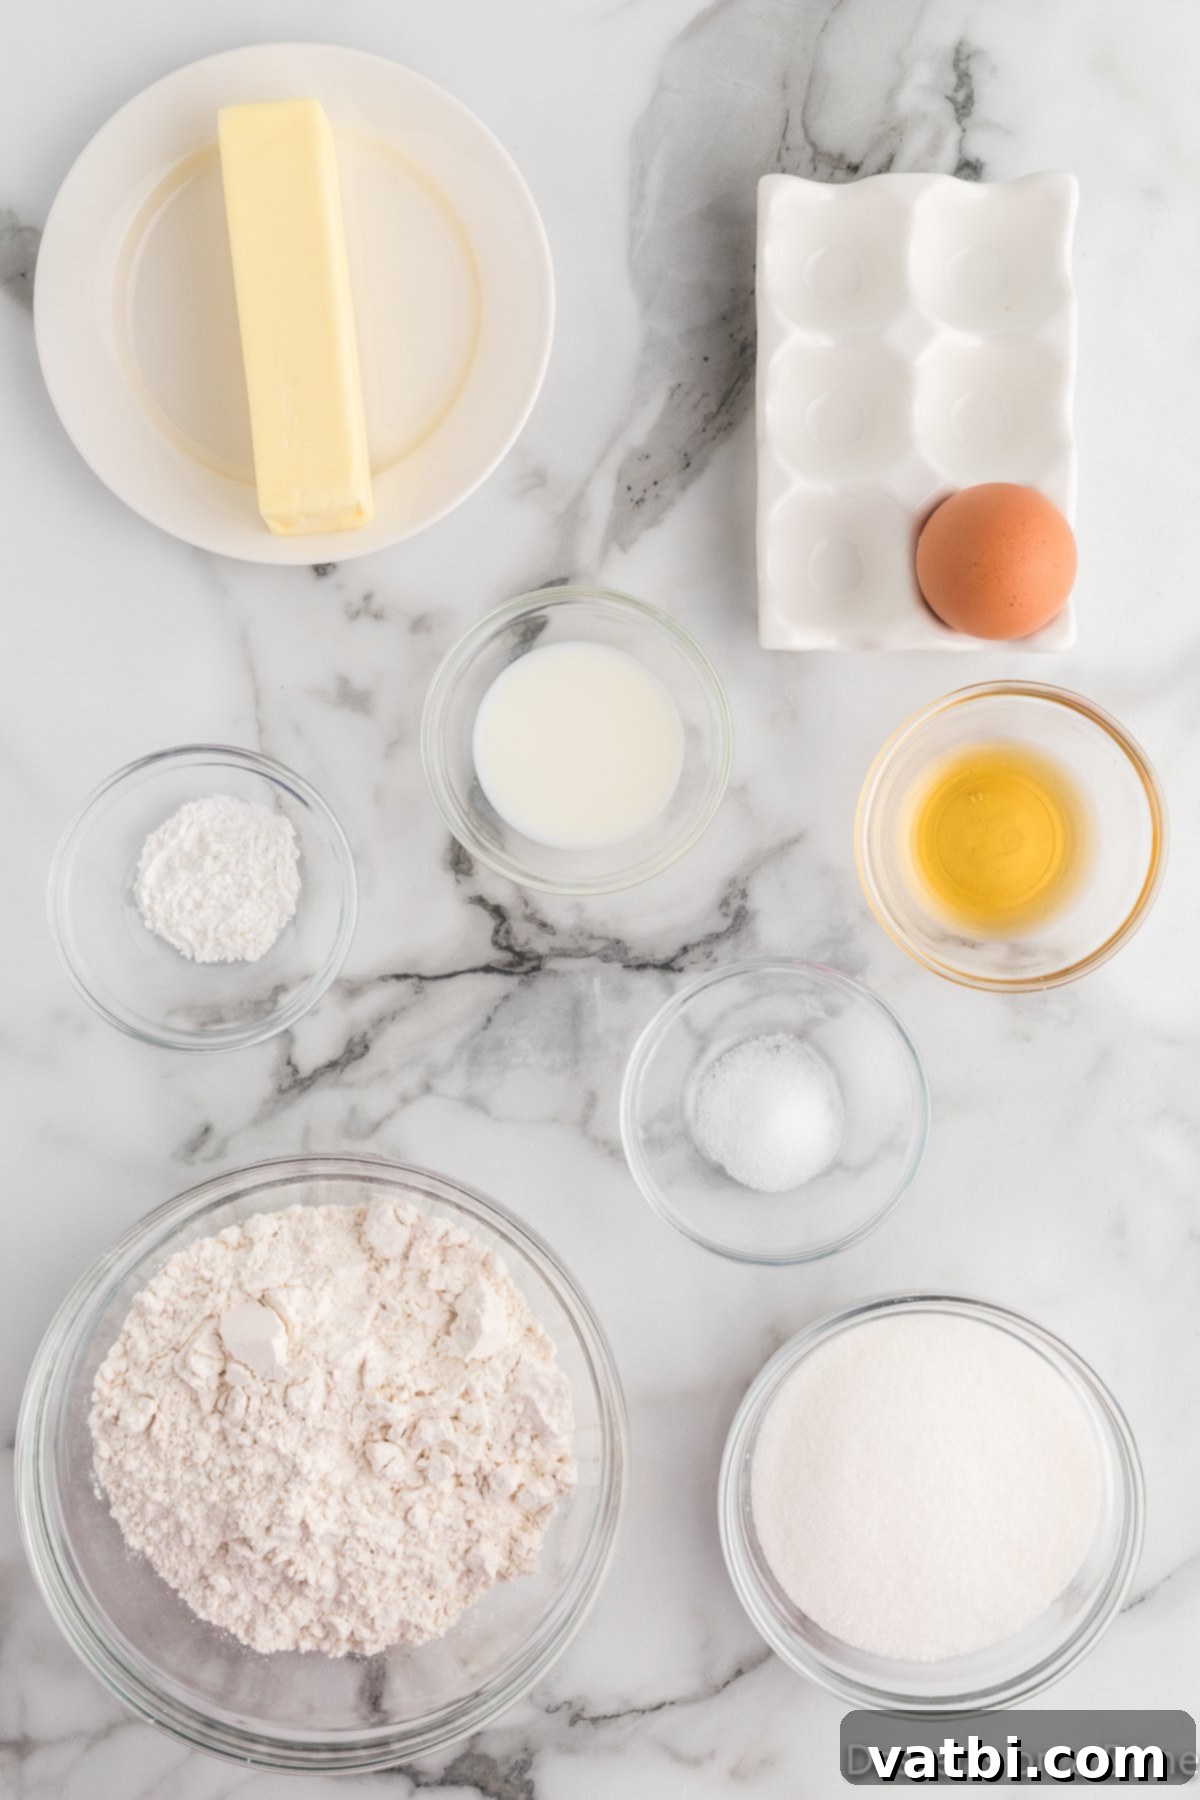
- All-Purpose Flour: For the best results, always spoon your flour into a measuring cup and then level it off with a straight edge. This “spoon and level” method prevents you from packing in too much flour, which can lead to dry, tough cookies. We recommend plain all-purpose flour for the perfect balance of structure and tenderness, as opposed to cake flour which might make them too delicate.
- Large Egg: It’s crucial for your egg to be at room temperature. A room-temperature egg incorporates more smoothly into the batter, creating a more uniform emulsion and a smoother cookie dough.
- Vanilla Extract: This is the star of the show! Use pure vanilla extract for the best and most authentic vanilla flavor. Artificial vanilla simply won’t give you the same rich, aromatic depth.
- Unsalted Butter: Like the egg, your unsalted butter should be softened to room temperature. This allows it to cream beautifully with the sugar, creating a light, airy base for your cookies. Using unsalted butter gives you full control over the salt content in your recipe.
- Milk: We prefer to use whole milk in this recipe as its higher fat content contributes to a richer flavor and a more tender crumb in the cookies.
- Granulated Sugar: Provides sweetness and helps create that delicate crispness.
- Baking Powder: Our leavening agent, ensuring the cookies have a light, slightly airy texture.
- Salt: A pinch of salt is vital to balance the sweetness and enhance all the other flavors in the cookie. Don’t skip it!
The exact measurements for all these essential ingredients are detailed in the full recipe card at the bottom of the page. Prepare to be amazed at how these simple ingredients combine to create something truly extraordinary!
Step-by-Step Guide: How to Make Vanilla Wafer Cookies
Making these delightful homemade vanilla wafers is a straightforward and rewarding process. Follow these simple steps for perfectly baked, buttery, and crisp cookies every time.
- Step 1: Preheat the Oven and Prepare Baking Sheets. Start by preheating your oven to 350 degrees Fahrenheit (175°C). While the oven heats, line several baking sheets with parchment paper. This will prevent sticking and make cleanup a breeze.
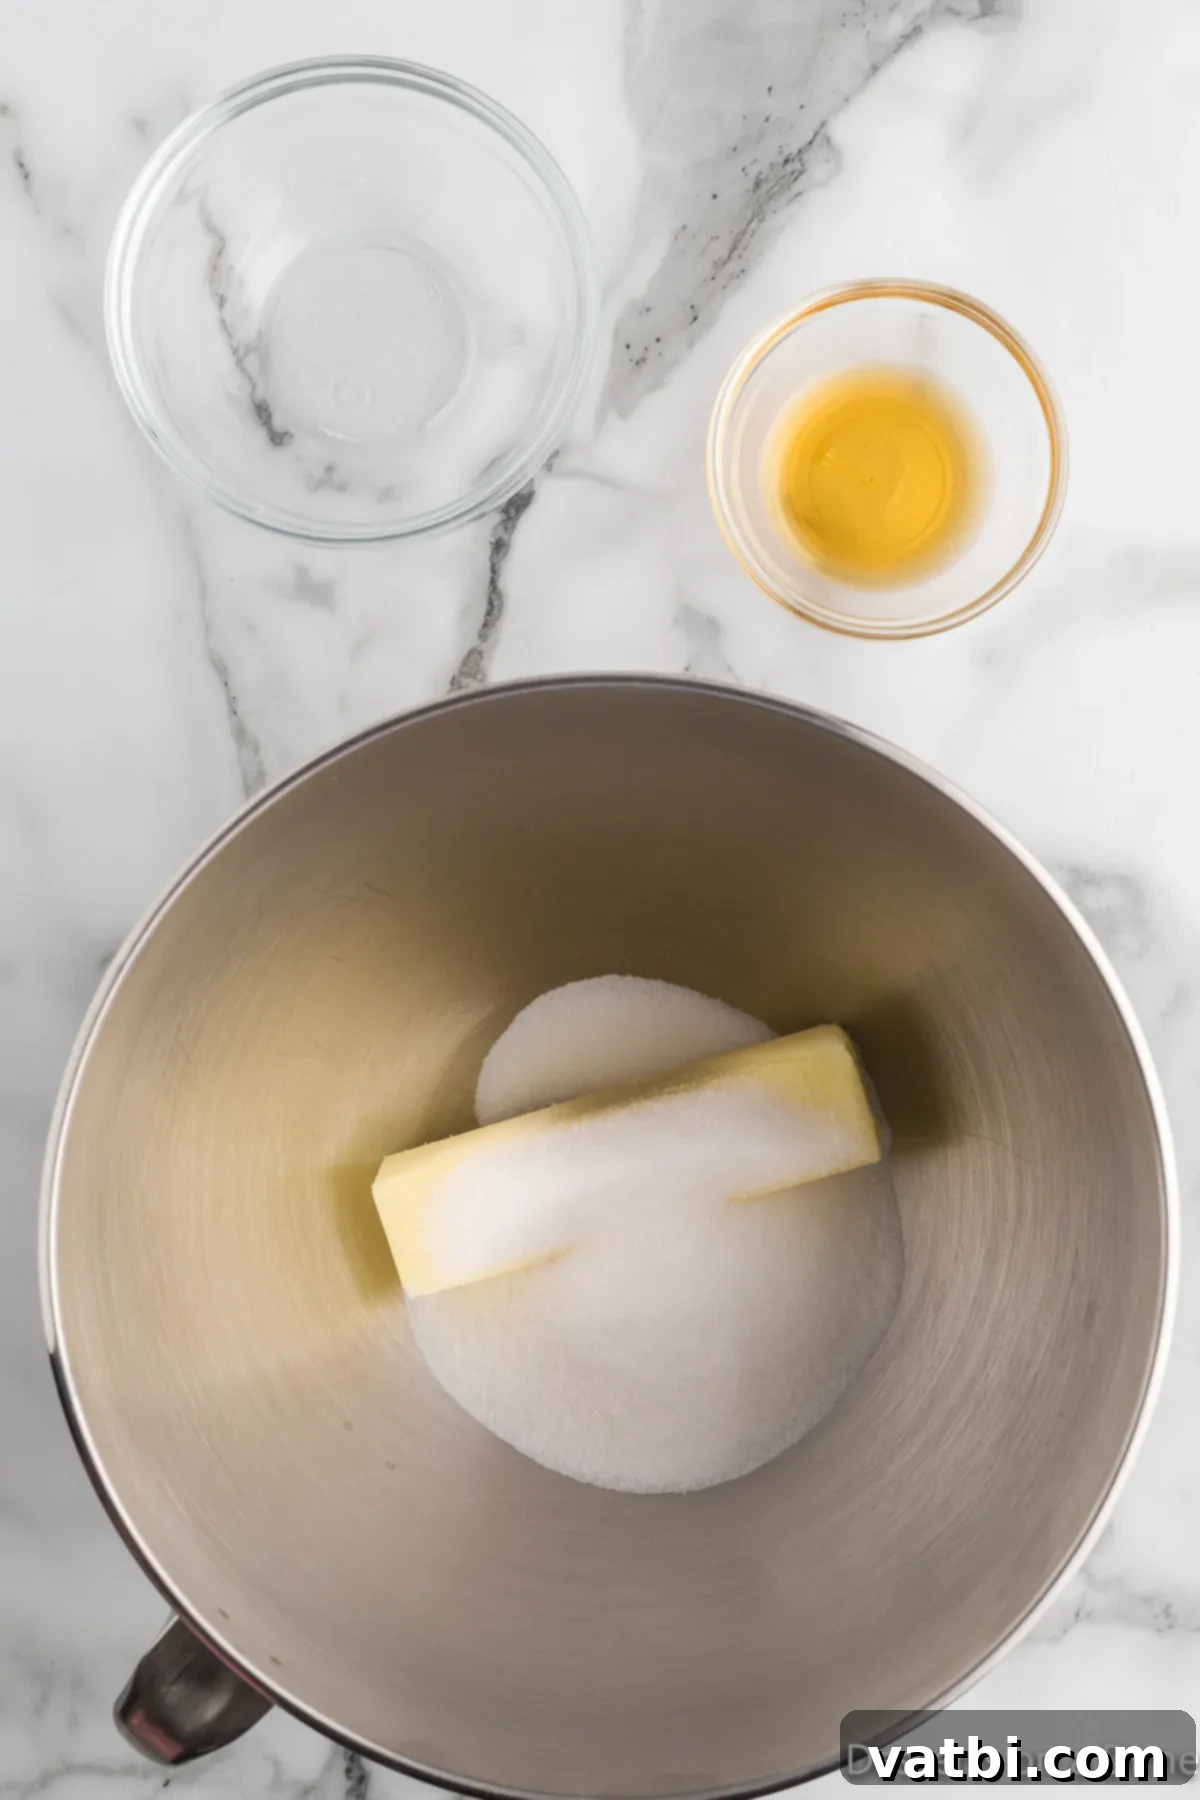
Step 2: Cream Butter and Sugar. In the bowl of a stand mixer fitted with the paddle attachment (or using an electric hand mixer), combine the softened unsalted butter and granulated sugar. Beat them together on medium speed until the mixture is light, fluffy, and pale in color. This creaming process incorporates air, which contributes to the cookies’ light texture. Scrape down the sides of the bowl as needed.
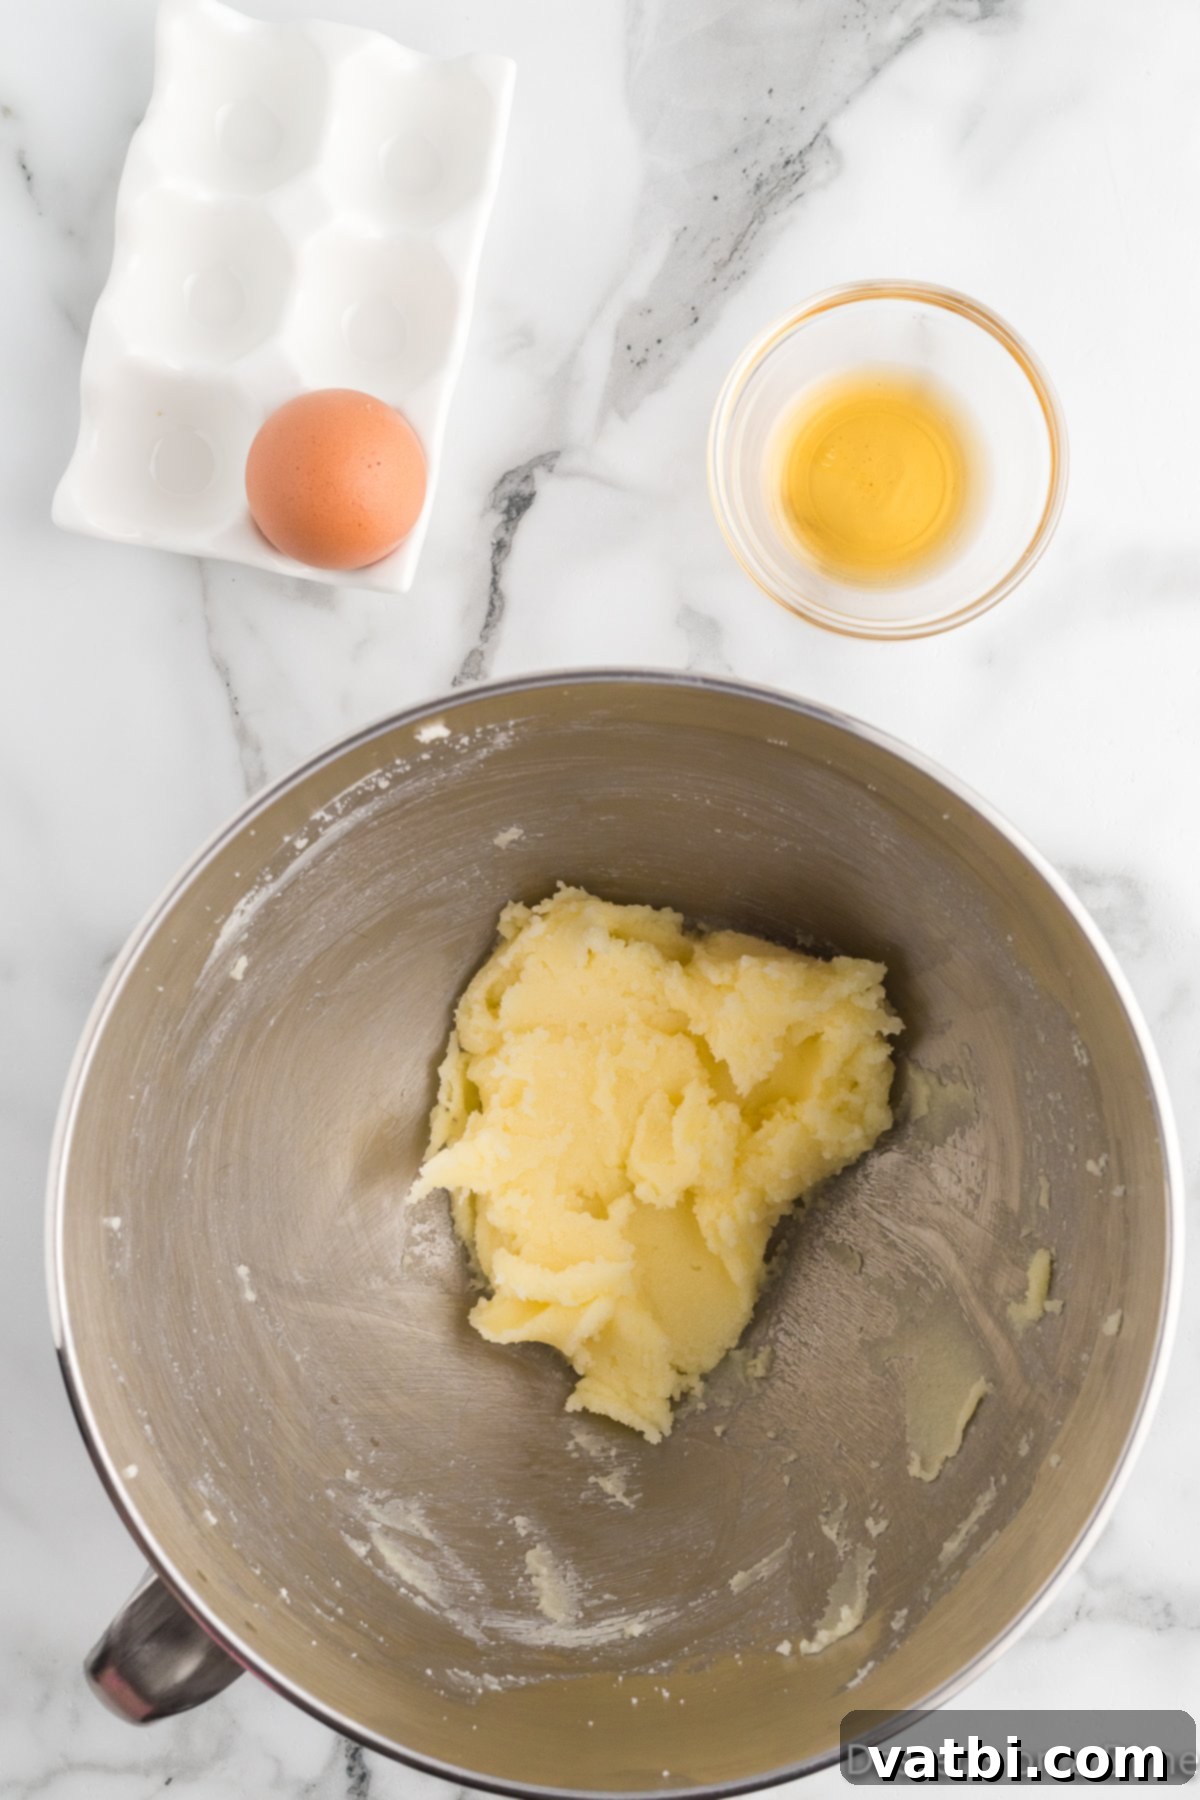
Step 3: Add Wet Ingredients. Once the butter and sugar are creamy, add the room-temperature large egg and the pure vanilla extract. Beat on medium speed until all ingredients are well combined and the mixture is smooth. Again, scrape down the sides of the bowl to ensure everything is incorporated.
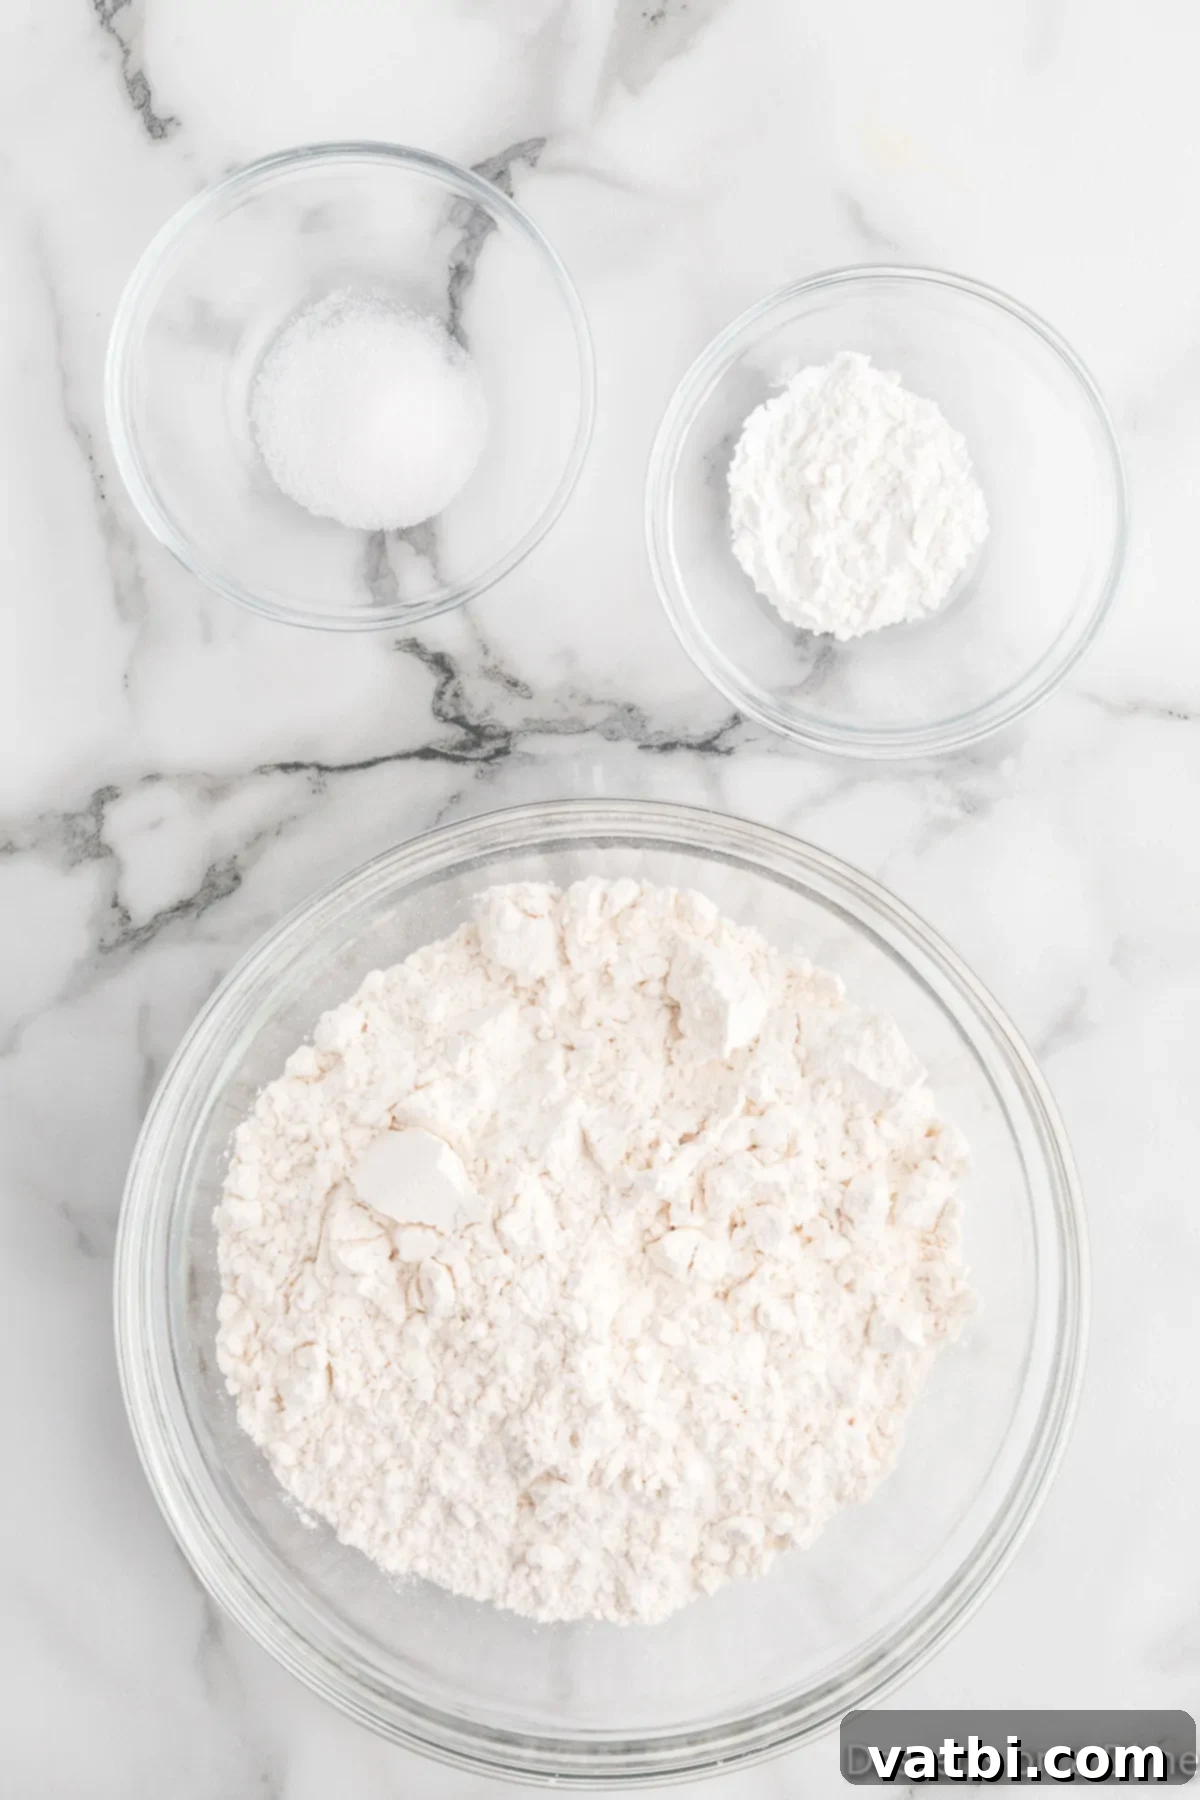
Step 4: Prepare Dry Ingredients. In a separate, medium-sized bowl, whisk together the all-purpose flour, baking powder, and salt. Whisking ensures that the leavening agent and salt are evenly distributed throughout the flour, leading to consistent cookies.
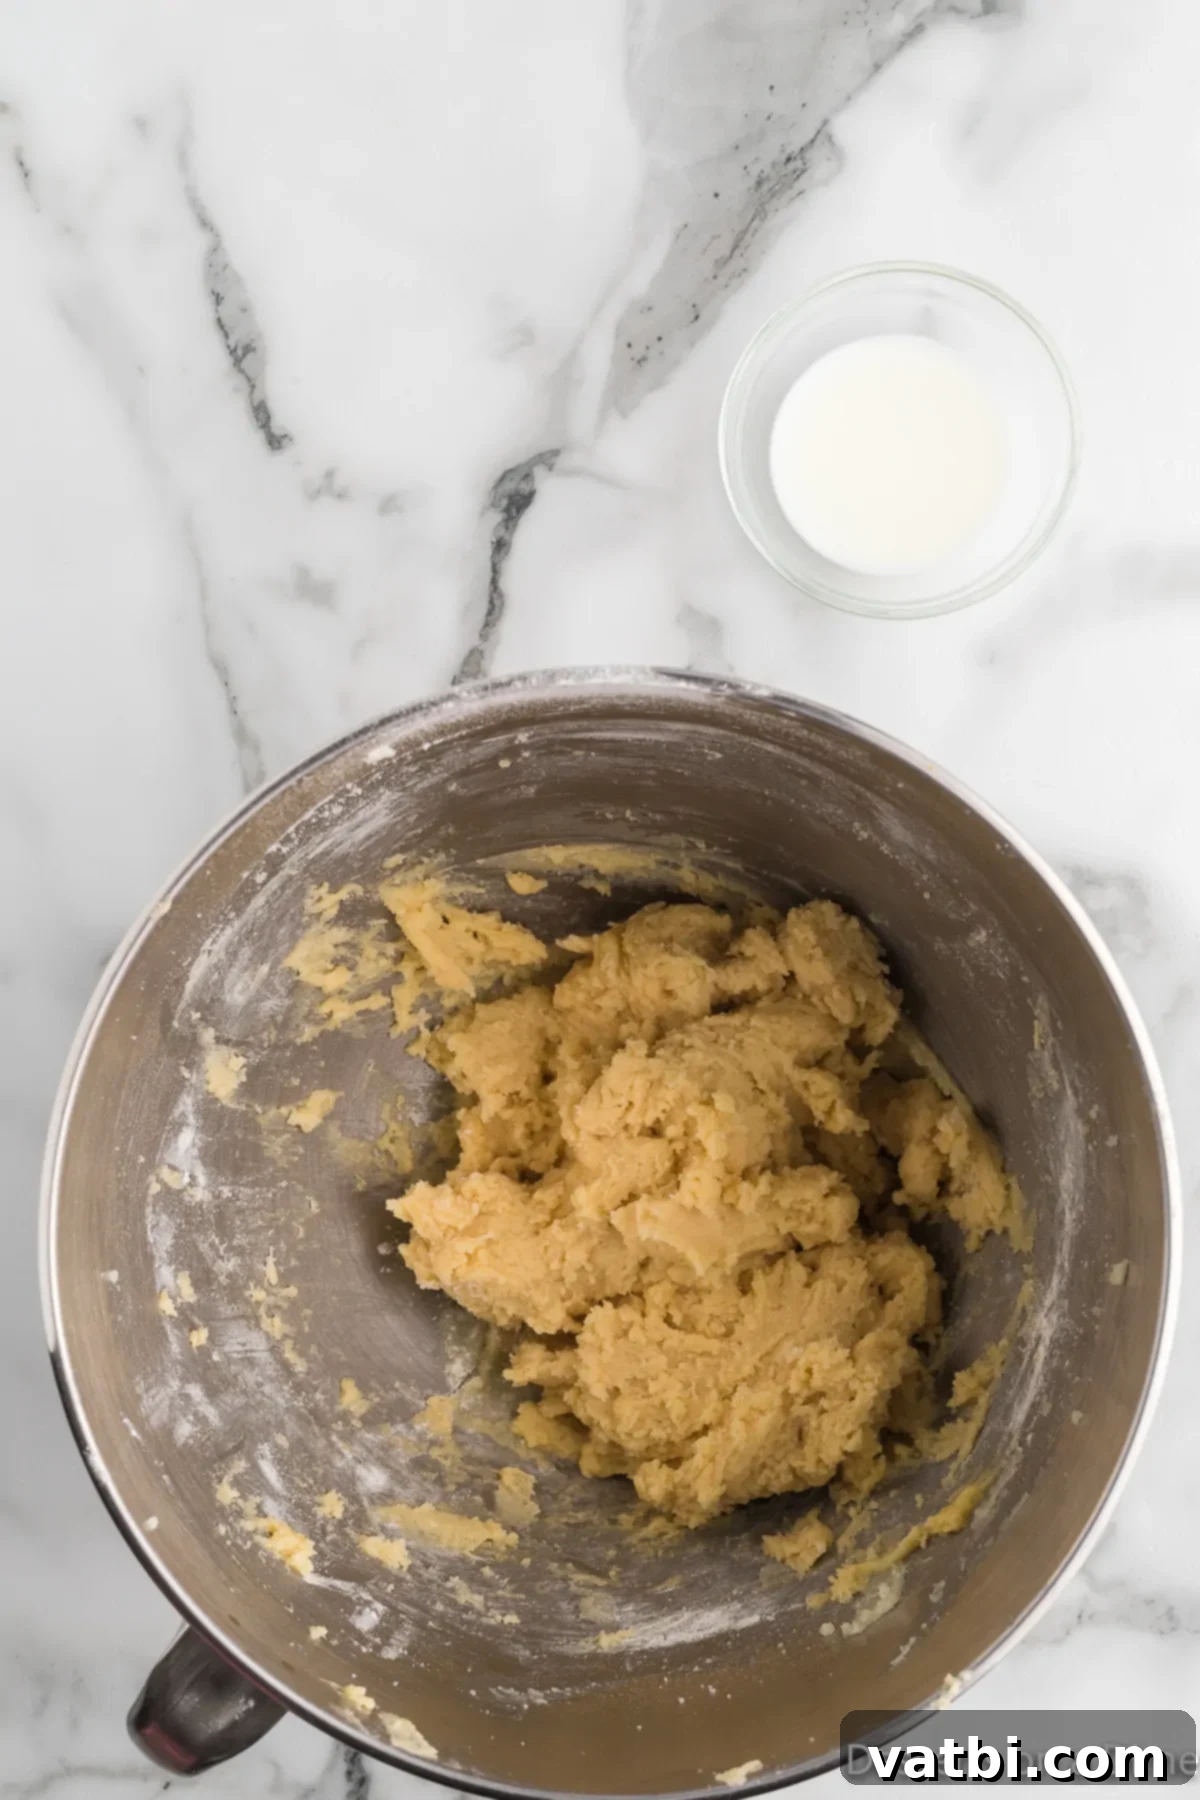
Step 5: Combine Wet and Dry Mixtures. Gradually add the flour mixture to the butter mixture, mixing on low speed until *just* combined. It’s crucial not to overmix the batter once the flour is added, as this can develop the gluten too much, resulting in tough cookies. Mix only until no streaks of dry flour remain.
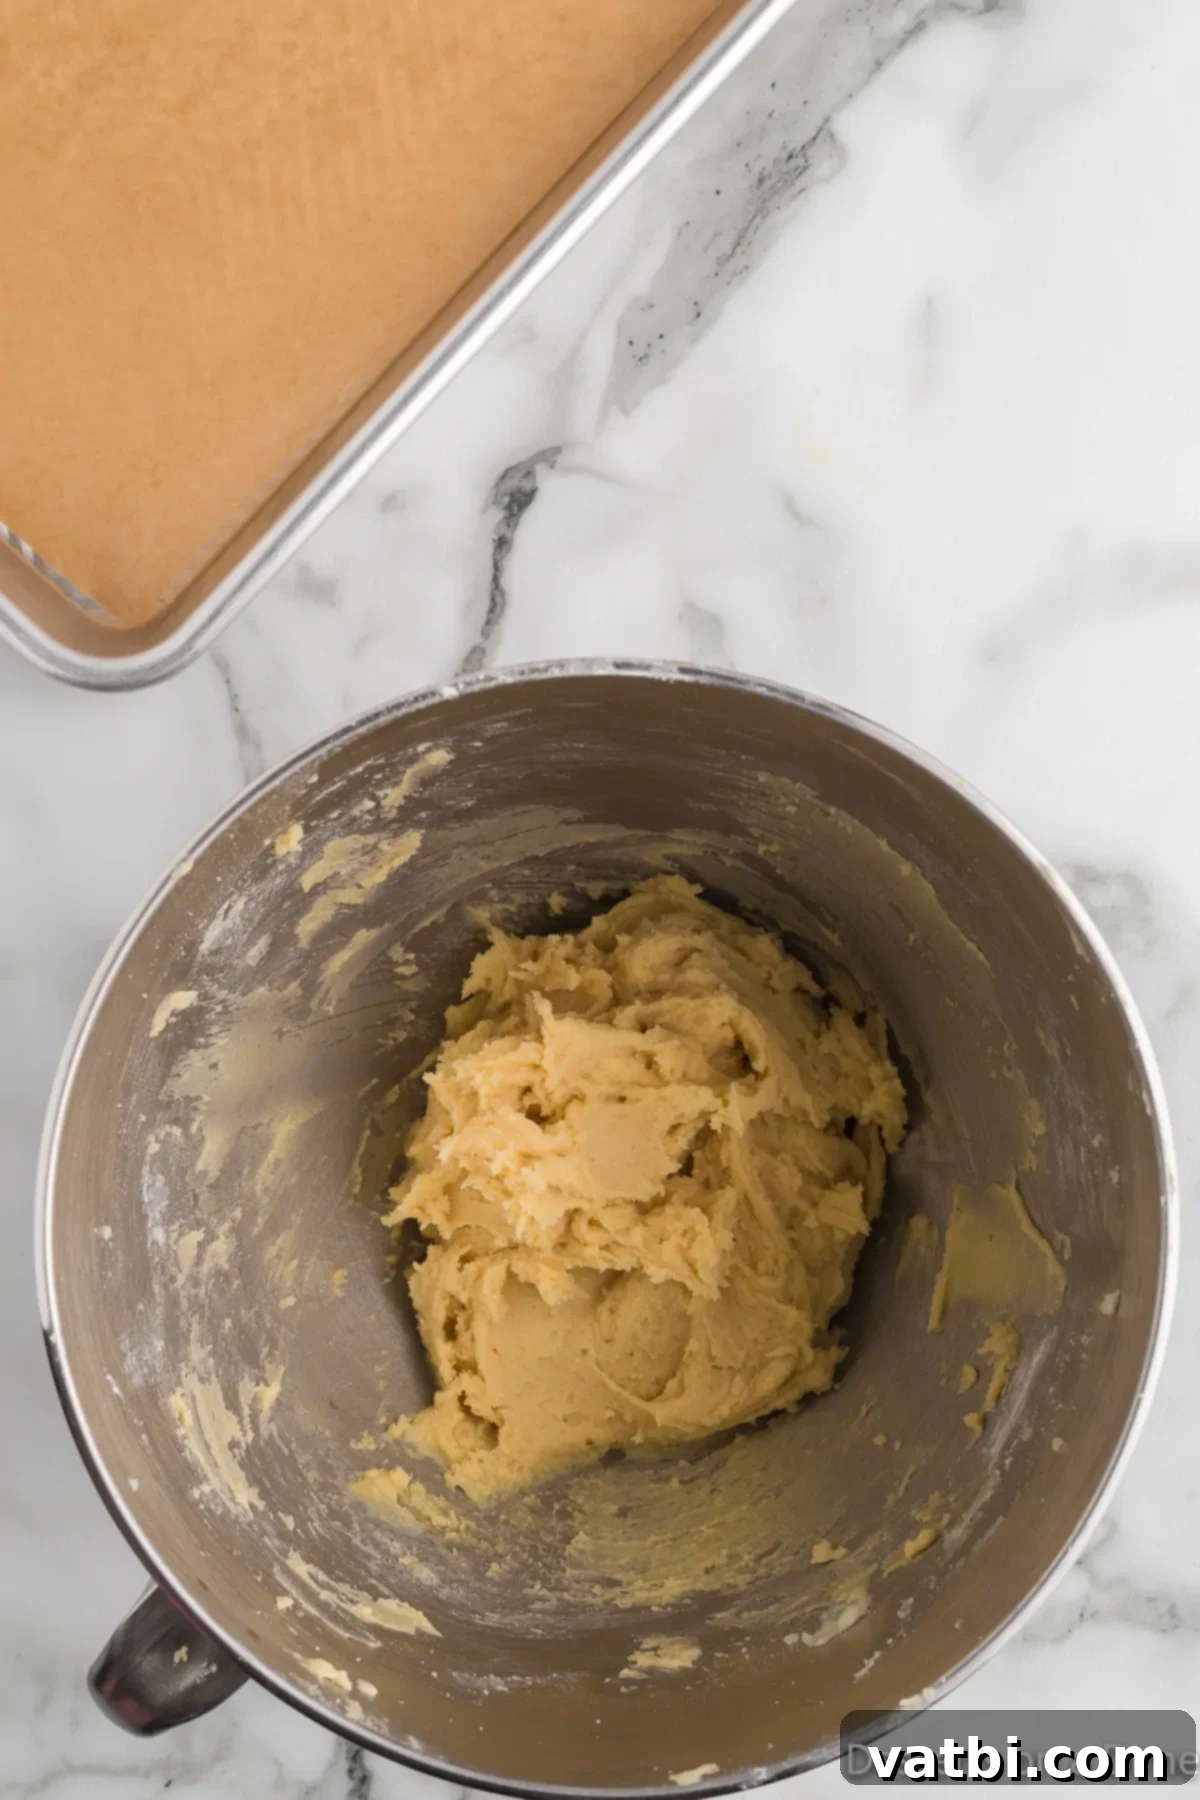
Step 6: Add Milk. Finally, add the milk to the batter. Stir gently until it is fully incorporated. Give the sides of the bowl a final scrape to ensure a homogeneous dough.
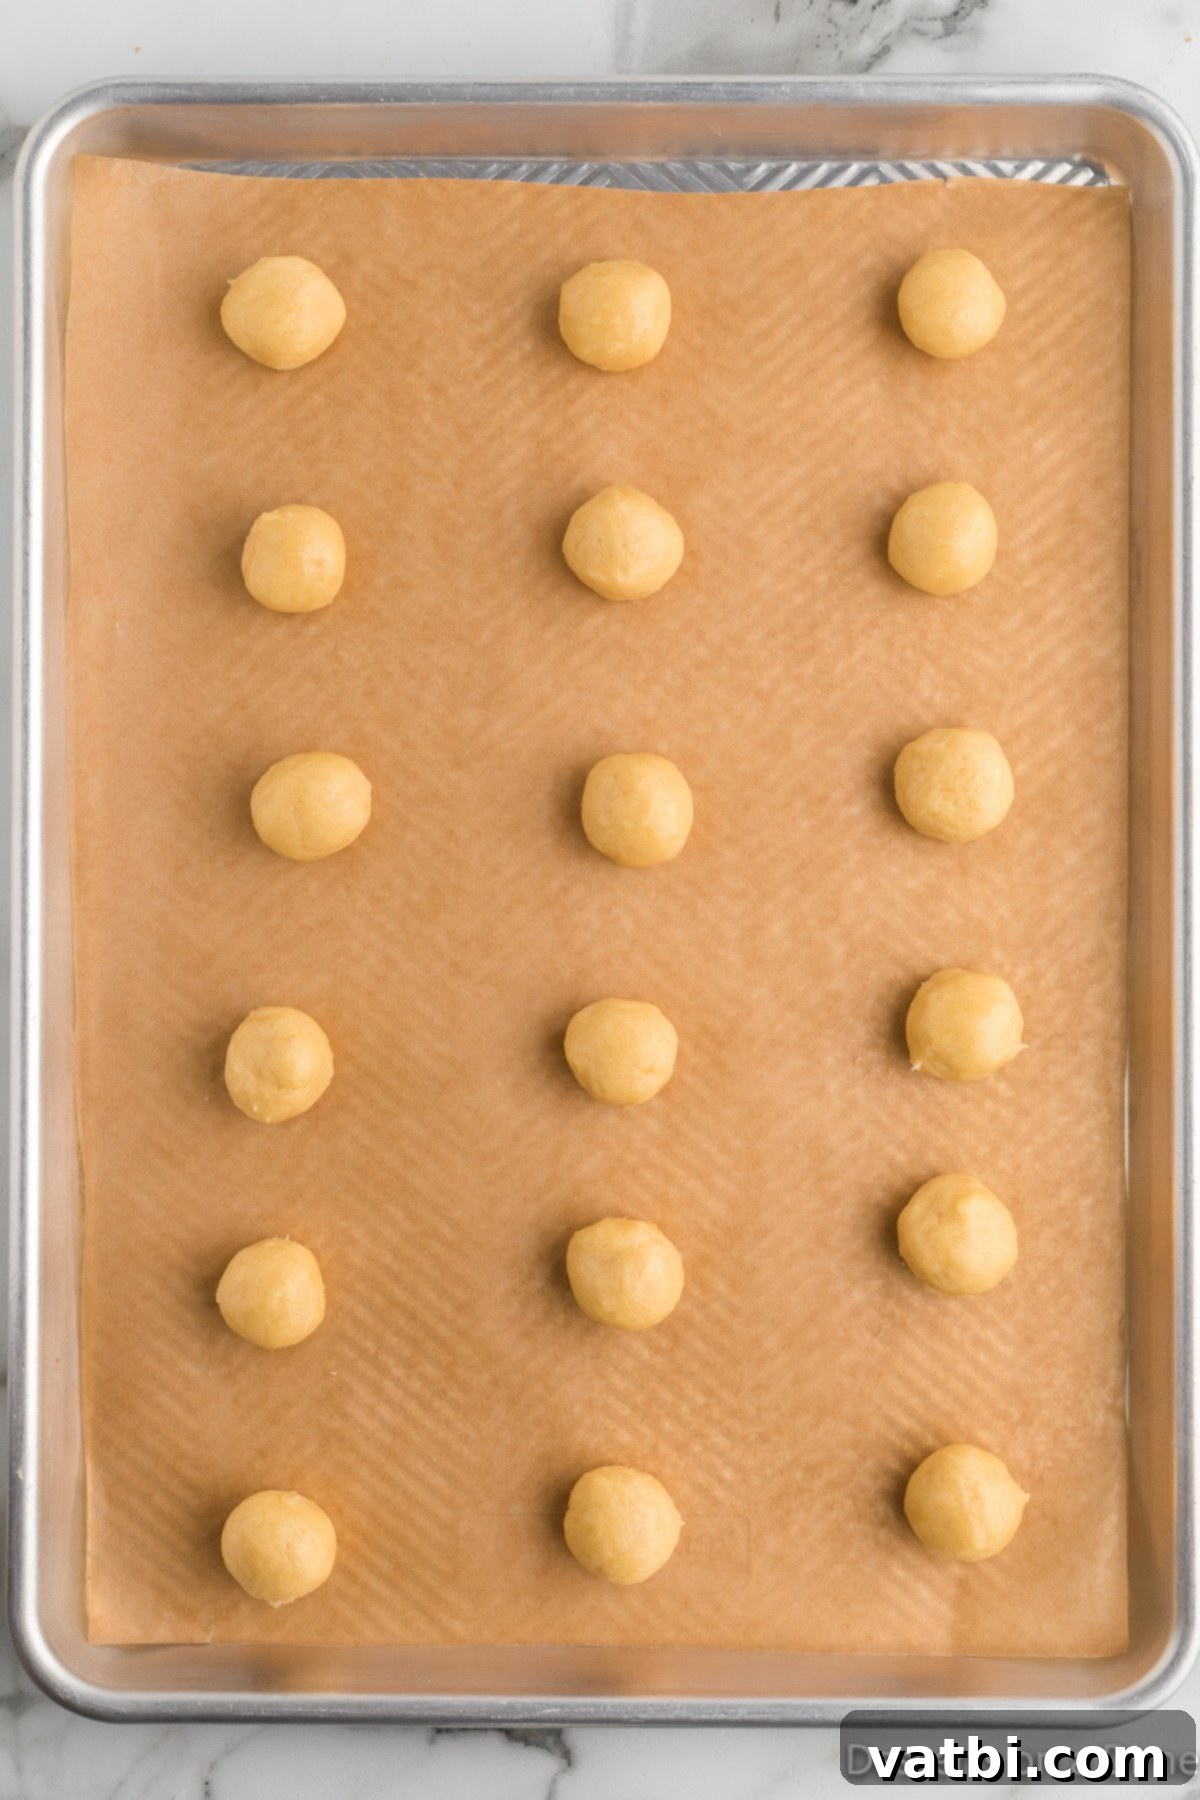
Step 7: Form the Cookies. Using a small cookie scoop (about 2 teaspoons in size), drop uniform mounds of dough onto the prepared baking sheets, ensuring they are spaced at least 2 inches apart to allow for spreading. While you can also pipe the dough into mounds using a piping bag, a cookie scoop offers consistent size and makes the process quicker.
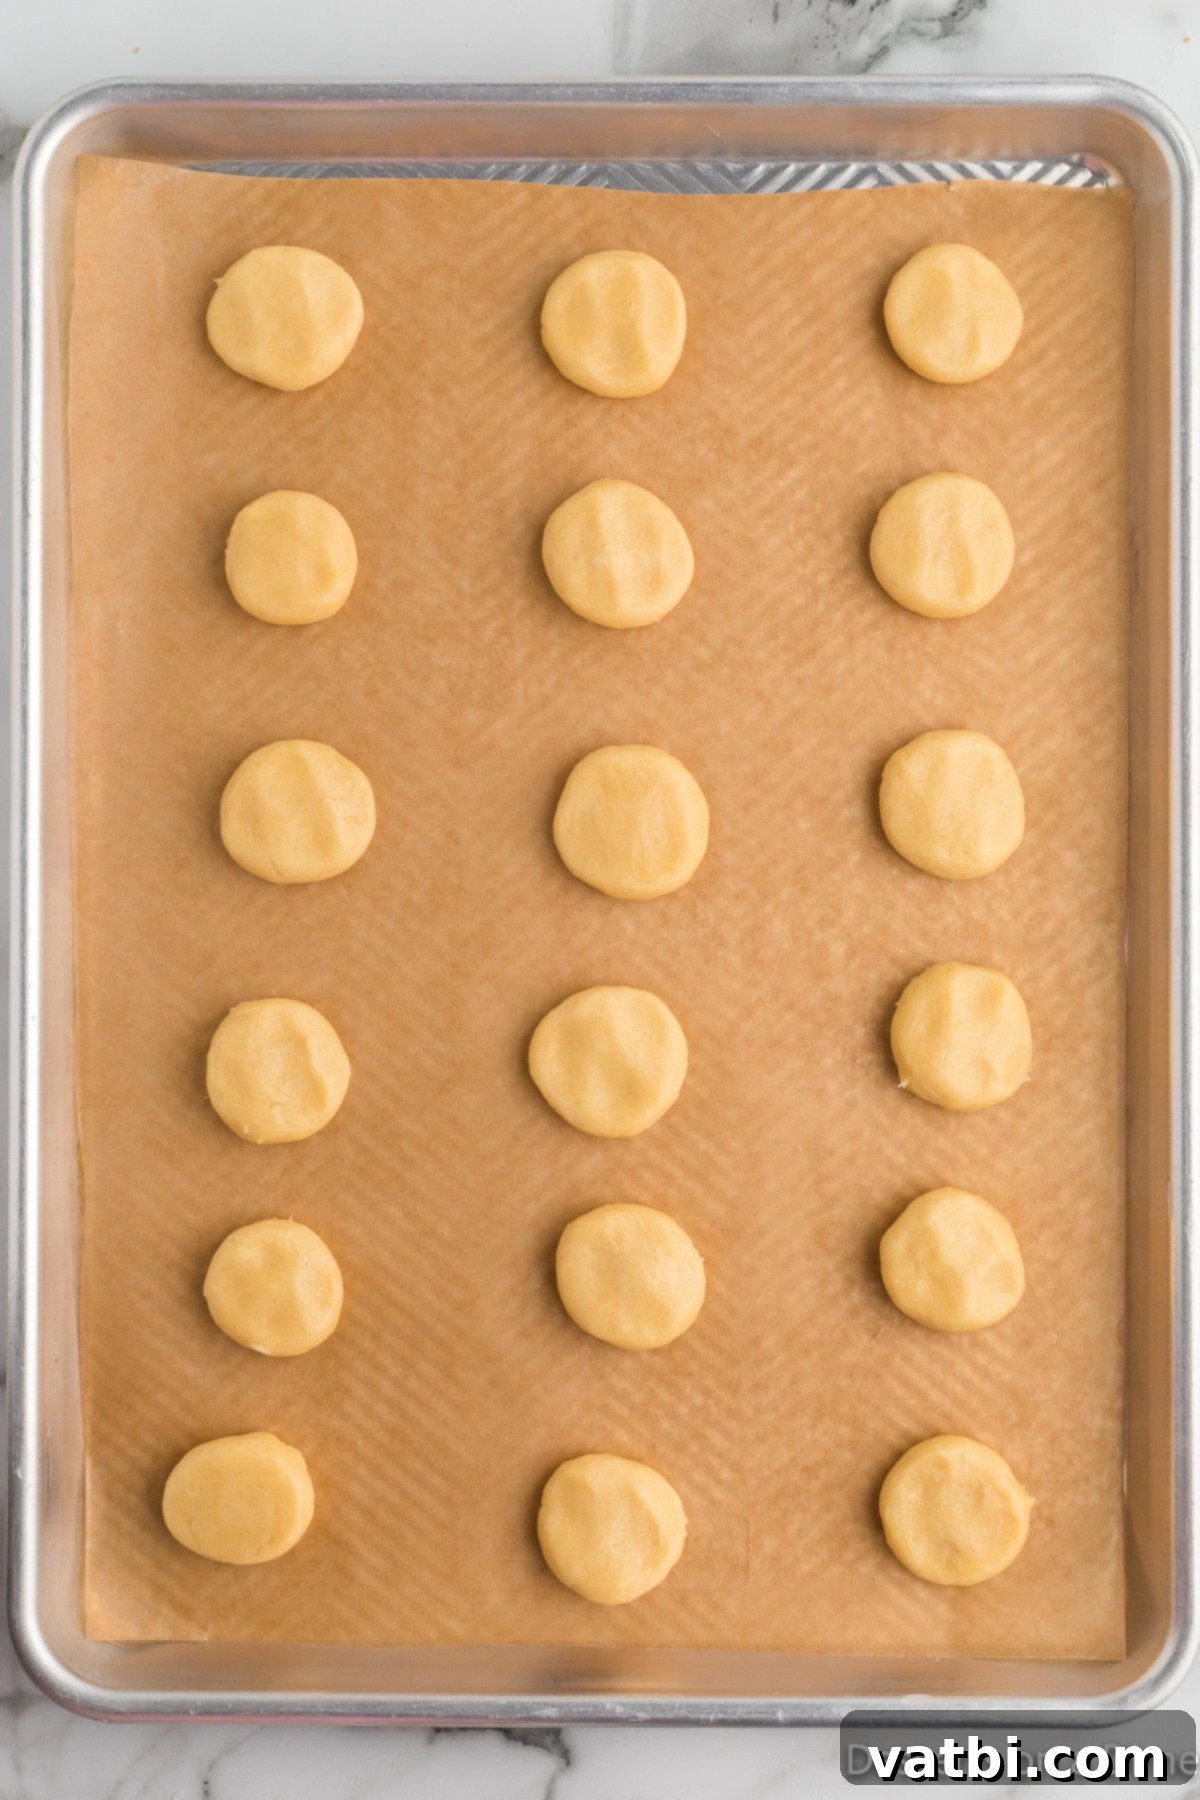
Step 8: Flatten the Mounds. To achieve that classic wafer shape and ensure even baking, gently flatten out each cookie mound with lightly damp fingertips. This also helps create the desired crisp edge.
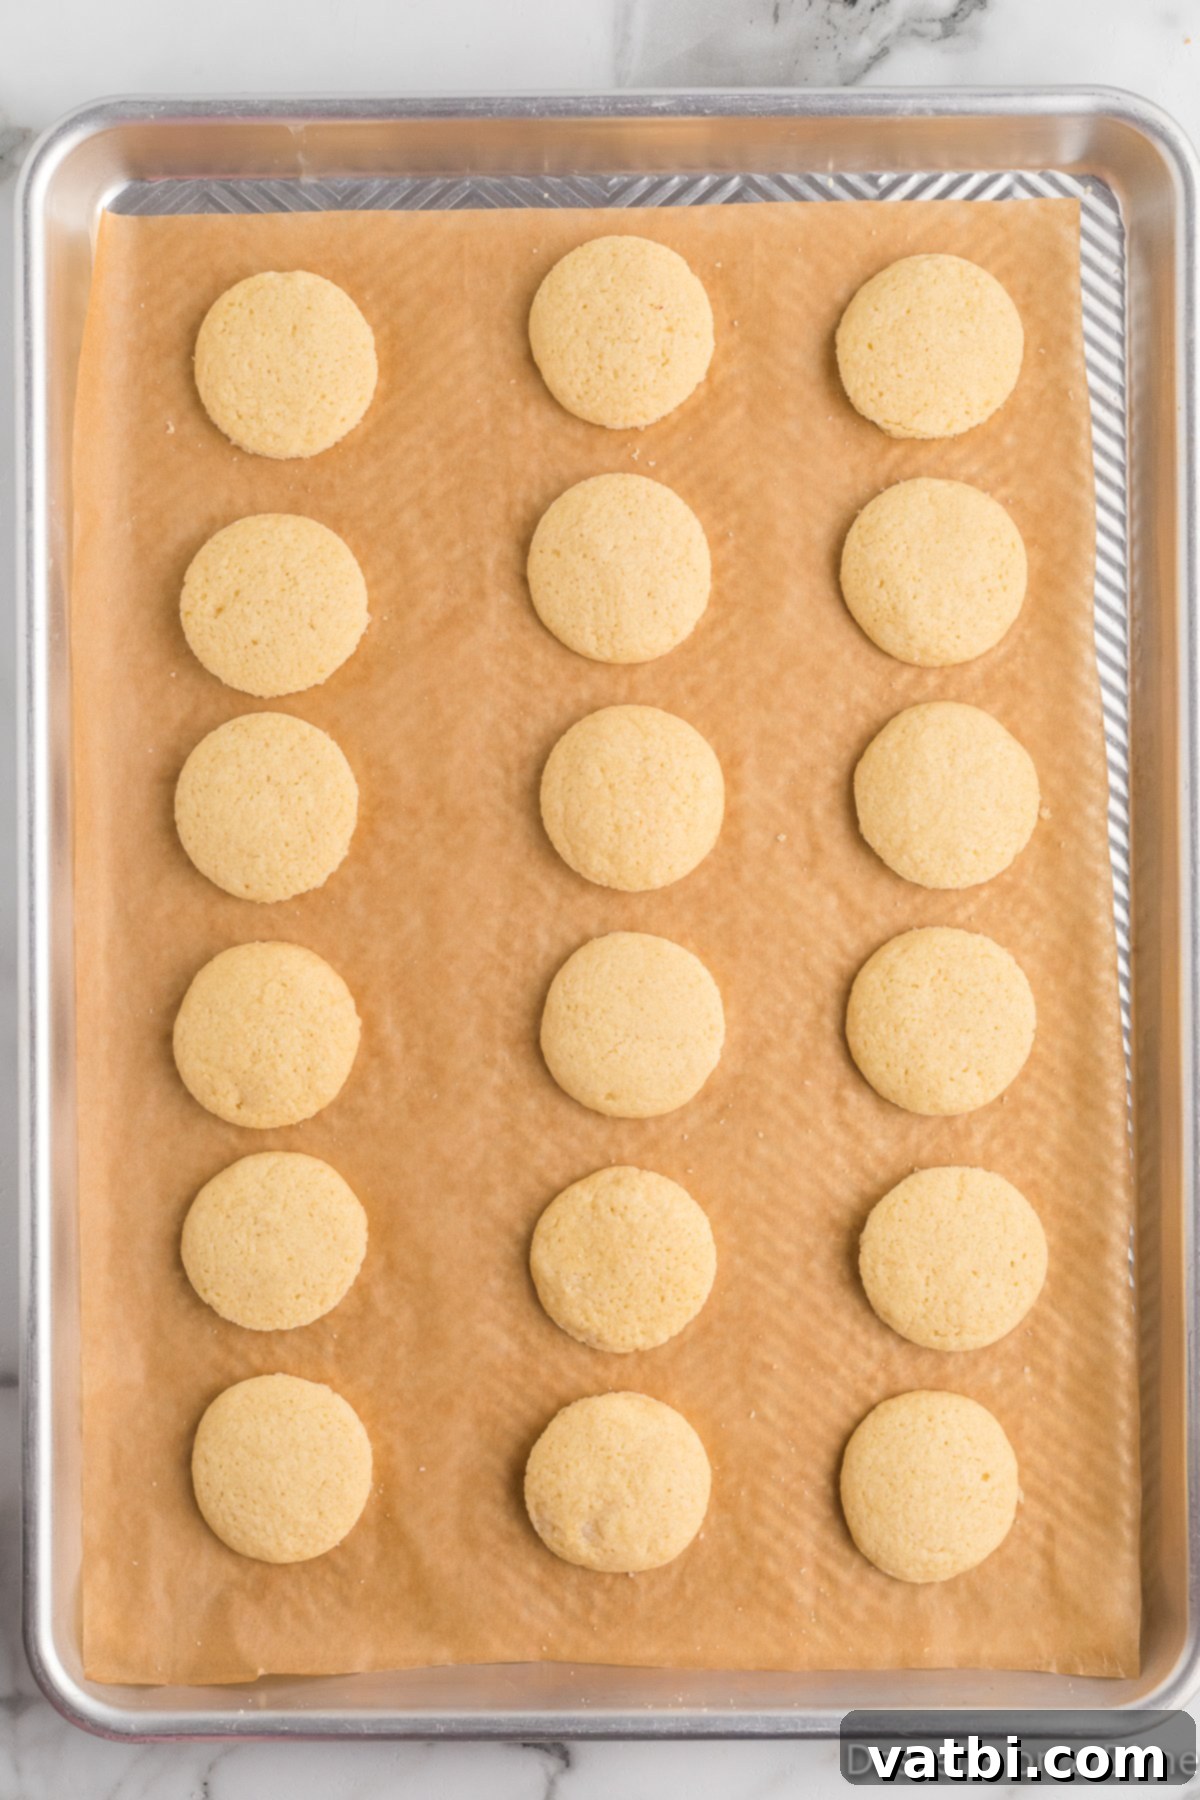
Step 9: Bake the Cookies. Bake for 12 to 15 minutes, or until the edges of the cookies are a light golden brown. The centers may still look slightly soft, but they will firm up as they cool. Avoid over-baking, as this can make them dry and brittle.
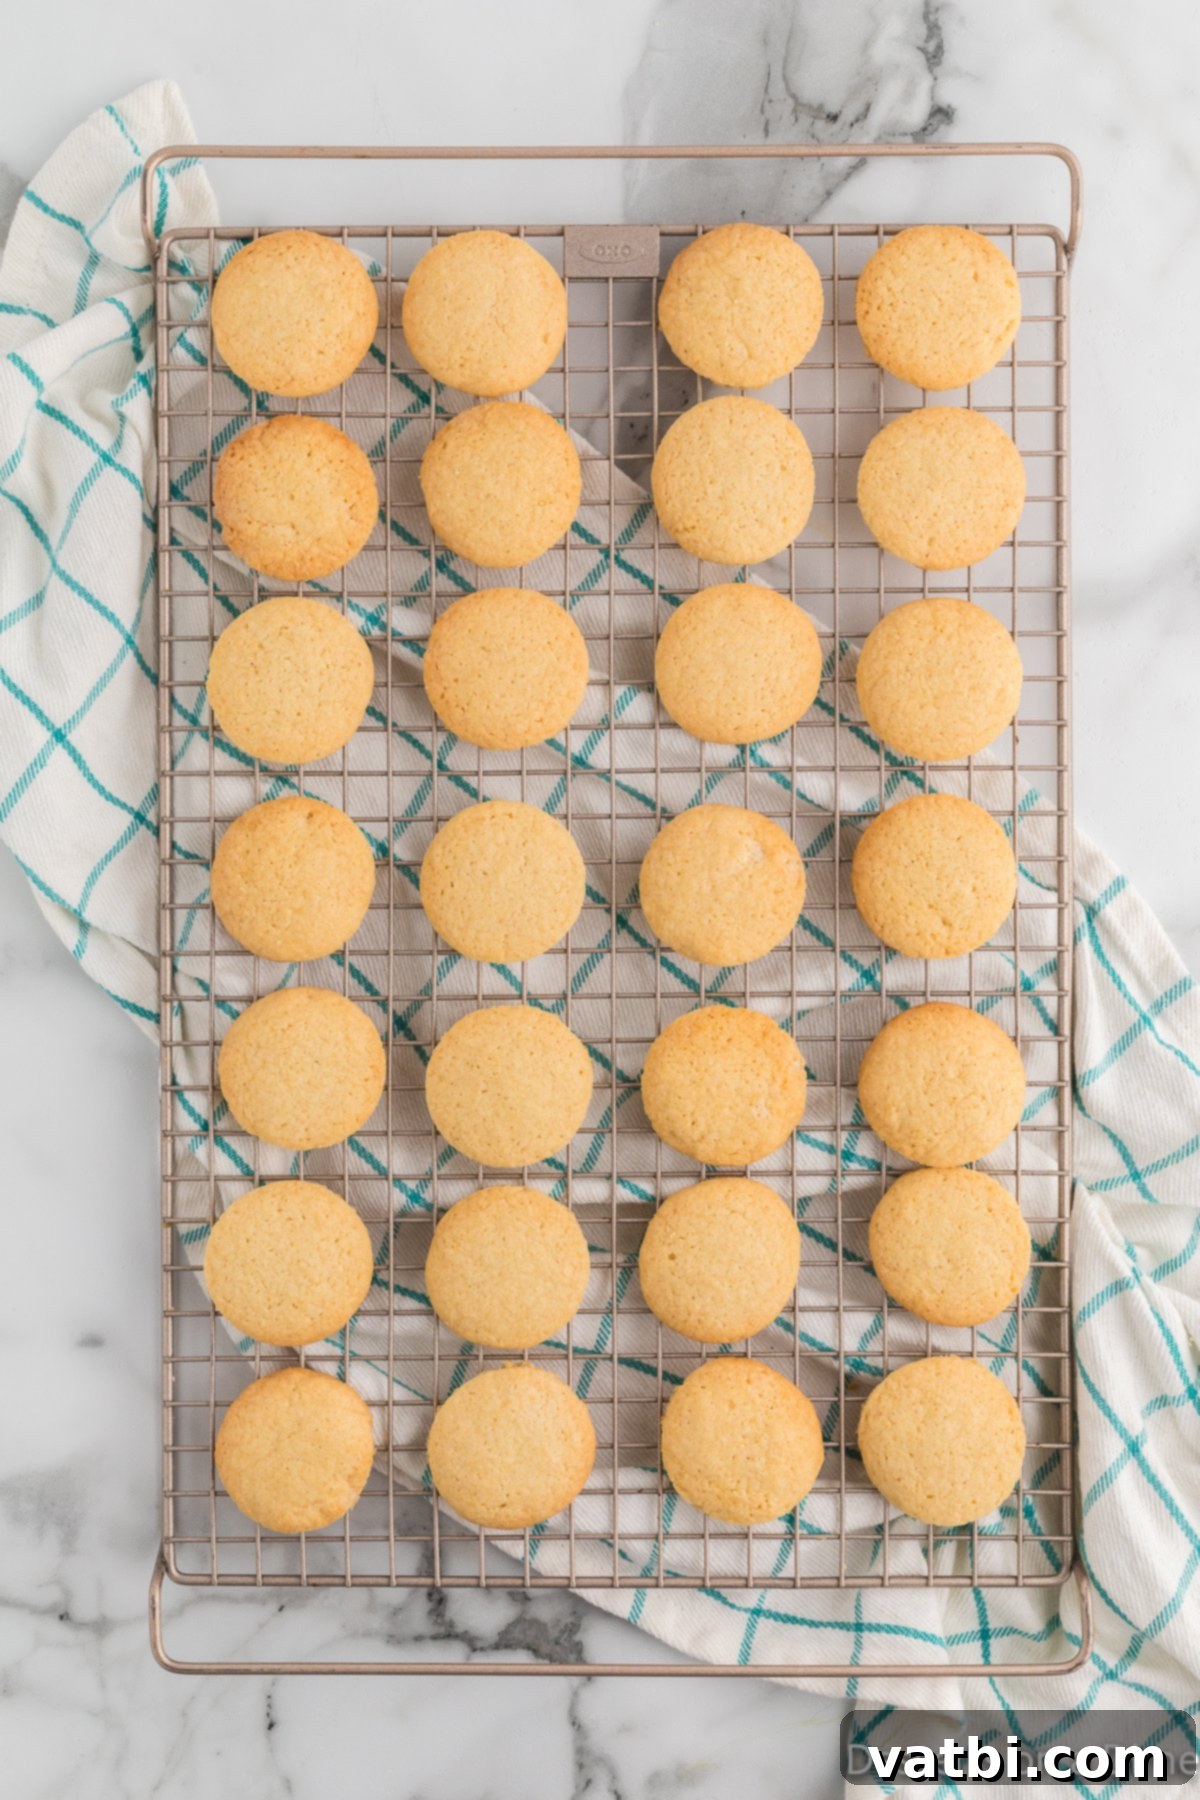
Step 10: Cool the Cookies. Allow the cookies to cool on the baking sheet for about 5 minutes. This brief cooling period helps them set and prevents them from breaking when you transfer them. After 5 minutes, carefully move them to a wire rack to cool completely. Cooling on a rack ensures air circulation, maintaining their crispness.
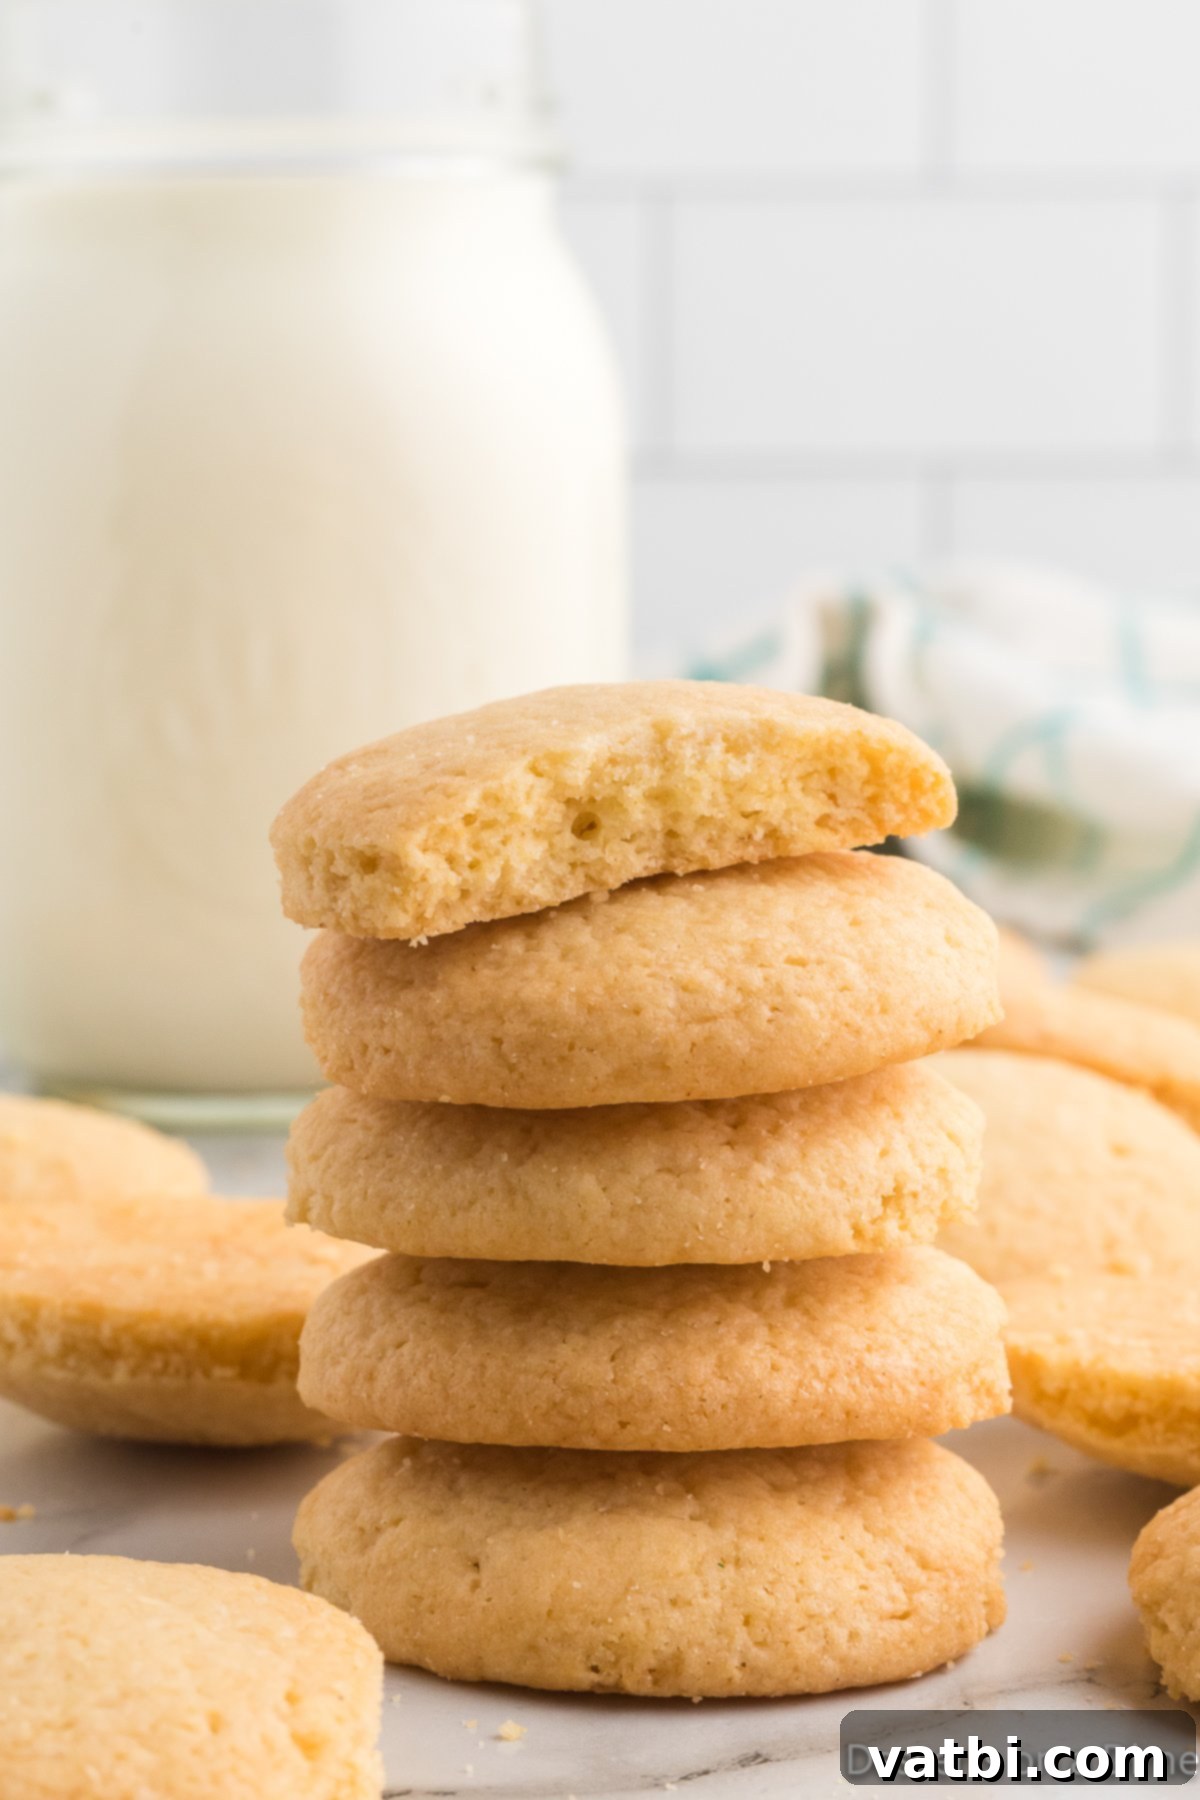
Step 11: Serve and Enjoy! Once your homemade vanilla wafers have cooled completely, they are ready to be savored. Enjoy them as a simple snack, or incorporate them into your favorite desserts!
With these easy-to-follow steps, you’ll be baking batches of irresistible vanilla wafers that will impress everyone who tries them. Happy baking!
Storing Your Delicious Vanilla Wafers
To keep your homemade vanilla wafer cookies fresh and crisp, proper storage is key. Here’s how to best store both baked cookies and even the dough:
- At Room Temperature: Once completely cooled, store the leftover cookies in an airtight container at room temperature. You can layer them between sheets of parchment paper to prevent sticking and keep them fresh for up to a week. Ensure the container is truly airtight to maintain their delicate crispness.
- Freezing Baked Cookies: These cookies also freeze exceptionally well! After they have cooled completely, place them in a single layer on a baking sheet and freeze for about 30 minutes until solid. Then, transfer the frozen cookies to a freezer-safe bag or an airtight freezer container. They will last for up to 3 months. When ready to enjoy, simply allow them to thaw at room temperature.
- Freezing Cookie Dough: You can also prepare the dough ahead of time and freeze it. Scoop the dough into mounds, flatten them slightly, and place them on a parchment-lined baking sheet. Freeze until solid, then transfer to a freezer bag. When you’re ready to bake, you can bake them from frozen (add a few extra minutes to the baking time) or thaw them in the refrigerator overnight.

Creative Ways to Serve Vanilla Wafer Cookies
These versatile homemade vanilla wafers are much more than just a simple cookie. Their delicate flavor and crisp texture make them perfect for a wide range of uses:
- Everyday Snacks: Enjoy these cookies as a delightful snack any day of the week. They’re perfect for lunchboxes, an afternoon pick-me-up with coffee or tea, or a light dessert after dinner.
- Paula Deen Banana Pudding: Elevate a classic! Use these homemade vanilla wafers in your favorite banana pudding recipe (like this one inspired by Paula Deen) to create a truly luscious and unforgettable dessert. Their buttery flavor perfectly complements the creamy pudding and fresh bananas.
- Banana Pudding Fluff: Crumble these homemade wafers over the top of a fluffy banana pudding dessert for added texture and an explosion of flavor. It will be so incredibly delicious!
- Eclair Cookies: While this recipe is amazing on its own, imagine incorporating or topping it with homemade vanilla wafers for an extra layer of gourmet taste and texture.
- Banana Cream Cheesecake Bars: Skip the graham crackers! Use crushed homemade vanilla wafers to make an incredible, buttery pie crust for these delightful cheesecake bars. Their unique flavor will make the crust truly stand out.
- Ice Cream Topping or Sandwiches: Crumble the cookies over a scoop of your favorite ice cream, or use two wafers to sandwich a small scoop for a fun, bite-sized ice cream treat.
- Trifle Layers: Substitute traditional sponge cake with layers of homemade vanilla wafers in your next trifle for a unique texture and flavor profile.
- As a Base for Other Desserts: Crush them up and use them as a delicious crust for cheesecakes, parfaits, or even key lime pie.
- With Coffee or Tea: Their delicate sweetness makes them an ideal accompaniment to your morning coffee or an afternoon cup of tea.
Pro Tips for the Best Vanilla Wafers
Achieving bakery-quality vanilla wafers at home is easy with a few simple tricks. Keep these pro tips in mind to ensure your cookies turn out perfectly every time:
- Room Temperature Ingredients are a Must: Always ensure your eggs and butter are at room temperature before you begin. This is crucial for proper emulsification – meaning they will combine more easily and thoroughly, creating a smoother, more uniform batter. This leads to a better texture in your finished cookies.
- Don’t Skimp on Vanilla: Vanilla extract is the star flavor here. Use pure vanilla for the most authentic and rich taste. Investing in a good quality vanilla extract (or even vanilla bean paste for extra intensity) will significantly impact the final flavor.
- Consider Doubling the Recipe: These cookies disappear quickly! If you plan to use some for snacking and a batch for baking into other desserts (like banana pudding), you might want to double the recipe from the start.
- Prepare Your Baking Sheets Properly: Line your baking sheets with parchment paper or a silicone baking mat. This not only prevents the cookies from sticking but also promotes even browning and makes for incredibly easy cleanup.
- Chill the Dough (Optional but Recommended): While not strictly necessary, chilling the dough in the refrigerator for at least 30 minutes to an hour before scooping can work wonders. Chilled dough is firmer, easier to handle, and helps prevent the cookies from spreading too much during baking, resulting in a slightly thicker, more consistent wafer.
- Do Not Overmix the Batter: Once you add the flour, mix on low speed only until the ingredients are just combined and no streaks of dry flour remain. Overmixing develops gluten, which can lead to tough, chewy cookies instead of light and crisp ones.
- Bake Until Just Golden: Keep a close eye on your cookies during the last few minutes of baking. They should be lightly golden brown around the edges. The centers might still look slightly soft, but they will firm up as they cool. Overbaking will result in dry, brittle cookies.
- Cool Completely on a Wire Rack: After the initial 5 minutes on the baking sheet, transfer the cookies to a wire rack to cool fully. This allows air to circulate around them, preventing condensation and ensuring they stay wonderfully crisp.
- Uniform Size for Even Baking: Use a cookie scoop to ensure each cookie mound is roughly the same size. This guarantees that all your vanilla wafers bake evenly and finish at the same time.
Homemade Vanilla Wafers in Banana Pudding: A Match Made in Heaven?
Absolutely, yes! Using your homemade vanilla wafers in a classic banana pudding recipe isn’t just a good idea – it’s a fantastic one! This simple act elevates the entire dessert, making it even more delicious and truly unforgettable.
The rich, buttery flavor and delicate crispness of homemade wafers integrate beautifully with the creamy pudding and ripe bananas. They absorb the moisture from the pudding perfectly, softening into a tender, flavorful layer that complements every bite.
If I’m planning to make banana pudding with my homemade wafers, I often leave the desired amount of cookies out overnight, uncovered, to let them get a bit stale. This allows them to absorb the pudding more effectively, creating a wonderfully tender and flavorful texture in the finished dessert. However, this is totally based on personal preference, and you can absolutely use them fresh from the oven if you prefer a slightly firmer bite.
You are truly going to love the decadent and delicious experience of homemade vanilla wafers in banana pudding. It’s a simple change that makes a huge difference!
For those needing a gluten-free option, don’t worry! You can explore recipes like these Gluten Free Shortbread Cookies as a delicious alternative for your pudding base.
Troubleshooting Common Vanilla Wafer Issues
Even with a straightforward recipe, sometimes things don’t go exactly as planned. Here are some common issues you might encounter when making vanilla wafers and how to fix them:
- My cookies are spreading too much and are too flat!
- Butter too soft: If your butter was overly soft or melted, it won’t hold air when creamed, leading to spread. Ensure butter is just softened to room temperature.
- Oven temperature: An oven that’s not hot enough can cause cookies to spread before setting. Use an oven thermometer to verify accuracy.
- No chilling: Chilling the dough (as mentioned in pro tips) helps solidify the butter, reducing spread.
- Overmixing: Overmixing after adding flour can develop gluten, leading to flatter, tougher cookies.
- My cookies are tough or dry!
- Too much flour: This is a common culprit. Always use the “spoon and level” method for measuring flour.
- Overmixing: Again, overmixing the flour develops gluten, making cookies tough. Mix only until just combined.
- Overbaking: Baking for too long will dry out the cookies. Watch for lightly golden edges and pull them out!
- My cookies lack flavor!
- Artificial vanilla: Ensure you’re using high-quality pure vanilla extract.
- Old baking powder: If your baking powder is old, it won’t activate properly, affecting both rise and overall flavor balance. Test it by adding a teaspoon to hot water – it should fizz vigorously.
- Can I make this recipe gluten-free?
- Yes, you can! Substitute the all-purpose flour with a 1:1 gluten-free all-purpose flour blend that contains xanthan gum. The texture might be slightly different, but it will still yield delicious results.
- Can I make them ahead of time?
- Absolutely! The dough can be prepared and chilled for up to 2-3 days in the refrigerator, or frozen for up to 3 months. Baked cookies can also be stored at room temperature for a week or frozen for up to 3 months.
More Irresistible Homemade Cookie Recipes
If you’ve enjoyed making these vanilla wafers, you’re in for a treat with these other fantastic homemade cookie recipes from our collection:
- Custard Cookies
- Soft Gingerbread Cookies Recipe
- Chocolate Chip Pudding Cookies Recipe
- Pumpkin Sugar Cookies
- Cinnamon Roll Cookies
- Butter Pecan Cookies
Once you try this easy and incredibly tasty homemade vanilla wafer recipe, you’ll be hooked! Their delightful flavor and delicate texture make them an instant favorite for any occasion, proving that sometimes, the simplest things are truly the best. We encourage you to try them today and experience the difference!
Come back and leave a star recipe rating and comment to share your experience – we love hearing from you!
Pin
Vanilla Wafer Cookies Recipe
Ingredients
- 1 1/2 cups All Purpose Flour
- 3/4 teaspoons Baking Powder
- 1 Large Egg room temperature
- 3/4 cup Granulated Sugar
- 1 Tablespoon Vanilla Extract
- 1/2 teaspoon Salt
- 1/2 cup Unsalted Butter softened
- 1 Tablespoon Milk
Instructions
-
Preheat the oven to 350 degrees F.
-
Beat together the butter and sugar in a large bowl with a hand held mixer or stand up mixer until creamy. Then add in the egg and vanilla extract until combined.
-
In a separate bowl, whisk together the flour, baking powder and salt.
-
Slowly add the flour mixture to the butter mixture and mix on low speed until just combined. Be careful not to over mix.
-
Then add in the milk and stir until combined.
-
Scoop the cookie dough into 2 teaspoon size scoops onto a baking sheet at least 2 inches apart. Gently flatten out the cookies with damp fingertips.
-
Bake for 12-14 minutes until the edges of the cookies are a light golden brown.
-
Allow the cookies to sit on the baking sheet for 5 minutes. Then move them to a wire rack to cool completely. Enjoy!
Nutrition Facts
Pin This Now to Remember It Later
Pin Recipe
