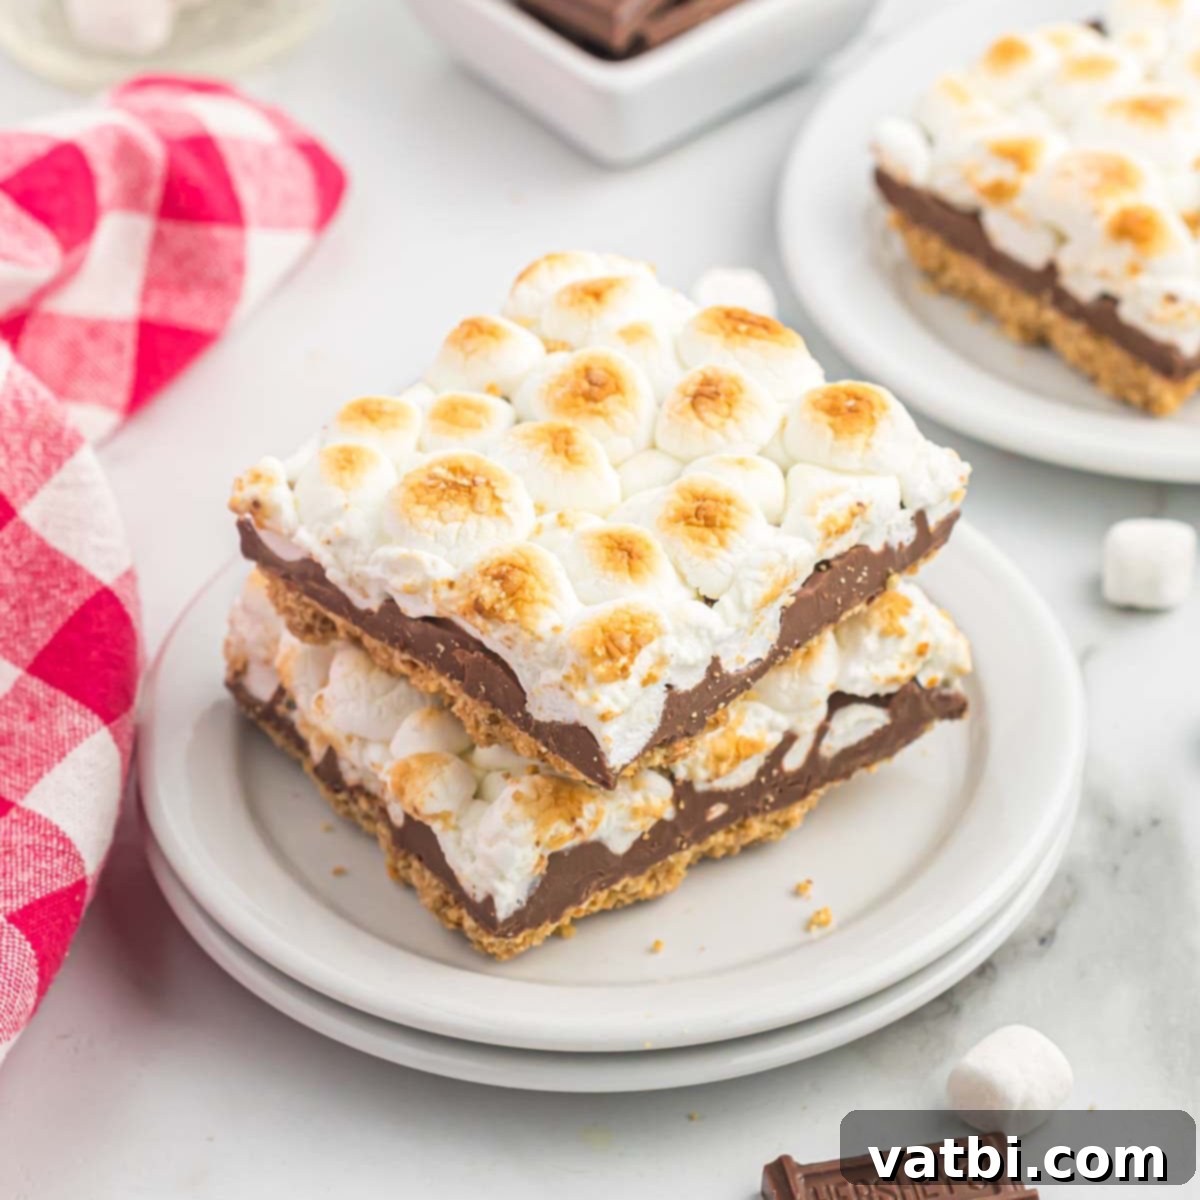
Irresistible S’mores Bars Recipe: The Ultimate Crowd-Pleasing Dessert
Craving the classic taste of s’mores but without the hassle of a campfire? Our homemade S’mores Bars recipe is the ultimate solution! These decadent, gooey, and utterly delicious dessert bars capture all the beloved flavors of traditional s’mores in an easy-to-serve format, perfect for feeding a crowd. Imagine layers of buttery graham cracker crust, rich melted chocolate, and golden-brown, toasted marshmallows – all in a convenient bar. Whether you’re hosting a party, planning a game night, or simply seeking a comforting treat, these easy s’mores bars are guaranteed to be a hit. They offer all the gooey goodness you desire, simplifying the serving process and making s’mores enjoyment effortless. Get ready to discover your new favorite way to experience this iconic dessert!
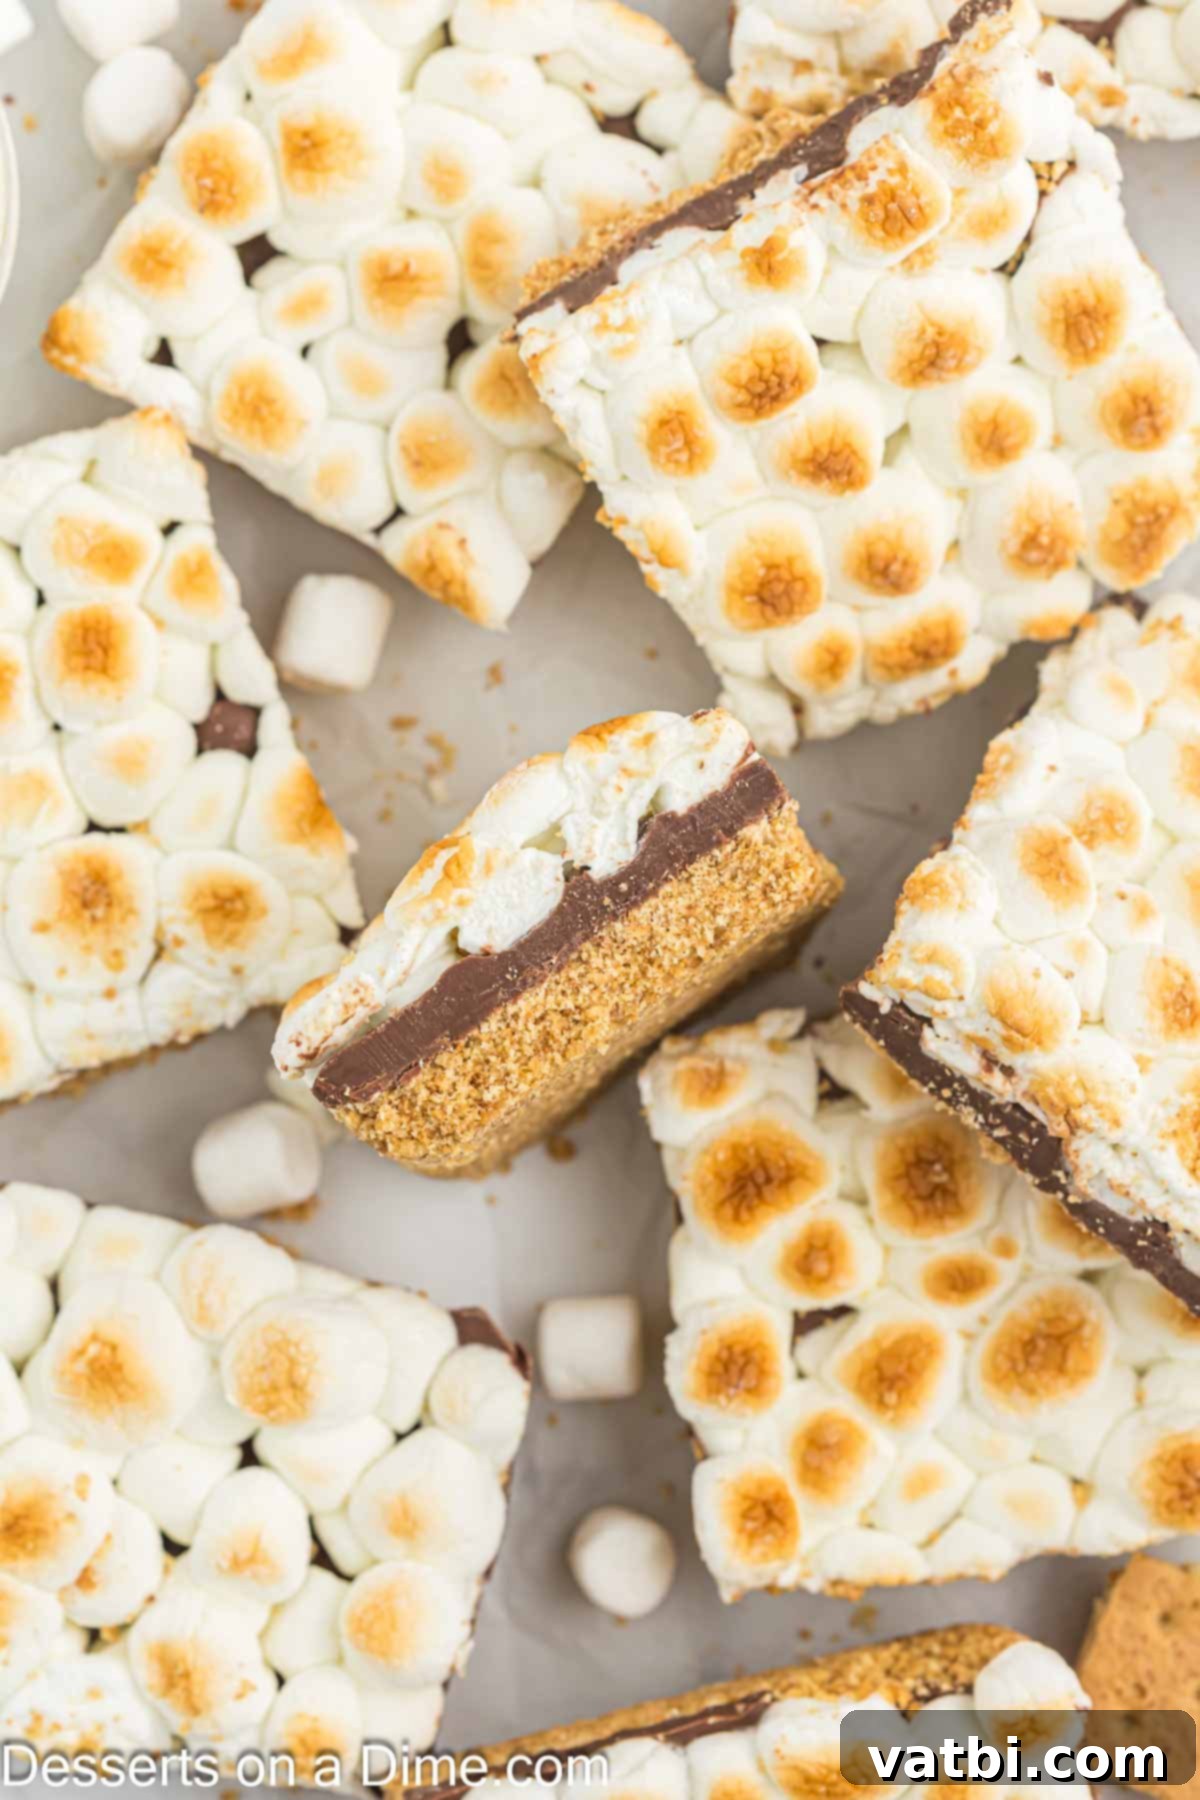
What’s not to love about the irresistible combination of sweet, ooey-gooey marshmallows and rich, melted chocolate? This S’mores bars recipe takes indulgence to a whole new level, making it a truly amazing dessert experience. If you’re a devoted s’mores enthusiast, like us, then these homemade s’mores bars are an absolute must-try. They join a fantastic lineup of s’mores-inspired treats that are equally delightful, such as S’mores Cookies, S’mores Cheesecake, and S’mores Cones. Each offers a unique spin on the classic, but these bars stand out for their incredible convenience and shareable nature.
Looking to expand your repertoire of fun and delicious dessert bars? Beyond these incredible s’mores treats, we highly recommend exploring other delightful options like Paula Deen Pumpkin Bars, the creamy and delightful Churro Cheesecake, and the surprisingly addictive Soda Cracker Toffee. There’s always a perfect bar recipe for every occasion!
Table of contents
- Why We Love this Recipe
- Ingredients
- Variations and Substitutions
- How to make S’mores Bars
- Expert Tips
- FAQs
- More Easy S’mores Desserts
Why You’ll Absolutely Love These Easy S’mores Bars
These S’mores Bars aren’t just another dessert; they’re a revelation for anyone who loves the classic campfire treat but appreciates convenience and ease. Here’s why this particular recipe will quickly become a cherished favorite in your kitchen:
- Incredibly Simple 5-Ingredient Recipe: Forget complicated ingredient lists or trips to specialty stores! To create these wonderfully simple S’mores Bars, you only need five essential items: wholesome graham cracker crumbs, fluffy mini marshmallows, rich butter, a touch of brown sugar, and classic Hershey’s Chocolate Bars. That’s it! There’s no need for extras like baking powder or salt, keeping this recipe straightforward and stress-free. It’s perfect for beginner bakers or those short on time.
- Effortless Layering and Roasting Process: The beauty of this recipe lies in its simplicity. Crafting these delicious bars involves nothing more than layering the ingredients in your baking dish and then quickly roasting the marshmallows to golden perfection. The steps are intuitive and require minimal effort, making it a joy to prepare. You’ll spend less time in the kitchen and more time enjoying the anticipation of a truly exceptional dessert.
- A Breeze Compared to Campfire S’mores: While traditional campfire s’mores hold a special place in our hearts, they aren’t always practical, especially when you need to serve many people. With these S’mores Bars, there’s no need to build a fire, battle smoke, or worry about perfectly toasted marshmallows for each individual. This oven-baked method ensures uniform deliciousness for every single bar, effortlessly making enough to satisfy a large crowd without any of the outdoor fuss. It’s the ultimate indoor s’mores experience.
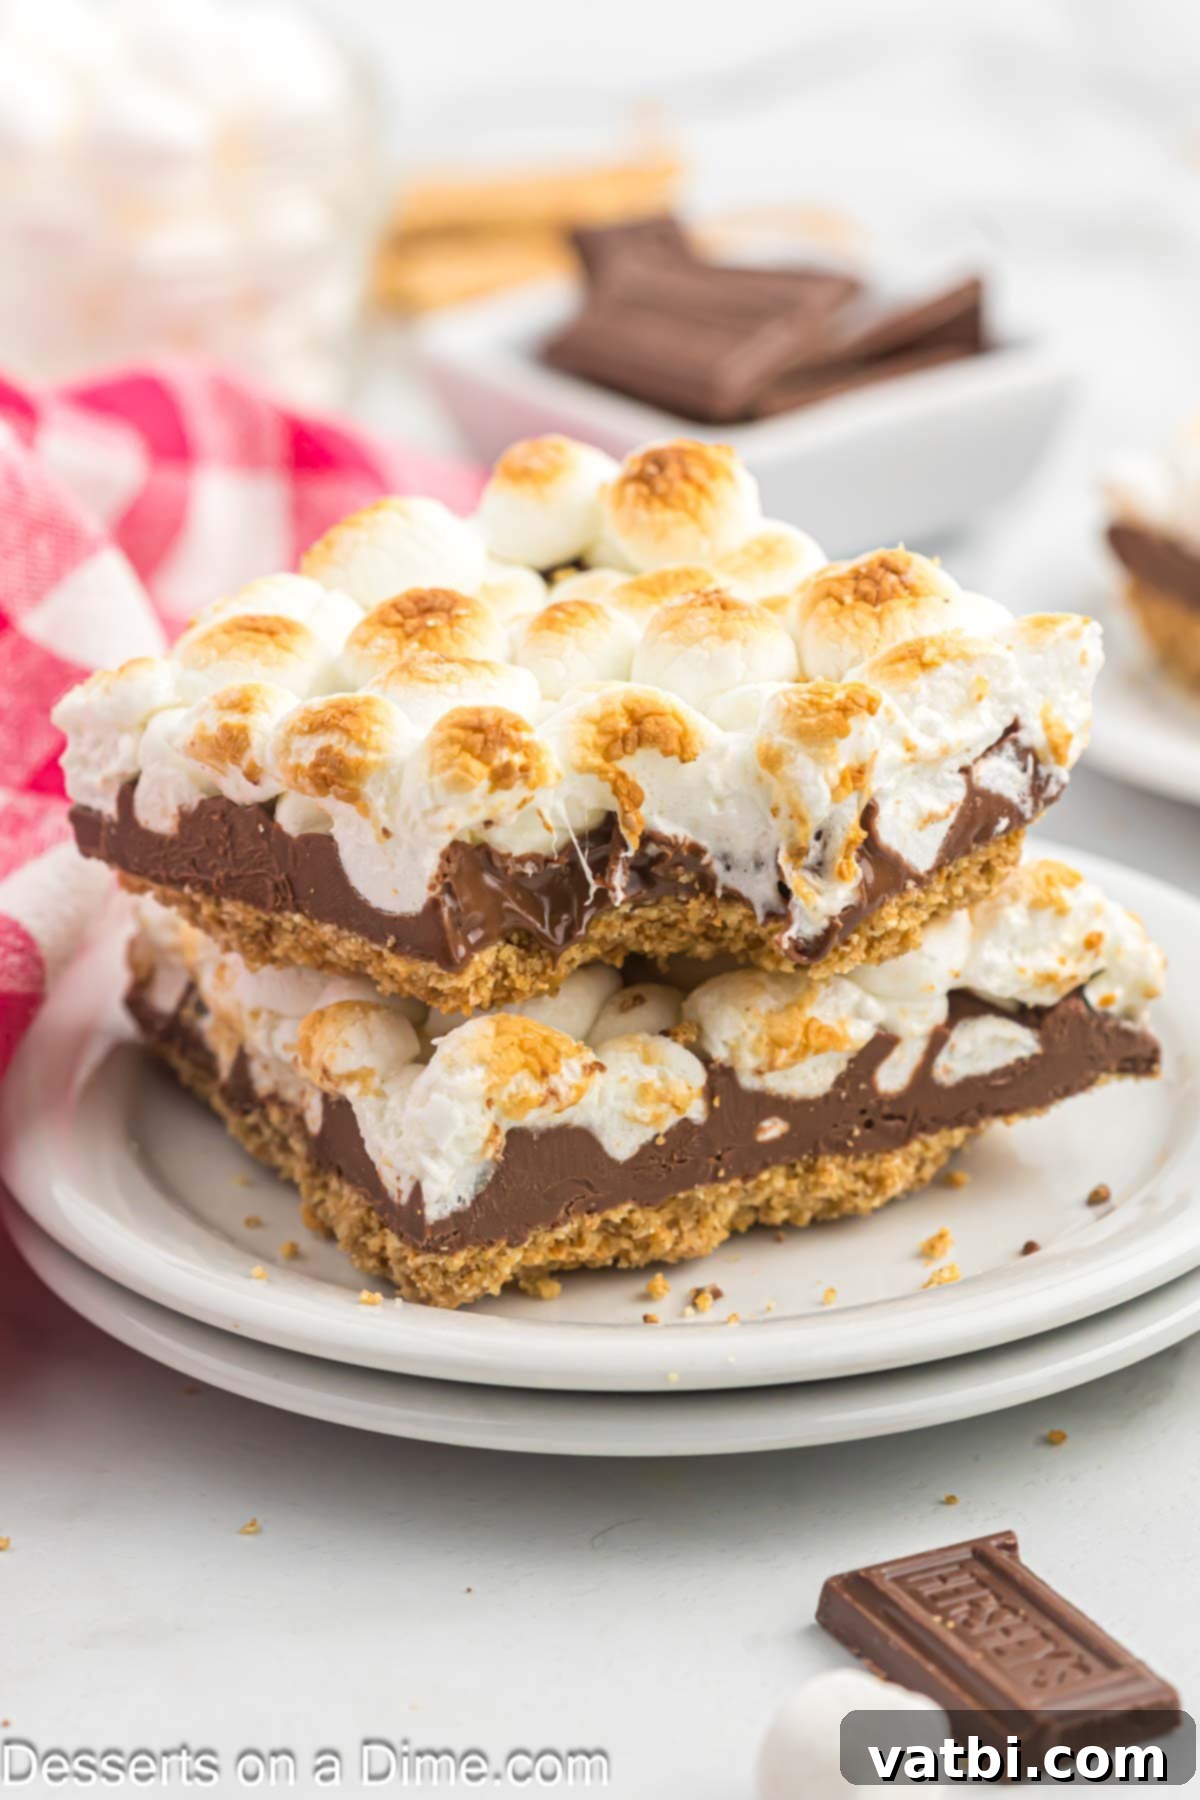
- Explosion of Classic S’mores Flavor in Every Bite: Prepare your taste buds for an incredible sensory experience! We adore how every single bite of these s’mores bars delivers the quintessential trifecta of flavors and textures. You get the delightful crunch and honeyed notes of the graham cracker crust, followed by the smooth, melting bliss of chocolate, all crowned with the sweet, gooey, and slightly caramelized chewiness of toasted marshmallows. It’s a harmonious blend that perfectly encapsulates everything wonderful about s’mores.
Essential Ingredients for Perfect S’mores Bars
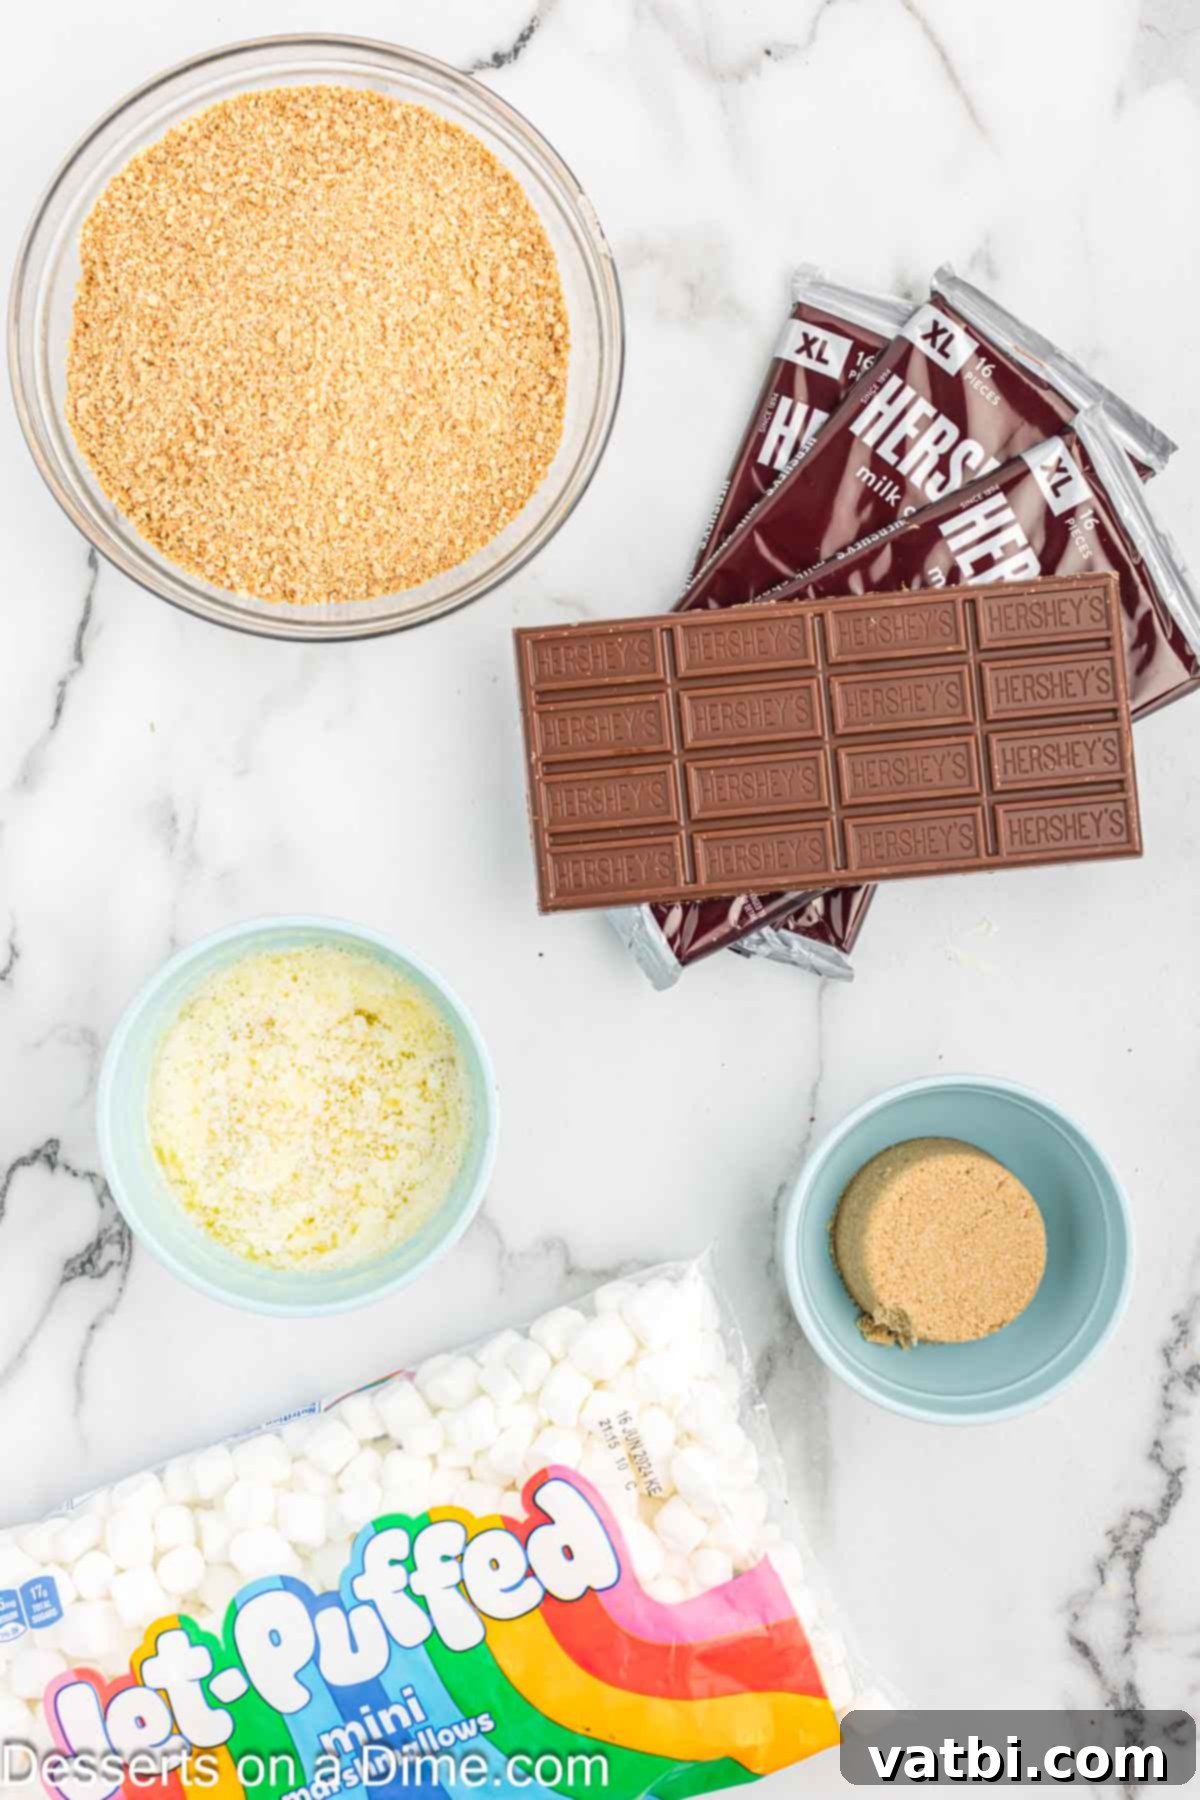
Creating these heavenly S’mores Bars requires a handful of simple, readily available ingredients that come together to form that iconic flavor profile. Here’s a closer look at what you’ll need to gather:
- Graham Cracker Crumbs: This forms the foundational crust of our s’mores bars. You have the flexibility to either crush full graham cracker sheets yourself using a food processor or a Ziploc bag and rolling pin, or opt for the convenience of pre-made graham cracker crumbs available at most grocery stores. Both options work perfectly, so choose what’s easiest for you!
- Brown Sugar: Adding brown sugar to the graham cracker crust not only provides a lovely sweetness but also introduces a subtle molasses flavor and helps bind the crust together, ensuring it bakes up firm and delicious. If you’re out of brown sugar, don’t worry! You can explore The Best Brown Sugar Substitutes to find a suitable alternative.
- Mini Marshmallows: While large marshmallows are iconic for campfires, for bars, we highly recommend using mini marshmallows. Their smaller size allows for a more even distribution across the chocolate layer, creates a smoother melt, and makes the bars significantly easier to cut and serve. They also toast beautifully under the broiler, giving you that perfect golden-brown top.
- Butter (Melted): Essential for binding the graham cracker crumbs and brown sugar into a cohesive crust. Melted butter ensures the crust is rich, flavorful, and holds its shape after baking.
- Hershey’s Chocolate Bars: The classic choice for s’mores! Hershey’s milk chocolate bars melt beautifully and provide that signature creamy chocolate layer. We suggest using 4.4-ounce bars for optimal coverage.
For the complete, precise measurements and detailed instructions for each ingredient, please refer to the comprehensive recipe card located at the bottom of this page. It contains all the exact quantities you’ll need to whip up a batch of these amazing S’mores Bars!
Creative Variations and Smart Substitutions for Your S’mores Bars
One of the best things about this S’mores Bars recipe is its versatility! While the classic combination is always a winner, don’t hesitate to get creative with these delicious variations and substitutions to customize them to your taste or what you have on hand:
- Change Up the Chocolate: While Hershey’s milk chocolate is traditional, feel free to experiment! You can create a delectable peanut butter and chocolate bar by using peanut butter morsels and semi-sweet chocolate chips for the chocolate layer. This combination creates a rich, dynamic chocolate topping that peanut butter lovers will adore. Dark chocolate chips or chunks are also a fantastic option for a more intense cocoa flavor, providing a delicious contrast to the sweet marshmallows.
- Add a Peanut Butter Layer: For an extra layer of decadence and a nutty twist, consider creating a dedicated peanut butter layer. You can mix peanut butter morsels into your graham cracker base, or even spread a thin layer of creamy or natural peanut butter directly over the baked crust before adding your chocolate. This is a dream come true for peanut butter fans and pairs exceptionally well with classic milk chocolate chips or even chopped Reese’s peanut butter cups!
- Dark Chocolate Topping: Elevate your s’mores bars by opting for dark chocolate for the chocolate topping. The deeper, slightly bitter notes of dark chocolate create a sophisticated contrast with the sweet marshmallows and graham crackers, offering a gourmet twist on the classic. It’s surprisingly tasty and adds another dimension of flavor.
- Marshmallow Creme vs. Mini Marshmallows: If you’re looking for a slightly different texture, you can absolutely use marshmallow creme instead of mini marshmallows. It will create a smooth, continuous marshmallow layer. However, we personally prefer the way mini marshmallows melt, spread, and achieve that beautifully golden-brown, toasted finish under the broiler, giving you more of that authentic campfire char.
- Alternative Crust Options: Don’t limit yourself to just graham cracker crumbs! For a fun and flavorful variation, substitute crushed Golden Grahams Cereal in this recipe for your crust. This adds an extra layer of sweetness and a unique crunch that complements the s’mores flavors perfectly. You could also try other crushed cookies like Biscoff or even vanilla wafers for different flavor profiles.
- Add a Sprinkle of Salt: A tiny sprinkle of sea salt flakes over the melted chocolate layer before adding marshmallows can enhance all the flavors, balancing the sweetness and adding a gourmet touch.
- Toffee Bits: Mix in a handful of toffee bits with your chocolate layer for an extra layer of crunch and buttery caramel flavor.
Step-by-Step Guide: How to Make Irresistible S’mores Bars
Making these delightful S’mores Bars is a straightforward process, ensuring you get perfect results every time. Follow these easy steps to bring the campfire magic into your kitchen:
- Step 1: Prepare Your Oven and Pan. First, begin by preheating your oven to 350 degrees Fahrenheit (175 degrees Celsius). This ensures your oven is at the correct temperature for baking the crust. Next, prepare a 9×13 inch baking pan by generously greasing it with non-stick butter spray or lining it with parchment paper or aluminum foil for effortless cleanup.
- Step 2: Create the Graham Cracker Crust. In a medium-sized mixing bowl, combine the graham cracker crumbs, brown sugar, and melted butter. Use a spoon or a sturdy spatula to mix these ingredients thoroughly until they are well combined and resemble wet sand. Ensure there are no dry spots.
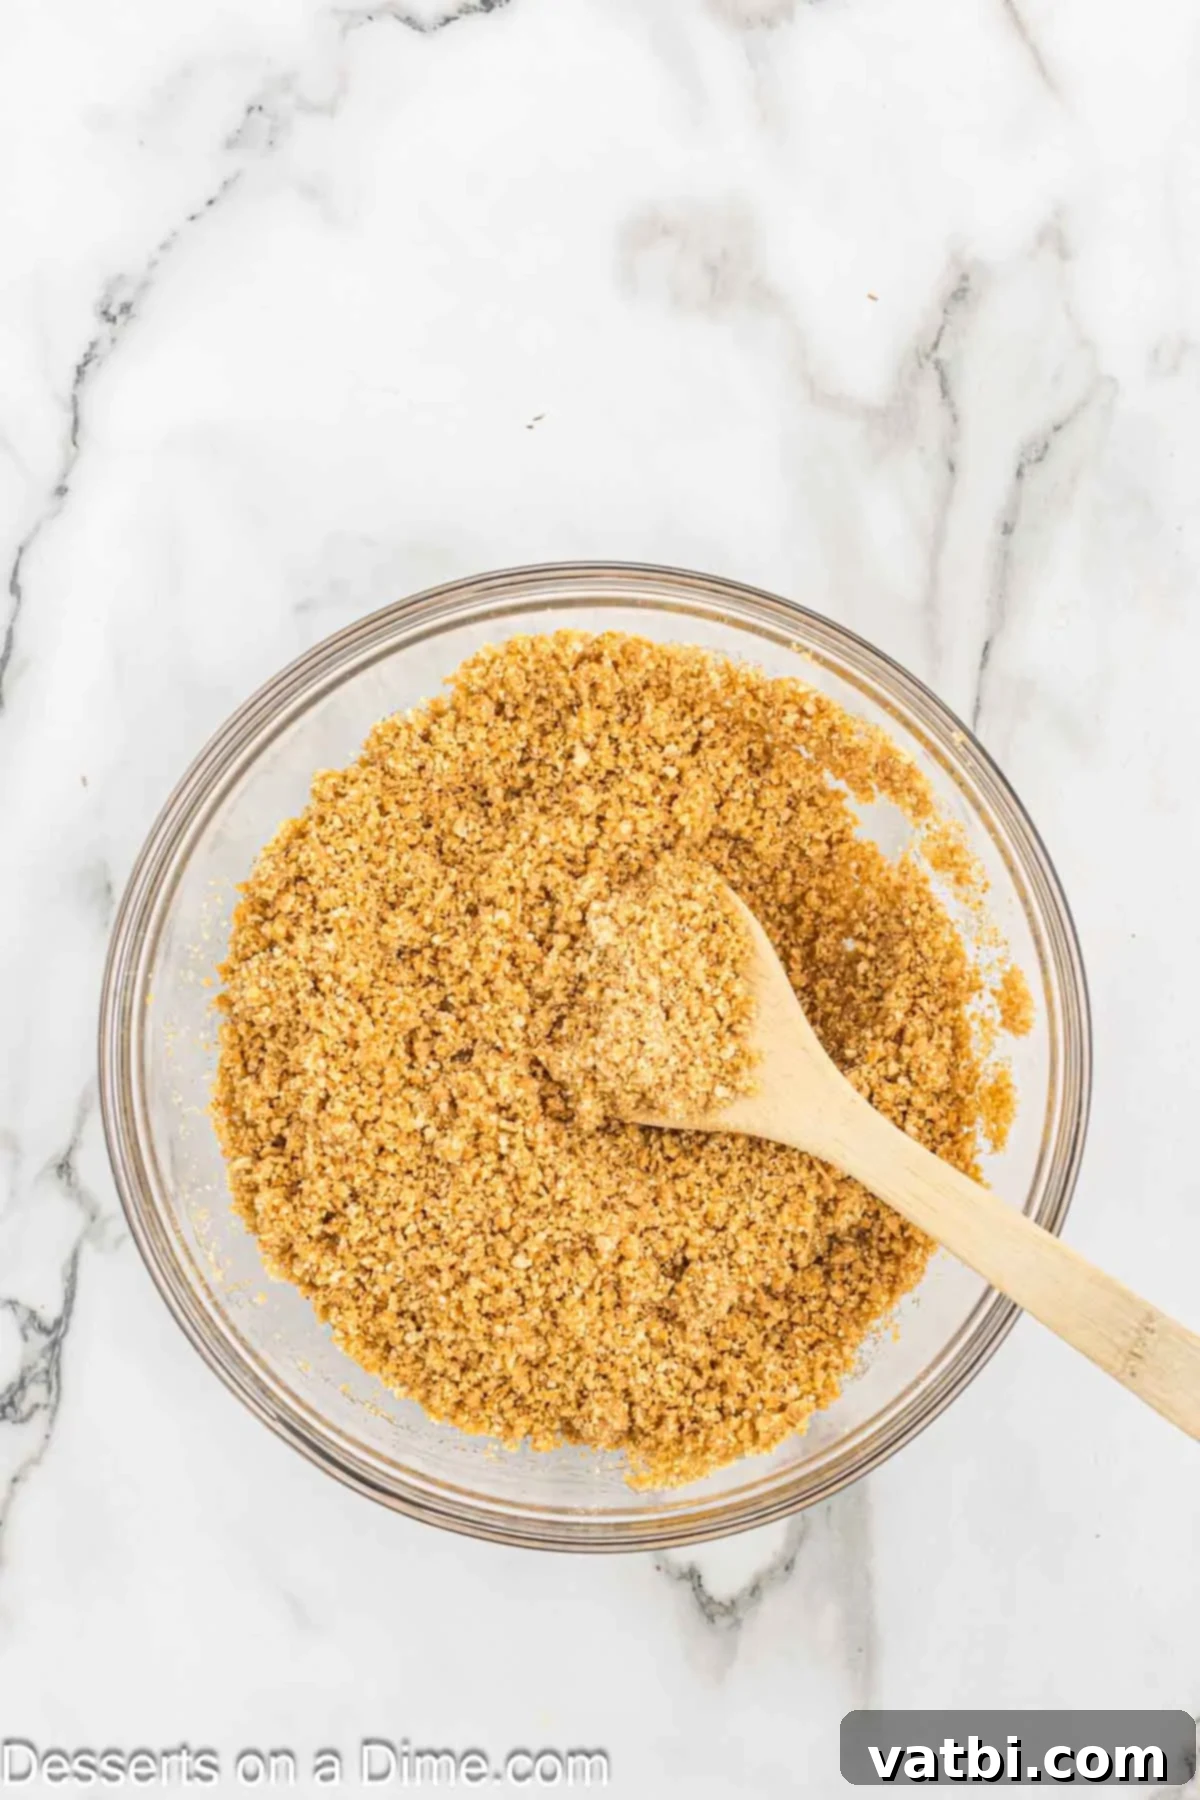
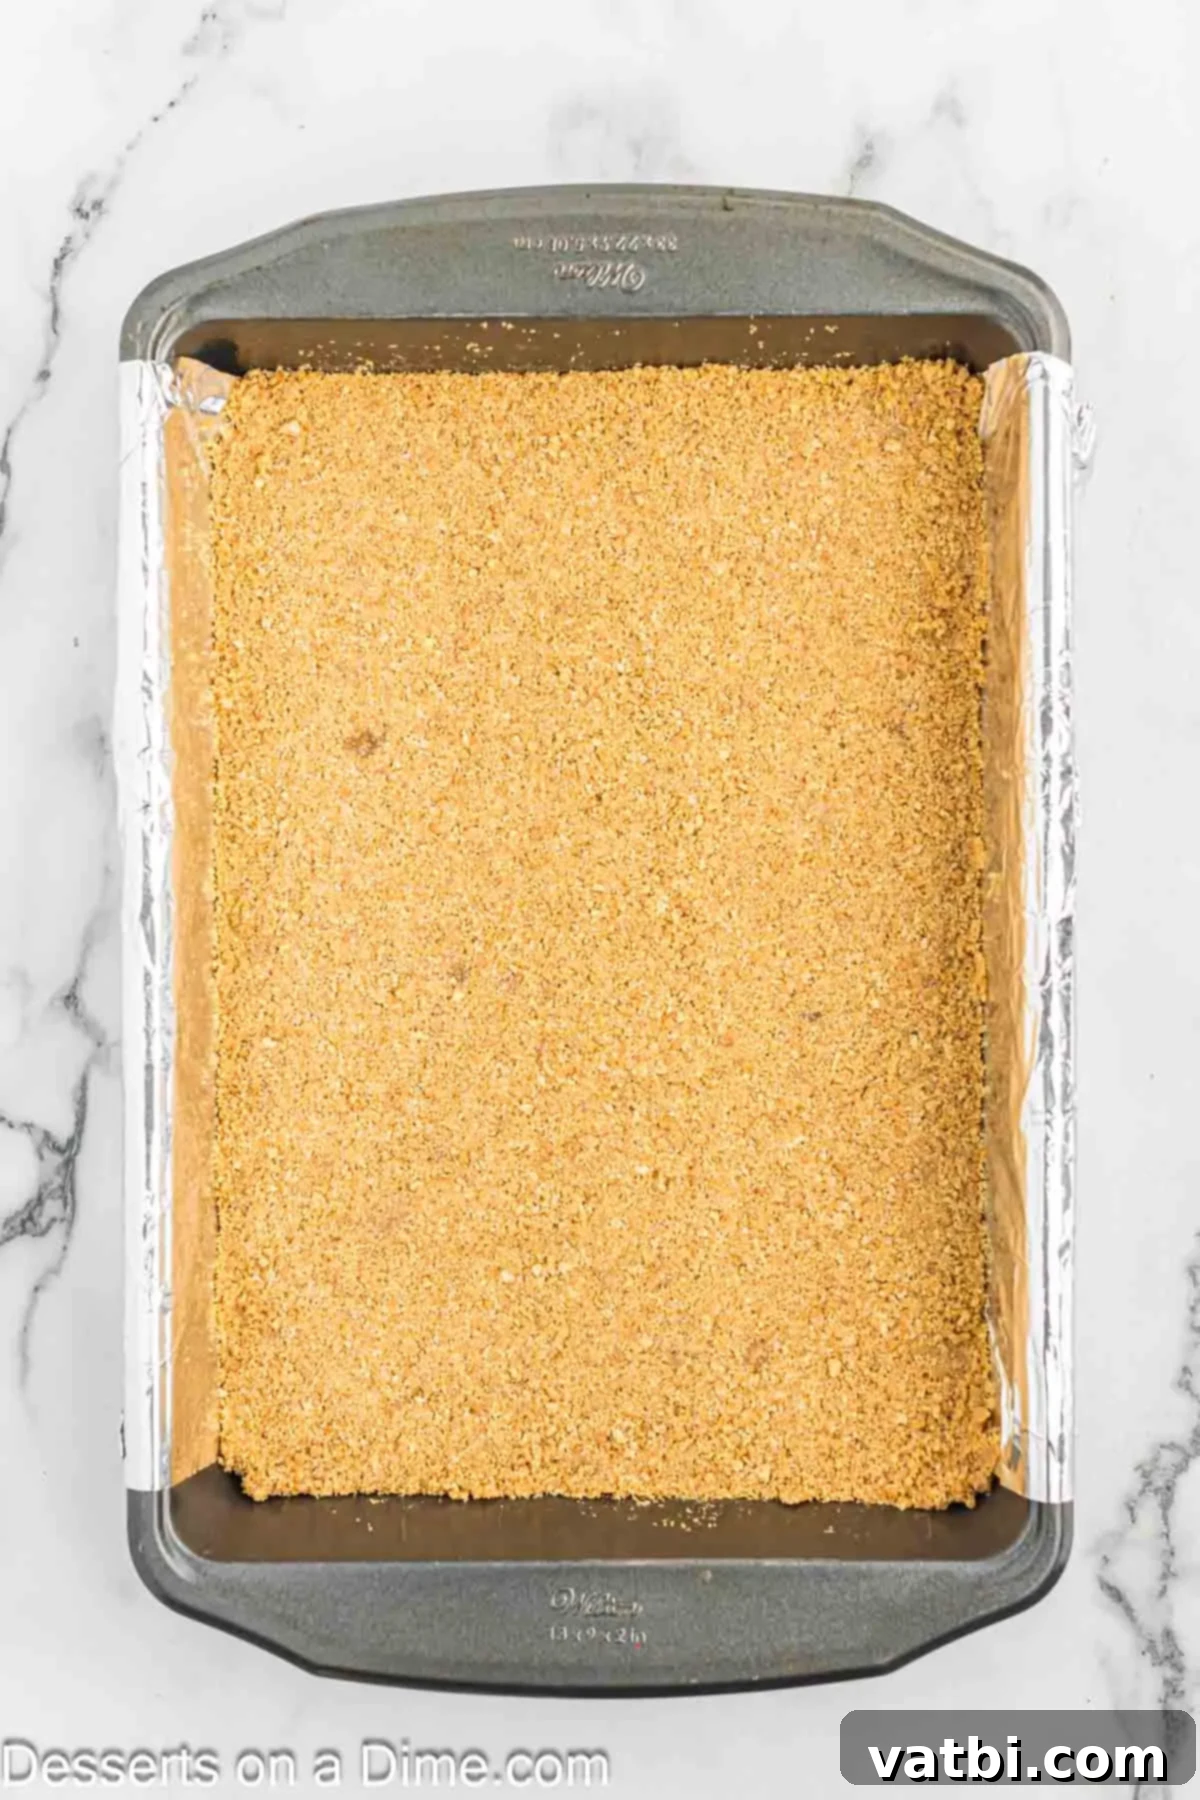
Step 3: Press the Crust into the Pan. Transfer the graham cracker mixture into your prepared 9×13 inch baking pan. Using your fingers or the bottom of a flat glass, press the mixture down firmly and evenly across the bottom of the pan to form a compact crust. This ensures a stable base for your s’mores bars. Bake the crust in the preheated oven for approximately 5 minutes, or just until the sides begin to look slightly golden brown. This brief bake sets the crust. Afterwards, remove it from the oven and allow it to cool completely before proceeding.
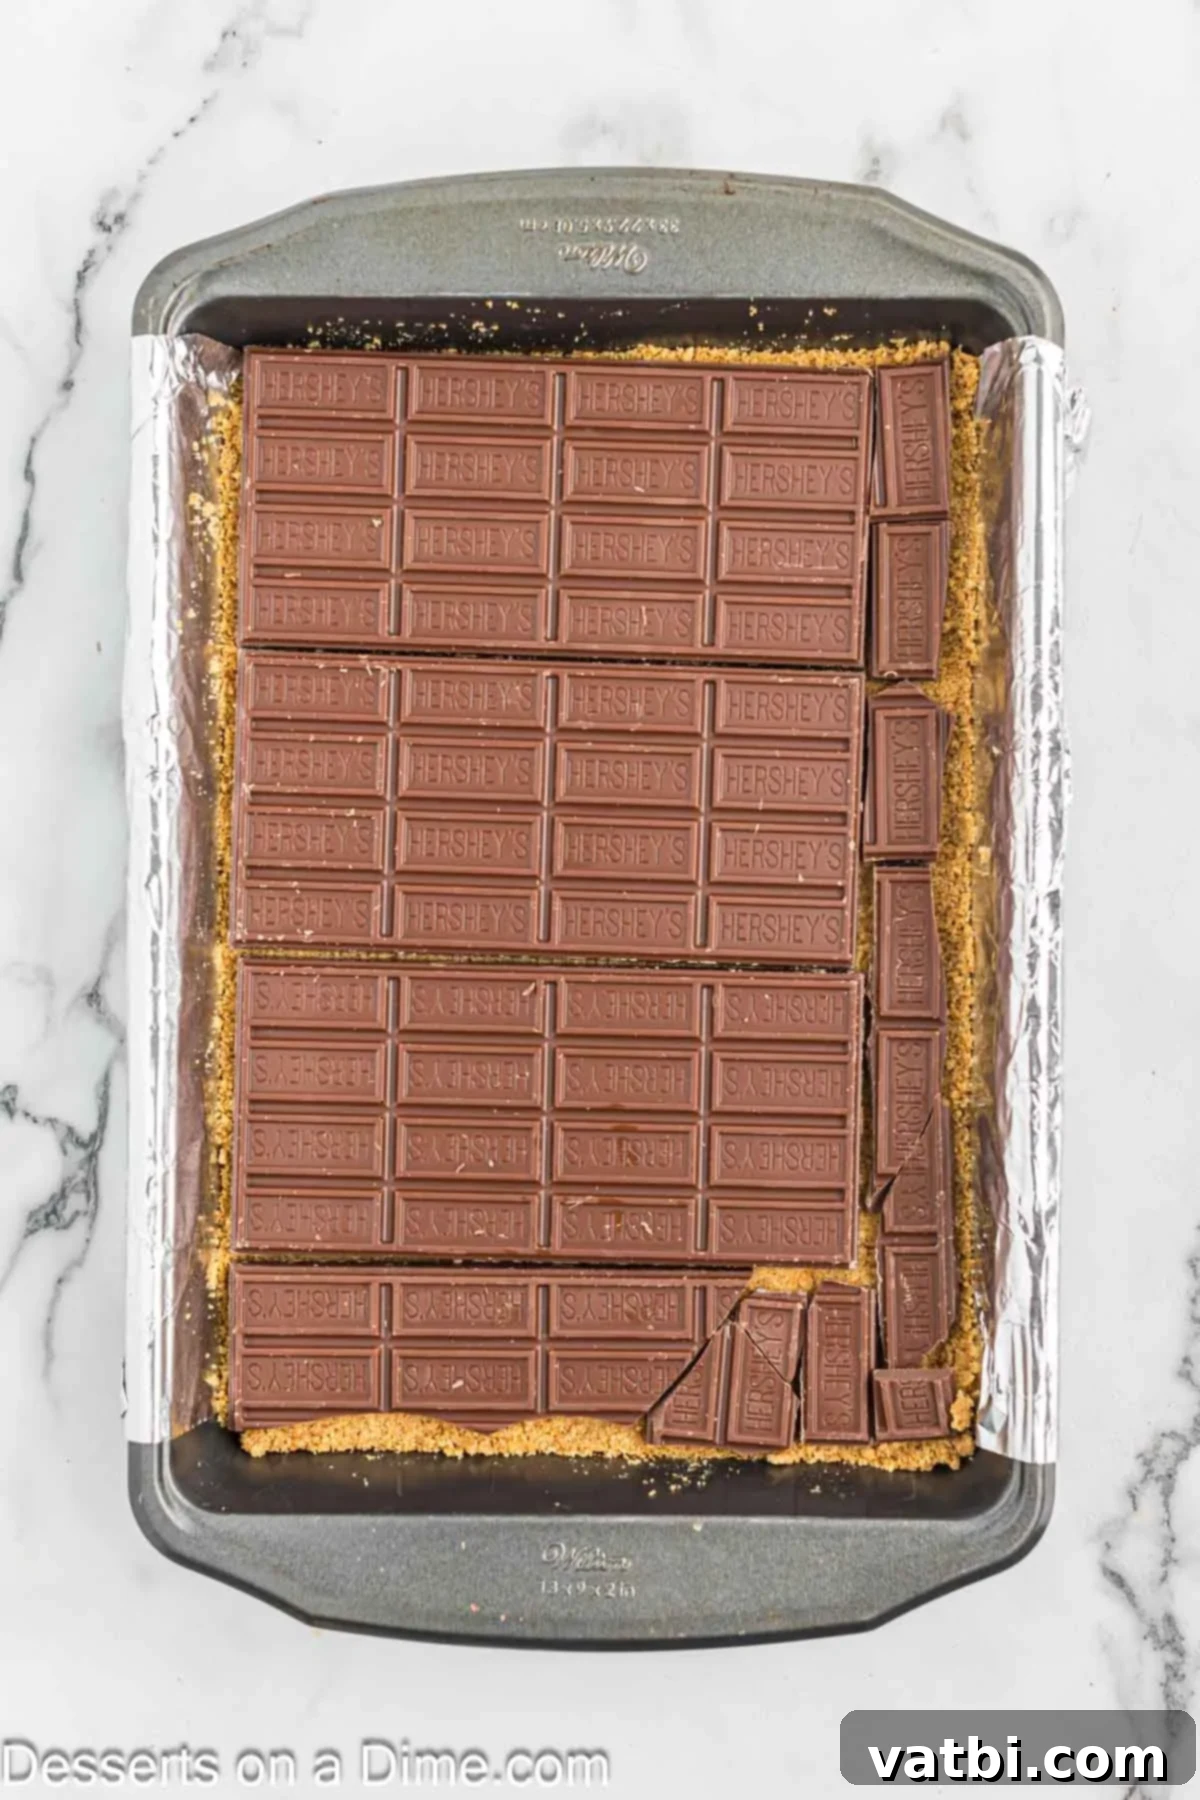
Step 4: Layer with Chocolate. Once the graham cracker crust has cooled, arrange the Hershey’s chocolate bars directly on top of it. Break the bars into individual squares or larger pieces as needed to cover the entire surface of the crust as completely as possible. Ensure an even layer of chocolate. Place the pan back into the oven for just a few minutes, typically 3-5 minutes, until the chocolate begins to melt and appears shiny. You don’t want it fully liquid, just softened enough to spread slightly. Remove from oven and let cool for 1-2 minutes.
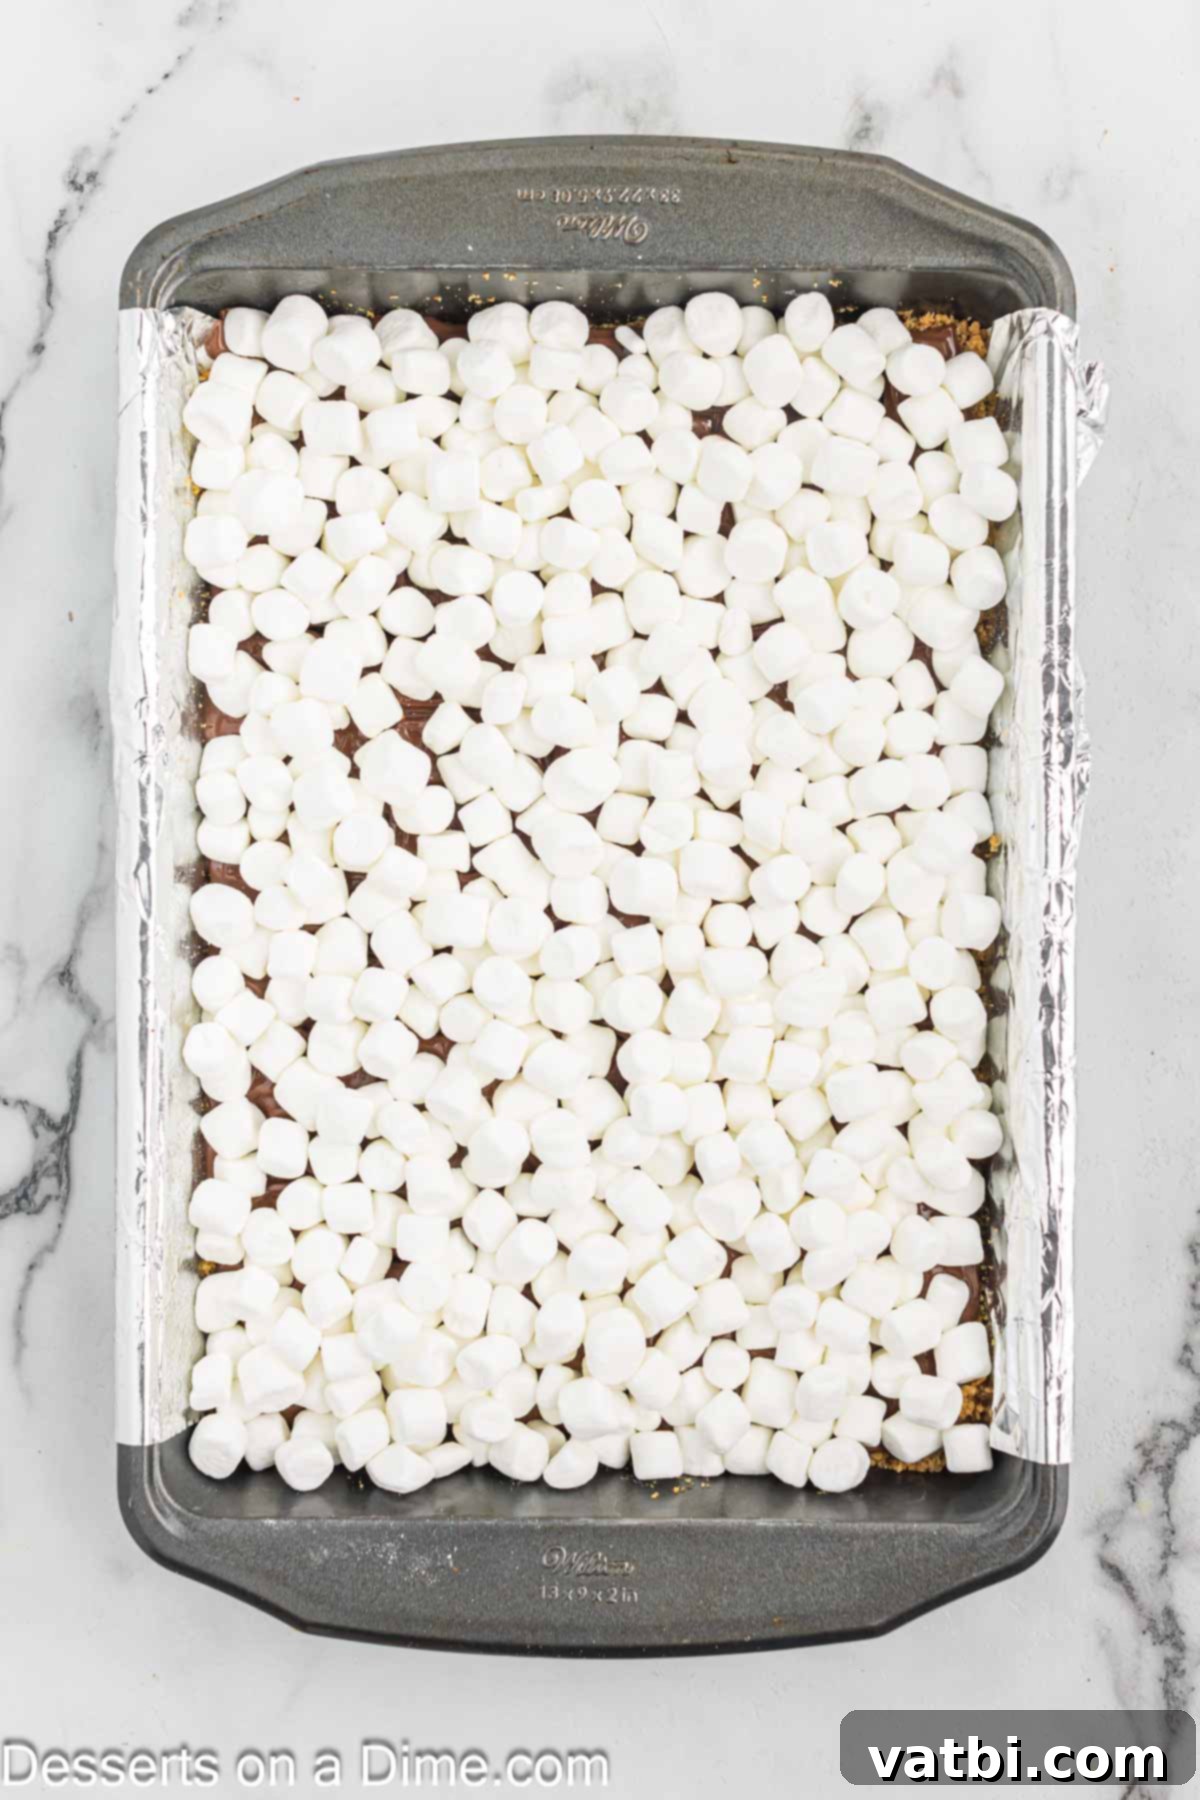
Step 5: Top with Marshmallows. Generously spread the mini marshmallows over the melted chocolate layer. It’s crucial to pack them in as closely to each other as possible, creating a dense, continuous layer. This ensures maximum gooeyness and a beautiful, full marshmallow top when broiled. Don’t be shy – more marshmallows mean more s’mores fun!
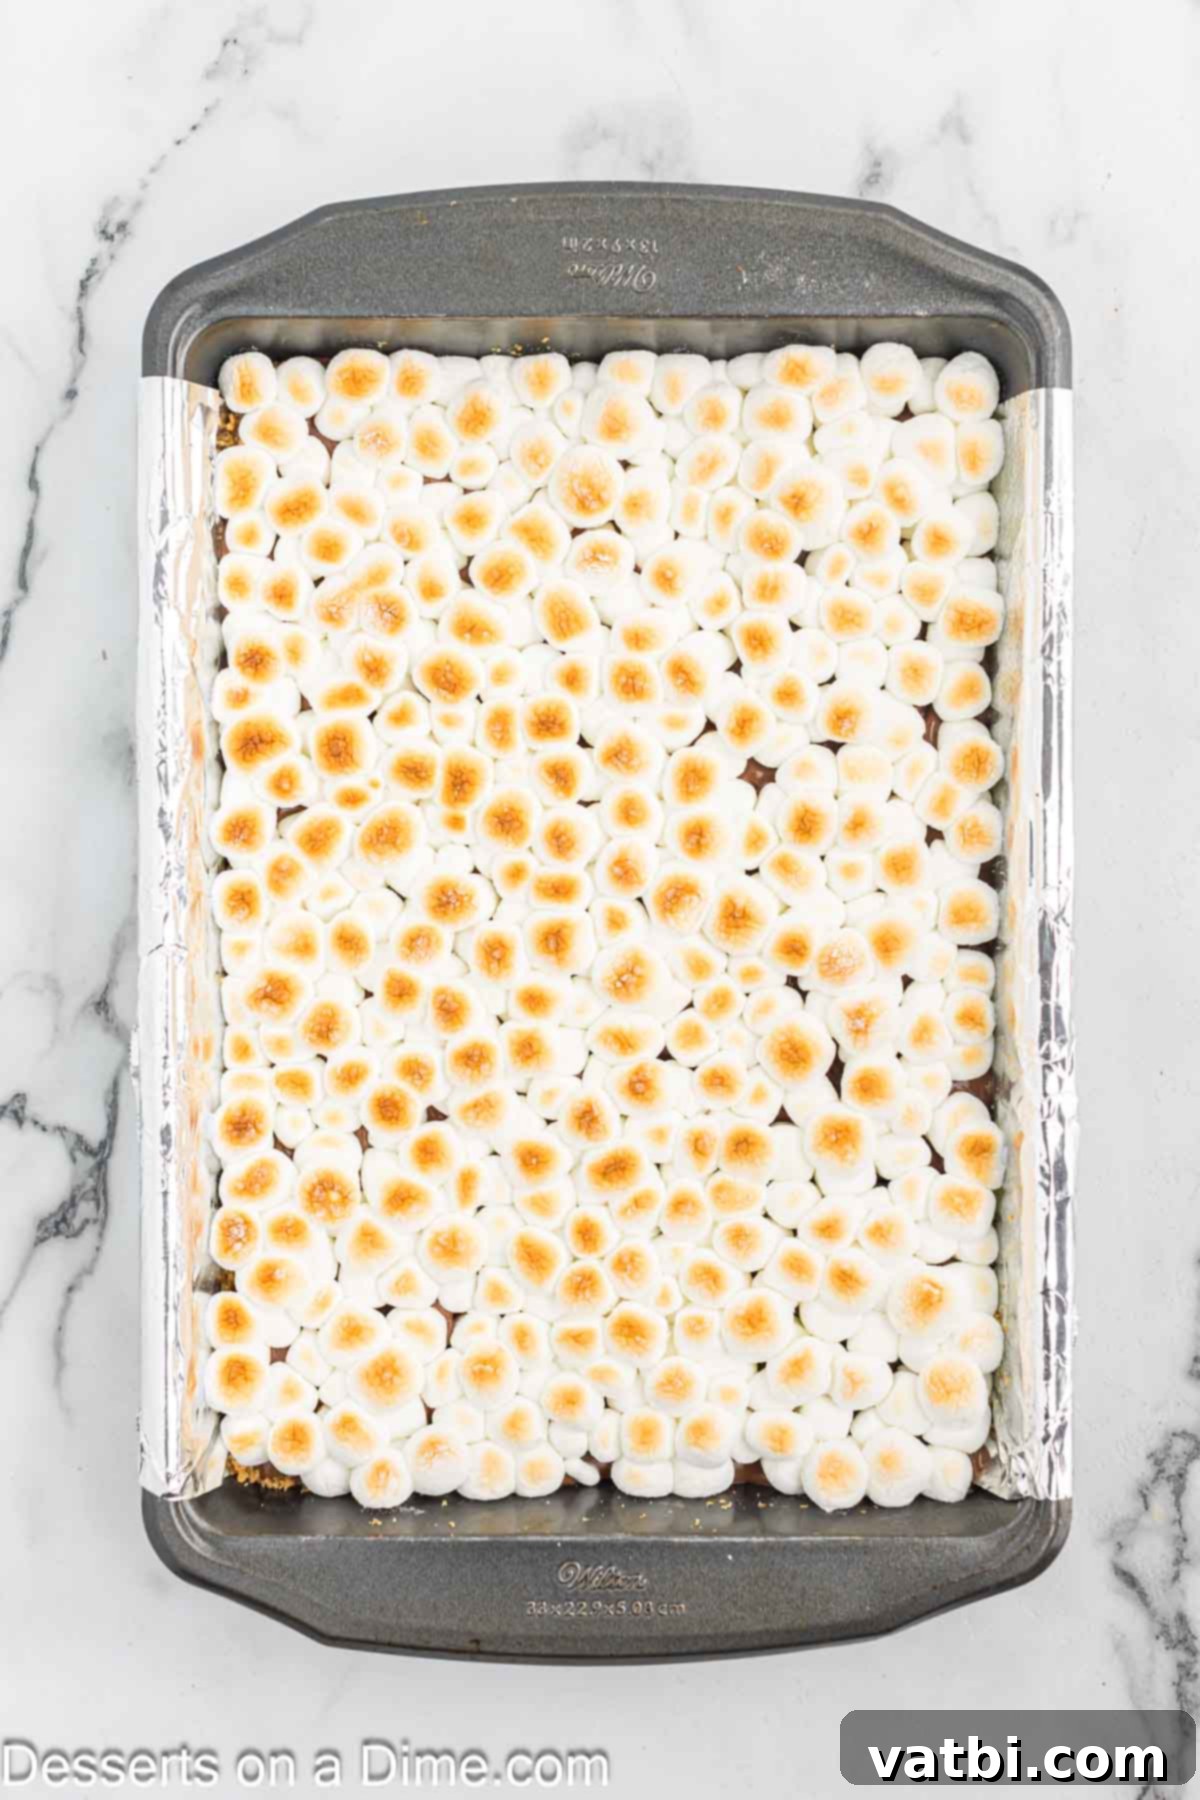
Step 6: Broil to Golden Perfection. This is the final and most critical step for achieving that signature toasted marshmallow effect. Turn your oven setting to “broil” (usually high broil). Carefully place the pan with the s’mores bars into the oven, keeping a very close eye on them! Marshmallows brown incredibly quickly under the broiler, often in just 1-2 minutes. They can go from perfectly golden to burnt in seconds. As soon as they reach your desired level of golden brown and puffiness, immediately remove them from the oven.
Step 7: Allow to Cool Completely. This step is crucial for perfect bars! Resist the urge to cut into them immediately. The melted chocolate and marshmallows will be incredibly sticky and gooey if hot. Allowing the s’mores bars to cool completely to room temperature, which can take a few hours, will allow the layers to set properly. This makes them much easier to cut into neat, delicious squares.
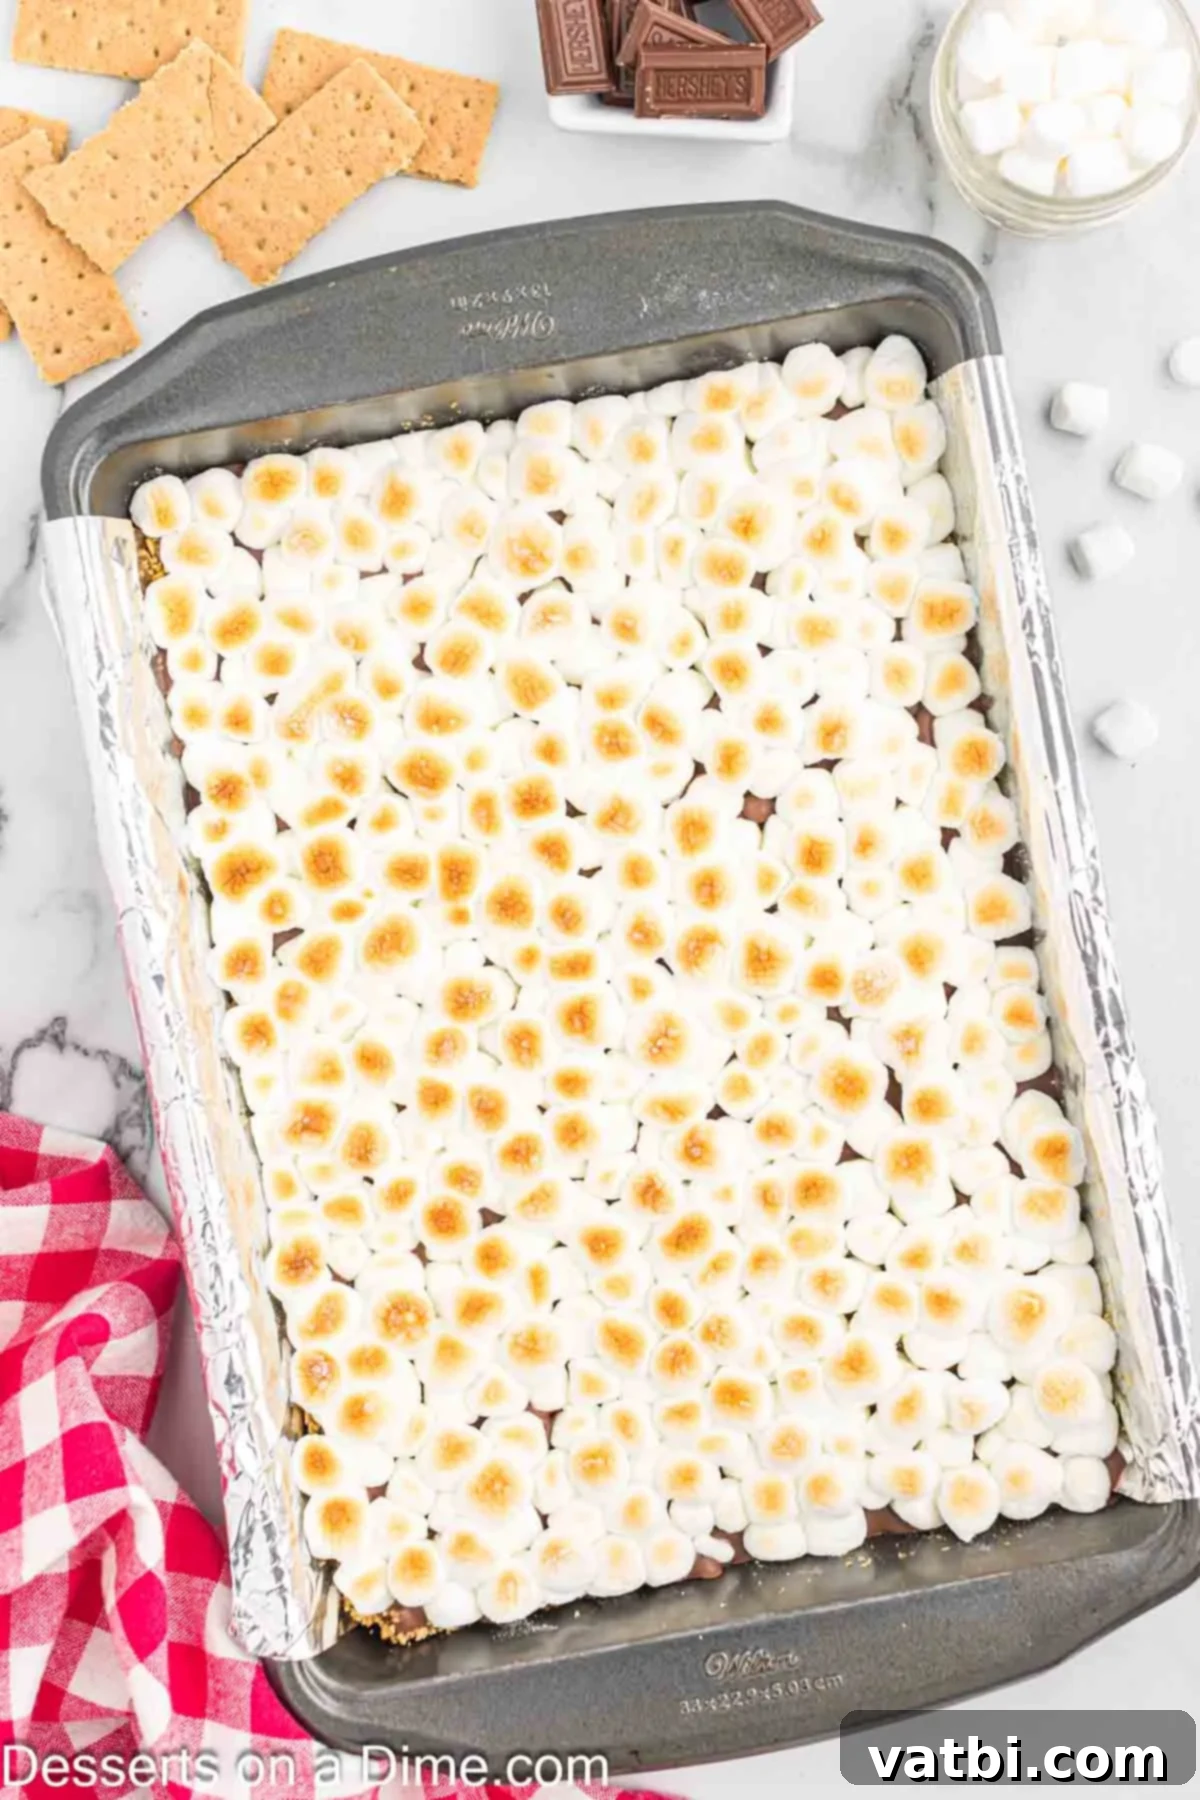
Step 8: Cut and Serve. Once the bars are completely cool and set, it’s time to slice and enjoy! For the cleanest cuts, refer to our “Expert Tips” section below for advice on using a warm knife. Carefully cut the s’mores bars into your desired size, then arrange them on a platter and serve these delightful, crowd-pleasing treats to your eager guests. Enjoy the rich layers of chocolate, graham cracker, and toasted marshmallow!
Top Tips for Perfect S’mores Bars Every Time
Achieving bakery-quality S’mores Bars is easy with a few insider tricks. These expert tips will help ensure your bars are perfectly gooey, easy to handle, and absolutely delicious:
- Use a Warm Knife for Clean Slices: S’mores bars, with their layers of melted chocolate and gooey marshmallows, can be notoriously sticky to cut. To get beautifully clean, sharp edges, here’s a simple trick: warm a sharp knife under hot running water, then quickly dry it off completely. Immediately use the warm, dry knife to slice through the cooled bars. Repeat this process as needed, cleaning and re-warming the knife between cuts. This will dramatically reduce stickiness and make slicing much easier.
- Homemade vs. Pre-made Graham Cracker Crumbs: You have options for your graham cracker crust! You can either use full graham cracker sheets and easily turn them into crumbs using a food processor for a fine texture, or by placing them in a Ziploc bag and crushing them with a rolling pin for a slightly coarser crumb. Alternatively, save time by purchasing pre-made graham cracker crumbs from the baking aisle. Both methods yield a fantastic crust, so choose whichever is most convenient or cost-effective for you at the moment.
- Choosing the Right Baking Dish: This S’mores Bars recipe is ideally suited for a standard 9×13 inch baking dish. This size ensures the bars have the perfect thickness – thick enough to be satisfying but not overly cumbersome. If you prefer thicker bars, you can certainly use a smaller square pan (like an 8×8 or 9×9 inch pan), but be aware that baking times might need slight adjustment, and the marshmallow-to-chocolate ratio will be more concentrated.
- Always Line Your Pan with Foil or Parchment: This is perhaps the most important tip for easy cleanup! Due to the sticky nature of melted chocolate and broiled marshmallows, cleanup can be a chore. Lining your baking pan with aluminum foil or parchment paper, ensuring there’s an overhang on the sides, will make removal of the bars and subsequent cleanup incredibly simple. Once cooled, you can just lift the entire slab of bars out of the pan.
- Consider a Disposable Pan for Zero Cleanup: For those occasions when you truly want to minimize kitchen work, especially when bringing these to a potluck or party, I often opt for disposable aluminum pans. They are a fantastic, no-fuss solution that allows you to simply toss the pan after serving. It’s a convenient choice that lets you enjoy your delicious S’mores Bars without the worry of washing up. Do what works best for your needs!
- Don’t Over-Broil the Marshmallows: Keep a hawk-like eye on the marshmallows when they’re under the broiler! They can go from perfectly golden to charred in mere seconds. Position your oven rack further from the heat source if you’re concerned, and be ready to pull them out as soon as they achieve that beautiful, light golden-brown color.
Frequently Asked Questions About S’mores Bars
Have questions about making, storing, or customizing your S’mores Bars? We’ve got you covered with answers to some of the most common queries:
If you find yourself with any delicious leftover S’mores Bars (a rare occurrence!), it’s best to store them in an airtight container at room temperature. This helps maintain their fresh texture and prevents them from drying out. They typically remain fresh and delightful for 2-3 days. To enjoy them warm and gooey again, simply place a bar on a microwave-safe plate and heat it for about 10-15 seconds, or until the chocolate and marshmallows are softened.
Absolutely, these delightful S’mores Bars freeze exceptionally well, making them perfect for meal prepping desserts or saving for a future craving! To freeze, ensure the bars are completely cooled, then cut them into individual portions. Wrap each portion tightly in plastic wrap, then place them in a freezer-safe container or heavy-duty freezer bag. They will stay fresh in the freezer for up to 2 months. When you’re ready to enjoy them again, simply remove them from the freezer and let them thaw at room temperature for an hour or two. You can also briefly microwave them for that fresh-out-of-the-oven gooeyness.
Yes, absolutely! While the classic Hershey’s Milk Chocolate mini bars provide that traditional s’mores flavor, you have plenty of freedom to experiment with other chocolates based on your preference or what you have available. Changing the chocolate can significantly alter the flavor profile of your bars. Here are some fantastic recommendations to try:
- Mini Peanut Butter Cups: For a delightful peanut butter and chocolate fusion.
- Hershey’s Chocolate Kisses: These melt into perfect little pools of creamy chocolate.
- Rollo’s: Adds a delicious caramel surprise when melted.
- Dark Chocolate: For a more intense, less sweet chocolate experience that balances the marshmallows.
- Mini Snickers Bars: Chop them up and sprinkle over the crust for a candy bar twist.
- Chocolate Chips: A mix of semi-sweet, milk, or even white chocolate chips can be used.
- Hot Fudge Syrup or Caramel Syrup: Drizzle these over the chocolate layer before adding marshmallows for an extra indulgent touch.
Broiling marshmallows requires your undivided attention! To prevent burning, make sure your oven rack is placed on a middle or lower position, giving the marshmallows a bit more distance from the direct heat source. Keep the oven door slightly ajar so you can watch them continuously. The moment they turn a beautiful golden brown and look puffy, take them out immediately. It’s a quick process, typically just 1-2 minutes, so stay vigilant!
Yes, you absolutely can! Preparing the graham cracker crust in advance is a great time-saver. Simply follow the instructions to mix and press the crust into the pan, then bake it for the recommended 5 minutes. Let it cool completely, and then you can cover the pan tightly with plastic wrap or aluminum foil. Store the baked crust at room temperature for up to 24 hours. When you’re ready to assemble the bars, just pick up from the chocolate layering step.
Discover More Irresistible S’mores Desserts
If these S’mores Bars have ignited your passion for all things s’mores, you’re in luck! The versatility of this classic flavor combination means there are countless ways to enjoy it. Explore these other fantastic and easy s’mores-inspired dessert recipes that are perfect for any occasion:
- Easy S’mores Cake Recipe: A layered cake that brings all the s’mores flavors to a grand celebration.
- Oven Baked S’mores Recipe: For when you want the classic experience without a campfire, perfect for a quick individual treat.
- Frozen S’Mores Recipe: A delightful chilled version, ideal for warmer weather or a refreshing twist.
- S’mores Rice Krispie Treats: A chewy, gooey, no-bake classic elevated with chocolate and marshmallows.
- Golden Graham S’mores Recipe: Another fantastic bar recipe, specifically designed for Golden Grahams cereal lovers, offering a different crust texture.
Now that you have all the tips, tricks, and inspiration, it’s truly your turn to try this absolutely fabulous and incredibly easy dessert! We are confident that these S’mores Bars will become a staple in your recipe collection, beloved by family and friends alike. Don’t forget to share your experience by leaving a comment and a star rating below – we love hearing how your creations turn out!
Pin
S’mores Bars
Ingredients
- 2 Cups graham cracker crumbs
- 1/2 cup butter or 1 stick (melted)
- 1/3 Cup brown sugar
- 4 Hershey Chocolate Bar use 4.4 ounce bars
- 1 package mini marshmallows
Instructions
-
Preheat oven to 350 degrees. Grease 9×13 pan with non-stick butter spray
-
In a medium size bowl mix graham cracker crumbs, brown sugar and butter with a spoon
-
Place mixture in the bottom of the baking pan. Distribute the mixture evenly and press down and firmly with your fingers to “pack it” along the bottom and sides of the pan.
-
Place in oven and bake for approx. 5 minutes (just until sides begin to get a bit golden brown)
-
Remove from oven and let cool.
-
Lay the Hershey bars on top of the graham cracker mixture – covering up all of the graham cracker as completely as possible.
-
Place in oven for approx. 3 minutes (until chocolate just begins to melt and gets shiny)
-
Let cool for 1-2 min.
-
Place marshmallows on top of the chocolate – pack them in their closely next to each other.
-
Turn oven to “broil” – put pan into oven and STARE at them! They only need to be in there for about 2 minutes. Watch them or they will burn. As soon as they begin to brown, take them out of the oven.
-
Let them cool completely.
-
Cut and serve – (tip: they can get really sticky to cut, warm a sharp knife under hot water, dry it off and immediately slice them).
Nutrition Facts
Pin This Now to Remember It Later
Pin Recipe
