Irresistible Homemade Chocolate Turtles: The Ultimate Sweet & Salty Pecan Caramel Candy Recipe
Indulge in the perfect harmony of flavors and textures with these delightful **Chocolate Turtles**. This iconic confectionery brings together crunchy pecans, rich, gooey caramel, and smooth, decadent chocolate, creating a treat that is truly greater than the sum of its parts. Far from being a complicated gourmet endeavor, these sweet and salty masterpieces are surprisingly simple to craft right in your own kitchen. Whether you’re looking for an impressive homemade gift for the holidays, a delightful dessert to share with loved ones, or simply a luxurious indulgence for yourself, this easy-to-follow recipe will guide you to perfection.
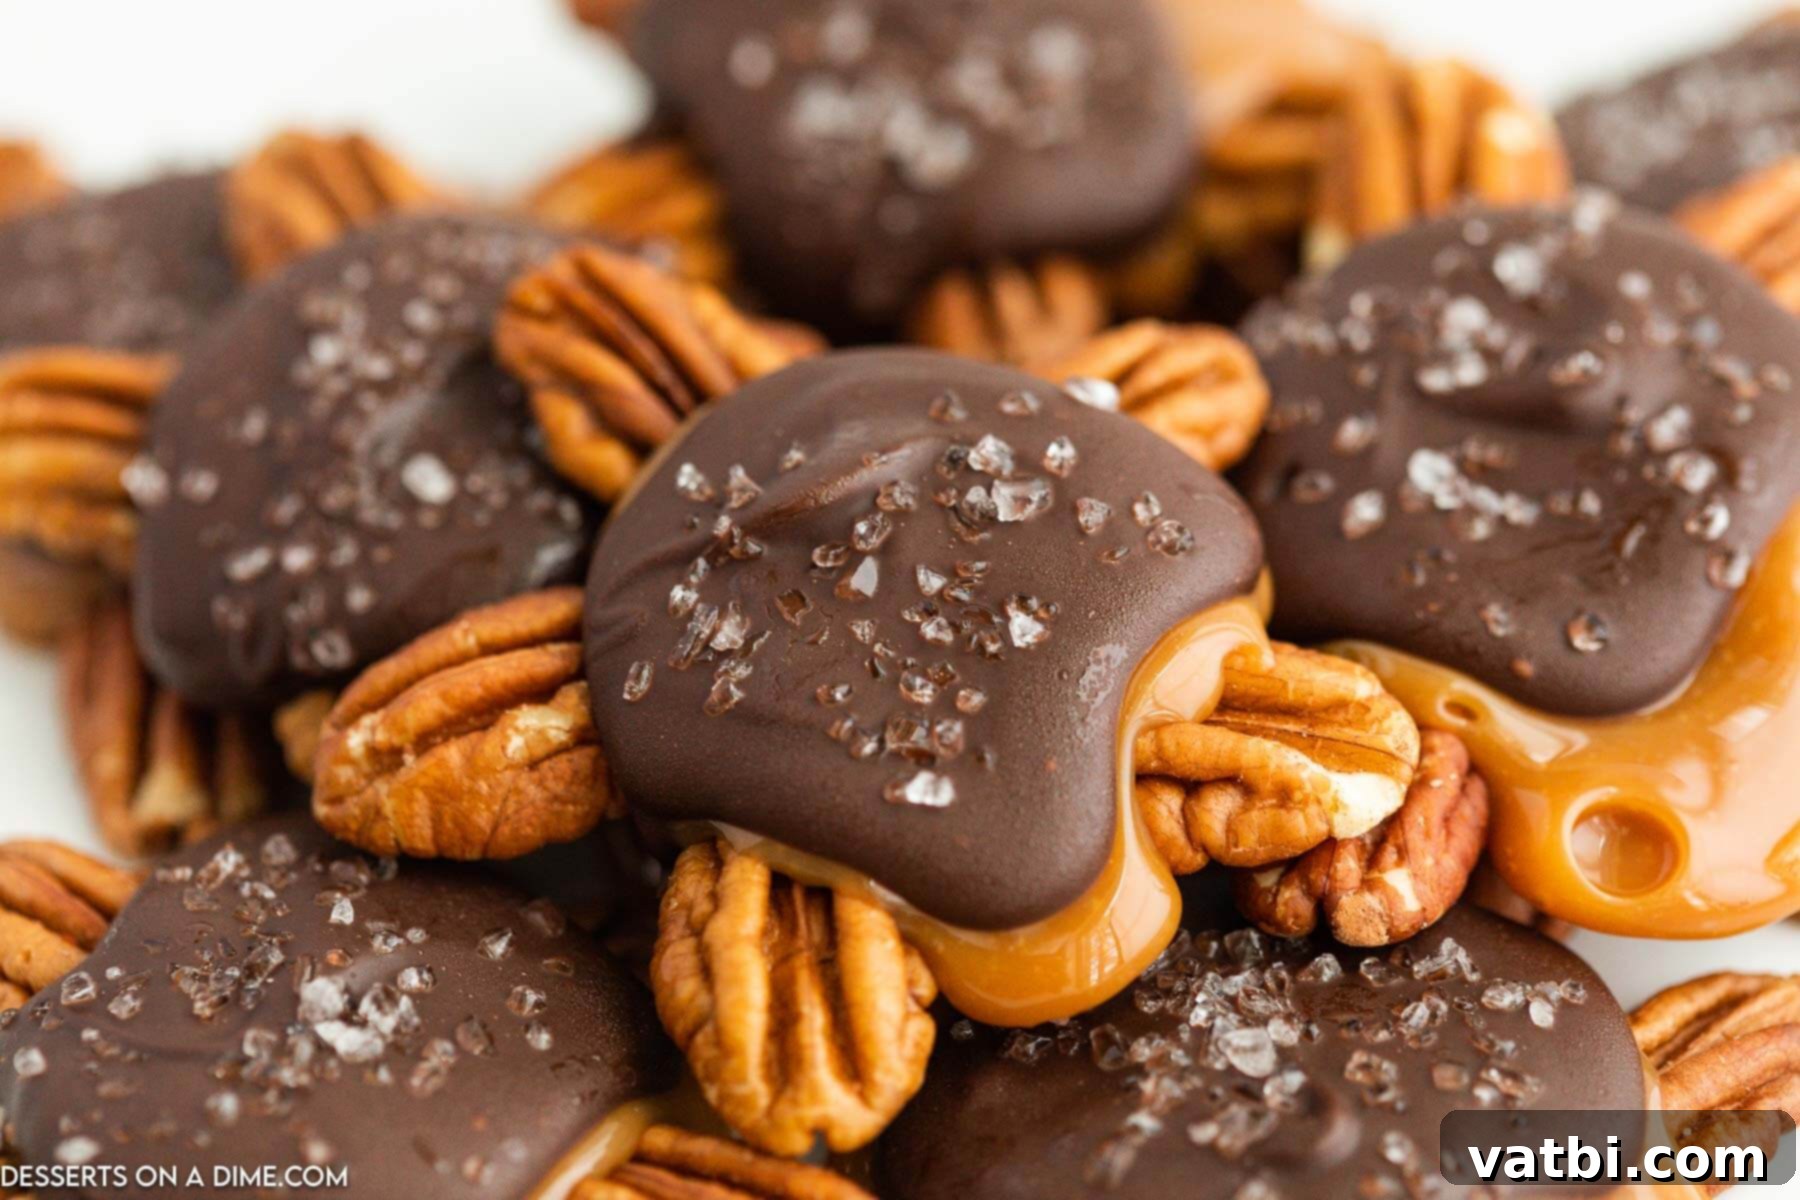
Chocolate Turtles are a timeless classic, celebrated for their distinct layered structure and harmonious flavor profile. Each bite delivers a satisfying crunch from the pecan base, followed by the soft, chewy sweetness of homemade caramel, and finally, enveloped by a luxurious coating of melting chocolate. What makes them even more appealing is how effortlessly they come together. With just a few staple ingredients and straightforward steps, you can create these exquisite confections that are perfect for any occasion – from festive holiday gatherings and thoughtful handmade gifts to a simple, satisfying treat when a craving strikes.
The beauty of this recipe lies in its simplicity and the incredible flavor it yields. The combination of crisp, earthy pecans, buttery, yielding caramel, and silky-smooth chocolate results in a bite-sized delight that consistently wins over crowds. These homemade chocolate turtles are not only a joy to make but also a truly special addition to any dessert table, easily becoming one of your favorite Christmas Candy Desserts or year-round treats. Get ready to impress with this irresistible, easy-to-make candy that tastes like it came from a high-end chocolatier!
Table of contents
- Why We Adore These Homemade Chocolate Turtles
- Essential Ingredients for Perfect Chocolate Turtles
- Creative Variations to Customize Your Turtles
- Easy Step-By-Step Instructions for Chocolate Turtles
- Proper Storage for Lasting Freshness
- Expert Pro Tips for Flawless Candy Making
- Explore More Delicious Candy Recipes
Why We Adore These Homemade Chocolate Turtles
There’s a reason Chocolate Turtles have remained a beloved candy for generations. Their universal appeal stems from a few key factors that make this recipe an absolute winner in any home kitchen:
- Simple, Accessible Ingredients – You don’t need exotic items to create these gourmet-tasting treats. Made with just a handful of common pantry staples, this recipe proves that extraordinary flavor can come from humble beginnings. Using readily available ingredients makes it easy to whip up a batch whenever the craving strikes, without a special trip to the store.
- Effortless to Make – Despite their elegant appearance, these chocolate pecan caramel clusters come together incredibly quickly with minimal fuss and few steps. The process is straightforward, making it an ideal recipe for beginner candy makers or anyone looking for a satisfying dessert that doesn’t require hours in the kitchen. Most of the work involves melting and assembling, allowing you to enjoy the process without stress.
- A Symphony of Flavors and Textures – The classic combination of crunchy pecans, lusciously gooey, chewy caramel, and rich, smooth chocolate creates a sensory delight in every single bite. The distinct textures play off each other beautifully, while the sweet caramel perfectly complements the slight bitterness of the chocolate and the nutty earthiness of the pecans. The optional sprinkle of sea salt elevates this further, balancing the sweetness with a savory hint.
- Perfect for Gifting and Sharing – Homemade gifts carry a special charm, and these chocolate turtles are no exception. Beautifully packaged in a festive box or bag, they make an ideal present for holidays, birthdays, host gifts, or any special occasion. They’re also perfect for sharing at parties, potlucks, or simply as a thoughtful gesture to friends and family. This candy is sure to bring smiles to everyone’s faces.
- A Guaranteed Crowd Pleaser – Seriously, who can resist a chocolate turtle? This classic confection has a near-universal appeal, loved by children and adults alike. Bring a plate of these to any gathering, and watch them disappear! Their familiar, comforting taste combined with their impressive look makes them an instant hit at any event.
Essential Ingredients for Perfect Chocolate Turtles
Crafting the perfect homemade chocolate turtles begins with selecting quality ingredients. Each component plays a vital role in achieving that signature sweet, salty, and satisfying experience. Here’s a closer look at what you’ll need:
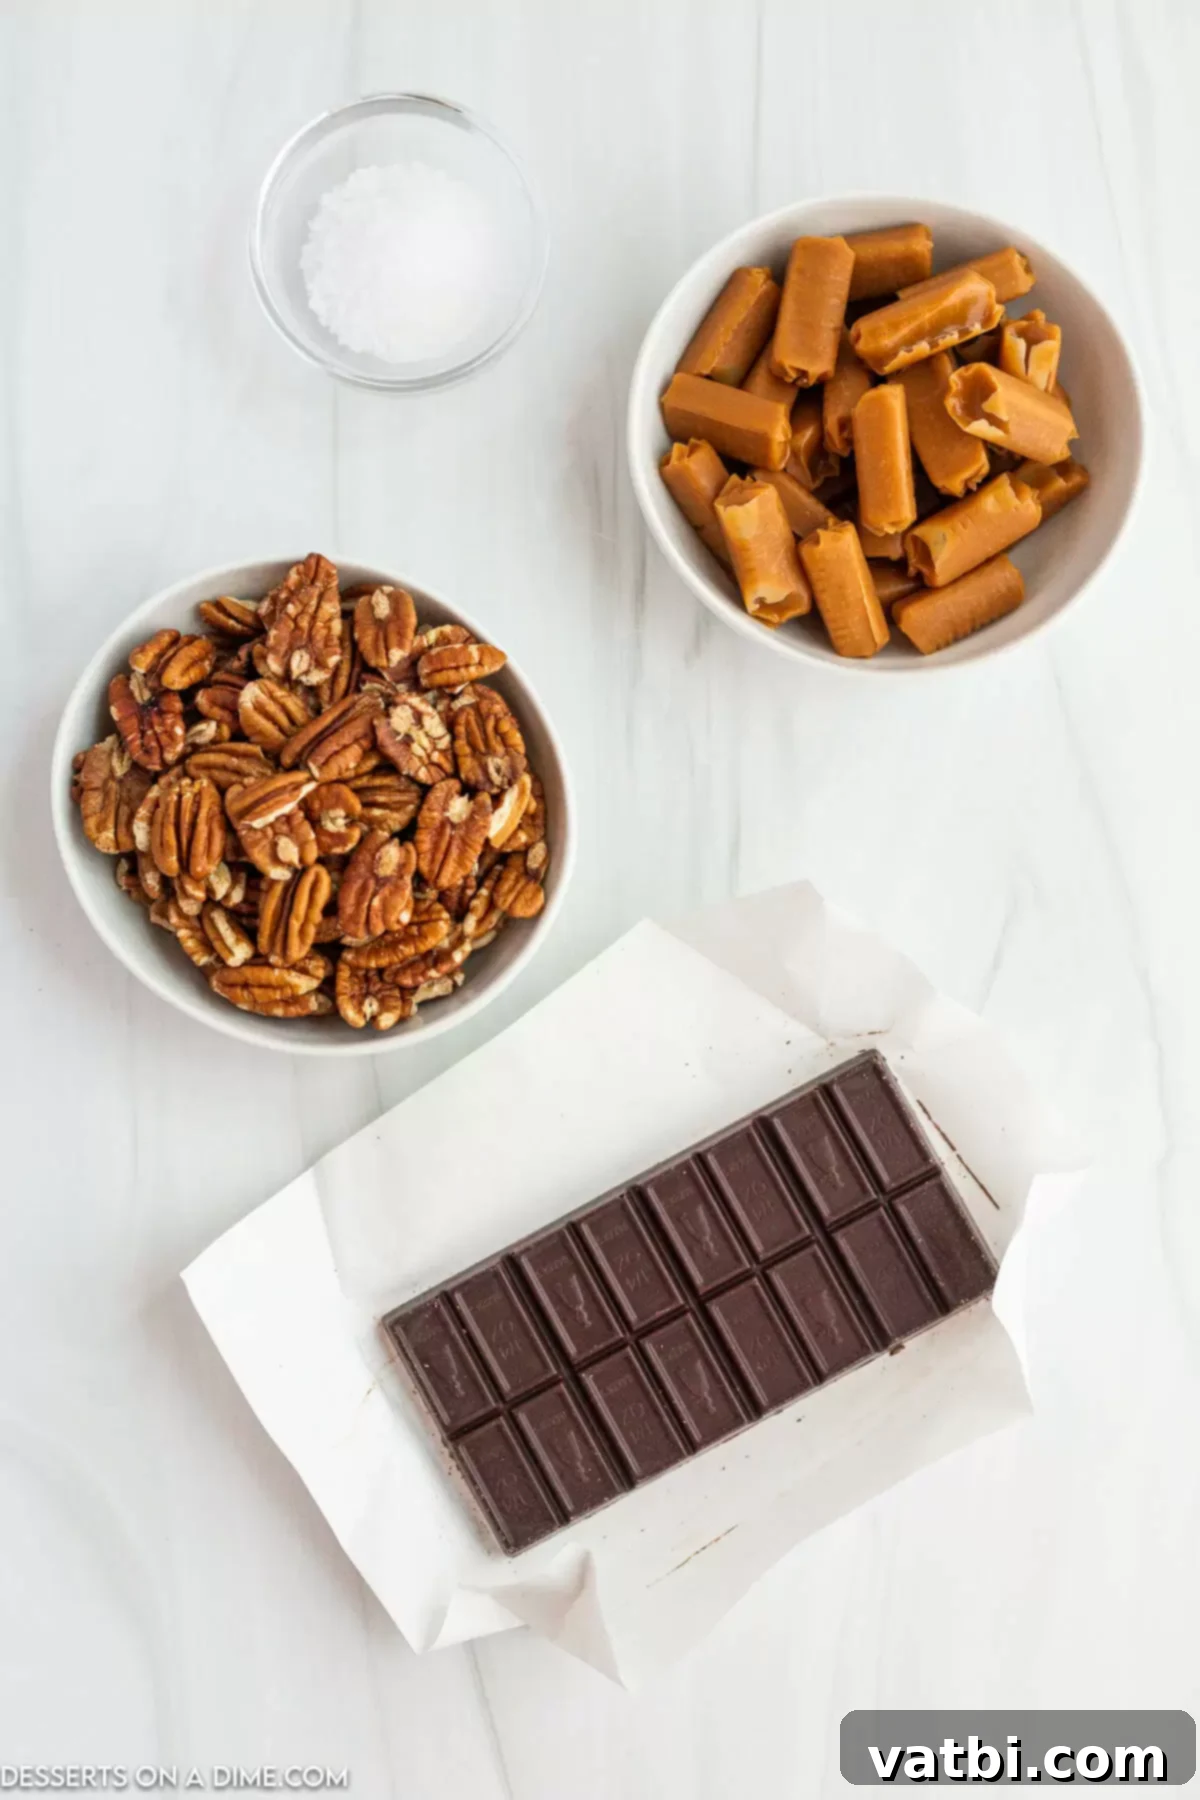
- Pecan Halves – These are the foundation of our chocolate turtles, providing a distinctive crunchy, nutty base. Opt for fresh, high-quality pecan halves for the best flavor and texture. Lightly toasting them before assembly can significantly enhance their natural, buttery notes, adding an extra layer of depth to your candy.
- Soft Chewy Caramels – These melt down to form the irresistible, gooey, and sweet center that defines a chocolate turtle. Pre-packaged, individually wrapped caramels (like Kraft Caramels) are perfect for this, as they melt smoothly and consistently. Ensure they are soft and fresh for the best results.
- Heavy Whipping Cream – A small amount of heavy cream is essential for transforming the firm caramels into a smooth, pourable, and luxuriously soft caramel sauce. It prevents the caramel from becoming too stiff or grainy, ensuring that delightful chewy texture in the finished candy.
- Semi-Sweet Melting Chocolate – This forms the rich, glossy coating for our turtles. Semi-sweet chocolate provides a balanced sweetness that complements the intense caramel. Using high-quality melting chocolate (chips, wafers, or chopped bar) is key for a smooth melt and a beautiful, shiny finish when set. You can also use chocolate almond bark or candy melts for ease.
- Flaky Sea Salt – A delicate sprinkle of sea salt is the secret weapon that elevates these chocolate turtles from delicious to extraordinary. The salt crystals provide a delightful textural contrast and, more importantly, a crucial savory note that beautifully balances the sweetness of the caramel and chocolate, enhancing all the flavors. Don’t skip this!
Creative Variations to Customize Your Turtles
While the classic chocolate turtle is perfect as is, part of the fun of homemade candy is the ability to experiment and customize. Here are several delicious variations to try, allowing you to tailor these treats to your taste or for different occasions:
- Milk Chocolate Turtles – For those who prefer a sweeter, creamier chocolate experience, simply swap out the semi-sweet melting chocolate for your favorite milk chocolate. This variation is particularly popular with children and those with a pronounced sweet tooth.
- Dark Chocolate Turtles – Elevate the sophistication by using dark chocolate (60% cocoa or higher). The deeper, slightly bitter notes of dark chocolate provide a wonderful contrast to the sweet caramel and nutty pecans, creating a more intense and complex flavor profile. This is often a favorite for adult palates.
- Nut Mix Turtles – Why stick to just pecans? Expand the nutty base by mixing pecans with other favorite nuts like toasted walnuts, almonds, cashews, or even macadamia nuts. This adds variety in texture and flavor, creating unique clusters that are just as irresistible. Ensure all nuts are roasted for optimal flavor.
- Extra Sea Salt Turtles – If you’re a true fan of the sweet-and-salty combination, don’t hold back! Sprinkle an extra generous amount of coarse flaky sea salt on top of the chocolate coating for an intensified flavor burst and appealing visual texture.
- Mini Turtles – For bite-sized indulgence and easier portion control, create smaller versions using fewer pecan halves per cluster (3-4 instead of 5) or by forming miniature clusters in mini muffin tins. These are perfect for dessert platters or as tiny treats.
- Drizzled Chocolate – Add a touch of elegance and extra flavor by drizzling a contrasting chocolate over the set turtles. White chocolate, dark chocolate, or even a colored candy melt drizzle can create beautiful visual appeal and an additional layer of sweetness.
- Spiced Caramel – Infuse your caramel with warm spices for a seasonal twist. A pinch of cinnamon, nutmeg, or even a tiny dash of cayenne pepper can add an unexpected depth and warmth to the caramel layer, especially perfect for fall and winter holidays.
- Nut-Free Turtles (Alternative Base) – For those with nut allergies, you can create a similar concept by replacing pecans with pretzel pieces for a salty crunch, or even large toasted coconut flakes. Adjust caramel and chocolate quantities as needed.
Easy Step-By-Step Instructions for Chocolate Turtles
Making your own Chocolate Turtles is a surprisingly simple process that yields incredibly impressive results. Follow these detailed steps to create your batch of irresistible homemade candy:
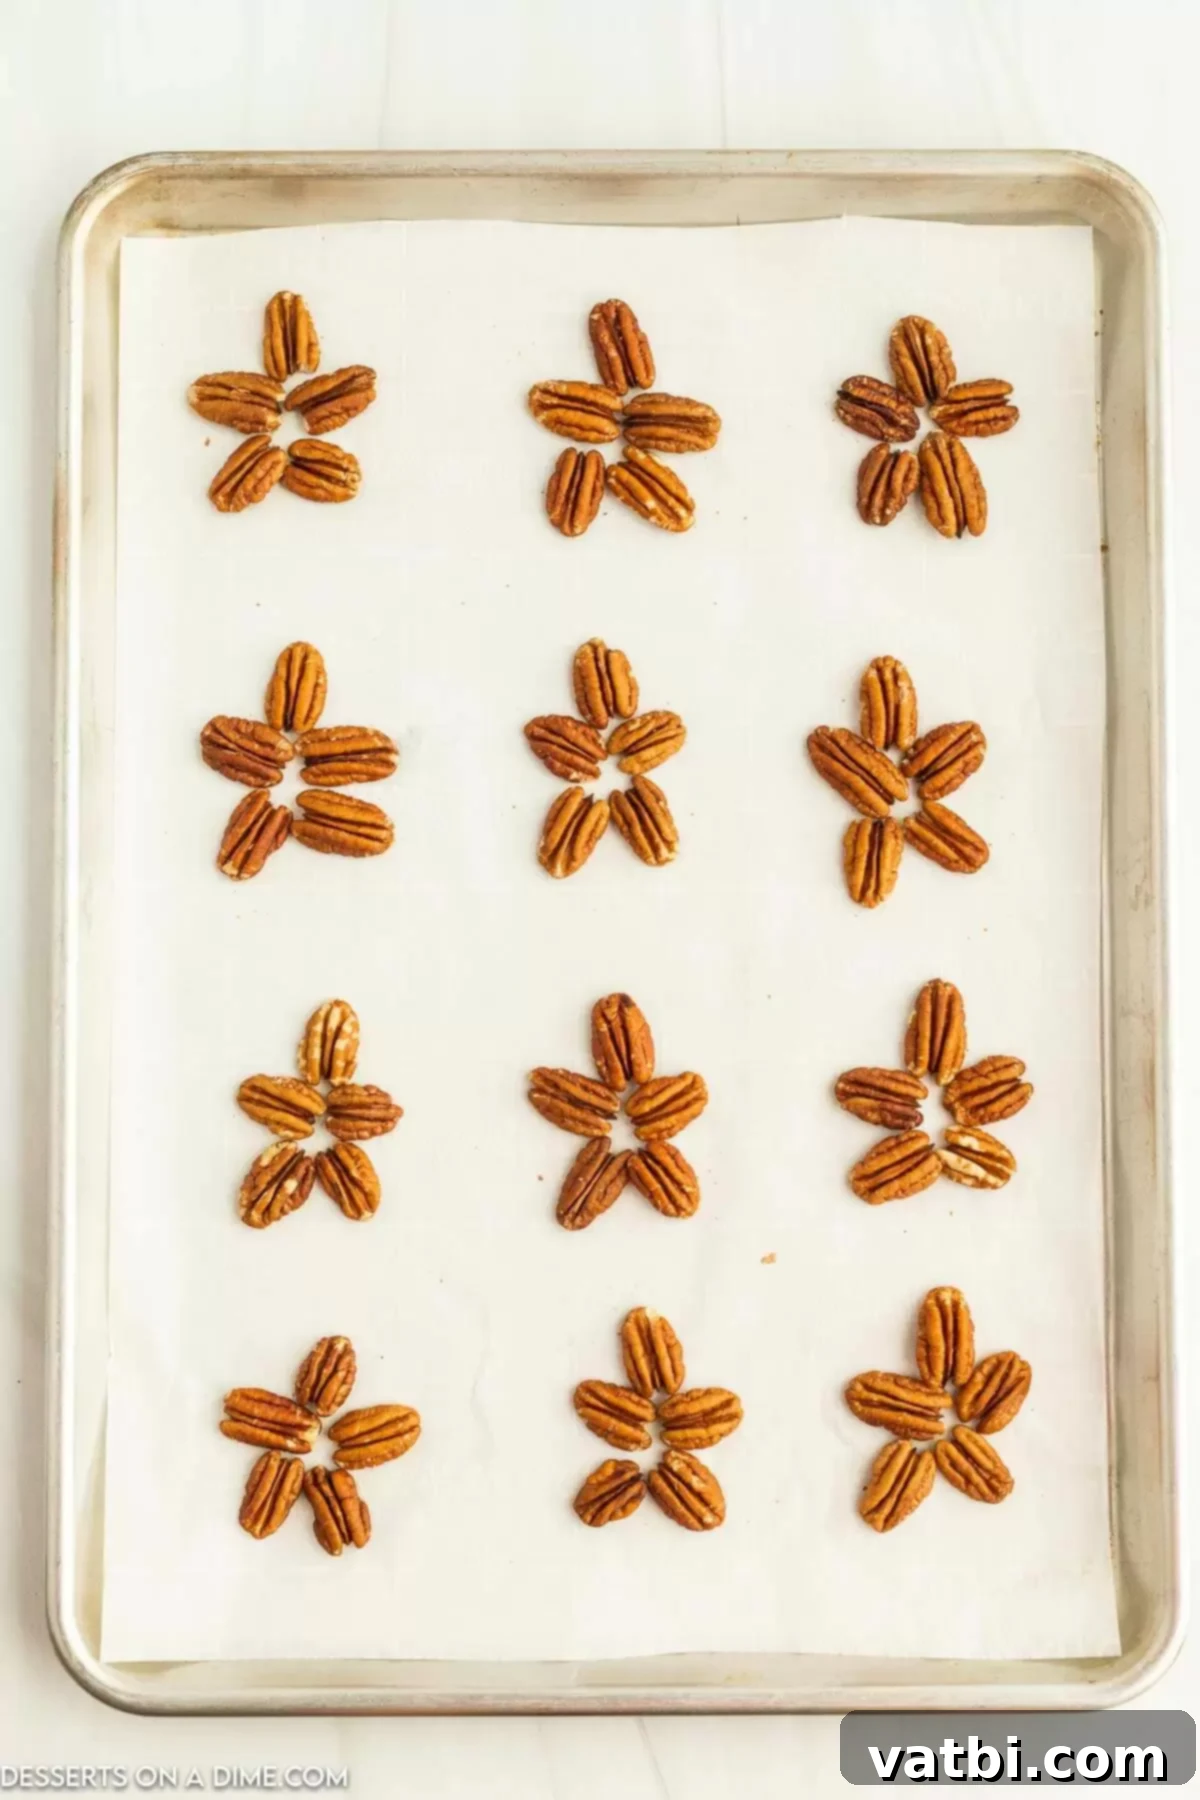
Step 1. Arrange the Pecans. Begin by preparing your workspace. Line a large baking sheet with parchment paper or a silicone baking mat. This is crucial for easy removal of the finished turtles and prevents sticking. Next, arrange clusters of 5 pecan halves on the prepared baking sheet. Gently press them together to form a star or turtle-like shape. Leave a little space between each cluster to ensure they don’t merge when the caramel and chocolate are added.
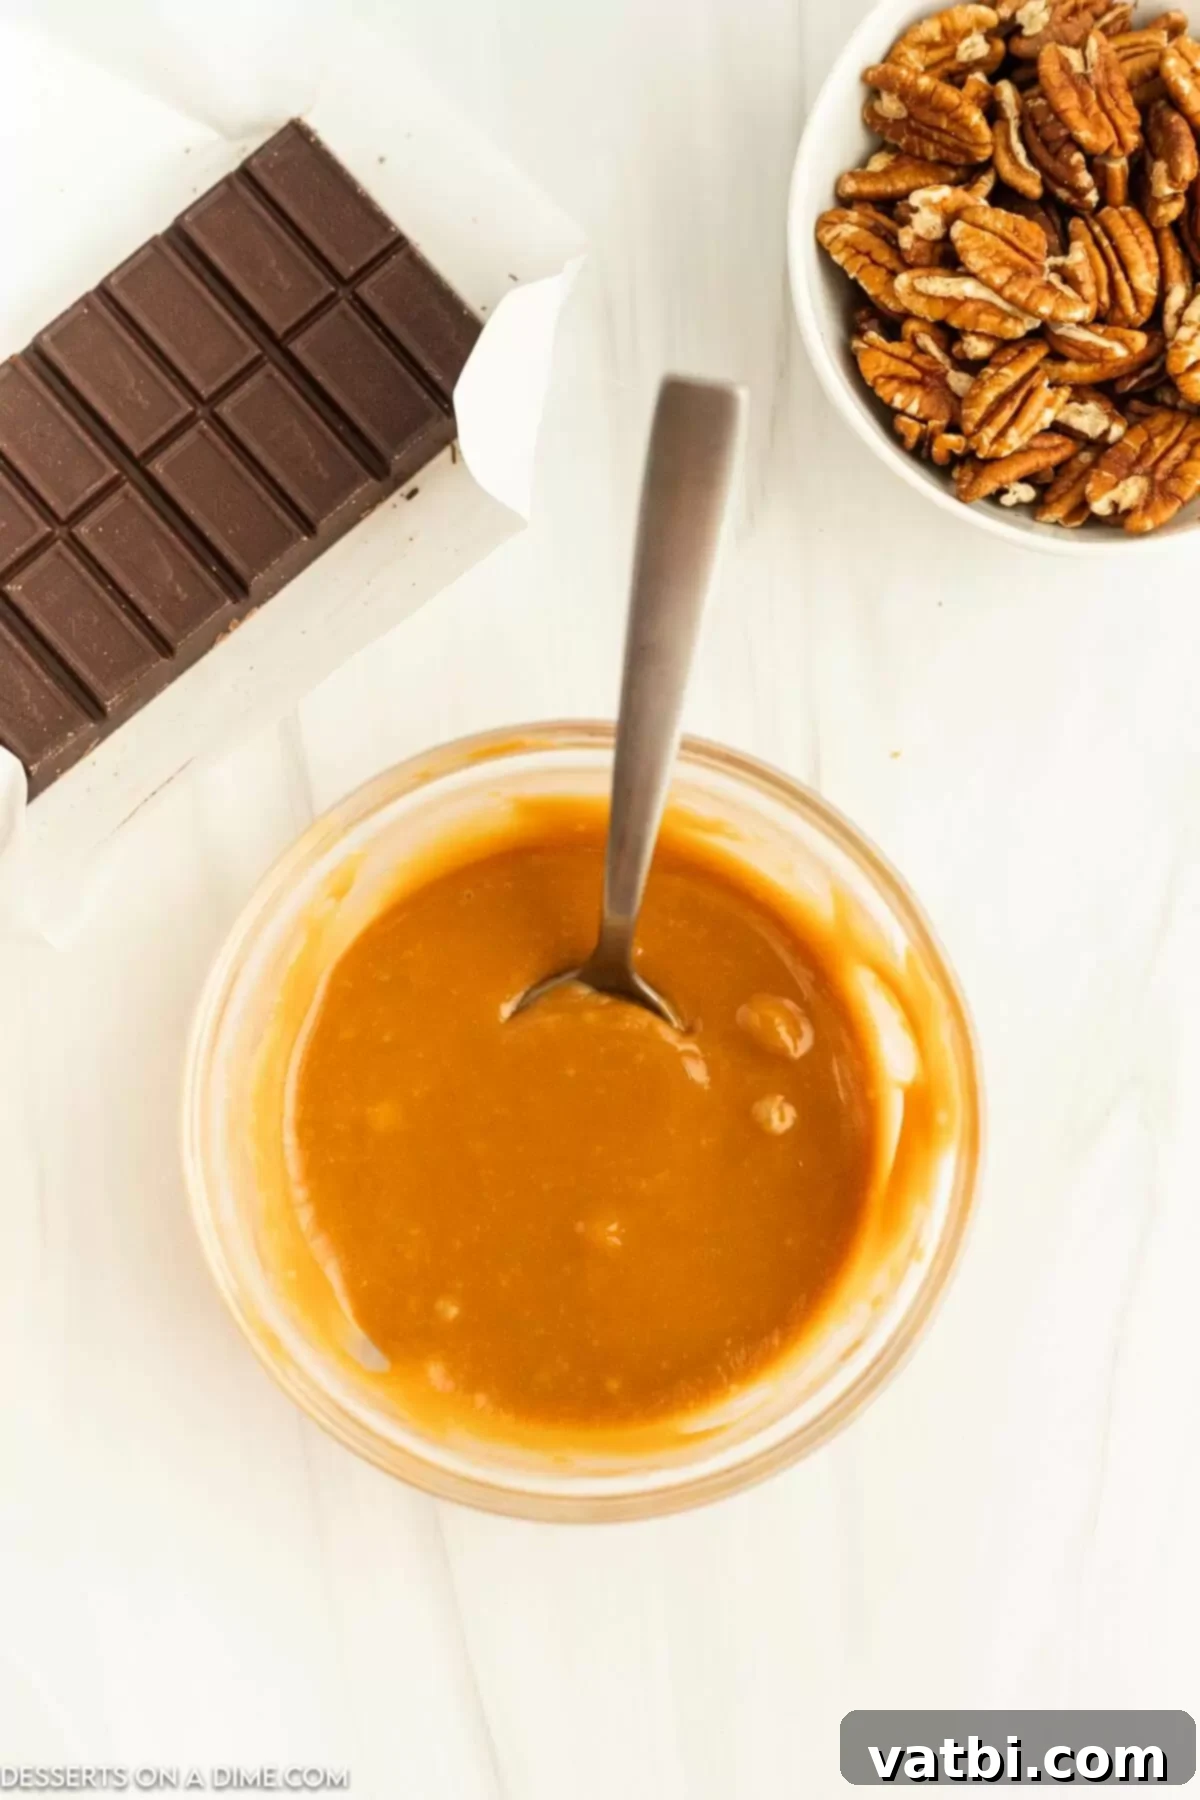
Step 2. Melt the Caramel. Unwrap your caramels and place them into a microwave-safe bowl. Add the heavy whipping cream. Microwave the mixture for 1 minute initially. After the first minute, stir the caramels well with a spoon or spatula. The mixture might still be chunky. Continue to microwave in 30-second intervals, stirring thoroughly after each interval, until the caramels are completely melted and the mixture is smooth, creamy, and free of lumps. This gradual melting prevents scorching and ensures a perfect consistency.

Step 3. Add the Caramel Layer. Carefully spoon about 1 tablespoon of the melted caramel mixture over the center of each pecan cluster. Use the back of the spoon to gently spread the caramel slightly over the pecans, creating a nice, even layer that covers the nuts. Be mindful not to make the caramel layer too thick, as it needs to set properly. Allow the caramel-topped pecan clusters to sit at room temperature for a short while, allowing the caramel to firm up slightly before moving to the next step.
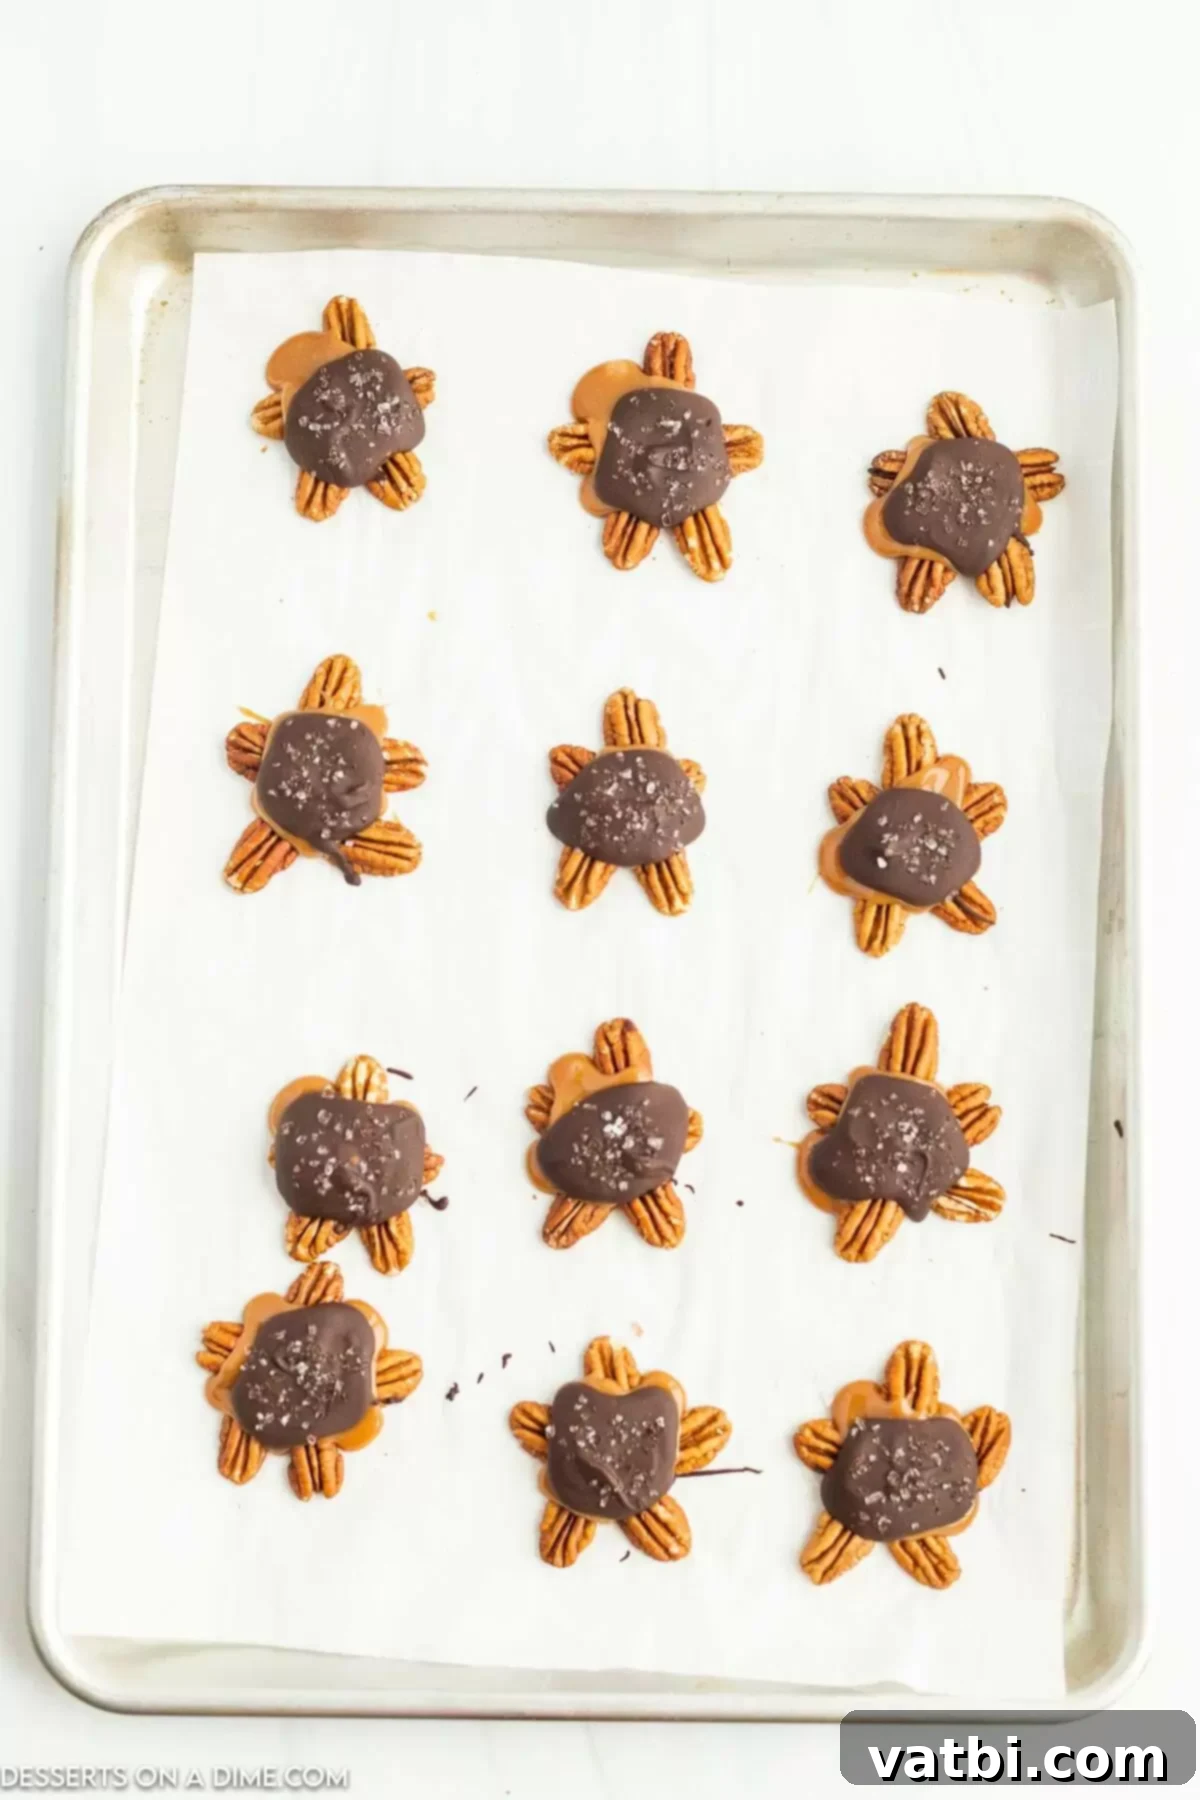
Step 4. Melt and Apply Chocolate. In a separate microwave-safe bowl, place your semi-sweet melting chocolate. Microwave for 1 minute. Stir thoroughly. Continue microwaving in 30-second intervals, stirring vigorously after each interval, until the chocolate is fully melted and beautifully smooth with no lumps. Once melted, immediately place a spoonful (about 2 teaspoons) of the melted chocolate on top of each caramel layer, gently spreading it to cover the caramel and some of the pecans. While the chocolate is still wet, generously sprinkle a pinch of flaky sea salt on top of each turtle. The salt will adhere as the chocolate sets, providing that perfect sweet and salty contrast.
- Step 5. Set and Enjoy! Allow your freshly made chocolate turtles to sit undisturbed at room temperature for about 15-20 minutes. This gives the chocolate time to fully harden and set, creating a firm, shiny coating. Alternatively, you can place the baking sheet in the refrigerator for 5-10 minutes to speed up the setting process, especially if your kitchen is warm. Once the chocolate is completely set, your homemade chocolate turtles are ready to be served and enjoyed!
Proper Storage for Lasting Freshness
To ensure your delicious homemade chocolate turtles retain their optimal taste and texture for as long as possible, proper storage is key. Here’s how to store them, depending on how quickly you plan to devour them:
- Room Temperature – For short-term storage, keep your chocolate turtles in an airtight container at cool room temperature (ideally below 70°F or 21°C). They will remain fresh and delightful for up to 5 days. Ensure they are kept away from direct sunlight or heat, which can cause the chocolate to melt or bloom.
- Refrigerator – To extend their shelf life, store the turtles in a sealed, airtight container in the refrigerator. This method will keep them fresh for up to 2 weeks. Before serving, allow them to come to room temperature for about 15-20 minutes to achieve the best caramel consistency and prevent the chocolate from being too hard.
- Freezer – For longer-term storage, chocolate turtles freeze exceptionally well. Place them in a single layer on a baking sheet and freeze until firm. Once solid, transfer them to a freezer-safe airtight container, separating layers with parchment paper to prevent sticking. They can be stored in the freezer for up to 2 months. When ready to enjoy, thaw them at room temperature for several hours or overnight in the refrigerator before serving.
Expert Pro Tips for Flawless Candy Making
Achieving bakery-quality chocolate turtles at home is easier than you think, especially with a few insider tips. These pointers will help ensure your candies are perfect every time, from texture to taste:
- Invest in High-Quality Chocolate – The type of chocolate you use significantly impacts the final taste and appearance. Good quality melting chocolate (chips, bars, or couverture) melts more smoothly, sets with a beautiful shine, and offers a superior flavor. Avoid waxy or overly sweet compounds if you want a truly decadent result.
- Toast the Pecans for Enhanced Flavor – While optional, lightly toasting your pecan halves before assembly can make a world of difference. To do this, spread them on a baking sheet and bake at 350°F (175°C) for 5-7 minutes, or toast them in a dry skillet over medium heat until fragrant. This simple step deepens their nutty flavor and adds an extra layer of crunch.
- Melt Caramels Carefully and Slowly – Patience is key when melting caramels. Heating them slowly and stirring frequently in short intervals prevents them from burning, becoming grainy, or separating. The goal is a uniform, silky-smooth caramel that flows beautifully. If your caramel seems too thick, a tiny bit more heavy cream (1/2 teaspoon at a time) can help loosen it.
- Work Efficiently, But Not Hastily – Once the caramel is melted and spooned onto the pecans, it will begin to cool and set. While there’s no need to rush, it’s best to have your melted chocolate ready to go soon after the caramel is in place. Applying the chocolate while the caramel is still slightly soft helps them meld together seamlessly.
- Always Use Parchment Paper or Silicone Mats – This tip cannot be overstated. Lining your baking sheets with parchment paper or a silicone baking mat is absolutely essential. It prevents the sticky caramel and chocolate from adhering to the pan, making it incredibly easy to remove your finished turtles without any mess or damage.
- Sprinkle Sea Salt Last for Maximum Impact – The flaky sea salt is not just for flavor; it also adds a beautiful visual element. Sprinkling it immediately after the chocolate layer is applied, while the chocolate is still wet, ensures it adheres well. The contrasting salt crystals truly enhance the chocolate-caramel combination, offering that delightful sweet-and-salty “pop.”
- Temperature Control for Setting – If your kitchen is warm, you can place the baking sheet of assembled turtles into the refrigerator for 5-10 minutes to help the chocolate set faster. However, avoid leaving them in the fridge for too long, as extreme cold can sometimes cause chocolate to “bloom” (develop white streaks). Room temperature setting usually provides the best, most even finish.
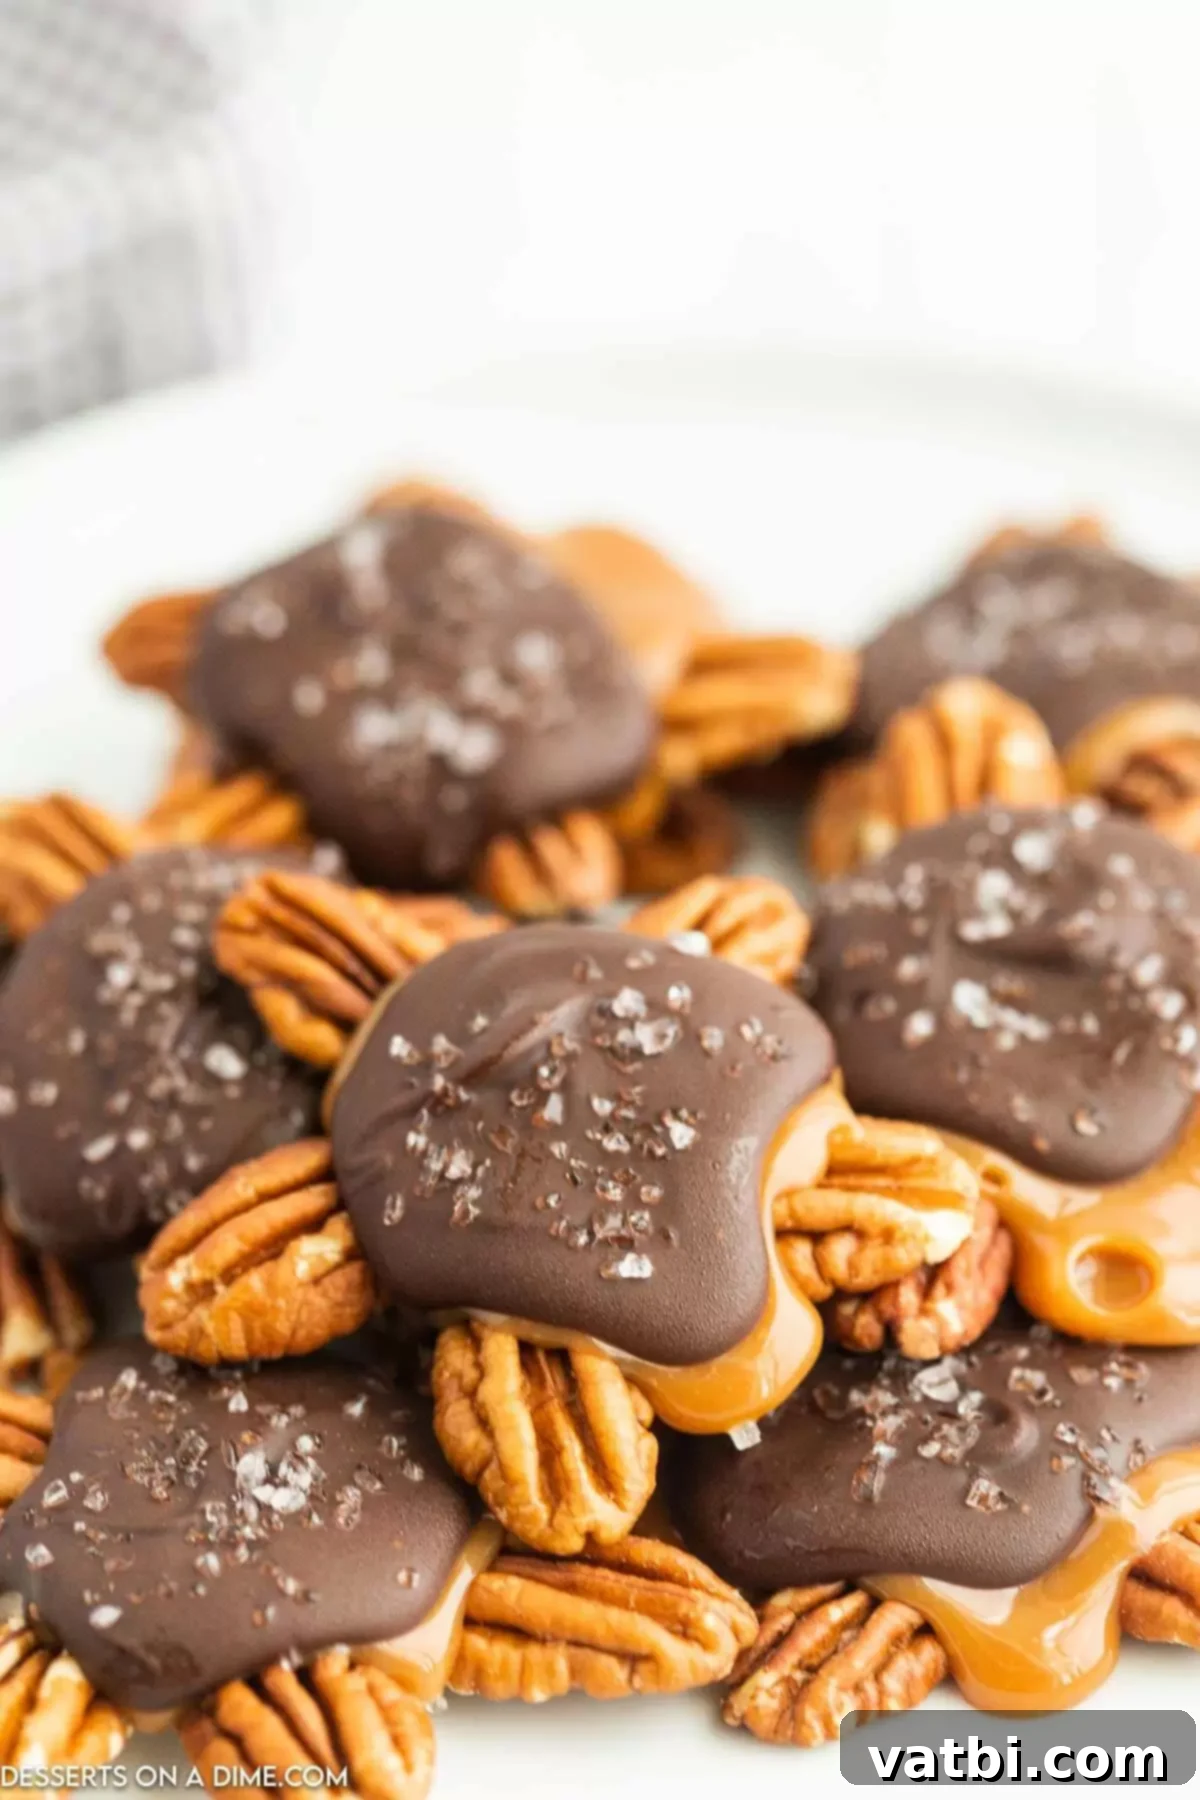
Explore More Delicious Candy Recipes
If you’ve fallen in love with making homemade candy after trying these irresistible chocolate turtles, you’re in for a treat! There’s a whole world of delightful confections waiting to be discovered in your kitchen. Expand your repertoire with these other fantastic candy recipes:
- Easy Cool Whip Candy
- Classic Hard Candy Recipe
- Old Fashioned Divinity Candy Recipe
- Simple Rocky Road Candy
I truly hope you enjoy making these fantastic Homemade Chocolate Turtles! They’re a classic for a reason – simple, delicious, and always a hit. Please share your experience and let me know how they turn out by leaving a comment and a star rating below. Your feedback means a lot!
Pin
Chocolate Turtles
Ingredients
- 4 ounces Pecan Halves
- 8 ounces Caramels
- 1 Tablespoon Heavy Whipping Cream
- 6 ounces Semi-Sweet Melting Chocolate
- 1 teaspoon Sea Salt
Instructions
-
Begin by preparing your baking surface: Line a large baking sheet with parchment paper or a silicone baking mat to prevent sticking. Carefully arrange 5 pecan halves in a cluster, forming a star or turtle-like shape, on the prepared baking sheet. Ensure there’s adequate space between each cluster.
-
In a microwave-safe bowl, combine the unwrapped caramels and the heavy whipping cream. Microwave for an initial 1 minute. Remove and stir thoroughly to combine any melted portions. Continue to microwave in short 30-second intervals, stirring vigorously after each, until the caramel mixture is completely melted, smooth, and free of any lumps. This gradual process ensures even melting and a perfect consistency for your caramel.
-
Using a spoon, carefully pour approximately 1 tablespoon of the warm, melted caramel over the center of each pecan cluster. Gently spread the caramel a little to cover the pecans, creating a distinct, gooey layer. Allow the caramel to set and cool for a few minutes at room temperature until it firms up slightly, making it easier to top with chocolate.
-
In a separate microwave-safe bowl, place your semi-sweet melting chocolate. Microwave for 1 minute, then stir well. Continue to microwave in 30-second bursts, stirring diligently after each interval, until the chocolate is entirely melted and beautifully smooth and glossy. Avoid overheating to prevent scorching or seizing.
-
Swiftly spoon about 2 teaspoons of the melted chocolate over the top of each caramel layer, gently spreading it to cover the caramel and some of the pecan edges. While the chocolate is still wet and shiny, immediately sprinkle a small amount of flaky sea salt evenly over the chocolate on each turtle. The salt will adhere as the chocolate begins to set.
-
Allow the finished chocolate turtles to sit undisturbed at room temperature for 15-20 minutes, or until the chocolate has fully hardened and set. For quicker setting, you can place the baking sheet in the refrigerator for 5-10 minutes. Once completely firm, they are ready to serve and savor!
Recipe Notes
Nutrition Facts
Pin This Now to Remember It Later
Pin Recipe