Classic Old-Fashioned Lemon Squares: The Ultimate Sweet & Tangy Dessert Bar Recipe
There’s something truly magical about the bright, invigorating flavor of lemon, and our easy-to-follow Old-Fashioned Lemon Squares Recipe captures that essence perfectly. This classic dessert delivers an exquisite balance of sweet and tangy notes, making it an ideal treat for any occasion. Each delightful slice is crowned with a delicate dusting of powdered sugar, adding just the right touch of extra sweetness to complement the zesty lemon curd filling. If you’re a fan of citrus-infused desserts, prepare to fall in love with these irresistible lemon bars.
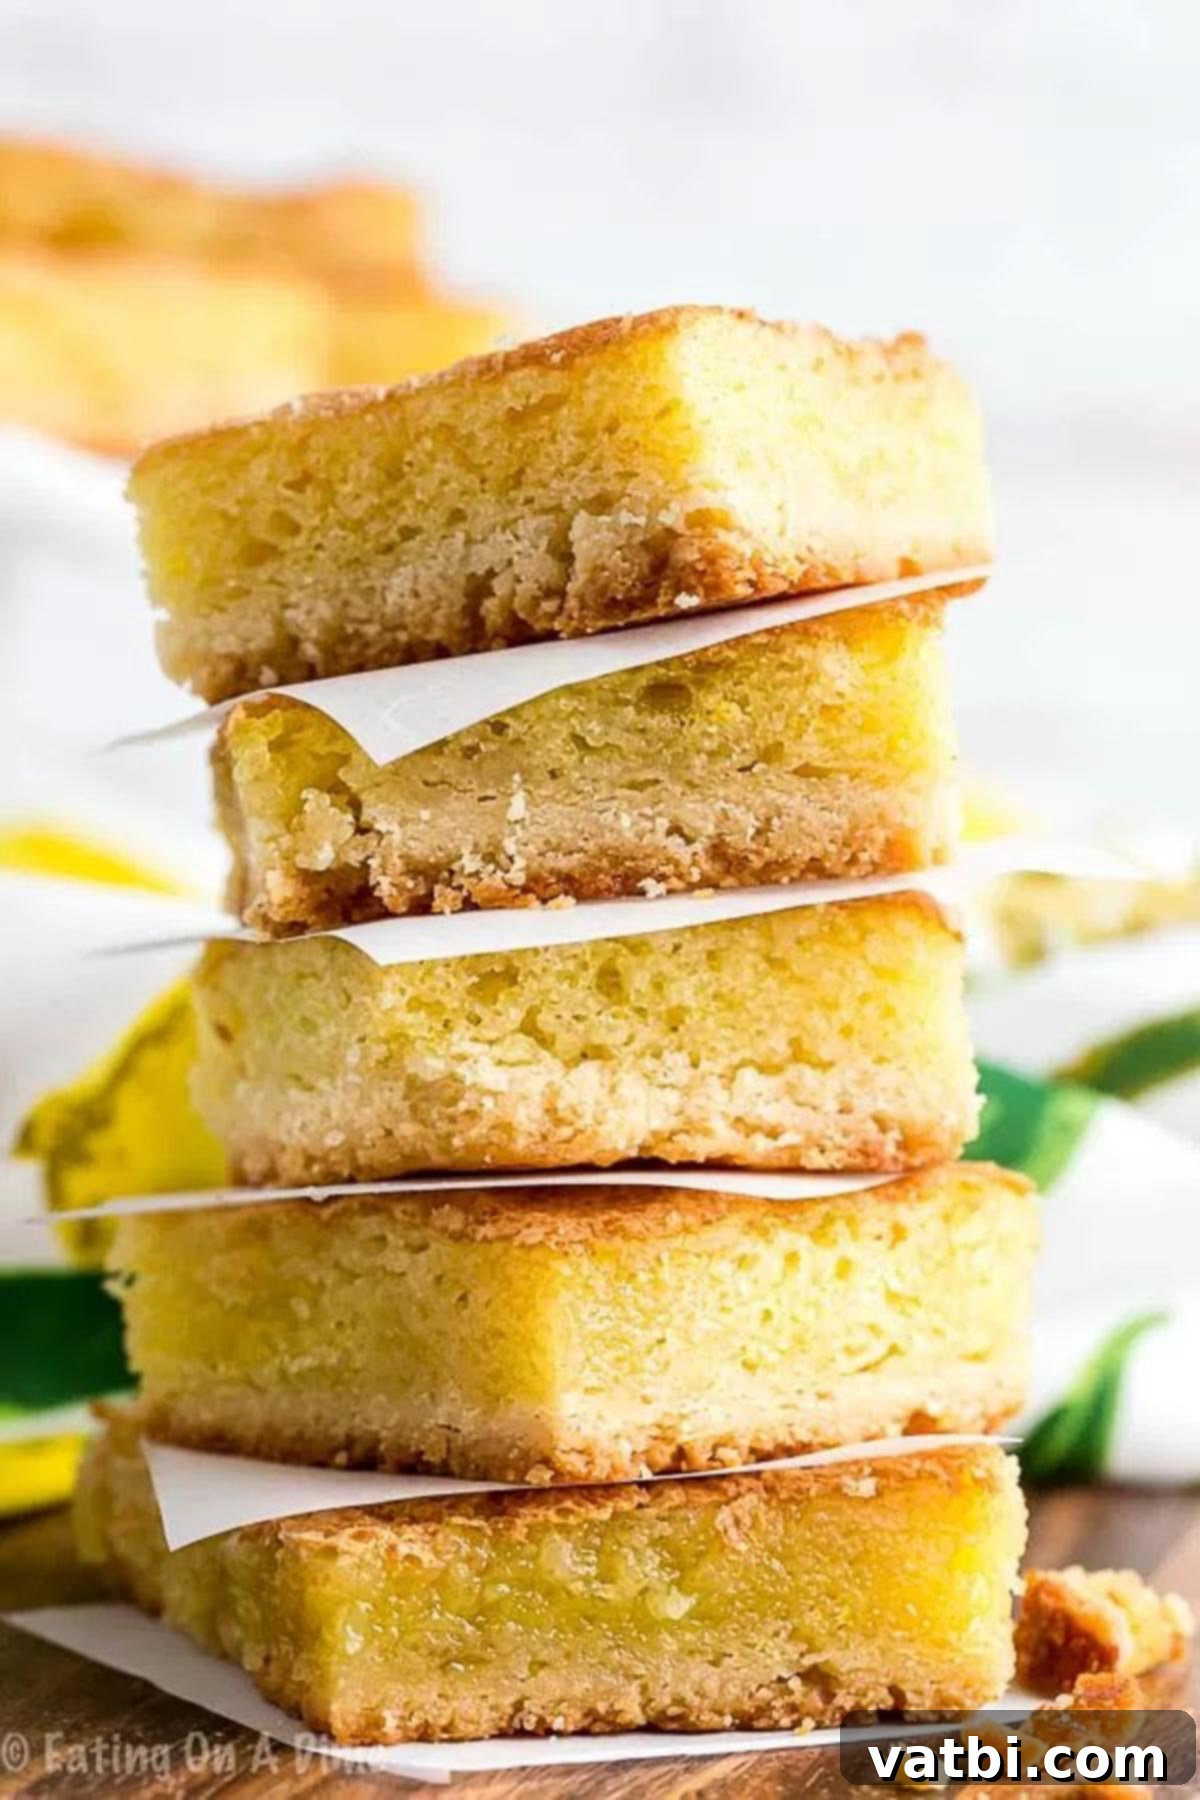
Our family holds a special place in their hearts for lemon desserts, and this particular recipe has become an undisputed favorite. What makes it even better is how quickly and effortlessly I can whip up this simple, yet incredibly satisfying, sweet treat. Forget about those pre-packaged box mixes for lemon bars – crafting them from scratch is not only more economical, but the superior flavor and fresh taste are simply incomparable.
Whenever a craving for that unique combination of sweet and sour strikes, these lemon squares are my absolute go-to. Every single bite is a revelation, offering the best of both worlds with its vibrant citrus burst and rich, buttery crust. For those who can’t get enough lemon goodness, be sure to also try our delightful Lemon Lush Dessert and the elegant Lemon Trifle for more fantastic lemon-inspired recipes.
Table of contents
- Why This Recipe Works
- Ingredients
- Crust
- Filling
- How to Make Lemon Squares
- Storage
- How to Cut Lemon Bars
- Pro Tips
- FAQs
- More Lemon Desserts
Why This Recipe Works: The Perfect Balance of Flavor and Texture
These lemon squares aren’t just easy; they are the quintessential treat for virtually any gathering or quiet evening at home. Whether you’re hosting a party, preparing for game day, looking for a satisfying dessert, or simply craving a delicious snack, you absolutely cannot go wrong with these wonderfully simple and incredibly flavorful lemon bars. Their universal appeal makes them a surefire hit every single time.
We’ve often made these bars when participating in bake sales, and without fail, they are always the first items to disappear! The bright, refreshing taste of lemon baked goods resonates with everyone, ensuring these sweet and tangy treats are snapped up almost immediately. It’s their winning combination of textures and flavors that truly sets them apart and makes them so beloved.
The star of the show is, of course, the vibrant lemon filling. It’s wonderfully thick, providing a substantial, almost custardy texture that’s bursting with intense, natural lemon flavor. This rich filling perfectly contrasts with the delightful shortbread crust. This crust boasts a crispy, golden-brown edge and a tender, melt-in-your-mouth interior, offering a satisfying crumbly base that supports the zesty filling. Together, these two layers create an amazing dessert experience that is both comforting and exhilarating, a true testament to classic baking at its best.
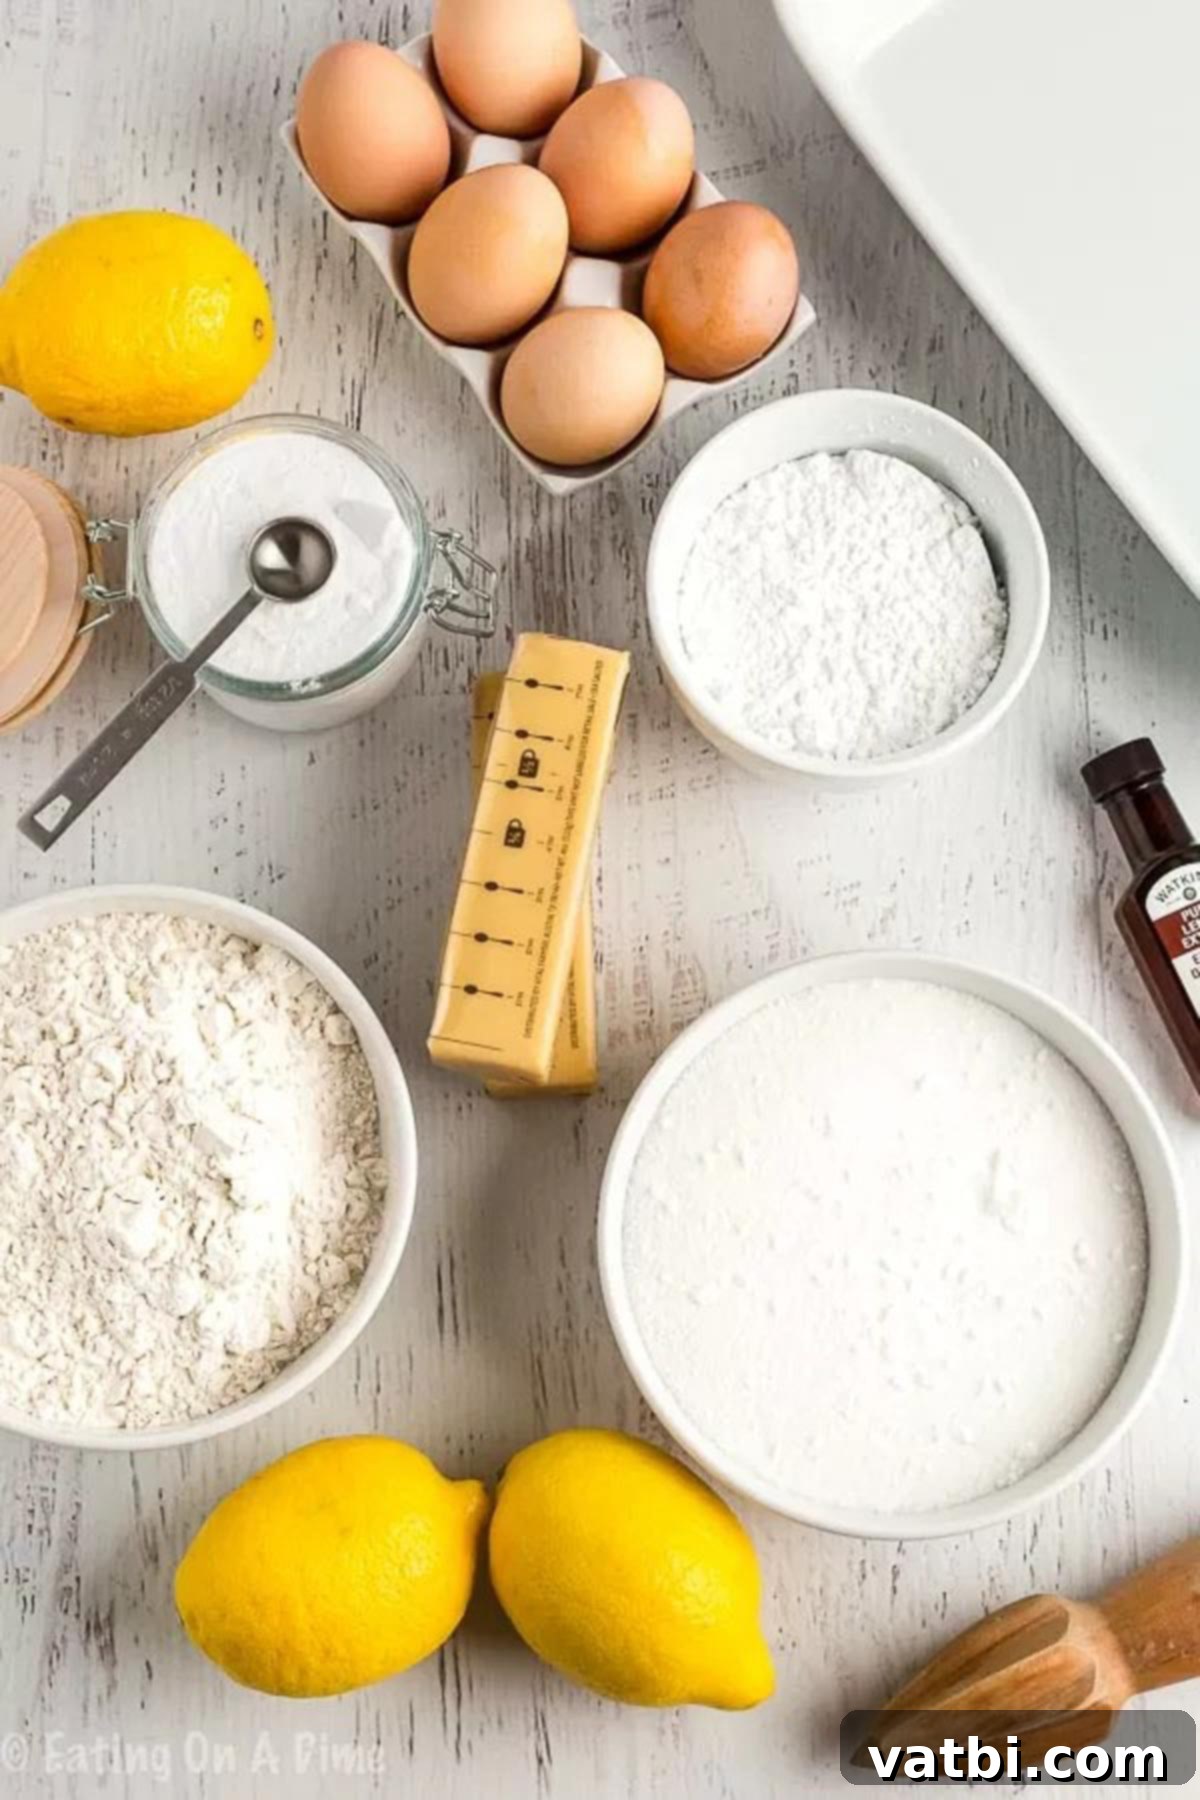
Essential Ingredients for Perfect Lemon Squares
Crafting the best Old-Fashioned Lemon Squares starts with high-quality ingredients. Each component plays a crucial role in achieving the desired texture and the signature sweet-tart flavor profile. Here’s a closer look at what you’ll need for both the delightful shortbread crust and the zesty lemon filling.
For the Buttery Shortbread Crust
- Powdered Sugar: This finely milled sugar is essential for a tender, delicate crust. Sifting it beforehand is a key step to ensure there are no lumps, resulting in a smooth and consistent dough. It contributes to the crust’s subtle sweetness and crumbly texture.
- Butter: Opt for softened butter at room temperature. The quality of your butter greatly influences the richness and flavor of the shortbread. Softened butter creams beautifully with powdered sugar, creating an airy base that will yield a wonderfully crisp yet tender crust.
- All-Purpose Flour: Accuracy in measuring flour is paramount for baking. Instead of scooping directly from the bag, spoon the flour into your measuring cup and then level it off. This technique prevents over-packing, which can lead to a dry and dense crust, ensuring a light and perfectly textured foundation for your lemon squares.
For the Zesty Lemon Filling
- Eggs: Just like butter, using room temperature eggs helps them incorporate more smoothly and evenly into the mixture, contributing to a silky-smooth, well-emulsified lemon curd filling. They provide structure and richness to the filling.
- Freshly Squeezed Lemon Juice: This is where the magic happens! While bottled lemon juice is convenient, nothing compares to the bright, vibrant, and authentic flavor that fresh lemons provide. Take the time to squeeze your own for a truly superior taste that elevates these lemon squares from good to unforgettable.
- Lemon Extract: To intensify that glorious lemon flavor, a touch of lemon extract is added. It boosts the natural zestiness of the fresh lemon juice, ensuring every bite is bursting with an irresistible citrus punch.
- Granulated Sugar: Balances the tartness of the lemon juice, creating a perfectly sweet-tart curd.
- Baking Powder: A small amount helps the filling achieve a slight lift and tender texture.
For a precise list of quantities and the complete recipe, please scroll to the very bottom of the page where you’ll find the comprehensive recipe card.
Step-by-Step Guide: How to Make Irresistible Lemon Squares
Making these old-fashioned lemon squares from scratch is surprisingly straightforward and incredibly rewarding. Follow these detailed steps to create a batch of perfectly baked, sweet, and tangy lemon bars that will impress everyone.
- Step 1. Prepare Your Oven and Pan: Begin by preheating your oven to 350 degrees Fahrenheit (175 degrees Celsius). This ensures a consistent baking temperature from the start. To make for an incredibly easy removal and cleanup, line a 9″x13″ baking pan with parchment paper or aluminum foil, leaving an overhang on the sides. Then, lightly spray the lined pan with nonstick cooking spray to prevent any sticking.
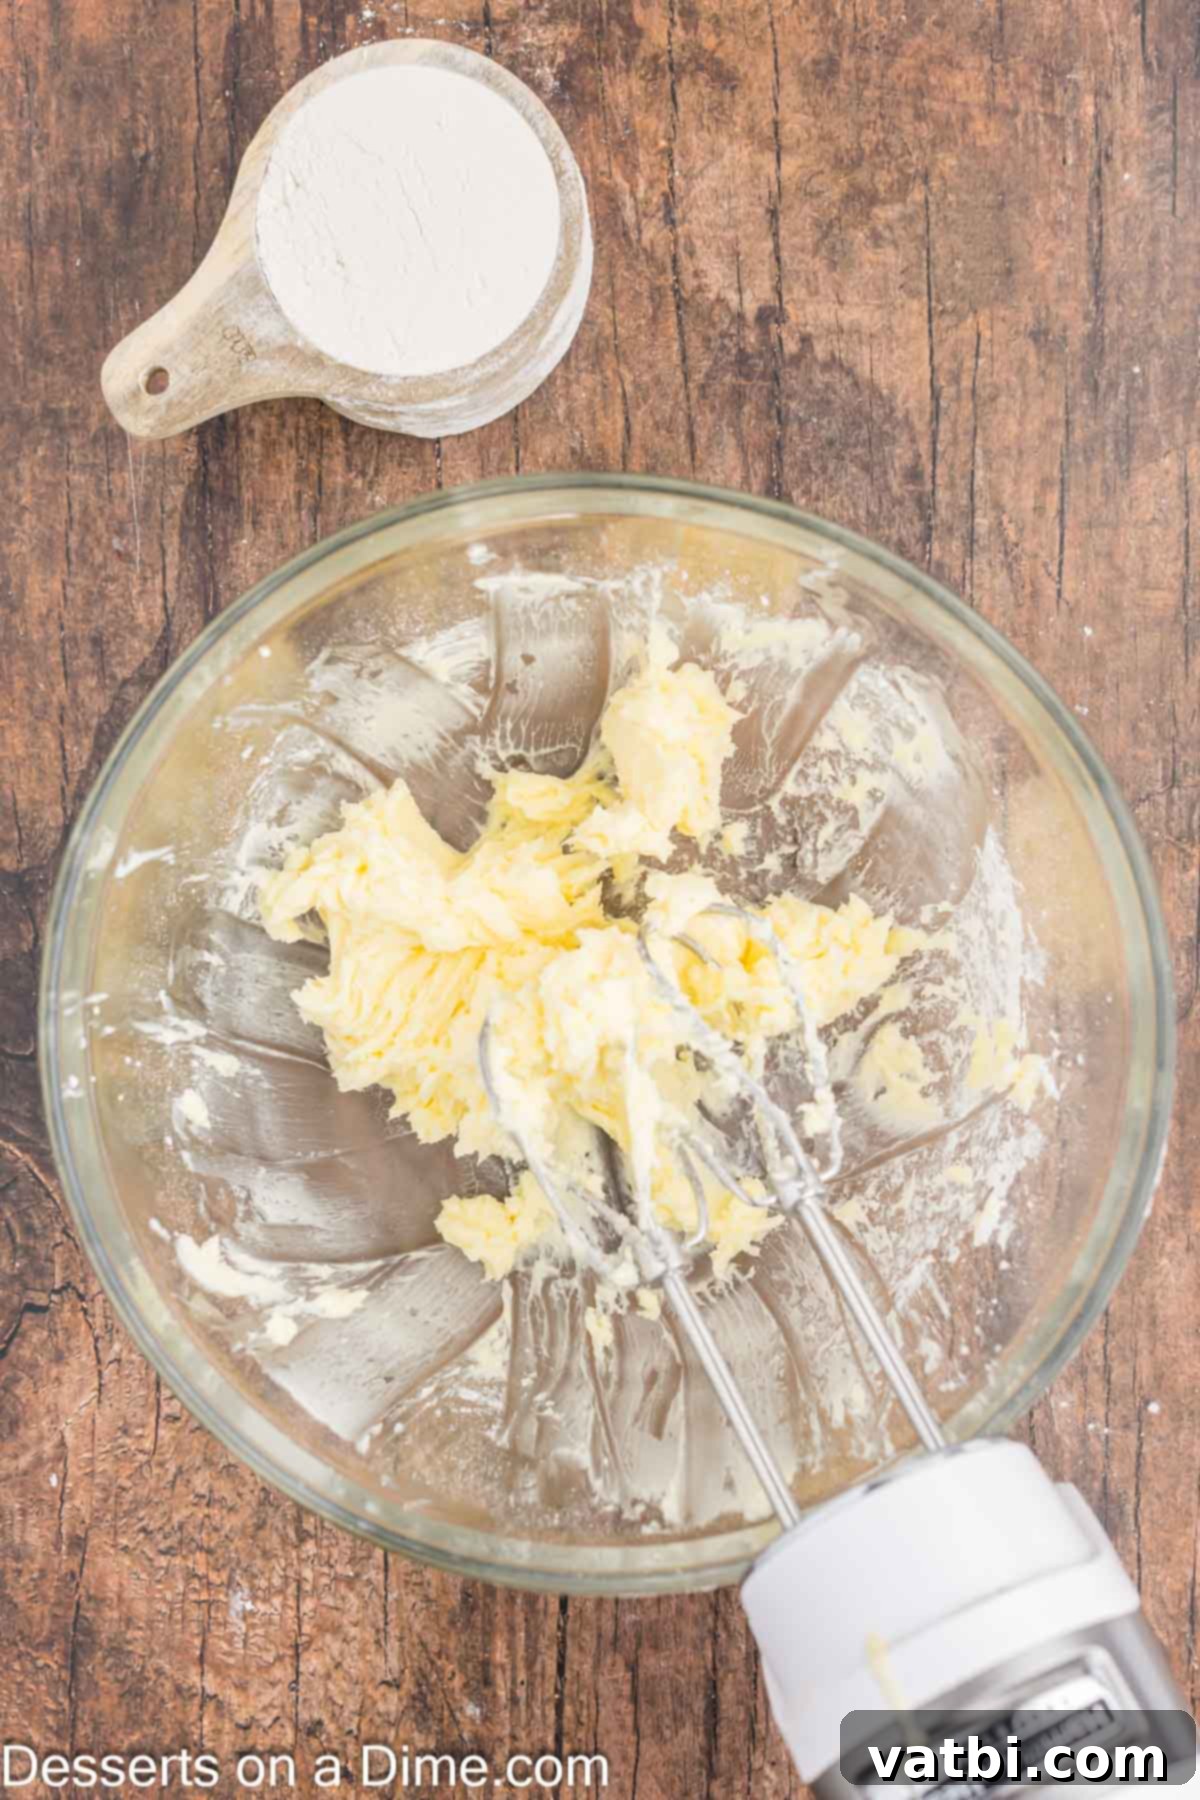
Step 2. Prepare the Shortbread Crust Dough: Now, it’s time to create that amazing shortbread crust. In a medium-sized mixing bowl, cream together the softened powdered sugar and room-temperature butter until the mixture is light and fluffy. Gradually add the all-purpose flour, about ½ cup at a time, mixing slowly until it is fully integrated and a thick, crumbly dough forms. Don’t be alarmed by the dough’s thick consistency; this is perfectly normal for a shortbread base.
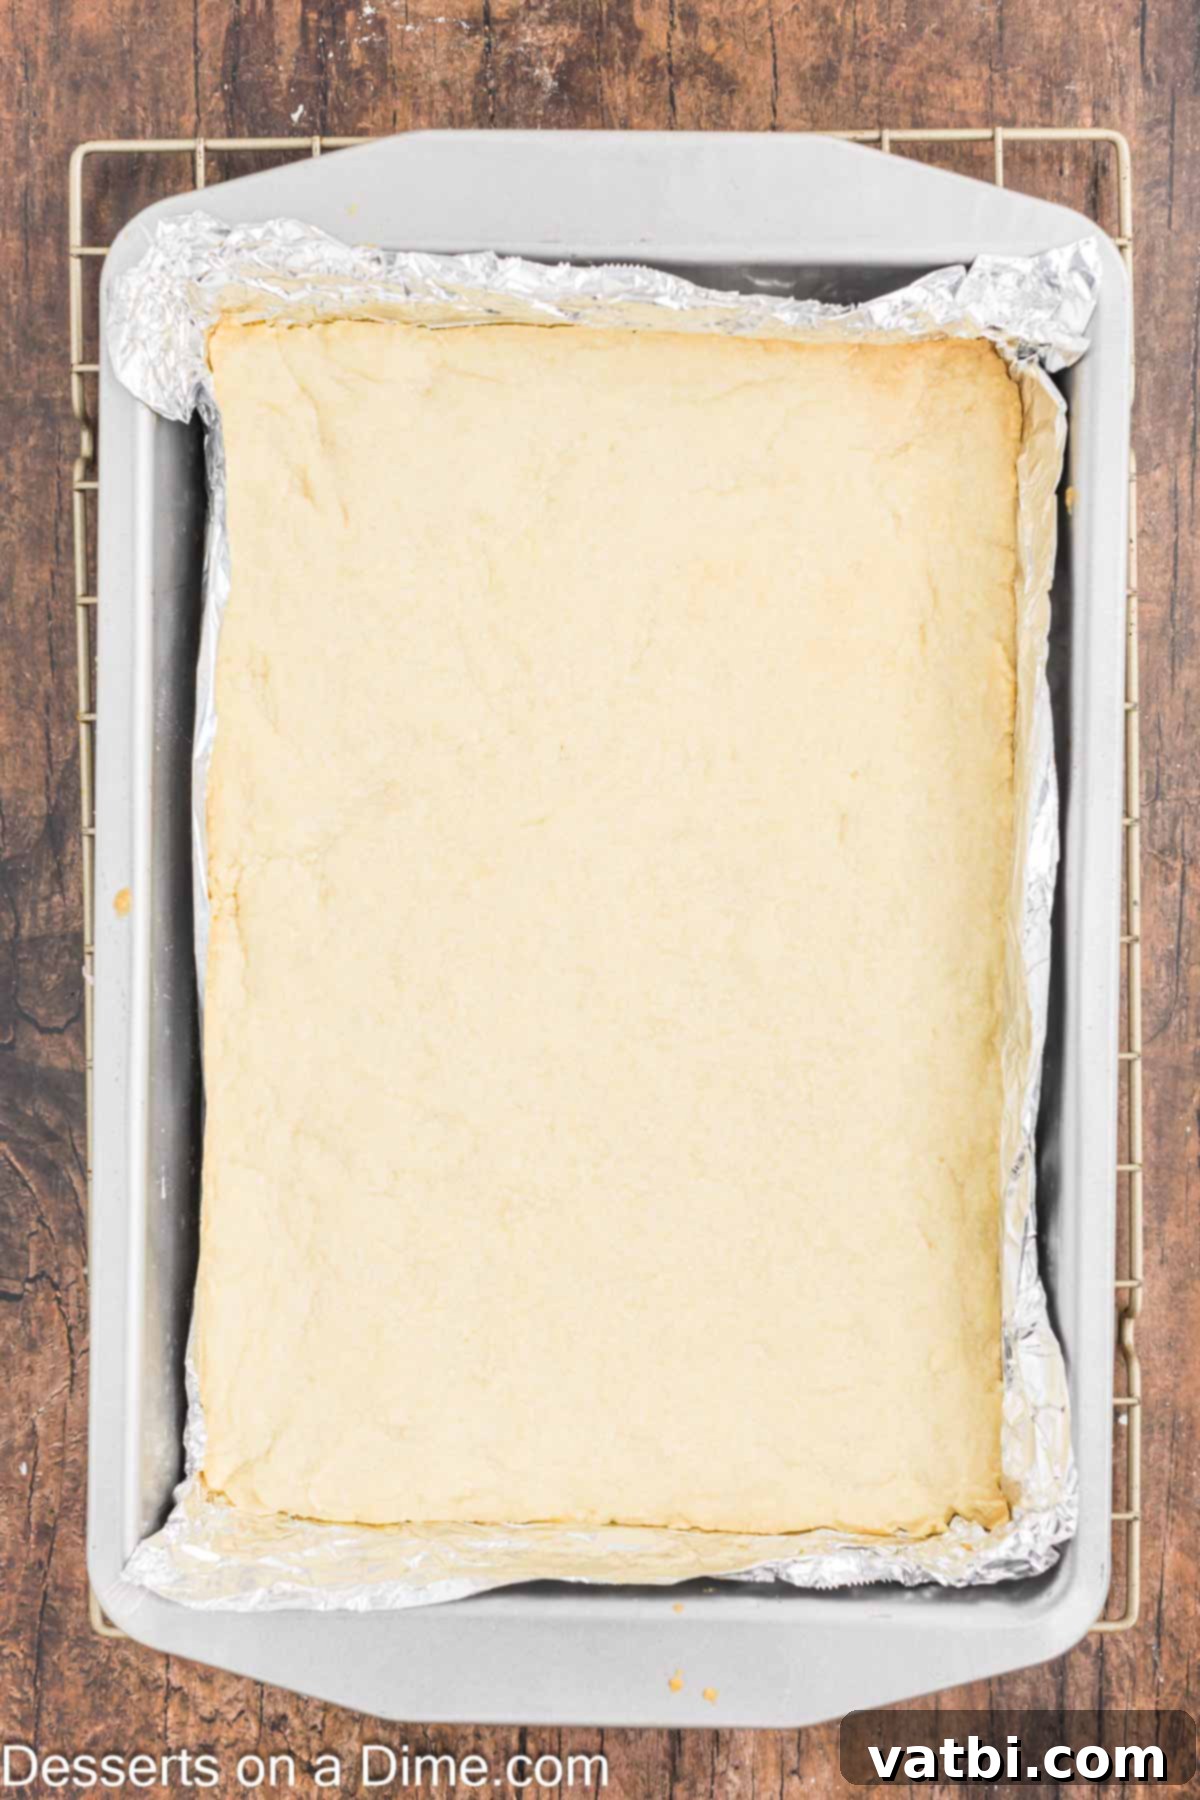
Step 3. Press and Pre-Bake the Crust: Transfer the thick dough mixture into your prepared baking pan. Using your fingers, evenly press the dough across the bottom of the pan, forming a solid and uniform layer. The dough isn’t particularly sticky, so working with it should be quite easy. Bake this crust in the preheated oven for 15-20 minutes, or until the edges begin to turn a very light golden brown. It’s crucial not to let the top brown significantly at this stage.
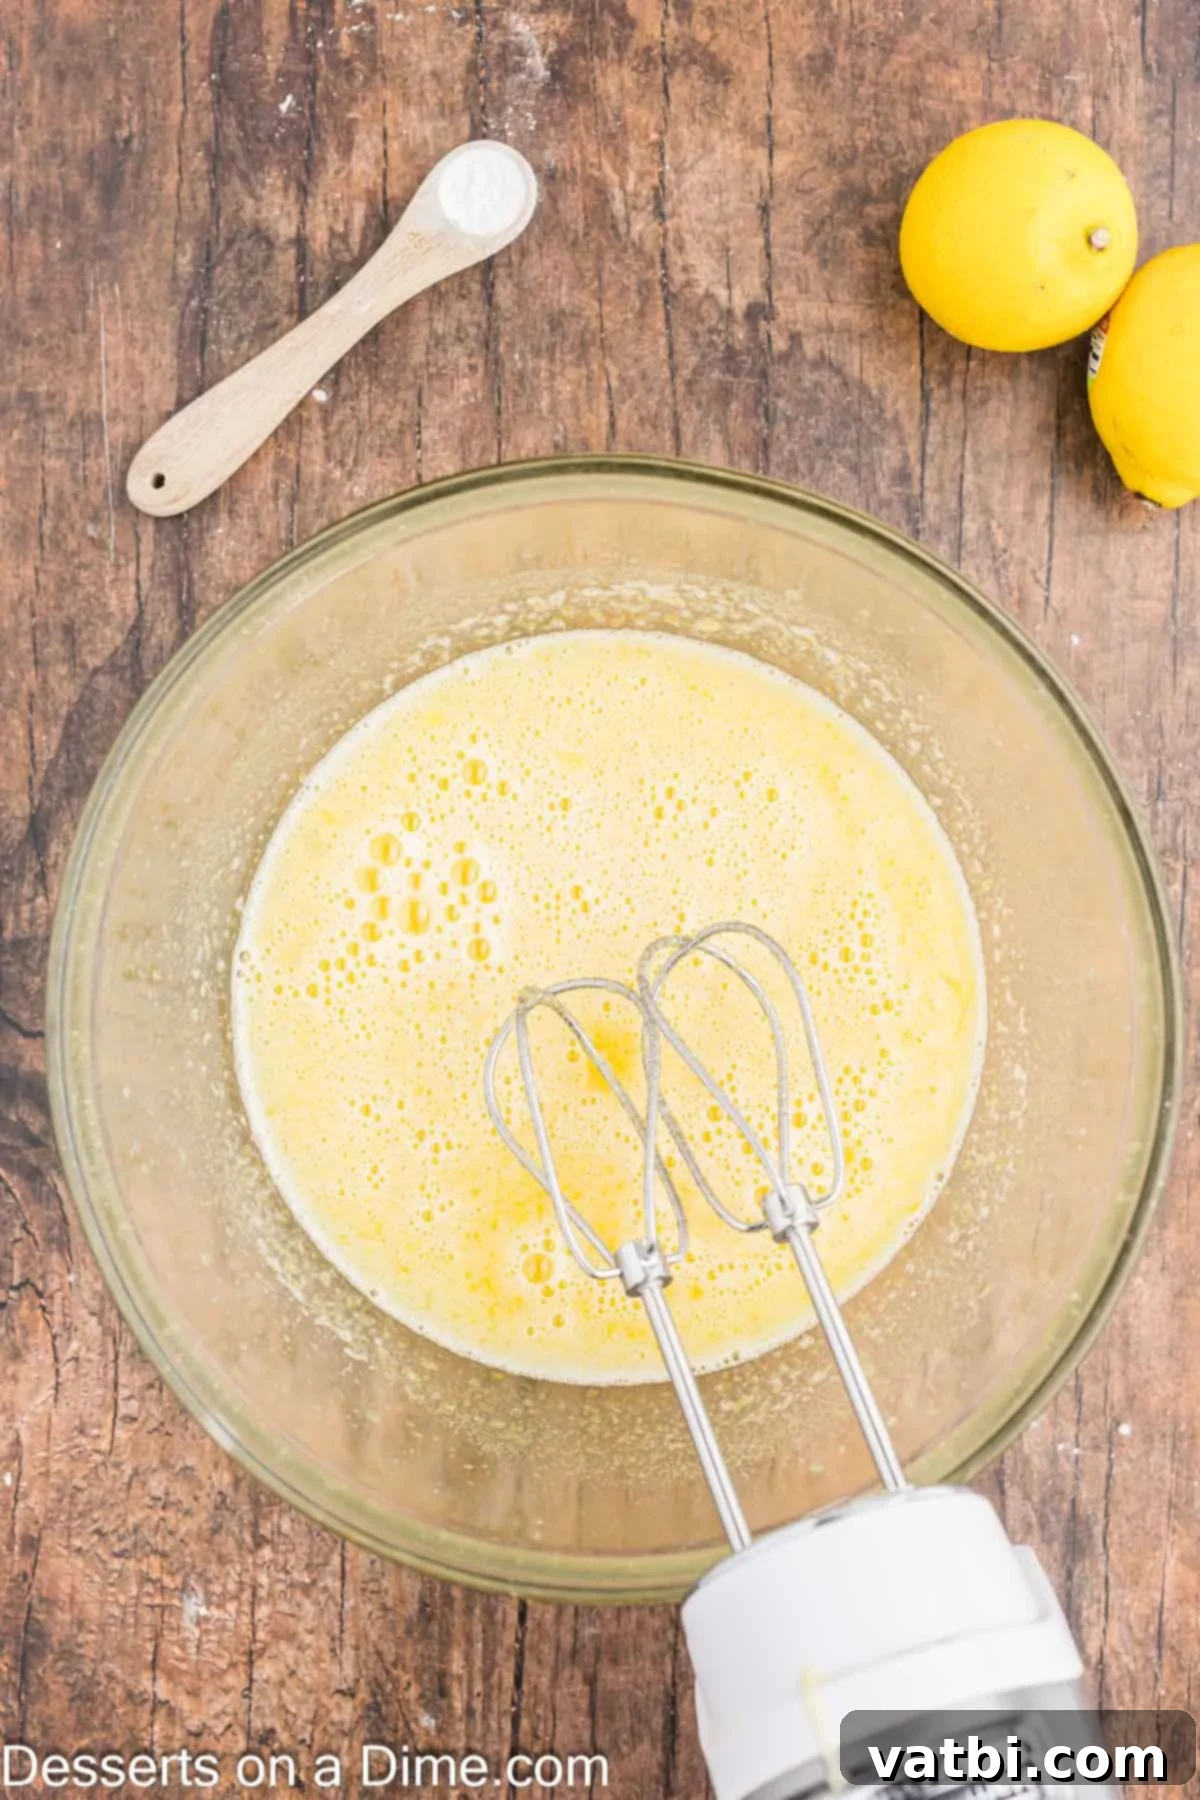
Step 4. Prepare the Zesty Lemon Filling: While your crust is baking, use this time to prepare the luscious lemon filling. In a separate bowl, whisk together the granulated sugar, room temperature eggs, freshly squeezed lemon juice, and lemon extract. Once these ingredients are well combined, gently sprinkle in the baking powder and mix until it’s just blended. Be careful not to overmix the filling, as this can affect its final texture.
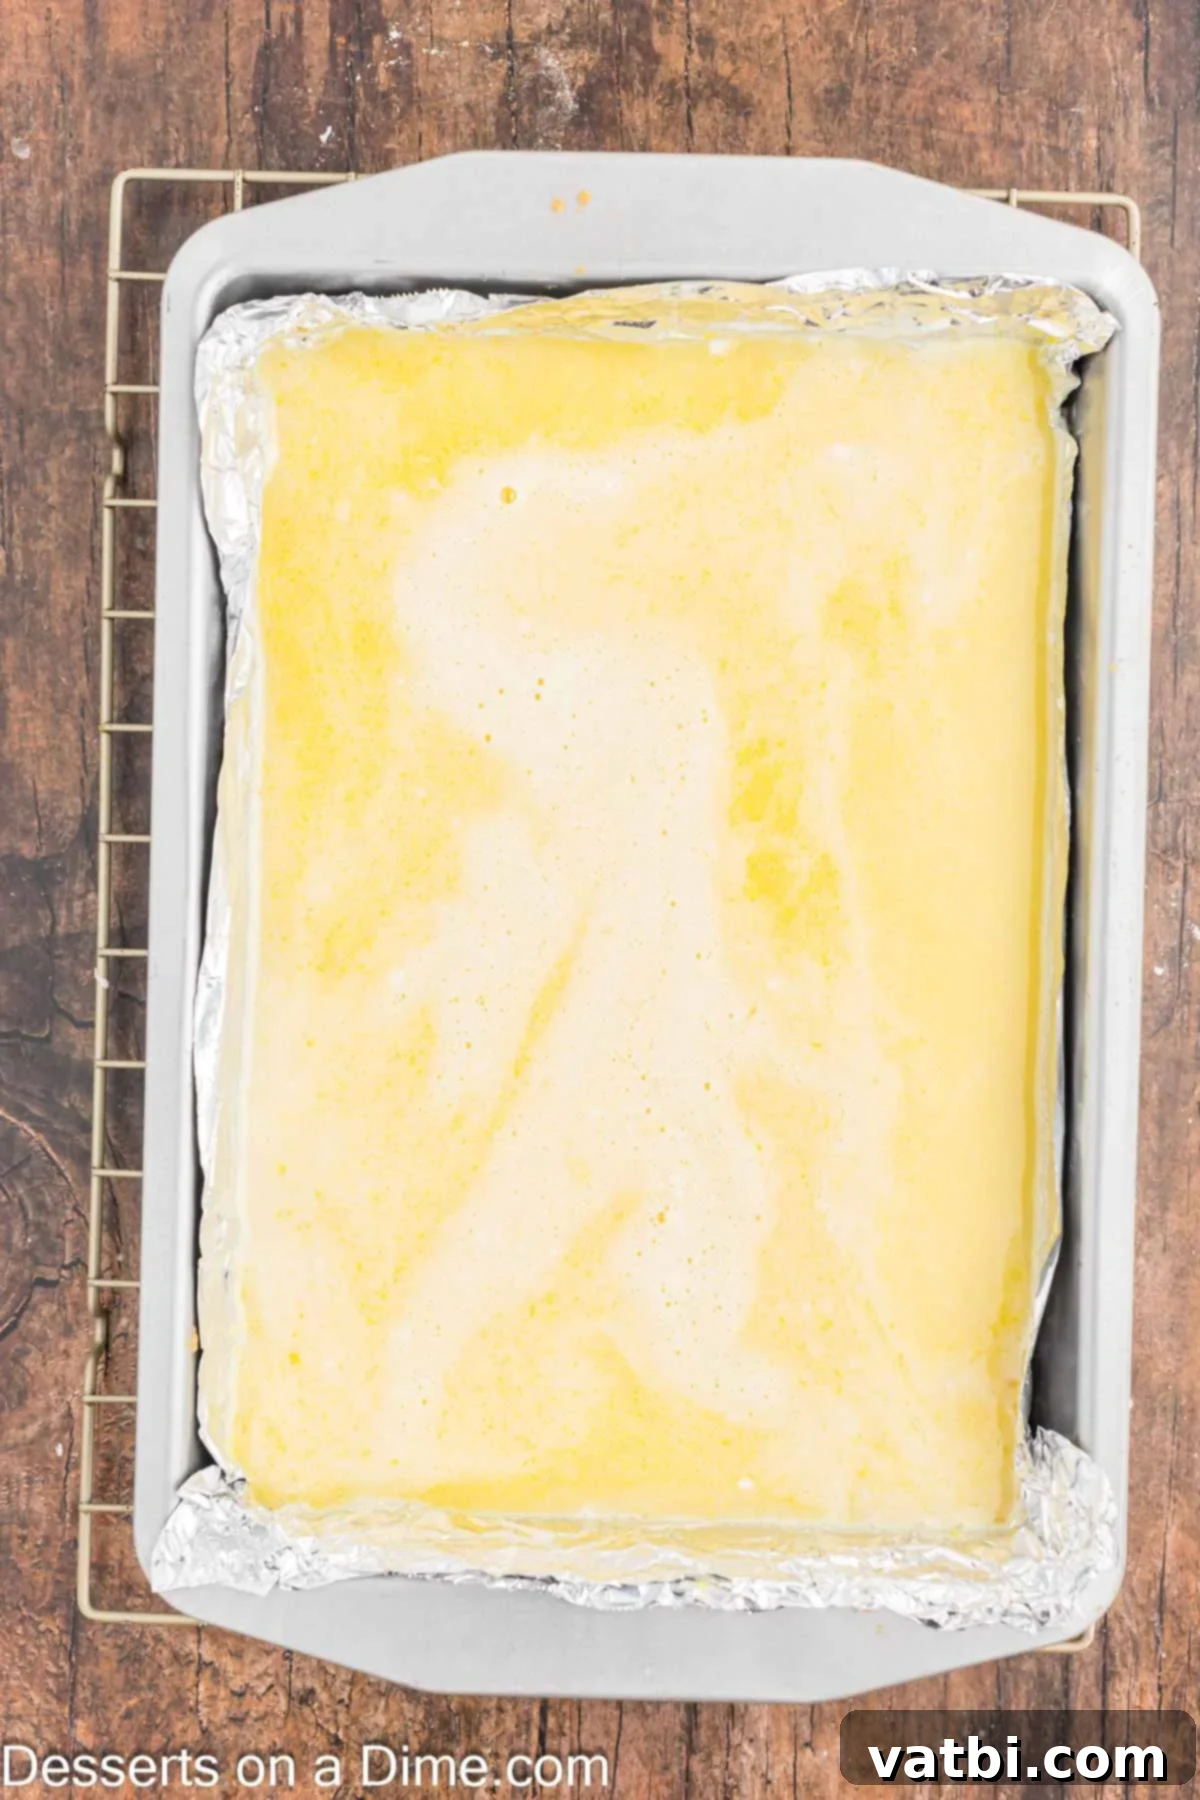
Step 5. Combine Crust and Filling: The moment the pre-baked crust comes out of the oven, immediately pour the prepared lemon filling directly over the hot crust. Spreading it quickly and evenly will ensure a uniform layer, allowing the two components to meld together beautifully as they finish baking.
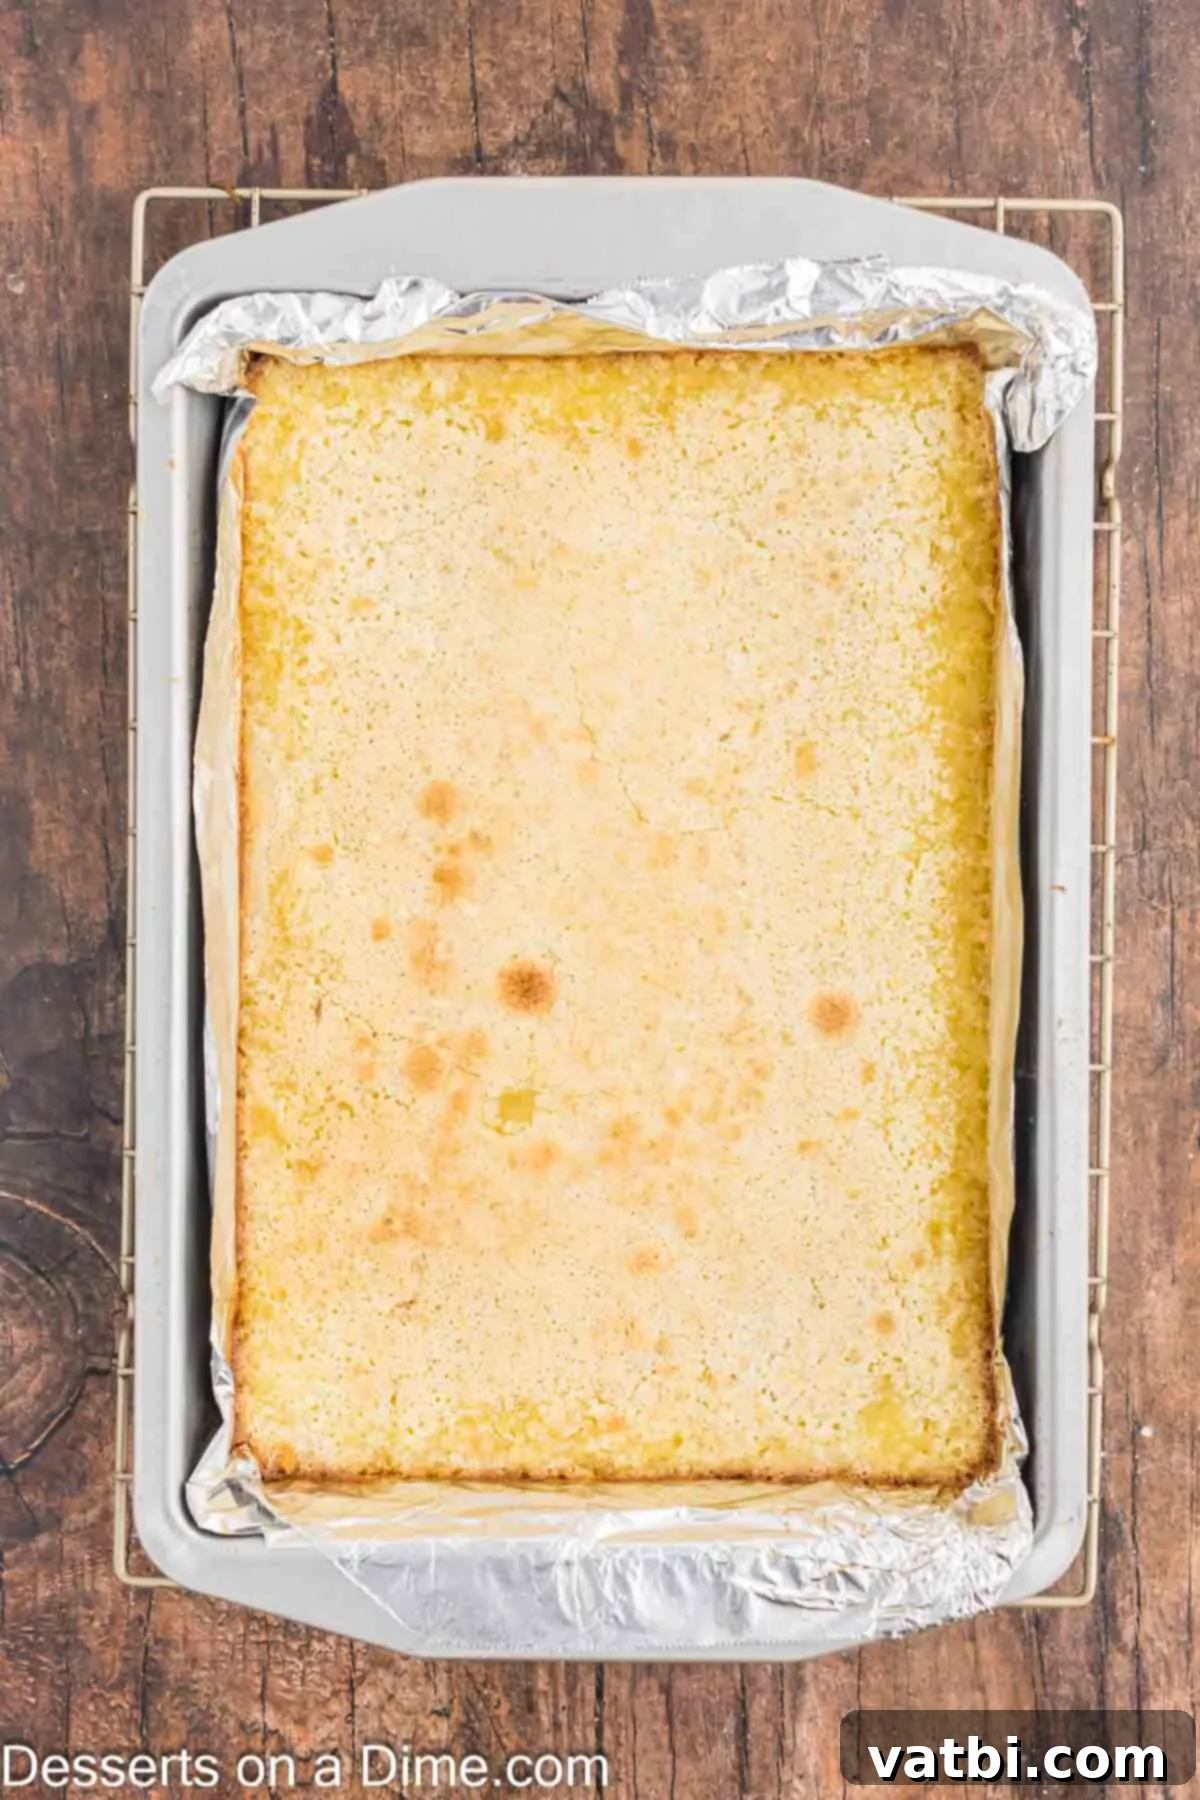
Step 6. Bake Until Set: Return the pan to the oven and bake for an additional 15 to 20 minutes. The key indicator that your lemon squares are done is when the top is no longer “jiggly” when you gently shake the pan. You’ll also notice the edges of the filling may start to turn a very light golden brown. Keep a close eye on them, as baking times can vary slightly depending on your oven; it could take up to 30 minutes. Avoid overcooking to maintain the custardy texture.
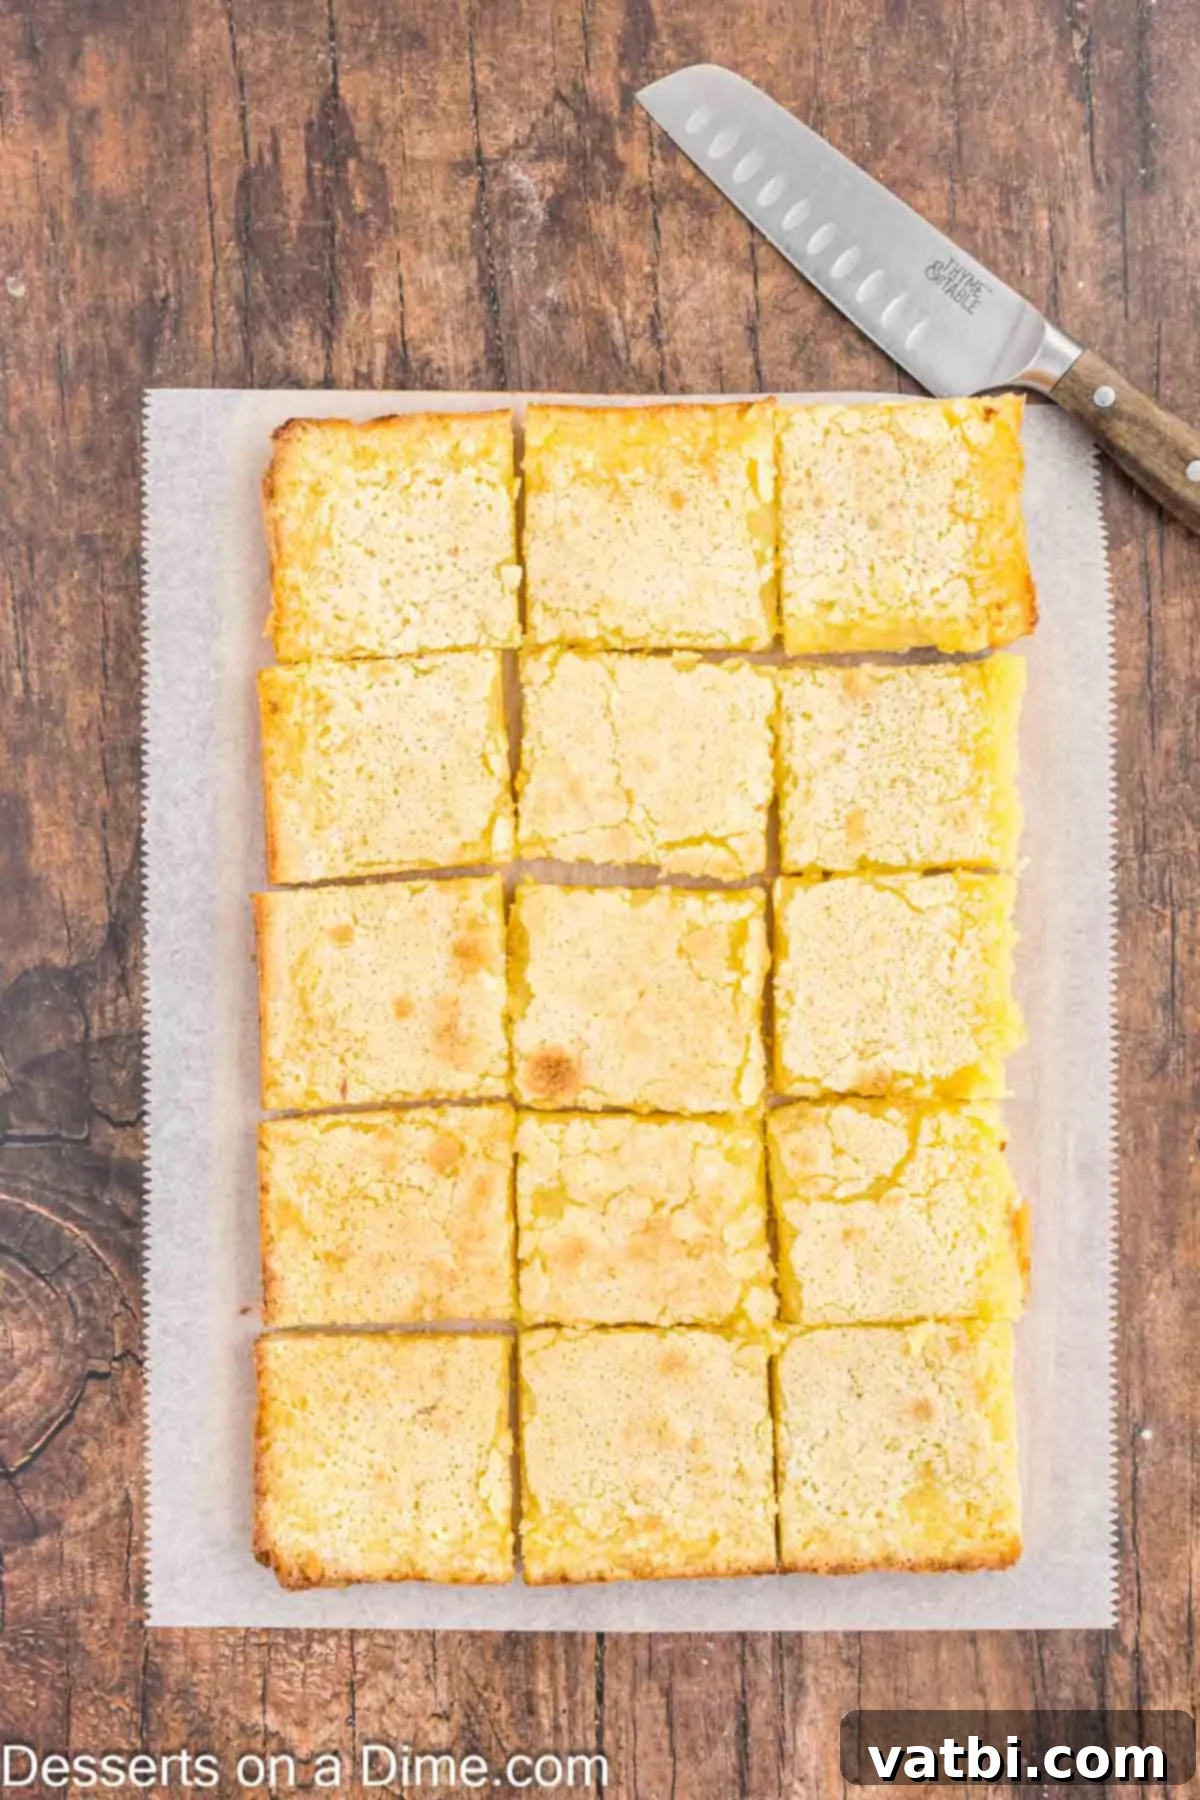
Step 7. Cool Completely Before Slicing: This step is crucial for perfectly set lemon squares. Once baked, remove the pan from the oven and let the bars cool completely at room temperature. This allows the filling to firm up properly. Patience is key here! Finally, once fully cooled, carefully remove the lemon bars from the pan using the parchment paper overhang and cut them into your desired squares or other shapes. A dusting of powdered sugar is the perfect finishing touch!
Storage Tips for Fresh Lemon Squares
To keep your lemon squares fresh and delicious, proper storage is essential. Due to their custardy lemon filling, these bars require refrigeration. Once completely cooled, place the lemon bars in an airtight container. For extra protection against drying out, you can also wrap them snugly in plastic wrap before placing them in the container.
Stored this way, they will remain fresh in the refrigerator for up to a week. However, for the absolute best taste and texture, we highly recommend serving them within a day or two of baking. The vibrant flavors and tender crust are truly at their peak during this time.
How to Cut Lemon Bars Perfectly
Achieving clean, crisp cuts for your lemon bars can make all the difference in presentation. The easiest method involves leveraging the parchment paper or foil you used to line your baking pan. Once the bars have completely cooled (and ideally, been refrigerated for an hour or two to firm up even more, see Pro Tips below), gently lift the entire slab of lemon bars out of the baking pan using the overlapping parchment paper.
Carefully transfer the slab to a clean cutting board. Then, slowly peel away the foil or parchment paper from the sides. Using a very sharp, clean knife, cut the bars into even squares or elegant triangles. For the cleanest cuts, wipe your knife clean with a damp cloth after each slice. Just before serving, lightly dust each piece with additional powdered sugar for that classic, inviting finish.
Expert Tips for the Best Old-Fashioned Lemon Squares
Elevate your lemon square baking with these professional tips, designed to ensure a flawless and flavorful outcome every time.
- Pan Type Matters: We strongly advise using a glass baking pan instead of a metal one. When lemon bars are baked in a metal pan, some people report a subtle metallic aftertaste that can detract from the delicate lemon flavor. Glass pans ensure a pure taste and often bake more evenly.
- Embrace Fresh Lemon Juice: This is a non-negotiable for truly exceptional lemon squares. While store-bought lemon juice offers convenience, it simply cannot replicate the bright, complex, and intensely authentic flavor that freshly squeezed lemons provide. The difference is remarkable and absolutely worth the extra effort.
- Always Line Your Pan: This simple step is a game-changer for both easy cleanup and hassle-free removal. Lining your pan with parchment paper or foil, with a slight overhang, allows you to lift the entire batch of cooled lemon bars out of the pan in one piece, making cutting and serving incredibly simple.
- Refrigerate for Easier Cutting: For beautifully neat and clean slices, chill your lemon bars in the refrigerator for at least one to two hours (or even overnight) before attempting to cut them. The cold temperature firms up the lemon filling and the buttery crust, preventing crumbling and smudging.
- Dust with Powdered Sugar Just Before Serving: While tempting, resist the urge to dust with powdered sugar immediately after baking. The moisture from the warm bars will absorb the sugar, making it disappear. For that iconic, elegant finish, dust your cooled and sliced lemon squares with powdered sugar right before you serve them.
- Gentle Mixing for the Lemon Filling: When combining the ingredients for your lemon filling, be mindful not to overmix the batter. Overmixing can incorporate too much air, leading to a bubbly or less smooth texture in the finished curd. Mix just enough until all ingredients are thoroughly combined.
- Don’t Overbake the Filling: Keep a close eye on the lemon filling during its second bake. Overbaking can result in a rubbery texture rather than the desired soft, custardy consistency. As soon as the center is set and no longer “jiggly,” and the edges are lightly golden, it’s time to remove them from the oven.
- Lemon Zest Boost: For an even more intense lemon aroma and flavor, consider adding a teaspoon of finely grated lemon zest to your filling mixture along with the lemon juice. The zest contains essential oils that will amplify the citrus notes beautifully.
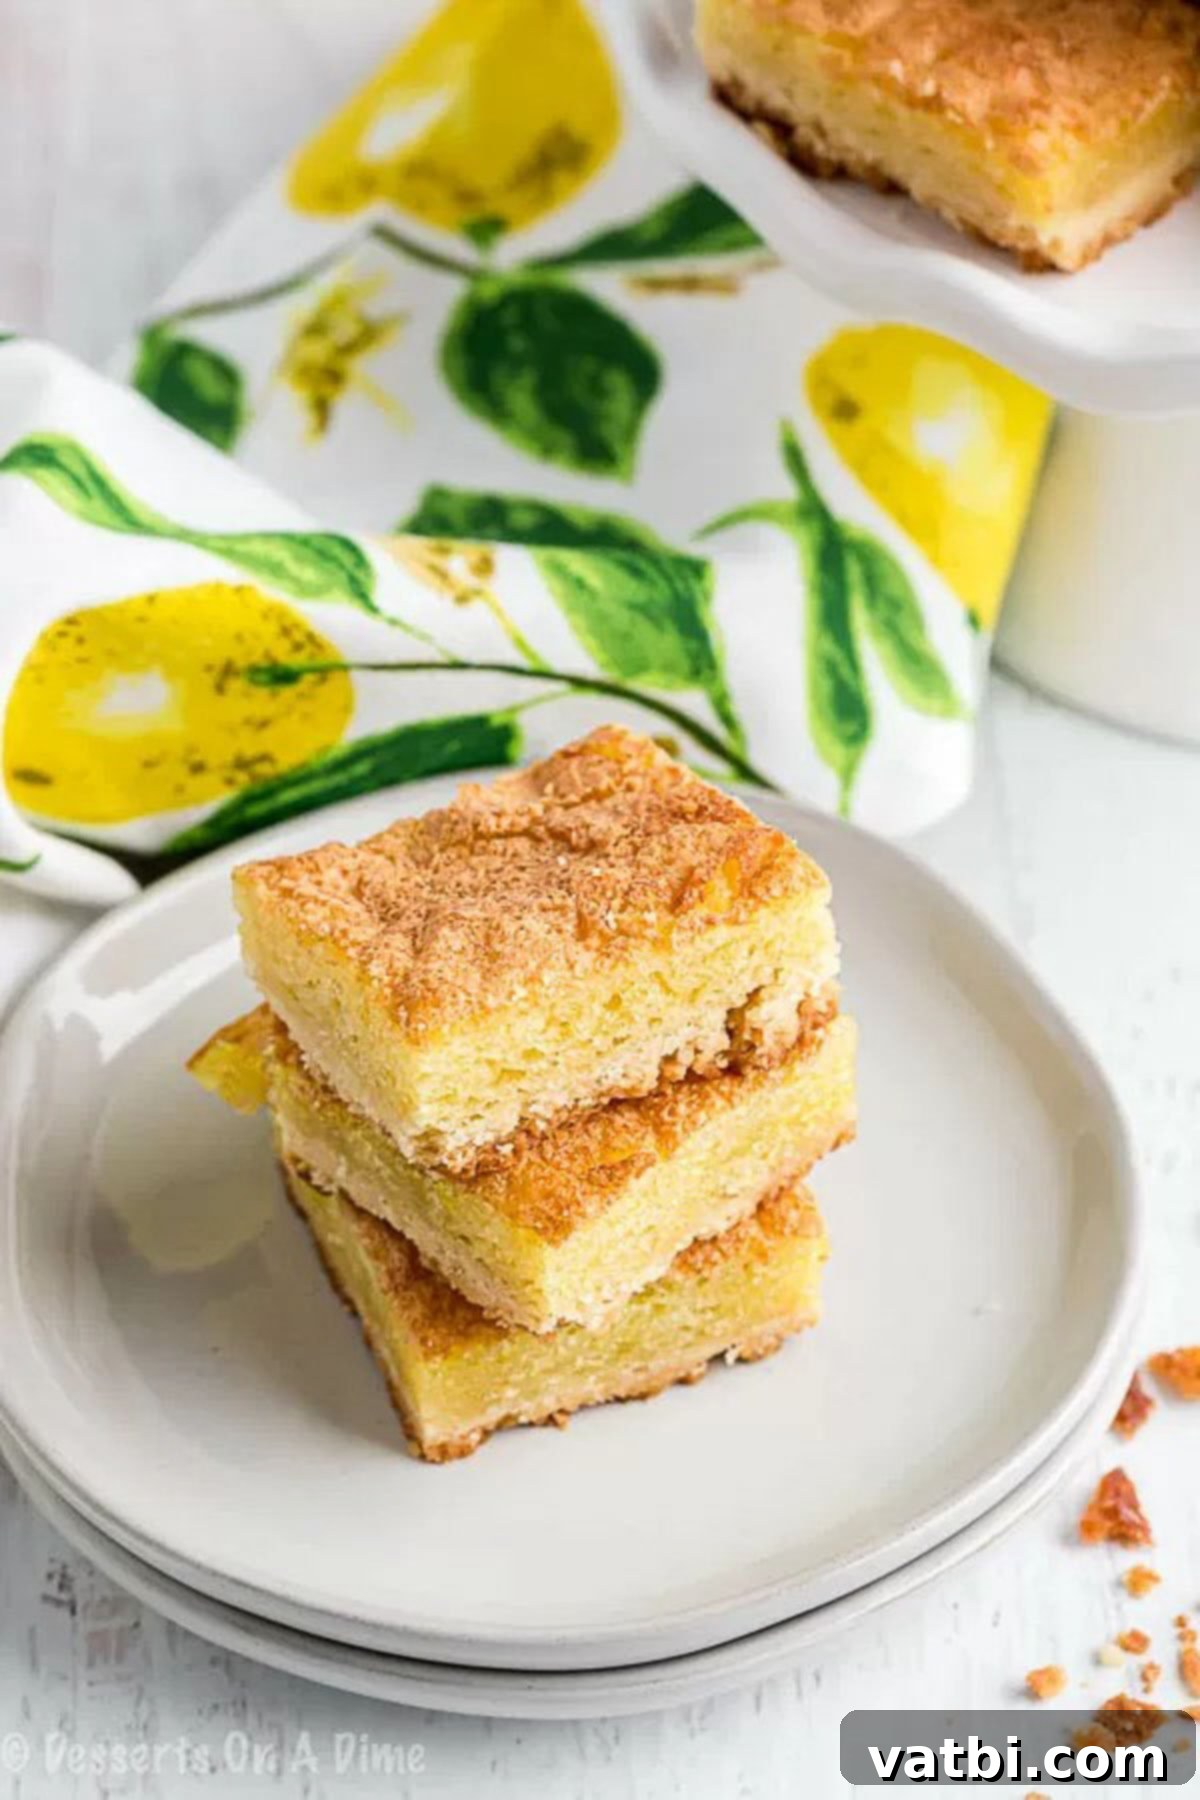
Frequently Asked Questions About Lemon Squares
You’ll know your lemon squares are perfectly baked when you gently jiggle the baking pan, and the center of the lemon filling no longer wobbles or “jiggles” significantly. The edges of the filling should appear set and might be a very light golden brown. It’s crucial not to overcook them, as this can lead to a rubbery texture. Removing them at just the right moment allows them to finish setting as they cool in the baking dish, resulting in that ideal custardy consistency.
Yes, lemon bars absolutely must be refrigerated. The lemon filling is essentially a custard made with eggs and fresh lemon juice, which are perishable ingredients. To maintain their freshness, prevent spoilage, and ensure food safety, they need to be stored in an airtight container in the refrigerator. This also helps the filling stay firm and set.
If your lemon bars turn out too runny, it’s a clear indication that they were not baked for a sufficient amount of time. Don’t worry, they can often be salvaged! Simply place them back in the oven for an additional baking time, checking every 5-10 minutes until the filling is set and no longer jiggles. Ensure that you always bake the shortbread crust first until lightly golden brown before adding the lemon filling to prevent a soggy bottom.
Yes, you can certainly freeze lemon squares to enjoy them at a later date. However, we highly recommend waiting to add the powdered sugar dusting until you are ready to serve them, as it can absorb moisture and disappear in the freezer. To freeze, first allow the bars to cool completely, then cut them into individual squares. Place them in a single layer on a baking sheet to freeze solid, then transfer them to an airtight freezer-safe container or bag, separating layers with parchment paper. When you’re ready to enjoy, simply thaw them in the refrigerator, and then dust them generously with confectioners’ sugar before serving.
While you can technically use bottled lemon juice, for the absolute best flavor, we strongly recommend using freshly squeezed lemon juice. Bottled varieties often contain preservatives and lack the vibrant, nuanced zestiness of fresh lemons, which is key to the “old-fashioned” appeal of this recipe. The fresh juice makes a significant difference in the final taste.
You can certainly prepare the crust dough ahead of time. After pressing it into the pan, you can cover it tightly with plastic wrap and refrigerate it for up to 2-3 days before baking. Alternatively, you can pre-bake the crust as directed, let it cool completely, then wrap it well and freeze it for up to a month. Thaw before adding the filling and baking.
More Zesty Lemon Desserts to Explore
If you’ve fallen in love with these Old-Fashioned Lemon Squares, you’re in for a treat! The world of lemon desserts is vast and delightful. Here are a few more of our favorite citrus-infused recipes that we think you’ll adore, perfect for satisfying any lemon craving:
- Refreshing Lemonade Pie Recipe
- Fluffy Lemon Cupcakes Recipe
- Simple 2-Ingredient Lemon Bars
- Moist Lemon Poke Cake Recipe
- Delightful Lemon Crinkle Cookies
- Classic Lemon Cake Recipe
Indulge in the timeless charm of these Old-Fashioned Lemon Bars for a truly fabulous and unforgettable treat. From the rich, buttery shortbread crust to the incredibly smooth and tangy lemon custard filling, each and every bite is pure decadence. We would be absolutely thrilled to hear about your experience! Please take a moment to leave a comment and a star rating once you’ve tried this incredibly easy and rewarding lemon bars recipe.
Pin
Old Fashioned Lemon Squares Recipe
Ingredients
- Crust:
- 1/2 cup powdered sugar
- 1 cup 2 sticks butter softened
- 2 cups flour
- Filling:
- 2 cups granulated sugar
- 4 eggs
- 1/3 cup freshly squeezed lemon juice
- 1/4 teaspoon lemon extract
- 1/2 teaspoon baking powder
Instructions
-
Preheat oven to 350 F. Line a 9″x13″ pan with foil and spray with non stick cooking spray (this make removing from the pan and cutting SO much easier).
-
For the crust – cream the powdered sugar and softened butter together. Slowly add flour, ½ cup at a time, until fully integrated. The dough will be thick.
-
Dump dough into prepared pan and spread evenly along the bottom of the pan. The dough isn’t very sticky, so I just used my fingers to spread the dough out.
-
Bake in 350 F oven for 15-20. When it starts to brown ever so slightly on the edges, you know its done. Do not let the top brown at all.
-
While the crust is baking, mix together the filling.
-
Mix granulated sugar, eggs, lemon juice and extract together with electric mixer. Sprinkle baking powder into filling and mix until just blended (don’t over mix).
-
As soon as you remove the crust from the oven, pour the lemon filling on top of the crust.
-
Bake for another 15-20 minutes. You will know this is done when the top is no longer “jiggly”. Once the top starts to brown a little, its time to take it out.
-
Let cool completely. Remove the Lemon Bars from the pan and cut into squares. These are best served within a day or two of baking.
Nutrition Facts
Pin This Now to Remember It Later
Pin Recipe
