Easy Homemade Cream Cheese Danish Recipe: Flaky, Creamy & Irresistible!
Indulge in the pure delight of a homemade Cream Cheese Danish that boasts a perfectly flaky exterior and a luxuriously creamy, sweet filling. Each bite is a symphony of textures, crowned with a generous drizzle of luscious glaze, making it an utterly irresistible treat for any time of day.

You’ll be amazed at how effortlessly you can whip up these delectable Cream Cheese Danishes with just a few common ingredients. The secret to their incredible ease and amazing taste lies in the use of pre-made puff pastry, which delivers that signature light and airy texture without the fuss of making dough from scratch. The rich, tangy cream cheese mixture nestled in the center perfectly complements the sweet, delicate glaze on top, creating a harmonious balance of flavors that’s truly out of this world.
Whether you’re looking for a delightful dessert to impress guests, a charming addition to your brunch spread, or a comforting breakfast pastry to start your day, these homemade danishes fit the bill. They also make for an incredible snack, satisfying that sweet craving with their creamy goodness. If you love easy cream cheese desserts, this recipe is about to become your new favorite!
Table of contents
- Why We Love This Recipe
- Ingredients for Cream Cheese Danish
- Simple Glaze Ingredients
- Step-By-Step Instructions to Make Cream Cheese Danish
- Storage Tips
- Pro Tips for the Perfect Danish
- Frequently Asked Questions About Cream Cheese Danish
Why We Love This Recipe
There are countless reasons to fall in love with this Cream Cheese Danish recipe, making it a staple in our household. It’s truly the perfect pastry for any time of day or occasion, offering both elegance and comfort in every bite. Everyone, from kids to adults, adores these Cheese Danishes for their incredible flavor and delightful texture. The best part? The recipe is surprisingly simple, allowing even novice bakers to achieve bakery-quality results right in their own kitchen.
This recipe consistently delivers a stunning outcome without requiring extensive culinary skills or time-consuming steps. The use of store-bought puff pastry is a game-changer, transforming what might seem like a complex pastry into an effortless baking project. Whether you’re preparing for a leisurely Sunday morning breakfast, a festive holiday brunch, or an elegant afternoon tea, these danishes are a guaranteed hit.
I often find myself doubling the recipe when hosting family brunches or gatherings, and it genuinely doesn’t add much extra work. The process scales beautifully, meaning you can easily make an extra batch to satisfy more hungry mouths or to have some delicious leftovers to enjoy throughout the week. It’s truly so easy to make and undeniably delicious – a recipe you’ll want to revisit again and again!
Ingredients for Cream Cheese Danish
Crafting these heavenly Cream Cheese Danishes requires a straightforward list of ingredients, most of which you likely already have on hand. The quality of these few components makes all the difference in achieving that perfect flaky crust and rich, creamy filling.
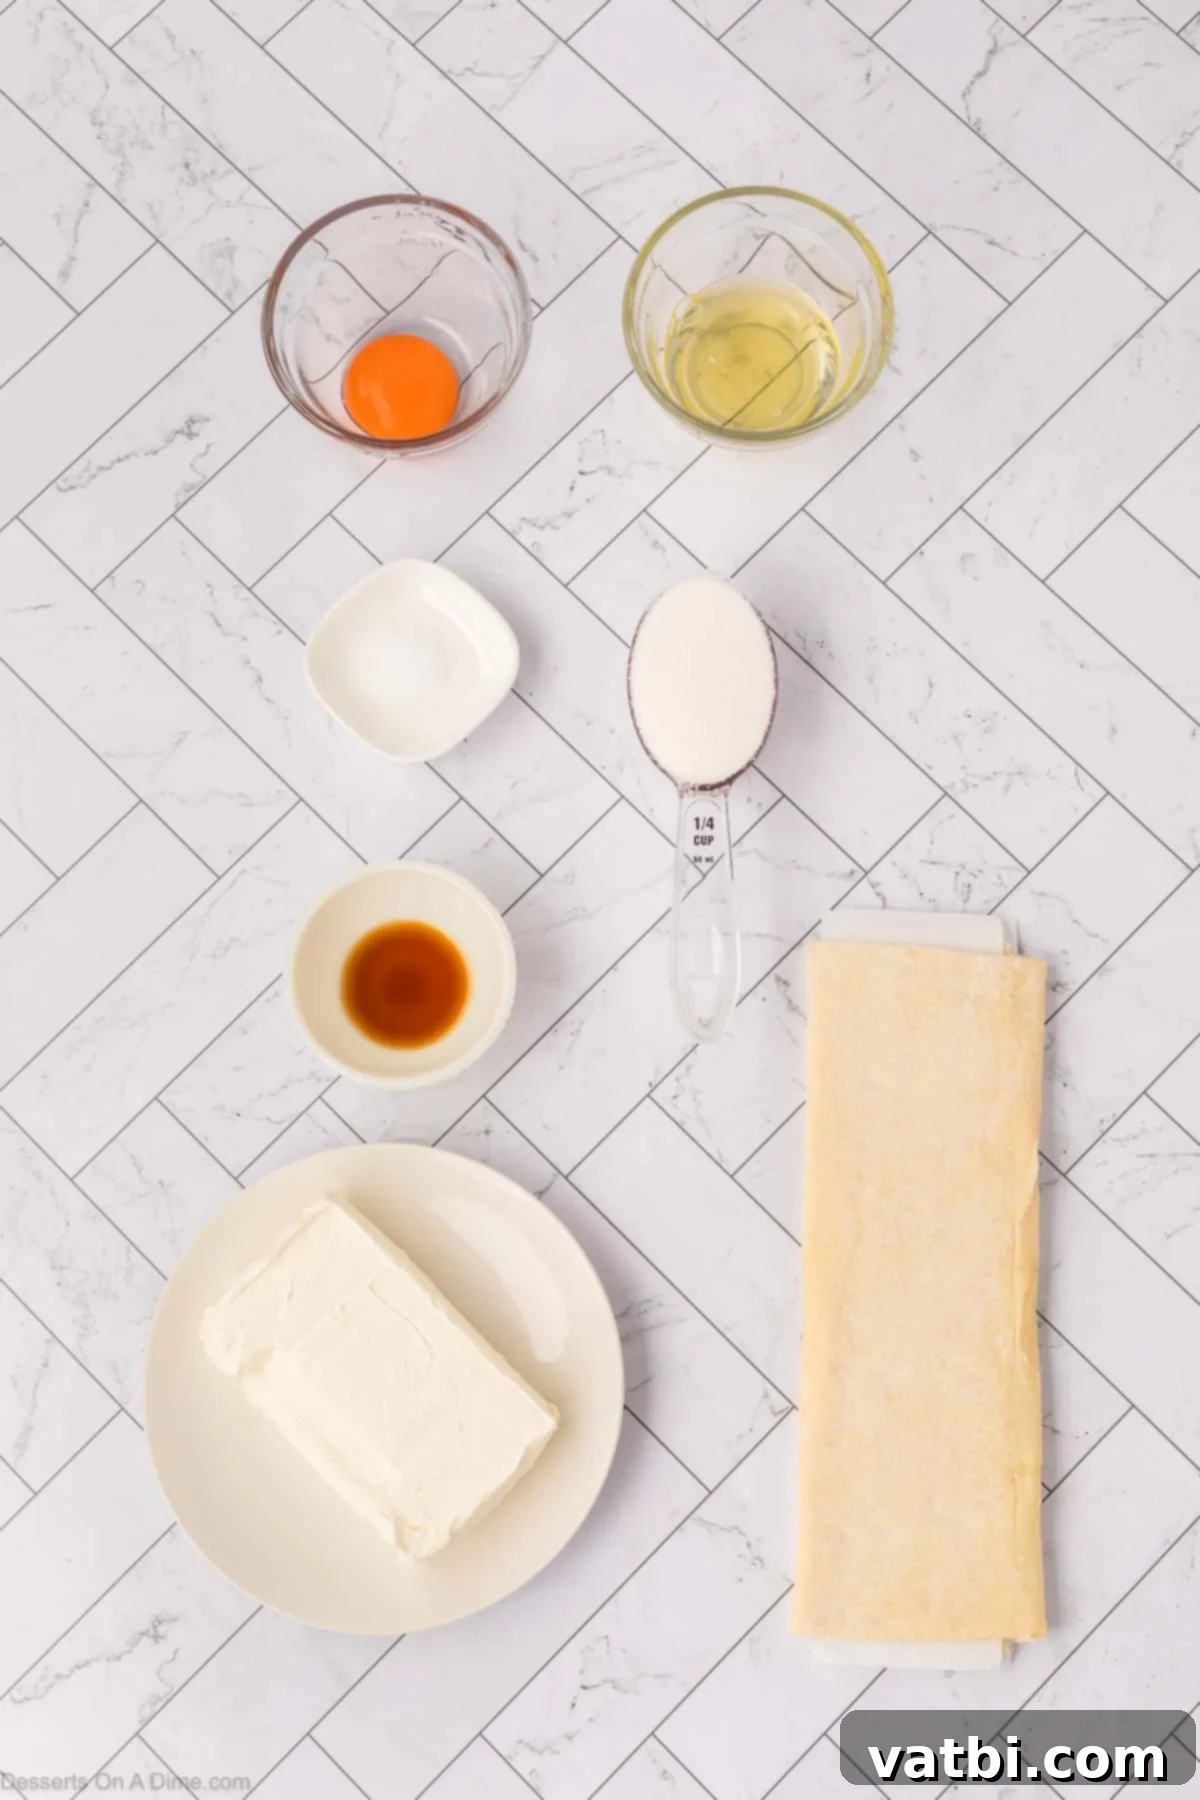
- Puff Pastry: You’ll need one sheet of store-bought puff pastry, which should be thawed according to package instructions. This is the star ingredient that creates the iconic flaky texture of our danishes.
- Cream Cheese: Ensure your cream cheese is softened at room temperature for a smooth, lump-free filling. For the best flavor and texture, opt for full-fat, block-style cream cheese rather than whipped or spreadable varieties.
- Granulated Sugar: This provides the perfect amount of sweetness to balance the tanginess of the cream cheese, creating a delightful and well-rounded flavor profile for the filling.
- Vanilla Extract: A crucial ingredient for enhancing the overall flavor. Pure vanilla extract offers the most robust and aromatic taste, elevating the cream cheese mixture.
- Egg: You will need one large egg, with the white and yolk separated. The egg yolk will enrich the cream cheese filling, while the egg white will be used as a simple egg wash to give the pastry edges a beautiful golden-brown finish.
- Salt: Just a pinch of salt helps to balance the sweetness and brings out the depth of flavor in the cream cheese filling.
Simple Glaze Ingredients
No Cream Cheese Danish is complete without a luscious, sweet glaze drizzled generously on top. This simple glaze adds an extra layer of sweetness and a beautiful finish.
- Powdered Sugar: Also known as confectioners’ sugar, this forms the base of our glaze. If your powdered sugar is particularly lumpy, a quick sift before mixing will ensure a silky-smooth glaze.
- Milk: A small amount of milk is used to thin the powdered sugar to the perfect drizzling consistency. Whole milk will yield the richest flavor, but any milk will work.
- Vanilla Extract: A tiny dash of vanilla extract in the glaze enhances its aroma and adds another layer of deliciousness without being overpowering.
For the complete list of exact measurements and detailed instructions, please refer to the recipe card located at the bottom of the page.
Step-By-Step Instructions to Make Cream Cheese Danish
Making these homemade Cream Cheese Danishes is a straightforward process. Follow these easy steps to create a beautiful and delicious pastry:
- Step 1: Prepare Your Workspace. Begin by preheating your oven to 400 degrees Fahrenheit (200°C). While the oven heats, line a large baking sheet with parchment paper. This will prevent sticking and make cleanup a breeze.
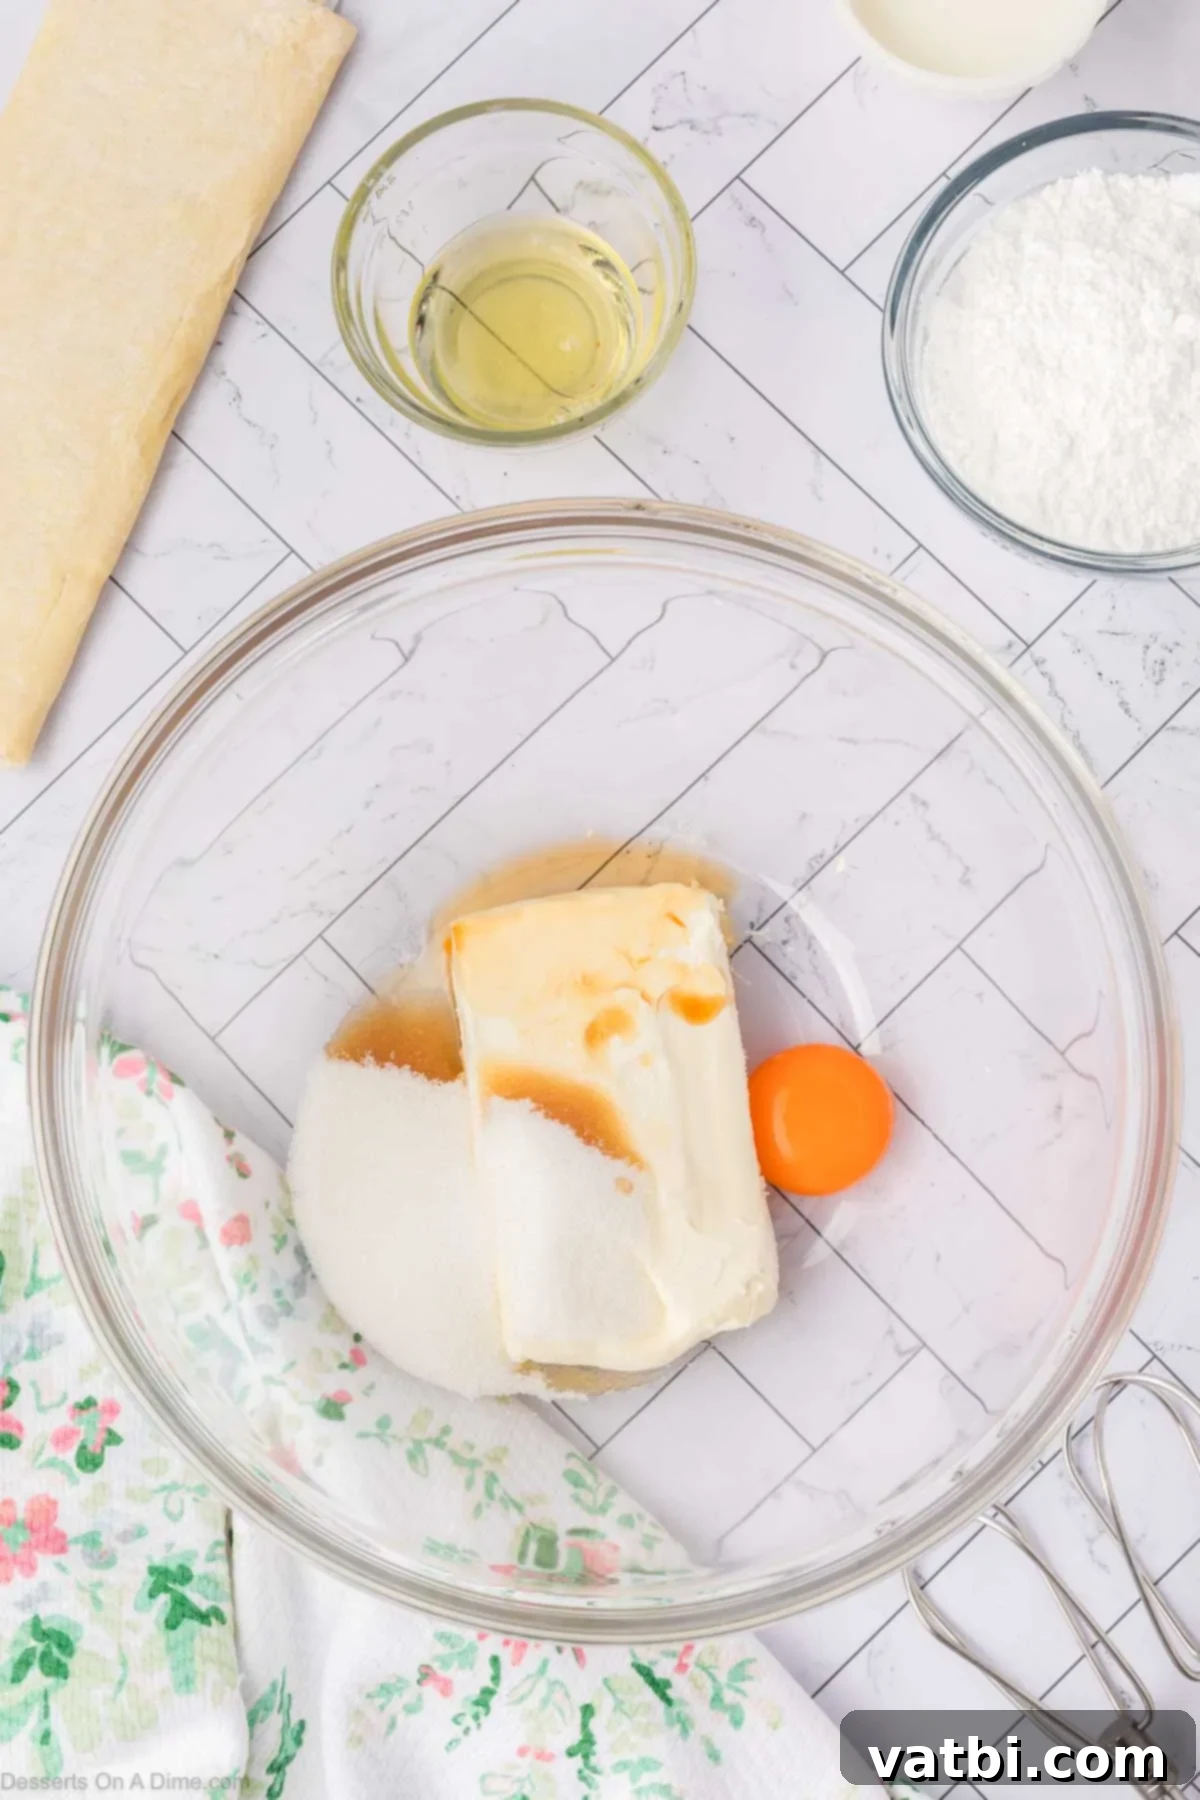
Step 2: Create the Cream Cheese Filling. In a large mixing bowl, combine the softened cream cheese, granulated sugar, vanilla extract, egg yolk, and salt. Beat these ingredients together using an electric mixer or a whisk until they are thoroughly combined.
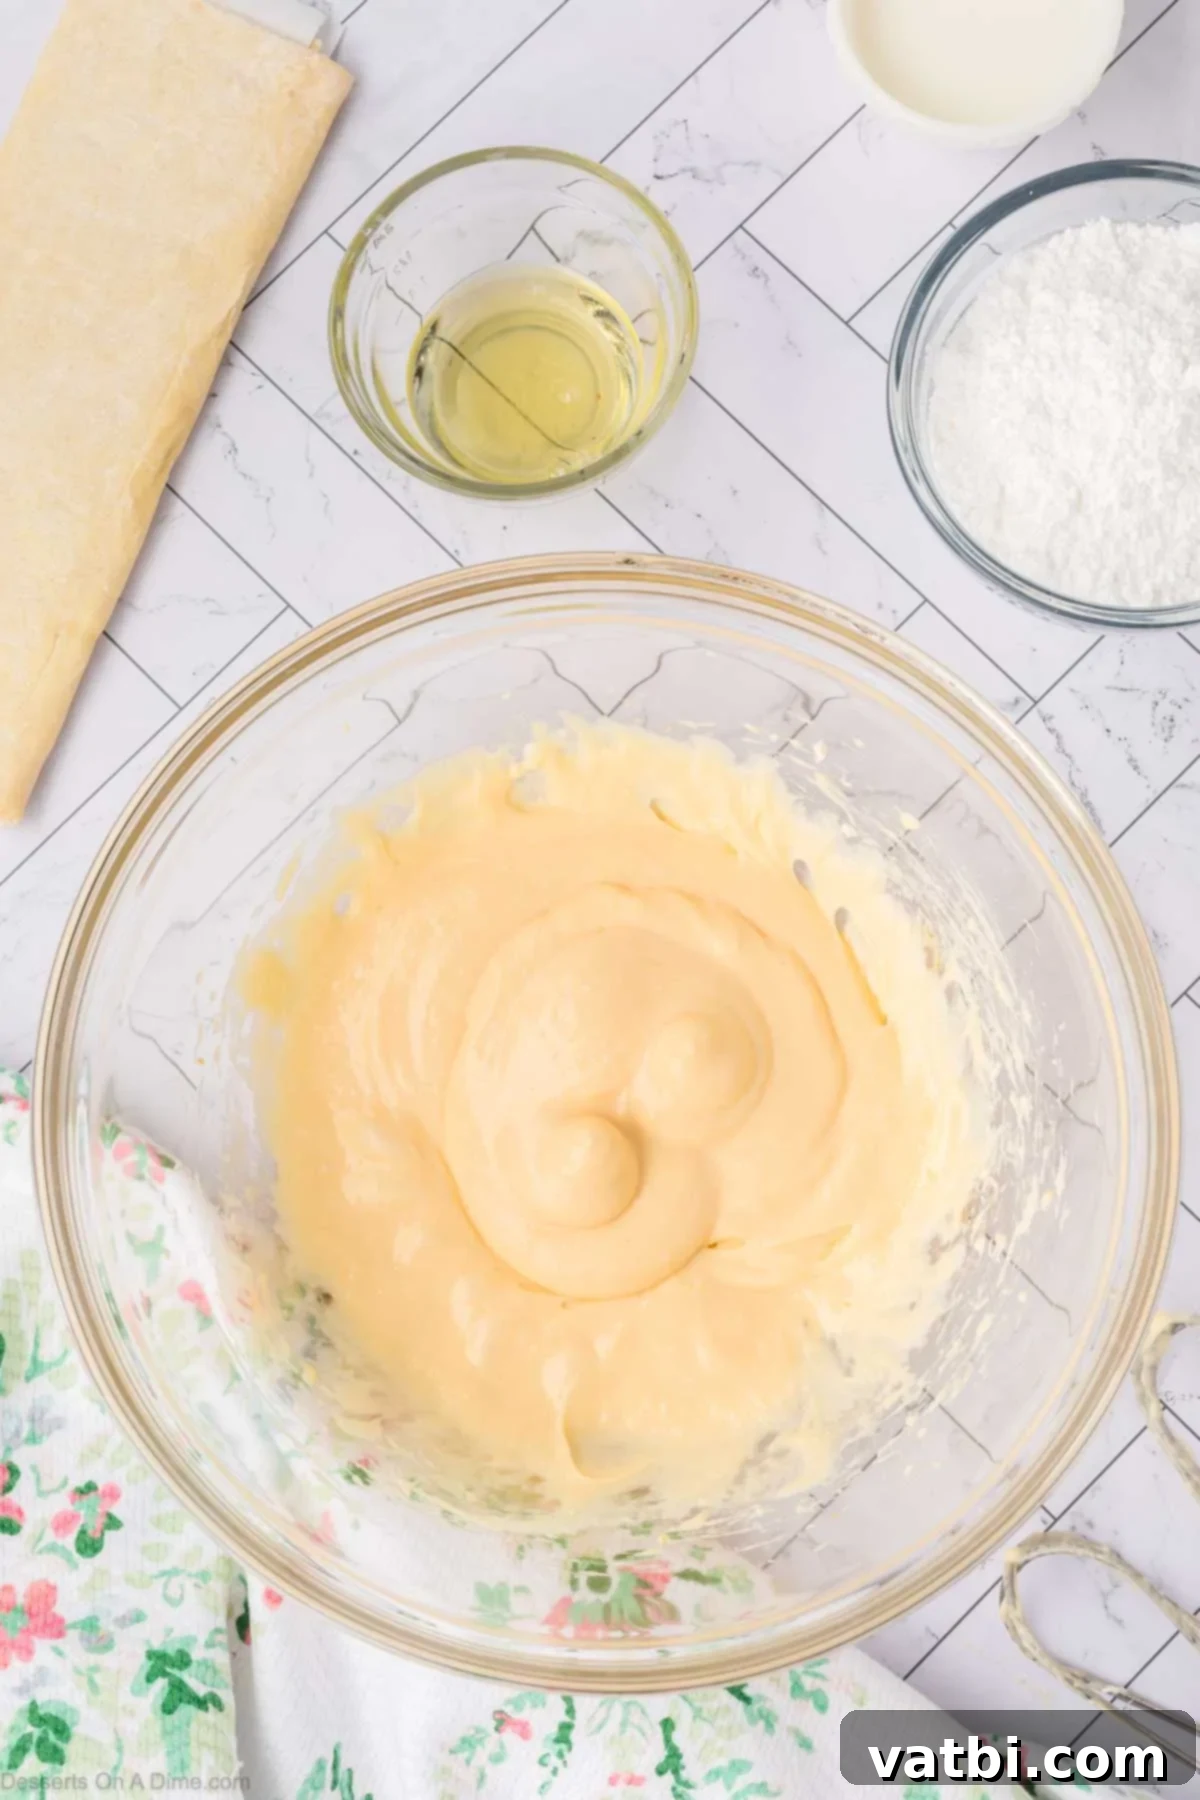
Step 3: Achieve Creamy Consistency. Continue mixing until the cream cheese mixture is light, fluffy, and perfectly creamy. There should be no lumps, ensuring a smooth and delightful filling for your danishes.
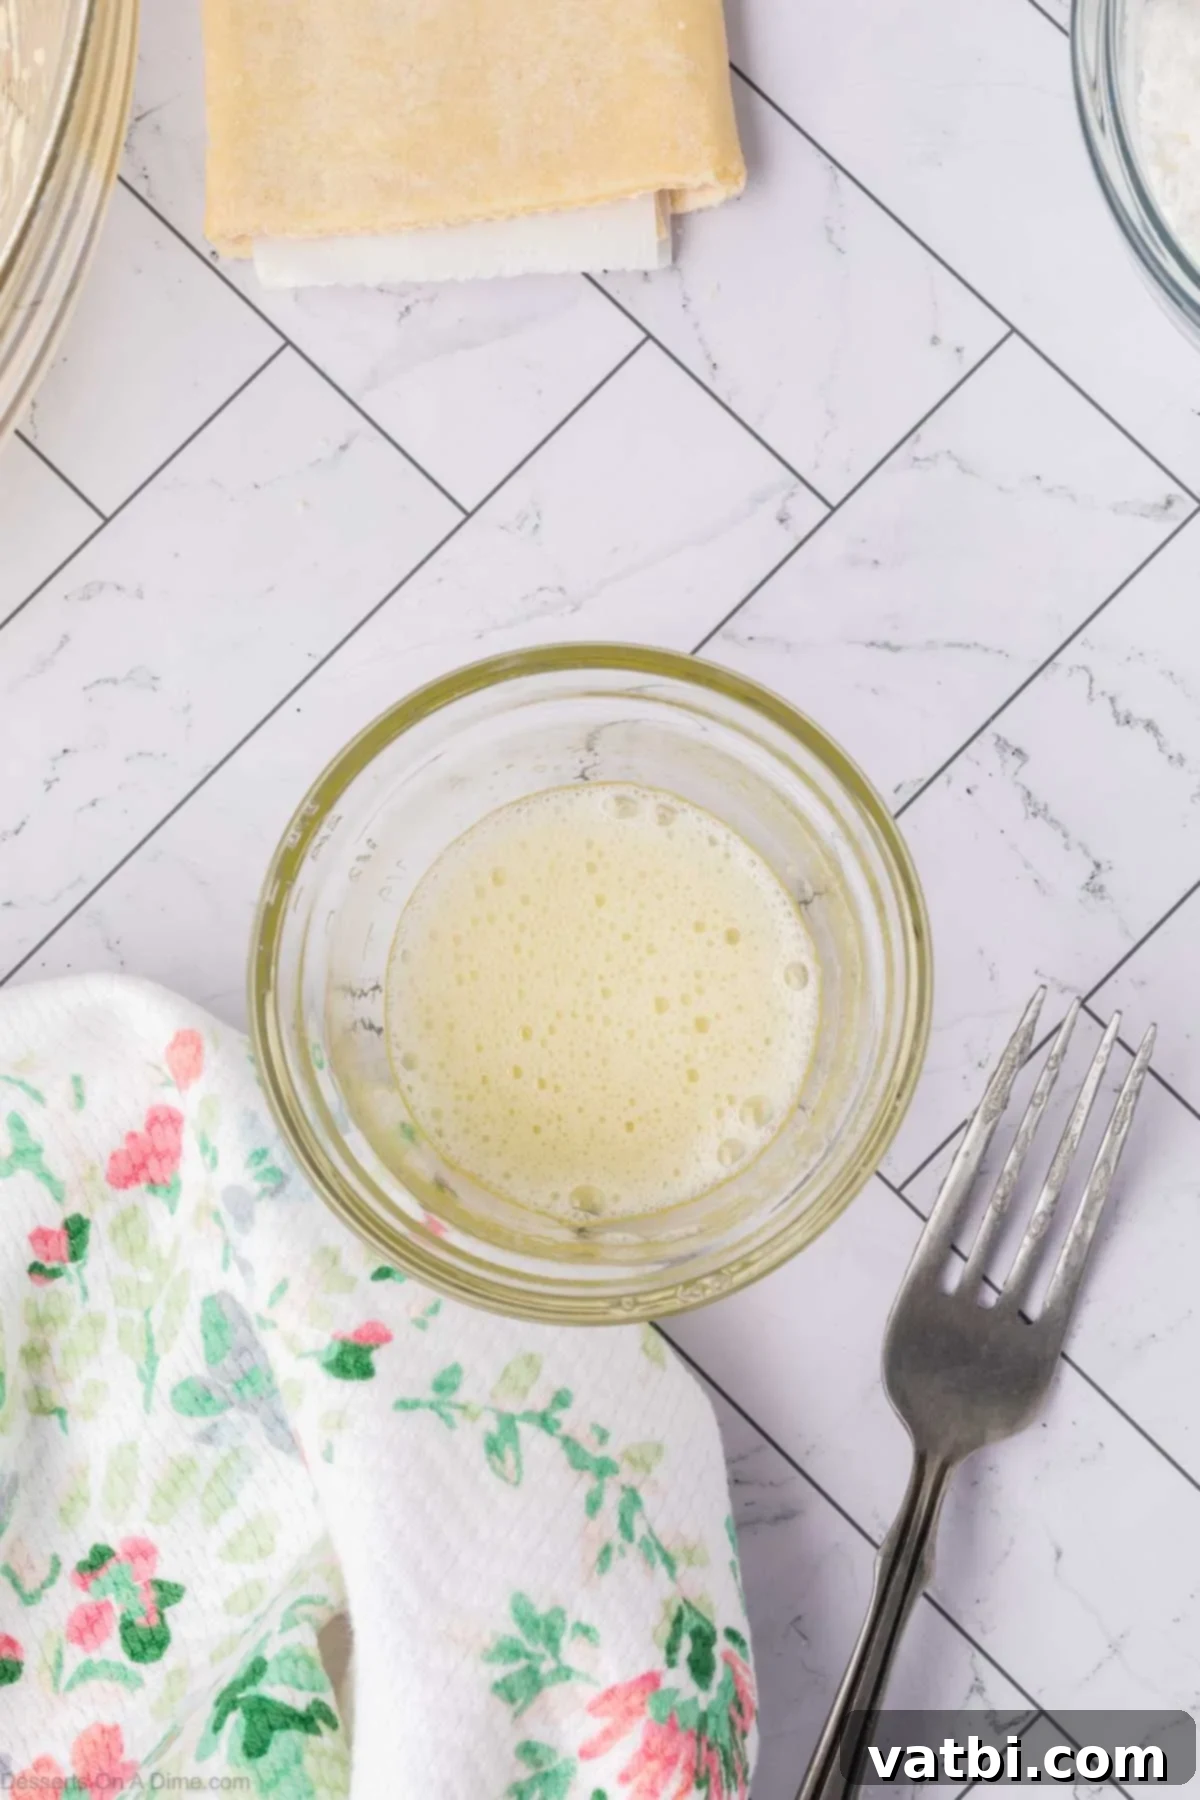
Step 4: Prepare the Egg Wash. Get a small mixing bowl and add the reserved egg white. Use a fork to vigorously whip the egg white until it becomes light and frothy. This will serve as our egg wash for the pastry edges.
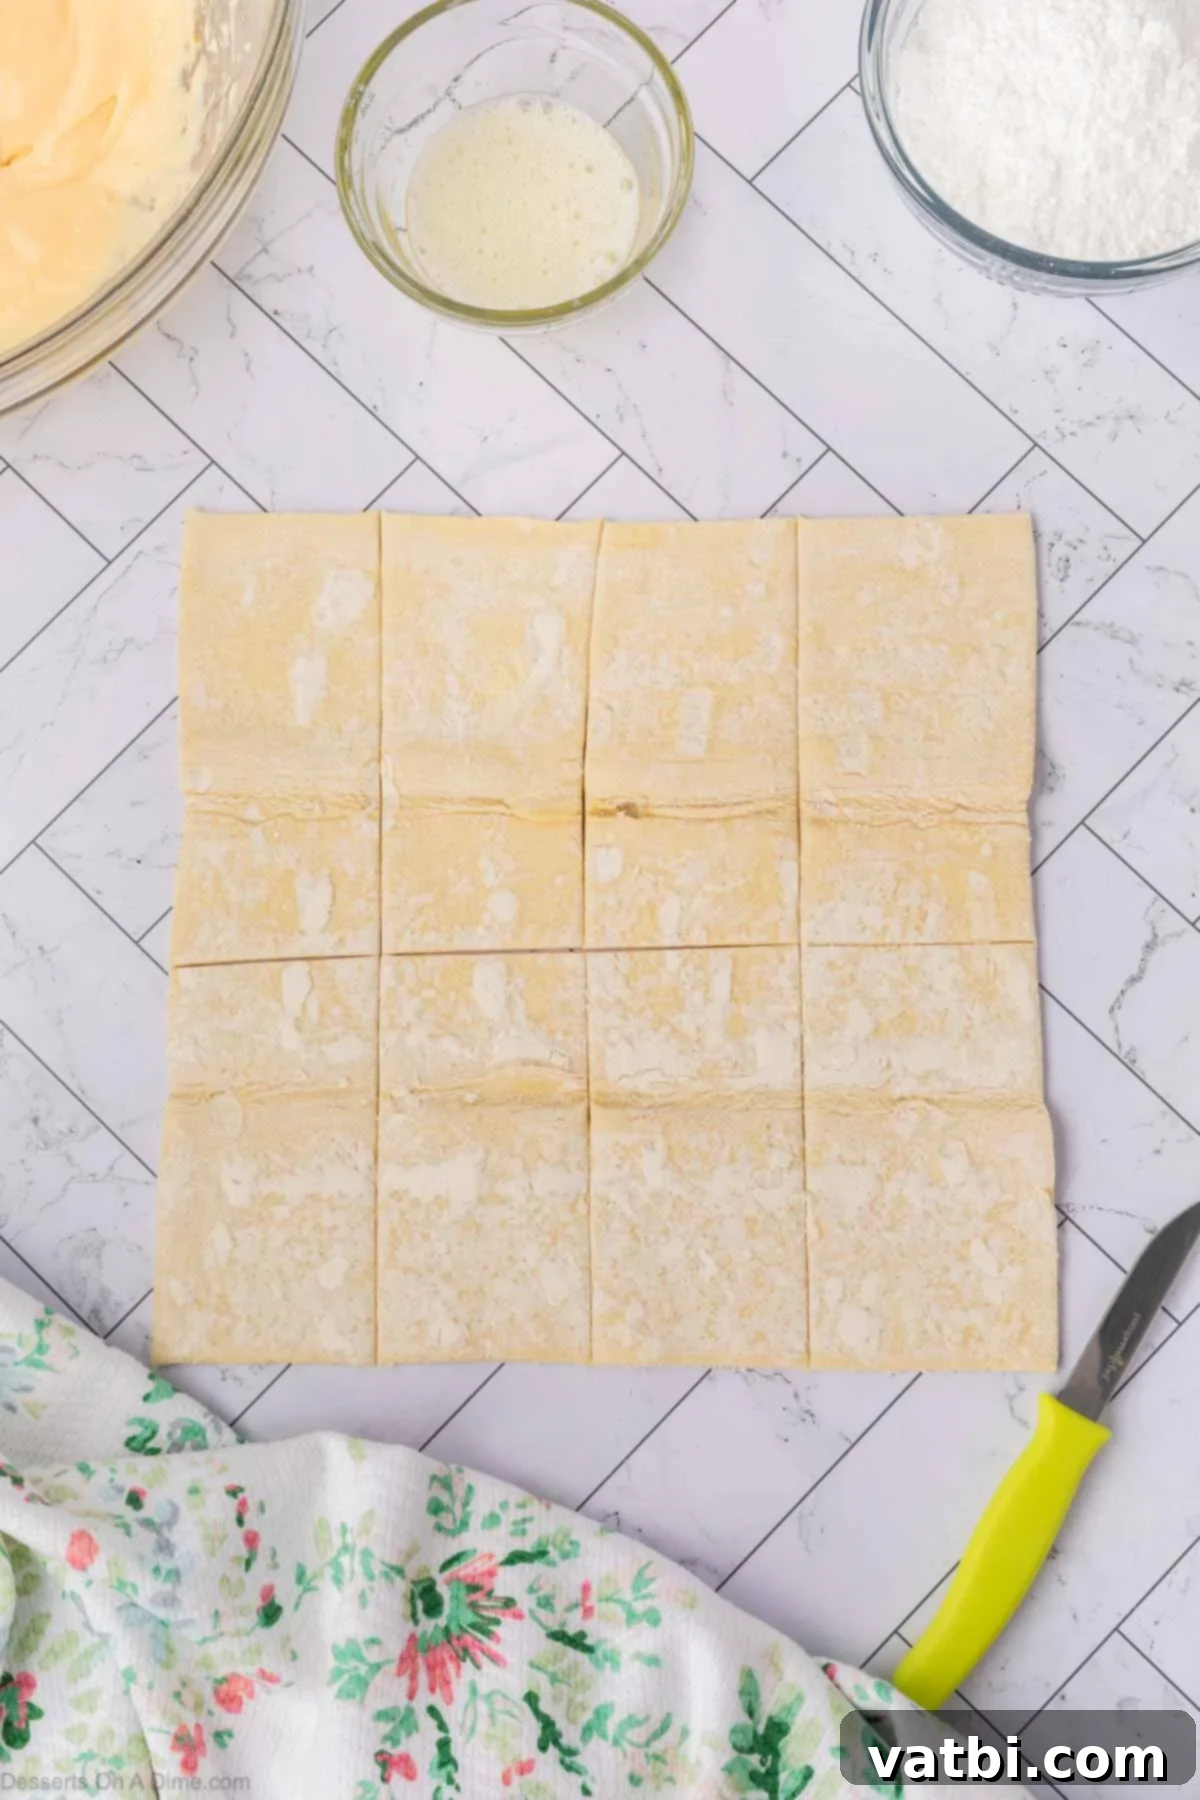
Step 5: Prepare the Puff Pastry. Carefully unroll the thawed puff pastry sheet onto a lightly floured flat surface. Using a sharp knife or a pizza cutter, cut the puff pastry evenly into 8 equal rectangles.
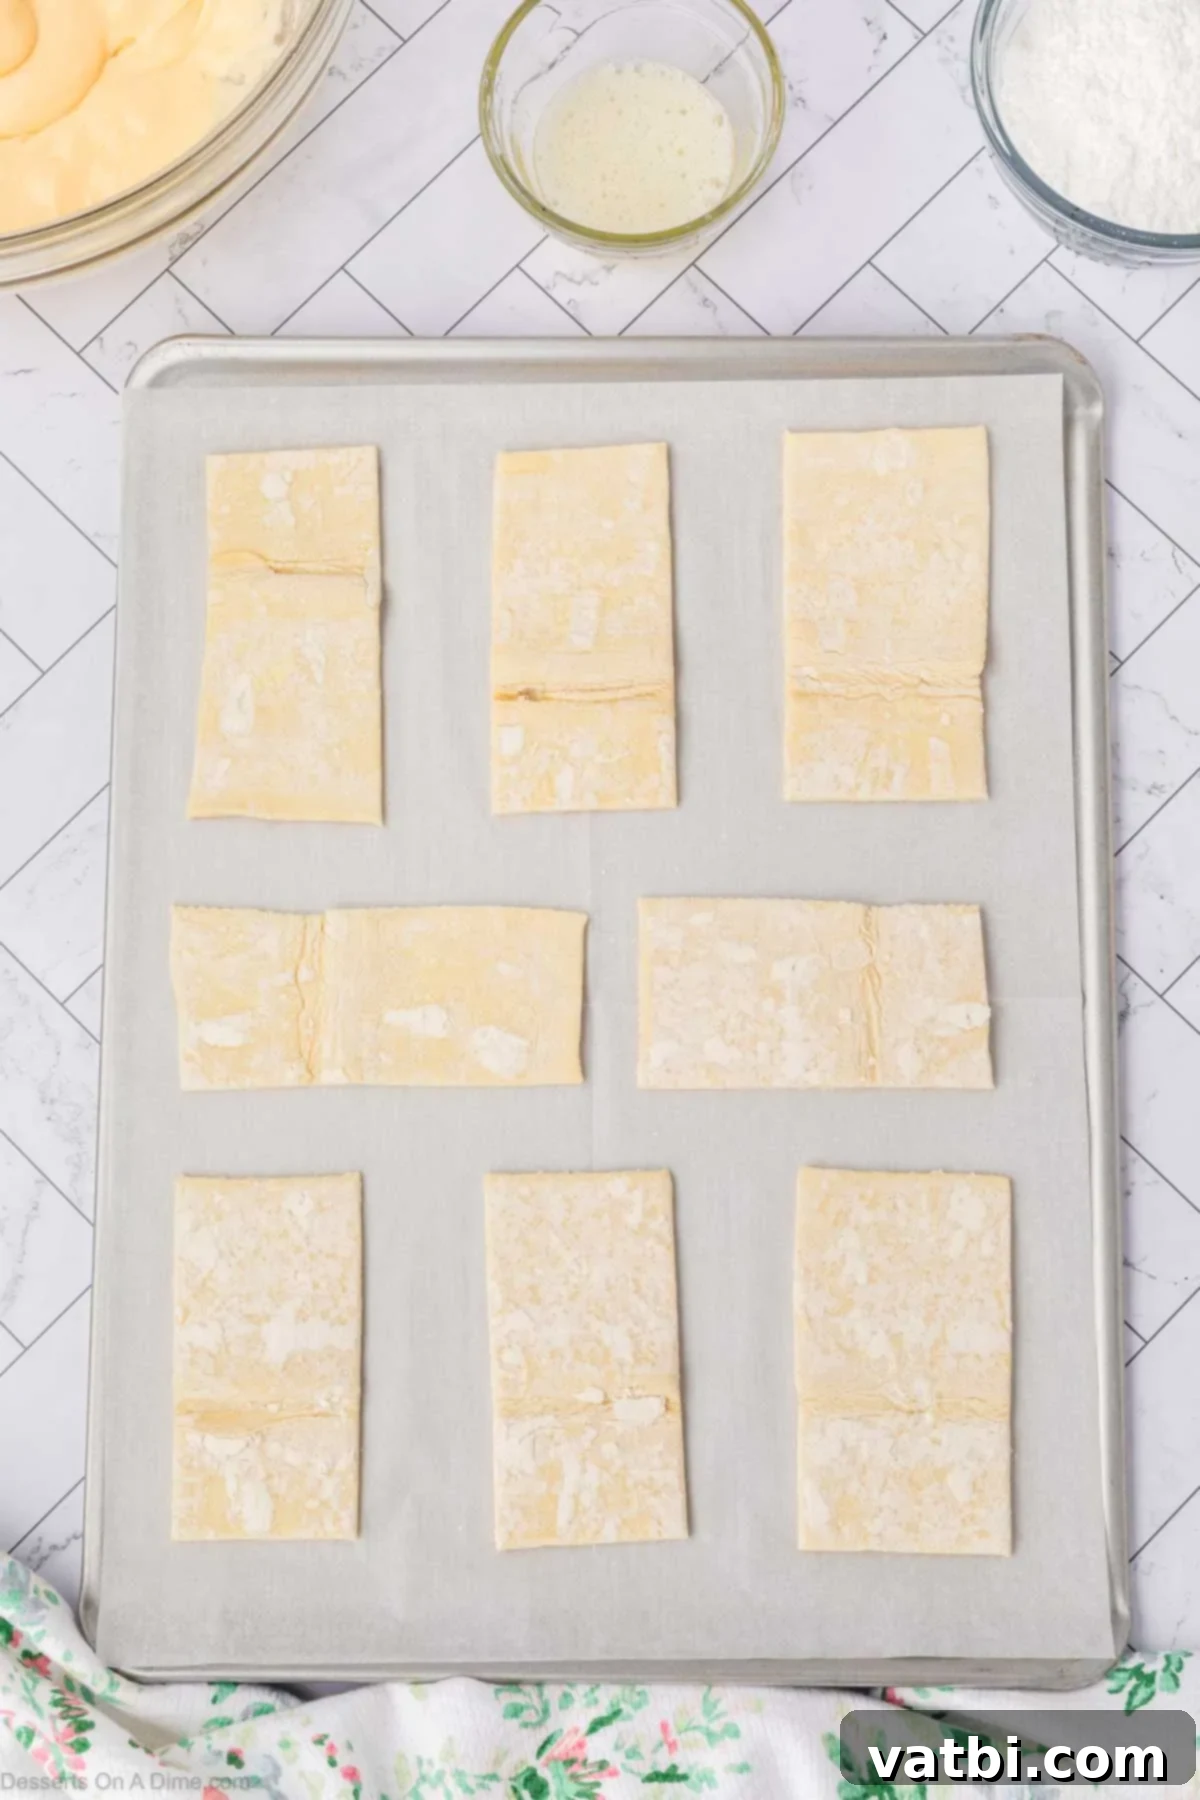
Step 6: Score and Prepare Pastry. Place the puff pastry rectangles onto your prepared baking sheet, ensuring they are spaced apart. Then, use a fork to gently poke holes down the center of each rectangle. Be sure to leave about a ½ inch border around the edges of the puff pastry, as this will help the edges puff up beautifully.
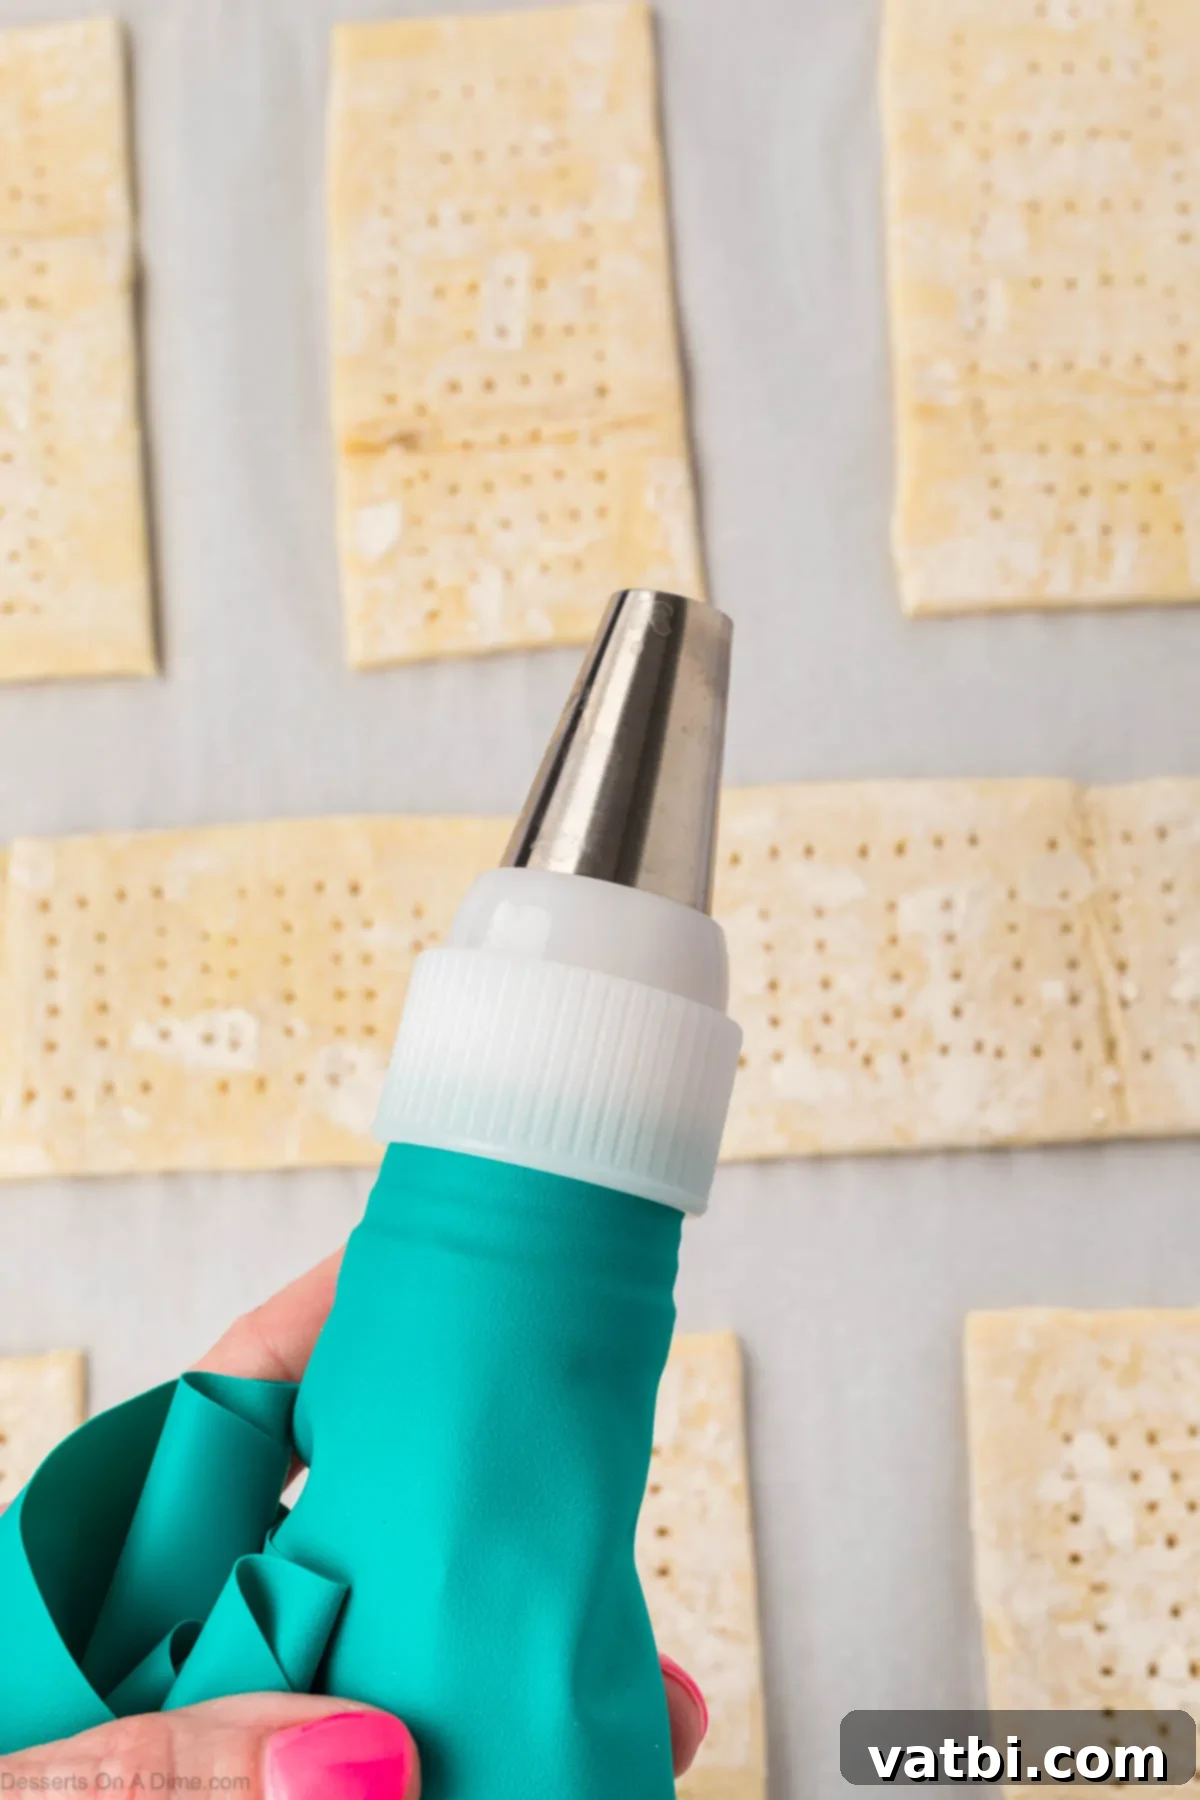
Step 7: Load the Filling. Transfer the creamy cheese mixture into a piping bag. If you don’t have a piping bag, a large ziplock bag with one corner snipped off will work just as well. Cut a small tip off the corner of your bag.
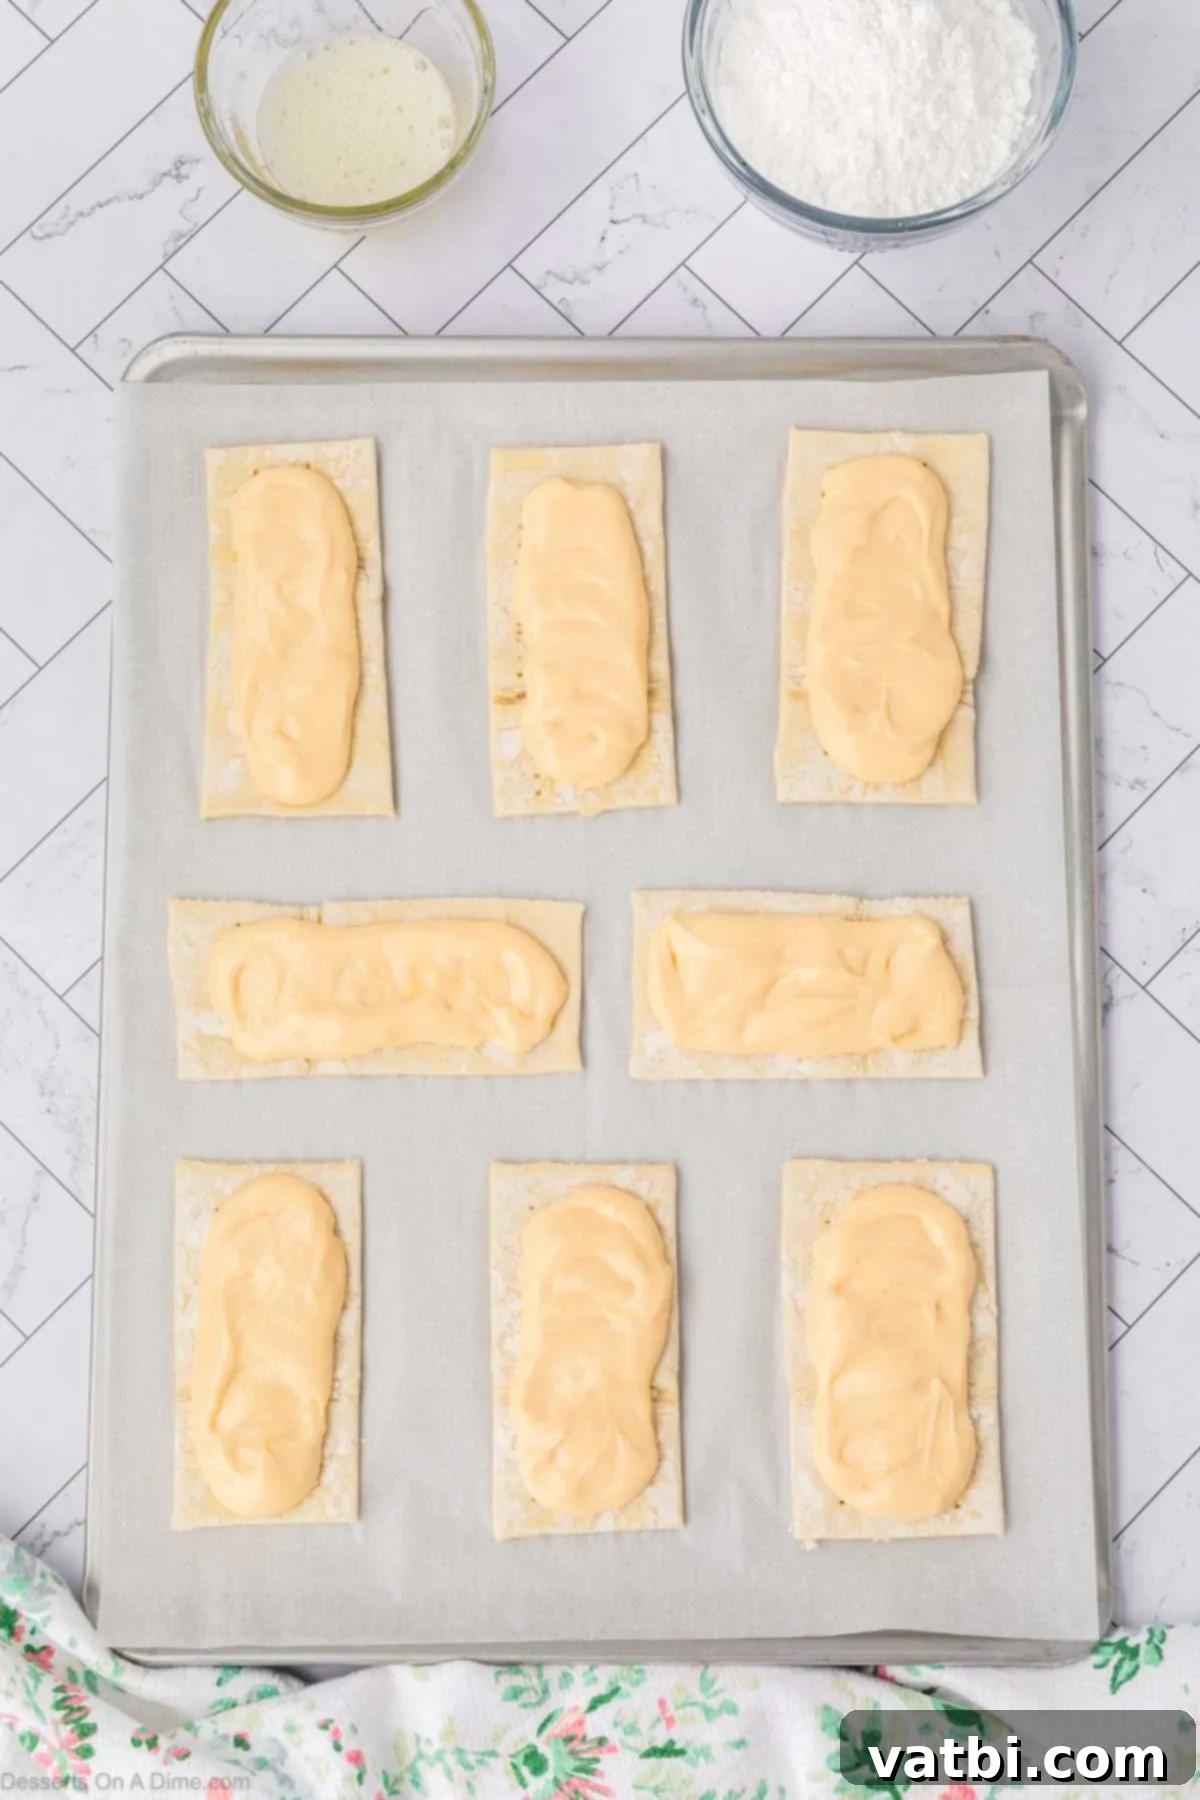
Step 8: Fill the Danishes. Carefully pipe the cream cheese mixture onto the center of each puff pastry rectangle, filling the area where you poked holes with the fork. Distribute the filling as evenly as possible.
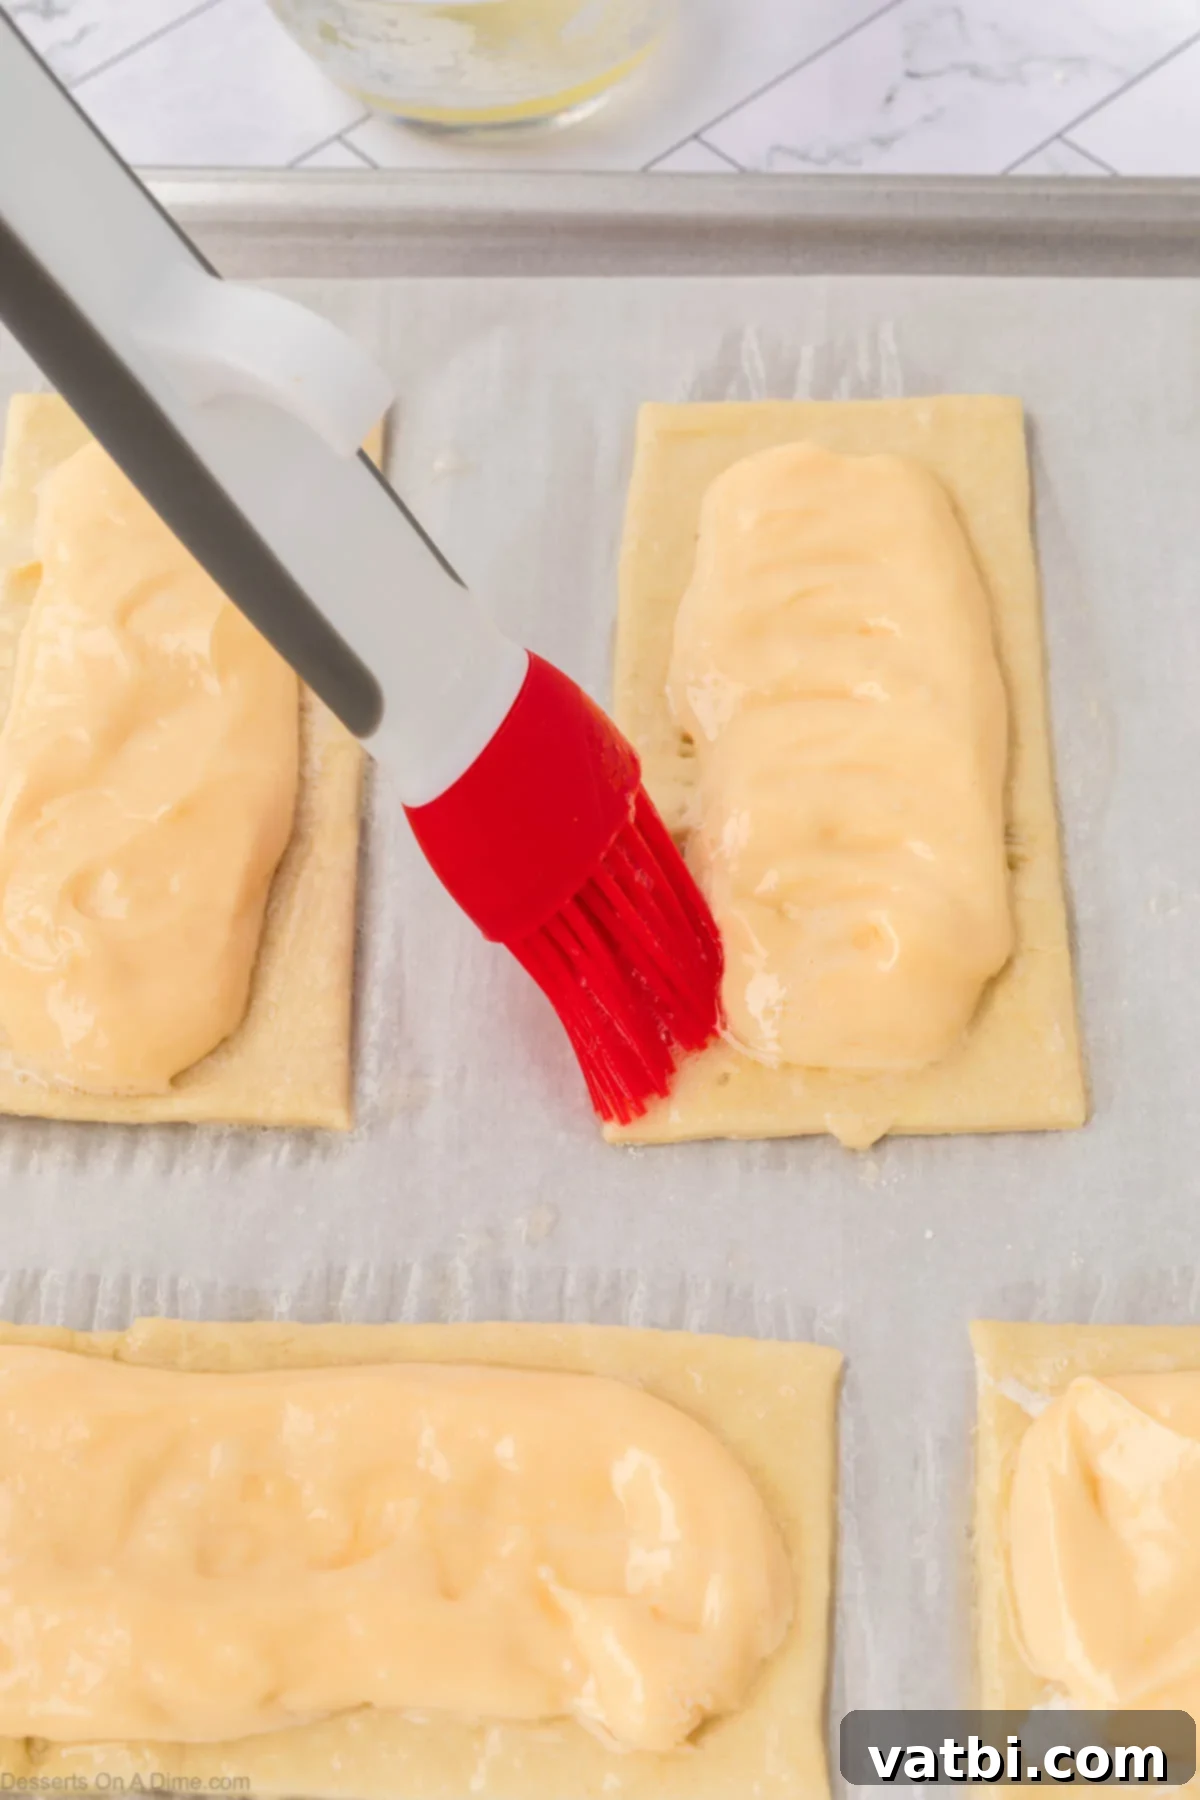
Step 9: Apply Egg Wash. Using a pastry brush, gently brush the frothy egg white onto the outside edges of each puff pastry rectangle. This egg wash will help achieve a beautiful golden-brown color and a lovely sheen on the baked danishes.

Step 10: Bake to Golden Perfection. Place the baking sheet into the preheated oven and bake for 12-15 minutes. To ensure even baking, rotate the baking sheet halfway through the cooking time. The danishes are ready when the pastries are beautifully golden brown and their edges have puffed up slightly. Once baked, carefully transfer them to a wire rack to cool completely.

Step 11: Glaze and Serve. While your danishes are cooling, whisk together all the glaze ingredients in a small bowl until smooth. Once the cream cheese danishes have cooled completely on the wire rack, generously drizzle the prepared glaze over each one. Now, they are ready to be served and thoroughly enjoyed!
Storage Tips
To keep your delicious Cream Cheese Danishes fresh and flavorful, proper storage is key.
Once cooled, place any leftover danishes inside an airtight container. Store them in the refrigerator, where they will maintain their quality for up to 5 days. For the best enjoyment, you can lightly warm them in a toaster oven or microwave before serving.
Pro Tips for the Perfect Danish
Achieving bakery-perfect Cream Cheese Danishes is easier than you think with these expert tips:
- Proper Puff Pastry Thawing: I highly recommend thawing your puff pastry in the refrigerator overnight or for several hours, rather than at room temperature. This slower thawing process helps prevent the pastry from cracking when you unroll and work with it, ensuring a smoother, more resilient dough. Make absolutely sure it’s completely thawed but still cold before you begin cutting and shaping.
- Allow to Cool Completely: Patience is a virtue, especially when it comes to glazing. It’s crucial to allow the danishes ample time to cool completely on a wire rack before you add the glaze. If the danishes are still warm, the glaze will melt and run off, rather than setting into a beautiful, opaque finish.
- Even Filling Distribution: To ensure all your danishes bake evenly and look uniformly appealing, strive to distribute the cream cheese filling as consistently as possible across each puff pastry rectangle. This prevents some danishes from being overfilled and others underfilled, leading to a consistent bake.
- Sharp Knife for Cutting: Use a very sharp knife or a pizza cutter when dividing the puff pastry. Clean cuts promote better puff and a neater appearance.
- Don’t Overwork the Pastry: Puff pastry benefits from minimal handling. Work quickly and gently to keep the butter cold and ensure maximum flakiness.
- Parchment Paper is Your Friend: Always use parchment paper on your baking sheet. It prevents sticking, makes cleanup effortless, and helps the bottoms of the danishes bake to a perfect golden brown without burning.
Frequently Asked Questions About Cream Cheese Danish
Absolutely! Cream Cheese Danishes are wonderfully versatile. Before adding the glaze, you can spread a thin layer of strawberry jam, raspberry jelly, or your favorite fruit preserve over the cream cheese filling. For a textural contrast, sprinkle on some chopped nuts (like pecans or walnuts). Fresh berries such as blueberries or sliced strawberries can also be added on top of the cream cheese before baking. Chocolate chips make a delicious addition, either mixed into the cream cheese filling or sprinkled on top before or after baking.
Yes, this Cream Cheese Danish recipe freezes beautifully, making it perfect for meal prep or enjoying later. To freeze, arrange the cooled, unglazed danishes on a baking sheet and flash freeze for 1-2 hours until solid. Once frozen, transfer them to a freezer-safe bag or airtight container, separating layers with parchment paper to prevent sticking. They can be frozen for up to 3 months. When you’re ready to serve, thaw them in the refrigerator overnight, then reheat briefly in the microwave or a toaster oven until warmed through. You can then apply the glaze just before serving.
If puff pastry isn’t available or you’re looking for an alternative, you can successfully substitute crescent roll dough in this recipe. While crescent roll dough will yield a slightly different texture – less flaky and more bready – it still creates a delicious, sweet pastry. Simply unroll the crescent dough, press the seams together to form a sheet, and then proceed with cutting into rectangles and adding the filling as directed. Adjust baking time as needed, as crescent dough may bake faster.
A Danish pastry, known as “wienerbrød” in Denmark, is a multi-layered, laminated sweet pastry in the viennoiserie tradition. It’s similar to a croissant but often features a sweet filling, typically made from cream cheese, fruit, or nuts, and is usually topped with icing or a crumble. This recipe captures the essence of a classic Danish using convenient puff pastry.
Yes, you can prepare the cream cheese filling up to 2-3 days in advance. Store it in an airtight container in the refrigerator. Before using, allow it to come to room temperature for about 15-20 minutes, then give it a quick stir to ensure it’s smooth and easy to pipe. This can help save time on baking day.
More Cream Cheese Desserts
Easy Candy
Cream Cheese Mints Recipe
Easy Brownie
Cream Cheese Brownies Recipe
Cookies
Cream Cheese Cake Mix Cookies
Pumpkin Dessert
Starbucks Pumpkin Cream Cheese Muffins
You are truly going to love these easy and delicious homemade Cream Cheese Danishes! They offer a delightful balance of flaky pastry and rich, creamy filling, making them a perfect sweet treat for any occasion. Please leave a comment and share your experience once you make them. Happy baking!

Pin
Cream Cheese Danish
Ingredients
- 1 Sheet Puff Pastry thawed
- 8 ounces Cream Cheese softened, full-fat block style is best
- 1/4 cup Granulated Sugar
- 1 teaspoon Vanilla Extract pure vanilla recommended
- 1 egg white and yolk separated
- 1/4 teaspoon Salt
For the Glaze:
- 1 cup Powdered Sugar sifted if lumpy
- 2 Tablespoons Milk whole milk for richest flavor
- ½ teaspoon Vanilla Extract
Instructions
-
Preheat the oven to 400 degrees Fahrenheit (200°C) and line a baking sheet with parchment paper.
-
In a large mixing bowl, beat together the softened cream cheese, granulated sugar, vanilla extract, egg yolk, and salt until thoroughly combined and light in color and creamy.
-
In a separate small bowl, whip the egg white until it’s frothy using a fork. This will be your egg wash.
-
Carefully unroll the puff pastry sheet on a lightly floured flat surface. Cut the puff pastry evenly into 8 rectangles using a sharp knife or pizza cutter.
-
Place the puff pastry rectangles on the prepared baking sheet, ensuring they are spaced apart.
-
Use a fork to gently poke holes down the center of each rectangle, making sure to leave an approximate ½ inch border around the edges of the puff pastry. This helps the edges rise.
-
Fill a piping bag (or a ziplock bag with the corner snipped off) with the cream cheese mixture.
-
Pipe the cream cheese mixture onto the center of each puff pastry rectangle, over the poked holes, distributing it evenly.
-
Using a pastry brush, brush the frothy egg white onto the outside edges of each rectangle. This creates a beautiful golden crust.
-
Bake for 12-15 minutes (rotating the baking sheet halfway through the cooking time for even baking) until the pastries are golden brown and the edges start to puff up slightly.
-
Once baked, carefully move the hot pastries to a wire rack to cool completely.
-
While the danishes cool, whisk together the powdered sugar, milk, and vanilla extract in a small bowl until you have a smooth glaze. Drizzle the glaze generously on top of the completely cooled cream cheese danishes. Serve and enjoy!
Recipe Notes
Allow the baked danishes to cool completely on a wire rack before drizzling with glaze; this prevents the glaze from melting.
Store any leftover danishes in an airtight container in the refrigerator for up to 5 days.
Nutrition Facts
Pin This Now to Remember It Later
Pin Recipe
