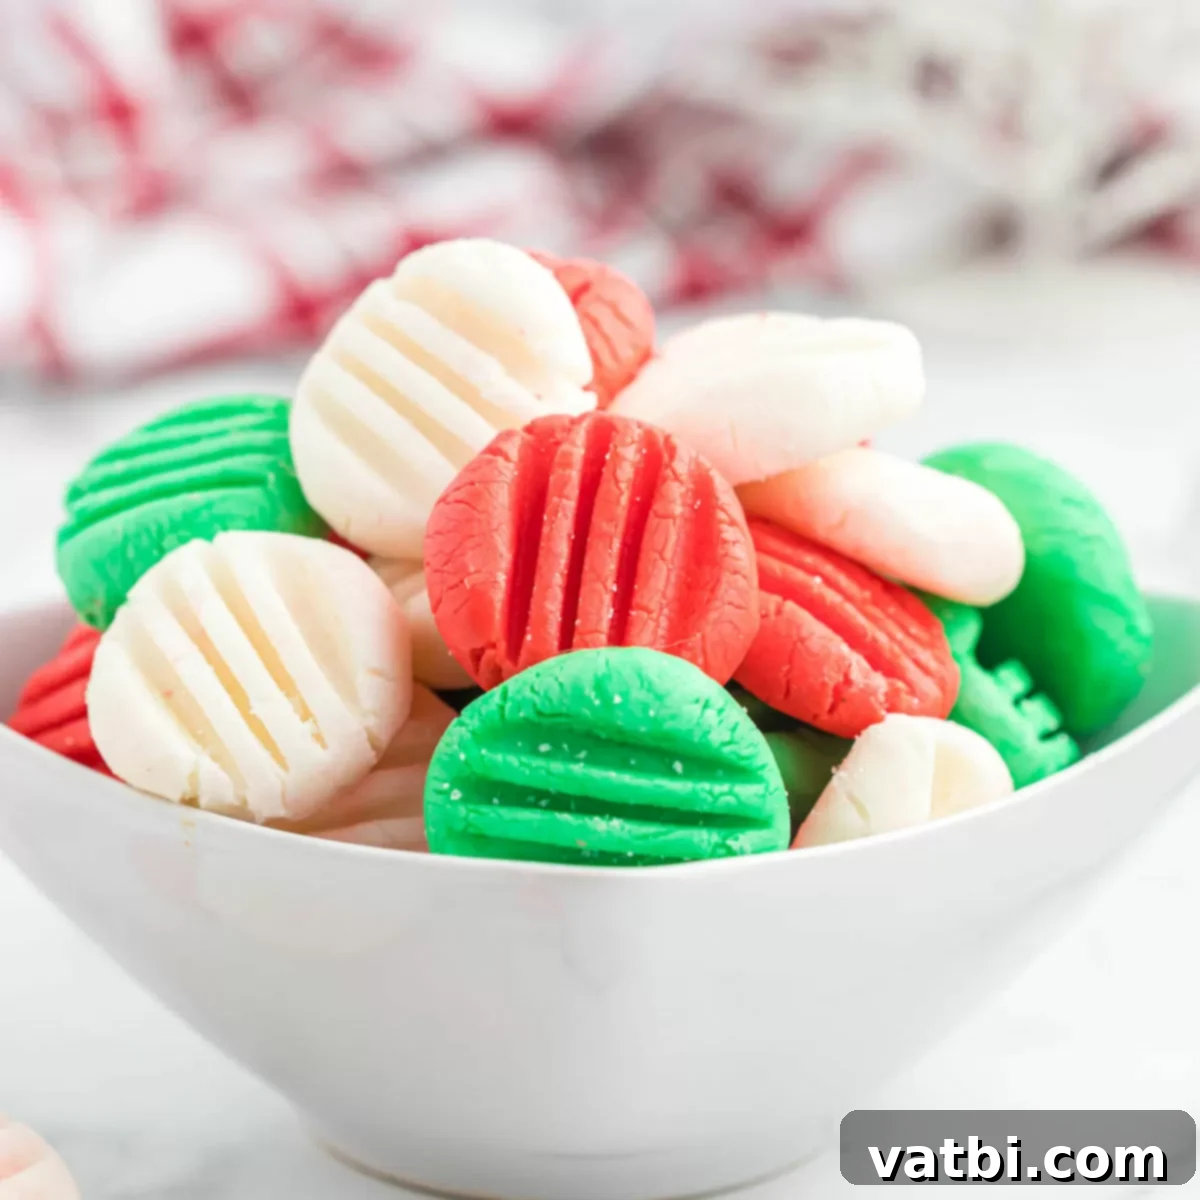
Melt-in-Your-Mouth Homemade Christmas Mints: The Easiest Festive Treat Recipe
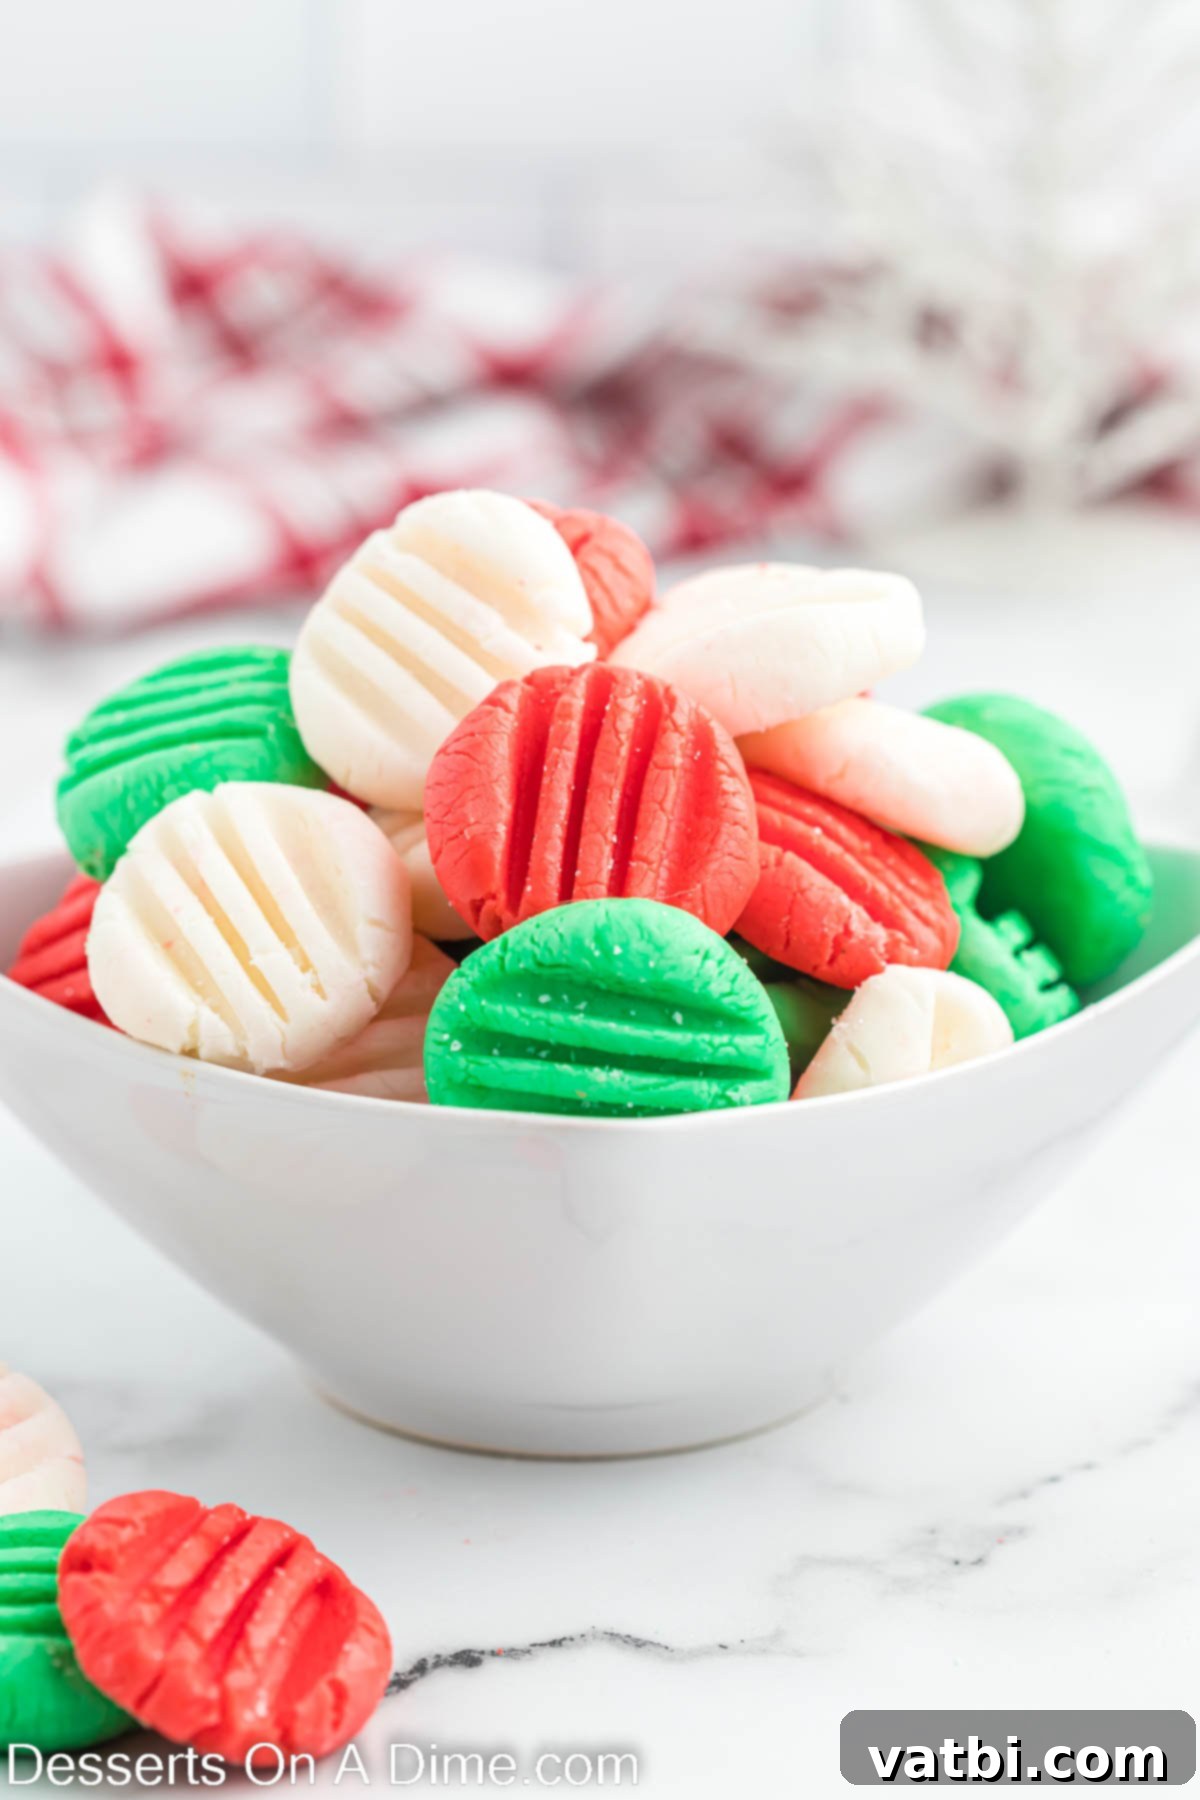
Embrace the festive spirit with this incredibly easy and utterly delicious Christmas mints recipe, perfect for adding a touch of holiday magic to your celebrations. These delightful treats are smooth, creamy, and boast a melt-in-your-mouth texture, making them an irresistible addition to any holiday dessert table. Imagine vibrant red, green, and pure white mints sparkling on a platter – they’re not just a treat for the palate, but a feast for the eyes too, capturing the joyful essence of Christmas.
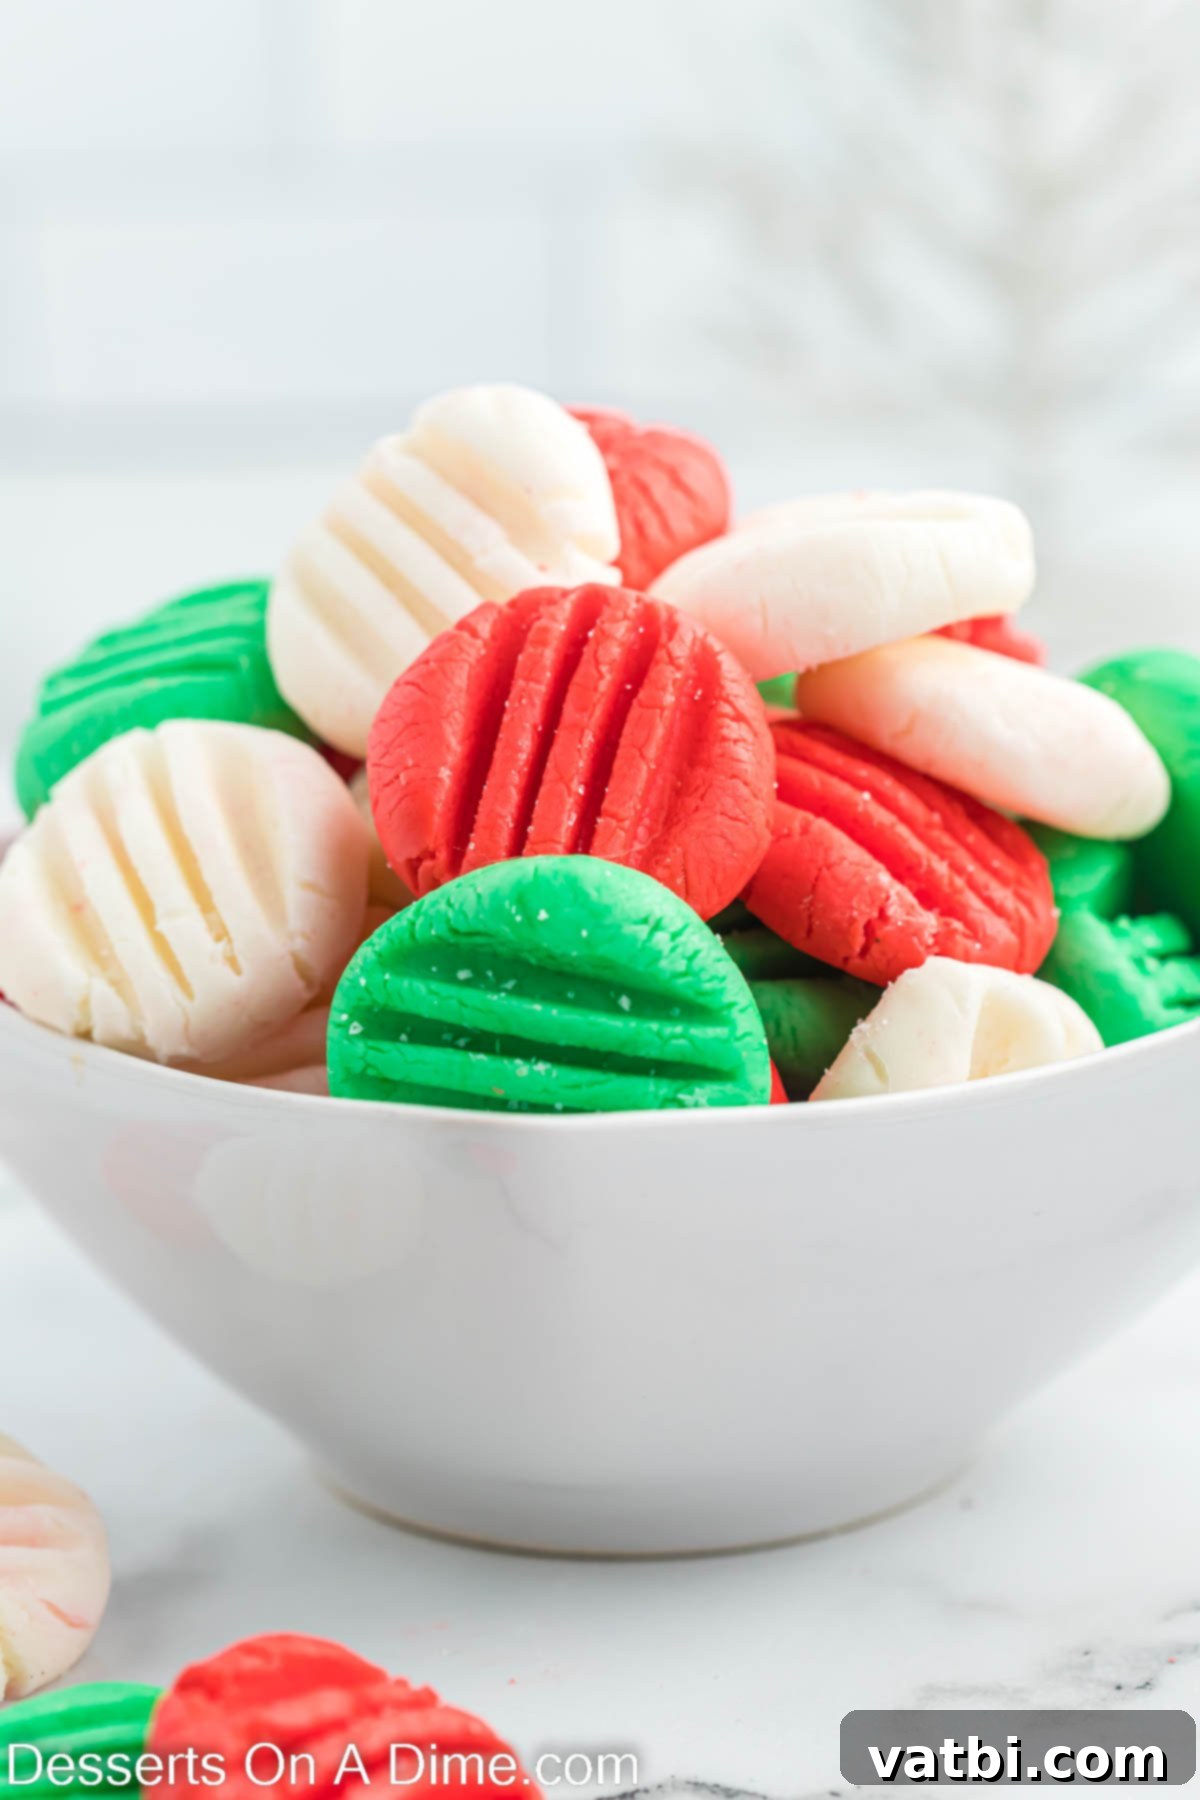
Making homemade mints is surprisingly simple and yields a flavor that far surpasses anything you can buy in a store. Every year, I prepare a batch of these cream cheese mints, and they consistently receive rave reviews from family and friends. Each bite is a rich, creamy, and refreshingly minty experience that truly melts away in your mouth.
Beyond their exquisite taste, these festive mints are visually stunning, making them an ideal choice for holiday parties and gatherings. The striking red and green hues provide a beautiful burst of color, instantly elevating your dessert spread. They are a cherished holiday tradition in our home, often made alongside our favorite cookie trays and other Easy Christmas Dessert Recipes. These charming little candies also make fantastic edible gifts for neighbors, teachers, and loved ones.
While perfect for Christmas, cream cheese mints are versatile and enjoyable year-round! We frequently prepare classic Cream Cheese Mints and Butter Mints for various occasions like baby showers, wedding receptions, and birthdays. Looking for more holiday treat inspiration? Don’t miss our collections of 45 Gluten Free Christmas Desserts, delightful No Bake Christmas Desserts, and the impressive Christmas Dessert Lasagna Recipe.
For even more fun and festive dessert ideas, be sure to check out our Christmas Oreo Balls Recipe and adorable Snowman Chocolate Covered Oreos – perfect for adding variety to your holiday baking list.
What’s in this post: Christmas Mints
- Why we love this easy Christmas mints recipe:
- Key Ingredients for Homemade Mints:
- Delicious Variations and Customizations:
- Step-by-Step: How to make Christmas mints:
- Expert Tips for Perfect Christmas Peppermint Patties:
- Frequently Asked Questions about Christmas Mints
- More Easy Christmas Desserts to Try:
- Christmas Mints Recipe Card
Why we love this easy Christmas mints recipe:
There are so many reasons to adore these simple yet sophisticated homemade Christmas mints. They are truly a holiday season essential!
- Only 6 Simple Ingredients. This recipe requires just a handful of common pantry staples, making it incredibly accessible and budget-friendly. You won’t need any fancy equipment or special mint molds, keeping the process straightforward and enjoyable for all skill levels.
- Irresistibly Delicious Taste. No one can resist the smooth, rich, and creamy texture coupled with the refreshing peppermint flavor of these mints. They offer a delightful contrast that is both comforting and invigorating, ensuring they’re a hit with everyone who tries them.
- Perfect for Festive Parties. A platter of these vibrant red, green, and white mints instantly brightens any dessert table. Their festive appearance makes them a natural centerpiece, drawing attention and compliments from guests. They are a surefire way to add a touch of elegance and holiday cheer.
- Ideal for Thoughtful Gifting. Homemade gifts carry a special charm, and these mints are no exception. They are perfect for packaging up and handing out to friends, family, neighbors, teachers, and co-workers. A small bag of these delicious mints is a sweet gesture that shows you care during the holiday season.
These benefits combine to make Christmas mints a standout treat that you’ll want to make year after year!
Key Ingredients for Homemade Mints:
Gathering your ingredients for these delightful Christmas mints is straightforward. Here’s what you’ll need to create these smooth and creamy treats:
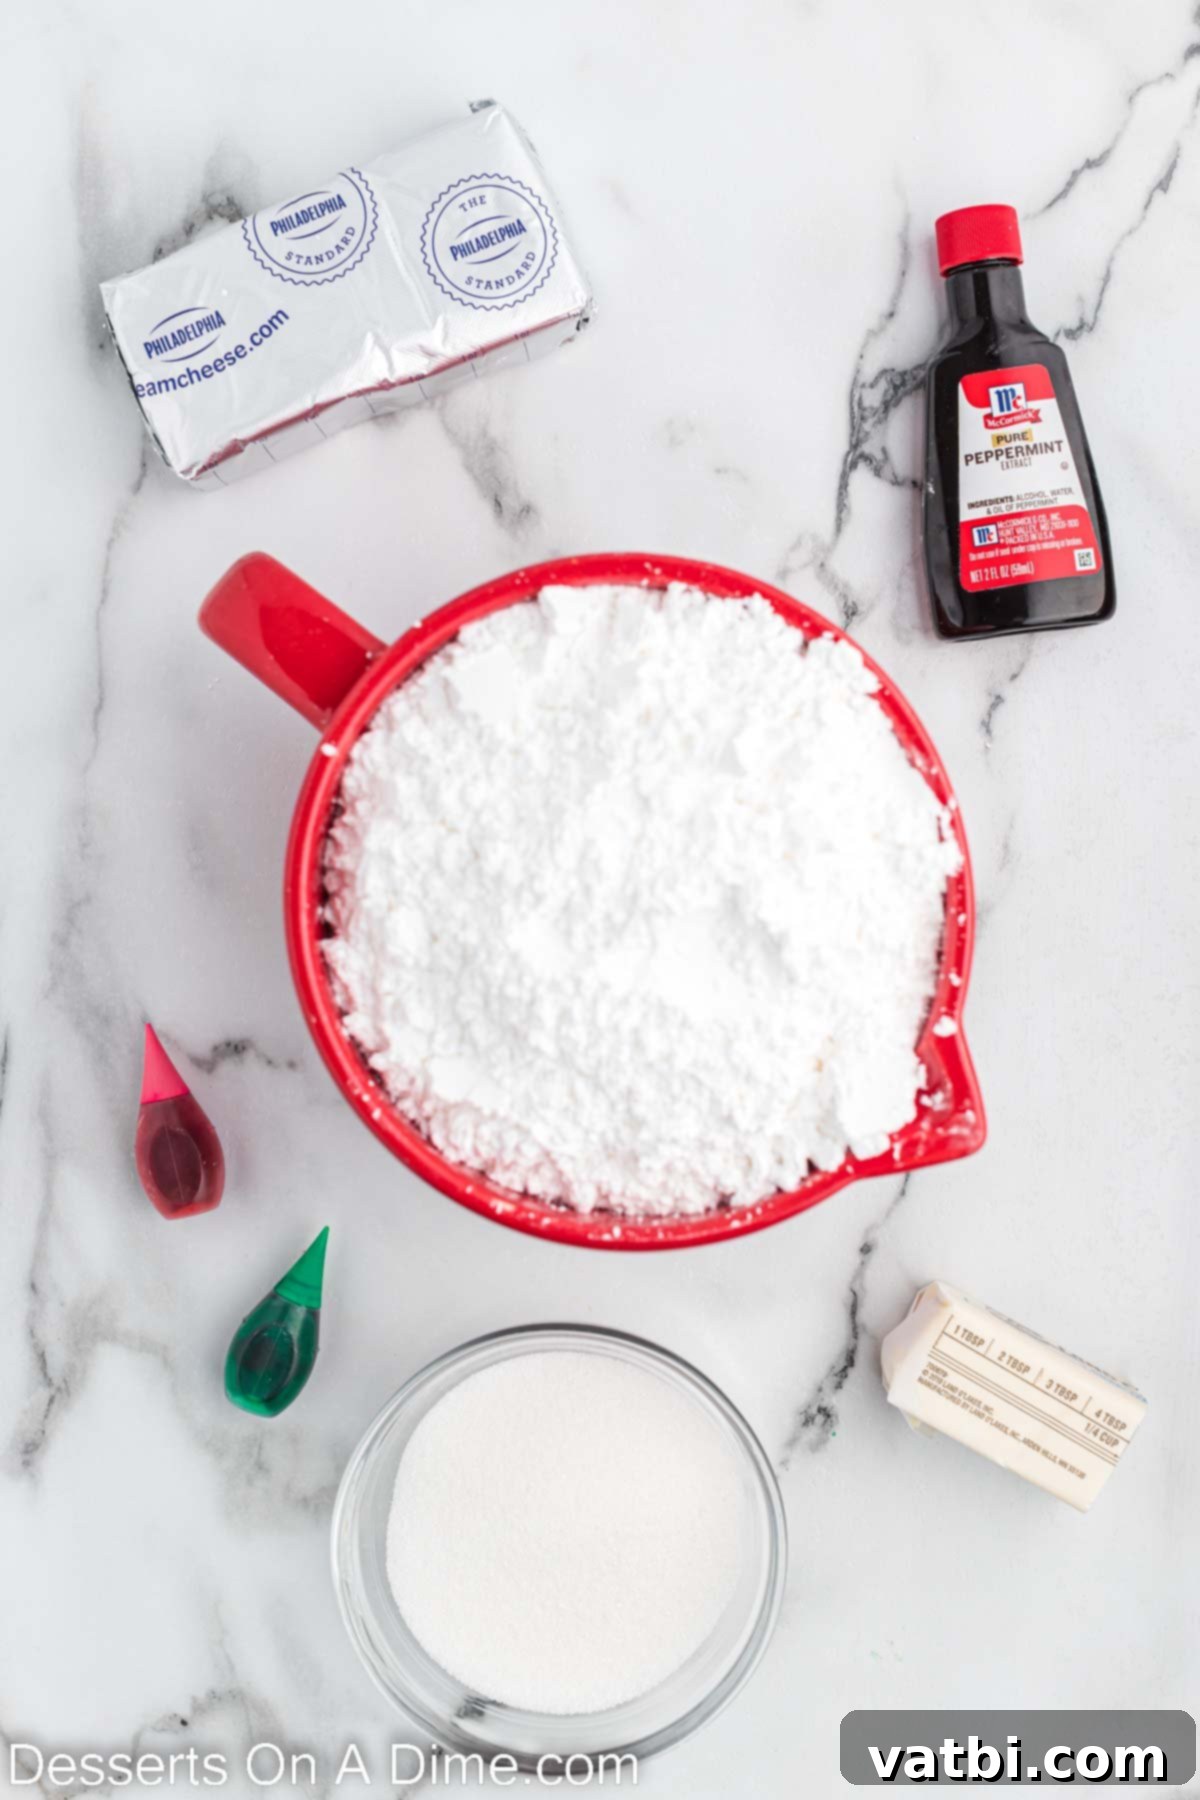
- Cream Cheese, softened at room temperature. This is the secret to the incredibly smooth and creamy texture of our mints. Ensure it’s properly softened for easy mixing.
- Butter, also softened to room temperature. Butter adds richness and helps bind the ingredients, contributing to that perfect melt-in-your-mouth feel.
- Powdered Sugar, sifted. Powdered sugar is essential for achieving the fine, smooth consistency of the mints. Sifting prevents lumps and ensures a silky texture.
- Peppermint Extract. This is where the signature mint flavor comes from! Be sure to use peppermint, not general mint extract, for the best and most authentic taste.
- Red and Green Gel Food Coloring. Gel food coloring provides vibrant, rich colors without adding too much liquid to the dough, which is crucial for the right consistency.
- Granulated Sugar, for rolling the mints. This not only adds a delicate sparkle but also helps prevent the mints from sticking to your hands and the fork during shaping.
The complete ingredient list with precise measurements and detailed instructions can be found in the comprehensive recipe card at the bottom of this post.
Delicious Variations and Customizations:
While classic peppermint is a holiday favorite, these homemade mints are incredibly adaptable. Feel free to get creative with flavors and colors to suit any occasion!
- Experiment with Extracts. While peppermint is traditional for Christmas, you can easily swap it for other flavor extracts. Consider a delicate vanilla extract for a more subtle taste, or try cherry extract for a fruity twist. Lemon, almond, or even a hint of coconut could also create unique and delicious mints for different seasons or events.
- Play with Different Colors. The beauty of this recipe lies in its versatility with food coloring. You can easily divide the dough and dye it any color you prefer. This makes them perfect for various holidays and celebrations: pastel colors for Easter, vibrant shades for birthdays, school colors for graduation parties, or even elegant single colors for wedding receptions. The possibilities are truly endless, allowing you to tailor these treats to any theme.
These simple variations allow you to customize your mints effortlessly, making them suitable for any event throughout the year.
Step-by-Step: How to make Christmas mints:
Creating these festive Christmas mints is a fun and straightforward process. Follow these easy steps to bring these delicious treats to life:
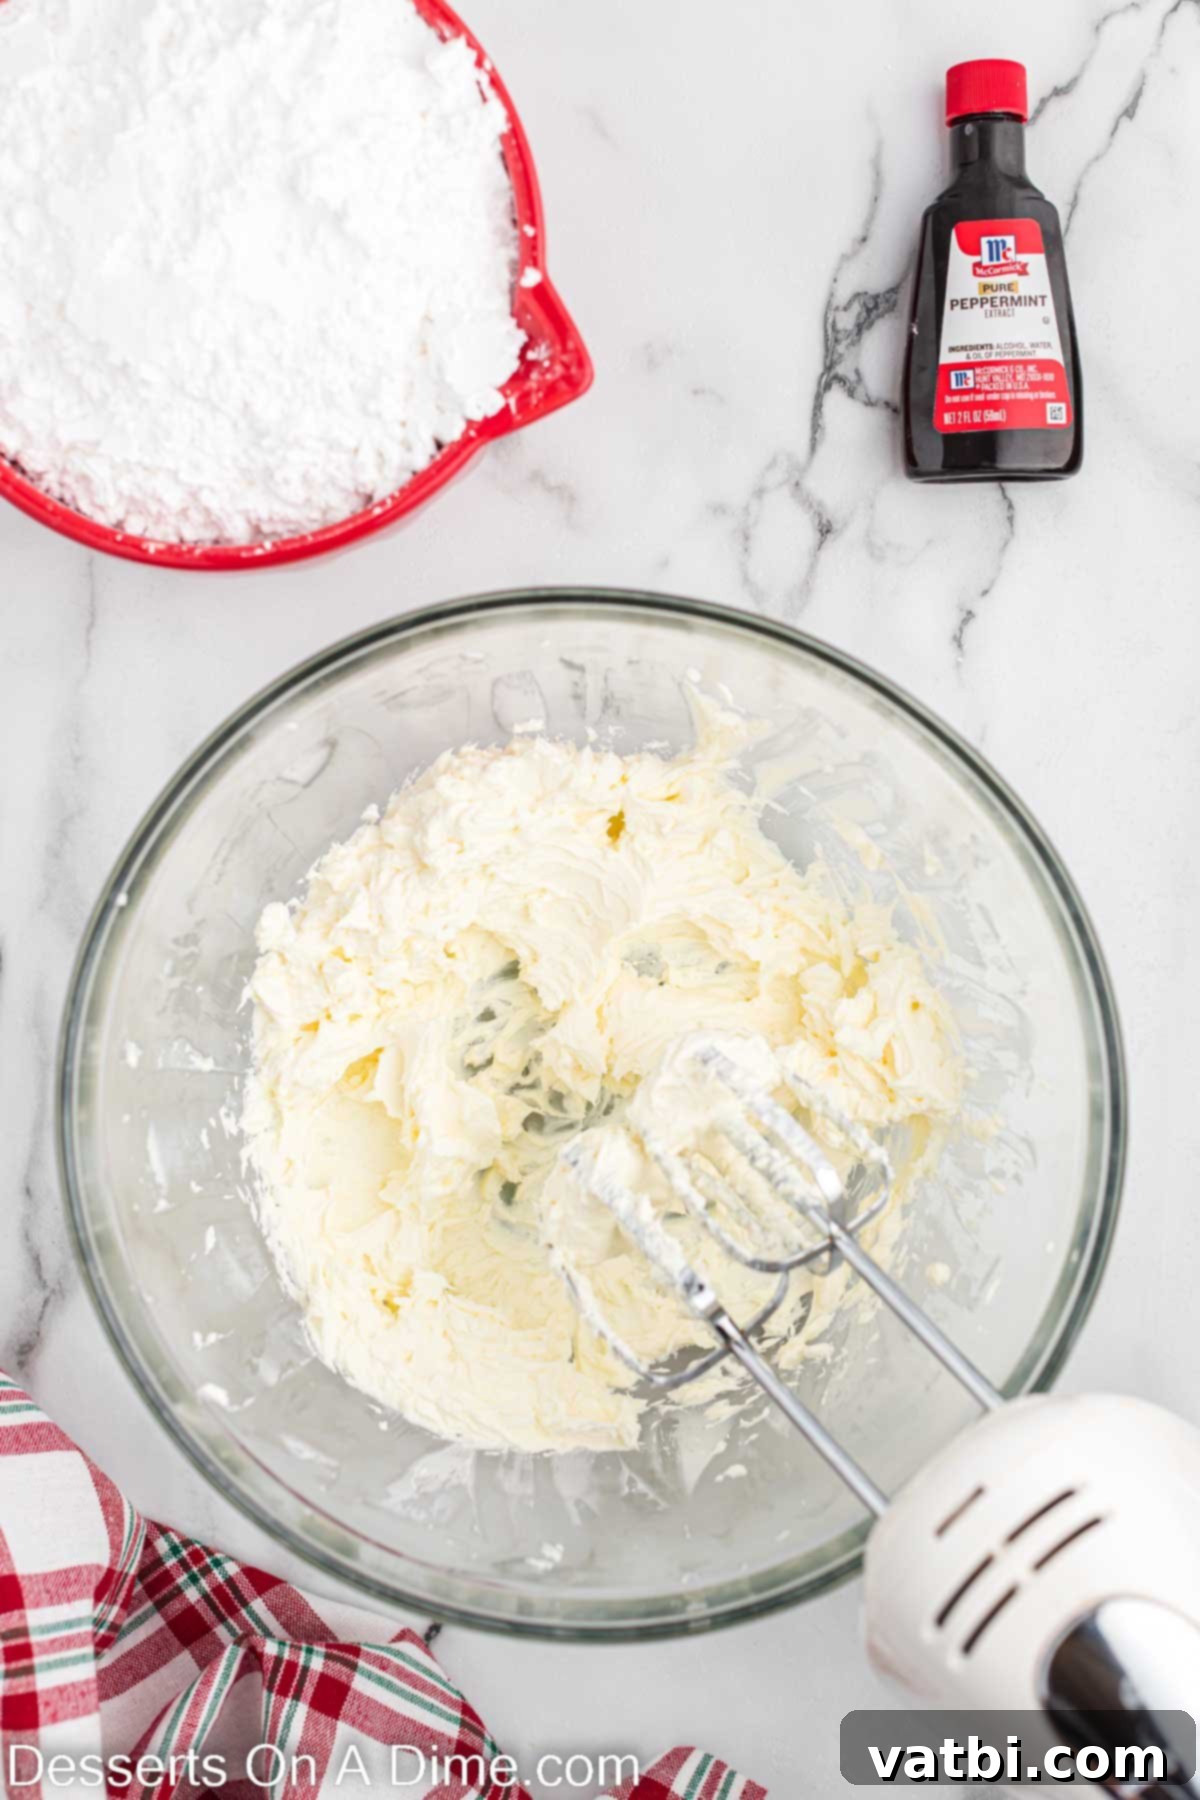
Step 1. Begin by combining the softened cream cheese and butter in a large mixing bowl. Using either a hand mixer or a stand mixer, beat these ingredients together until the mixture is beautifully smooth and creamy. This initial step is crucial for achieving the mints’ signature velvety texture.
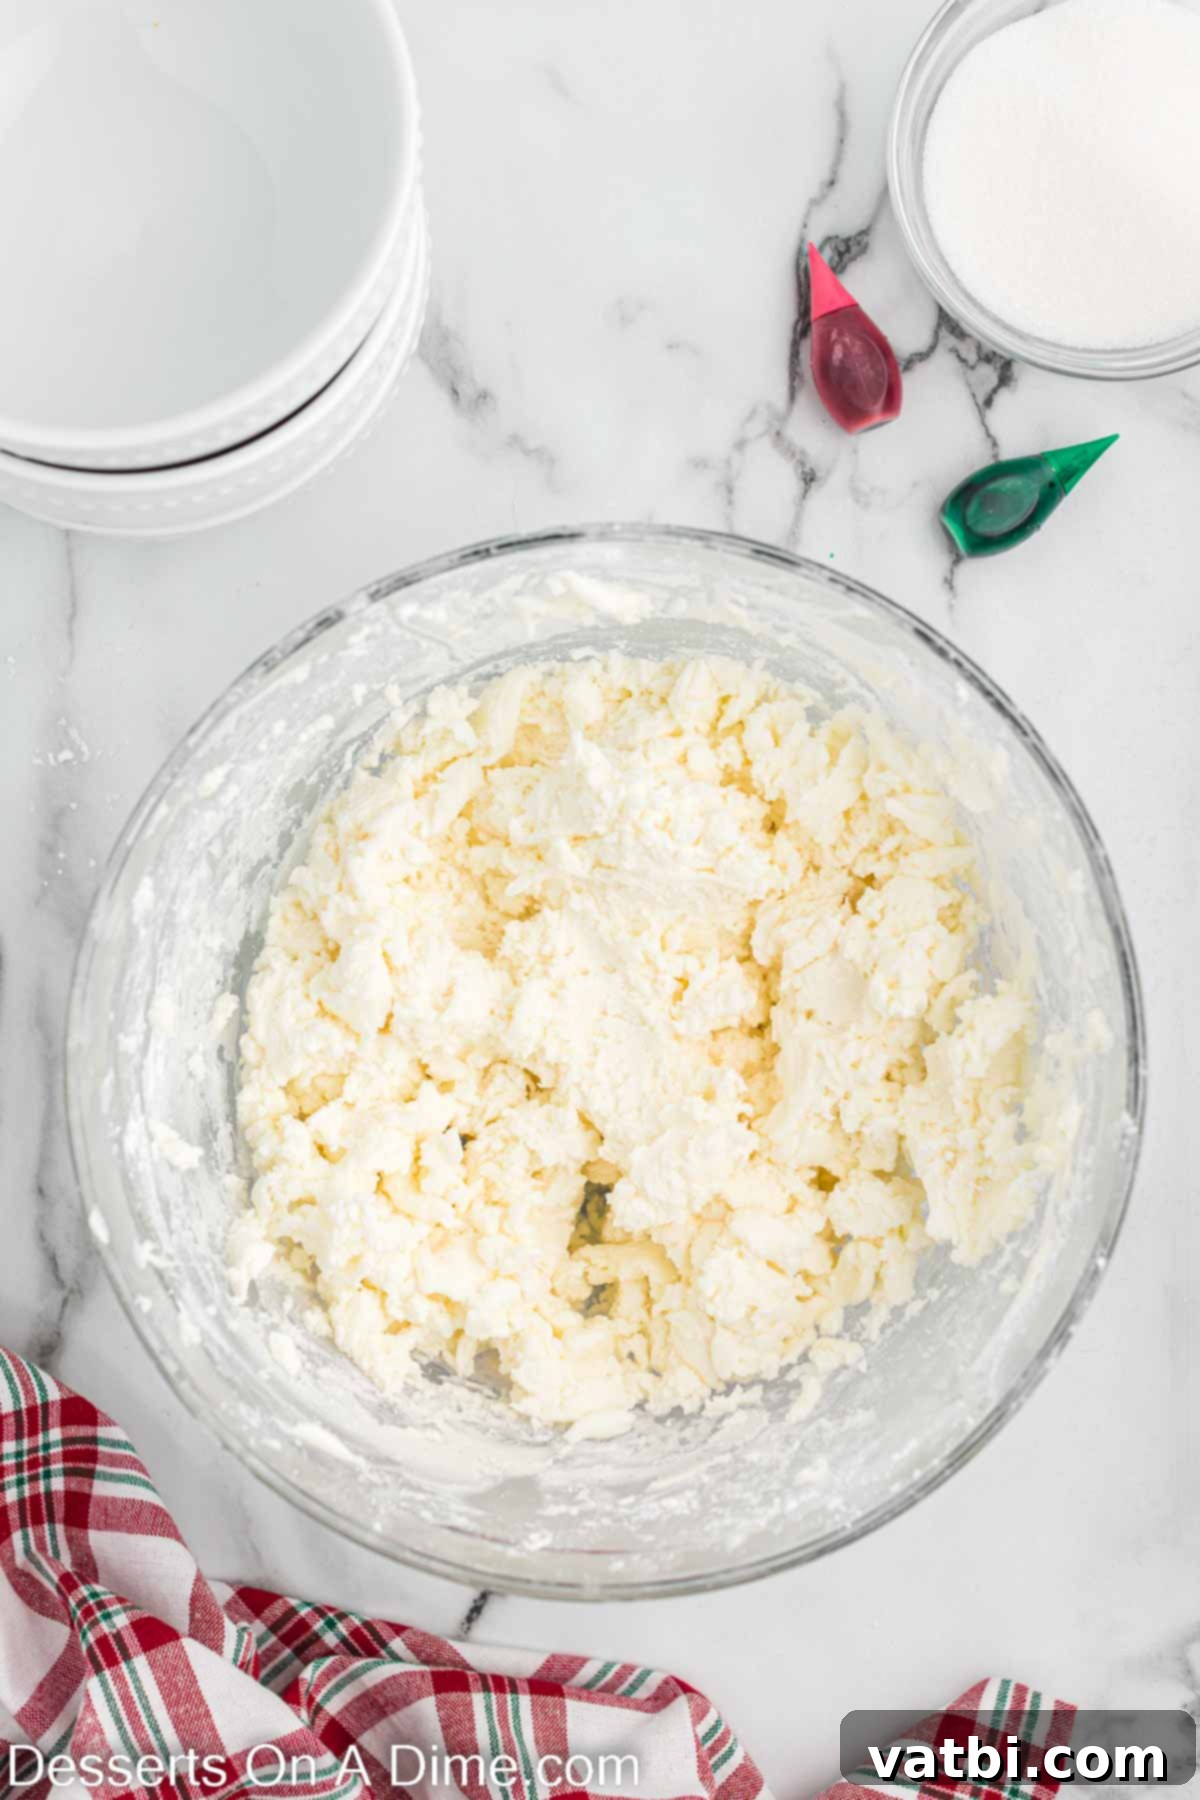
Step 2. Next, gradually incorporate the sifted powdered sugar, adding one cup at a time and mixing until well combined after each addition. Once you’ve added the first cup of powdered sugar, stir in the peppermint extract. Continue adding the remaining powdered sugar until the dough becomes thick, firm, and no longer sticky. It should have a consistency similar to play-dough.
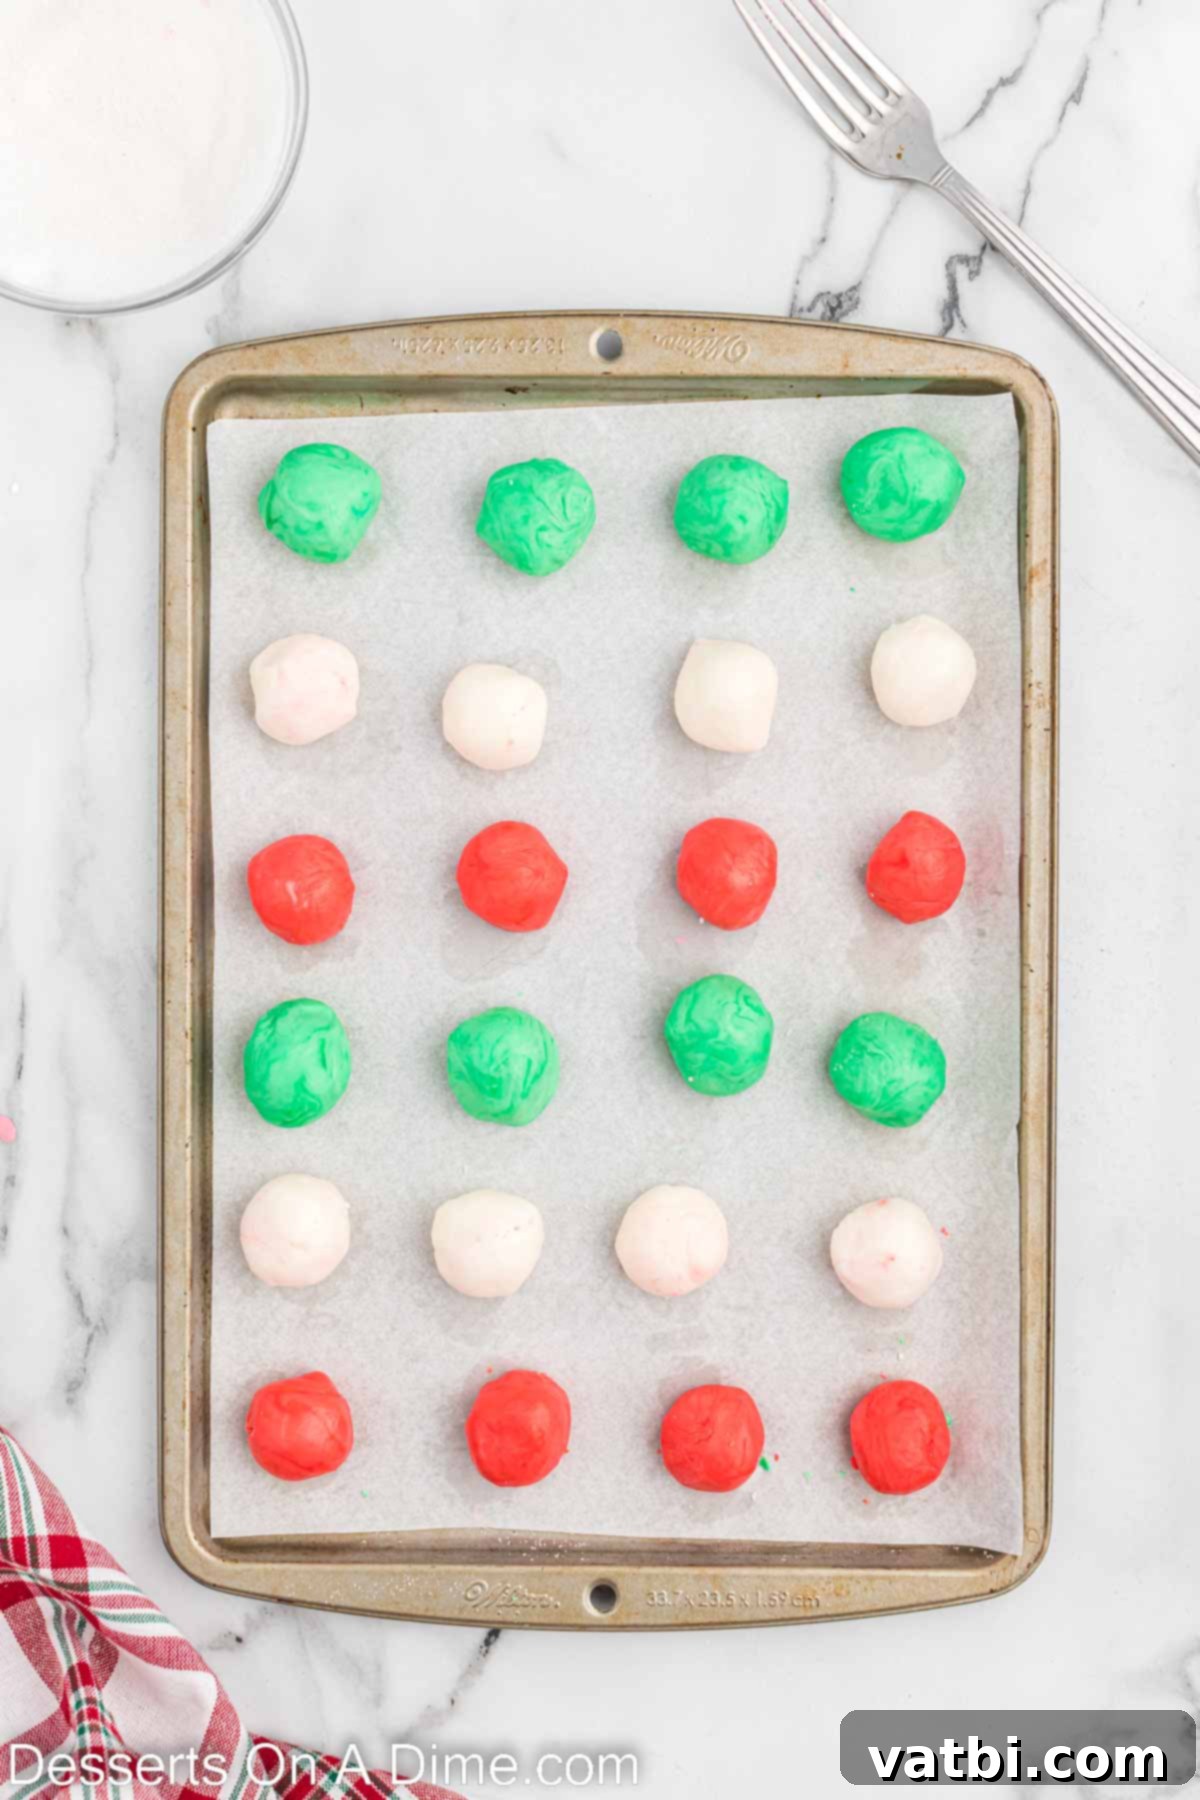
Step 3. Once your dough is ready, divide it evenly into three separate bowls. In one bowl, add red gel food coloring; in another, add green gel food coloring. Leave the third bowl white for classic Christmas colors. Mix each portion thoroughly until you achieve your desired vibrant shades. Then, roll small portions of the dough (about 1 inch in diameter) between your palms to form neat balls. Arrange these balls on baking sheets lined with parchment or wax paper.
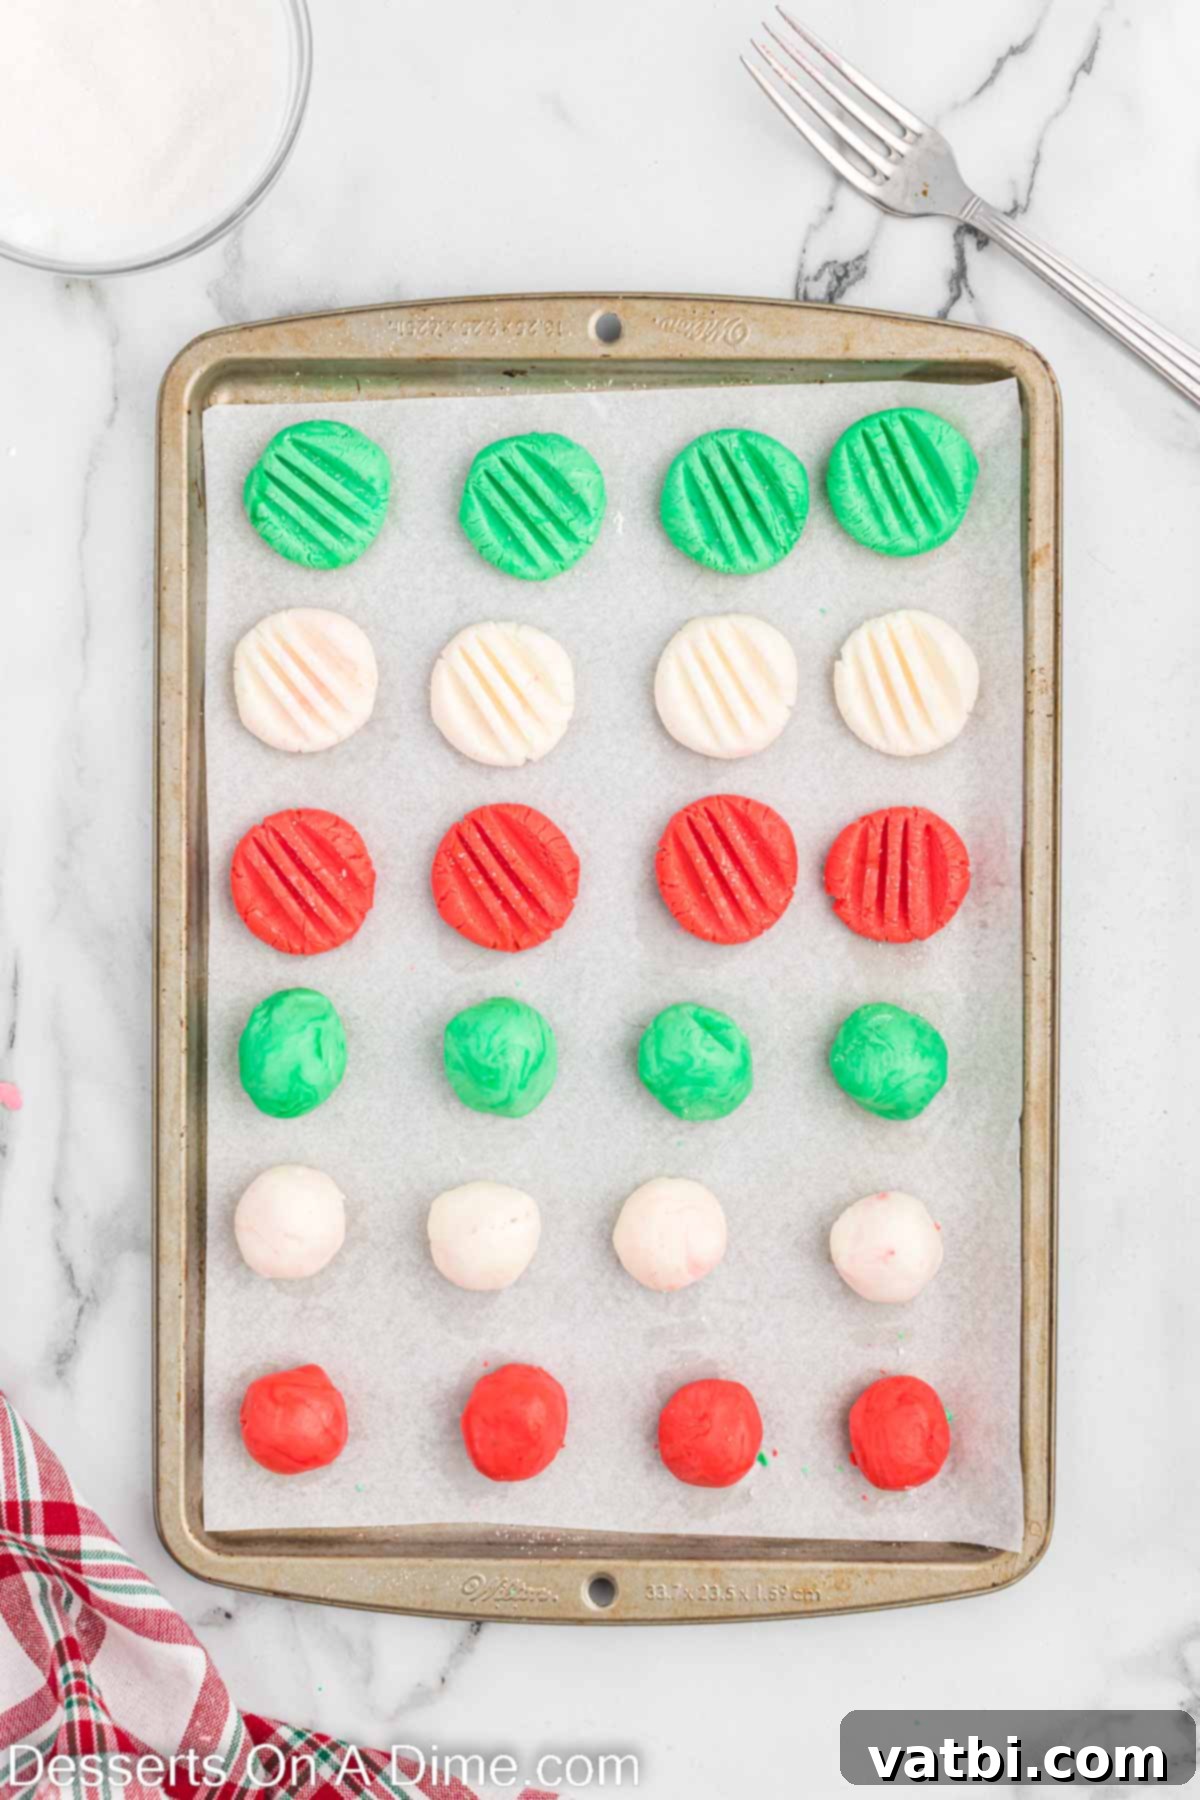
Step 4. For that classic mint appearance, dip the tongs of a fork into granulated sugar (this prevents sticking and adds sparkle). Gently press the sugared fork onto the top of each mint ball to flatten it slightly and create an attractive patterned design. Repeat this process for all your mints, re-dipping the fork in sugar as needed.
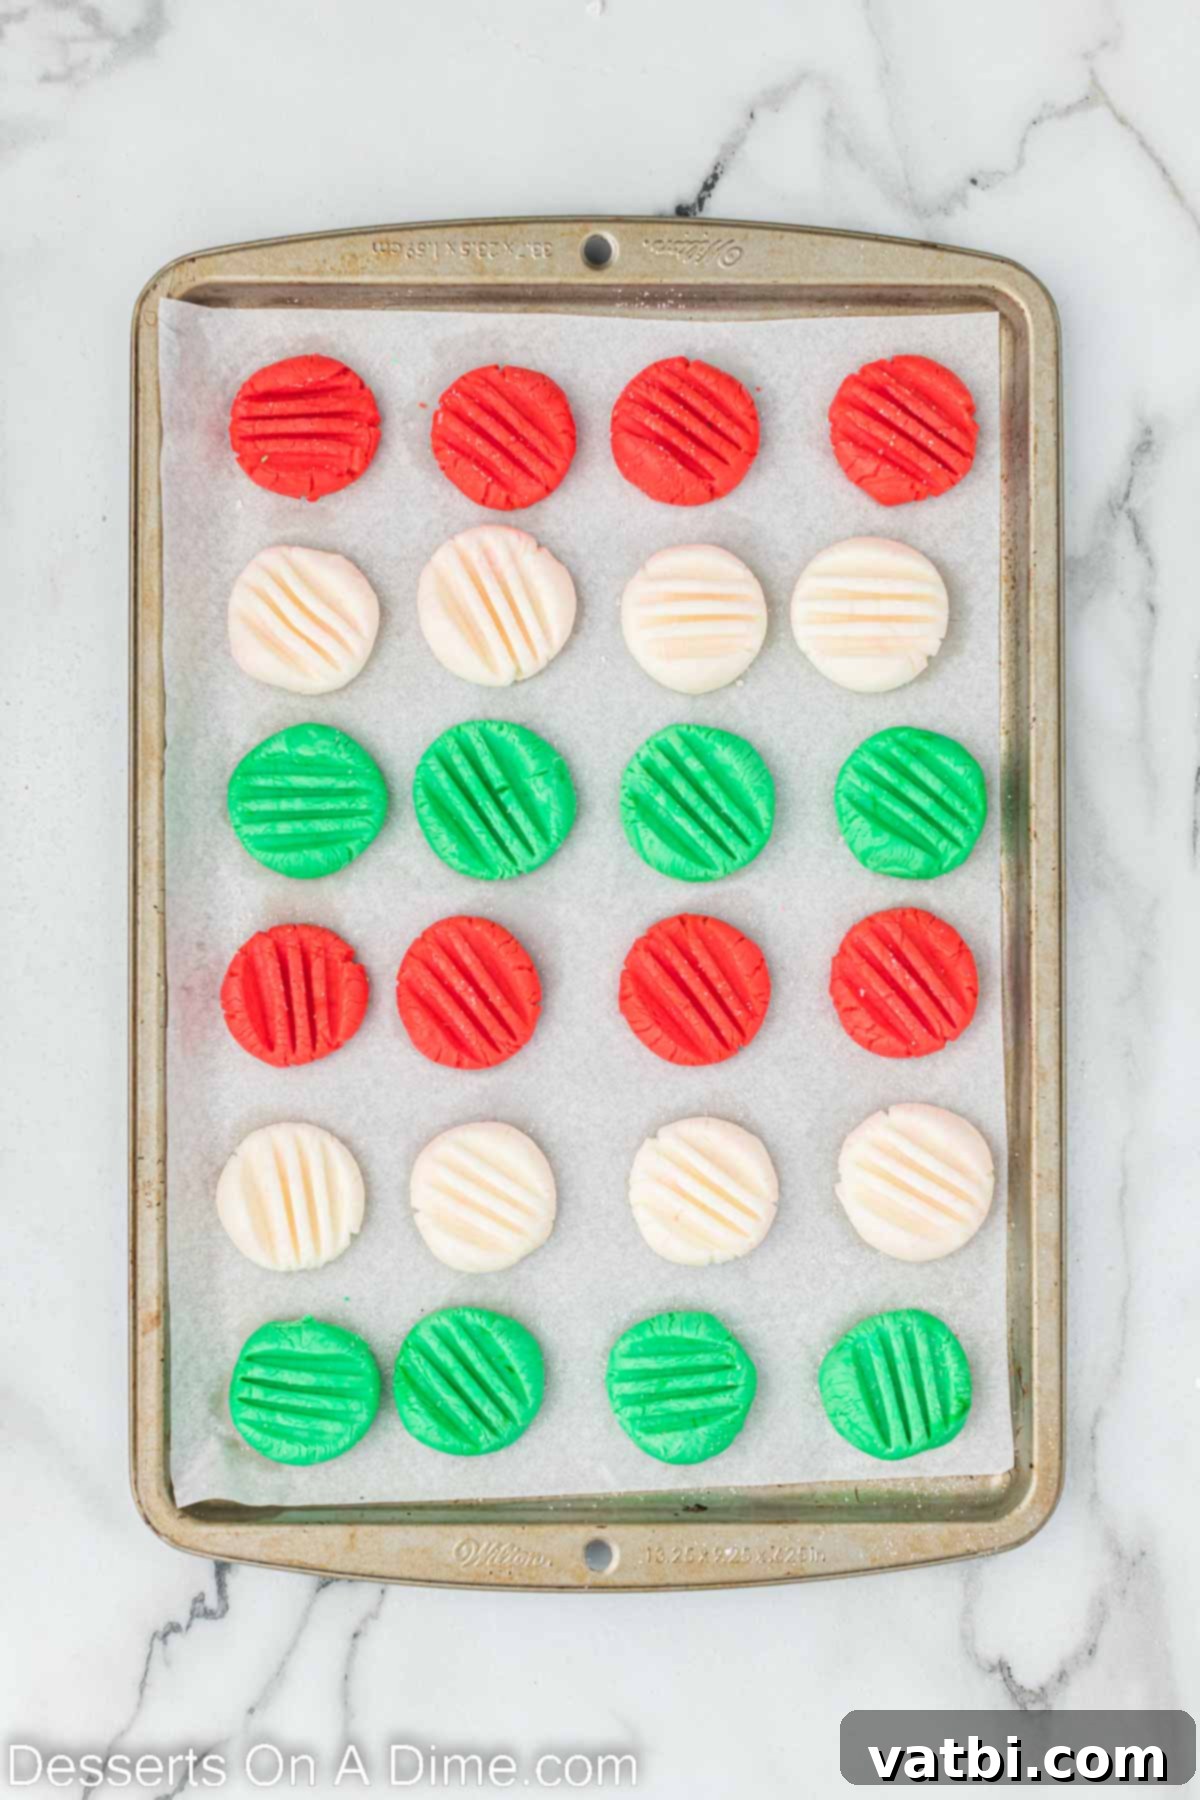
Step 5. Once all your mints are shaped and patterned, allow them to sit undisturbed at room temperature. This crucial step lets them fully harden on the outside while maintaining a wonderfully soft and creamy interior. This setting process typically takes several hours.
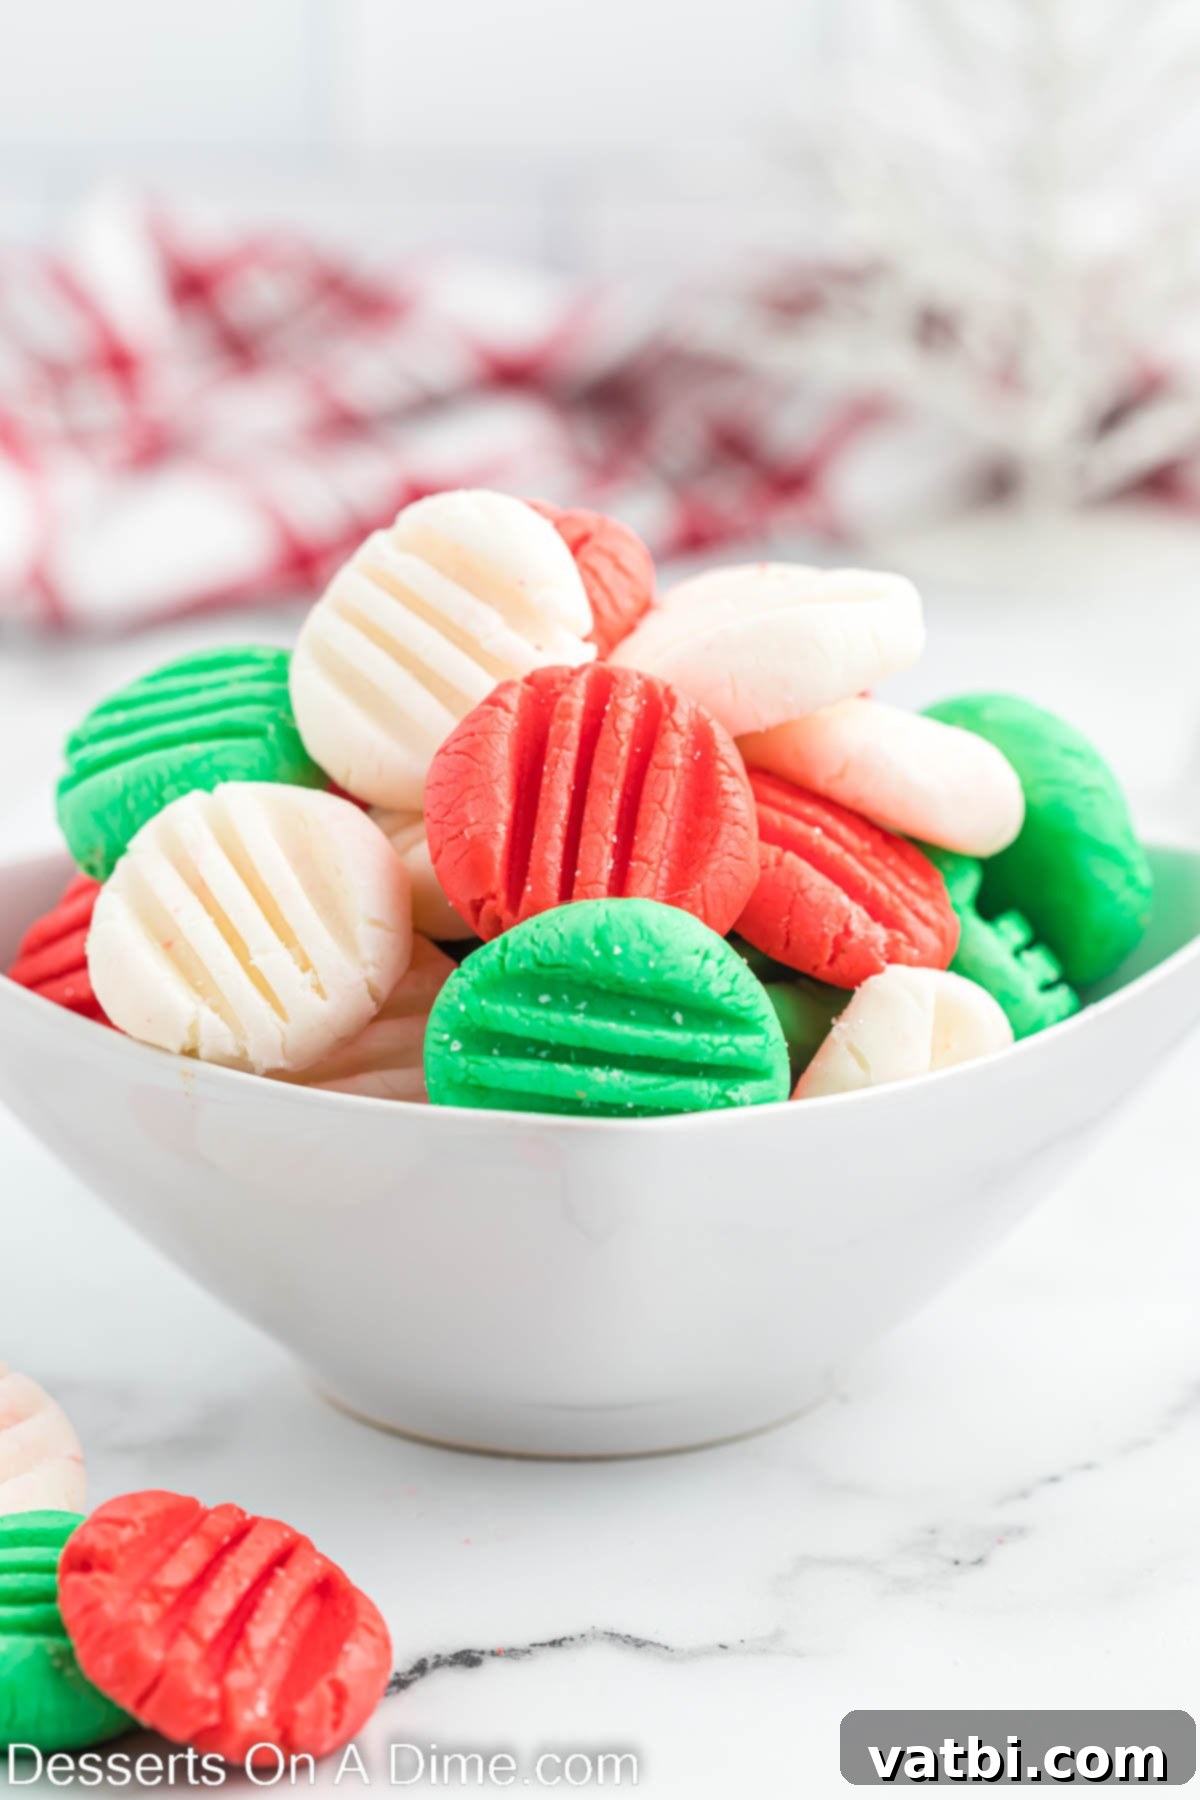
Step 6. After the mints have hardened to perfection, they are ready to be served! Arrange them on a festive platter and watch them disappear. Enjoy the fruits of your simple, sweet labor!
Expert Tips for Perfect Christmas Peppermint Patties:
Follow these helpful tips to ensure your homemade Christmas mints, reminiscent of classic peppermint patties, turn out perfectly every time:
- Add a Chocolate Coating. For a truly decadent treat that resembles store-bought York Peppermint Patties, consider dipping your finished mints in melted white chocolate or milk chocolate. Allow the chocolate to set on parchment paper for an extra layer of flavor and elegance.
- Sprinkle with Festive Joy. To make your mints even more festive and appealing, add a handful of colorful Christmas sprinkles directly to the mint mixture before shaping. Alternatively, sprinkle them on top of the shaped mints before they harden. This small detail adds extra holiday cheer and a delightful crunch.
- Choose Gel Food Coloring for Best Results. For the most vibrant and beautiful colors, gel food coloring is highly recommended. Unlike liquid food coloring, gel colors are highly concentrated, meaning you’ll achieve intense hues without adding excess moisture to your dough, which can affect its consistency.
- Always Use Peppermint Extract. This recipe specifically calls for peppermint extract to achieve that classic, refreshing flavor. Avoid substituting it with general “mint extract” if possible. Mint extract often contains spearmint and other mint varieties, which can sometimes result in a taste that is closer to toothpaste rather than a sweet confectionery mint.
- Dip Fork into Sugar. Before pressing the fork onto each mint to flatten and create a pattern, always dip the fork tines into granulated sugar. This simple trick prevents the fork from sticking to the soft dough and helps create a cleaner, more defined pattern, while also adding a lovely sugary sparkle.
- Mixing the Dough by Hand. As you add more powdered sugar, the dough will become very thick. If your mixer struggles or the dough becomes too stiff to handle comfortably with a mixer, don’t hesitate to switch to combining the final portions of the dough by hand. A sturdy spoon or your hands can work wonders to ensure all ingredients are fully incorporated.
These tips will help you create beautiful, flavorful Christmas mints that are sure to impress!
Frequently Asked Questions about Christmas Mints
Here are some common questions about making and storing your homemade Christmas mints:
To maintain their freshness and texture, store your homemade Christmas mints in an airtight container in the refrigerator. I highly recommend arranging the mints in single layers, placing a sheet of wax paper or parchment paper between each layer to prevent them from sticking together. This method ensures they remain pristine and easy to grab. When you’re ready to serve, allow the mints to sit at room temperature for about 15-30 minutes; this gives them time to soften slightly and brings out their creamy texture and full flavor.
When stored properly in an airtight container in the refrigerator, these delicious Christmas mints will last for up to 2 weeks. This makes them an excellent make-ahead treat for holiday entertaining. If you need to extend their shelf life beyond two weeks, freezing is a fantastic option to preserve their freshness and flavor.
Freezing these mints is incredibly simple and convenient, especially when preparing for large holiday gatherings. Place the hardened mints inside a freezer-safe container. Just like with refrigeration, it’s best to use layers of parchment paper or wax paper between the mints to prevent them from sticking together. Properly frozen, these mints can last for up to 2 months. Simply thaw them at room temperature for a few hours before serving, and they’ll be just as delicious as when they were freshly made.
More Easy Christmas Desserts to Try:
The holiday season is all about indulgence and delicious treats. If you’re looking for more simple and crowd-pleasing Christmas dessert ideas, here are some of our top recommendations:
- Christmas Crack Chex Mix: An incredibly addictive and easy-to-make sweet and salty snack perfect for parties or gifting.
- Gingerbread Cake Recipe: A classic holiday cake brimming with warm spices, making your home smell like Christmas.
- Christmas Dirt Cake Recipe: A fun, no-bake dessert that’s easy to assemble and a favorite with kids and adults alike.
- Easy Christmas Chocolate Covered Pretzel Rods: Simple, elegant, and customizable pretzel rods dipped in chocolate and decorated with festive sprinkles.
- Strawberry Santas: Adorable and healthy-ish mini Santas made from fresh strawberries, cream cheese, and sprinkles.
- Christmas Candy Desserts: A collection of various delightful candy-inspired treats to sweeten your holiday season.
These recipes are designed to be easy to follow, ensuring you spend less time in the kitchen and more time enjoying the festive season with your loved ones.
We hope you enjoy making these delicious homemade Christmas mints as much as we do! Their festive colors and irresistible peppermint flavor are guaranteed to bring smiles and holiday cheer to your home. Once you’ve tried them, please take a moment to leave a star recipe rating. We absolutely love hearing from you and seeing how your holiday baking turns out!
Pin
Christmas Mints
Ingredients
- 8 oz Cream Cheese Softened at room temperature
- 4 Tbsp Butter Softened
- 9 cups Powdered Sugar sifted
- 2 tsp Peppermint Extract
- Red and Green Gel Food Coloring
- ½ cup Granulated Sugar for rolling the mints
Instructions
-
Cream together the cream cheese and butter with a hand held mixer or stand up mixer until smooth and creamy.
-
Then add in 1 cup of the powdered sugar. Mix together until well combined.
-
Then mix in the peppermint extract.
-
Then place the mixer on low and gradually add in the remaining powdered sugar, 1 cup at a time, scraping down the sides of the bowl after each cup is added in. Continue until all the powdered sugar has been added. The dough should be thick (play-dough like consistency) and not sticky. If the dough is still sticky and not thick enough add in more powdered sugar.
-
Then divide the dough into 3 separate bowls. Add the red food coloring to one bowl, the green to another and then one white and mix well until you reach the desired colors.
-
Cover and refrigerate the dough for 2 hours.
-
Then line 2 baking sheets with parchment paper or wax paper. Roll the dough in between your palms to form approximately 1 inch balls. Then place the balls on the baking sheets.
-
Dip the tongs of a fork in the ½ cup granulated sugar and then gently press the fork down onto each mint to flatten them out and make a line pattern on the mints. Follow this process until all the mints are formed and keep dipping the fork in the powdered sugar when forming the mints.
-
Then allow the mints to sit at room temperature until they have fully hardened (4-6 hours). They should be hard on the outside and soft on the inside.
-
Store in an airtight container in single layers with a sheet of wax paper between each layer in the refrigerator for up to 2 weeks.
Recipe Notes
Nutrition Facts
Pin This Now to Remember It Later
Pin Recipe
