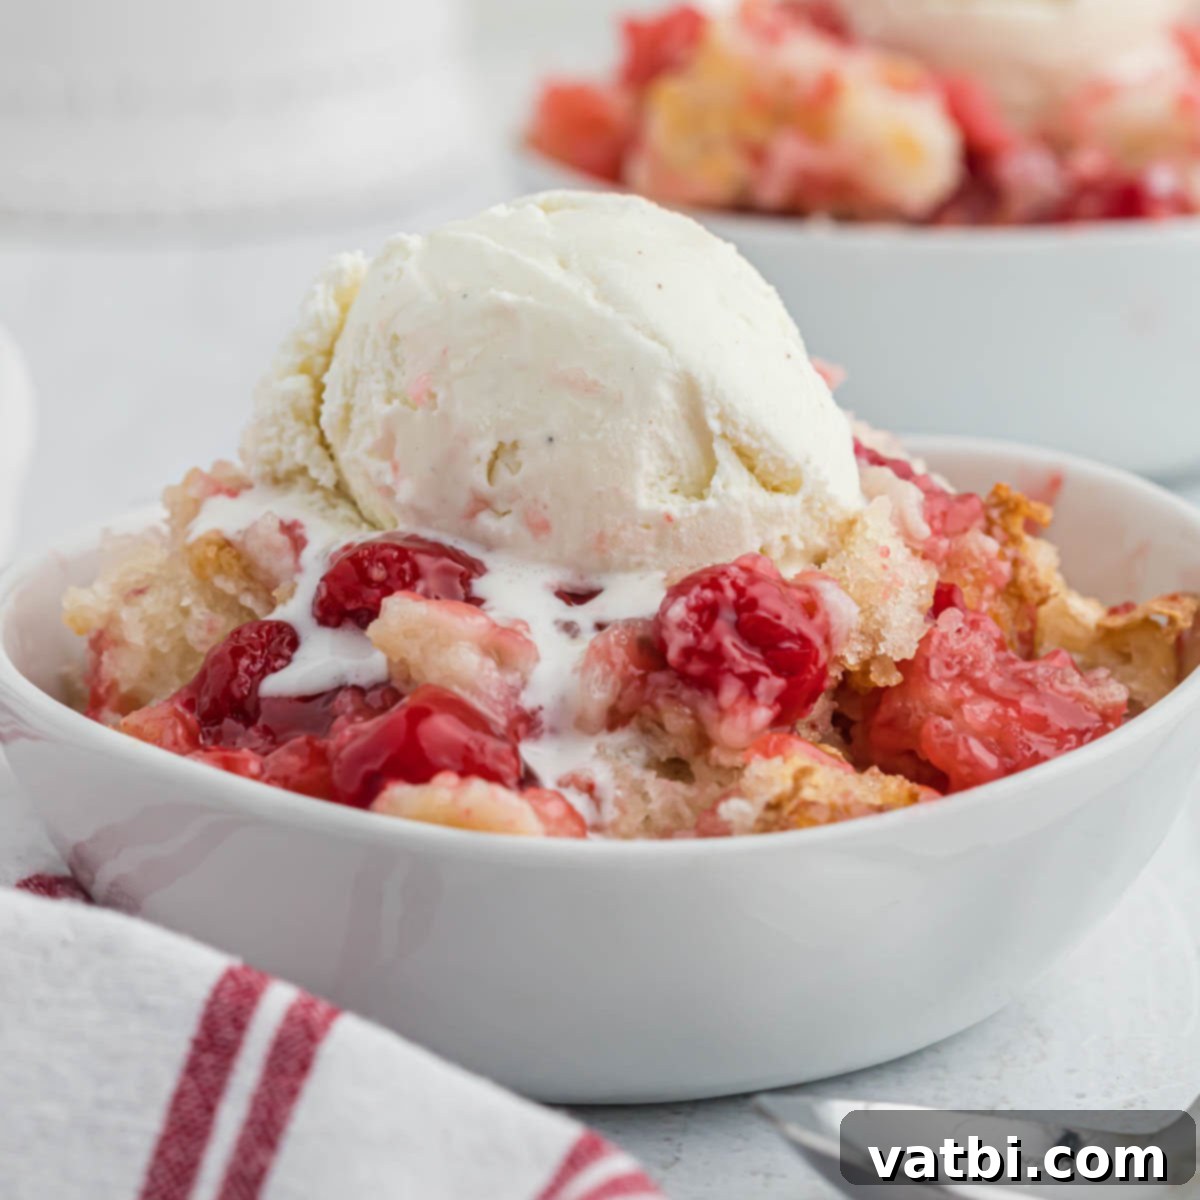
Easy Cherry Cobbler: Your Go-To Recipe for a Simple & Delightful Fruit Dessert
Easy Cherry Cobbler is a truly simple yet incredibly satisfying dessert that comes together with just a few basic ingredients. This luscious, warm fruit cobbler, brimming with sweet cherry filling, is absolutely delicious on its own but transforms into an unforgettable treat when topped with a dollop of Homemade Whipped Cream or a scoop of creamy No-Churn Vanilla Ice Cream. It’s the perfect comforting dessert for any season, offering a taste of homemade goodness that’s hard to resist.
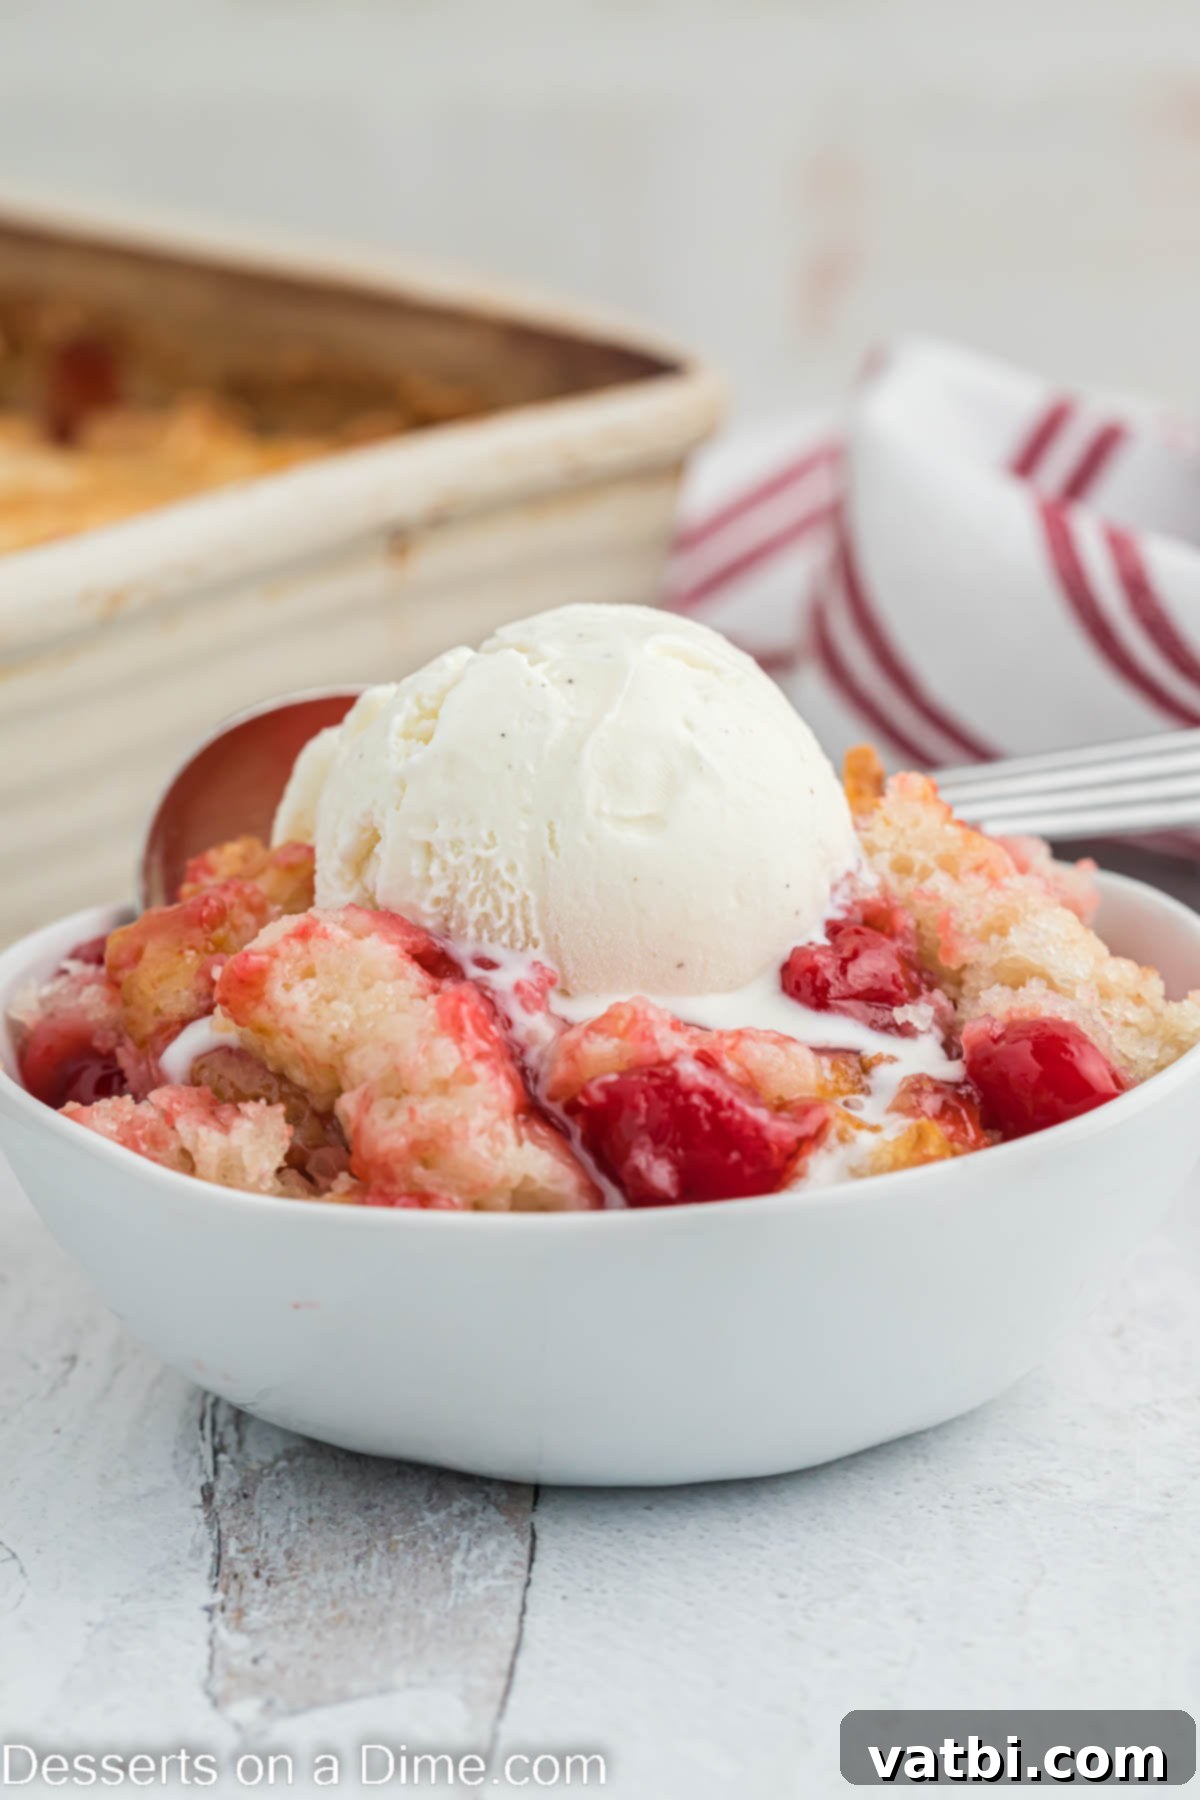
From the moment you pull this golden-crusted dessert from the oven, its inviting aroma fills your kitchen. Each spoonful reveals a perfect harmony between the tender, buttery crust and the rich, fruity cherry filling. This recipe for cherry cobbler captures the essence of classic comfort food, reminiscent of the desserts Grandma used to make. It’s a guaranteed crowd-pleaser that will have everyone asking for seconds, easily making it the best cherry dessert for family gatherings, potlucks, or a cozy night in.
The magic of this cobbler lies in its delightful contrast: a soft, golden-brown topping that bakes to perfection over a warm, bubbling fruit center. The combination is simply exquisite, offering a burst of sweet and slightly tart cherry flavor in every bite. You’ll not only appreciate how straightforward this recipe is but also how incredibly flavorful the results are. My family also adores a variety of cobbler recipes, and this cherry version stands proudly alongside favorites like our Apple Cobbler and seasonal Strawberry Rhubarb Cobbler, proving that fruit cobblers are a timeless and versatile dessert choice.
If your heart beats for cherries, then this easy cobbler is just the beginning! Consider expanding your baking repertoire with other cherry-filled delights. Explore our Chocolate Cherry Cake Recipe for a rich and decadent experience, try a shortcut with our Cherry Cobbler with Cake Mix, or indulge in the flaky layers of a Cherry Strudel Recipe. Each offers a unique way to enjoy the vibrant taste of cherries.
You might also find yourself craving the autumnal flavors of our Pumpkin Crisp, another beloved dessert that shares the comforting characteristics of a good cobbler.
Table of contents
- Ingredients
- What is Cherry Cobbler?
- How to Make Cherry Cobbler
- How to Serve Cherry Cobbler
- Storage
- Pro Tips for the Perfect Cobbler
- Frequently Asked Questions (FAQs)
- More Delicious Cobbler Recipes
What is Cherry Cobbler Made Of?
A classic cherry cobbler features two main components: a delightful fruit filling and a soft, biscuit-like topping. In this simplified recipe, the “crust” refers to a sweet batter that bakes up to a golden, cake-like consistency, offering a wonderful contrast to the juicy cherries beneath. This tender topping is crafted from pantry staples like all-purpose flour, granulated sugar, fresh milk, and a touch of baking powder to ensure a light and airy texture. For the irresistible fruit center, we rely on convenient, flavorful cherry pie filling. This makes the entire process incredibly straightforward, allowing you to achieve fantastic results with minimal effort. This rich cobbler recipe is a family favorite, perfectly balanced in sweetness and bursting with fruity flavor. It’s a testament to how simple ingredients can create something truly special.
Ingredients You’ll Need
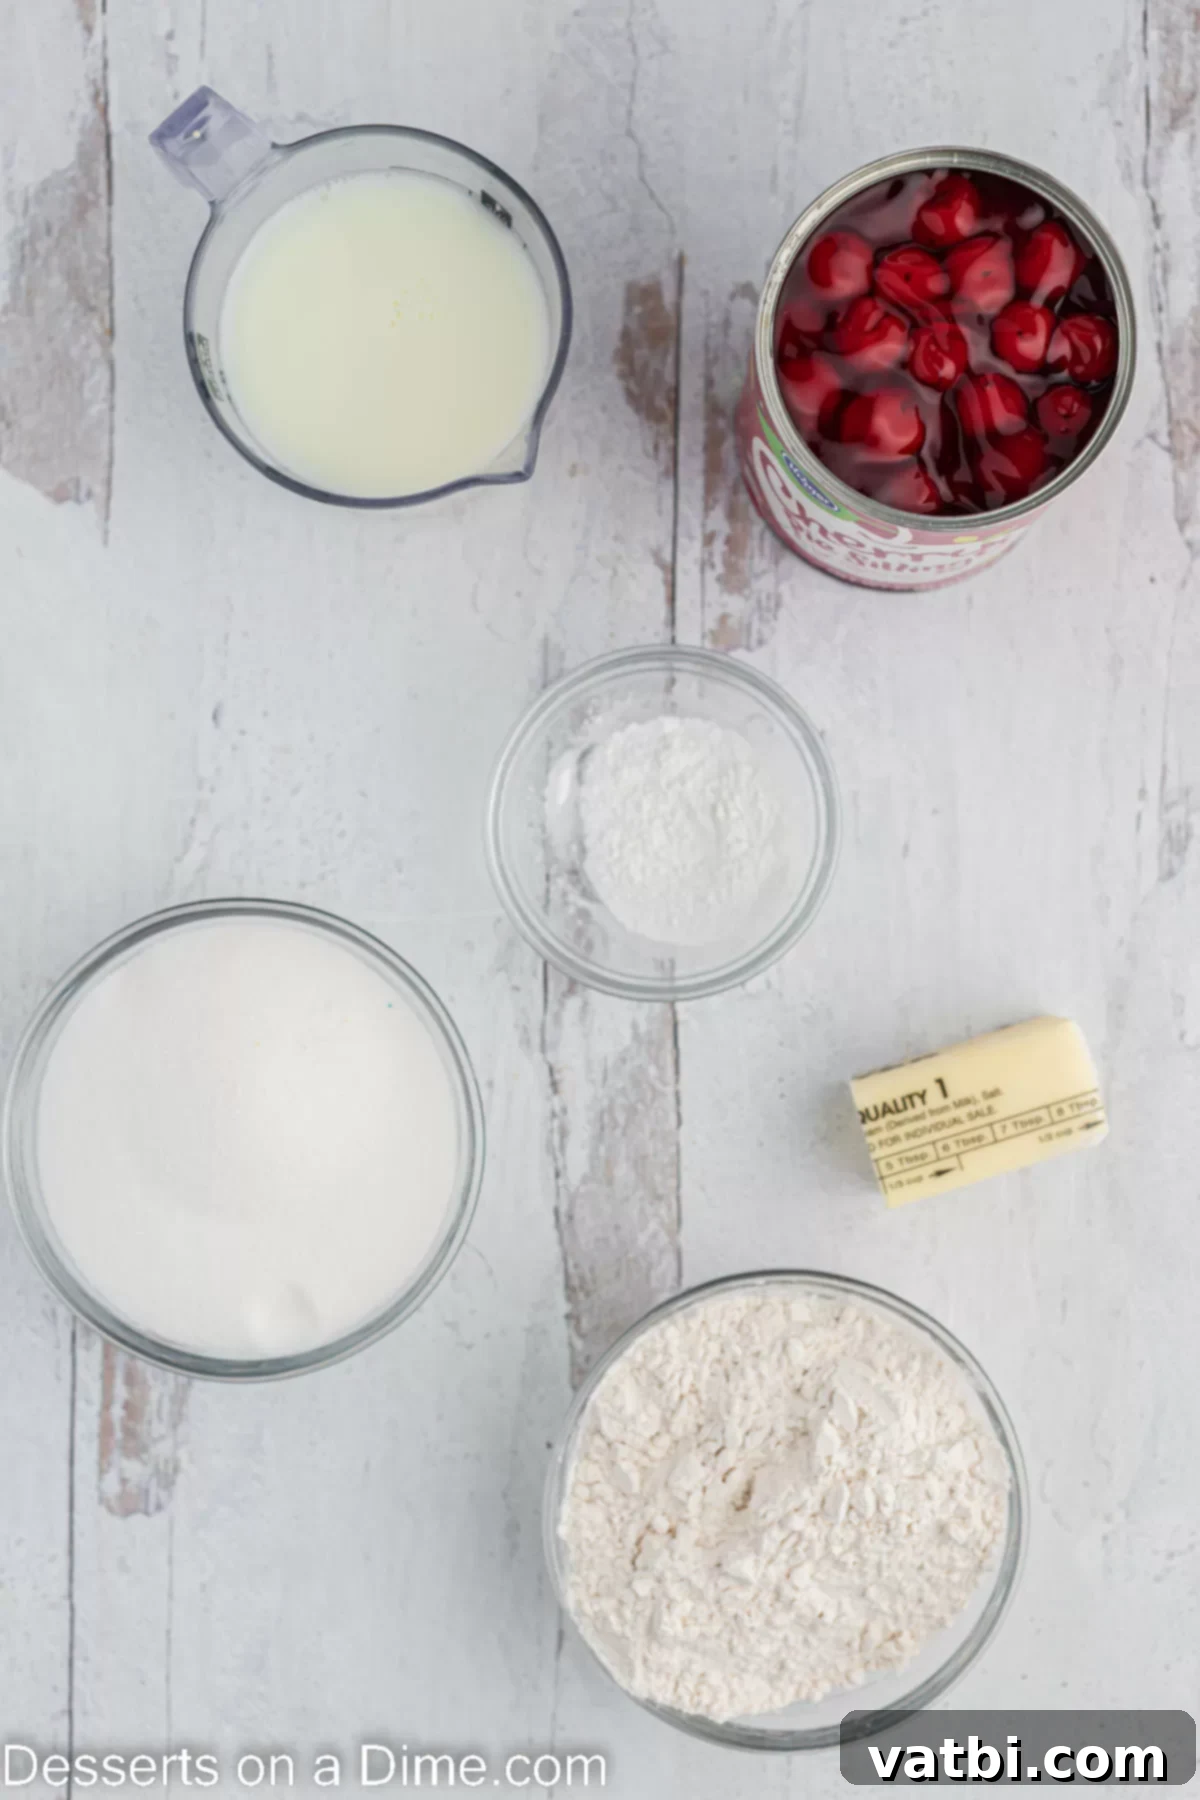
Creating this delicious cherry cobbler requires only a handful of readily available ingredients. The beauty of this recipe lies in its simplicity, making it accessible for even novice bakers.
- Cherry Pie Filling: The star of our show! Using a store-bought can of cherry pie filling makes this recipe incredibly quick and easy. However, if you’re feeling ambitious and have some extra time, our Homemade Cherry Pie Filling is a fantastic alternative that adds an extra layer of freshness and flavor.
- All-Purpose Flour: This forms the base of our golden, cake-like topping. Make sure to use standard all-purpose flour for the best results.
- Granulated Sugar: Sweetens both the topping and enhances the overall dessert, balancing the tartness of the cherries.
- Milk: Adds moisture and richness to the cobbler topping, contributing to its tender texture. Any type of milk (whole, 2%, or even a non-dairy alternative) will work.
- Baking Powder: The leavening agent that gives the cobbler topping its rise and light, fluffy consistency. Don’t confuse it with baking soda!
- Salted Butter: This essential ingredient is melted directly in the baking dish, providing a rich, buttery base and contributing to the incredible golden crust as it bakes. If you only have unsalted butter, you can add a tiny pinch of salt to the flour mixture.
The exact measurements for each ingredient are provided in the comprehensive recipe card located at the bottom of this page. Gather these simple items, and you’ll be well on your way to enjoying a warm, homemade cherry cobbler!
How to Make Easy Cherry Cobbler
Preparing this cherry cobbler is a straightforward process that yields impressive results. Follow these simple steps for a perfect, golden-brown dessert every time.
- Step 1: Preheat Your Oven. Before you begin mixing, set your oven to 350 degrees F (175 degrees C). Allowing your oven to fully preheat ensures even baking and the perfect golden crust.
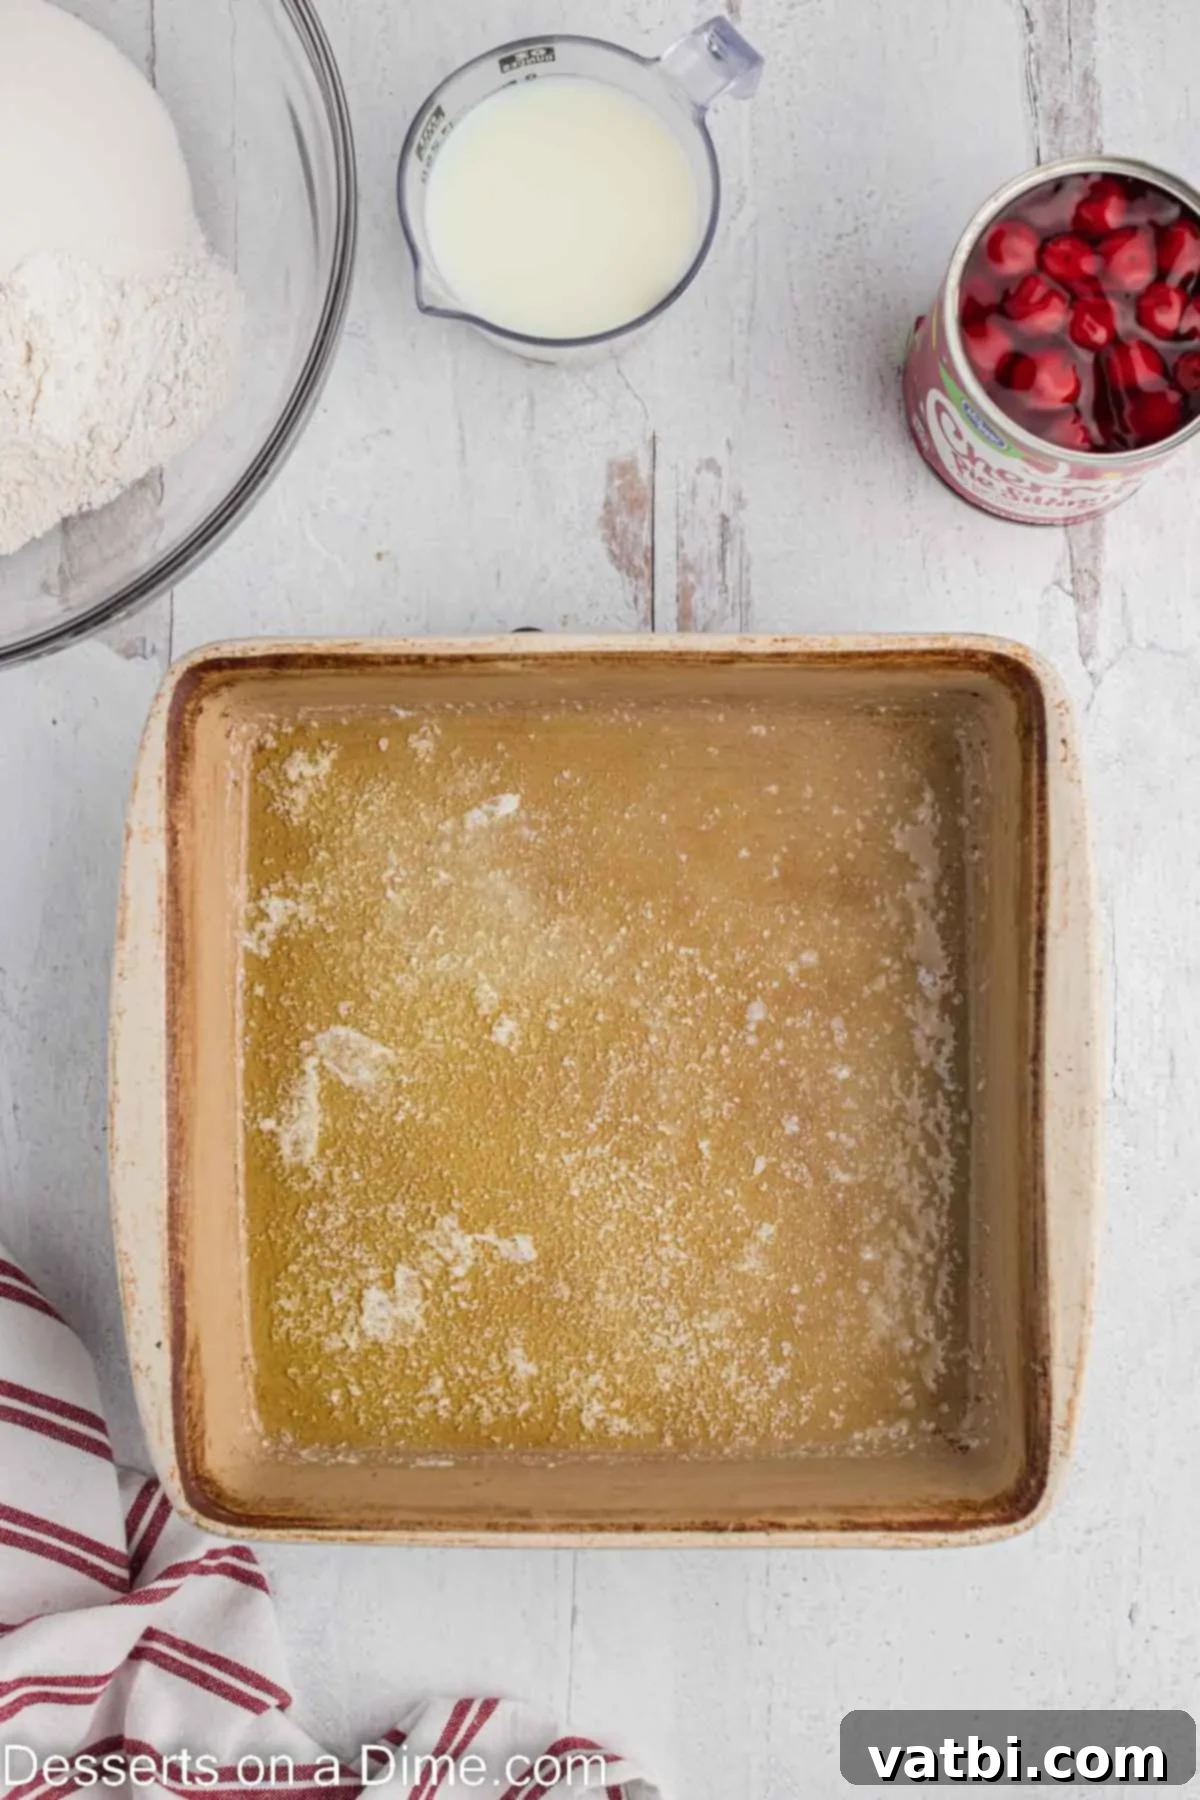
Step 2: Melt the Butter. Place your ¼ cup of salted butter into a 9×9 inch baking dish. Put the dish into the preheating oven for a few minutes, just long enough for the butter to fully melt. Once melted, carefully remove the dish and swirl the butter around to ensure it evenly coats the bottom of the pan. This melted butter creates a rich, crispy base for the cobbler topping.
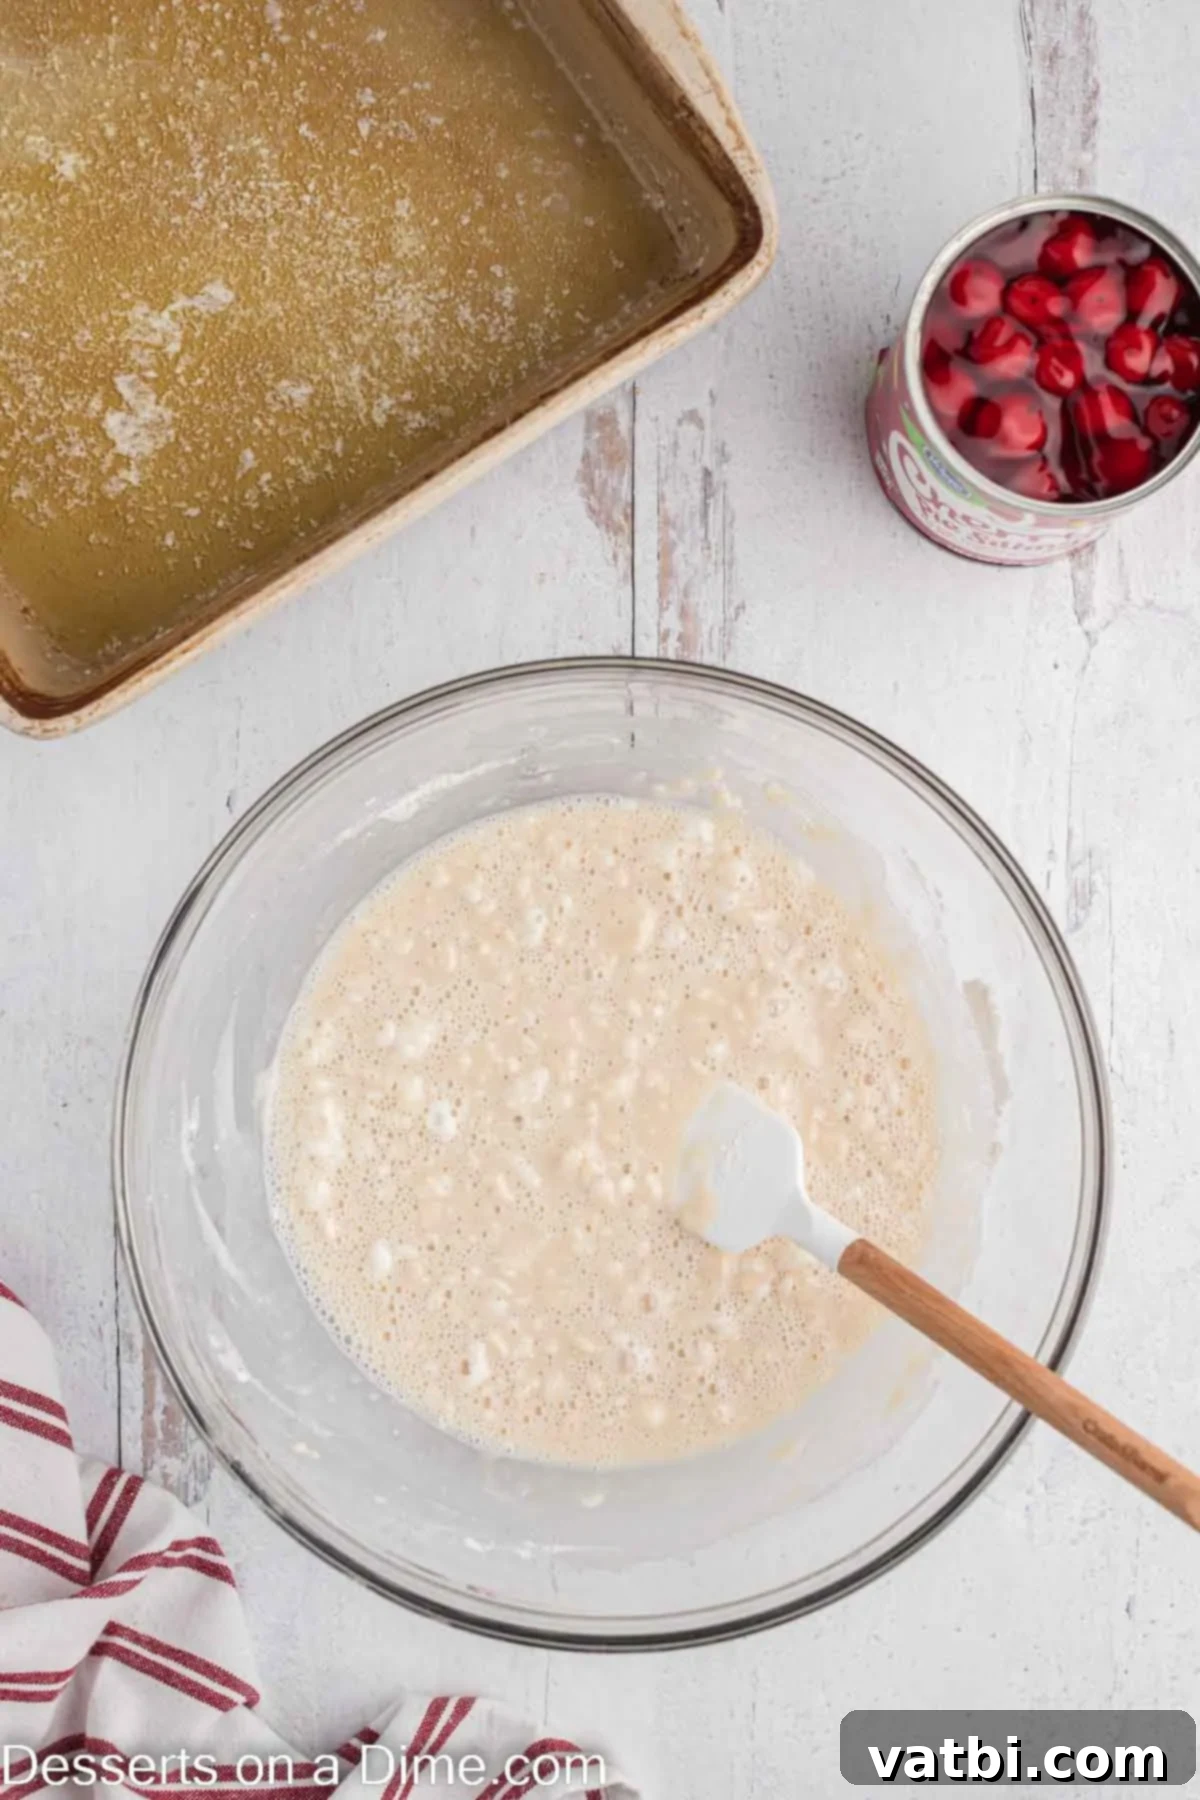
Step 3: Combine the Topping Ingredients. In a separate medium-sized bowl, combine the dry and wet ingredients for the cobbler topping. Stir together the all-purpose flour, granulated sugar, milk, and baking powder until just combined. Be careful not to overmix; a few lumps are perfectly fine and ensure a tender crumb. This creates our simple, cake-like batter that will form the delicious crust.
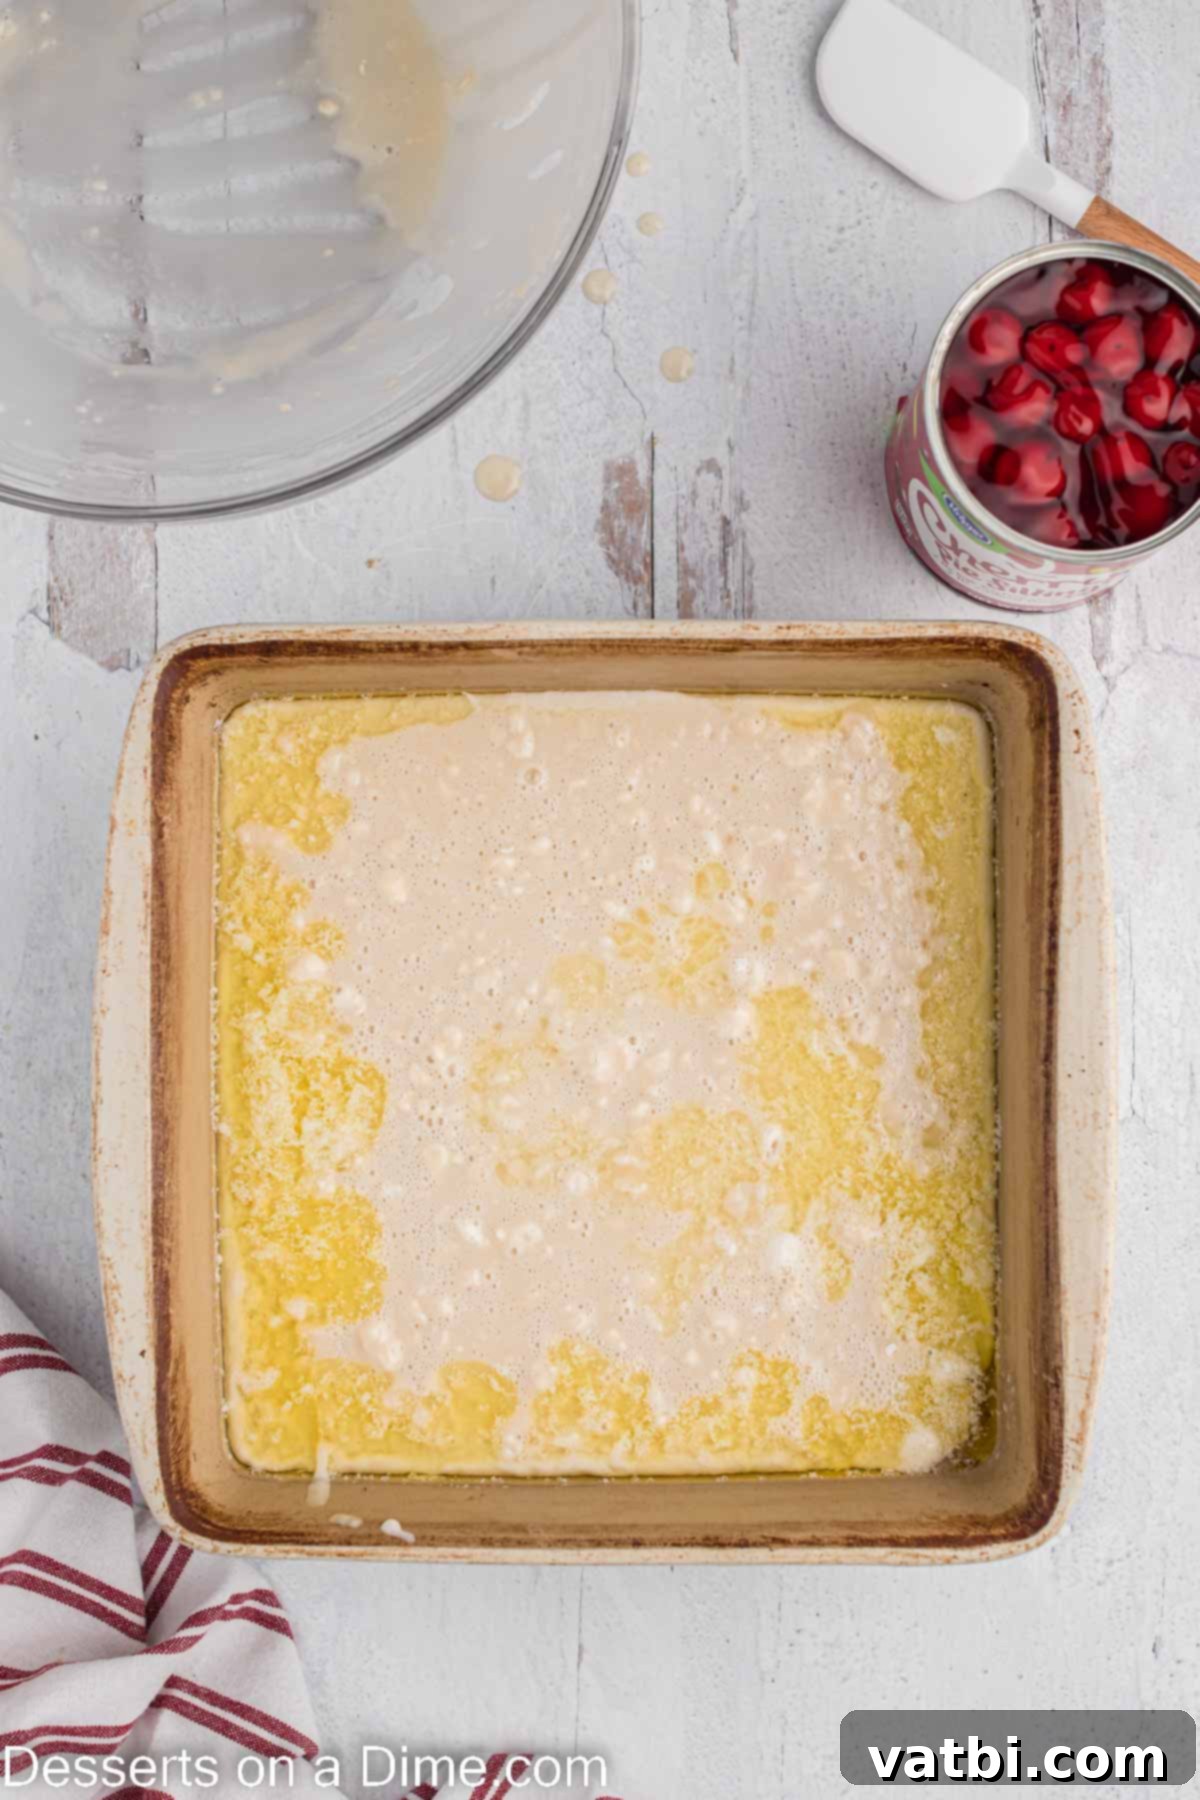
Step 4: Pour Batter Over Butter. Carefully pour the prepared batter directly over the melted butter in the baking dish. This is a crucial step: do not stir! The separation of the batter and butter is what helps create the unique texture of the cobbler topping as it bakes. Just let it sit on top.
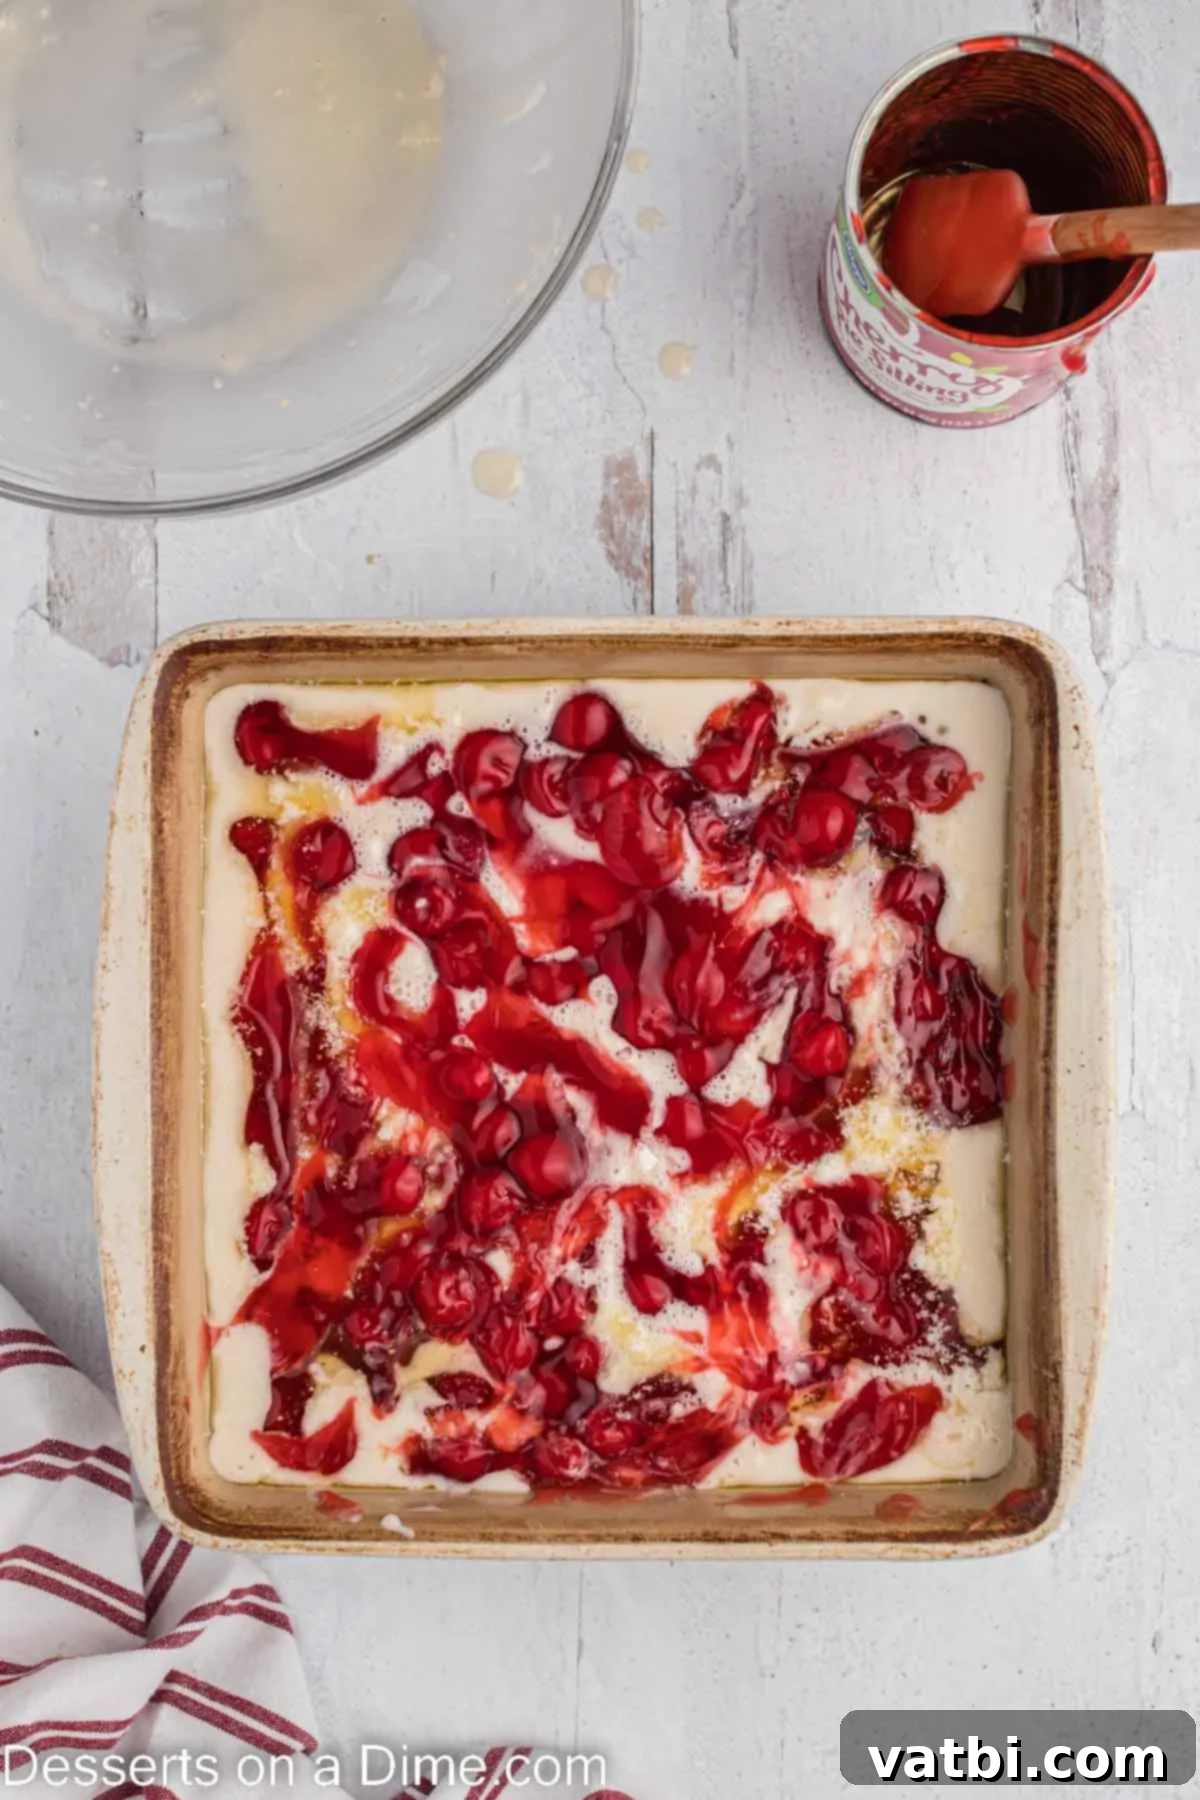
Step 5: Add Cherry Pie Filling. Next, gently pour the can of cherry pie filling over the top of the batter. Spread it out as evenly as possible using a spoon or spatula, but again, do not stir. The layers are key to this recipe’s success. The cherry filling will slowly sink into the batter during baking, creating a delicious marriage of flavors and textures.
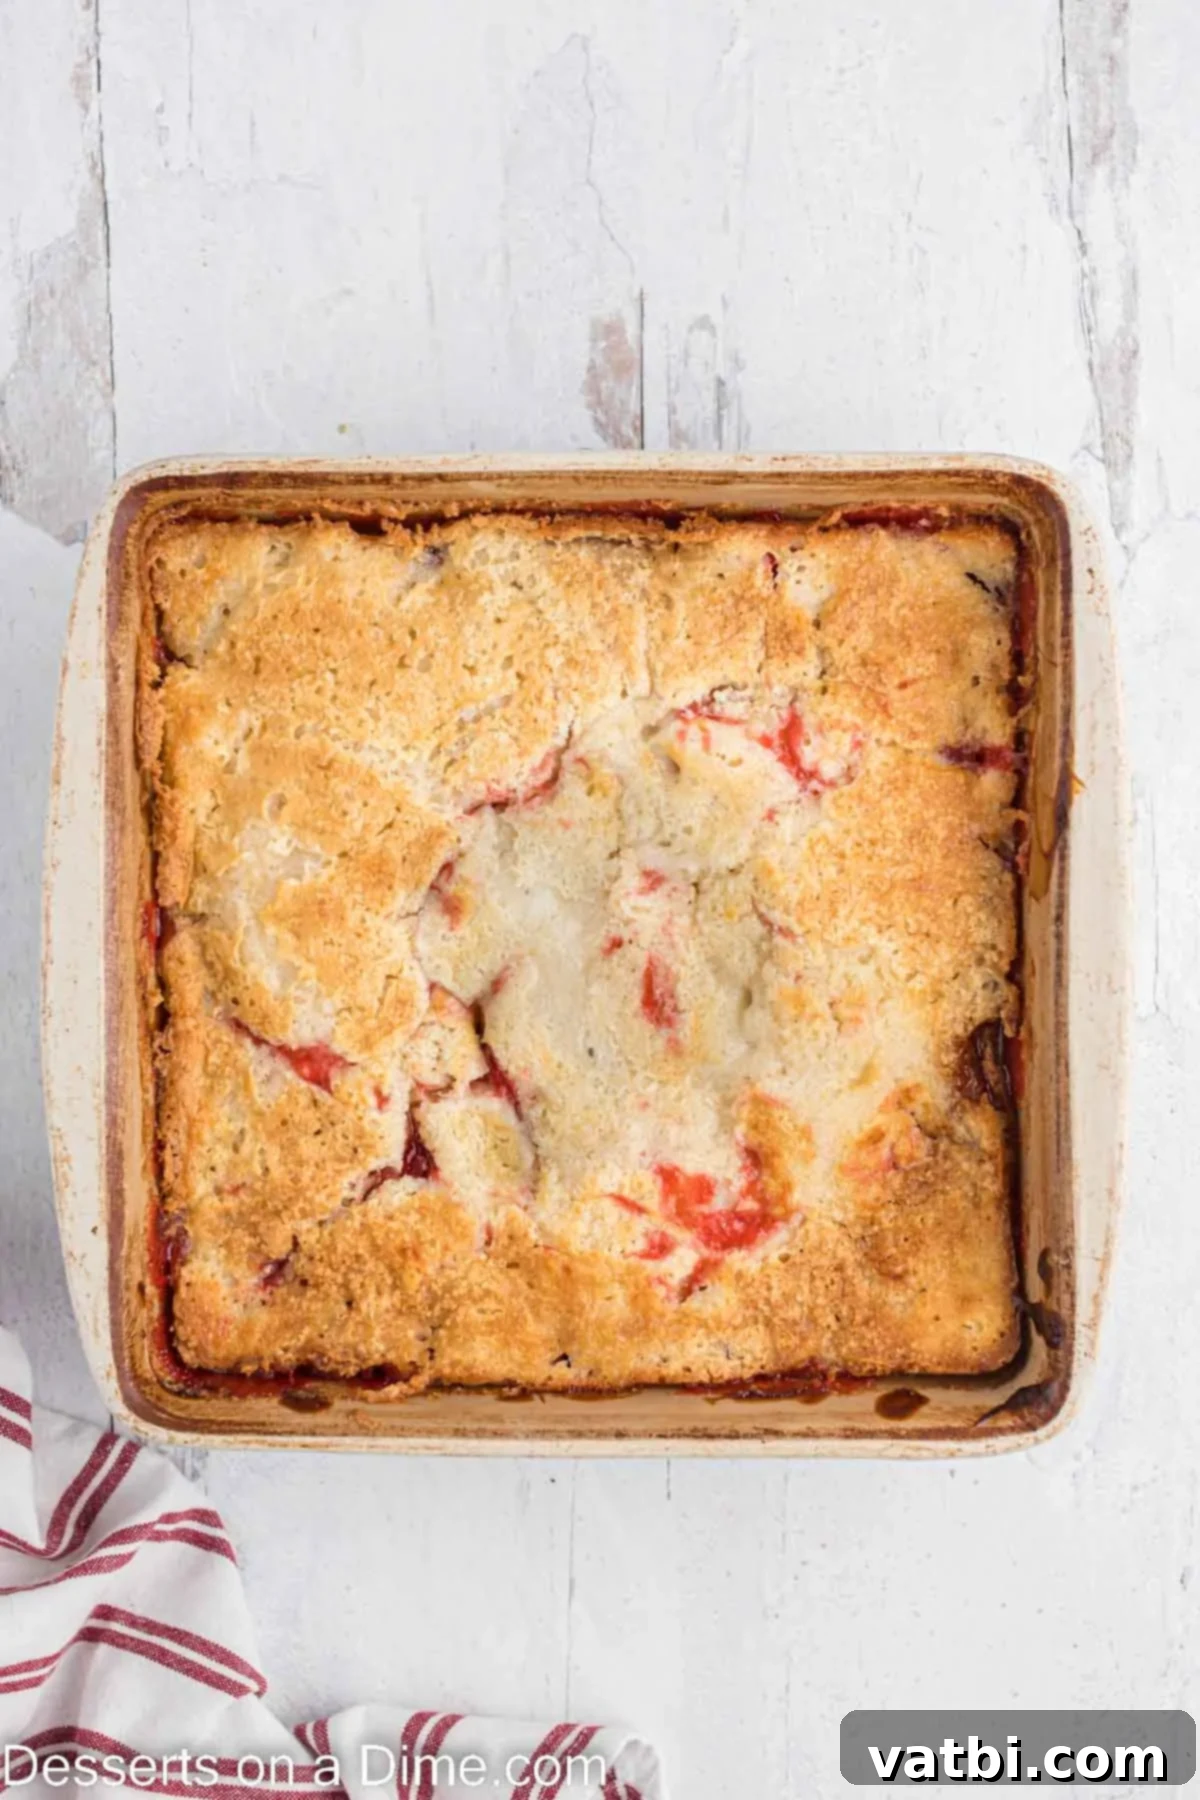
Step 6: Bake to Golden Perfection. Place the uncovered baking dish into your preheated oven. Bake for approximately 40 to 45 minutes, or until the topping is beautifully golden brown and the cherry filling is bubbling around the edges. Keep an eye on it towards the end, as oven temperatures can vary.
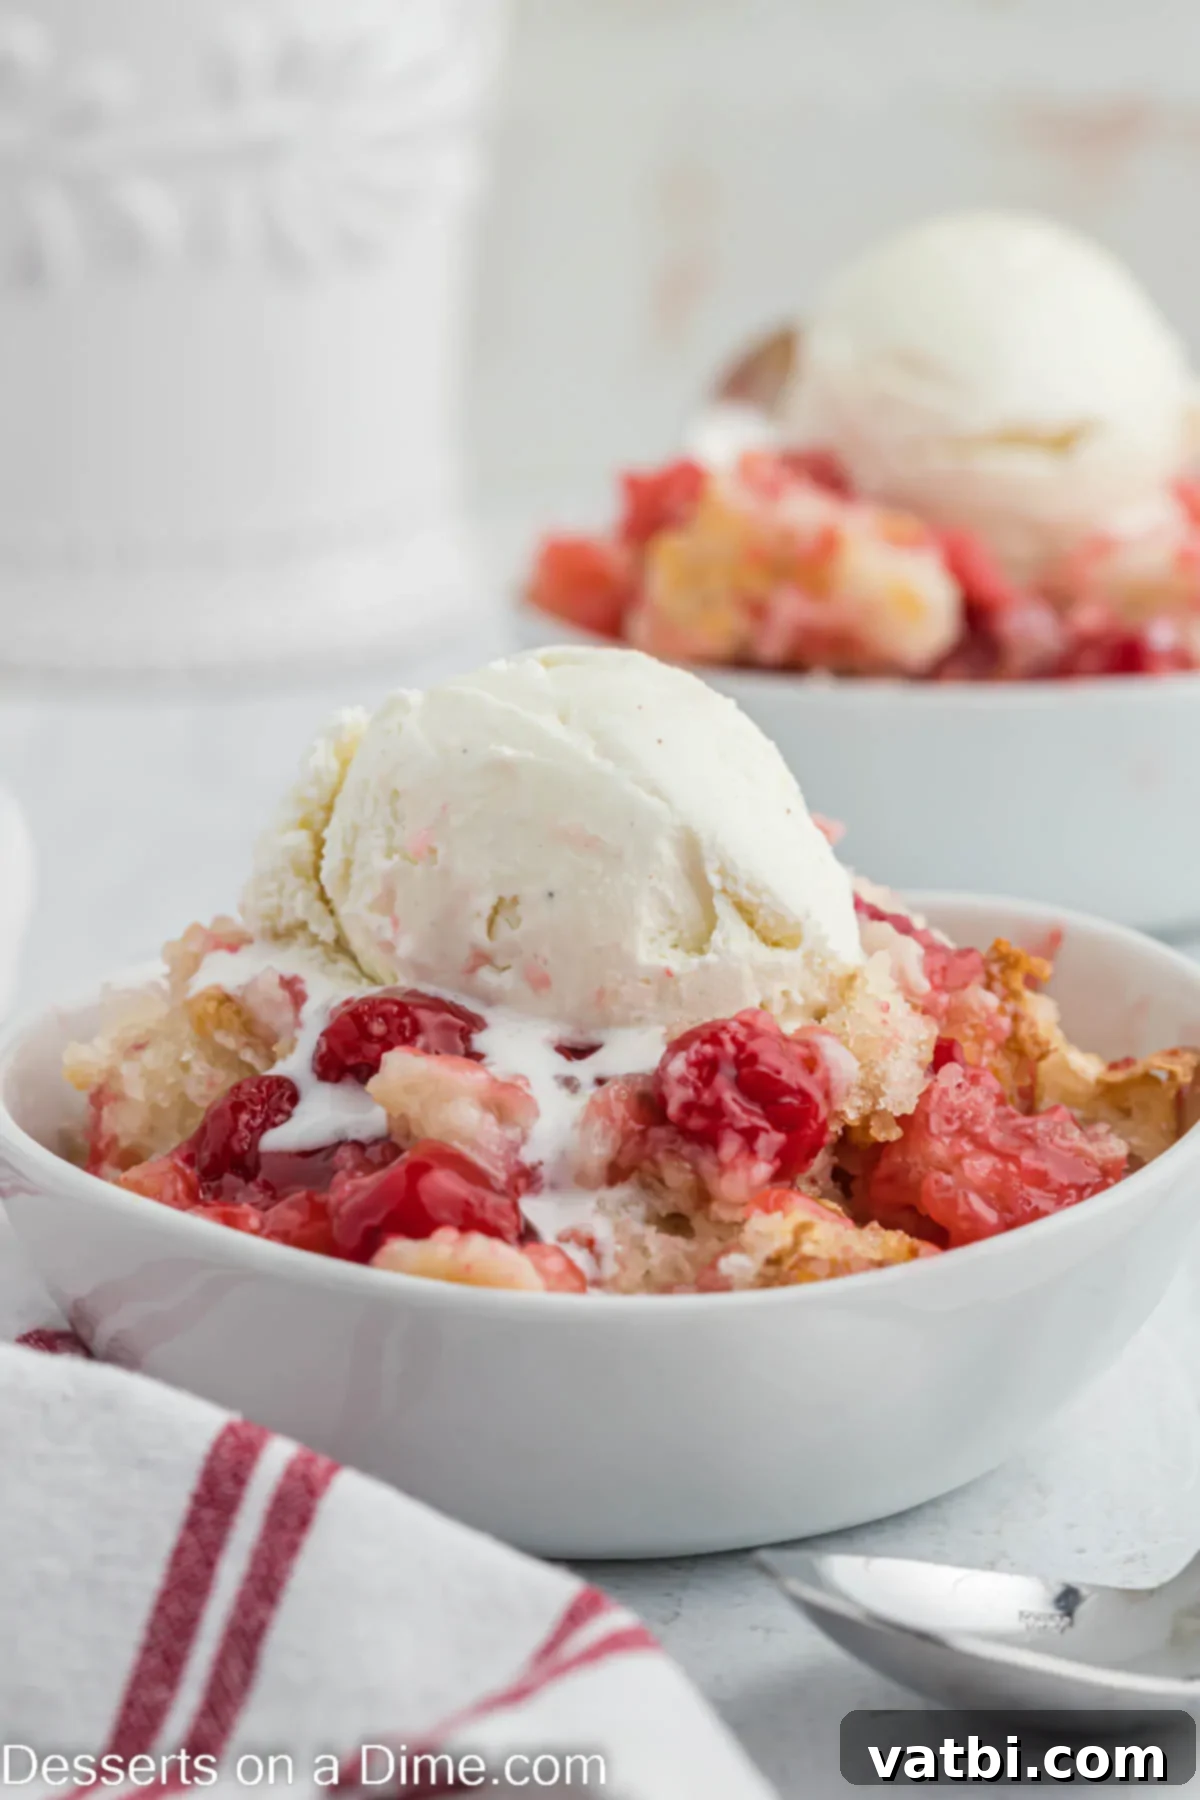
Step 7: Allow to Set and Serve. Once baked, remove the cobbler from the oven and allow it to sit and cool for 10 to 15 minutes. This resting time is important as it allows the cobbler to set properly and the flavors to meld beautifully. After a brief wait, your delightful cherry cobbler is ready to serve! It’s truly best enjoyed warm, topped with your favorite accompaniments.
How to Serve Cherry Cobbler
This easy cherry cobbler is most delightful when served warm, straight from the oven (after its short resting period, of course!). The warmth enhances the sweet and tart flavors of the cherries and provides a wonderful contrast to cold toppings. For the ultimate dessert experience, here are some serving suggestions:
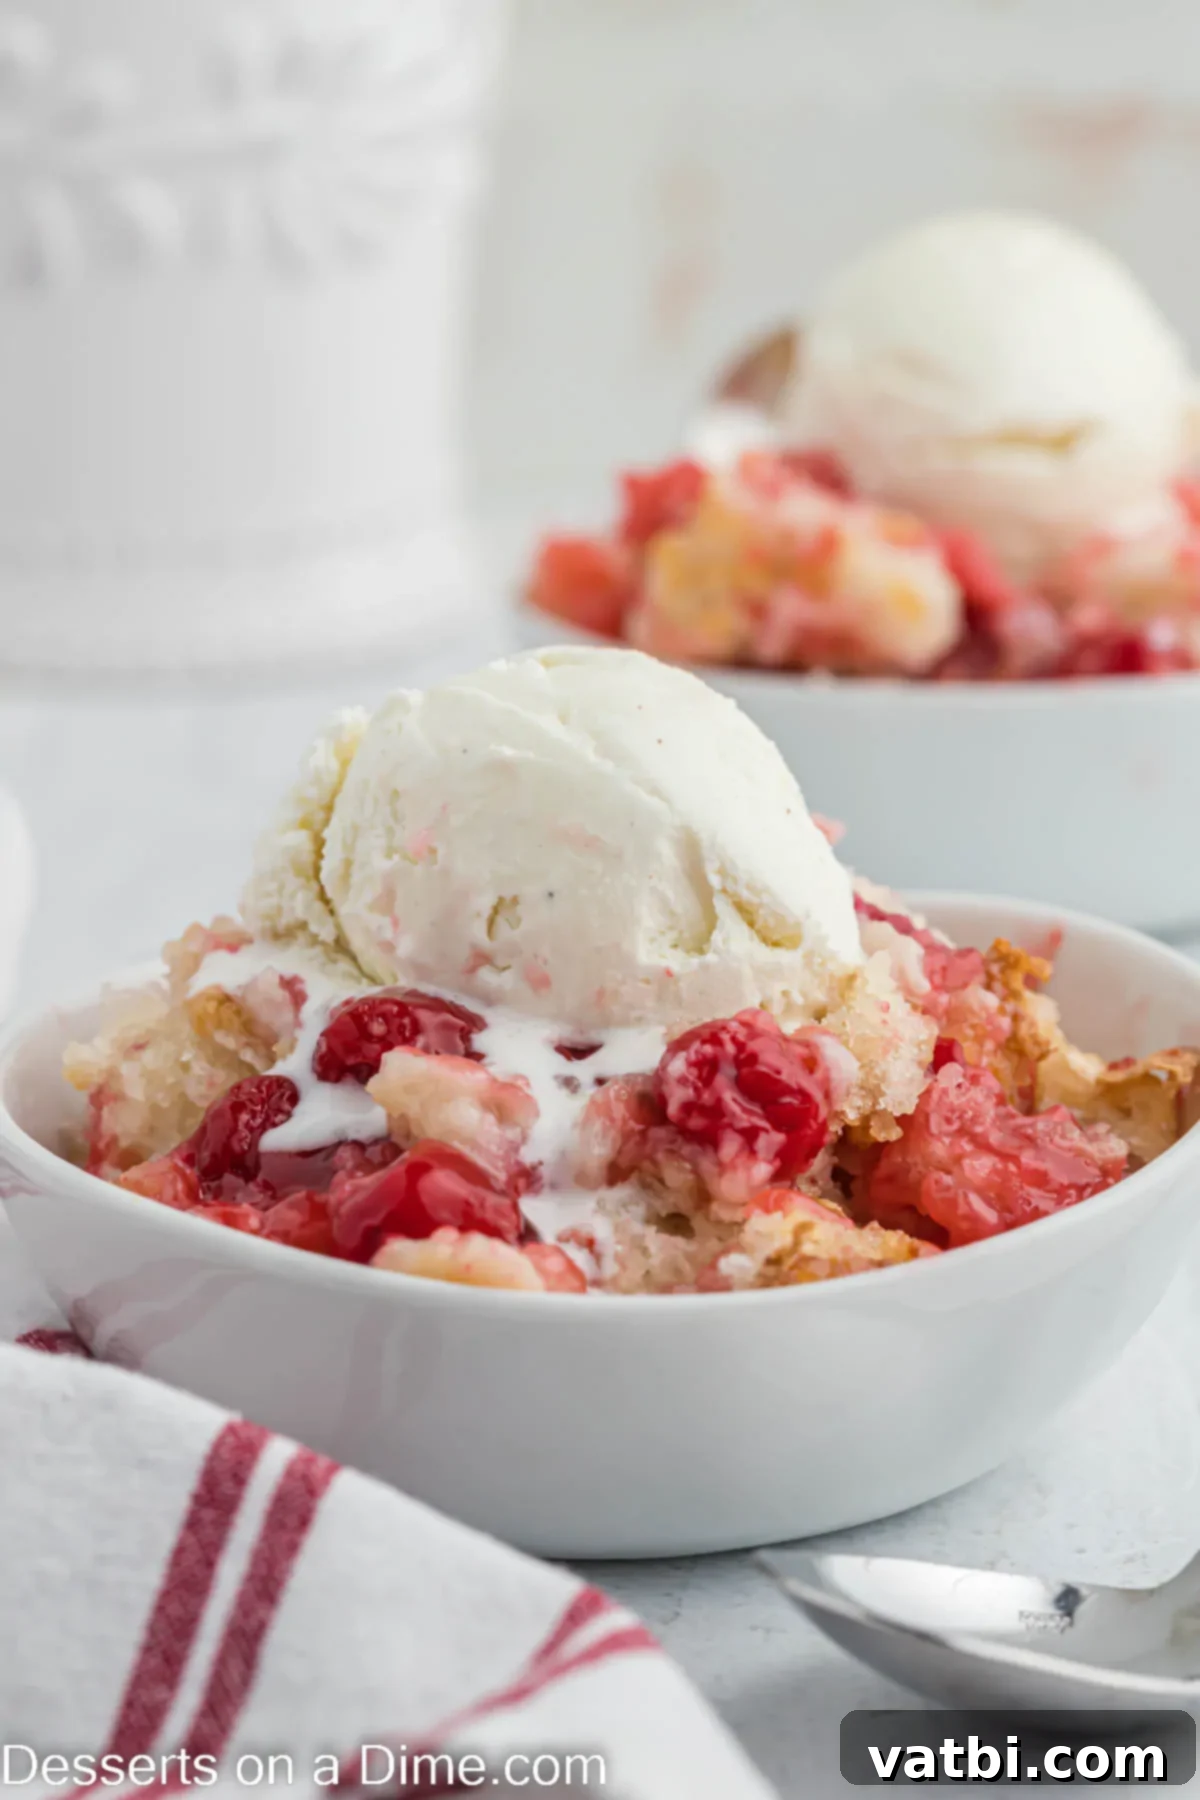
- Classic with Ice Cream: A generous scoop of vanilla ice cream is the quintessential pairing. As it slowly melts over the warm cobbler, it creates a creamy, dreamy sauce that is simply heavenly.
- Elegant with Whipped Cream: A dollop of freshly whipped cream adds a light, airy texture and a delicate sweetness that complements the rich fruit filling beautifully. You can make your own for extra freshness!
- Double Indulgence: If you’re feeling truly decadent, combine both! A scoop of vanilla ice cream with a swirl of whipped cream on top of each serving makes for an irresistible presentation and an explosion of flavors and textures.
- A Touch of Spice: A light dusting of cinnamon or nutmeg can add an extra layer of warmth and complexity.
- With a Drizzle: A drizzle of chocolate sauce or caramel can also elevate this dessert, especially for those with a serious sweet tooth.
No matter how you choose to serve it, this warm and comforting cherry cobbler is sure to be a hit!
Storage
While this cherry cobbler recipe is undoubtedly at its peak when served warm and fresh, it also stores quite well, allowing you to enjoy leftovers for days to come. Here’s how to properly store and reheat your cobbler:
- Refrigeration: Allow any leftover cobbler to cool completely to room temperature. Once cooled, transfer it to an airtight container. You can store it in the refrigerator for 4-5 days. This will prevent it from drying out and keep it fresh.
- Reheating: To reheat, you can either warm individual servings in the microwave for 30-60 seconds until heated through, or place the entire baking dish (covered with foil to prevent over-browning) in an oven preheated to 300°F (150°C) for about 15-20 minutes, or until warm. Reheating restores some of that wonderful fresh-baked warmth and flavor.
- Freezing: While cobblers can technically be frozen, the topping may become a bit soggy upon thawing due to moisture release from the fruit. If you do choose to freeze, allow it to cool completely, then wrap it tightly in plastic wrap and then foil. It can be frozen for up to 2-3 months. Thaw overnight in the refrigerator before reheating.
Even when not fresh from the oven, this reheated cobbler remains a very delicious and comforting treat.
Pro Tips for the Perfect Cherry Cobbler
Achieving a perfect, homemade cherry cobbler is simple with a few insider tips. These pointers will help ensure your dessert turns out golden, bubbly, and utterly delicious every single time.
- Resist the Urge to Stir: This is arguably the most critical tip for this particular cobbler recipe. When you pour the batter over the melted butter and then the cherry filling over the batter, it’s essential not to mix the layers. The distinct layering allows the butter to bubble up through the batter, creating a truly unique and delicious crispy-on-top, cake-like-beneath crust as it bakes.
- Monitor Baking Closely: Cobblers typically bake for about 40 to 45 minutes. However, oven temperatures can vary significantly. Keep a close eye on your cobbler, especially towards the end of the baking time. You’re looking for a beautiful golden-brown color on the topping and for the cherry filling to be visibly bubbling around the edges. Avoid over-browning, which can lead to a dry crust.
- Give it Time to Set: After removing your cobbler from the oven, allow it to rest for at least 10 to 15 minutes before serving. This brief cooling period is crucial. It gives the fruit filling a chance to thicken slightly and the topping to fully set, making it easier to scoop and ensuring a more cohesive and enjoyable texture. Patience is a virtue here!
- Room Temperature Ingredients: While not strictly necessary for this simple recipe, using room temperature milk and butter can sometimes lead to a smoother batter and more even baking.
- Don’t Skimp on Butter: The butter is key to the rich flavor and golden crust. Make sure to use the full ¼ cup as specified.
- Even Spread of Filling: While you shouldn’t stir, try to spread the cherry pie filling as evenly as possible over the batter layer. This ensures that every serving gets a good amount of fruit.
Frequently Asked Questions (FAQs) About Cherry Cobbler
Absolutely! While this recipe simplifies things with canned cherry pie filling, you can certainly use fresh or frozen cherries for a more natural, less sweet option. If opting for fresh cherries, be sure to pit them thoroughly. For frozen cherries, you can use them directly from frozen, though a quick thaw can sometimes help. When using fresh or frozen cherries, I highly recommend adding a simple syrup (sugar dissolved in a little water) or a mixture of sugar and a thickener like cornstarch to create a luscious filling. You’ll typically need about 4-5 cups of fresh or frozen cherries, along with ½ to 1 cup of sugar (depending on cherry sweetness) and 2-3 tablespoons of cornstarch mixed in before layering them into the cobbler. This ensures your cobbler isn’t too runny and has enough sweetness.
Yes, this recipe is wonderfully versatile and incredibly easy to adapt for many other types of fruit! You can effortlessly substitute the cherry pie filling with apple, blueberry, strawberry, peach, or even a mixed berry pie filling. Each variation is equally delicious, allowing you to enjoy this simple dessert with your favorite fruits or whatever is in season. It’s an excellent base recipe to keep on hand throughout the year.
For an extra burst of flavor, sometimes I also add a little bit of lemon juice (about 1-2 teaspoons) to the fruit mixture, especially when using sweeter fruits. The touch of acidity really enhances and brightens the natural flavor of the fruit, preventing the dessert from being overly sweet. Experiment with different combinations to discover your personal favorite!
If you find your fruit filling is too thin, or if you’re making your own from scratch, the easiest way to thicken it is by adding a touch of cornstarch (also known as corn flour in some regions). Usually, 1 to 2 tablespoons of cornstarch, mixed with a little cold water to create a slurry before adding it to the fruit, will do the trick. Make sure to combine everything really well with the fruit before baking. For canned pie fillings, this is generally not necessary as they are already thickened to the right consistency.
Yes, you absolutely can! For an even quicker and simpler version of this dessert, you can use a boxed yellow or vanilla cake mix instead of the flour mixture for the cobbler topping. Simply prepare the cake mix according to its package directions, often by adding milk, eggs, and oil, then pour it over the melted butter as you would with our homemade batter. Some recipes even suggest just sprinkling dry cake mix over the fruit filling and topping it with slices of butter for a different kind of topping. It’s a great shortcut when you’re short on time but still crave that homemade taste.
While these desserts are often confused, they each have distinct toppings. A cobbler typically features a biscuit-like or cake-like topping (like in this recipe) that is dropped or spread over the fruit, resembling cobblestones when baked. A crisp (or fruit crisp) has a streusel-like topping made from flour, sugar, butter, and often oats, which bakes to a crunchy texture. A crumble is very similar to a crisp but usually omits the oats in its streusel topping, focusing more on a buttery, sandy texture. All three are delicious ways to enjoy baked fruit!
You can assemble the cobbler up to a few hours in advance and keep it covered in the refrigerator before baking. This is great for party planning! Just add about 5-10 minutes to the baking time since it will be going into the oven cold. While freshly baked is always best, baking it the same day you plan to serve it will yield the best results for the topping texture.
More Delicious Cobbler Recipes to Explore
If you’ve fallen in love with the comforting simplicity of this cherry cobbler, you’ll be thrilled to discover a world of other amazing cobbler recipes. Each offers a unique flavor profile and a perfect way to enjoy seasonal fruits or classic combinations.
- Strawberry Cobbler: A bright and sweet classic, perfect for spring and summer.
- The Best Chocolate Cobbler: For the ultimate chocolate lover, a warm, gooey, fudgy dessert.
- Easy Blackberry Cobbler Recipe: A delightful blend of sweet and tart, showcasing juicy blackberries.
- Triple Berry Cobbler: A vibrant medley of berries baked under a tender topping.
- Caramel Apple Cobbler: A decadent twist on apple cobbler, infused with rich caramel flavor.
We hope you thoroughly enjoy making this easy Cherry Cobbler. The entire recipe is so simple to follow, requiring minimal prep work for maximum deliciousness. We encourage you to try it out and experience the joy of a homemade, comforting dessert. Please don’t forget to leave a star rating and comment once you do!
Pin
Easy Cherry Cobbler
Ingredients
- 1 Can Cherry Pie Filling 21 oz can
- 1 cup All Purpose Flour
- 1 Cup Sugar
- 1 Cup Milk
- 2 tsp baking Powder
- 1/4 cup Salted Butter
Instructions
-
Preheat your oven to 350 degrees F.
-
Place the butter in a 9X9 baking pan and place it in the oven until the butter has fully melted. Make sure that the butter is evenly spread across the bottom of the pan.
-
In a medium size bowl, stir together the flour, sugar, milk and baking powder.
-
Then pour the mixture on top of the butter in the 9X9 baking pan. Do not stir.
-
Then pour cherry pie filling over the top of the flour mixture as evenly as possible. Do not stir.
-
Bake uncovered for 40-45 minutes until the top is golden brown.
-
Let the cobbler sit for 10-15 minutes and then the cobbler is ready to serve topped with ice cream. Enjoy!
Recipe Notes
Nutrition Facts
Pin This Now to Remember It Later
Pin Recipe
