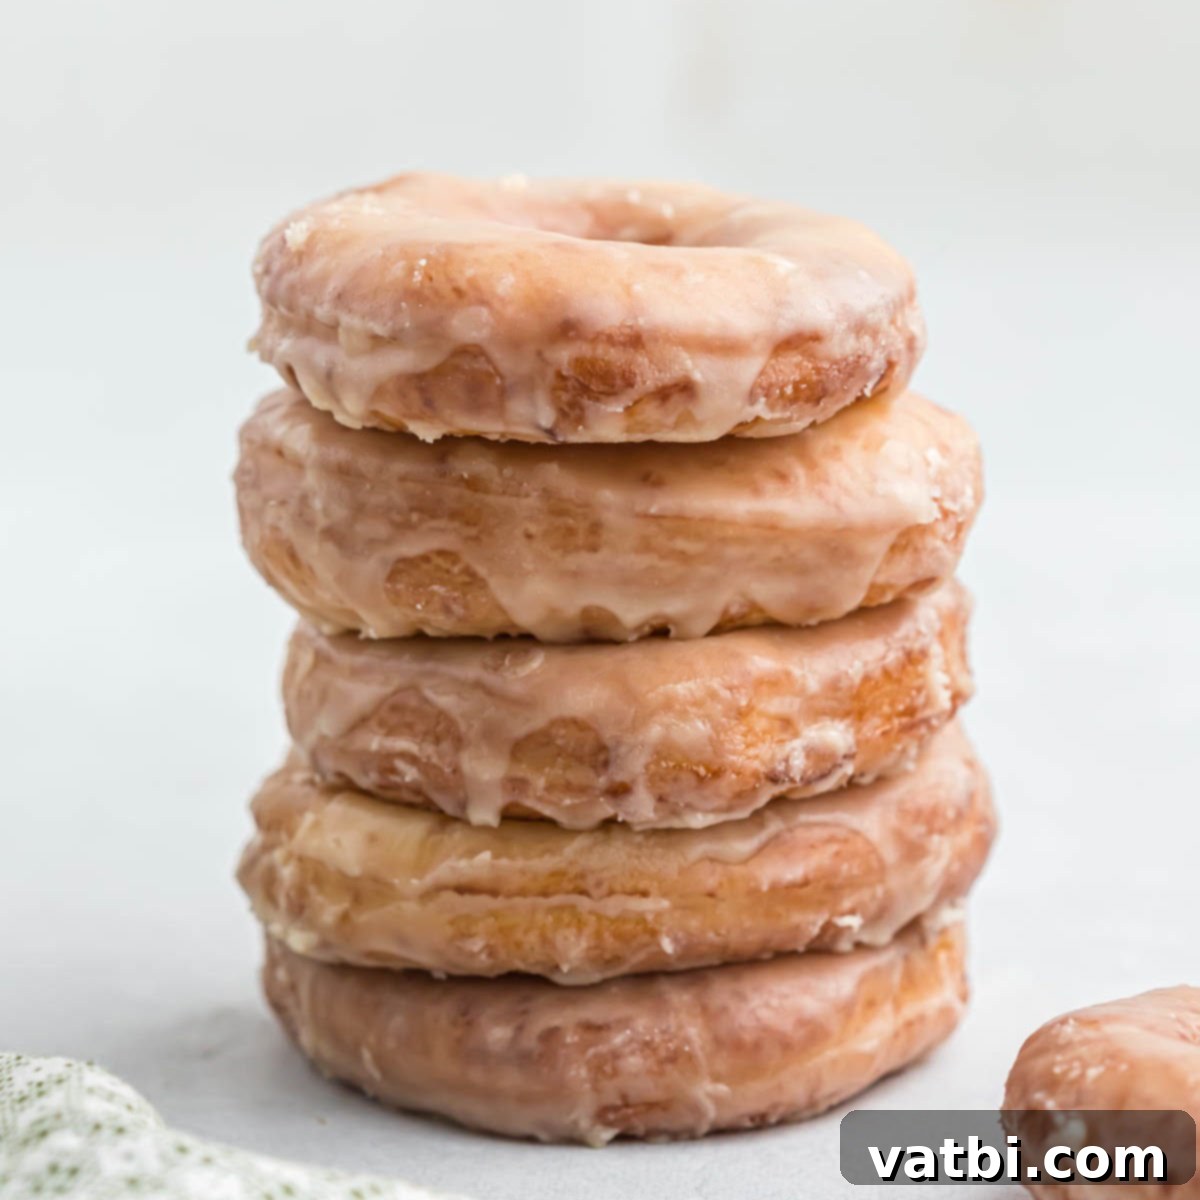
Homemade Krispy Kreme Glazed Donuts: The Ultimate Copycat Recipe for Melt-in-Your-Mouth Freshness
There’s nothing quite like biting into a warm, fluffy, and perfectly glazed donut that simply melts in your mouth. For many, that iconic experience comes from a freshly made Krispy Kreme donut, especially when the “Hot Light” sign is glowing. The good news? You can recreate that magical, irresistible experience right in your own kitchen! This easy copycat recipe promises to deliver the same tender texture and sweet, luminous glaze that makes Krispy Kreme famous, proving that achieving donut perfection at home is simpler than you think.
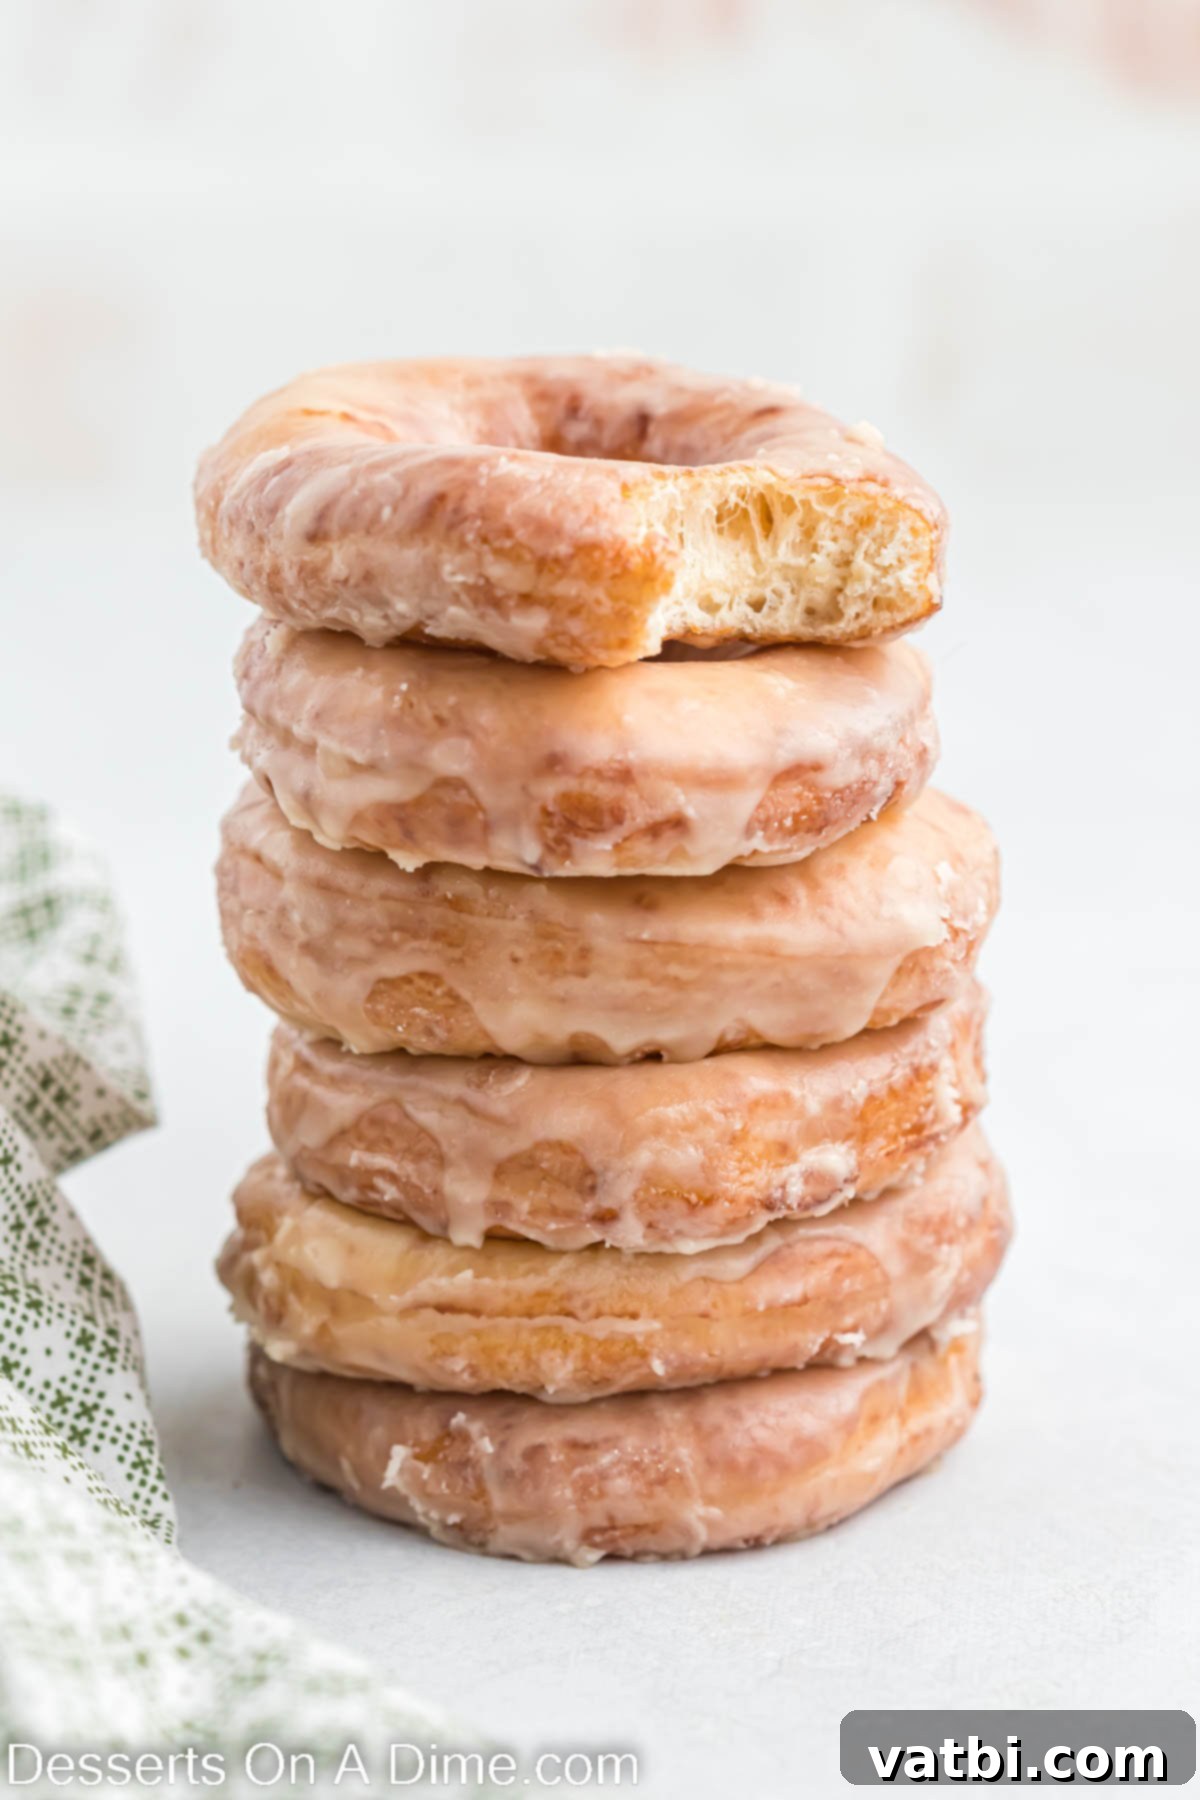
The allure of a soft and fluffy donut straight from a Krispy Kreme store is undeniable. That distinctive aroma and unparalleled freshness when the “Hot Light” signals a new batch is an experience cherished by fans worldwide. Now, you can capture that very essence and enjoy the ultimate freshness of these beloved treats without leaving your home, thanks to this meticulously developed Krispy Kreme copycat recipe. This isn’t just a recipe; it’s an invitation to bring joy and a touch of bakery magic into your everyday. Having perfected this over the years, it has become one of our most treasured donut recipes, consistently delivering fantastic results.
While Krispy Kreme shops offer a delightful array of choices, their original glazed donut remains the undisputed champion and most popular item on their menu. Its simple yet profound flavor profile—a delicate yeast donut enveloped in a sweet, shimmering glaze—is truly a masterpiece. Beyond this classic, we also enjoy making variations such as Krispy Kreme Donut Holes for bite-sized indulgence and our incredibly convenient Cake Mix Donuts for a quick and easy treat. But today, we’re diving deep into the recipe that replicates the original, ensuring every bite is a nostalgic trip to your favorite donut shop.
Table of contents
- Why We Love This Krispy Kreme Copycat
- History of Krispy Kreme Donuts
- Ingredients for Krispy Kreme Donuts
- For the Donuts
- The Signature Glaze
- Step By Step Instructions for Homemade Krispy Kreme Donuts
- Storage Tips for Fresh Donuts
- Can You Freeze Homemade Donuts?
- Pro Tips for Perfect Krispy Kreme Donuts
- More Homemade Donut Recipes
- More Copycat Recipes
Why We Love This Krispy Kreme Copycat
The secret to the legendary Krispy Kreme donut lies almost entirely in its incredibly light, ethereal texture, combined with its iconic, delicate glaze. It’s a combination that’s truly unbeatable! This recipe masterfully captures that essence, creating donuts that are not only soft and pillowy but also enveloped in a glistening, sweet, melt-in-your-mouth glaze that makes them absolutely irresistible. We love this recipe because it brings that authentic donut shop experience directly to our kitchen. Imagine biting into a donut so fresh it’s still warm, the glaze just barely set, dissolving on your tongue in a wave of sugary bliss. That’s what this recipe delivers every single time.
Beyond the amazing taste, the joy of making these donuts from scratch is incredibly rewarding. There’s a certain satisfaction in seeing the dough rise, shaping each donut with care, and then watching them transform into golden-brown perfection in the hot oil. And of course, the aroma that fills your home during the process is an added bonus, creating a cozy and inviting atmosphere. It’s a wonderful activity for a weekend morning, and the resulting treats are perfect for sharing with family and friends, making any occasion feel a little more special.
History of Krispy Kreme Donuts
The story of Krispy Kreme donuts is as rich and sweet as the donuts themselves, beginning in 1937 in Winston-Salem, North Carolina. It all started when founder Vernon Rudolph bought a secret yeast-raised donut recipe from a New Orleans French chef. Initially, Rudolph intended to sell his donuts to local grocery stores. However, the incredible aroma of his fresh donuts baking proved too enticing for passersby, who stopped and asked if they could buy the hot donuts right off the production line. This impromptu demand led Rudolph to cut a hole in his factory wall, beginning the tradition of selling warm, fresh donuts directly to customers.
The actual recipe for Krispy Kreme Donuts has since become one of the most tightly held food secrets in America. Legend has it that Vernon Rudolph always kept the original recipe locked away in a vault at their Winston-Salem headquarters. This aura of mystery only adds to the brand’s charm and the desire to replicate their unique taste. While countless theories abound, one popular belief among food historians suggests that a surprising “secret ingredient” in the original recipe might be mashed potatoes, which could contribute to the donuts’ signature airy and moist texture. Whether this is true or simply a charming anecdote, the results are undeniably amazing.
Over the decades, Krispy Kreme expanded, and the “Hot Light” became a beloved beacon, signaling that fresh, hot donuts were being made. This tradition turned the act of buying donuts into a unique experience, connecting customers to the freshness and warmth of the product. Our copycat recipe aims to bring that same warm, fresh-from-the-fryer magic directly into your home, allowing you to experience a piece of this delicious history with every bite.
Ingredients for Krispy Kreme Donuts
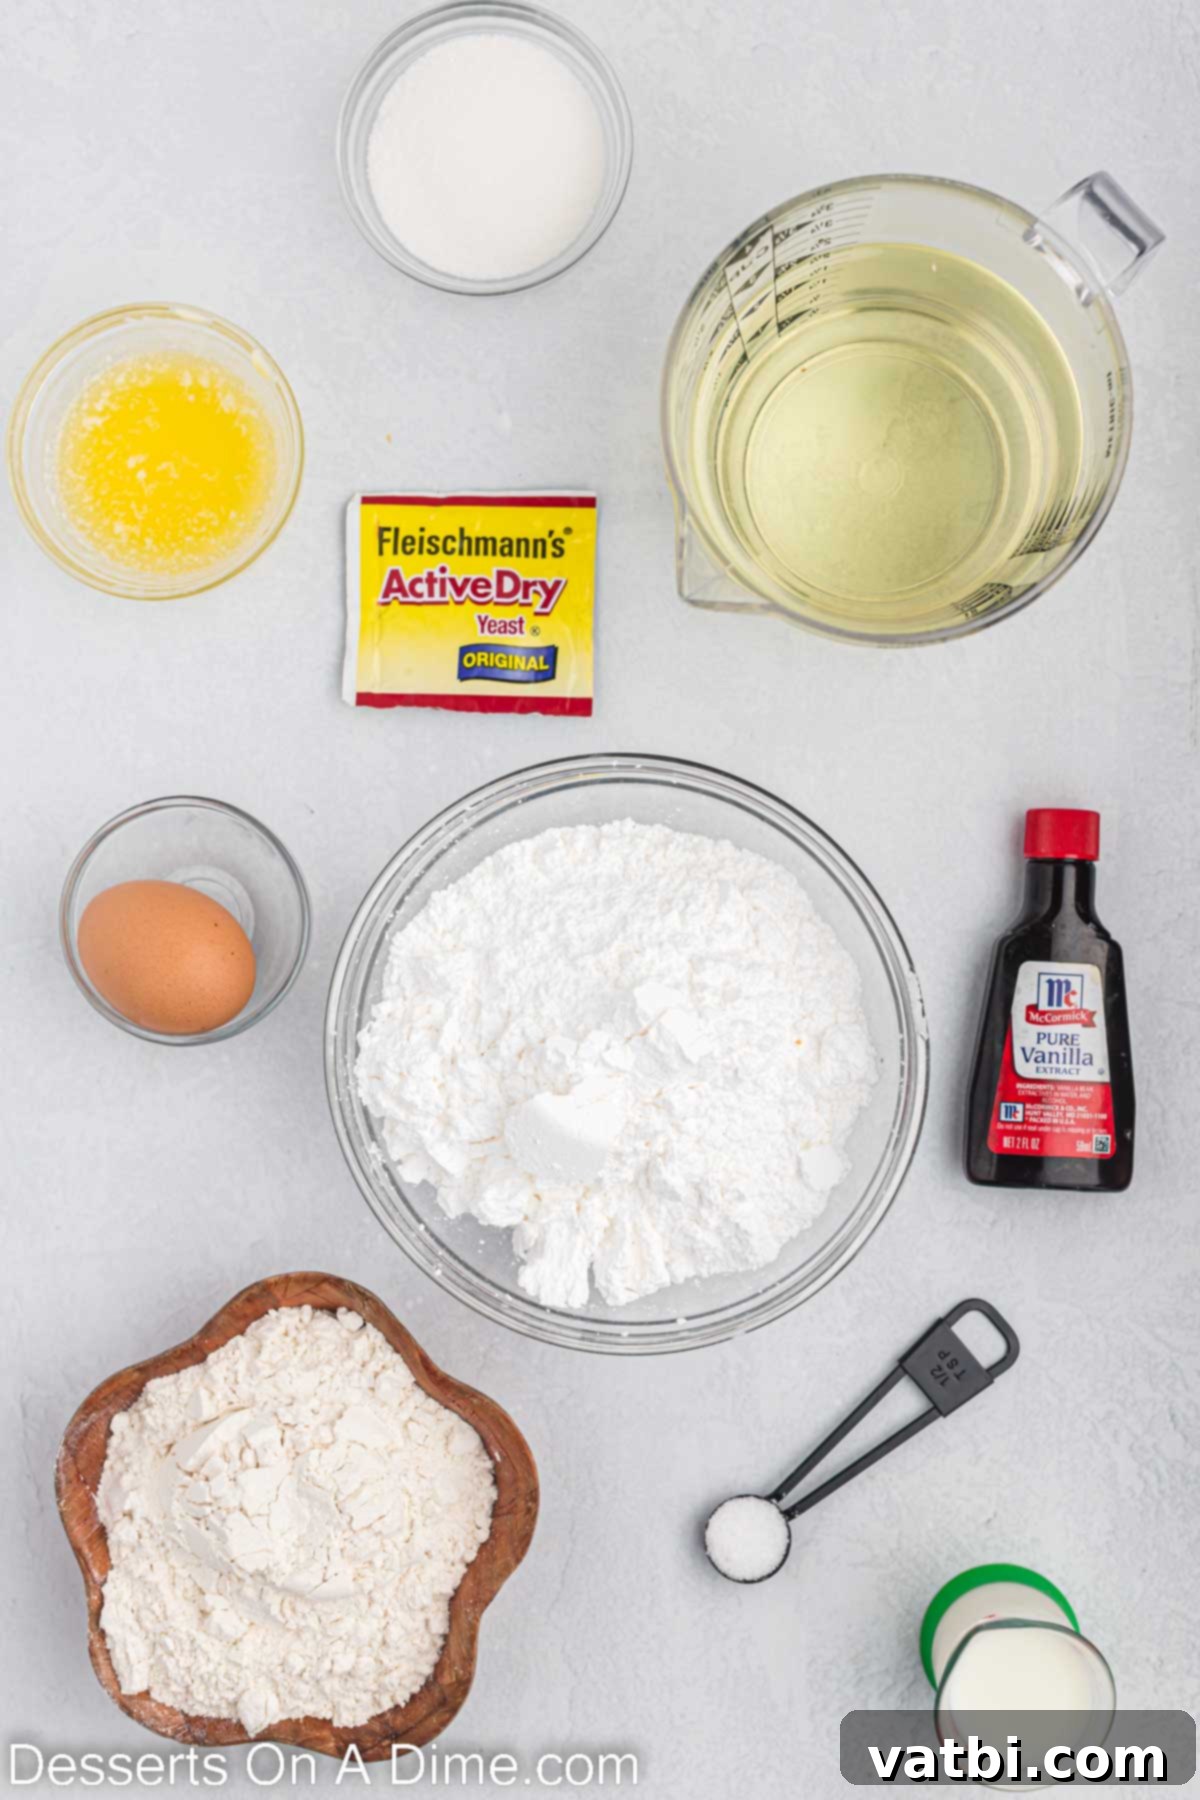
Crafting these delectable homemade Krispy Kreme-style donuts requires a few simple, common ingredients. The quality of your ingredients plays a significant role in achieving that signature fluffy texture and irresistible glaze. Let’s take a closer look at what you’ll need for both the donut dough and the iconic glaze:
For the Donuts
- Milk: For the richest flavor and most tender crumb, we highly recommend using whole milk. The fat content contributes significantly to the softness of the donut. However, if you prefer, reduced-fat milk can also be used, though it might result in a slightly less rich texture.
- All-Purpose Flour: This is the foundation of your donuts. Ensure you use plain all-purpose flour, not self-rising flour, as we’ll be adding our own leavening agent (yeast). Sifting the flour beforehand can also help create an even lighter dough.
- Dry Active Yeast: This is what gives the donuts their characteristic airy and fluffy texture. It’s crucial to use fresh, unexpired active dry yeast. Old or inactive yeast will prevent your dough from rising properly, leading to dense donuts.
- Butter: Melted butter adds richness and moisture to the dough, enhancing its flavor and contributing to a tender interior. Unsalted butter is preferred so you can control the salt content precisely.
- Sugar: Granulated sugar not only sweetens the dough but also feeds the yeast, helping it activate and produce gas for a good rise.
- Salt: A pinch of salt balances the sweetness and enhances the overall flavor profile of the donut.
- Egg: The egg acts as a binder, adds richness, and contributes to the dough’s structure and tenderness.
- Vegetable Oil: This is essential for frying your donuts. Choose a neutral-flavored oil with a high smoke point, such as canola, sunflower, or indeed, vegetable oil, to ensure your donuts fry evenly and without any off-flavors.
- Boiling Water: Used to activate the yeast with the milk and a touch of sugar. The warmth helps the yeast thrive, but be careful not to make it too hot, as excessive heat can kill the yeast.
The Signature Glaze
- Powdered Sugar: Also known as confectioners’ sugar, this is the primary ingredient for the smooth, opaque glaze. Sifting the powdered sugar is a crucial step to remove any lumps, ensuring your glaze is perfectly silky.
- Vanilla Extract: Pure vanilla extract is key here. It provides a warm, aromatic depth of flavor that complements the sweetness of the glaze beautifully. Avoid artificial vanilla if possible for the best taste.
- Melted Butter: A small amount of melted butter in the glaze adds richness and helps create that signature glossy finish and creamy texture.
- Boiling Water: Used to thin the glaze to the perfect consistency. The heat helps the sugar dissolve smoothly, creating a glaze that coats the warm donuts perfectly and sets quickly.
Step By Step Instructions for Homemade Krispy Kreme Donuts
Get ready to embark on a delightful baking adventure! Follow these detailed steps to create your very own batch of irresistible, melt-in-your-mouth Krispy Kreme-style glazed donuts.
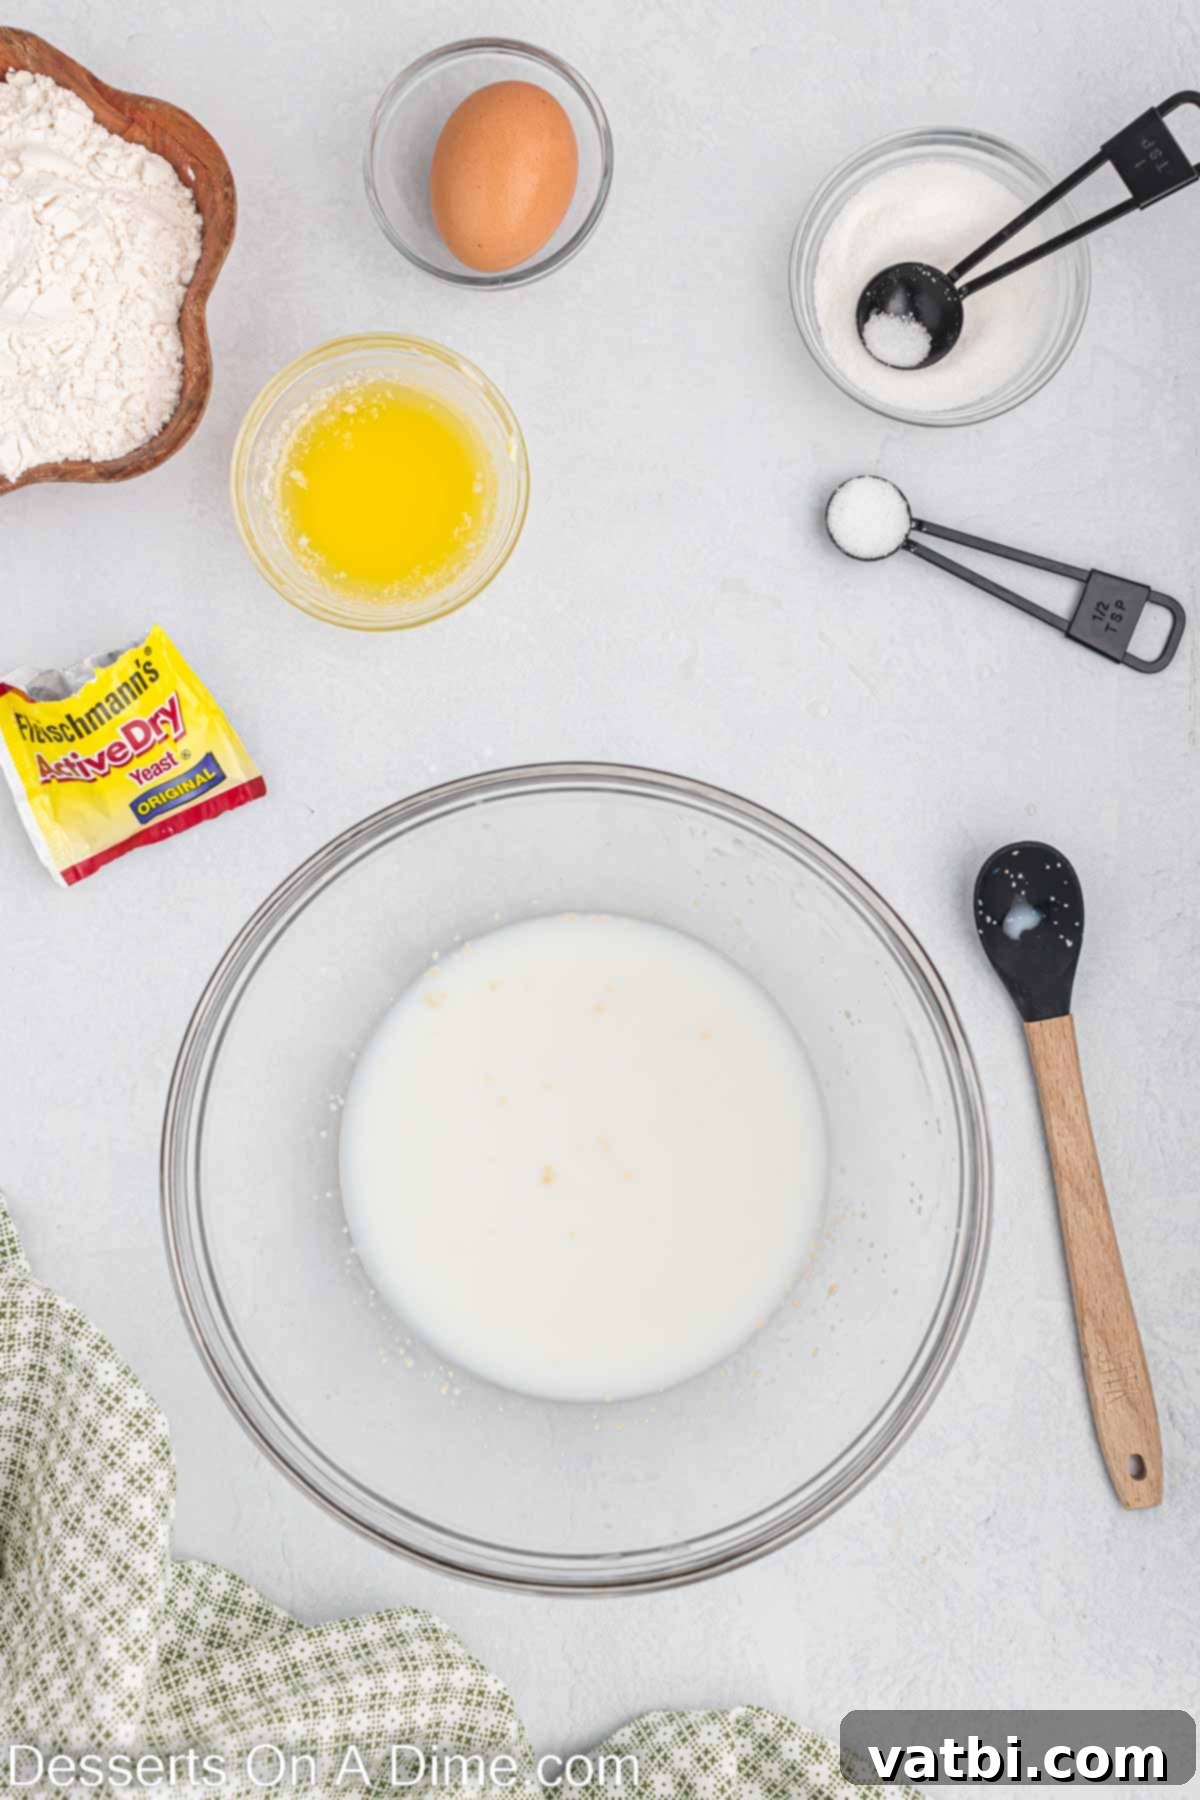
Step 1: Activate the Yeast. In a large mixing bowl, combine the milk and 1/4 cup of boiling water. The water should be warm to the touch (around 105-115°F or 40-46°C), but not scalding hot, which would kill the yeast. Stir in the active dry yeast and one teaspoon of sugar. This sugar acts as food for the yeast, encouraging it to activate. Let this mixture sit undisturbed for 5 to 10 minutes. You’ll know the yeast is active when the mixture becomes foamy and bubbly on the surface, indicating the yeast is alive and ready to work its magic.
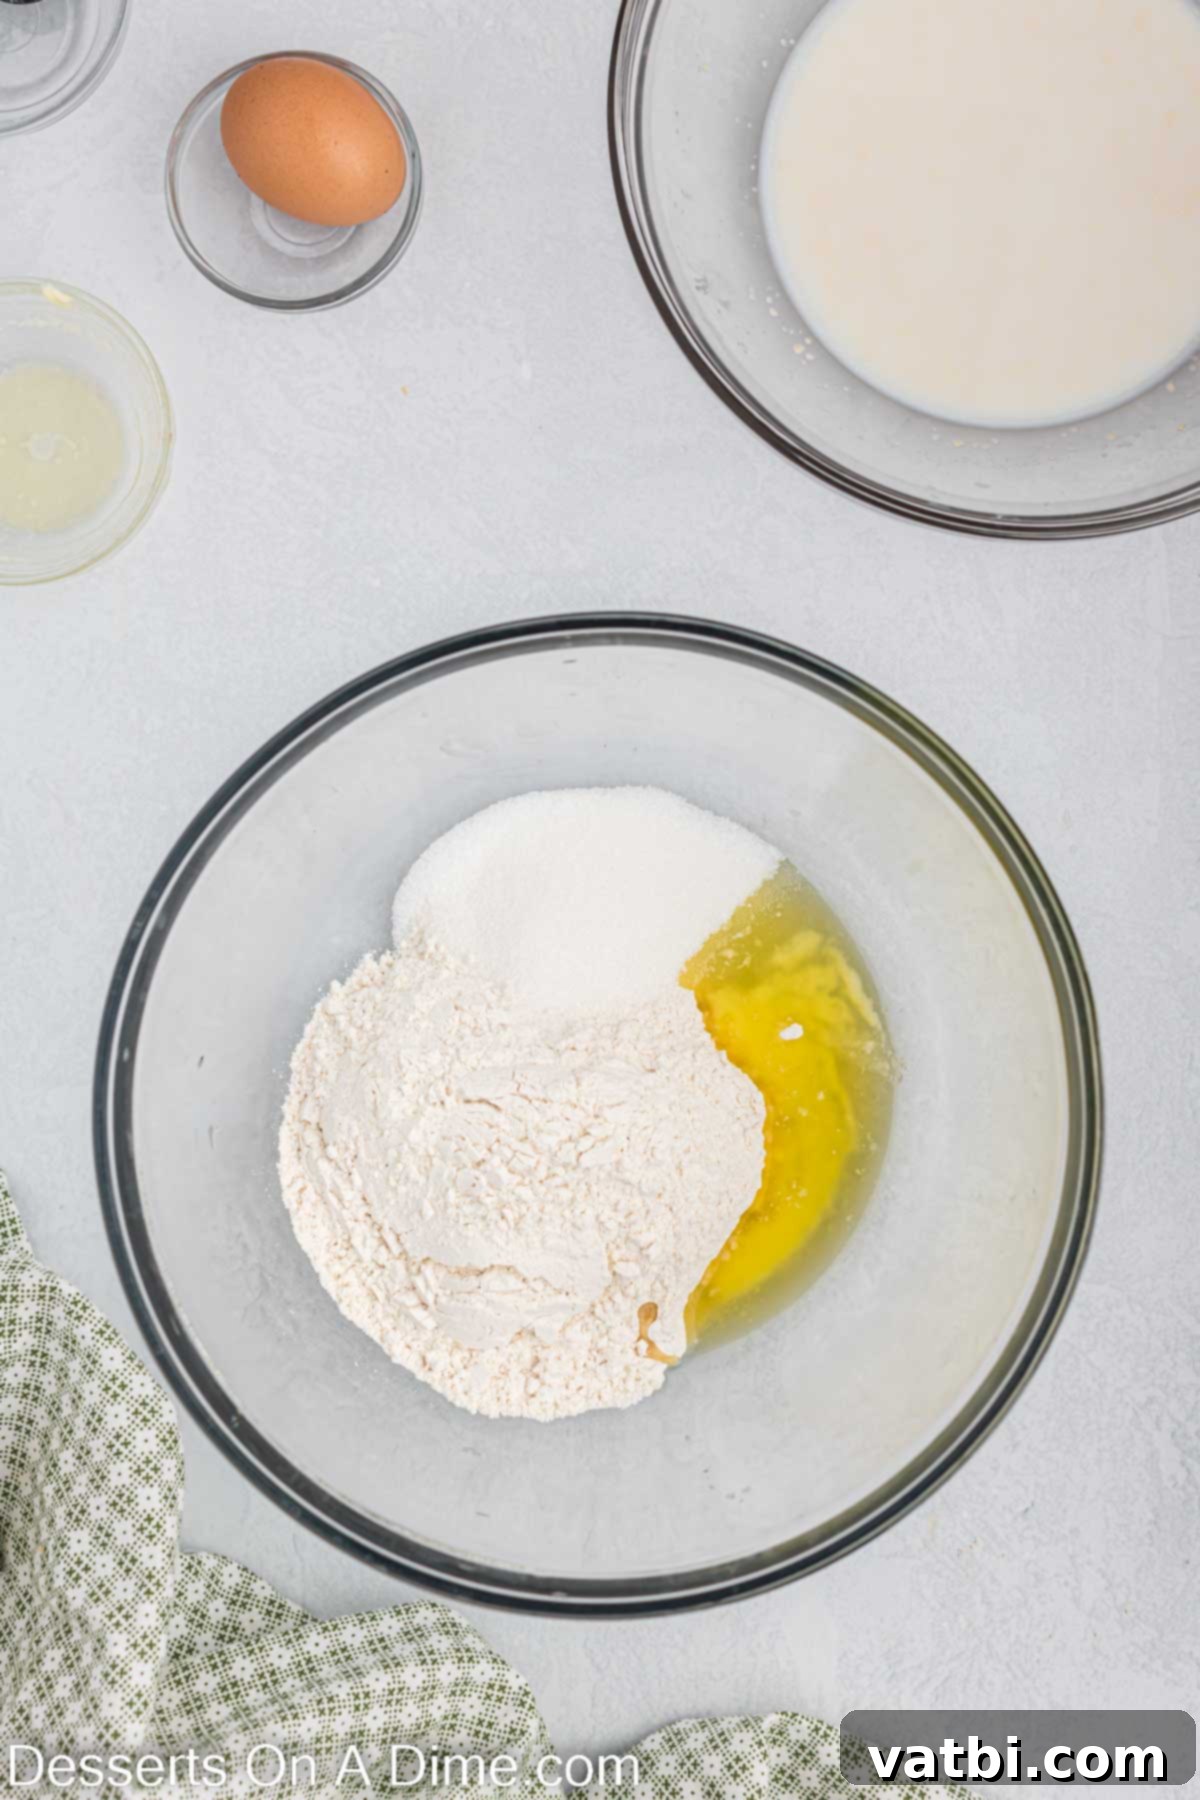
Step 2: Prepare the Dry and Wet Ingredients (Excluding Yeast Mixture). While your yeast is activating, take a separate, medium-sized bowl. Here, you will combine the melted butter, the remaining all-purpose flour, the rest of the granulated sugar, and the salt. Stir these ingredients together thoroughly until they are well combined. This ensures that the dry ingredients are evenly distributed before being introduced to the wet components, contributing to a consistent dough texture.
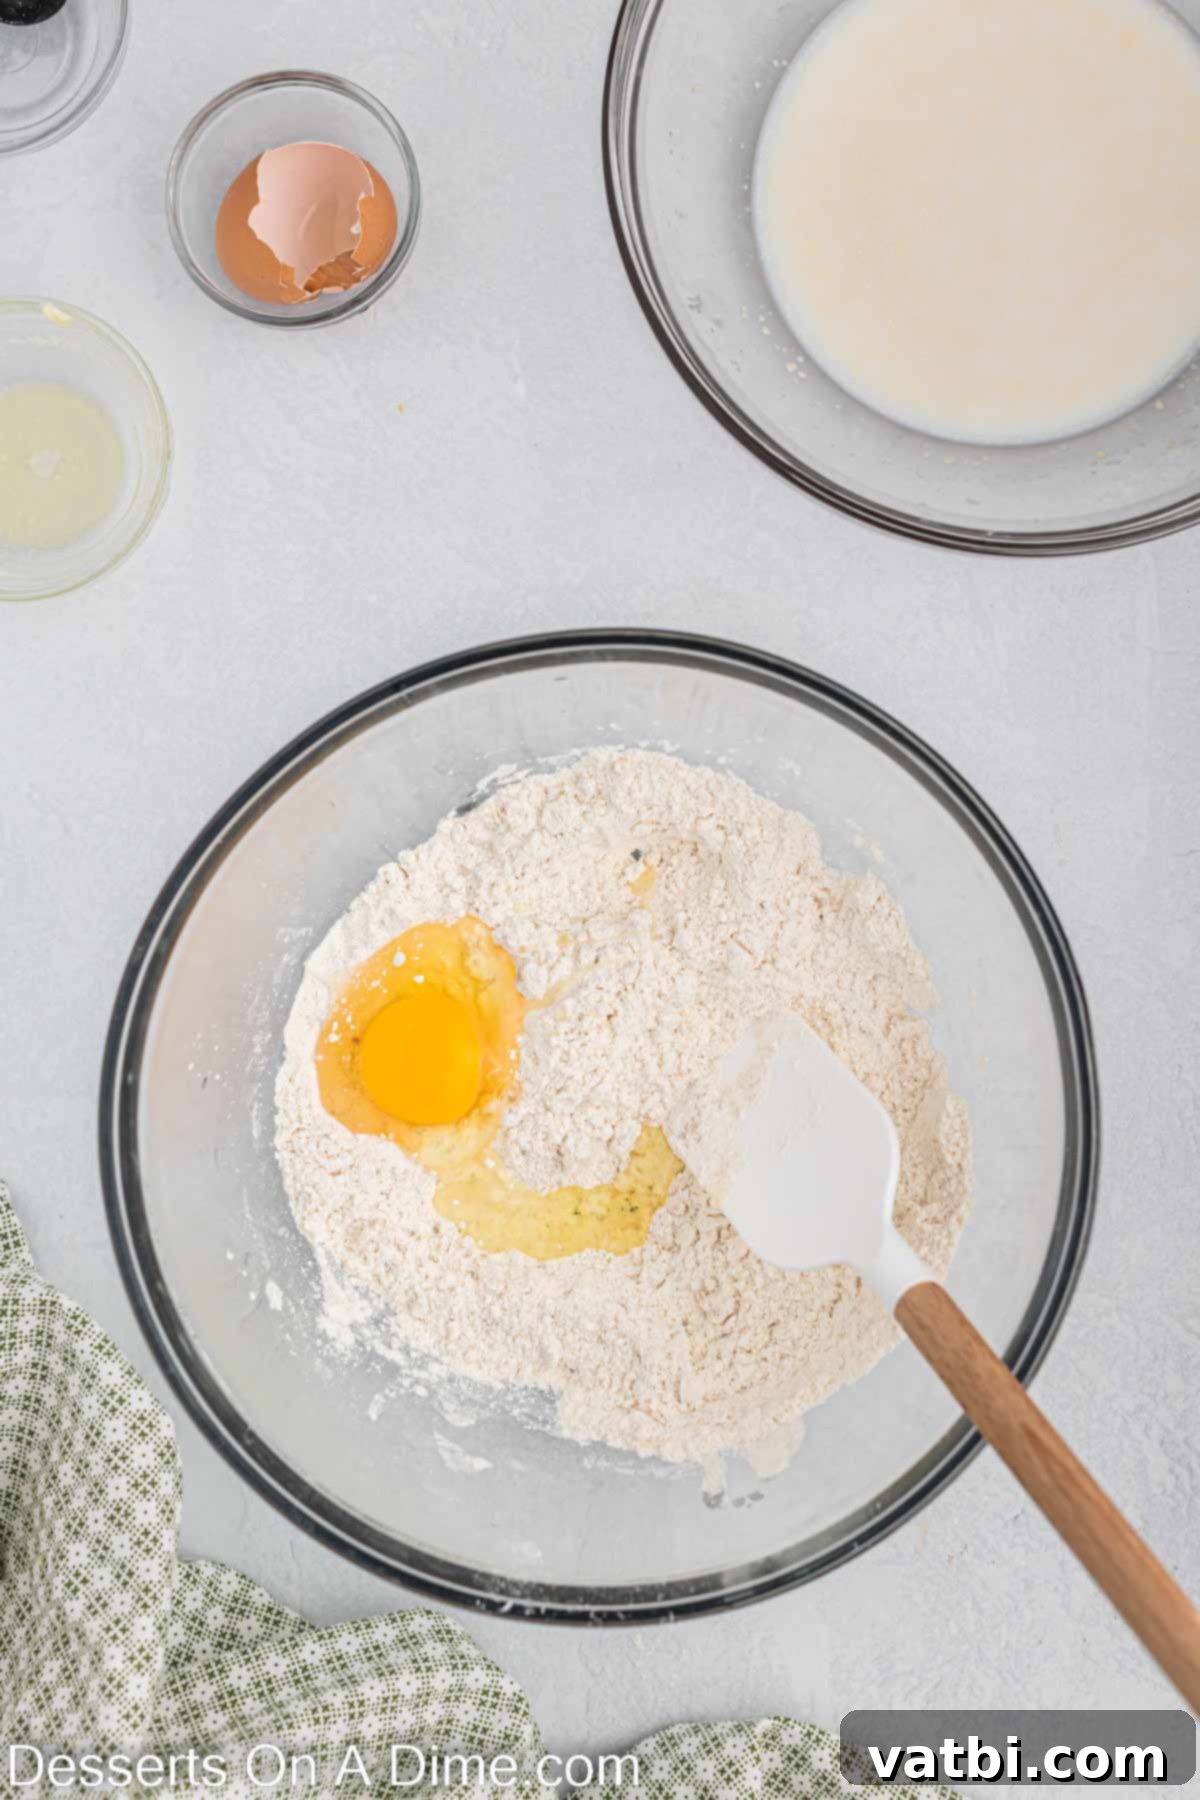
Step 3: Combine Mixtures. Once your yeast mixture is frothy, add the egg to it and whisk gently. Then, pour this yeast and egg mixture into the bowl with your flour and butter mixture. This is the stage where all the components of your donut dough will come together, beginning to form a cohesive mass. Ensure all ingredients are properly incorporated.
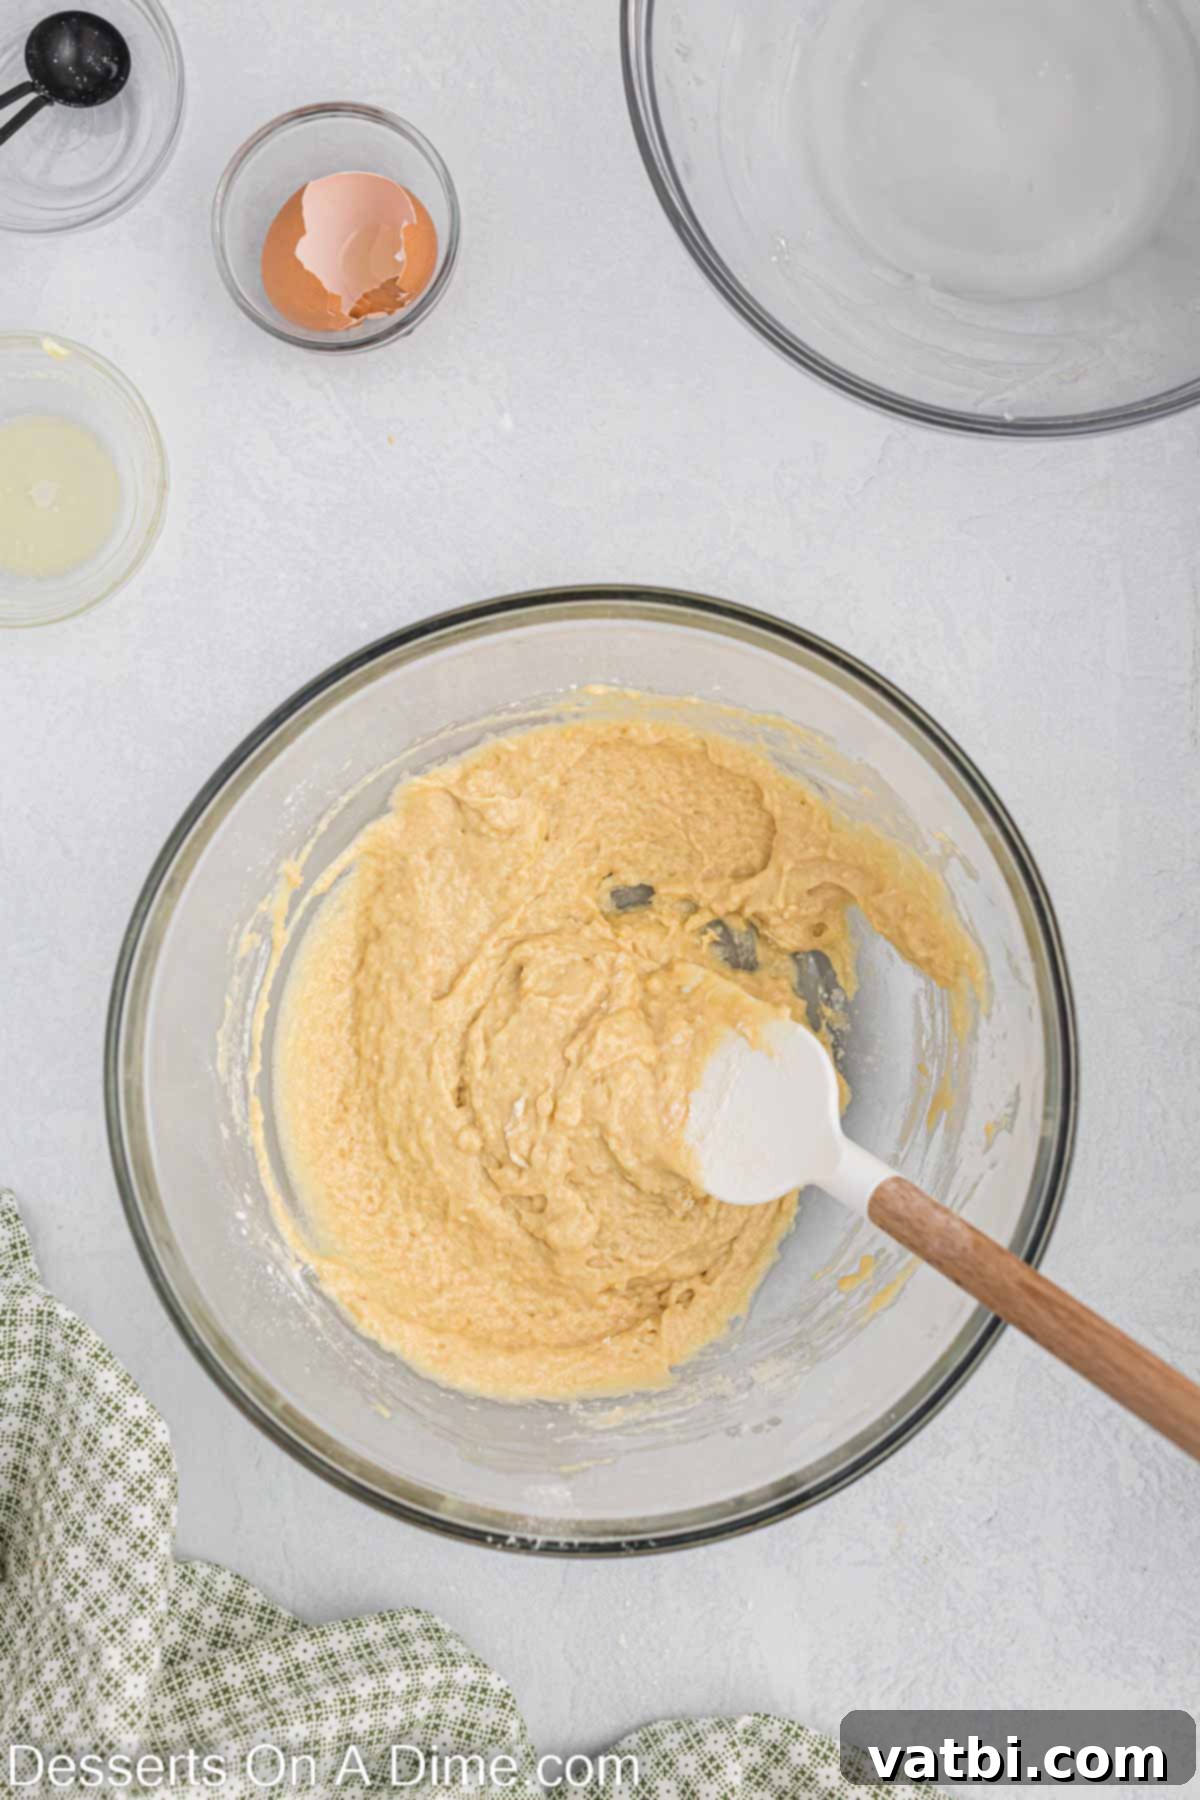
Step 4: Form the Dough. Using a stand mixer fitted with a dough hook attachment, blend the ingredients on low speed until a dough begins to form. Continue mixing, gradually increasing the speed, until the dough pulls away cleanly from the sides of the bowl. The ideal consistency is that it should still be slightly tacky to the touch but not sticky. If the dough appears too wet, add a tablespoon of flour at a time until the desired consistency is achieved. Avoid adding too much flour, as this can result in tough donuts.
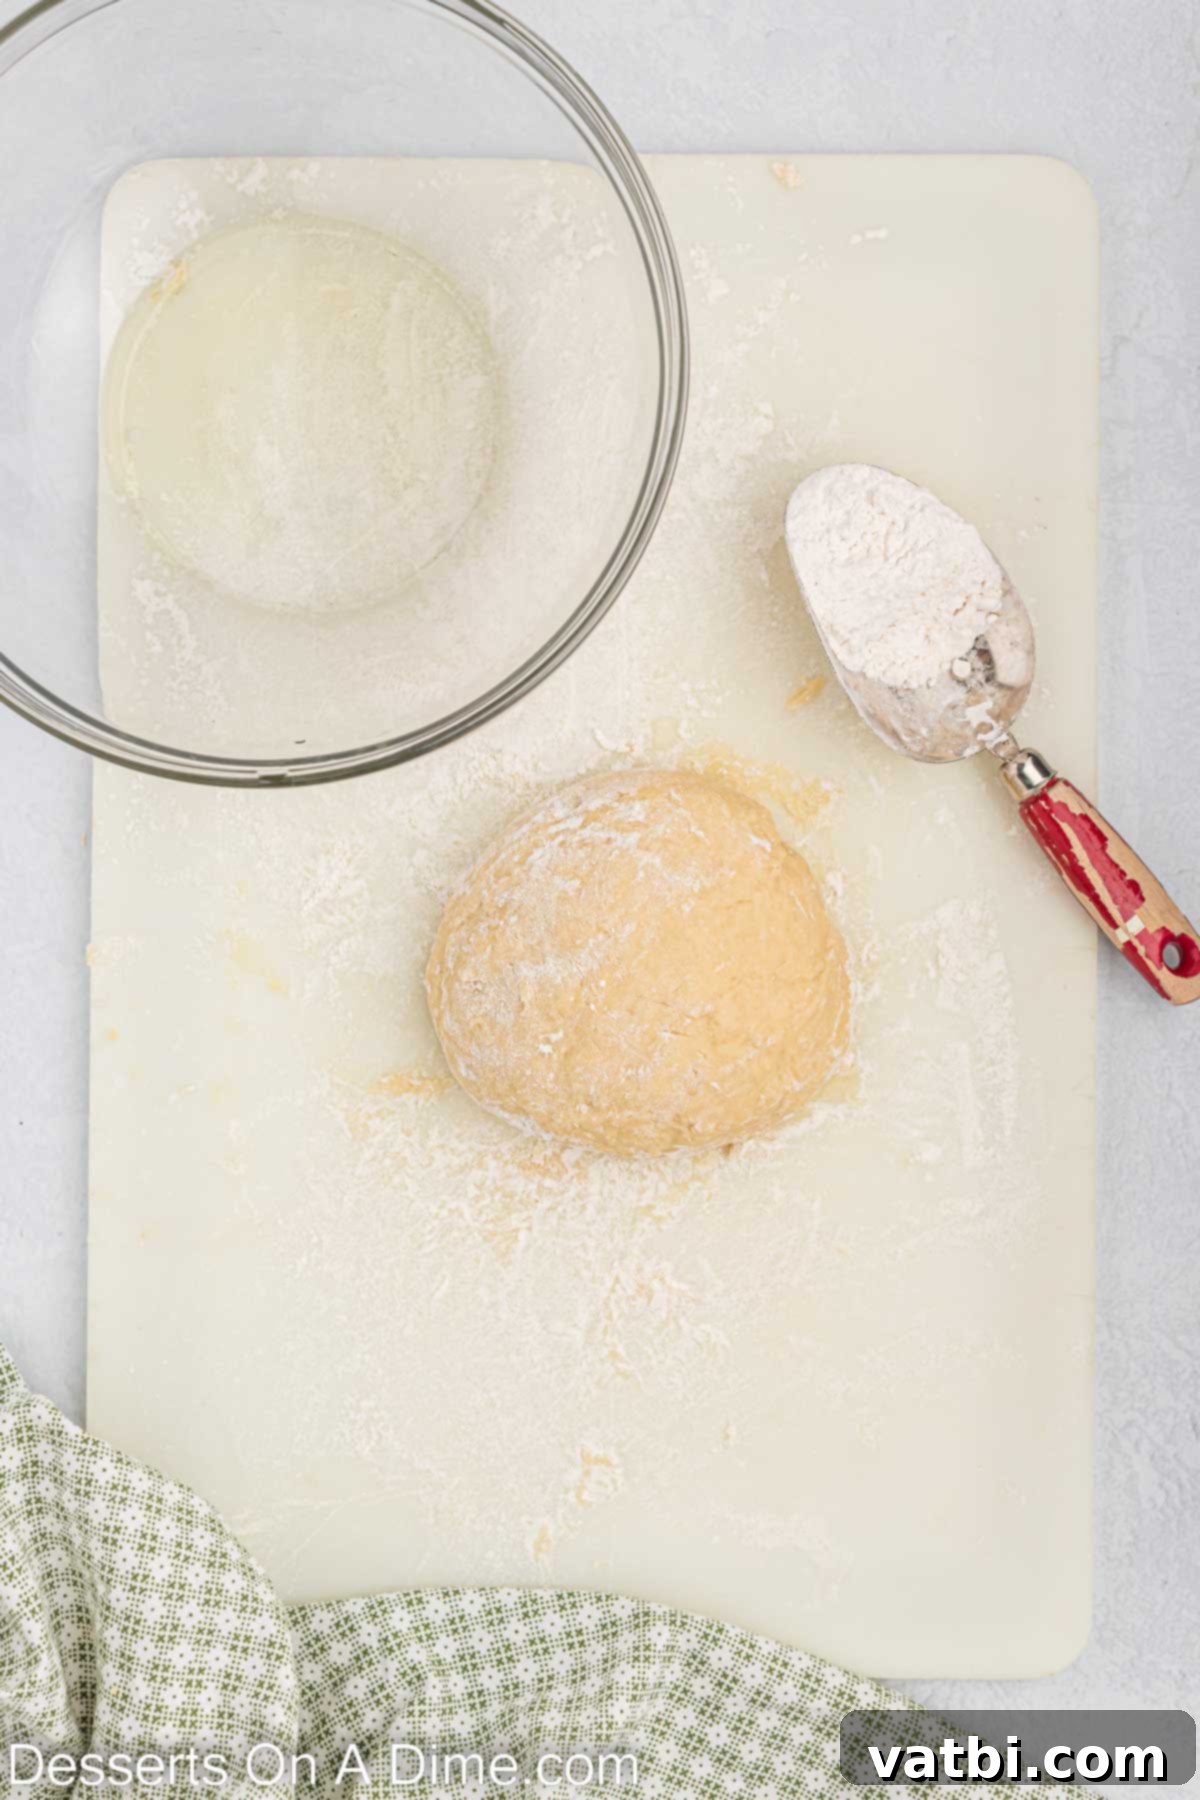
Step 5: Knead the Dough. Turn the dough out onto a lightly floured surface. Knead the dough by hand for approximately 4-5 minutes. This process develops the gluten in the flour, which is essential for achieving the light, airy, and chewy texture characteristic of Krispy Kreme donuts. The dough should become smooth and elastic after adequate kneading. You can also continue to use the stand mixer on medium-low speed for this step.
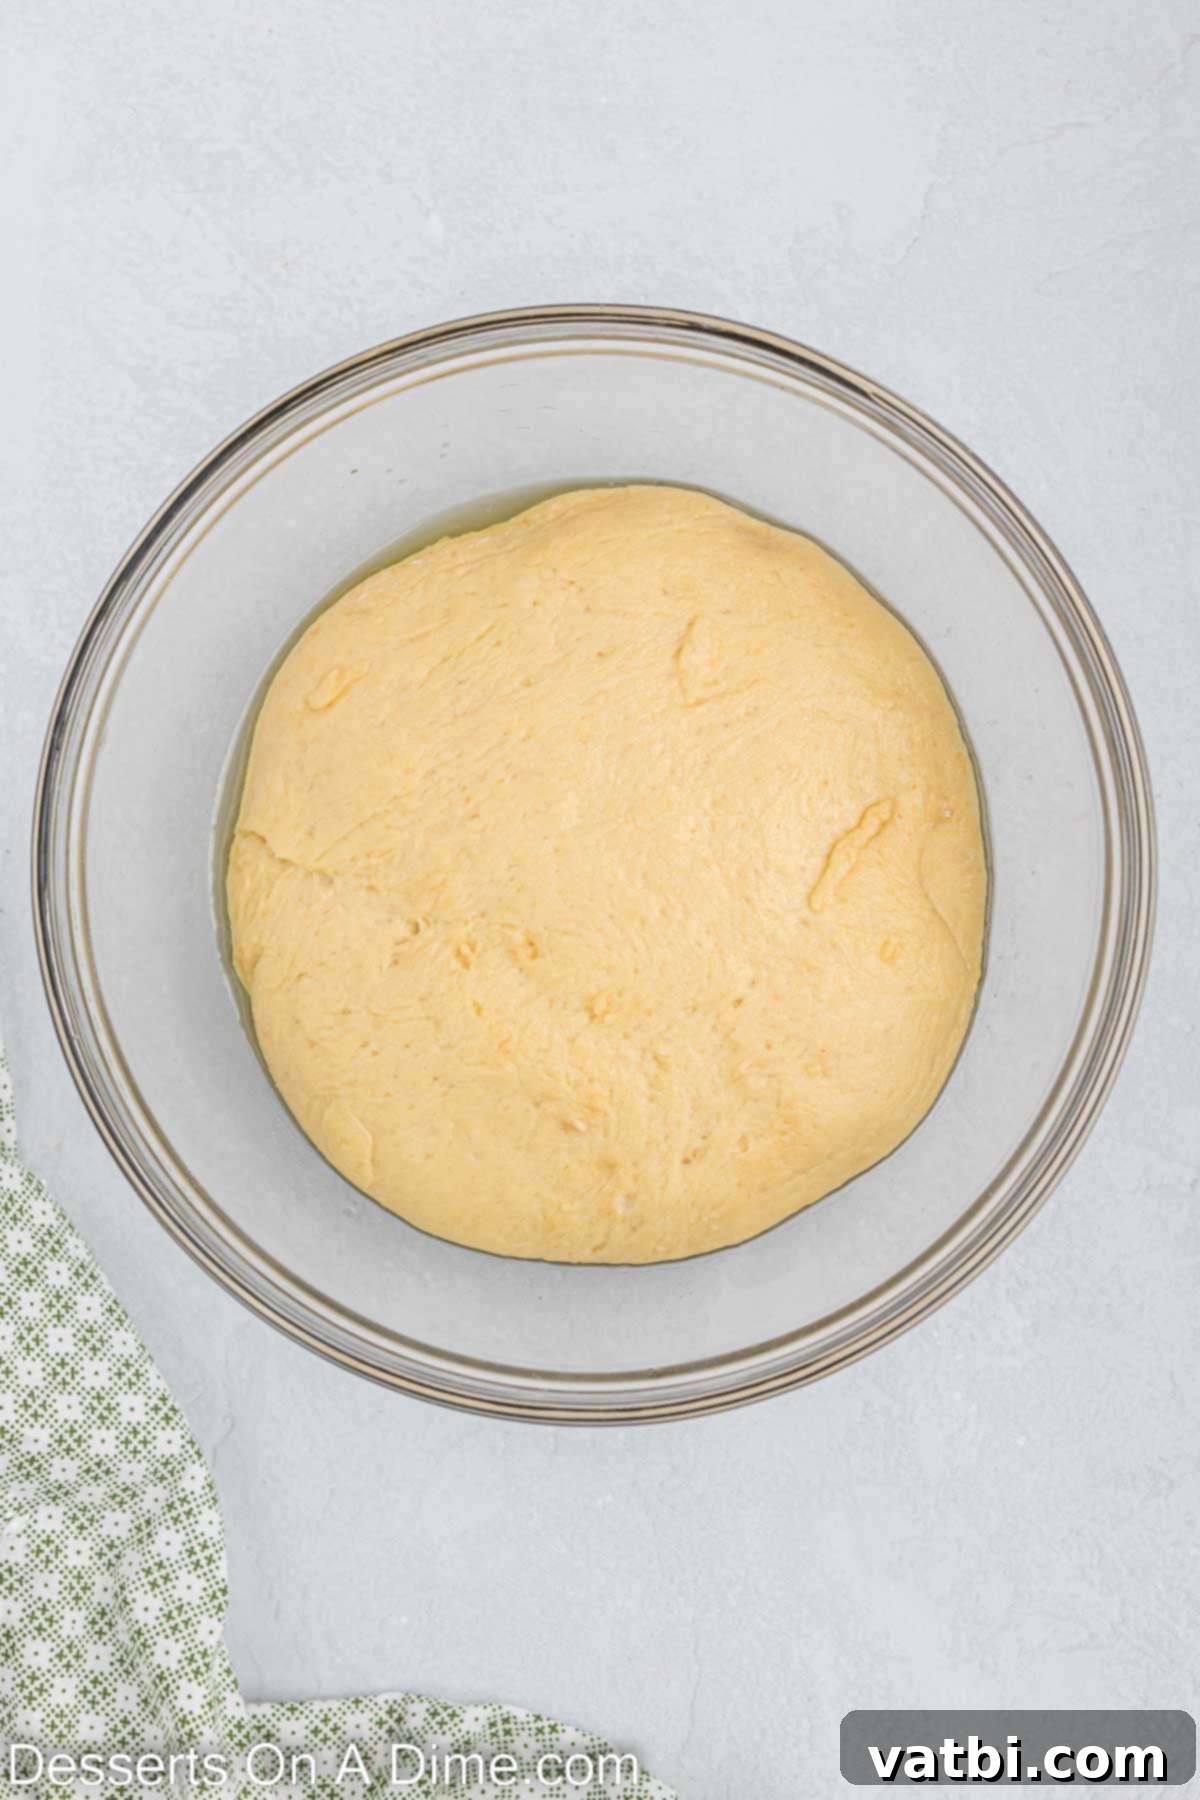
Step 6: First Rise. Lightly oil a large, clean bowl. Place the kneaded dough in the oiled bowl, turning it once to coat all sides with a thin layer of oil. This prevents the dough from sticking and drying out. Cover the bowl tightly with plastic wrap or a clean kitchen towel. Allow the dough to rise in a warm, draft-free place for at least one hour, or until it has visibly doubled in size. This first rise is crucial for developing flavor and texture.
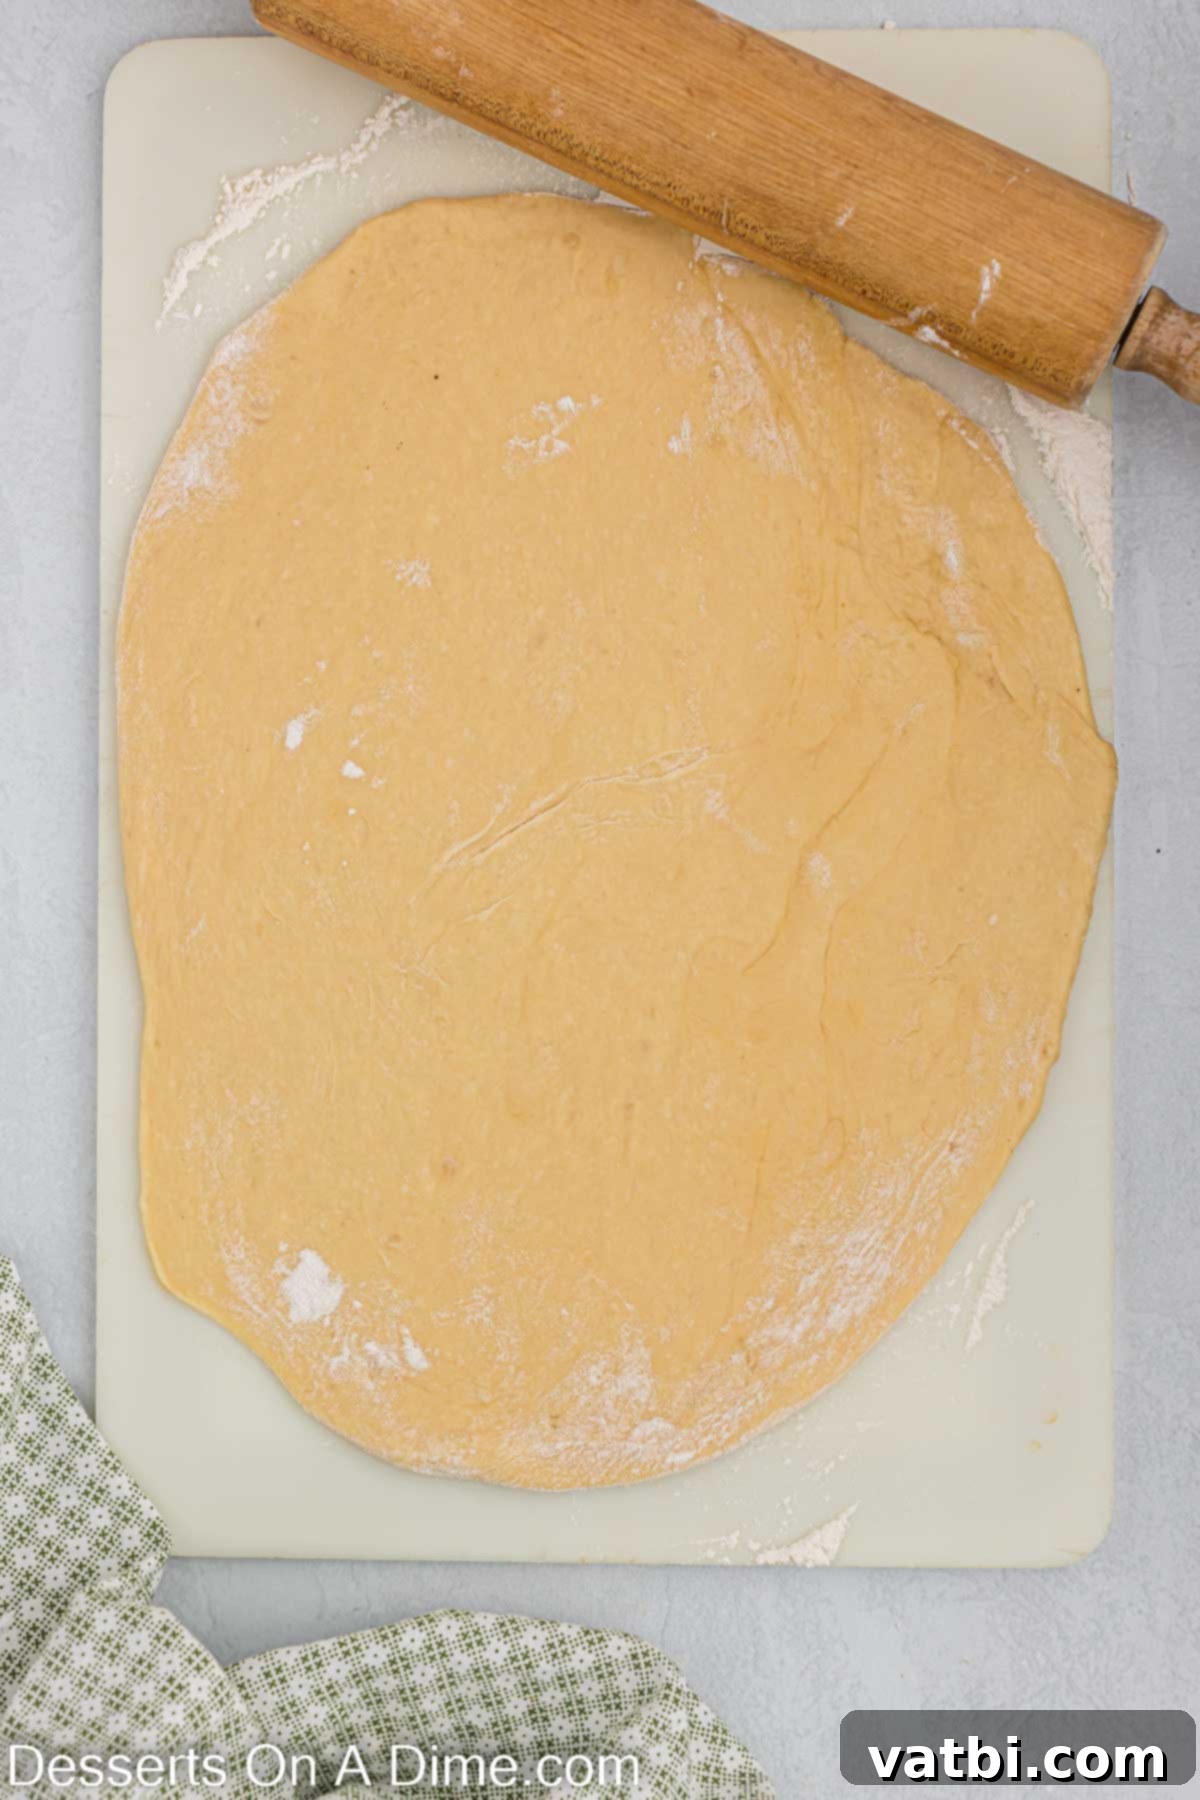
Step 7: Roll and Cut. Once the dough has doubled in size, gently punch it down to release the air. Turn the dough out onto a lightly floured surface. Using a rolling pin, roll the dough out evenly to approximately ¼ inch thick. Avoid rolling it too thin, which can make your donuts dense, or too thick, which can make them heavy. Aim for consistent thickness across the entire sheet of dough.
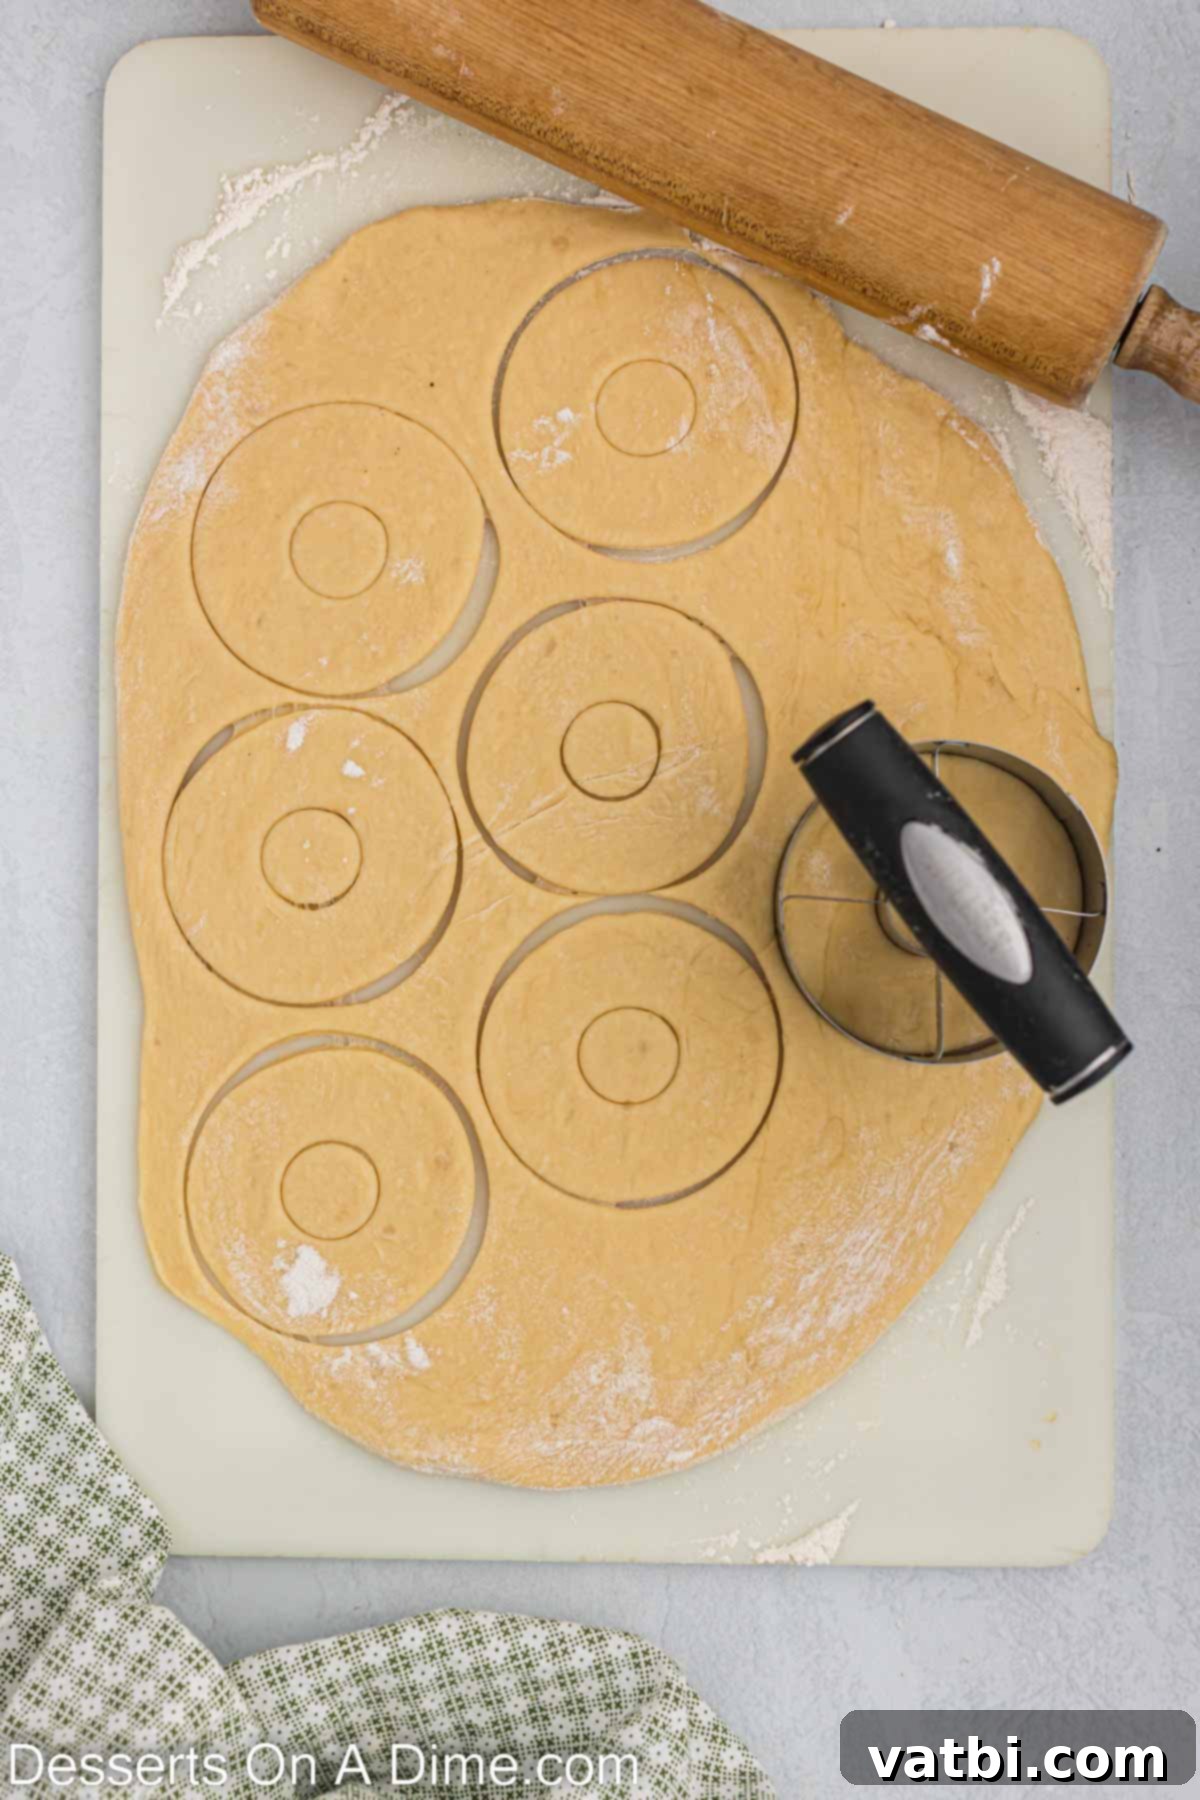
Step 8: Shape the Donuts. Use a donut cutter to cut out your donut shapes. If you don’t have a donut cutter, a 3-4 inch cookie cutter for the outer ring and a 1-inch cookie cutter for the center hole work perfectly. Carefully place the cut donuts onto parchment-lined baking sheets, leaving some space between each one. Gather any dough scraps, gently knead them together, and re-roll to cut out more donuts (or small donut holes!). Let these cut donuts sit for another 10-15 minutes. This second, shorter rise is crucial for light, airy fried donuts.
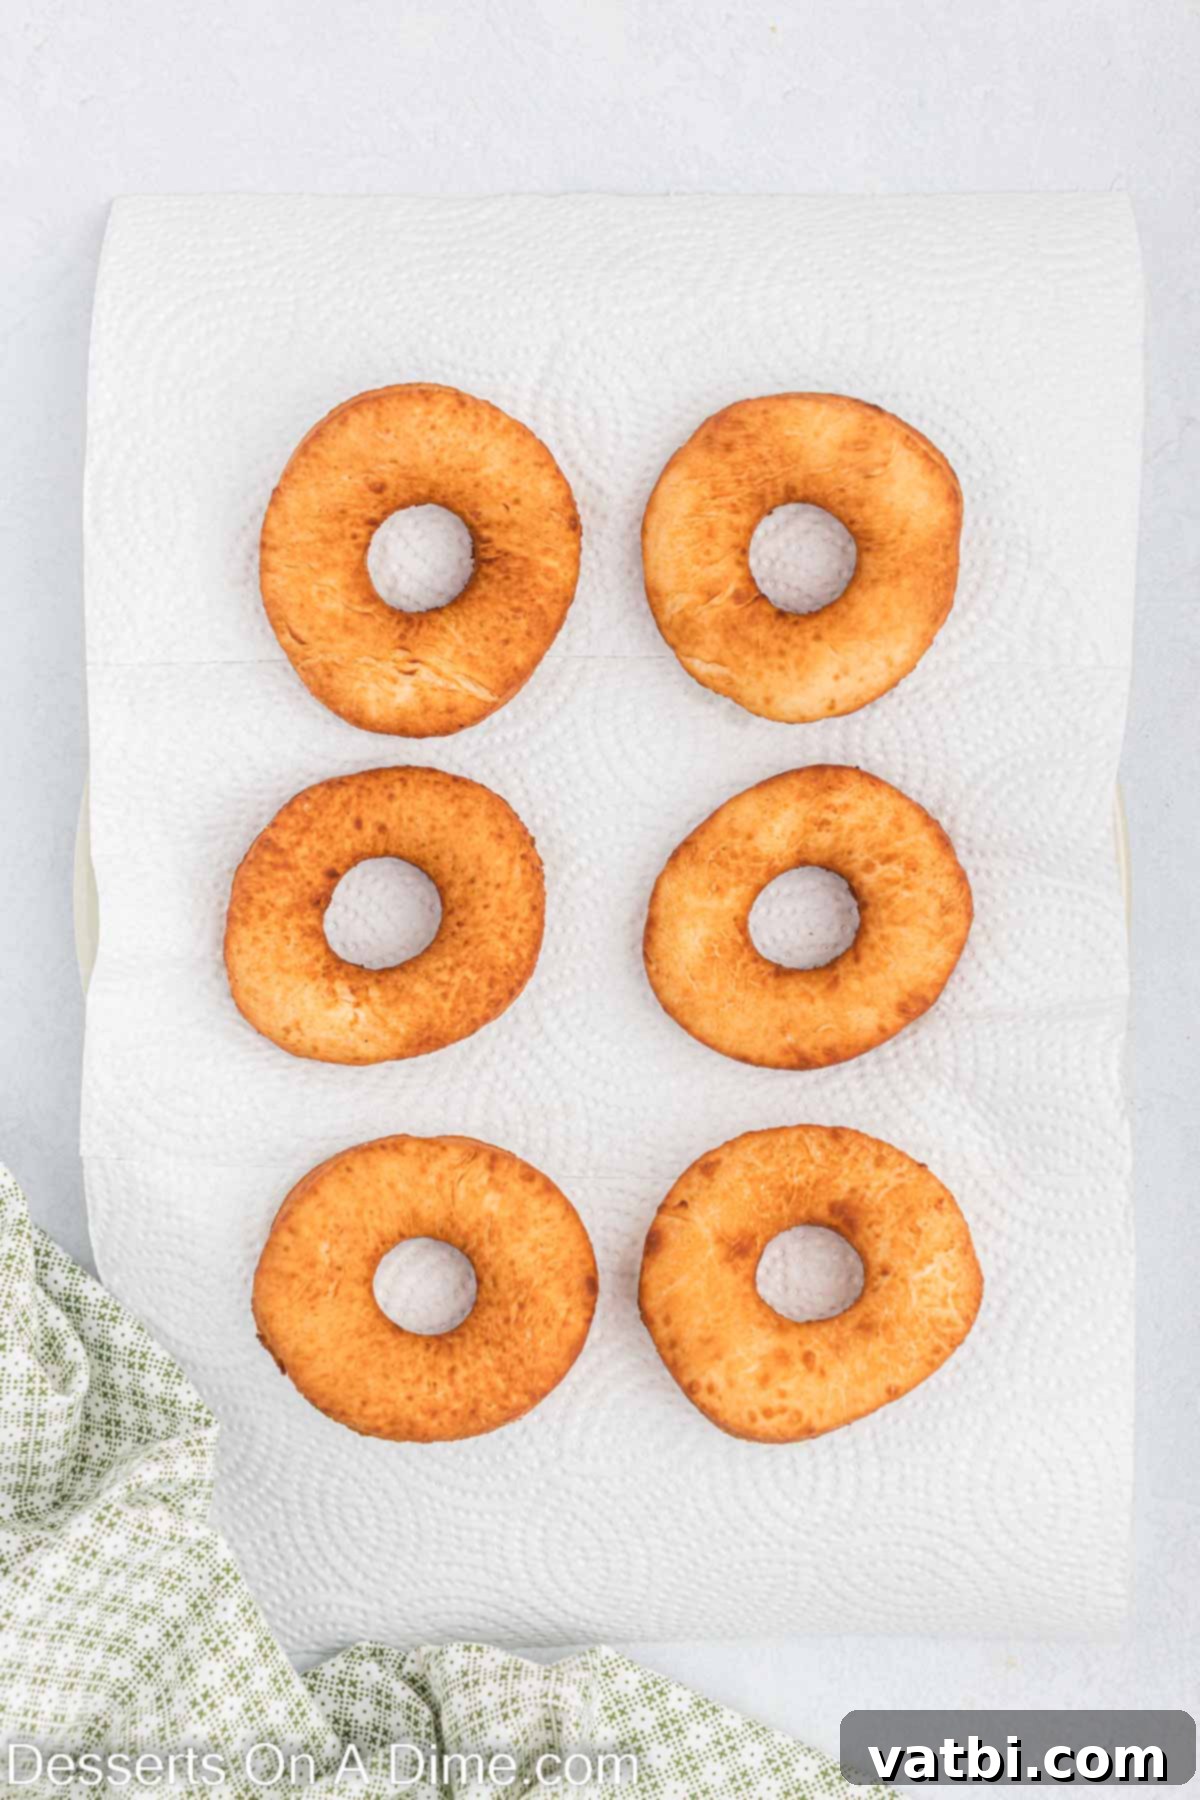
Step 9: Fry the Donuts. In a large, heavy-bottomed stockpot or Dutch oven, pour vegetable oil to a depth of at least 3-4 inches. Heat the oil to 375°F (190°C). Use a candy thermometer or deep-fry thermometer to monitor the temperature, as consistent oil temperature is key to perfectly fried donuts. Carefully lower 2-3 donuts into the hot oil at a time, being careful not to overcrowd the pan. Fry for about 1-1.5 minutes per side, or until they turn a beautiful golden brown. Once fried, use a slotted spoon or spider skimmer to transfer the donuts to a plate lined with paper towels to drain any excess oil.
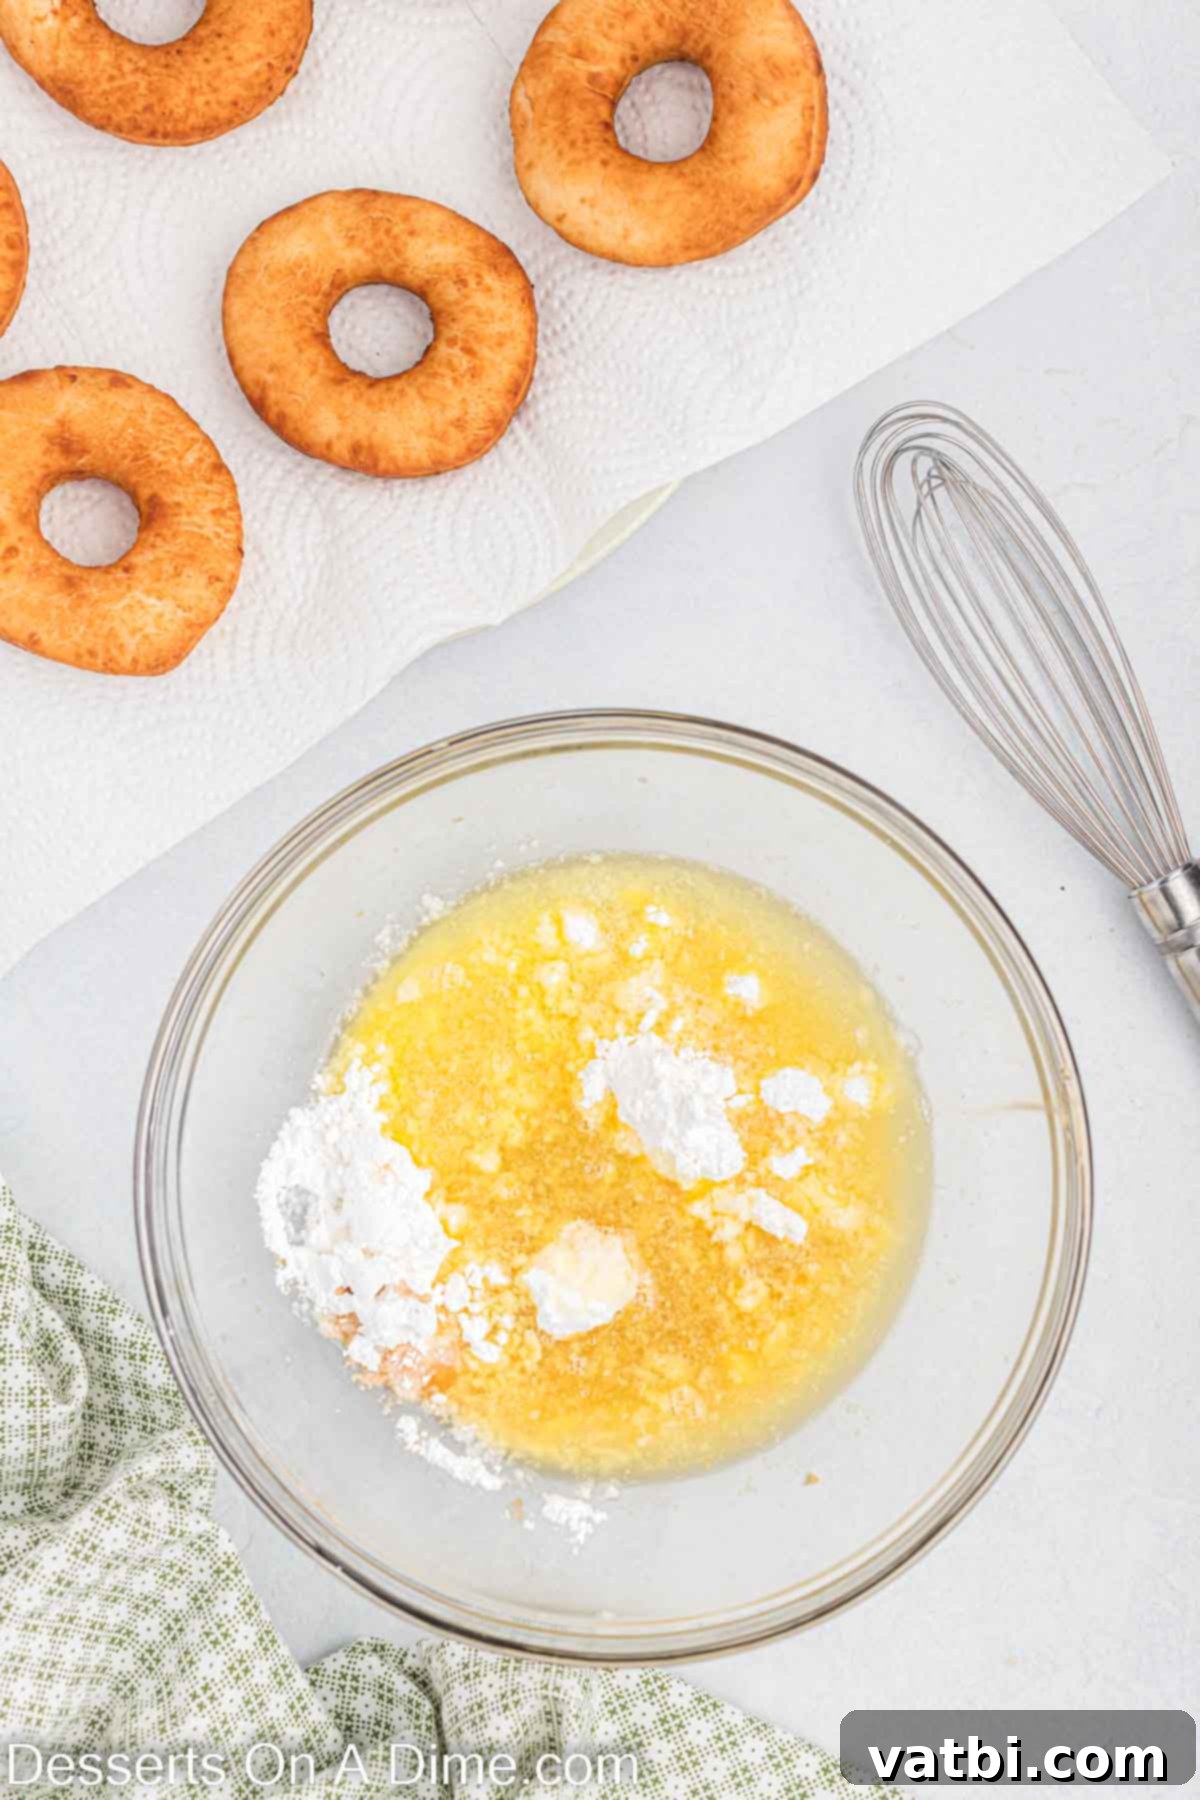
Step 10: Prepare the Glaze. While your donuts are draining, it’s time to whip up that signature Krispy Kreme glaze. In a medium-sized mixing bowl, add the sifted powdered sugar, vanilla extract, and melted butter. This combination of ingredients forms the rich and flavorful base of your glaze.
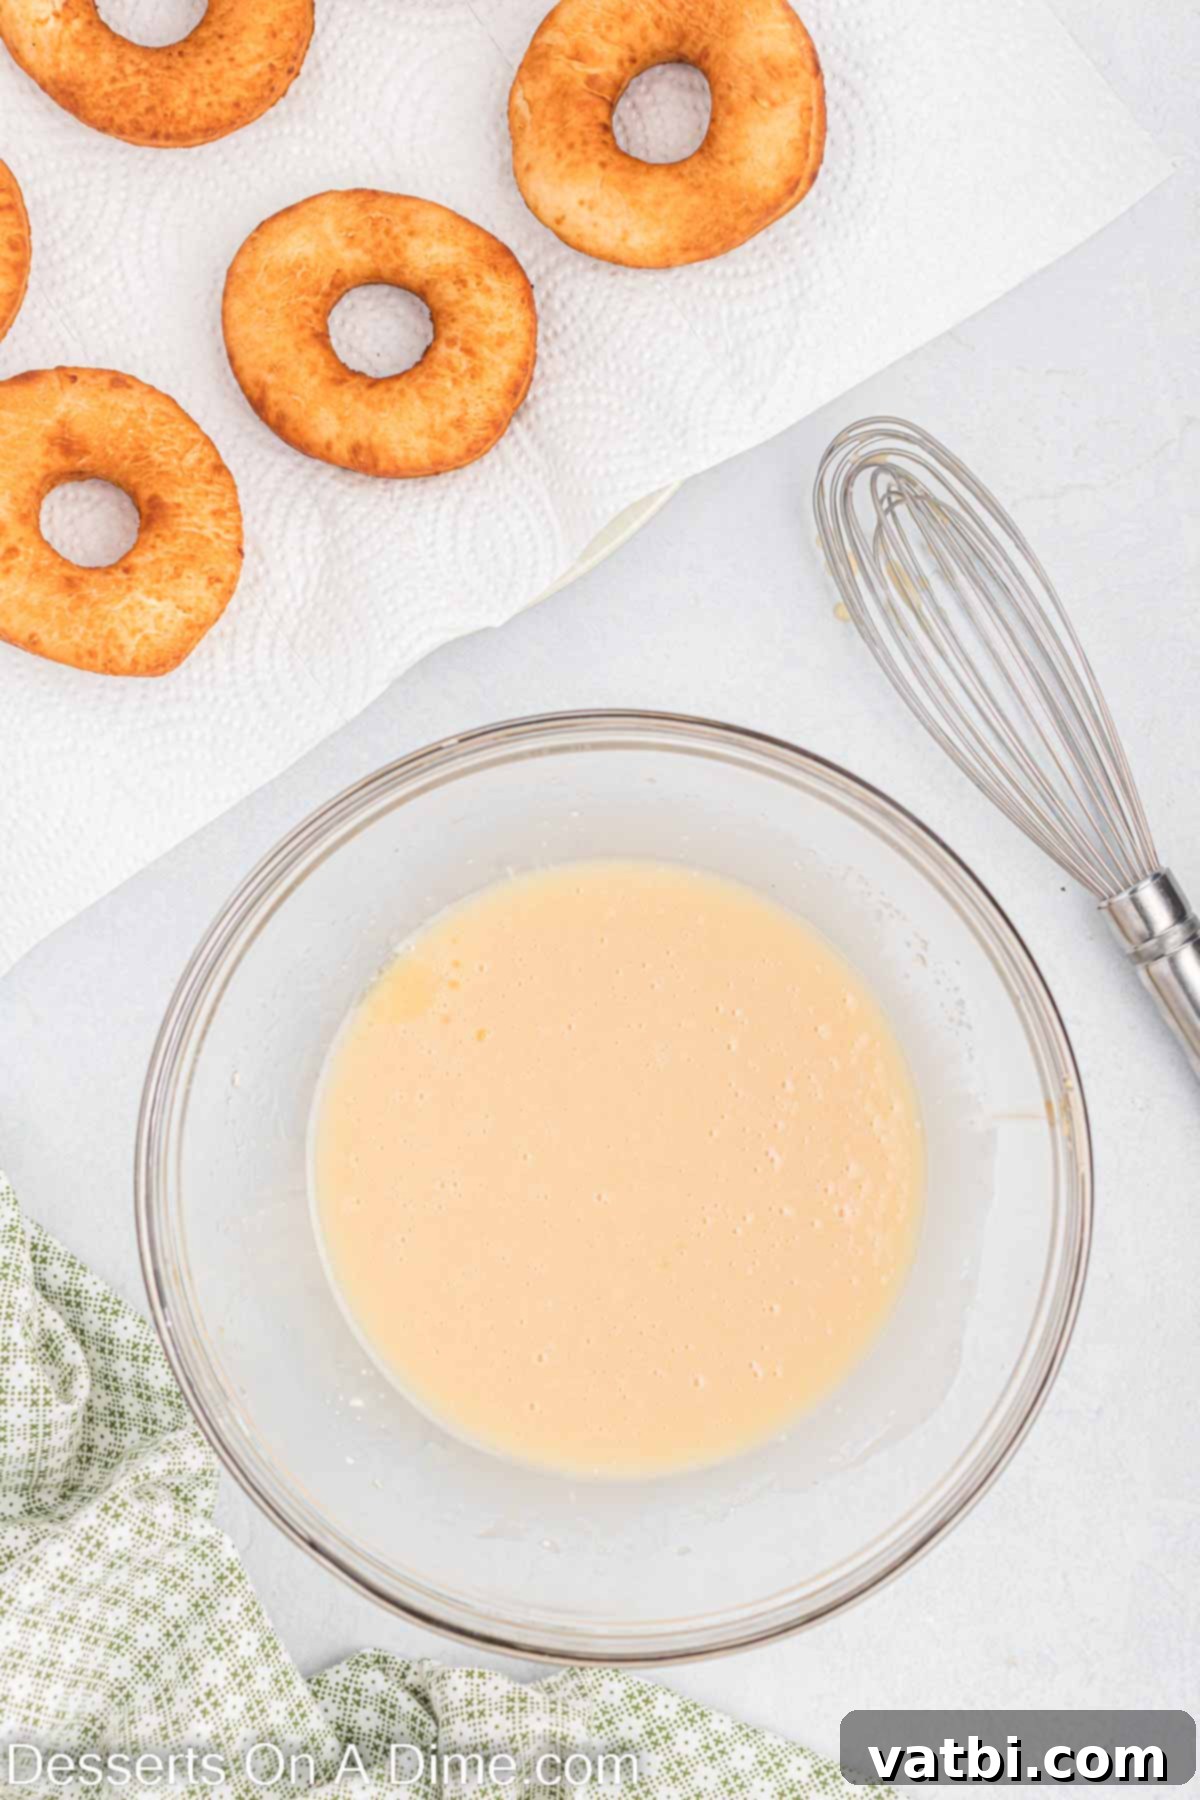
Step 11: Achieve Smooth Glaze. Add the 1/4 cup of boiling water to the glaze ingredients. Whisk everything together thoroughly until the mixture is completely smooth and free of any lumps. The consistency should be thin enough to easily dip the donuts but thick enough to coat them evenly. If it’s too thick, add a tiny bit more boiling water; if too thin, add a tablespoon of powdered sugar. The glaze should be kept warm while you dip, as this helps it adhere better to the warm donuts and creates that classic Krispy Kreme sheen.
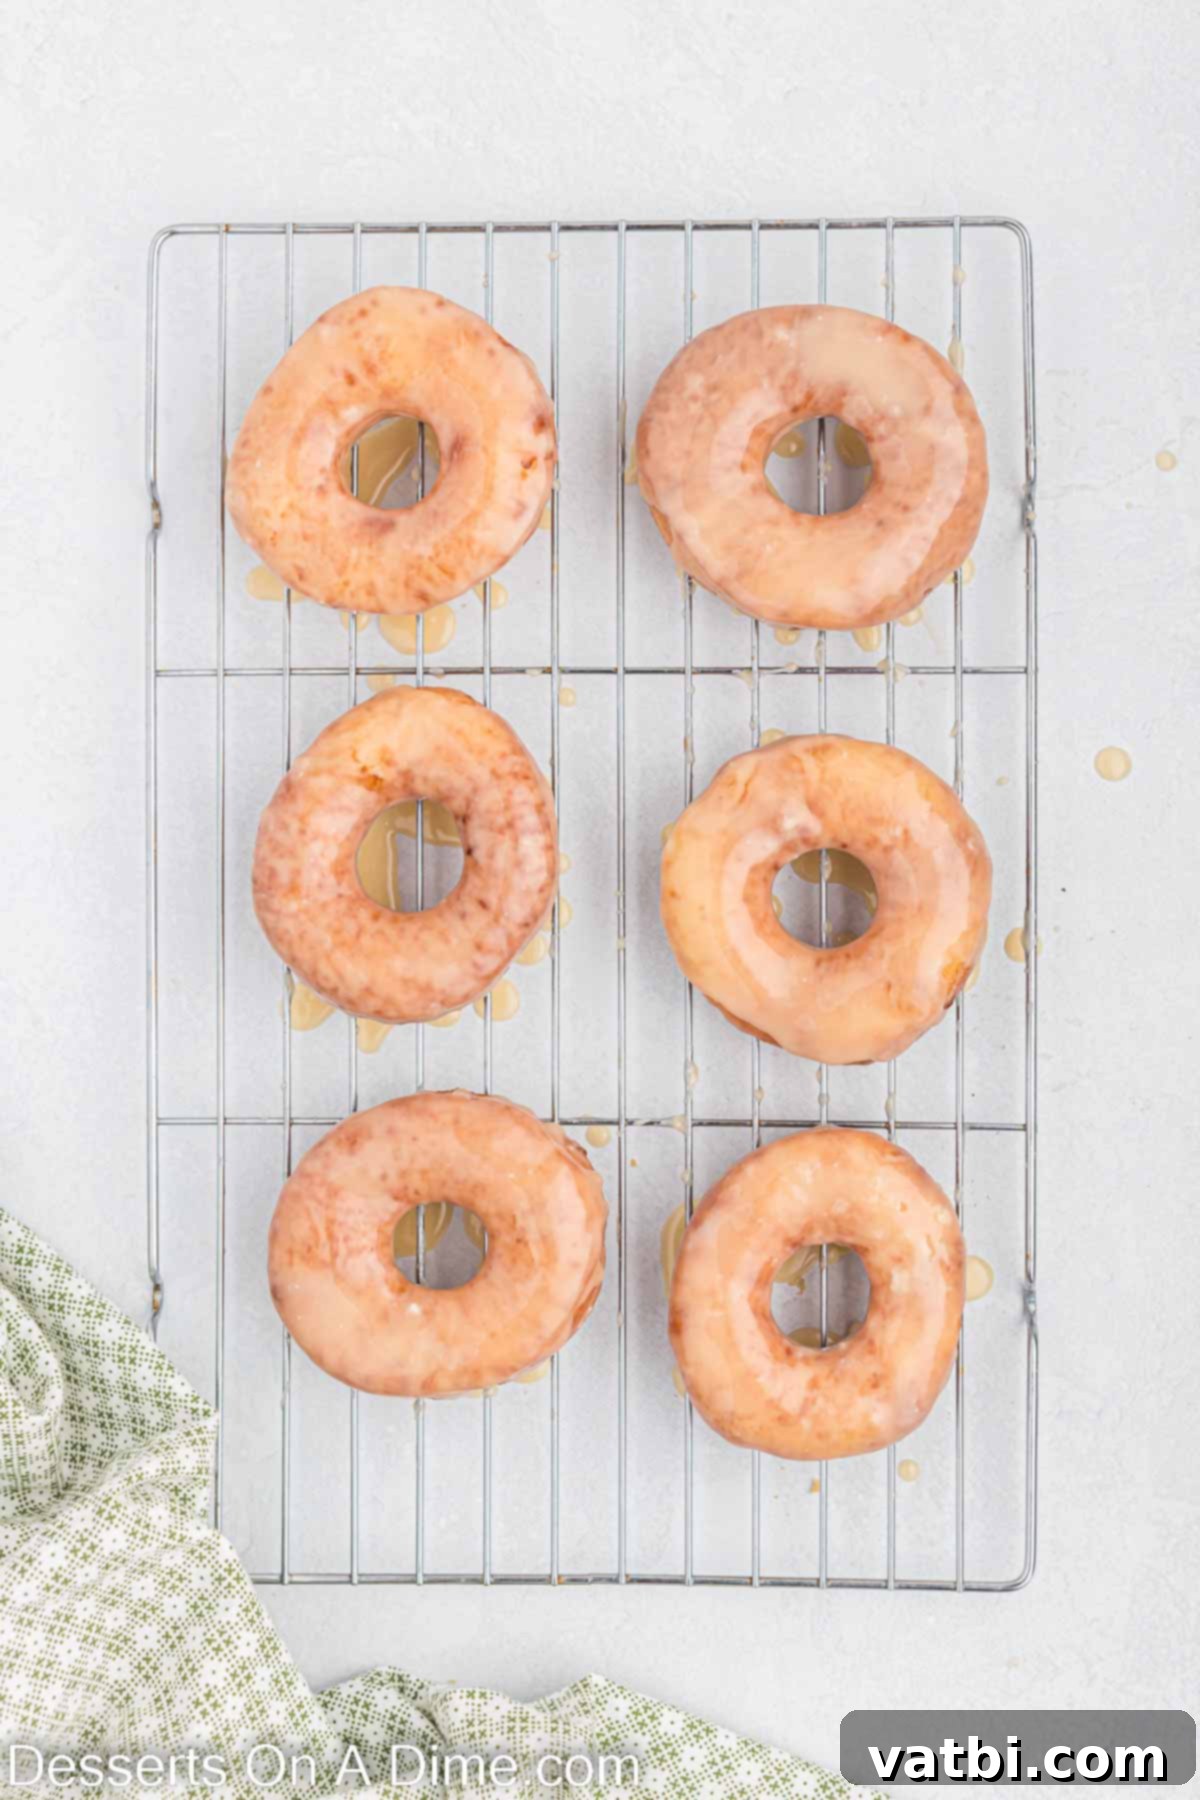
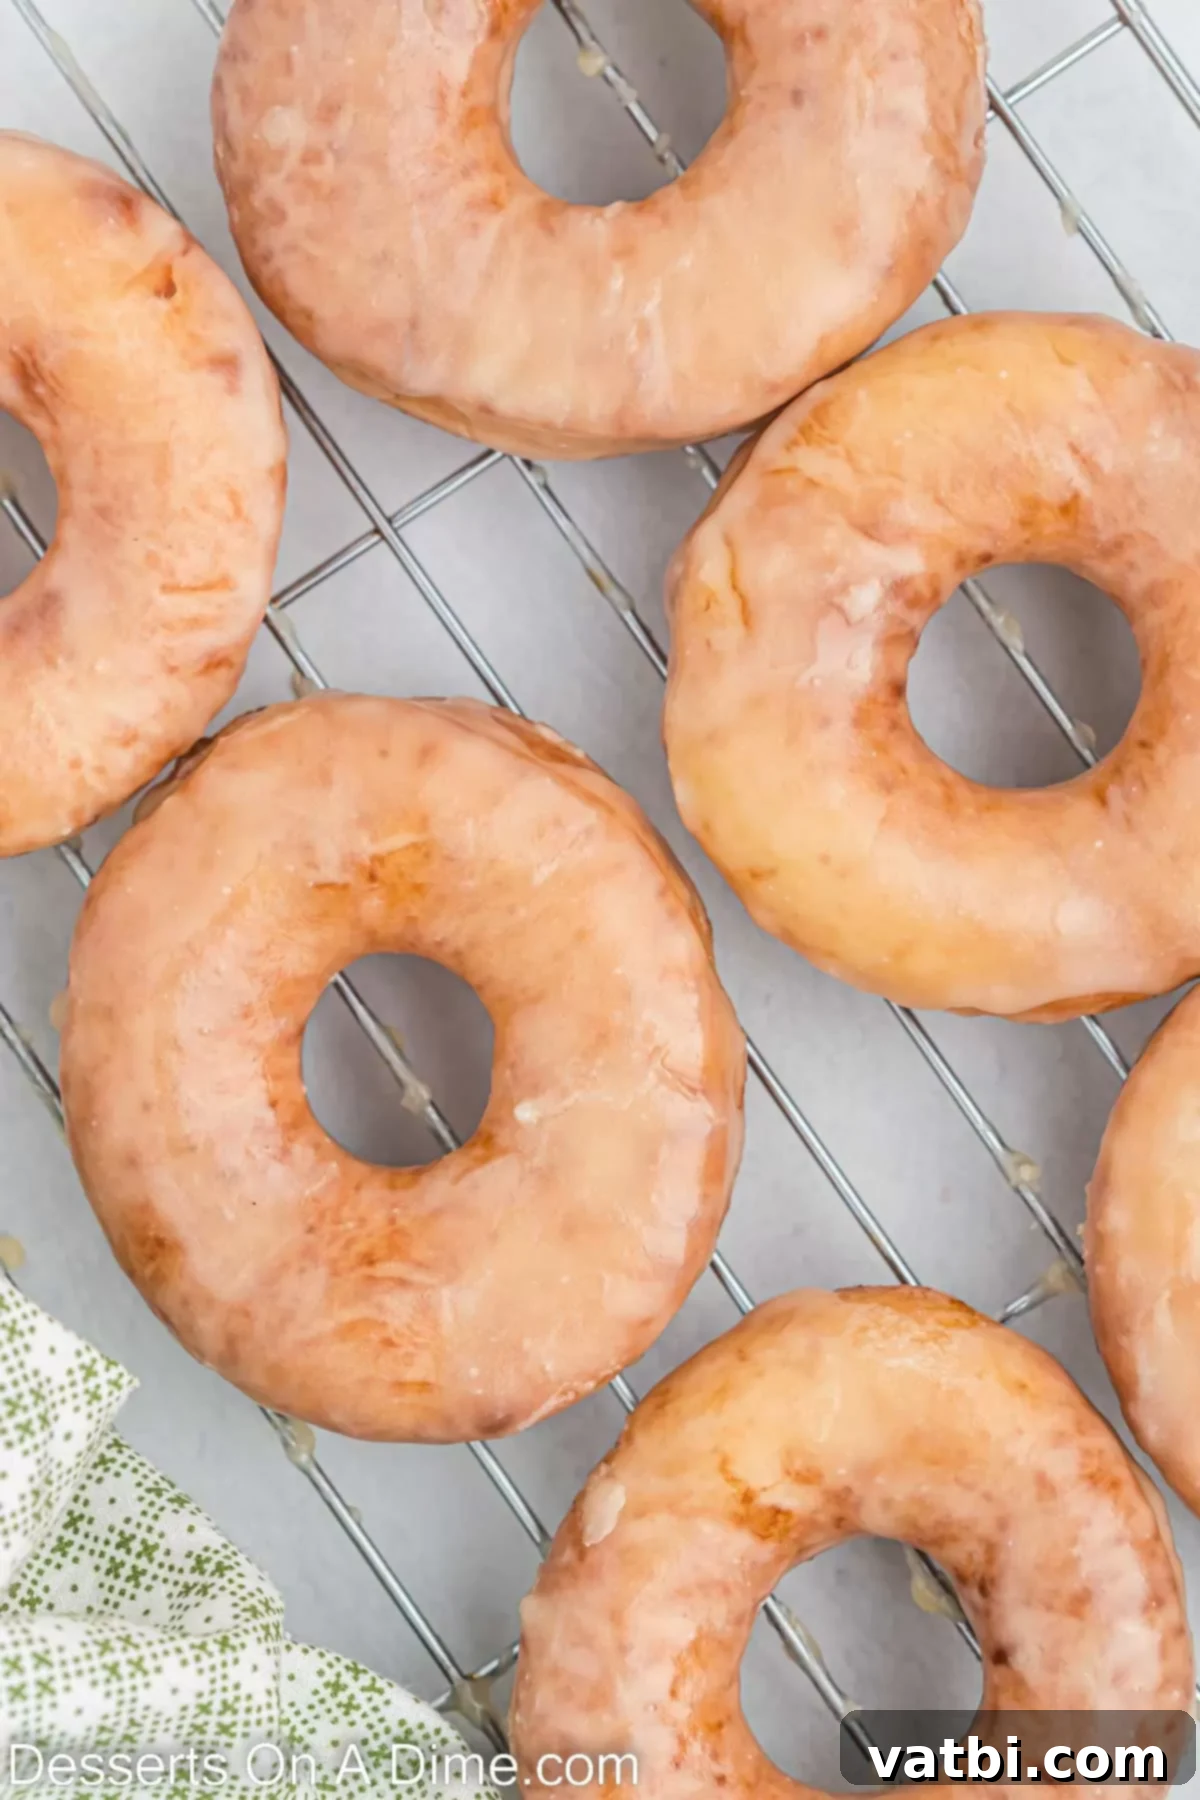
Step 12: Glaze and Cool. While the donuts are still warm (this is key for the glaze to properly absorb and set), gently dip each donut into the warm glaze, ensuring both sides are fully coated. Use a fork or tongs to carefully lift the glazed donut, allowing any excess glaze to drip off. Place the glazed donuts on a wire rack set over a baking sheet (to catch any drips) to cool and allow the glaze to set. Once the glaze has firmed up, your homemade Krispy Kreme donuts are ready to be devoured! Enjoy them fresh and warm for the ultimate experience.
Storage Tips for Fresh Donuts
While homemade donuts are undeniably best enjoyed fresh and warm, you might find yourself with a few leftovers. Proper storage is key to maintaining their deliciousness for as long as possible. To keep leftover glazed donuts (or donut holes) tasting great, place them in an airtight container at room temperature. They will remain fresh and delightfully soft for up to 1-2 days. If you need to extend their shelf life slightly, you can refrigerate them for up to 3-4 days in an airtight container. It’s crucial that they are not exposed to air, as this is the quickest way for them to dry out and lose their tender texture. For the best experience with refrigerated donuts, we highly recommend a quick reheat in the microwave for about 10-15 seconds. This will bring back some of that amazing warmth and softness, making them taste almost as good as a fresh, hot Krispy Kreme donut right off the line.
Can You Freeze Homemade Donuts?
Yes, you absolutely can freeze homemade donuts, which is fantastic for meal prepping or simply ensuring you always have a sweet treat on hand! Donuts can be frozen for up to 3 months. To prevent them from sticking together and preserve their shape, arrange them in a single layer on a baking sheet and flash freeze for about an hour until firm. Once firm, transfer the donuts to an airtight freezer-safe container or a heavy-duty freezer bag, placing sheets of wax paper or parchment paper between layers to prevent sticking. This method helps maintain their quality and flavor.
When you’re ready to enjoy a frozen donut, simply remove it from the freezer. You can thaw it at room temperature for about 30-60 minutes, then microwave it for approximately 20 seconds for that fresh, warm texture. Alternatively, you can bake them in a preheated 350-degree F (175°C) oven for about 5-7 minutes, which will crisp up the exterior slightly and warm them through perfectly.
What’s even better is that you can also freeze the raw donut dough! After it has completed its first rise and you’ve cut it into donut shapes, flash freeze the raw donuts on a baking sheet for an hour. Once frozen, transfer them to a freezer-safe container or bag. When you’re ready to make fresh donuts, allow the dough to thaw completely at room temperature, which can take several hours or overnight in the refrigerator. After thawing, let them rise for their second proof (about 30-45 minutes) before frying as per the recipe. It’s important that the dough is completely thawed, as any ice crystals could cause the hot oil to splatter dangerously during frying.
Pro Tips for Perfect Krispy Kreme Donuts
Achieving Krispy Kreme-level perfection at home is within your grasp with these expert tips:
- Making the Donut Shape: For classic ring donuts, use a dedicated donut cutter. If you don’t have one, grab two round cookie cutters: a larger one (around 3-4 inches in diameter) for the outer circle and a smaller one (about 1 inch) for the center hole. Dip your cutters in a little flour before each cut to prevent sticking and ensure clean edges.
- Don’t Overcrowd the Pan When Frying: Frying donuts in batches is essential. Overcrowding the frying pot will drastically lower the oil temperature, leading to greasy, soggy donuts that don’t cook evenly. Give each donut enough space to fry properly and maintain consistent oil temperature.
- Monitor Oil Temperature Carefully: The ideal oil temperature for frying these donuts is 375°F (190°C). If the oil is too hot, the outside will brown quickly while the inside remains raw. If it’s too low, the donuts will absorb too much oil and become greasy and dense. Use a deep-fry thermometer and adjust your heat as needed to keep the temperature steady.
- Use Warm Water for Yeast Activation: Yeast is a living organism, and it thrives in a warm environment. Ensure the milk and water mixture for activating your yeast is between 105-115°F (40-46°C). Water that is too cold won’t activate the yeast, while water that is too hot will kill it, preventing your dough from rising.
- Check Your Yeast Before Using It: Before you even start, perform a quick test on your yeast. If it doesn’t foam or bubble after 5-10 minutes in the warm liquid and sugar, it’s likely expired or inactive. A fresh batch of yeast will save you from a disappointing donut outcome.
- Do Not Over-Mix the Batter: Once you’ve added the flour, mix the dough just until it comes together and gluten is developed through kneading. Overmixing can lead to over-developed gluten, which results in tough, dense, and chewy donuts instead of the desired light and fluffy texture.
- Keep the Glaze Warm: For that iconic shiny, thin coating that melts instantly, ensure your glaze is warm when you dip the warm, freshly fried donuts. You can gently reheat the glaze over a double boiler or in the microwave for a few seconds if it cools down too much.
- Don’t Skip the Second Rise: The short second rise (proofing) after cutting the donuts is crucial. It gives the dough a final boost of airiness before frying, ensuring your donuts are light and fluffy.
- Drain Properly: After frying, immediately transfer donuts to a wire rack placed over paper towels. This allows excess oil to drip off and prevents the bottom of the donuts from becoming soggy.
More Homemade Donut Recipes
If you’ve fallen in love with making donuts from scratch, there are plenty more delicious recipes to explore:
- Rainbow Donuts
- Easy Canned Biscuit Donuts Recipe
- Lazy Day Homemade Donuts
- Apple Cider Donut Recipe
- Cake Mix Donuts
- Try more Donut Recipes
More Copycat Recipes
Love recreating your favorite restaurant and store-bought treats at home? Check out these other fantastic copycat recipes:
- Krispy Kreme Donut Holes
- Little Debbie Brownies
- Little Debbie Brownies
- Wendy’s Frosty Recipe
Making these homemade Krispy Kreme glazed donuts is an incredibly rewarding experience, offering you the chance to savor that unparalleled fresh donut taste right in your own home. Don’t hesitate – gather your ingredients and make this recipe today for a truly hard-to-resist treat that will delight everyone. Once you’ve enjoyed your batch, we’d love for you to come back and leave a comment sharing your experience!
Pin
Krispy Kreme Donut Recipe
Ingredients
For the Donuts:
- 1/4 cup Milk (whole milk recommended for best results)
- 1/4 cup Boiling Water (cooled to 105-115°F for yeast activation)
- 1 1/2 cup All Purpose Flour (plain, not self-rising)
- 1/4 cup Granulated Sugar
- 1 tsp Dry Active Yeast (fresh and unexpired)
- 1/2 tsp Salt
- 2 Tbsp Unsalted Butter melted
- 1 Large Egg
- Vegetable Oil for deep frying
For the Signature Glaze:
- 2 cups Powdered Sugar (sifted)
- 2 tsp Pure Vanilla Extract
- 1/3 cup Melted Butter (unsalted)
- 1/4 cup Boiling Water (use as needed to achieve desired consistency)
Instructions
-
In a large mixing bowl, combine 1/4 cup milk and 1/4 cup boiling water (cooled to 105-115°F). Stir in the active dry yeast and 1 teaspoon of granulated sugar. Let the mixture sit for 5-10 minutes until foamy, indicating the yeast is active.
-
In a separate bowl, combine the 2 tablespoons of melted butter, 1 1/2 cups all-purpose flour, remaining granulated sugar, and salt. Stir until well combined.
-
Add the egg to the yeast mixture and whisk gently. Pour this combined wet mixture into the dry ingredients. Using a stand mixer with a dough hook, blend until a soft, slightly tacky dough is formed, pulling away from the sides of the bowl (add a little more flour if too sticky).
-
Turn the dough out onto a lightly floured surface and knead by hand for approximately 4-5 minutes until smooth and elastic.
-
Place the kneaded dough in a lightly oiled bowl, turning to coat. Cover with plastic wrap or a clean towel and allow the dough to rise in a warm, draft-free place for at least one hour, or until doubled in size.
-
Gently punch down the risen dough and roll it out on a floured surface to approximately ¼ inch thick using a rolling pin. Cut into donut shapes using a donut cutter or cookie cutters. Place cut donuts on parchment-lined baking sheets and let them rest for 10-15 minutes while you prepare the oil for frying.
-
Pour vegetable oil into a large stockpot or Dutch oven to a depth of 3-4 inches. Heat the oil to 375°F (190°C). Carefully fry the donuts in batches (2-3 at a time) for about 1-1.5 minutes per side, until golden brown. Transfer fried donuts to a plate lined with paper towels to drain excess oil.
-
For the glaze, combine 2 cups sifted powdered sugar, 2 teaspoons pure vanilla extract, and 1/3 cup melted butter in a mixing bowl. Gradually whisk in 1/4 cup boiling water until the glaze is smooth and has a thin, pourable consistency. Keep the glaze warm.
-
While the donuts are still warm, dip each one into the warm glaze, ensuring both sides are coated. Place them on a wire rack to allow excess glaze to drip off and the glaze to set. Serve and enjoy your delicious homemade Krispy Kreme-style donuts!
Recipe Notes
If using cookie cutters to shape your donuts, use a 3-4 inch cutter for the main donut and a 1-inch cutter for the center hole.
Always use a deep-fry thermometer to maintain the oil temperature at 375°F (190°C) for perfectly fried donuts that are golden on the outside and cooked through on the inside.
Nutrition Facts
Pin This Now to Remember It Later
Pin Recipe
