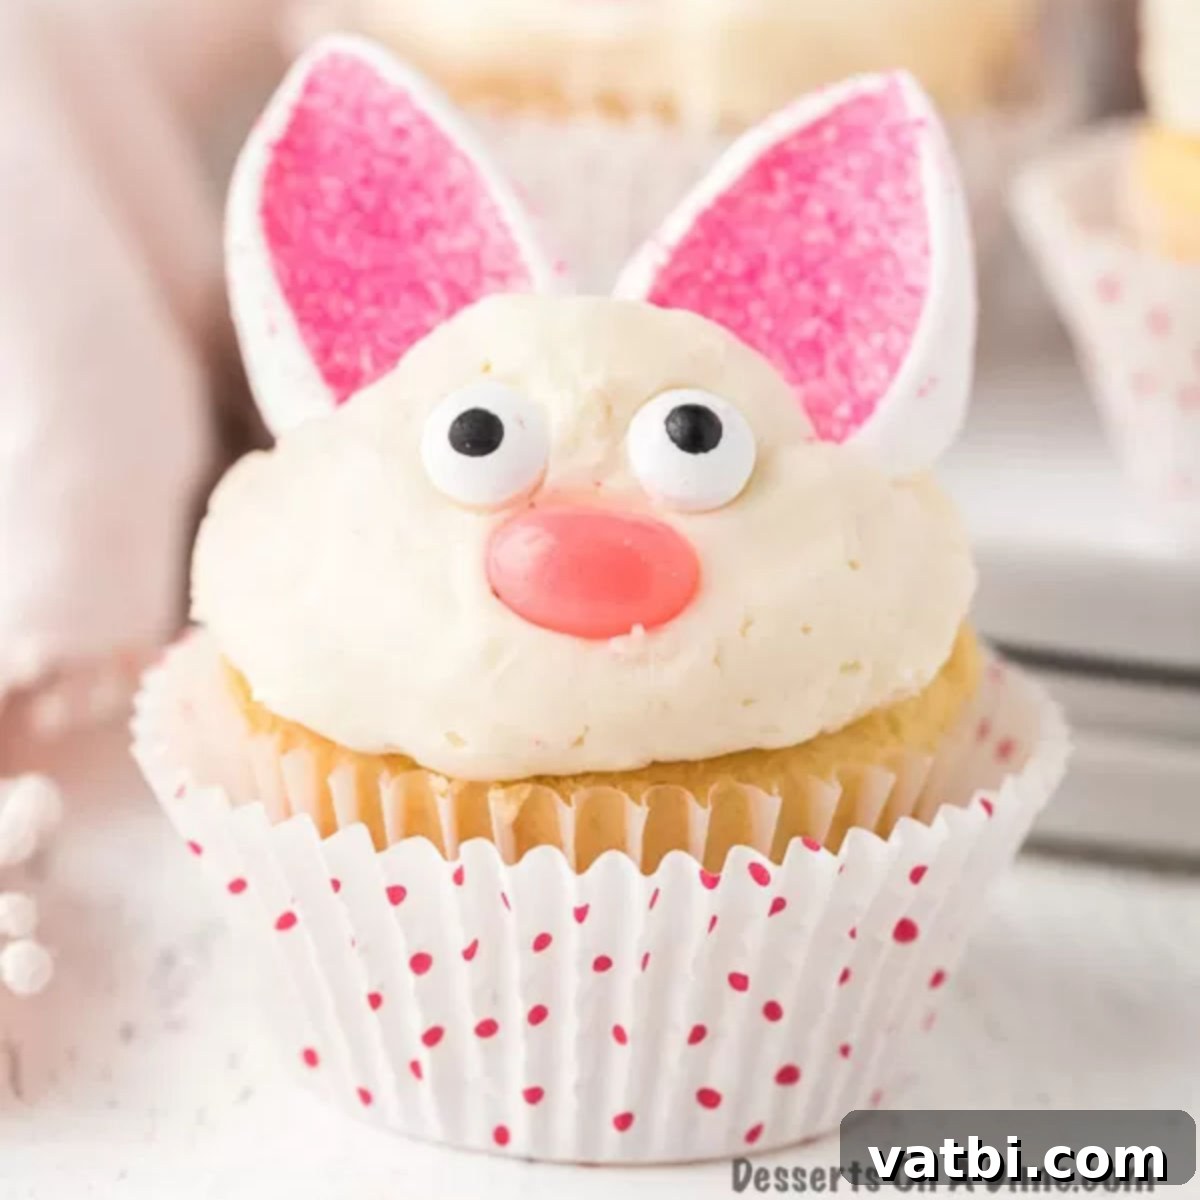
Adorable and Easy Easter Bunny Cupcakes: The Perfect Spring Treat for All Ages
Easter Bunny Cupcakes are not just a dessert; they’re a delightful experience waiting to happen! These charming treats are incredibly fun and easy to whip up, bringing smiles and festive cheer to any Easter celebration. Crafted with simple, readily available ingredients, they transform ordinary cupcakes into an adorable center piece for your holiday table. Whether you’re a seasoned baker or just starting, this recipe offers a rewarding and stress-free way to create something truly special for spring.
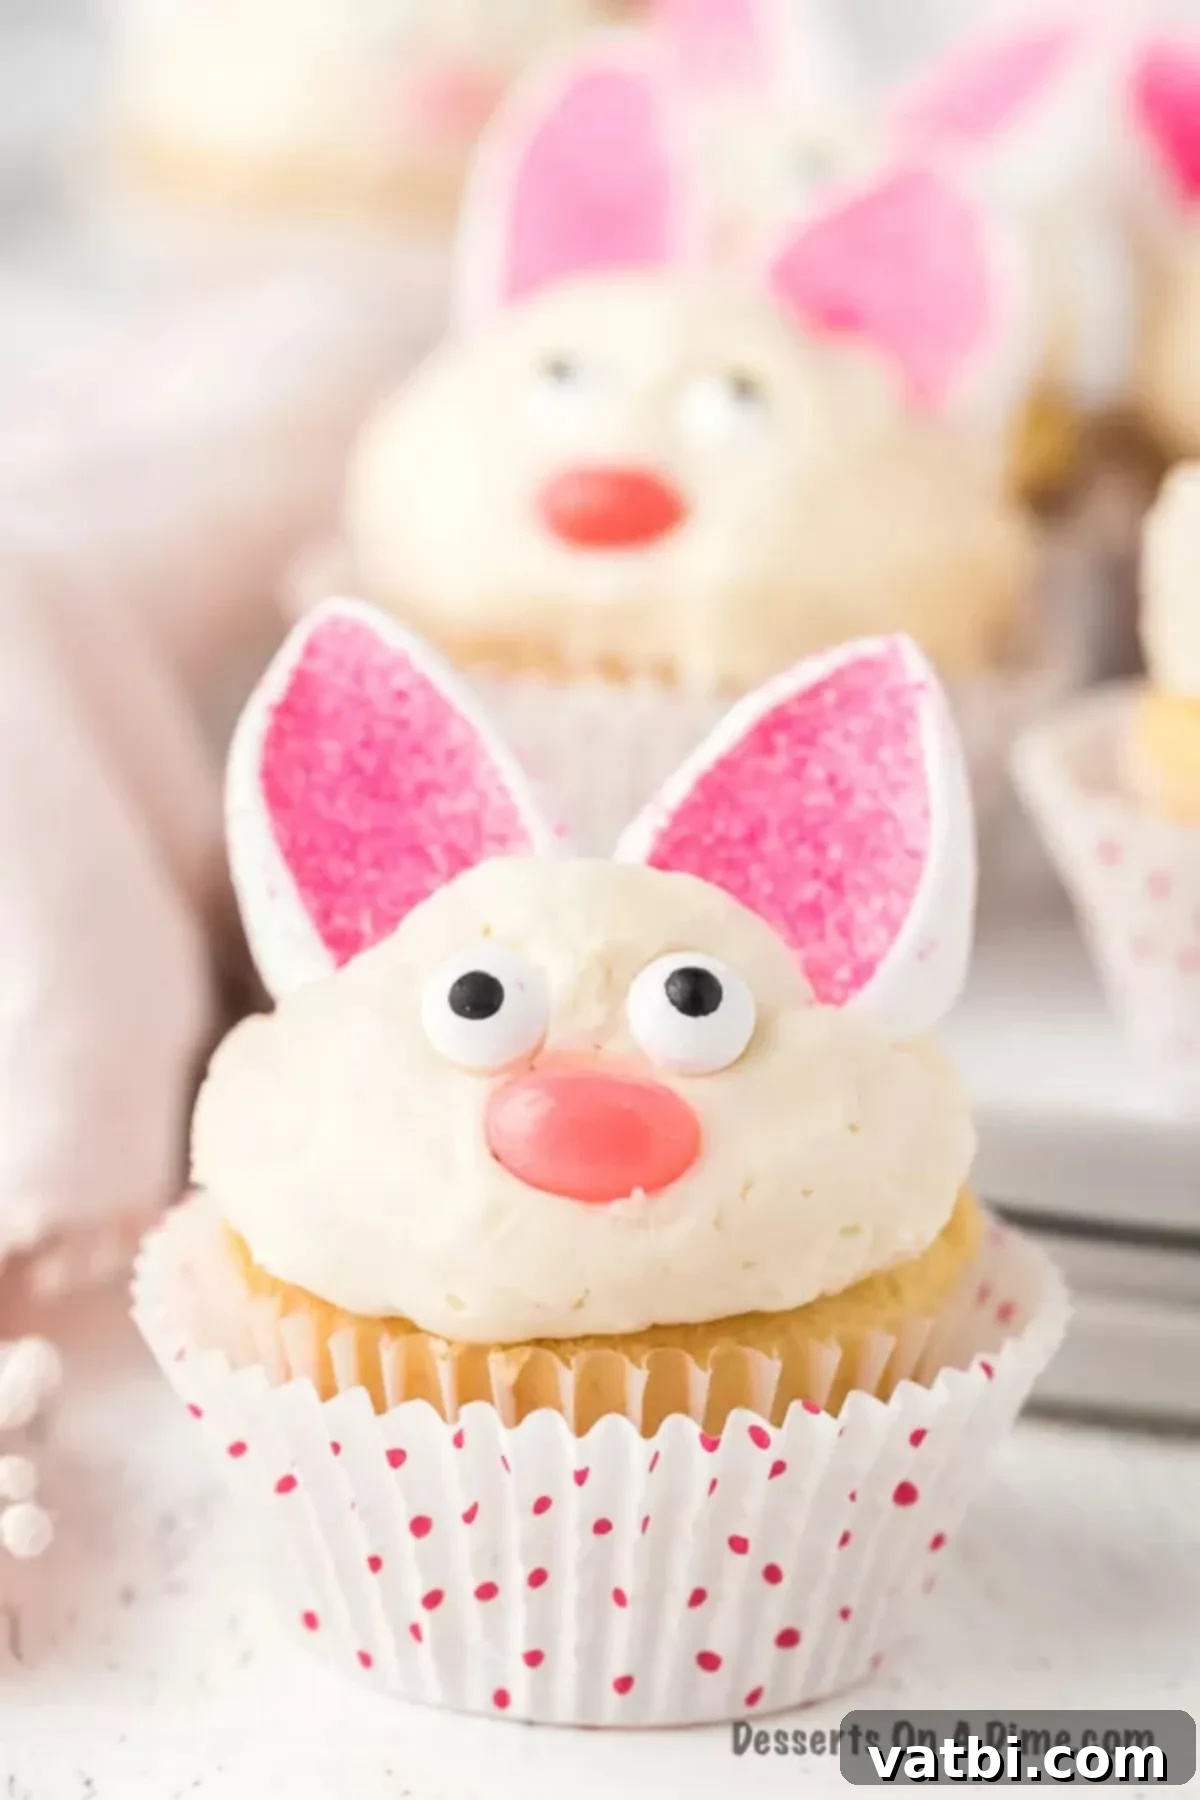
This cupcake recipe is an absolute joy to create, especially when you involve the little ones. From the moment you mix the batter to the final decorative touches, it’s a fantastic family activity. Imagine the laughter and excitement as everyone helps bring these cute bunnies to life! Making these bunny ear cupcakes has become a cherished annual tradition in our home, perfect for Easter dinner, a festive brunch, or even just a fun afternoon treat. We make them year after year, alongside other beloved Easter favorites like Chocolate Easter Bark, Mini Easter Cheesecakes, and Easter Pretzel Rods.
Beyond these, our Easter baking usually includes White Chocolate Easter Bark and Peeps Rice Krispie Treats. These easy Easter desserts are a testament to how simple ingredients and a little creativity can result in spectacular, memorable holiday treats. These bunny cupcakes fit right into that tradition, offering a charming dessert that’s as delightful to look at as it is to eat. The best part is how customizable they are, allowing you to tailor them to your family’s favorite flavors and creative preferences.
Table of contents
- Why We Love This Recipe
- Ingredients for Your Bunny Cupcakes
- How to Make Adorable Easter Bunny Cupcakes
- Pro Tips for Perfect Bunny Cupcakes
- Frequently Asked Questions About Easter Bunny Cupcakes
- More Easy Easter Desserts You’ll Love
- Try These Other Easy Cupcake Recipes
Why We Love This Recipe
There’s something truly magical about baking for the holidays, and these Easter Bunny Cupcakes embody that spirit perfectly. Not only do you end up with an incredibly adorable and delicious treat, but the process of making them creates lasting memories. This recipe is designed to be simple, making it accessible for bakers of all skill levels, and especially engaging for children. The transformation of a plain cupcake into a cute little bunny, complete with frosted “fur,” marshmallow ears, and sweet facial features, is a joy to behold. It’s a delightful activity that encourages creativity and family bonding, making your Easter celebrations even more special. The versatility of this recipe also allows for various flavor combinations and decorative customizations, ensuring that each batch can be uniquely yours.
Ingredients for Your Bunny Cupcakes
Creating these delightful bunny cupcakes requires just a few simple ingredients, many of which you likely already have in your pantry. The beauty of this recipe lies in its flexibility, allowing you to use your favorite cupcake base and frosting.
- Prepared Cupcakes: Start with your favorite batch of cupcakes. I often opt for a convenient box cake mix – choose any flavor you love! Vanilla, chocolate, or even a lemon cake mix would work wonderfully. If you prefer to bake from scratch, that’s fantastic too. Just ensure they are completely cooled before decorating.
- Frosting: The frosting forms the “fur” and the base for your bunny’s features. You can use store-bought frosting for convenience, or whip up your favorite homemade frosting. I particularly love using a classic buttercream frosting for its smooth texture and easy piping, but any white frosting will do. A rich Homemade Cream Cheese Frosting also provides a delicious tang that complements many cupcake flavors.
- Large Marshmallows: These are essential for creating those iconic bunny ears! Make sure to use large marshmallows, as they provide the ideal size and shape when cut diagonally. Mini marshmallows won’t give the same effect.
- Pink Sprinkles: To give the inside of the bunny ears that characteristic pink hue, fine pink sugar sprinkles (also known as sanding sugar) work best. Their delicate texture adheres well to the sticky marshmallow.
- Wilton Candy Eyes: These edible candy eyes instantly bring your bunnies to life! You can usually find them in the baking aisle of most grocery stores or craft stores that carry baking supplies. They add a whimsical and professional touch.
- Starburst Jellybeans: A small, colorful jellybean makes the perfect little bunny nose. Starburst jellybeans are great because of their vibrant colors and chewiness. You can use any small, soft candy for this purpose.
The complete ingredient list with precise measurements and more details can be found in the recipe card at the bottom of the page, along with all the instructions.
How to Make Adorable Easter Bunny Cupcakes
Let’s dive into the fun process of transforming simple cupcakes into these charming Easter bunnies. Follow these easy steps for a smooth and enjoyable baking experience.
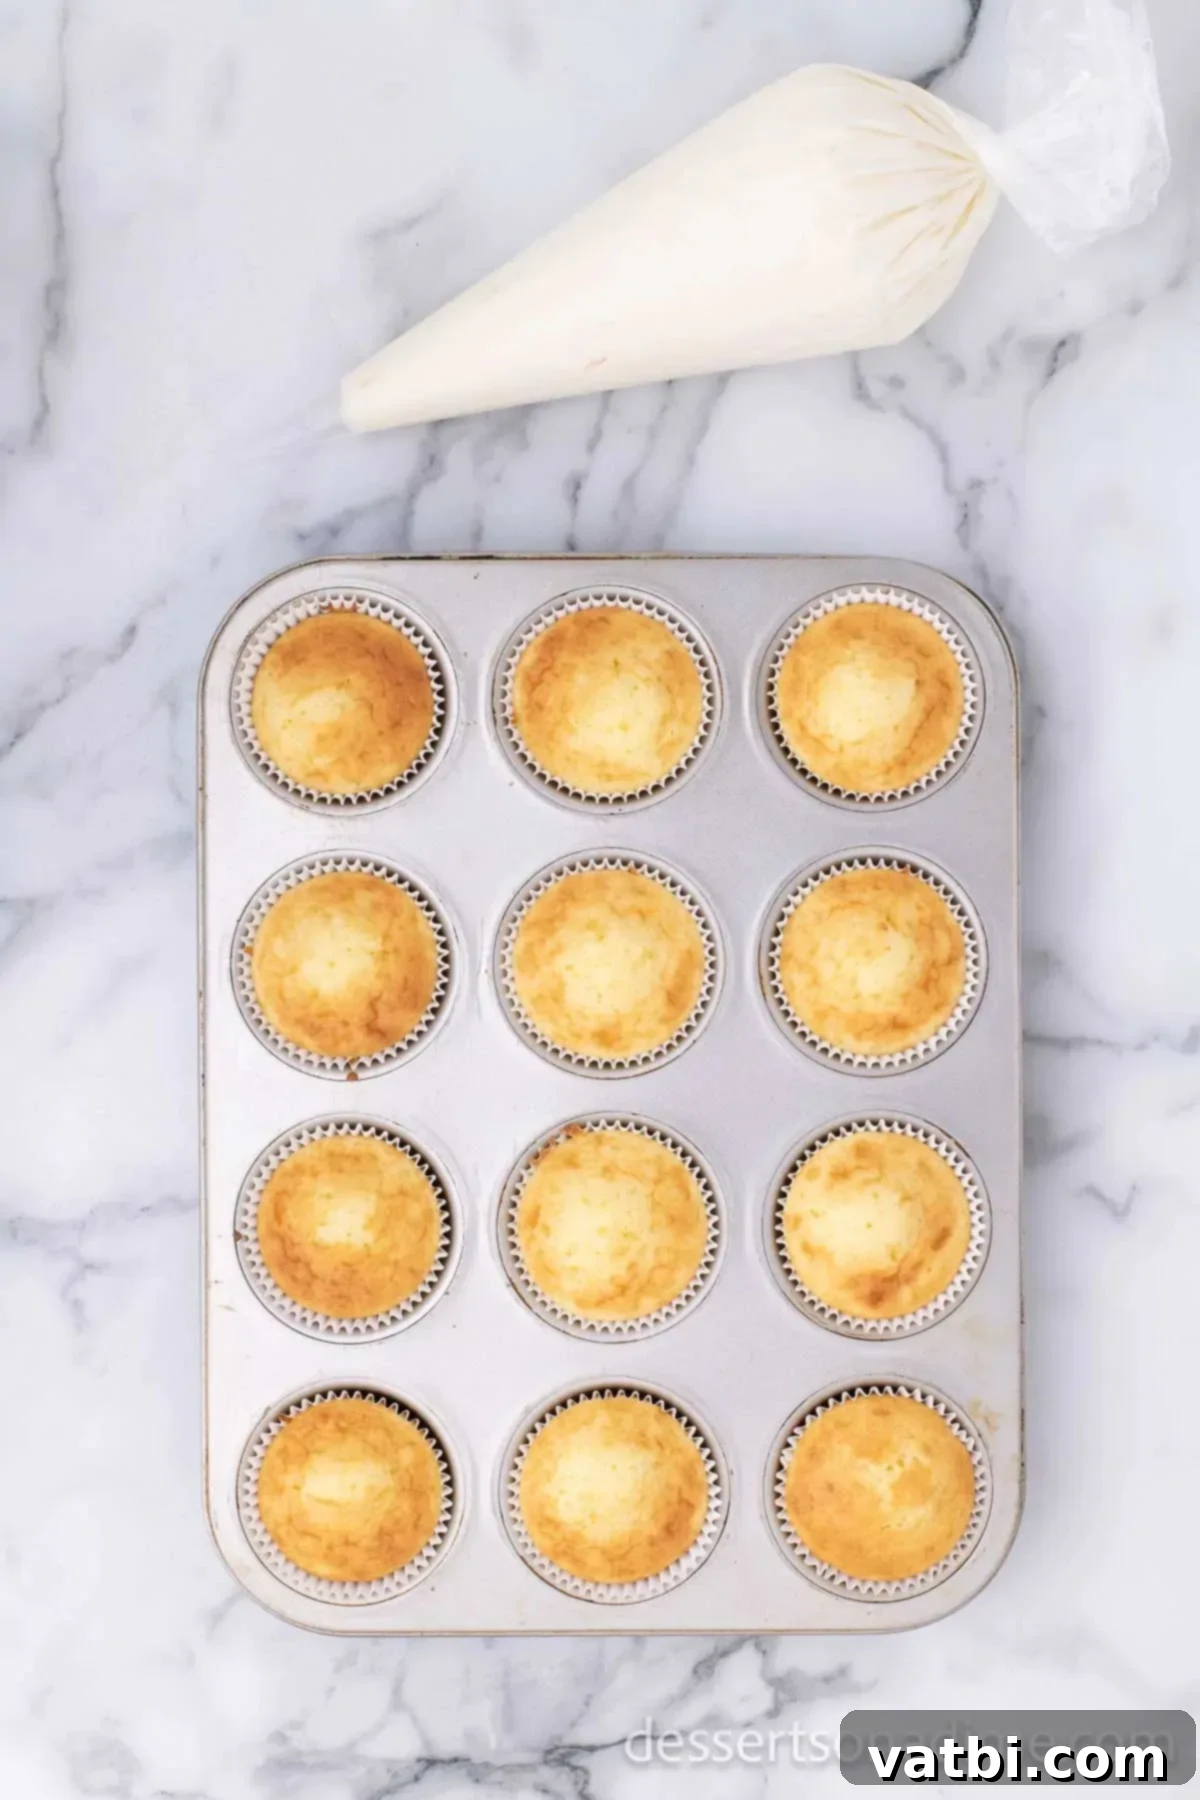
Step 1: Prepare Your Cupcakes. First, preheat your oven to 350°F (175°C) according to the package directions for your cake mix. Prepare the cupcake batter in a medium bowl, following the instructions on your box mix. Line a muffin tin with festive cupcake liners – this not only makes cleanup easier but also adds to the holiday spirit! Fill each liner about two-thirds full with batter and bake as directed. Once baked, remove the cupcakes from the oven and allow them to cool in the pan for a few minutes before transferring them to a wire rack to cool completely. This step is crucial; attempting to frost warm cupcakes will result in melted frosting and a messy situation.
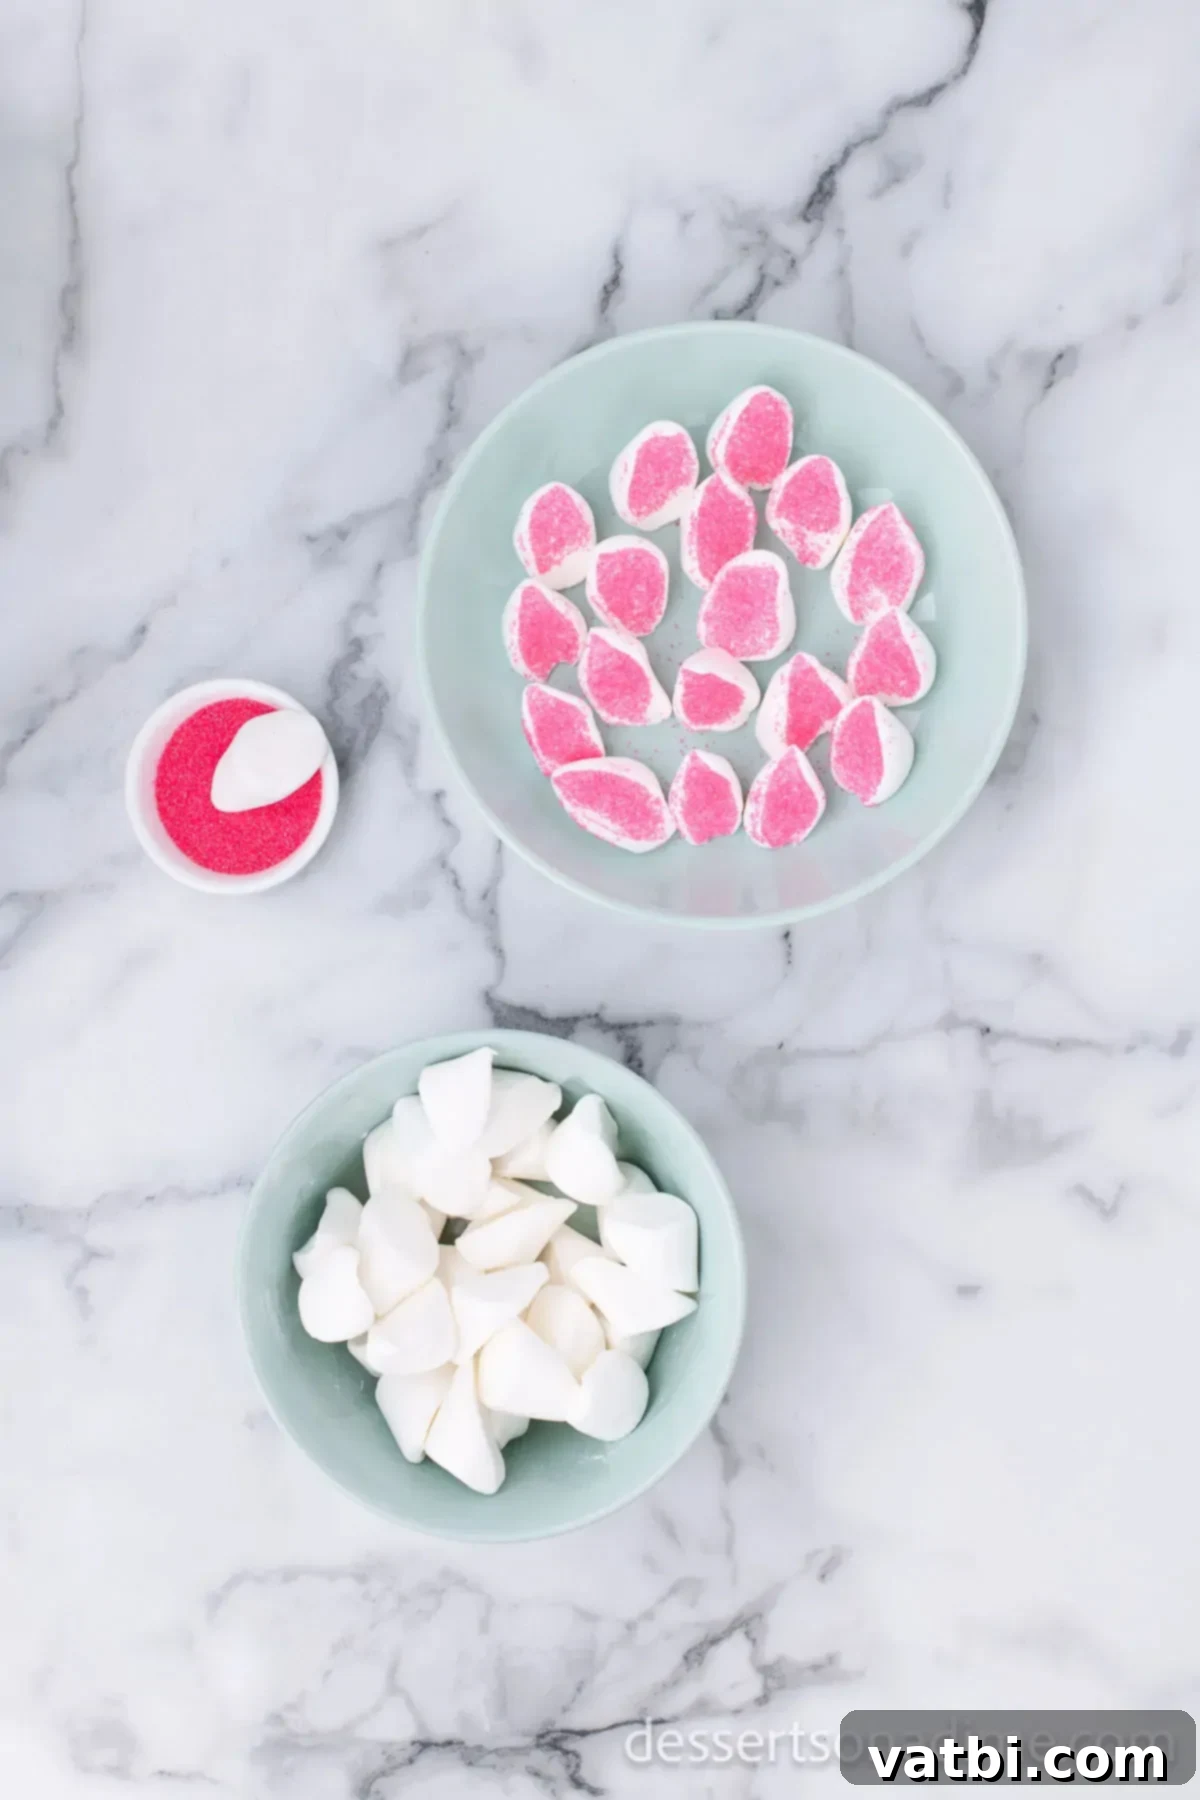
Step 2: Create the Bunny Ears. While your cupcakes are cooling, prepare your bunny ears. Take your large marshmallows and cut each one in half diagonally. Kitchen shears often work best for a clean cut, but a sharp knife can also be used. This diagonal cut gives the marshmallows an elongated, ear-like shape. Next, pour your pink sanding sugar or sprinkles into a small, shallow bowl. Gently dip the sticky, cut side of each marshmallow “ear” into the sprinkles. Press lightly to ensure a good coating. This creates the adorable pink inner ear detail. Set these aside on a plate until you’re ready to assemble.
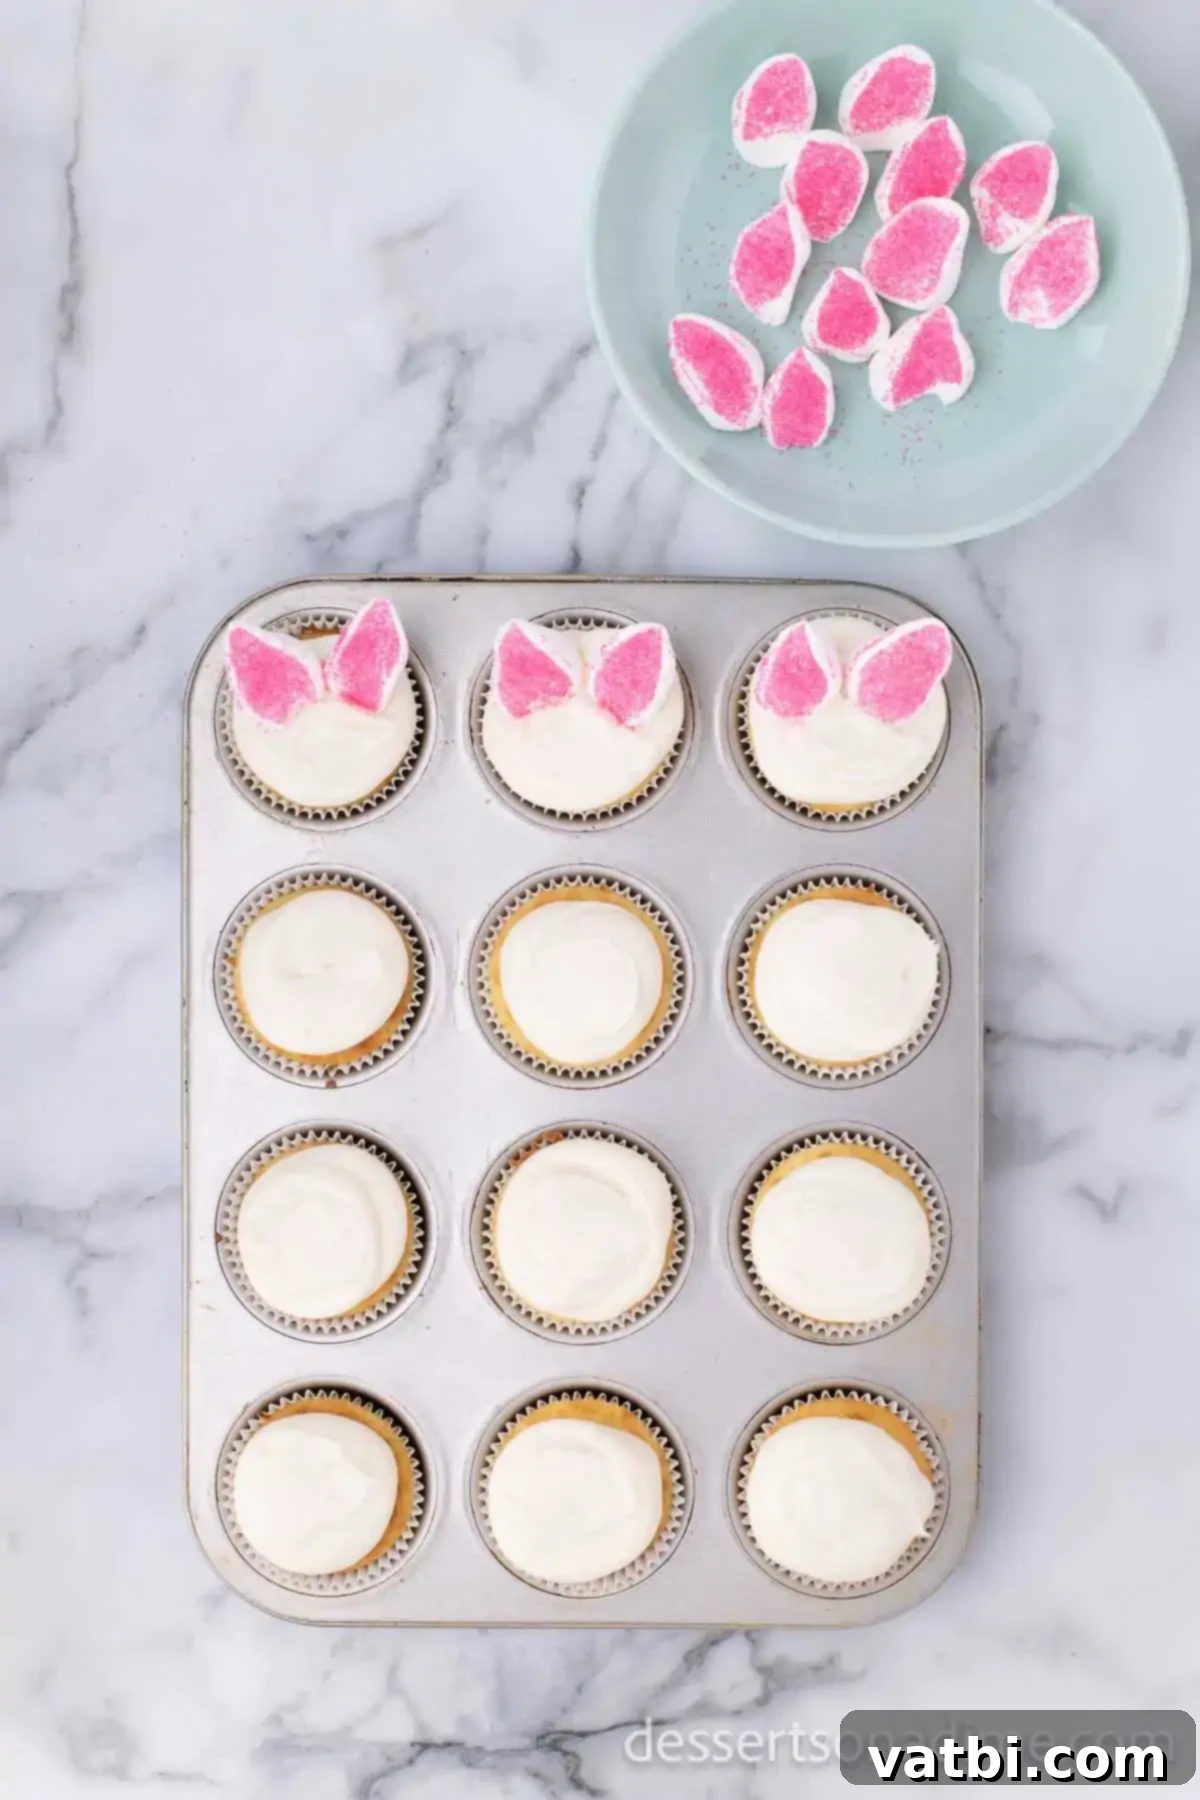
Step 3: Frost Your Cupcakes. Once the cupcakes are completely cool, it’s time for the frosting! If you’re using a piping bag, fill it with your prepared frosting. For a neat swirl, snip off the tip of the piping bag to create an opening. Start by placing a small dot of icing in the very center of the cupcake. Then, begin piping from the outer edge of the cupcake, moving inward in a spiral motion until you reach the center. This technique creates a beautiful, fluffy mound of frosting. If you don’t have a piping bag, a knife or offset spatula can be used to spread the frosting evenly across the cupcake, creating a smooth, fluffy surface.
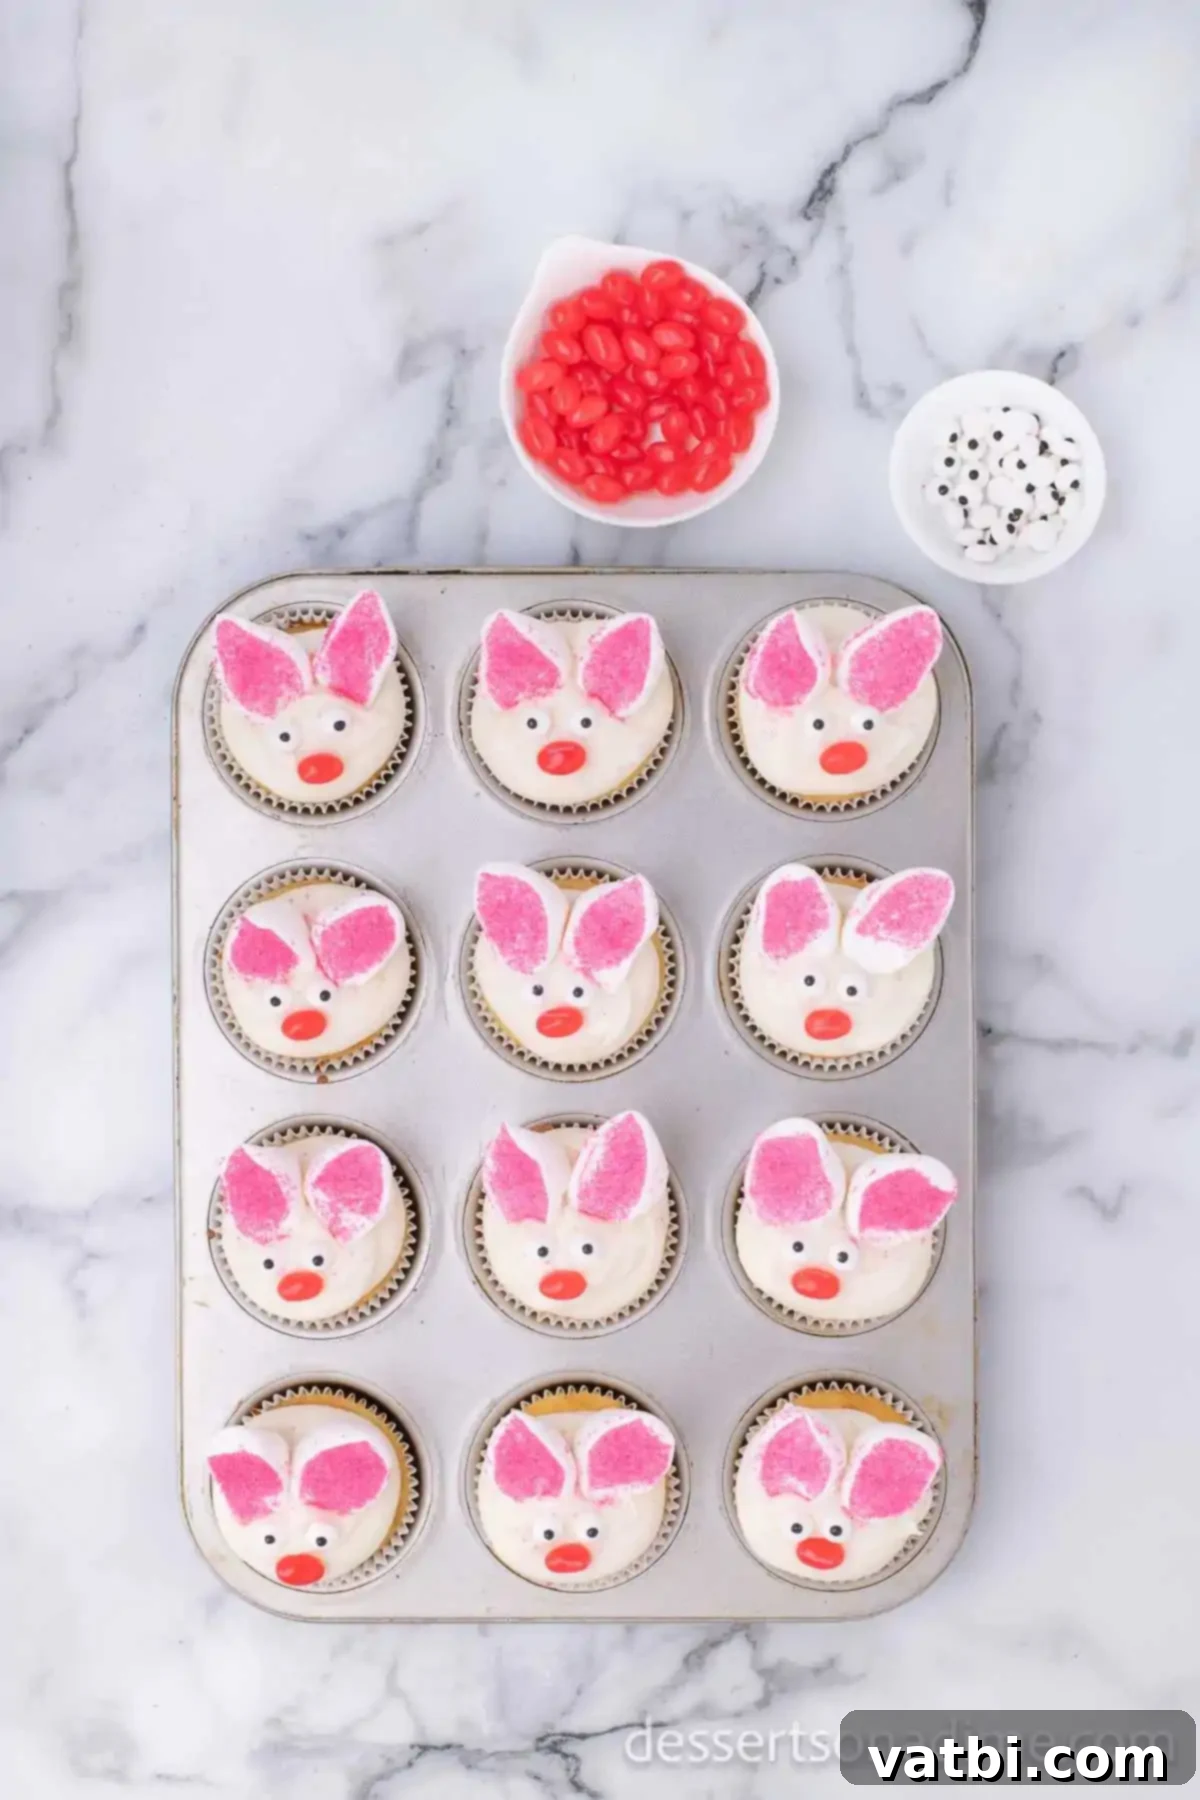
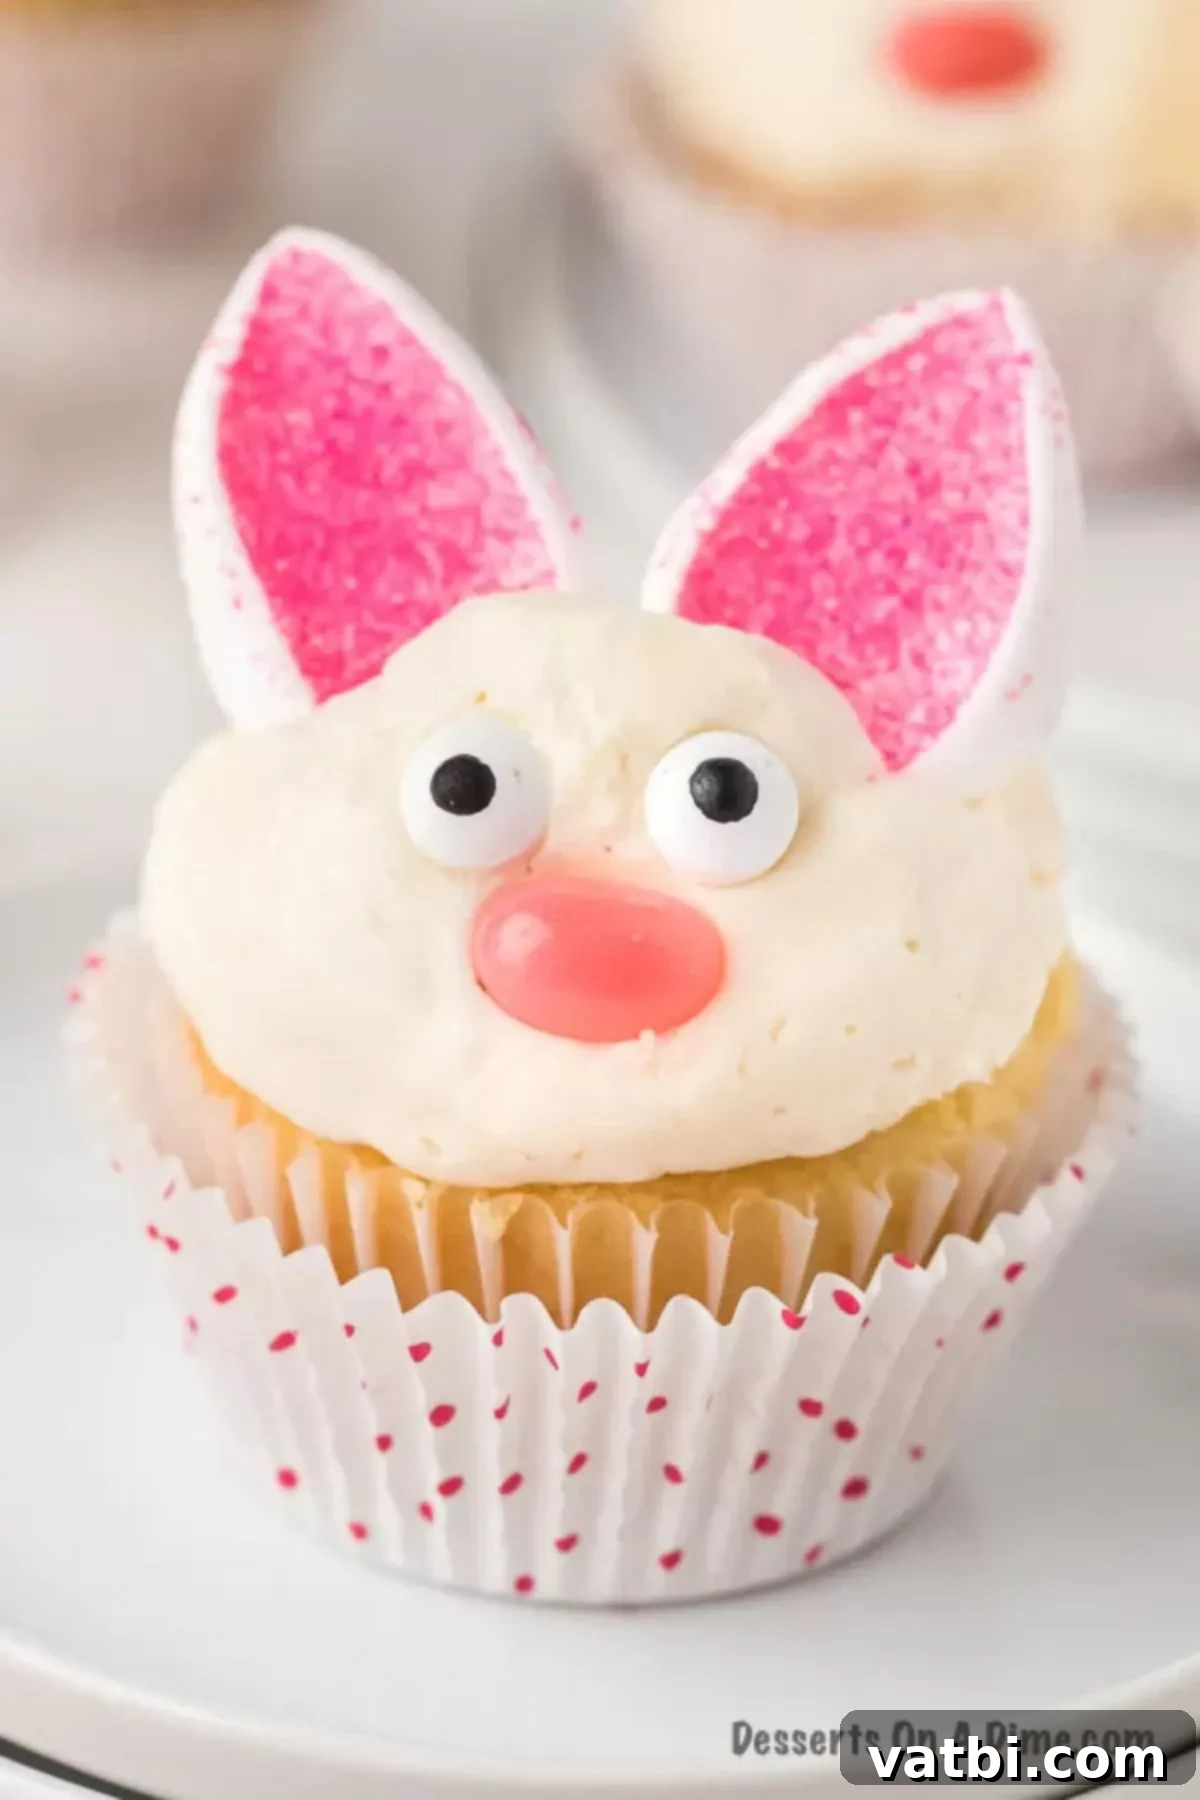
Step 4: Decorate Your Bunnies. Now for the most exciting part – assembling your bunnies! Take two of your marshmallow bunny ears and gently push them down into the top of each frosted cupcake, positioning them side-by-side to resemble ears sticking up. Next, carefully place two Wilton candy eyes onto the frosting, below the ears, to create the bunny’s eyes. Finally, add a Starburst jellybean (or your chosen small candy) just below the eyes for the nose. If you don’t have candy eyes, you can use small chocolate chips or even a black food decorator pen to draw on simple eyes. Arrange your finished Easter Bunny Cupcakes on a serving platter and admire your adorable creations!
Pro Tips for Perfect Bunny Cupcakes
Elevate your Easter Bunny Cupcakes with these helpful tips and creative ideas:
- Many Ways to Decorate: While jelly beans make excellent noses, don’t limit your creativity! You can use small pink candies, mini M&M’s, or even draw a small pink dot with an edible food marker for the bunny’s nose. For whiskers, thin strands of black licorice or edible black markers can add another cute touch. Let your imagination guide you for unique bunny faces!
- Add More Sprinkles: For an extra festive touch and a bit of sparkle, consider adding more sprinkles! Beyond the pink sugar for the ears, you can lightly dust the entire frosted cupcake with white sprinkles to mimic soft bunny fur, or add a mix of pastel-colored sprinkles around the base. Sanding sugar in various pastel shades also works beautifully to add texture and shimmer.
- Cool Completely: This tip cannot be stressed enough! Always, always ensure your cupcakes are completely cool before you even think about frosting them. Warm cupcakes will melt your beautiful frosting, turning your carefully crafted bunnies into a sticky mess. Patience is key for picture-perfect results.
- Frosting Choices: While a classic buttercream provides a firm, pipeable base, don’t hesitate to experiment with other frosting types. A light and airy whipped cream frosting can offer a different texture, or a rich cream cheese frosting adds a lovely tangy flavor. Just ensure your chosen frosting is thick enough to hold the marshmallow ears and candy eyes without them sliding off.
- Cupcake Flavors: The beauty of this recipe is its adaptability. Feel free to use any cupcake flavor as your base. Chocolate cupcakes offer a rich contrast, strawberry cupcakes add a fruity twist, and lemon cupcakes bring a bright, zesty note that perfectly complements spring. Even red velvet or carrot cake cupcakes would pair delightfully with the Easter decorations.
- Piping Bag Alternatives: No piping bag? No problem! A sturdy ziplock bag can serve as an excellent substitute. Simply fill the bag with frosting, push the frosting into one corner, and then snip off a small part of the corner to create an opening. You can control the flow by adjusting the size of the cut.
- Shredded Coconut for Fur: For an even more realistic bunny look, after frosting your cupcakes, gently sprinkle shredded coconut over the entire surface. The coconut flakes beautifully resemble soft bunny fur, adding a wonderful textural element and a subtle coconut flavor that many people adore. This step should be done before adding the marshmallow ears, eyes, and nose.
Frequently Asked Questions About Easter Bunny Cupcakes
Absolutely! These Easter Bunny Cupcakes are perfect for making ahead, which is a huge time-saver during busy holiday preparations. You can bake the cupcakes and prepare the frosting up to 1-2 days in advance. Store the cooled, unfrosted cupcakes in an airtight container at room temperature. The frosting can be stored in the refrigerator in an airtight container; just bring it to room temperature and re-whip if needed before frosting. For the best presentation, I recommend decorating the cupcakes no more than 12-24 hours before serving, as the marshmallows can sometimes get slightly stale or lose their stickiness over time.
To keep your decorated Easter Bunny Cupcakes fresh, store any leftovers in an airtight container at room temperature. They will remain delicious for up to 3-5 days. If your kitchen is particularly warm, or if your frosting contains ingredients like cream cheese that require refrigeration, you may want to store them in the fridge. Just be aware that refrigeration can sometimes alter the texture of cupcakes, making them a little drier. If refrigerating, let them come closer to room temperature before serving for the best taste.
Yes, you can freeze cupcakes, but I strongly suggest freezing the plain, undecorated cupcakes only. Wrap each cooled, unfrosted cupcake individually in plastic wrap, then place them in an airtight freezer-safe container or bag. They can be frozen for up to 2-3 months. When you’re ready to enjoy them, thaw the cupcakes overnight in the refrigerator, then bring them to room temperature before frosting and decorating. Freezing decorated cupcakes can cause the frosting to get watery, the marshmallows to become soggy, and the candy eyes to melt or smudge.
No worries if you can’t find candy eyes! There are several simple alternatives. You can use mini chocolate chips placed upside down (flat side facing out) for a classic look. Alternatively, you can use a black food decorator pen to draw small dots for eyes. For a more homemade touch, use small dots of melted chocolate or black gel icing. Get creative with what you have on hand!
While you could technically use mini marshmallows, they won’t give the same distinctive “ear” shape as the large ones. Large marshmallows, when cut diagonally, create a more elongated, pointed shape that truly resembles a bunny ear. Mini marshmallows would likely look more like small, rounded nubs. For the best visual effect, stick with large marshmallows.
More Easy Easter Desserts You’ll Love
If you’re looking for more delightful treats to complete your Easter spread, be sure to explore these other easy and festive dessert recipes:
- Easter Chocolate Covered Oreos
- Easter Dirt Cups Recipe
- Bunny Butt Cupcakes recipe
- Cinnamon Roll Bunnies
Try These Other Easy Cupcake Recipes
If you’ve enjoyed making these bunny cupcakes and are eager to try your hand at more simple yet impressive cupcake creations, check out these other fantastic recipes:
- Lemon Cupcakes Recipe
- Carrot Cake Cupcakes Recipe
- Rainbow Cupcakes
- Unicorn Cupcakes Recipe
Creating these Easter Bunny Cupcakes is a surefire way to add a touch of whimsy and sweetness to your spring celebrations. They are simple enough for beginners, yet charming enough to impress everyone. Don’t forget to come back and leave a comment and recipe rating after you’ve made them – we’d love to hear how they turned out for you!
Pin
Easter Bunny Cupcakes
Ingredients
- 24 cupcakes prepared I used a box mix
- Homemade Vanilla Buttercream Frosting – You want 2 batches https://www.eatingonadime.com/homemade-buttercream-icing/
- Giant marshmallows
- Pink sprinkles
- Wilton Candy Eyes
- Starburst Jelly beans for the nose
Instructions
-
Preheat oven to 350 degrees F (175 C).
-
Prepare cupcakes according to the directions on the package (or your chosen recipe) and let them cool completely on a wire rack.
-
Make the homemade buttercream frosting according to your recipe (if not using store-bought).
-
If using, place the icing into a Wilton piping bag (or a sturdy ziplock bag with the corner snipped).
-
Cut off the tip of the piping bag and pipe or spread icing evenly on each cooled cupcake.
-
For a neat swirl, place a dot of icing in the center, then start on the outside of the cupcake and swirl it around to the center.
-
Cut the giant marshmallows in half diagonally using kitchen shears or a sharp knife to create the ear shapes.
-
Place the pink sprinkles in a bowl and gently dip the sticky, cut side of the marshmallows into the sprinkles. These are your bunny ears.
-
Push two of the prepared bunny ears into the top of each iced cupcake, positioning them side-by-side.
-
Add two Wilton candy eyes and one Starburst jelly bean for the nose to each cupcake to complete the bunny face.
-
Serve immediately and enjoy, or store as directed below until ready to serve.
Recipe Notes
Nutrition Facts
Pin This Now to Remember It Later
Pin Recipe
