Easy No-Bake Easter Dirt Cake: A Festive & Delicious Oreo Dessert for Easter
Get ready to delight your taste buds and impress your Easter guests with this incredibly easy and delicious no-bake Easter Dirt Cake! This festive dessert takes the classic dirt cake everyone loves and transforms it into a vibrant, holiday-ready treat. Imagine luscious layers of crushed Oreo cookies, a rich and creamy cream cheese filling, fluffy whipped topping, and instant vanilla pudding, all crowned with an explosion of colorful Easter candy, adorable Peeps, and cheerful sprinkles. It’s the perfect fuss-free dessert for your Easter celebration that will have everyone asking for seconds – truly a family favorite that brings joy to the holiday table!

If you’re a devoted fan of Oreo cookies, you’re in for an absolute delight! This Easter Dirt Cake recipe stands out as one of the simplest and most satisfying Easter desserts to whip up. It perfectly captures all the beloved creamy textures and decadent flavors of traditional Oreo Dirt Cake, ensuring it will be an absolute hit with both children and adults alike. The true magic, however, lies in its cheerful topping, meticulously adorned with a medley of fun Easter candies, making it extra special and visually stunning for the holiday season. The ease of preparation, combined with its irresistible taste, makes this a go-to recipe for busy holidays.
Beyond this delightful dirt cake, my family cherishes other festive traditions in our Easter baking. Every year, we enjoy making sweet treats like our vibrant Chocolate Easter Bark, charming Easter Egg Sugar Cookies, and colorful Easter Egg Rice Krispie Treats. These recipes, much like the Easter Dirt Cake, are all designed to be easy and enjoyable, transforming Easter baking into a joyous family activity rather than a burdensome chore, especially for busy parents looking to create lasting memories. And for those who simply adore the iconic Peeps marshmallows, be sure to check out our Peeps Rice Krispie Treats Recipe for another sweet sensation that truly embraces the spirit of spring!
Table of Contents
- Why This Recipe Works So Well
- Essential Ingredients for Your Easter Dirt Cake
- Creative Variations and Easy Substitutions
- How to Assemble Your Easy Easter Dirt Cake
- Frequently Asked Questions (FAQs)
- Pro Tips for a Perfect Easter Dirt Cake
- Serving & Storage Suggestions
- More Easy Easter Desserts to Love
- Other Delicious & Easy Oreo Recipes to Try
Why This No-Bake Easter Dirt Cake Recipe Works So Well
This Easter Dirt Cake isn’t just a dessert; it’s a celebration of ease and flavor, making it an ideal centerpiece for your holiday spread. Its no-bake nature is a huge advantage, meaning you can skip heating up your kitchen and avoid the oven entirely, freeing up valuable time during the bustling Easter preparations. This is particularly helpful when your oven is already occupied with the main holiday meal. The delightful combination of rich, creamy layers – from the crunchy Oreo “dirt” to the smooth cream cheese and pudding filling – and an irresistibly fun, festive topping makes it a surefire hit at any gathering. It’s incredibly simple to assemble, requiring minimal kitchen skills, yet the resulting taste is nothing short of amazing – a perfect blend of sweet, crunchy, and smooth textures in every bite.
Moreover, this recipe offers a fantastic opportunity to get the whole family involved, especially the younger ones. Kids absolutely love helping with the satisfying task of crushing Oreos and, of course, the exciting final stage of decorating with all the colorful Easter candies. This makes it a truly family-friendly project that culminates in a delicious, shared treat and wonderful holiday memories. Its simplicity doesn’t compromise on taste or presentation, proving that you don’t need complicated techniques to create a show-stopping dessert. If you’re looking for another delightful and easy treat to make alongside, consider pairing this with our Bunny Bait Recipe for a sweet and savory snack that complements the dirt cake perfectly.
Essential Ingredients for Your Delicious Easter Dirt Cake

Crafting the perfect Easter Dirt Cake starts with selecting the right ingredients. Each component plays a vital role in creating that signature texture and flavor profile that makes this dessert so universally beloved and a true holiday highlight.
- Oreos: For the classic “dirt” layers, we highly recommend using regular Oreo cookies, not the double-stuffed variety. The traditional cream-to-cookie ratio works best for crushing and creating the base and top layers without making them overly sweet or greasy. Their distinct chocolate flavor is absolutely fundamental to the authentic dirt cake experience.
- Cream Cheese: It is absolutely crucial that your cream cheese is softened to room temperature before you begin. This ensures that it blends smoothly and effortlessly with the other ingredients, resulting in a perfectly lump-free and uniform creamy filling. It provides the delightful tangy and rich base that balances the sweetness of the other components.
- Powdered Sugar: Also widely known as confectioners’ sugar, this finely milled sugar blends seamlessly into the cream cheese mixture. It provides essential sweetness without introducing any grainy texture, which is vital for a smooth and luxurious filling. If you happen to notice any lumps in your powdered sugar, a quick sift before using will guarantee the smoothest possible result.
- Cool Whip: For the most luxurious, airy, and flavorful filling, full-fat Cool Whip is highly recommended. Its stable and light texture contributes significantly to the overall creamy and irresistible consistency of the dessert. While other whipped toppings can be used, Cool Whip offers unmatched convenience and consistently reliable results for a perfect no-bake dessert.
- Instant Vanilla Pudding: This recipe specifically calls for instant pudding mix, and it’s important not to confuse it with the cook-and-serve variety. Instant pudding is specifically formulated to set quickly and firmly without requiring any heat, which is absolutely essential for the success of this no-bake dessert. The vanilla flavor provides a classic, comforting sweetness that pairs wonderfully with the rich chocolate Oreos.
- Easter Candy: This is truly where the fun begins, allowing your creativity to shine! Get playful and imaginative with your decorations. I personally love incorporating colorful Peeps, charming speckled Robin candy eggs, and a variety of festive sprinkles to add that unmistakable Easter charm and visual appeal. Other fantastic and fun options could include classic gummy worms (for a more traditional “dirt” cake feel), pastel-colored M&M’s, jelly beans, small chocolate bunnies, or even mini Cadbury eggs. Feel free to let your imagination run wild to make your Easter Dirt Cake uniquely yours and a true centerpiece!
For your convenience, the complete and detailed list of ingredients with exact measurements can be found in the comprehensive recipe card, which is meticulously provided at the bottom of this post.
Creative Variations and Easy Substitutions to Try
While the classic Easter Dirt Cake recipe is undeniably perfect as is, it’s also wonderfully versatile, making it an excellent canvas for fun customizations. Don’t be afraid to experiment with these simple variations to tailor the dessert to your taste preferences or to utilize ingredients you already have on hand, ensuring every batch is a unique and delightful experience!
- Chocolate Pudding Power-Up: For those who crave an even richer and deeper chocolate flavor profile, an easy and impactful swap is to replace the instant vanilla pudding mix with an instant chocolate pudding mix. This creates a more intense “chocolate dirt” experience that many chocolate lovers will absolutely adore.
- Vibrant Green Grass Layer: To create a visually stunning and whimsical “grass” effect, you have a couple of options. You can either add a few drops of green food coloring directly to your pudding mixture or, for a textural element, dye shredded coconut with green food coloring and sprinkle it generously over the top layer. This vibrant addition truly makes the colorful Easter candy “pop” and enhances the festive spring theme.
- Alternative Cookie Bases: While Oreos are classic, consider experimenting with other cookie varieties for your base and top layers. You could try different flavored chocolate sandwich cookies, crushed graham crackers for a more traditional crust flavor, or even crushed chocolate chip cookies for a different texture and taste.
- Fruity Fresh Layers: Introduce a delightful fresh element by adding a thin layer of sliced ripe bananas or juicy fresh strawberries between the creamy filling and the top Oreo layer. This inclusion adds a lovely fruity contrast that brightens the entire dessert and offers an extra layer of flavor.
- Homemade Whipped Cream: While Cool Whip offers unparalleled convenience, you can certainly substitute it with homemade whipped cream for a richer, less processed, and often more indulgent alternative. Just ensure it’s whipped to stiff peaks to maintain the cake’s structure and creamy consistency.
- Themed Toppings Beyond Easter: The “dirt cake” concept is adaptable for any holiday or occasion! For a traditional dirt cake feel, use classic gummy worms. For Halloween, think candy corn, gummy eyeballs, or spooky marshmallow ghosts. For a festive Christmas version, use red and green M&M’s and crushed candy canes.
How to Assemble Your Easy Easter Dirt Cake: Step-by-Step Guide
Making this Easter Dirt Cake is not only straightforward but also an incredibly enjoyable process. Follow these simple, clear steps to effortlessly create a beautiful and delicious dessert that is guaranteed to be the highlight of your Easter spread or any spring gathering. Preparation is key, and these steps ensure a smooth and successful baking experience.
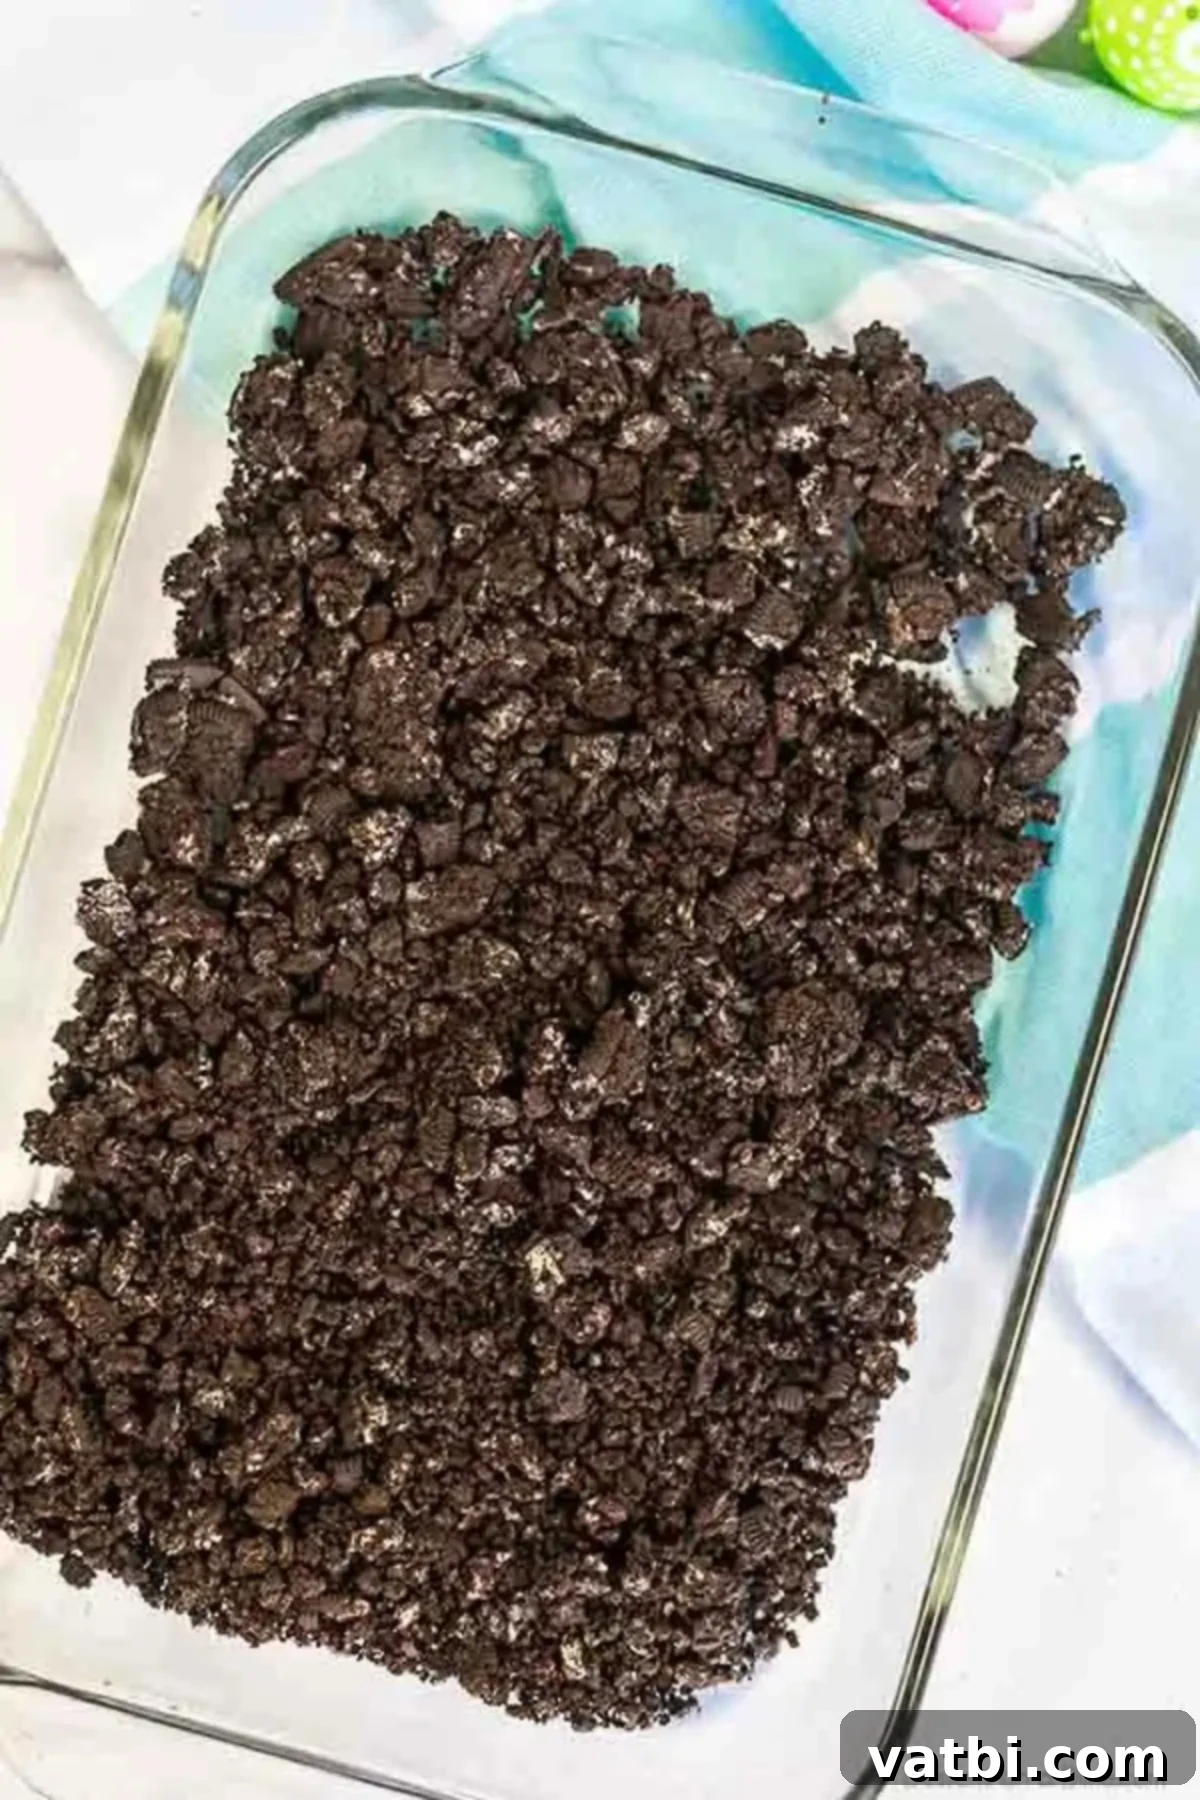
Step 1: Prepare the Oreo Base. Begin by crushing approximately two-thirds of a standard package of regular Oreo sandwich cookies. You can achieve fine, consistent crumbs quickly in a food processor, or if you prefer a more hands-on approach, place them in a large Ziploc bag, seal it tightly (ensuring to remove excess air), and use a rolling pin or the bottom of a heavy pot to crush them. Once crushed, evenly spread these crumbs across the bottom of a 9×13 inch baking pan. This forms your delightful and foundational “dirt” layer. Set the pan aside as you prepare the filling.
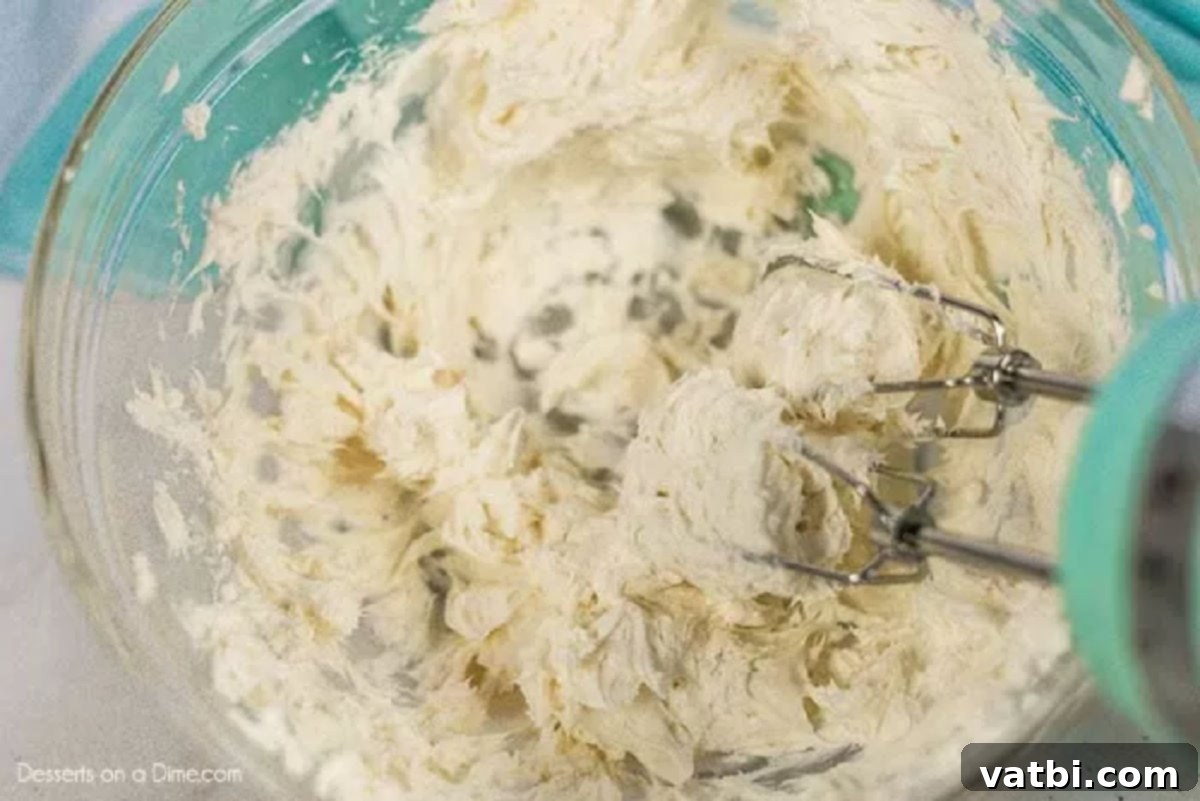
Step 2: Create the Cream Cheese Layer. In a spacious mixing bowl, combine the thoroughly softened cream cheese and the equally softened butter. Using a handheld mixer, beat these two ingredients together until the mixture is beautifully light, airy, and completely smooth, with no lumps visible. Gradually incorporate the powdered sugar, mixing until it is fully combined and smooth. Finally, gently fold in the whipped topping until no streaks remain and the mixture is uniform. This creates a rich, tangy, and airy cream cheese filling. Set this bowl aside for a moment.
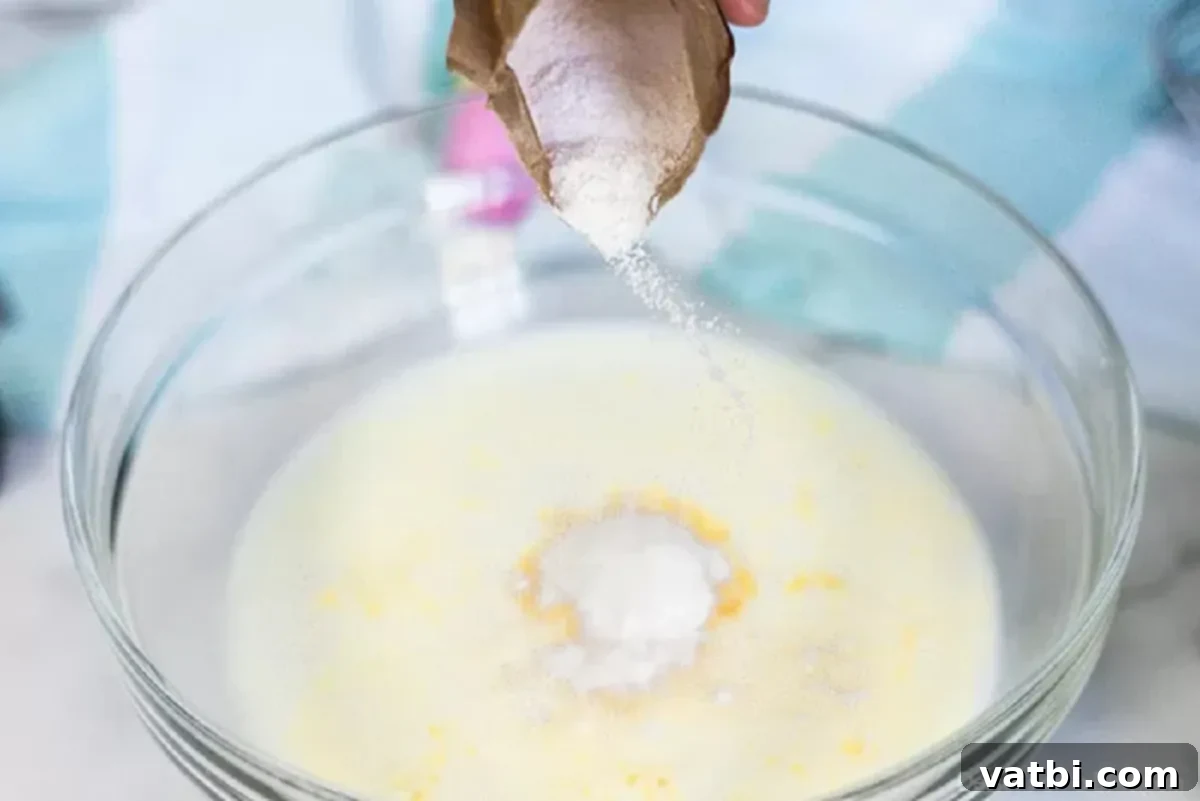
Step 3: Prepare the Pudding Mixture. In a separate, clean mixing bowl, whisk together the cold milk and the instant vanilla pudding mixes. Continue to whisk vigorously for approximately 2-3 minutes, or until the mixture visibly begins to thicken and becomes smooth and creamy. You’ll notice it becomes quite dense fairly quickly, so it’s important to work efficiently to prevent it from setting too much before the next step.
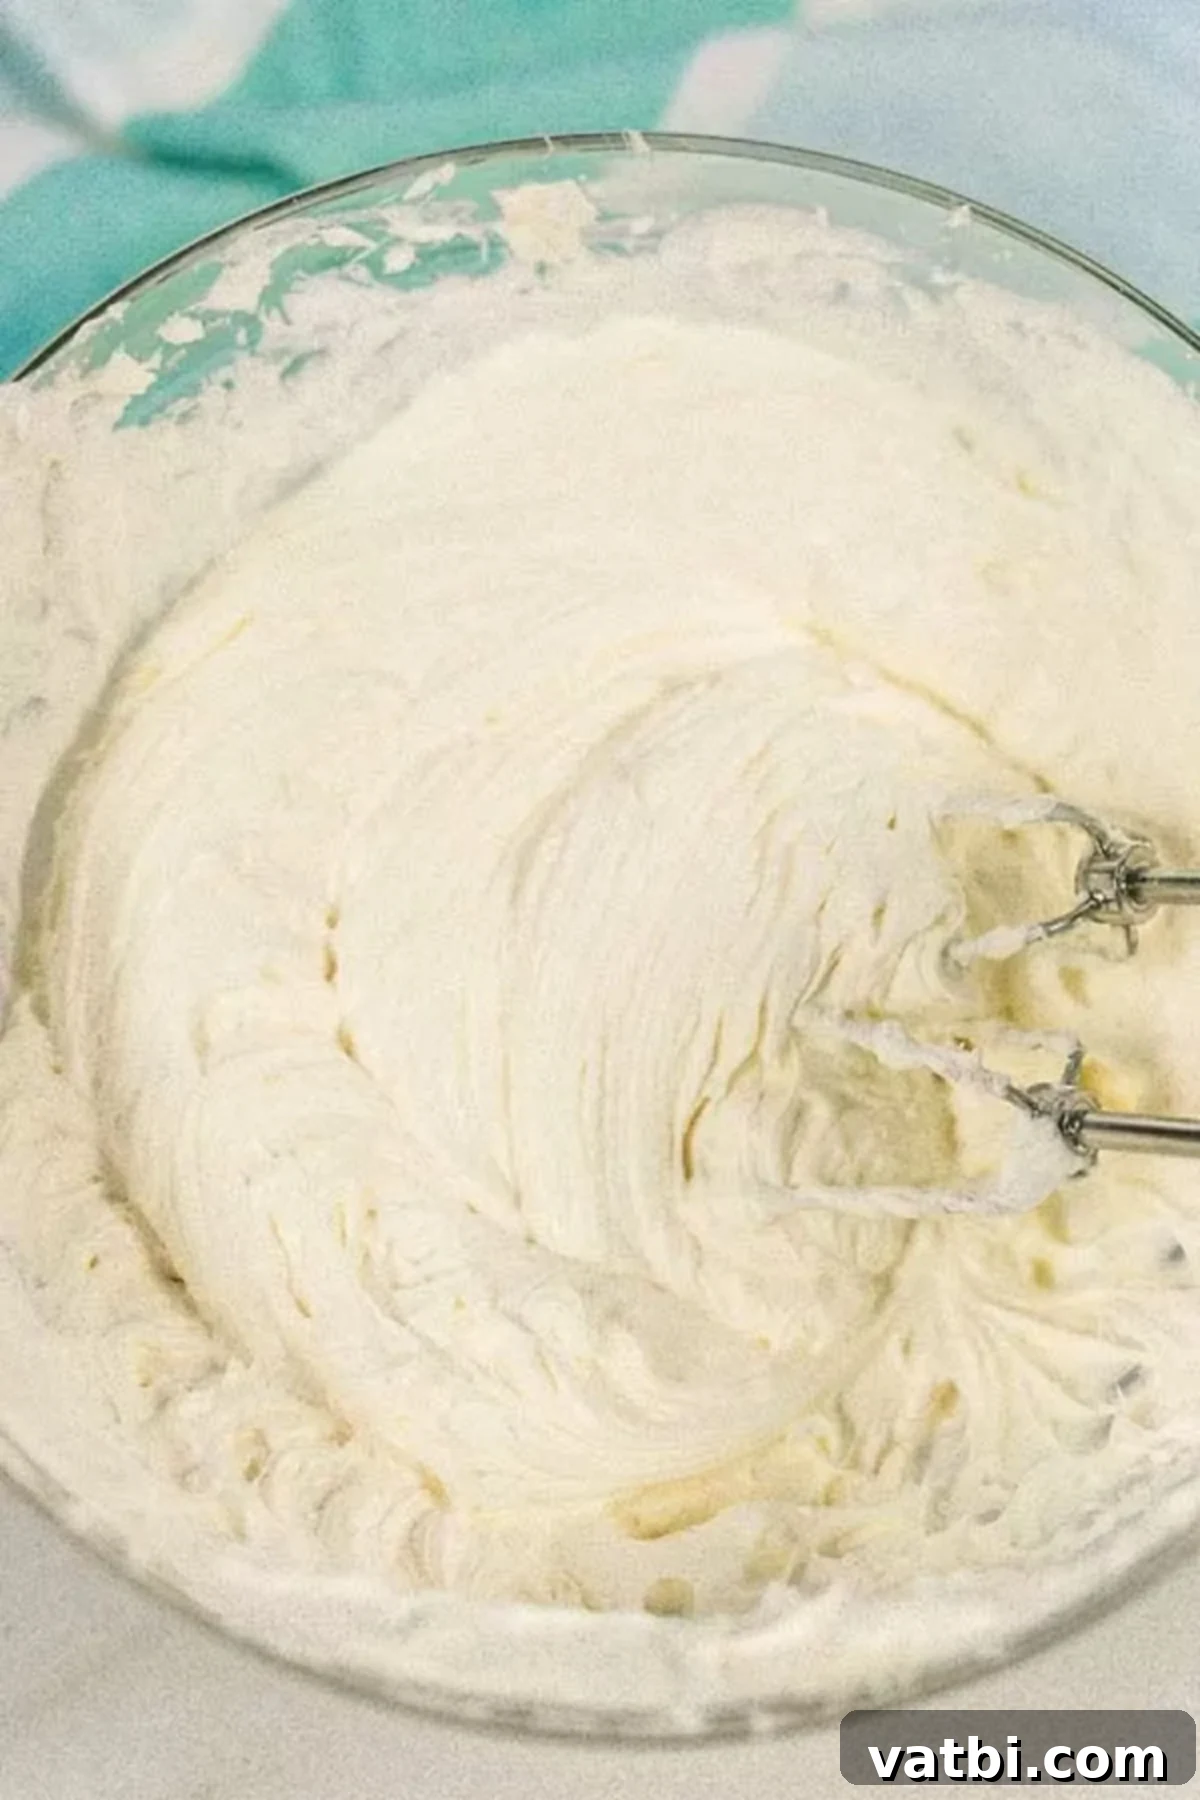
Step 4: Combine the Delicious Fillings. Carefully and gently fold the prepared, thickened pudding mixture into the cream cheese and whipped topping blend that you set aside earlier. Mix just until everything is combined and appears uniform in color and texture. It’s important to be gentle here and avoid overmixing, as this can easily deflate the airy whipped topping and result in a less fluffy and desirable filling.
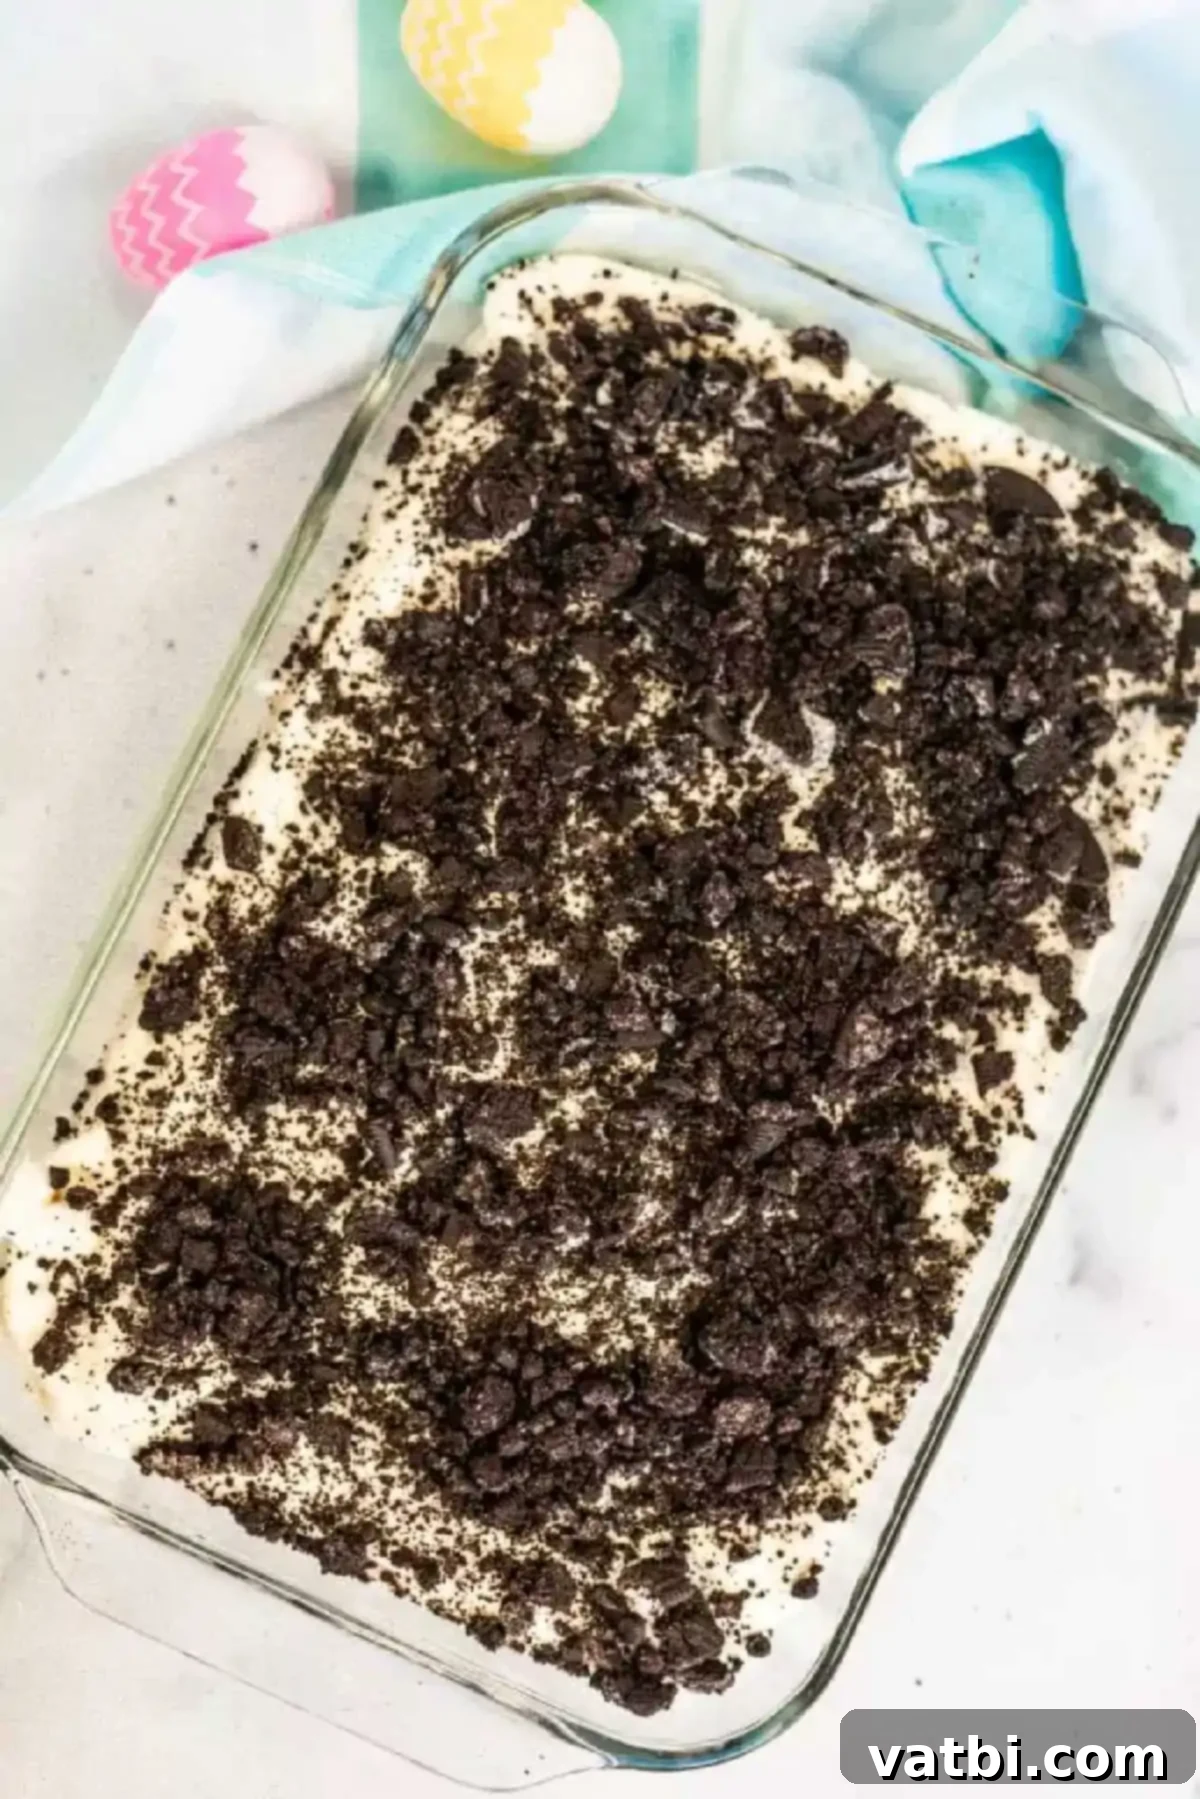
Step 5: Layer and Top the Cake. Once the creamy filling is ready, carefully pour it over the Oreo crumb base already in your 9×13 inch pan. Use a spatula or the back of a spoon to gently spread it evenly across the crushed cookies, creating a smooth and even layer. Next, take the remaining crushed chocolate sandwich cookies (from the last third of the package) and sprinkle them generously and evenly over the top of this creamy layer. This final layer of crushed Oreos is what gives the dessert its iconic “dirt” look.
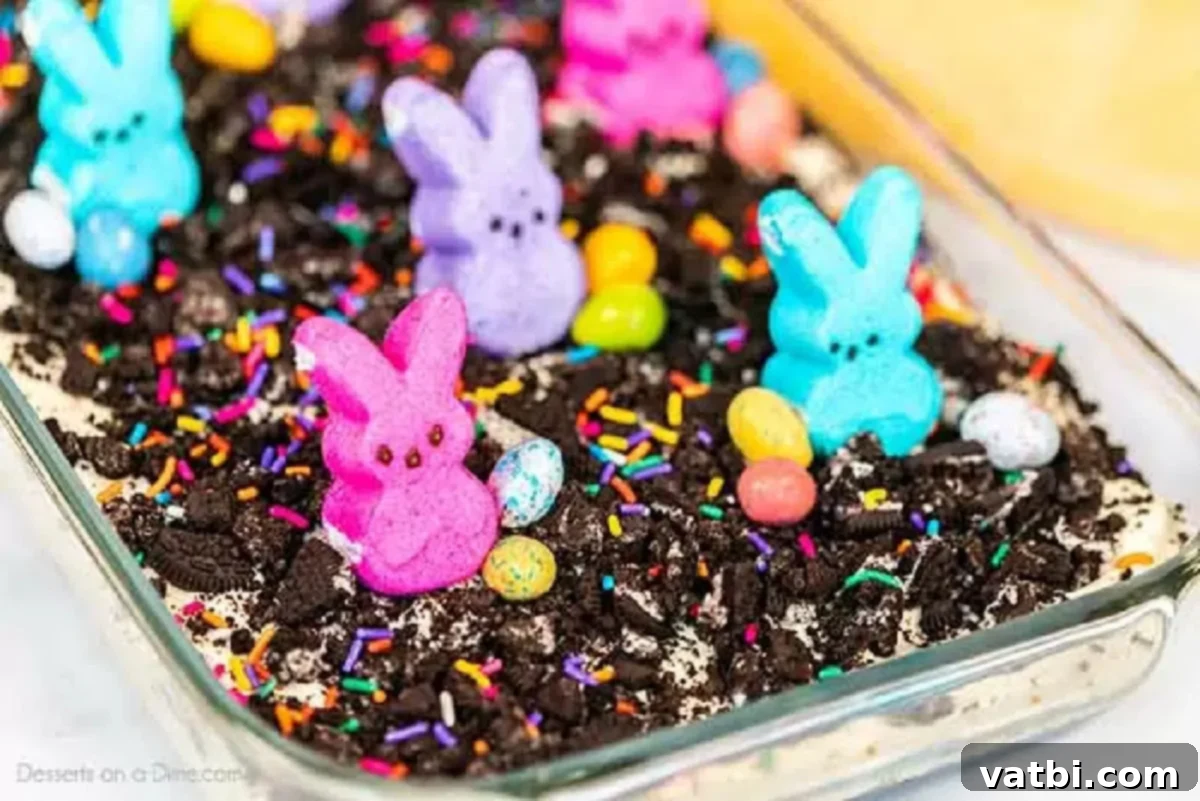
Step 6: Chill and Decorate for Serving. Once your Easter Dirt Cake is fully assembled, cover the pan tightly with plastic wrap to prevent it from absorbing any refrigerator odors and to maintain moisture. Refrigerate it for a minimum of 3-4 hours, or ideally, overnight. This crucial chilling time allows the pudding to set completely and firm up, and it also gives the flavors ample opportunity to meld together beautifully. Just before you’re ready to serve, remove the cake from the refrigerator and unleash your creativity by decorating it lavishly with your chosen assortment of Easter candies. Arrange Peeps, robin eggs, and sprinkles to create a truly festive and eye-catching display that will impress everyone!

Frequently Asked Questions (FAQs) About Easter Dirt Cake
Crushing Oreos for your Easter Dirt Cake is incredibly simple and can be done with common kitchen tools! The most efficient method for achieving fine, consistent crumbs is by using a food processor. Simply pulse the cookies until they reach your desired “dirt” texture. If you don’t own a food processor, no worries! Just place the Oreo cookies into a large, sturdy Ziploc bag, seal it tightly (making sure to remove as much air as possible), and then use a rolling pin, a meat mallet, or the bottom of a heavy pot to crush them into your desired consistency. For an authentic “dirt” effect, aim for a delightful mix of fine crumbs and slightly larger, satisfying pieces.
To ensure your Easter Dirt Cake remains fresh and delicious, it’s essential to store it properly. After assembly, cover the baking dish tightly with plastic wrap, or transfer any leftovers to an airtight container, and refrigerate promptly. When stored correctly, it will maintain its wonderful flavor and texture for up to 3 days in the fridge. However, please keep in mind that delicate decorative candies, such as Peeps or certain types of gummy candies, might start to become a bit soggy or lose their original texture and vibrant appearance over time due to moisture. If you are preparing the cake in advance and want to preserve the pristine look of your candy, consider removing the Peeps and other delicate decorations before storing and then adding them fresh right before you plan to serve the cake.
While it is technically possible to freeze most dirt cake recipes, it’s generally not recommended for this particular Easter Dirt Cake. The creamy texture of the filling, which includes cream cheese and pudding, tends to change significantly once it has been frozen and then thawed. It can often become slightly watery, grainy, or separate, compromising the delicious and smooth consistency that makes this dessert so enjoyable. For the absolute best flavor, texture, and overall enjoyment, this Easter Dirt Cake is truly at its peak when served fresh after its initial refrigeration period, allowing all the layers to set perfectly and the flavors to fully meld.
Absolutely! One of the most convenient and appealing features of a no-bake dessert like this Easter Dirt Cake is its suitability for make-ahead preparation. You can prepare and assemble the entire cake, including all the creamy layers and the Oreo crumb base, up to 24 hours in advance of your event. Once assembled, simply cover it tightly with plastic wrap and store it in the refrigerator. To ensure that your Easter candies and Peeps look their absolute best and maintain their festive appearance, it is always recommended to add these final decorative touches just before you plan to serve the cake to your guests.
A standard 9×13 inch baking pan is the perfect size for this recipe, yielding a generous amount of delicious servings that are ideal for a family gathering, an Easter brunch, or any holiday party. This size ensures you have plenty to share. If you prefer to serve individual portions, which can be particularly charming and convenient for children or a buffet-style spread, you can easily assemble this recipe in smaller clear cups, mason jars, or even individual dessert ramekins to create delightful “Easter Dirt Cups.” This presentation adds a fun element and makes serving a breeze.
Pro Tips for a Perfectly Delicious Easter Dirt Cake
Achieving the best possible Easter Dirt Cake is simple with these expert tips. They’ll help you ensure a smooth texture, vibrant presentation, and maximum flavor for your holiday dessert.
- Add Coconut “Grass” for Topping: For an extra whimsical and visually appealing touch that beautifully mimics fresh spring grass, consider dyeing shredded coconut. Place the coconut in a bowl, add a few drops of green food coloring, and mix until evenly coated. Sprinkle this vibrant “grass” over the top of your dirt cake either before or after arranging your other candies. It adds a lovely textural contrast and truly enhances the Easter theme.
- Always Use Instant Pudding: This is arguably the most crucial tip for any no-bake dirt cake recipe. It is imperative to use instant pudding mix, not the cook-and-serve variety. Instant pudding is specifically formulated to set quickly and firmly without requiring any heat, which is essential for achieving the perfect firm yet creamy texture in a cold dessert. Cook-and-serve pudding will not set as desired in this application, inevitably resulting in a runny or soupy filling.
- Opt for Whole Milk for Creaminess: While lower-fat milk can certainly be used in this recipe, using whole milk will undoubtedly result in the creamiest, richest, and most luxurious pudding and overall filling. The higher fat content in whole milk contributes significantly to a smoother mouthfeel and a more decadent flavor profile that truly elevates the dessert.
- Ensure Room Temperature Ingredients: For a flawlessly smooth and lump-free filling, it’s vital to ensure that your cream cheese and butter are properly softened to room temperature before you begin mixing. Cold ingredients will not incorporate smoothly, leading to lumps and an undesirable texture in your creamy layer.
- Avoid Overmixing the Whipped Topping: When it comes time to gently fold in the whipped topping (like Cool Whip) into your cream cheese mixture, do so with a light hand. Overmixing can cause the whipped topping to lose its airy volume and fluffy texture, resulting in a denser and less desirable filling. Mix just until everything is combined.
- Generous Chilling Time is Key: While the minimum chilling time for this cake is typically 3-4 hours, for the absolute best results – including a perfectly set cake that slices cleanly and flavors that are fully developed – we highly recommend chilling it overnight. This extended time allows all the delicious components to meld together beautifully and the layers to firm up completely.
- Decorate Just Before Serving: To maintain the freshest and most vibrant appearance of your Easter candies and Peeps, it’s best to add them to the top of the dirt cake right before you plan to serve it. This prevents them from absorbing moisture from the cake, becoming soggy, or losing their bright colors and crisp textures prematurely.

Serving & Storage Suggestions for Your Easter Dirt Cake
This delightful Easter Dirt Cake is undoubtedly best served chilled, directly from the refrigerator. Its cool, creamy texture and refreshing qualities are especially appealing, making it a perfect finish to any rich Easter meal. When serving, use a sturdy dessert spoon or a pie server to scoop out generous portions. This ensures that each serving includes a bit of every delicious layer – from the satisfyingly crunchy Oreo “dirt” base, through the rich and smooth cream cheese and pudding filling, and finally, the festive and colorful candy topping. For an extra touch of charm and convenience, especially if you’re hosting a party, you can prepare individual portions in small clear glasses, mason jars, or even decorative ramekins (creating what we lovingly call “Easter Dirt Cups”). This personalized presentation is always a huge hit with guests, particularly children, and makes for incredibly easy portion control and serving.
For any wonderful leftovers, simply ensure that the remaining cake is covered tightly with plastic wrap directly over the surface, or transfer it to an airtight container. Promptly return it to the refrigerator. When stored correctly, your Easter Dirt Cake will maintain its delicious flavor and pleasant texture for up to 3 days. It’s worth noting, however, that some of the softer decorative candies, such as Peeps or certain gummies, might start to lose their original shape, vibrant color, or become slightly sticky and moist over time due to exposure to the cake’s humidity. If you anticipate having leftovers, a smart tip is to consider decorating only the portion of the cake you plan to serve immediately, or decorating individual slices. You can then add fresh candy to the remaining portions as needed, right before serving them, to ensure every bite is as visually appealing and texturally perfect as the first.
More Easy & Delicious Easter Desserts to Love
Easter is a joyous time for celebration, and what better way to celebrate than with an array of sweet treats! If you’re looking for more simple, delightful, and family-friendly recipes to round out your holiday dessert menu alongside this amazing dirt cake, these are some of our absolute favorites that are sure to please everyone:
- Easter Puppy Chow: A sweet, incredibly crunchy, and utterly irresistible snack mix that’s as fun to make as it is to eat, adorned with festive Easter colors.
- Easter Dirt Cups Recipe: Love this dirt cake but prefer individual servings? This is the perfect solution – a charming, individual portion version of this delicious dirt cake, ideal for parties and kids!
- Easter Cookie Cake Recipe: A giant, soft, and chewy cookie cake, beautifully decorated for the holiday, making it an impressive yet easy centerpiece.
- Easter Chocolate Covered Pretzel Rods: A delightful combination of sweet and salty, these pretzel rods are super easy to customize with different colors and sprinkles for Easter.
- Easter Bunny Cupcakes: Adorable and creative cupcakes designed to look like cute bunnies, making them incredibly fun to make and even more fun to eat.
- Easter Candy Charcuterie Board: A vibrant, abundant, and completely customizable spread of all your favorite Easter sweets and treats, perfect for grazing and sharing.
Other Delicious & Easy Oreo Recipes You Must Try
Oreo cookies are truly a magical and incredibly versatile ingredient, capable of transforming countless desserts beyond just this delightful dirt cake. If you simply can’t get enough of their iconic chocolatey goodness and creamy filling, then you absolutely must explore these other easy and irresistible recipes that highlight the beloved Oreo:
- Classic Oreo Dirt Cake Recipe: The traditional, timeless version that started it all – perfect for any time of year and a guaranteed crowd-pleaser for all Oreo lovers.
- Dirt Cake Recipe without Cream Cheese: A fantastic and equally delicious alternative for those who might prefer a slightly different creamy texture or are looking for a variation on the classic filling.
- Easy Caramel Cheesecake Recipe with Oreo Crust: A truly decadent and luxurious cheesecake that features a rich caramel swirl and an undeniably delicious, crunchy Oreo cookie crust.
- Oreo Magic Bars: These irresistible bar cookies boast multiple layers of sweetness and texture, with Oreo cookies starring as a key ingredient for an addictive treat.
- Easter Chocolate Covered Oreos: Simple yet elegant, these chocolate-dipped Oreos are not only incredibly easy to make but also serve as fantastic party favors or quick, satisfying treats, perfect for any holiday.
We genuinely hope you enjoy making and sharing this delightful Easter Dirt Cake recipe as much as we do! Go ahead and make this simple yet impressive dessert for your next holiday celebration or family gathering. We would absolutely love to hear about your experience – please leave a comment and a star rating once you do. Your feedback truly helps us and other home bakers!
Pin
Easter Dirt Cake
Ingredients
- 1 package Oreos
- 8 oz Cream Cheese softened
- 1/2 cup butter softened
- 1 cup powdered sugar
- 16 oz cool whip
- 2 boxes INSTANT vanilla pudding 3.3 oz box size
- 3 cups milk
- Easter Candy We used Peeps, Robin eggs and sprinkles
Instructions
-
Crush ⅔ package of Oreos and place in the bottom of a 9×13 pan. Set aside.
-
Mix cream cheese and butter until smooth with a hand held mixer. Mix in powdered sugar and cool whip. Set aside.
-
In a separate bowl combined the milk and vanilla pudding mixes. Fold this mixture in with the cream cheese mixture.
-
Pour over Oreo crumb mixture.
-
Sprinkle with the remaining crushed Oreos.
-
Refrigerate for a few hours before serving.
-
Right before serving remove from the refrigerator and decorating with the Easter candy.
Recipe Video
Recipe Notes
Nutrition Facts
Pin This Now to Remember It Later
Pin Recipe
