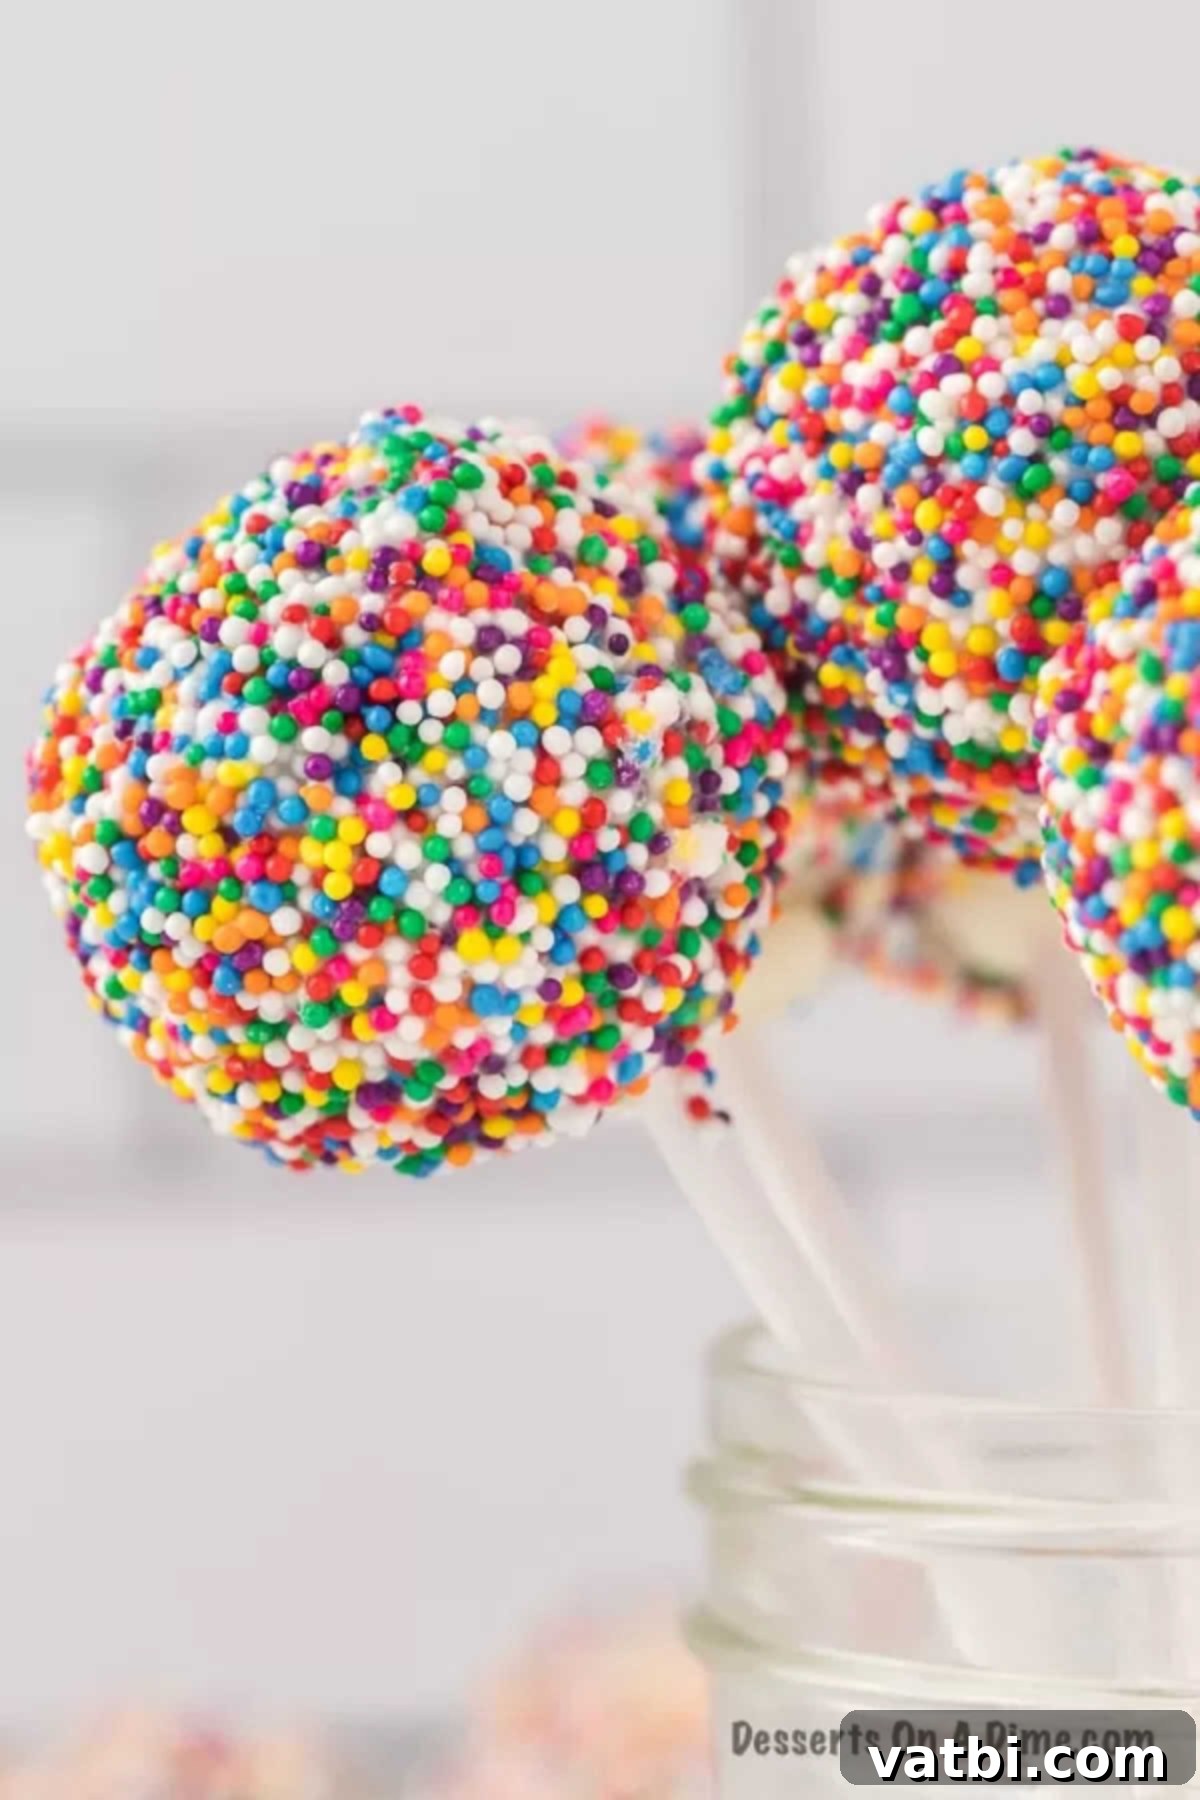
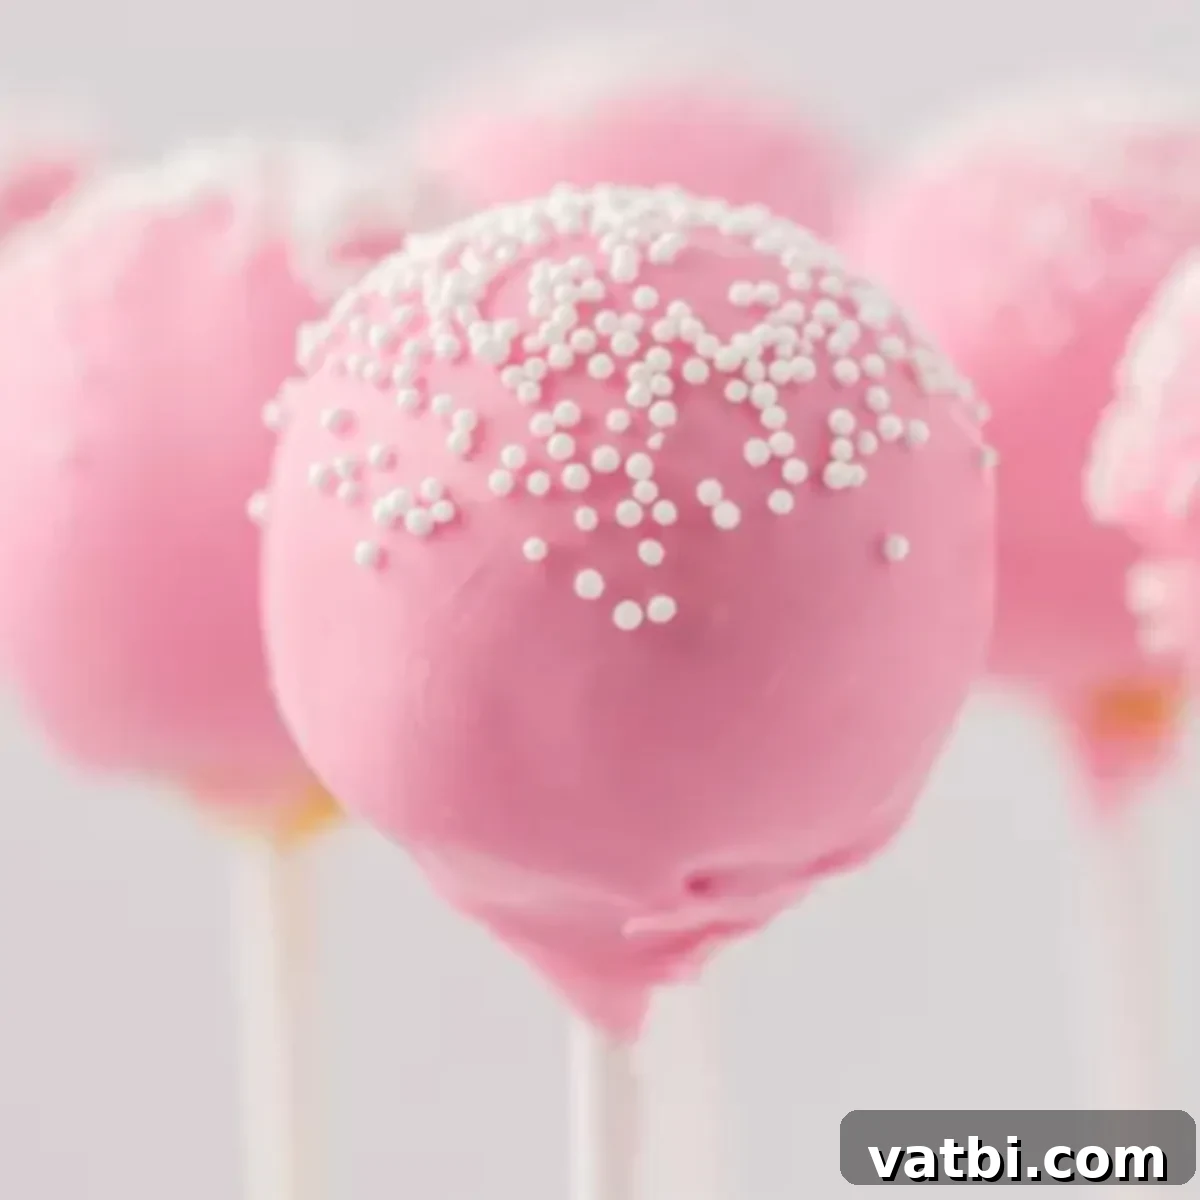
Can You Freeze Cake Pops? The Ultimate Guide to Perfect Storage and Thawing
Have you ever found yourself with a surplus of delicious cake pops, or perhaps you’re planning a big event and want to get a head start on your dessert prep? The question often arises: Can you freeze cake pops? The resounding answer is yes, you absolutely can! Freezing cake pops is an incredibly convenient and effective way to extend their shelf life, making them perfect for parties, holidays, unexpected guests, or simply enjoying a sweet treat whenever the craving strikes.
When done correctly, frozen cake pops can maintain their exquisite flavor, delightful texture, and appealing appearance for several weeks, sometimes even months. This comprehensive guide will walk you through everything you need to know, from the initial preparation stages to the best methods for freezing both undecorated cake balls and fully decorated cake pops. We’ll also cover the crucial thawing process, ensuring your treats emerge from the freezer as fresh and delicious as the day they were made, without any compromise in quality. Say goodbye to food waste and hello to effortless dessert planning!

Whether you’re a seasoned baker or just trying your hand at cake pops, mastering the art of freezing them will be a game-changer for your kitchen efficiency and dessert repertoire. Imagine having a batch of homemade favorites like Oreo Cake Pops, Red Velvet Cake Pops, or classic vanilla delights ready to go whenever you need them. This guide will ensure your frozen treats are always a success, preserving that perfect bite and delightful presentation every single time.
What’s in this post: Freezing Cake Pops Made Easy
- Why Freezing Cake Pops is a Game Changer
- When to Freeze Your Cake Pops: Undecorated vs. Decorated
- How to Freeze Undecorated Cake Balls
- How to Freeze Decorated Cake Pops
- How to Thaw Cake Pops Perfectly
- Frequently Asked Questions About Freezing Cake Pops
- Pro Tips for Optimal Freezing and Thawing
- Delicious Cake Pop Recipes to Try
- Expand Your Freezing Know-How
Why Freezing Cake Pops is a Game Changer
Embracing the freezer for your cake pops offers a multitude of benefits that extend beyond mere preservation. It’s a smart culinary hack that empowers you to be more efficient, reduce waste, and always be prepared for any sweet occasion. Here’s why we absolutely love the ability to freeze cake pops:
- Saves Time and Effort for Future Events: Imagine you’re hosting a birthday party, a baby shower, or a holiday gathering. By making and freezing cake pops weeks in advance, you significantly reduce your last-minute stress. You’ll have more time to focus on other preparations, knowing your delicious desserts are already taken care of. This prep-ahead strategy is invaluable for busy schedules.
- Keeps Cake Pops Exceptionally Fresh for Weeks: Unlike refrigerating, which might only extend freshness for a few days, freezing locks in the flavor and moisture, keeping your cake pops tasting as good as freshly made for up to 6 weeks. This means you can enjoy that perfect cakey texture and rich taste long after baking, without worrying about staleness.
- Reduces Food Waste and Maximizes Ingredients: Have extra cake batter or leftover frosted cake from another baking project? Don’t let it go to waste! Transform it into delightful cake pops and freeze them. This smart strategy ensures that every ingredient is utilized, saving you money, contributing to a more sustainable kitchen, and giving you more delicious treats!
- Offers Unbeatable Convenience for Spontaneous Treats: Craving something sweet but don’t want to bake from scratch? Just grab a few frozen cake pops from the freezer, thaw them, and you have an instant, delightful dessert. It’s perfect for an unexpected sweet tooth, a quick snack for the kids, or an impromptu visitor.
- Easy to Thaw and Serve When Needed: The thawing process for cake pops is incredibly simple and straightforward, whether they’re decorated or plain. With a little planning and our expert tips, you can have them ready to serve at optimal temperature and texture with minimal effort, making entertaining a breeze.
- Versatile for Both Homemade and Store-Bought Cake Pops: This freezing method isn’t just for your homemade creations. If you happen to buy a large batch of cake pops from a bakery or grocery store that you can’t consume immediately, you can apply these same techniques to store them for future enjoyment, ensuring their quality remains intact.

When to Freeze Your Cake Pops: Undecorated vs. Decorated
The optimal time to freeze your cake pops often depends on whether they are plain cake balls or already dipped and decorated. Each stage has its own advantages and recommended techniques to ensure the best possible outcome. Generally, freezing undecorated cake balls is the easiest and most preferred method for maintaining structural integrity and preventing damage to delicate decorations. However, if you have no choice but to freeze them decorated, we have a method for that too.
How to Freeze Undecorated Cake Balls
Freezing cake pops in their undecorated, spherical form (cake balls) is often the easiest and most recommended method, especially if you plan to decorate them closer to your event. This approach helps to prevent any potential damage to delicate coatings or sprinkles during the freezing and thawing process. It also allows for maximum flexibility in decorating your cake pops with various designs and colors later on.
- Step 1: Prepare Your Cake Balls. Once you’ve mixed your crumbled cake with frosting (or other binding ingredients) and rolled them into uniform balls, ensure they are firm and slightly chilled. A brief stint in the refrigerator (about 15-30 minutes) before wrapping helps them hold their shape better and makes them easier to handle.
- Step 2: Individual Wrapping for Protection. To prevent dreaded freezer burn, which can lead to dry, unappetizing spots and flavor degradation, individually wrap each cake ball tightly in plastic wrap. Make sure there’s as little air trapped inside as possible. This creates a strong protective barrier against moisture loss and prevents the cake balls from sticking together, a common issue with unwrapped items.
- Step 3: Secure in an Airtight Container. Place the individually wrapped cake balls inside a heavy-duty freezer bag or a rigid, airtight freezer-safe container. Arrange them in a single layer if possible. If you must stack them, place a sheet of parchment paper or wax paper between each layer to provide an extra buffer. This step is crucial to prevent them from getting crushed by other items in the freezer or losing their perfect spherical shape.
- Step 4: Label and Freeze. Clearly label the freezer bag or container with the date you froze the cake pops and the type of cake (e.g., “Vanilla Cake Balls – 10/26”). This simple habit helps you keep track of their freshness and ensures you use them within their optimal window. Store them in the coldest part of your freezer, ensuring they are placed in a spot where they won’t be jostled or crushed. These plain cake balls can be stored for up to 6 weeks, allowing you ample time for party planning.
By following these meticulous steps, you’ll have perfectly preserved cake balls ready for their final transformation into stunning cake pops whenever you need them, with no loss of flavor or texture.
How to Freeze Decorated Cake Pops
Sometimes, you might find yourself with fully decorated cake pops that you need to store, or perhaps you’ve finished decorating ahead of time and want to lock in their freshness. While freezing decorated cake pops requires a bit more care to protect their appearance, it’s certainly possible. Here’s the best method to ensure your beautiful creations stay pristine and delicious:
- Step 1: Dip and Decorate as Normal. Prepare your cake batter using your favorite cake recipes or a convenient box cake mix. Once the cake balls are chilled, firmly insert your lollipop sticks, dip the cake in candy coating or melted chocolate (such as white chocolate or milk chocolate), and quickly top with sprinkles, edible glitter, or other decorations while holding them upright. Work efficiently to ensure decorations adhere before the coating sets.
- Step 2: Ensure Coating is Completely Dry. This is a critical step that cannot be rushed. Before attempting to wrap or freeze, allow the chocolate or candy coating to set and dry completely. Any stickiness will cause the wrapping material to adhere to the coating, potentially ruining the appearance upon thawing by pulling off bits of decoration or creating smudges. This typically takes 15-30 minutes at room temperature, or a few minutes in the refrigerator for faster setting.
- Step 3: Individual Wrapping with Wax Paper. Instead of plastic wrap directly on the coating, which can sometimes stick and peel off decoration, use wax paper to individually wrap each decorated cake pop. Gently wrap the pop, ensuring the coating and any delicate decorations are protected. You can then add a second, outer layer of plastic wrap around the wax paper for extra air-tight protection. This double-layer approach focuses on sealing out freezer odors and preventing moisture loss from the cake while protecting the delicate exterior.
- Step 4: Place in a Freezer-Safe Container. Carefully arrange the wrapped cake pops inside a rigid, airtight freezer bag or a sturdy freezer container. It’s essential to place them in a single layer to prevent them from getting crushed by other items or sticking to each other. If you absolutely must stack them, place a layer of parchment paper or wax paper between each row to provide cushioning. For cake pops with elaborate or fragile decorations, consider using individual cupcake liners or a small pastry box for each to provide maximum protection.
- Step 5: Store Carefully. Label the container with the date and type of cake pop. Place the container in a part of your freezer where it won’t be moved around, jostled, or squashed by heavier items. Decorated cake pops can be safely frozen for up to 4-6 weeks, though aiming for consumption closer to 4 weeks is often ideal to ensure the most vibrant appearance of intricate decorations.
By taking these extra precautions, you can confidently freeze your decorated cake pops, knowing they will emerge from the freezer ready to impress and delight.
How to Thaw Cake Pops Perfectly
The thawing process is just as important as the freezing process to ensure your cake pops retain their original delightful taste and texture. Rushing this step or thawing improperly can lead to undesirable results such as condensation, soggy textures, dull coatings, or even cracked chocolate. Here’s how to thaw both plain and decorated cake pops like a seasoned professional.
Thawing Plain and Undecorated Cake Balls
If you froze your cake pops as plain cake balls, the thawing process is straightforward and prepares them perfectly for their final dipping and decorating stages.
- Step 1: Gradual Defrosting in the Refrigerator. Transfer the individually wrapped cake balls from the freezer directly to the refrigerator. Allow them to defrost slowly overnight, or for at least 8-12 hours. This gradual temperature change is crucial as it helps prevent excessive condensation from forming on the cake’s surface, which can make the cake mushy. It also maintains the cake’s internal structure and moisture balance.
- Step 2: Bring to Room Temperature. Once fully defrosted in the fridge, carefully unwrap each cake ball. Let them sit on the counter at room temperature for approximately 30-60 minutes. This ensures they are completely thawed throughout and reach the ideal temperature for dipping, which is crucial for a smooth coating application.
- Step 3: Insert Sticks and Decorate. Only after the cake balls have completely thawed and reached room temperature should you insert the lollipop sticks and proceed with dipping them in candy melts or melted chocolate and decorating. Attempting to dip frozen or even partially frozen cake balls will lead to several common problems: the cake mixture will be too hard and cold, potentially causing the stick to break or the cake to crumble upon insertion, and the drastic temperature difference between the cold cake and warm coating will inevitably cause the coating to crack as the cake thaws further and expands. Patience here is absolutely key for achieving a smooth, professional, and crack-free finish.
Thawing Prepared and Decorated Cake Pops
Thawing decorated cake pops requires a slightly different and more delicate approach to protect their delicate coatings, sprinkles, and any other embellishments from condensation, stickiness, and dullness. The goal is to minimize moisture on the surface.
- Step 1: Initial Thaw in the Refrigerator. Transfer the wrapped decorated cake pops from the freezer to the refrigerator. Allow them to thaw overnight, or for a minimum of 8-12 hours. This slow, controlled transition from freezing to refrigeration helps to minimize the amount of condensation forming on the surface of the candy coating, which is a major culprit for sticky or cloudy finishes.
- Step 2: Unwrap and Allow to Acclimate. After about 2 to 3 hours of thawing in the refrigerator (or once they feel mostly defrosted but are still cool), carefully unwrap each cake pop. Immediately place them on a parchment-lined tray or a wire rack. This crucial step allows any remaining condensation that might form to evaporate naturally into the air rather than being trapped against the coating by the wrapping, which can make the coating sticky, dull, or cause sprinkles to clump.
- Step 3: Bring to Room Temperature and Serve. Let the unwrapped cake pops continue to sit at room temperature for another 1-2 hours until they are fully thawed and reach an enjoyable serving temperature. Once they are no longer cold to the touch, they are perfectly ready to serve and enjoy. Avoid placing them in direct sunlight or warm, humid environments during this stage, as this can cause the coating to soften, melt slightly, or “sweat” excessively, affecting both appearance and texture.

Frequently Asked Questions About Freezing Cake Pops
Here are some common questions people have about freezing cake pops, along with detailed answers to help you navigate the process with confidence and avoid common pitfalls.
Yes, you absolutely can freeze cake pops after they have been decorated. However, it’s important to manage expectations, especially regarding delicate decorations. While the taste will remain excellent, some very intricate or fragile embellishments, such as certain types of edible glitter, delicate sugar work, or fondant accents, might be damaged or lose some of their pristine appearance during the freezing and thawing process due to moisture or slight shifts. For simpler decorations like sprinkles or basic drizzles, the impact is usually minimal. If presentation is paramount for a special event, freezing undecorated cake balls and decorating them closer to the event date is often the preferred method. For everyday enjoyment or less formal gatherings, freezing decorated cake pops is perfectly fine.
Properly wrapped and stored cake pops can be frozen for up to 6 weeks while maintaining their best quality, flavor, and texture. Beyond this timeframe, while they will likely still be safe to eat, you might notice a gradual decline in quality, such as a slight change in texture (they might become a bit drier or more crumbly) or a less vibrant flavor. For decorated cake pops, aiming for consumption within 4 weeks is often ideal to ensure the decorations remain as fresh-looking and appealing as possible. Always label your containers with the date they were frozen to help you keep track and ensure you enjoy them at their peak.
While it is technically safe to refreeze cake pops, we generally do not recommend it. Each cycle of freezing and thawing affects the delicate texture of the cake. Refreezing can lead to a noticeable decline in the cake pop’s texture, making it drier, more crumbly, or somewhat mushy after the second thaw. Additionally, if they are decorated, the appearance will almost certainly suffer with potential for cracking in the candy coating, smudged decorations, and general dullness. To avoid the need for refreezing, it’s best to freeze cake pops in smaller, single-serving portions or amounts that you anticipate consuming in one go.
Most types of dense, moist cakes work wonderfully for cake pops, and consequently, freeze very well. Classic flavors like vanilla, chocolate, red velvet, and funfetti are all excellent choices. Cakes with a higher fat content (like those made with butter or oil) tend to freeze and thaw better as the fat helps retain moisture, keeping them moist and flavorful. Cakes that are too light or airy might become a bit more crumbly after freezing. Similarly, cream cheese-based frostings integrate beautifully and freeze well, contributing to a rich, moist texture upon thawing.
Cracking in the candy coating is primarily caused by a significant and sudden temperature difference between the cake ball and the coating, or by improper thawing. To prevent this: 1) Ensure cake balls are fully thawed and at room temperature before dipping. Never dip a cold cake ball. 2) For decorated cake pops, allow them to thaw gradually in the refrigerator before unwrapping and bringing to room temperature. This slow, multi-stage process minimizes condensation and prevents rapid temperature changes that stress the coating. 3) Use good quality candy melts or chocolate that isn’t too thick, as thinner, more elastic coatings are less prone to cracking when the cake expands slightly during thawing. Ensure your coating is at the correct working temperature when dipping.
Pro Tips for Optimal Freezing and Thawing
Beyond the basic steps, a few expert tips can make all the difference in ensuring your frozen cake pops are consistently perfect, delicious, and beautifully presented every time you pull them from the freezer.
- Always Use Fresh Ingredients: The quality of your ingredients before freezing directly impacts the quality after thawing. Start with fresh cake, high-quality frosting, and vibrant candy melts for the best possible results.
- Cool Completely Before Freezing: Never freeze warm cake balls or freshly decorated cake pops. Warm items introduce excess moisture into your packaging, which can lead to the formation of ice crystals. These ice crystals expand and contract, degrading the cake’s texture and overall quality. Ensure they are completely cool to the touch.
- Label and Date Everything Meticulously: This simple habit saves you guesswork and prevents food waste later. A clear, waterproof label with the contents (e.g., “Chocolate Cake Pops”) and the date they were frozen will help you use them within their optimal timeframe, ensuring peak freshness.
- Avoid Freezer Odors: Freezers can sometimes pick up odors from other strong-smelling foods (like onions or fish). Ensure your cake pops are sealed in truly airtight containers or heavy-duty freezer bags to prevent them from absorbing any unwanted smells that could alter their delicate flavor.
- Consider Individual Packaging for Maximum Protection: For maximum protection and convenience, especially for exquisitely decorated cake pops, consider placing each individually wrapped cake pop into an individual cupcake liner or a small, sturdy pastry box before consolidating them into a larger freezer container. This provides an extra layer of defense against crushing or damage.
- Plan Your Thawing Time Wisely: Give your cake pops ample time to thaw, especially if they are decorated. Rushing the process by using a microwave or hot water can severely compromise both texture and appearance. Overnight in the fridge followed by an hour or two at room temperature is usually the best and safest approach.
- Manage Condensation Effectively: The key to successful thawing of decorated cake pops is proactively managing condensation. Unwrapping them after they’ve started to defrost in the fridge but before they fully warm up helps minimize visible water droplets, keeping your candy coating smooth, shiny, and free from stickiness or cloudiness.
Delicious Cake Pop Recipes to Try
Now that you’re a pro at freezing and thawing, it’s time to whip up some amazing cake pop batches! Here are some of our favorite recipes that are perfect for making ahead and freezing, guaranteeing you’ll always have a delightful treat on hand:
- Cookie Dough Cake Pop Recipe: A delightful fusion of classic cookie dough and cake, these are always a whimsical and delicious crowd-pleaser that freeze beautifully.
- Brownie Cake Pops: Rich, fudgy, and intensely chocolatey, these are a dream for any brownie lover. Their dense texture makes them an excellent candidate for freezing.
- Starbucks Cake Pops: Recreate your favorite coffee shop treat at home with this popular recipe. Enjoy that familiar flavor whenever you like by having a frozen stash ready.
- Strawberry Cake Pops: Sweet and fruity, these are perfect for spring and summer gatherings, or a burst of sunshine in the colder months. They retain their vibrant flavor after freezing.
- Birthday Cake Pops: Bursting with colorful sprinkles and classic vanilla flavor, these are ideal for any celebration. Freeze them ahead to make party prep stress-free!
Expand Your Freezing Know-How
The freezer is a powerful and underutilized tool for extending the life of many baked goods and desserts, helping you save time, reduce waste, and always have delicious treats on hand. If you’re looking to become a freezing expert beyond just cake pops, check out these other helpful guides:
- How to Freeze Cookie Dough: Perfect for having fresh-baked cookies on demand, anytime the craving strikes.
- Can You Freeze Fudge?: Learn the best way to store this rich, decadent treat to preserve its creamy texture and intense flavor.
- Can You Freeze Sweet Potato Pie: Essential tips for preserving holiday favorites and enjoying them long after the festive season.
- Can You Freeze Pound Cake: Discover how to keep your dense, delicious pound cake fresh for longer, perfect for slicing and serving.
With these comprehensive tips and tricks, you’re now fully equipped to freeze cake pops like a professional baker. Say goodbye to food waste and hello to effortless, delicious treats whenever you desire. We encourage you to try these methods today and experience the convenience and quality for yourself! Please leave a comment below and let us know how your frozen cake pops turn out – we’d absolutely love to hear about your success and any insights you gain. Happy freezing!
