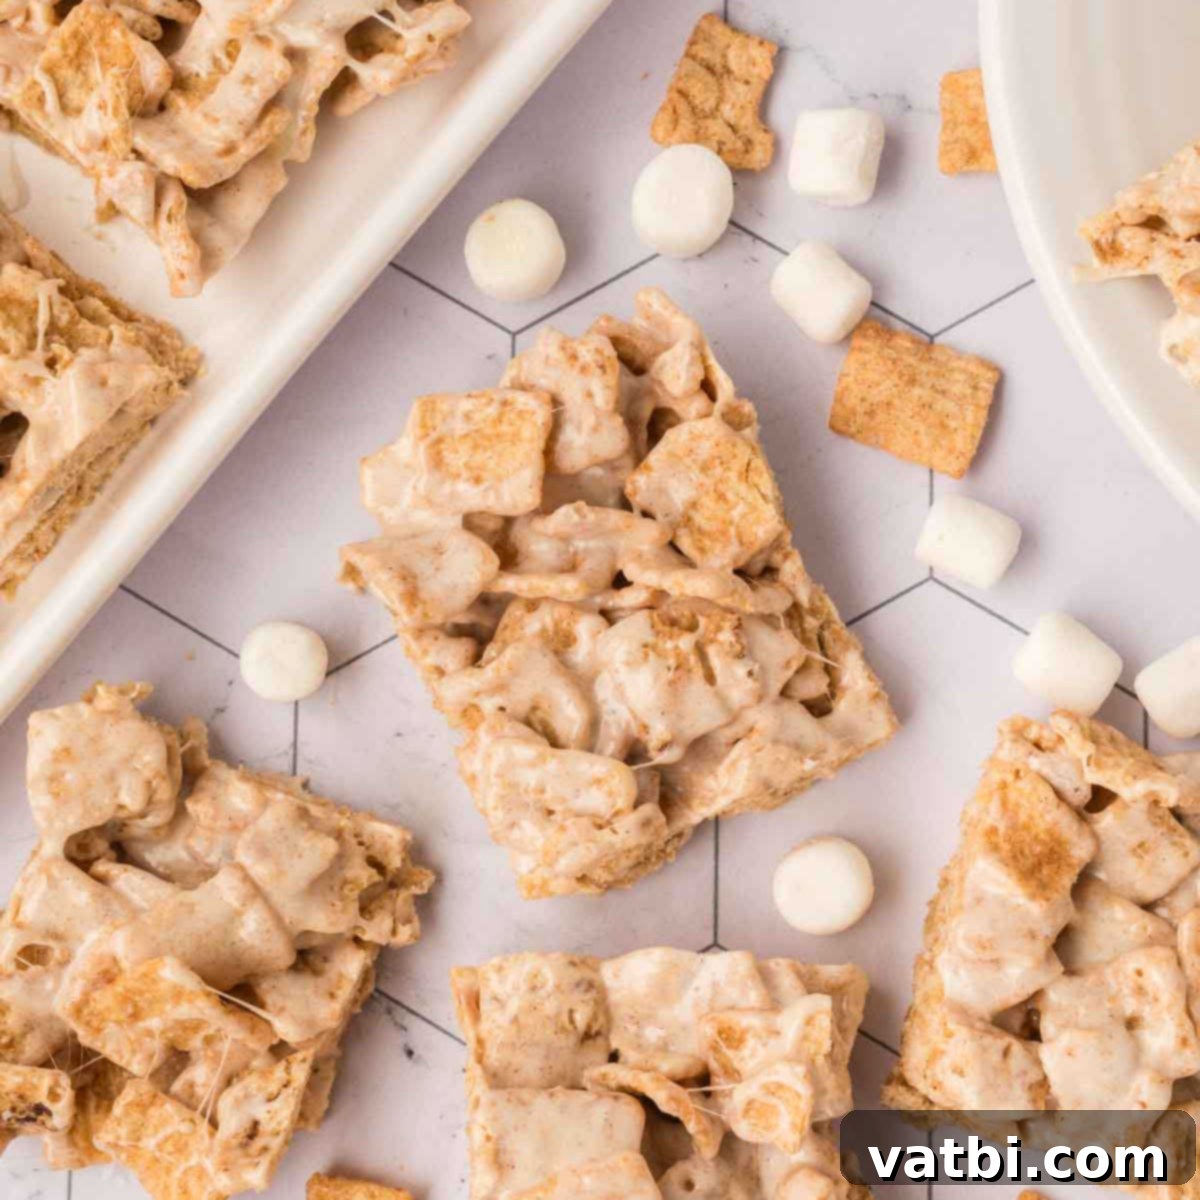
Easy 3-Ingredient Cinnamon Toast Crunch Bars: The Ultimate No-Bake Treat
Get ready to indulge in the nostalgic, sweet, and unbelievably gooey goodness of homemade Cinnamon Toast Crunch Bars! This recipe is a true game-changer for anyone craving a quick and utterly delicious dessert. Best of all, you only need 3 incredibly simple ingredients to whip up a batch of these fabulous, cinnamon-packed cereal treats.
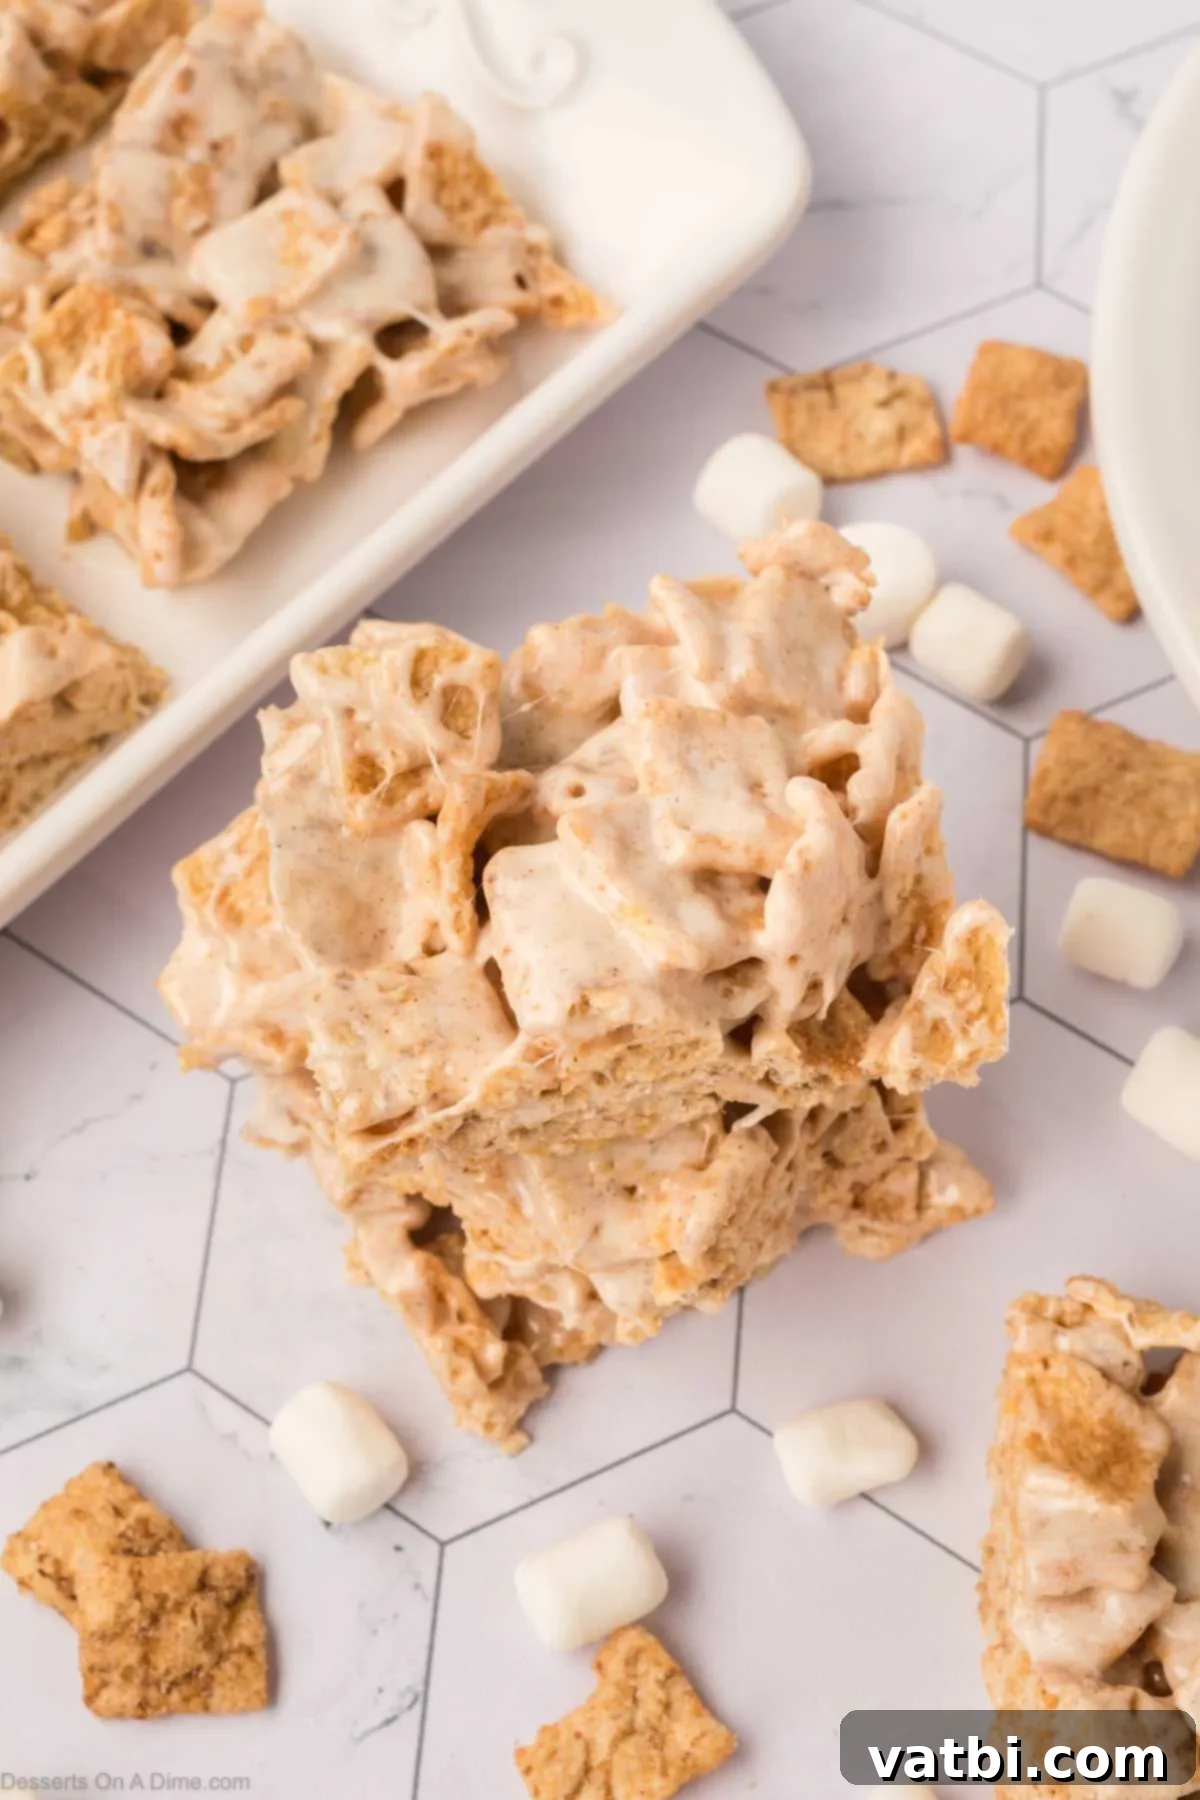
As a busy parent, I’m always on the lookout for quick, satisfying, and budget-friendly snacks that my entire family will adore. That’s why these easy Cinnamon Toast Crunch Bars have been a staple in our household for over a decade. They capture all the beloved elements of classic Rice Krispie Treats but with a delightful twist: the irresistible cinnamon sugar flavor of Cinnamon Toast Crunch cereal.
This recipe stands out as one of the easiest no-bake dessert recipes you’ll ever make, and it’s consistently a huge hit with kids and adults alike. If you’re a fan of comforting easy cinnamon dessert recipes, then adding these gooey, crunchy bars to your repertoire is an absolute must. They are perfect for school lunchboxes, after-school snacks, party desserts, or simply a sweet treat to brighten any day.
Beyond these, we also love other comforting desserts like Oatmeal Scotchies, but for sheer simplicity and speed, these cereal bars are tough to beat.
Table of Contents
- Why We Love This Recipe
- Ingredients
- Delicious Variations to Try
- Step-by-Step Instructions for Perfect Bars
- Proper Storage for Maximum Freshness
- Expert Tips for Success
- Frequently Asked Questions
Why We Love This Recipe for Cinnamon Toast Crunch Bars
There’s a reason these Cinnamon Toast Crunch treats have earned a permanent spot in our recipe rotation. They’re not just easy; they’re incredibly rewarding in taste and convenience:
- Only 3 Ingredients: Seriously, that’s all you need! This minimal ingredient list makes the recipe incredibly approachable for even novice bakers. It also means less shopping and fewer items to keep stocked in your pantry, saving you time and effort. This simplicity ensures a quick prep time, making it ideal for spontaneous dessert cravings or last-minute potlucks.
- Inexpensive to Make: Compared to specialty store-bought treats that can quickly add up, making an entire batch of these cinnamon cereal bars at home is significantly more cost-effective. You’ll get a generous amount of delicious treats for a fraction of the price, which is a big win for any household budget.
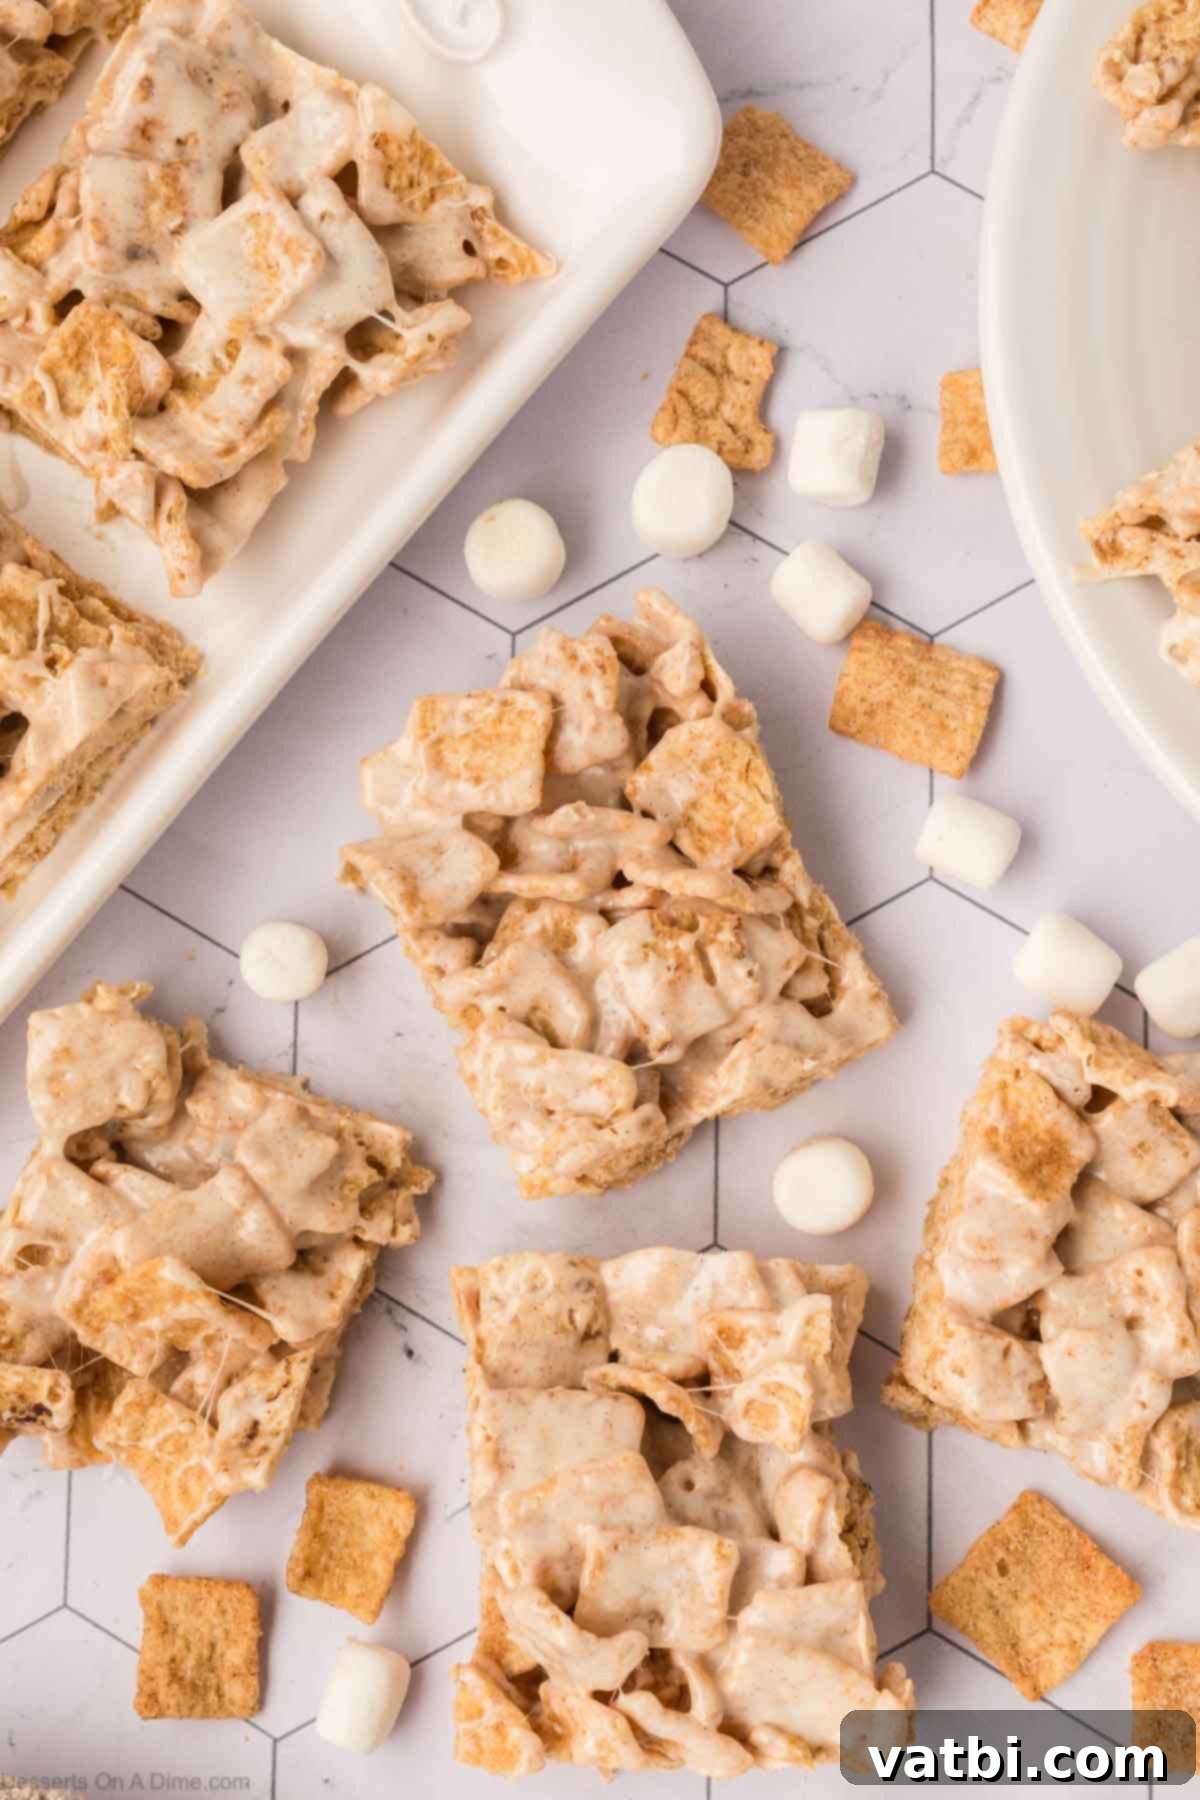
- Packed with Gooey Marshmallows and Iconic Cinnamon Flavor: The combination of melt-in-your-mouth marshmallows creates an irresistibly chewy and gooey base, while the distinctive cinnamon sugar coating of the cereal provides a perfect balance of crunch and spice. Each bite delivers that classic, comforting taste that everyone loves, making them truly addictive. The textures and flavors play beautifully together, ensuring a delightful sensory experience.
Essential Ingredients for Your Cinnamon Toast Crunch Bars
The magic of this recipe lies in its simplicity, requiring only three key ingredients. Quality and freshness are paramount to achieve the best flavor and texture.
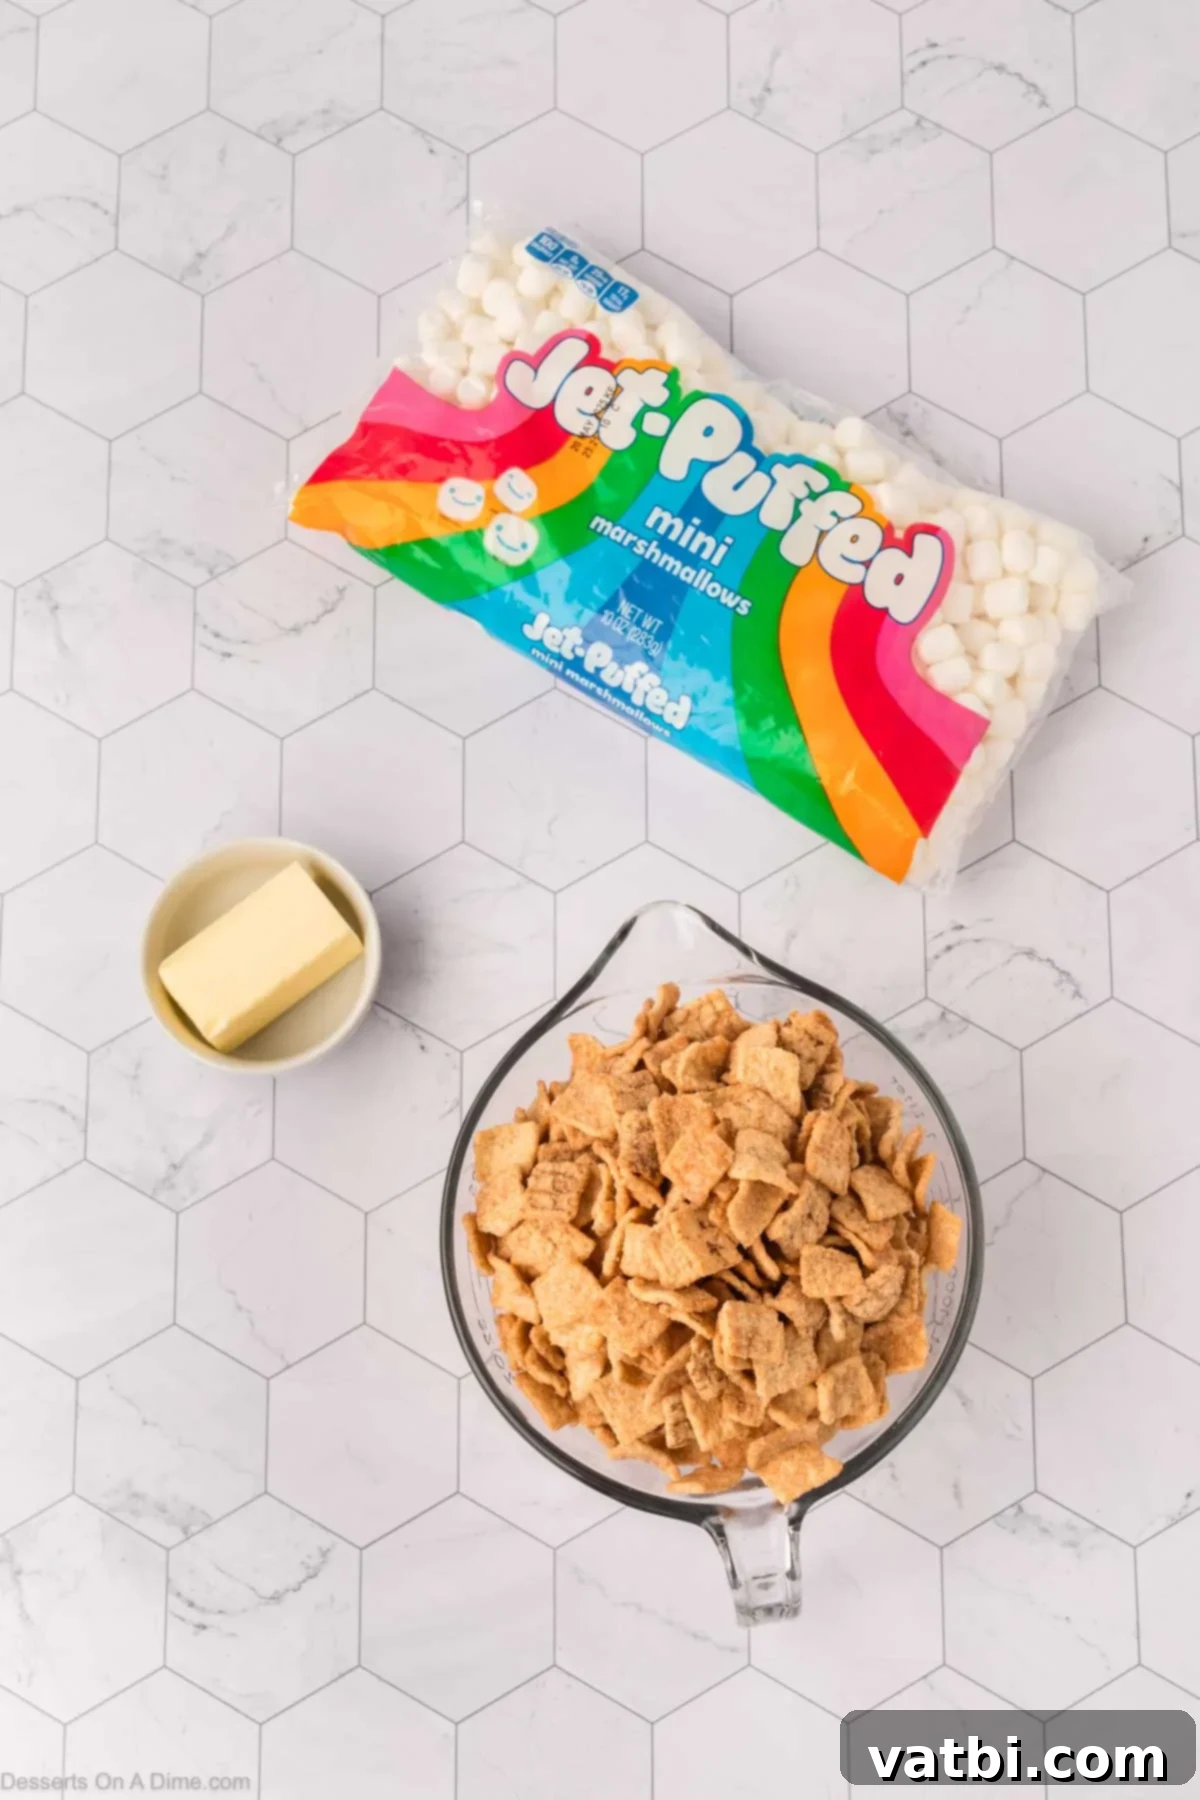
- Cinnamon Toast Crunch Cereal: This is the star of our show! Its unique cinnamon sugar coating and crunchy texture are what give these bars their signature flavor. It’s crucial to use fresh cereal. If your cereal has been sitting in the pantry for a while and is starting to get stale, your bars will unfortunately inherit that less-than-fresh taste and a softer texture. For optimal crunch and flavor, ensure you’re starting with a new box.
- Salted Butter: Real salted butter is highly recommended here. The salt not only balances the sweetness of the marshmallows and cereal but also enhances all the flavors. If you only have unsalted butter on hand, don’t worry! Simply add a small pinch (about ¼ teaspoon) of salt to your melted marshmallow mixture to achieve a similar flavor profile. Butter also provides that rich, delicious fat content that helps bind everything together and adds to the overall mouthfeel.
- Mini Marshmallows: Fresh mini marshmallows are essential for achieving that perfectly gooey, stretchy texture that makes these bars so irresistible. Older, harder marshmallows won’t melt as smoothly or provide the same delightful chewiness. Mini marshmallows are preferred because they melt much faster and more evenly than large marshmallows, ensuring a uniform coating for your cereal.
You’ll find the complete ingredient details, including precise measurements, listed in the detailed recipe card at the bottom of this page.
Delicious Variations to Customize Your Cinnamon Toast Crunch Bars
While the classic 3-ingredient version is perfect on its own, these Cinnamon Toast Crunch Bars are also wonderfully adaptable. Feel free to get creative and experiment with these delightful variations to suit your taste:
- Caramel Swirl: For an extra layer of decadence, mix in about half a cup of caramel morsels (like Kraft Caramels, unwrapped and melted slightly) into the cereal along with the marshmallows, or simply drizzle melted caramel sauce over the top of the finished bars before they set. The combination of cinnamon and caramel is truly heavenly.
- White Chocolate Drizzle: Elevate the elegance and add more sweetness by drizzling melted white chocolate chips over the cooled bars. Simply melt half a cup of white chocolate chips in the microwave in 30-second intervals until smooth, then use a spoon to create a beautiful pattern. A sprinkle of extra cinnamon sugar on top of the wet chocolate can add an extra flourish.
- Vanilla Extract: While optional, adding 1 teaspoon of pure vanilla extract to the melted marshmallow mixture can significantly enhance the overall flavor profile. It adds a warm, aromatic depth that complements the cinnamon beautifully. Stir it in right after the marshmallows and butter have fully melted, just before adding the cereal.
- Chocolate Chips: Who can say no to chocolate? Fold in half a cup of semi-sweet, milk, or dark chocolate chips with the cereal. The residual heat from the marshmallow mixture will slightly melt them, creating pockets of chocolatey goodness.
- Sprinkles for Fun: For a festive touch, especially for birthdays or holidays, fold in some colorful sprinkles with the cereal or scatter them over the top of the bars before they set. This is a fantastic way to customize them for any occasion.
- Nutty Crunch: If you enjoy a bit of nutty flavor and extra texture, finely chop about ¼ cup of pecans or walnuts and fold them into the cereal mixture. They add a wonderful contrast to the soft, gooey bars.
Step-by-Step Instructions for Perfect Cinnamon Toast Crunch Bars
Making these no-bake bars is incredibly simple and quick. Follow these easy steps for a perfect batch every time:
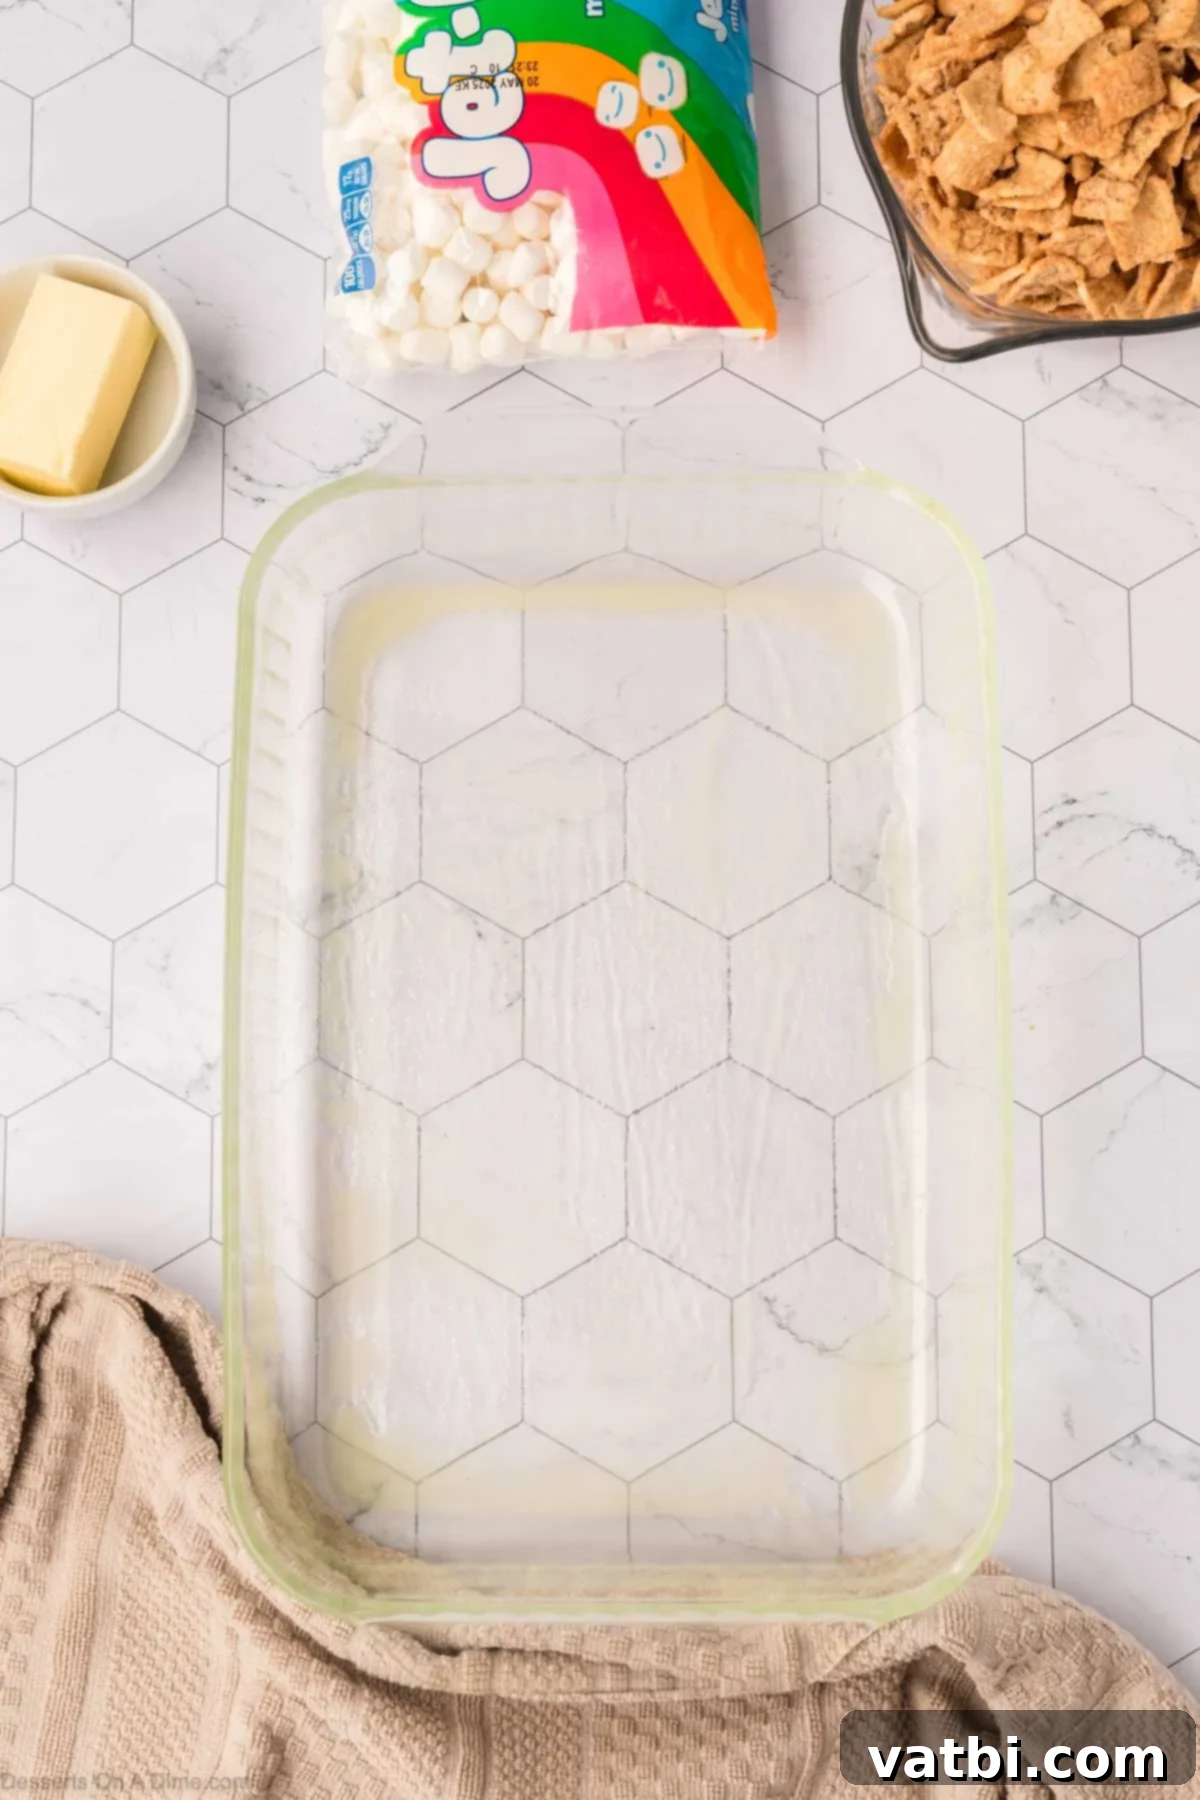
Step 1. Prepare Your Pan: Begin by thoroughly preparing a 9×13-inch baking pan. Generously coat the entire inside surface of the pan with non-stick cooking spray. This crucial step prevents the sticky marshmallow mixture from adhering to the pan, making it much easier to press the bars down and, later, to remove and cut them. Alternatively, you can line the pan with parchment paper or aluminum foil, leaving an overhang on the sides, and then spray the paper/foil with cooking spray for even easier removal.
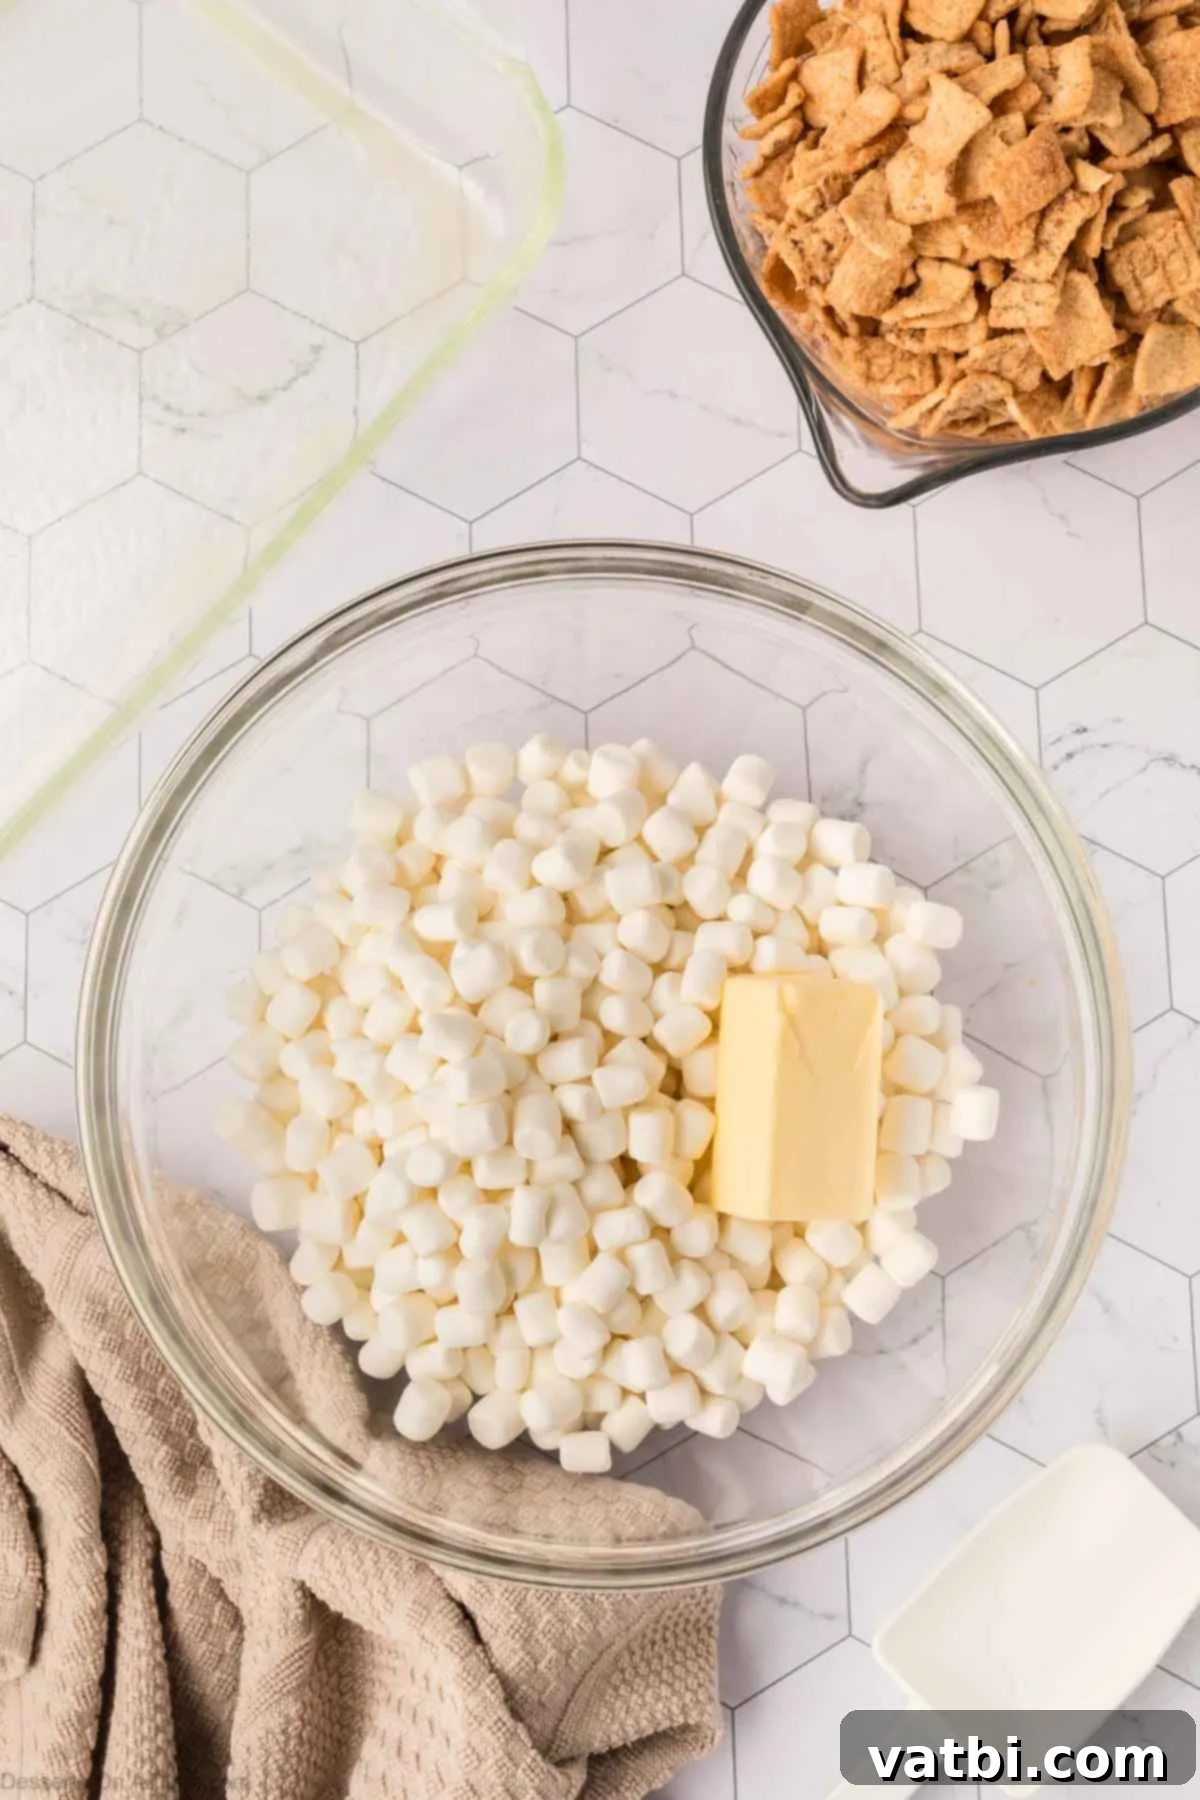
Step 2. Combine Melting Ingredients: Next, grab a large, microwave-safe bowl. Add your salted butter (cut into a few pieces to help it melt faster) and the mini marshmallows to the bowl. Ensure the bowl is large enough to accommodate the cereal later.
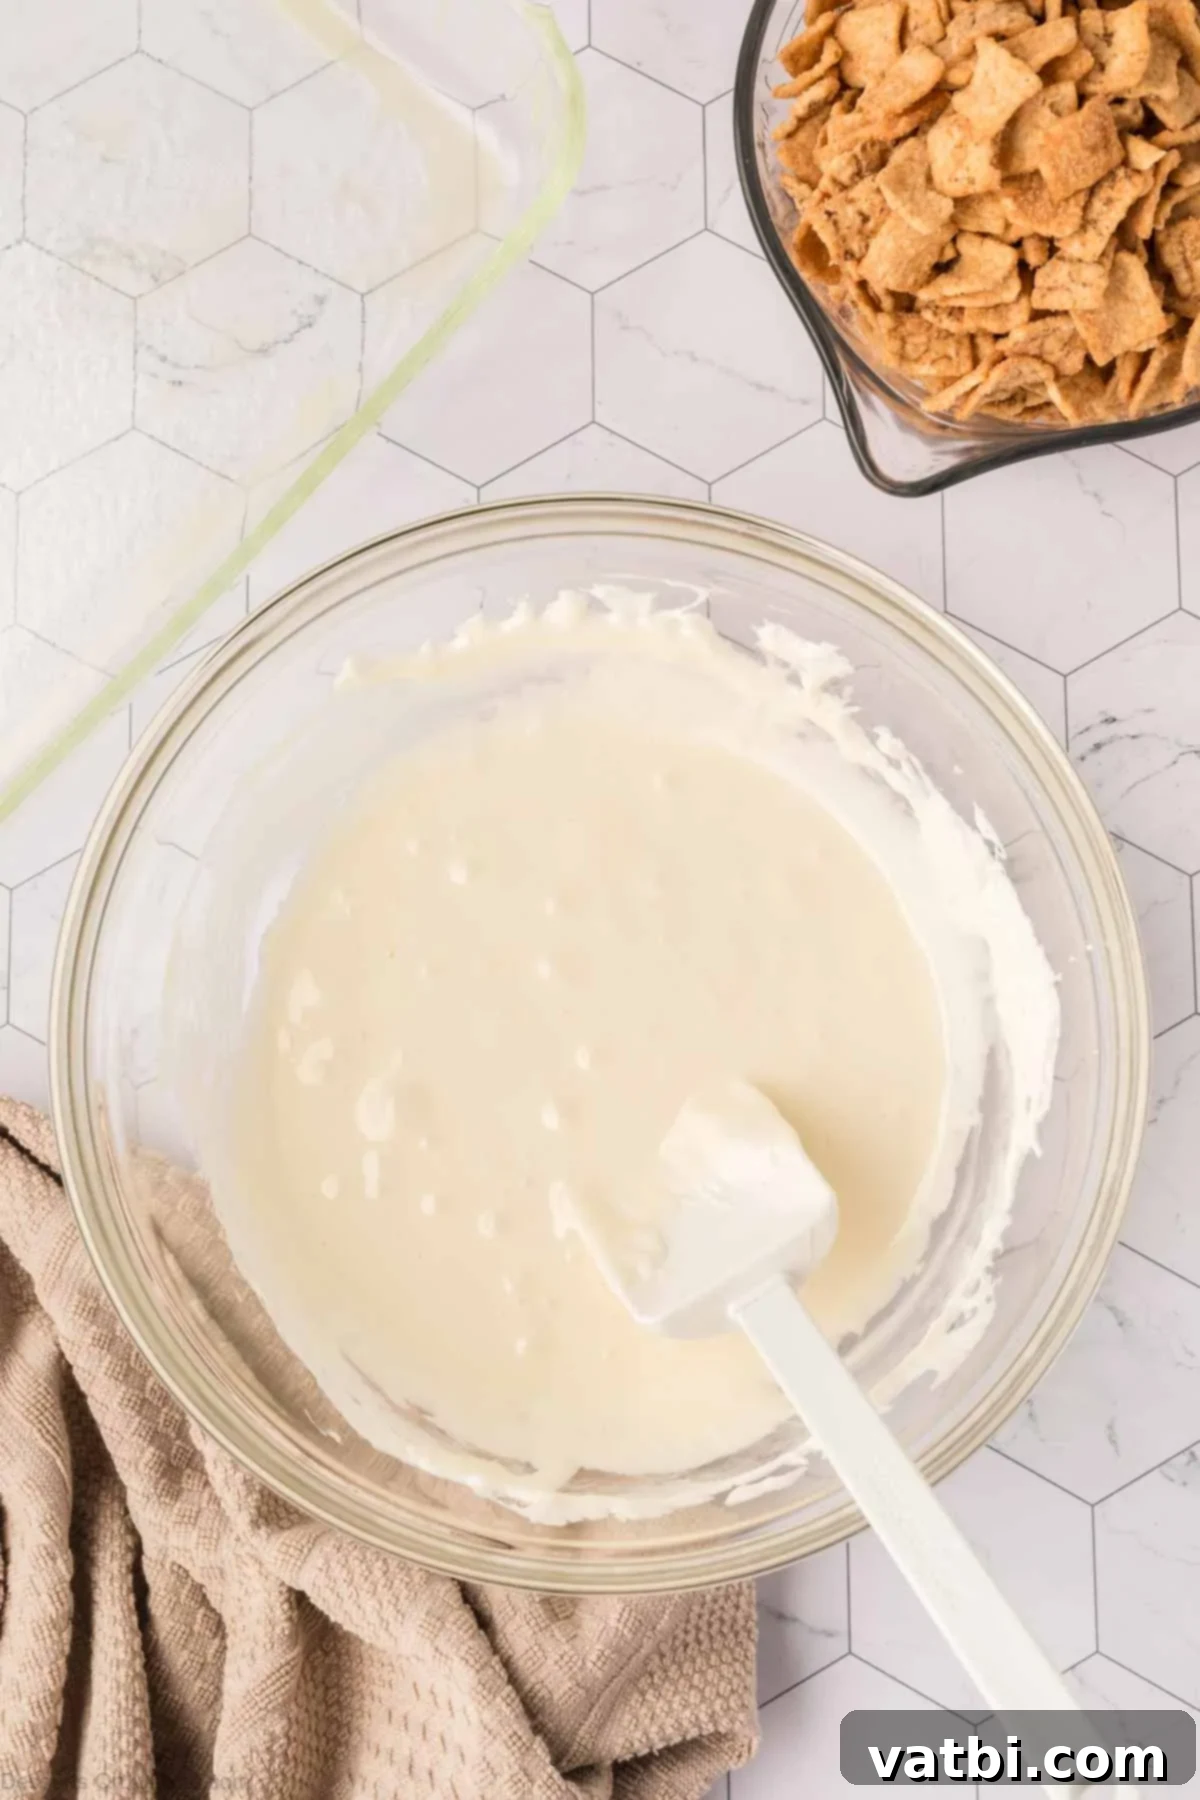
Step 3. Melt the Mixture: Place the bowl in the microwave and heat the butter and marshmallows in 30-second intervals. After each interval, remove the bowl and stir the mixture thoroughly with a rubber spatula or spoon. Continue this process until the marshmallows are completely melted and the butter is fully incorporated, creating a smooth, gooey, and homogeneous mixture. It’s crucial to stir after each interval to prevent the marshmallows from burning or becoming rubbery.
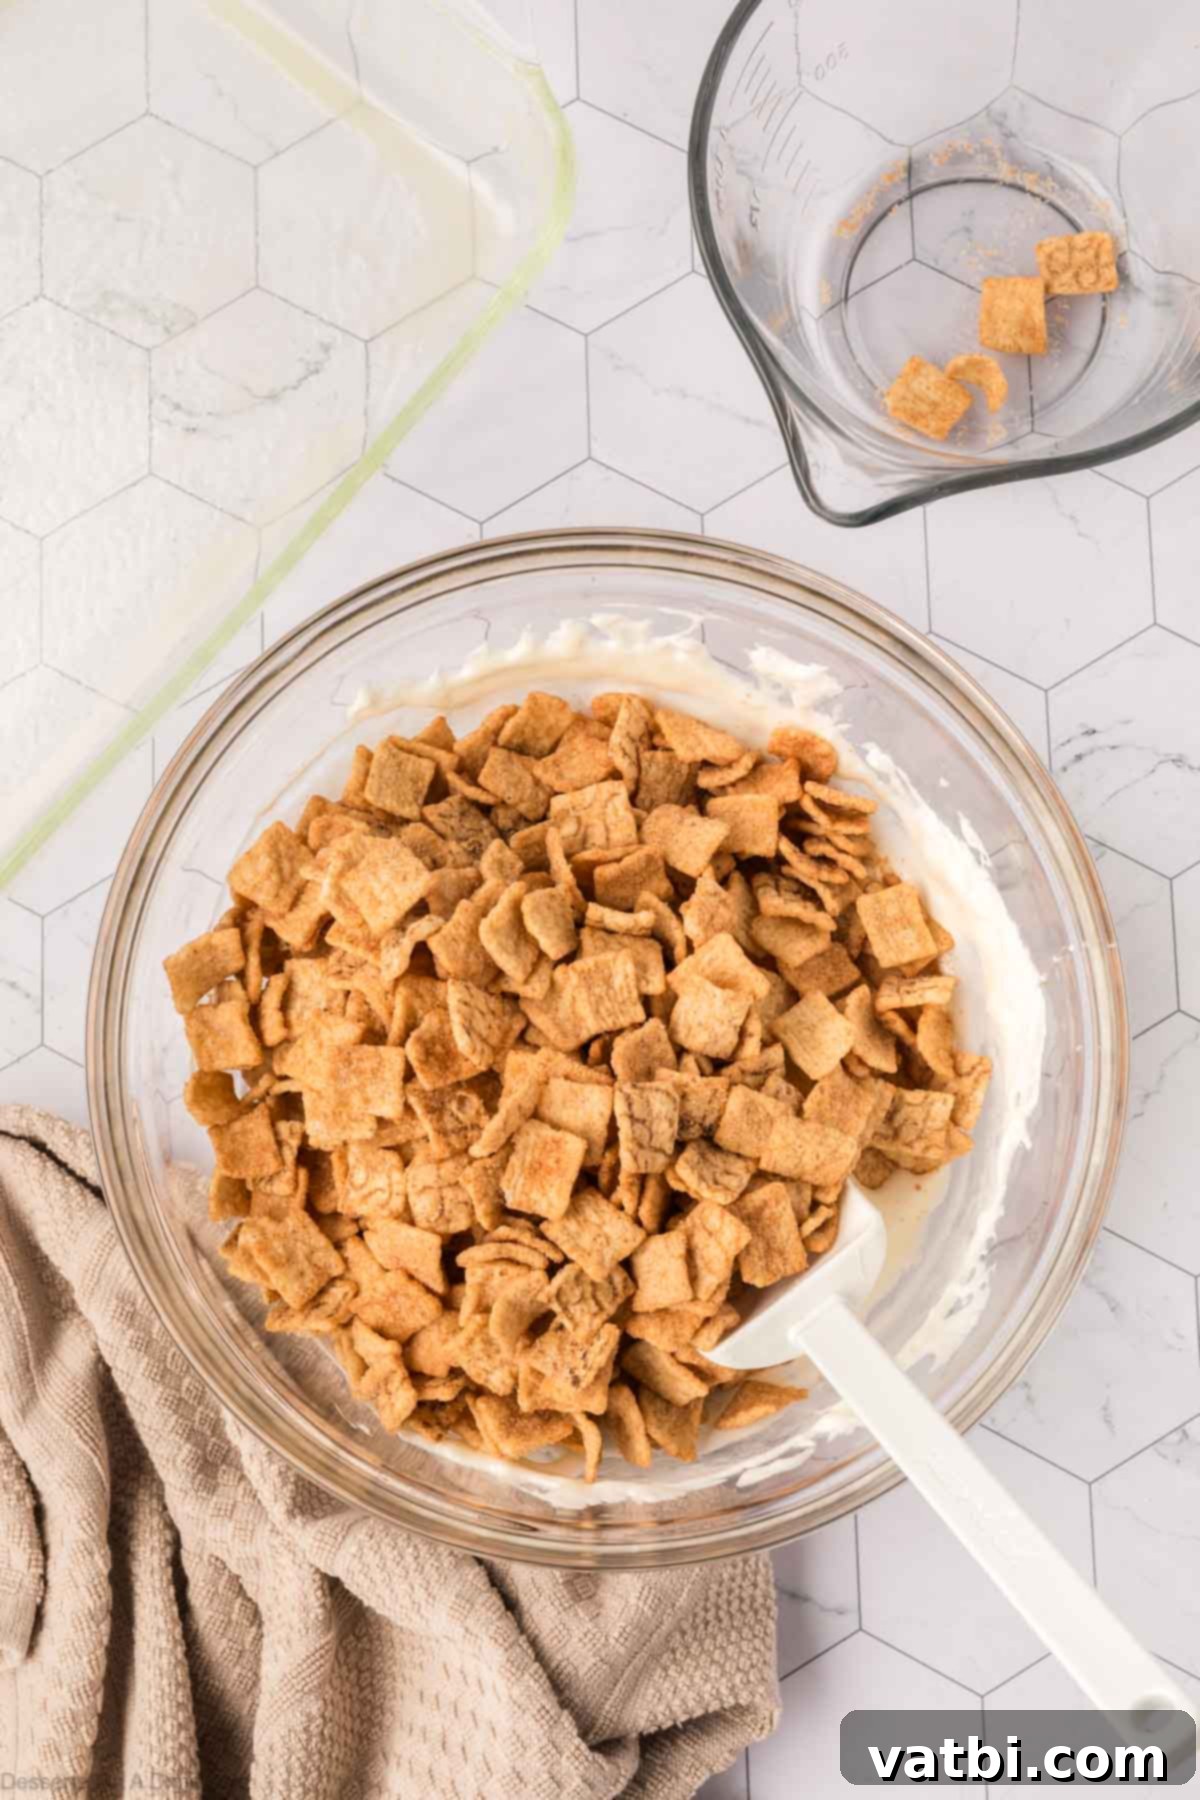
Step 4. Incorporate the Cereal: Once your marshmallow mixture is perfectly melted and smooth, carefully add the Cinnamon Toast Crunch cereal to the bowl. Using your rubber spatula, gently fold the cereal into the melted marshmallows and butter. Be careful not to crush the cereal too much; the goal is to coat each piece evenly without losing its signature crunch. Continue folding until all the cereal is well-coated.
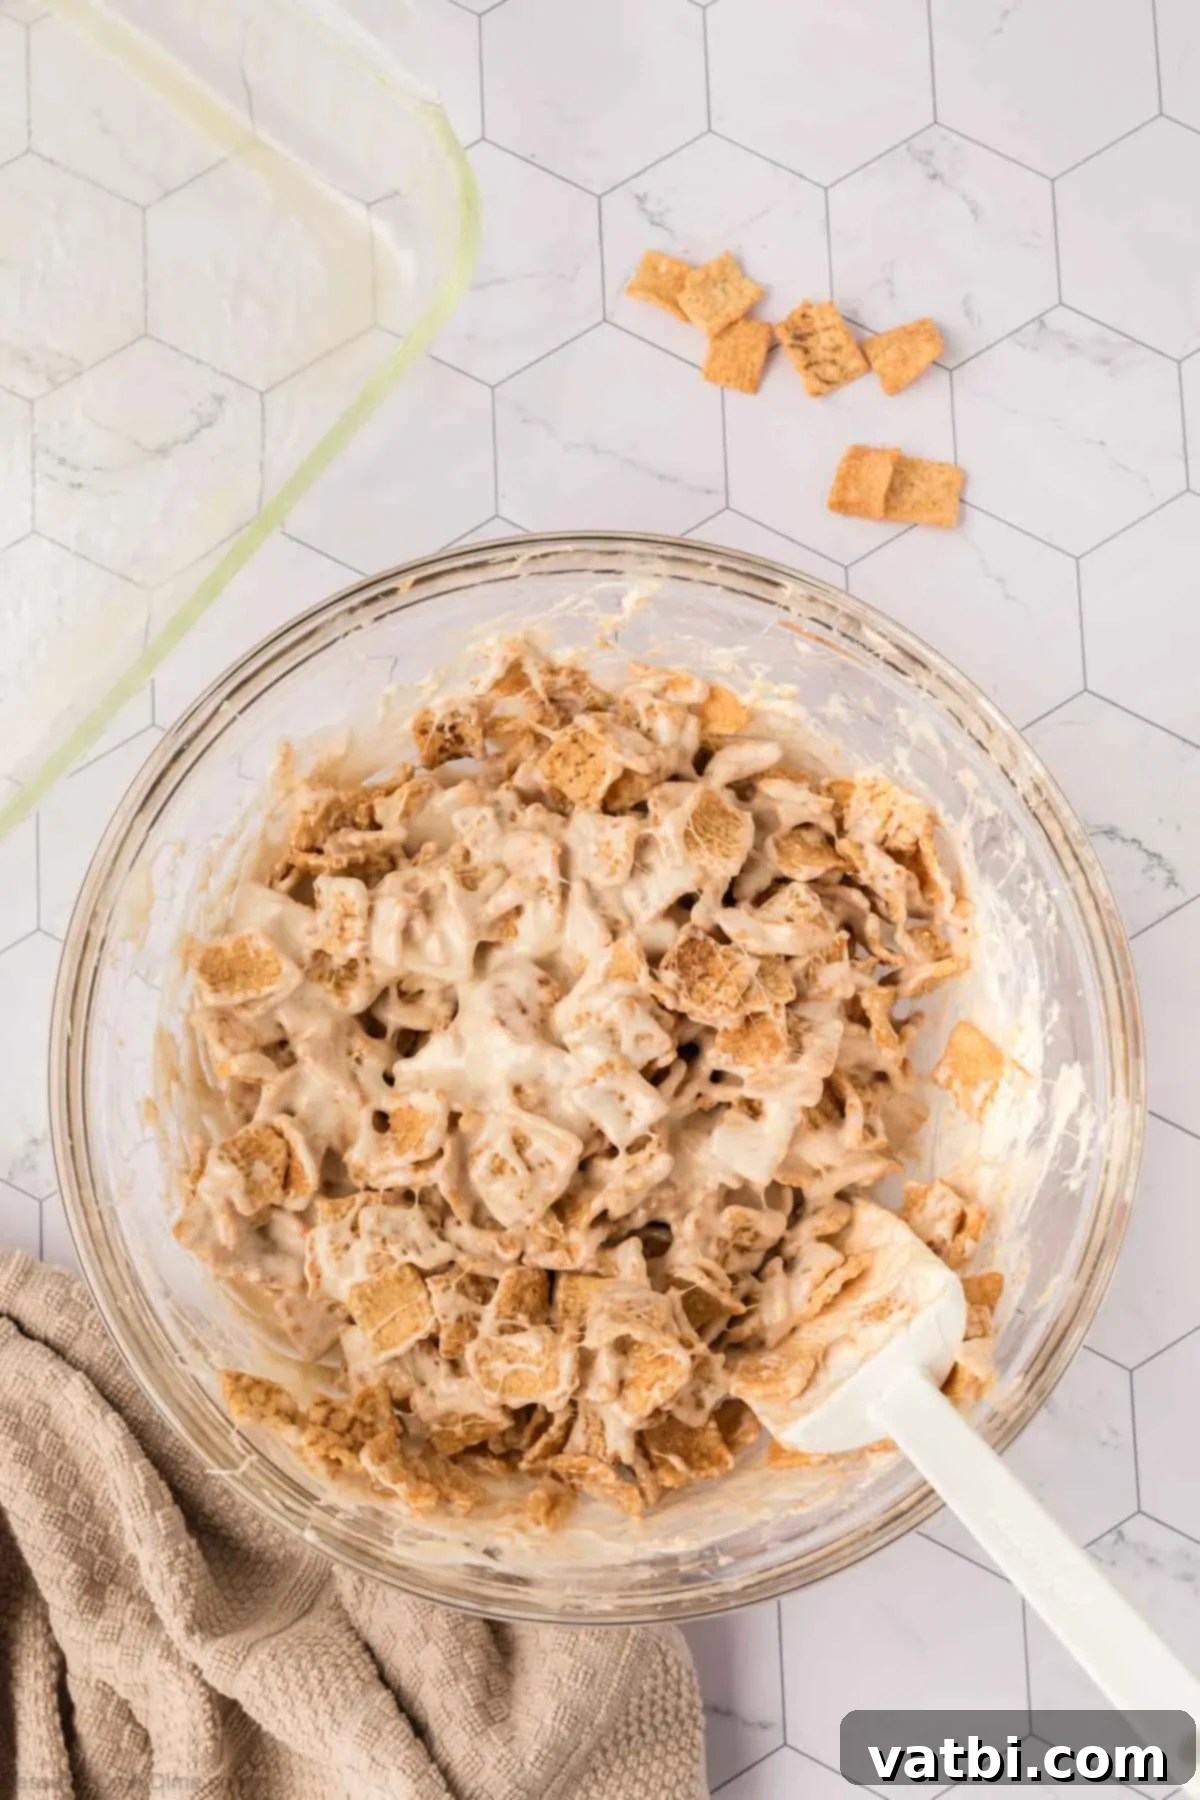
Step 5. Press into Pan: Immediately pour the combined cereal mixture into your prepared 9×13-inch baking pan. This step needs to be done quickly while the marshmallow mixture is still warm and pliable. To press the mixture into an even layer without getting your hands sticky, I highly recommend placing a piece of waxed paper or parchment paper directly on top of the mixture. Then, use your hands (or another clean pan) to gently press down, creating a compact and even layer across the entire pan. Remember, press gently; over-compressing the mixture can result in hard, dense bars rather than light and gooey ones.
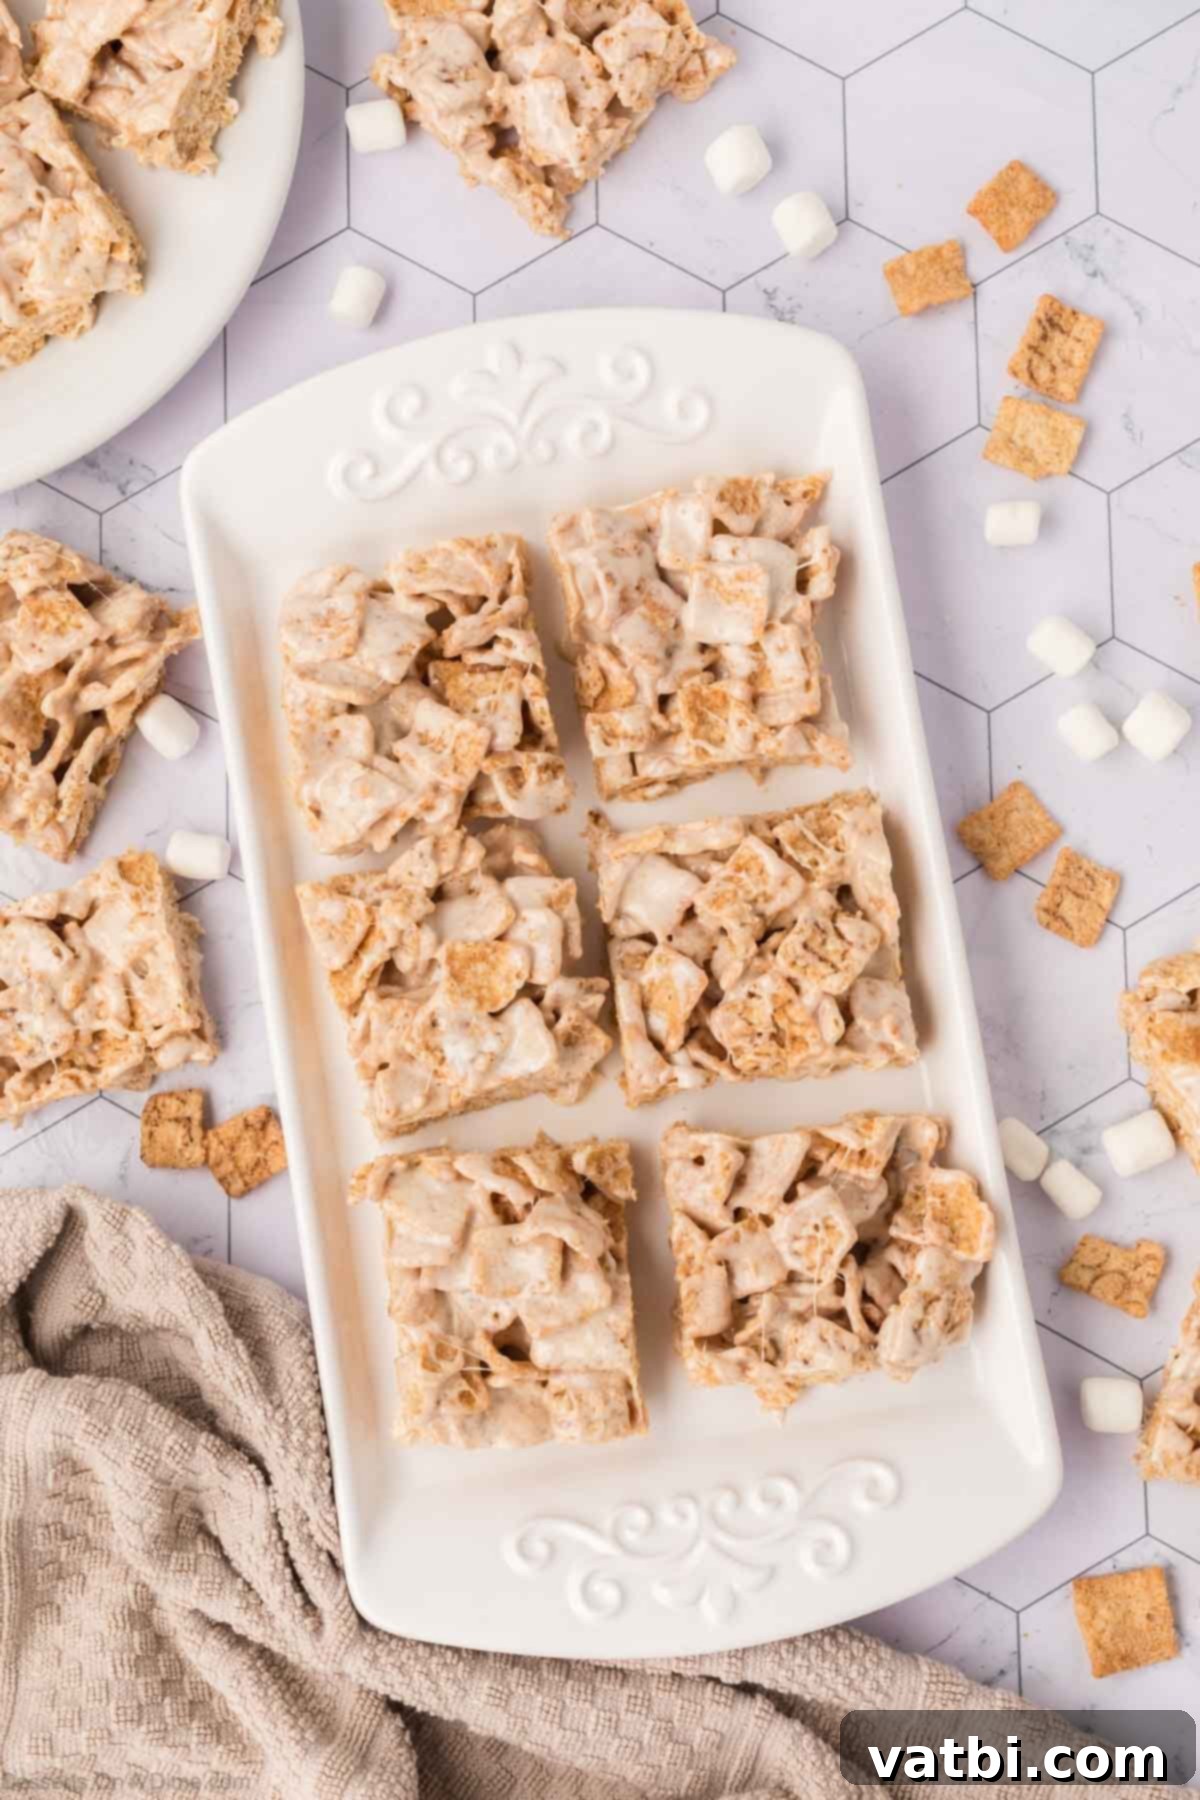
Step 6. Cool, Cut, and Serve: Once pressed, allow the bars to cool completely at room temperature. This will take at least 30-60 minutes, or longer depending on your kitchen’s temperature. Do not place them in the refrigerator, as this can make them hard. Once fully cooled and set, use a sharp knife (lightly buttered or sprayed with cooking spray for easier cutting) to cut them into squares or rectangles of your desired size. Serve immediately and enjoy your perfectly sweet and gooey Cinnamon Toast Crunch Bars!
Proper Storage for Maximum Freshness of Your Cereal Bars
Proper storage is key to keeping your Cinnamon Toast Crunch Bars perfectly gooey and delicious for as long as possible. Here’s how to do it right:
Do not store these treats in the refrigerator. Refrigeration tends to make the marshmallow mixture harden significantly, resulting in dense, chewy (and not in a good way) bars. They are best left to cool and stored at room temperature to maintain their signature soft, gooey texture.
For leftover cereal treats, make sure to cover them tightly. Store them inside an airtight container at room temperature. When stored correctly, they will remain wonderfully fresh and delicious for up to 1 week. To prevent the bars from sticking together in the container, I highly suggest placing a piece of parchment paper or waxed paper in between layers of cereal bars. This simple trick ensures each bar remains individual and easy to grab without any sticky mess.
If you’re making a large batch, you can stack them with parchment paper in between. Just ensure the container is truly airtight to keep them from drying out.
Expert Tips for Perfect Cinnamon Toast Crunch Bars Every Time
Achieving the perfect gooey texture and flavor for your Cinnamon Toast Crunch Bars is easy with these tried-and-true tips:
- Line the Pan for Easy Removal: While cooking spray works well, for ultimate ease of removal and cutting, line your 9×13-inch baking dish with aluminum foil or parchment paper, leaving an overhang on the sides. Then, spray the lining with non-stick cooking spray. This creates “handles” that allow you to easily lift the entire slab of bars out of the pan once cooled, making cutting them a breeze and ensuring clean edges.
- Melt in Intervals & Stir: When melting the butter and marshmallows, whether in the microwave or on the stovetop, always do so in short intervals (30 seconds for microwave, low heat for stovetop) and stir thoroughly after each. This prevents the marshmallows from burning, seizing, or becoming hard and rubbery, which can ruin the texture of your finished bars. You want a smooth, flowing consistency.
- Press Gently, Not Firmly: When pressing the mixture into the pan, use a light hand. Pressing too hard will compact the cereal, pushing out air and creating dense, hard bars instead of the desirable soft and chewy texture. Use waxed paper or parchment paper on top of the mixture to press gently and evenly without sticky hands.
- Always Use Fresh Ingredients: The quality of your ingredients directly impacts the outcome. Use fresh Cinnamon Toast Crunch cereal (not stale or soft) to ensure a satisfying crunch. Similarly, use fresh, soft mini marshmallows for the best gooey melt. Older marshmallows can be tough and might not melt smoothly.
- Coat Your Spoon/Spatula: To combat stickiness when stirring the melted marshmallow mixture or folding in the cereal, lightly spray your rubber spatula or spoon with non-stick cooking spray. This creates a barrier that prevents the mixture from clinging, making the process much cleaner and easier. You can also lightly butter your hands if you prefer to press the mixture directly.
- For Easier Cutting: Once the bars are completely cooled, lightly butter your knife or spray it with cooking spray before cutting. This helps the knife glide through the sticky bars smoothly, resulting in clean, precise cuts. For really neat squares, wipe the knife clean after every few cuts.
- Consider a Double Batch: These bars disappear fast! If you’re serving a crowd or just want extras, easily double the recipe and use a larger baking pan or two 9×13-inch pans. Just ensure you have a large enough bowl for mixing.
- Stovetop Melting Method: If you prefer not to use a microwave, you can easily melt the butter and marshmallows on the stovetop. Use a large, heavy-bottomed pot over medium-low heat. Add the butter and let it melt, then add the marshmallows. Stir continuously until they are fully melted and smooth. Be careful not to overheat.
Frequently Asked Questions About Cinnamon Toast Crunch Bars
Absolutely! These bars are a fantastic make-ahead treat. You can comfortably prepare them 1-2 days ahead of time. Simply store them in an airtight container at room temperature, as described in the storage section, to maintain their freshness and gooey texture. This makes them perfect for parties, lunchbox additions, or when you need a quick dessert without last-minute fuss.
Yes, you can substitute large marshmallows for mini marshmallows. However, be aware that they will take longer to melt evenly. When melting large marshmallows, it’s even more critical to use low heat (if on stovetop) or shorter intervals (30 seconds) in the microwave, stirring frequently, to ensure they melt smoothly without burning or becoming tough. The overall texture of the bars should still be good, but mini marshmallows generally yield a slightly smoother, more consistent marshmallow coating.
Yes, these bars can be frozen! For best results, allow them to cool completely, then cut them into individual portions. Wrap each portion tightly in plastic wrap, then place them in a freezer-safe airtight container or freezer bag. They can be frozen for up to 2 months. When you’re ready to enjoy them, thaw them overnight in the refrigerator, then bring them to room temperature before serving. While they will still be delicious, the texture may change slightly and might be a little chewier after freezing and thawing.
There are a couple of common reasons why your Cinnamon Toast Crunch Bars might turn out hard instead of gooey. Firstly, pressing the mixture too firmly into the pan will over-compress the cereal and marshmallow, resulting in dense, hard bars. Secondly, overcooking the marshmallows or melting them on too high a heat can cause them to become stiff and sticky, which will make your finished bars hard. Always melt marshmallows on low heat or in short microwave intervals, stirring often, and press the mixture gently into the pan.
Absolutely! Making these bars on the stovetop is a classic method and works perfectly. Simply use a large, heavy-bottomed pot and melt the butter over medium-low heat. Once melted, add the mini marshmallows and continue to stir constantly until they are fully melted and smooth. The key is to keep the heat low and stir frequently to prevent burning. Once melted, proceed with folding in the cereal as directed in the recipe.
Traditional Cinnamon Toast Crunch cereal contains wheat, so these bars are not gluten-free as written. If you need a gluten-free option, you would need to use a certified gluten-free cinnamon-flavored cereal that mimics Cinnamon Toast Crunch. Always check the ingredient labels carefully.
While you can try to slightly reduce the amount of marshmallows (which are the primary source of sugar and the binding agent), it’s not generally recommended for this type of cereal bar. Marshmallows are essential for the gooey texture and act as the “glue.” Significantly reducing them would alter the texture, making the bars crumbly or less cohesive. The cinnamon toast crunch cereal itself also contributes sweetness. For this recipe, the sweetness is part of its charm!
More Easy Cereal Treats You’ll Love
All Recipes Dessert
Golden Graham S’mores Bars
St. Patricks Day Desserts
Lucky Charms Treats
No bake Dessert
Salted Caramel Rice Krispies
You are going to absolutely love how simple, quick, and satisfying this Cinnamon Toast Crunch Bar recipe is. It’s the perfect no-bake treat for any occasion, bringing joy and a burst of cinnamon flavor with minimal effort. Please make it today and share your experience by leaving a comment and a star rating below. I truly value your feedback and love hearing how these delicious treats turn out for you!
Cinnamon Toast Crunch Bars
Ingredients
- 5 cups Cinnamon Toast Crunch Cereal
- 4 tablespoons Salted Butter
- 10 oz. mini marshmallows
Instructions
-
Spray a 9×13-inch baking pan generously with non-stick cooking spray to prevent sticking.
-
Place the butter and mini marshmallows in a large, microwave-safe dish.
-
Heat in the microwave in 30-second intervals, stirring thoroughly after each interval until the mixture is completely melted and smooth.
-
Carefully add the Cinnamon Toast Crunch cereal to the melted marshmallow mixture and gently fold with a rubber spatula until all the cereal is evenly coated.
-
Pour the mixture into the prepared pan. Using a piece of waxed paper or parchment paper, gently press the mixture into an even layer in the pan. Avoid pressing too firmly to keep the bars soft.
-
Allow the bars to cool completely at room temperature until set.
-
Once cooled, cut into bars of your desired size, serve, and enjoy your delicious homemade treats!
Recipe Notes
Cover any leftovers in an airtight container and store at room temperature for up to 1 week. Placing parchment paper between layers will prevent sticking.
Nutrition Facts
Pin This Now to Remember It Later
Pin Recipe
