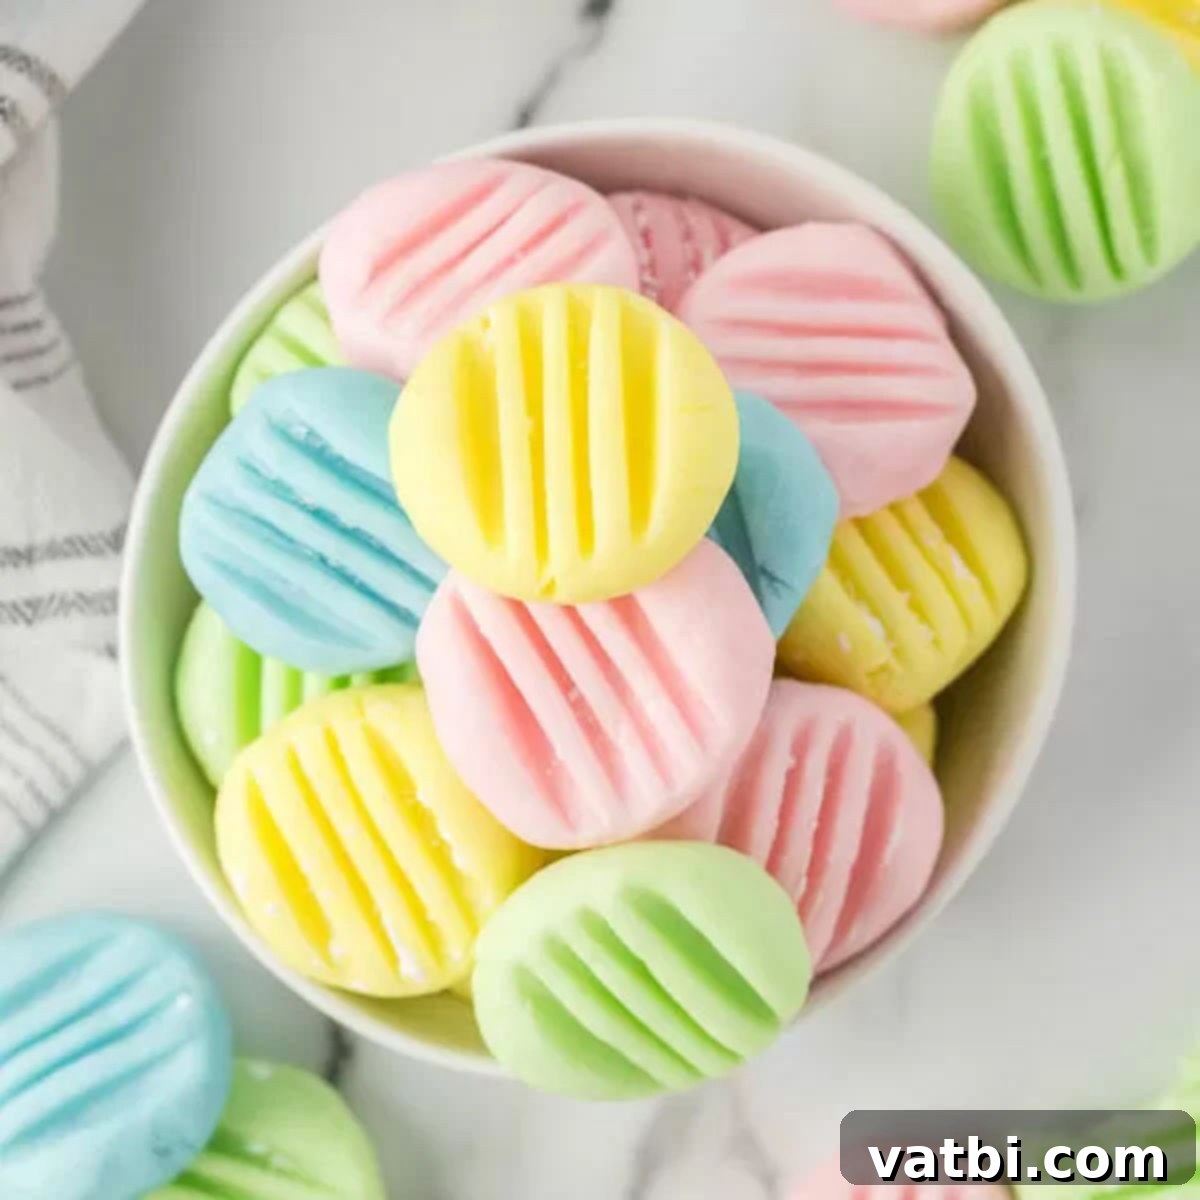
Homemade Cream Cheese Mints: The Easiest Recipe for Parties & Special Occasions
Cream Cheese Mints are an absolute delight – incredibly easy to make and perfectly suited for any festive gathering. Whether you’re hosting a joyous baby shower, celebrating a significant graduation, or planning an elegant bridal shower, these decadent treats are sure to impress your guests. With just a *few simple ingredients* and minimal effort, anyone can whip up a batch of these melt-in-your-mouth mints, even if you’re a busy parent or a novice in the kitchen.

These homemade mints are not only delicious but also add a special touch to any occasion. They share a similar delightful texture with traditional Butter Mints, but with the added richness and tangy hint of cream cheese. The simplicity of this recipe makes it an ideal choice for anyone looking for a quick yet impressive dessert. What’s more, the versatility of cream cheese mints means you can easily customize them to fit any theme or holiday. From vibrant Christmas Mints to elegant wedding favors or charming Baby Shower Desserts, this recipe is a year-round winner. We’ve been perfecting these mints for years, and they consistently receive rave reviews.
If you find yourself with extra cream cheese after making these delightful mints, don’t let it go to waste! Consider using it to bake a luscious Cream Cheese Pound Cake Recipe, another simple yet incredibly satisfying treat.
What’s in this post: Cream Cheese Mints Recipe
- Why we love this recipe
- Ingredients
- How to make cream cheese mints
- Frequently Asked Questions
- Tips:
- More candy recipes:
- Cream Cheese Mints Recipe
Why We Love This Easy Cream Cheese Mint Recipe
There are countless reasons why these cream cheese mints have become a cherished favorite in our home and at every event we host. Their undeniable charm and simplicity make them a standout dessert.
- Simple, Accessible Ingredients: You won’t need to hunt for exotic items. This recipe calls for just a handful of basic ingredients, most of which you likely already have in your pantry or can easily find at any grocery store. It truly embodies the beauty of simple, straightforward baking.
- Soft, Creamy, Melt-in-Your-Mouth Texture: The combination of cream cheese and butter creates an incredibly smooth and tender mint that literally melts as soon as it touches your tongue. Unlike some harder candies, these offer a delightful, creamy experience with every bite.
- Budget-Friendly for Any Crowd: Planning a party can be expensive, but these mints offer a deliciously economical solution. The ingredients are inexpensive, allowing you to make a large batch to feed a crowd without breaking the bank. They’re perfect for adding a touch of elegance on a budget.
- Highly Customizable: The base dough is a blank canvas! You can easily adjust the colors to match any party theme, holiday, or personal preference. Want vibrant pastels for spring? Deep reds and greens for Christmas? Or keep them pure white for a classic, elegant look? The choice is yours.
- Perfect Make-Ahead Dessert: These mints are a host’s dream because they can be made well in advance. This frees up your time on the day of your event, allowing you to focus on other preparations or simply enjoy your guests. They store beautifully in the refrigerator or even the freezer.
- No Baking Required: That’s right! No oven needed. This recipe is a fantastic option for hot summer days or when your oven is already occupied with other dishes.
Essential Ingredients for Cream Cheese Mints
Gathering your ingredients is the first step to creating these delightful mints. Make sure everything is at room temperature for the best results, especially the dairy components, as this ensures a smooth, lump-free mixture.
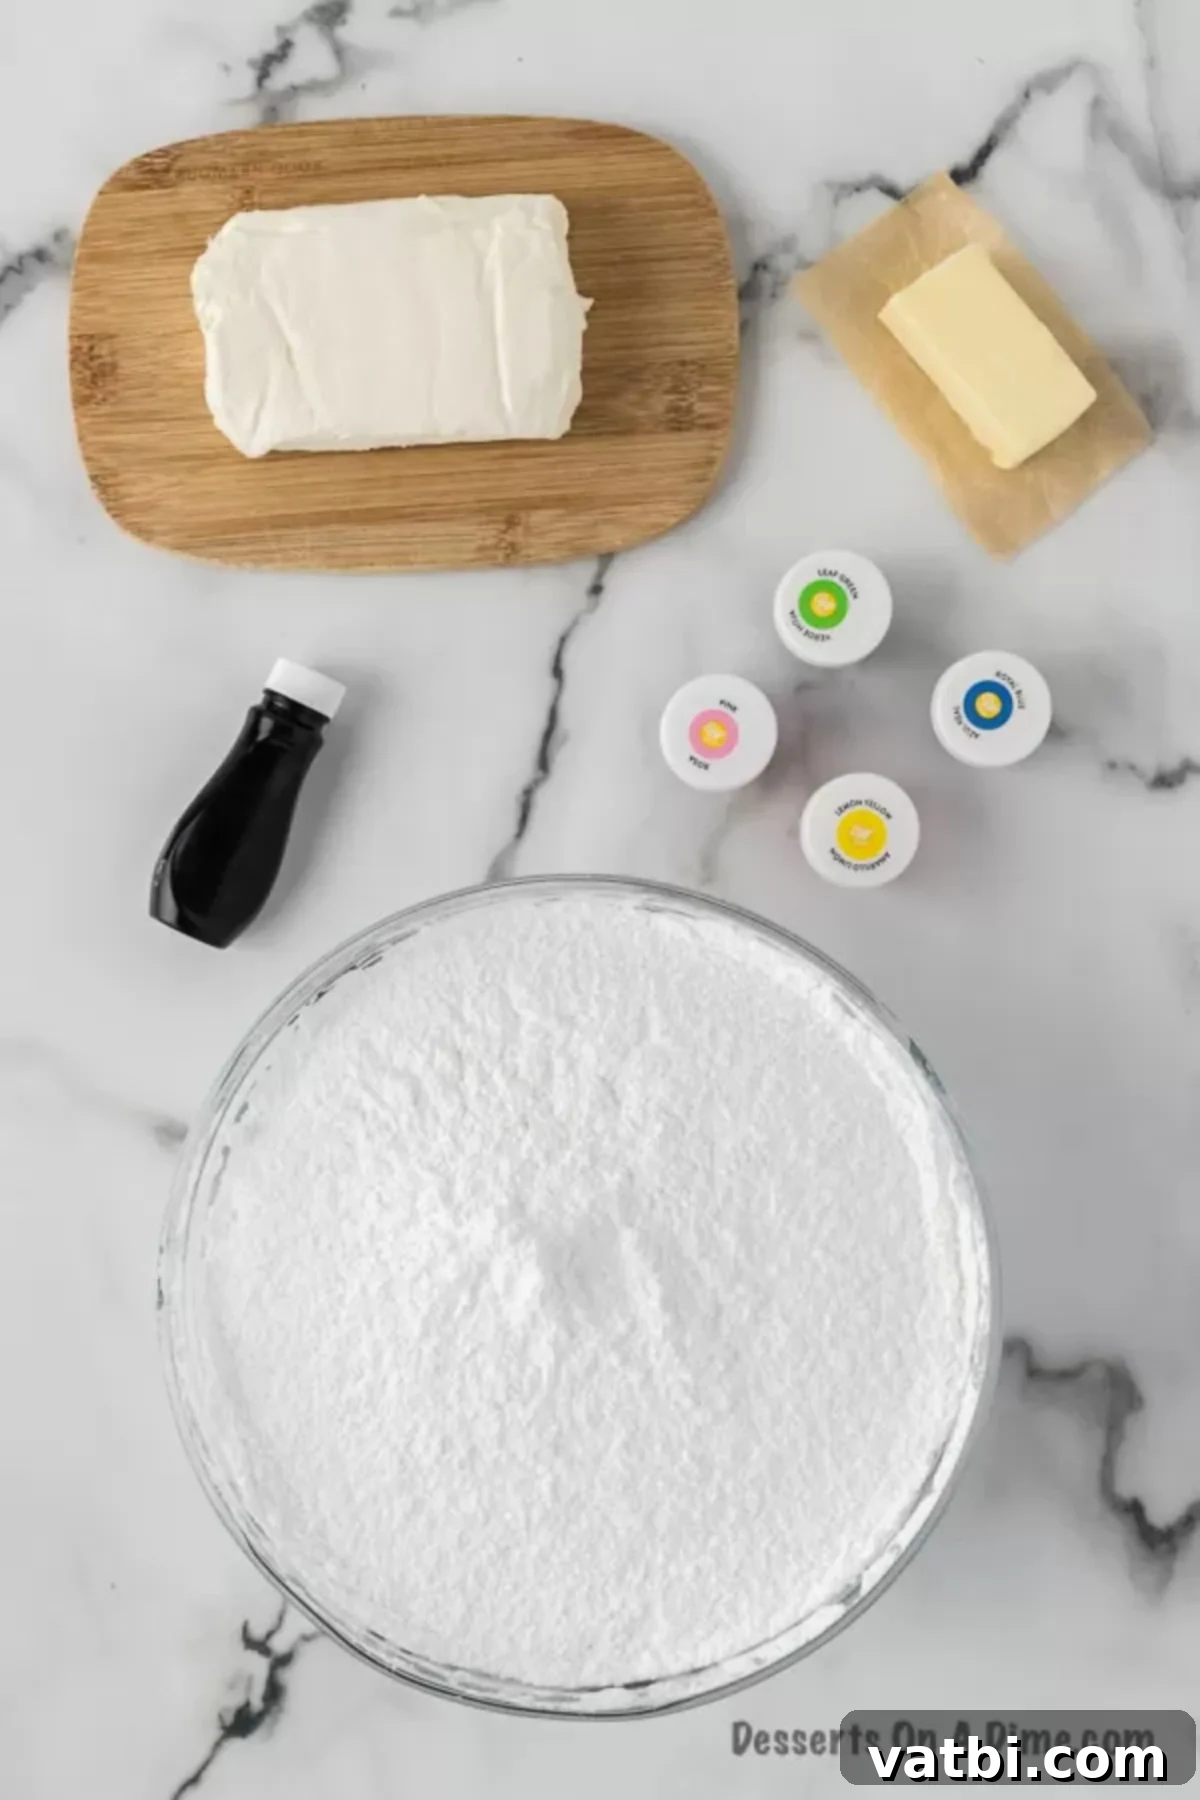
- Cream Cheese: Ensure it’s full-fat and softened cream cheese. Using brick-style cream cheese is crucial for the right consistency; avoid whipped or reduced-fat varieties found in tubs, as they contain too much water and won’t set correctly.
- Butter: Softened real butter is key. Just like with cream cheese, margarine or butter substitutes won’t give you the same rich flavor or desired texture.
- Powdered Sugar: Also known as confectioners’ sugar. Sifting it is a must to prevent lumps and ensure a super smooth mint. You’ll use a significant amount to achieve the correct dough-like consistency.
- Peppermint Extract: This is the star flavor! Do not substitute with mint extract, which has a different flavor profile often associated with toothpaste. Peppermint extract provides that classic, refreshing minty taste.
- Gel Food Coloring: Gel food coloring provides vibrant colors without adding excess liquid to your dough, which could alter the consistency. A little goes a long way!
- Additional Powdered Sugar: You’ll need extra for rolling the mints and for dipping your fork to prevent sticking.
The complete ingredient list with exact measurements and detailed instructions can be found in the recipe card at the bottom of this post.
Step-by-Step Guide: How to Make Cream Cheese Mints
Making these cream cheese mints is a fun and straightforward process. Follow these steps carefully for perfect, delightful treats every time.
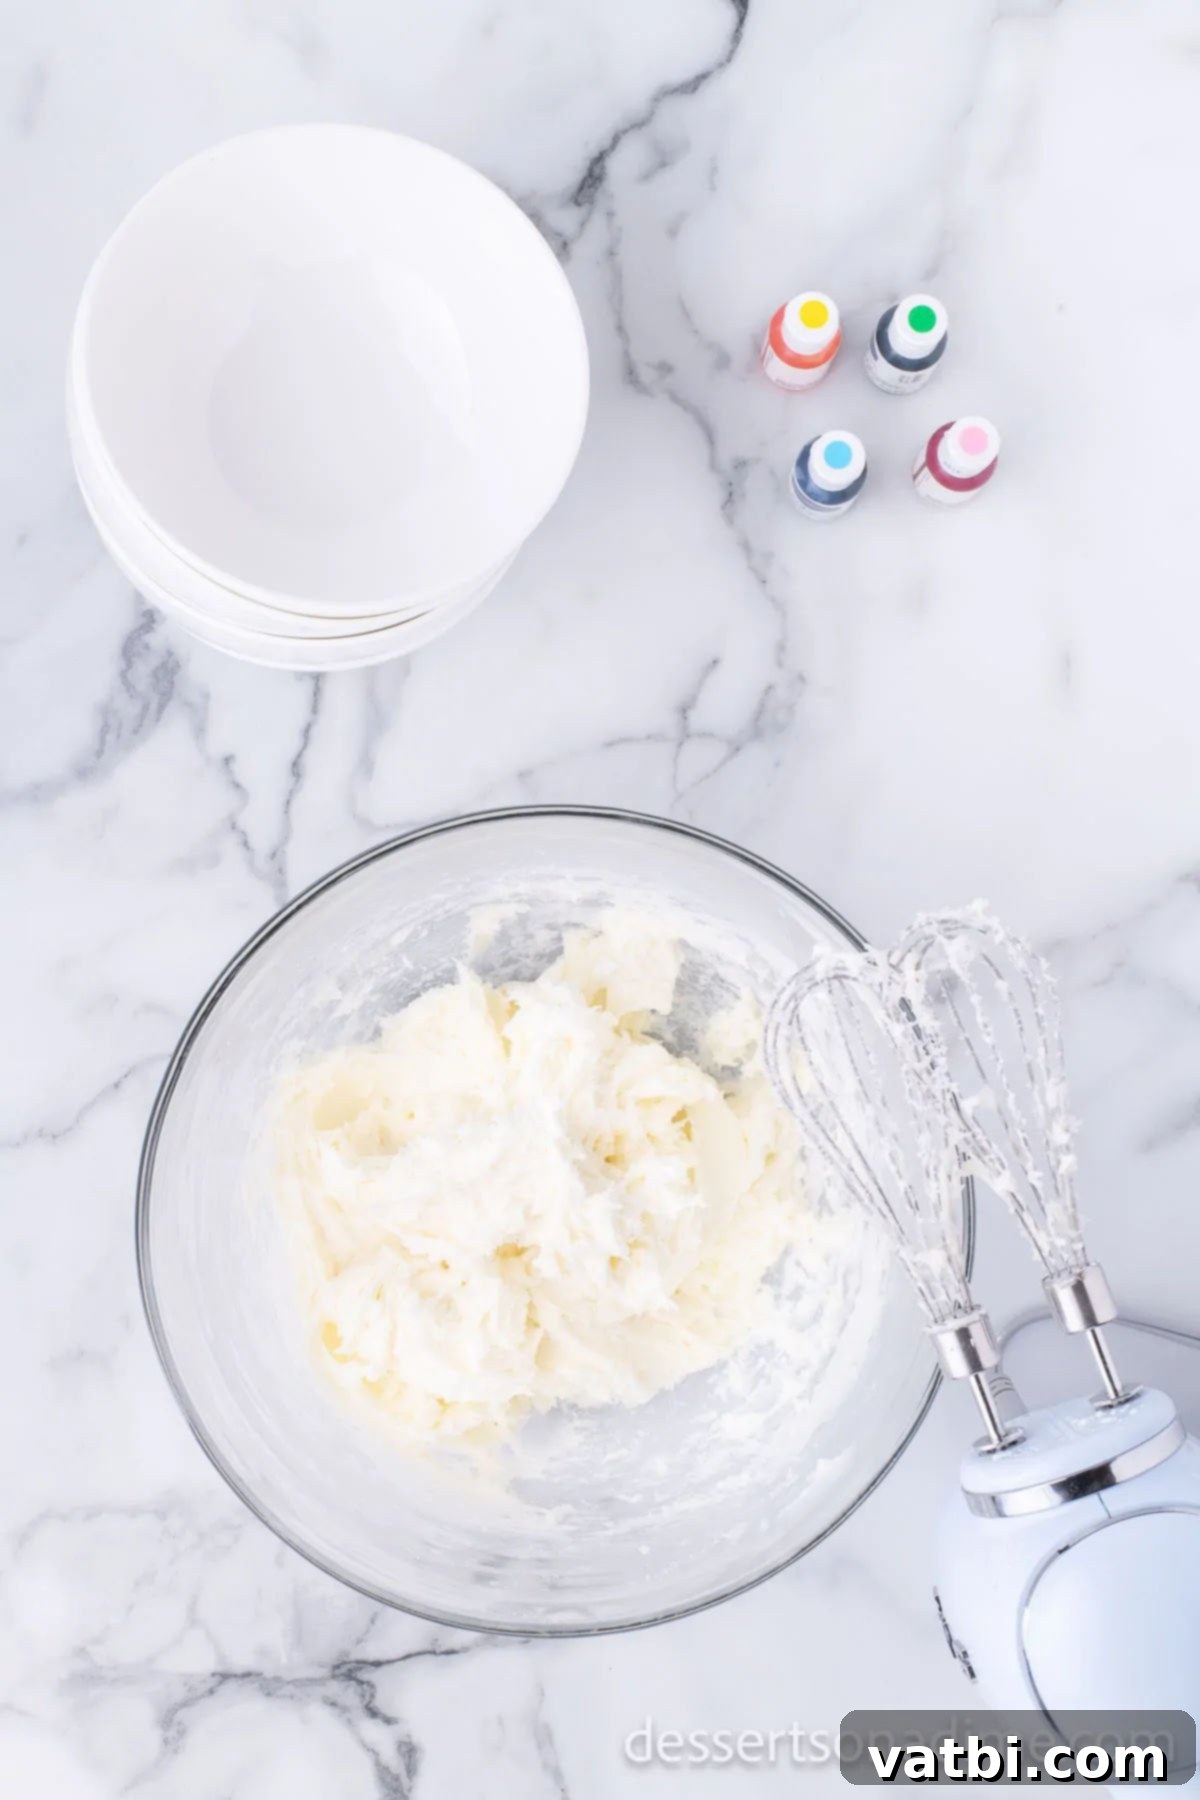
Step 1: Prepare the Base Dough. Begin by combining the softened cream cheese and softened butter in a large mixing bowl. Use a hand mixer or a stand mixer fitted with the paddle attachment to beat them together until the mixture is smooth, creamy, and well-blended. Next, gradually add the sifted powdered sugar, one cup at a time, mixing thoroughly after each addition until fully incorporated. The dough will start to thicken considerably. Finally, stir in the peppermint extract. Continue adding powdered sugar, one cup at a time, until the mixture forms a thick, play-dough like consistency that is no longer sticky to the touch.

Step 2: Color and Chill the Dough. Once your dough reaches the desired consistency, divide it into separate bowls – typically 3-4 bowls if you’re making multiple colors. Add a few drops of your chosen gel food coloring to each bowl. Mix thoroughly until the dough is uniformly colored. Remember that gel food coloring is highly concentrated, so start with a small amount and add more as needed to achieve your preferred shade. Cover each bowl of colored dough tightly with plastic wrap and refrigerate for at least 2 hours. This chilling step is crucial, as it firms up the dough, making it much easier to handle and shape.

Step 3: Shape the Mints. While the dough is chilling, prepare two baking sheets by lining them with parchment paper or wax paper. This prevents the mints from sticking. Once the dough is firm from refrigeration, take small portions and roll them into uniform, bite-sized balls between your palms, aiming for about 1-inch in diameter. A small cookie scoop can be very helpful here for consistency. Place these dough balls onto the prepared baking sheets, leaving a little space between each one.
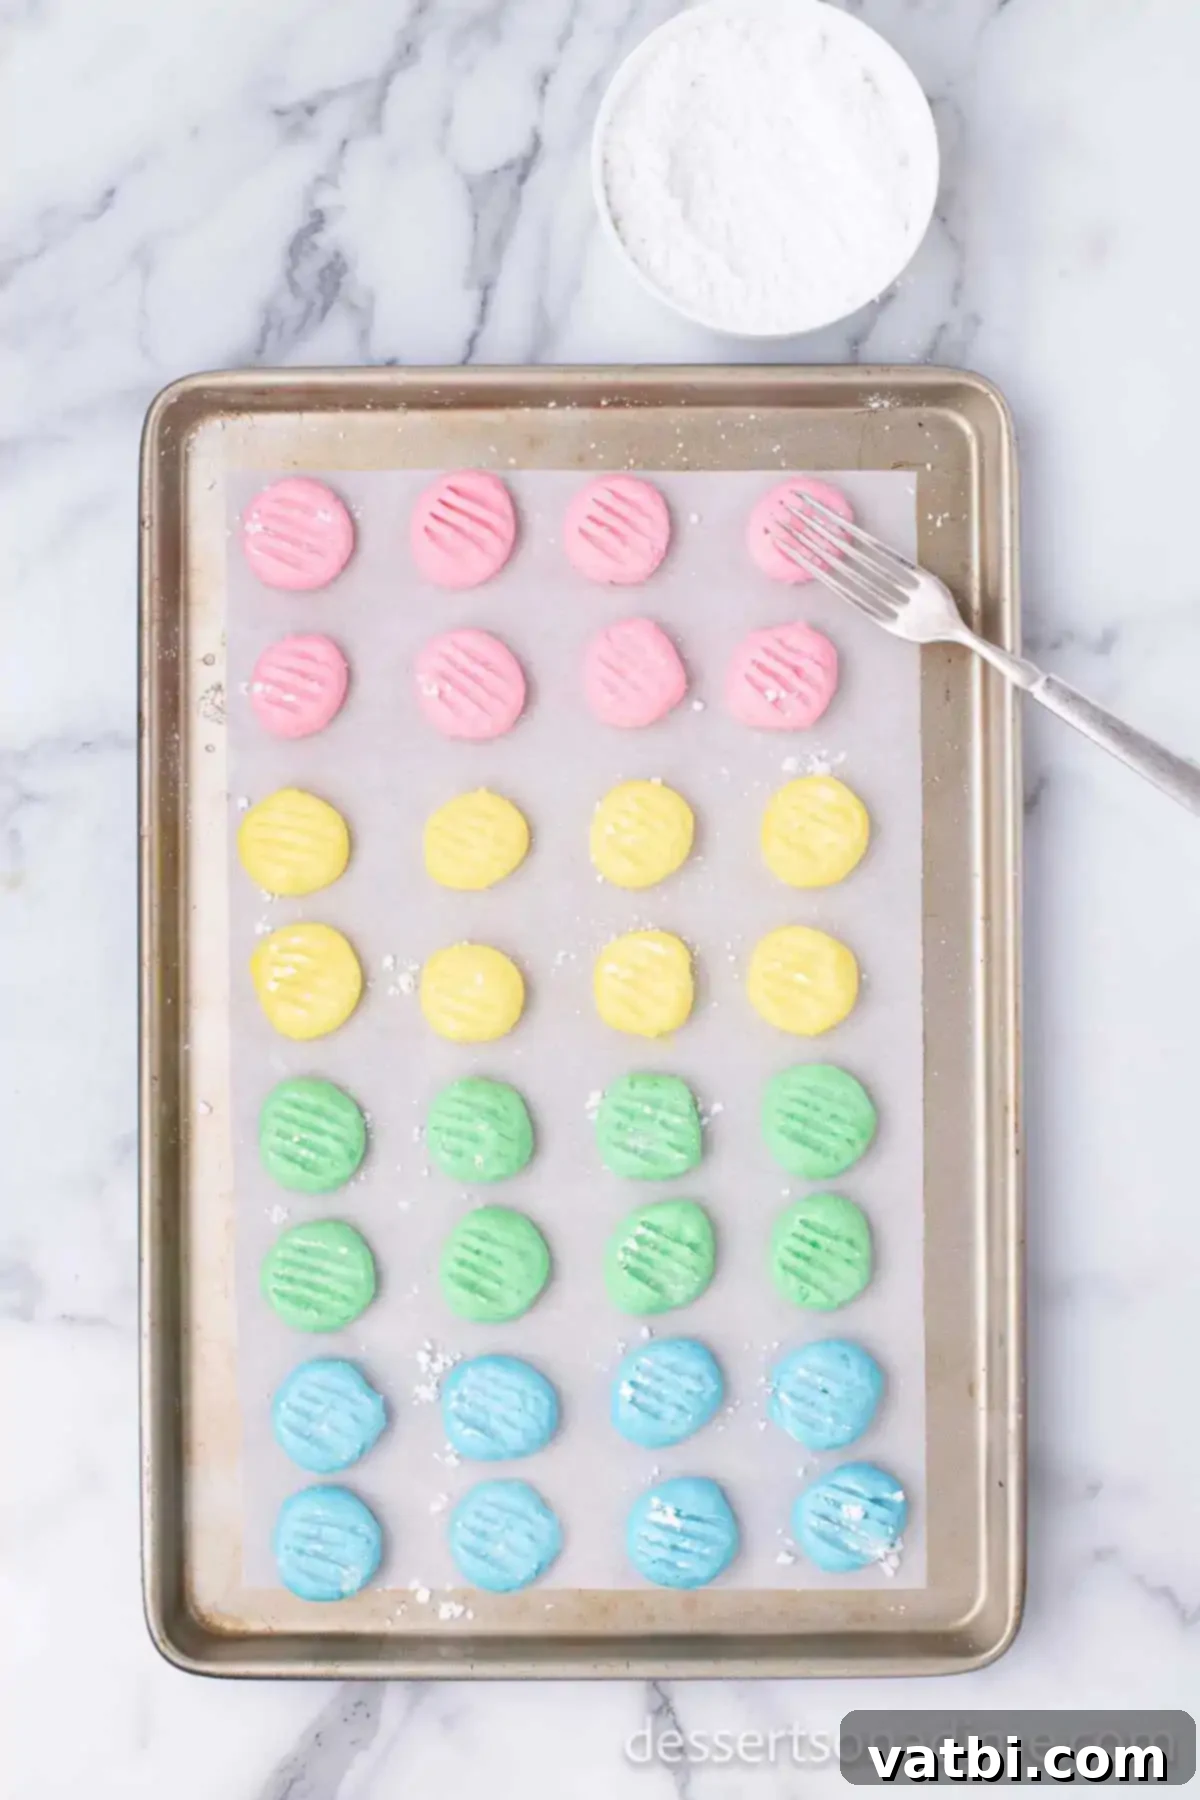
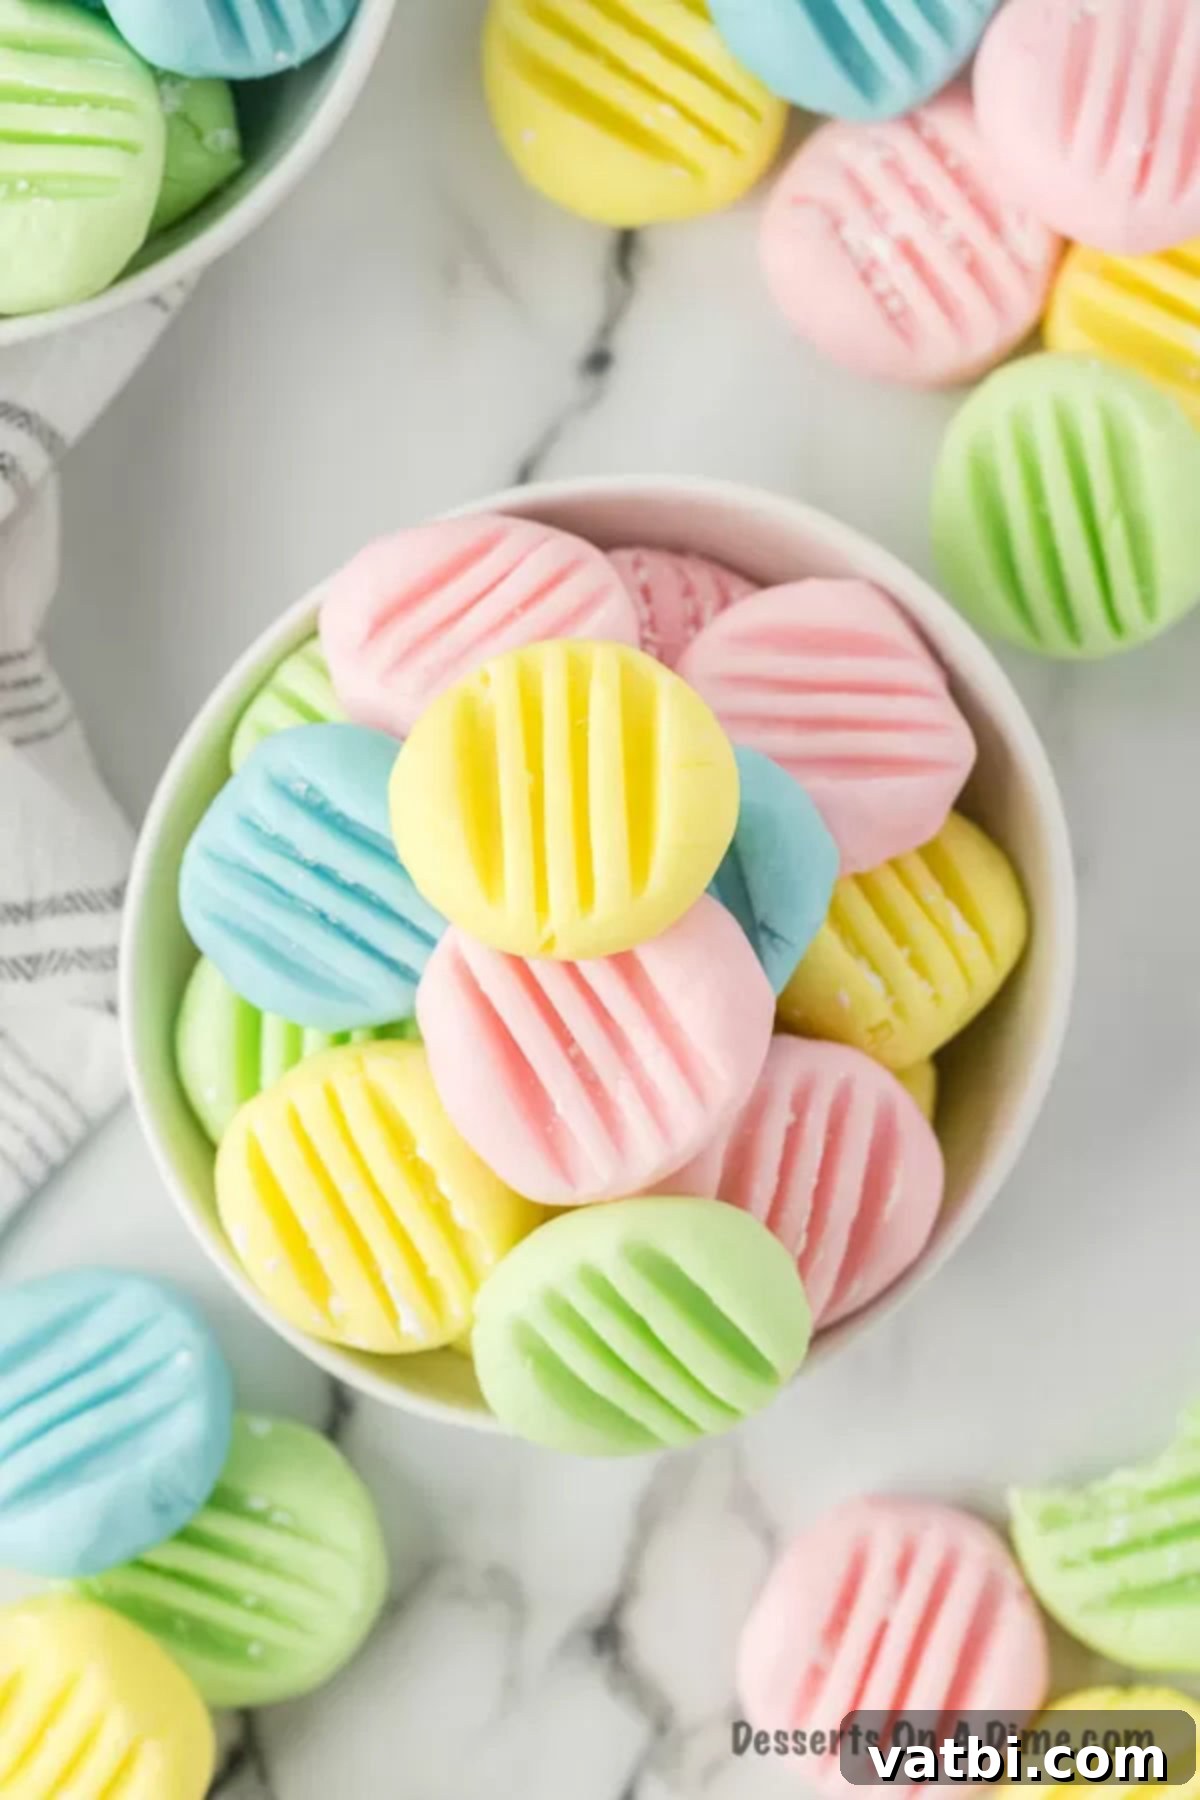
Step 4: Flatten and Harden. Pour some extra powdered sugar into a small, shallow bowl. Dip the tines of a fork into the powdered sugar – this prevents sticking and adds a decorative pattern. Carefully press the sugared fork down onto each mint ball, flattening it slightly and creating a classic lined design. Repeat this process for all the mints, redipping the fork as needed. Once shaped, allow the mints to sit undisturbed at room temperature for approximately 4-6 hours (or even overnight) until they have fully hardened on the outside while remaining delightfully soft and creamy on the inside.
Frequently Asked Questions About Cream Cheese Mints
Proper storage is essential to keep your cream cheese mints fresh and delicious. Once they have fully hardened, place the mints inside an airtight container. To prevent them from sticking together and to maintain their perfect shape, arrange them in a single layer with a sheet of wax paper or parchment paper between each layer. Store the sealed container in the refrigerator, where the mints will remain fresh and tasty for up to 2 weeks. They are a wonderful sweet treat to grab anytime you need a little pick-me-up!
Yes, absolutely! Cream cheese mints are wonderfully freezer-friendly, making them an excellent make-ahead option for any event. To freeze them, ensure they are completely hardened. Then, layer them in an airtight freezer-safe container, using wax paper between each layer to prevent sticking. They can be frozen for up to 1 to 2 months without losing their quality or flavor.
We often find ourselves with leftover mints after baby showers or holiday parties, and freezing them is a fantastic way to enjoy them later. When thawed, they taste just as fresh and delicious as when they were first made. This also serves as a great time-saving hack when preparing for a big event like a wedding reception or a large gathering. Simply make them weeks in advance and freeze. When the big day arrives, you’ll have one less task to worry about!
When you’re ready to serve, simply remove the mints from the freezer and place them in the refrigerator or at room temperature for about 30 minutes to an hour before eating, allowing them to soften slightly.
Yes, you absolutely can! If you prefer a more intricate design or want to skip the fork-flattening step, candy molds are a fantastic alternative. Feel free to use any shape silicone mold you prefer to make these mints. This method works especially well for themed events like baby showers, bridal showers, and wedding receptions, where specific shapes can enhance the decor.
Some popular ideas include using molds shaped like hearts, roses, baby bottles, tiny feet, or even seasonal shapes for holidays. The possibilities for molds are truly endless, allowing you to get creative and perfectly match your mints to your occasion.
Expert Tips for Perfect Cream Cheese Mints Every Time
Achieving the perfect cream cheese mints is easy, especially with these helpful tips and tricks. They’ll ensure your mints are wonderfully creamy, flavorful, and beautifully presented.
- Choose Full-Fat, Brick-Style Cream Cheese: This is a non-negotiable for the best texture. Full-fat, brick-style cream cheese provides the necessary firmness and richness. Avoid cream cheese that comes in tubs, or any whipped, flavored, or reduced-fat varieties, as these contain too much water and will result in a sticky, unworkable dough.
- Always Use Real Butter: Just like with cream cheese, real butter is crucial for the flavor and texture of these mints. Margarine or other butter substitutes have a different fat content and composition that can affect the consistency and taste, so stick to good quality, real butter.
- Peppermint Extract is a Must, Not Mint Extract: This distinction is incredibly important. Peppermint extract provides that classic, refreshing, and clean mint flavor. Mint extract, on the other hand, can sometimes have a taste similar to toothpaste, which is not what you want for a sweet treat. Double-check your extract bottle before adding it!
- Don’t Worry About Excess Powdered Sugar: When rolling your mints and pressing them with the fork, you’ll use extra powdered sugar to prevent sticking. Don’t fret if the finished mints appear to have a white coating. As the mints harden, they will absorb much of this excess sugar, leaving you with beautifully finished mints without a visible powdery residue.
- Food Coloring is Optional, But Fun: While food coloring adds a lovely visual appeal, especially for themed parties, it is entirely optional. If you prefer, you can certainly leave the mints white for a classic, elegant look. If using coloring, gel food coloring is recommended as it provides vibrant hues without adding extra liquid.
- Use a Cookie Scoop for Uniformity: If you’re aiming for perfectly uniform mints, a small cookie scoop (about 1 teaspoon size) is your best friend. It allows you to quickly portion out the dough, ensuring all your mint balls are the same size. This not only makes them look professional but also helps them harden evenly.
- Alternative Flattening Method: Bottom of a Glass: If you’re not a fan of the traditional fork marks or prefer a perfectly smooth, flat mint, you can use the bottom of a drinking glass to flatten them. Simply dip the bottom of the glass in powdered sugar before pressing down on each mint to prevent it from sticking.
- Easily Halve the Recipe: If you don’t need a massive batch of mints, this recipe is easily divisible. You can cut all the ingredient quantities in half to make a smaller batch, perfect for a cozy gathering or if you’re just testing out the recipe.
- Ingredients at Room Temperature are Key: For the smoothest, most easily combined dough mixture, it’s vital that your cream cheese and butter are softened to room temperature. This ensures they blend seamlessly with the powdered sugar, preventing lumps and creating a uniformly smooth base.

More Delicious Candy Recipes to Explore:
- Homemade Rock Candy
- Old Fashioned Divinity Candy
- Crock Pot Fudge
We encourage you to try these delightful cream cheese butter mints for your next special occasion or simply as a sweet treat for yourself. Their simple preparation and delicious taste are sure to make them a new favorite. Don’t forget to come back and leave a comment once you’ve made them – we love hearing about your experiences!
Pin
Cream Cheese Mints
Ingredients
- 8 oz Cream Cheese Softened at room temperature
- 4 Tbsp Butter Softened
- 9 cups Powdered Sugar shifted
- 2 tsp Peppermint Extract
- Gel Food Coloring
- ½ cup Powdered Sugar for rolling the mints
Instructions
-
Cream together the cream cheese and butter with a hand held mixer or stand up mixer until smooth and creamy.
-
Then add in 1 cup of the powdered sugar. Mix together until well combined.
-
Then mix in the peppermint extract.
-
Then place the mixer on low and gradually add in the remaining powdered sugar, 1 cup at a time, scraping down the sides of the bowl after each cup is added in. Continue until all the powdered sugar has been added. The dough should be thick (play-dough like consistency) and not sticky. If the dough is still sticky and not thick enough add in more powdered sugar.
-
Then divide the dough into 4 separate bowls. Add food coloring to each bowl and mix well until you reach the desired colors.
-
Cover and refrigerate the dough for 2 hours.
-
Then line 2 baking sheets with parchment paper or wax paper. Roll the dough in between your palms to form approximately 1 inch balls. Then place the balls on the baking sheets.
-
Dip the tongs of a fork in the ½ cup powdered sugar and then gently press the fork down onto each mint to flatten them out and make a line pattern on the mints. Follow this process until all the mints are formed and keep dipping the fork in the powdered sugar when forming the mints.
-
Then allow the mints to sit at room temperature until they have fully hardened (4-6 hours). They should be hard on the outside and soft on the inside.
-
Store in an air tight container in single layers with a sheet of wax paper between each layer in the refrigerator for up to 2 weeks.
Recipe Notes
Nutrition Facts
Pin This Now to Remember It Later
Pin Recipe
