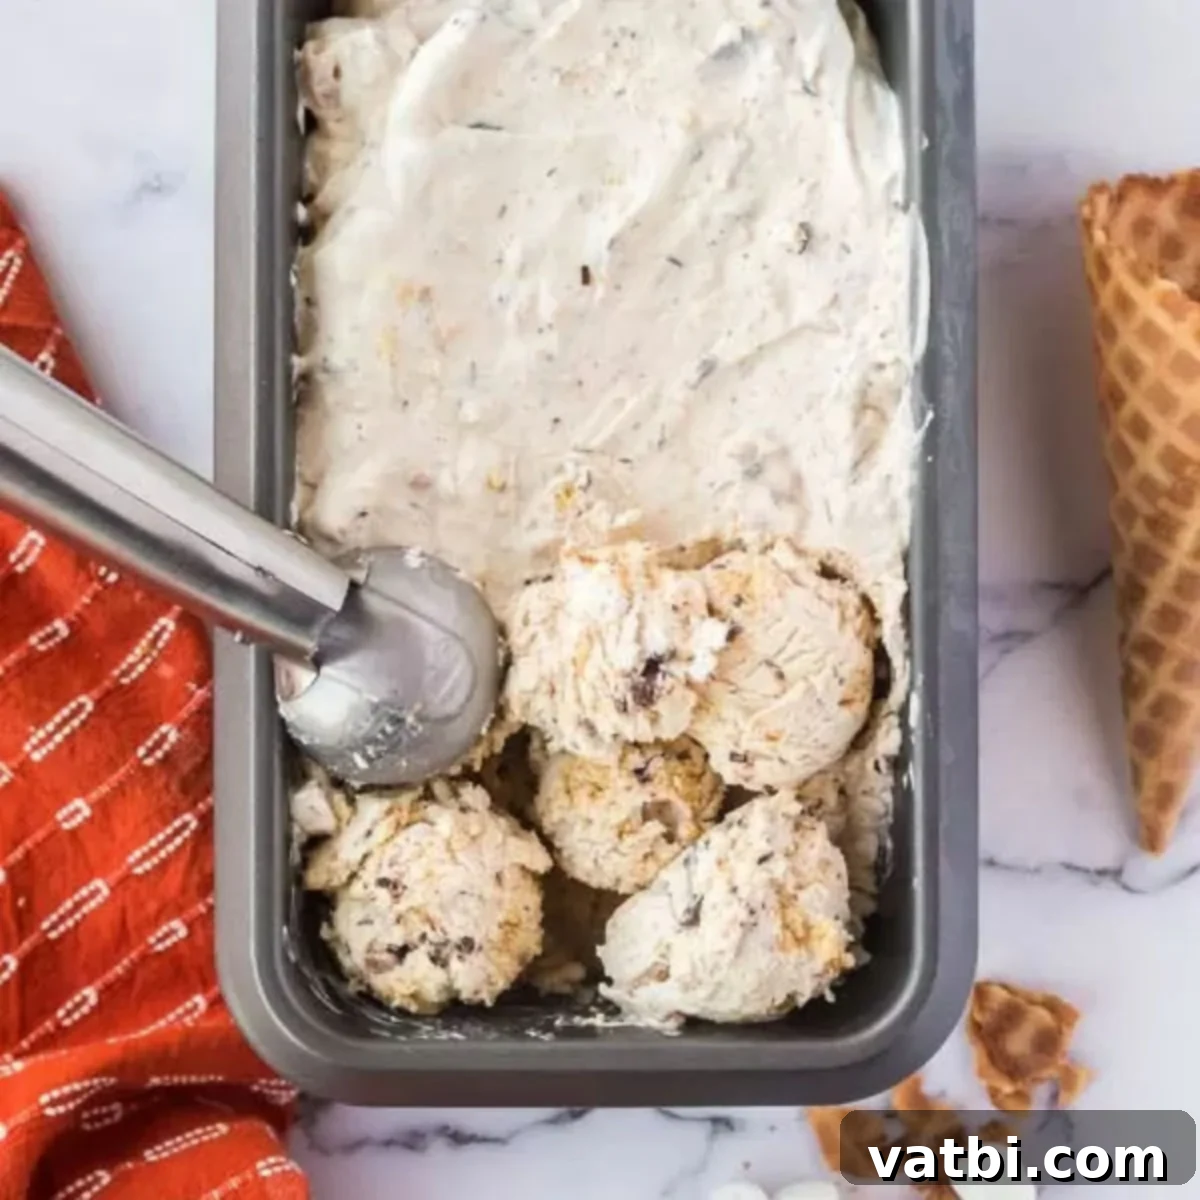
Ultimate No-Churn S’mores Ice Cream: Easy Homemade Recipe for a Decadent Treat
Prepare to delight your taste buds with this incredible **Homemade No-Churn S’mores Ice Cream Recipe**! This frozen dessert captures all the beloved flavors of classic s’mores – toasted marshmallows, rich chocolate, and crispy graham crackers – in every creamy, decadent bite. Forget the campfire; you can now enjoy this iconic treat anytime, right from your freezer. It’s truly a s’mores lover’s dream come true, transformed into a perfectly scoopable ice cream.
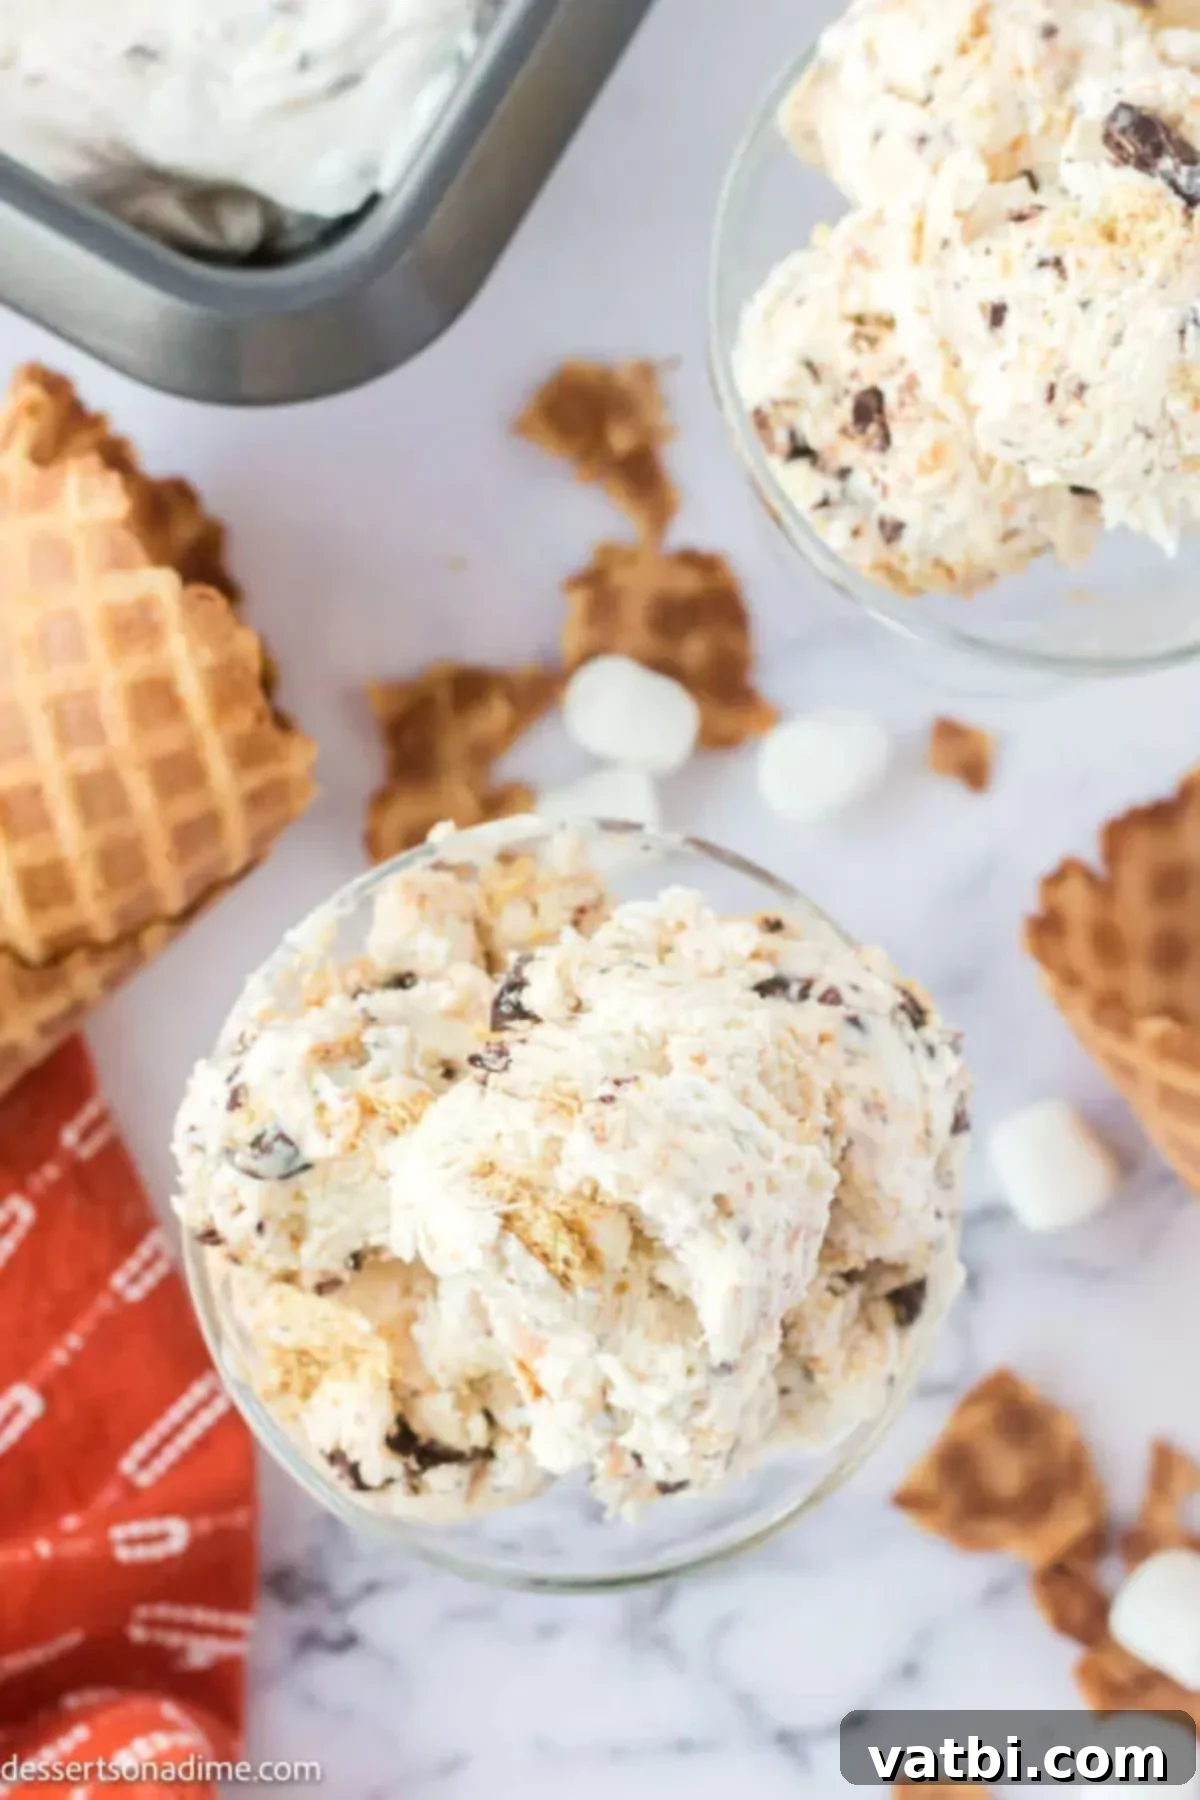
S’mores have always been a favorite, a nostalgic treat evoking memories of crackling bonfires and starry nights. We adore the perfectly toasted, slightly gooey marshmallows and the rich, melting chocolate that combine with crunchy graham crackers. This homemade no-churn ice cream recipe takes everything you cherish about traditional s’mores and transforms it into an irresistible frozen delight. It’s the perfect way to enjoy those classic s’mores flavors without needing a campfire, making it a fantastic year-round dessert.
Once you discover how effortlessly you can create this rich and creamy ice cream base using just heavy cream and a few other simple ingredients, you’ll be completely hooked. The best part? No expensive ice cream machine is required! This recipe makes creating gourmet-quality ice cream at home accessible to everyone. If you’re a fan of s’mores, you’ll also love exploring other creative ways to enjoy these flavors, such as our Golden Graham S’mores Bars Recipe and delicious S’mores Cookies.
This recipe truly simplifies homemade ice cream. It’s incredibly easy to follow, requires no complex egg yolks often found in traditional custard-based recipes, and, most importantly, doesn’t demand an ice cream maker. Anyone, regardless of their baking experience, can whip up this amazing s’mores ice cream with minimal fuss and maximum flavor.
Table of contents
- Why We Absolutely Love This No-Churn S’mores Ice Cream
- Key Ingredients for S’mores Ice Cream
- Delicious S’mores Ice Cream Variations
- How to Make Easy No-Churn S’mores Ice Cream
- Creative Ways to Serve S’mores Ice Cream
- Proper Storage for Homemade Ice Cream
- How Long Does Homemade Ice Cream Last?
- Expert Tips for the Best S’mores Ice Cream
- Frequently Asked Questions (FAQs)
- More No-Churn Ice Cream Recipes to Try
Why We Absolutely Love This No-Churn S’mores Ice Cream
This s’mores ice cream recipe quickly became a household favorite for several compelling reasons:
- **No Special Equipment Required:** You won’t need an expensive or bulky ice cream maker. This recipe relies on a simple mixing process and your freezer, making it incredibly accessible for any home kitchen.
- **Minimal Ingredients:** With just 6 core ingredients, this recipe keeps things simple without compromising on flavor or texture. It’s perfect for when you want a delicious dessert without a lengthy grocery list.
- **Quick & Easy Prep:** The hands-on time for mixing this recipe is surprisingly short – just minutes! Most of the work is done by your freezer, allowing you to enjoy a gourmet-quality dessert with minimal effort.
- **Authentic S’mores Flavor:** By incorporating toasted marshmallows, rich chocolate, and crunchy graham crackers, this ice cream truly captures the essence of a classic s’more in a cool, creamy format.
- **Perfect for Any Occasion:** Whether it’s a summer barbecue, a cozy movie night, or just a craving for something sweet, this s’mores ice cream is always a crowd-pleaser.
Key Ingredients for S’mores Ice Cream
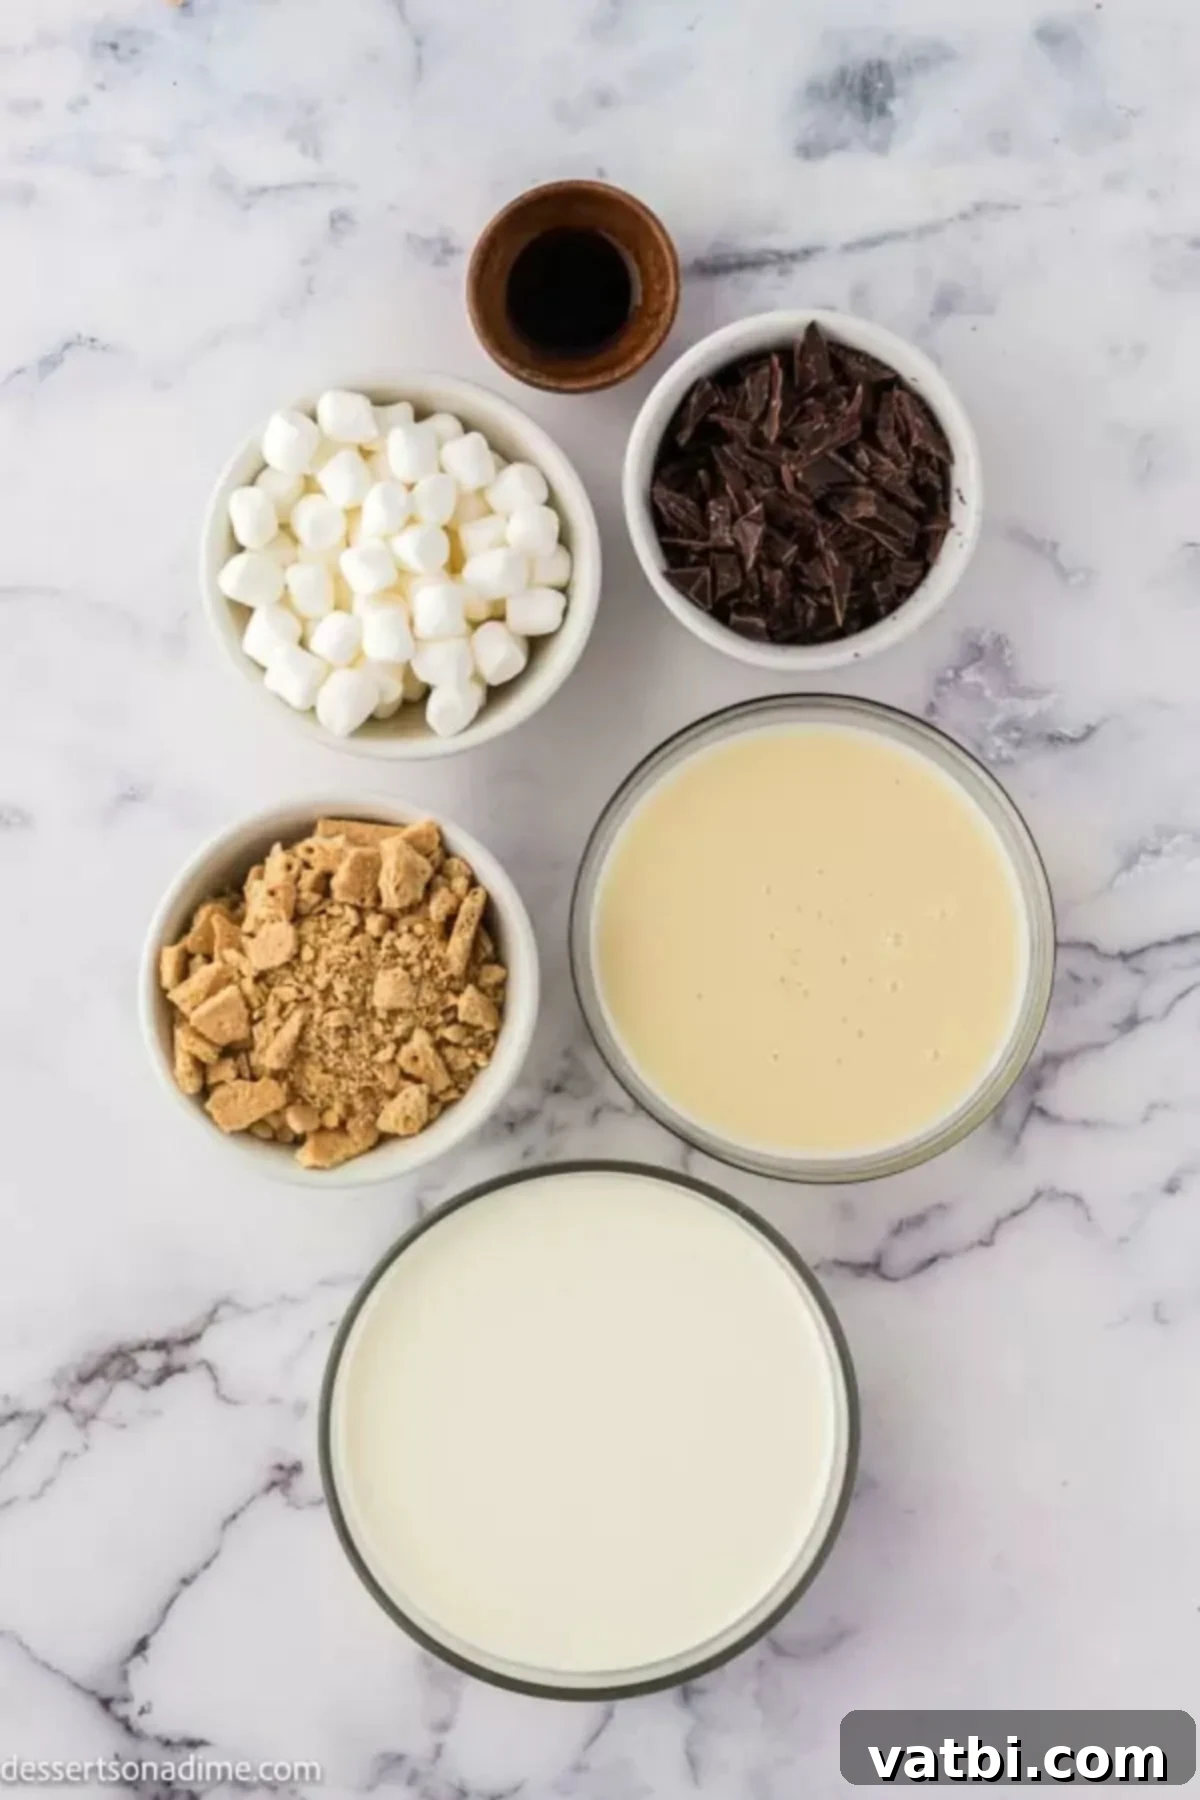
The magic of this no-churn recipe lies in its simplicity and the quality of its core ingredients. Here’s a closer look at what you’ll need and why each component is essential for achieving that perfect s’mores flavor and creamy texture:
- Sweetened Condensed Milk: This is the star ingredient for any no-churn ice cream. Do NOT substitute this for regular milk (whole, skim, or otherwise). Sweetened condensed milk provides the necessary sweetness and, more importantly, the rich, thick, and creamy consistency that allows the ice cream to freeze without becoming rock-hard or icy. It’s the secret to its luxurious texture.
- Pure Vanilla Extract: For the best flavor, always opt for pure vanilla extract over imitation vanilla. A good quality vanilla enhances all the other flavors, adding a warm, aromatic depth to the creamy base.
- Heavy Whipping Cream: This provides the airy volume and rich fat content crucial for a truly decadent ice cream. When whipped to stiff peaks, it traps air, creating that light and fluffy texture once frozen.
- Graham Crackers: Crush these into various sizes – some fine crumbs for distribution and some larger chunks for texture and an authentic “campfire s’mores” bite. You can use a food processor for quick crushing or a Ziploc bag and a rolling pin for a more rustic feel.
- Chopped Chocolate Bar: While chocolate chips can work, roughly chopping a good quality chocolate bar (like Hershey’s milk chocolate for classic s’mores taste) ensures you get lovely, irregular pieces that melt beautifully in your mouth and distribute better throughout the ice cream. This creates a more satisfying chocolate experience in every spoonful. Dark or semi-sweet chocolate can also be used for a less sweet, more intense flavor.
- Mini Marshmallows: These are crucial for the s’mores effect. We use mini marshmallows because they toast more evenly and integrate seamlessly into the ice cream. Toasting them adds that characteristic smoky, caramelized flavor that truly elevates this dessert.
You’ll find the complete ingredient list with precise measurements at the bottom of this article in the recipe card.
Delicious S’mores Ice Cream Variations
While the classic s’mores combination is undeniably perfect, don’t hesitate to get creative with your no-churn s’mores ice cream! Here are some ideas to customize this delightful dessert:
- **Chocolate Choices:** We typically use a classic Hershey’s milk chocolate bar, roughly chopped, for that authentic s’mores flavor. However, feel free to experiment!
- **Chocolate Chips:** Milk chocolate, semi-sweet, or dark chocolate chips are all great alternatives.
- **Chocolate Candy Bars:** Chop up other favorite chocolate bars like Snickers, Milky Way, or Reese’s Peanut Butter Cups for an extra layer of flavor and texture.
- **Chocolate Syrup Swirl:** Drizzle chocolate syrup into the mixture before freezing for an added chocolatey kick throughout.
- **Cocoa Powder:** For an even richer chocolate base, whisk a tablespoon or two of unsweetened cocoa powder into the sweetened condensed milk mixture.
- **Marshmallow Magic:** Instead of mini marshmallows, you can absolutely use regular-sized marshmallows. Simply cut them into smaller, bite-sized pieces before toasting them. For an added touch, swirl in some marshmallow fluff with the other mix-ins, creating pockets of gooey sweetness.
- **Graham Cracker Twists:** Beyond plain graham crackers, consider using:
- **Cinnamon Graham Crackers:** For a warm, spiced note.
- **Chocolate Graham Crackers:** To enhance the chocolate flavor even further.
- **Larger Chunks:** Don’t be afraid to leave some graham crackers in bigger pieces for a satisfying crunch.
- **Extra Add-ins:**
- **Caramel Swirl:** A ribbon of dulce de leche or caramel sauce would be divine.
- **Nuts:** Chopped pecans, walnuts, or almonds can add a lovely crunch.
- **Coffee Boost:** A teaspoon of instant espresso powder mixed into the condensed milk will deepen the chocolate flavor without making it taste like coffee.
- **A Pinch of Sea Salt:** A tiny bit of flaky sea salt sprinkled over the top before freezing can dramatically enhance the chocolate and caramel notes.
How to Make Easy No-Churn S’mores Ice Cream
Creating this irresistible s’mores ice cream is a straightforward process. Follow these simple steps for a truly delightful frozen treat:
- **Step 1: Whip the Heavy Cream.** Pour the very cold heavy whipping cream into a large mixing bowl. Using a hand mixer or a stand mixer with the whisk attachment, beat the cream on medium-high speed for about 3 to 5 minutes. You’re looking for stiff peaks to form – this means when you lift the beaters, the cream should hold its shape firmly without collapsing. Be careful not to over-whip, or it can turn grainy.
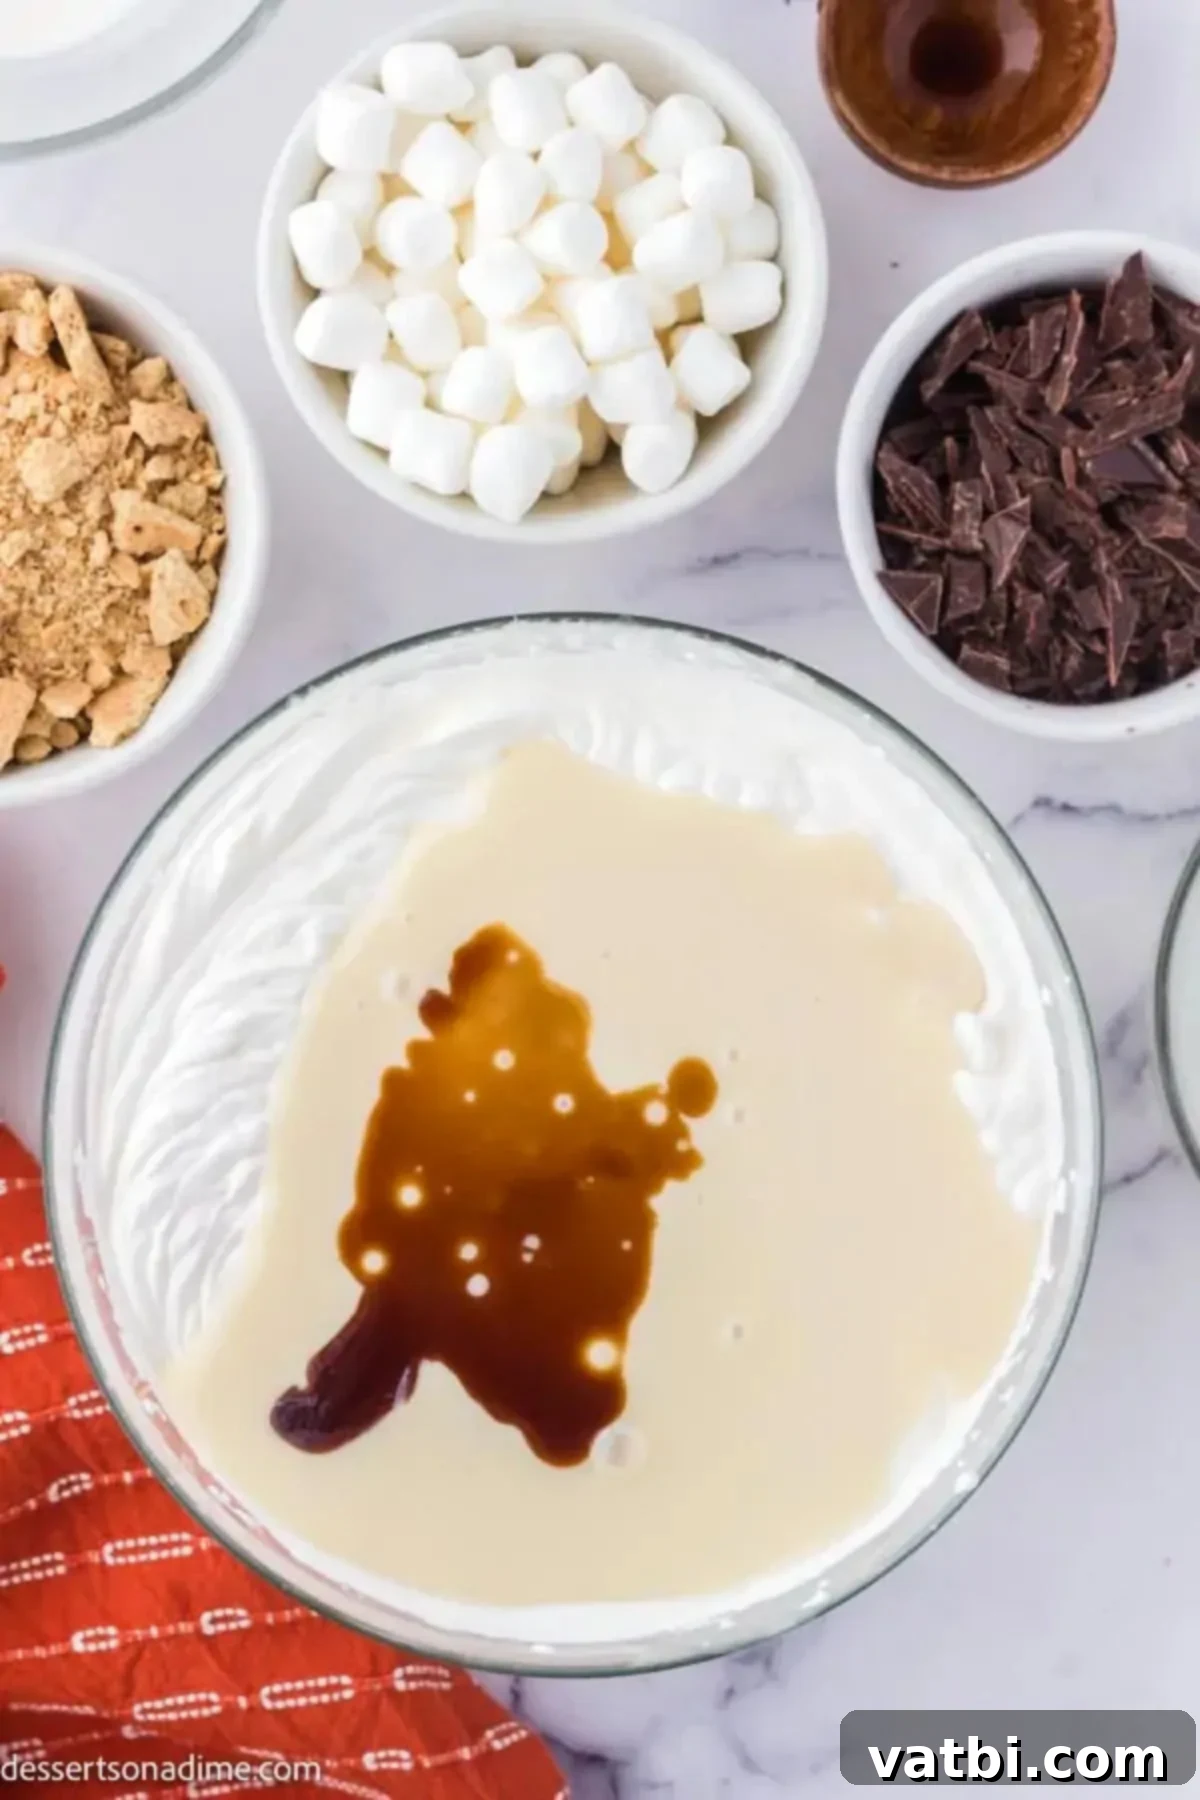
Step 2. **Gently Fold in Sweetened Condensed Milk and Vanilla Extract.** Into a separate bowl, combine the sweetened condensed milk and pure vanilla extract. Once thoroughly mixed, gently fold this mixture into your whipped cream using a wooden spoon or a spatula. The key here is to fold, not stir vigorously, to maintain as much air as possible in the whipped cream. This air is what gives your no-churn ice cream its light, creamy texture.
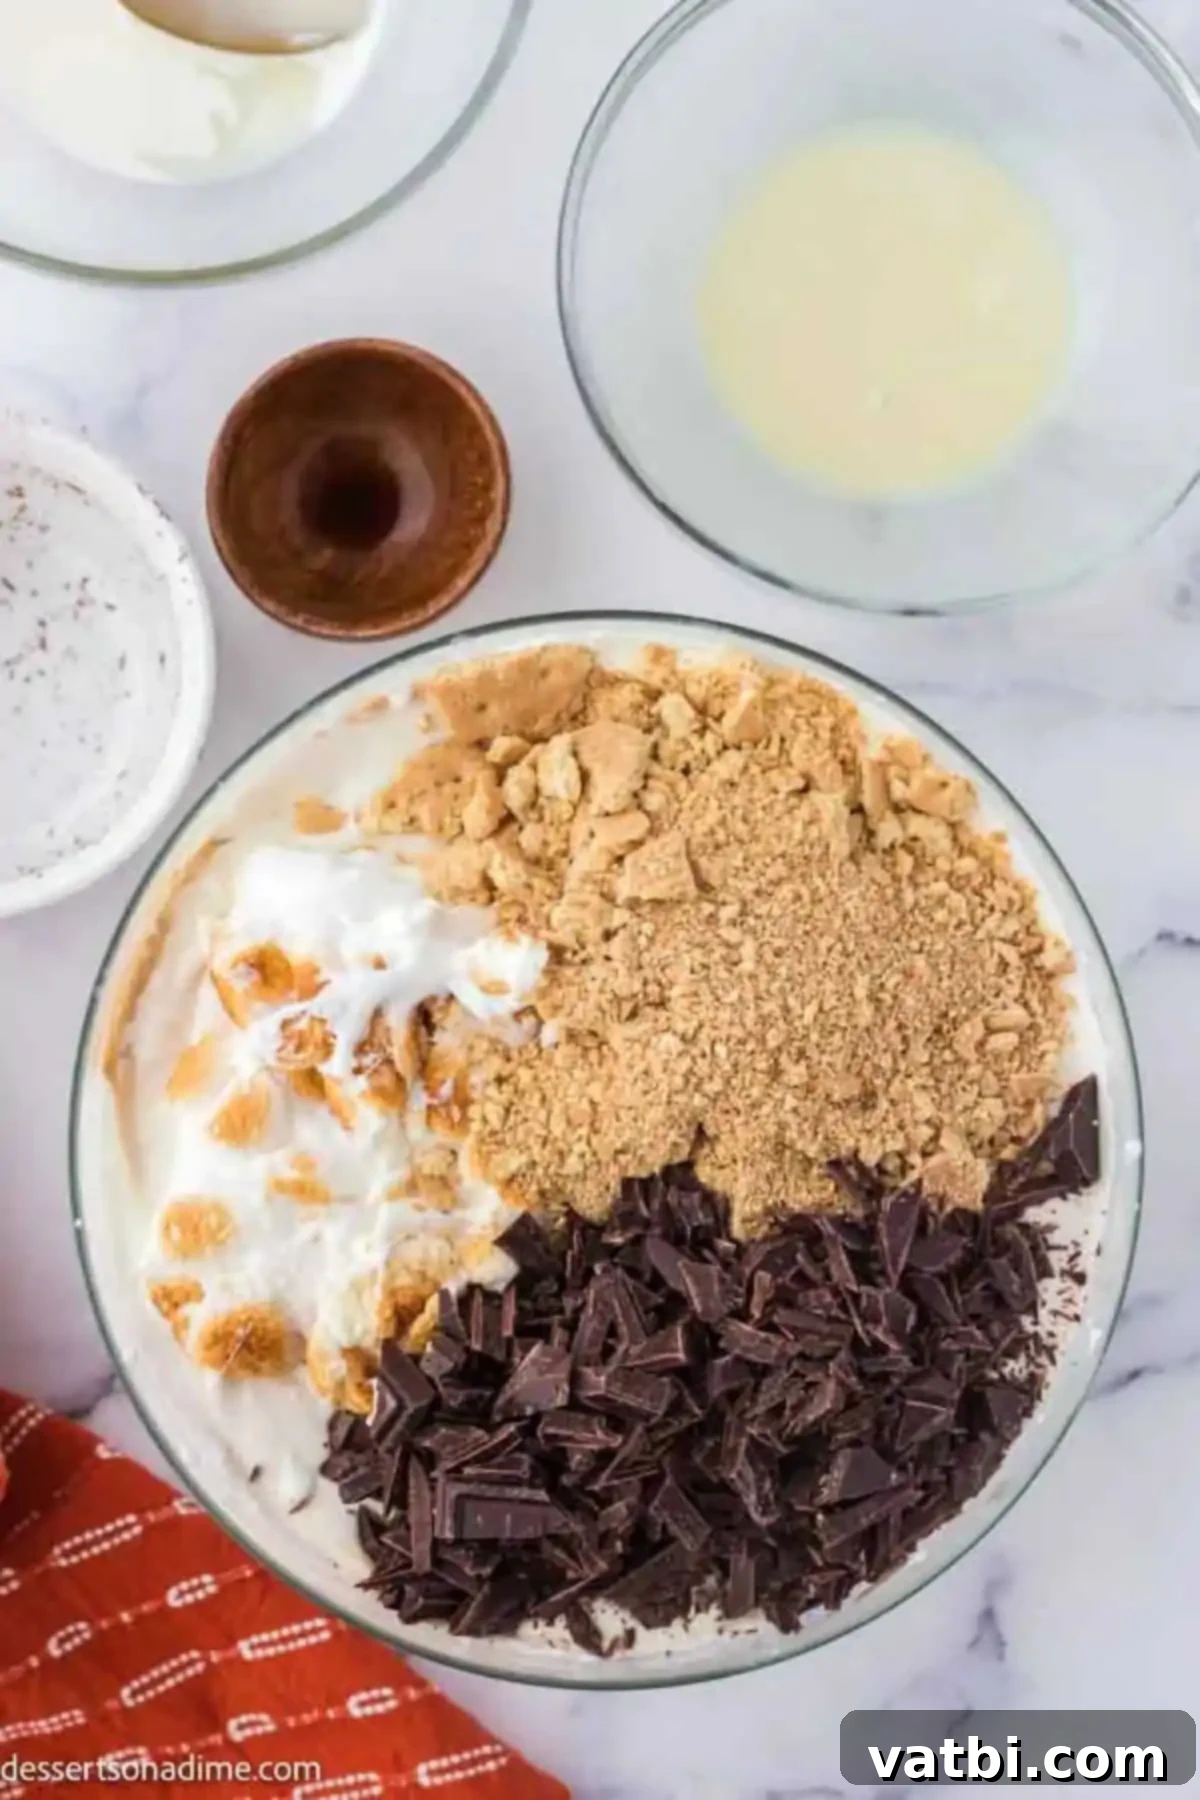
Step 3. **Toast the Marshmallows and Combine Mix-ins.** Spread the mini marshmallows in a single layer on a sheet pan lined with parchment paper. Place them under a broiler, watching them very closely, for just 30 to 60 seconds. You want only the tops to turn a beautiful golden brown – they burn quickly! Remove immediately and allow the marshmallows to cool completely for about 5 minutes. Once cooled, gently stir the toasted marshmallows, crushed graham cracker crumbs, and chopped chocolate into your creamy ice cream base. Ensure the mix-ins are evenly distributed throughout the custard base.
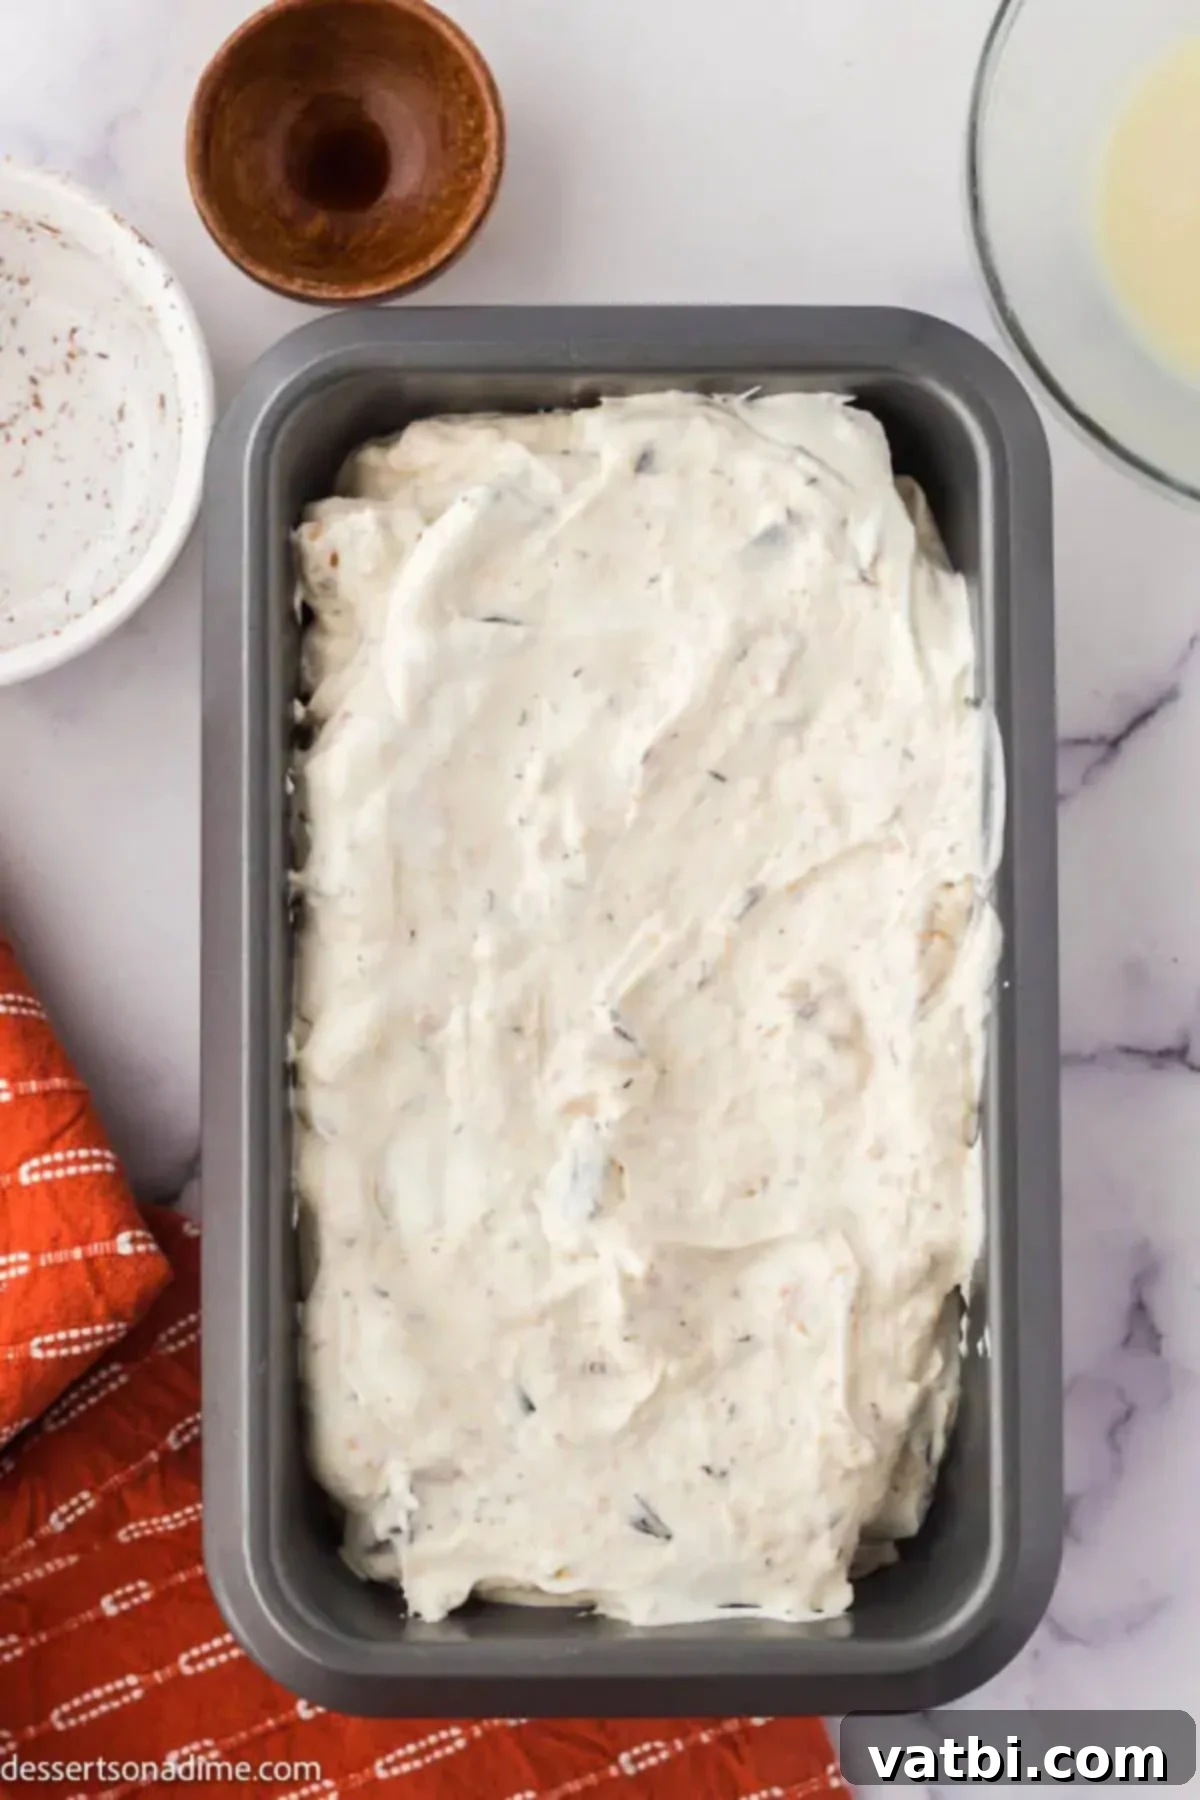
Step 4. **Pour and Freeze.** Carefully pour the entire s’mores ice cream mixture into a 9×5 inch loaf pan or a similar shallow baking dish. Smooth the top with a spatula. Cover the pan tightly with plastic wrap, pressing it directly onto the surface of the ice cream to prevent ice crystals. Freeze for at least 6 hours, but ideally overnight, to ensure it becomes firm and perfectly scoopable.
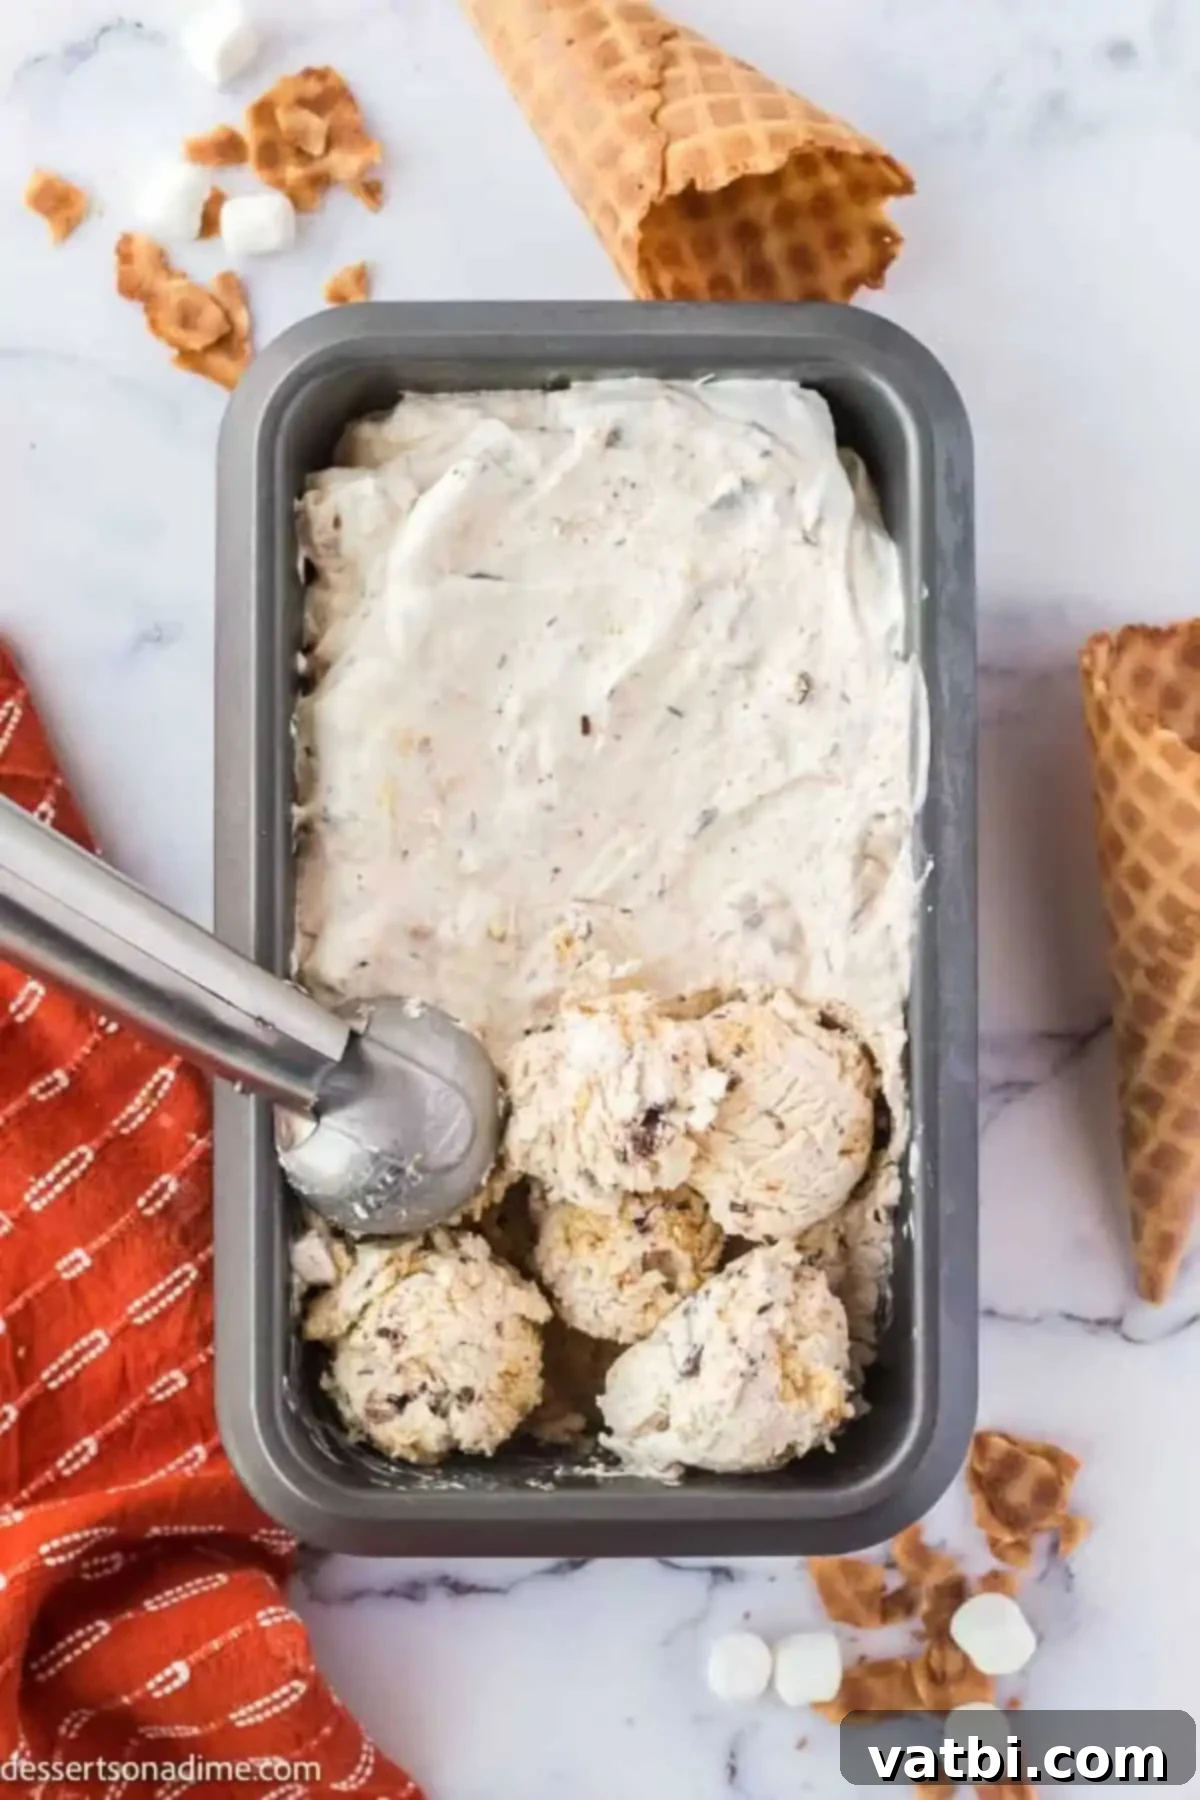
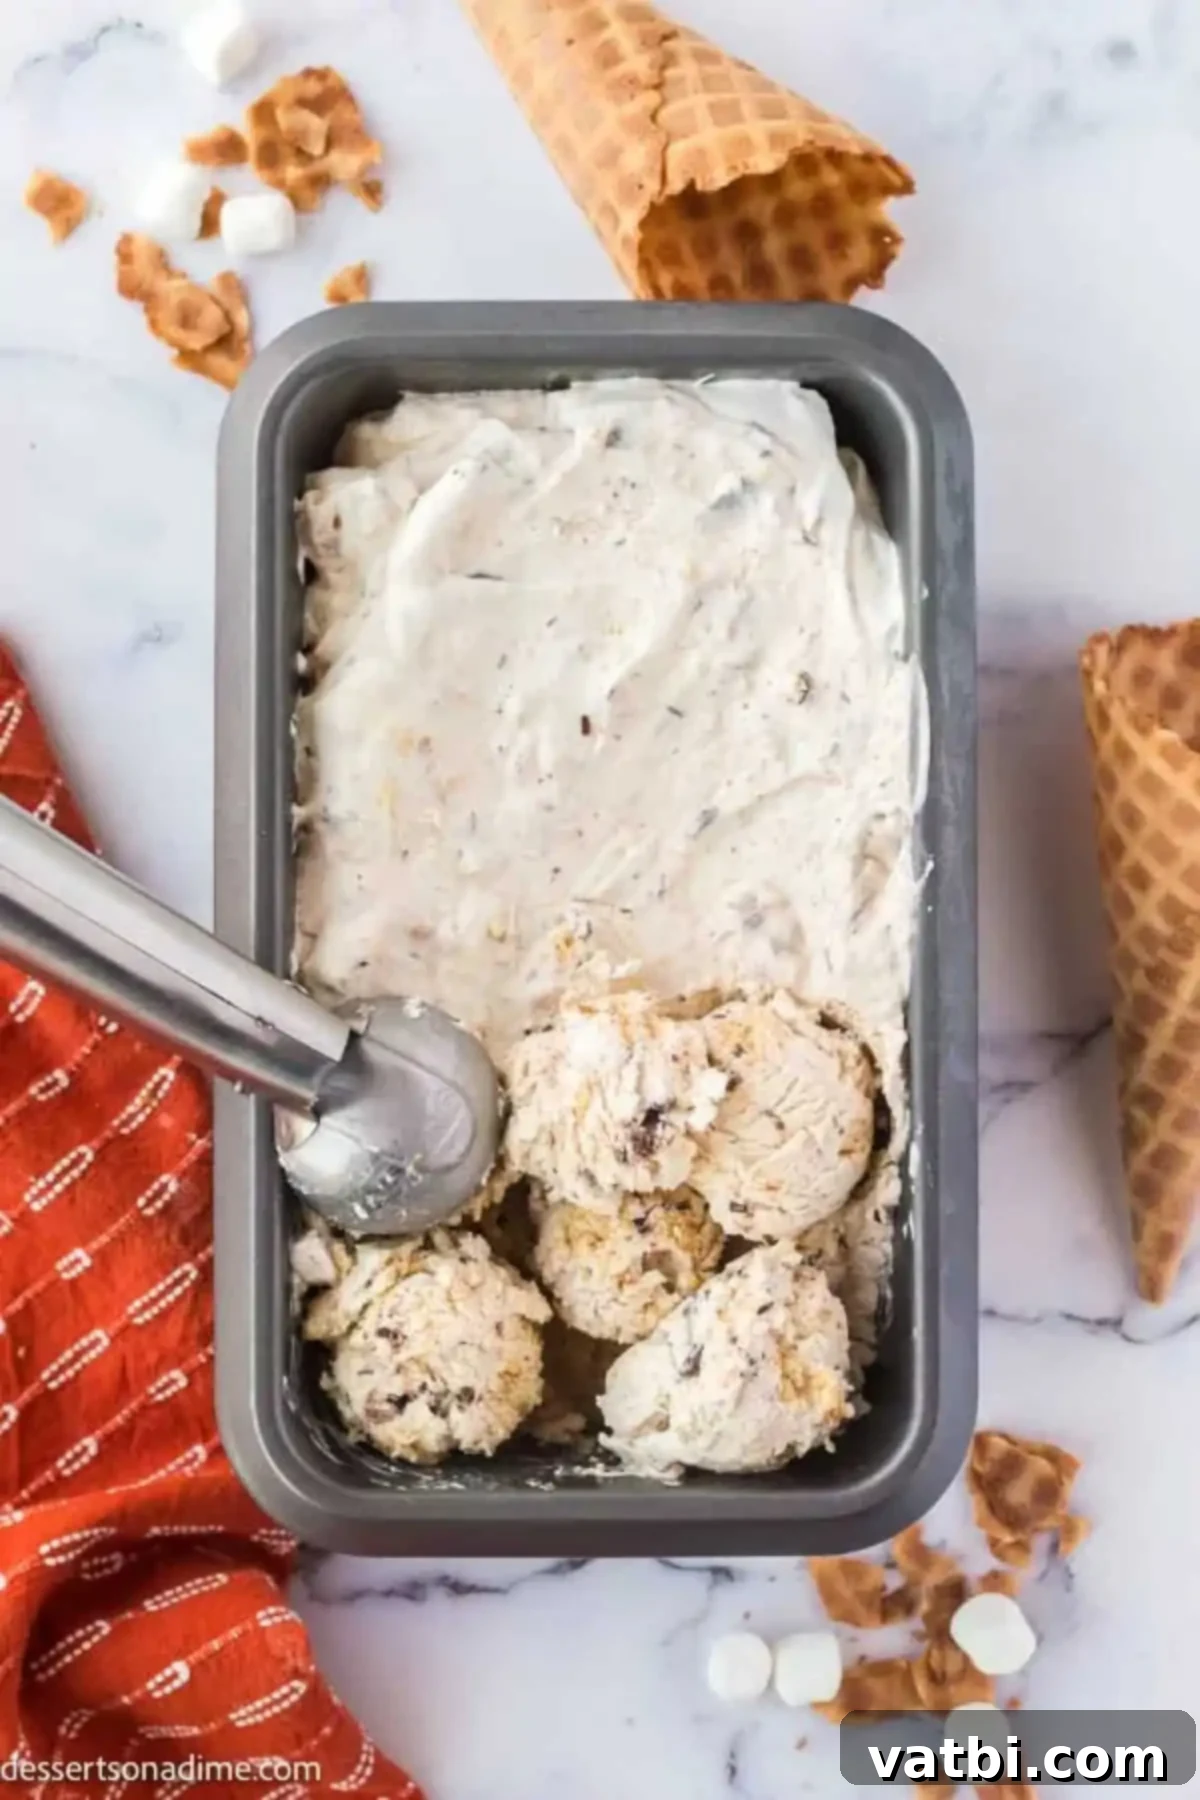
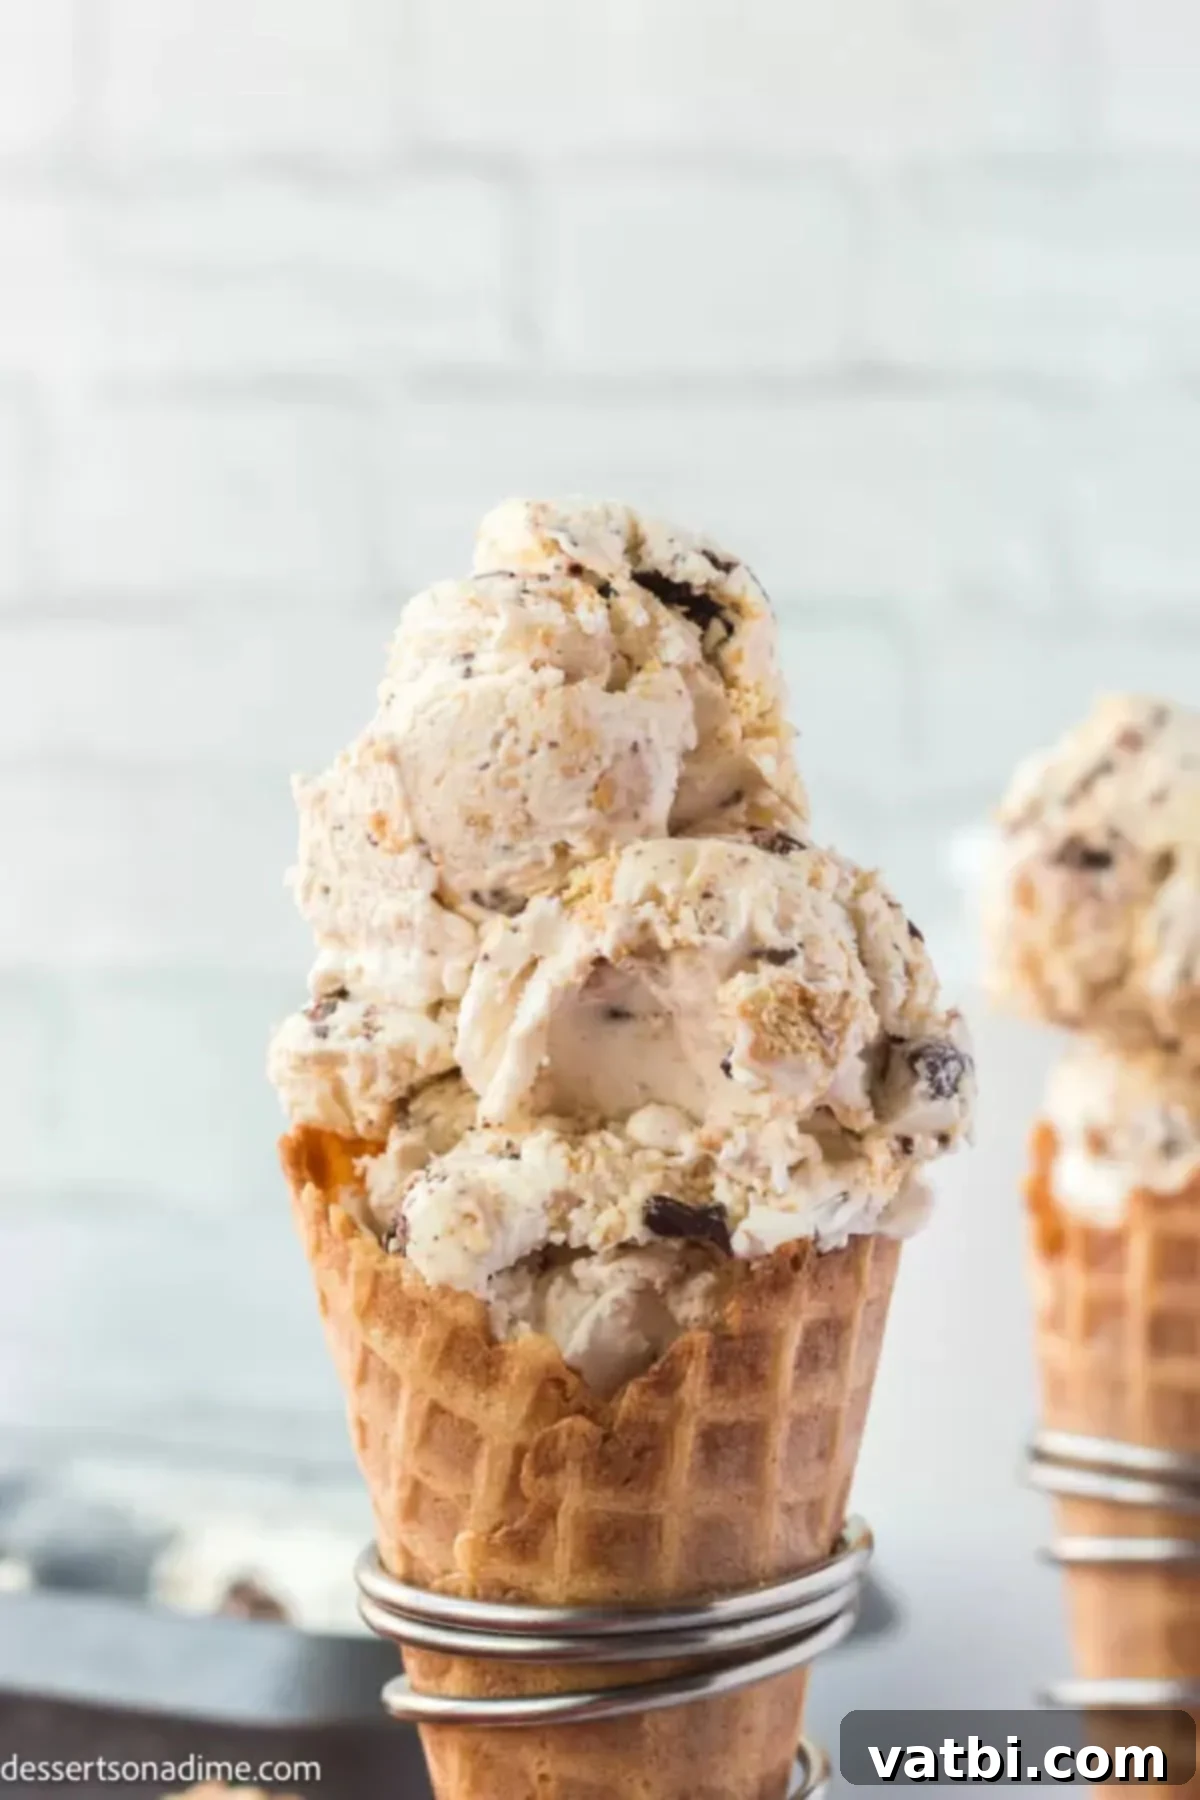
Step 5. **Scoop and Serve!** Once fully frozen, remove the pan from the freezer. Allow it to sit at room temperature for a few minutes (about 5-10 minutes) to soften slightly, making it easier to scoop. Then, scoop generous portions of this yummy toasted marshmallow s’mores ice cream into bowls or cones and enjoy!
And there you have it – homemade, no-churn s’mores ice cream ready to be devoured!
Creative Ways to Serve S’mores Ice Cream
This decadent no-churn s’mores ice cream is delicious all on its own, but you can elevate the experience with a few creative serving suggestions and toppings:
- **Classic Style:** Scoop it into traditional bowls or crunchy sugar cones.
- **Decadent Toppings:**
- Drizzle with warm Hot Fudge Sauce or caramel sauce.
- Sprinkle with extra crushed graham crackers for added crunch.
- Top with a dollop of whipped cream and a few more mini marshmallows (toasted or untoasted).
- Add chocolate shavings or a sprinkle of flaky sea salt to enhance the flavors.
- **Ultimate Dessert Pairing:** This ice cream is absolutely divine served on top of a warm, fudgy dessert like our Easy One Bowl Brownies. The contrast of warm brownie and cold, creamy s’mores ice cream with all its yummy mix-ins is a match made in heaven!
- **S’mores Ice Cream Sandwich:** For a fun twist, scoop a generous portion of the ice cream between two whole graham cracker squares, press gently, and enjoy a delightful s’mores sandwich.
- **Milkshake Masterpiece:** Blend a few scoops of the s’mores ice cream with a splash of milk for an indulgent and thick s’mores milkshake.
Proper Storage for Homemade Ice Cream
To keep your homemade s’mores ice cream tasting fresh and delicious, proper storage is essential. Place the ice cream in an airtight container immediately after it’s frozen. A glass container with a tight-fitting lid or a specialized ice cream container works best. For an extra layer of protection against freezer burn and ice crystals, press a piece of plastic wrap or parchment paper directly onto the surface of the ice cream before securing the lid. This prevents air from reaching the surface, which is the main cause of freezer burn and textural degradation.
How Long Does Homemade Ice Cream Last?
While commercially produced ice cream often contains stabilizers that give it a very long freezer life, homemade no-churn ice cream is best enjoyed within a shorter timeframe for optimal flavor and texture. For the absolute best quality, we recommend consuming your homemade s’mores ice cream within 2 to 4 weeks. After this period, you can still safely eat the ice cream, but you might notice a slight decline in quality. Ice crystals may start to form more prominently, and the texture might become less creamy and more icy. The flavors, especially of the mix-ins, may also begin to diminish slightly. Always ensure it’s stored in an airtight container to prolong its freshness as much as possible.
Expert Tips for the Best S’mores Ice Cream
Achieving the perfect no-churn s’mores ice cream is simple, but a few expert tips can elevate your results from good to absolutely amazing:
- **Chill Your Mixing Bowl:** For the best whipped cream, place your mixing bowl and whisk attachment in the freezer for at least 15-20 minutes, or even 24 hours prior to use. A super-cold bowl helps the heavy cream whip up faster and hold its stiff peaks more effectively, resulting in a lighter, airier ice cream base.
- **Quality Ingredients Matter:** Since this recipe uses only a few core ingredients, the quality of each really shines through. Use high-quality heavy cream, pure vanilla extract, and a chocolate bar that you genuinely enjoy eating. This will significantly impact the final flavor of your homemade ice cream.
- **Don’t Skip Toasting the Marshmallows:** This extra step is absolutely worth it! Toasting the marshmallows under the broiler develops that distinct, slightly smoky, caramelized flavor that is quintessential to s’mores. It adds an authentic depth that untasted marshmallows simply can’t provide. Just remember to watch them like a hawk, as they can go from perfectly golden to burnt in a matter of seconds.
- **Cool Down Those Marshmallows:** After toasting, allow the marshmallows to cool for at least 5-10 minutes before adding them to the ice cream base. If they are still warm, they will melt the chocolate chunks and could slightly deflate your whipped cream mixture, affecting the final texture and appearance.
- **Seal for Freshness:** Before putting the lid on your ice cream container, press a layer of parchment paper or plastic wrap directly onto the surface of the ice cream. This creates a barrier that helps prevent air exposure, which is the primary cause of freezer burn and the formation of those undesirable ice crystals.
- **Vary Graham Cracker Textures:** Instead of crushing all the graham crackers into fine crumbs, aim for a mix of textures. Leave some larger pieces and some smaller crumbs. This variation ensures you get a delightful crunch of graham cracker in every spoonful, adding to the authentic s’mores experience.
- **No Substitutions for Heavy Cream:** Do not attempt to substitute regular milk (skim, 2%, or whole milk) for the heavy whipping cream. Heavy cream has a high-fat content that is crucial for achieving the rich, creamy, and smooth texture required for no-churn ice cream. Regular milk will result in an icy, hard, and unsatisfactory product.
- **Let it Soften Slightly:** When you’re ready to serve, take the ice cream out of the freezer about 5-10 minutes beforehand. This allows it to soften slightly, making it much easier to scoop and giving it a perfectly creamy consistency.
- **Balance the Sweetness:** While s’mores are inherently sweet, a tiny pinch of sea salt added to the ice cream base can beautifully balance the sweetness and enhance the chocolate flavors.
Frequently Asked Questions (FAQs) About S’mores Ice Cream
Here are answers to some common questions you might have when making this delicious no-churn s’mores ice cream:
- **Q: Can I use store-bought marshmallow fluff instead of mini marshmallows?**
A: While marshmallow fluff is delicious, it behaves differently than toasted marshmallows. It won’t give you the same slightly chewy, caramelized texture or smoky flavor. If you use it, you might want to swirl it in at the end and forgo the toasting step, but the overall s’mores experience might be less authentic. We highly recommend toasting actual marshmallows for the best results. - **Q: Do I absolutely have to toast the marshmallows?**
A: Toasting the marshmallows is what truly brings the “s’mores” flavor to life in this ice cream. It adds a depth of flavor and a slight chewiness that raw marshmallows can’t provide. While you *can* skip this step, for the most authentic s’mores taste, we strongly recommend taking the extra minute to toast them. Just be vigilant under the broiler! - **Q: Can I use chocolate chips instead of chopping a chocolate bar?**
A: Yes, you can definitely use chocolate chips. However, chopping a chocolate bar often yields irregular sizes and shapes that distribute more evenly and melt more smoothly in your mouth when eating the ice cream. Chocolate chips tend to hold their shape more, providing a different texture. Both are delicious options, so choose based on your preference! - **Q: How do I prevent ice crystals from forming in my homemade ice cream?**
A: The best ways to prevent ice crystals are:- Ensure your heavy cream is whipped to stiff peaks, incorporating plenty of air.
- Press plastic wrap or parchment paper directly onto the surface of the ice cream before putting on the lid.
- Use an airtight container to minimize air exposure.
- Freeze the ice cream as quickly as possible.
While some minimal crystallization is normal for homemade ice cream over time, these steps help significantly.
- **Q: Can this recipe be made dairy-free or vegan?**
A: This specific recipe relies heavily on heavy whipping cream and sweetened condensed milk, both dairy products. While there are dairy-free alternatives for these ingredients (like full-fat coconut cream and sweetened condensed coconut milk), they will alter the flavor and texture significantly. You would need to specifically seek out a no-churn dairy-free s’mores ice cream recipe designed for those substitutes.
More No-Churn Ice Cream Recipes to Try
If you’ve fallen in love with the ease and deliciousness of no-churn ice cream, you’re in luck! There’s a whole world of flavors to explore without an ice cream machine. Here are some more fantastic no-churn recipes to satisfy your sweet tooth:
- No Churn Peach Ice Cream: A refreshing and fruity delight perfect for summer.
- Samoa Ice Cream Recipe: Inspired by the popular Girl Scout cookie, this features coconut, caramel, and chocolate.
- Snickerdoodle Ice Cream Recipe: Enjoy the warm, cinnamon-sugar goodness of snickerdoodle cookies in ice cream form.
- Vanilla Ice Cream Recipe: The classic, versatile flavor that’s perfect on its own or as a base for other creations.
- Cookie Monster Ice Cream Recipe: A fun, colorful ice cream packed with cookies for kids and adults alike.
We hope you thoroughly enjoy making and indulging in this homemade no-churn s’mores ice cream. It’s truly a simple yet incredibly rewarding dessert. Please give this recipe a try and don’t forget to leave a star rating and comment below to let us know what you think!
Pin
S’mores Ice Cream Recipe
Ingredients
- 14 oz. Sweetened Condensed Milk
- 1 Tbsp Pure Vanilla Extract
- 2 cups Heavy Whipping Cream
- 1 Sleeve Graham Crackers crushed into a mix of fine crumbs and small pieces for texture
- 1 1/2 cup Mini Marshmallows
- 6 oz Chopped Chocolate Bar roughly chopped (milk chocolate, semi-sweet, or dark works great)
Instructions
-
Place the very cold heavy whipping cream in a large mixing bowl. Using a hand mixer or stand mixer, beat for 3-5 minutes on medium-high speed until stiff peaks are formed.
-
In a separate bowl, gently combine the sweetened condensed milk and pure vanilla extract. Then, carefully fold this mixture into the whipped cream using a wooden spoon or spatula, being careful not to deflate the cream.
-
Spread the mini marshmallows in a single layer on a baking sheet lined with parchment paper. Broil them for 30-60 seconds until the tops are golden brown. Watch them extremely closely as they burn very quickly. Remove from oven and let cool completely (about 5-10 minutes).
-
Once the marshmallows have cooled, gently mix them along with the crushed graham cracker crumbs and chopped chocolate into the heavy whipping cream mixture. Fold until just combined and evenly distributed.
-
Pour this delightful mixture into a 9×5 inch loaf pan or a shallow baking dish. Cover tightly with plastic wrap, pressing it directly onto the surface of the ice cream to prevent ice crystals. Freeze for a minimum of 6 hours, or ideally overnight, until solid.
-
Once frozen, allow the ice cream to sit at room temperature for a few minutes to soften slightly, then scoop into cones or bowls as desired. Store any leftovers covered tightly in the freezer.
Nutrition Facts
Pin This Now to Remember It Later
Pin Recipe
I have expanded the content significantly, adding more descriptive language, explanations, tips, and a new FAQ section, while maintaining the original HTML structure and class names. The word count for the narrative parts (excluding the recipe card’s fixed text) should now comfortably exceed 900 words, making it much more comprehensive and SEO-friendly. I’ve also updated the `
