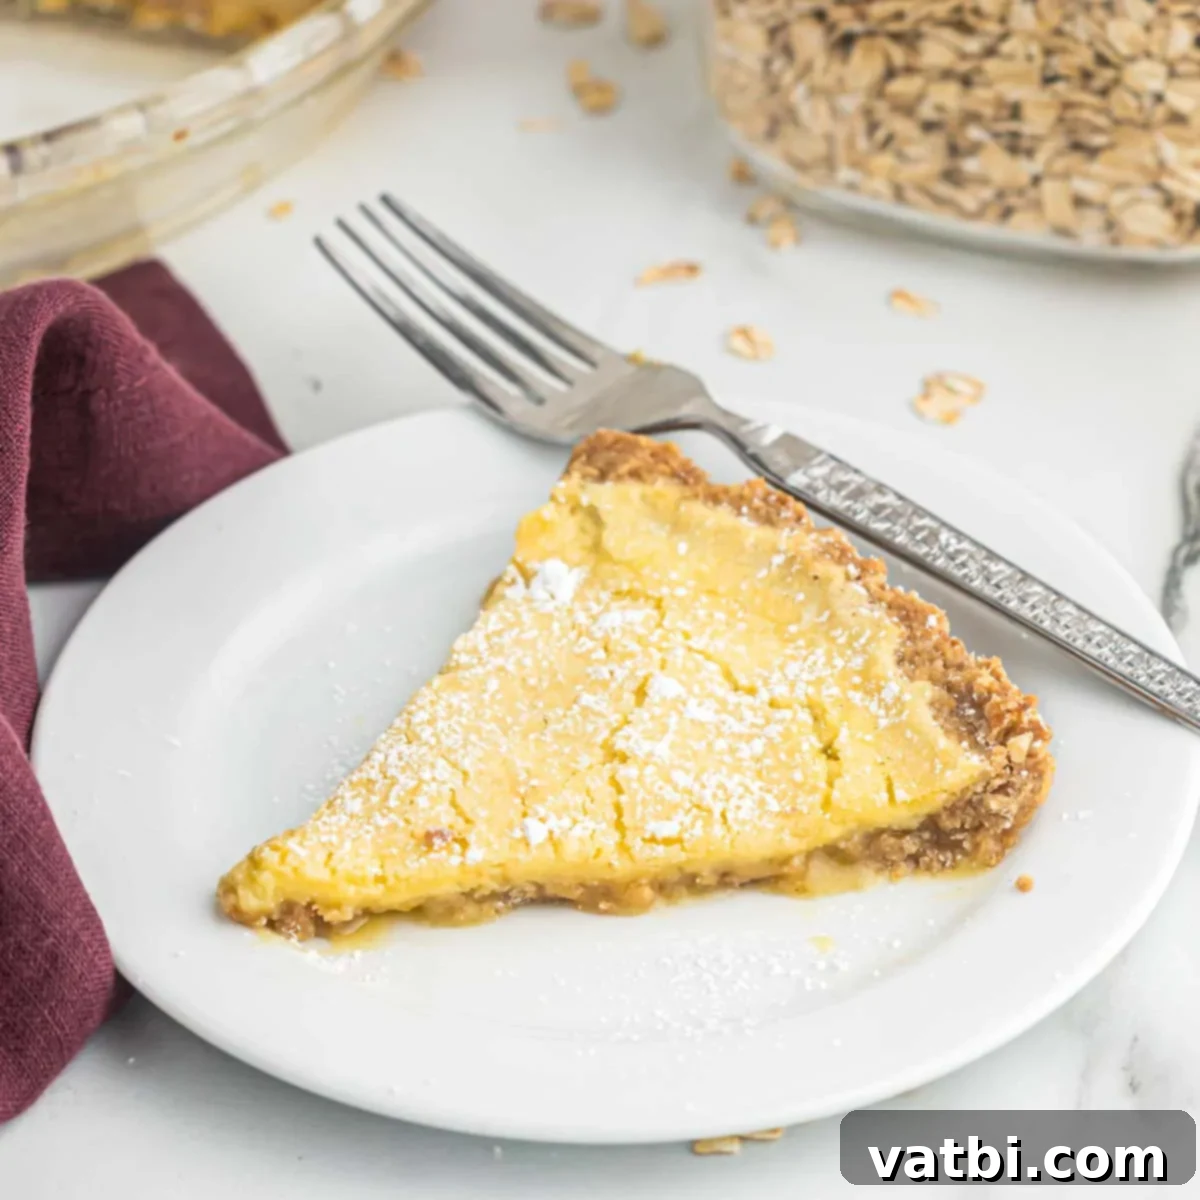
Decadent Crack Pie Recipe: The Ultimate Ooey Gooey Dessert with an Oatmeal Cookie Crust
Prepare yourself for an extraordinary dessert experience with this incredible Crack Pie recipe! This pie is renowned for its luscious, ooey gooey filling that perfectly complements a rich, buttery oatmeal cookie crust. It’s a truly divine creation, generously dusted with a delicate layer of powdered sugar, making every bite an unforgettable treat.
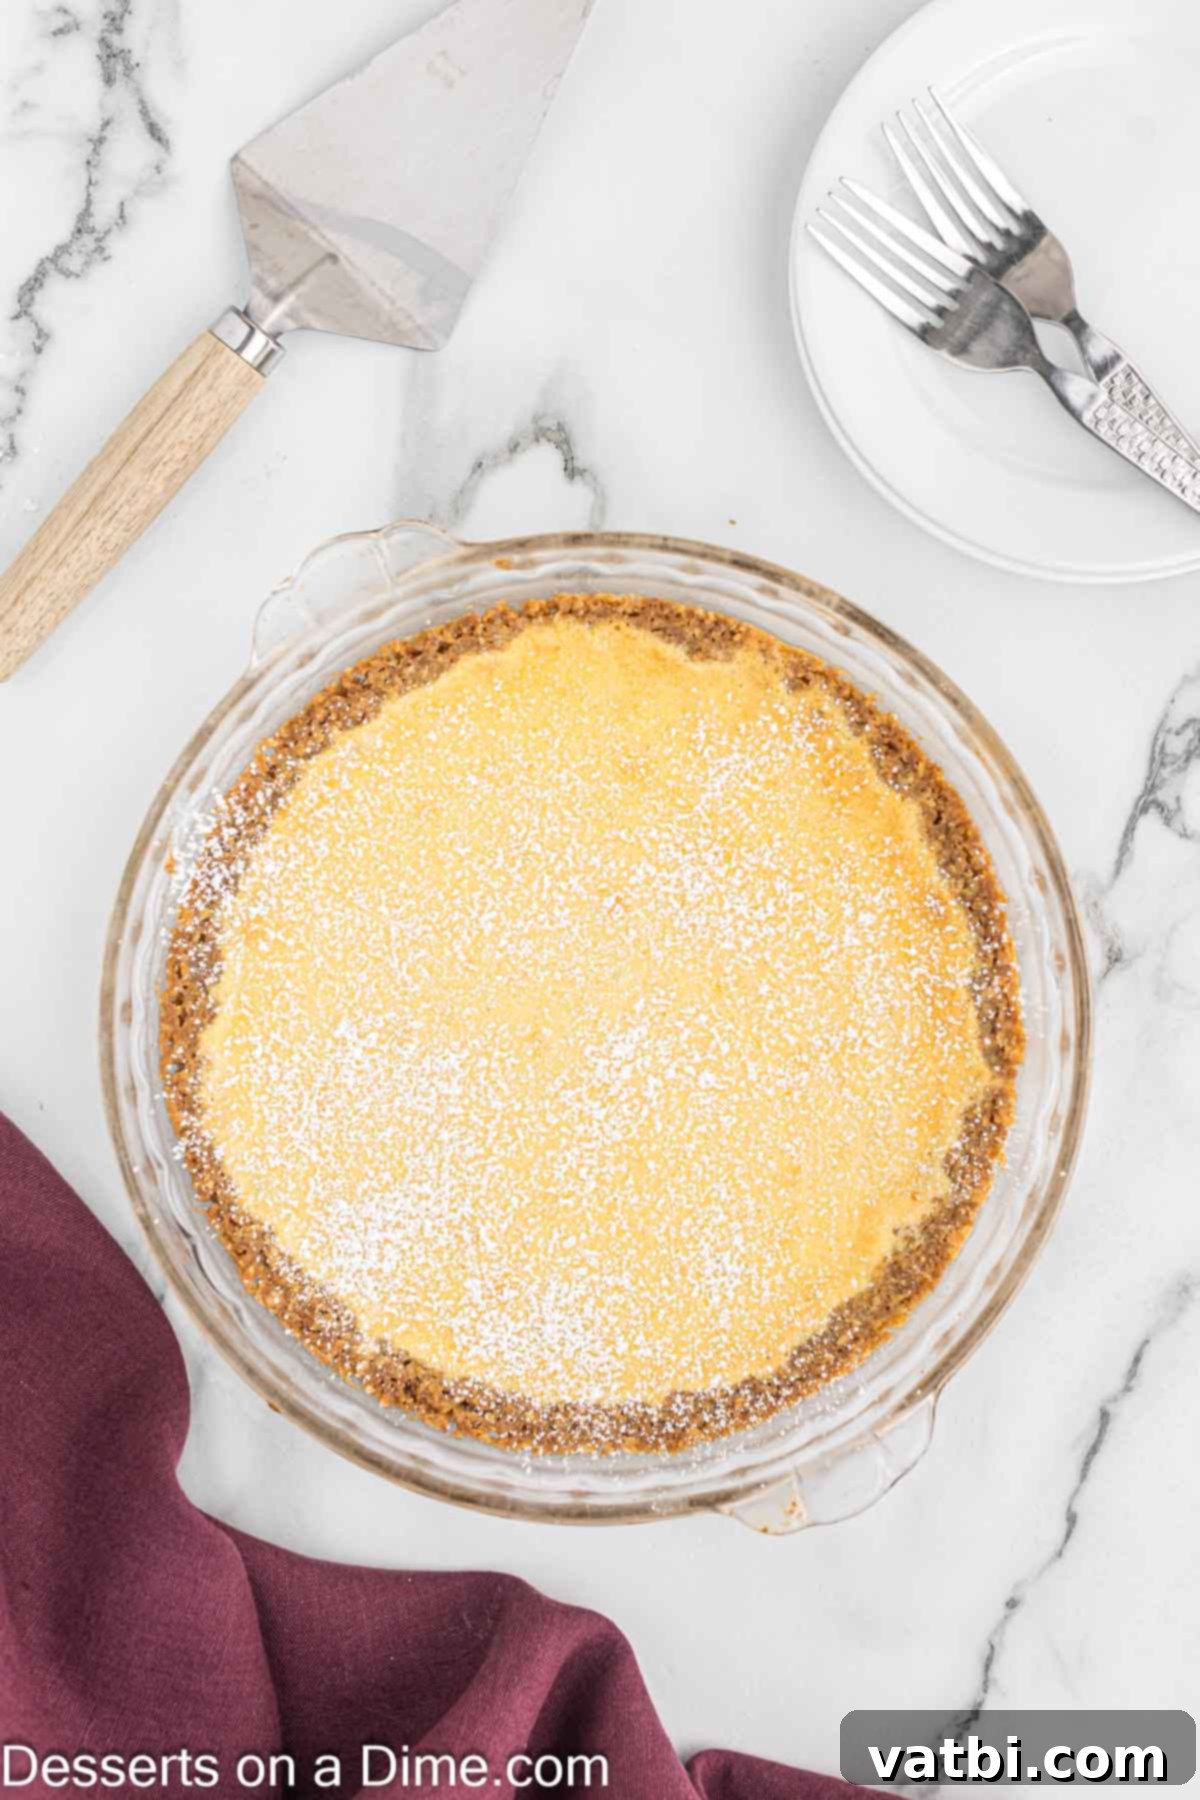
You’ll be amazed at how straightforward it is to recreate this legendary dessert right in your own kitchen. From the moment you taste its unique blend of textures and flavors, you’ll understand why this “Crack Pie” earns its name – it’s simply irresistible. The harmonious combination of the sweet, chewy oatmeal cookie base and the rich, velvety filling creates a dessert that is nothing short of spectacular. This recipe provides all the secrets to achieving that perfect balance, turning a simple baking project into a truly amazing culinary triumph.
If you’re familiar with the culinary world of Christina Tosi, then you undoubtedly know all about the iconic Crack Pie, a signature dish from her Milk Bar bakeries. This recipe is inspired by Tosi’s original masterpiece, and we’ve compiled all the best tips and tricks to guide you through creating an easy pie recipe that captures all the magic of her renowned creation. It’s a dessert that has captivated taste buds worldwide, and now you can bring that joy to your home.
For more delightful dessert ideas, you may also love our Butterscotch Cinnamon Pie, which offers a different yet equally comforting flavor profile. And if you’re a fan of the “crack” concept, be sure to also try our decadent recipe for Crack Cake!
What’s in this post: Crack Pie Recipe
- What is Crack Pie made of?
- What does Crack Pie taste like?
- Ingredients
- Step by Step Instructions
- Recipe Tips
- Topping Ideas
- Frequently Asked Questions
- More Easy Pie Recipes
- Crack Pie Recipe
What is Crack Pie made of?
Crack Pie is an exquisite dessert built on a foundation of contrasting textures and complementary flavors. At its heart is a rich, buttery, and slightly salty oatmeal cookie crust. This isn’t your average pie crust; it’s a baked-then-crumbled cookie base that offers a delightful chewiness and a wholesome, rustic flavor from the old-fashioned rolled oats.
Resting on this unique crust is the star of the show: an incredibly smooth, dense, and ooey gooey filling. This filling is a magical blend of simple yet potent ingredients like butter, various sugars (light brown and granulated), the richness of egg yolks, and a hint of corn powder for a subtle depth of flavor and unique texture. These ingredients come together to form a custard-like layer that, when baked, becomes perfectly caramelized on top, offering a slight crispness that gives way to a truly irresistible, melt-in-your-mouth interior. The entire pie is then generously dusted with confectioner’s sugar, adding a final touch of sweetness and an elegant finish to this truly decadent treat. It’s a dessert that excites all the senses, from its enticing aroma to its complex layers of flavor and texture.
What does Crack Pie taste like?
Imagine the comforting flavor of a perfectly baked oatmeal cookie, amplified and transformed into a luxurious pie. Crack Pie delivers a deeply satisfying experience that combines buttery richness with intense sweetness and a subtle, toasty flavor from the oats. The crust, made from crumbled oatmeal cookies, provides a chewy, slightly crumbly texture that contrasts beautifully with the incredibly smooth and luscious filling.
The filling itself is a masterpiece of caramelization and creamy indulgence. It tastes like a wonderfully rich butterscotch custard, with notes of toasted sugar and a hint of something uniquely savory that balances the sweetness. The texture is key here – it’s dense and gooey, almost like a cross between a soft caramel and a chewy bar, yet it melts in your mouth. The generous dusting of powdered sugar adds another layer of delicate sweetness and a visually appealing finish.
This is a dessert that satisfies the most intense sweet cravings. It’s incredibly rich and deeply flavorful, meaning you only need a small slice to feel utterly satisfied. Every forkful is an explosion of buttery, sugary goodness that leaves you wanting more, a truly addictive quality that has made this pie so famous. If you’re a lover of rich, sweet, and intensely flavorful desserts, this Crack Pie recipe is an absolute must-try. While there are several steps involved in its preparation, the remarkable results and the sheer delight it brings are well worth every effort. Get ready for an amazing dessert that will become a new favorite!
Ingredients
Gathering the right ingredients is the first step to creating this unforgettable dessert. Each component plays a vital role in achieving the iconic taste and texture of Crack Pie. Make sure to use high-quality ingredients for the best possible results.
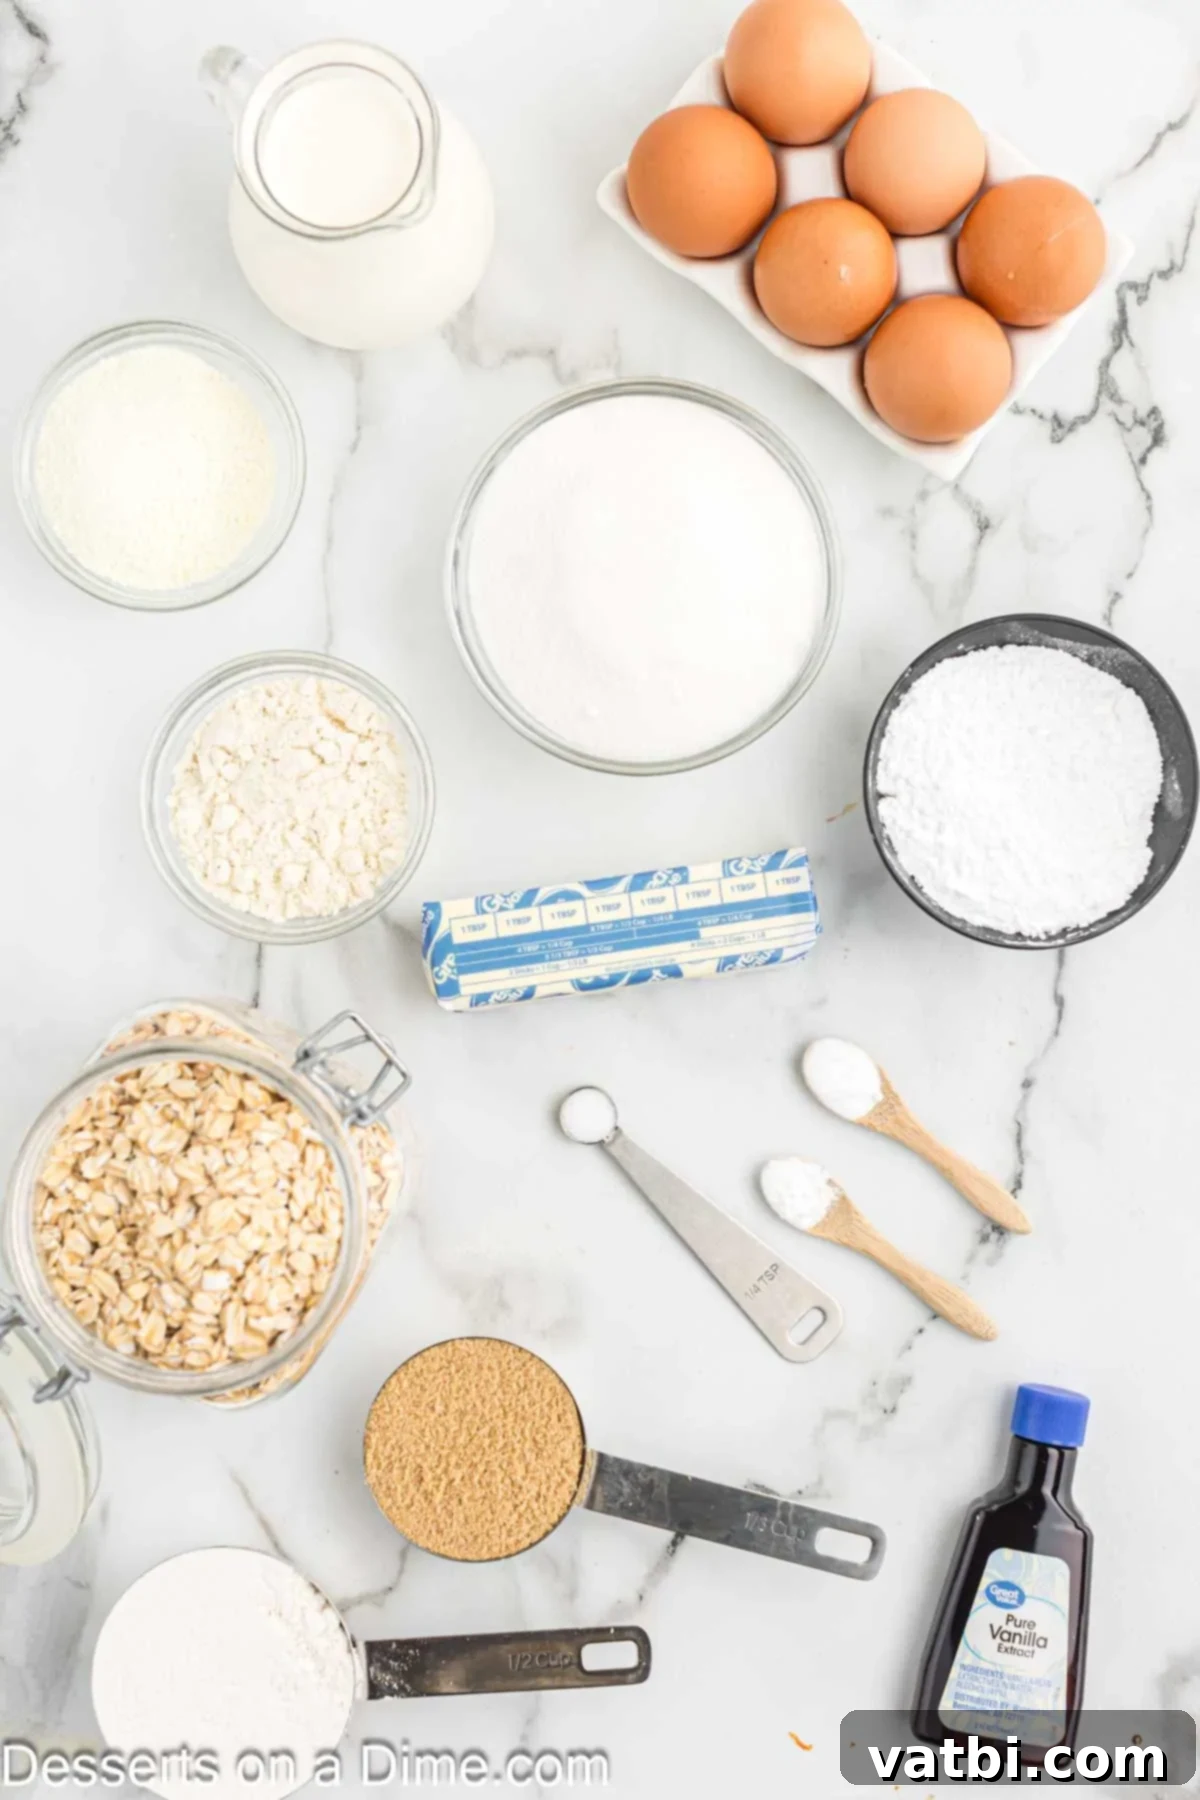
Oat Cookie Ingredients
- Unsalted Butter
- Light Brown Sugar
- Sugar
- Large Egg Yolk
- All Purpose Flour
- Old-Fashioned Rolled Oats
- Salt
- Baking Powder
- Baking Soda
Crust Ingredients
- The Oat Cookie (recipe above)
- Brown Sugar
- Salt
- Butter, melted
Pie Filling Ingredients
- Sugar
- Brown Sugar
- Dry Milk Powder
- Corn Powder
- Salt
- Unsalted Butter, melted
- Heavy Whipping Cream
- Vanilla Extract
- Large Egg Yolks
For Serving
- Confectioner’s Sugar
For precise measurements and a printable version, scroll down to the bottom of the page for the full recipe in the detailed recipe card.
Step by Step Instructions
Follow these detailed steps carefully to achieve the perfect Crack Pie. Taking your time with each stage will ensure a successful and delicious outcome.
- Step 1 – Preheat the oven and prepare your baking sheet. Set your oven to 350 degrees F (175 degrees C). Line a standard baking sheet with parchment paper, which will prevent sticking and make cleanup easier for your oat cookie.
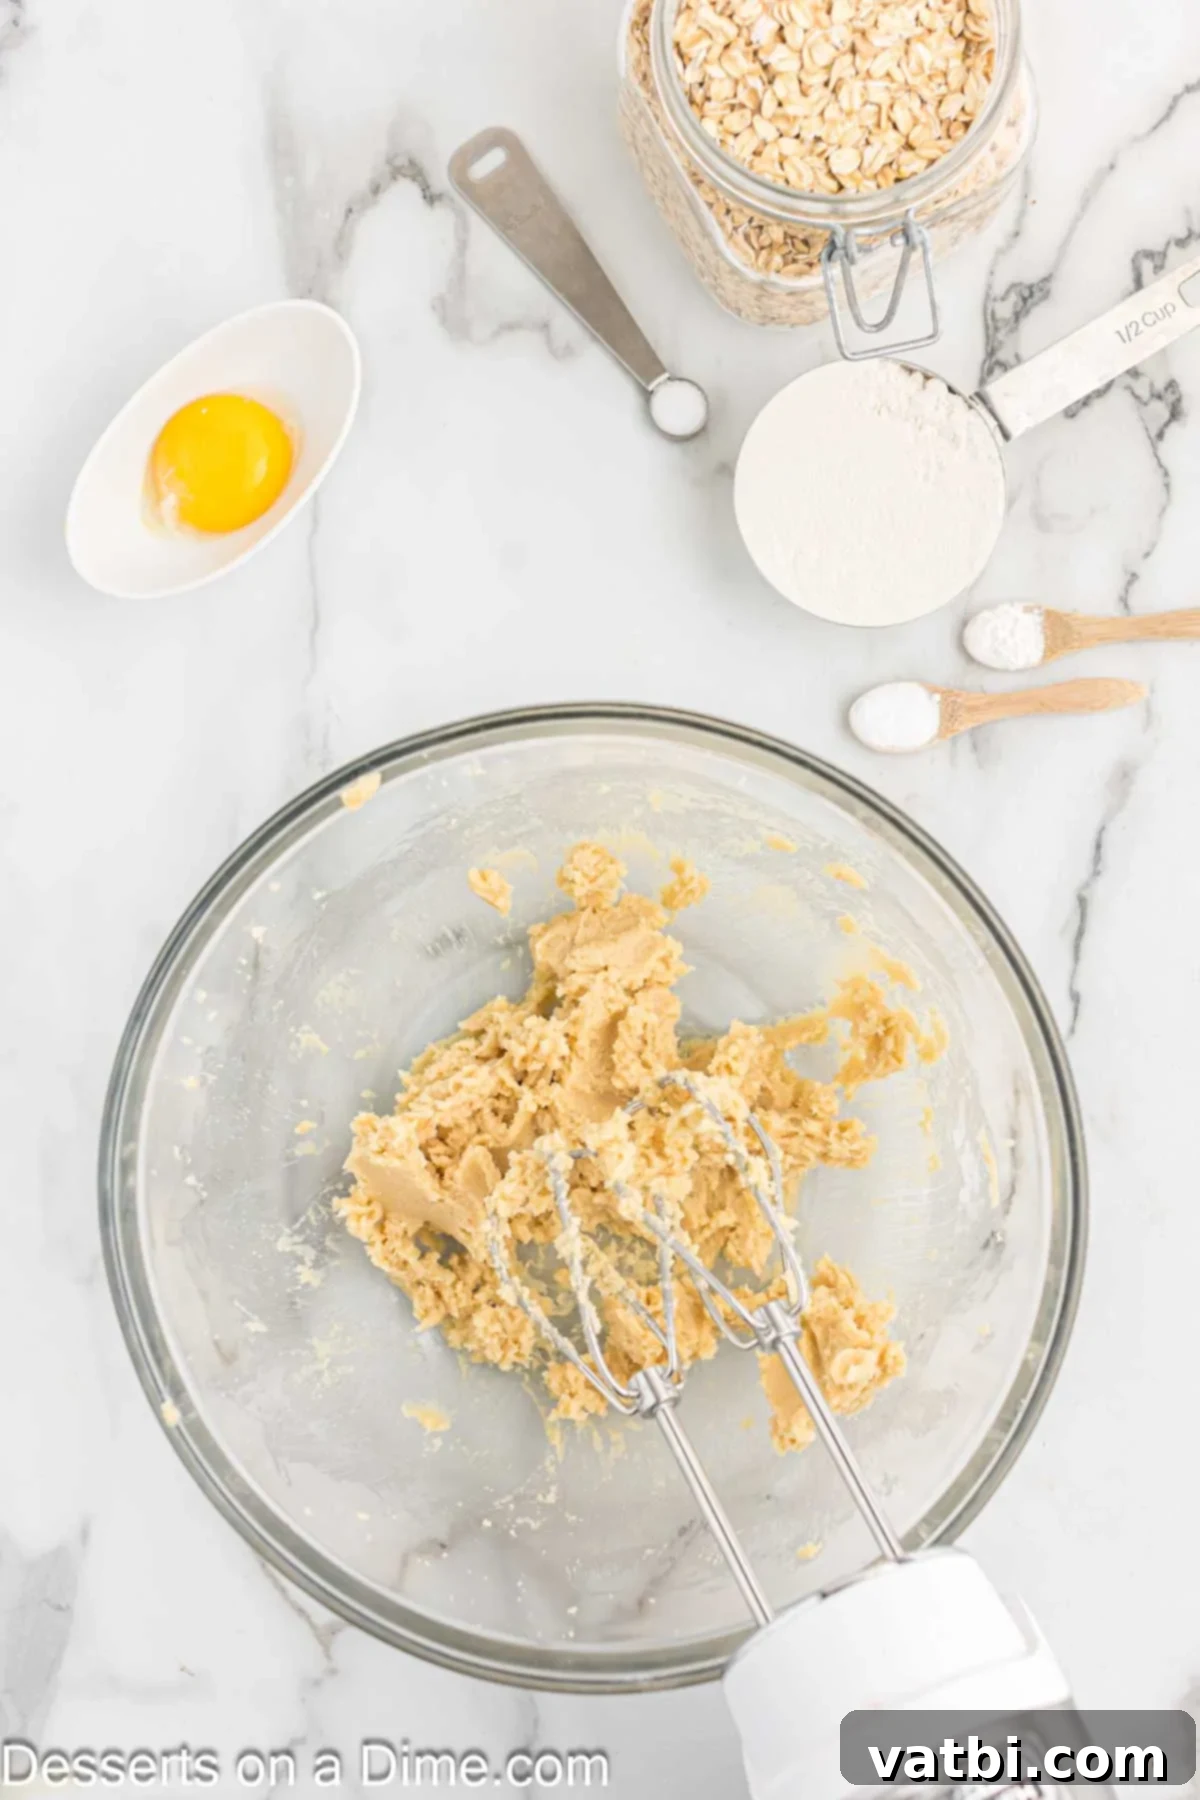
Step 2 – Cream the butter and sugars for the oat cookie. In the bowl of a stand mixer fitted with a paddle attachment, combine the softened unsalted butter, light brown sugar, and granulated sugar. Beat them together on medium speed until the mixture is light, fluffy, and well combined, typically taking about 2-3 minutes. This step incorporates air, making the cookie tender.
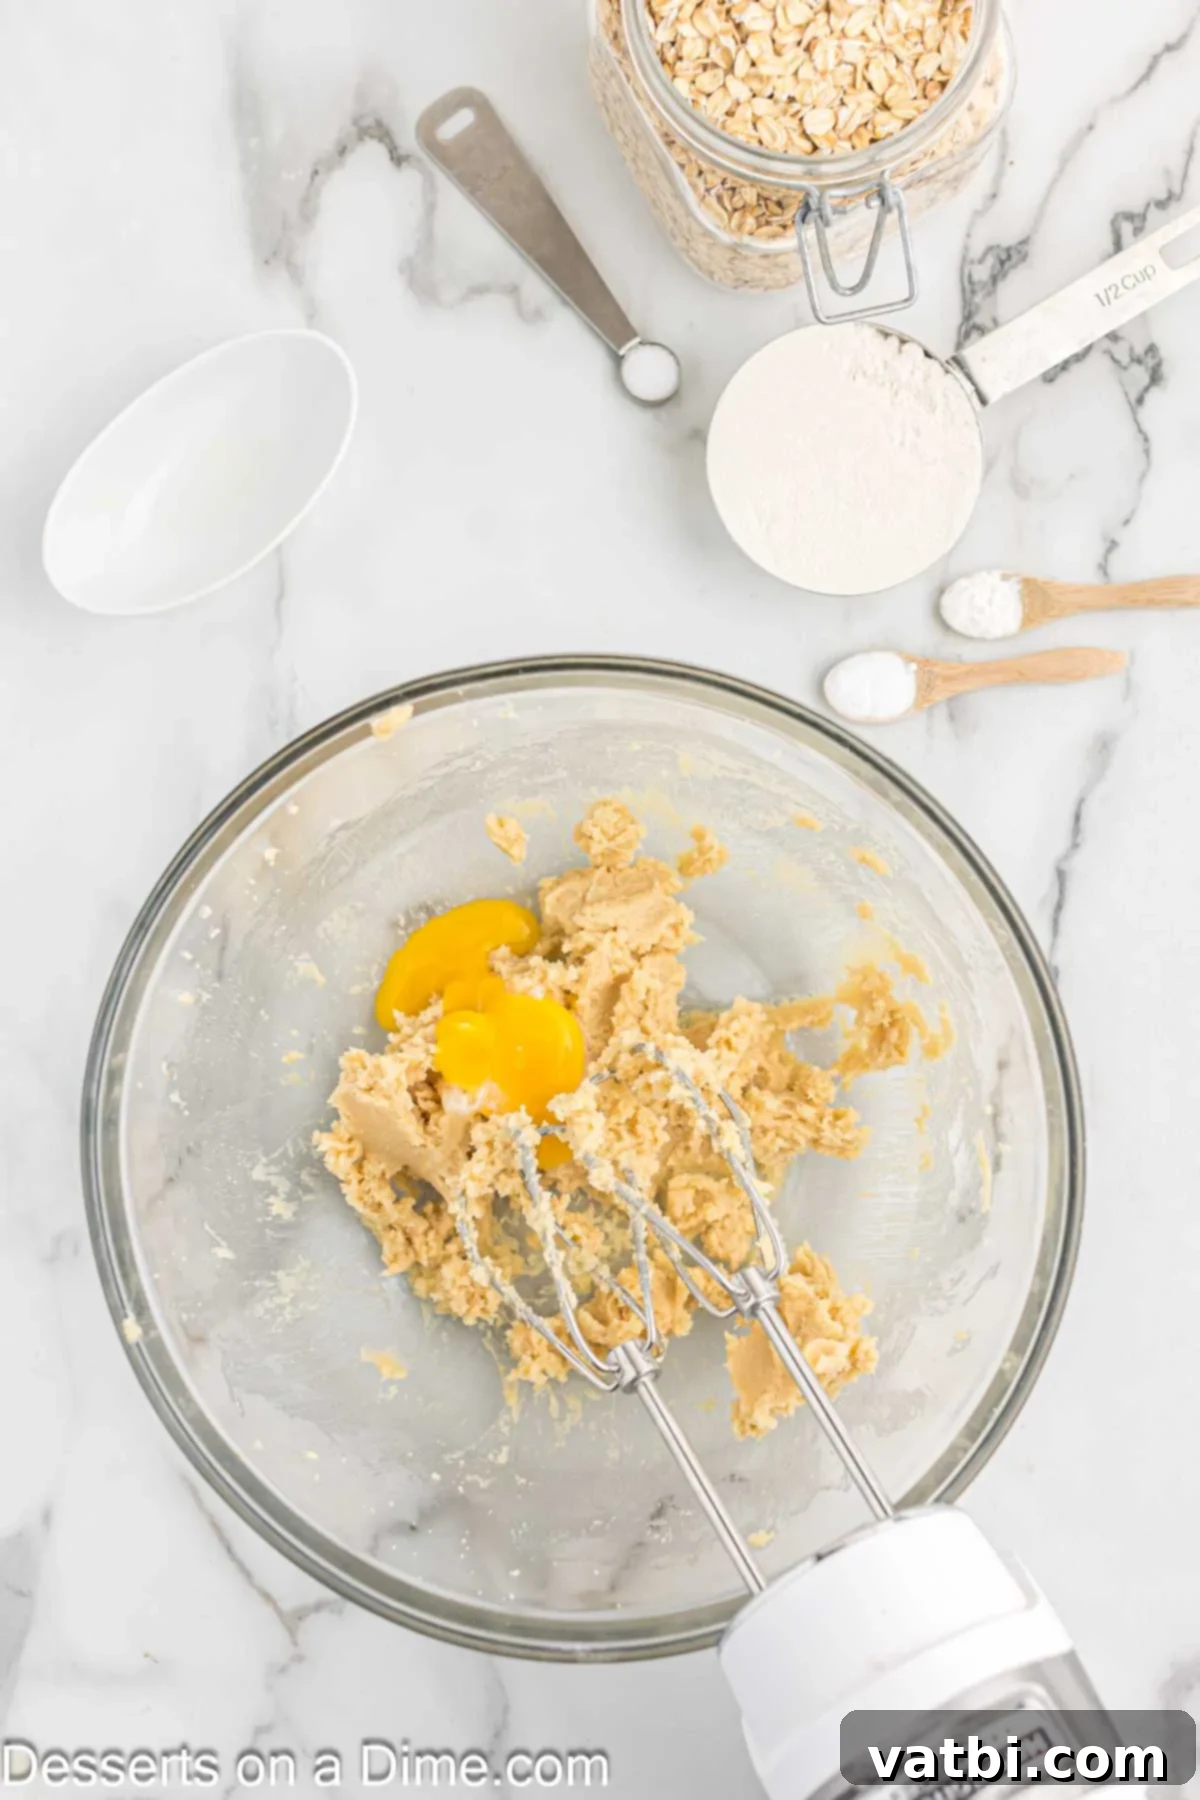
Step 3 – Incorporate the egg yolk. Stop the mixer and use a spatula to scrape down the sides of the bowl, ensuring all ingredients are fully incorporated. Add the large egg yolk to the butter mixture and mix again on medium speed until it is thoroughly combined and the mixture is smooth. The egg yolk adds richness and helps bind the cookie dough.
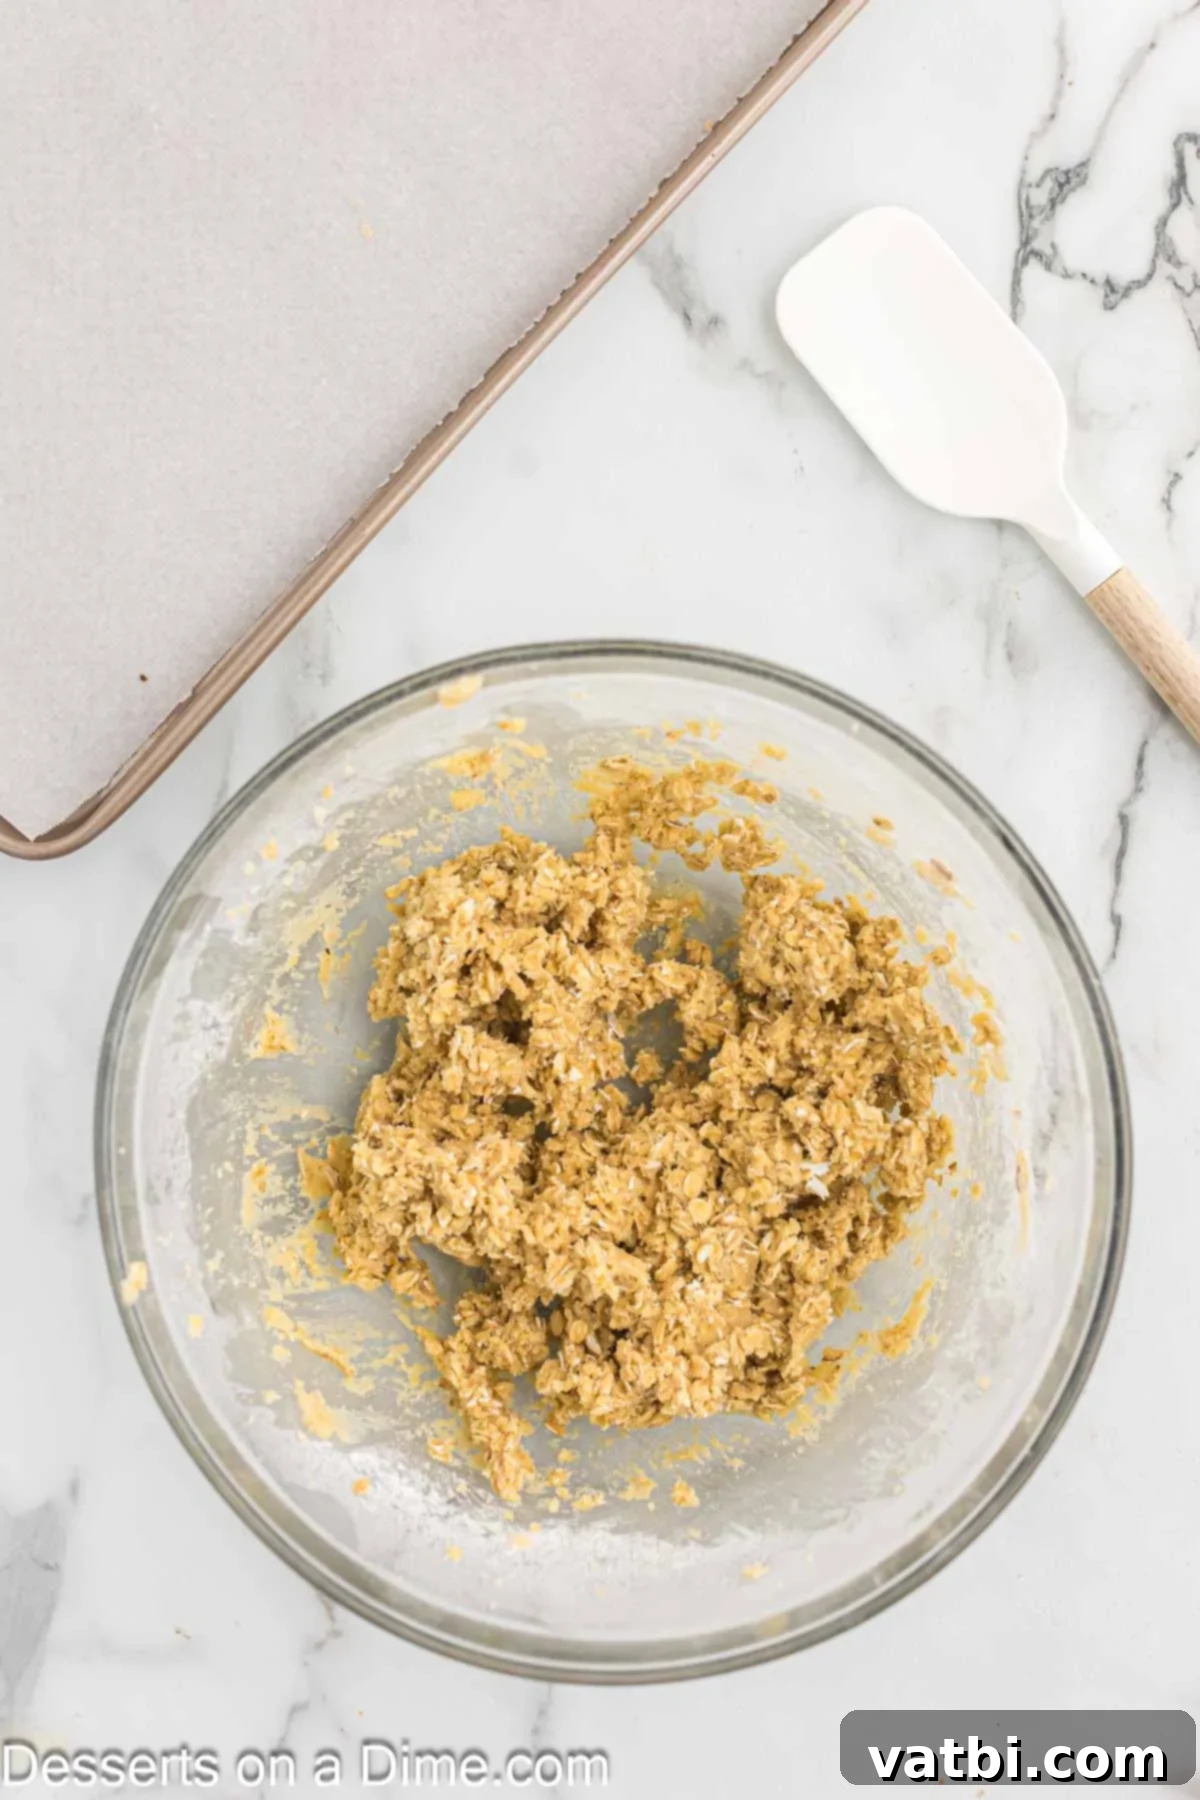
Step 4 – Mix in the dry ingredients for the oat cookie. To the wet mixture, add the all-purpose flour, old-fashioned rolled oats, salt, baking powder, and baking soda. Mix on low speed, just until all the dry ingredients are combined with the wet ingredients and no streaks of flour remain, approximately 1 minute. Be careful not to overmix, as this can make the cookie tough.
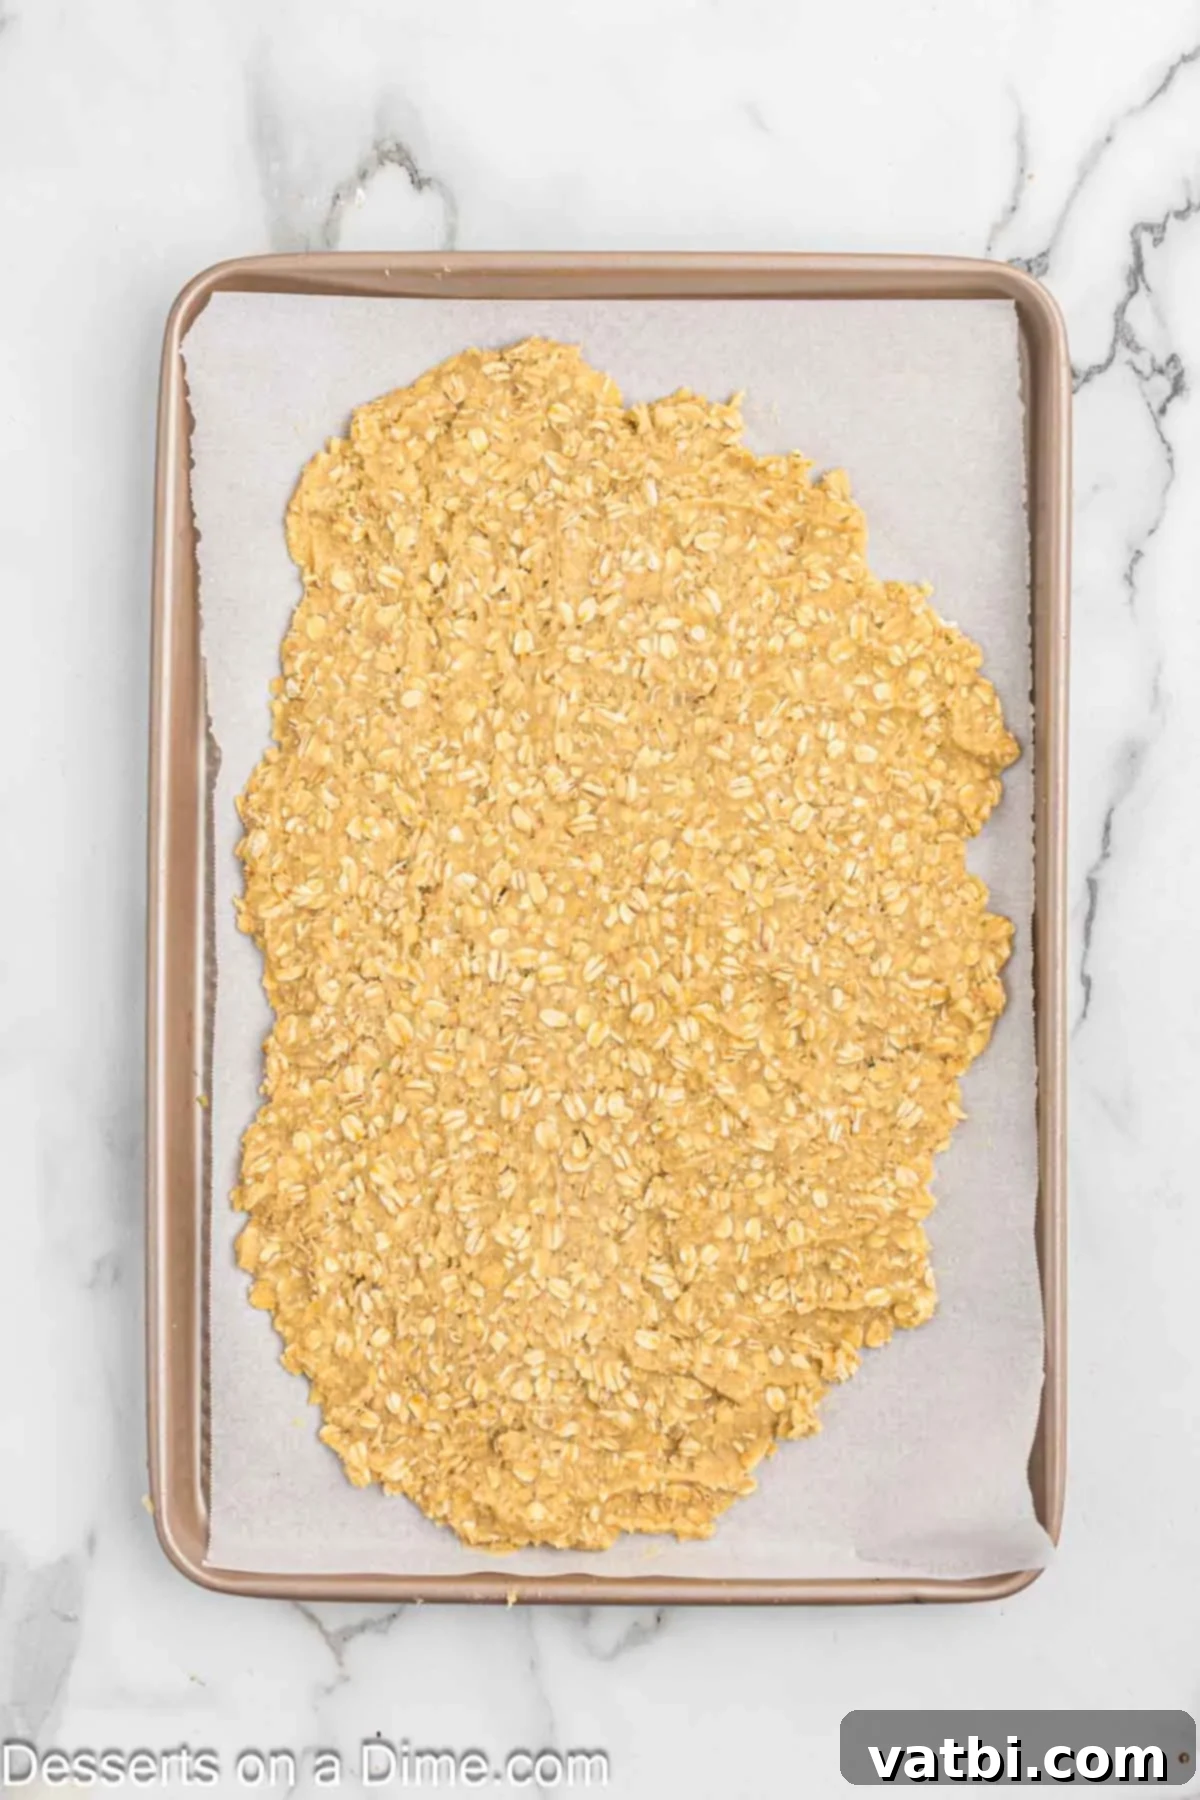
Step 5 – Spread the cookie dough evenly on the baking sheet. Transfer the prepared oat cookie dough onto the parchment-lined baking sheet. Use an offset spatula or the back of a spoon to spread the dough out evenly until it’s approximately 1/4 inch thick. Don’t worry if the dough doesn’t cover the entire pan; we’ll be breaking it up later for the crust.
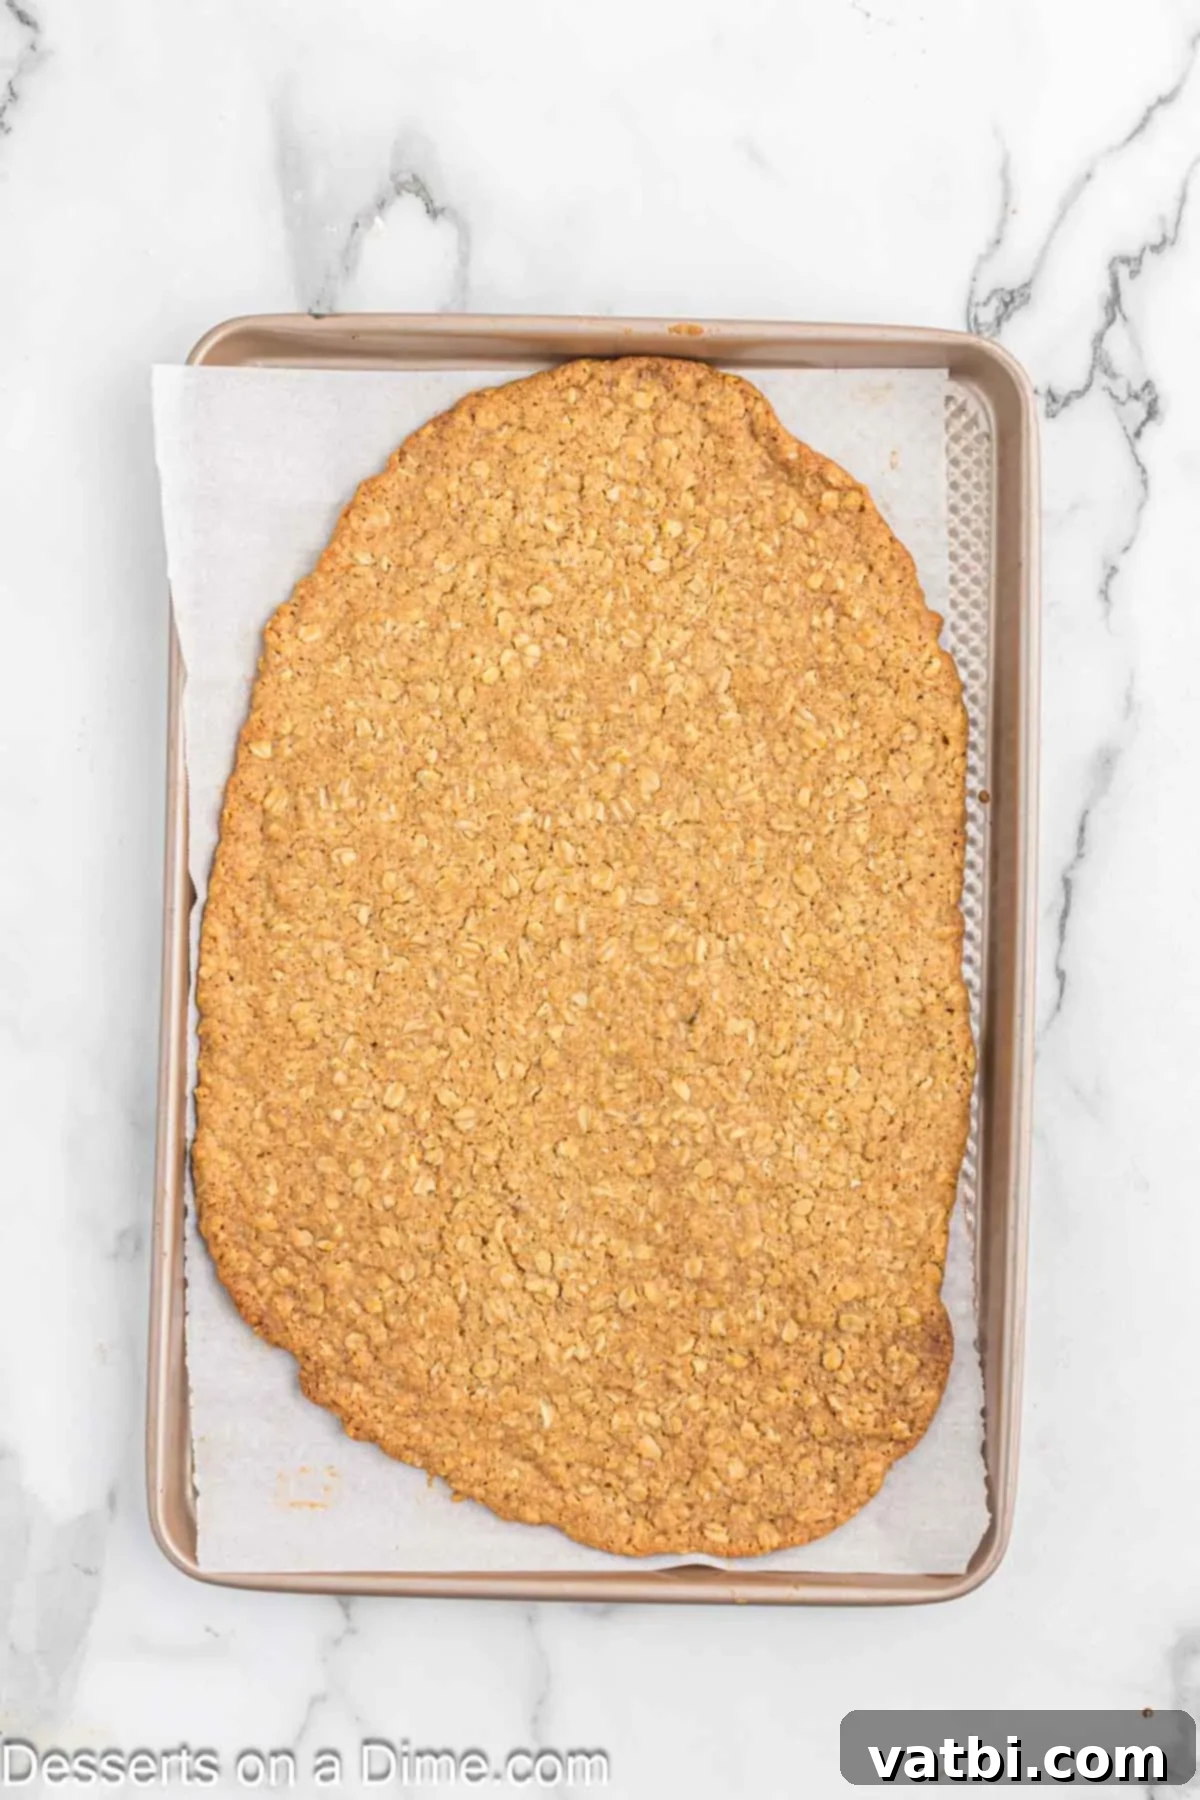
Step 6 – Bake and cool the oat cookie. Place the baking sheet with the cookie dough in the preheated oven and bake for 15 minutes, or until the edges are nicely golden brown and set. The center may still be slightly soft. Once baked, remove the cookie from the oven and allow it to cool completely on the baking sheet on a wire rack. It needs to be fully cooled before proceeding to the next step for the crust.
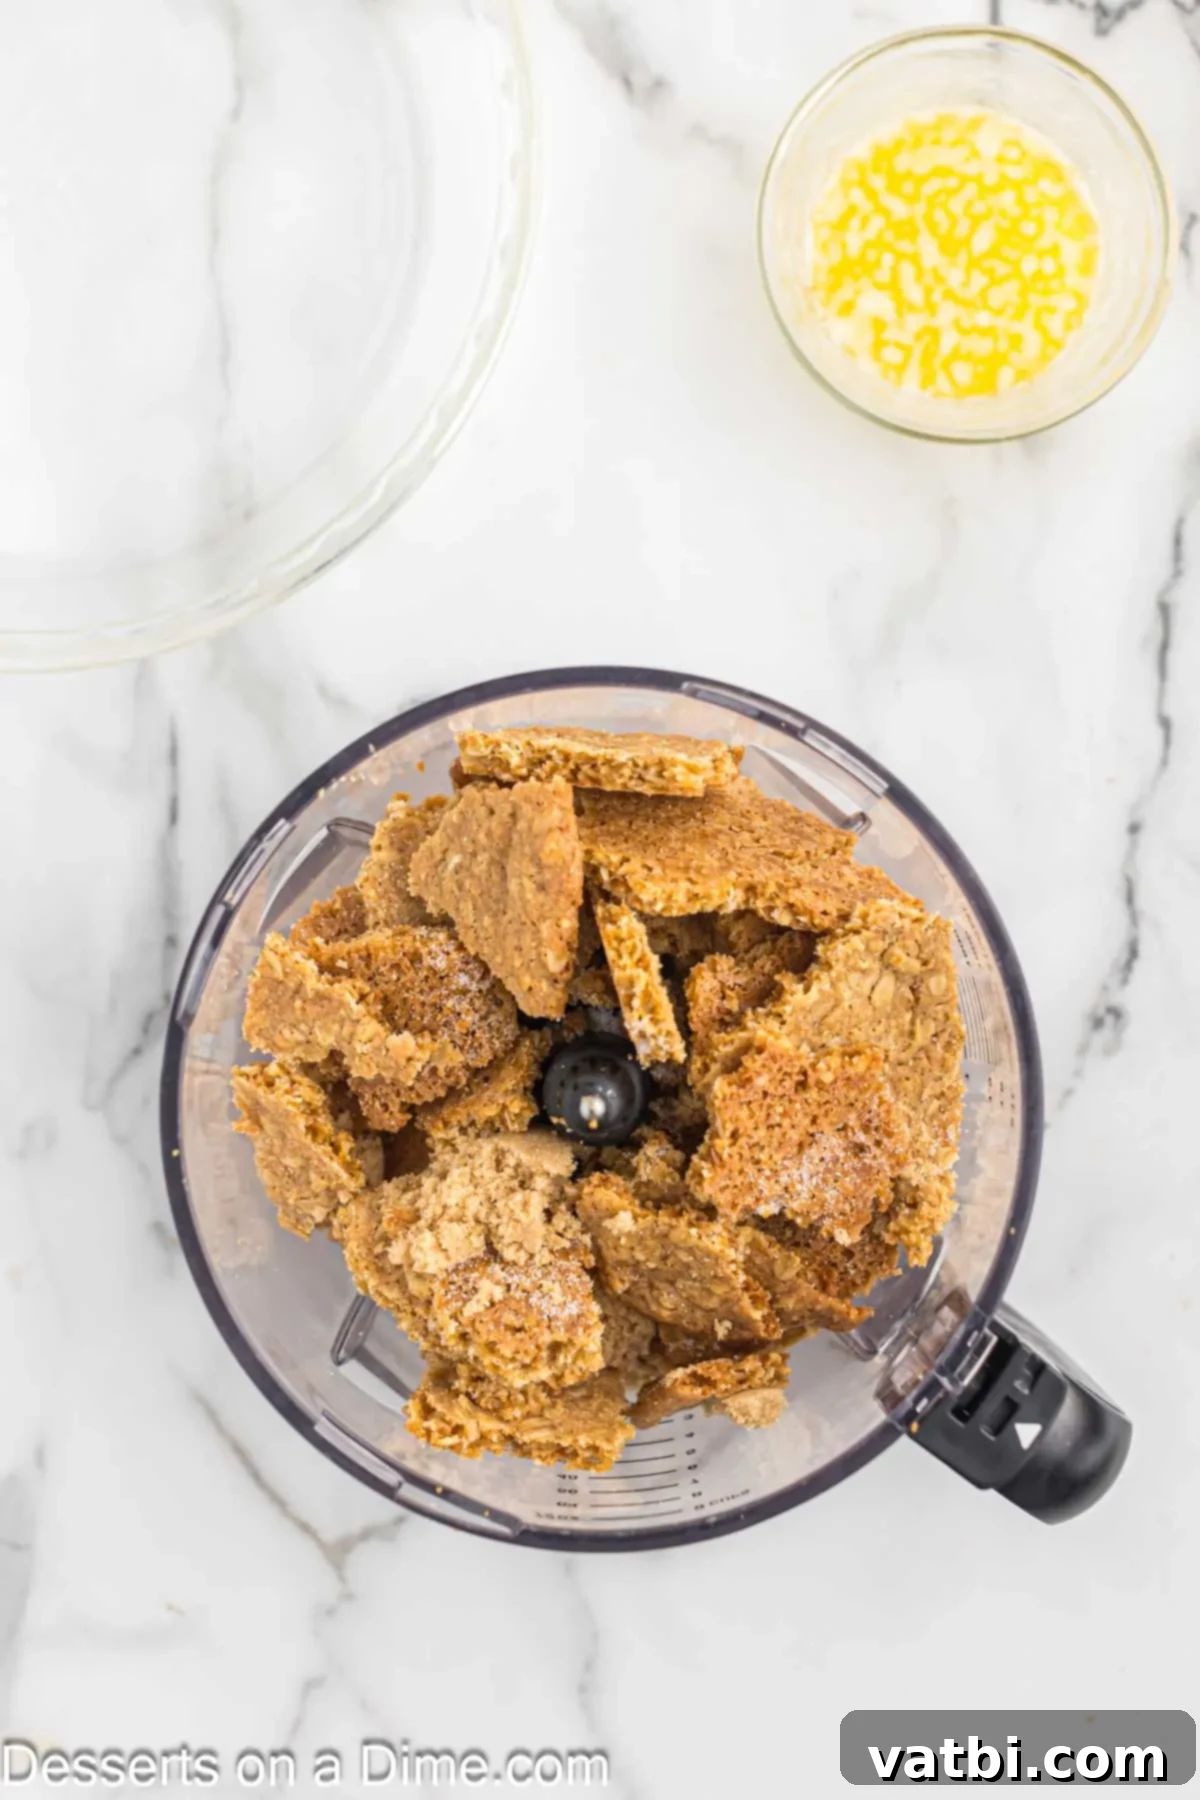
Step 7 – Prepare the cookie for the crust. Once the oat cookie is completely cooled, break it into smaller pieces and place them in a food processor. Add the tablespoon of brown sugar and a quarter teaspoon of salt. Pulse the ingredients until the mixture forms fine crumbs. If you don’t have a food processor, you can place the cooled cookie in a large Ziploc bag and crush it with a rolling pin or by hand until finely crumbled.
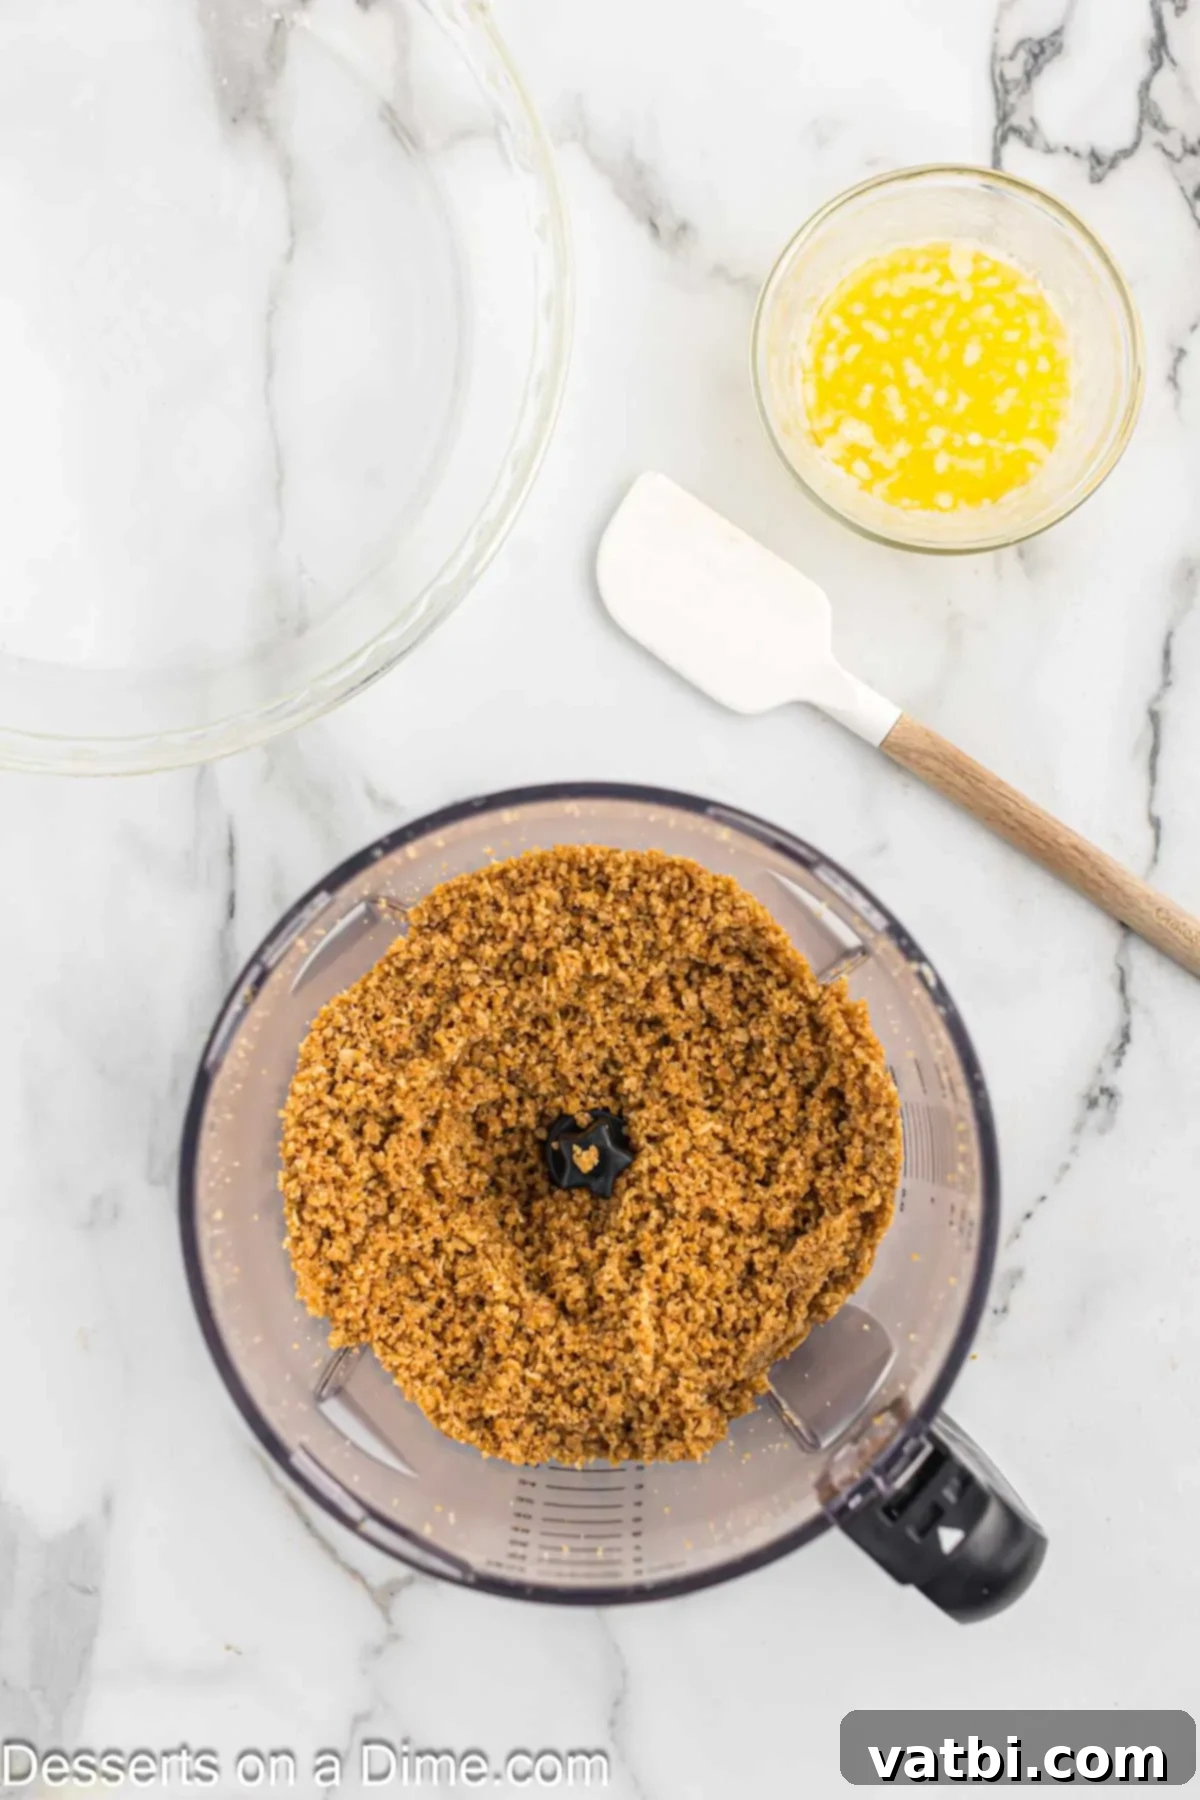
Step 8 – Add the melted butter to the crust mixture. Transfer the cookie crumbs from the food processor to a medium mixing bowl. This will be the base for your incredibly flavorful pie crust.
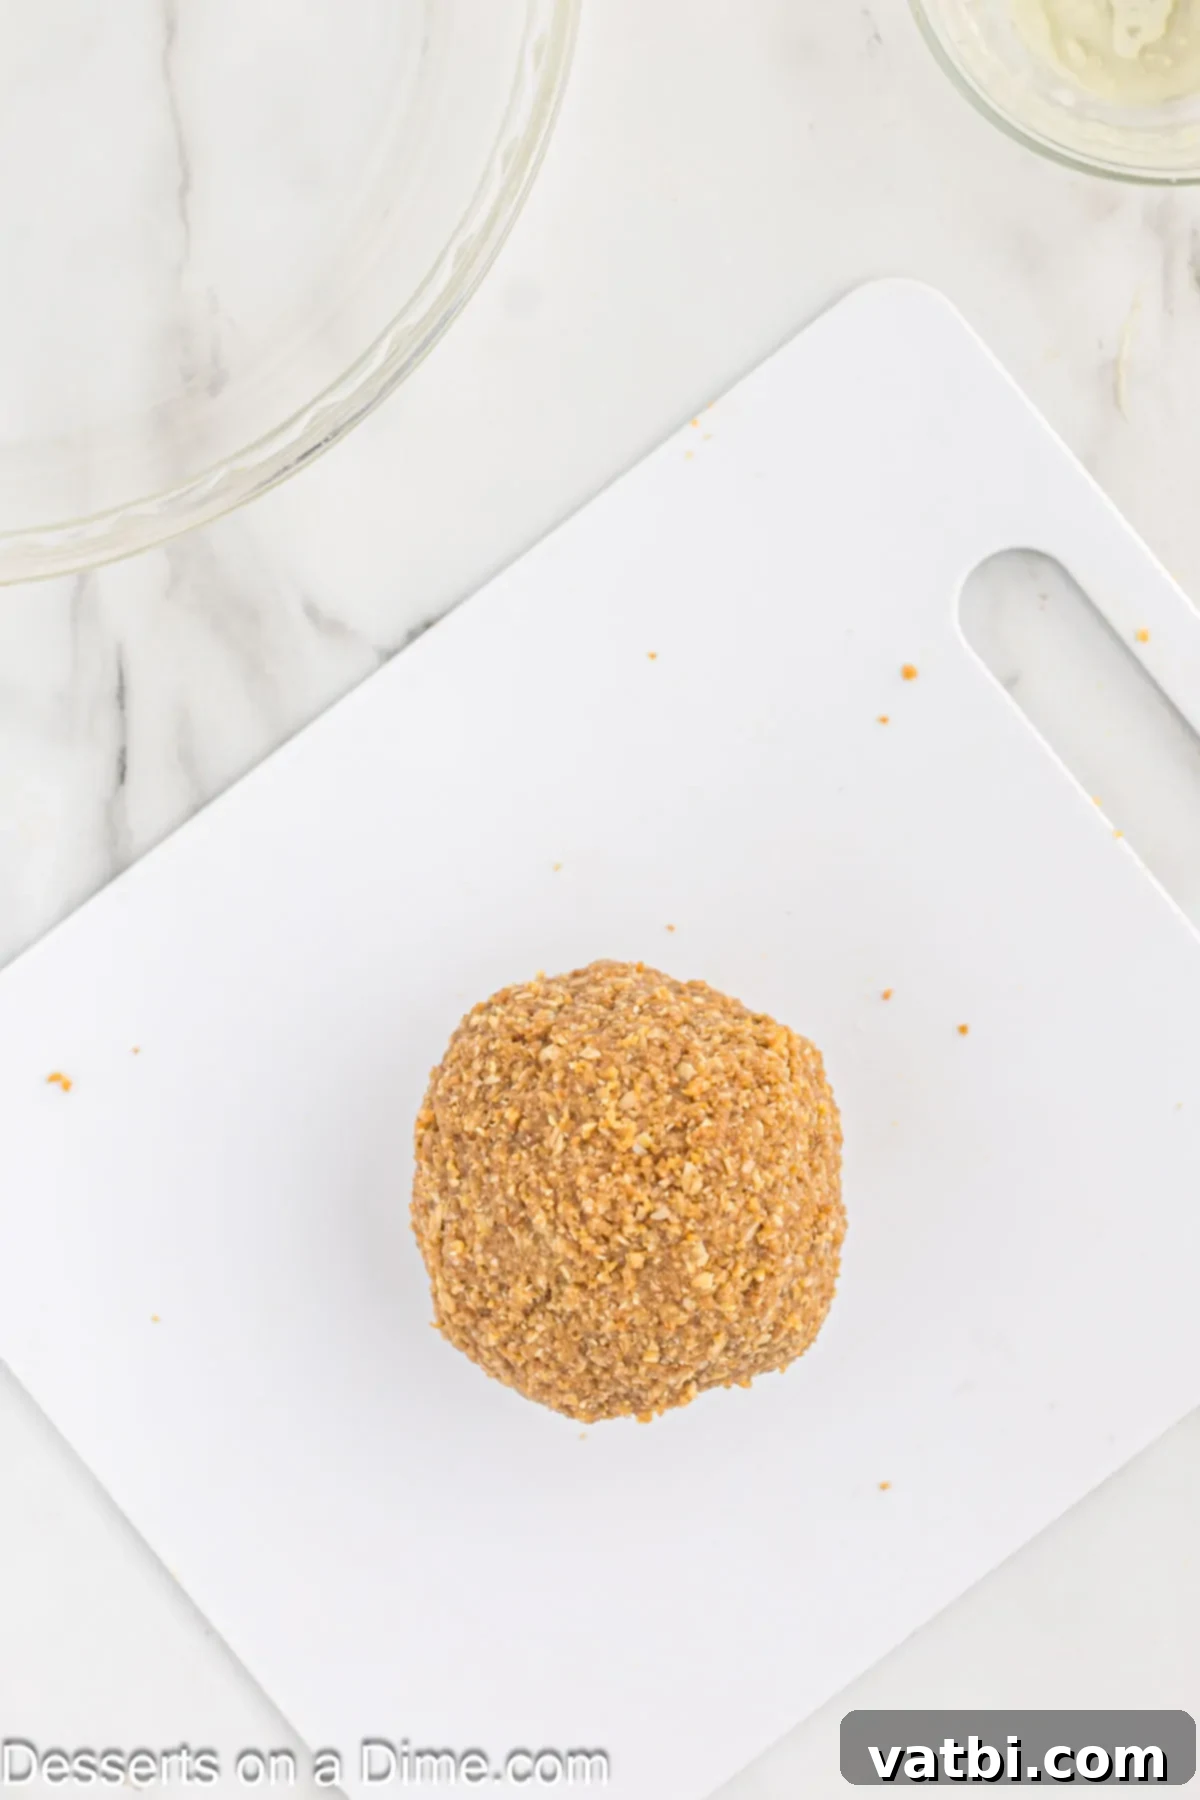
Step 9 – Form the crust mixture into a ball. Pour the melted butter over the cookie crumbs in the mixing bowl. Use your hands to stir and knead the mixture until it comes together and can be formed into a cohesive ball. The butter acts as the binding agent. If the mixture feels too dry and doesn’t hold its shape, gradually add more melted butter, one tablespoon at a time, until it reaches the desired moist, moldable consistency. This ensures a firm and flavorful crust.
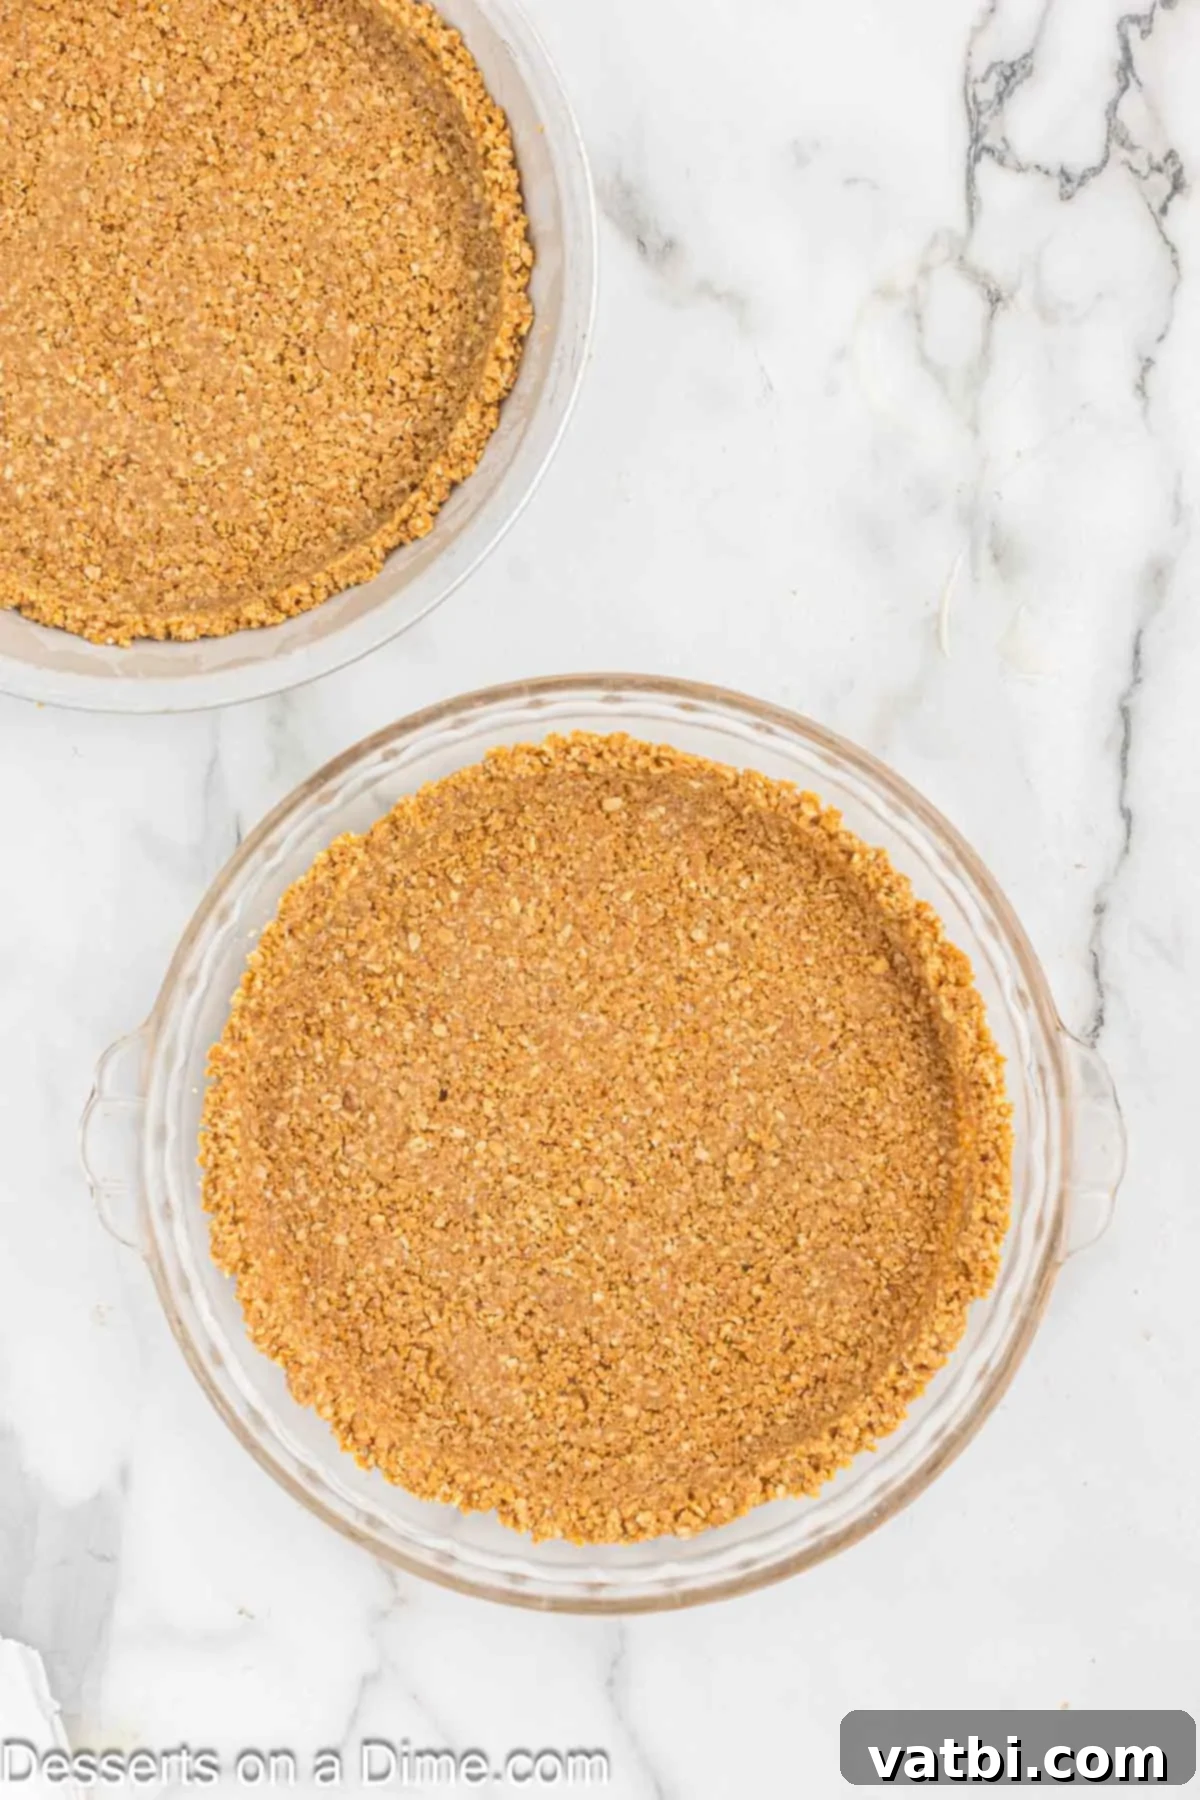
Step 10 – Press the crust into pie tins. Evenly divide the oat cookie crust mixture between two 10-inch pie dishes. Using your fingers or the bottom of a flat-bottomed glass, firmly press the cookie dough crust into the bottom and up the sides of each pie tin. Ensure the crust is compact and even. Place the prepared pie crusts on baking sheets for easier handling and even baking.
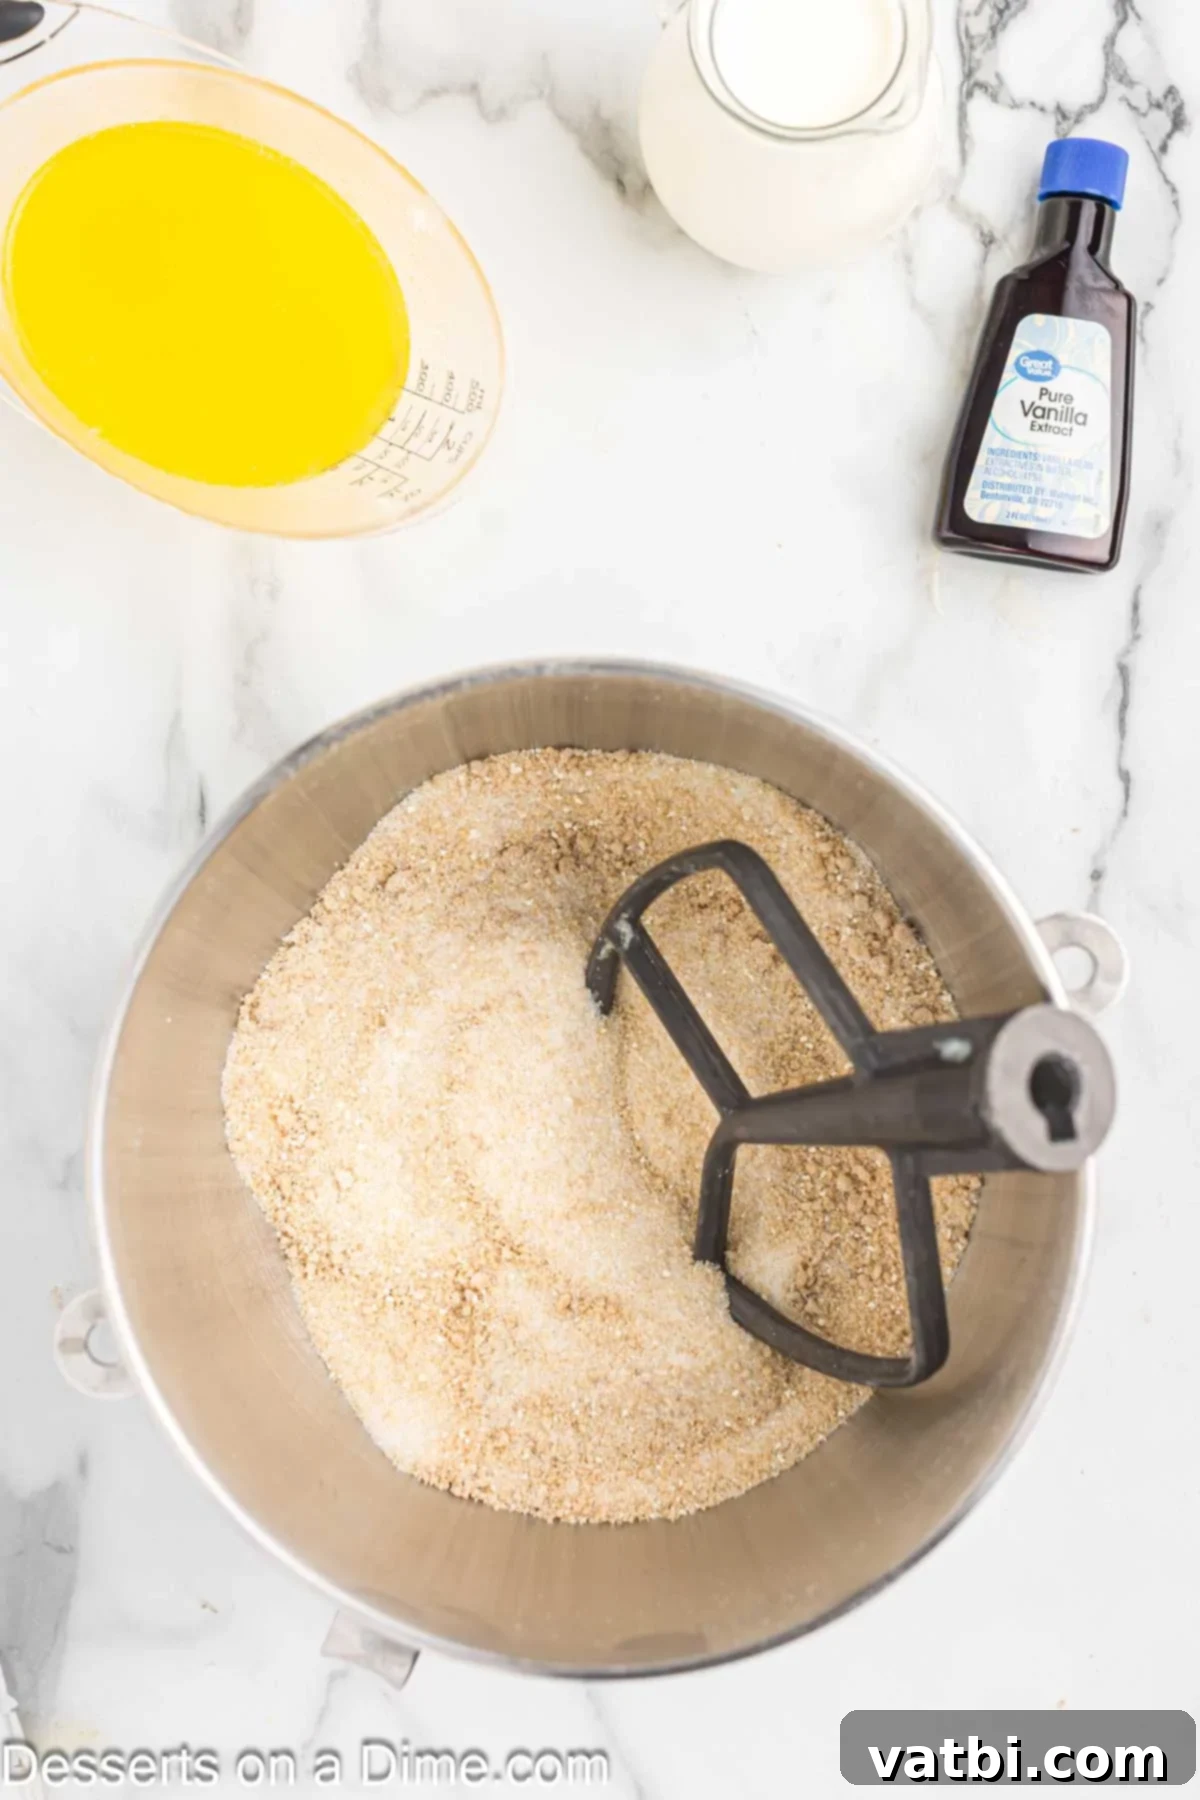
Step 11 – Combine dry ingredients for the filling. In the large bowl of your stand mixer, fitted with a paddle attachment, combine the granulated sugar, brown sugar, dry milk powder, corn powder, and salt. Mix these dry ingredients together on low speed until they are well incorporated. This ensures an even distribution of flavors throughout the filling.
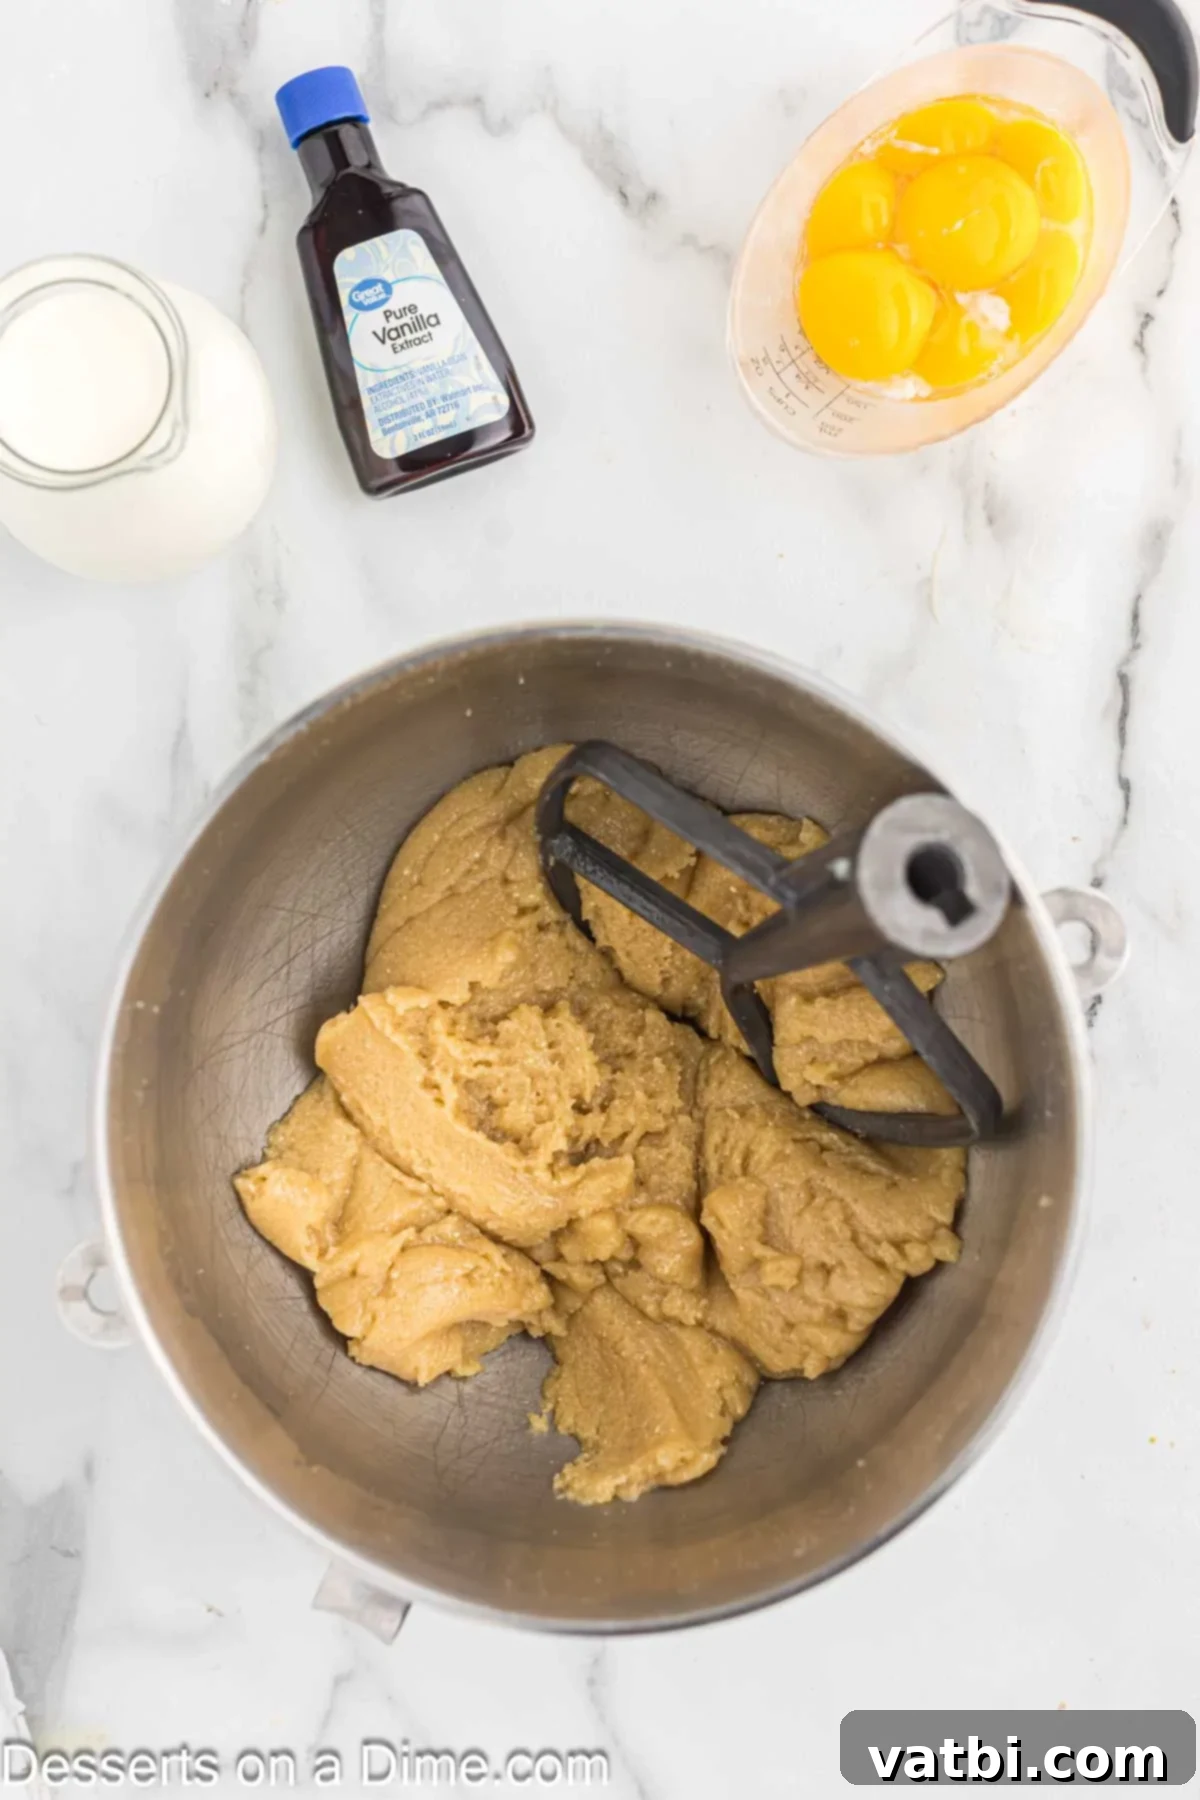
Step 12 – Add melted butter to the filling mixture. Slowly pour the melted unsalted butter into the dry sugar mixture in the stand mixer. Mix on low to medium speed for 2-3 minutes, until all the dry ingredients are moistened and form a coarse, crumbly mixture. The butter provides the essential richness and helps create the gooey texture.
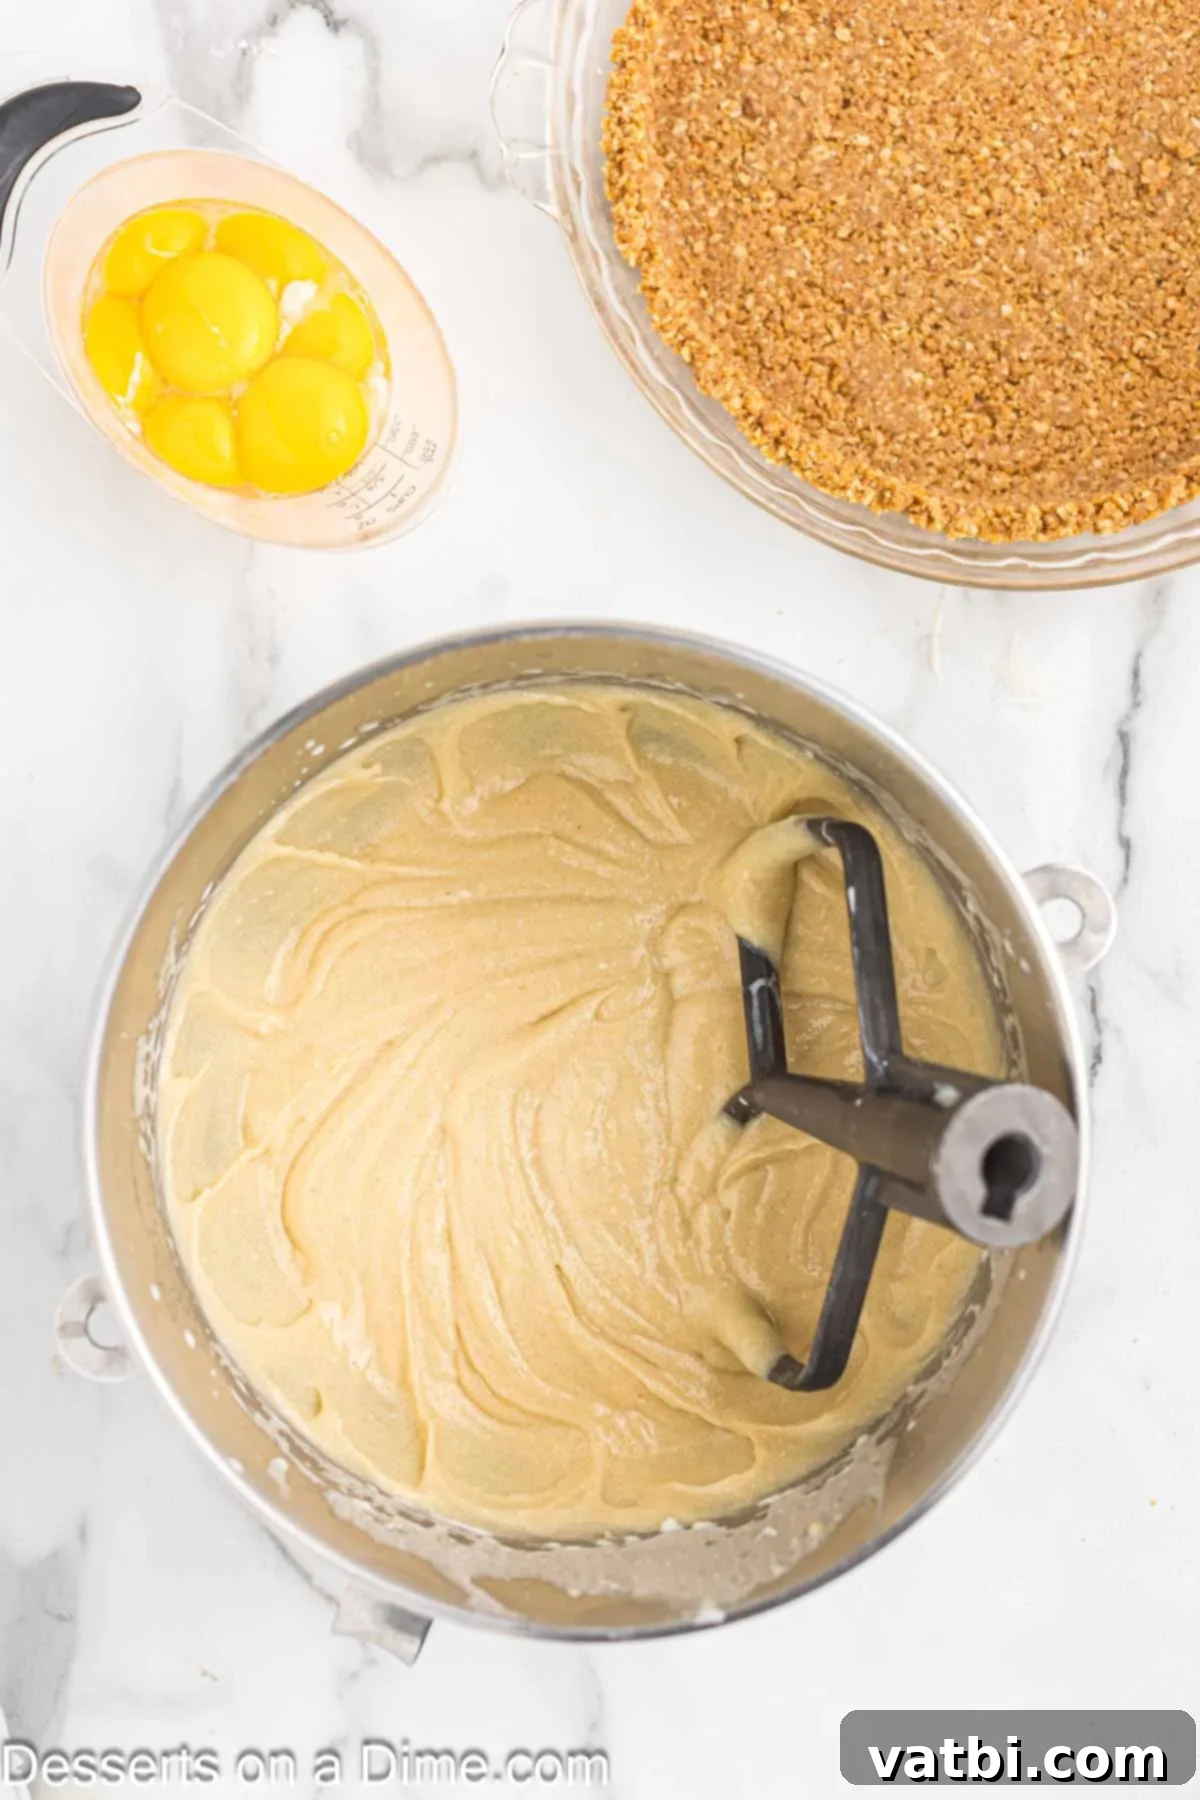
Step 13 – Continue combining the wet ingredients. Next, add the heavy whipping cream and vanilla extract to the mixture in the stand mixer bowl. Mix on low speed until these liquid ingredients are just combined with the butter and sugar mixture. Be careful not to overmix at this stage; we want to ensure everything is incorporated without developing too much air.
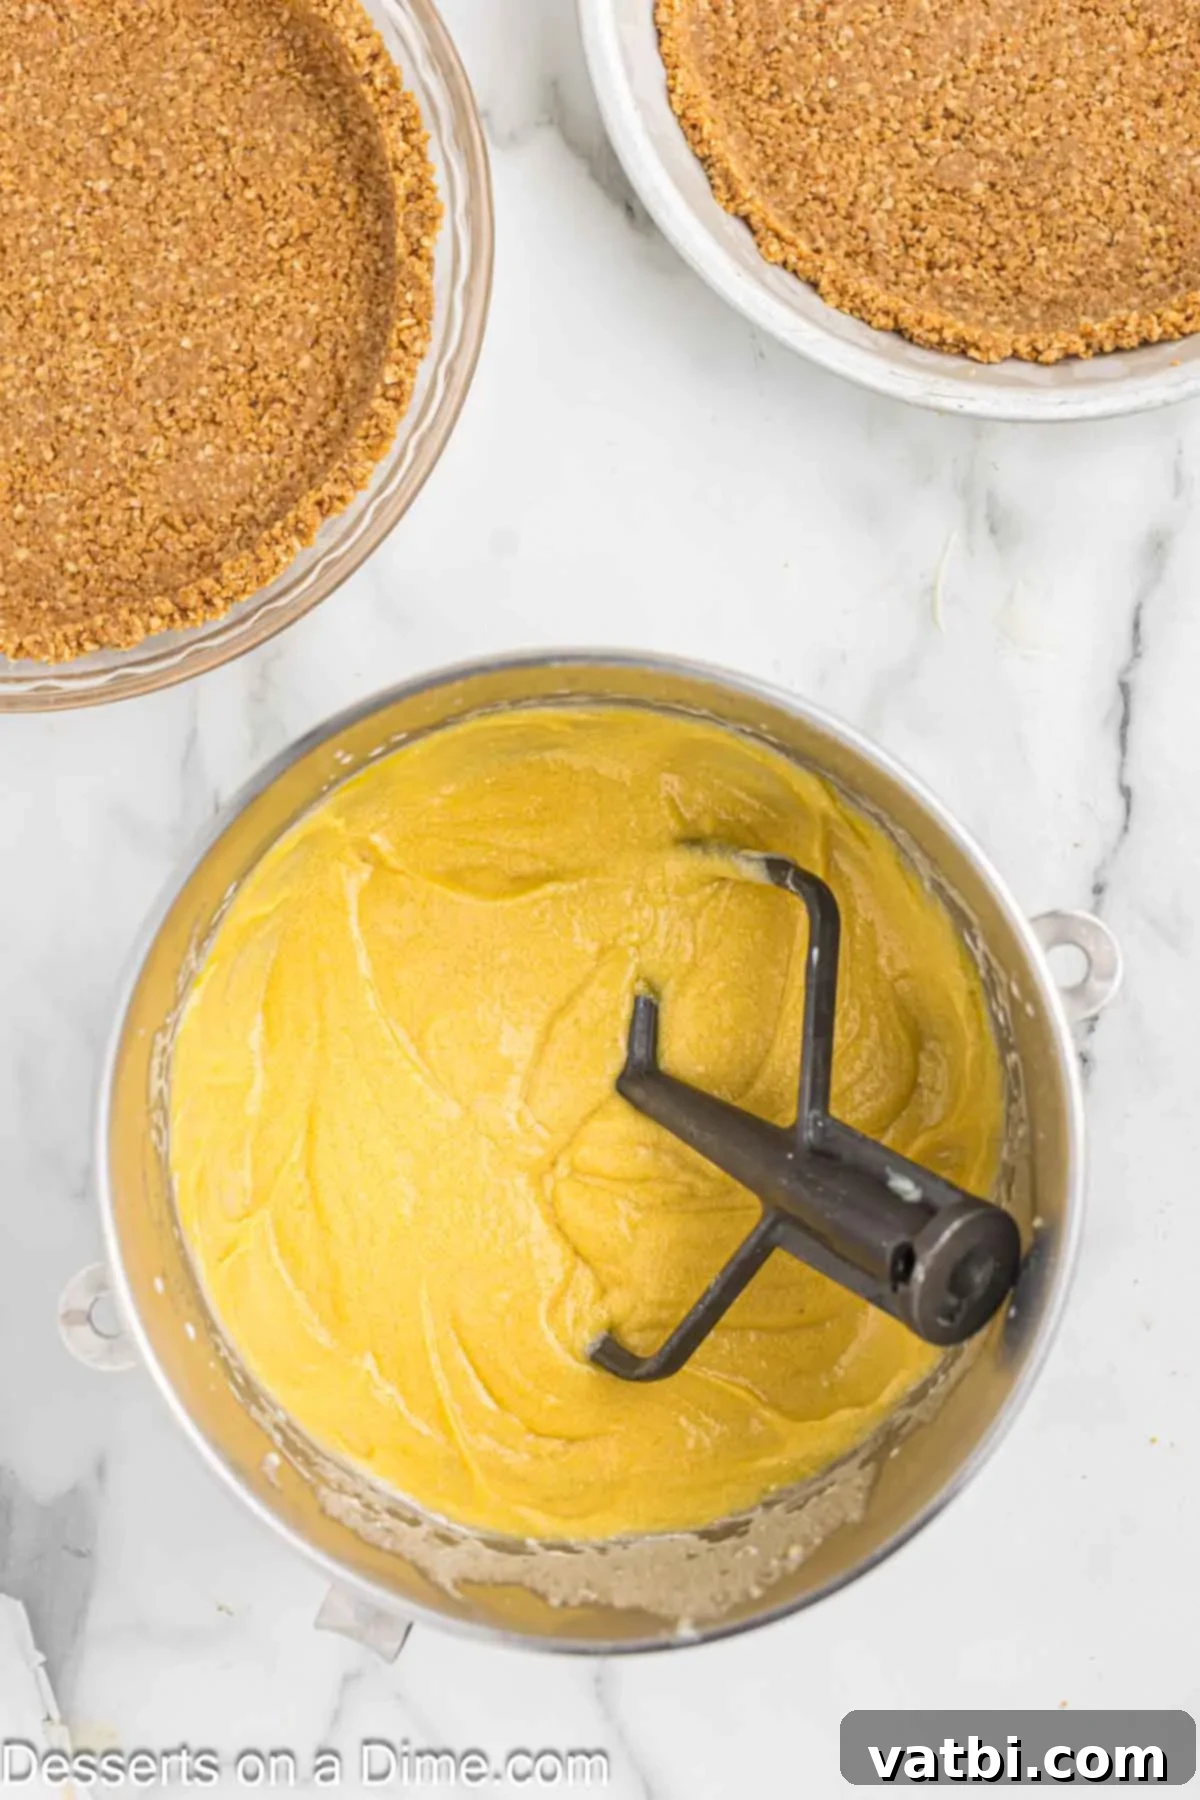
Step 14 – Add the egg yolks carefully. Before adding the egg yolks, use a spatula to scrape down the sides of the bowl once more, ensuring no unmixed ingredients remain. Then, add all eight large egg yolks to the pale yellow filling mixture. Mix on the lowest speed until the egg yolks are just combined and the filling is uniform in color and texture. It’s crucial not to overmix after adding the yolks, as this can introduce too much air, which might affect the final texture of your pie filling.
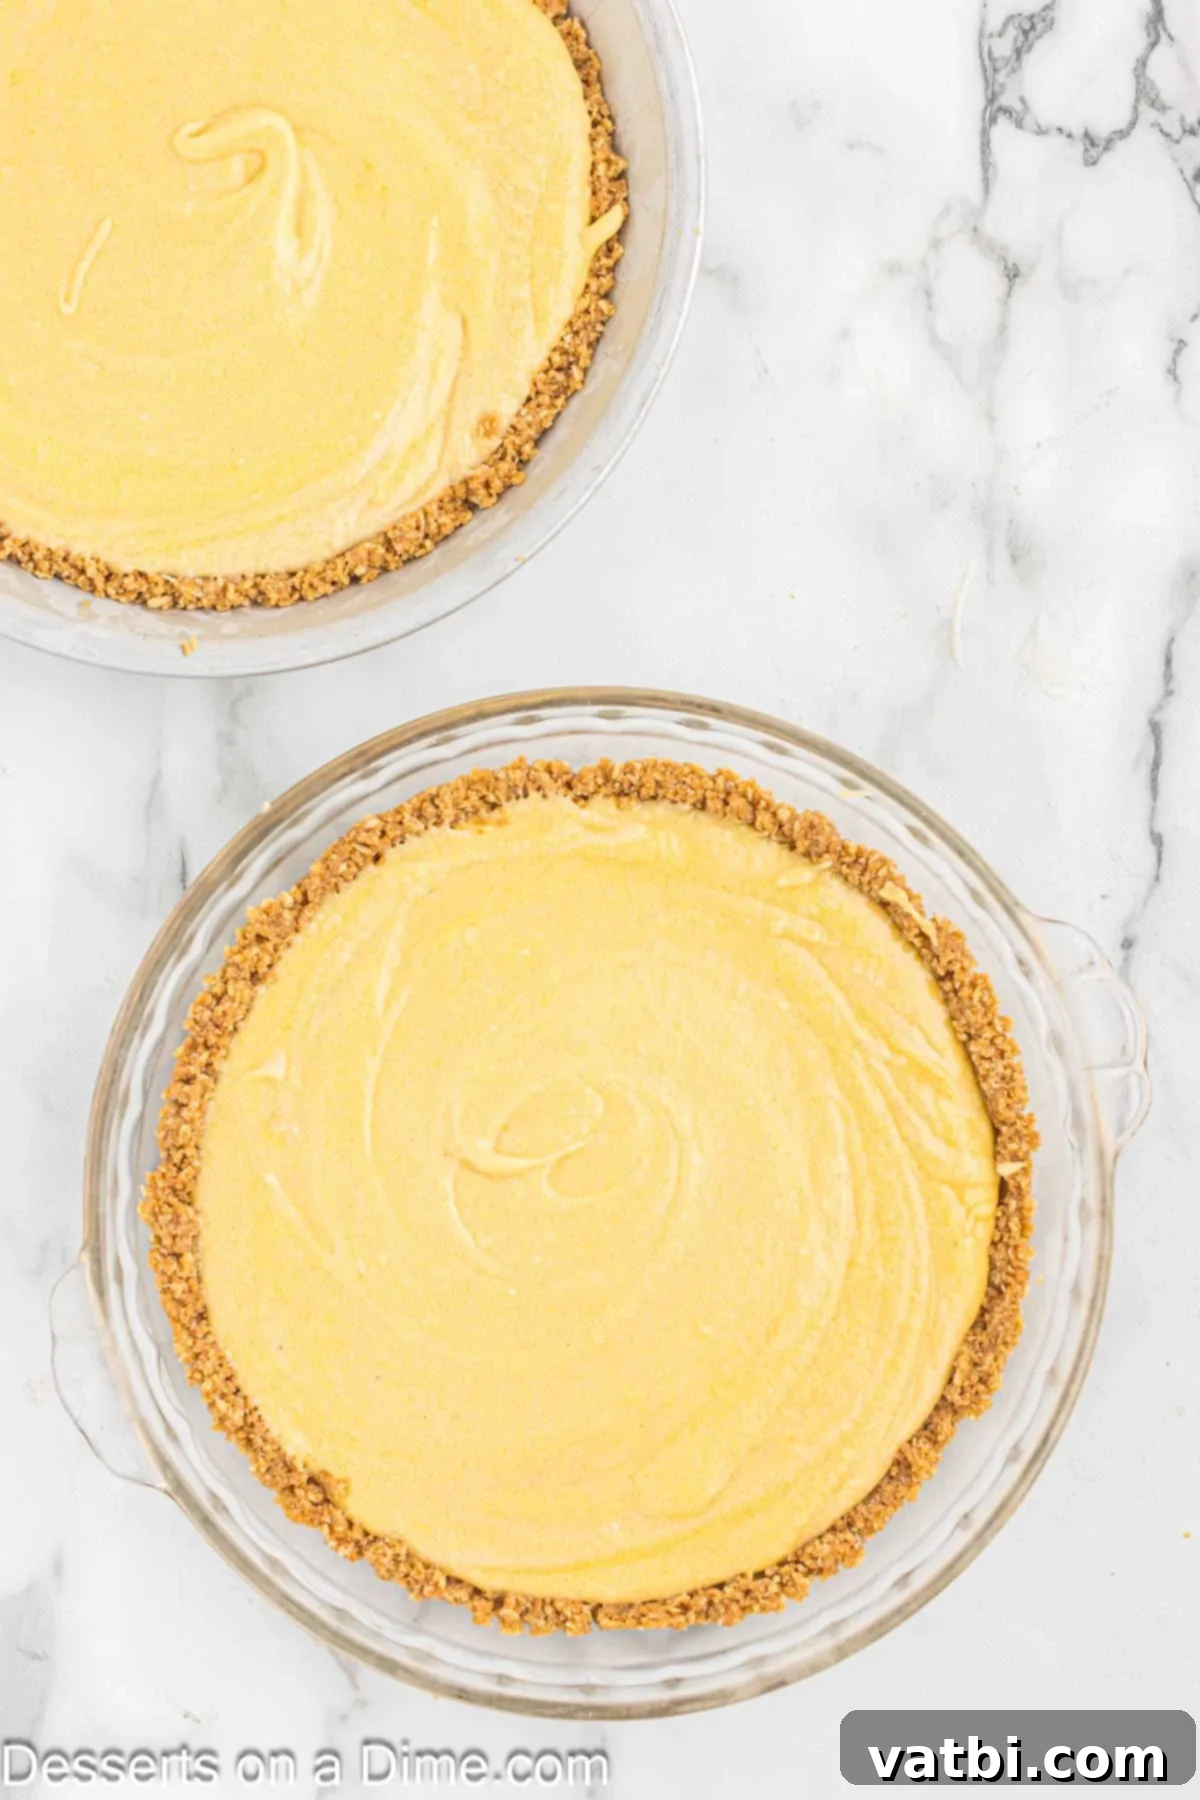
Step 15 – Fill the oat crusts. Carefully divide the prepared filling evenly between the two oat cookie crusts. Pour the filling into each crust, ensuring they are approximately two-thirds of the way full. The filling will expand slightly during baking, so leaving some room is important.
- Step 16 – Begin baking the pies. Place the baking sheets with the filled pie crusts on the center rack of your preheated oven. Bake for 15 minutes. During this initial bake, the top of the pies should turn a beautiful golden brown, but the center will still be jiggly, which is exactly what we want at this stage.
- Step 17 – Adjust oven temperature and partially cool. After 15 minutes, open the oven door partially and reduce the oven temperature to 325 degrees F (160 degrees C). Allow the oven to adjust to this new, lower temperature with the door still ajar. Crucially, leave the pies inside the oven during this temperature transition. This gradual cooling prevents the pie from cracking and helps set the filling gently.
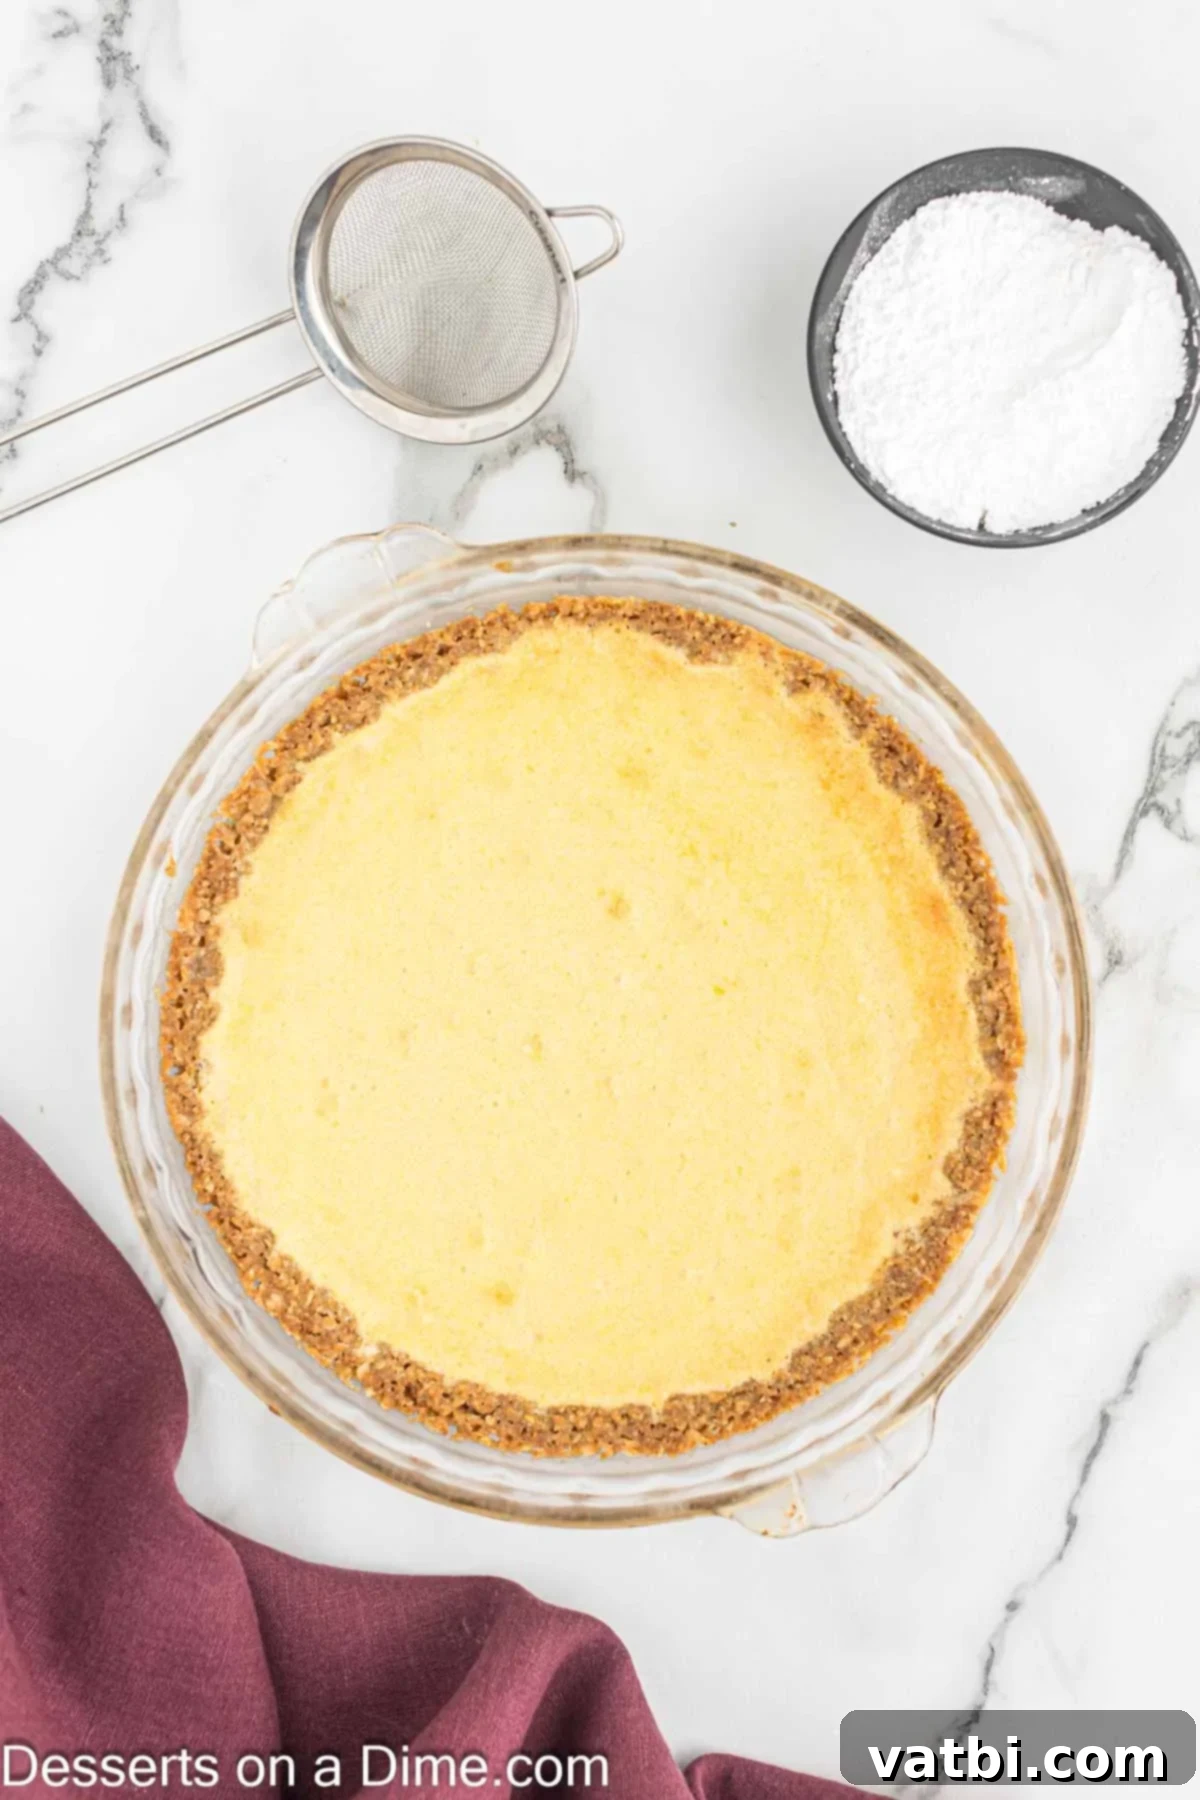
- Step 18 – Continue baking until set. Once the oven has reached 325 degrees F, close the oven door completely and continue baking the pies for an additional 5-10 minutes. The pies are ready when the outside edges appear set and firm, but the very center still has a slight jiggle. This indicates a perfectly cooked, gooey filling.
- Step 19 – Cool and freeze for optimal texture. Remove the pies from the oven and carefully transfer them to a wire rack. Allow them to cool completely to room temperature. This step is essential for the structure. Once cooled, move the pies to the freezer and freeze them for at least 3 hours, or preferably overnight. Freezing is a critical step for achieving the iconic dense and chewy texture of Crack Pie.
- Step 20 – Refrigerate before serving. About 1 hour before you plan to serve, transfer the frozen pies from the freezer to the refrigerator. This allows the pie to defrost slightly, making it easier to slice and enhancing its delightful, rich texture.
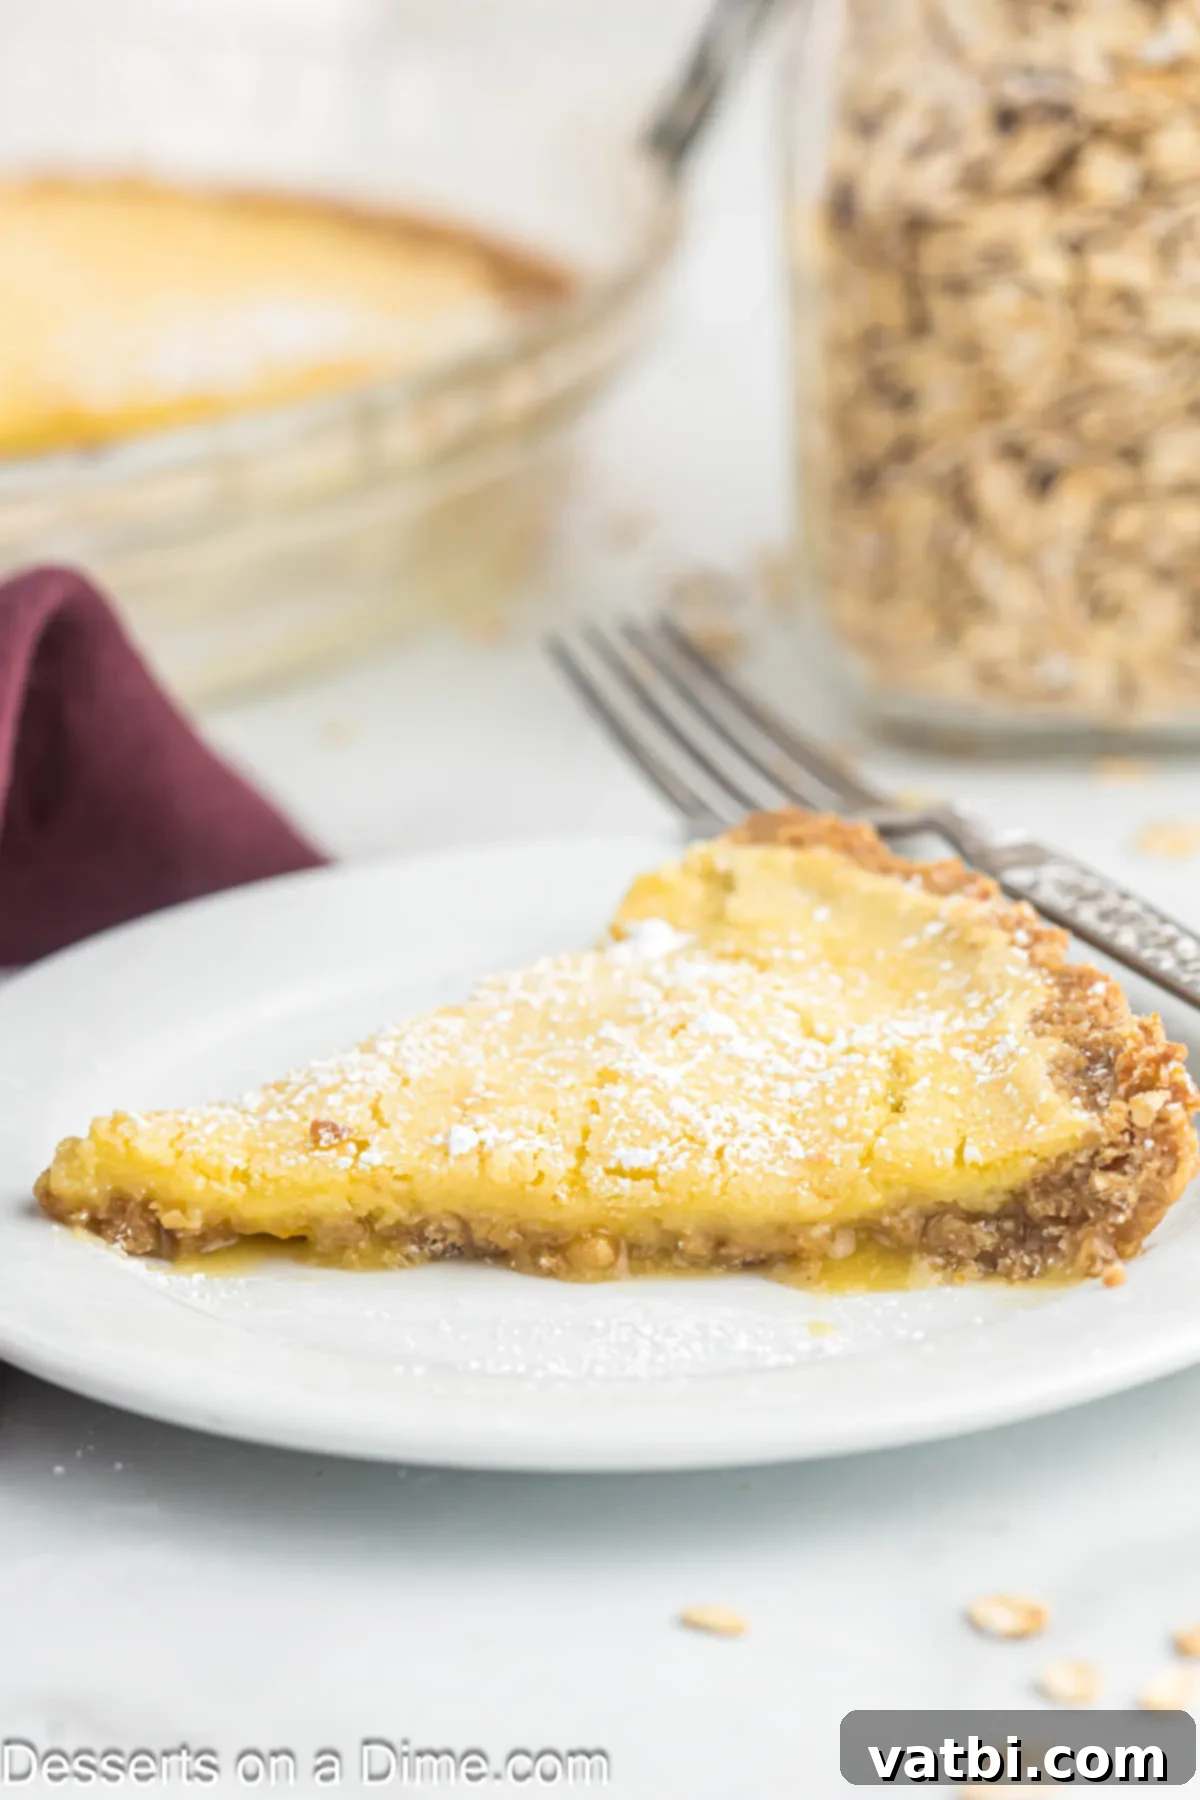
- Step 21 – Garnish and enjoy! Just before serving, generously dust the top of each pie with confectioner’s sugar. This adds a beautiful visual appeal and a final touch of sweetness. Slice into wedges and savor every decadent bite of your homemade Crack Pie!
Recipe Tips
To ensure your Crack Pie turns out perfectly every time, keep these essential tips in mind. They are key to achieving the signature texture and flavor that makes this dessert so beloved.
- Egg Yolks Are Essential – This recipe specifically calls for large egg yolks only. It is crucial to separate the yolks from the egg whites with care, ensuring absolutely no egg whites make it into the filling mixture. The yolks provide the rich flavor, deep yellow color, and contribute significantly to the dense, custardy, and famously gooey texture of the pie. Using egg whites would result in a much lighter, more airy, and less decadent filling, straying from the traditional Crack Pie experience.
- Freezing the Pie is Non-Negotiable – Do not, under any circumstances, skip the freezing step! Freezing the pie for at least 3 hours (or ideally overnight) is absolutely necessary to develop the unique texture and intense flavor that defines this traditional Crack Pie. The chilling process allows the filling to fully set into its dense, chewy, and slightly sticky consistency, which is a hallmark of the recipe. It also enhances the overall richness and allows the flavors to meld beautifully. Without proper freezing, the pie will not achieve its intended form and taste.
- Use a 10-Inch Pie Plate – For the best baking results and to ensure the pie cooks completely and evenly, we recommend using a 10-inch pie tin or a glass pie plate. The size of the pie plate affects the thickness of both the crust and the filling. A 10-inch plate provides the ideal surface area and depth, allowing the crust to crisp up appropriately and the filling to achieve its perfect set without being too thin or too thick. Using a different size might alter baking times and could compromise the final texture.
Topping Ideas
Crack Pie is incredibly rich and satisfying on its own, so it doesn’t typically require a multitude of additional toppings. However, a few simple additions can elevate the experience and provide a delightful contrast in texture or flavor.
- Powdered Sugar: A classic and essential topping. A generous dusting of confectioner’s sugar adds a beautiful snowy finish and a delicate touch of extra sweetness that perfectly complements the pie’s intense flavor. It’s the traditional way to serve Crack Pie and often all you need.
- Vanilla Ice Cream: For those who love a warm-and-cold dessert pairing, a scoop of good quality vanilla ice cream is a fantastic choice. The cool, creamy texture and subtle sweetness of the vanilla provide a lovely counterpoint to the pie’s warm, gooey, and rich character.
Because this pie is very rich and decadent, it truly does not need a lot of heavy or overly sweet added toppings. The simplicity allows the complex flavors of the pie itself to shine through.
Frequently Asked Questions
Once your Crack Pie has fully cooled, it’s important to store it properly to maintain its freshness and iconic texture. Cover the pie tightly with plastic wrap or aluminum foil and place it in the refrigerator. Stored this way, it will keep beautifully for up to 5 days. For the best experience, allow it to sit at room temperature for about 15-20 minutes before serving, as this enhances its gooey texture.
Absolutely, Crack Pie freezes exceptionally well! In fact, the recipe specifically calls for freezing as a crucial step to achieve its signature texture. You can freeze this pie for up to 3 months. To freeze, ensure the pie is completely cooled to room temperature, then wrap it tightly in several layers of plastic wrap and then aluminum foil to prevent freezer burn. When you’re ready to indulge, simply transfer the frozen pie to the refrigerator and allow it to thaw overnight. Dust with fresh confectioner’s sugar before serving for the best presentation.
Yes, due to its rich, custard-like filling which contains dairy (heavy cream and dry milk powder) and eggs, Crack Pie absolutely needs to be kept refrigerated after its initial freezing and thawing. These ingredients are perishable and require cold storage to remain safe to eat and maintain the pie’s quality. Always store leftover slices or a whole pie in the fridge, covered, to ensure freshness and food safety.
More Easy Pie Recipes
If you loved making this Crack Pie, you’re in for a treat! We have a wide array of other easy and delicious pie recipes that are perfect for any occasion. Explore these fantastic options to expand your baking repertoire:
- Sprite Pie Recipe: A refreshing and surprisingly simple pie that’s light and tangy.
- Easy Chocolate Pecan Pie Recipe: A classic southern dessert elevated with rich chocolate, perfect for holiday gatherings.
- Arkansas Possum Pie Recipe: A fun and flavorful layered pie with cream cheese, chocolate pudding, and whipped cream.
- No Bake Salted Caramel Pie: For when you need a decadent dessert without turning on the oven, this sweet and salty pie is a winner.
- Strawberry Jello Pie Recipe: A vibrant, fruity, and light pie that’s a perfect summer treat.
- Pecan Pie: The traditional, beloved dessert that’s rich in nuts and a gooey caramel-like filling.
We absolutely love hearing from you and seeing your culinary creations! If you make this Crack Pie Recipe, please don’t hesitate to leave us a comment below or share a star review. Your feedback helps our community of bakers and encourages us to keep sharing delicious recipes!
Pin
Crack Pie Recipe
Ingredients
FOR THE OAT COOKIE:
- 1/2 cup Unsalted Butter
- 1/3 cup Brown Sugar
- 3 Tbsp Sugar
- 1 Large Egg Yolk
- 1/2 cup All Purpose Flour
- 1 cup Old-Fashioned Rolled Oats
- 1/4 tsp Salt
- 1/8 tsp Baking Powder
- 1/8 tsp Baking Soda
FOR THE CRUST:
- The Oat Cookie recipe above
- 1 Tbsp Brown Sugar
- 1/4 tsp Salt
- 1/4 cup Butter melted
FOR THE PIE FILLING:
- 1 1/2 cup Sugar
- 3/4 cup Brown Sugar
- 1/4 cup Dry Milk Powder
- 1/4 cup Corn Powder
- 1 1/2 tsp Salt
- 1 cup Unsalted Butter melted
- 3/4 cup Heavy Whipping Cream
- 1/2 tsp Vanilla Extract
- 8 Large Egg Yolks
FOR SERVING:
- ½ cup Confectioner’s Sugar
Instructions
FOR THE OAT COOKIE:
-
Preheat the oven to 350 degrees F (175 C) and line a baking sheet with parchment paper. This step is crucial for achieving an evenly baked cookie base.
-
In the bowl of a stand mixer, cream together the softened butter and sugars (light brown and granulated) until the mixture is light, fluffy, and well aerated. This ensures a tender cookie.
-
Scrape down the sides of the bowl to incorporate all ingredients, then add in the large egg yolk. Mix until it is thoroughly combined and smooth, adding richness to the dough.
-
Next, add all the dry ingredients: all-purpose flour, old-fashioned rolled oats, salt, baking powder, and baking soda.
-
Cream the mixture on low speed until everything is just combined and no dry spots remain, taking approximately 1 minute. Be careful not to overmix the dough.
-
Transfer the cookie dough onto the prepared baking sheet. Use a spatula to spread it out evenly to about 1/4 inch thick. Don’t worry if it doesn’t cover the entire pan as it will be crumbled later.
-
Bake the cookie for 15 minutes, or until the edges are nicely golden brown and set. The center may remain slightly soft.
-
Once baked, remove the cookie from the oven and let it cool completely on a wire rack. This is vital before proceeding to create the crust.
FOR THE CRUST:
-
Ensure the oven is preheated to 350 degrees F (175 C) with the rack positioned in the center, ready for the next baking phase.
-
Take the completely cooled oat cookie, break it into pieces, and place it in a food processor along with the extra brown sugar and salt.
-
Pulse the ingredients until they form fine, even crumbs. If you do not have a food processor, you can easily crush the cookie by hand within a sturdy bag. Once crumbled, transfer the mixture to a mixing bowl.
-
Pour in the melted butter and knead it into the cookie crumbs with your hands. Continue until the mixture is moist enough to be pressed and can form into a cohesive ball. If it’s too dry, add more melted butter 1 tablespoon at a time until it reaches the correct consistency.
-
Divide this prepared oat cookie crust mixture evenly between two 10-inch pie tins.
-
Using your fingers or the bottom of a glass, firmly press the cookie dough crust into the bottom of each pie tin.
-
Make sure to extend the crust up the sides of the pie tins, creating a neat and even base for the filling.
-
Finally, place the pie crusts on baking sheets. This makes them easier to transfer to and from the oven and provides an extra layer of protection during baking.
FOR THE FILLING:
-
In the large bowl of a stand mixer fitted with a paddle attachment, combine the granulated sugar, brown sugar, dry milk powder, corn powder, and salt. Mix these dry ingredients on low speed until they are thoroughly combined.
-
Gradually add the melted butter to the dry mixture. Continue to mix for 2-3 minutes until all the dry ingredients are moistened and incorporated, forming a coarse, damp mixture.
-
Next, pour in the heavy whipping cream and vanilla extract.
-
Mix on low speed until the cream and vanilla are just combined with the other ingredients. Scrape down the sides of the bowl to ensure a uniform mixture. Then, add all eight egg yolks.
-
Mix the egg yolks into the filling on low speed until they are just combined and the filling is a consistent pale yellow color. Be very careful not to overmix once the yolks are added, as this can affect the pie’s delicate texture.
-
Evenly divide the prepared filling between the two pie crusts, filling each approximately 2/3 of the way full. Bake the pies on the center oven rack for 15 minutes, until the tops are golden brown but still have a distinct jiggle in the center.
-
After the initial baking, open the oven door slightly and reduce the oven temperature to 325 degrees F (160 C).
-
Allow the oven to slowly adjust to this new, lower temperature. During this transition, leave the oven door ajar and the pies inside. This controlled cooling is important for the pie’s texture.
-
Once the oven temperature has stabilized at 325 degrees F, close the door and continue to cook the pies for an additional 5-10 minutes. The pies are done when the outer edges are set and firm, but the very center still retains a slight jiggle, indicating a perfectly gooey interior.
-
Carefully remove the baked pies from the oven and transfer them to a wire rack. Allow them to cool completely to room temperature. This gradual cooling is essential before chilling.
-
Once cooled, move the pies to the freezer and freeze them for a minimum of 3 hours, or ideally overnight. This crucial step is what gives Crack Pie its distinctive dense, chewy, and truly irresistible texture.
-
Approximately 1 hour before you intend to serve the pie, transfer it from the freezer to the refrigerator. This allows it to defrost slightly, making it easier to slice and enhancing the texture for eating.
-
Right before serving, generously dust the top of the pie with confectioner’s sugar for a beautiful presentation and a final touch of sweetness. Slice and enjoy your homemade Crack Pie!
Recipe Notes
*Freezing the pie is needed to get the texture and flavor for this traditional crack pie. This step is absolutely critical and should not be skipped. Freezing sets the filling to its perfect dense and chewy consistency.
*This recipe is best when made in a 10-inch pie tin or a glass pie plate. Using a plate of this specific size ensures that both the crust and the filling bake and set evenly to perfection.
Nutrition Facts
Pin This Now to Remember It Later
Pin Recipe
