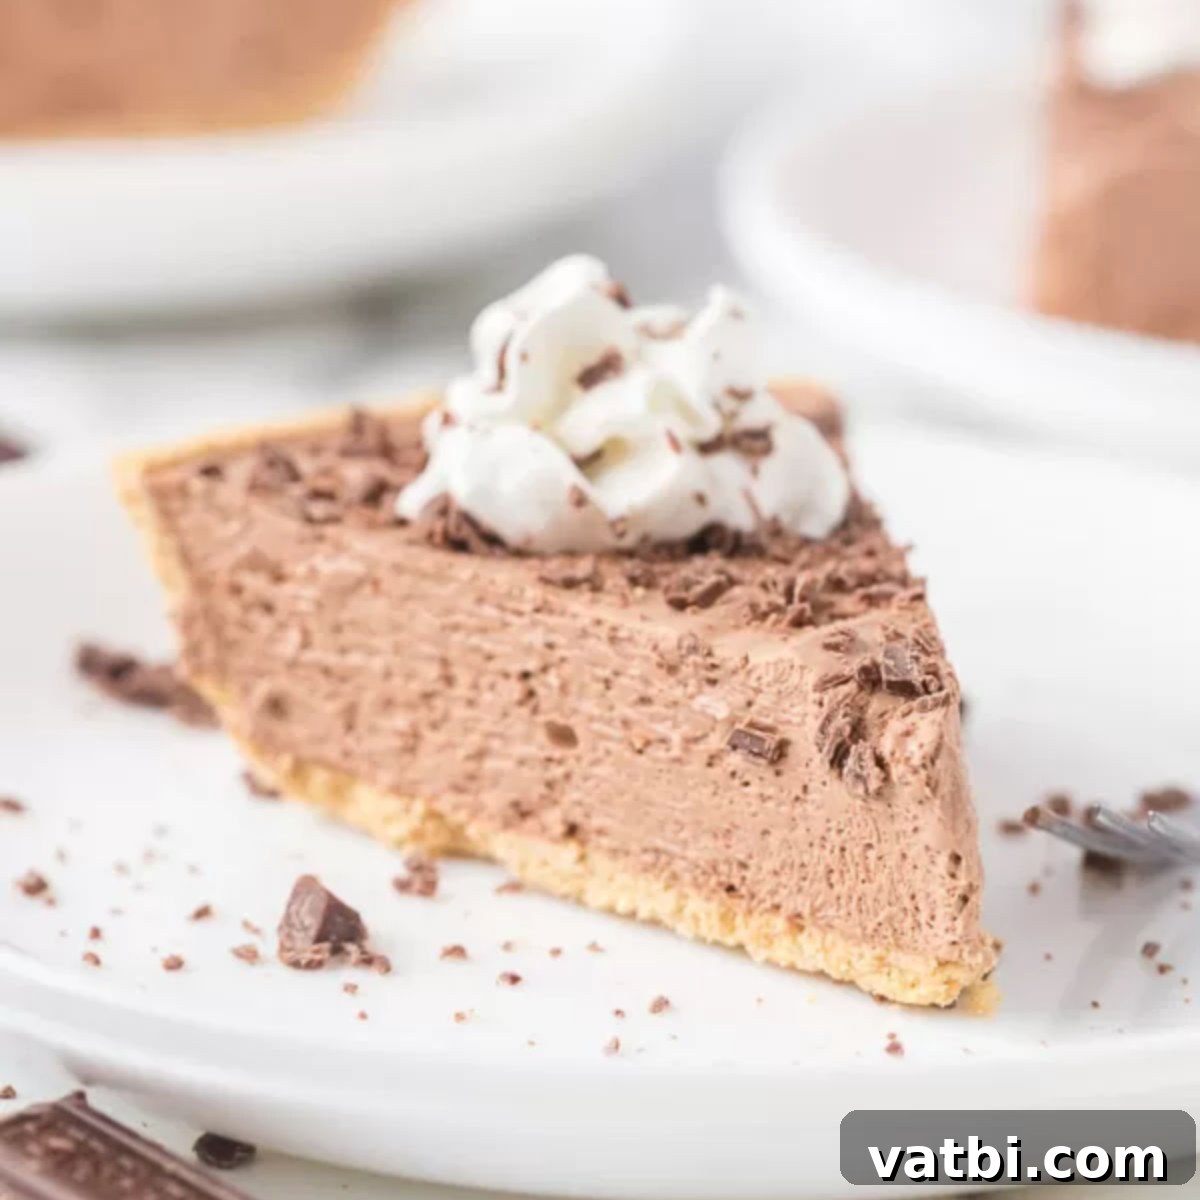
The Ultimate Easy No Bake Hershey Pie: Decadent Chocolate Perfection with Just 3 Ingredients!
Are you searching for an incredibly simple yet unbelievably delicious dessert that requires minimal effort and no oven time? Look no further than this **No Bake Hershey Pie**! This isn’t just a recipe; it’s a revelation for anyone who loves rich, creamy chocolate without the fuss. With just three essential ingredients, you can create a light, fluffy, and utterly decadent chocolate pie that will impress everyone.
Perfect for busy weeknights, last-minute gatherings, or simply satisfying a deep chocolate craving, this pie comes together in mere minutes. Its velvety texture and intense Hershey’s chocolate flavor make it a true crowd-pleaser. Forget complicated baking steps; this easy no-bake pie promises an amazing dessert experience with unparalleled convenience. Get ready to indulge in pure chocolate bliss!
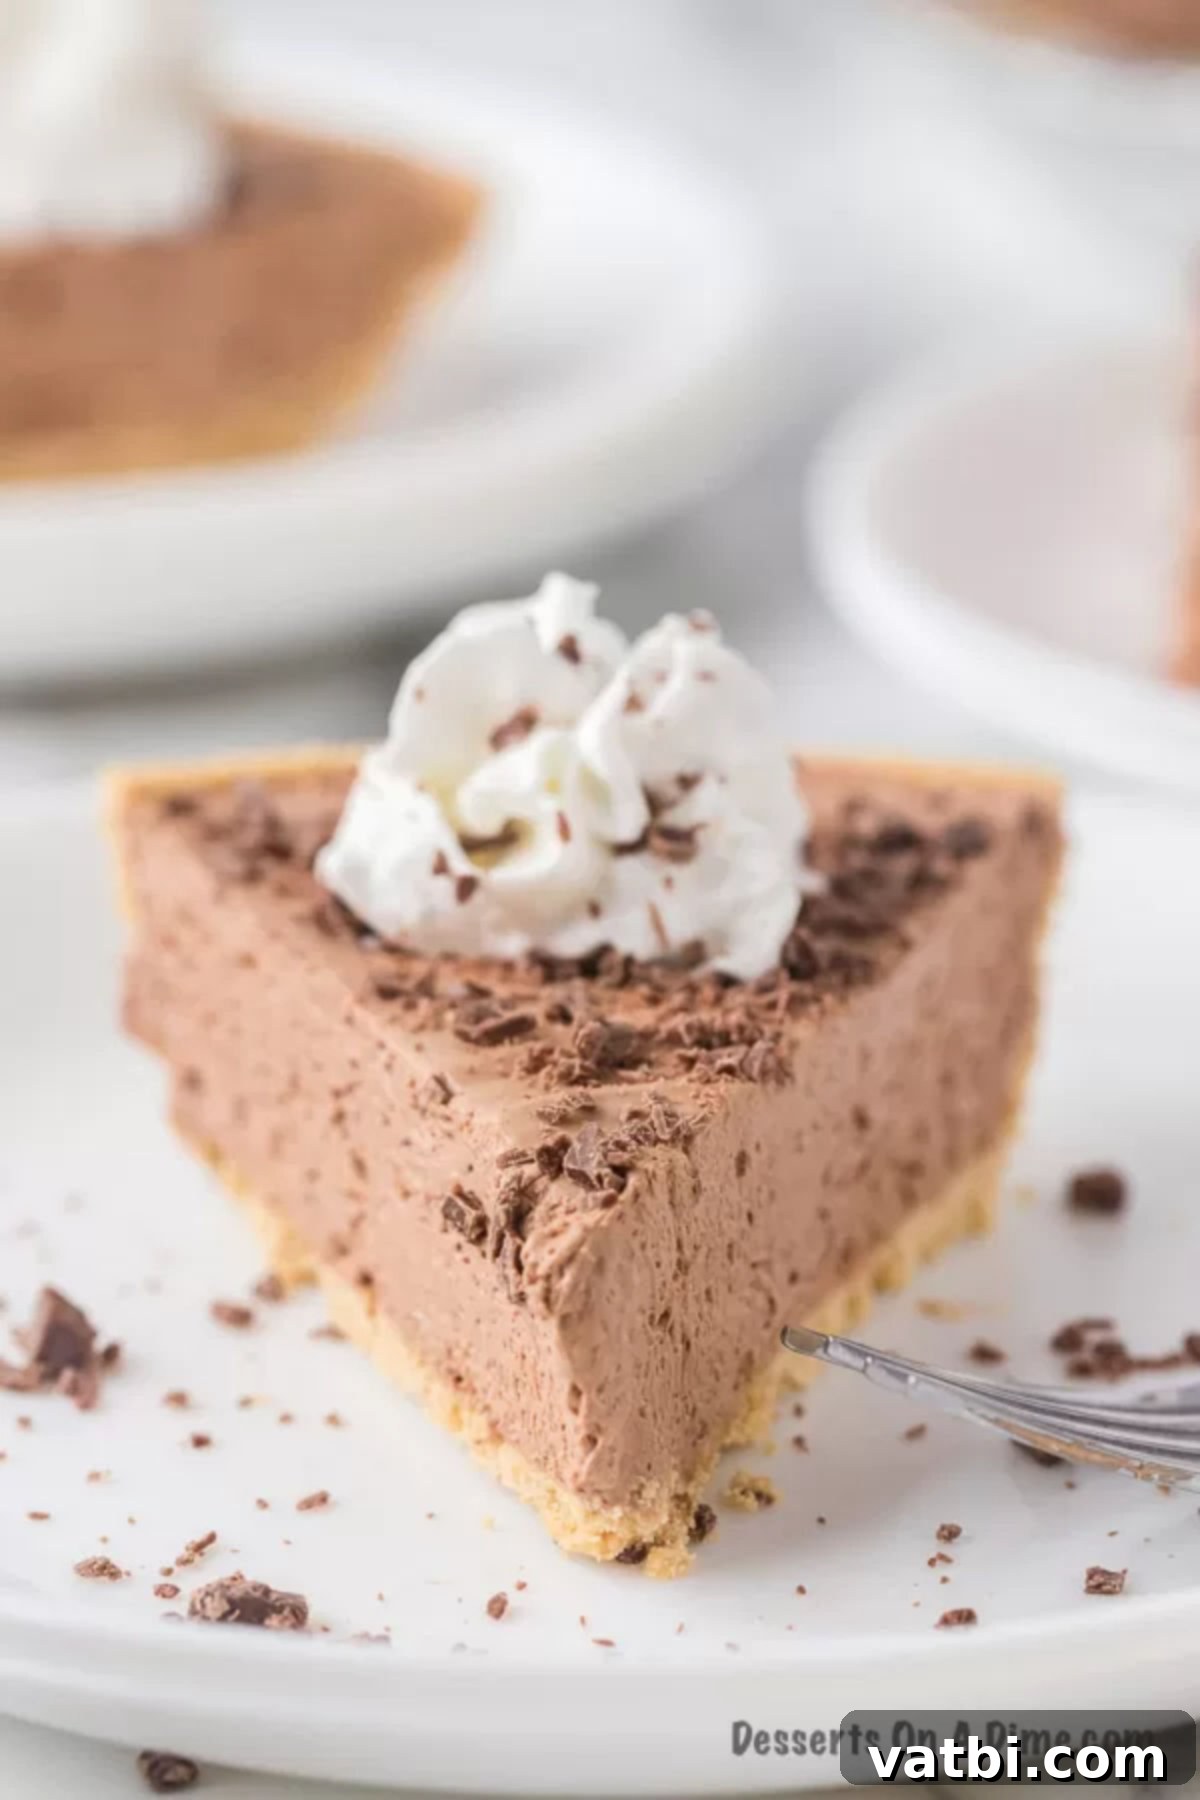
This effortless **No Bake Hershey Pie recipe** truly lives up to its name, requiring only three easy-to-find ingredients that are readily available at any grocery store. The next time you need a dessert that’s both simple and sensationally delicious, this Hershey’s Chocolate Pie is your answer. It’s the ultimate dream dessert for any chocolate lover, combining convenience with an explosion of rich flavor. If you adore chocolate and crave a dessert that’s quick to prepare, this is the perfect no-bake treat for you.
Looking for more easy pie recipes? You might also enjoy our delightful Chocolate Mousse Pie Recipe and our delightful No Bake Oreo Pie. For an even wider array of no-bake treats, consider whipping up a batch of Rolo Pretzel Sandwiches or some chewy Peanut Butter Butterscotch Cornflake Cookies. These delicious options prove that you don’t always need an oven to create fantastic desserts!
What’s in this Post: Your Guide to No Bake Hershey Pie
- Why You’ll Love This No Bake Hershey Pie
- Choosing the Perfect Pie Crust
- The 3 Simple Ingredients You’ll Need
- Creative Substitution Ideas & Variations
- How to Make Hershey Pie: Step-by-Step Instructions
- Expert Recipe Tips for Success
- Can You Make This Pie Ahead of Time?
- Frequently Asked Questions (FAQs)
- More Irresistible Pie Recipes to Try
- No Bake Hershey Pie Recipe Card
Why You’ll Love This No Bake Hershey Pie
This No Bake Hershey Pie isn’t just easy; it’s a dessert that brings smiles and satisfaction with every bite. Here’s why it quickly becomes a favorite in any household:
- **Effortless Preparation:** Seriously, it’s just 3 ingredients and a few simple steps. No baking, no complicated techniques, and minimal cleanup means you can enjoy a gourmet-tasting dessert without the stress. It’s the ultimate stress-free dessert for any skill level.
- **Incredibly Delicious:** The iconic combination of classic Hershey’s milk chocolate and light, airy whipped topping creates a rich, creamy, and wonderfully balanced flavor profile. Each spoonful delivers pure chocolate bliss that’s both comforting and luxurious.
- **Perfectly Fluffy Texture:** Unlike denser baked pies, this no-bake version boasts a wonderfully light and airy texture that quite literally melts in your mouth. This makes it incredibly enjoyable, refreshing, and surprisingly not too heavy, even after a full meal.
- **Versatile for Any Occasion:** Whether it’s a casual weeknight family dinner, a bustling potluck, a special holiday gathering, or a relaxed summer barbecue, this pie fits right in. Its universal appeal makes it always a huge hit, and you can expect constant requests for the recipe!
- **Customizable Options:** As you’ll discover in our substitution ideas section, this pie serves as a fantastic base for various additions and flavor tweaks. This flexibility allows you to personalize it to your specific tastes, making it uniquely yours every time.
- **Kid-Friendly & Fun:** Its simple ingredients and straightforward process make it a fantastic recipe to involve younger helpers in the kitchen. Plus, kids absolutely adore the sweet, chocolatey goodness, making it a perfect treat for the whole family.
Choosing the Perfect Pie Crust for Your Hershey Pie
The foundation of any great pie is its crust, and for this No Bake Hershey Pie, you have excellent, easy-to-use options. In this particular recipe, we’ve opted for a classic **graham cracker pie crust**. Its slightly sweet, buttery flavor and delightful crumbly texture perfectly complement the rich and creamy chocolate filling. It’s a tried-and-true pairing that offers a comforting, familiar taste and never disappoints.
However, don’t feel limited! You can easily switch things up to suit your preferences, what you have on hand, or to add an exciting twist:
- **Oreo Pie Crust:** For an even more intense chocolate experience, an Oreo pie crust is an absolutely fantastic choice. The deep, dark chocolate cookies, especially when mixed with their creamy filling (or just the crushed cookies), create a delightful contrast with the smooth Hershey’s filling. You can find pre-made Oreo crusts in most grocery stores, offering ultimate convenience. Alternatively, you can easily make your own by crushing about 25 Oreo cookies and mixing them with 4-6 tablespoons of melted butter, then pressing the mixture firmly into a 9-inch pie dish.
- **Homemade Graham Cracker Crust:** While a store-bought crust offers supreme convenience, making your own homemade graham cracker crust allows for a fresher taste and customization. It’s surprisingly simple to prepare – typically just a blend of finely crushed graham crackers, a touch of granulated sugar, and melted butter. The effort is minimal, but the reward is a deliciously fresh, perfectly textured crust that truly elevates the pie.
- **Other Cookie Crumb Crusts:** Don’t hesitate to get creative! Consider a Nilla Wafer crust for a subtle vanilla undertone that pairs beautifully with chocolate, or even a shortbread cookie crust for a richer, more buttery base. The key to any cookie crumb crust is to ensure the cookies are finely crushed and mixed with just enough melted butter (usually about 1/2 cup for a standard 9-inch pie) to hold their shape once pressed into the pie plate and thoroughly chilled.
Whichever crust you choose, make sure it’s fully set and thoroughly chilled before adding the filling. This crucial step helps prevent the crust from becoming soggy and ensures the best structural integrity for your slices. A well-chosen and prepared crust truly elevates this simple no-bake pie to extraordinary levels of deliciousness.
The 3 Simple Ingredients You’ll Need for This Easy Pie
The true magic of this No Bake Hershey Pie lies in its incredibly short and sweet ingredient list. You likely have most of these pantry staples on hand already, or they’re just a quick trip to the grocery store away. These three components combine to create a surprisingly complex and satisfying chocolate dessert. Here’s a closer look at what you’ll need for this quick and easy recipe:
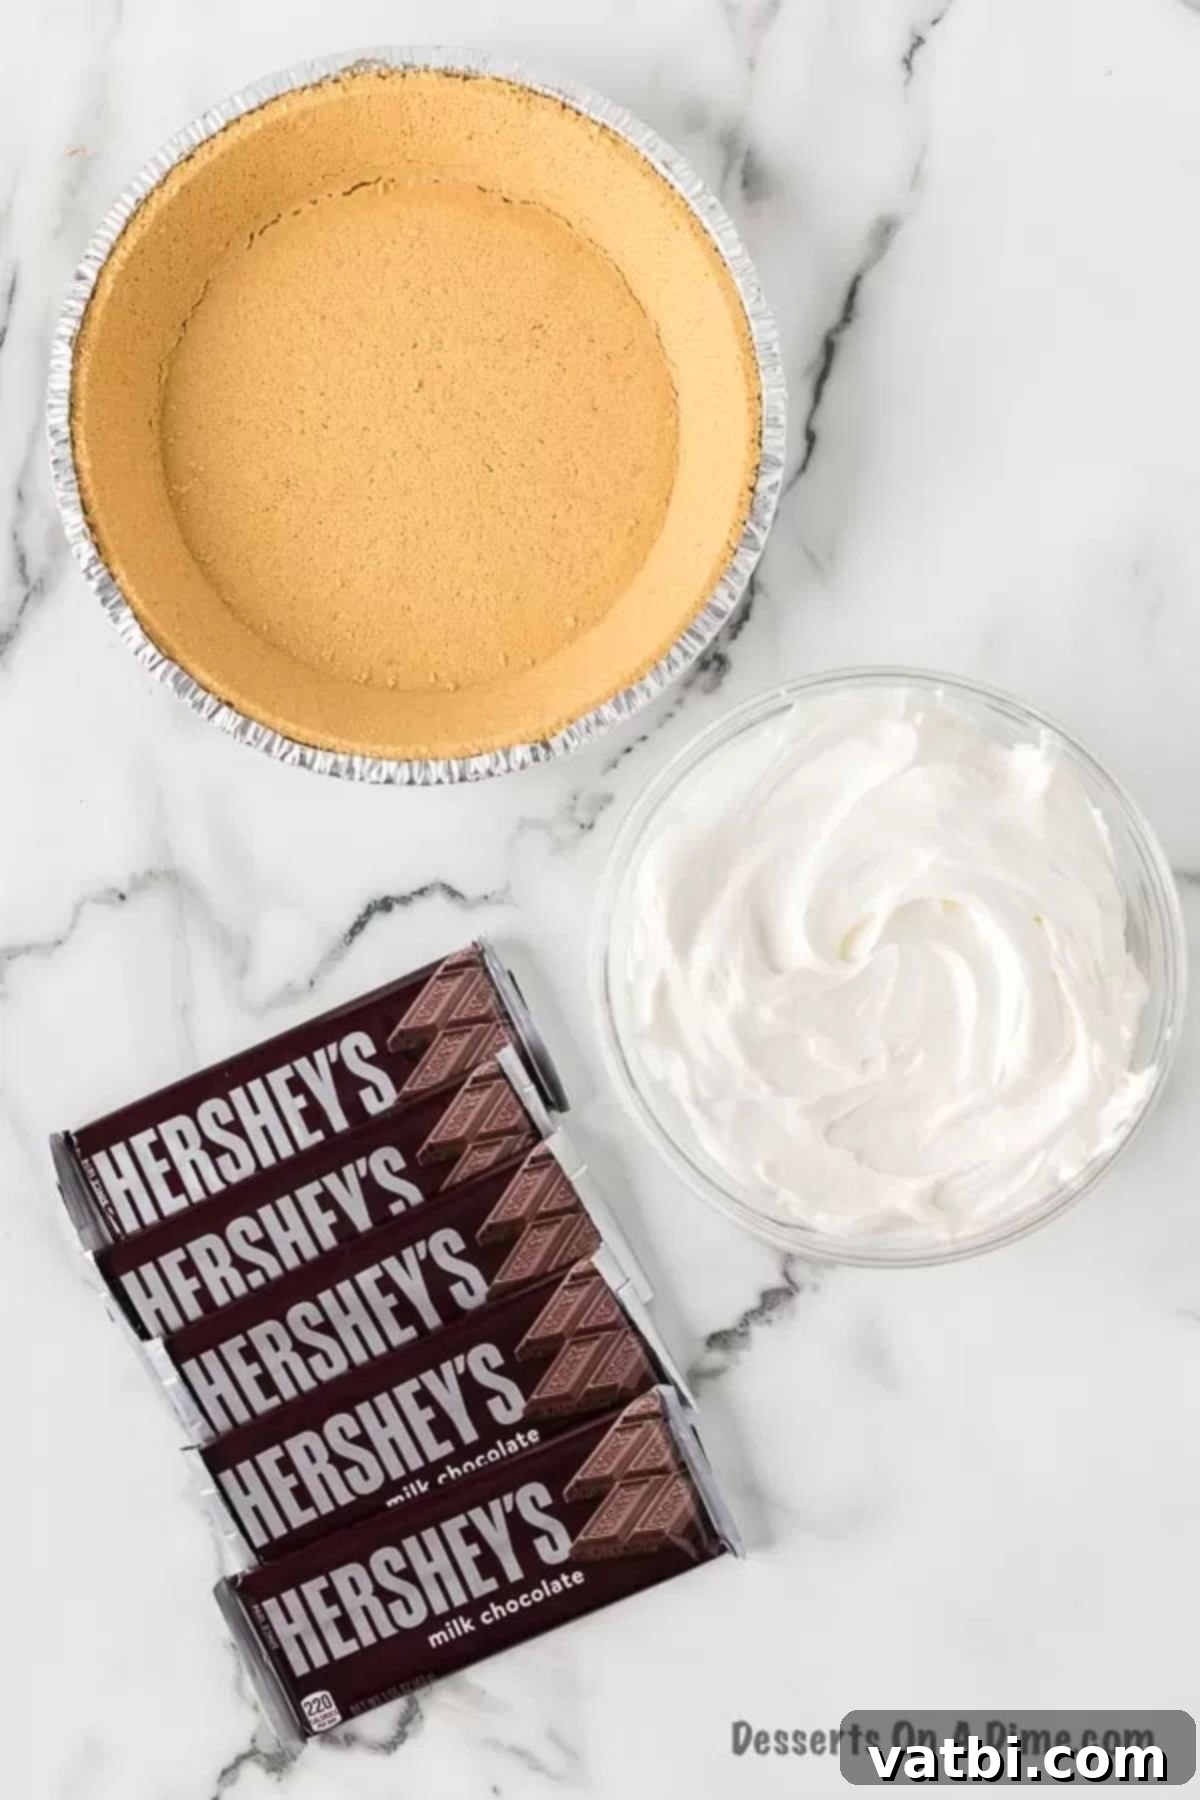
- Pre-made Graham Cracker Crust: This is your ultimate shortcut to convenience and a perfect golden-brown, slightly sweet base. A standard 6 oz. pre-made crust provides the ideal foundation for your pie, saving you valuable time and effort in the kitchen. No baking required, just unwrap and fill!
- Regular Size Hershey’s Chocolate Bars: The undisputed star of the show! We highly recommend using classic Hershey’s Milk Chocolate Bars for that authentic, creamy, and universally loved chocolate flavor profile. You’ll typically need about 5 standard-sized bars (approximately 1.55 oz each) to achieve the perfectly rich and smooth chocolate consistency we’re aiming for in the filling. Their melt quality is excellent for this no-bake application.
- Cool Whip, thawed: An 8 oz container of thawed whipped topping (such as Cool Whip) is the secret ingredient that gives this pie its signature light, airy, and wonderfully fluffy texture. It lightens the chocolate and creates a mousse-like consistency that is truly irresistible. Ensure it’s fully thawed in the refrigerator before use for optimal mixing – it should be soft and easily foldable.
And that’s genuinely it! With these three powerhouse ingredients, you’re just a few steps away from creating a spectacular chocolate dessert. For precise measurements and a detailed breakdown, please scroll to the bottom of the post for the complete recipe card, which is perfect for printing or saving.
Creative Substitution Ideas & Delicious Variations
While this No Bake Hershey Pie is absolutely perfect as is, it’s also wonderfully versatile and forgiving! Feel free to experiment with these substitution and variation ideas to tailor the pie to your specific tastes, dietary preferences, or simply to add a new twist to this classic dessert. Keep in mind that some substitutions might subtly alter the texture or flavor profile, but they will still result in a delicious treat.
- Pie Crust Personalization:
- Homemade Graham Cracker Crust: If you have a few extra minutes and prefer a fresh, buttery, and slightly crunchier texture, preparing your own homemade graham cracker crust is an excellent choice. It’s simple to make with finely crushed graham crackers, a touch of sugar, and melted butter, pressed into your pie plate.
- Chocolate Cookie Crust: For the ultimate chocolate lover, elevate the experience by swapping the graham cracker crust for a chocolate cookie crust. This can be made with crushed Oreo cookies (you can remove the cream filling or leave it in for extra richness, then mix with melted butter). This variation will significantly intensify the overall chocolate flavor, creating a deeper, darker base.
- Gluten-Free Options: Many grocery stores now offer fantastic gluten-free graham cracker crusts or other cookie crusts, making this dessert easily accessible and enjoyable for those with gluten sensitivities or dietary restrictions.
- Alternative Chocolate Choices:
- Chocolate Chips: Instead of traditional Hershey’s bars, you can certainly use good quality chocolate chips. Approximately 1.5 cups of milk chocolate or semi-sweet chocolate chips work best. Heat them gently in a microwave-safe bowl in short 30-second increments, stirring well after each interval, until they are fully melted and perfectly smooth. This offers a slightly different melt consistency but integrates beautifully into the pie.
- Chocolate Pudding: For a different, more pudding-like texture, you can incorporate prepared chocolate pudding into your pie. If you’re using an instant pudding mix, prepare it with slightly less milk than the box recommends to achieve a thicker, firmer consistency. Once prepared, gently fold it into the thawed Cool Whip. This will result in a denser, creamier filling rather than the light, airy mousse-like texture of the original recipe.
- Dark Chocolate: For those who prefer a less sweet, more intense chocolate flavor, consider using good quality dark chocolate bars or chips (around 60-70% cocoa content). Just be aware that dark chocolate melts differently and can sometimes be thicker or require more careful melting.
- Adding Softened Cream Cheese for Richness:
- For a richer, slightly tangy, and notably more dense filling, you can introduce a small amount of softened cream cheese. Whip about 4 oz (half a block) of softened full-fat cream cheese until it’s smooth and fluffy. Then, gently fold this into your melted chocolate before carefully incorporating the Cool Whip. This addition will create a creamier, almost cheesecake-like texture and a slightly less “light and fluffy” pie. It’s a fantastic variation for those who enjoy a subtle hint of tangy cream cheese flavor complementing their chocolate.
- Boost the Flavor Profile:
- A teaspoon of pure vanilla extract or a tiny pinch of sea salt can remarkably enhance the depth of the chocolate flavor. Add this to the melted chocolate before you begin folding in the Cool Whip.
- For a delightful mint chocolate pie, add a few drops of high-quality peppermint extract to the melted chocolate mixture.
- A tablespoon of espresso powder can deepen and intensify the chocolate flavor without adding a coffee taste.
How to Make Hershey Pie: Step-by-Step Instructions for Chocolate Perfection
Preparing this incredibly easy No Bake Hershey Pie is an absolute breeze! Follow these simple, straightforward steps, and you’ll have a delightful and decadent chocolate dessert chilling in your refrigerator in no time. Remember, the key to success with all no-bake desserts is a little bit of patience during the crucial chilling phase!
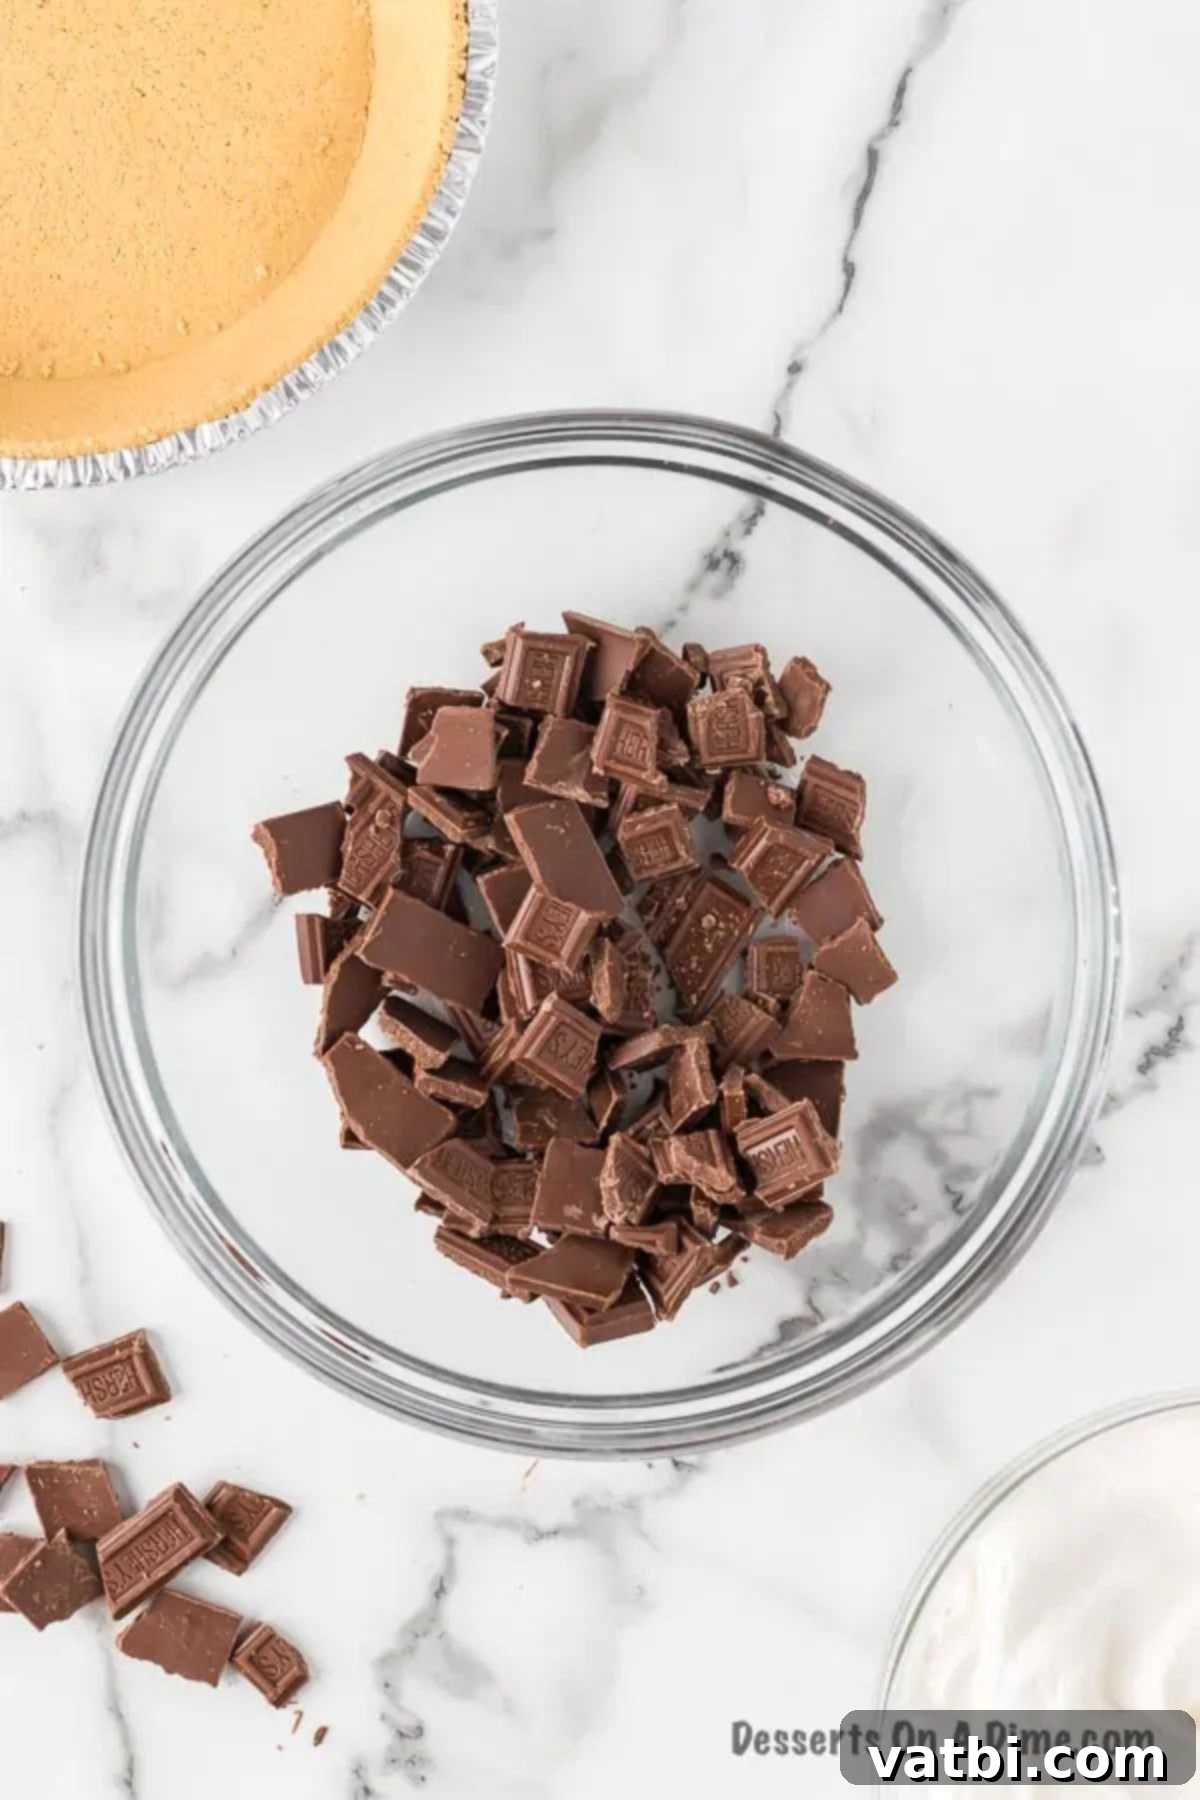
Step 1 – Prepare and Break Hershey Milk Chocolate Bars: Begin by unwrapping your regular-sized Hershey’s Milk Chocolate Bars. Break them into smaller, relatively uniform pieces and place them into a microwave-safe bowl. This ensures that the chocolate melts evenly and efficiently. Importantly, remember to set a few pieces aside – you’ll use these later to beautifully garnish the top of your finished pie, adding both visual appeal and an extra touch of delicious chocolate crunch.
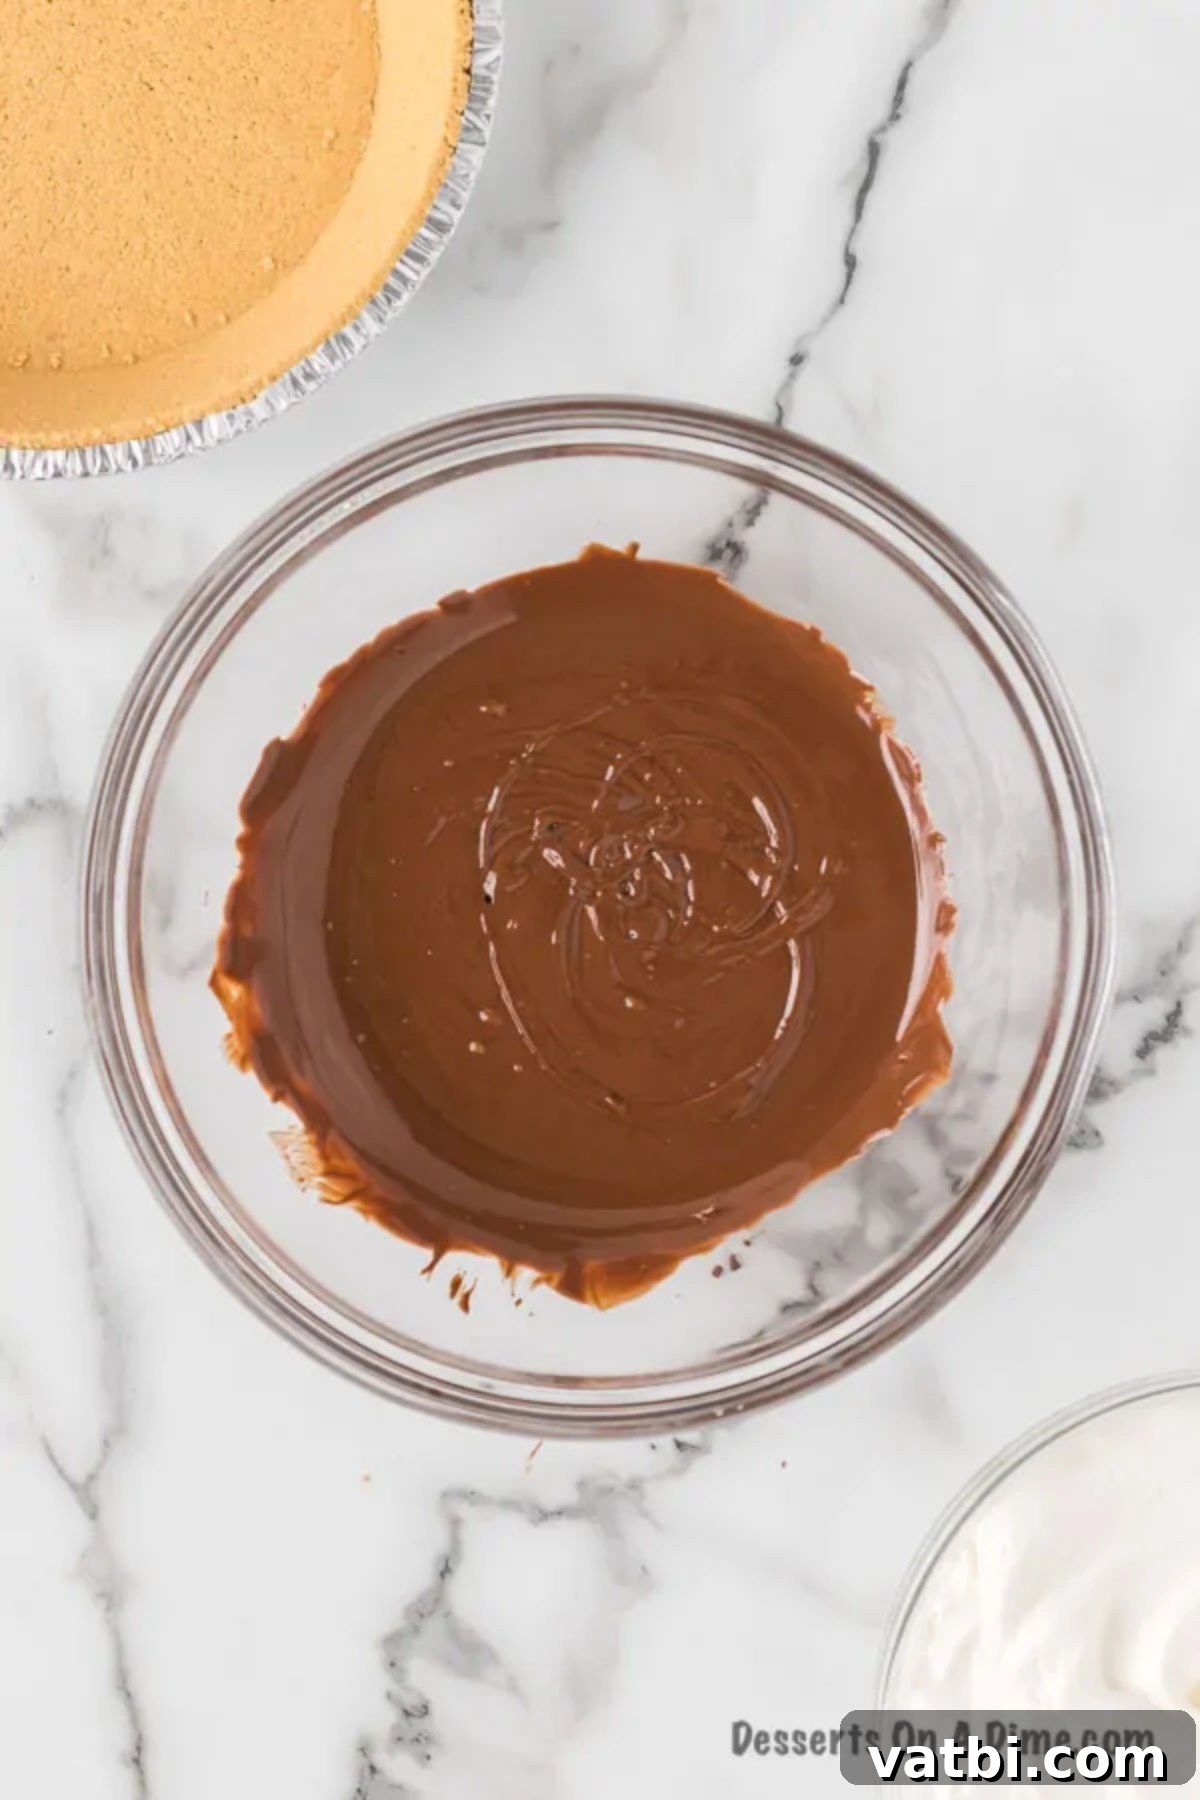
Step 2 – Melt the Chocolate Perfectly: Place the bowl containing the broken Hershey’s Bar pieces into the microwave. Melt the chocolate in short, controlled 30-second increments on medium power. This methodical approach is absolutely crucial to prevent the chocolate from burning, which can lead to a grainy texture and an unpleasant bitter taste. After each 30-second interval, remove the bowl and stir the chocolate thoroughly with a spatula. Continue this process until the chocolate is completely melted and beautifully smooth, without any lumps or unmelted pieces.
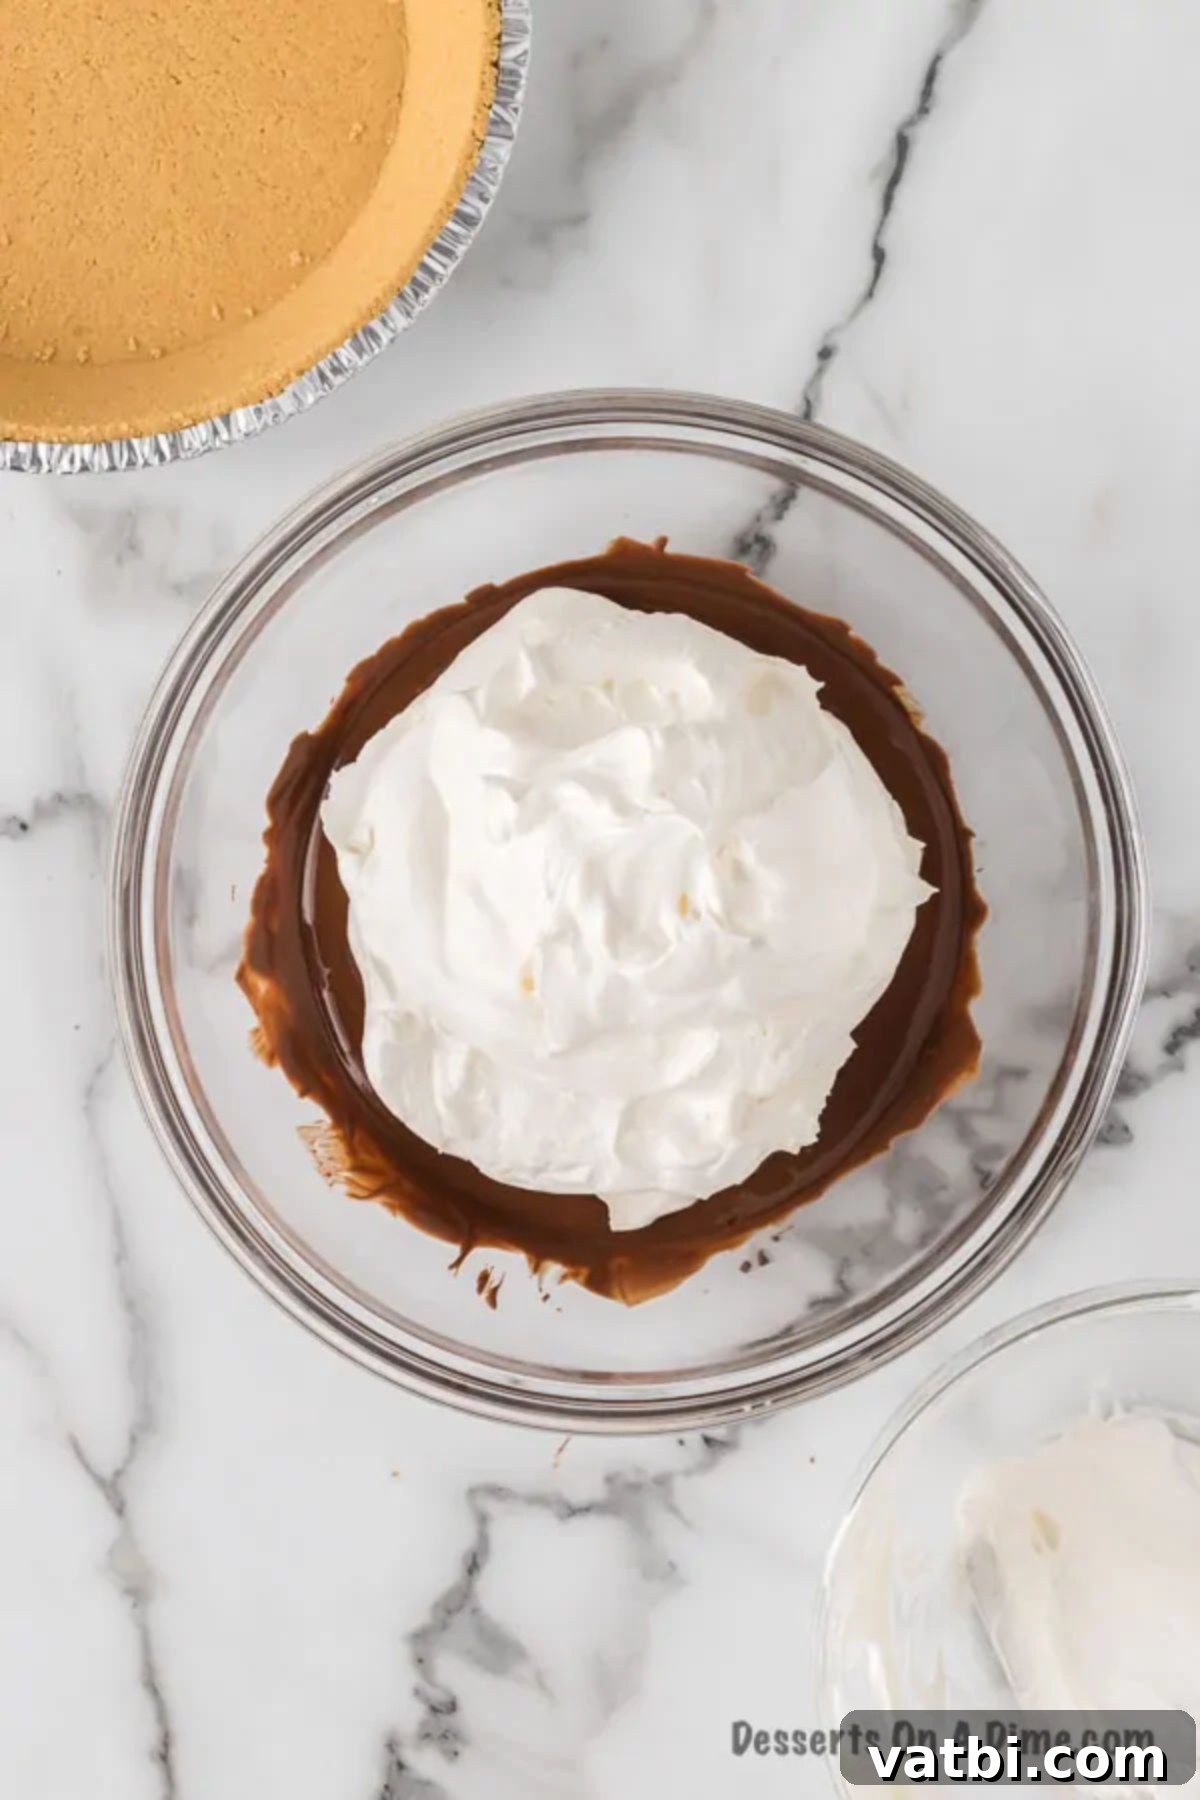
Step 3 – Gently Fold Cool Whip with Chocolate: Once your chocolate is smoothly melted and slightly cooled (it should still be liquid but not piping hot), it’s time to incorporate the thawed whipped topping (Cool Whip). Using a spatula, gently fold the Cool Whip into the melted chocolate. Use a light hand and an upward, circular motion to maintain the airy texture of the whipped topping. Continue folding until both ingredients are just well combined and no white streaks remain, creating a beautifully light, fluffy, and uniformly chocolate mixture. Overmixing can deflate the Cool Whip, so be gentle.
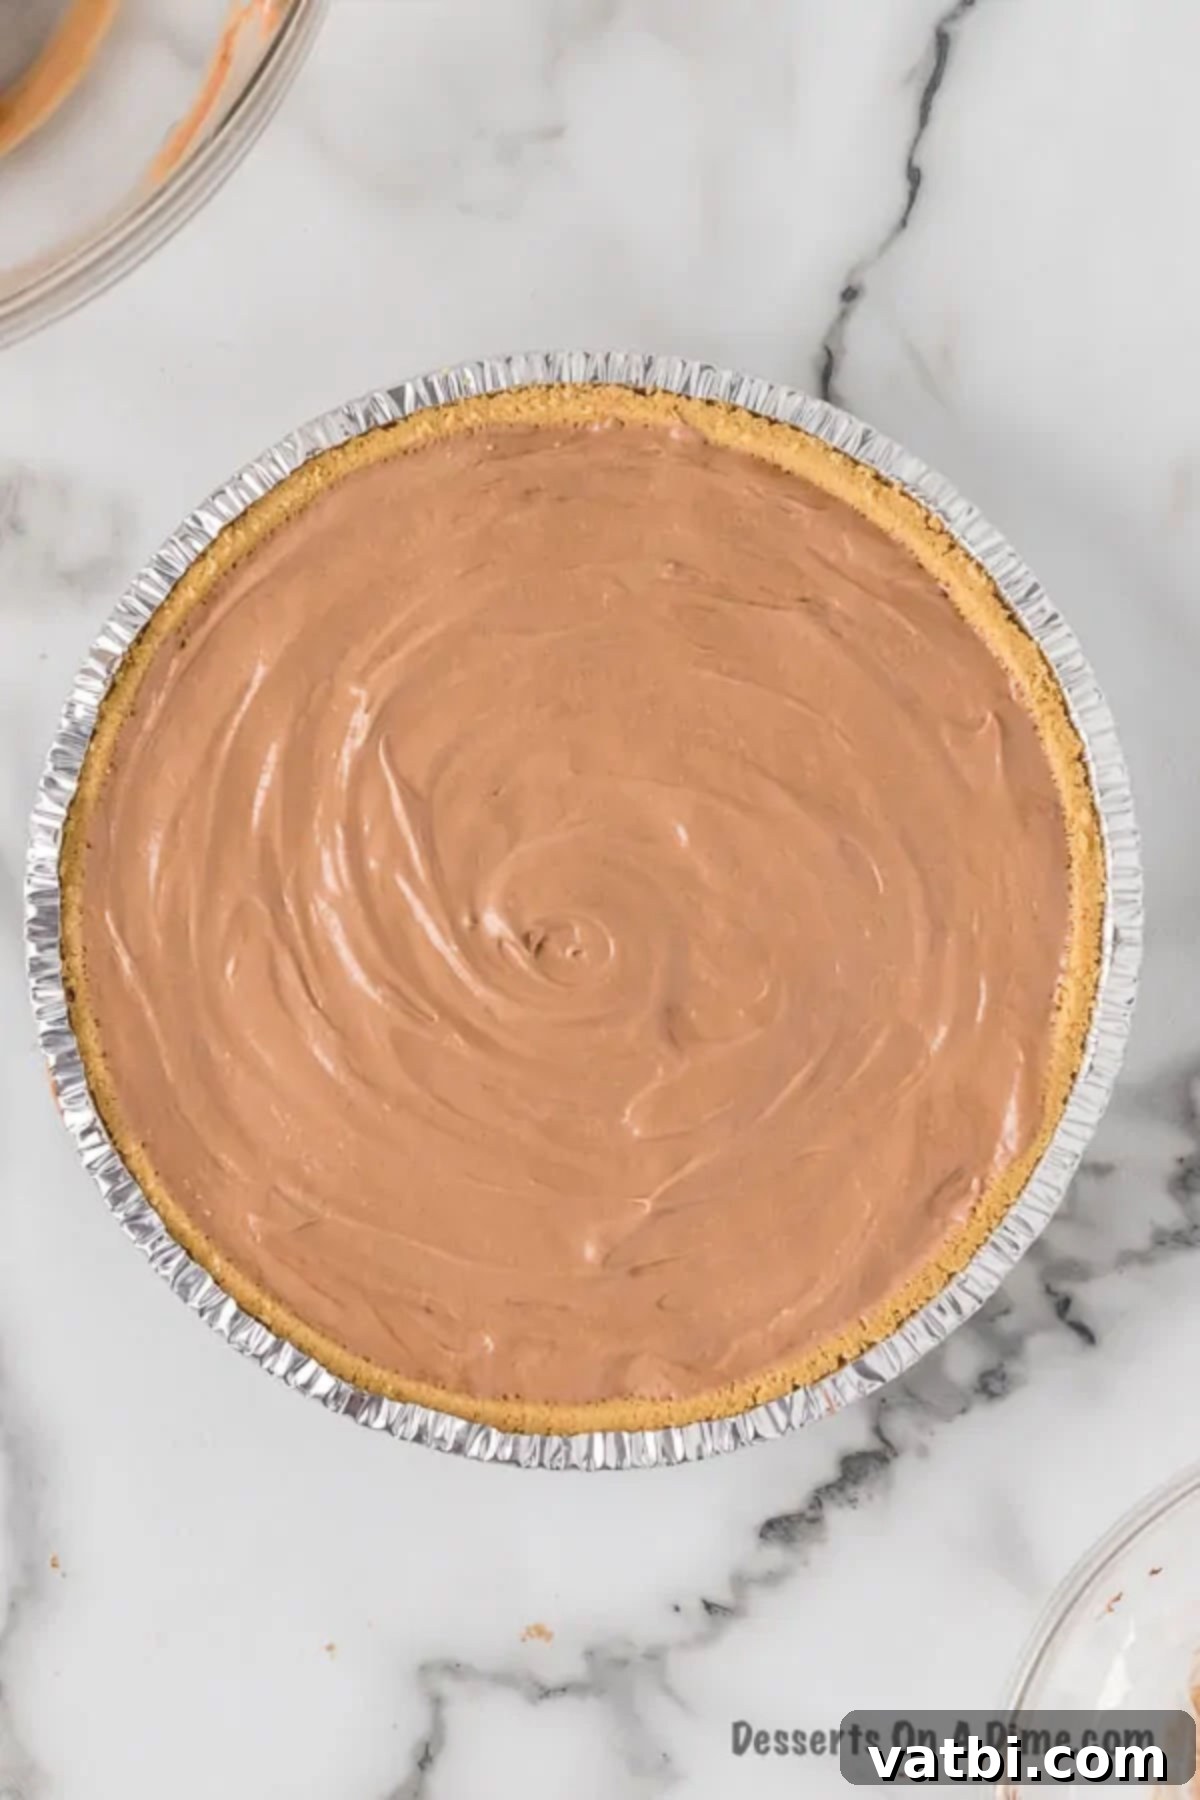
Step 4 – Fill the Prepared Pie Crust: Carefully spoon or pour the rich, chocolate-flavored pie filling into your pre-made graham cracker crust. Use your spatula to gently spread the mixture evenly across the crust, ensuring it fills right to the edges and creates a smooth, level top. This sets the stage for a beautiful presentation once chilled.
- Step 5 – Chill the Pie Thoroughly: This is arguably the most important step for a successful no-bake pie. Place the filled pie into the refrigerator and allow it to chill completely and undisturbed. While at least 4 hours of chilling is the minimum requirement for the pie to adequately set, chilling it overnight (for 8+ hours) is highly recommended for the absolute best texture, firmness, and flavor development. This extended chilling time allows the chocolate to fully firm up and all the flavors to meld beautifully, ensuring perfectly sliceable, decadent pie. Always keep the pie refrigerated until you are ready to serve.
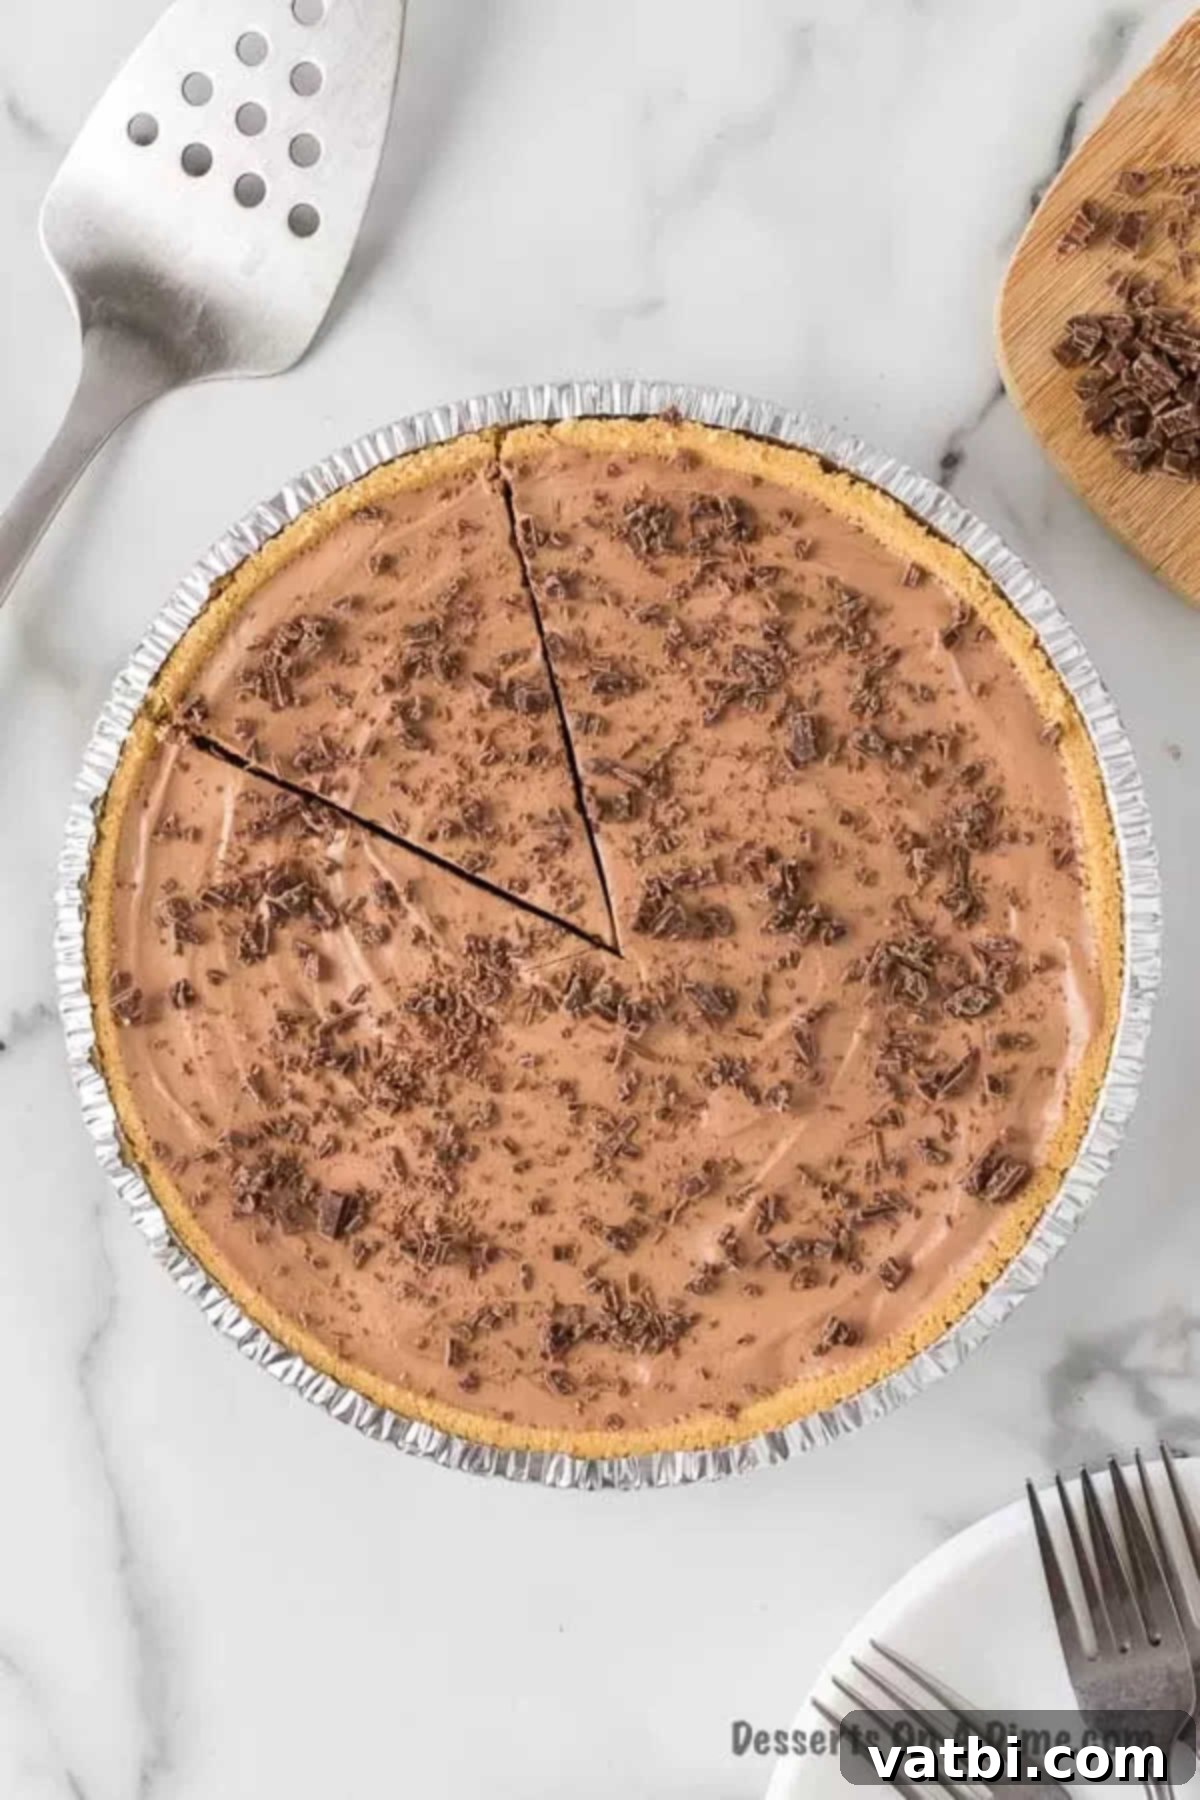
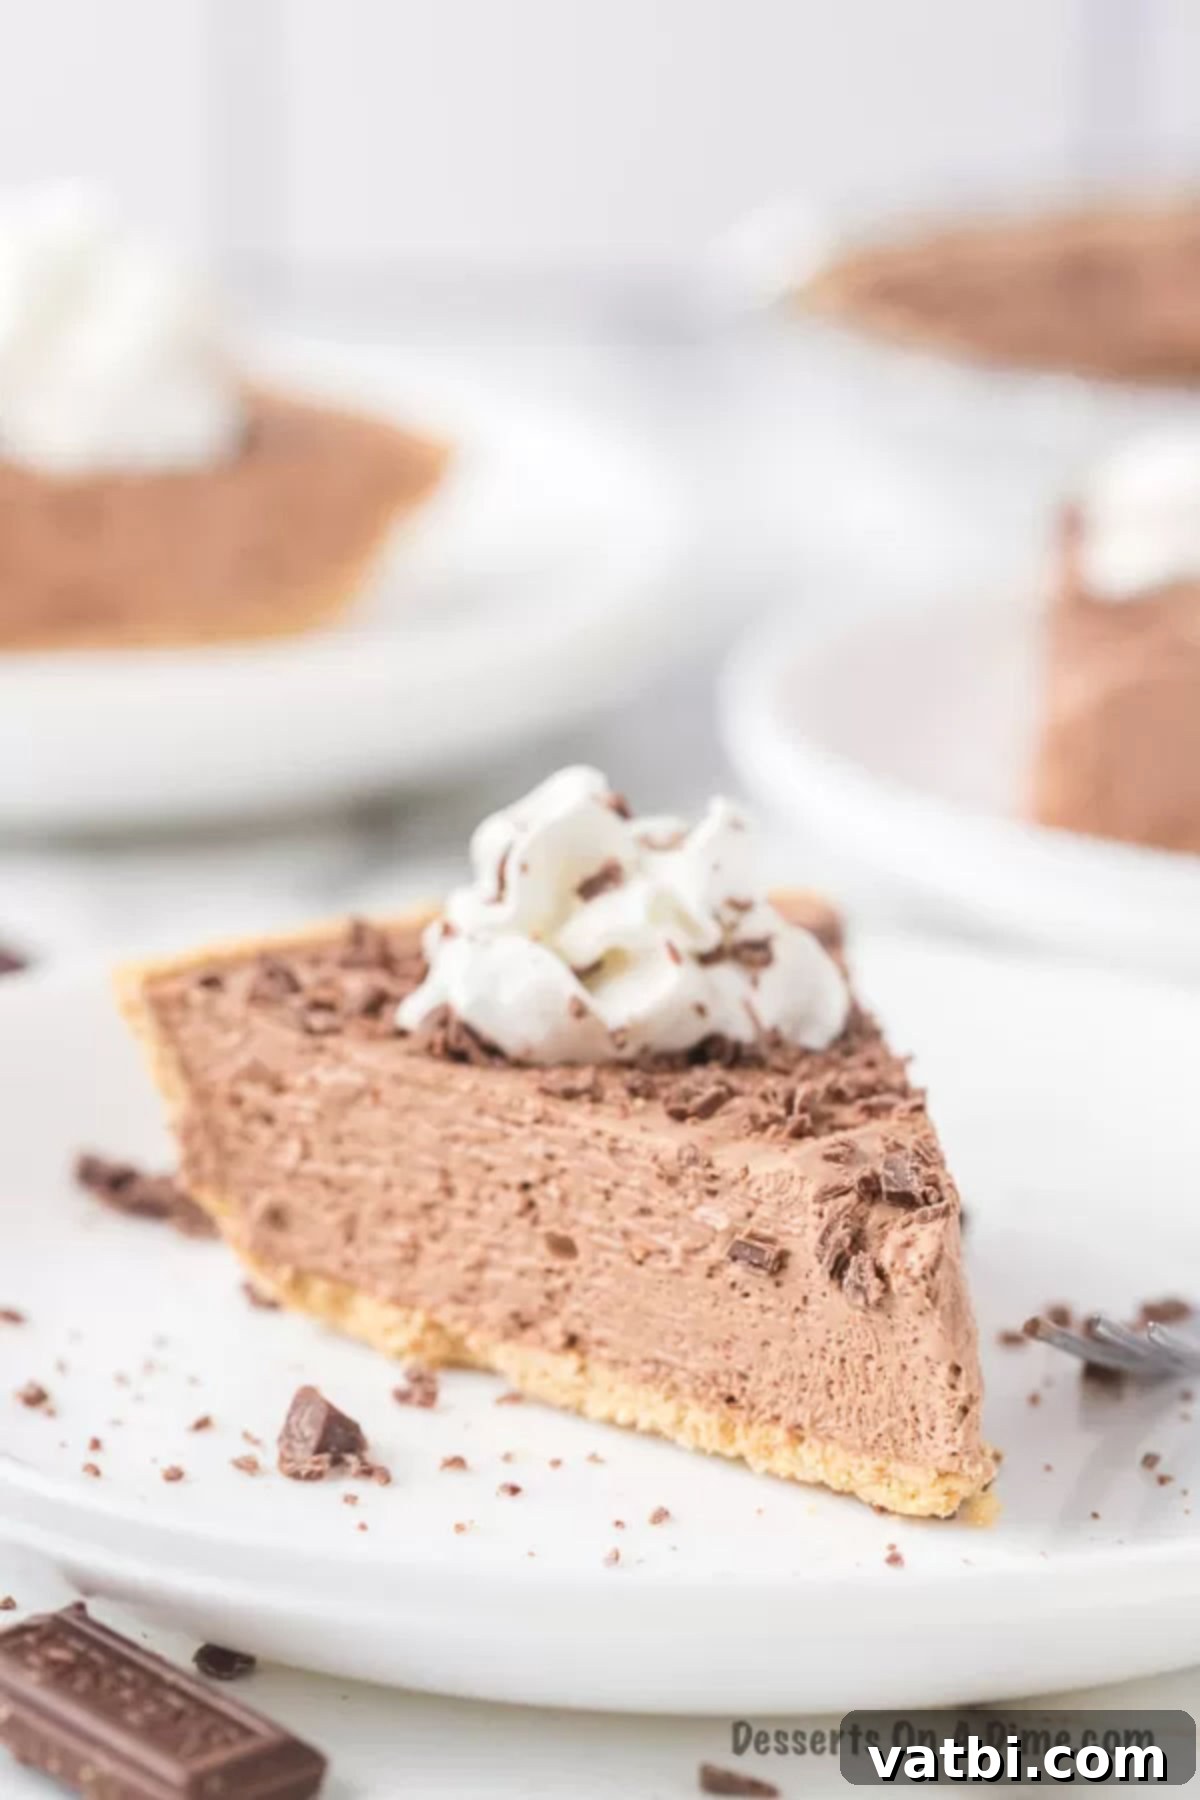
- Step 6 – Add Your Favorite Toppings Just Before Serving: Just before you’re ready to present and serve your magnificent pie, retrieve those few reserved Hershey’s bar pieces. You can either finely chop them into delicate shards or use a cheese grater to create elegant chocolate shavings. Sprinkle these generously and evenly over the entire surface of the pie. This not only adds a beautiful visual appeal, making your dessert look professionally made, but also provides an extra delightful burst of chocolate texture. Beyond the classic Hershey’s shavings, feel free to get creative! Other popular topping ideas include a decadent drizzle of warm hot fudge sauce, a playful sprinkle of mini marshmallows, a scattering of crunchy sliced almonds, or even some extra chocolate syrup.
- Step 7 – Serve and Enjoy Your Decadent Creation: Once thoroughly chilled and garnished to perfection, your No Bake Hershey Pie is officially ready to be sliced and served! For an extra touch of indulgence and a beautiful presentation, you can top each individual slice with a fresh dollop of whipped cream (either store-bought or homemade), a light dusting of powdered sugar, or even some festive chocolate sprinkles. This easy, yet incredibly decadent dessert is always a massive hit, so prepare for abundant compliments and eager requests for your secret recipe!
Expert Recipe Tips for No-Fail Hershey Pie
Achieving the perfect No Bake Hershey Pie is incredibly simple, but a few expert tips can elevate your dessert from great to absolutely outstanding. Pay attention to these details for a flawless and consistently delicious result every time you make it:
- Invest in a Pie Carrier: If you find yourself making this (or any) pie frequently, a good quality pie carrier is an absolute game-changer. It makes transporting your delicious creation to potlucks, parties, or picnics incredibly easy and mess-free, keeping your pie safe and intact. I particularly love the double-decker ones, as this pie is such a crowd-pleaser that you might just want to make two at once!
- Always Have Extra Whipped Cream on Hand: While the Cool Whip is a key ingredient incorporated into the pie filling, having an extra carton of whipped cream (either store-bought canned or homemade) available for garnishing is a wonderful and highly recommended touch. A fresh dollop on each individual slice just before serving adds an extra layer of creamy richness and makes for a beautiful, professional-looking presentation. Believe us, a little bit truly goes a long way in enhancing the dessert experience!
- Prepare Two Pies, Trust Us: This is not an exaggeration. This particular pie is consistently a massive hit wherever it goes, whether it’s a casual family dinner or a large potluck gathering. People simply can’t get enough of it. Save yourself the potential regret and the disappointment of empty plates – prepare two pies from the start! You’ll thank us later.
- Stick to Hershey’s Bars for Authentic Flavor: For that iconic, nostalgic, and perfectly balanced milk chocolate flavor that defines this pie, we highly recommend using genuine Hershey’s Milk Chocolate Bars. While other types of chocolate might technically work, Hershey’s delivers a specific creamy sweetness and a smooth melt consistency that is integral to this pie’s classic taste and signature light texture. Don’t compromise on the star ingredient for the most authentic experience!
- The Critical Importance of Chill Time: Do NOT skip or attempt to rush the chilling time for this recipe. It is absolutely essential for the pie to set properly, allowing the chocolate to firm up and all the flavors to fully meld. Refrigerate it for a minimum of 4 hours, but ideally, let it chill overnight (for 8 or more hours). This patience will be richly rewarded with a perfectly sliceable, firm yet creamy, and truly decadent pie. Always ensure the pie is kept thoroughly refrigerated until you are ready to serve it to maintain its perfect consistency.
- Master the Melting Technique: When melting the chocolate, always use short bursts (typically 30 seconds at a time) in the microwave, stirring thoroughly after each interval. This controlled approach prevents the chocolate from overheating, seizing, or burning, which can ruin its texture and flavor. The goal is a smooth, luscious, and pourable chocolate base for your filling.
- Practice Gentle Folding: When combining the melted chocolate with the thawed Cool Whip, use a gentle folding motion with a spatula. Avoid vigorous or aggressive stirring, as this can easily deflate the airy whipped topping and result in a denser, less light, and less fluffy pie. The aim is to just combine the ingredients while carefully preserving the lightness of the Cool Whip.
Can This No Bake Hershey Pie Be Made Ahead of Time?
Absolutely! This No Bake Hershey Pie is an excellent candidate for making ahead, which is undoubtedly one of its many convenient and appealing features. In fact, since the pie requires a significant chilling period before it can be served, it’s actually highly recommended and ideal to prepare it the night before you plan to enjoy or serve it.
How far in advance can you comfortably make it? You can confidently make this delicious pie 1 to 2 days in advance of when you plan to serve it. This timeframe allows for ample chilling and setting time, and you might even find that the flavors have a chance to meld and deepen beautifully, resulting in an even more satisfying dessert. The pie will generally hold its best texture and freshness for about 4 to 5 days when stored properly in the refrigerator.
For optimal freshness and to prevent the pie from absorbing any unwanted refrigerator odors, it is crucial to ensure the pie is always well-covered. If you’re using a pre-made crust, it often comes with a convenient plastic lid that works perfectly for storage. If not, cover the pie tightly with several layers of plastic wrap, ensuring that the plastic does not directly touch the surface of the pie filling. This helps to maintain its smooth, pristine appearance and prevent any surface dryness.
Frequently Asked Questions (FAQs) About No Bake Hershey Pie
Here are some of the most common questions about making, storing, and customizing your No Bake Hershey Pie, along with helpful answers to ensure your dessert is always a resounding success.
To keep your No Bake Hershey Pie fresh, delicious, and at its best, it’s essential to store any leftovers promptly in the refrigerator. We highly recommend covering the pie tightly with plastic wrap or aluminum foil. This prevents it from drying out, losing its creamy texture, or absorbing any unwanted odors from other foods in your fridge. If you used a pre-made pie crust that came with a plastic lid, that’s an excellent and convenient option for storage. Stored properly this way, the pie will maintain its quality and delightful flavor for up to 4-5 days. Always ensure it’s kept thoroughly chilled until you’re ready to serve another slice.
Yes, absolutely! This No Bake Hershey Pie freezes wonderfully, making it a fantastic option for meal prepping desserts, saving for a special occasion, or simply stashing away for a future chocolate craving! You can easily freeze it for up to 1 month. Here’s how to do it effectively:
- Initial Freeze (Flash Freeze): For the best results and to prevent the pie from getting squished, we recommend placing the uncovered pie (or lightly covered with plastic wrap, ensuring it doesn’t touch the filling’s surface) on a baking sheet. Place the baking sheet in the freezer for 1-2 hours, or until the pie is completely firm.
- Long-Term Storage: Once the pie is solid, remove it from the freezer. Wrap it completely and tightly in several layers of plastic wrap, followed by a sturdy layer of aluminum foil. This double layer of protection is crucial for preventing freezer burn and maintaining the pie’s quality. Alternatively, you can carefully transfer it to a large, airtight, freezer-safe container.
- Thawing Before Serving: When you’re ready to enjoy your frozen pie, transfer it to the refrigerator to thaw slowly overnight (approximately 8-12 hours). If you find yourself in a bit of a hurry, you can let it sit at room temperature for 1-2 hours to soften slightly, but always ensure it’s still nicely chilled through when serving for the best texture and enjoyment.
For this specific recipe, we highly recommend using an 8 oz container of original Cool Whip (or a similar brand of commercially available whipped topping). It is crucial to ensure it is fully thawed in the refrigerator before you begin the recipe. While homemade whipped cream can technically be used, Cool Whip offers a superior level of stability, which is incredibly beneficial for the setting and structural integrity of a no-bake pie. If you opt for homemade whipped cream, ensure it is whipped to stiff peaks, and be aware that the pie’s final texture might be slightly softer and could weep a little over time.
While we highly recommend classic Hershey’s Milk Chocolate Bars for their signature, nostalgic flavor and consistent smooth melt, you certainly can experiment with other brands of milk chocolate or even semi-sweet chocolate bars or chips. Just keep in mind that different chocolates have varying sugar content, fat compositions, and melt points, which can slightly alter the final sweetness, richness, and overall texture of the pie. Always ensure your chosen chocolate melts smoothly and thoroughly to achieve that luscious, creamy filling. If using darker chocolate, the pie will be less sweet and have a more intense cocoa flavor.
More Irresistible Pie Recipes to Try
If you’ve enjoyed the sheer simplicity and decadent deliciousness of this No Bake Hershey Pie, then you’re truly in for a treat! Our extensive collection of pie recipes offers something wonderful for every taste, every season, and every conceivable occasion. From comforting classics to innovative no-bake creations, there’s always a new favorite waiting to be discovered. Don’t limit your pie adventures – explore these other fantastic and highly recommended options:
- Easy Chocolate Pecan Pie Recipe: A delightful and rich twist on a beloved Southern classic, perfect for holidays or any special gathering.
- Oreo Pudding Pie: Another super easy and incredibly popular no-bake option that’s bursting with rich Oreo flavor – a true cookie lover’s dream!
- Strawberry Jello Pie Recipe: A wonderfully light, fruity, and refreshing choice, particularly delightful for spring and summer gatherings.
- No Bake Salted Caramel Pie Recipe: Experience a perfect and irresistible blend of sweet and salty flavors in a wonderfully hassle-free, no-bake format.
- Arkansas Possum Pie Recipe: Indulge in layers of decadent deliciousness with this classic Southern dessert that’s sure to impress.
- For even more delightful inspiration and to explore a vast array of pie possibilities, be sure to check out our extensive list of the 30 Best Pie Recipes and our dedicated category of amazing No Bake Pies! There’s a perfect pie waiting for every craving and every occasion in our collection.
We truly love hearing from you! If you make this **Cool Whip Chocolate Pie Recipe** (or as we affectionately and accurately call it, No Bake Hershey Pie), please take a moment to share your experience by leaving us a comment below and a star review. Your valuable feedback not only makes our day but also helps other dessert enthusiasts discover and enjoy these easy, incredibly delicious, and satisfying recipes!
Pin
No Bake Hershey Pie
Ingredients
- Pre-made Graham Cracker Crust 6 oz.
- 5 Regular Size Hershey Candy Bars
- Cool Whip thawed (8 oz container)
Instructions
-
Break up the Hershey bars into small pieces and place them in a microwave safe dish (reserve a few pieces for the topping). Heat the chocolate in 30 second intervals and stir between each interval until the chocolate is completely melted and smooth.
-
Gently fold the thawed Cool Whip with the melted chocolate until both of these ingredients are well combined and the mixture is light and fluffy.
-
Pour this luscious chocolate mixture into the pre-made graham cracker crust. Place the pie in the refrigerator to chill for at least 4 hours, but chilling overnight is highly preferred for the best set and flavor.
-
Before serving, chop up the remaining reserved chocolate bars (or use a cheese grater to grate the chocolate into smaller pieces) and sprinkle generously over the pie for a beautiful garnish and extra chocolatey crunch. Serve chilled and enjoy!
Recipe Notes
Nutrition Facts
Pin This Now to Remember It Later
Pin Recipe
