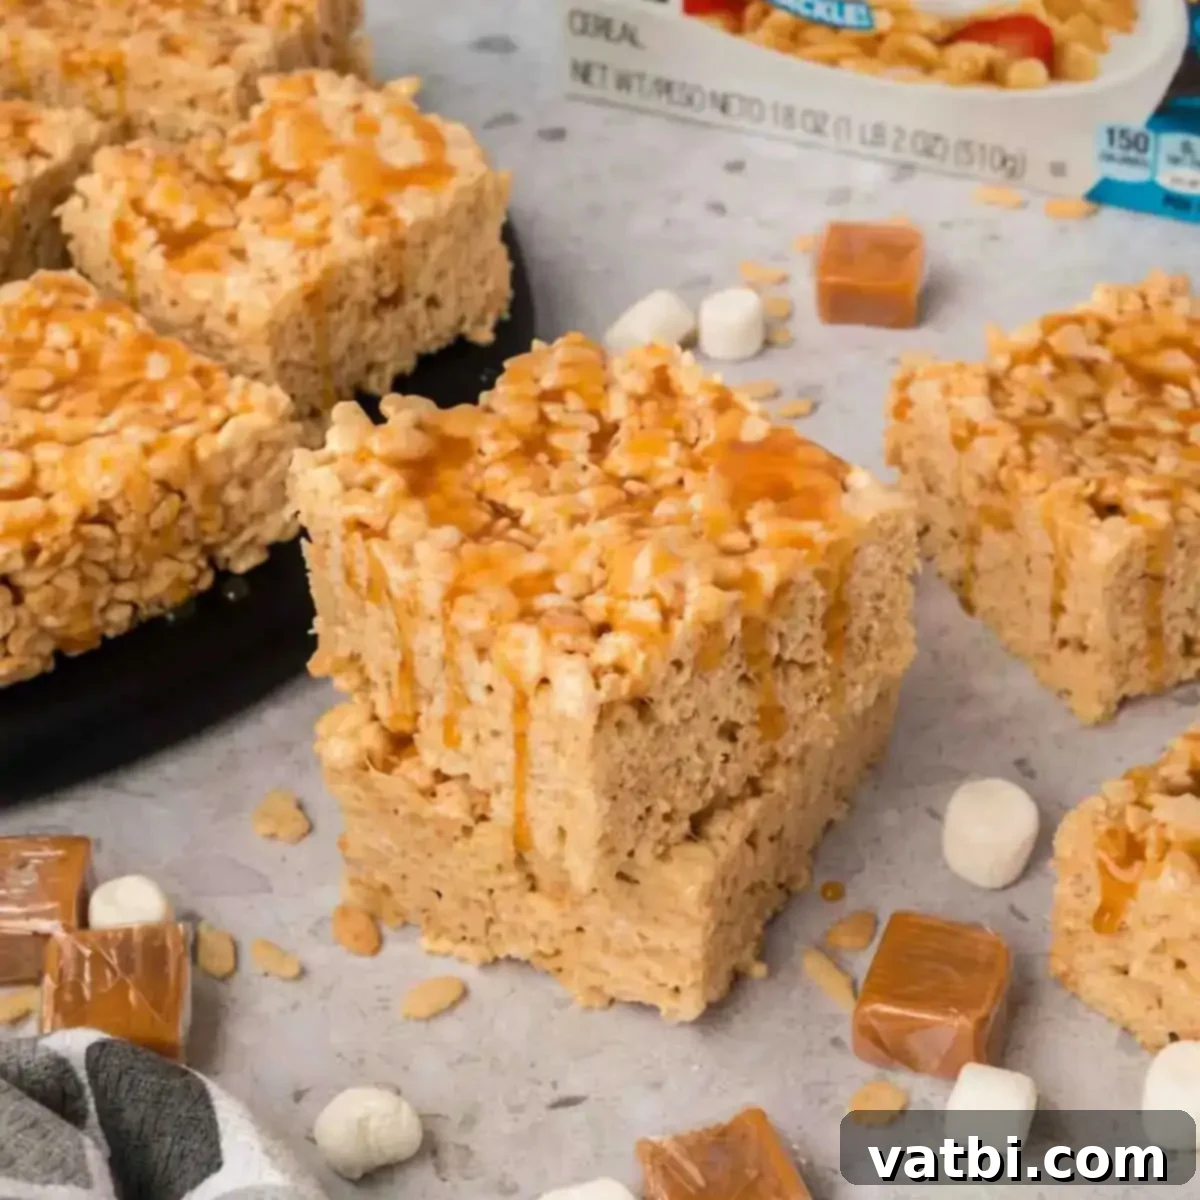
Irresistible Salted Caramel Rice Krispie Treats: The Ultimate Gooey Dessert Recipe
Prepare to be amazed by this recipe for Salted Caramel Rice Krispie Treats. Each bite offers an explosion of flavor, combining the beloved chewy texture of classic Rice Krispie treats with the luxurious depth of homemade salted caramel. The result is a dessert that is not just sweet, but perfectly balanced with a hint of salt, making it truly irresistible and taking this simple treat to an entirely new level of deliciousness.
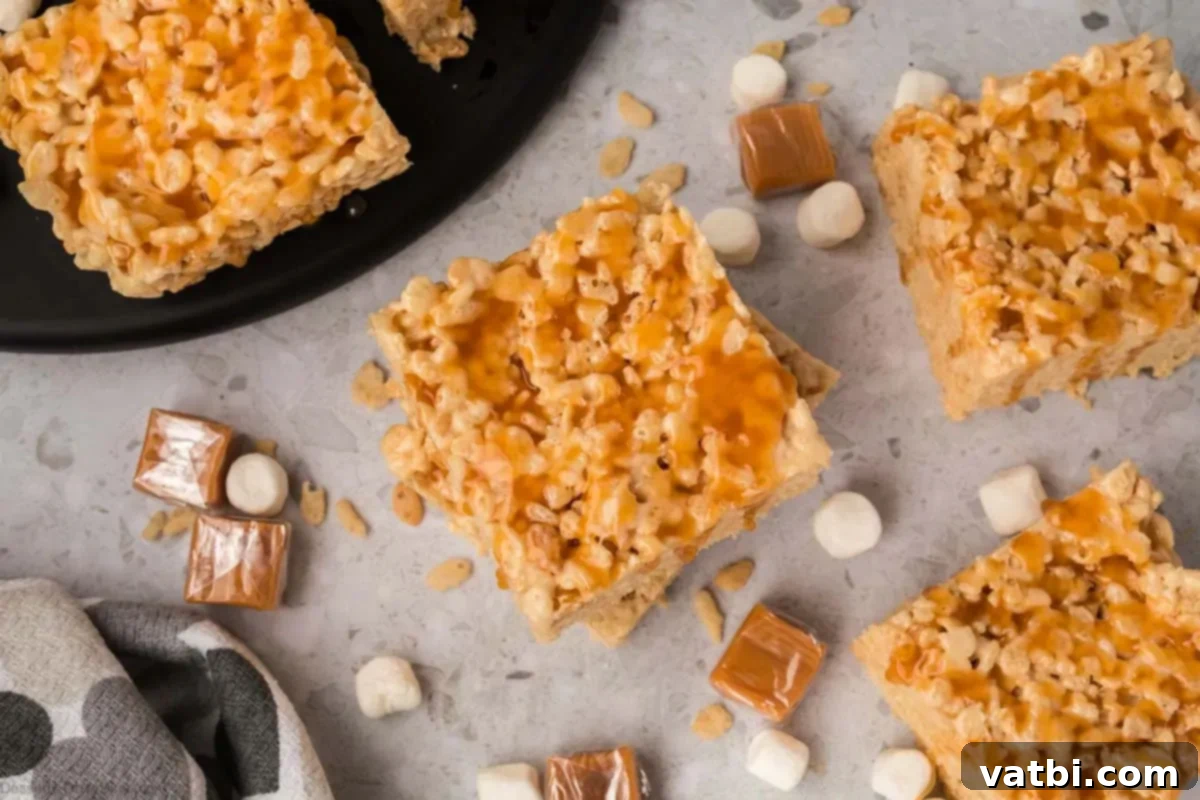
This recipe for Salted Caramel Rice Krispie Treats masterfully blends everything you adore about the classic Rice Krispie Treat Recipe with the rich, buttery notes found in the best Caramel Dessert Recipes. While the base recipe remains delightfully easy, the addition of a luscious, homemade caramel infused with sea salt transforms these simple squares into a truly decadent and sophisticated dessert that’s perfect for any occasion.
Having experimented with countless variations over the years, I’ve fallen in love with how a simple twist can elevate a familiar favorite. Beyond these caramel delights, other crowd-pleasers include Snickerdoodle Rice Krispie Treats and the incredibly popular Oreo Rice Krispie Treats Recipe. But for pure gooey indulgence with a gourmet touch, the salted caramel version truly stands out.
Table of Contents
- Why You’ll Adore These Salted Caramel Rice Krispie Treats
- Essential Ingredients for Perfect Salted Caramel Rice Krispie Treats
- Creative Variations to Customize Your Treats
- Step-by-Step Guide to Making Caramel Rice Krispie Treats
- Pro Tips for the Best Salted Caramel Rice Krispie Treats
- Frequently Asked Questions
- More Irresistible Rice Krispie Treat Recipes to Try
Why You’ll Adore These Salted Caramel Rice Krispie Treats
This recipe is a true game-changer, offering a gourmet twist on a childhood classic without any fuss. It requires just a few minutes of active preparation and a handful of readily available ingredients, making it an ideal choice for busy bakers or anyone craving a quick, impressive dessert. If you’re a fan of rich caramel flavors, these treats will absolutely blow you away. Each and every bite is generously loaded with that distinctive, buttery caramel flavor, perfectly complemented by the satisfying crunch of Rice Krispie cereal and the signature gooeyness of melted marshmallows. It’s the perfect harmony of sweet and salty, chewy and crispy, all wrapped up in one easy-to-make bar. They are perfect for potlucks, parties, or simply a sweet afternoon pick-me-up.
Essential Ingredients for Perfect Salted Caramel Rice Krispie Treats
Crafting the perfect Salted Caramel Rice Krispie Treat starts with quality ingredients. Here’s what you’ll need, along with some tips to ensure the best results:
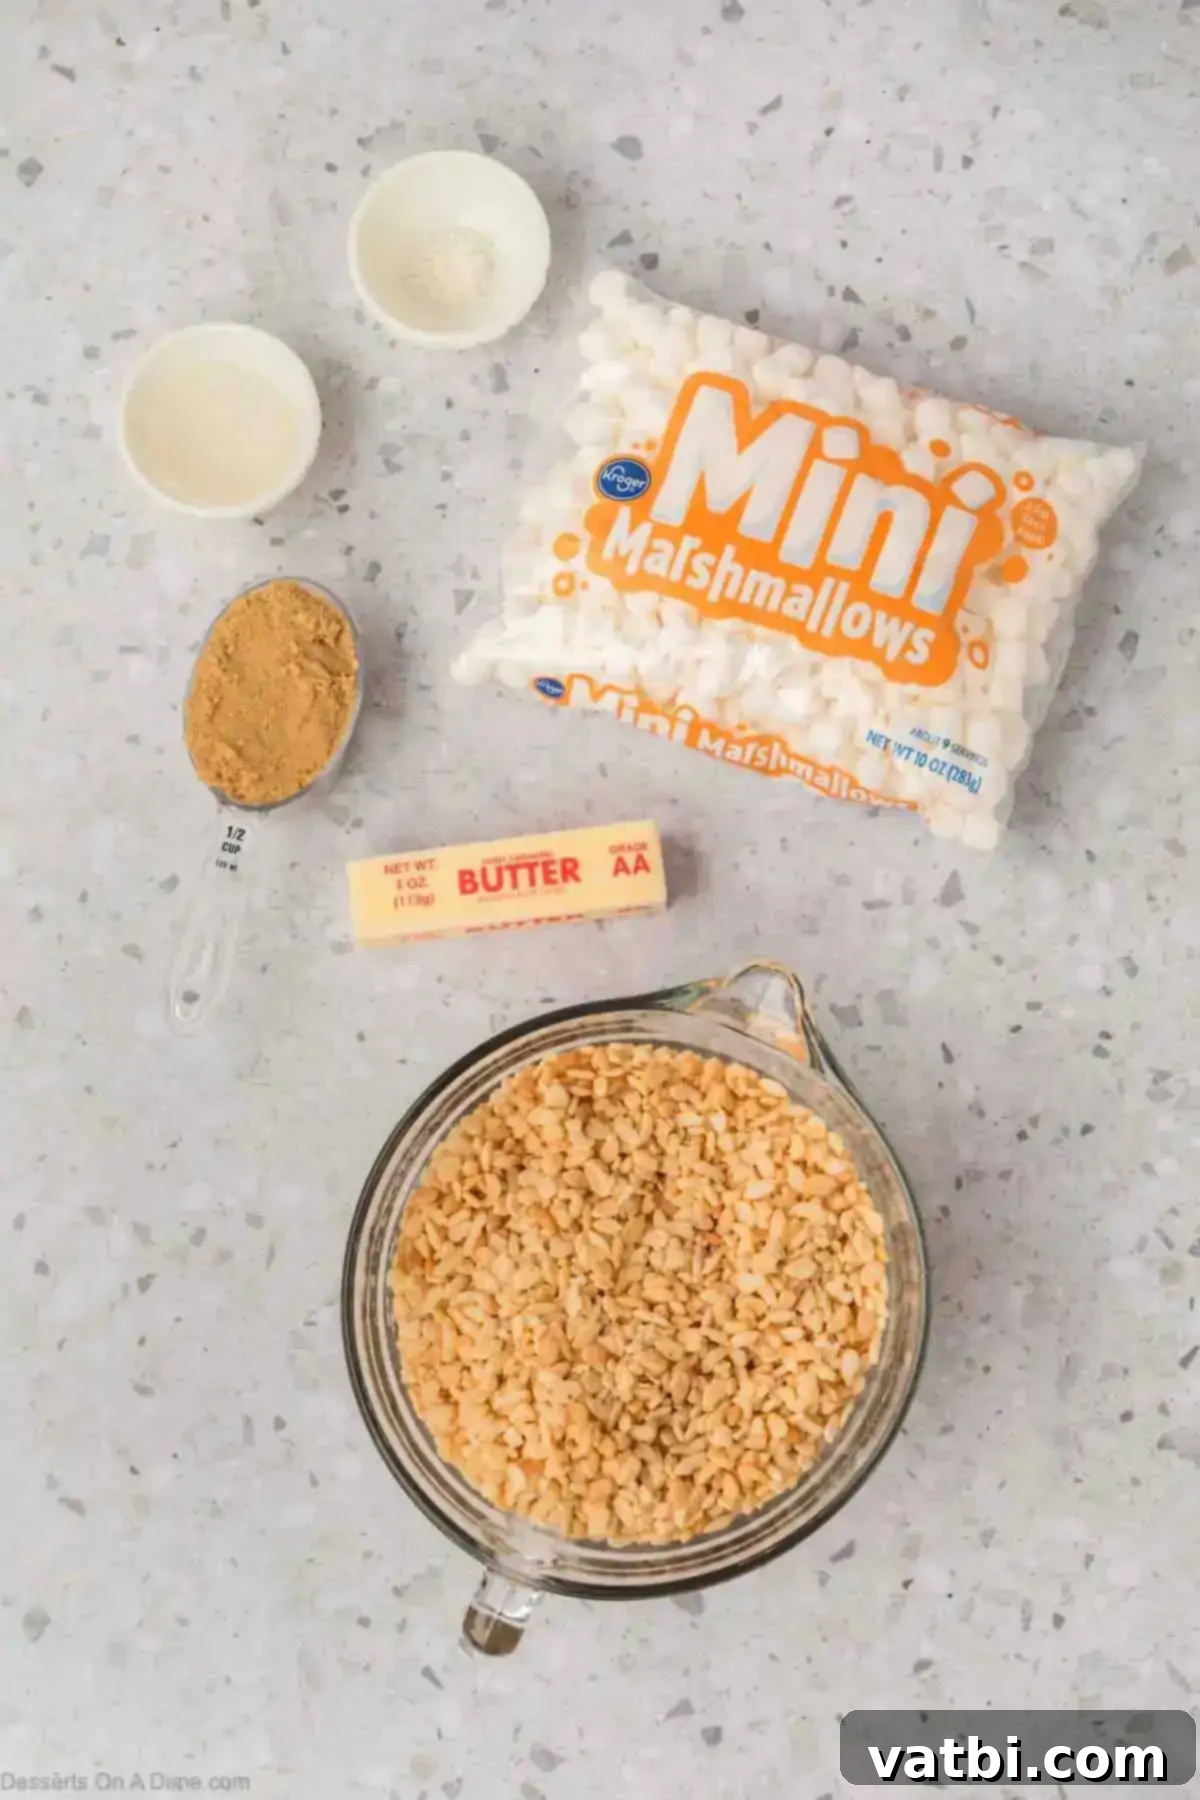
- Rice Krispie Cereal: The foundation of our treats! It’s crucial that your Rice Krispie cereal is fresh and crispy. Stale cereal will result in a less satisfying texture, making your treats soft rather than delightfully crunchy. Always check the expiration date and ensure the box is sealed well.
- Unsalted Butter: This forms the base of our caramel sauce, providing richness and helping to bind the ingredients together. Unsalted butter gives you more control over the overall saltiness of the dish, allowing the added sea salt to truly shine.
- Mini Marshmallows: While large marshmallows can be used, mini marshmallows are highly recommended because they melt much more easily and consistently, creating a smoother, gooier caramel-marshmallow mixture. This prevents lumps and ensures every treat is perfectly soft and chewy.
- Brown Sugar: This is a key ingredient for developing that deep, rich caramel flavor and a wonderfully chewy texture. Brown sugar contains molasses, which contributes to the characteristic caramel notes and helps keep the treats moist and tender. You can even try our Homemade Brown Sugar Recipe for an extra touch.
- Light Corn Syrup: Corn syrup helps prevent sugar crystallization, which is essential for a smooth, velvety caramel sauce. It also adds a touch of sweetness and contributes to the overall gooey consistency of the treats.
- Flaky Sea Salt: Do not, under any circumstances, skip this ingredient! Flaky sea salt is what truly elevates these from simple caramel treats to “salted caramel” masterpieces. The coarse flakes provide bursts of salty contrast against the sweet caramel, creating that addictive sweet and salty flavor profile that makes these treats so special. It balances the sweetness beautifully.
You can find the complete ingredient list with precise measurements at the bottom of the page in the printable recipe card.
Creative Variations to Customize Your Treats
While the classic Salted Caramel Rice Krispie Treat is heavenly on its own, there’s always room for a little creativity! Here are some fantastic ways to customize your batch and make them even more special:
- Delicious Mix-Ins: Elevate the texture and flavor by folding in extra goodies directly into the mixture before pressing it into the pan. Consider adding actual caramel bits (like those chewy Kraft caramels, chopped), chocolate chips (milk, dark, or white chocolate all work wonderfully), or even a sprinkle of chopped pecans or walnuts for a nutty crunch. These additions would make for an incredibly decadent and texturally exciting treat.
- Extra Caramel Drizzle: For the ultimate caramel lover, a generous drizzle of Homemade Caramel Sauce over the set bars is an absolute must. This adds another layer of rich, buttery caramel flavor and a beautiful glossy finish. You could even combine it with a chocolate drizzle for a stunning visual and flavor combination, creating a caramel-chocolate masterpiece.
- Thinner or Thicker Bars: The pan size significantly affects the thickness of your treats. This recipe typically yields thick, satisfying bars in an 8×8 inch pan. If you prefer thinner squares, which are great for larger gatherings or when you want smaller portions, you can easily use a 9×13 inch baking dish instead. The thinner bars will still be incredibly delicious and will stretch your batch further!
- Add a Chocolate Layer: Melt some chocolate chips with a tablespoon of coconut oil and spread it over the top of the cooled treats before cutting. Let it set, and you’ll have a delightful chocolate shell.
- Spice It Up: A pinch of cinnamon or a tiny bit of pumpkin pie spice added to the caramel mixture can give these treats a cozy, autumnal twist.
Step-by-Step Guide to Making Caramel Rice Krispie Treats
Making these gooey, delicious treats is incredibly simple. Follow these steps for perfect results every time:
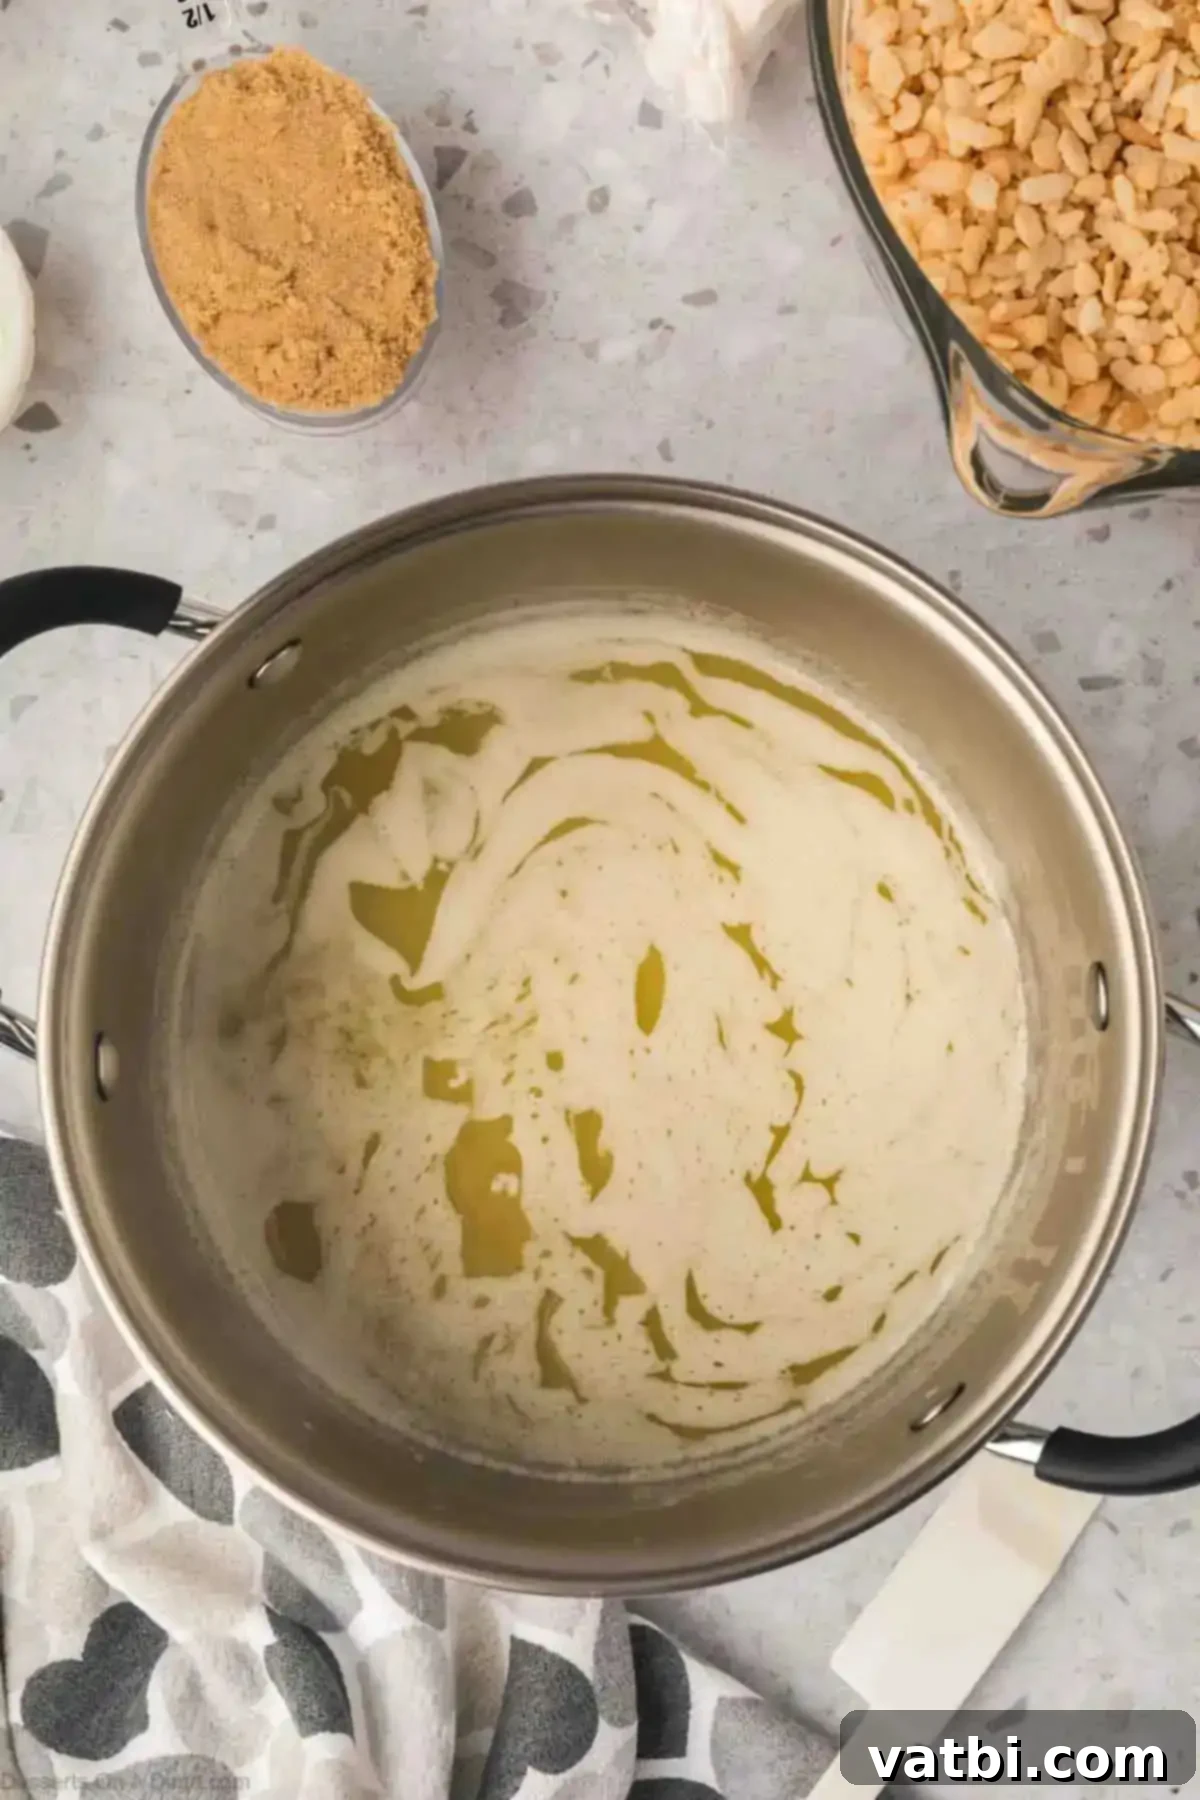
Step 1: Create the Caramel Base. First, grab a medium-sized, heavy-bottomed saucepan. Place it over medium-high heat and melt the unsalted butter until it’s completely liquid and starts to slightly bubble. Once melted, reduce the heat to medium and whisk in the brown sugar and light corn syrup. Continue to heat this mixture for about 5 to 7 minutes, stirring constantly. This consistent stirring is vital to ensure the brown sugar fully dissolves and the mixture thickens, developing into a rich, flavorful caramel base. It should be smooth and slightly syrupy.
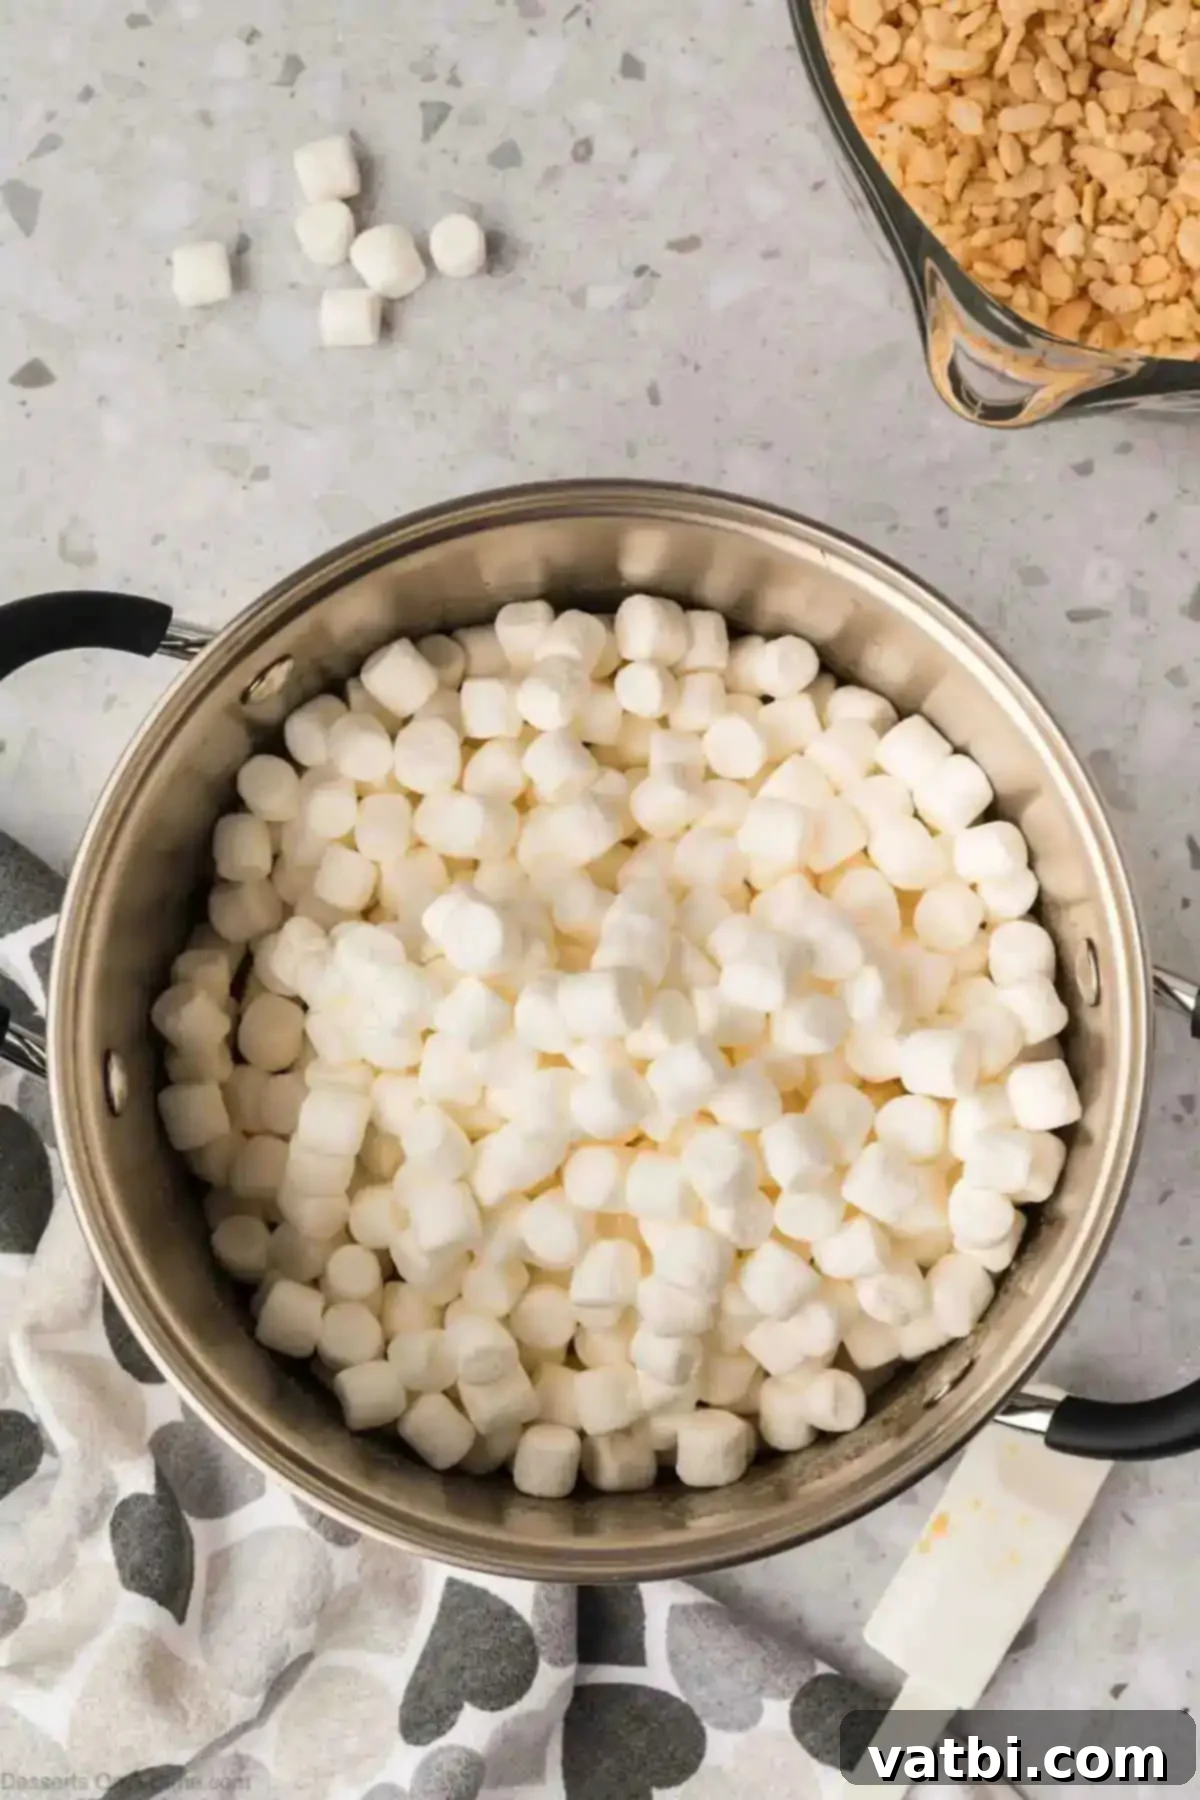
Step 2: Add Marshmallows and Salt. After your caramel base has thickened, reduce the heat to low. This is crucial to prevent the marshmallows from burning. Stir in the flaky sea salt, ensuring it’s well distributed. Then, add all the mini marshmallows to the saucepan. Continue to stir constantly over low heat until the marshmallows are completely melted and smoothly incorporated into the caramel mixture. This usually takes about 2-3 minutes. The goal is a homogenous, super gooey sauce.
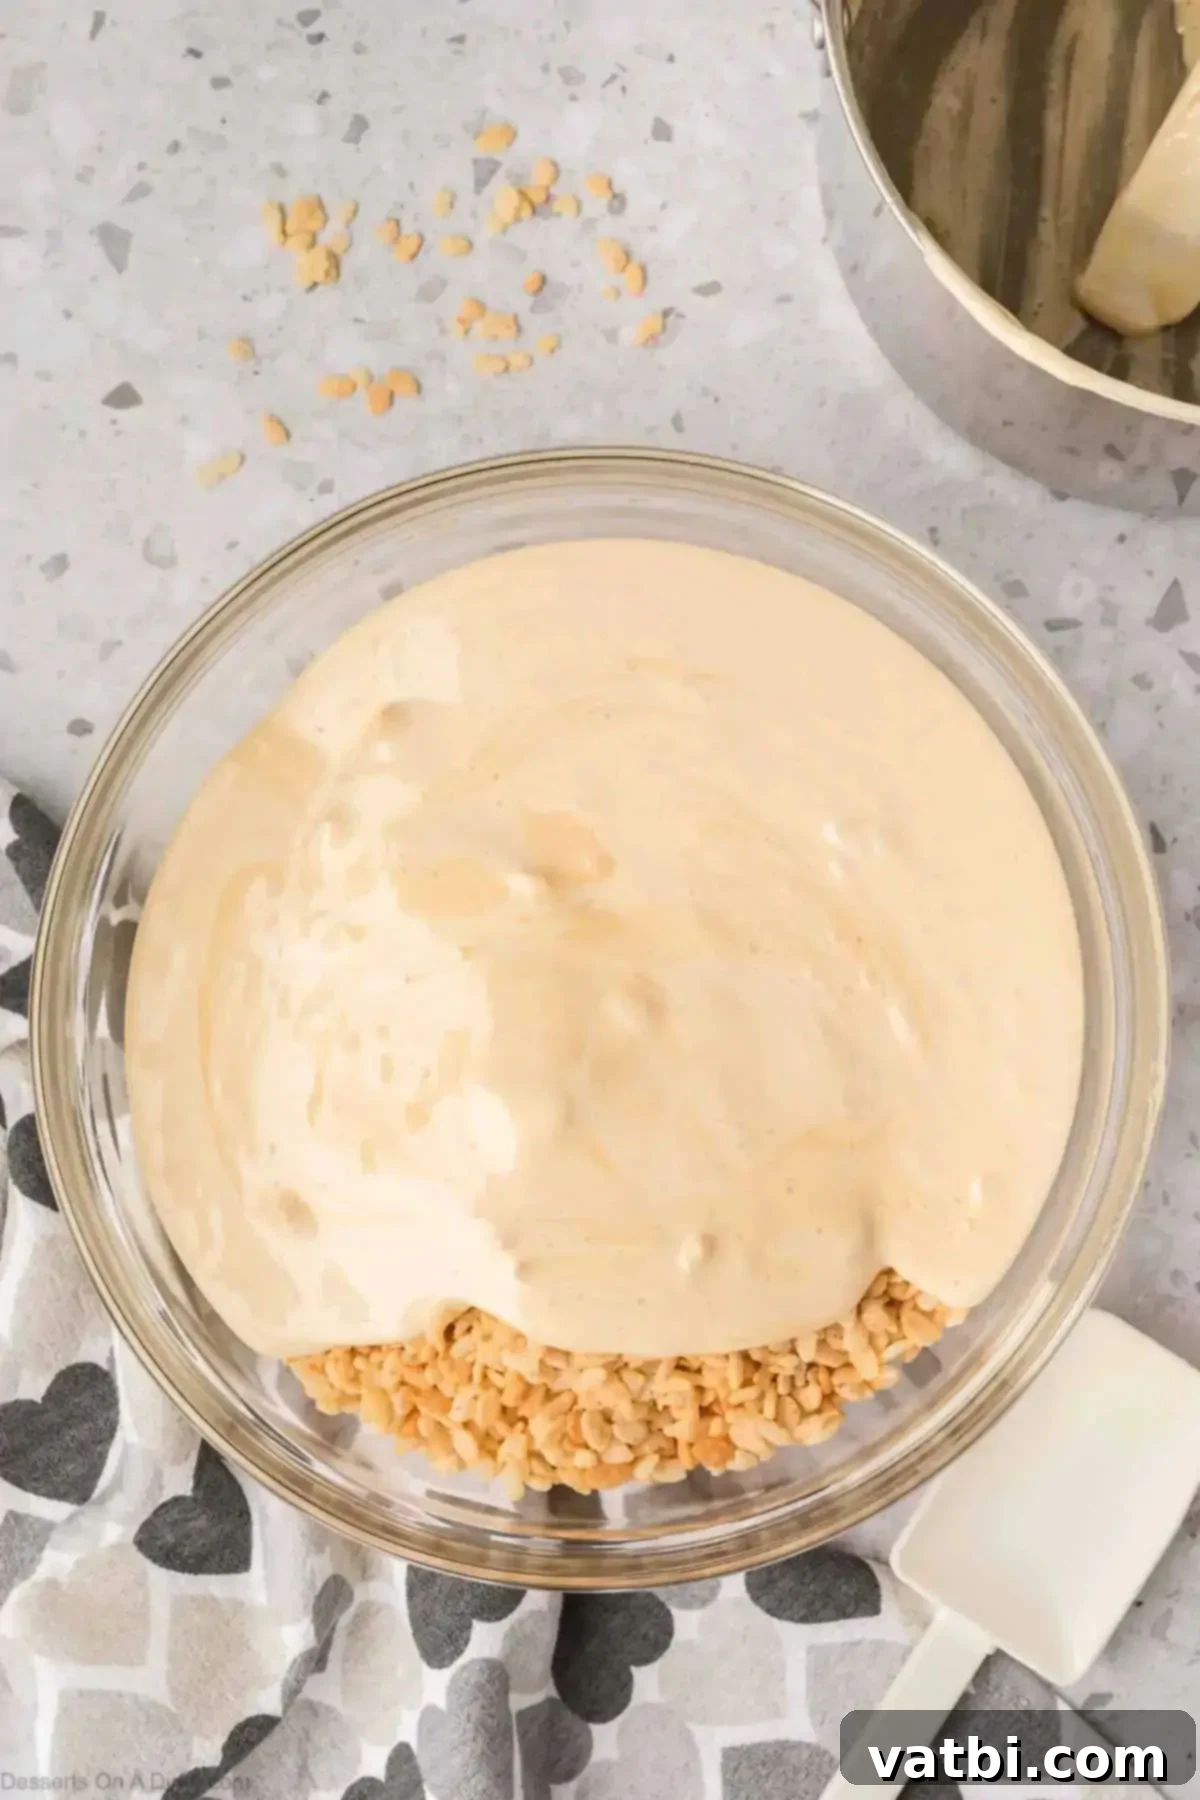
Step 3: Combine and Coat. Get a very large mixing bowl ready. Pour the fresh Rice Krispie cereal into this bowl. Immediately, pour the warm, gooey marshmallow and caramel mixture evenly over the top of the cereal. Using a sturdy spoon (a wooden or silicone spatula works best), stir everything together thoroughly. Continue stirring until every single piece of Rice Krispie cereal is generously coated with the sticky, delicious caramel-marshmallow mixture. Work relatively quickly as the mixture will start to set as it cools.
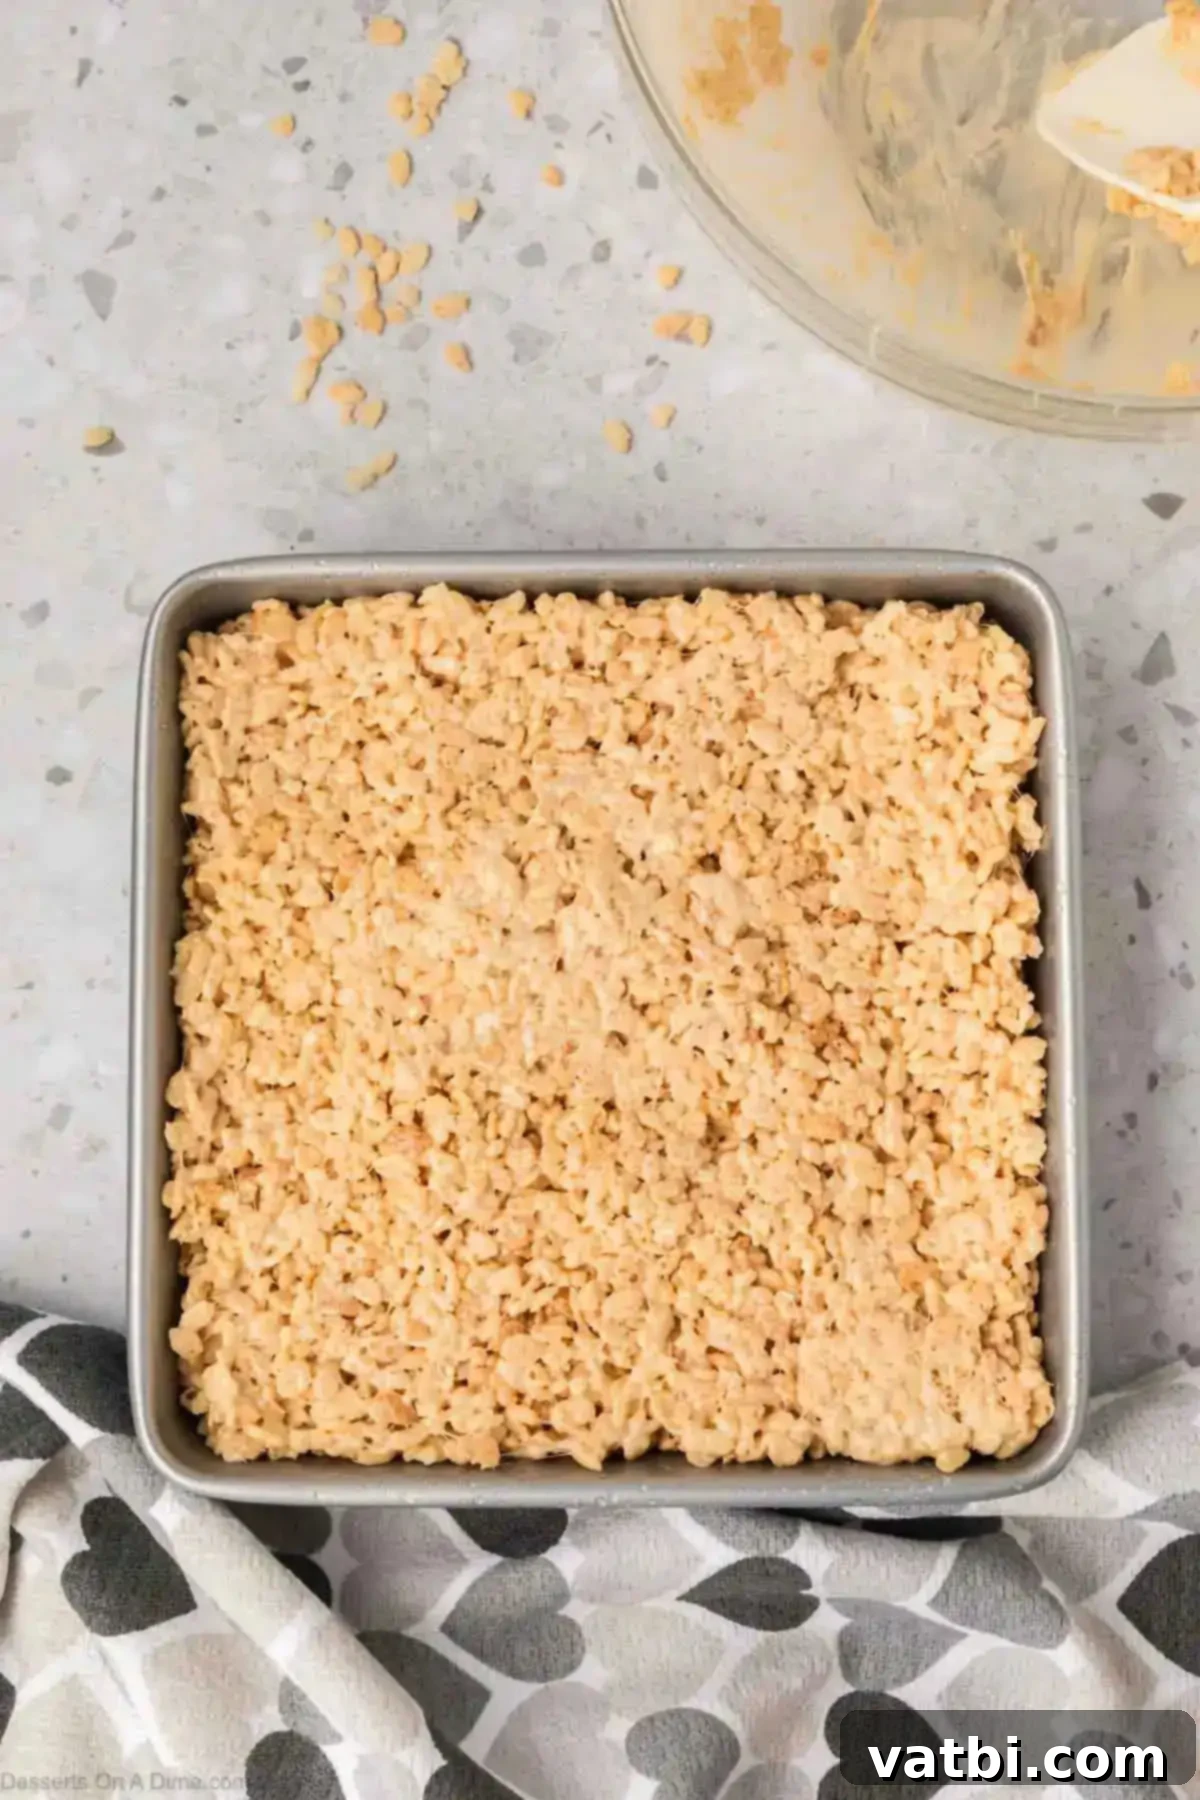
Step 4: Press and Set. Prepare an 8×8 inch baking pan by generously spraying it with non-stick cooking spray. This will prevent sticking and make removal much easier. Transfer the entire Rice Krispie mixture into the prepared pan. Now, it’s time to press it down. For best results, use a piece of parchment paper or wax paper sprayed lightly with cooking spray to press the mixture firmly and evenly into the pan. This technique prevents the mixture from sticking to your hands or spatula. Allow the treats to set at room temperature for at least one hour (or until firm) before cutting them into squares and enjoying your homemade masterpiece!
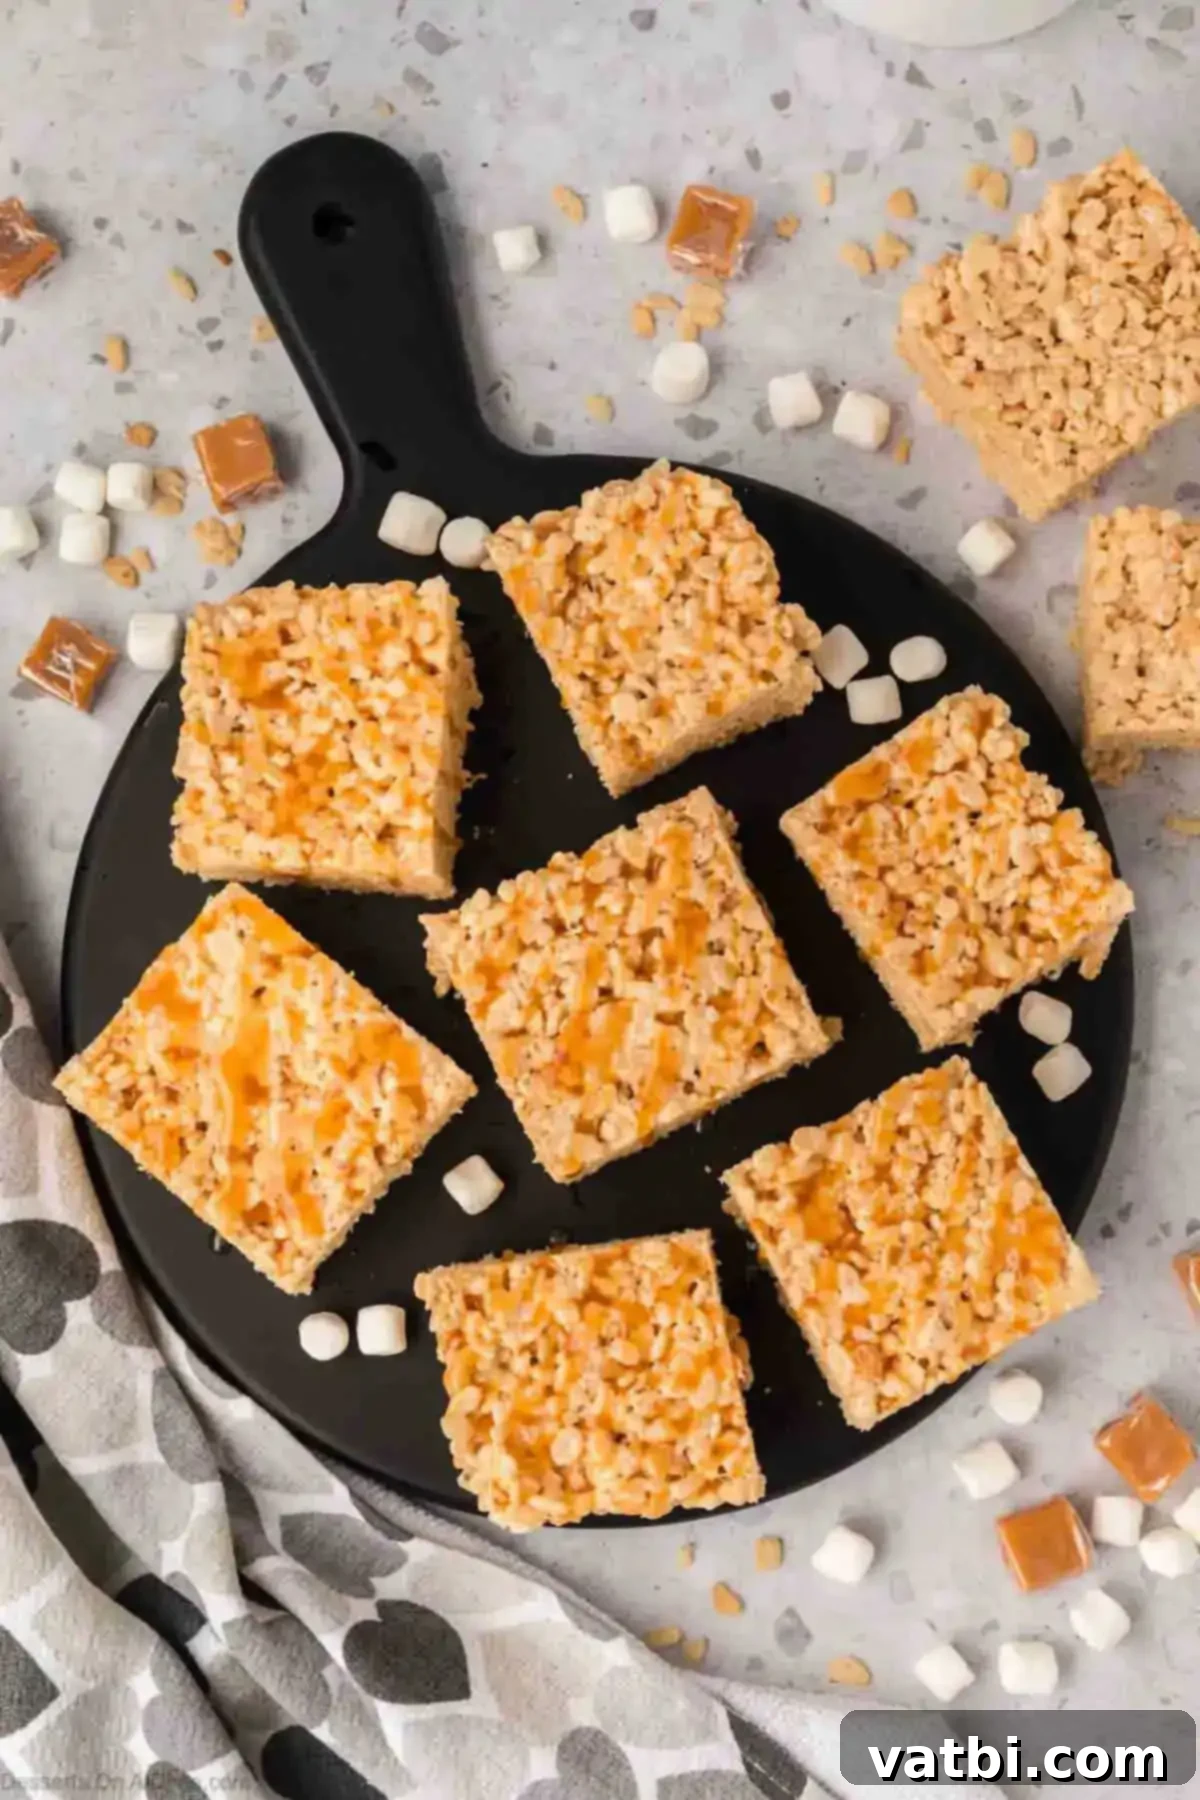
Pro Tips for the Best Salted Caramel Rice Krispie Treats
Achieving perfectly gooey, chewy, and flavorful Salted Caramel Rice Krispie Treats is simple with these expert tips:
- Choose the Right Mixing Utensil: When it comes to mixing the cereal with the warm marshmallow and caramel mixture, a sturdy wooden spoon or a heavy-duty silicone spatula is your best friend. The mixture becomes very thick and sticky, so a robust utensil will make the stirring process much easier and ensure everything is thoroughly combined without bending or breaking.
- Room Temperature is Key: Resist the urge to refrigerate your finished treats! Placing them in the refrigerator will cause the caramel and marshmallows to harden excessively, leading to dry, brittle bars that lose their signature gooey texture. Always allow them to set and store them at room temperature to maintain that soft, chewy, and ooey-gooey perfection that makes these treats so desirable.
- Effortless Pressing: Pressing the sticky mixture evenly into the pan can be a bit challenging. To prevent it from sticking to your hands or spatula, lightly spray a piece of parchment paper, wax paper, or even another spatula with cooking spray. Use this to gently but firmly press the mixture down into an even layer. This method works wonderfully and keeps your hands clean! Avoid over-compressing, as this can make the treats too dense and hard.
- Select a Large Pot for Mixing: When melting your ingredients, particularly the marshmallows, ensure you use a pot that is significantly larger than you think you’ll need. Marshmallows expand quite a bit when they melt, and you’ll need ample space to stir in the cereal without the mixture overflowing and creating a messy situation. A large, non-stick pot with high sides is ideal.
- Fresh Ingredients Matter: As mentioned before, fresh Rice Krispie cereal is non-negotiable for that satisfying crunch. Likewise, fresh marshmallows will melt smoother and provide a better texture.
- Measure Accurately: Especially with the caramel base, precise measurements of butter, brown sugar, and corn syrup will ensure the correct consistency and flavor profile.
Frequently Asked Questions
Cutting these treats can sometimes be a bit tricky due to their gooey caramel nature. My favorite method is to first allow the entire slab of treats to cool and set completely at room temperature, ideally for at least an hour. Once firm, gently lift the entire block out of the baking pan onto a sturdy cutting board. To make cutting easier and less messy, spray your knife with a bit of non-stick cooking spray or lightly butter the blade. A large, sharp chef’s knife works best. Slice them into your desired square or rectangular sizes. Re-greasing or re-buttering the knife periodically will prevent sticking and ensure clean cuts.
To keep your Salted Caramel Rice Krispie Treats fresh, soft, and perfectly gooey, store them in an airtight container at room temperature. It’s best to avoid the refrigerator as cold temperatures can cause the treats to become hard and dry, losing their desirable chewy texture. For optimal freshness and to prevent them from sticking together, I recommend placing a sheet of waxed paper or parchment paper between layers of treats within the container. Enjoy them within 2-3 days for the best quality.
Yes, you absolutely can freeze these delightful treats! They freeze surprisingly well for up to 3 months. To freeze, first ensure the treats have completely cooled and set at room temperature. I prefer to cut them into individual bars before freezing, as this makes it much easier to grab just a few when a craving strikes. Wrap each individual bar tightly in plastic wrap, then place them in an airtight freezer-safe container or a heavy-duty freezer bag. Be sure to place parchment paper or waxed paper between layers if stacking. When you’re ready to enjoy, simply remove the desired number of bars from the freezer and let them thaw at room temperature for about 30-60 minutes. They’ll retain much of their gooey texture and are a fantastic sweet treat to have on hand for those impromptu sugar cravings!
More Irresistible Rice Krispie Treat Recipes to Try
If you loved these Salted Caramel Rice Krispie Treats, you’re in for a treat with these other exciting variations:
- Rice Krispie Treats with Marshmallow Fluff: An extra fluffy and smooth twist on the classic, using marshmallow fluff for an even gooier result.
- Brown Butter Rice Krispie Treats: Elevate the flavor profile with the nutty, rich notes of brown butter for a sophisticated taste.
- Strawberry Rice Krispie Treats Recipe: A vibrant and fruity version, perfect for spring or summer gatherings.
- Neapolitan Rice Krispie Treats: Enjoy three layers of deliciousness—chocolate, vanilla, and strawberry—in one delightful bar.
- Chocolate Peanut Butter Rice Krispie Treats: The classic combination of chocolate and peanut butter makes these treats utterly addictive.
- Peanut Butter Rice Krispie Treats: For the purists, a simple yet incredibly satisfying peanut butter-infused treat.
It’s your turn to make this decadent and easy Salted Caramel Rice Krispie Treat recipe. We’re confident it will become a new favorite in your household. Please leave a star recipe rating and comment once you give it a try – we’d love to hear how much you loved them!
Pin
Salted Caramel Rice Krispies
Ingredients
- 6 cup Rice Krispie Cereal
- 1/2 cup Unsalted Butter
- 10 oz Mini Marshmallows
- 1/2 cup Brown Sugar
- 1 Tbsp Light Corn Syrup
- 1/2 tsp Sea Salt
Instructions
-
Heat the butter in a medium sauce pan over medium high heat.
-
Then whisk in the brown sugar and corn syrup. Heat for 5-7 minutes stirring constantly until the brown sugar is dissolved and the mixture is thick.
-
Reduce the heat to low, stir in the sea salt and the mini marshmallows. Stir constantly until the marshmallows are melted (2-3 minutes).
-
Place the Rice Krispie cereal in a large bowl. Pour the marshmallow mixture over the top. Stir until well coated.
-
Spray an 8X8 baking pan with no stick cooking spray. Press the rice krispie mixture into the pan. Use a parchment paper spray with non-sticking cooking spray to press the mixture into the pan.
-
Let set at room temperature for at least 1 hour.
-
Then cut into squares and enjoy!
Recipe Notes
*Do not refrigerate as this will cause the bars to dry out and they won’t be gooey.
Nutrition Facts
Pin This Now to Remember It Later
Pin Recipe
