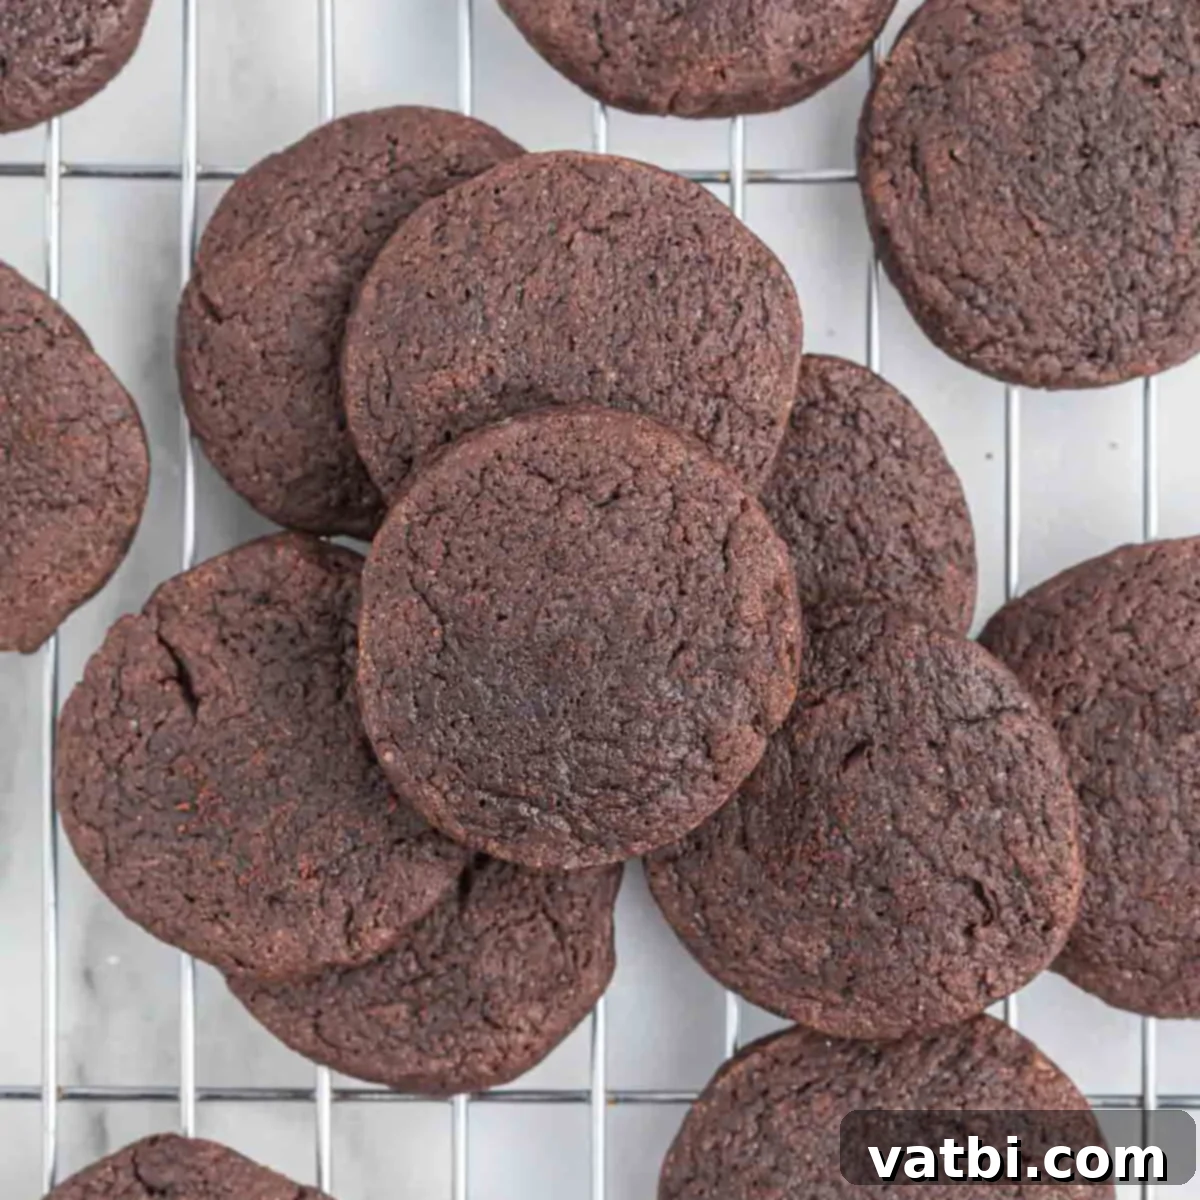
Mastering Homemade Chocolate Wafer Cookies: The Ultimate Guide to Crispy, Rich, and Versatile Treats
Homemade Chocolate Wafer Cookies are a true indulgence, offering a rich, deep chocolate flavor and that irresistible crispy texture that’s often hard to find outside of a specialty bakery. Far superior to many store-bought options, these easy-to-make chocolate cookies are incredibly versatile. Not only are they perfect for enjoying on their own, but they also serve as the foundational ingredient for a myriad of luscious desserts. Imagine them as the crispy base for no-bake Icebox Cakes, crumbled into delicious pie recipes, or even transformed into delightful ice cream sandwiches. This recipe unlocks the secret to making these classic wafers right in your own kitchen, ensuring a fresh, intensely chocolatey experience every time.
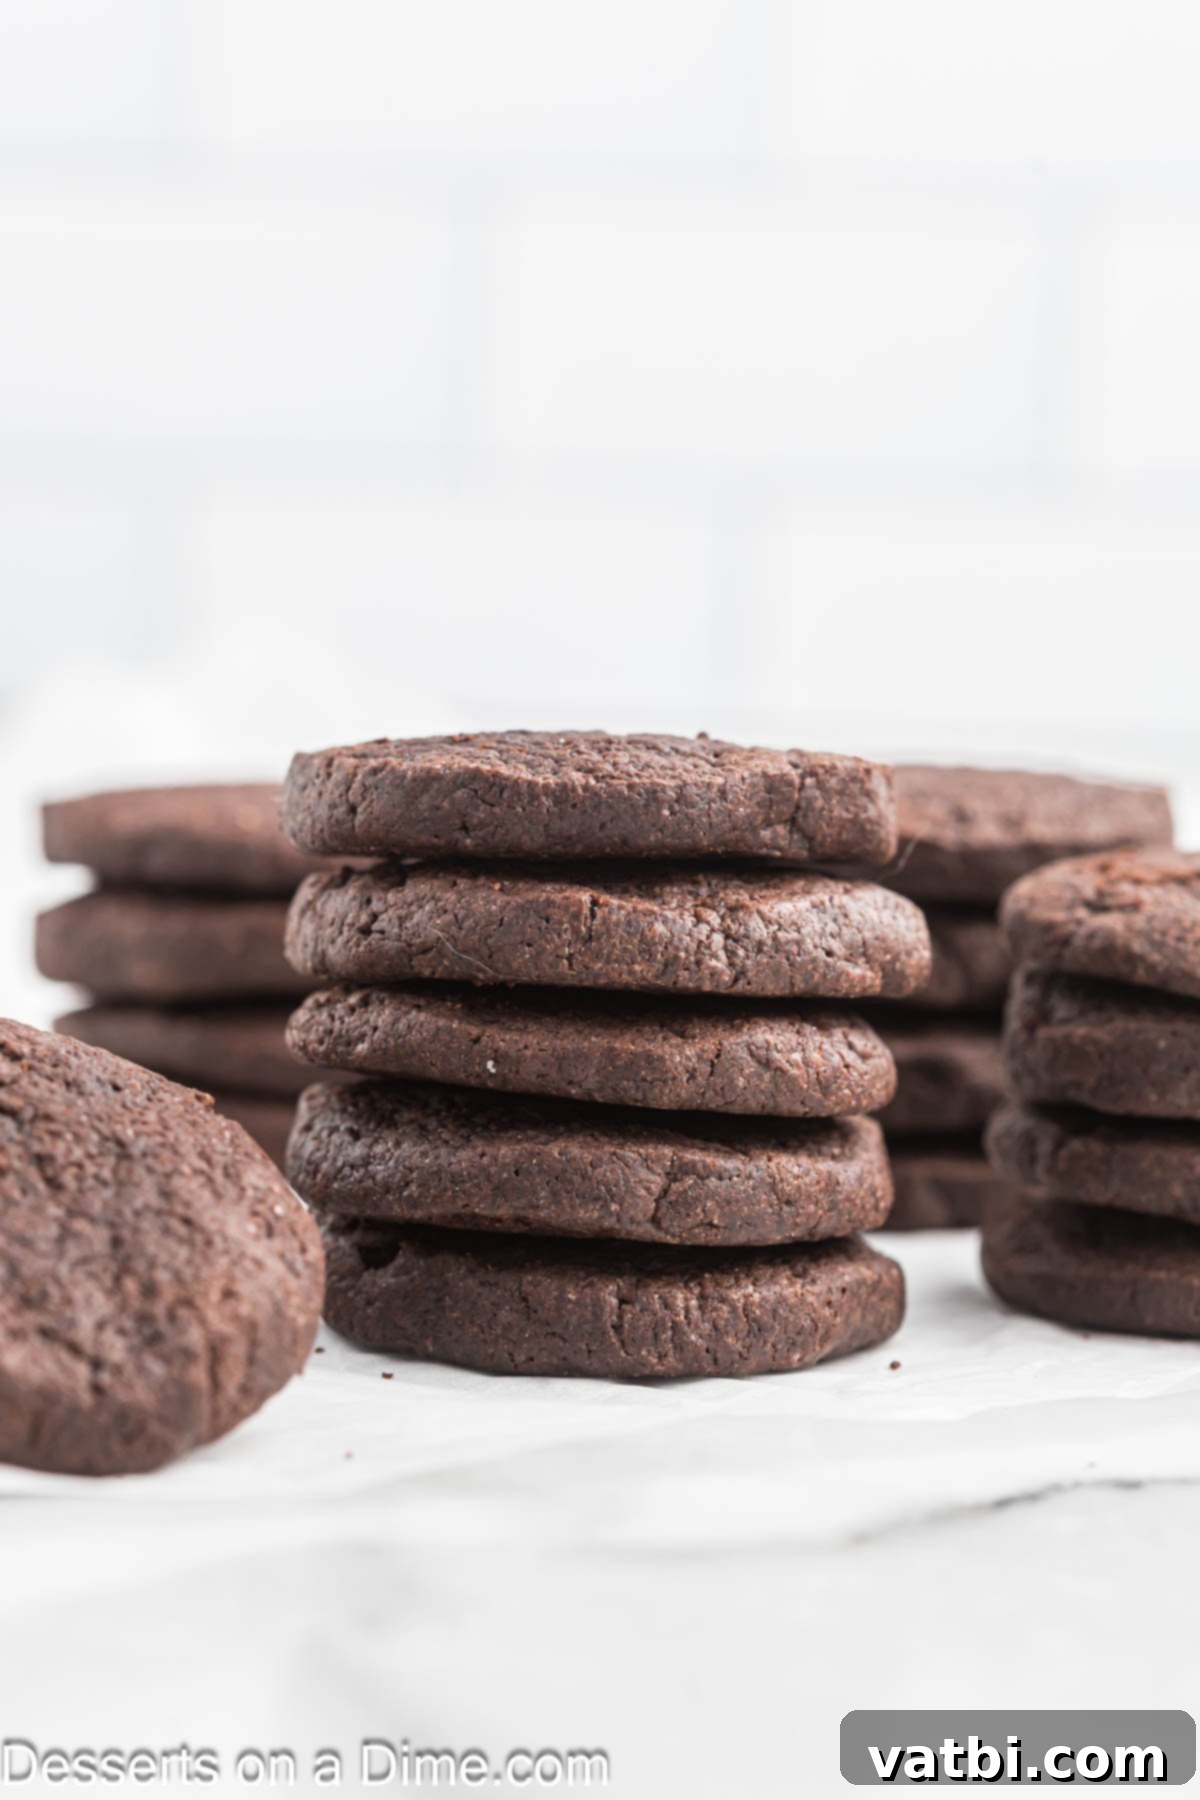
If you’ve ever found yourself reaching for a box of Nabisco’s famous chocolate wafers, get ready to discover a homemade alternative that will quickly become your new favorite. This simple yet incredibly rewarding cookie recipe is packed with intense chocolate flavor and utilizes only basic pantry staples you likely already have on hand. Learning how to make these crispy sandwich cookies at home means you can enjoy them whenever the craving strikes, guaranteeing a fresher, more flavorful bite. Whether eaten plain, dipped in milk, or incorporated into your favorite dessert creations, these homemade chocolate wafers are truly a game-changer. You’ll find this recipe delivers a taste and texture that far surpasses anything you can buy in a grocery store.
Table of contents
- What Are Chocolate Wafer Cookies?
- Essential Ingredients for Chocolate Wafer Cookies
- Step-by-Step Instructions to Bake Perfect Chocolate Wafers
- Proper Storage for Fresh Homemade Cookies
- Pro Tips for Flawless Chocolate Wafer Cookies
What Are Chocolate Wafer Cookies?
Chocolate wafer cookies are distinctive for their thin, crisp, and intensely chocolatey profile. These round, dark brown cookies are not just a delicious snack on their own; they are also a fundamental component in many beloved dessert recipes. Their robust chocolate flavor and firm texture make them ideal for creating sturdy yet flavorful pie crusts, especially for cheesecake recipes where a contrasting base is desired. Beyond crusts, they’re perfect for building classic ice cream sandwiches, where two crisp wafers hug a generous scoop of your favorite ice cream, or for layering into various no-bake desserts. Their ability to soften slightly when exposed to moisture (like in an icebox cake) while still retaining a pleasant chewiness is what makes them so versatile and sought after in the world of baking. This recipe aims to replicate that iconic texture and rich taste, allowing you to create high-quality wafers that elevate any dessert.
Essential Ingredients for Chocolate Wafer Cookies
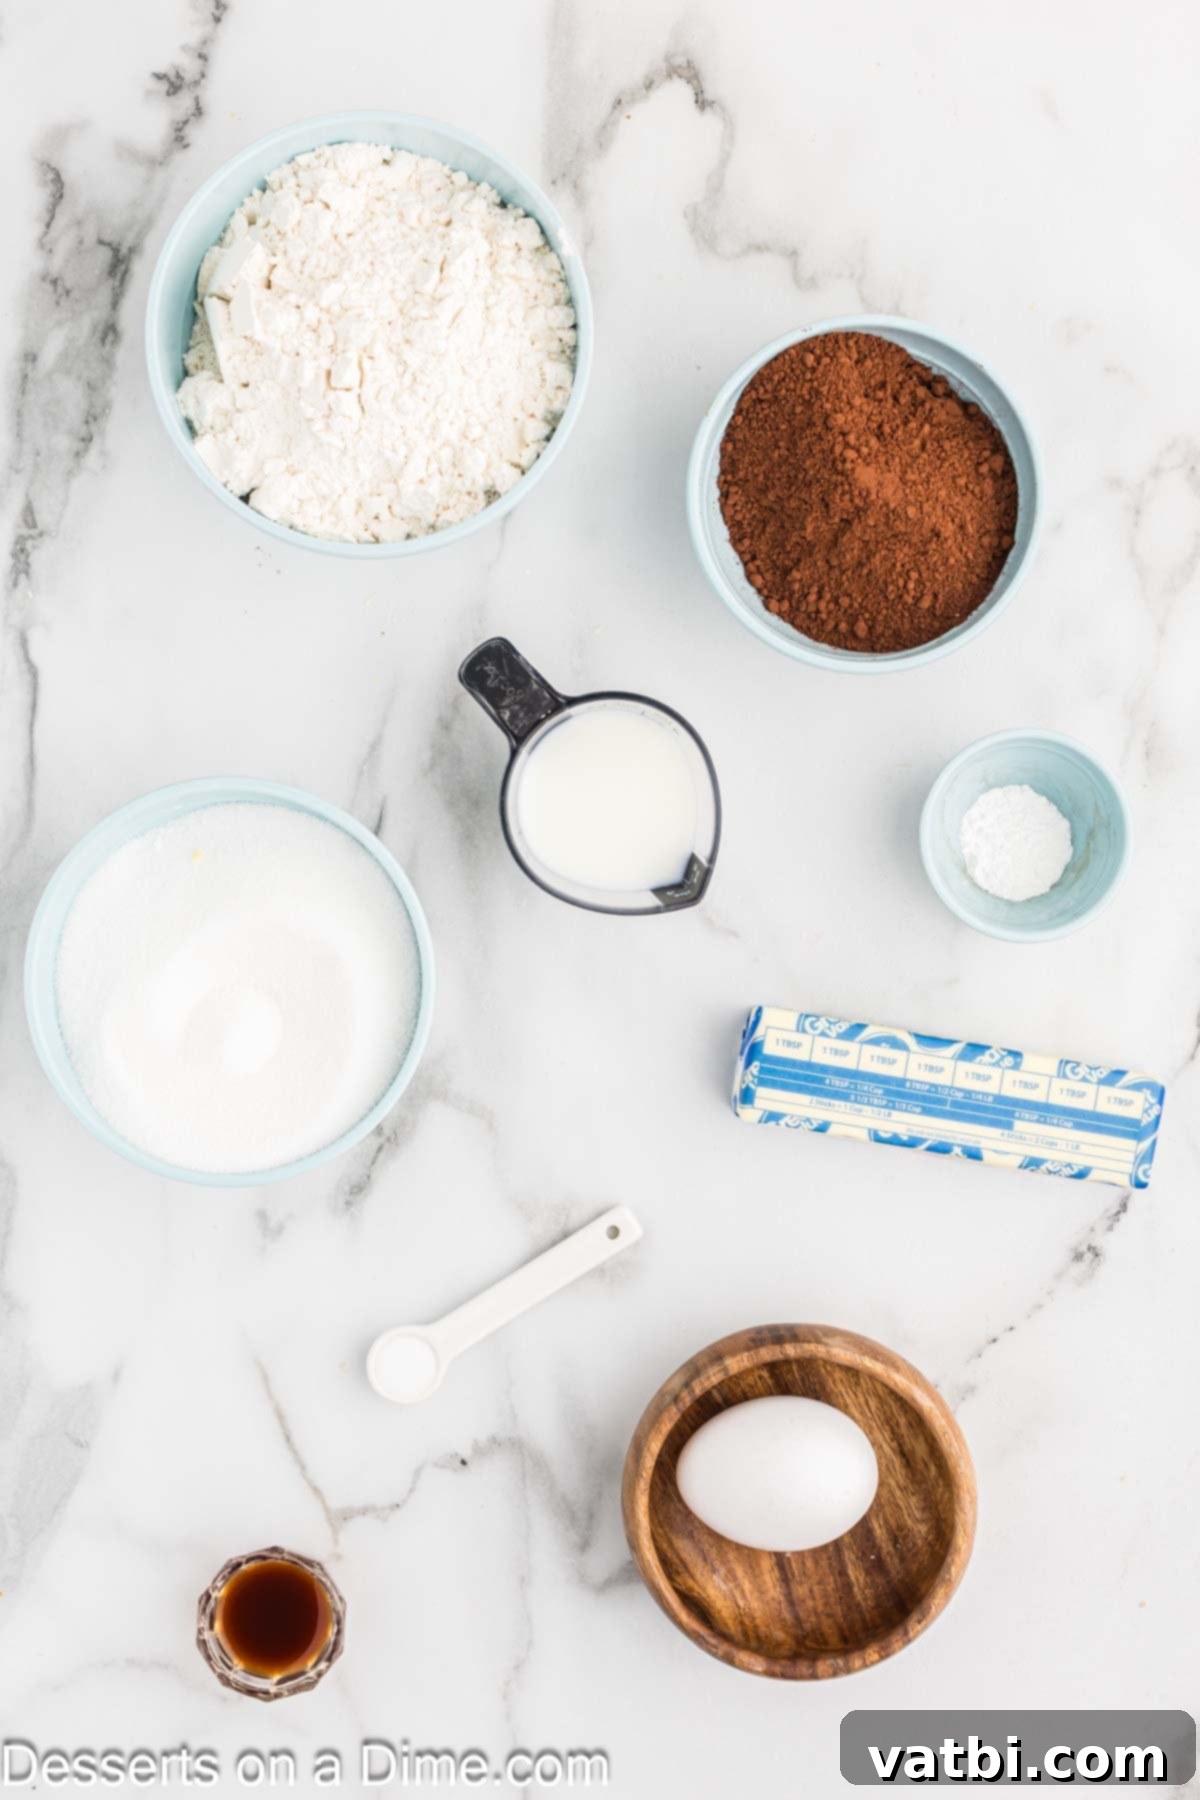
Crafting perfect homemade chocolate wafer cookies begins with selecting the right ingredients and understanding their role in the recipe. Each component contributes to the distinct flavor and texture, ensuring your cookies are rich, crispy, and utterly delicious.
- All-Purpose Flour: This provides the primary structure for your cookies. To ensure accurate measurement and prevent a dense cookie, always spoon the flour gently into your measuring cup and level it off with a straight edge, rather than scooping directly from the bag. Over-packing can add too much flour, leading to dry, crumbly cookies.
- Dutch-Processed Cocoa Powder: This is a crucial ingredient for achieving the signature deep, dark color and intense, mellow chocolate flavor that chocolate wafers are known for. Unlike natural cocoa, Dutch-processed cocoa has been treated to reduce its acidity, resulting in a smoother, less bitter taste and a darker hue.
- Large Egg: The egg acts as a binder, helping to hold the dough together and adding moisture. For optimal emulsification and a smoother dough, it’s important to allow your large egg to come to room temperature before incorporating it into the mixture. This helps it blend more evenly with the other ingredients.
- Granulated Sugar: Regular white granulated sugar not only sweetens the cookies but also contributes to their crispness. It helps to tenderize the dough and creates that desirable crunchy texture after baking.
- Pure Vanilla Extract: For the best and most authentic flavor, always opt for pure vanilla extract. It enhances the chocolate notes and adds a layer of aromatic complexity that elevates the overall taste of the cookies.
- Salt: A small amount of salt is vital. It doesn’t just add its own flavor; it balances the sweetness of the sugar and intensely boosts the rich chocolate flavor, making every bite more satisfying.
- Unsalted Butter (Softened): Using unsalted butter gives you control over the overall salt content of your recipe. Ensure it’s softened to room temperature so it creams easily with the sugar, creating a light and airy base for the dough. This step is essential for the cookie’s final texture.
- Whole Milk: Whole milk is suggested for its higher fat content, which contributes to a richer flavor and helps to create a tender yet firm dough. It provides the necessary moisture to bring the dry ingredients together, forming a smooth, workable consistency.
You can find the precise measurements for each of these ingredients listed in the complete recipe card, conveniently located at the bottom of this page. This detailed list ensures you have everything ready before you start baking.
Step-by-Step Instructions to Bake Perfect Chocolate Wafers
Baking homemade chocolate wafer cookies is a straightforward process, but paying attention to each step will ensure you achieve that perfect crispy texture and rich flavor. Follow these detailed instructions for a delightful baking experience.
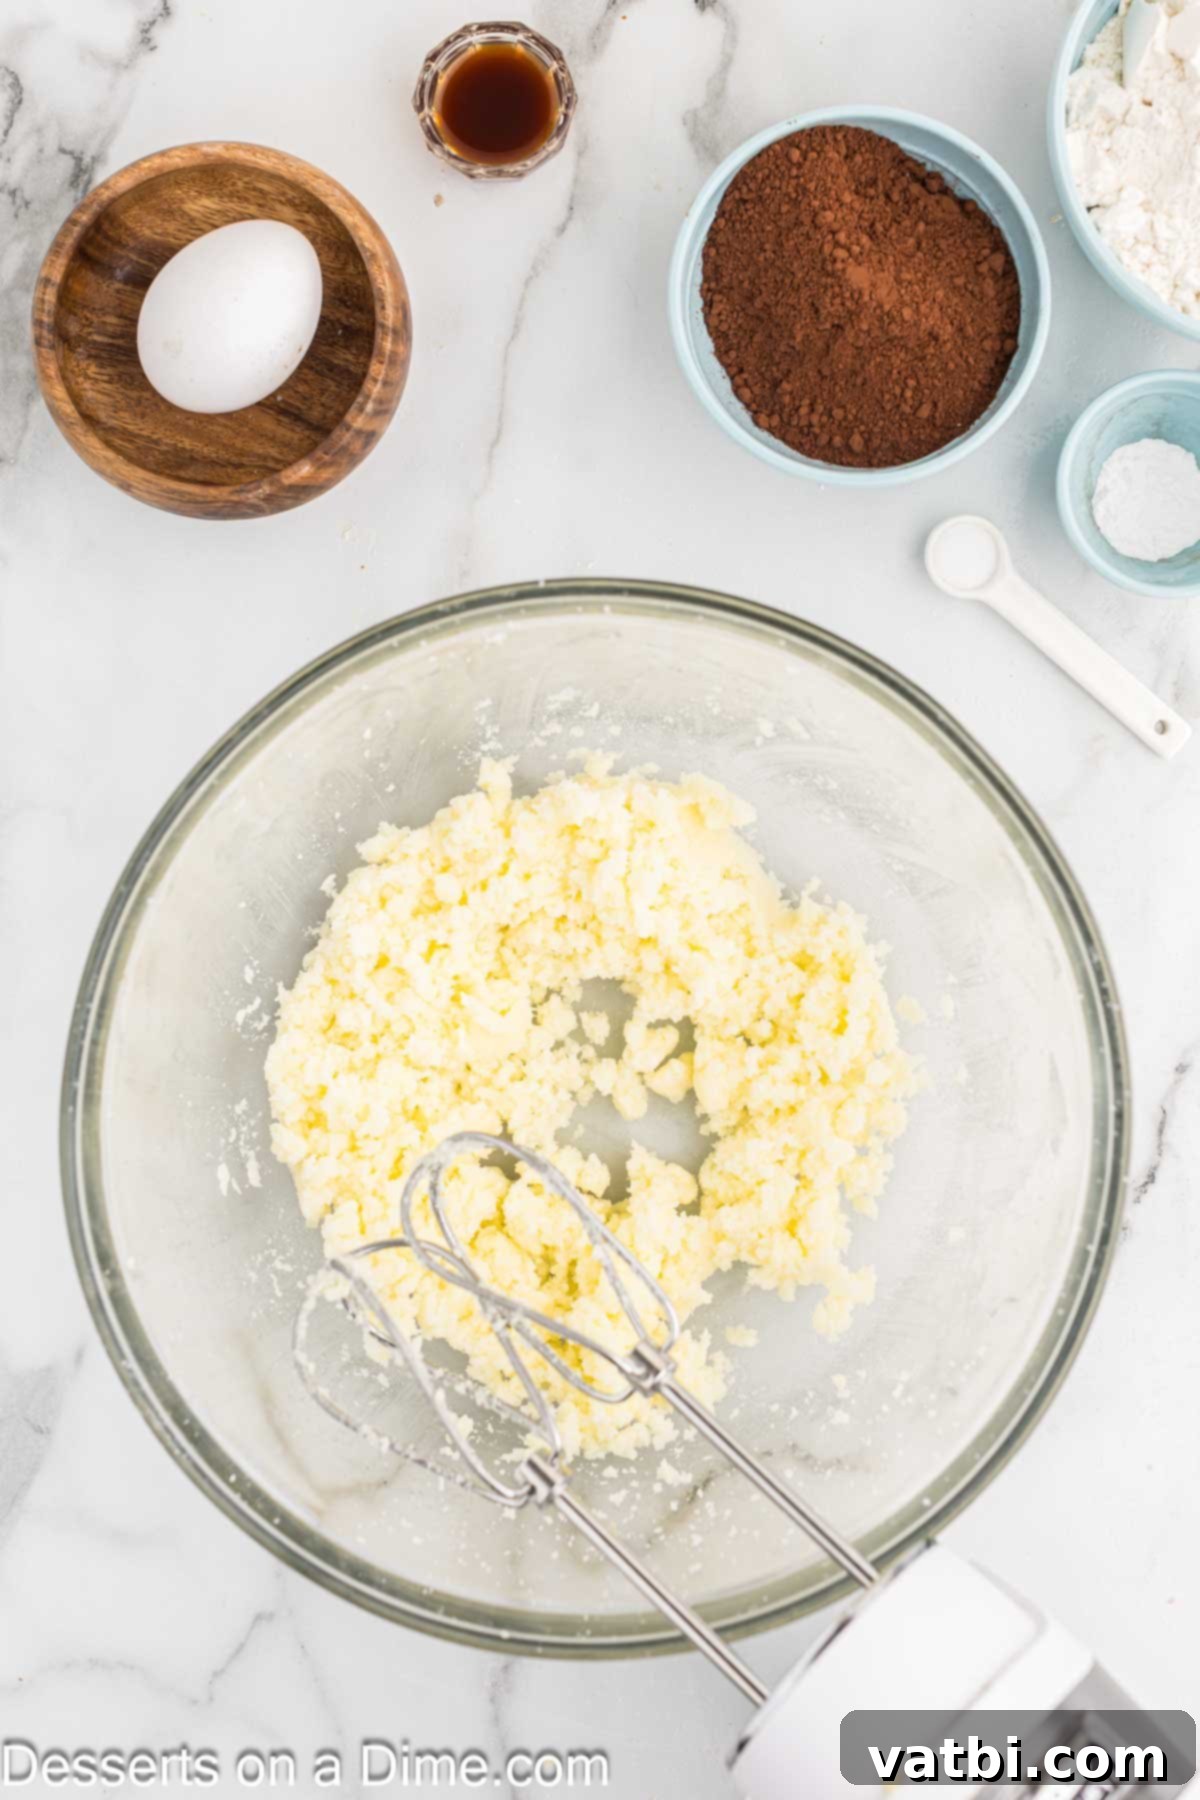
Step 1: Cream Wet Ingredients. Begin by creaming together the softened unsalted butter and granulated sugar in the bowl of a stand mixer fitted with the paddle attachment. If you don’t have a stand mixer, a hand mixer works perfectly well. Beat on medium speed until the mixture is light, fluffy, and pale in color, typically for 2-3 minutes. This process incorporates air, which is crucial for the cookies’ texture. Next, add the room temperature large egg and pure vanilla extract, continuing to beat until everything is thoroughly combined and smooth. Scrape down the sides of the bowl as needed to ensure all ingredients are well incorporated.
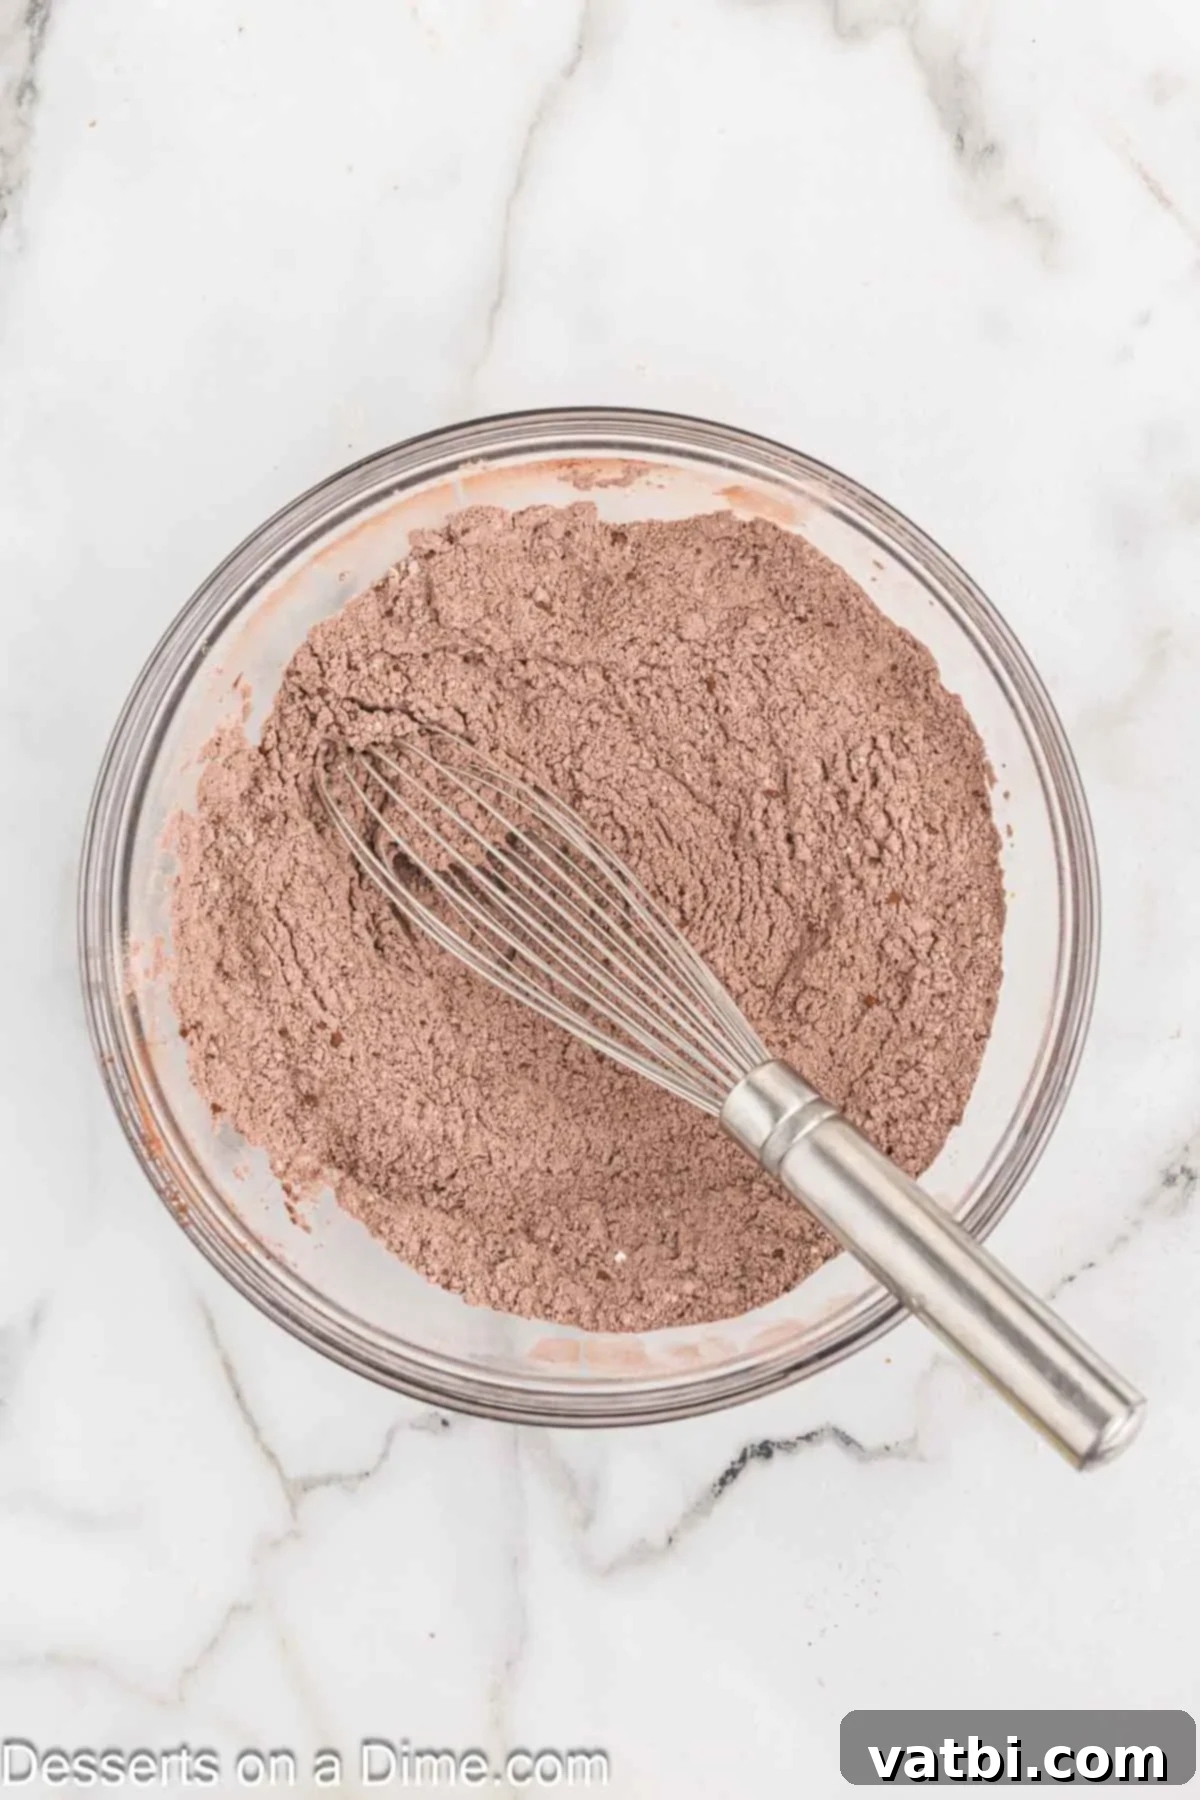
Step 2: Whisk Dry Ingredients. In a separate medium bowl, combine your dry ingredients: all-purpose flour, Dutch-processed cocoa powder, baking powder, and salt. Use a whisk to thoroughly mix these ingredients together. This step is vital to ensure that the leavening agent (baking powder) and flavor (cocoa) are evenly distributed throughout the dough, preventing pockets of unmixed ingredients in your final cookies.
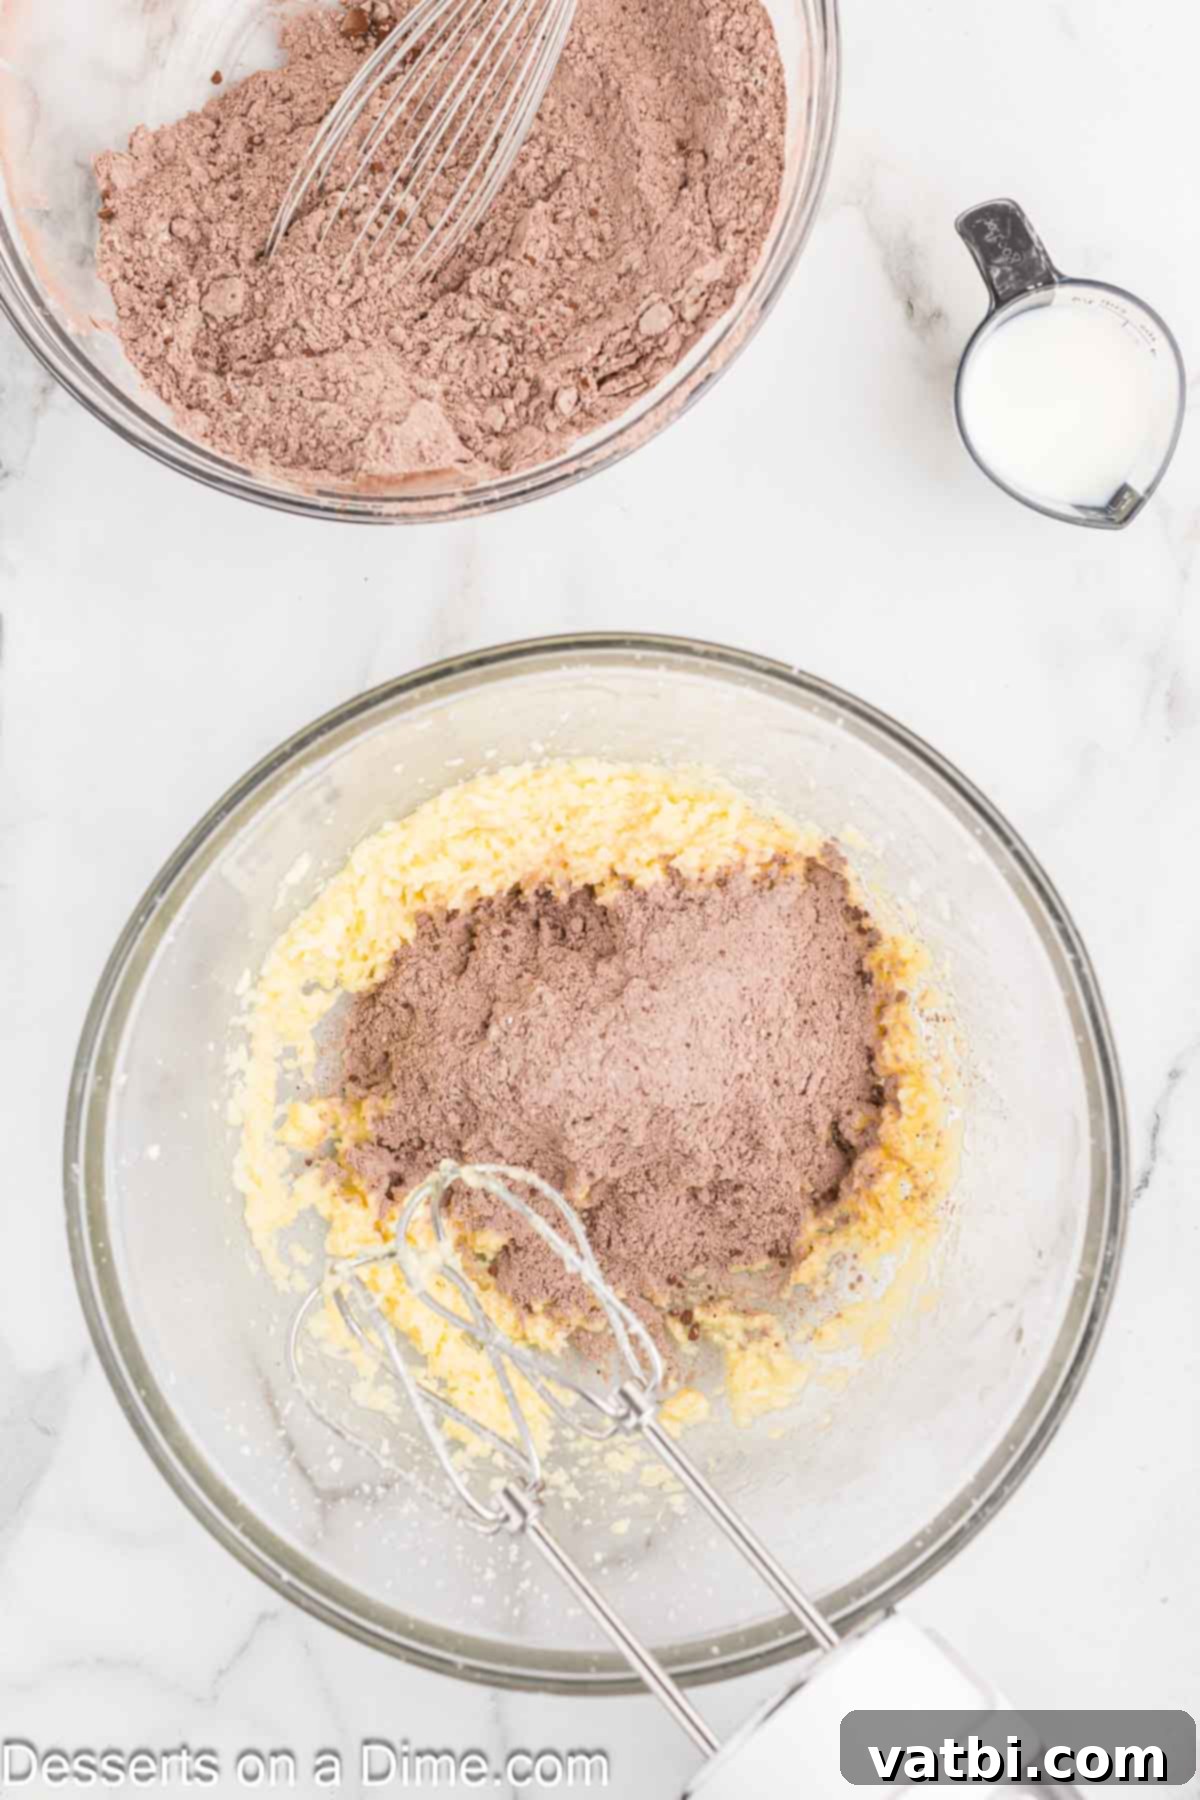
Step 3: Gradually Combine Wet and Dry. With your mixer on low speed, gradually add the dry ingredient mixture to the butter and sugar mixture. Do this in two or three additions, allowing the dry ingredients to partially incorporate before adding the next batch. This gradual addition helps prevent a cloud of flour from escaping and ensures a smooth, even blend.
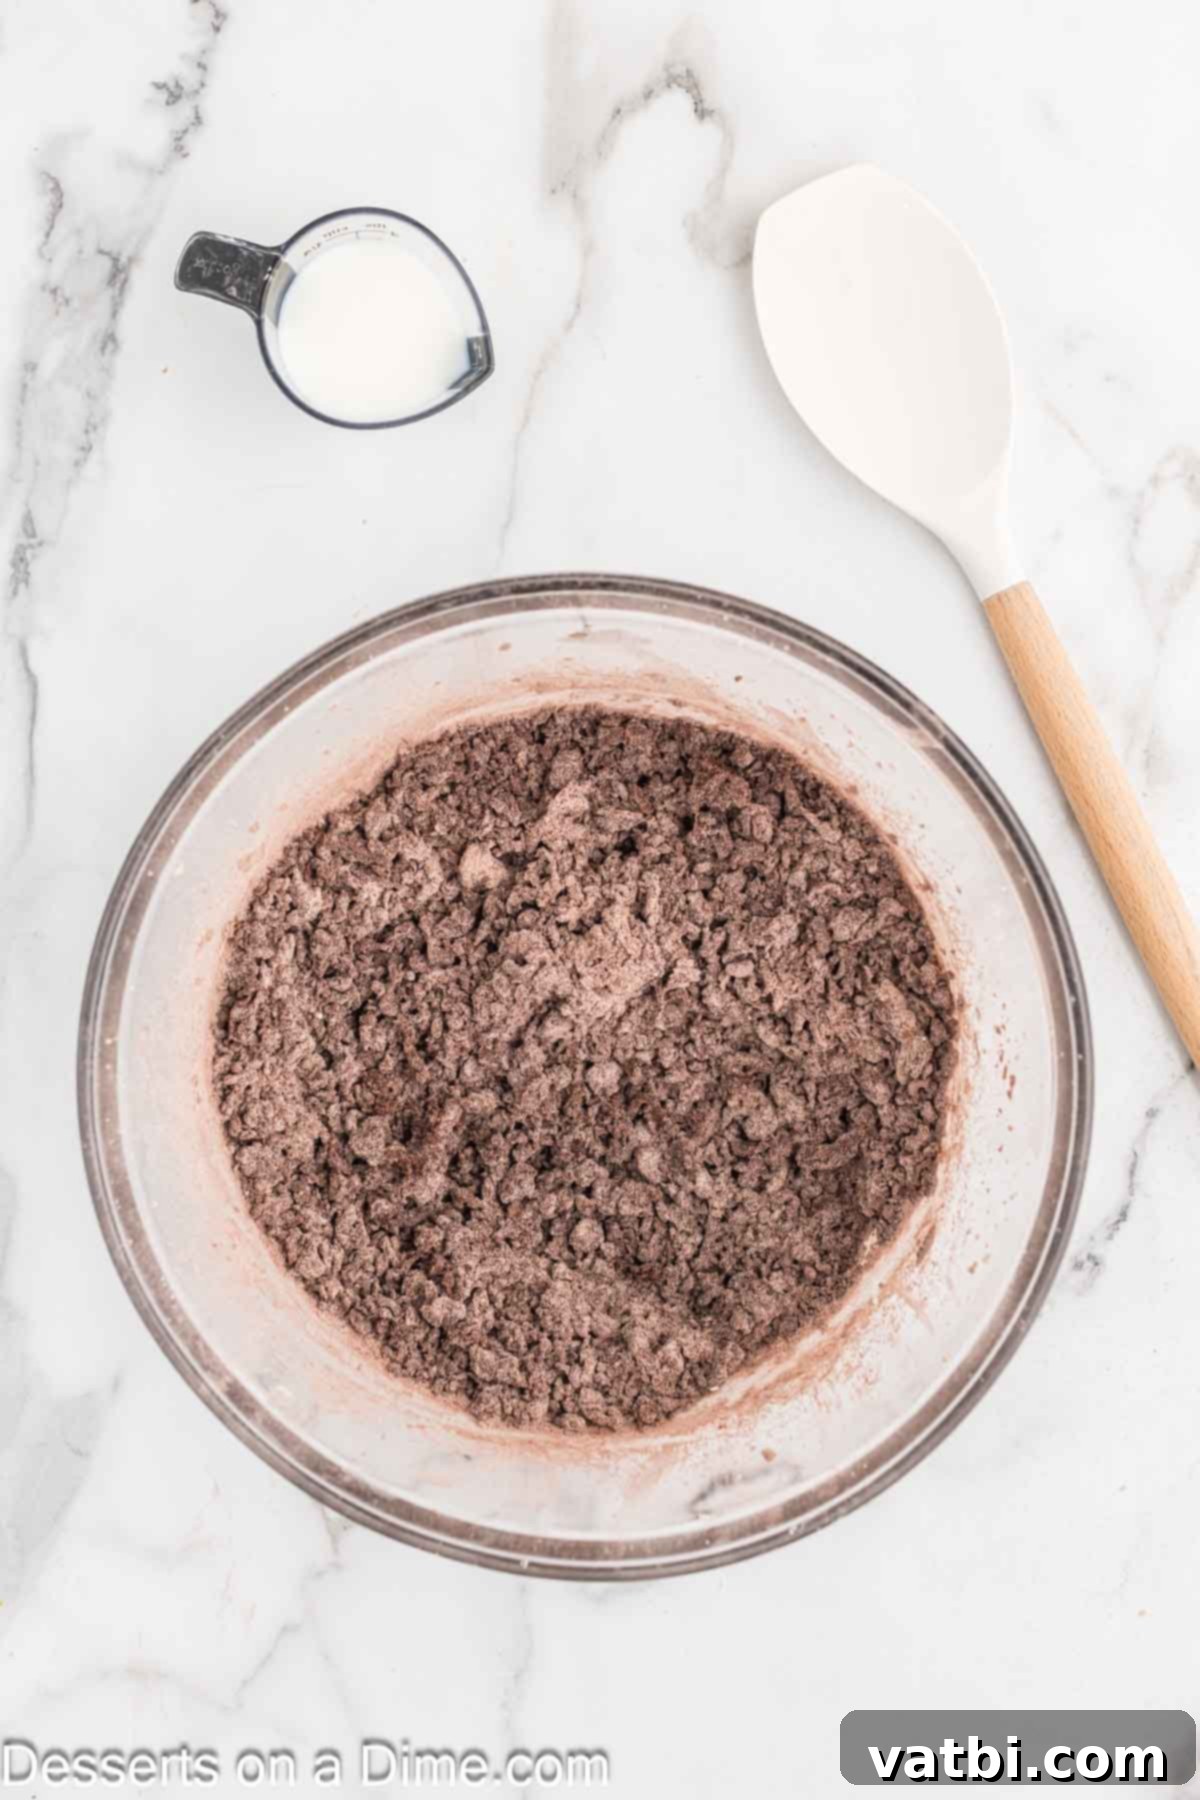
Step 4: Mix Until Just Combined. Continue to mix on low speed using your electric mixer until the ingredients are just combined and a cohesive dough forms. It’s crucial not to overmix the dough at this stage. Overmixing can develop the gluten in the flour too much, leading to tough, chewy cookies instead of the desired crispy texture. Stop mixing as soon as you no longer see streaks of dry flour.
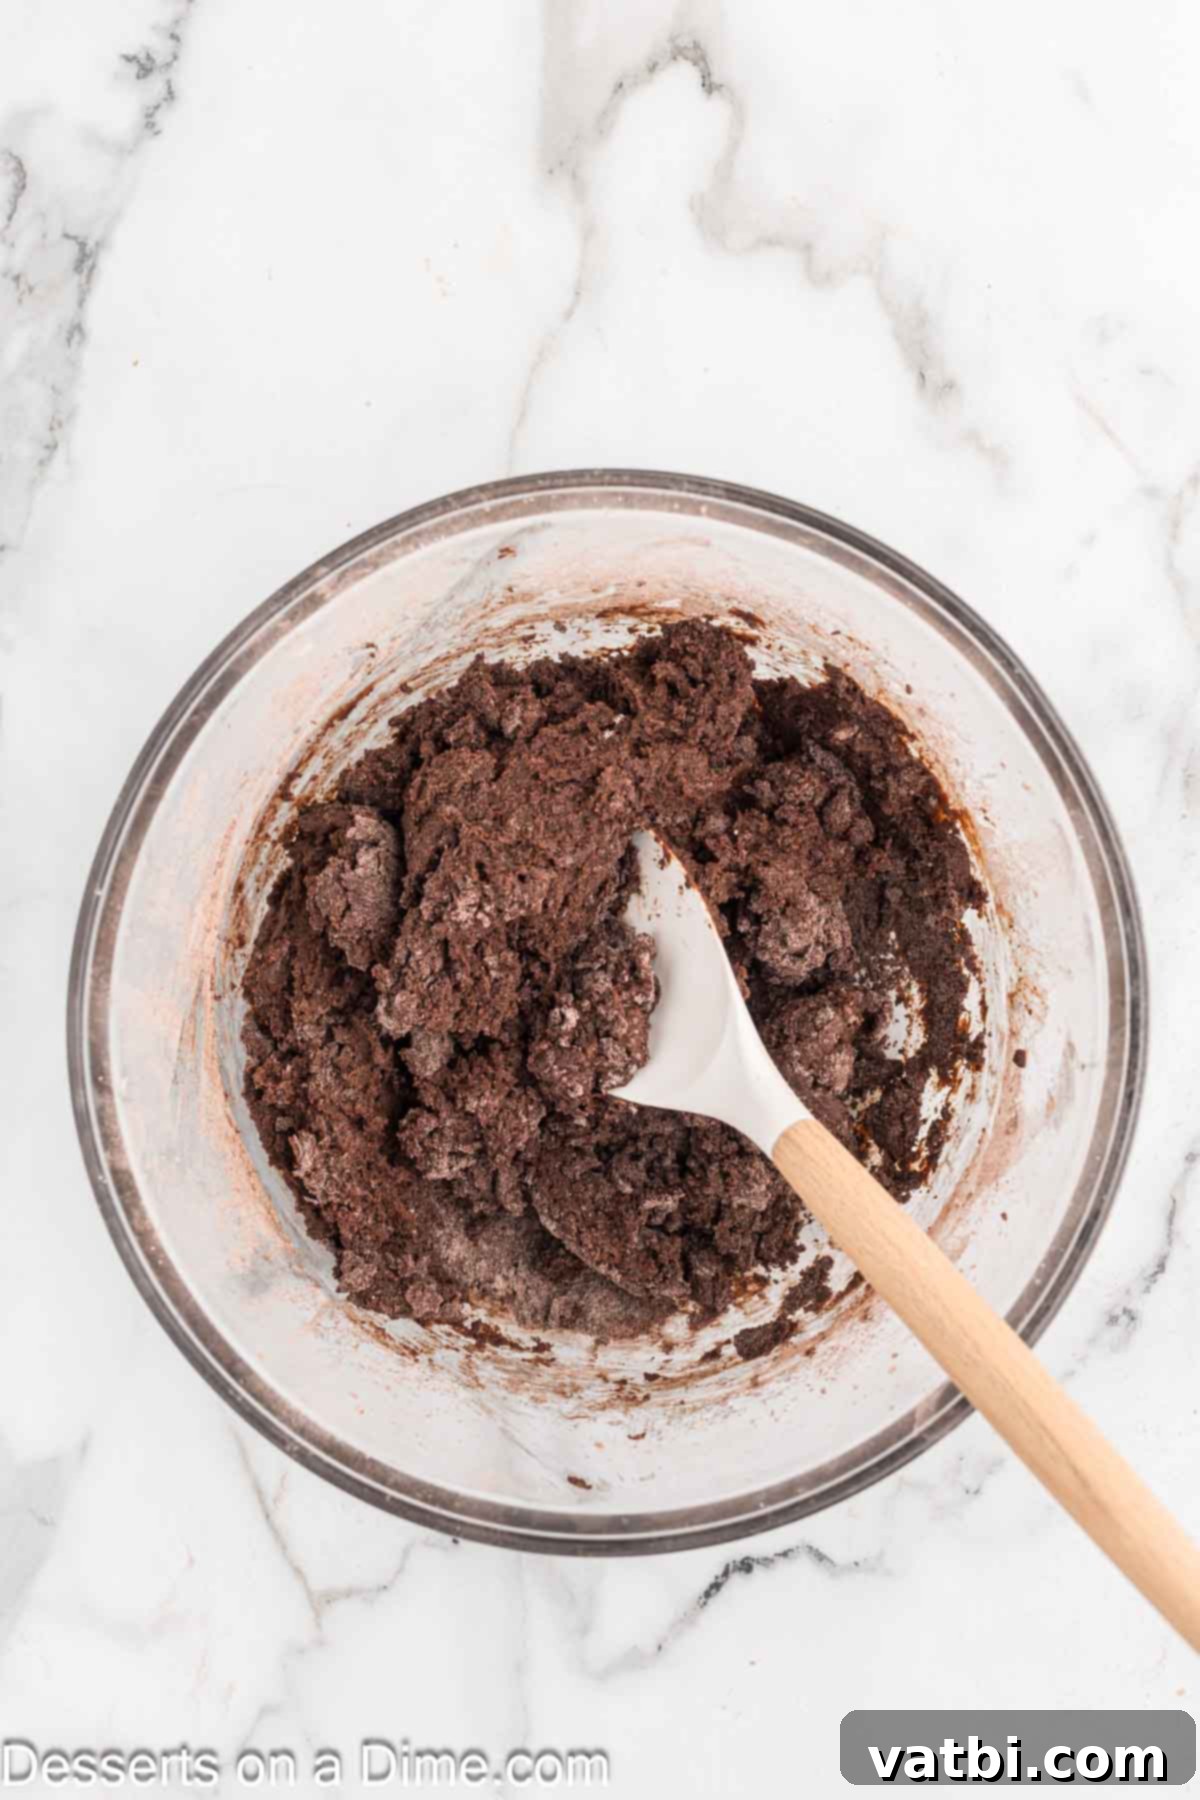
Step 5: Incorporate Milk. Finally, add the milk to the dough. Stir on low speed until it is fully incorporated and the dough has a uniform, slightly sticky consistency. The milk helps to achieve the desired moisture level and ensures the cookies will be tender inside while maintaining their crisp exterior.
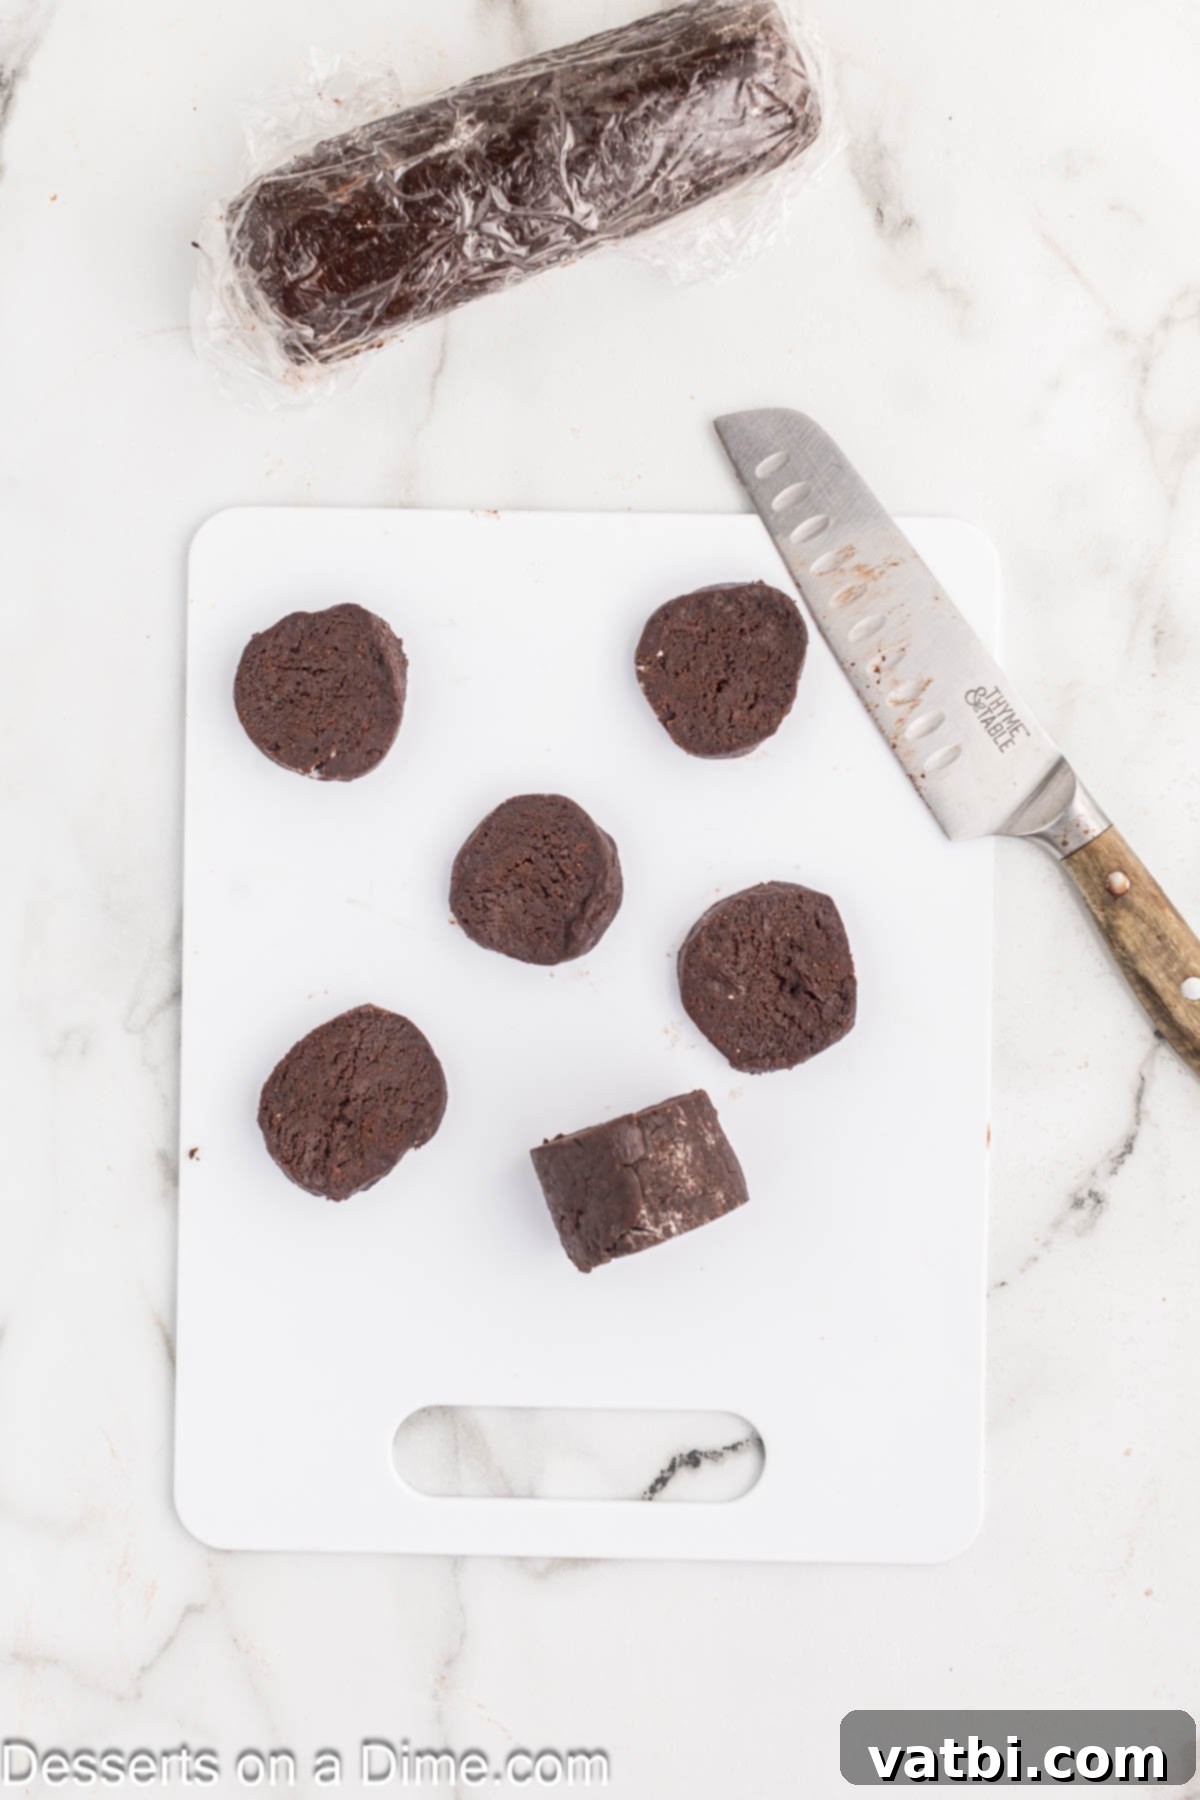
Step 6: Shape and Chill Dough. Divide the dough into two equal portions. On a lightly floured surface, shape each portion into a log, approximately 1 ½ inches in diameter. You can use a rolling pin to help achieve a uniform thickness if desired. Wrap each dough log tightly in plastic wrap and refrigerate for at least 2 hours, or preferably overnight. Chilling the dough is a critical step; it allows the butter to solidify, preventing the cookies from spreading too much during baking, and deepens the flavor. Once chilled, remove the logs from the refrigerator and, using a sharp knife, slice them into uniform ⅛-inch-thick rounds. Consistency in thickness is key for even baking.
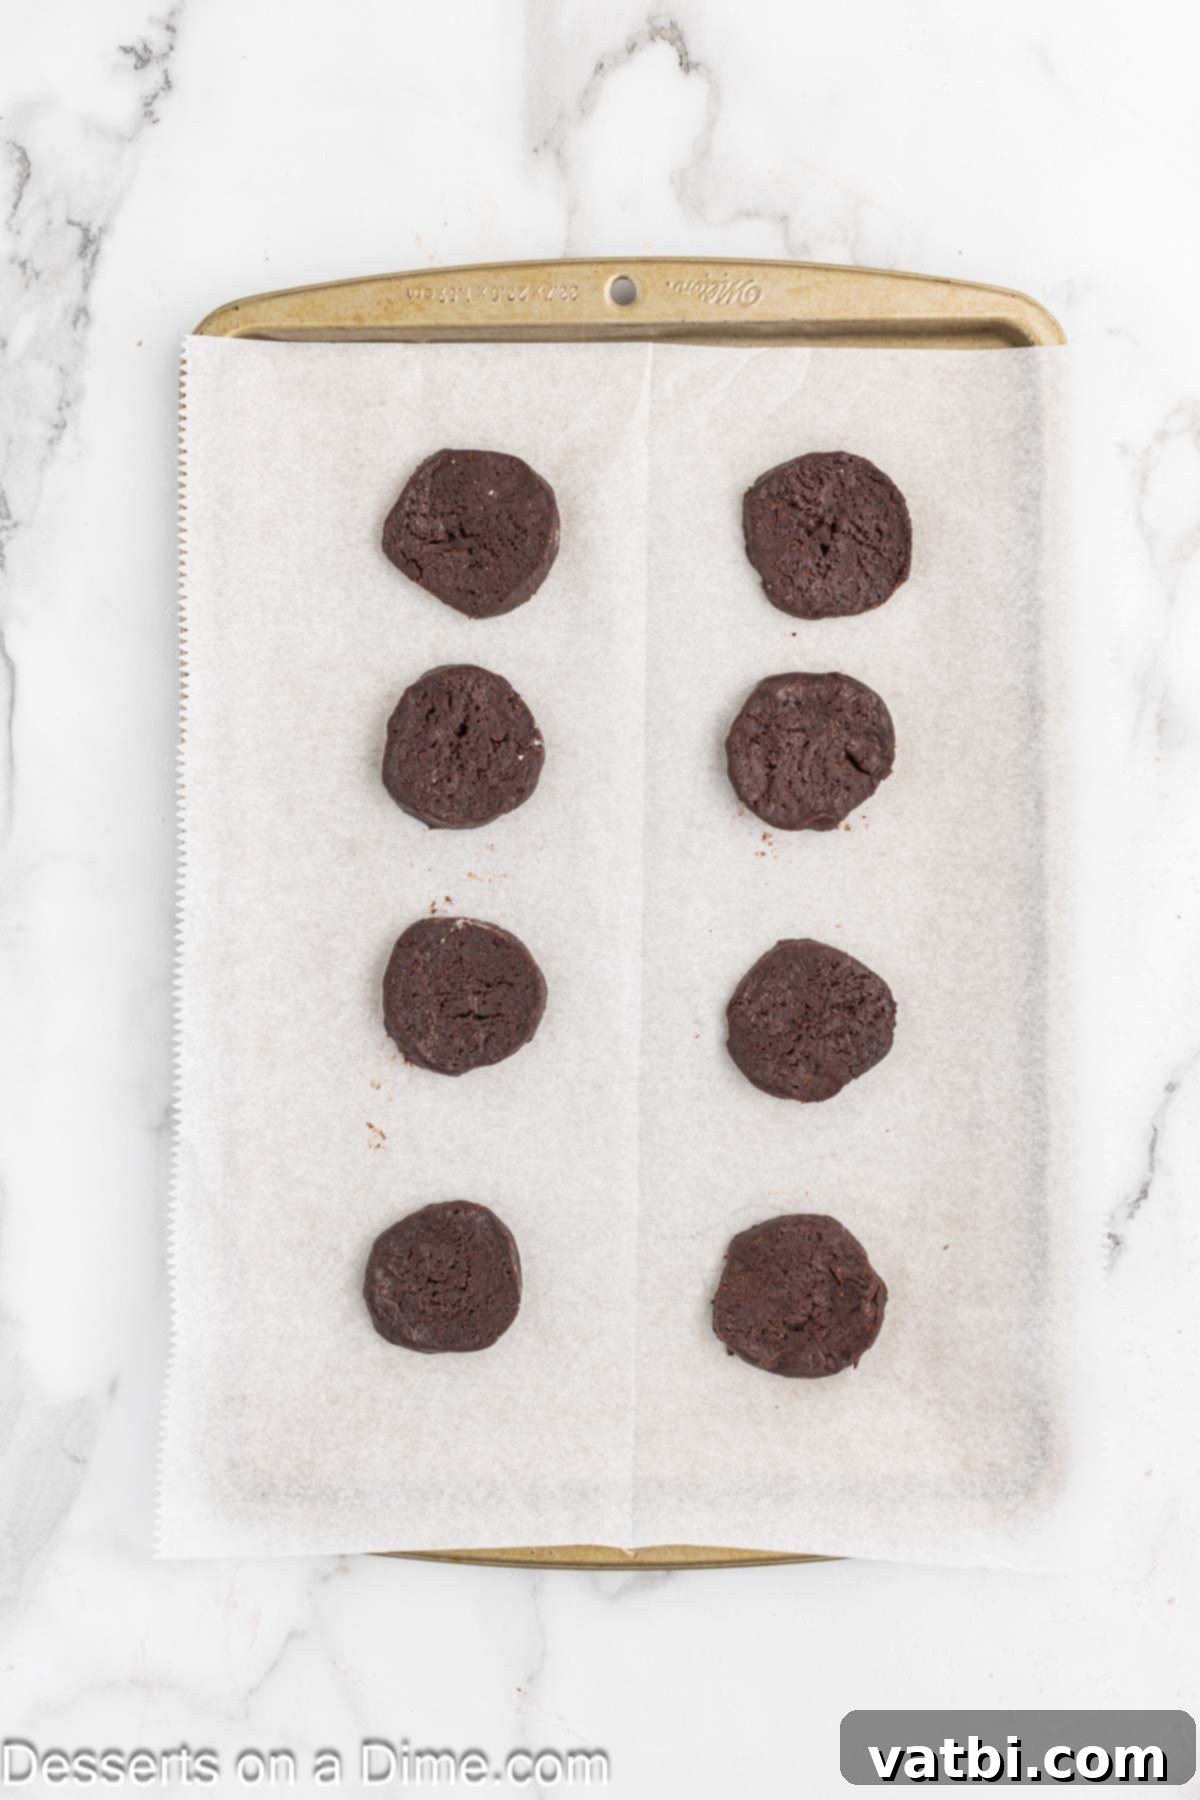
Step 7: Prepare for Baking. Preheat your oven to 350°F (175°C) and line your baking sheets with parchment paper. This prevents sticking and ensures easy cleanup. Carefully place the sliced cookie dough rounds onto the prepared baking sheets, leaving about an inch of space between each cookie to allow for slight spreading. Avoid overcrowding the baking sheets to ensure even heat distribution and uniform baking.
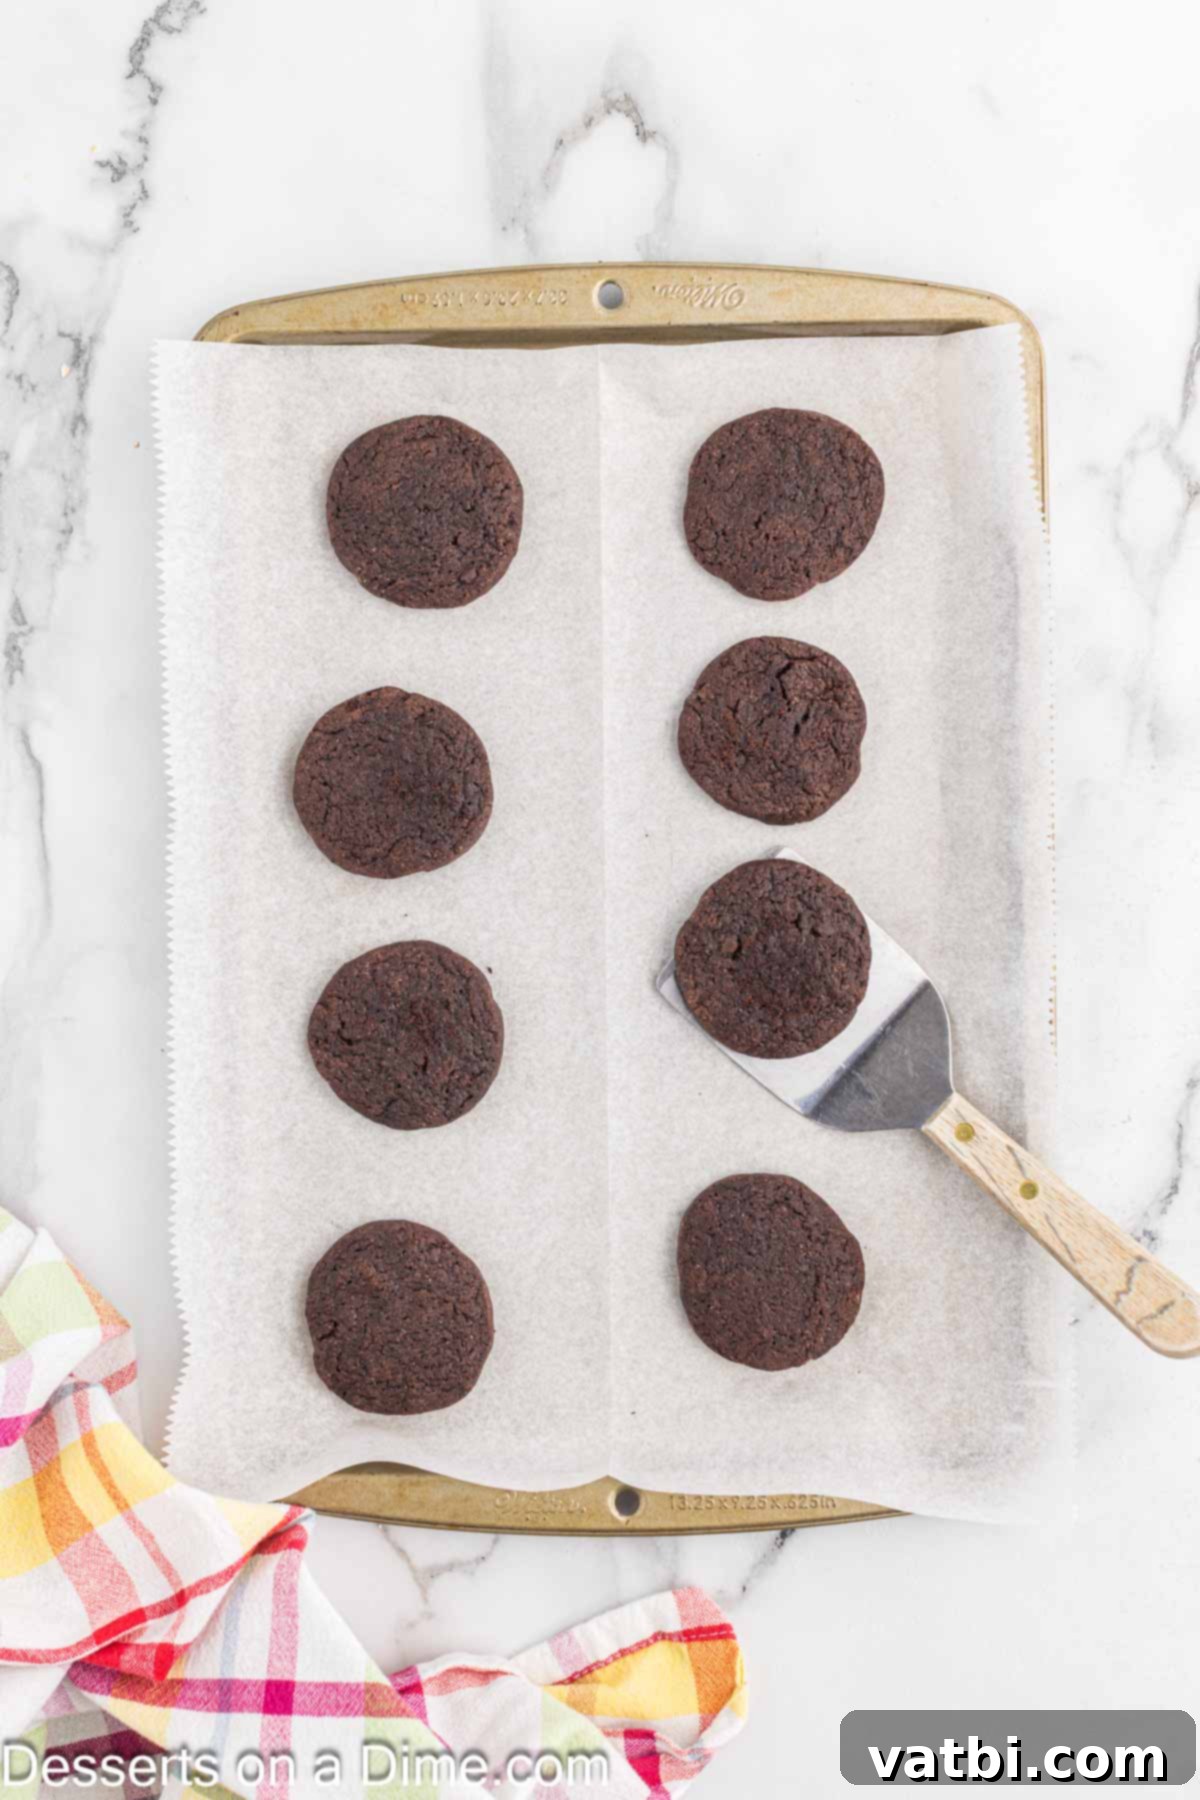
Step 8: Bake and Cool. Bake the cookies for 10-12 minutes. For even baking, be sure to rotate the pans halfway through the baking time. Since these cookies are dark, it can be tricky to tell when they are “golden brown,” so instead, look for them to be just set and appear firm to the touch. The edges should look slightly crisper. Once baked, remove the baking sheets from the oven and allow the cookies to cool on the hot sheet for about 5 minutes. This brief resting period helps them to firm up before transferring. Then, carefully move the cookies to a wire rack to cool completely. They will crisp up further as they cool, achieving that signature wafer texture. Enjoy your perfectly baked homemade chocolate wafer cookies!
Proper Storage for Fresh Homemade Cookies
Once your delicious homemade chocolate wafer cookies have cooled completely, proper storage is key to maintaining their crispness and extending their shelf life. Store any leftover cookies in an airtight container at room temperature. They will remain fresh and delightfully crisp for up to 1 week. To prevent them from sticking together and to maintain their individual texture, you can separate each layer of cookies with a sheet of parchment paper. For an extra touch that helps keep them soft and chewy for longer (if that’s your preference, though wafers are usually enjoyed crisp!), place a piece of fresh bread in the container with the cookies. The cookies will absorb moisture from the bread, keeping them from drying out too quickly. If you want to significantly extend the storage time, especially if you’ve made a large batch, you can also learn How to Freeze Cookie Dough for baking fresh cookies later, or even freeze the baked wafers themselves in a freezer-safe container for several months.
Pro Tips for Flawless Chocolate Wafer Cookies
Achieving bakery-quality chocolate wafer cookies at home is easier than you think with a few expert tips. These suggestions will help you navigate common baking challenges and ensure your cookies turn out perfectly every time.
- Embrace Unsweetened Cocoa: Given the generous amount of granulated sugar in this recipe, it’s vital to use unsweetened cocoa powder. This ensures a balanced flavor profile, preventing the cookies from becoming overly sweet and allowing the deep, bitter notes of chocolate to shine through. Sweetened cocoa would make these cookies cloyingly sweet.
- Dutch-Processed Cocoa is Key: For that iconic dark color and distinctively smooth, profound chocolate flavor that these wafers are celebrated for, Dutch-processed cocoa powder is non-negotiable. Its lower acidity and richer pigment contribute significantly to the authentic taste and appearance of traditional chocolate wafer cookies.
- Consider Cookie Cutters for Uniformity: While slicing logs is convenient, if you prefer perfectly uniform round cookies or wish to create different shapes, feel free to roll out the chilled dough to about ⅛-inch thickness and use your favorite round (or other shaped) cookie cutters. This method can add a fun, personalized touch to your wafers.
- Never Skip Chilling the Dough: This step is absolutely crucial for the success of your cookies. Chilling the dough for at least 2 hours (or overnight) allows the butter to firm up, which prevents the cookies from spreading too much in the oven. It also makes the dough much easier to handle, slice, and form into neat cookies, contributing to their crisp texture.
- Avoid Overbaking: Chocolate wafer cookies are dark, making it challenging to visually determine when they are “golden brown.” Instead of looking for color, focus on texture. Once the tops of the cookies appear set and firm to the touch, they are ready to be removed from the oven. Overbaking will make them dry and brittle.
- Maintain Consistent Dough Thickness: For optimal results and even baking, the cookie dough slices should be uniformly ⅛-inch thick. Be careful not to slice them too thin, as they might become excessively fragile and break easily, or too thick, which could result in a softer, chewier cookie rather than a crisp wafer.
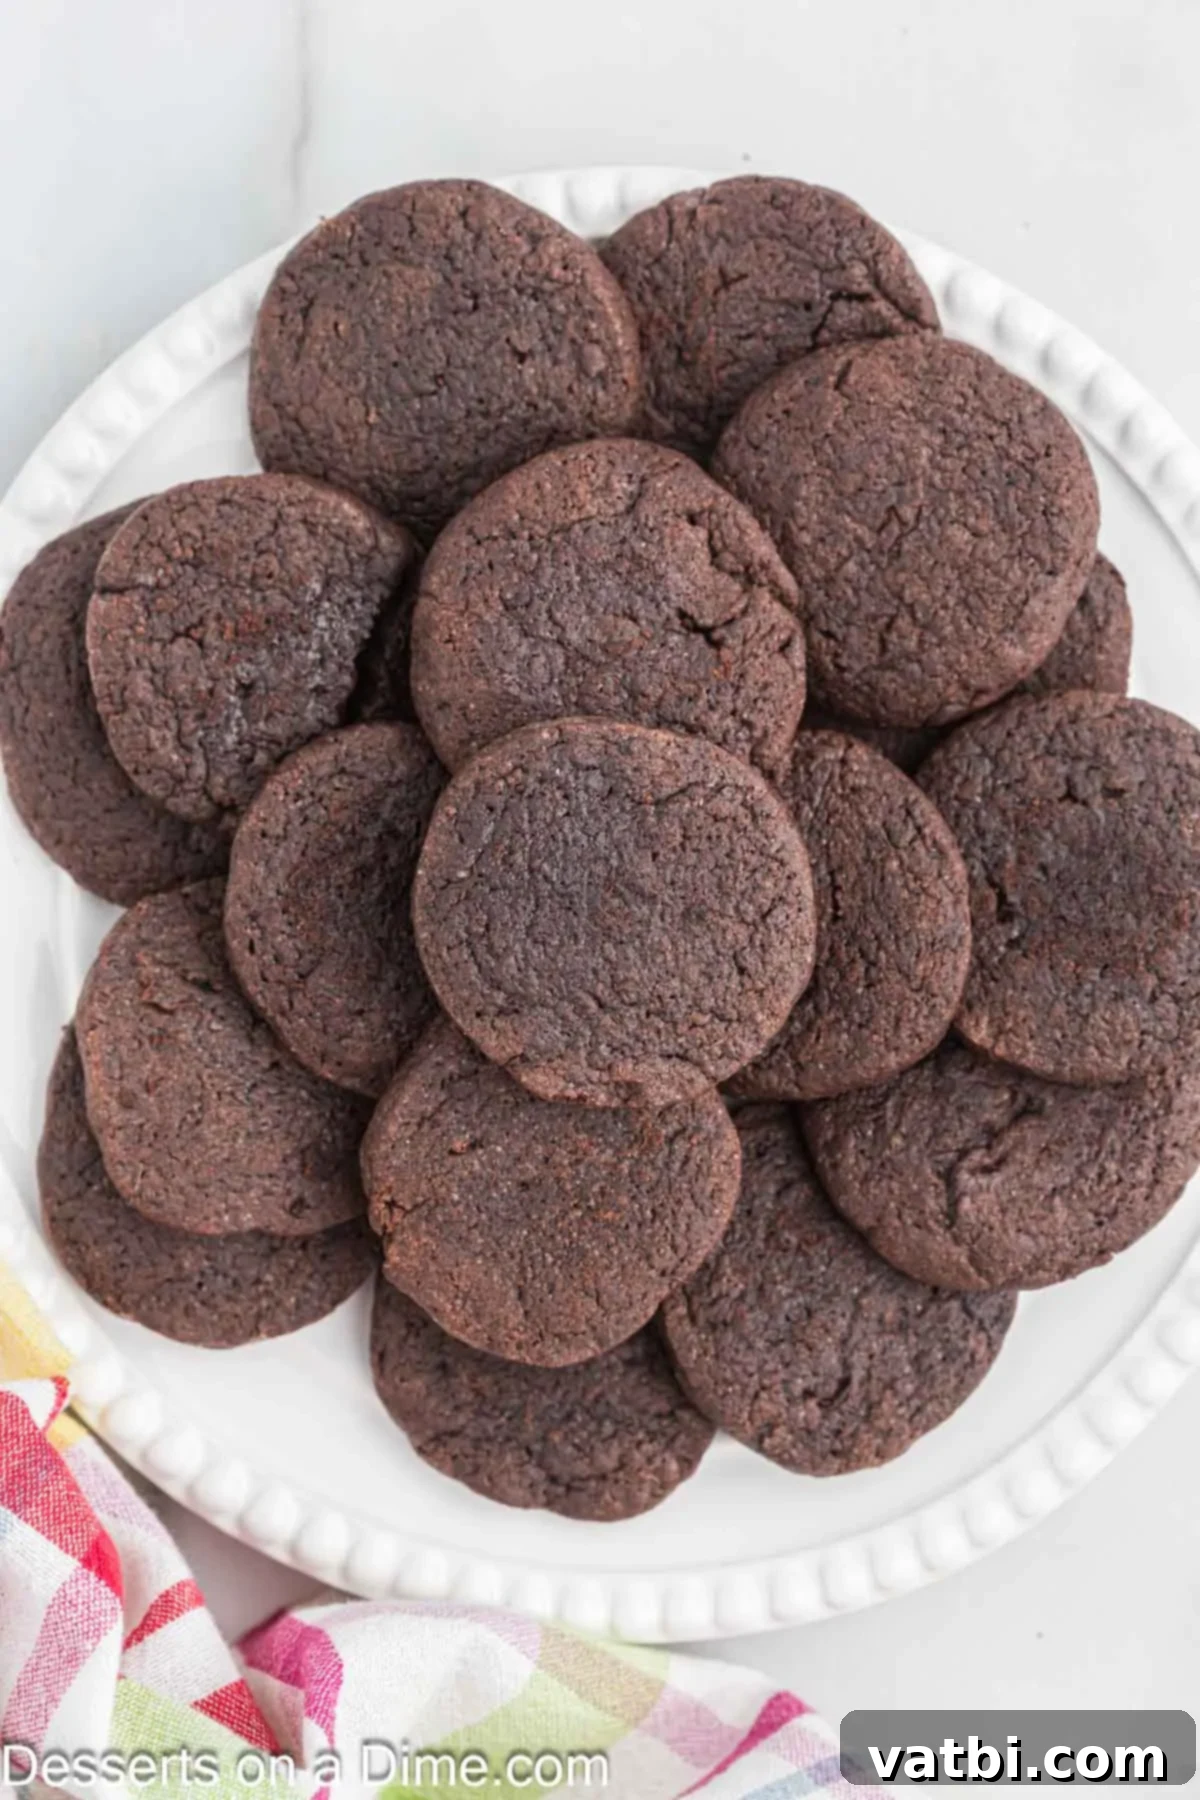
More Easy Chocolate Cookie Recipes
Cookies
Triple Chocolate Cookies Recipe
Cookies
Chocolate Cake Mix Cookies
Cookies
Chocolate Peppermint Cookies
This recipe for homemade chocolate wafer cookies is incredibly easy to follow and delivers an unbeatable chocolate flavor that will impress everyone. Give it a try, and you’ll quickly discover why these crispy, rich cookies are a must-have for any dessert lover. We’d love to hear your thoughts! Please leave a comment below and don’t forget to give it a star rating.
Pin
Chocolate Wafer Cookies
Ingredients
- 1 1/2 cups All Purpose Flour
- 1/2 cup Dutch Processed Cocoa Powder
- 3/4 teaspoons Baking Powder
- 1 Large Egg room temperature
- 1 cup Granulated Sugar
- 1 teaspoon Vanilla Extract
- 1/4 teaspoon Salt
- 1/2 cup Unsalted Butter softened
- 3 Tablespoons Milk
Instructions
-
Beat together the softened butter and granulated sugar in a large bowl using a hand-held mixer or a stand mixer. Continue beating until the mixture is light, creamy, and pale in color, typically for 2-3 minutes. Then, add the room-temperature egg and vanilla extract, mixing until everything is fully combined and smooth. Remember to scrape down the sides of the bowl to ensure all ingredients are incorporated.
-
In a separate medium bowl, whisk together the all-purpose flour, Dutch-processed cocoa powder, baking powder, and salt. Whisk well to ensure all dry ingredients are evenly distributed, which is important for uniform flavor and texture in the final cookies.
-
With the mixer on low speed, gradually add the whisked dry ingredient mixture to the butter mixture. Add it in two or three batches, mixing only until just combined after each addition. Be careful not to overmix the dough, as this can lead to tough cookies. Stop mixing as soon as no dry streaks of flour are visible.
-
Next, pour in the milk and continue to stir on low speed until it is fully incorporated into the chocolate dough. The dough should be cohesive and slightly sticky.
-
Divide the cookie dough into 2 equal portions and shape each into logs approximately 1 ½ inches in diameter. Wrap each log tightly in plastic wrap and refrigerate for at least 2 hours. Chilling the dough is essential for preventing excessive spreading during baking and making the dough easier to slice cleanly.
-
While the dough is chilling, preheat your oven to 350 degrees Fahrenheit (175°C). Line your baking sheets with parchment paper to prevent sticking and ensure easy removal of the baked cookies.
-
Once the dough is adequately chilled, remove the logs from the refrigerator. Using a sharp knife, slice the logs into uniform ⅛-inch thick rounds. This consistency is crucial for even baking. Place the sliced cookie dough rounds onto the prepared baking sheets, leaving a small space between each cookie.
-
Bake the cookies for 10-12 minutes. Be sure to rotate the pans halfway through the baking time to ensure even cooking. Since these cookies are dark in color, you won’t see a “golden brown” hue; instead, bake until the cookies are just set and appear firm to the touch. The edges should look slightly crisp.
-
Allow the freshly baked cookies to sit on the baking sheet for 5 minutes after removing them from the oven. This helps them to firm up slightly before you move them. Then, carefully transfer the cookies to a wire rack to cool completely. As they cool, they will achieve their signature crisp wafer texture. Enjoy!
Recipe Notes
Nutrition Facts
Pin This Now to Remember It Later
Pin Recipe
