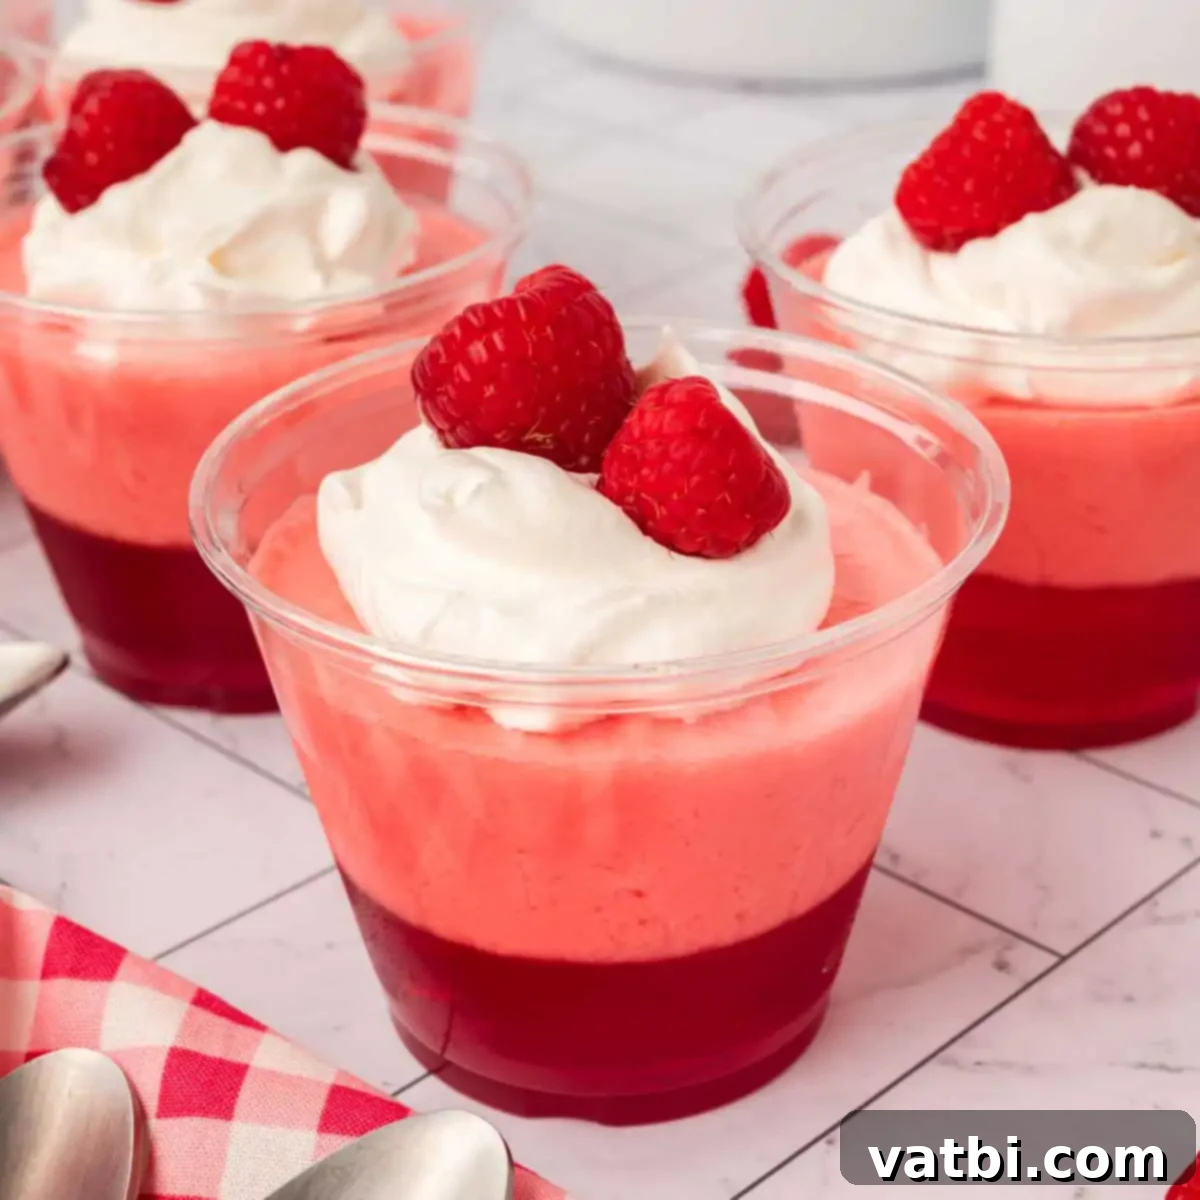
The Ultimate Jello Parfait Recipe: Easy, Layered, and Refreshingly Delicious
Discover how to create the ultimate **Jello Parfait**, a truly irresistible dessert featuring vibrant, colorful layers of fruity gelatin, lusciously creamy whipped topping, and an optional garnish of fresh fruit. This delightful treat is remarkably *easy to make* and perfectly suited for any gathering, from casual family dinners to elaborate holiday parties.
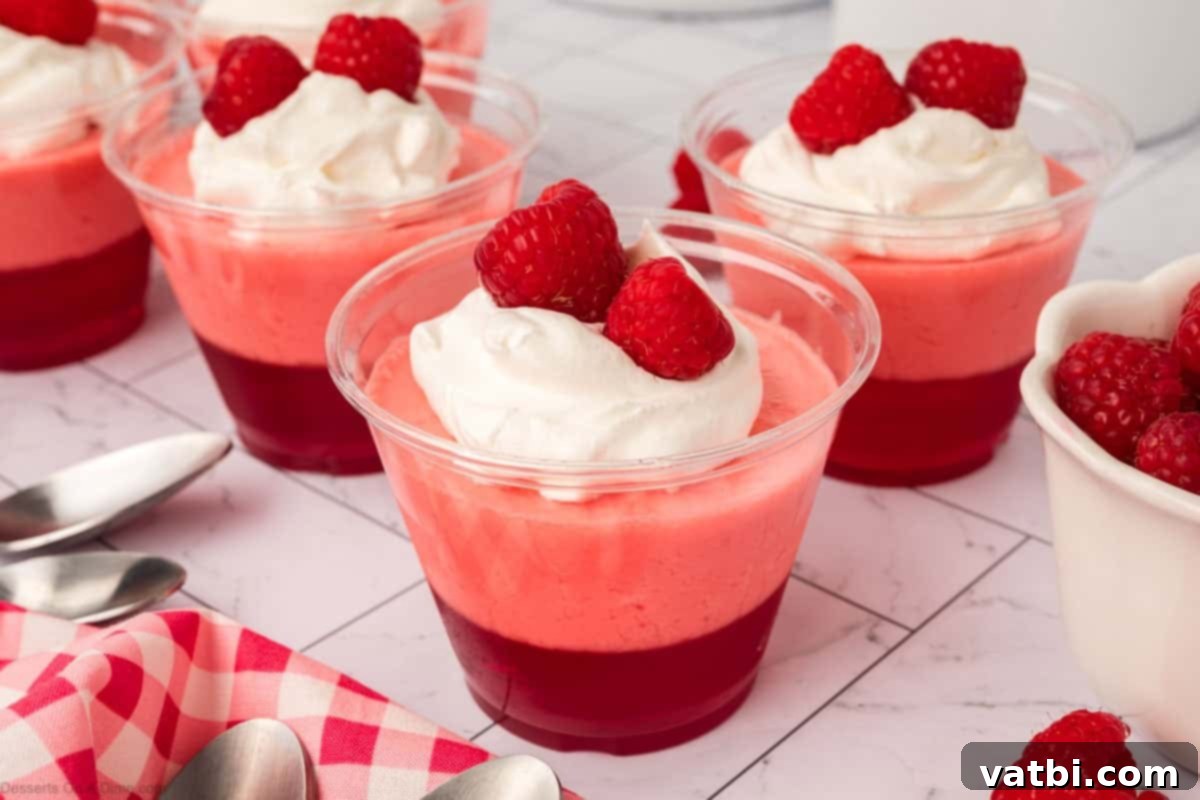
Bright, brilliantly colorful, and irresistibly creamy, Jello parfaits stand out as the perfect layered dessert for virtually any occasion. Crafted with sweet, fruity gelatin, a smooth and airy whipped topping, and often adorned with fresh fruit, these easy-to-prepare treats are just as enjoyable to consume as they are visually appealing. Whether you’re planning an elegant holiday party, a lively family gathering, or simply seeking a quick and delightful no-bake dessert to satisfy a sweet craving, Jello parfaits offer a refreshing, nostalgic, and utterly charming twist that is guaranteed to please everyone. Their vibrant appearance and delightful texture make them an instant favorite.
This recipe is celebrated as one of the very best Jello Desserts and exemplifies the ease of truly simple dessert recipes. If you enjoy experimenting with Jello, you might also be keen to try our Jello Cookies for another fantastic and fun dessert option.
Table of contents
- Why We Love This Easy Jello Parfait Recipe
- Key Ingredients for Your Jello Parfait
- Detailed Step-by-Step Instructions
- Variations and Serving Suggestions
- Storage Tips for Jello Parfaits
- Expert Pro Tips for Perfect Parfaits
- Frequently Asked Questions
Why We Love This Easy Jello Parfait Recipe
There are countless reasons why this Jello parfait recipe has become a cherished staple in many households. Its simplicity, adaptability, and undeniable charm make it a standout dessert:
- Simple to Make: This recipe truly lives up to its “easy” label. It requires only a handful of basic, readily available ingredients and minimal preparation, making it a hassle-free option for even beginner bakers. No complicated techniques or specialized equipment needed—just simple mixing and chilling.
- Totally Customizable: One of the most enjoyable aspects of this dessert is its incredible versatility. You can effortlessly mix and match your favorite Jello flavors, experiment with different colors, and add a variety of delicious toppings. This allows you to create a truly unique and pretty dessert tailored to any theme or personal preference.
- Party-Perfect: Jello parfaits are a fantastic choice for any celebratory occasion. Their individual servings make them ideal for holidays, birthday parties, potluck gatherings, or even a casual backyard BBQ. They are easy to transport and serve, ensuring your guests are impressed with minimal effort.
- Light and Refreshing: In contrast to many heavy desserts, Jello parfaits offer a wonderfully cool, sweet, and incredibly light treat. They are perfect for warmer months or as a refreshing palate cleanser after a rich meal, providing sweetness without being overly indulgent.
- Kid-Approved: The vibrant colors and distinct layers inherent in these parfaits make them an instant hit with children. The playful appearance combined with the sweet, fruity taste ensures that even the pickiest eaters will be eager to dig in. They are also fun to help assemble!
- No Oven Needed: For those who prefer no-bake options or want to keep the kitchen cool, especially during hot summer days, this dessert is a dream come true. Everything is prepared on the stovetop and then chilled, eliminating the need for any baking.
- Health-Friendly Options: This recipe is surprisingly adaptable for various dietary needs. You can easily opt for sugar-free Jello and light whipped topping to create a lower-calorie version. Additionally, using dairy-free cream cheese and whipped topping alternatives can make it suitable for those with dairy restrictions, broadening its appeal.
Key Ingredients for Your Jello Parfait
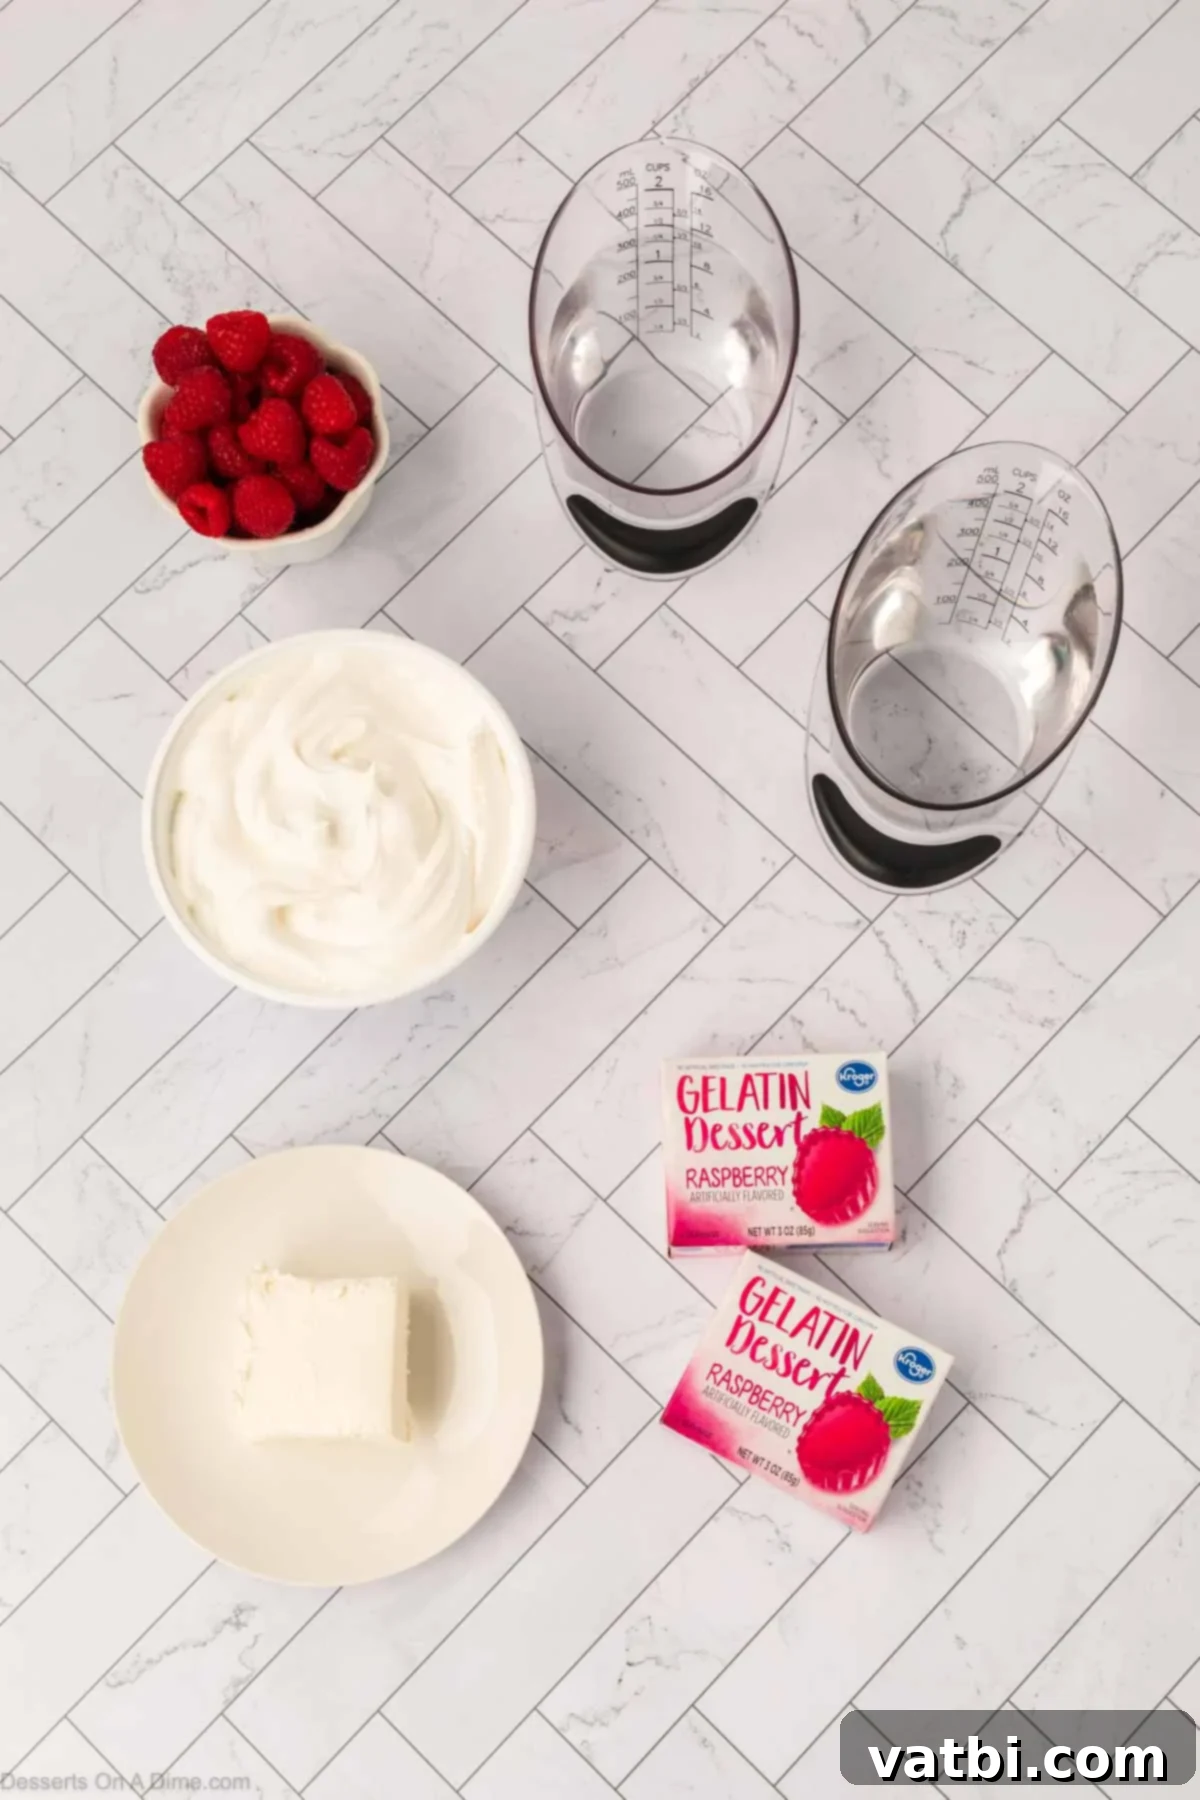
Each ingredient plays a crucial role in building the delightful texture and flavor of these parfaits:
- Raspberry Jello: This provides the primary vibrant color and a wonderfully tangy-sweet, fruity flavor that forms the base of the dessert. While raspberry is a classic choice, feel free to experiment with other fruit flavors like strawberry, cherry, or lime for different color and taste profiles.
- Cream Cheese: Incorporated into one of the layers, cream cheese adds a rich, velvety creamy texture and a subtle tanginess. This tang helps to beautifully balance the sweetness of the gelatin and whipped topping, creating a more complex and satisfying flavor profile. Ensure it’s softened to avoid lumps.
- Cool Whip (Whipped Topping): A pre-made whipped topping like Cool Whip is used to create light, airy, and incredibly smooth layers within the parfait and as a final garnish. It simplifies the process by eliminating the need to whip heavy cream, though homemade whipped cream can also be used for a richer taste.
- Boiling Water: Essential for properly dissolving the Jello powder. Using water at a rolling boil ensures that the gelatin granules fully dissolve, resulting in a perfectly smooth and evenly set Jello layer without any grainy texture.
- Cold Water: Added after the boiling water, cold water helps to quickly cool down the gelatin mixture, which is crucial for the Jello to set properly and efficiently. It also ensures the layers are firm and distinct.
- Fresh Raspberries (Optional): Fresh fruit, such as juicy raspberries, serves as a fantastic topping. It enhances the fruity flavor, adds a lovely textural contrast, and provides an appealing pop of natural color, making the dessert even more inviting. Other berries like strawberries or blueberries also work beautifully.
Detailed Step-by-Step Instructions for Your Jello Parfait
Follow these simple steps to construct your beautiful and delicious Jello parfaits. Precision in chilling each layer is key to achieving those perfectly distinct lines.
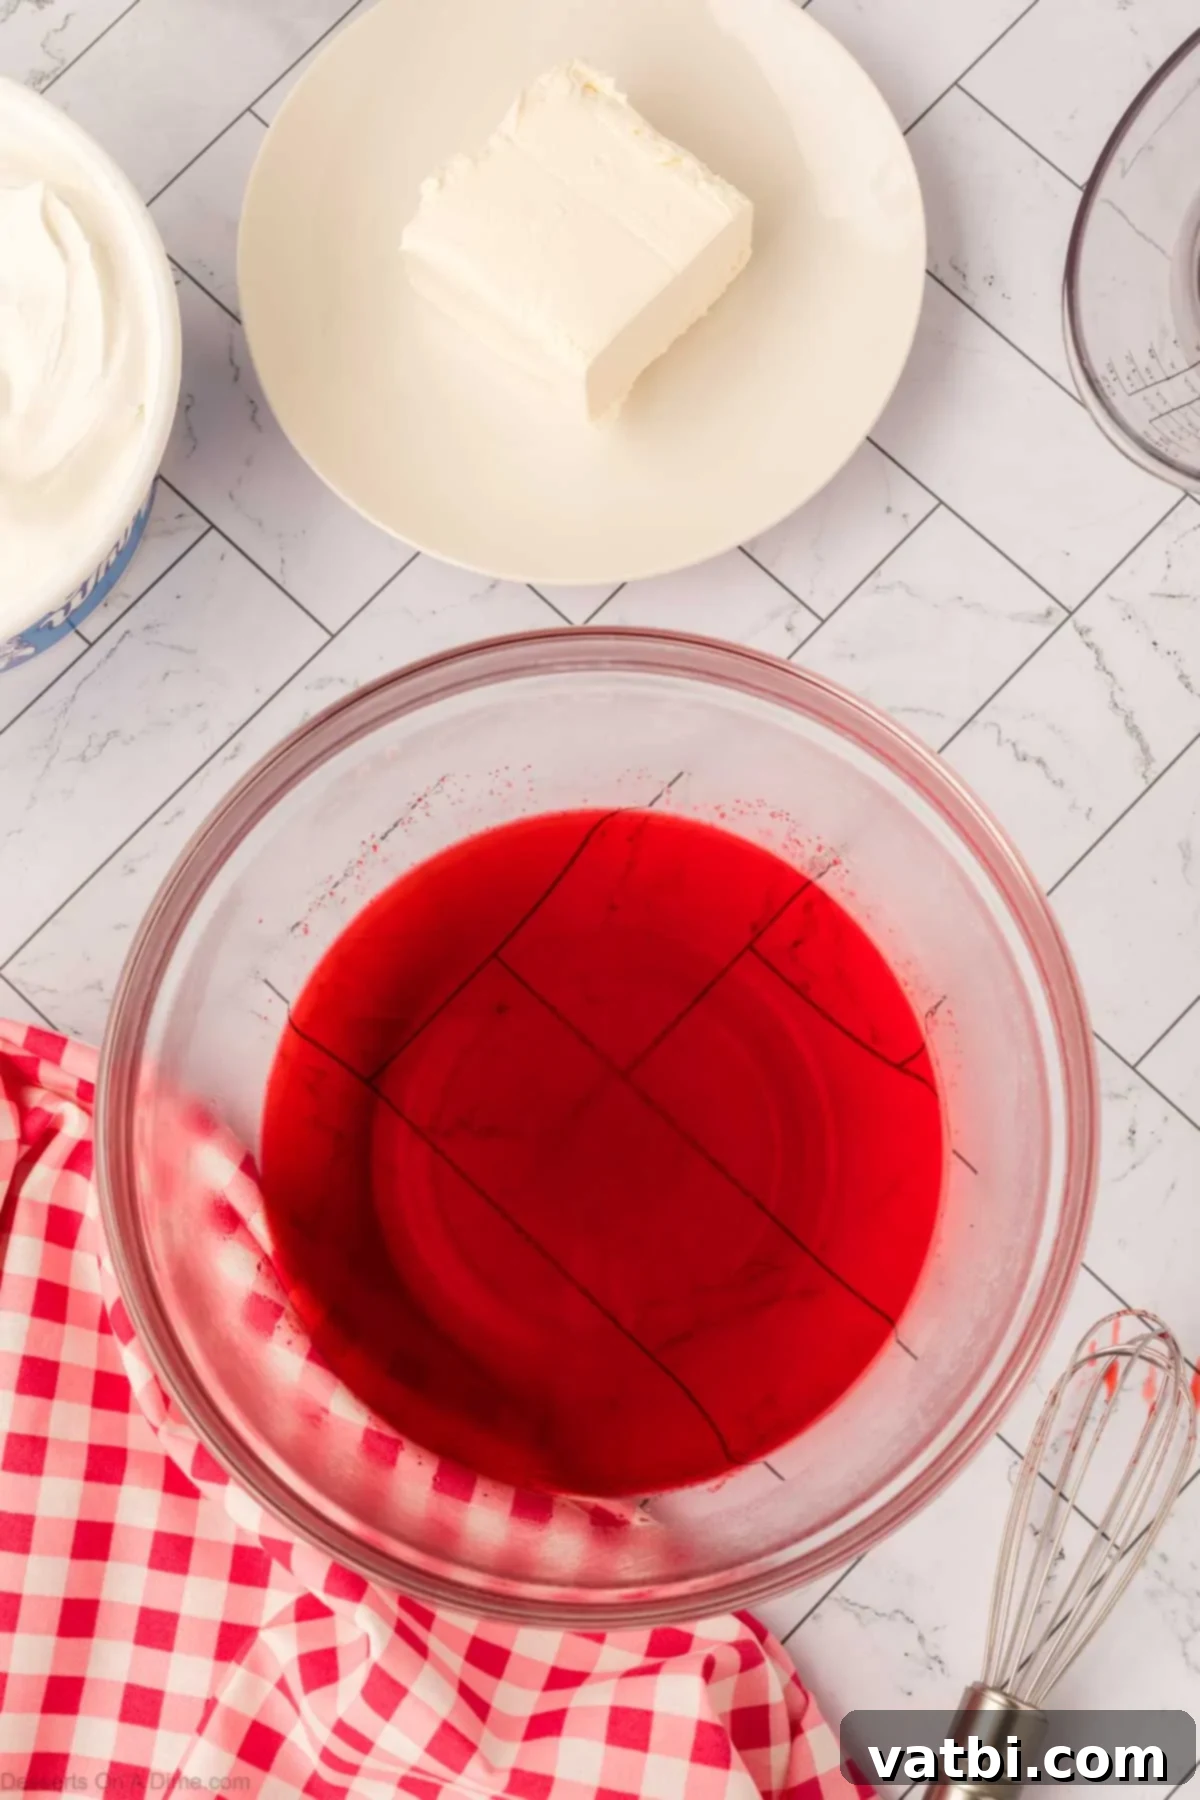
Step 1: Prepare the First Jello Layer. Begin by carefully dissolving one 3-ounce box of Raspberry Jello powder in 1 cup of freshly boiling water. Stir continuously with a spoon or whisk until the gelatin powder is completely blended and no granules remain. This usually takes about 2 minutes. Once fully dissolved, pour in 1 cup of cold water and stir again thoroughly to ensure it’s well mixed and cooled down for setting.
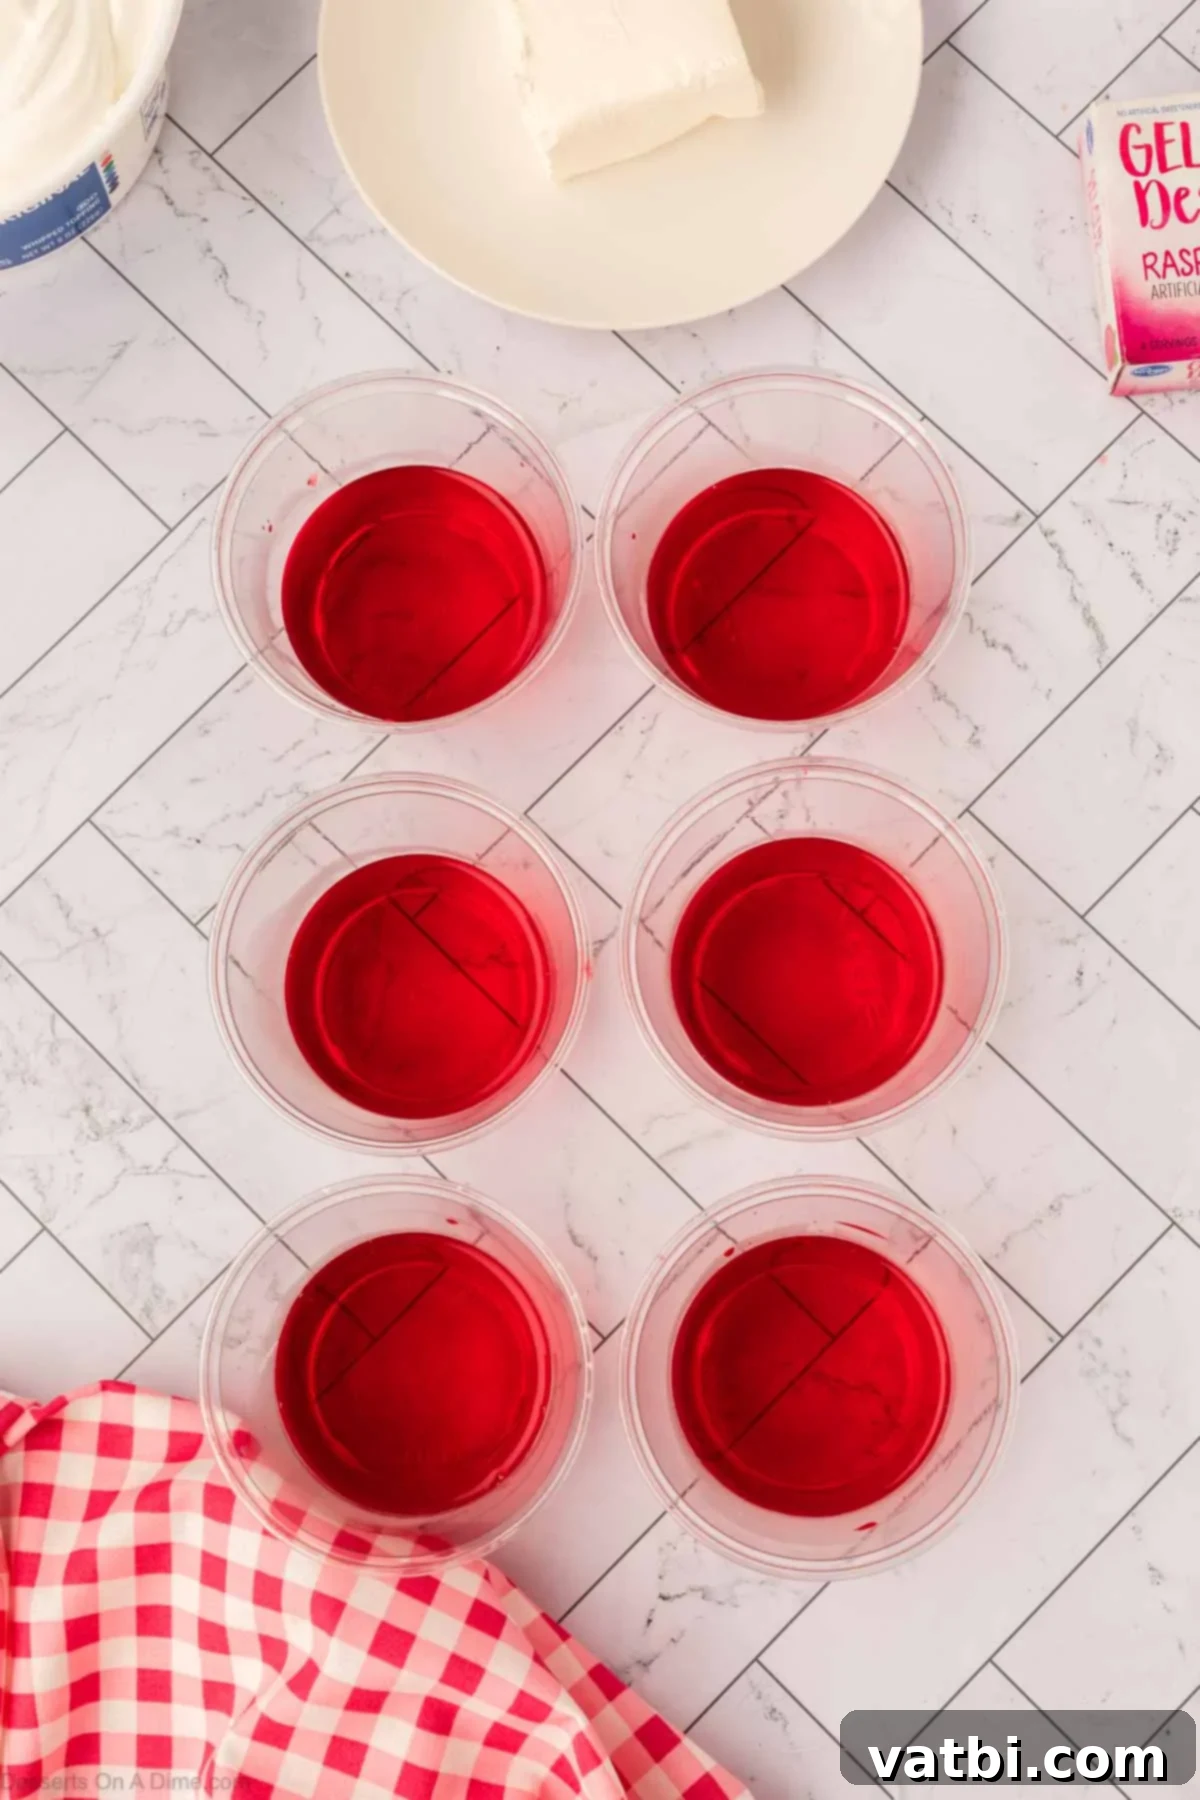
Step 2: Chill the Base Layer. Evenly divide the prepared Jello mixture among six individual cups or clear dessert bowls. For the best visual effect, clear glassware works wonderfully. Carefully transfer these cups to the refrigerator and allow them to chill undisturbed for 2 to 3 hours, or until the Jello is completely firm and fully set. This firm base is crucial for supporting the subsequent layers.
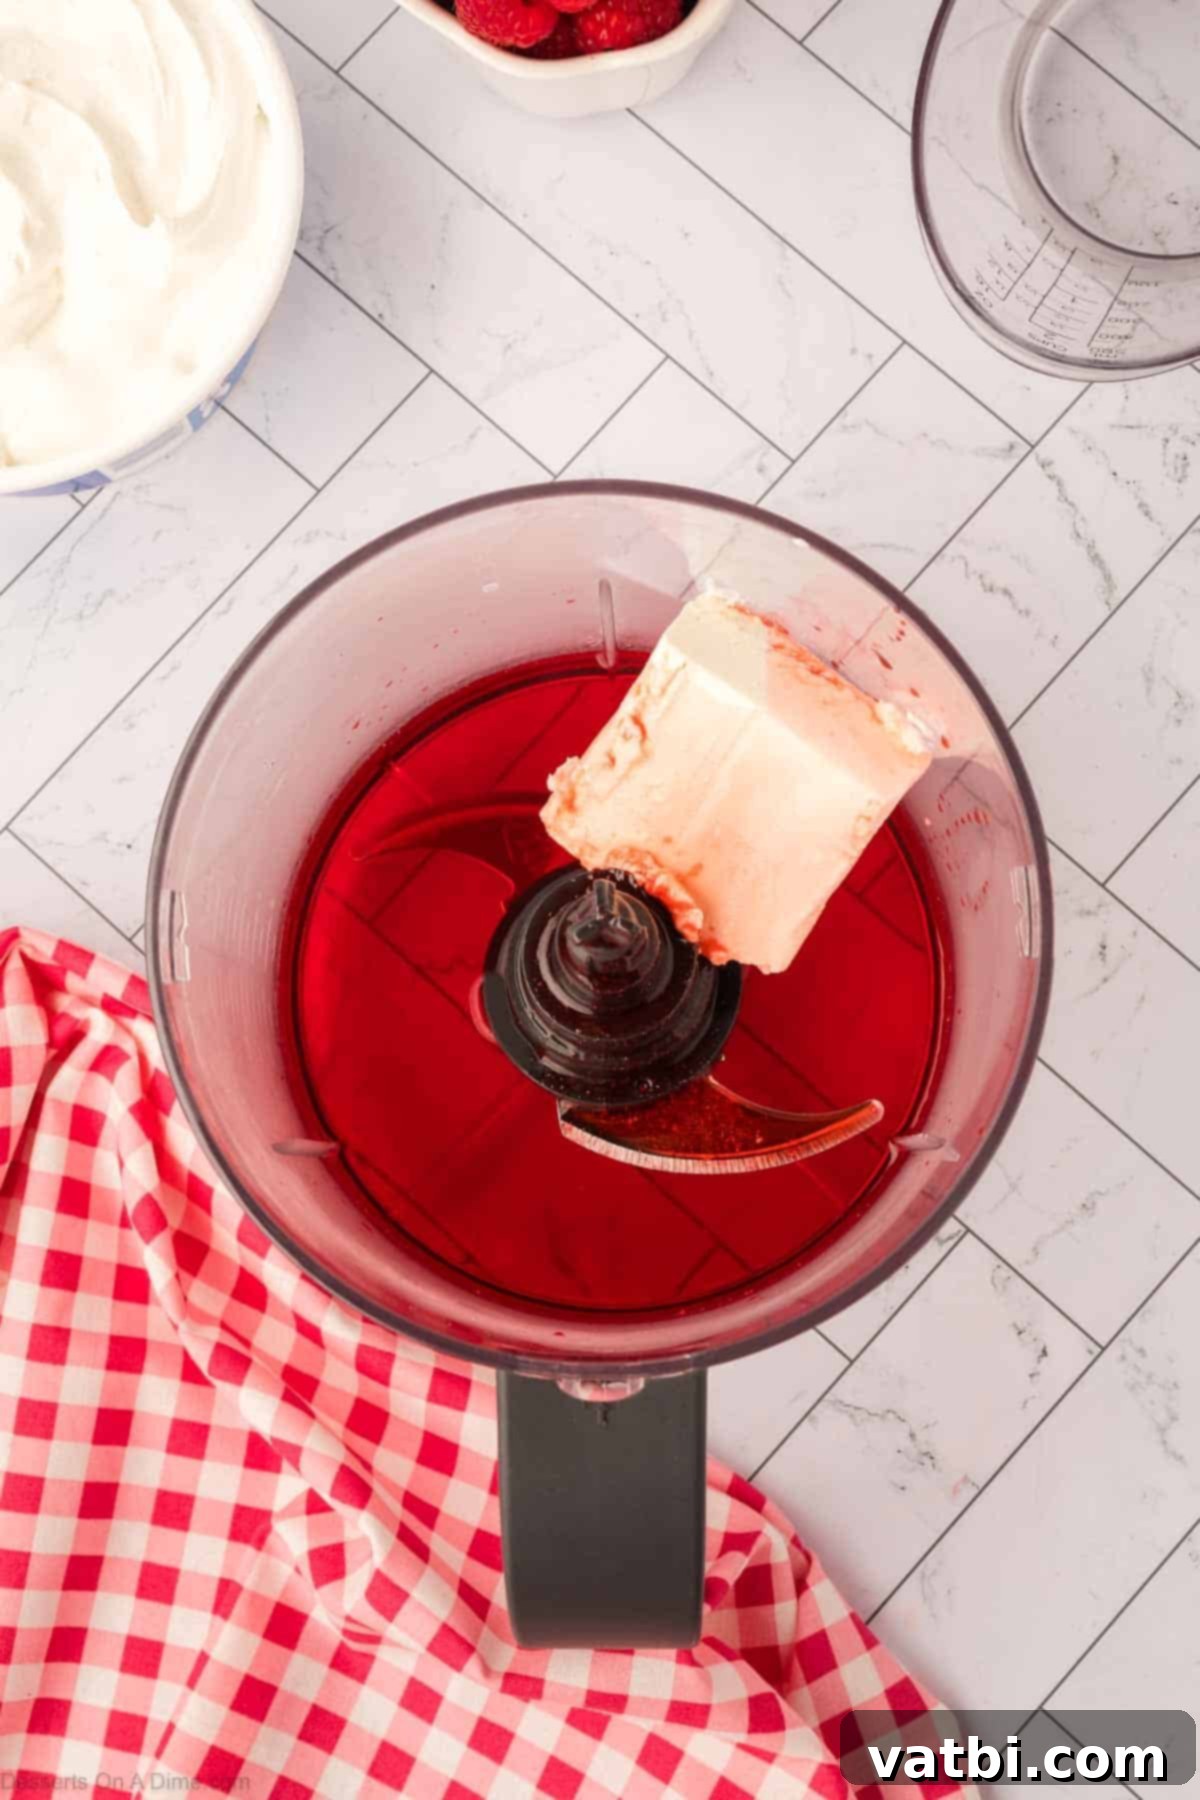
Step 3: Prepare the Creamy Jello Layer Base. In a separate bowl, dissolve the second 3-ounce box of Jello powder with 1 cup of boiling water, stirring until it is completely dissolved. Allow this mixture to cool slightly. In a blender or food processor, add the softened 4 ounces of cream cheese. Ensure the cream cheese is at room temperature to guarantee a smooth blend.
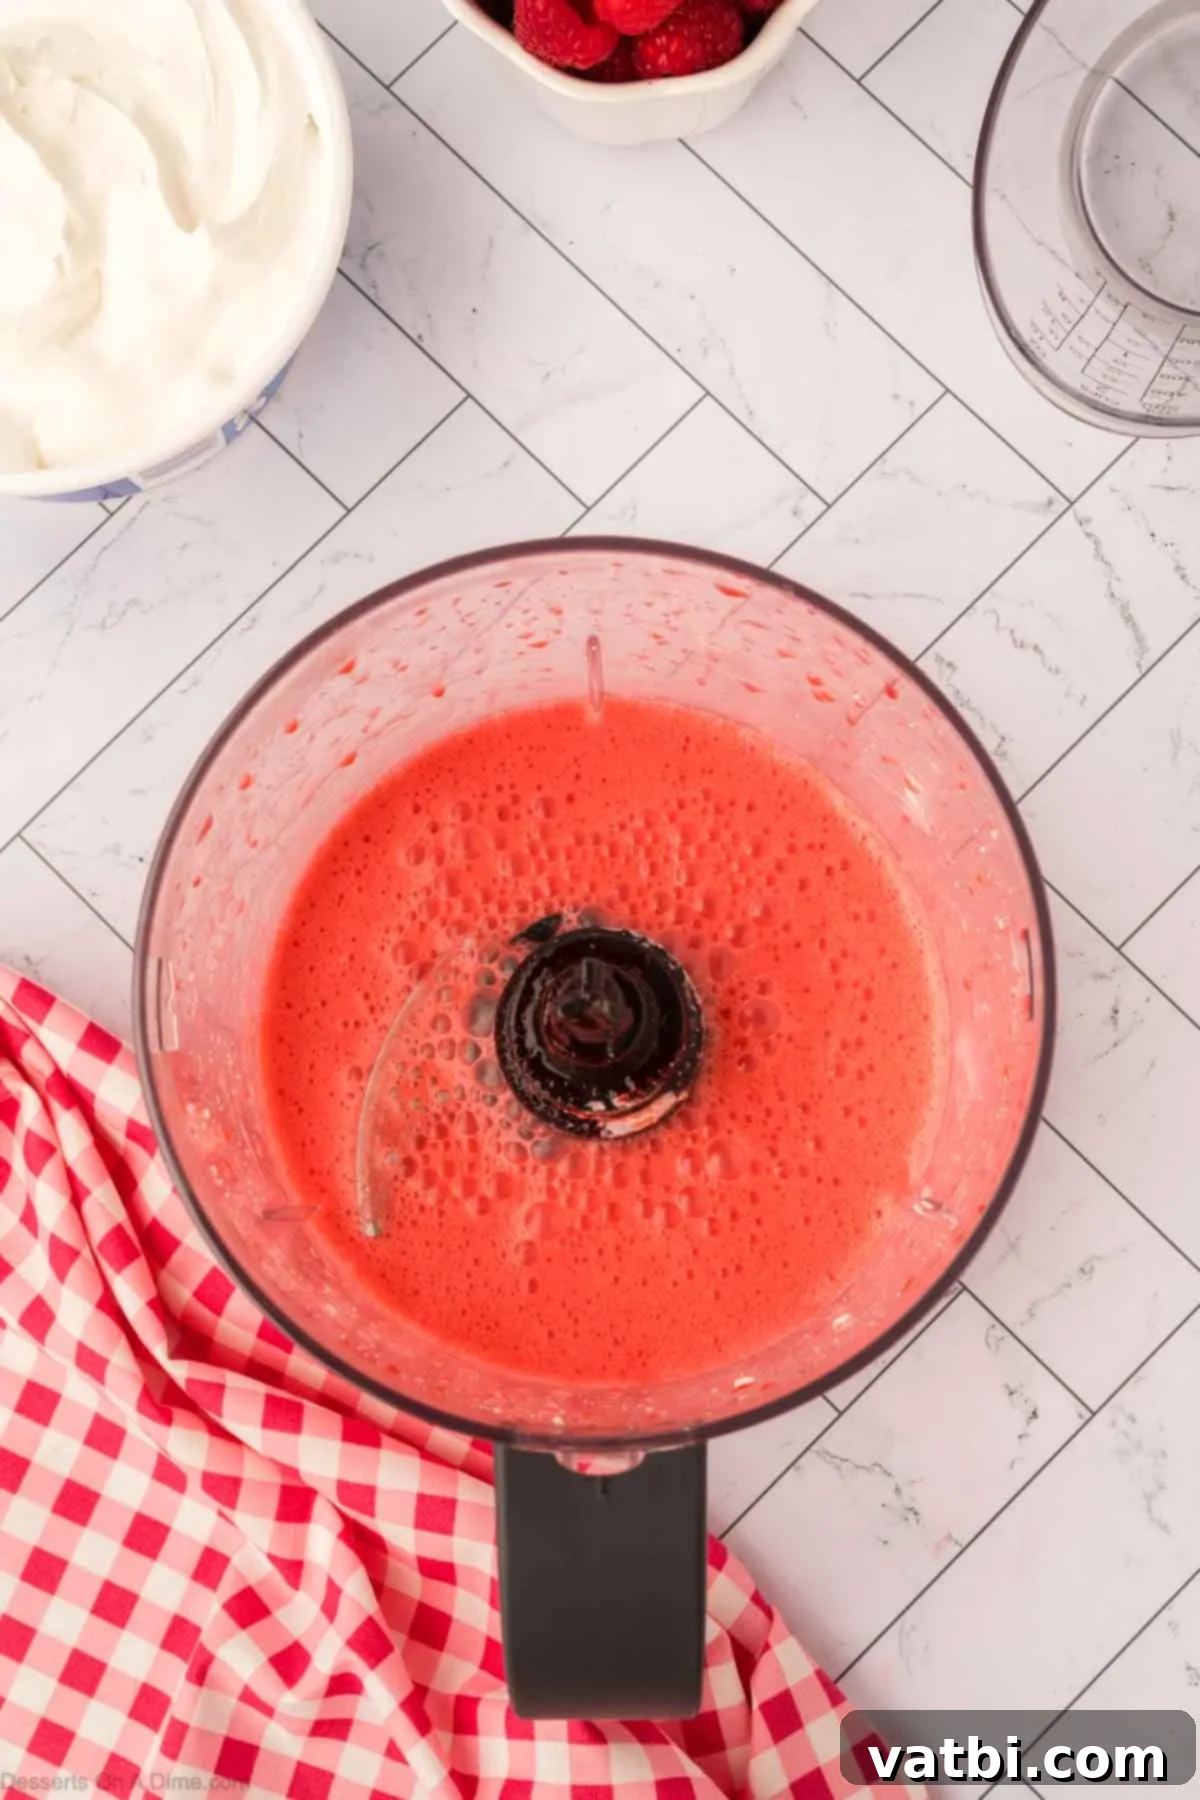
Step 4: Blend Jello and Cream Cheese. Pour the slightly cooled, dissolved Jello mixture into the blender or food processor with the cream cheese. Blend thoroughly until the mixture is completely smooth and creamy, with no lumps of cream cheese visible. This step creates the rich, distinctive middle layer. Once perfectly combined, add ½ cup of cold water and stir gently until well mixed, further cooling the mixture.
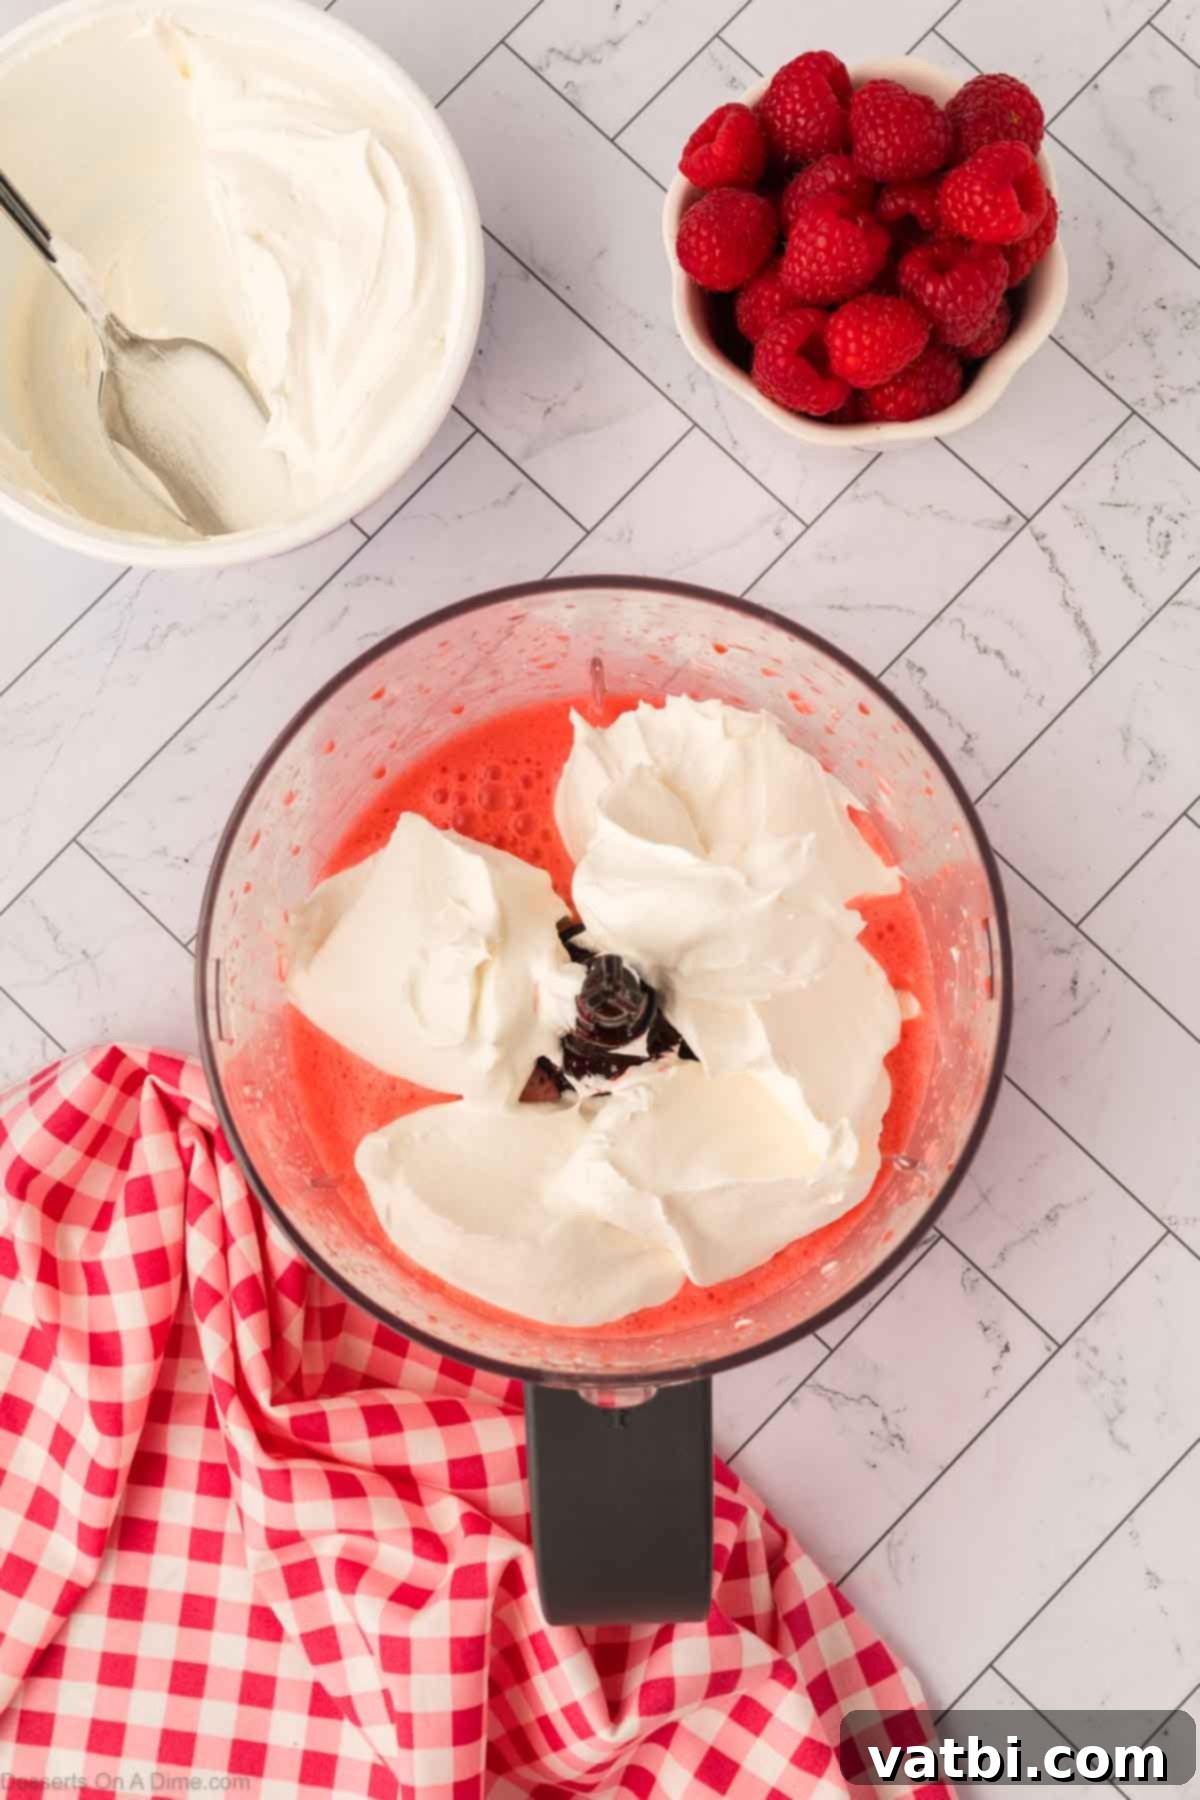
Step 5: Incorporate Whipped Topping. Now, gently fold or add 4 ounces of the whipped topping (Cool Whip) into the Jello and cream cheese mixture. Be careful not to deflate the whipped topping too much if folding by hand, as its airiness contributes to the light texture of this layer.
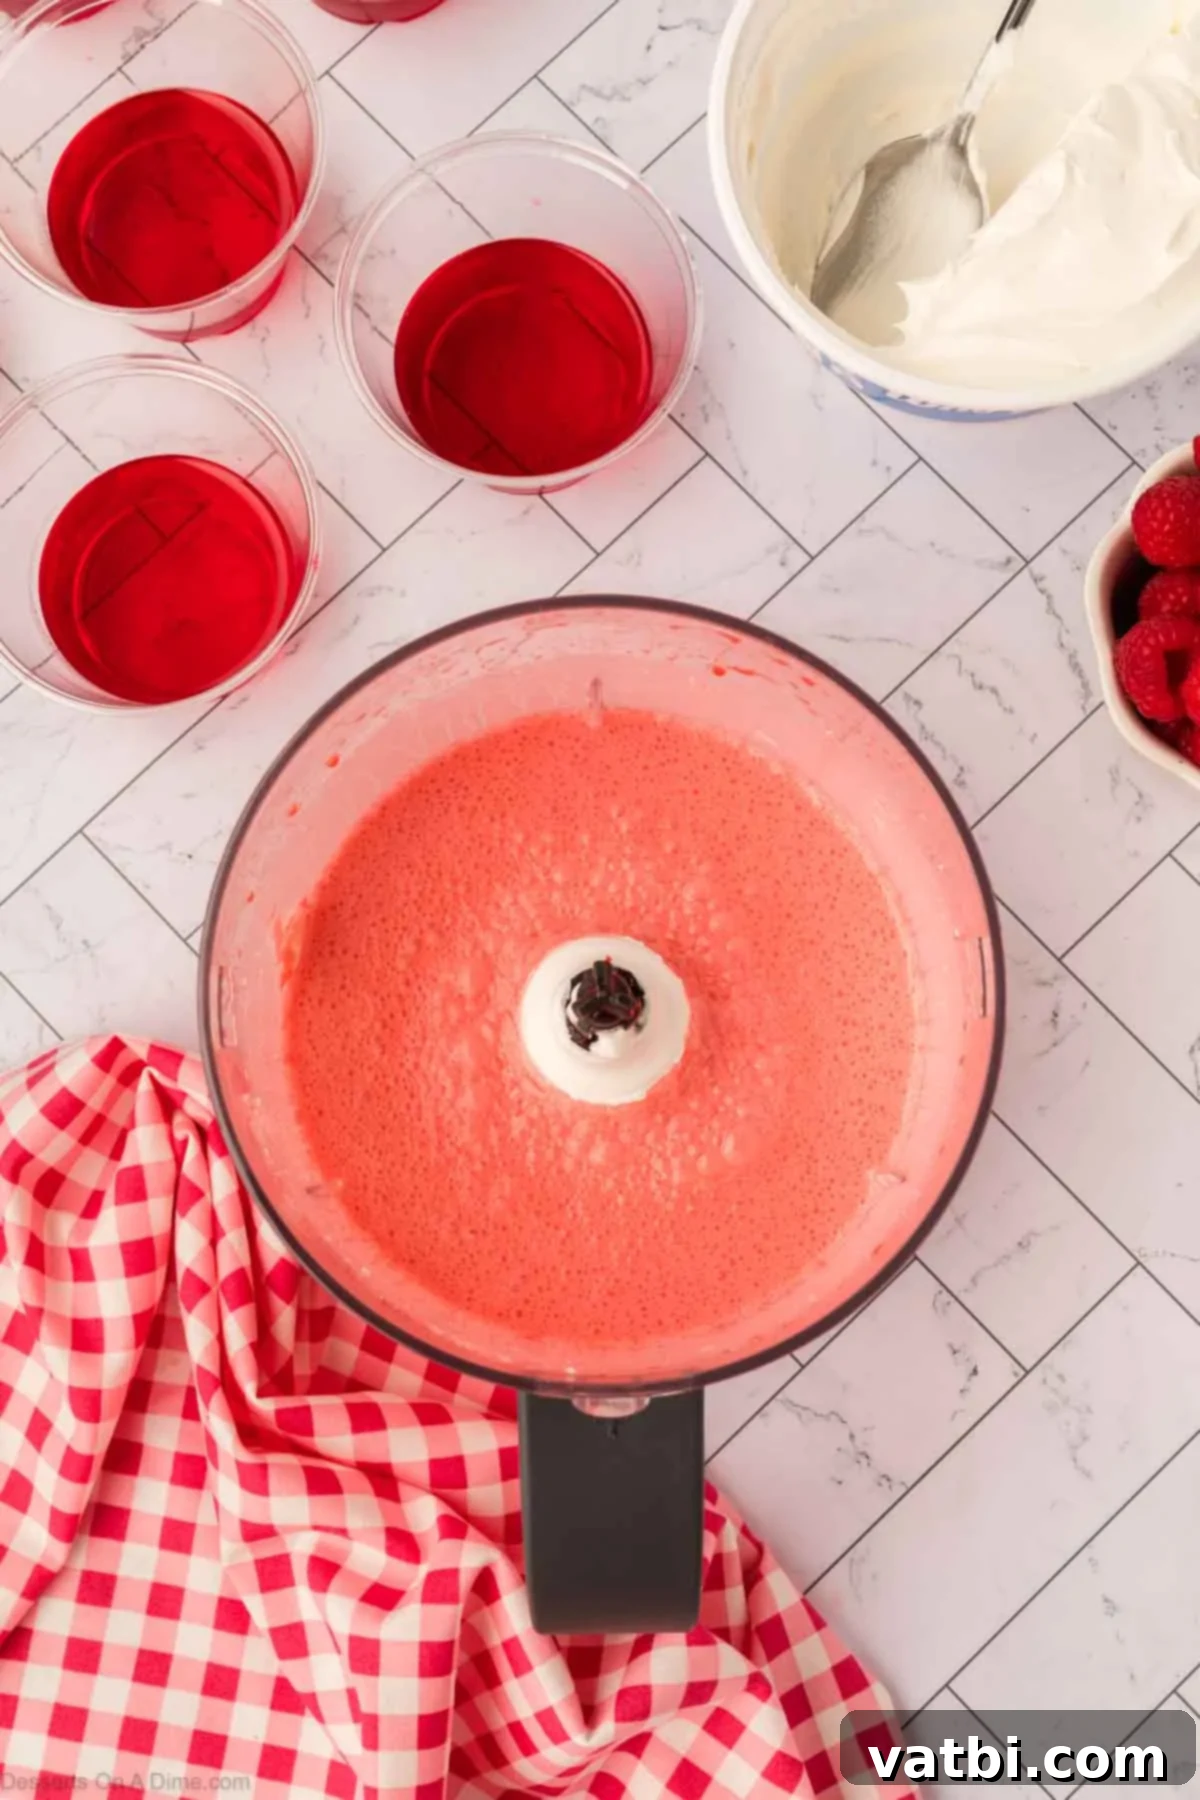
Step 6: Achieve Perfect Smoothness. If using a blender or food processor, blend the entire mixture again until it is perfectly smooth and uniformly creamy. If folding by hand, stir gently but thoroughly until all ingredients are fully combined and the mixture has a consistent texture. This ensures a luxurious and appealing middle layer.
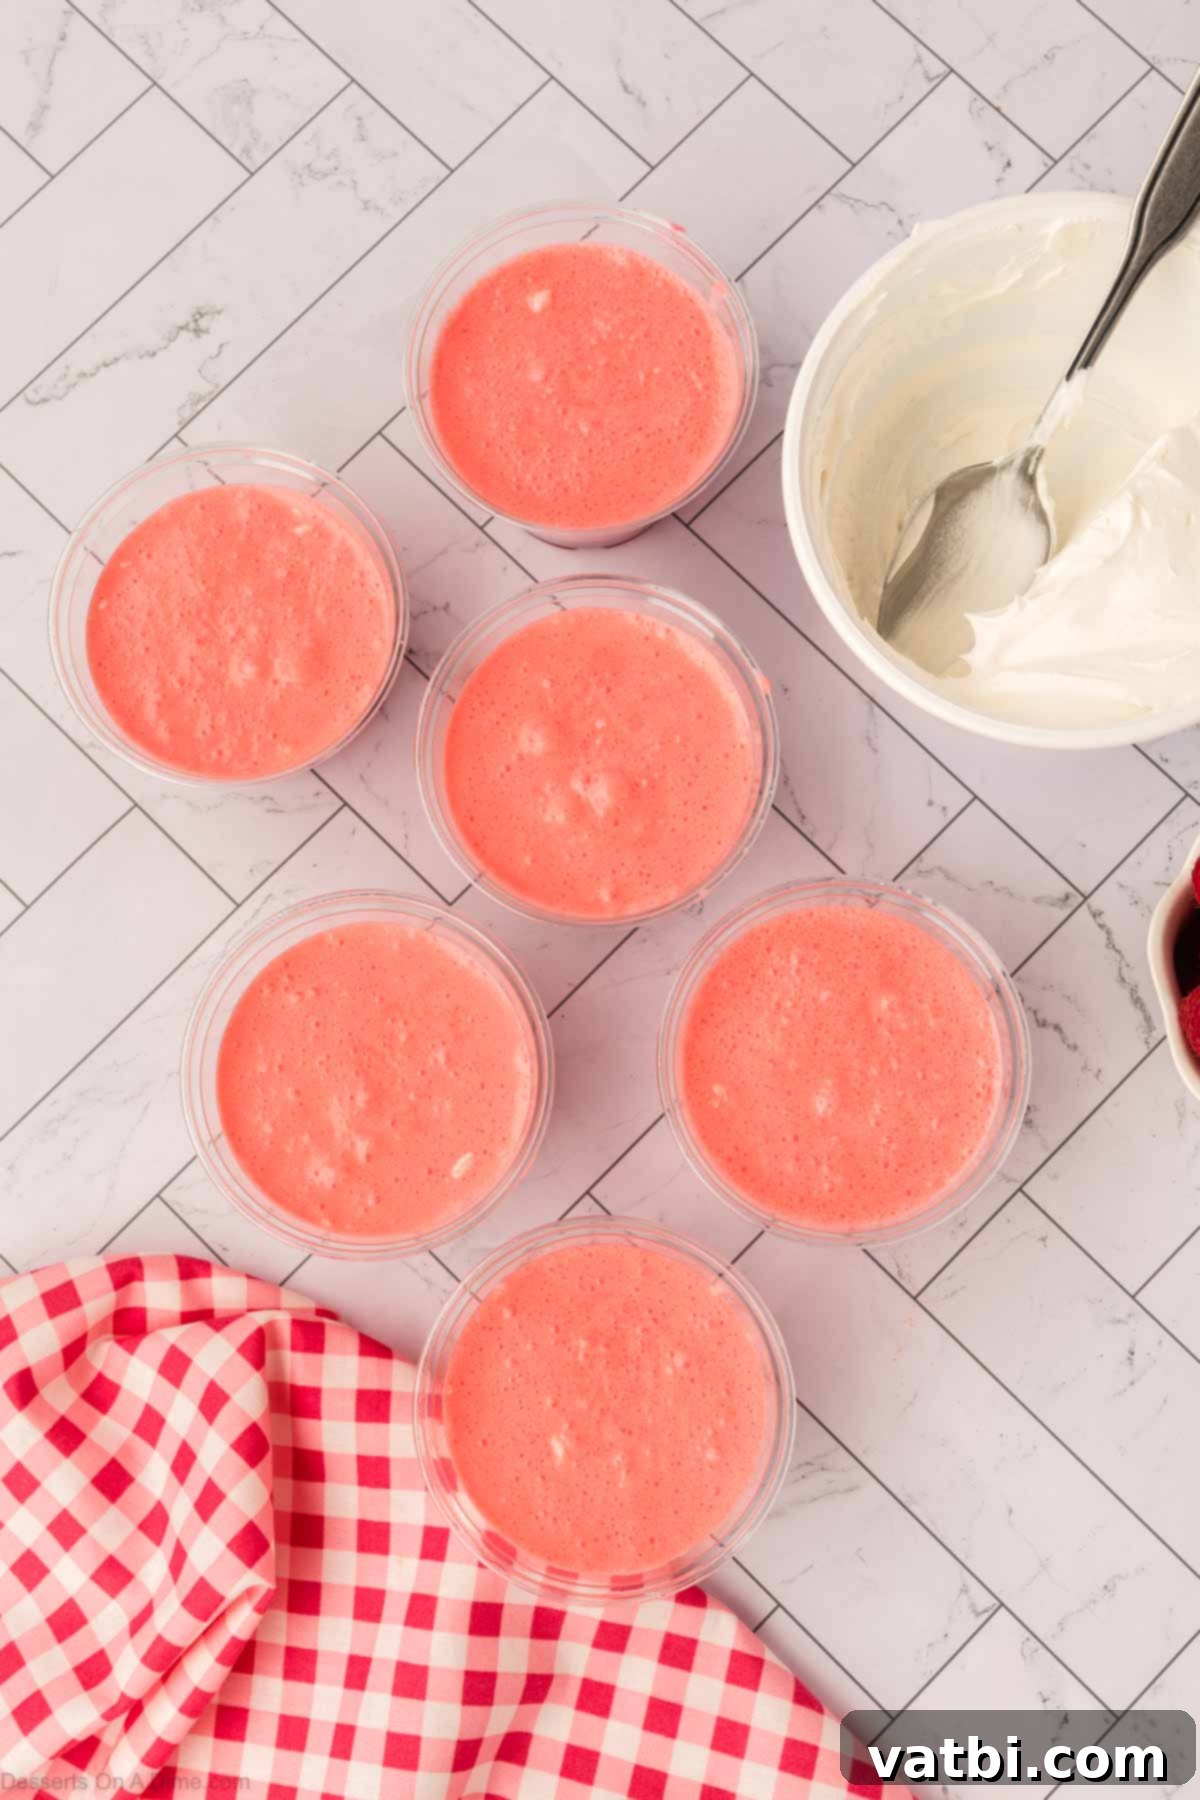
Step 7: Add the Creamy Layer and Chill Again. Carefully spoon the smooth cream cheese Jell-o mixture evenly over the already set Jello layers in your cups. Distribute it as evenly as possible to create consistent layers. Return the cups to the refrigerator and chill them once more until this new creamy layer is completely firm and set. This second chilling period is crucial for maintaining the distinct layers of your parfait.
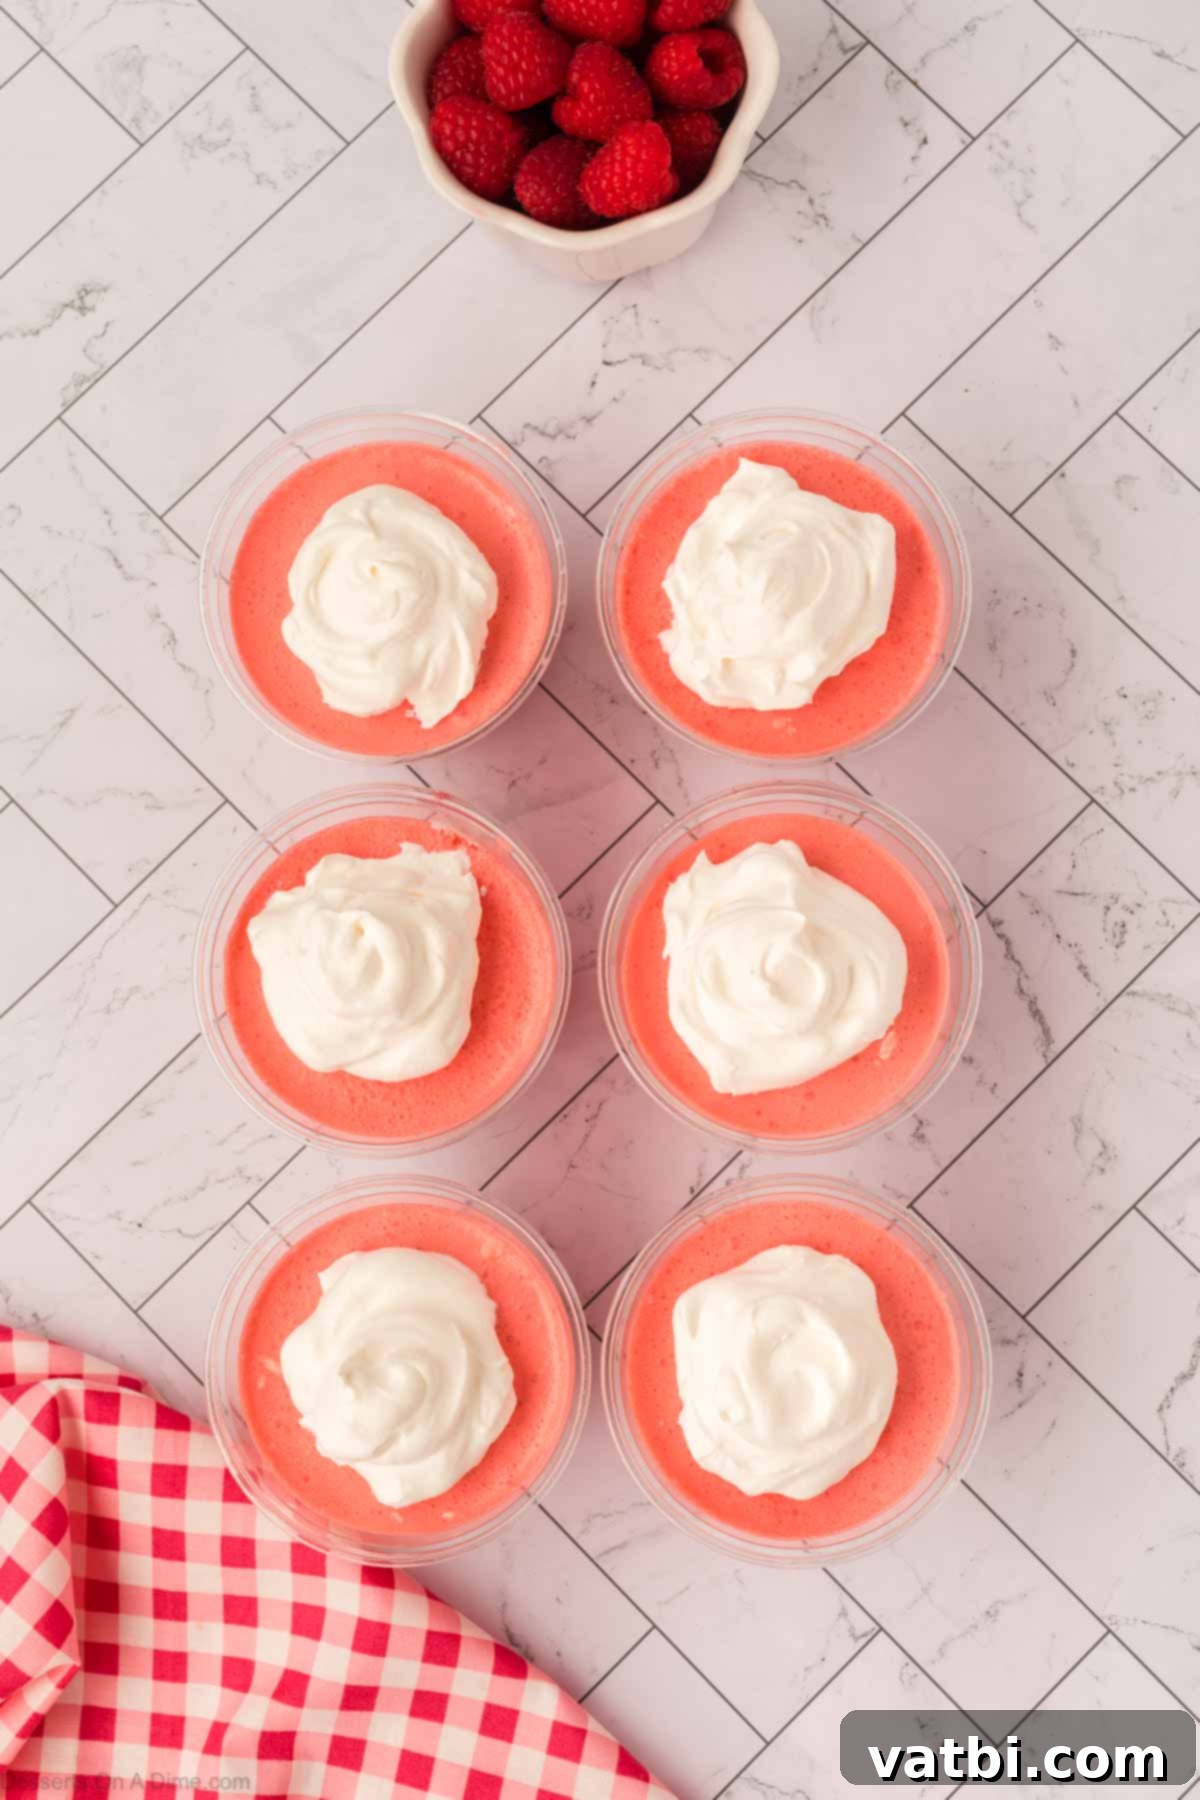
Step 8: Final Topping and Garnish. Once the middle creamy layer is fully set, spread the remaining 4 ounces of whipped cream evenly on top of each parfait. This forms the final, light, and airy crown of your dessert. As an optional but highly recommended step, when you are ready to serve, garnish each parfait with fresh raspberries, or other fresh fruit like sliced strawberries or blueberries. Sometimes, we even use colorful sprinkles for an extra fun and festive touch, especially for kids’ parties. Enjoy your perfectly layered Jello parfaits!
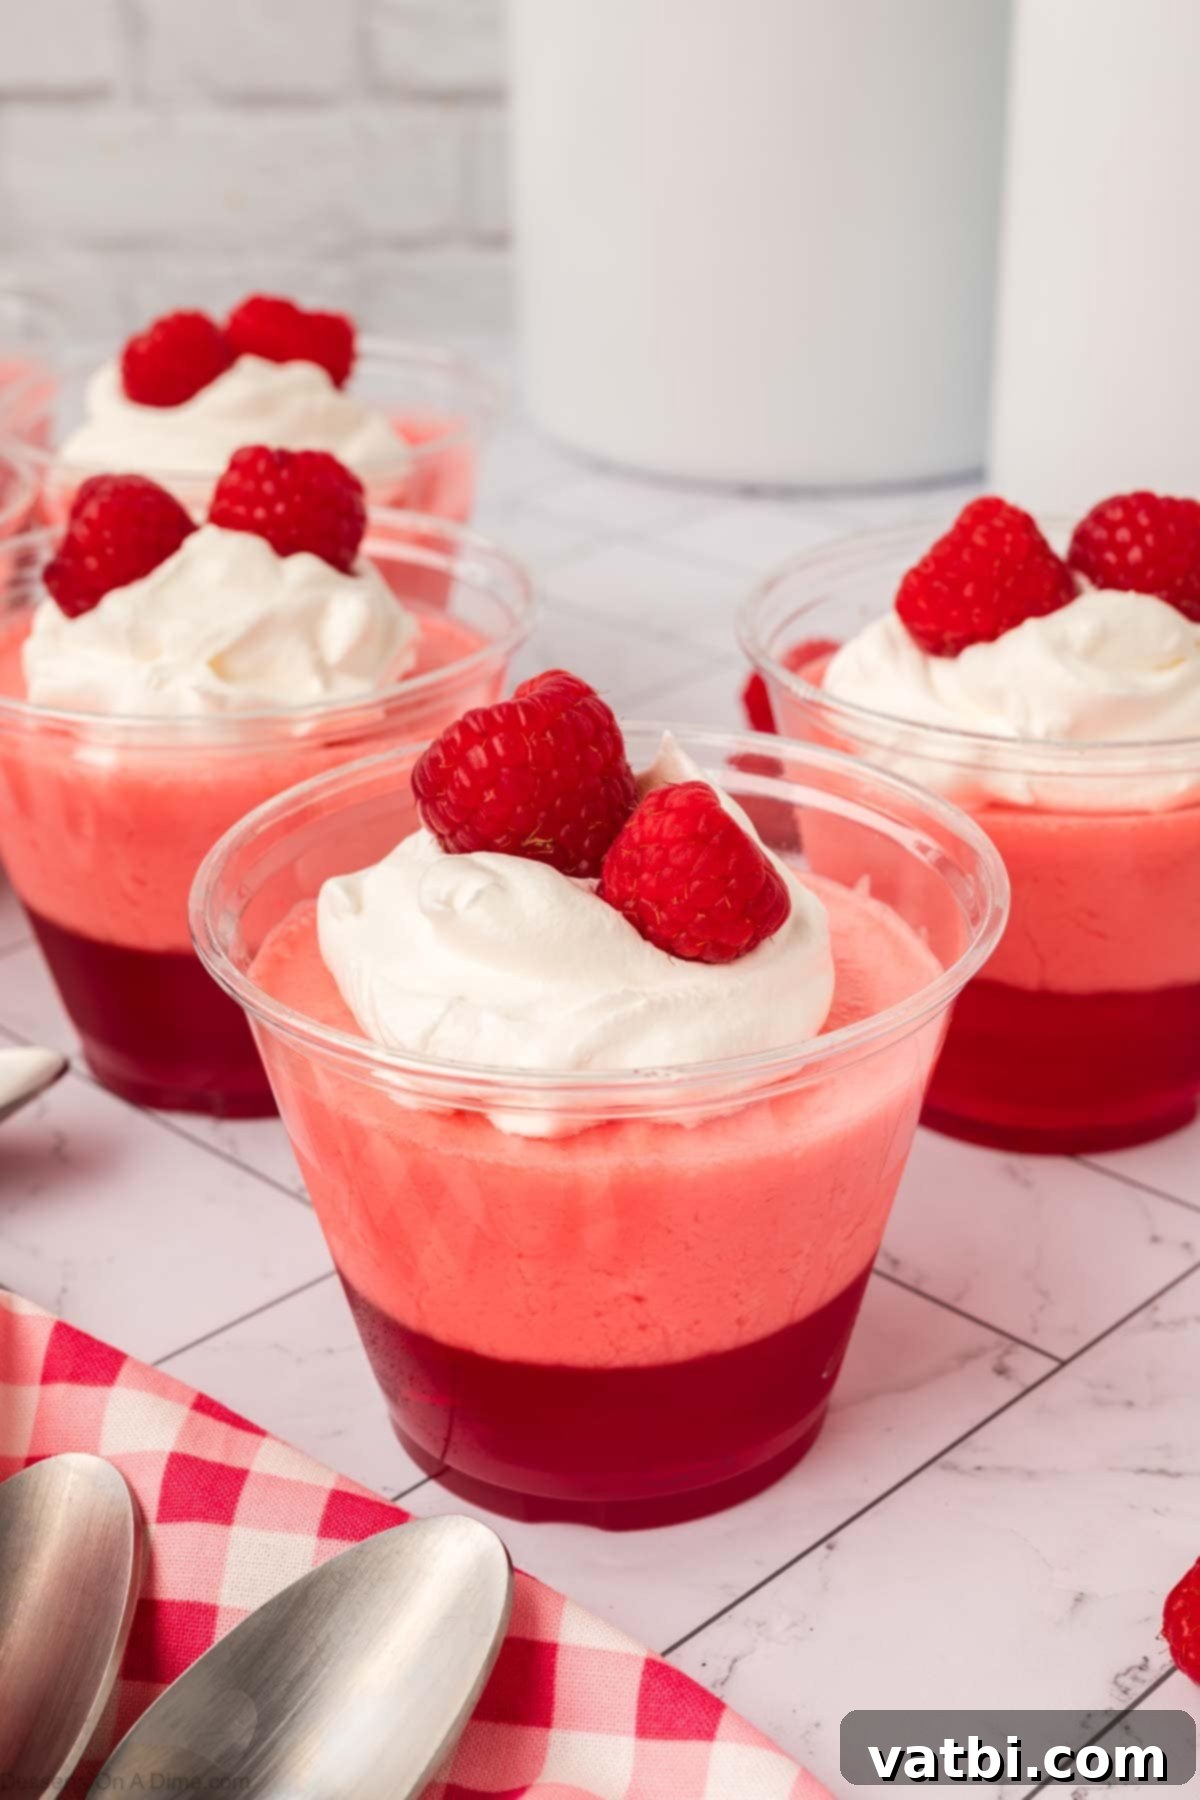
Variations and Serving Suggestions
While the classic raspberry Jello parfait is always a hit, don’t hesitate to get creative and customize your dessert:
- Flavor Combinations: Experiment with different Jello flavors! Strawberry, lime, lemon, orange, or even multi-colored layers (chilling each color separately) can create stunning visual and taste experiences. Pair complementary flavors, like strawberry Jello with cream cheese and lemon Jello, for an exciting twist.
- Fruit Additions: Beyond raspberries, consider adding other fresh fruits between layers or on top. Sliced bananas, diced peaches, blueberries, or kiwi can introduce new textures and flavors. Just remember to add fresh fruit just before serving to prevent sogginess.
- Textural Elements: For an added crunch, sprinkle crushed graham crackers, vanilla wafers, or granola between the Jello and creamy layers. This offers a delightful contrast to the smooth textures.
- Creamy Alternatives: Instead of traditional cream cheese, you could try using mascarpone for a richer flavor, or even incorporate a layer of vanilla pudding for a different kind of creamy sweetness. For a lighter touch, a simple Greek yogurt layer could be used.
- Holiday Themes: Tailor your parfaits to specific holidays. Use red and green Jello for Christmas, red, white, and blue for patriotic celebrations, or pastel colors for Easter. The possibilities are endless for creating festive treats!
- Elegant Presentation: For a more sophisticated look, try tilting your cups while the first Jello layer sets to create a diagonal effect. Once set, pour the next layer horizontally. Repeat for stunning angled layers.
Storage Tips for Jello Parfaits
Proper storage is essential to keep your Jello parfaits fresh and delicious for as long as possible. Once assembled and fully set, cover the individual parfait cups or dessert bowls tightly with plastic wrap. This prevents the dessert from absorbing odors from the refrigerator and helps maintain its moisture and texture. When stored correctly in the refrigerator, these parfaits will remain fresh and enjoyable for up to 4 to 5 days. A key tip: if you plan on storing them for more than a few hours or preparing them ahead of time, it’s best to wait to add any fresh fruit garnishes until just before you are ready to serve. This prevents the fruit from becoming soggy or releasing too much moisture into the Jello layers, preserving the beautiful presentation and fresh taste.
Expert Pro Tips for Perfect Parfaits Every Time
Achieving perfectly layered and delicious Jello parfaits is simple with these expert tips:
- Use Chilled Water for Optimal Set: When preparing your Jello layers, always add cold water after dissolving the powder in boiling water. This quick temperature drop helps the gelatin set faster and ensures a firmer, more stable layer, which is crucial for distinct parfait lines.
- Soften Cream Cheese for Smoothness: For a flawlessly smooth, lump-free cream cheese layer, make sure your cream cheese is at room temperature and softened before blending. This allows it to incorporate seamlessly with the Jello mixture, resulting in a velvety texture.
- Don’t Overfill Cups: Be mindful of how much mixture you pour into each cup for every layer. Leave ample space to accommodate each subsequent layer and, importantly, the final generous dollop of whipped cream topping. This ensures a balanced look and prevents overflow.
- Let Each Layer Set Completely: Patience is a virtue when making parfaits. It is absolutely essential to refrigerate and allow each layer to become completely firm before adding the next one. This step prevents the colors from bleeding into one another, keeping your layers clean, distinct, and visually appealing.
- Enhance with Fresh Fruit: While optional, topping your parfaits with fresh fruit like raspberries, sliced fresh strawberries, or blueberries not only adds an extra burst of flavor but also introduces a lovely textural contrast and a vibrant pop of natural color, making the dessert even more enticing.
- Choose Clear Cups for Visual Appeal: To truly showcase the beautiful, vibrant layers you’ve meticulously created, always opt for transparent cups or elegant clear dessert dishes. This allows the stunning visual effect of the parfait to be fully appreciated.
- Add Texture for Delightful Contrast: For an exciting textural dimension, consider including a thin layer of crushed cookies (like shortbread or vanilla wafers) or crunchy granola between your Jello and creamy layers. This delightful crunch provides a wonderful counterpoint to the smooth, soft elements.
- Explore Different Jello Flavors: Don’t limit yourself to just one flavor! These Jello cups are incredibly versatile. Feel free to experiment with any Jello flavor you adore, or even combine complementary flavors in different layers to create unique taste experiences.
- Create Elegant Diagonal Layers: For a particularly elegant and eye-catching dessert presentation, try a simple trick: tilt your cup within a muffin tin or small bowl as the first Jello layer sets. Once firm, you can then pour the next layer horizontally. Repeat this process for stunning, perfectly angled layers that are sure to impress.
Frequently Asked Questions About Jello Parfaits
Here are some common questions about making and enjoying Jello parfaits:
Q: Can I use fresh fruit inside the Jello layers?
A: It’s best to avoid adding fresh pineapple, kiwi, or papaya directly into Jello layers, as enzymes in these fruits can prevent gelatin from setting. Cooked or canned versions of these fruits are fine. Most other fresh fruits like berries, grapes, or oranges work well, but it’s often best to add them just before serving for optimal texture and freshness, especially on top.
Q: Can I use homemade whipped cream instead of Cool Whip?
A: Absolutely! Homemade whipped cream can be used for an even richer, more natural flavor. Just make sure it’s stiffly whipped and folded gently into the cream cheese Jello mixture. For topping, fresh homemade whipped cream is always a delicious choice.
Q: How can I make sugar-free Jello parfaits?
A: To make sugar-free parfaits, simply substitute regular Jello with sugar-free Jello mixes and use a sugar-free or light whipped topping. The cream cheese typically contains minimal sugar, but you can opt for a low-fat or fat-free version if preferred.
Q: My Jello layers are not setting firmly. What went wrong?
A: This usually happens if there wasn’t enough boiling water to fully dissolve the Jello powder, or not enough cold water to properly cool it for setting. Ensure you measure precisely and stir until all granules are gone. Also, ensure sufficient chilling time between layers.
Q: Can I make these parfaits in a large trifle bowl?
A: Yes, you can! The recipe can easily be scaled up for a larger trifle bowl. Just ensure each layer is given adequate time to set completely before adding the next, which might take longer in a larger dish. Adjust quantities as needed based on the size of your bowl.
More Delicious Jello Dessert Dishes
No Bake Dessert
Jello Popcorn Balls
Easy Pie
Easy Strawberry Jello Pie Recipe
No Bake Dessert
Broken Glass Jello
We sincerely hope you’ll give this delightful Jello Parfait recipe a try for your next gathering or simply as a refreshing treat. After experiencing the ease and deliciousness, please come back and share your thoughts with us by leaving a comment and a star rating. Your feedback is greatly valued, and we’re always excited to hear what you think of our recipes!
Pin
Jello Parfait
Ingredients
- 2 pkgs Raspberry Jello (3 ounces each, for vibrant color and fruity flavor)
- 4 oz cream cheese (softened, for a rich, creamy layer)
- 8 oz Whipped Topping (such as Cool Whip, divided for layers and topping)
- 2 cups boiling water (divided for dissolving Jello)
- 1 1/2 cups cold water (divided for cooling Jello mixtures)
- Fresh Raspberries (optional, for garnish and extra freshness)
Instructions
-
Combine one 3 oz box of Jello with 1 cup of boiling water in a bowl. Stir continuously until the Jello powder is completely dissolved, ensuring no granules remain. Then, add 1 cup of cold water and stir again to thoroughly combine and cool the mixture.
-
Carefully pour this prepared Jello mixture evenly into 6 individual cups or dessert bowls. Place them in the refrigerator and chill for 2 to 3 hours, or until the Jello has fully solidified and is firm to the touch. This forms the solid base layer of your parfaits.
-
For the creamy layer, combine the other 3 oz box of Jello with 1 cup of boiling water in a separate bowl. Stir until it is completely dissolved. Allow this mixture to cool down slightly before proceeding to the next step.
-
In a food processor or blender, add the softened cream cheese. Pour in the slightly cooled, dissolved Jello mixture. Blend until the combination is perfectly smooth and creamy, with no lumps of cream cheese. Once well blended, add ½ cup of cold water and stir gently to combine and further cool the mixture.
-
Now, add 4 oz of the whipped topping (Cool Whip) into the cream cheese and Jello mixture. Blend or gently fold until the entire mixture is smooth and uniform in consistency, creating a light and airy creamy layer.
-
Evenly spoon this creamy Jell-o mixture over the solidified Jello layers in your cups. Return the cups to the refrigerator and chill them again until this creamy layer is completely firm. Finally, top each parfait evenly with the remaining 4 oz of whipped topping.
-
When you are ready to serve, garnish each Jello parfait with fresh raspberries or other desired fruits. Enjoy your beautifully layered and refreshing dessert!
Recipe Notes
Garnishing Tip: If you plan on storing the parfaits, it is advisable to wait to add any fresh fruit garnishes until just before you are ready to serve. This prevents the fruit from becoming soggy or affecting the Jello’s texture.
Flavor Customization: Feel free to substitute any flavor of Jello and your favorite corresponding fruit in this recipe. Strawberry, lime, or cherry Jello can create wonderful variations.
Nutrition Facts
Pin This Now to Remember It Later
Pin Recipe
