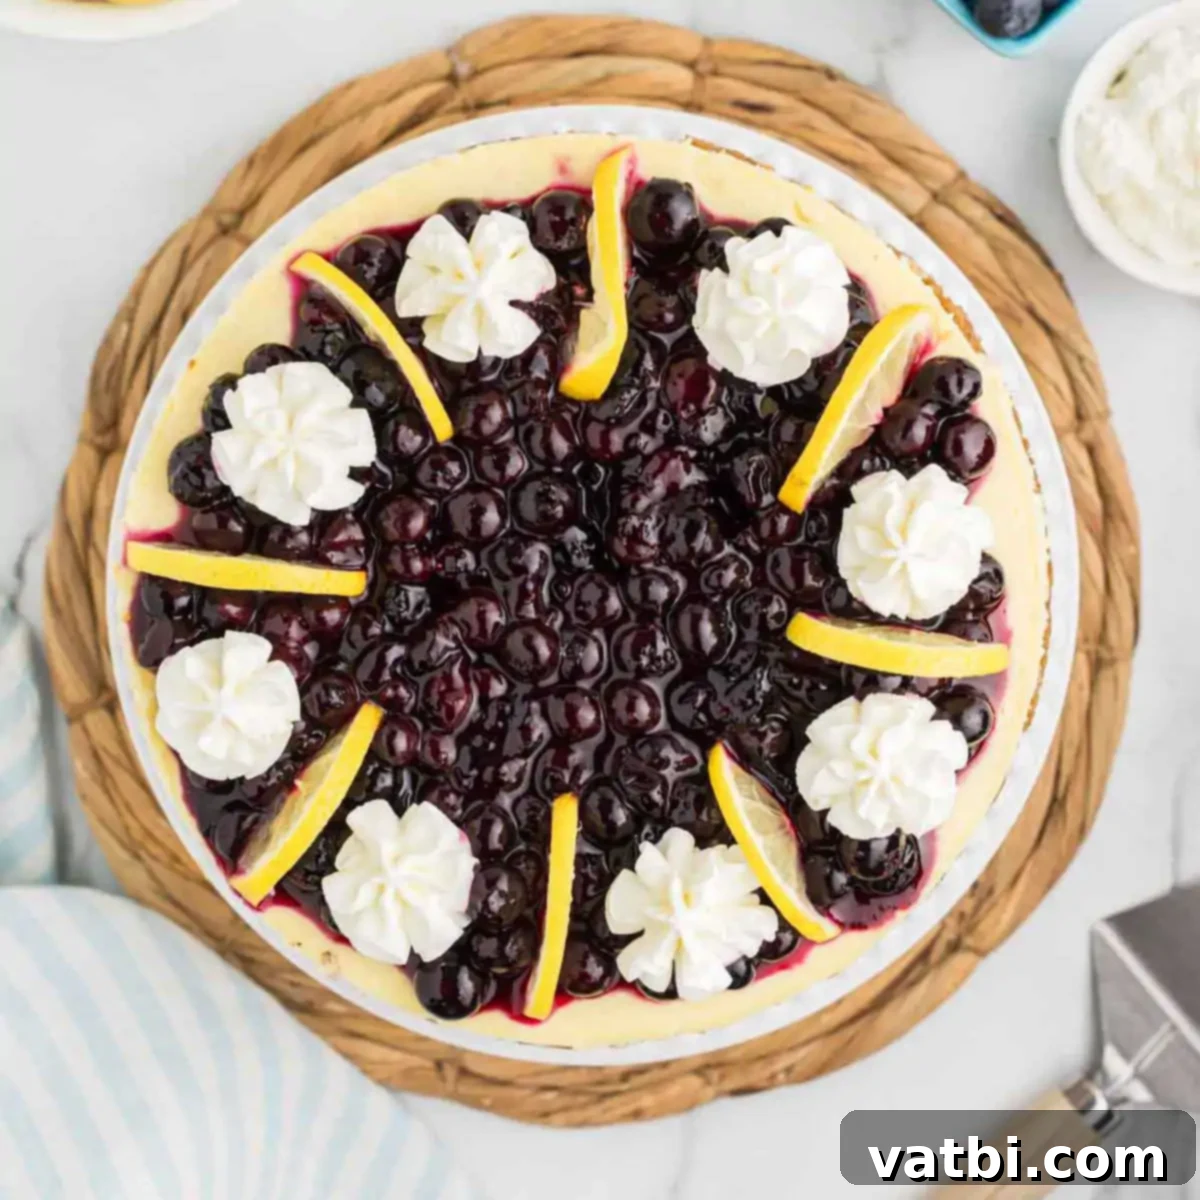
Zesty Lemon Blueberry Cheesecake: The Ultimate Recipe for a Burst of Fresh Flavor
Prepare to delight your senses with a truly exceptional Lemon Blueberry Cheesecake. This recipe masterfully combines the rich, velvety smoothness of classic cheesecake with the bright, tangy zest of fresh lemons and the sweet, juicy pop of ripe blueberries. It’s an easy-to-follow recipe that delivers a sophisticated, creamy texture and a burst of refreshing flavor in every single bite.
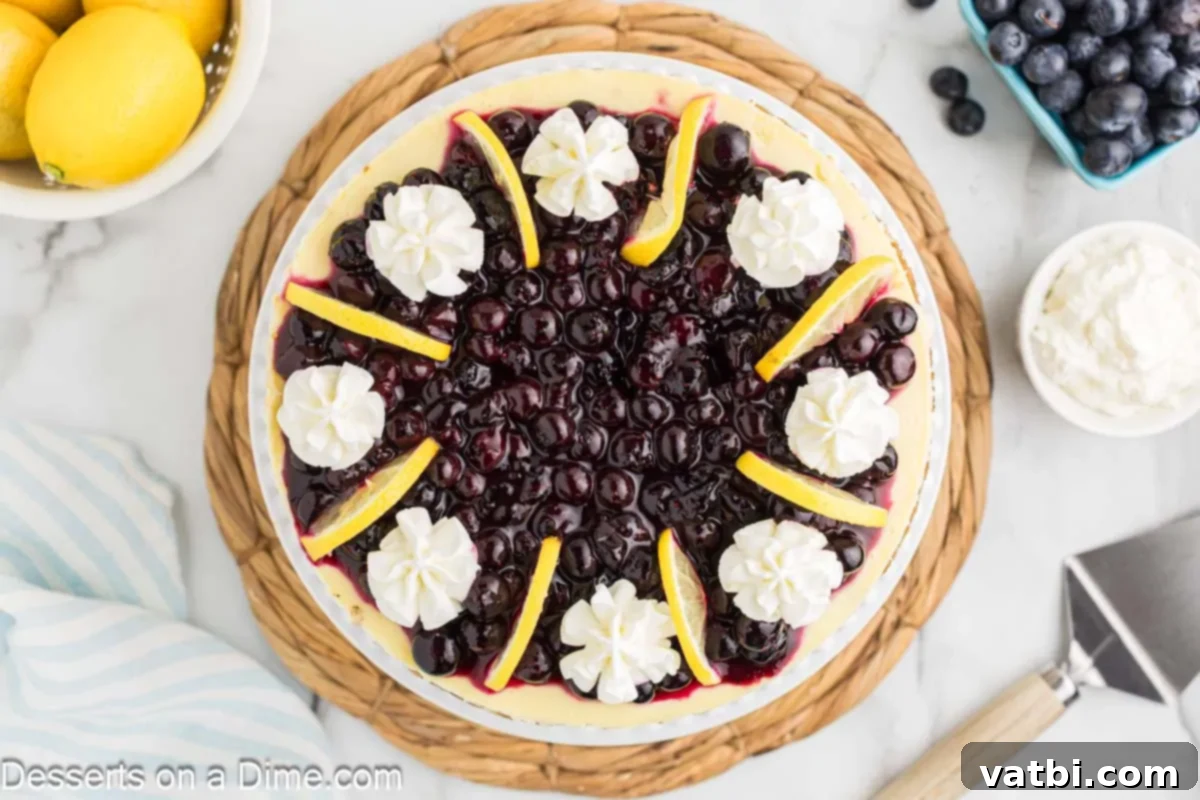
Are you searching for that perfect dessert that not only looks stunning but also offers an explosion of fresh, invigorating flavors? Look no further than this homemade Lemon Blueberry Cheesecake. It’s a timeless dessert elevated with vibrant lemon and sweet blueberries, creating an irresistible balance that’s both indulgent and surprisingly refreshing. Baked to perfection on a golden, buttery graham cracker crust, this cheesecake is a true show-stopper.
This impressive dessert is perfectly suited for a myriad of occasions, whether you’re hosting a lively summer gathering, celebrating a holiday feast, or simply craving a luscious, fruit-filled treat to brighten your day. Designed for both seasoned bakers and eager beginners, our comprehensive and easy lemon blueberry cheesecake recipe guarantees delicious results that will undoubtedly impress everyone who takes a bite.
If you’re a fan of these bright flavors, you might also enjoy making our Lemon Fudge and Blueberry Cookies.
Table of contents
- Why We Love This Recipe
- Ingredients
- Crust
- Filling
- Topping
- Garnish
- Step By Step Instructions
- Storage
- Expert Tips
Why This Lemon Blueberry Cheesecake Will Become Your New Favorite
- Bright, Fresh Flavor: The star of this dessert is undoubtedly the harmonious blend of zesty lemon and sweet blueberries. The sharp, aromatic citrus notes cut through the richness of the cream cheese, while the juicy blueberries burst with natural sweetness, creating a perfectly balanced and incredibly refreshing taste that’s far from overpowering. It’s a delightful contrast to heavier, more traditional cheesecakes.
- Luxuriously Creamy, Rich Texture: Prepare for an unparalleled melt-in-your-mouth experience. This cheesecake is crafted to be exceptionally smooth and velvety, with a luscious filling that glides over your palate. The careful combination of ingredients and precise baking method ensure a consistently perfect, rich texture every time, making each bite an indulgent pleasure.
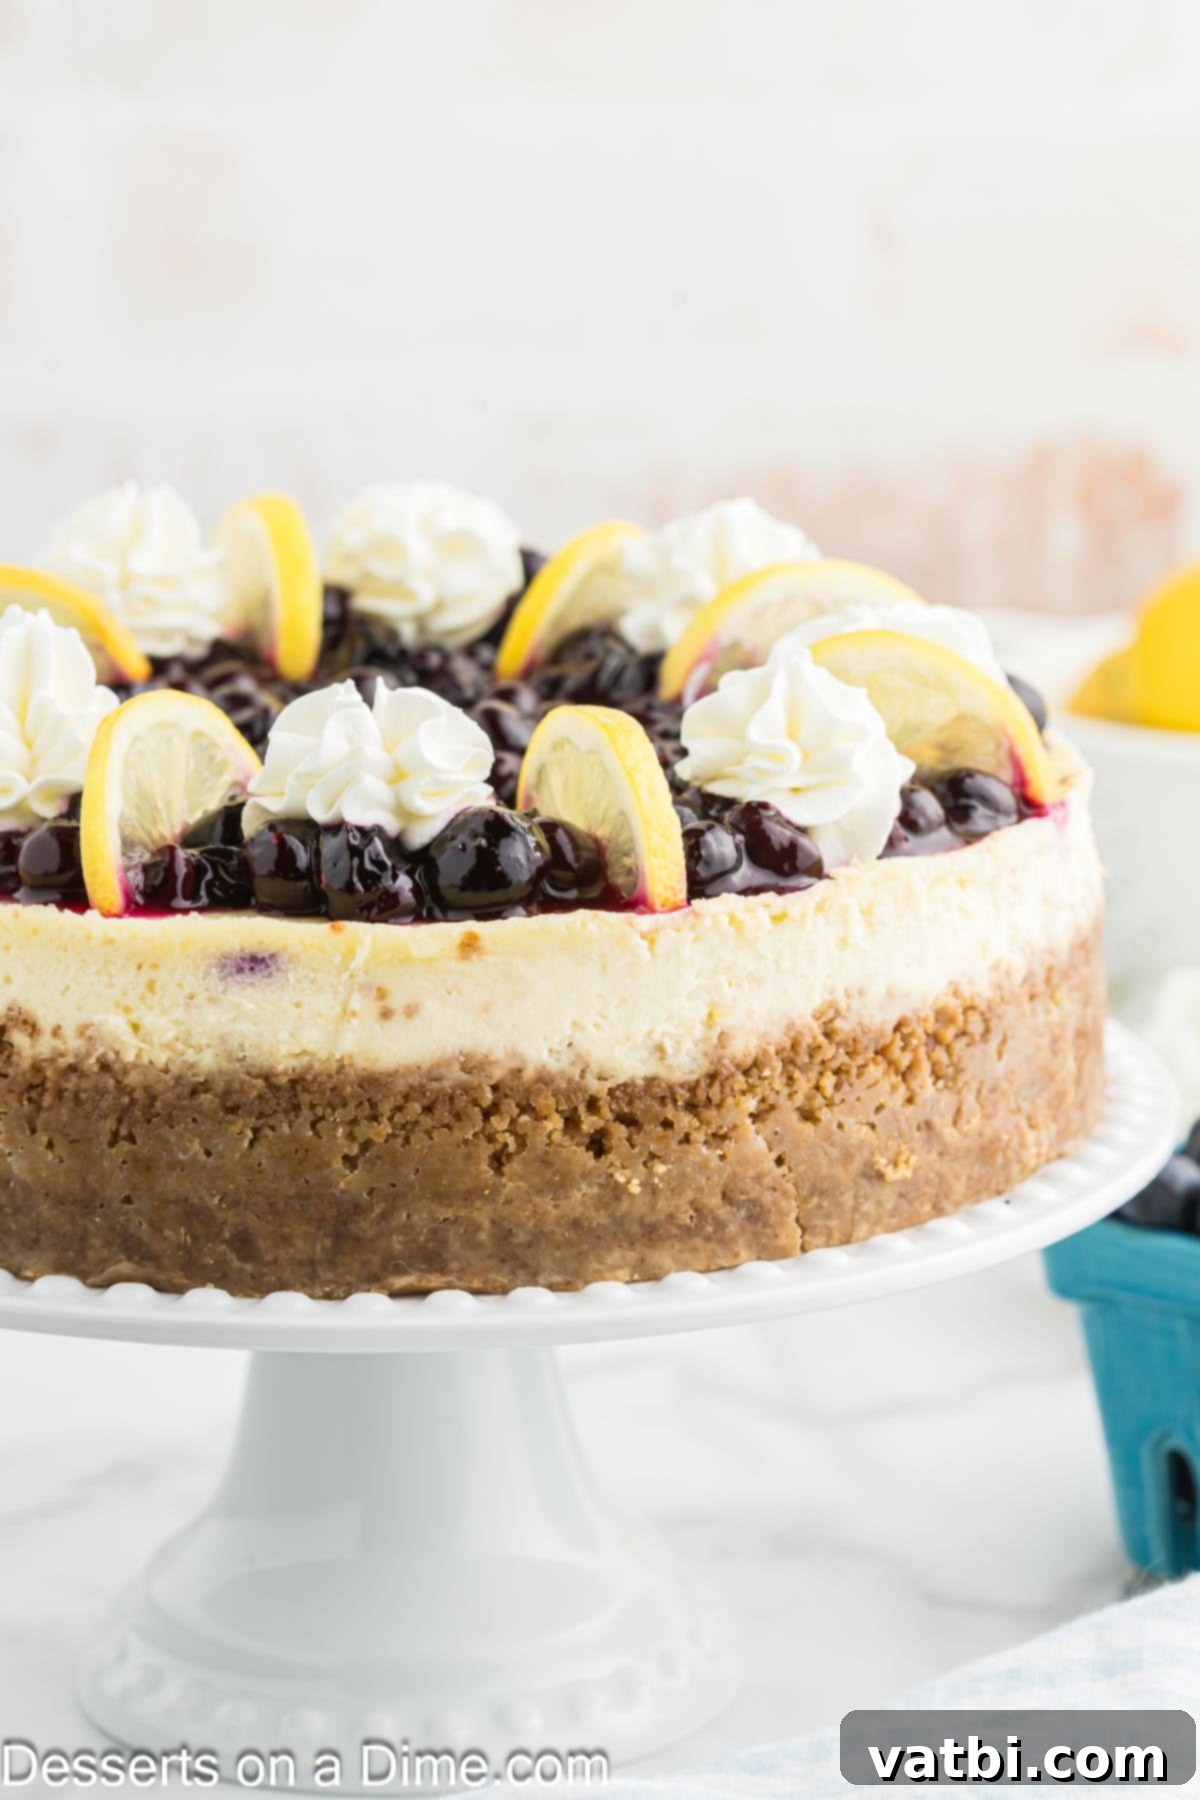
- Stunning Presentation: Beyond its incredible taste, this lemon blueberry cheesecake is a feast for the eyes. With its golden-brown graham cracker crust, a pristine, often crack-free, creamy filling, and a generous topping of vibrant, glistening blueberries and elegant lemon slices, it’s guaranteed to be the centerpiece of any dessert table. It truly looks as magnificent as it tastes, making it perfect for impressing guests.
- Versatile for Any Occasion: Whether you’re planning a casual summer BBQ, a sophisticated holiday dinner, a cheerful birthday celebration, or simply enjoying a quiet evening at home, this cheesecake is always a superb choice. Its universally loved flavors and appealing presentation make it a reliable crowd-pleaser that fits seamlessly into any event or gathering.
- Surprisingly Easy to Make: Despite its gourmet appearance and decadent taste, this lemon blueberry cheesecake recipe is remarkably straightforward. We’ve broken down each step into clear, manageable instructions, making it accessible and enjoyable for bakers of all skill levels. Even if you’re new to baking cheesecakes, you can confidently achieve professional-level results with this guide.
Essential Ingredients for Your Lemon Blueberry Cheesecake
Crafting the perfect cheesecake starts with selecting high-quality ingredients. Each component plays a vital role in achieving the desired flavor and texture that makes this lemon blueberry cheesecake so irresistible. Here’s a breakdown of what you’ll need and why:
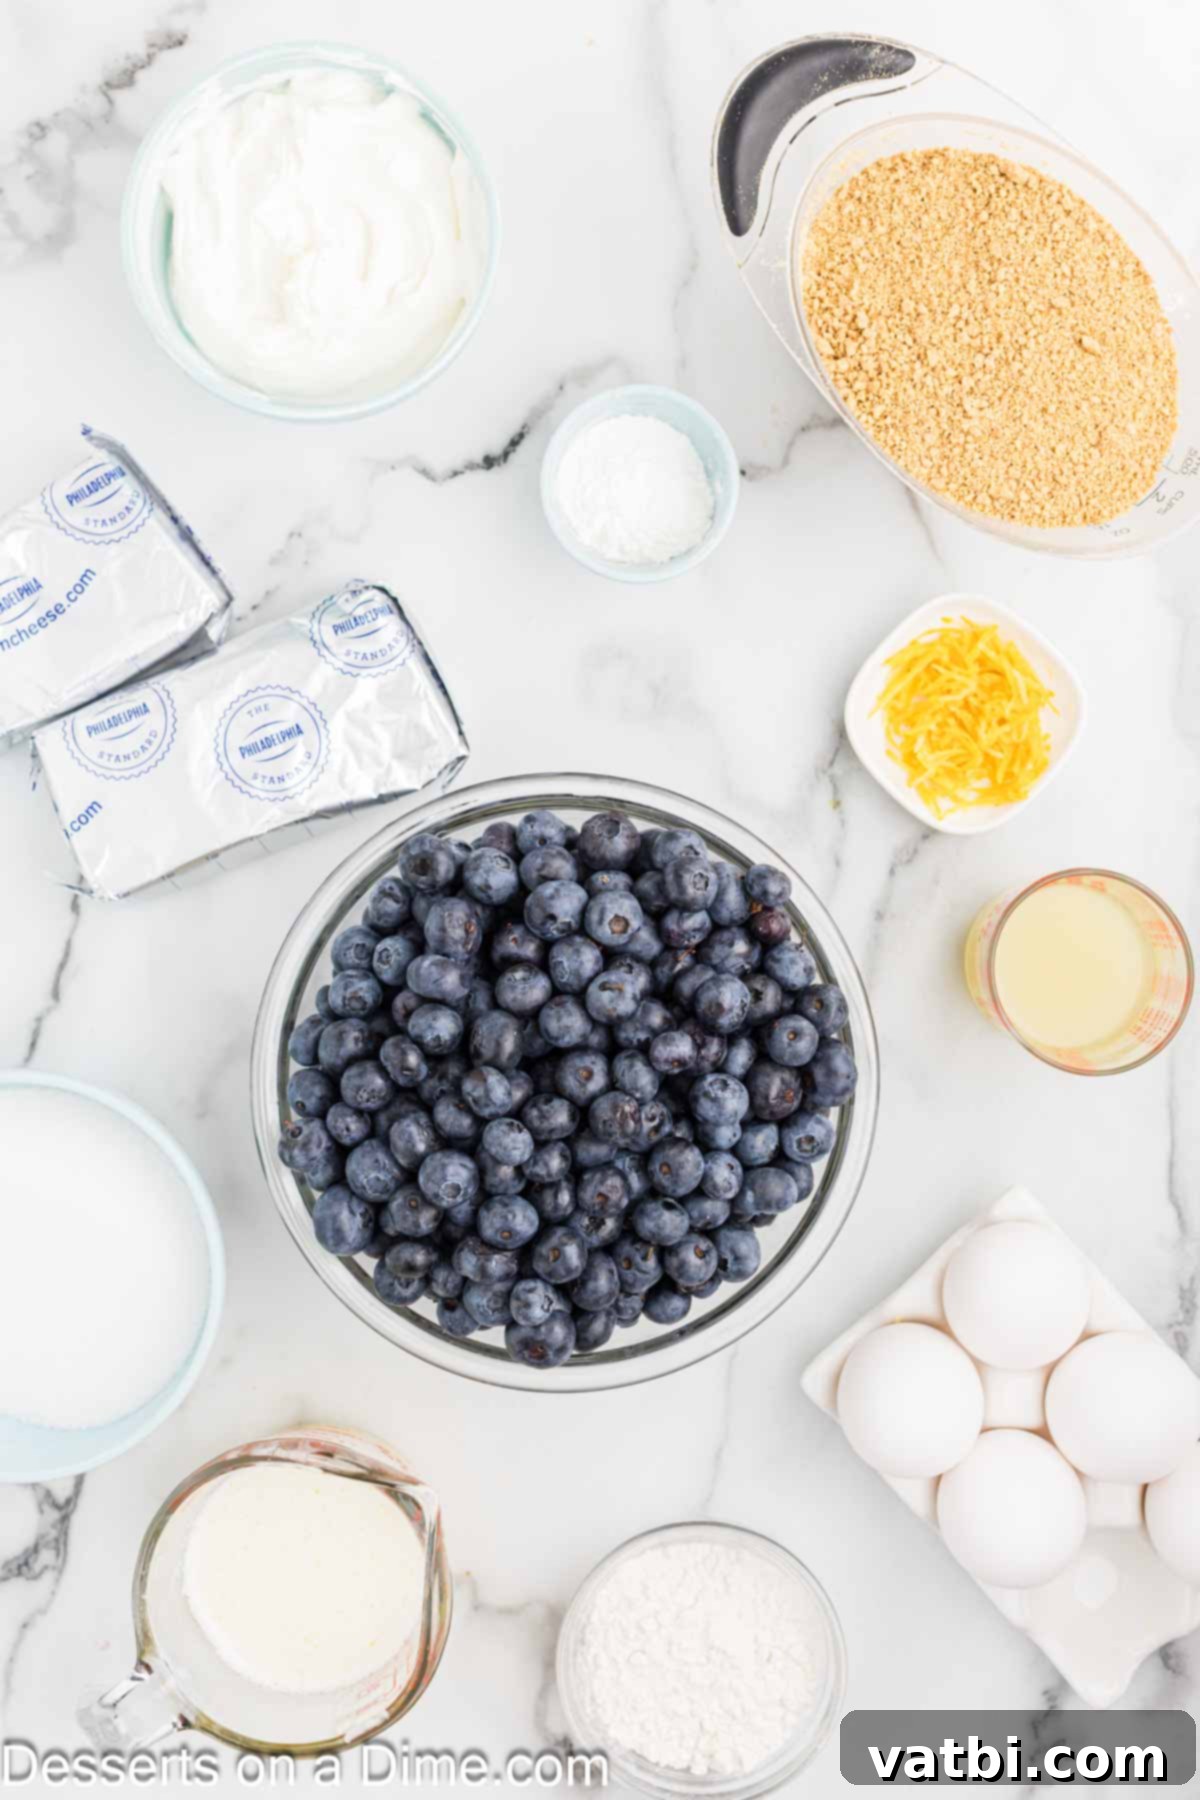
For the Buttery Graham Cracker Crust
- Graham Cracker Crumbs: These form the delicious, slightly sweet, and crunchy base of your cheesecake. You can opt for pre-crushed crumbs for convenience or crush whole graham crackers in a food processor for a fresher taste and finer texture.
- Granulated Sugar: A touch of sugar helps sweeten the crust and aids in binding the crumbs together, ensuring a firm and flavorful foundation.
- Unsalted Butter (Melted): Melted butter is essential for binding the graham cracker crumbs and sugar, creating a cohesive crust that holds its shape. Using unsalted butter gives you control over the overall saltiness of the dessert.
For the Zesty and Creamy Cheesecake Filling
- Cream Cheese (Full Fat, Brick Style): This is the backbone of your cheesecake. It’s crucial to use full-fat, brick-style cream cheese, softened at room temperature. This ensures maximum richness, a stable structure, and a velvety smooth, lump-free filling. Avoid using whipped or low-fat varieties, as they can alter the texture significantly.
- Sour Cream (Full Fat): Full-fat sour cream adds a subtle tang and an incredible creaminess to the filling, complementing the lemon and enhancing the overall luxurious texture. Like cream cheese, full-fat is recommended for the best results.
- Fresh Lemon Juice: Provides the essential bright and tangy citrus flavor. Freshly squeezed lemon juice will always yield a superior taste compared to bottled varieties.
- Lemon Zest: The zest contains the aromatic oils of the lemon, imparting a much deeper and more fragrant lemon flavor than juice alone. Don’t skip this for that vibrant citrus punch.
- Large Eggs & Egg Yolks: Eggs act as binders, helping the cheesecake set and achieve its characteristic smooth texture. Using large eggs at room temperature ensures they incorporate evenly into the batter. The addition of extra egg yolks contributes to an even richer, more custardy consistency. You can save the egg whites for another recipe!
- Fresh Blueberries: These sweet and juicy berries are folded into the filling, adding bursts of flavor and a beautiful visual appeal. It’s best to use fresh blueberries rather than frozen for the filling, as frozen berries can release excess water during baking and potentially impact the cheesecake’s texture.
For the Sweet Blueberry Topping
A luscious blueberry topping takes this cheesecake from delicious to absolutely divine. It adds an extra layer of sweetness and a vibrant fruit component that perfectly complements the creamy lemon filling.
- Blueberries: Use sweet, ripe fresh blueberries for the best flavor and texture in your topping. If fresh aren’t available, frozen can be used for the topping, but thaw and drain them first.
- Cornstarch: This acts as a thickening agent, ensuring your blueberry topping is a glossy, spoonable sauce rather than a watery mess.
- Granulated Sugar: Adjust the amount of sugar based on the sweetness of your blueberries and your personal preference. It helps balance the tartness of the berries and creates a lovely syrup.
Elegant Garnishes for a Perfect Finish
- Whipped Cream: A dollop of whipped cream, whether store-bought for convenience or freshly homemade, adds a light, airy contrast to the rich cheesecake and a touch of extra sweetness.
- Lemon Slices: Thinly sliced fresh lemons are an optional but highly recommended garnish. They not only add a beautiful visual touch but also reinforce the fresh lemon flavor with their vibrant color and aroma.
Step-by-Step Instructions: Creating Your Masterpiece Cheesecake
Follow these detailed steps to ensure a flawless and delicious Lemon Blueberry Cheesecake. We’ve broken down each stage to make the process enjoyable and stress-free, guiding you from a simple graham cracker crust to a beautifully finished dessert.
- Step 1: Prepare Your Pan and Preheat Oven. First, preheat your oven to 300 degrees F (150 degrees C). This lower temperature is key for even baking. Line the bottom of a 9-inch springform pan with parchment paper – this is crucial for easy removal later. Lightly spray the sides of the pan with nonstick cooking spray. Set the prepared pan aside while you focus on the crust.
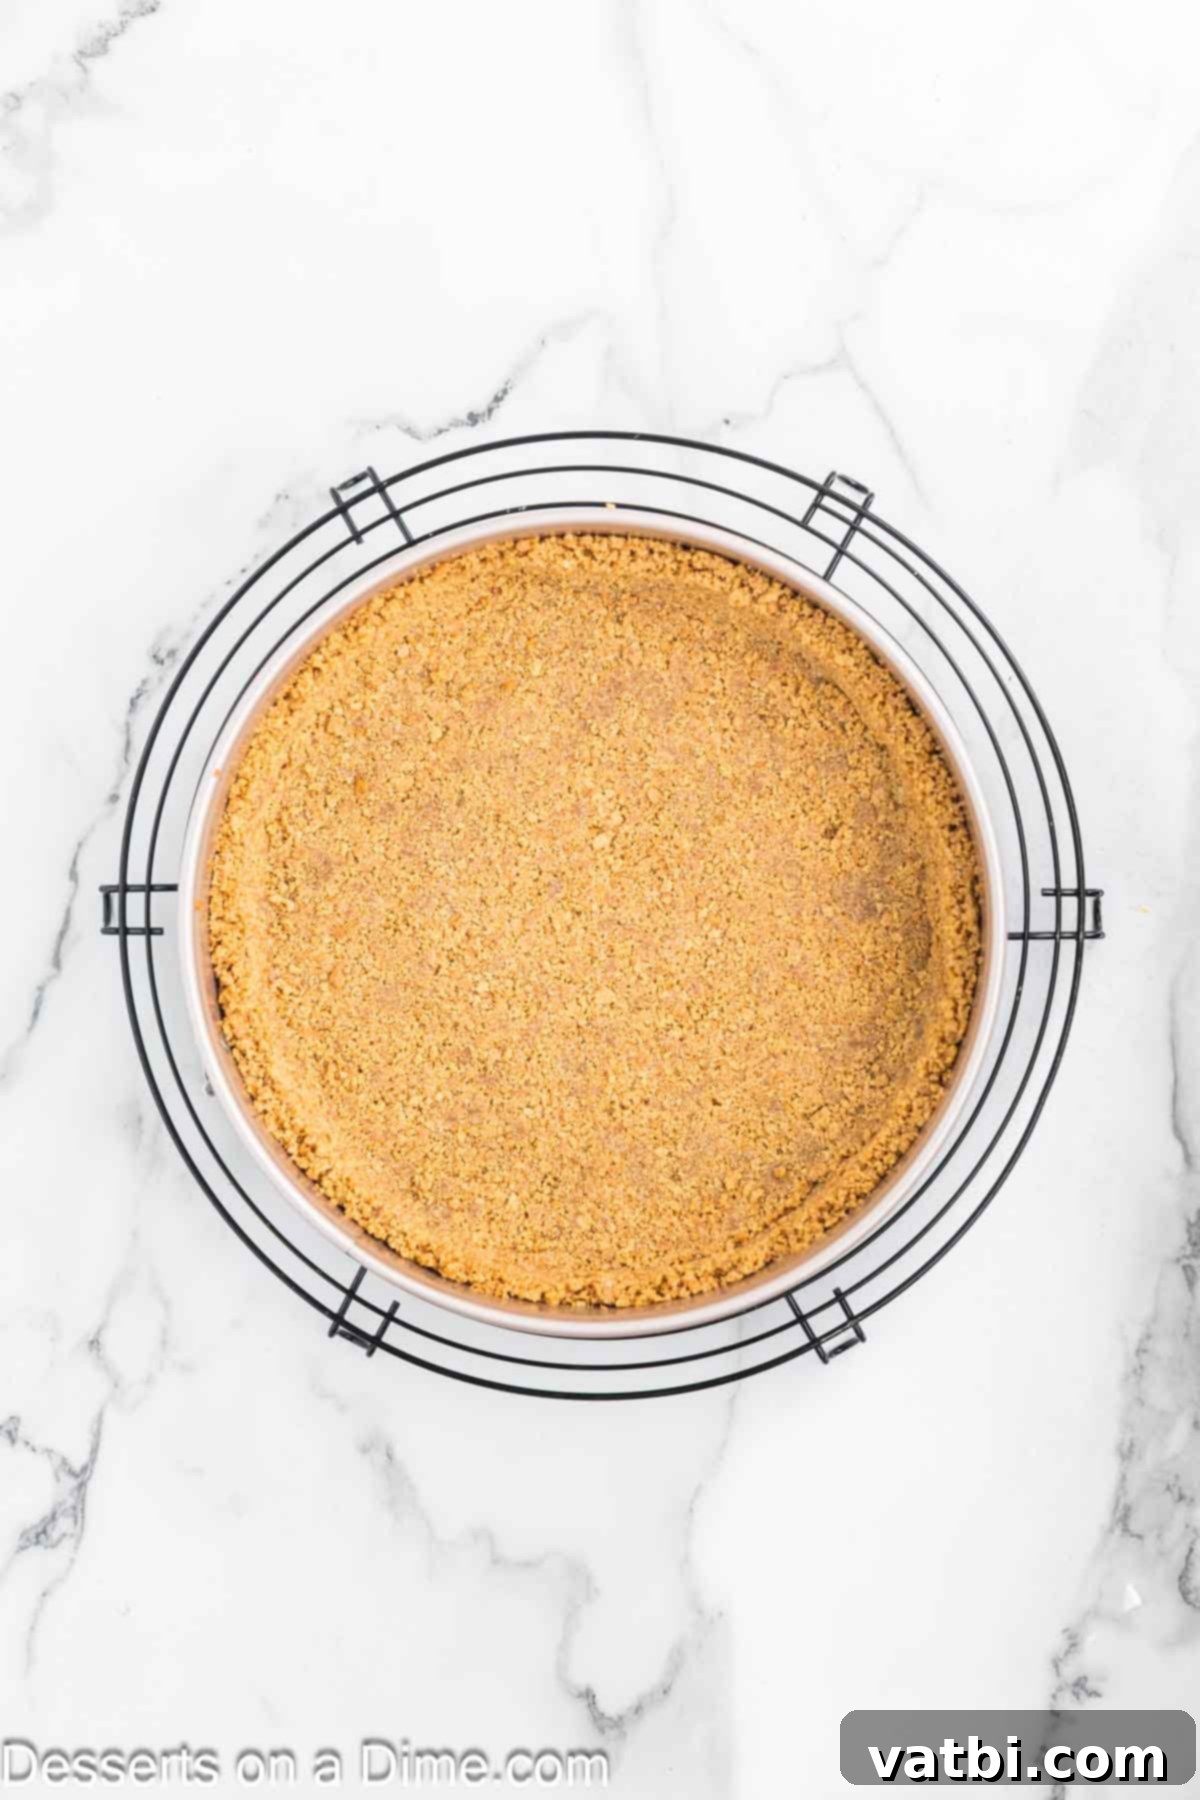
Step 2: Assemble and Bake the Crust. In a medium mixing bowl, combine the graham cracker crumbs, granulated sugar, and melted unsalted butter until thoroughly mixed. The mixture should resemble wet sand. Press this mixture firmly and evenly into the bottom of the prepared springform pan, extending it slightly up the sides. A flat-bottomed glass or measuring cup can help achieve an even, compact layer. Bake for 10-12 minutes until lightly golden, then remove and allow the crust to cool completely before adding the filling. This prevents a soggy crust and ensures it holds its shape.
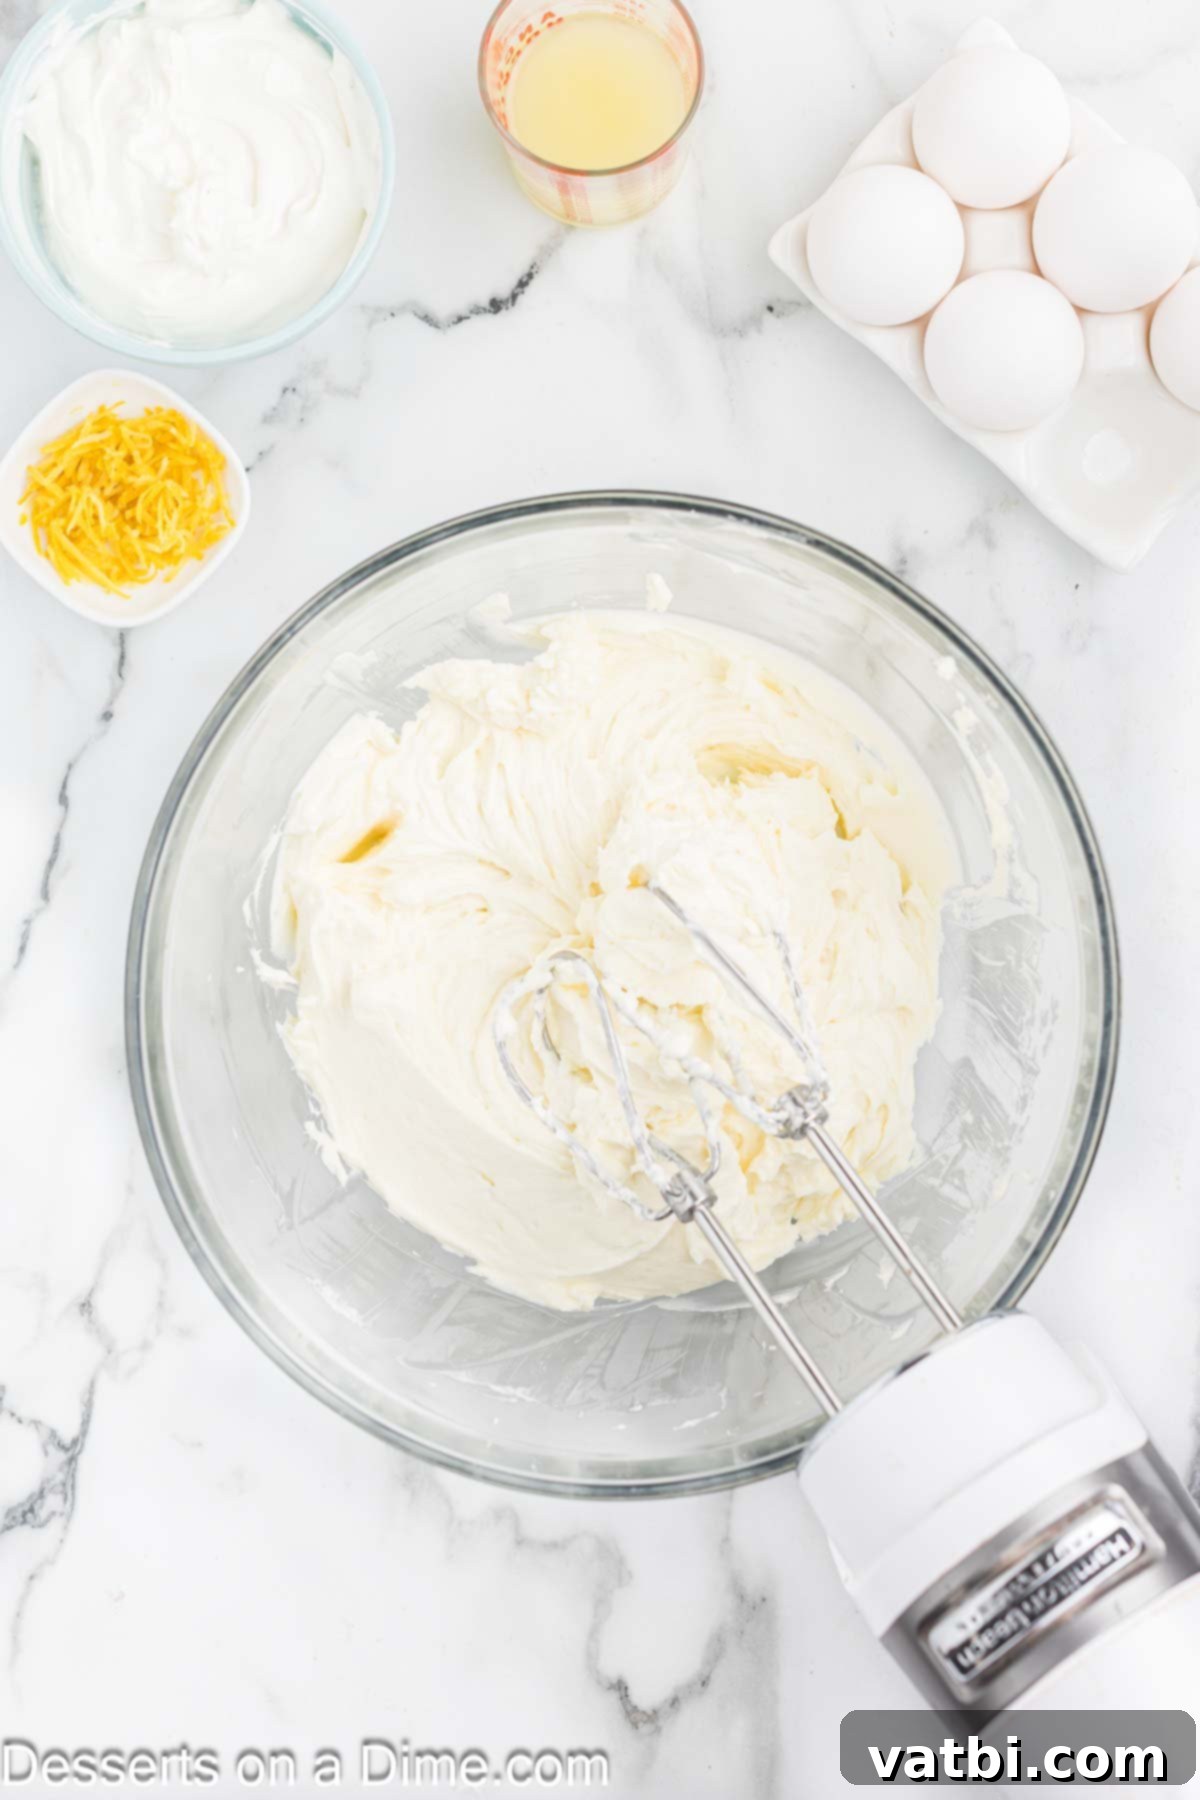
Step 3: Prepare the Creamy Filling. In a large mixing bowl, using an electric mixer on low to medium speed, beat the softened cream cheese, granulated sugar, and all-purpose flour until just combined and smooth, with no lumps. Avoid overmixing at this stage, as incorporating too much air can lead to cracks later. Next, add the full-fat sour cream, fresh lemon juice, and aromatic lemon zest. Continue beating on low speed until everything is well incorporated. Gradually add the large eggs and egg yolks, one at a time, beating just until each is incorporated before adding the next. Use a spatula to scrape down the sides and bottom of the bowl as needed to ensure a uniformly smooth batter.
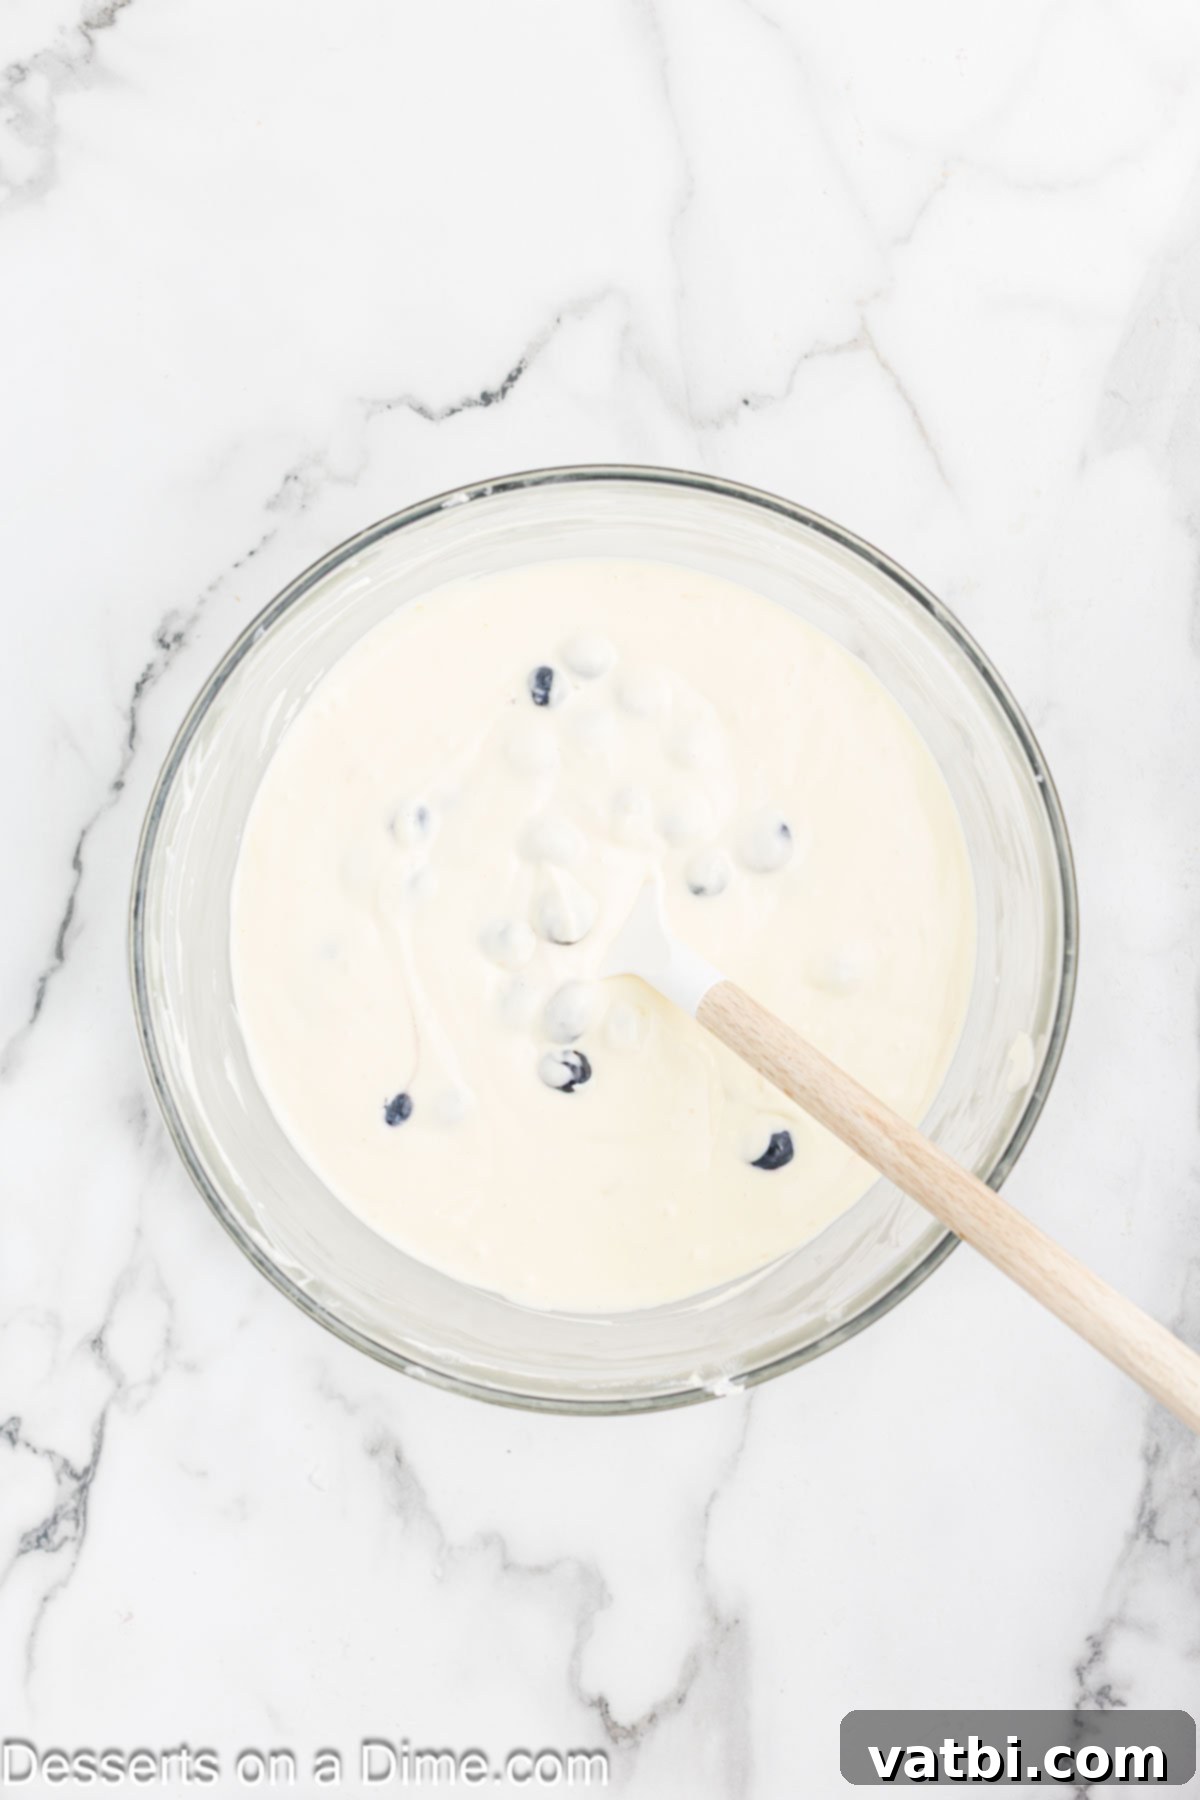
Step 4: Fold in the Blueberries. With the filling perfectly smooth, it’s time to add the star fruit. Carefully fold the fresh blueberries into the cheesecake batter by hand using a spatula. Mix just until they are evenly distributed. Be gentle to avoid crushing the berries, which could release too much juice and discolor the batter. This step ensures bursts of blueberry flavor throughout the cheesecake.
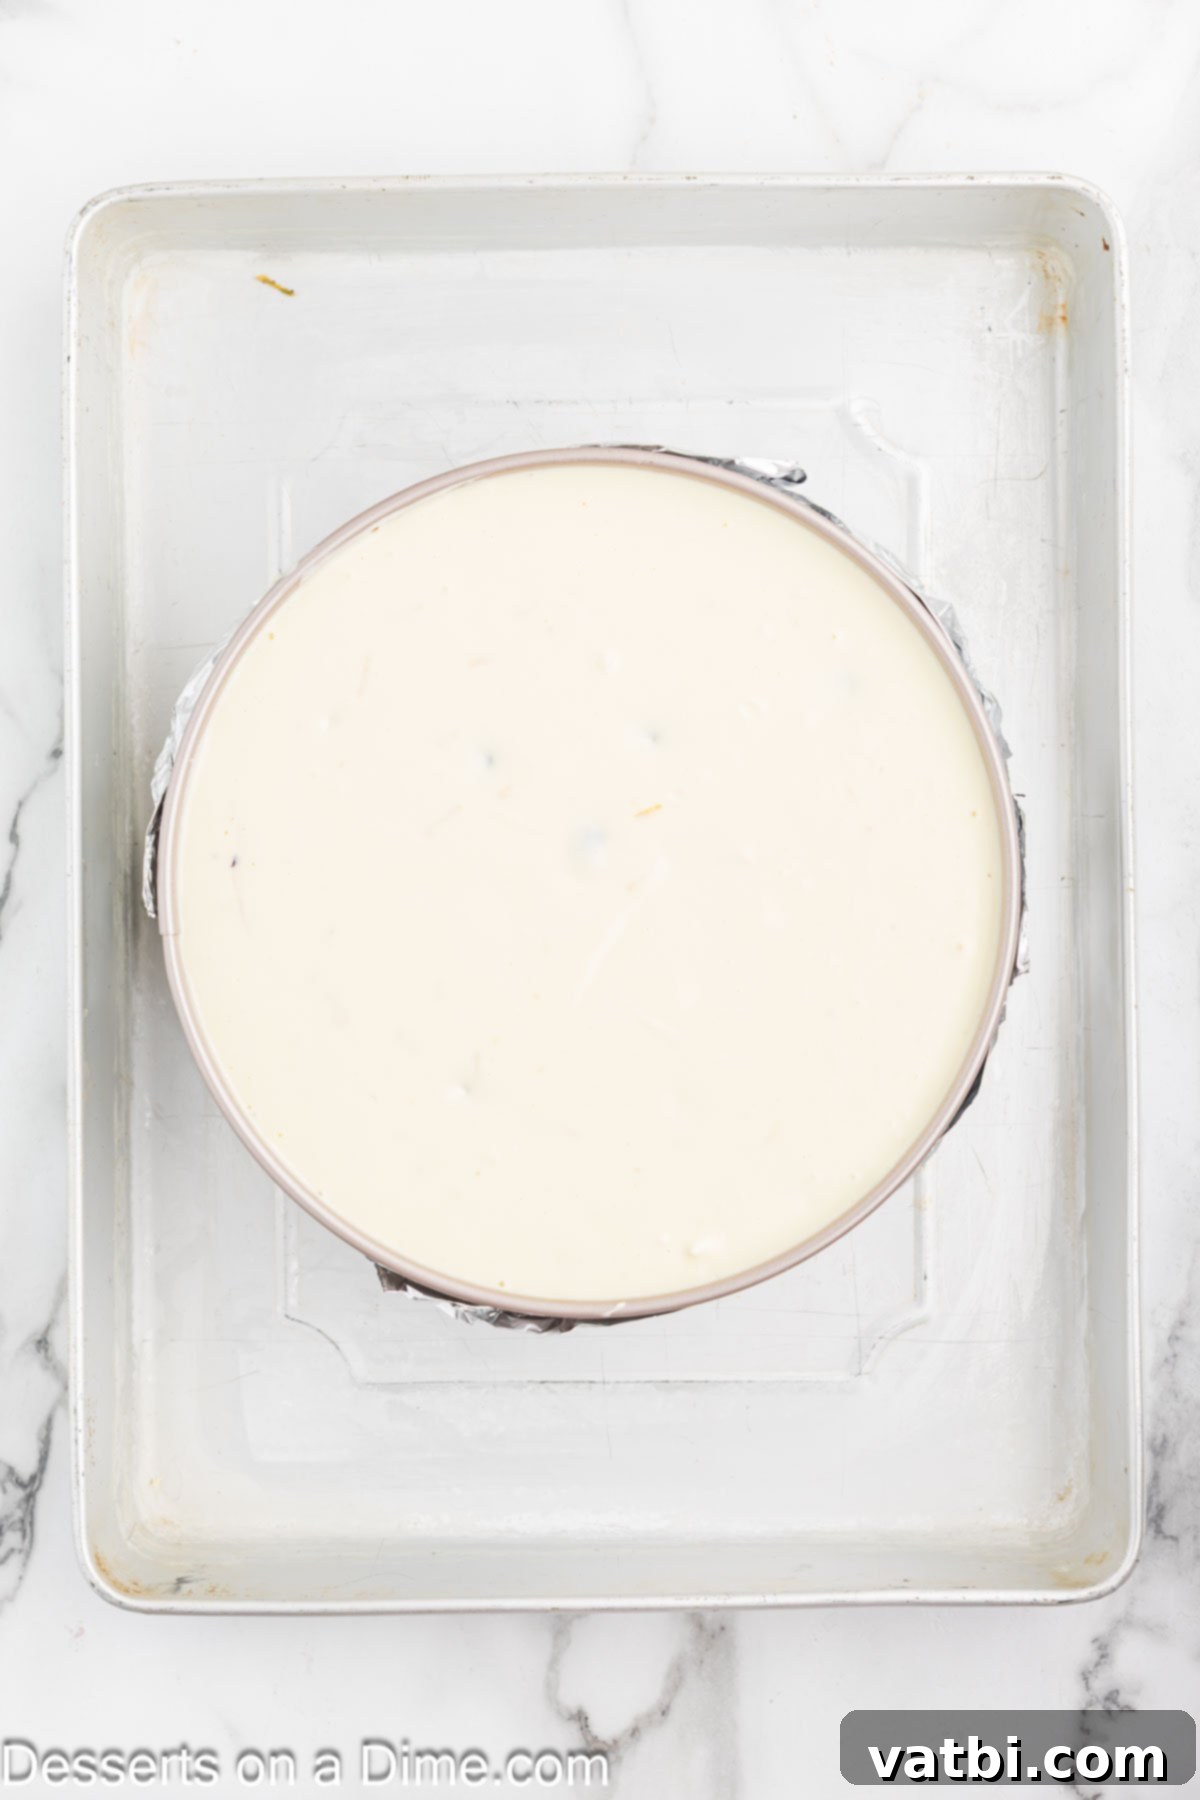
Step 5: Prepare the Water Bath (Bain-Marie). Gently spread the creamy lemon blueberry cheesecake filling into the cooled graham cracker crust. Now, for a crucial step to achieve that signature smooth, crack-free top: prepare a water bath. Tightly wrap the outside of your springform pan with two layers of heavy-duty aluminum foil to prevent any water from seeping in. Place the foil-wrapped springform pan inside a larger roasting pan. Carefully add warm water to the outer pan, filling it until the water level reaches halfway up the sides of the springform pan. This creates a steamy environment in the oven, ensuring even, gentle baking.
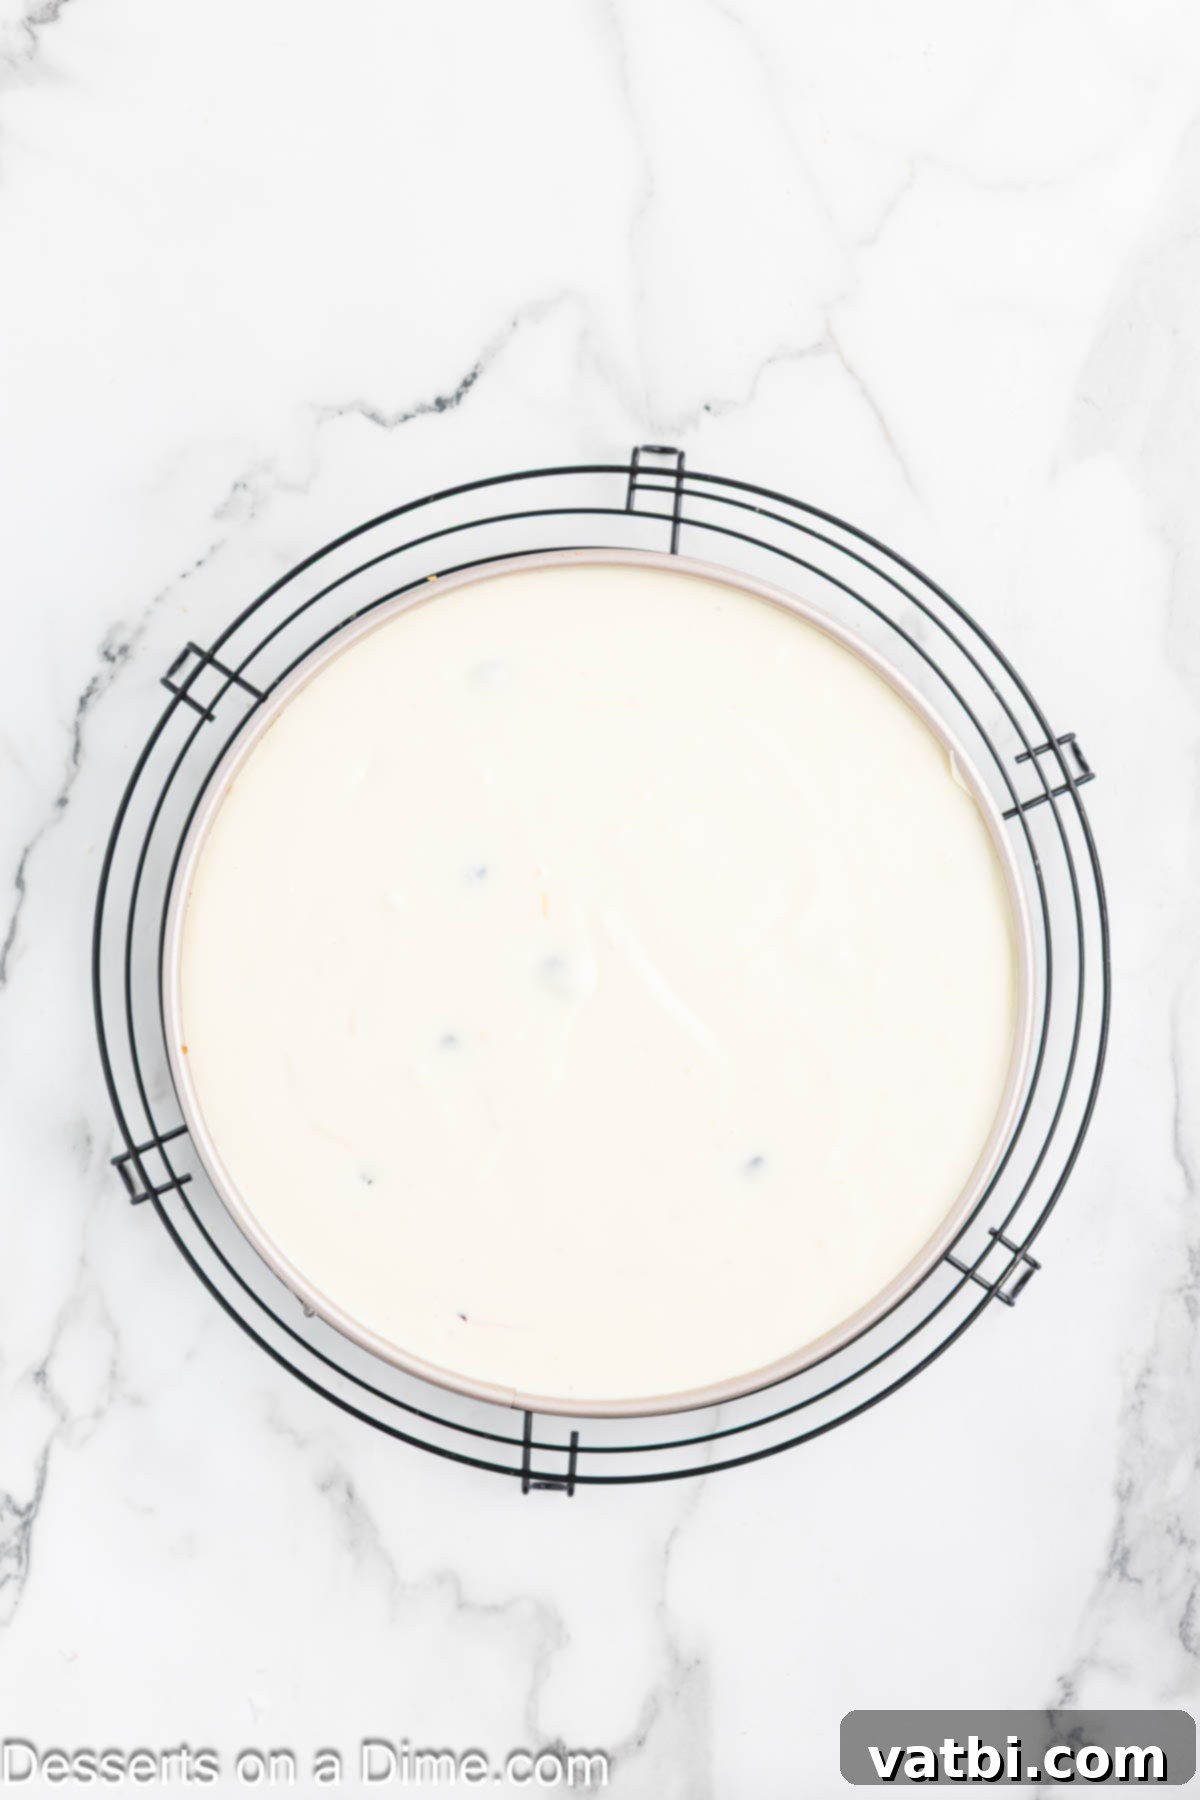
Step 6: Bake the Cheesecake. Carefully transfer the roasting pan with the cheesecake and water bath to the preheated oven. Allow the cheesecake to bake for 75 – 80 minutes. The cheesecake is done when the edges are set, but the very center still has a slight jiggle when gently shaken. If the entire cheesecake jiggles like liquid, it needs more cooking time. Remember that oven temperatures can vary, so adjust baking time as needed, keeping an eye on the texture rather than strictly adhering to the clock.
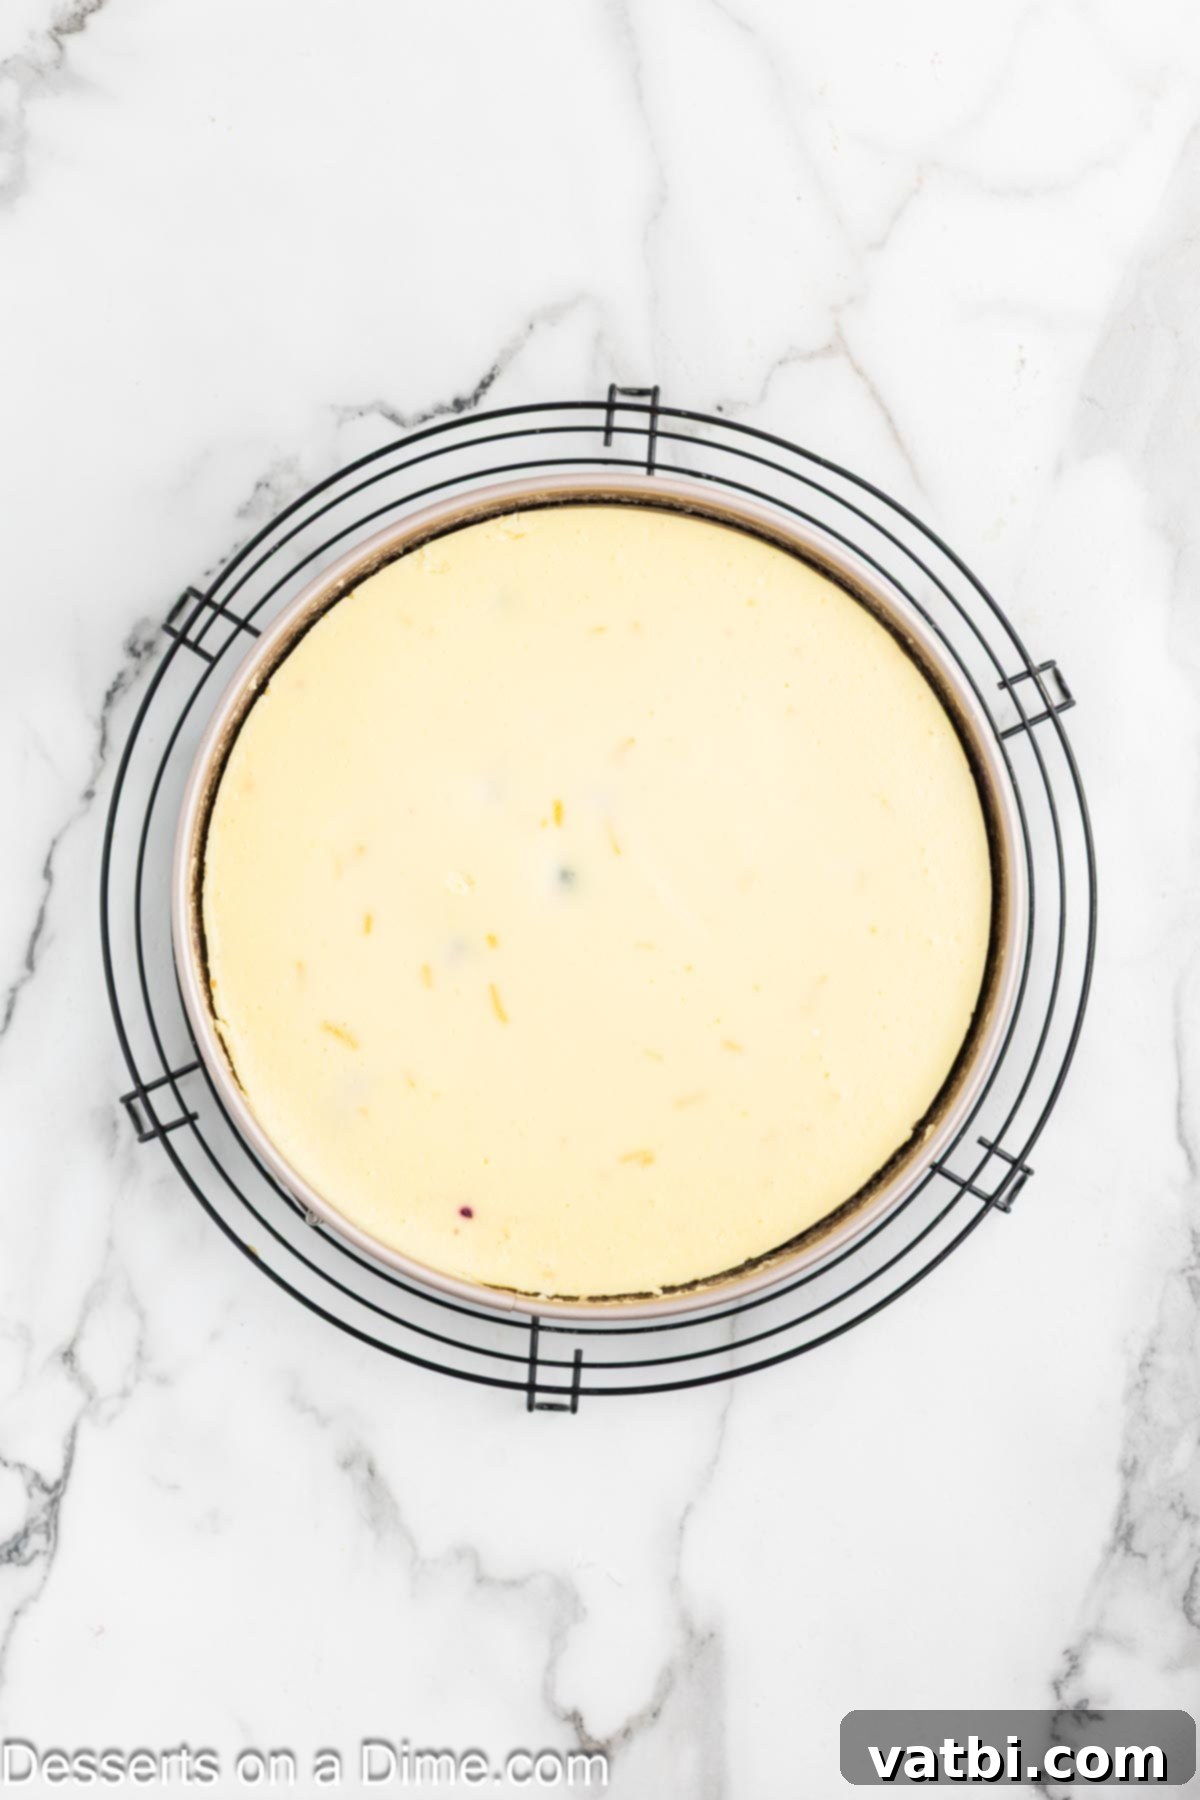
Step 7: Gradual Cooling and Chilling. Once the cheesecake has finished baking and the top is lightly golden, turn off the oven but leave the cheesecake inside. Crack the oven door open slightly and allow the cheesecake to cool gradually in the warm oven for 1 hour. This slow cooling process is vital for preventing cracks. After 1 hour, carefully remove the cheesecake from the water bath (discarding the hot water) and let it cool completely to room temperature on a wire rack. Then, transfer it to the refrigerator to chill thoroughly. This usually takes 5-6 hours, but for the best texture and flavor, I highly recommend chilling it overnight.
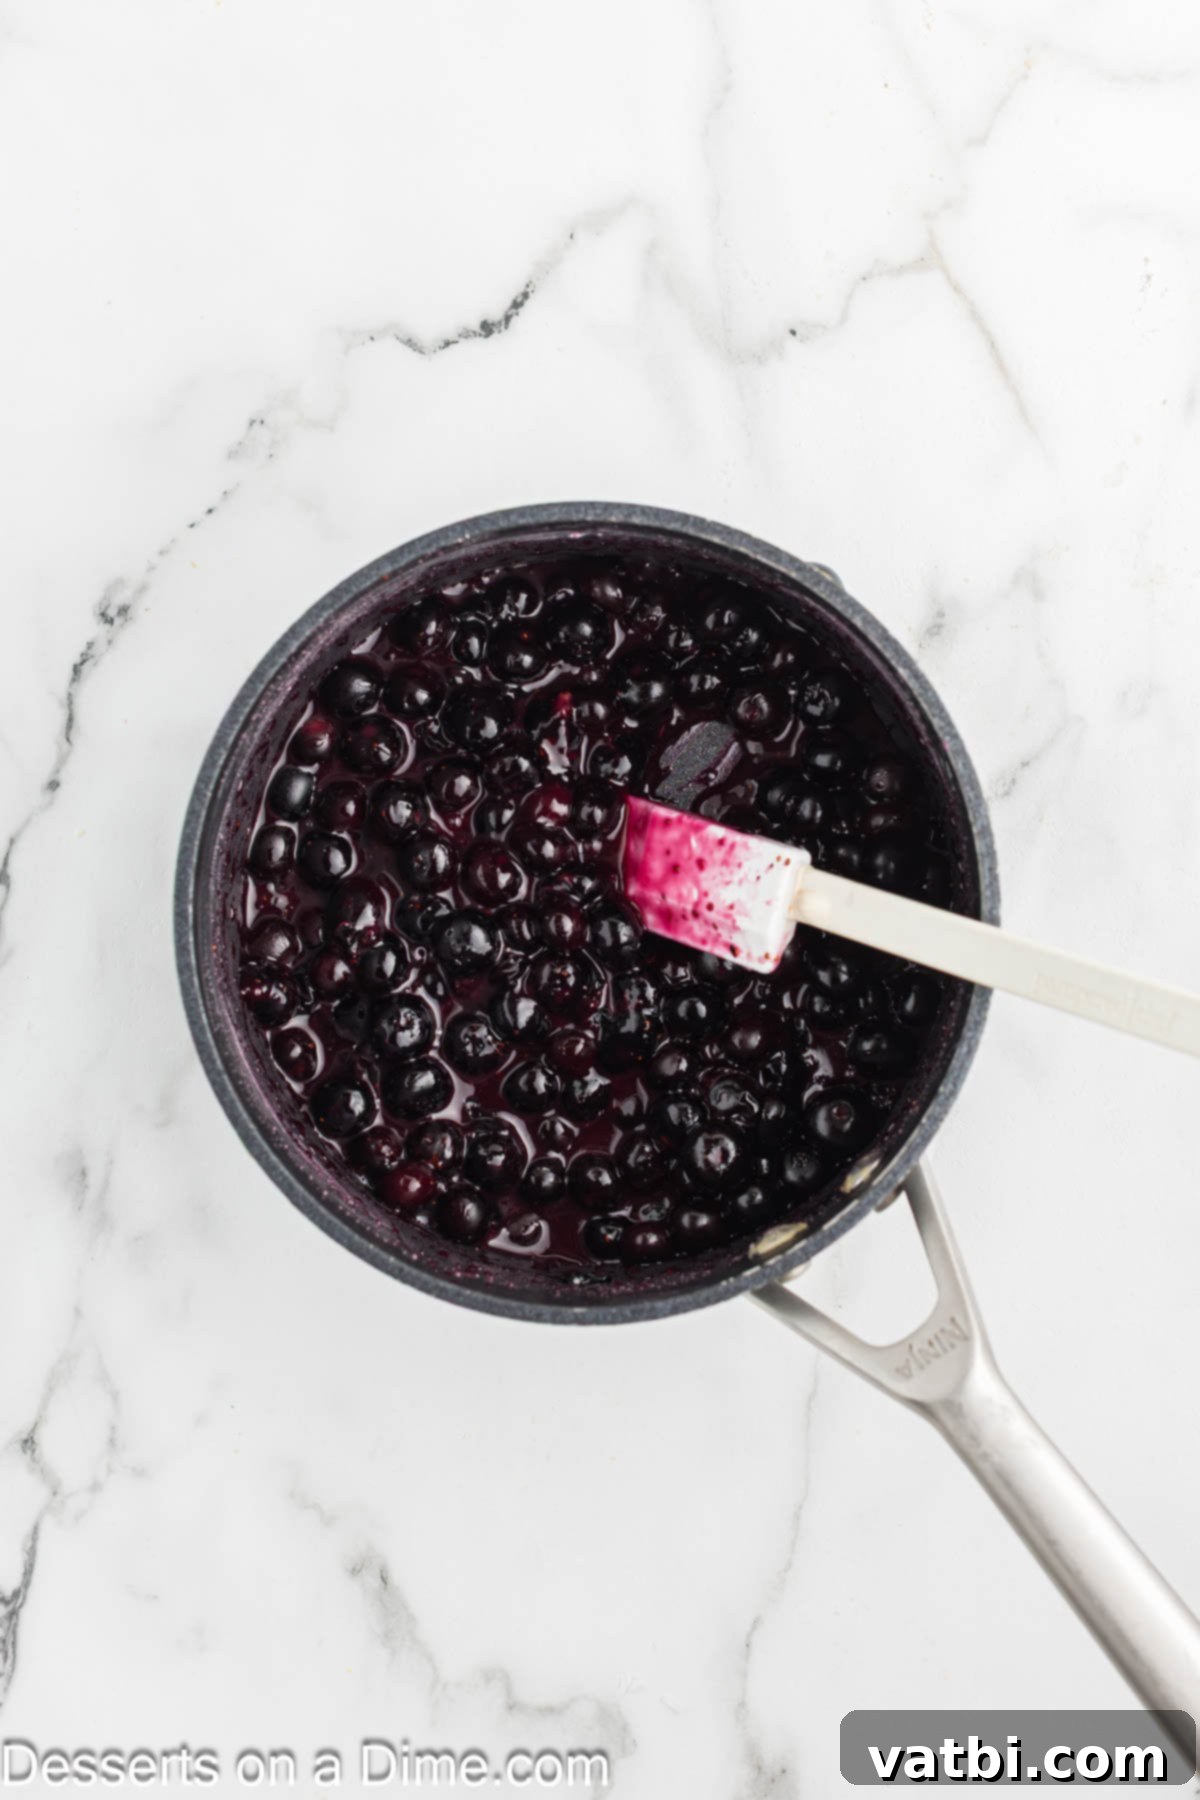
Step 8: Prepare the Luscious Blueberry Topping. While your cheesecake chills, prepare the delightful blueberry topping. In a small saucepan, combine the granulated sugar, cornstarch, and water. Cook this mixture over medium heat, stirring constantly, until the sugar has fully dissolved and the mixture is smooth. Then, add the fresh blueberries. Continue to cook, stirring occasionally, until the berries have softened, released their juices, and the mixture has thickened into a glossy sauce. For a more rustic topping, you can gently mash some of the blueberries as they simmer. Once desired consistency is reached, pour the topping into a bowl and refrigerate until it’s fully cooled and ready to be served.
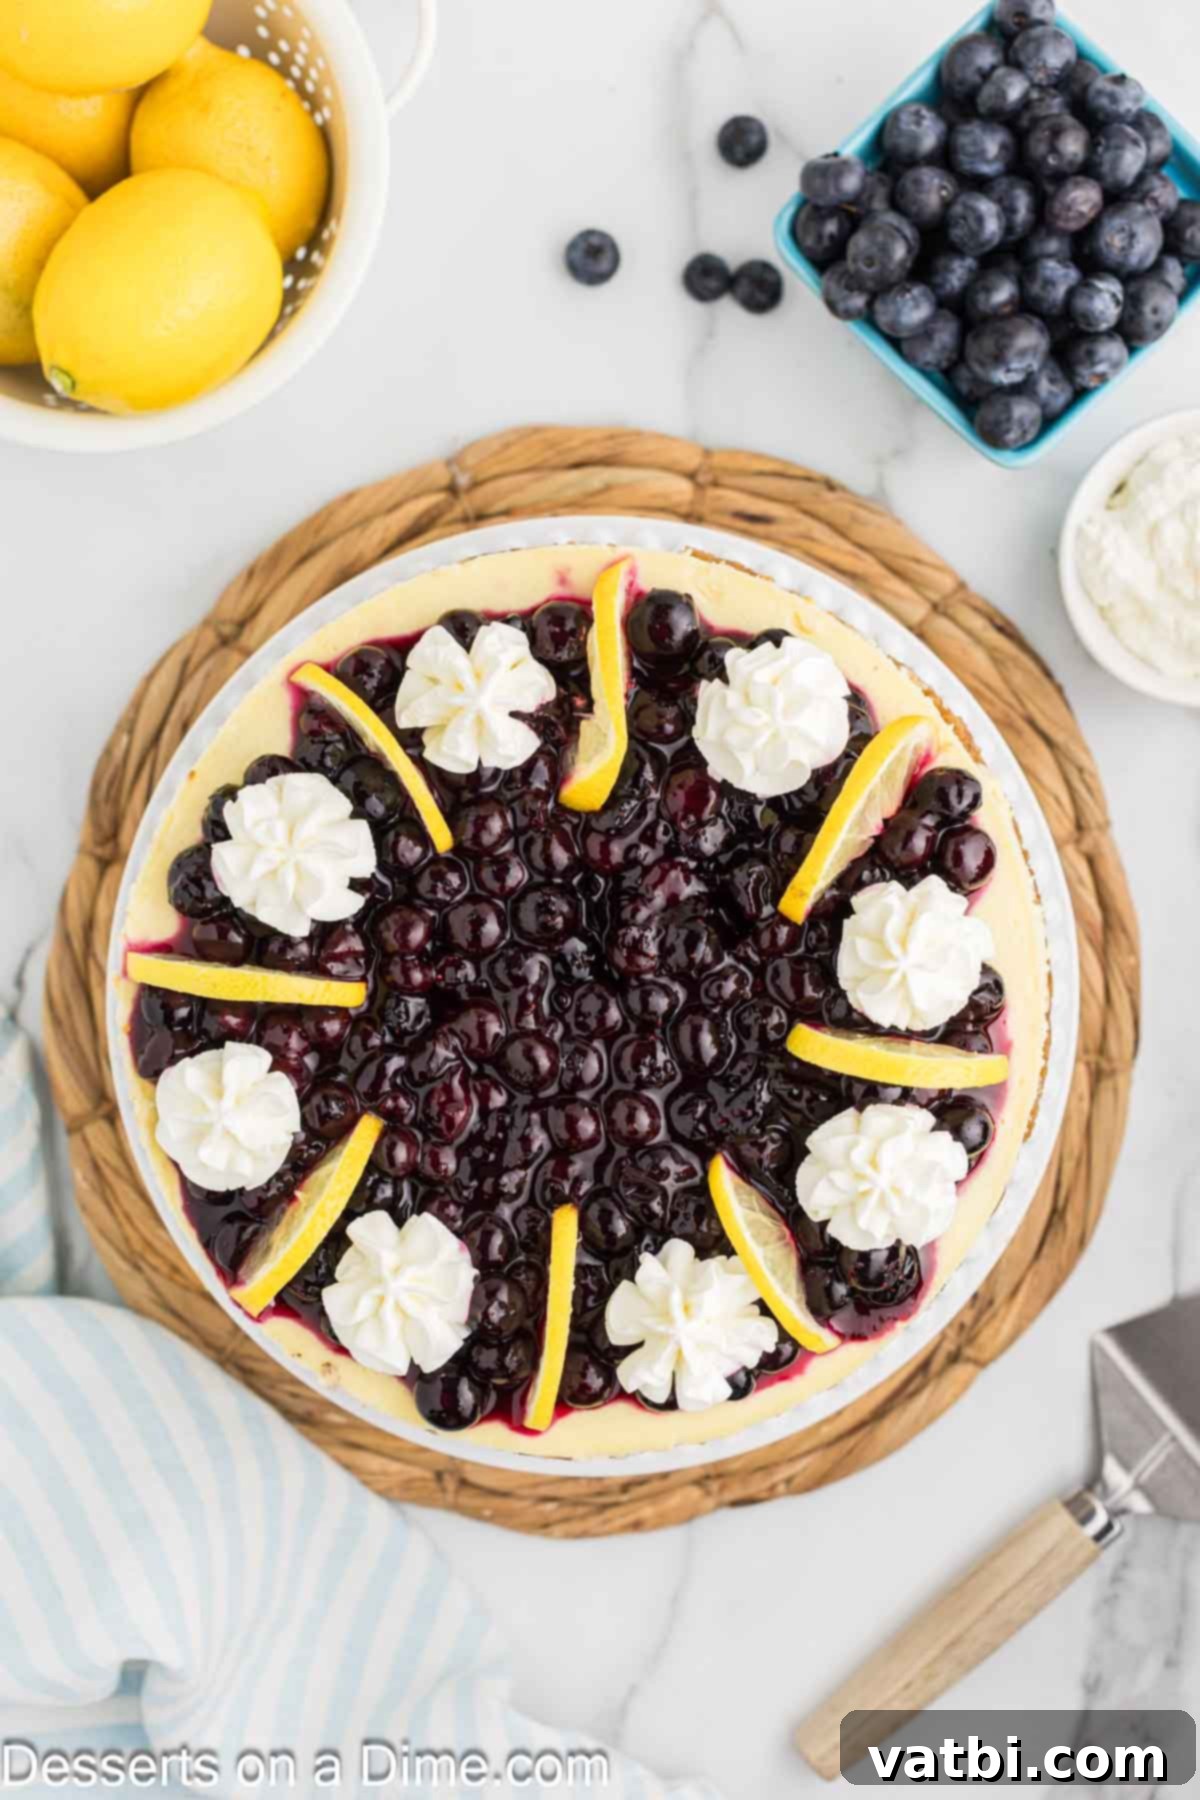
Step 9: Garnish and Serve. When you’re ready to serve your show-stopping dessert, carefully remove the chilled cheesecake from the springform pan. Transfer it to a serving plate. Generously top the entire cheesecake with the prepared blueberry topping. For an extra touch of elegance and flavor, add dollops of whipped cream and arrange fresh lemon slices on top. Slice into generous portions and prepare for compliments!
Storage Tips for Your Lemon Blueberry Cheesecake
Proper storage is essential to maintain the freshness and delicious taste of your homemade lemon blueberry cheesecake. Once completely cooled, cover the cheesecake tightly with plastic wrap or place it in an airtight container. It can be stored in the refrigerator for up to 4-5 days. For longer storage, slices of cheesecake can be individually wrapped in plastic wrap and then aluminum foil, then frozen for up to 1 month. Thaw frozen slices in the refrigerator overnight before serving.
Expert Tips for a Flawless Lemon Blueberry Cheesecake
Achieving a perfect cheesecake can seem daunting, but these expert tips will guide you to a crack-free, incredibly creamy, and delicious result every single time:
- Cool Gradually to Prevent Cracking: This is one of the most crucial steps. Cheesecakes are sensitive to sudden temperature changes, which can cause them to crack. Once your cheesecake finishes baking, do not remove it immediately. Instead, turn off the oven, crack the door open slightly, and let the cheesecake sit in the cooling oven for at least 1 hour. This gradual cooling allows the cheesecake to set slowly and evenly, minimizing the risk of unsightly cracks. After this period, remove it to a wire rack to cool completely to room temperature before refrigerating.
- Mix at Low Speed to Avoid Cracks: When preparing the cheesecake filling, always use your electric mixer on a low speed setting. Overmixing incorporates too much air into the batter, which expands during baking and then collapses as the cheesecake cools, leading to cracks. Gentle, low-speed mixing ensures a dense, creamy batter with minimal air bubbles, resulting in that smooth, luxurious texture you desire. Mix just until ingredients are combined, no more.
- Don’t Skip the Water Bath (Bain-Marie): While it may seem like an extra step, a water bath is a game-changer for cheesecake. The steam generated by the hot water creates a moist and even cooking environment in your oven, which prevents the cheesecake from drying out, baking too quickly around the edges, and ultimately, cracking. It’s the secret to an ultra-creamy, silky-smooth texture with a beautifully flat and unblemished top. Ensure your springform pan is well-wrapped in heavy-duty foil to prevent water seepage.
- Use Full-Fat Cream Cheese and Room Temperature Ingredients: The quality and temperature of your ingredients significantly impact the final texture and flavor. Always opt for full-fat, brick-style cream cheese (not whipped or spreadable versions), as its higher fat content contributes to the cheesecake’s richness and stability. Additionally, ensure your cream cheese, sour cream, and eggs are all at room temperature. This allows them to combine smoothly and evenly, preventing lumps and ensuring a perfectly uniform batter that bakes beautifully.
- Don’t Overbake: An overbaked cheesecake will be dry and more prone to cracking. Look for edges that are set and firm, while the center still has a slight jiggle (like firm jello) when gently nudged. The residual heat will continue to cook the cheesecake as it cools, so it’s better to slightly underbake than overbake.
- Chill Thoroughly: Patience is key! A cheesecake needs ample time to chill in the refrigerator to fully set and for its flavors to meld and deepen. Rushing this step will result in a soft, unstable cheesecake. For the best texture and easiest slicing, chilling overnight is highly recommended.
More Decadent Cheesecake Recipes You’ll Love
Cakes
Cinnamon Roll Cheesecake
Cakes
Mini Red Velvet Cheesecake
Cakes
Churro Cheesecake
We are confident that this Lemon Blueberry Cheesecake recipe will quickly become a beloved staple in your dessert repertoire. Its vibrant flavors, creamy texture, and stunning appearance make it truly special. Don’t hesitate to give it a try for your next special occasion or whenever a craving strikes!
Please leave a comment below once you’ve tried it and let us know what you think!
Pin
Lemon Blueberry Cheesecake
Ingredients
For the Crust:
- 2 1/4 Cups Graham Cracker Crumbs
- 1/4 Cup Granulated Sugar
- 10 Tablespoons Unsalted Butter melted
For the Filling:
- 24 Ounces Cream Cheese room temperature
- 1 Cup Granulated Sugar
- 3 Tablespoons All Purpose Flour
- 3/4 Cup Sour Cream full fat
- 5-6 Tablespoons Lemon Juice
- 1 Tablespoon Lemon Zest
- 3 Large Eggs room temperature
- 2 Egg yolks room temperature
- 1 1/4 Cups fresh Blueberries
For the Topping:
- 2 Cups Blueberries
- 2 teaspoon Water
- 1 Tablespoon Cornstarch
- 1/4 Cup Granulated Sugar
For Garnish:
- Whipped Cream store bought or Homemade Whipped Cream
- Lemon Slices optional for topping
Instructions
For the Crust:
-
Preheat the oven to 300 degrees F. Line a 9 inch springform pan with parchment paper on the bottom. Spray the sides with nonstick cooking spray. Set aside while you make the crust.
-
Combine the crust ingredients together inside a mixing bowl. Press into the springform pan. The crumbs should be evenly spread on the bottom and pressed up the sides of the pan slightly.
-
Bake for 10-12 minutes and allow to cool.
For the Filling:
-
Beat the cream cheese, sugar and flour on low speed until combined with an electric mixer. You can use a stand mixer or hand mixer.
-
Next, add the sour cream, lemon juice and lemon zest. Mix until combined.
-
Gradually add the eggs and egg yolks one at a time into the mixture. Scrape the sides of the bowl as needed.
-
Fold in the blueberries by hand into the filling until just combined.
-
Spread the cheesecake filling into the graham cracker crust.
-
Create a water bath. Cover the outside of the pan with heavy duty aluminum foil. This will prevent the water from getting into the cheesecake. Place the pan inside a larger pan or roaster. Add warm water to the outer pan until it goes halfway up the sides of the springform pan. Be careful that you do not add more water than that.
-
Bake for 75 – 80 minutes. The center should be set but still slightly jiggly. If the entire cheesecake jiggles, it needs more cooking time as ovens vary.
-
Turn off the oven and crack the door. Allow the cheesecake to sit for 1 hour in the oven.
-
Remove from the water bath and place in the refrigerator to cool completely. This normally takes 5-6 hours, but I prefer overnight.
For the Topping:
-
Combine the sugar, cornstarch and water in a saucepan using medium heat. Stir to combine and continue to cook until the sugar has melted.
-
Add the blueberries and combine. Cook until the berries have softened and the juice has combined into the sugar mixture and started to thicken. I like to mash the blueberries a little as they cook.
-
Remove from heat and pour into a bowl. Refrigerate until ready to use.
For Serving:
-
Remove the cheesecake from the springform pan when ready to serve.
-
Top with blueberry sauce, whipped cream and lemon slices.
-
Slice and Enjoy!
Recipe Notes
Don’t skip the water bath. It’s a crucial step to help the cheesecake texture and prevent cracking.
Cover any leftovers and store up to 5 days in the refrigerator.
Nutrition Facts
Pin This Now to Remember It Later
Pin Recipe
