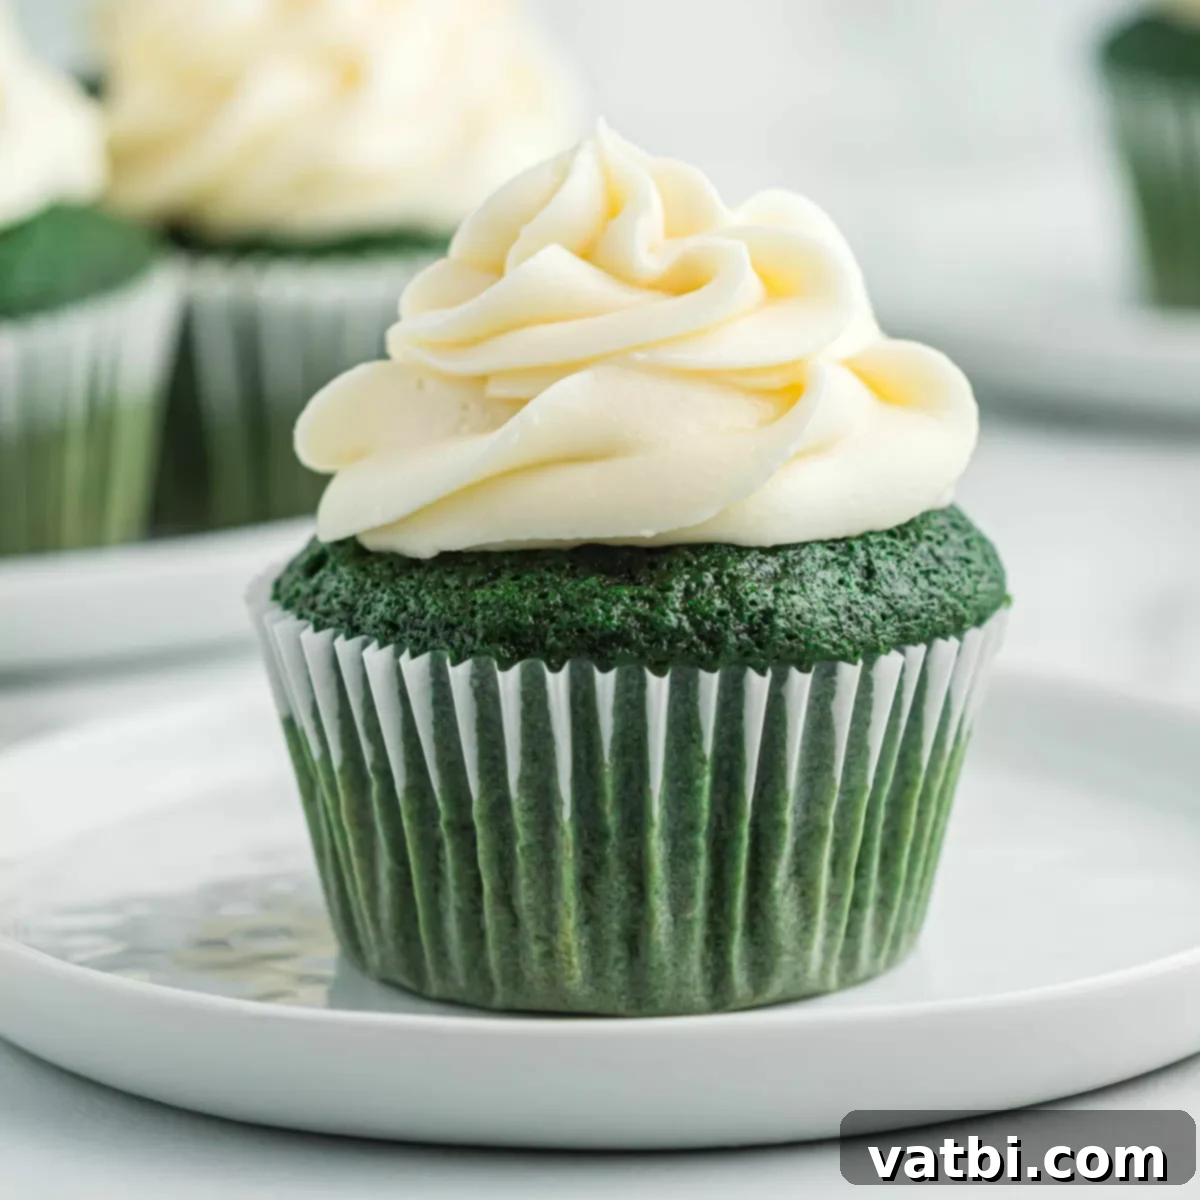
Delicious & Festive Green Velvet Cupcakes: Your Ultimate St. Patrick’s Day Recipe
Get ready to impress with the most delicious and visually stunning Green Velvet Cupcakes recipe! This homemade delight is not only incredibly easy to make but also boasts a rich, moist texture and a vibrant emerald hue, making it absolutely perfect for St. Patrick’s Day celebrations, Christmas, or any occasion needing a touch of green magic. Just like their famous red counterparts, these luscious treats are a delightful twist on traditional Red Velvet Cupcakes, but with a festive green food coloring that truly pops!
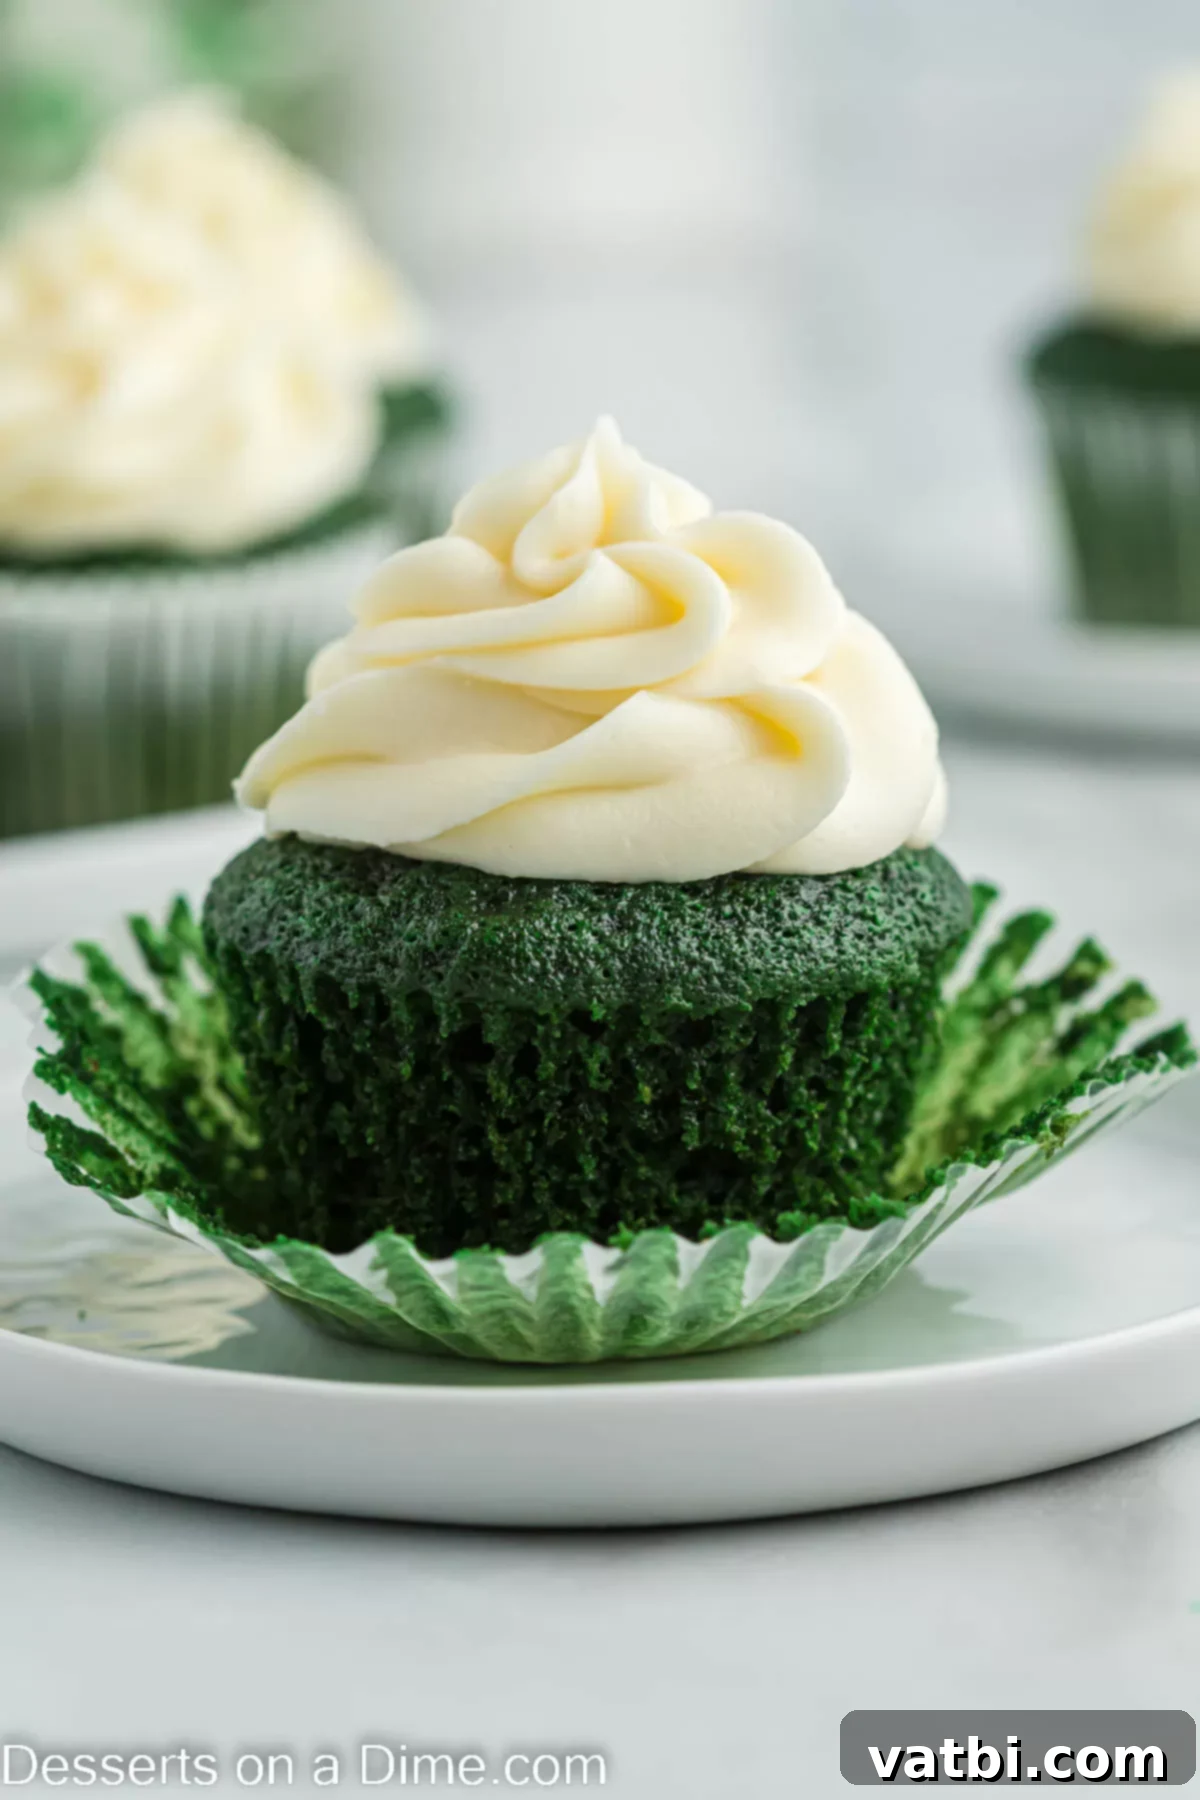
If you’re a fan of the classic red velvet cake, you’re going to adore this whimsical variation. The distinctive flavor profile, a subtle blend of vanilla and cocoa with a hint of tang from buttermilk, remains a cornerstone of this recipe, now beautifully presented in a bright and vibrant green. It’s an unforgettable dessert that promises to be a crowd-pleaser, both in taste and appearance. Whether you’re hosting a party or simply craving a special treat, these green velvet delights are sure to bring joy.
The transformation these cupcakes undergo once the green food coloring is added is nothing short of magical. They become the ideal dessert for St. Patrick’s Day festivities, adding a touch of Irish charm to your table. Imagine them alongside other festive treats like St Patrick’s Day Rainbow Cookies or delightful Lucky Charms Treats, creating a dessert spread that’s as enchanting as it is delicious.
Prefer a larger cake to share? This recipe can easily be adapted into a Green Velvet Cake, offering the same fantastic flavor and visual appeal in a grander form. Green Velvet is incredibly fun to bake and even more enjoyable to eat, making it a wonderful project for bakers of all skill levels. And for those looking to expand their St. Patrick’s Day baking repertoire, don’t forget to try our rich Guinness Brownies for another themed indulgence.
Table of contents
- Why We Love This Recipe
- Ingredients
- Cupcakes
- Cream Cheese Frosting
- How to Make Green Velvet Cupcakes
- Can You Freeze Green Velvet Cupcakes?
- Storage
- Expert Tips
- More Easy Cupcake Recipes
Why You’ll Adore This Green Velvet Cupcake Recipe
There are countless reasons why these Green Velvet Cupcakes will become a staple in your baking collection. First and foremost, they capture all the rich, nuanced flavor of classic red velvet cake, but with a captivating green hue that instantly makes them a festive showstopper. Whether you’re preparing for a lively St. Patrick’s Day celebration, a themed birthday, or simply want a delightful treat “just because,” these cupcakes deliver.
Beyond their irresistible taste and eye-catching color, this recipe stands out for its simplicity. We’ve broken down the process into easy-to-follow, step-by-step instructions, ensuring that even novice bakers can achieve perfect results every time. No complicated techniques or obscure ingredients are required, just straightforward steps to bake a batch of moist, flavorful cupcakes topped with heavenly cream cheese frosting. It’s a recipe designed for success, bringing smiles to everyone who tries them.
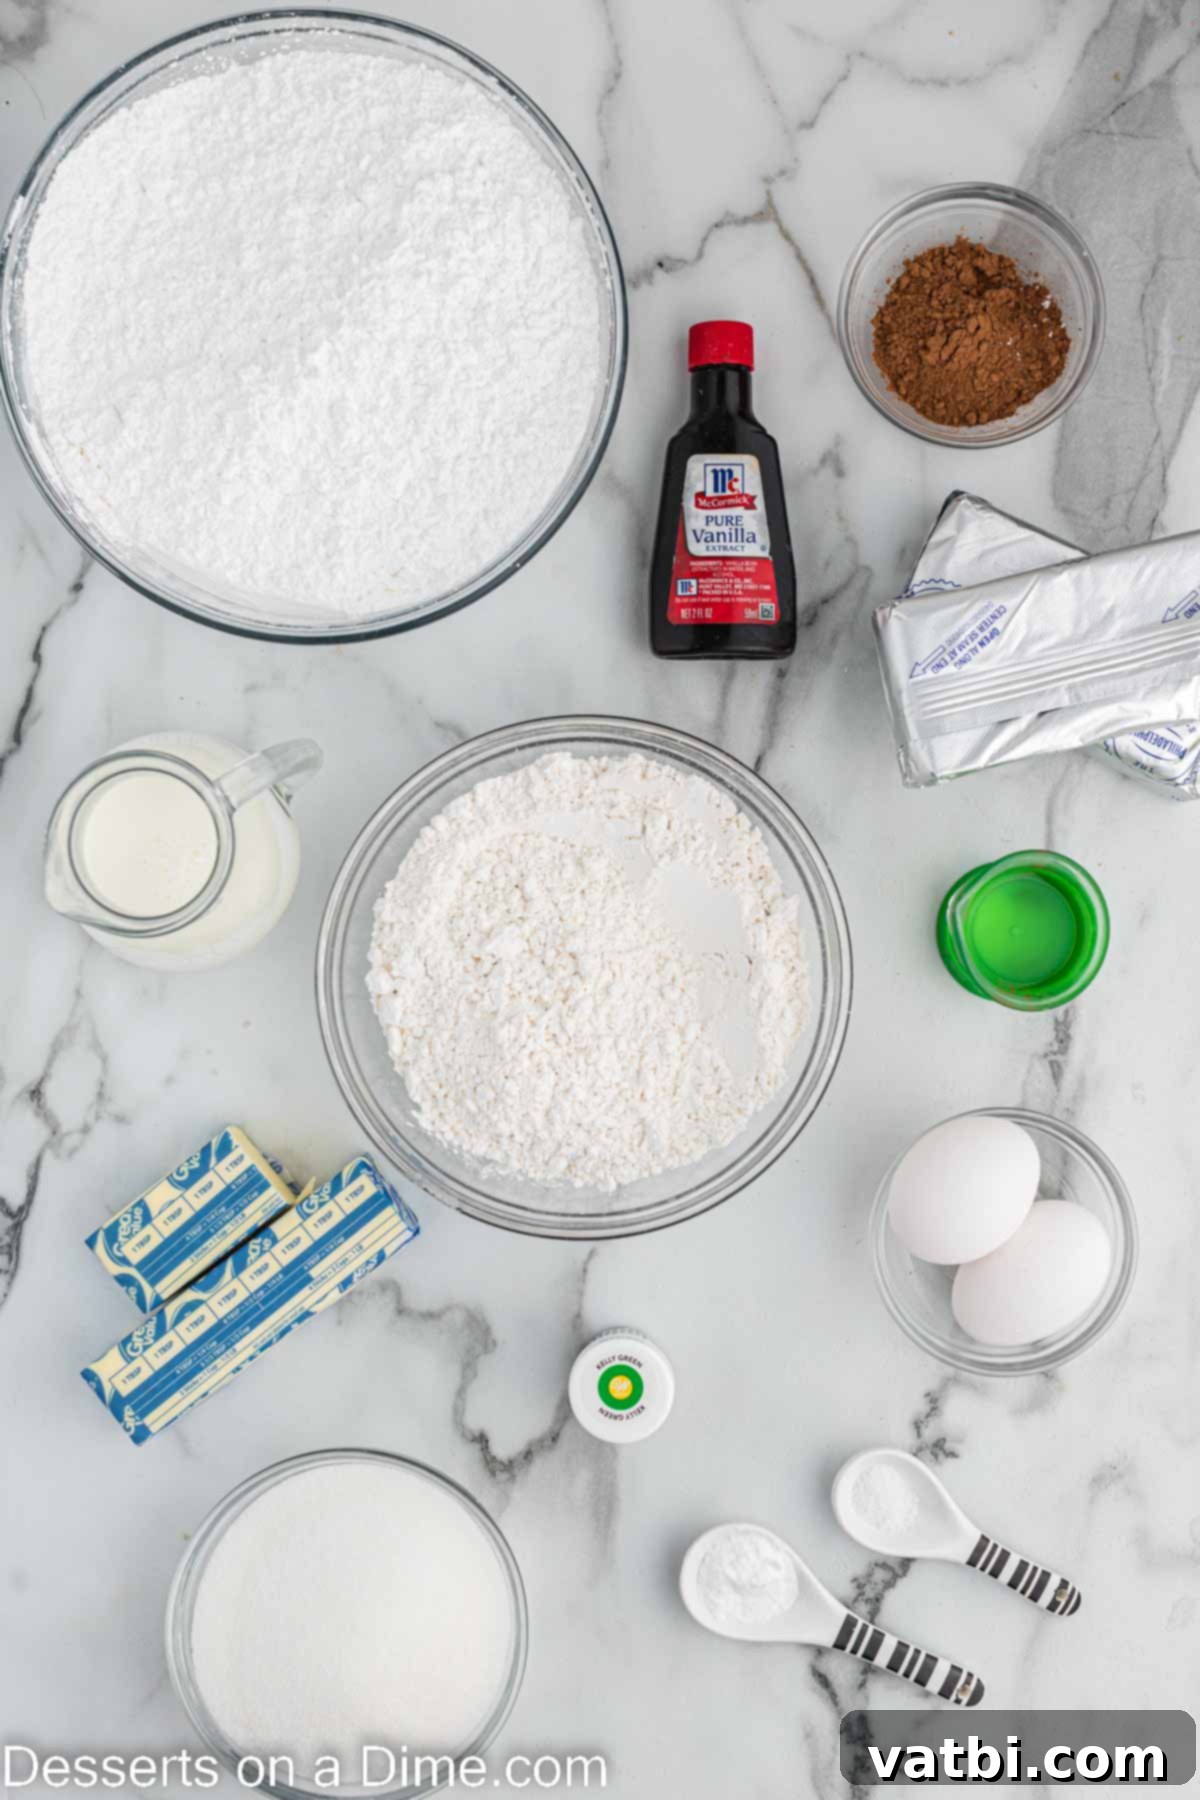
Essential Ingredients for Green Velvet Cupcakes
Crafting the perfect Green Velvet Cupcake requires a thoughtful selection of ingredients, each playing a crucial role in achieving that signature taste and texture. We’ll guide you through what you need for both the incredibly moist cupcakes and the luscious cream cheese frosting.
For the Green Velvet Cupcakes
- Cake Flour. This is a non-negotiable ingredient for truly tender cupcakes. Cake flour has a lower protein content than all-purpose flour, resulting in a lighter, more delicate crumb. If you don’t have it on hand, you can easily learn how to make cake flour at home using a simple trick with all-purpose flour and cornstarch.
- Cocoa Powder. While these are “green” velvet, a touch of cocoa powder is essential for that classic velvet flavor profile. It provides a subtle, rich milk chocolate undertone that balances the sweetness beautifully, contributing to the complex taste that makes velvet desserts so beloved.
- Vegetable Oil. Unlike butter-based cakes, vegetable oil contributes significantly to the moistness of these cupcakes, keeping them tender and delicious for longer. It also helps achieve a fine crumb texture that is characteristic of velvet cakes.
- Green Gel Food Coloring. To achieve that stunning, vibrant green, gel food coloring is highly recommended. Gel colors are concentrated and won’t add excess liquid to your batter, which can alter the texture of your cupcakes. A little goes a long way, ensuring a brilliant hue without compromising the recipe.
- Buttermilk. This key ingredient is what gives velvet cakes their distinctive tang and incredibly moist texture. The acidity in buttermilk reacts with the baking soda, helping the cupcakes rise and creating a tender crumb. If you’re out of buttermilk, don’t worry! You can easily learn what buttermilk is and how to make a homemade substitute using regular milk and a touch of lemon juice or white vinegar.
- Baking Soda and Salt. Baking soda works with the buttermilk to provide lift, creating a light and airy cupcake. Salt enhances all the other flavors, ensuring a well-rounded and delicious taste.
- Granulated Sugar. Provides sweetness and contributes to the moist texture of the cupcakes.
- Eggs (separated yolks and whites). Egg yolks add richness and moisture, while whipped egg whites are gently folded in to create an incredibly light and airy structure.
- Vanilla Extract. Essential for enhancing the overall flavor profile, adding a warm, aromatic depth to the cupcakes.
For the Decadent Cream Cheese Frosting
- Cream Cheese. Ensure your cream cheese is softened at room temperature. This is crucial for achieving a perfectly smooth, lump-free frosting that spreads beautifully. We recommend using full-fat cream cheese for the best texture and flavor.
- Unsalted Butter. Just like the cream cheese, the unsalted butter should be softened to room temperature. Unsalted butter allows you to control the salt content in your frosting, ensuring a balanced flavor.
- Powdered Sugar. Also known as confectioners’ sugar, this ingredient is vital for the frosting’s smooth consistency. Sifting the powdered sugar is highly recommended to remove any lumps, guaranteeing a silky-smooth finish for your frosting.
- Vanilla Extract. A generous dash of vanilla extract complements the tang of the cream cheese, adding warmth and depth to the frosting, making it truly irresistible.
You can find the complete, precise ingredient list with exact measurements and step-by-step instructions in the detailed recipe card at the bottom of this article.
How to Create Perfect Green Velvet Cupcakes
Baking these vibrant Green Velvet Cupcakes is a rewarding experience, and with our clear instructions, you’ll achieve perfect results every time. Let’s walk through each step to create these festive treats.
- Step 1. Begin by preheating your oven to 350 degrees F (175 degrees C). Proper oven temperature is crucial for even baking and a beautiful rise.
- Step 2. Line 16 muffin tins with cupcake liners. You can choose classic white liners, or opt for festive green, gold, or St. Patrick’s Day themed liners to add an extra touch of holiday spirit!
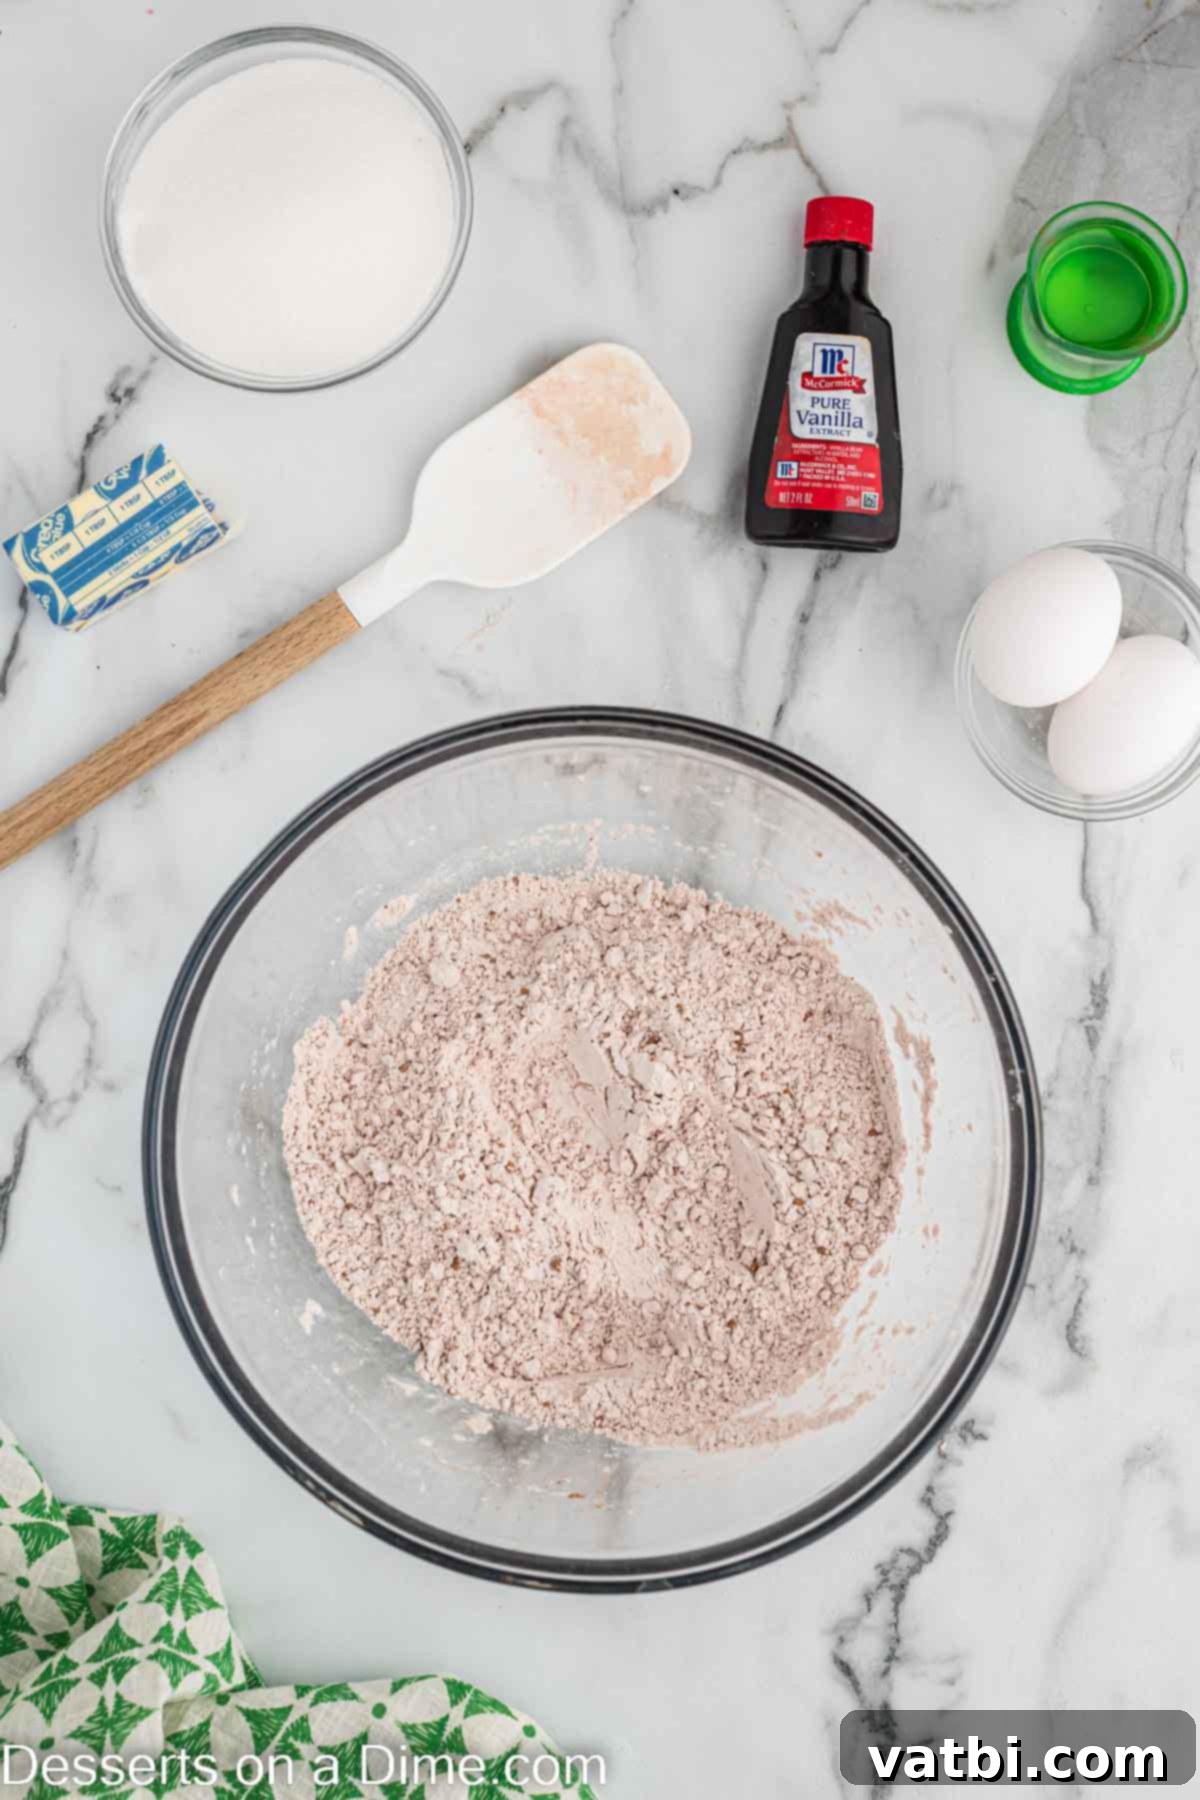
Step 3. In a separate large mixing bowl, whisk together the dry ingredients: cake flour, baking soda, cocoa powder, and salt. Whisking ensures they are well combined and evenly distributed throughout the batter, preventing lumps.
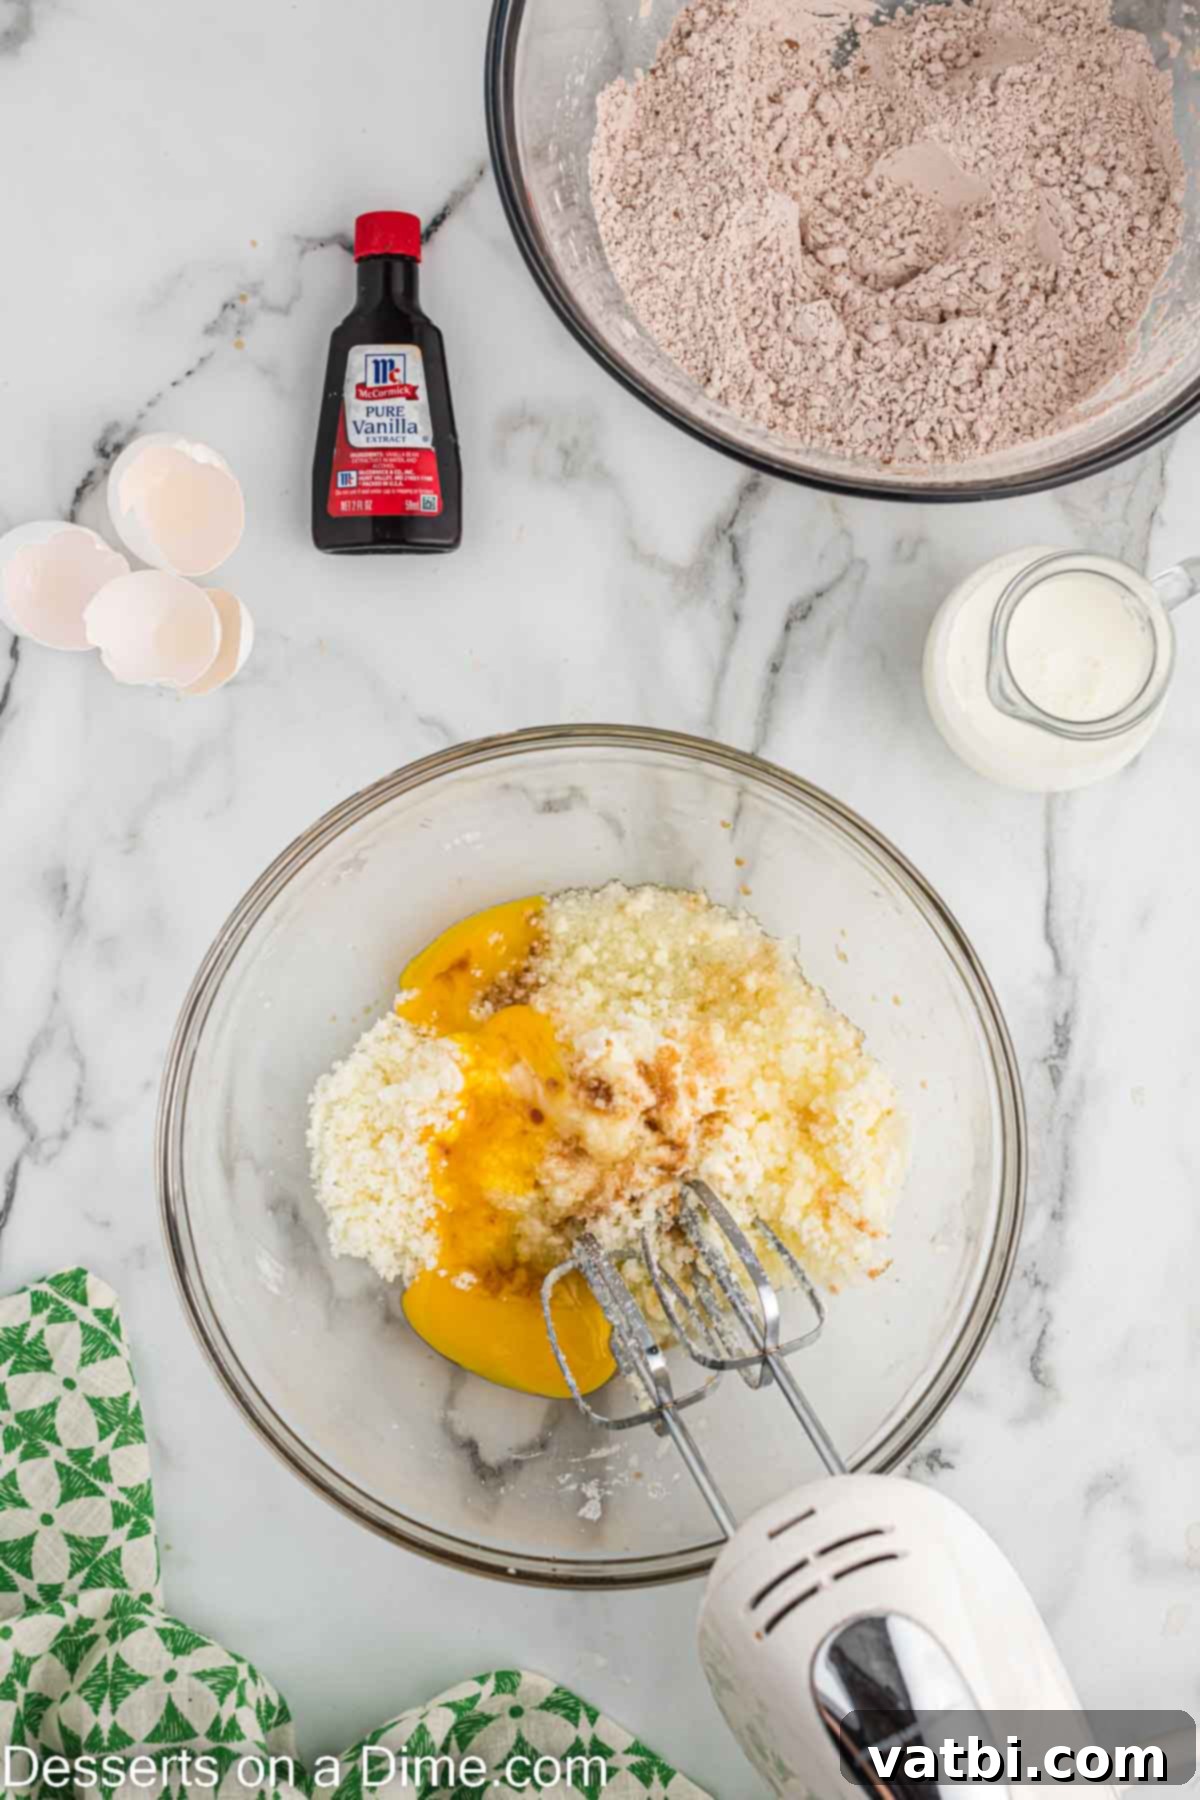
Step 4. In another large bowl, using either a stand mixer or a handheld electric mixer, cream together the softened butter and granulated sugar. Beat them together until the mixture is light, fluffy, and pale in color, typically about 1-2 minutes. This step incorporates air, contributing to a tender cupcake.
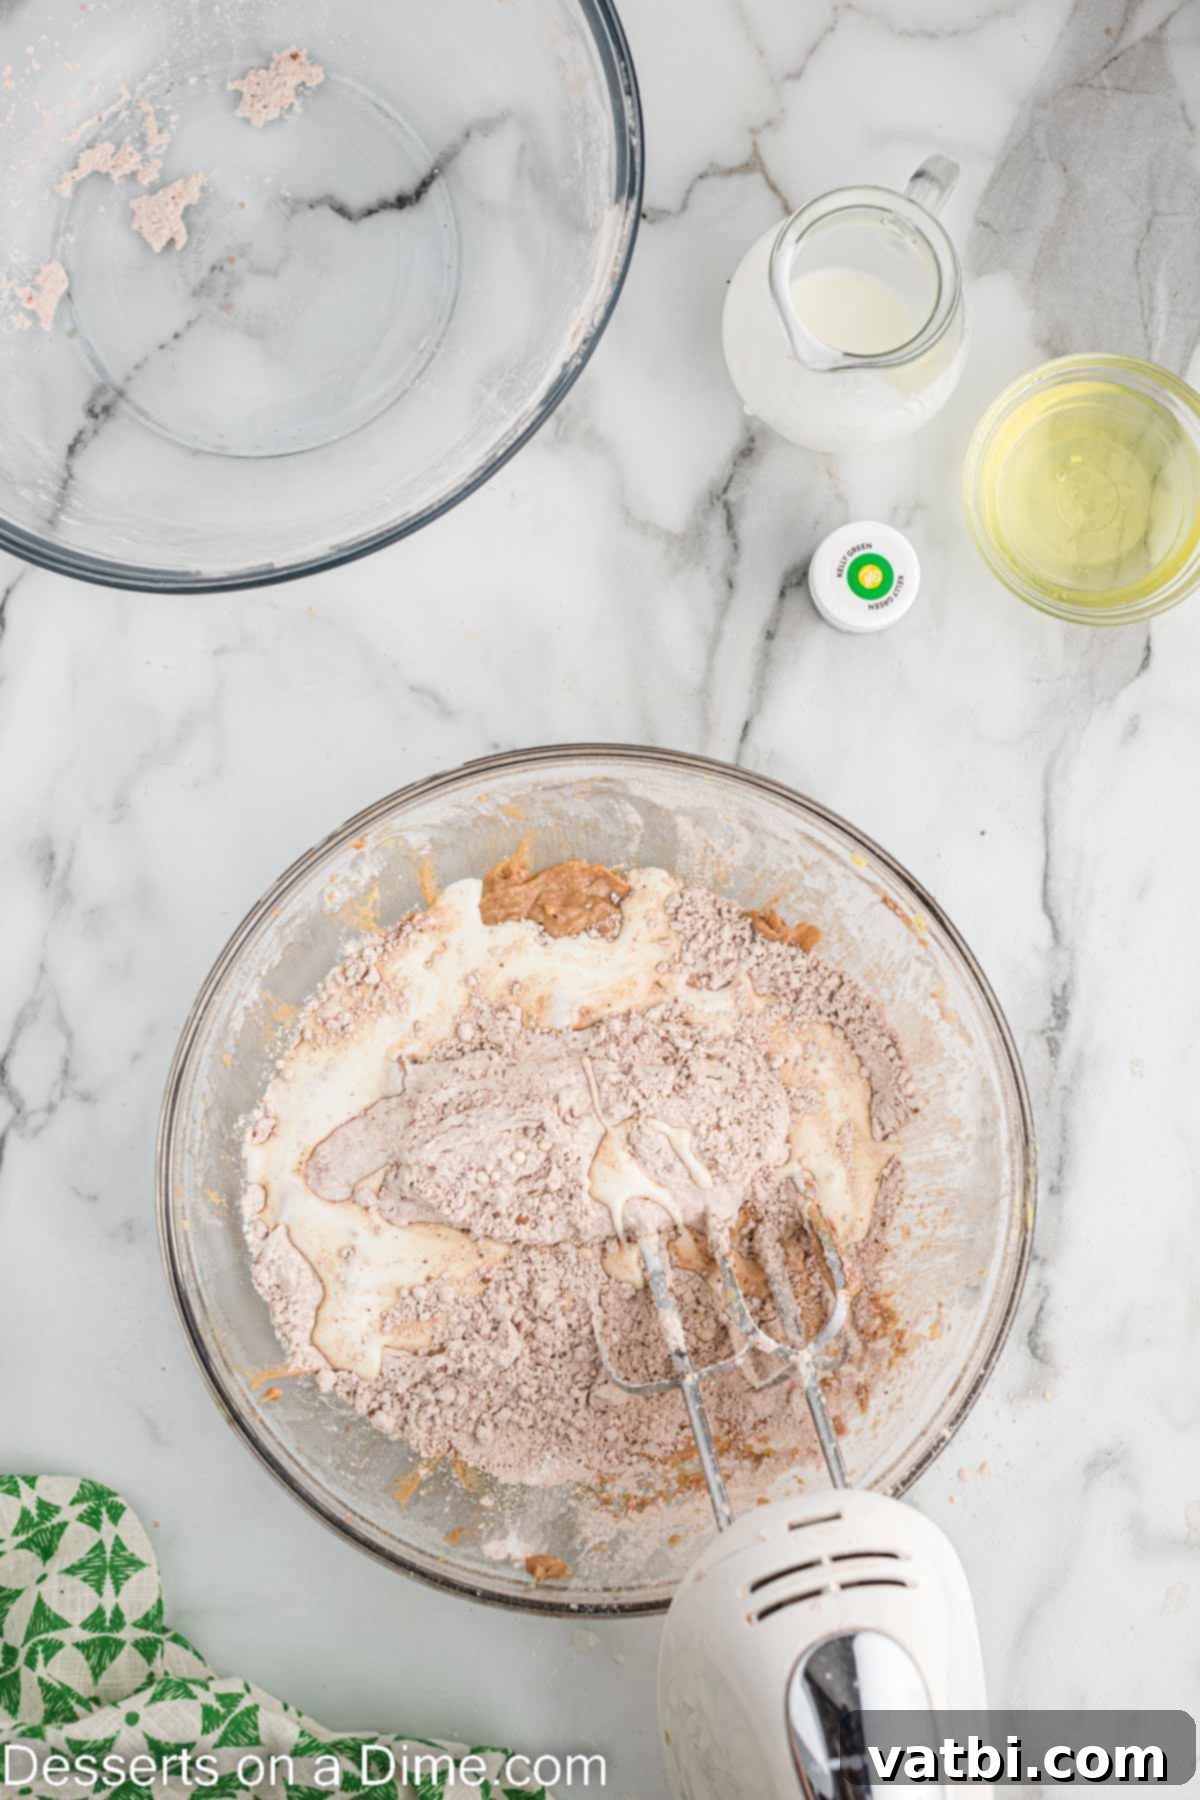
Step 5. Next, add the vegetable oil, egg yolks (remember to save those egg whites for a later step!), and vanilla extract to the creamed mixture. Beat until all these wet ingredients are fully combined and smooth. Be sure to use a rubber spatula to scrape down the sides and bottom of the bowl, ensuring everything is incorporated.
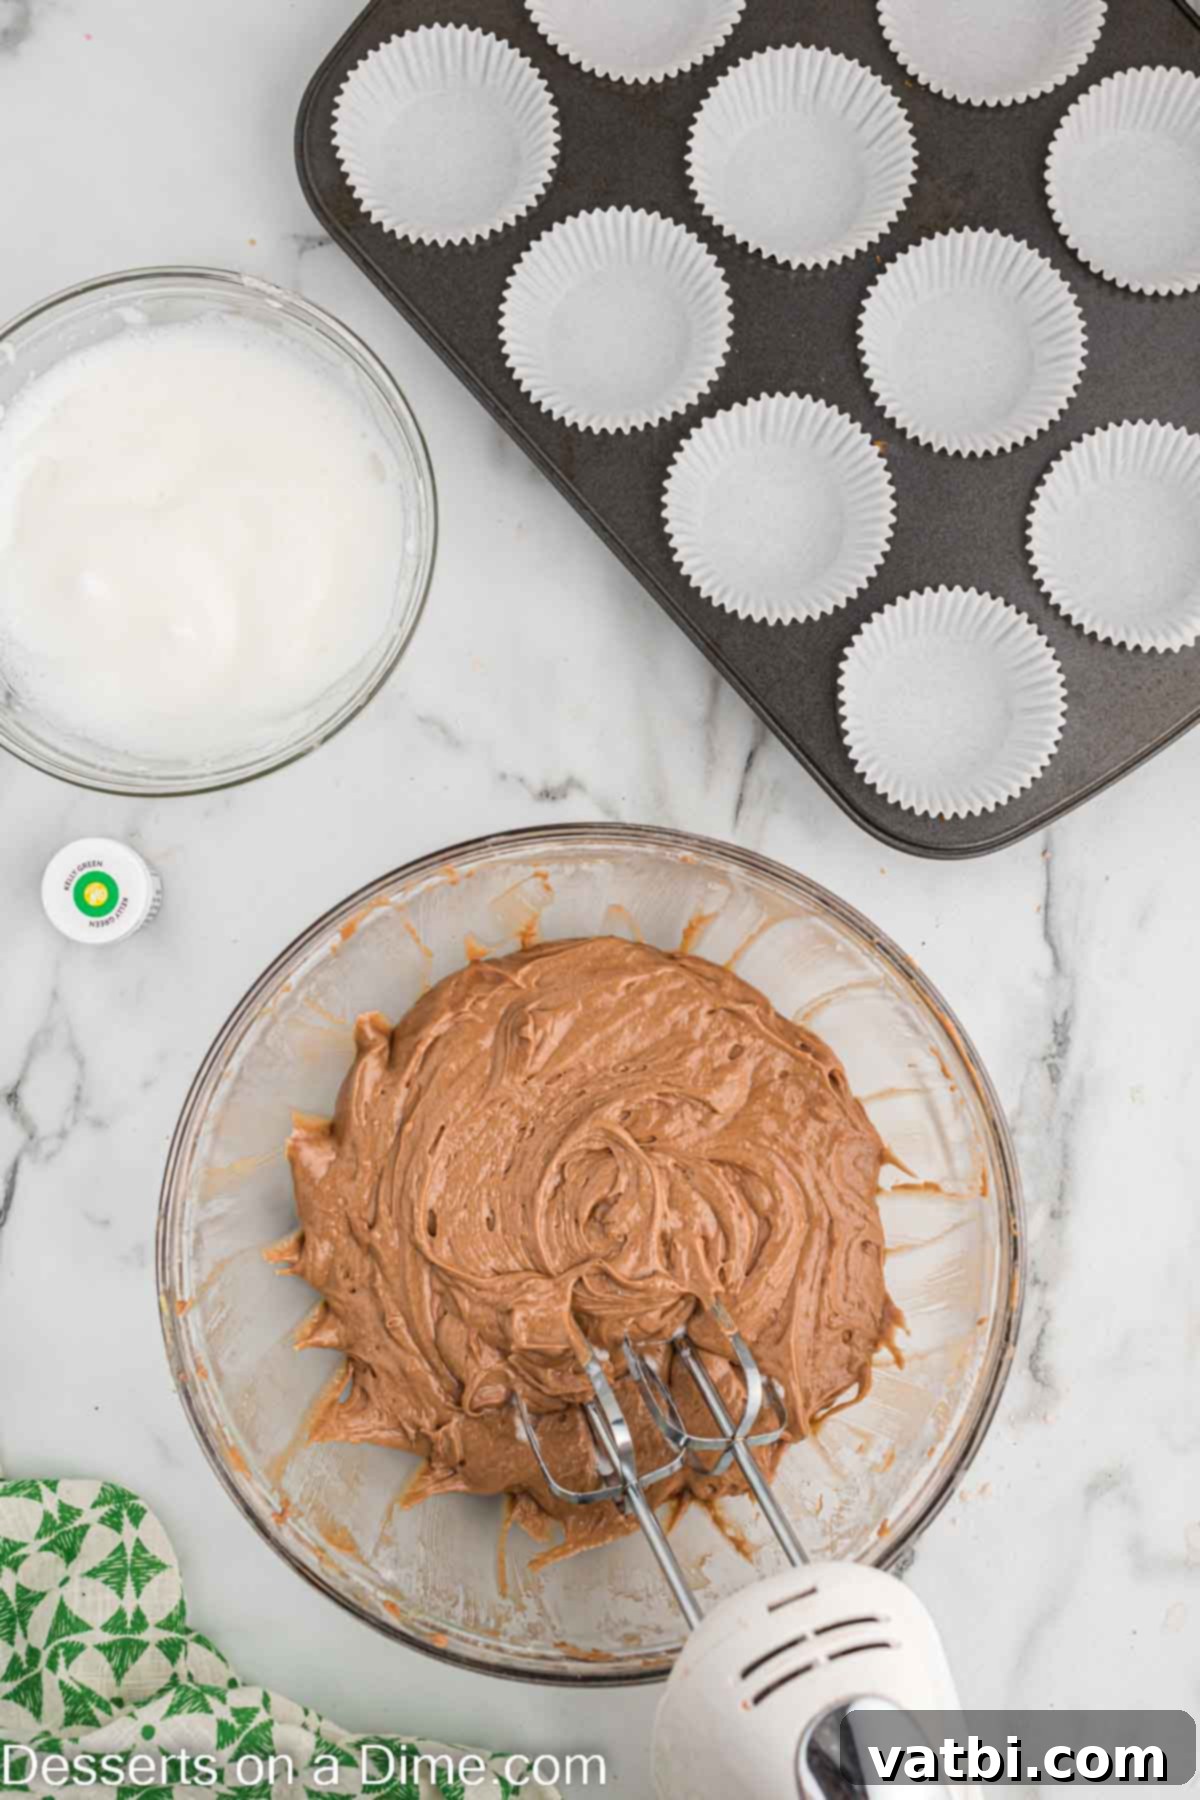
Step 6. Gradually add the whisked dry ingredients and the buttermilk to the wet mixture, alternating between the two. Begin and end with the dry ingredients. Mix on low speed until both are just thoroughly combined into the wet ingredients, being careful not to overmix, which can lead to tough cupcakes.
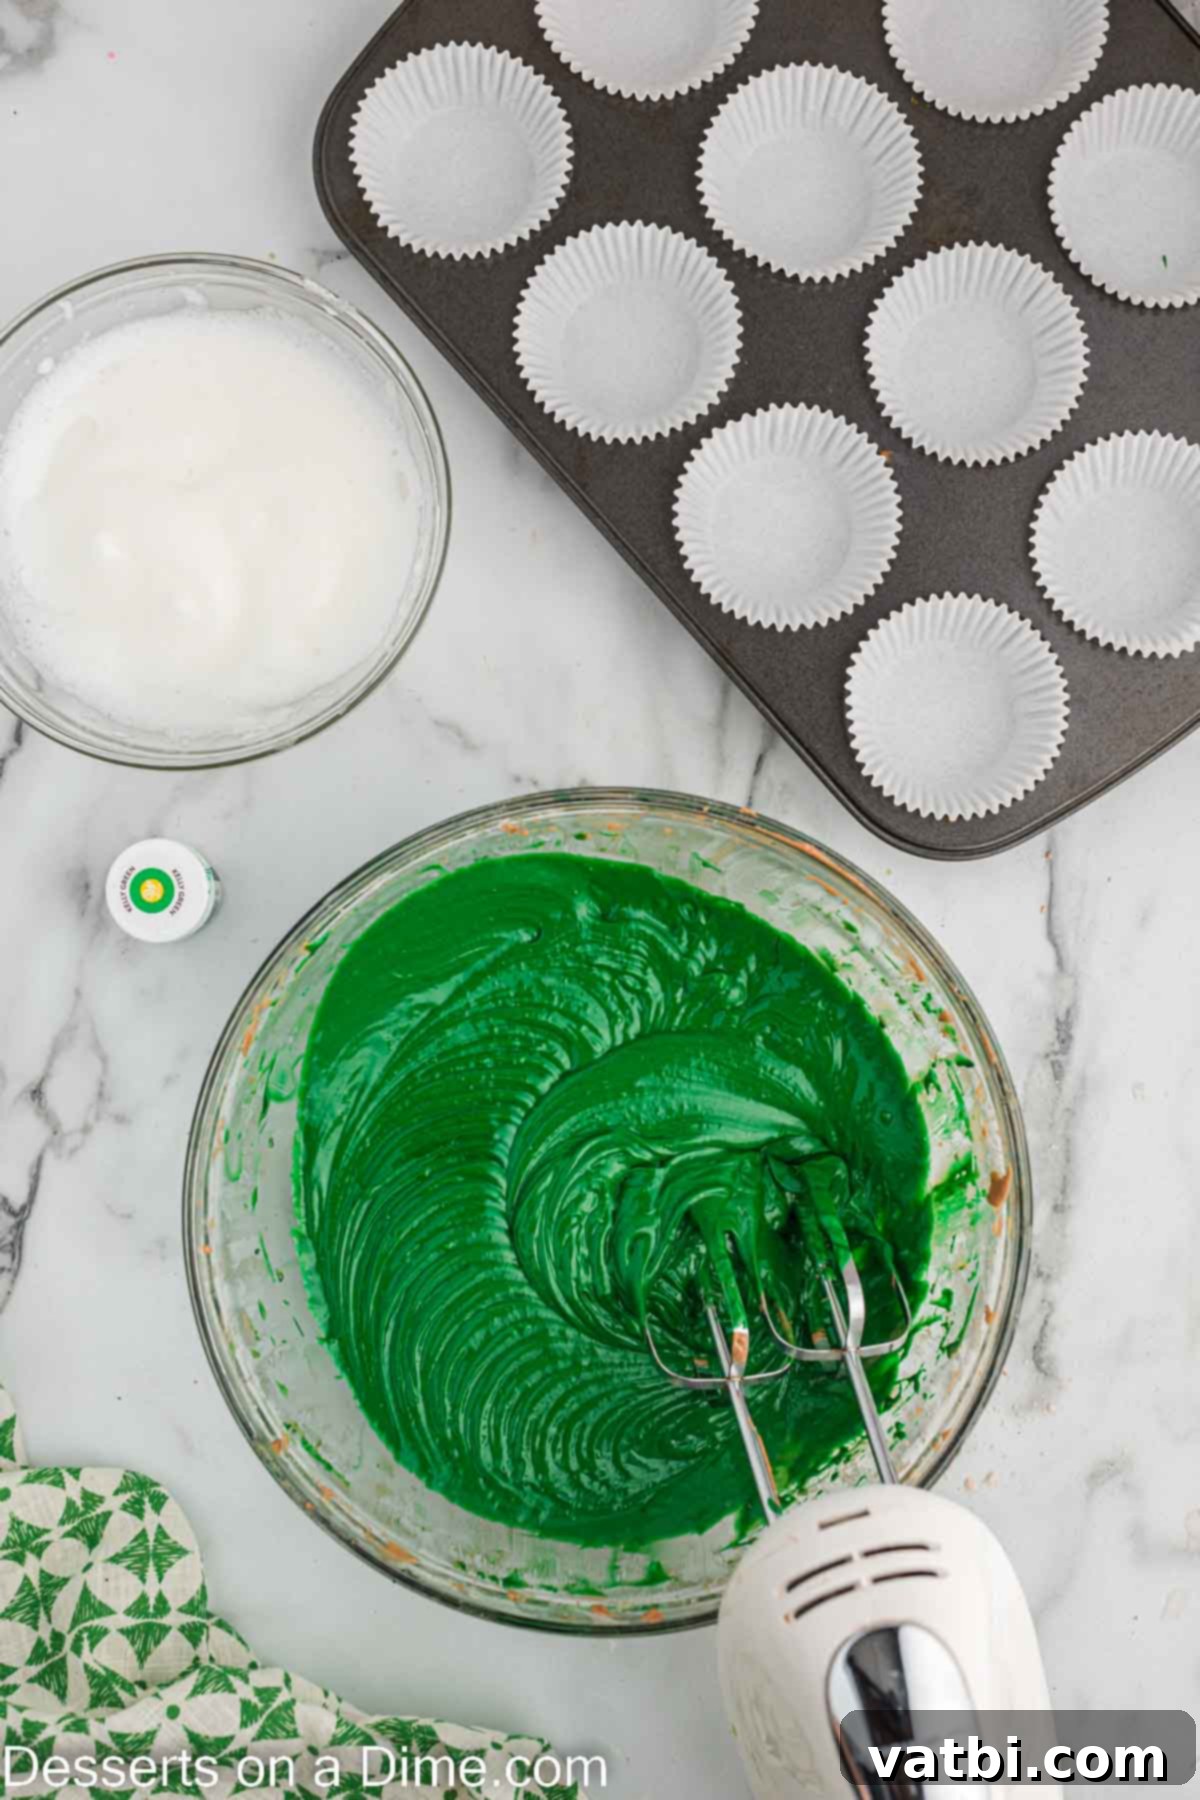
Step 7. Now for the fun part! Add your green gel food coloring to the batter. Start with about 2 teaspoons and gradually add more, mixing after each addition, until you achieve the desired vibrant emerald color. Gel food coloring is concentrated, so you might need less than you think.
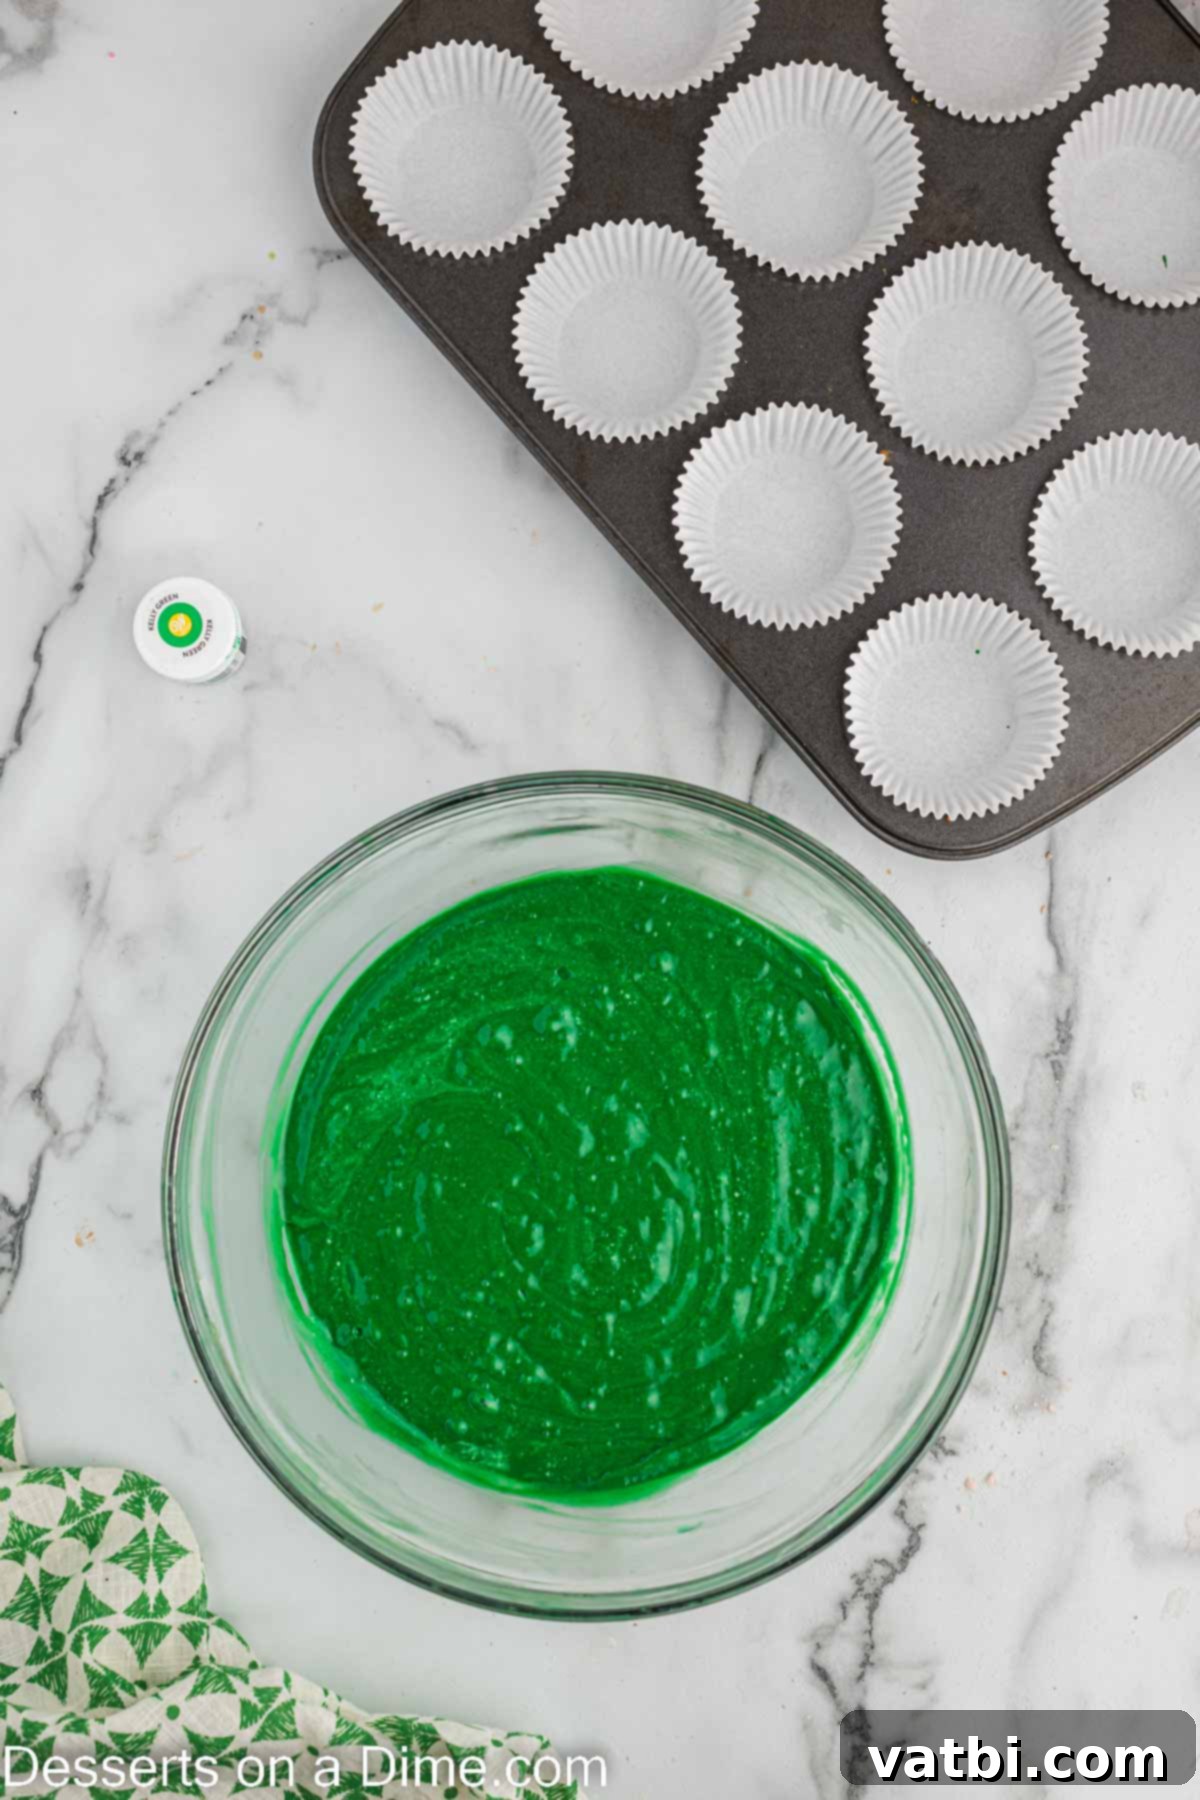
Step 8. In a separate clean mixing bowl, beat the reserved egg whites until they form soft, fluffy peaks. Gently fold these whipped egg whites into the green batter using a spatula. This step adds additional air, making the cupcakes exceptionally light and tender. Fold only until just combined; do not overmix, as this will deflate the egg whites.
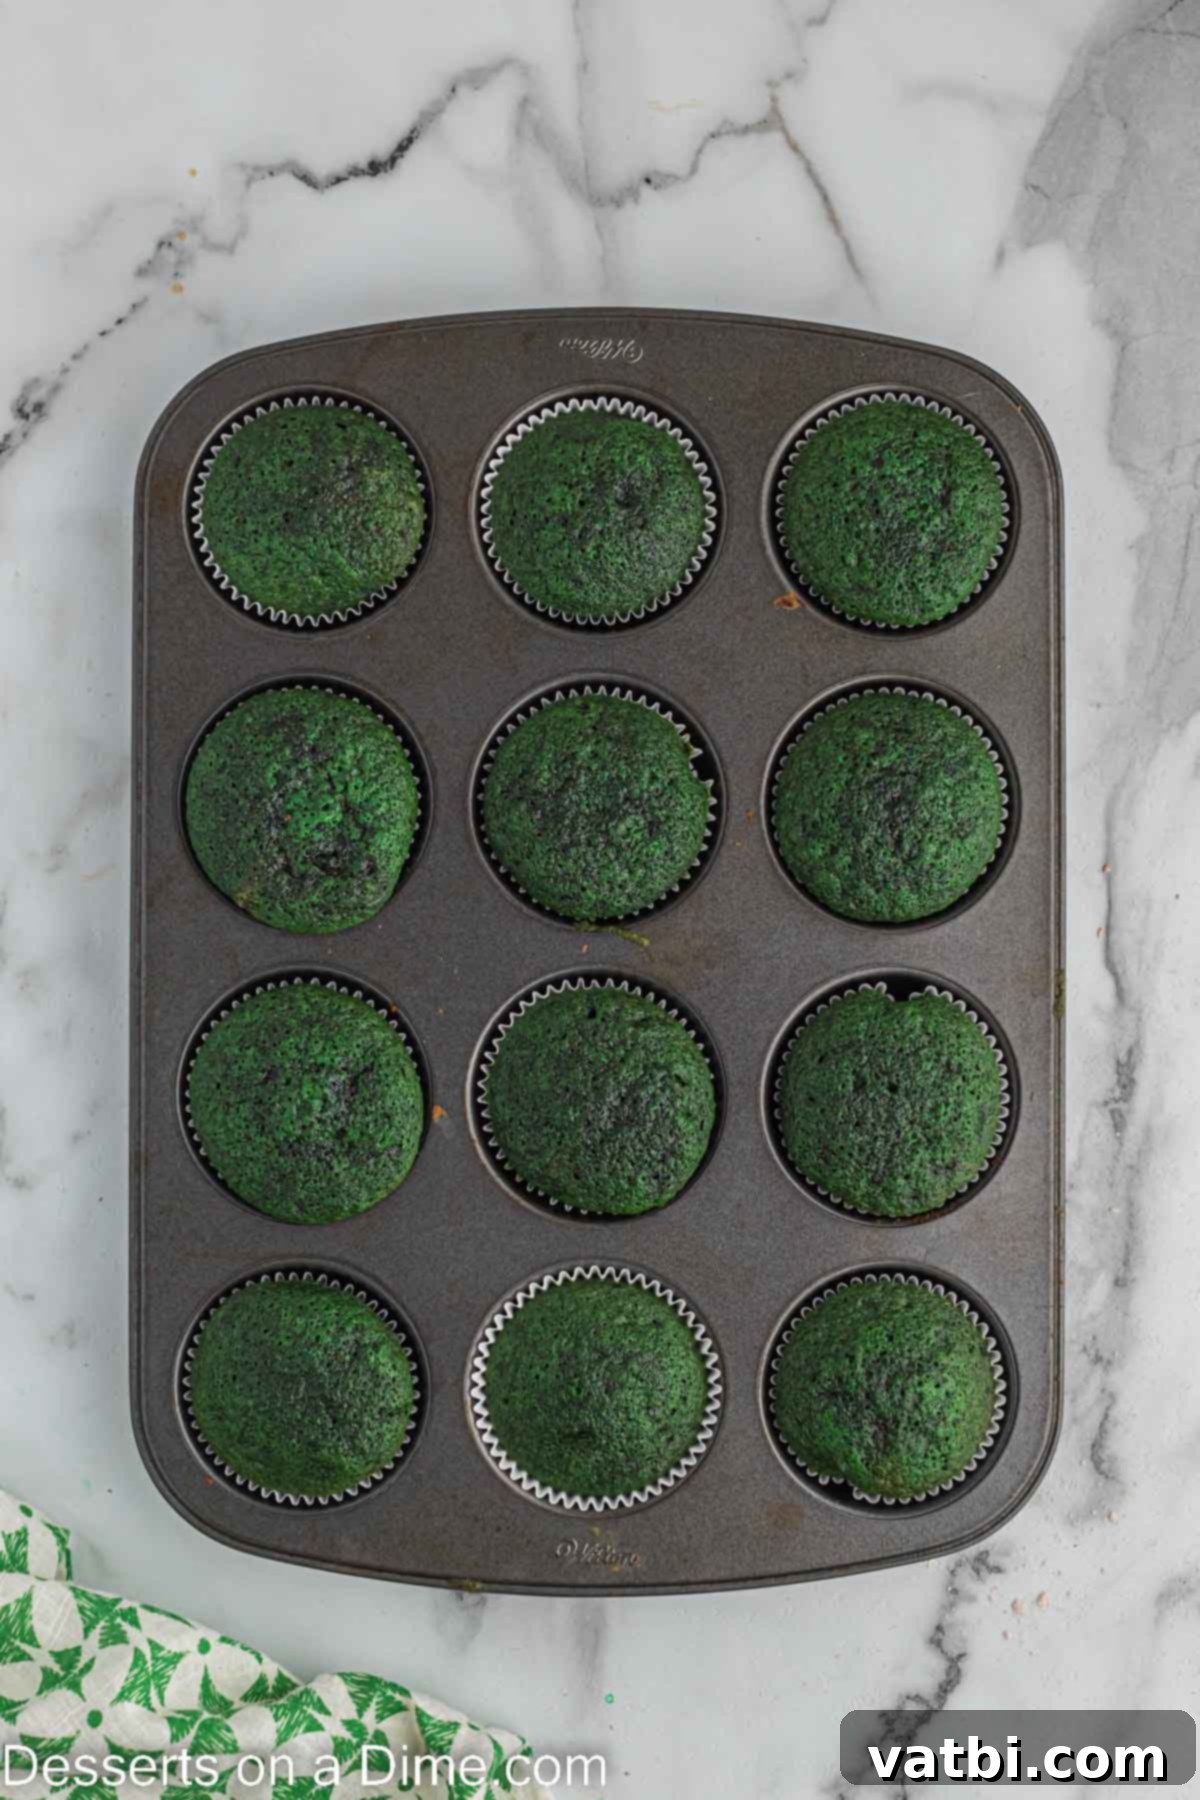
Step 9. Divide the batter evenly among the 16 lined muffin tins, filling each liner about two-thirds full. Bake for 15-18 minutes, or until a toothpick inserted into the center of a cupcake comes out clean. Once baked, remove them from the oven and allow them to cool in the muffin tins for a few minutes before transferring them to a wire rack to cool completely. Cooling completely is essential before frosting!
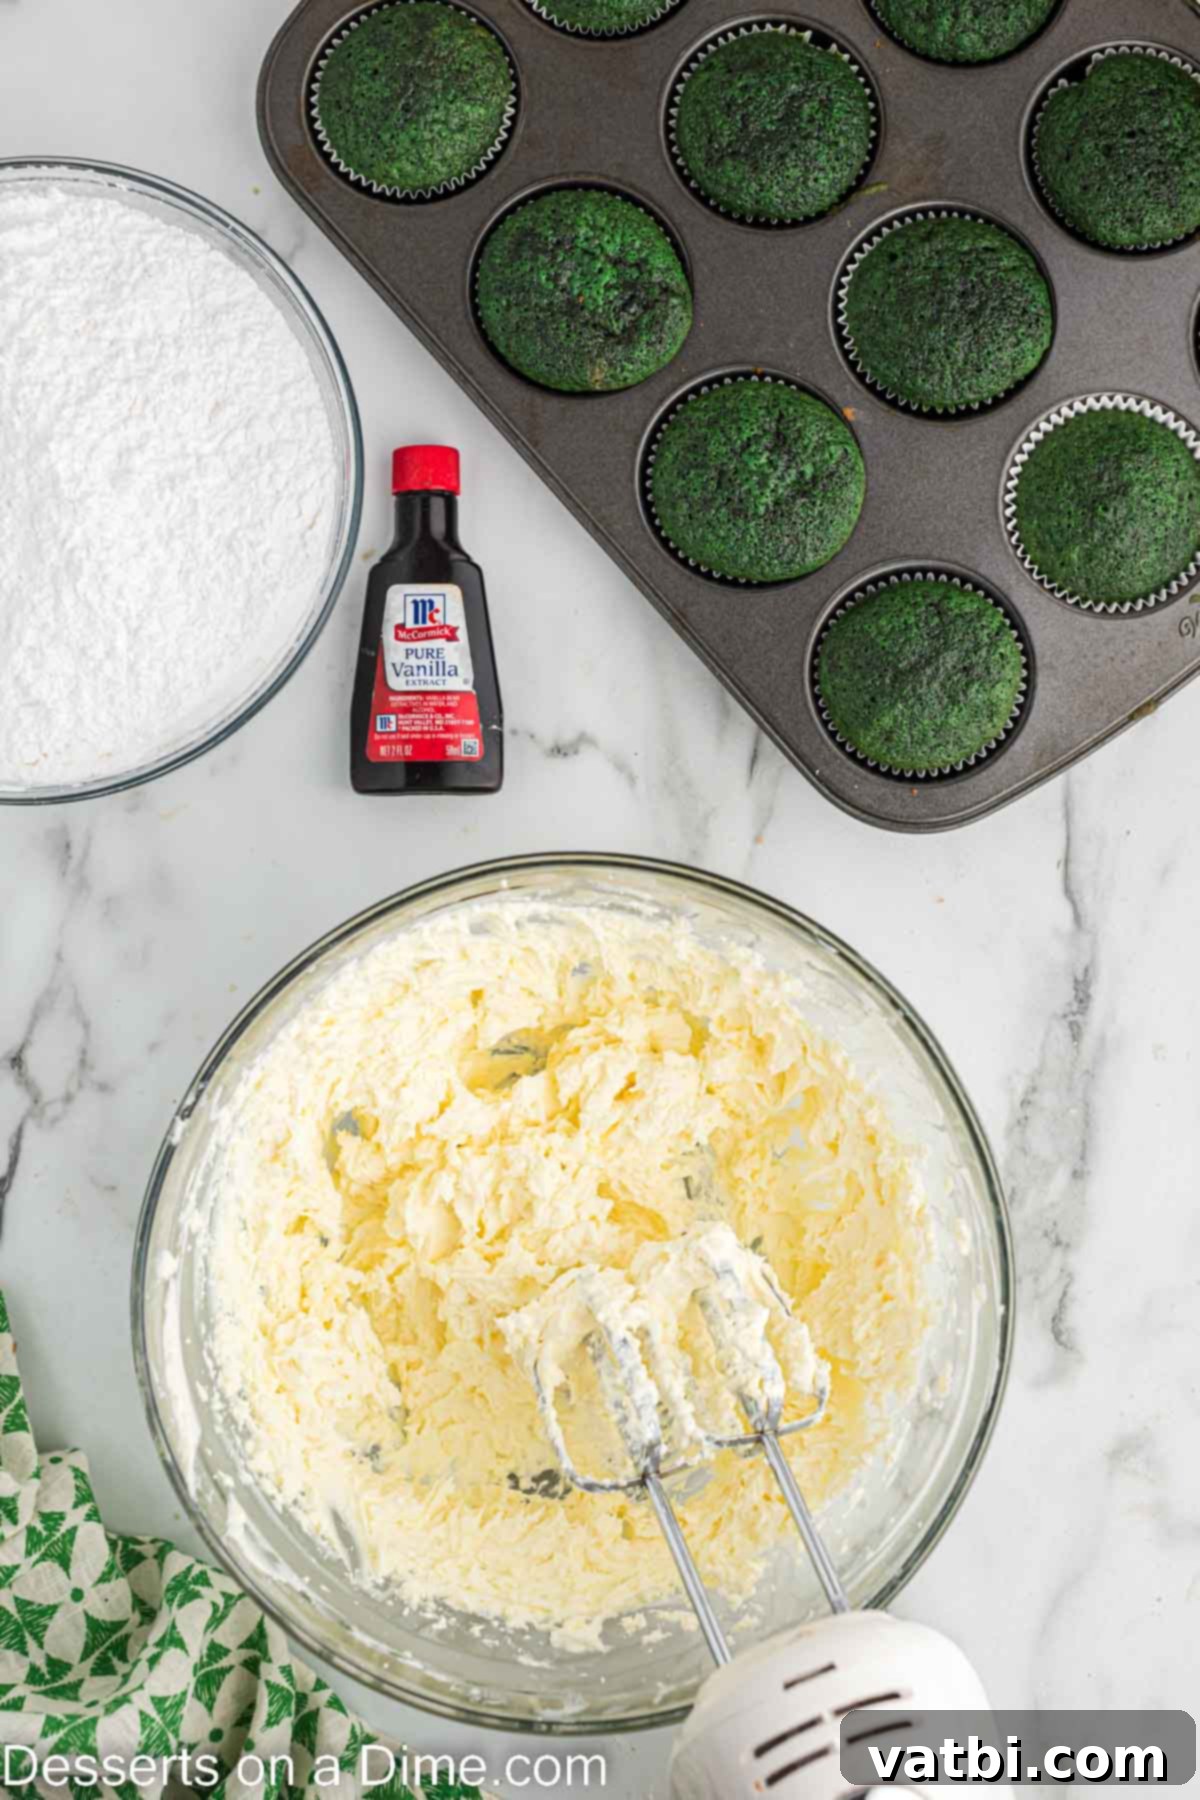
Step 10. While the cupcakes are cooling, prepare your decadent cream cheese frosting. In a separate large mixing bowl, beat the softened cream cheese until it is completely smooth and free of lumps. Then, add the softened unsalted butter and continue to beat until the mixture is light, fluffy, and perfectly combined. This step forms the creamy base of your frosting.
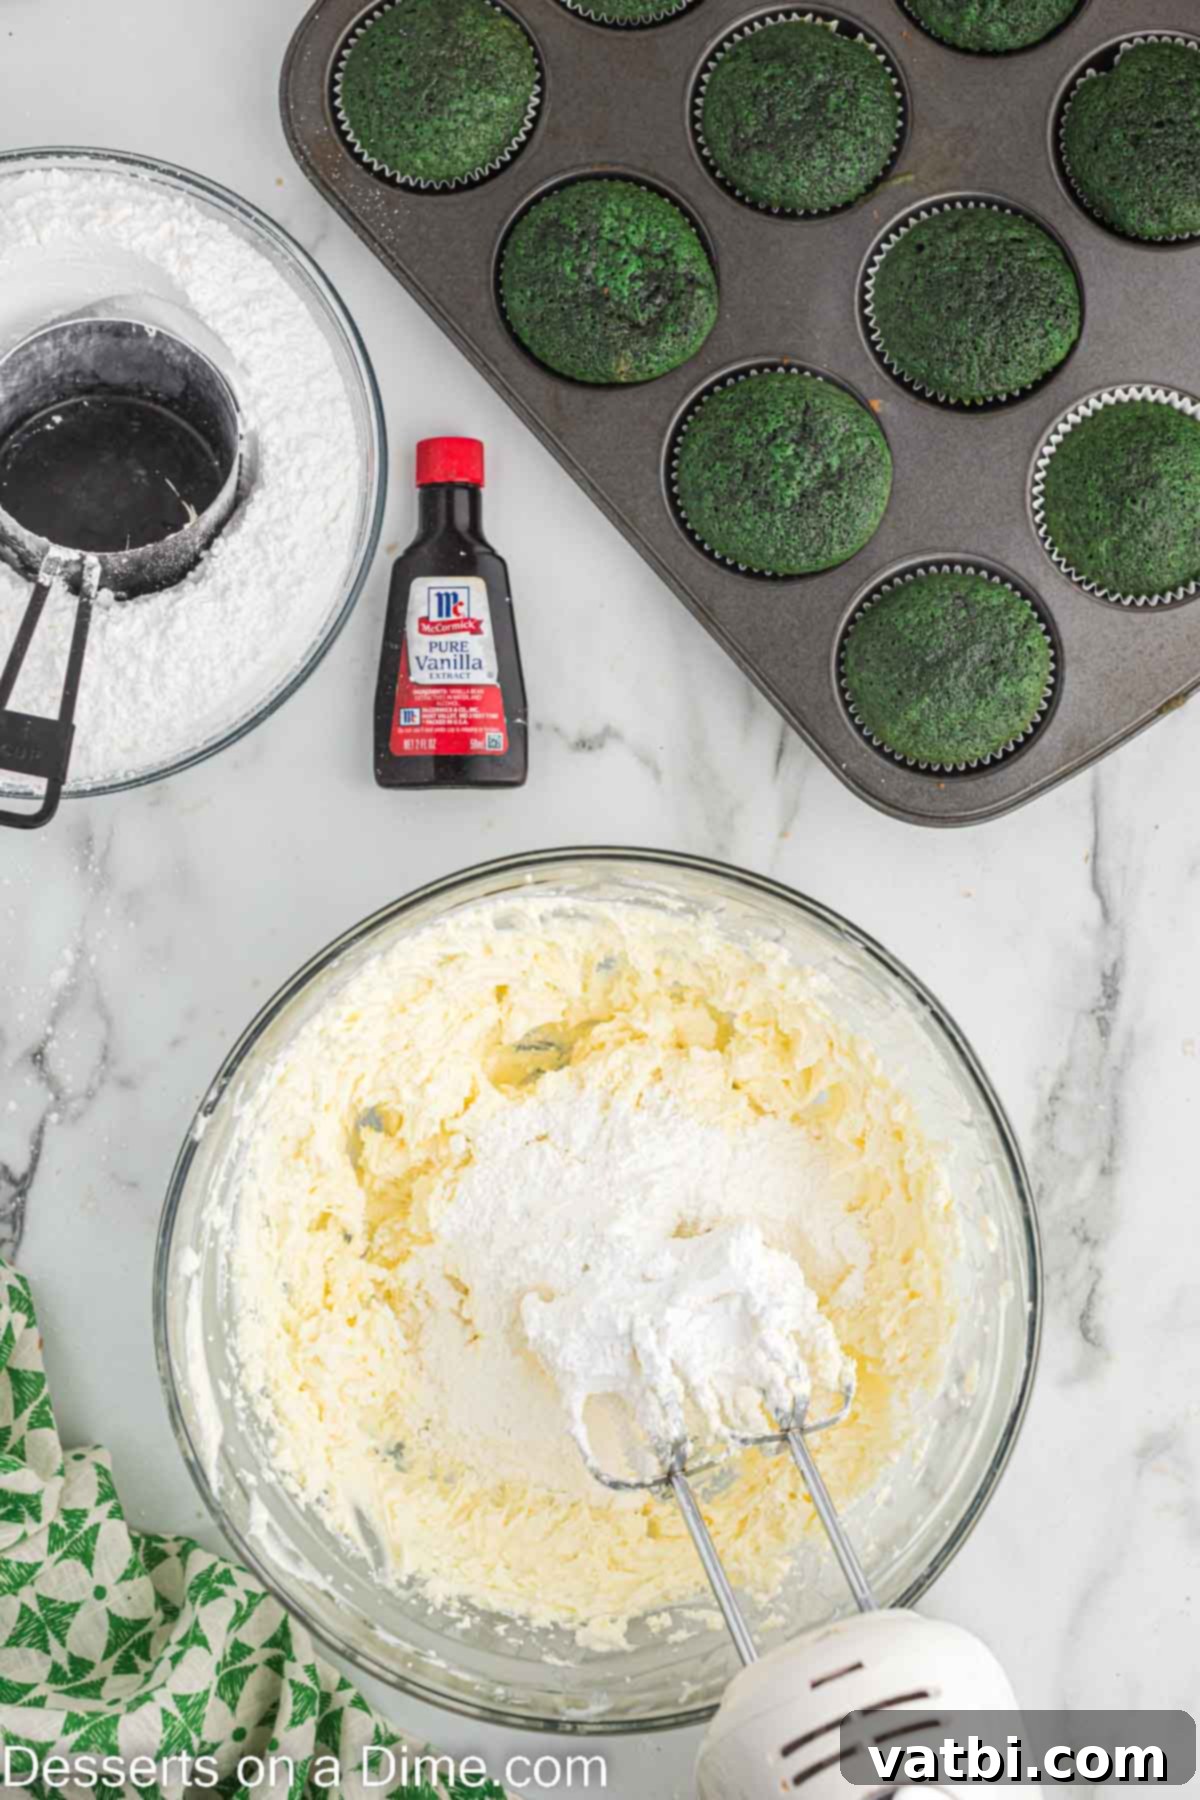
Step 11. Gradually add the sifted powdered sugar to the cream cheese and butter mixture, one cup at a time, beating well after each addition. Continue until all the powdered sugar is incorporated and the frosting is thick, smooth, and spreadable. Finally, mix in the vanilla extract until just combined, completing your luscious frosting.
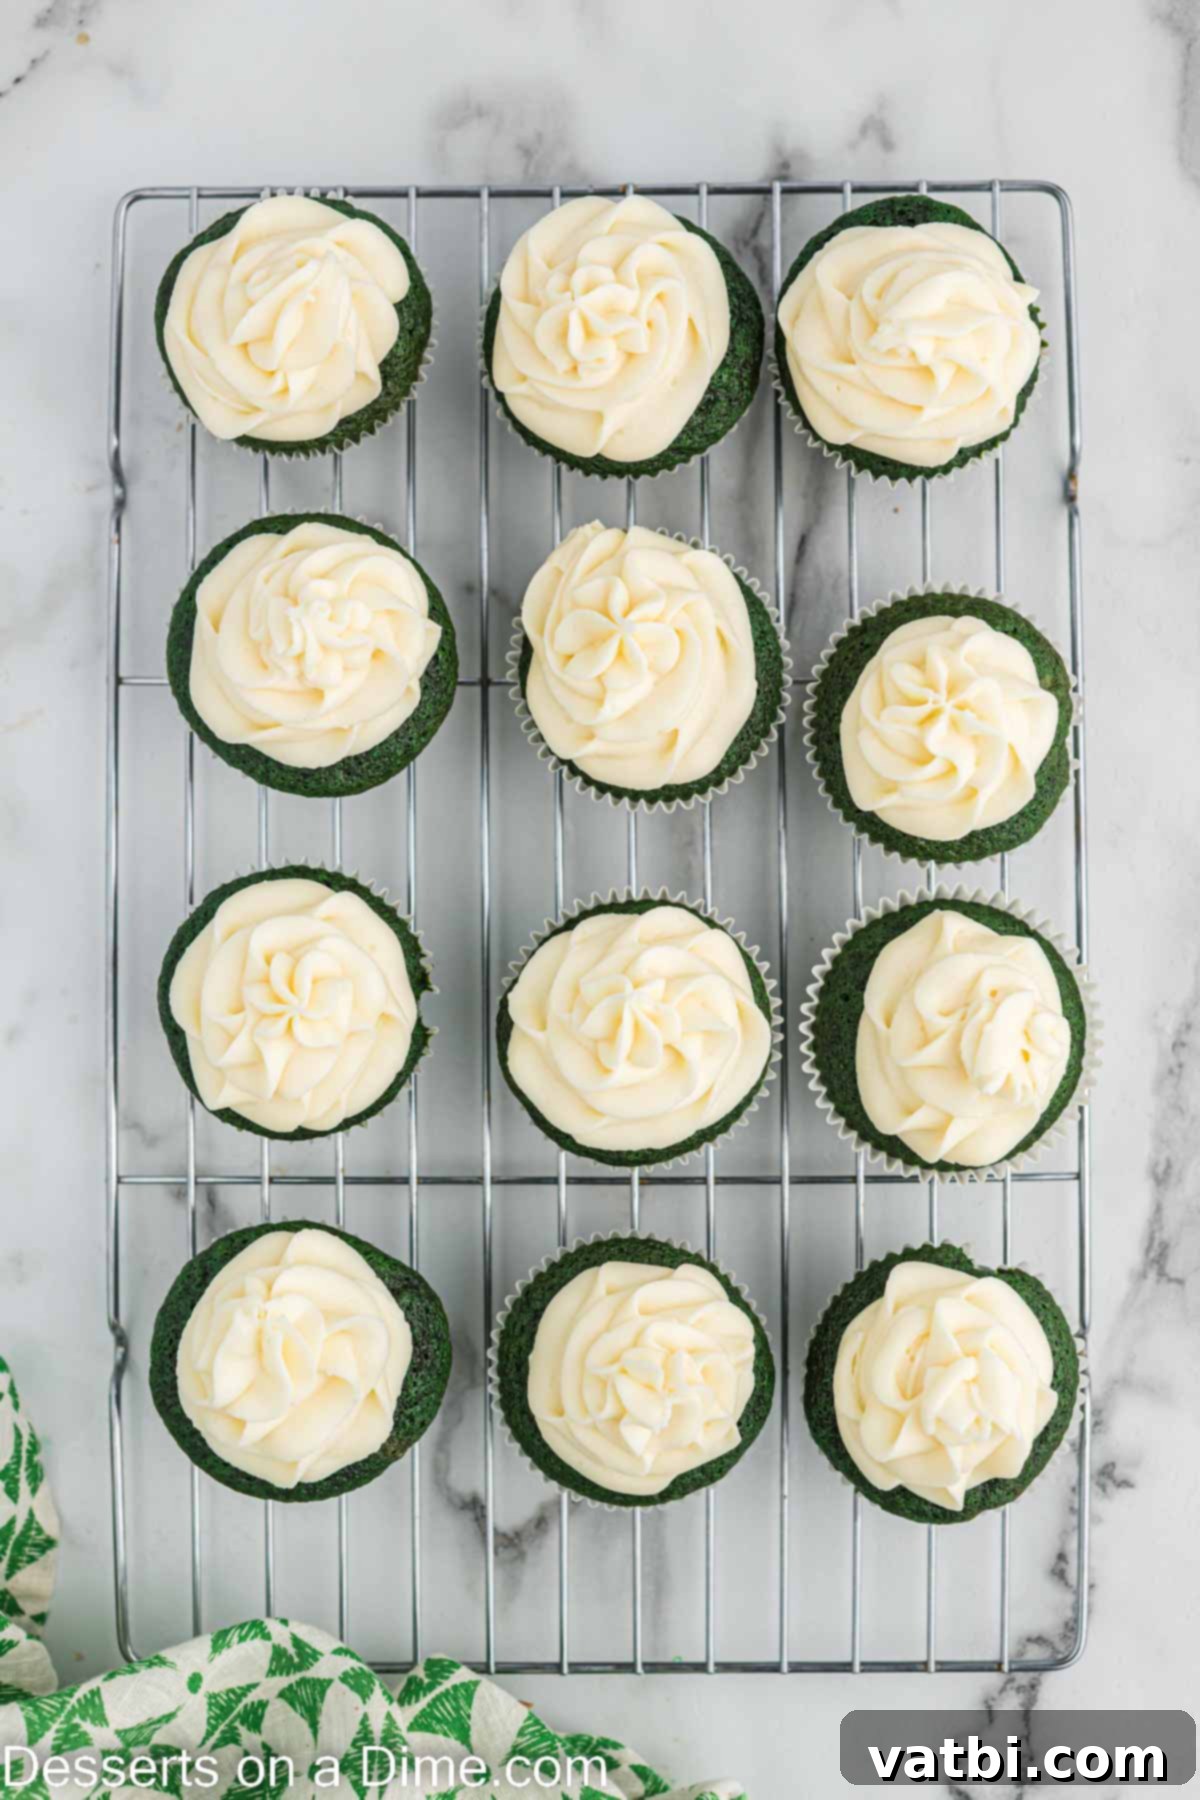
Step 12. Once the cupcakes are completely cool, generously top each one with your freshly made cream cheese frosting. You can use a knife or an offset spatula for a rustic look, or for a more elegant presentation, transfer the frosting to a piping bag with your favorite tip and pipe beautiful swirls onto each cupcake. Get ready to enjoy your delicious creations!
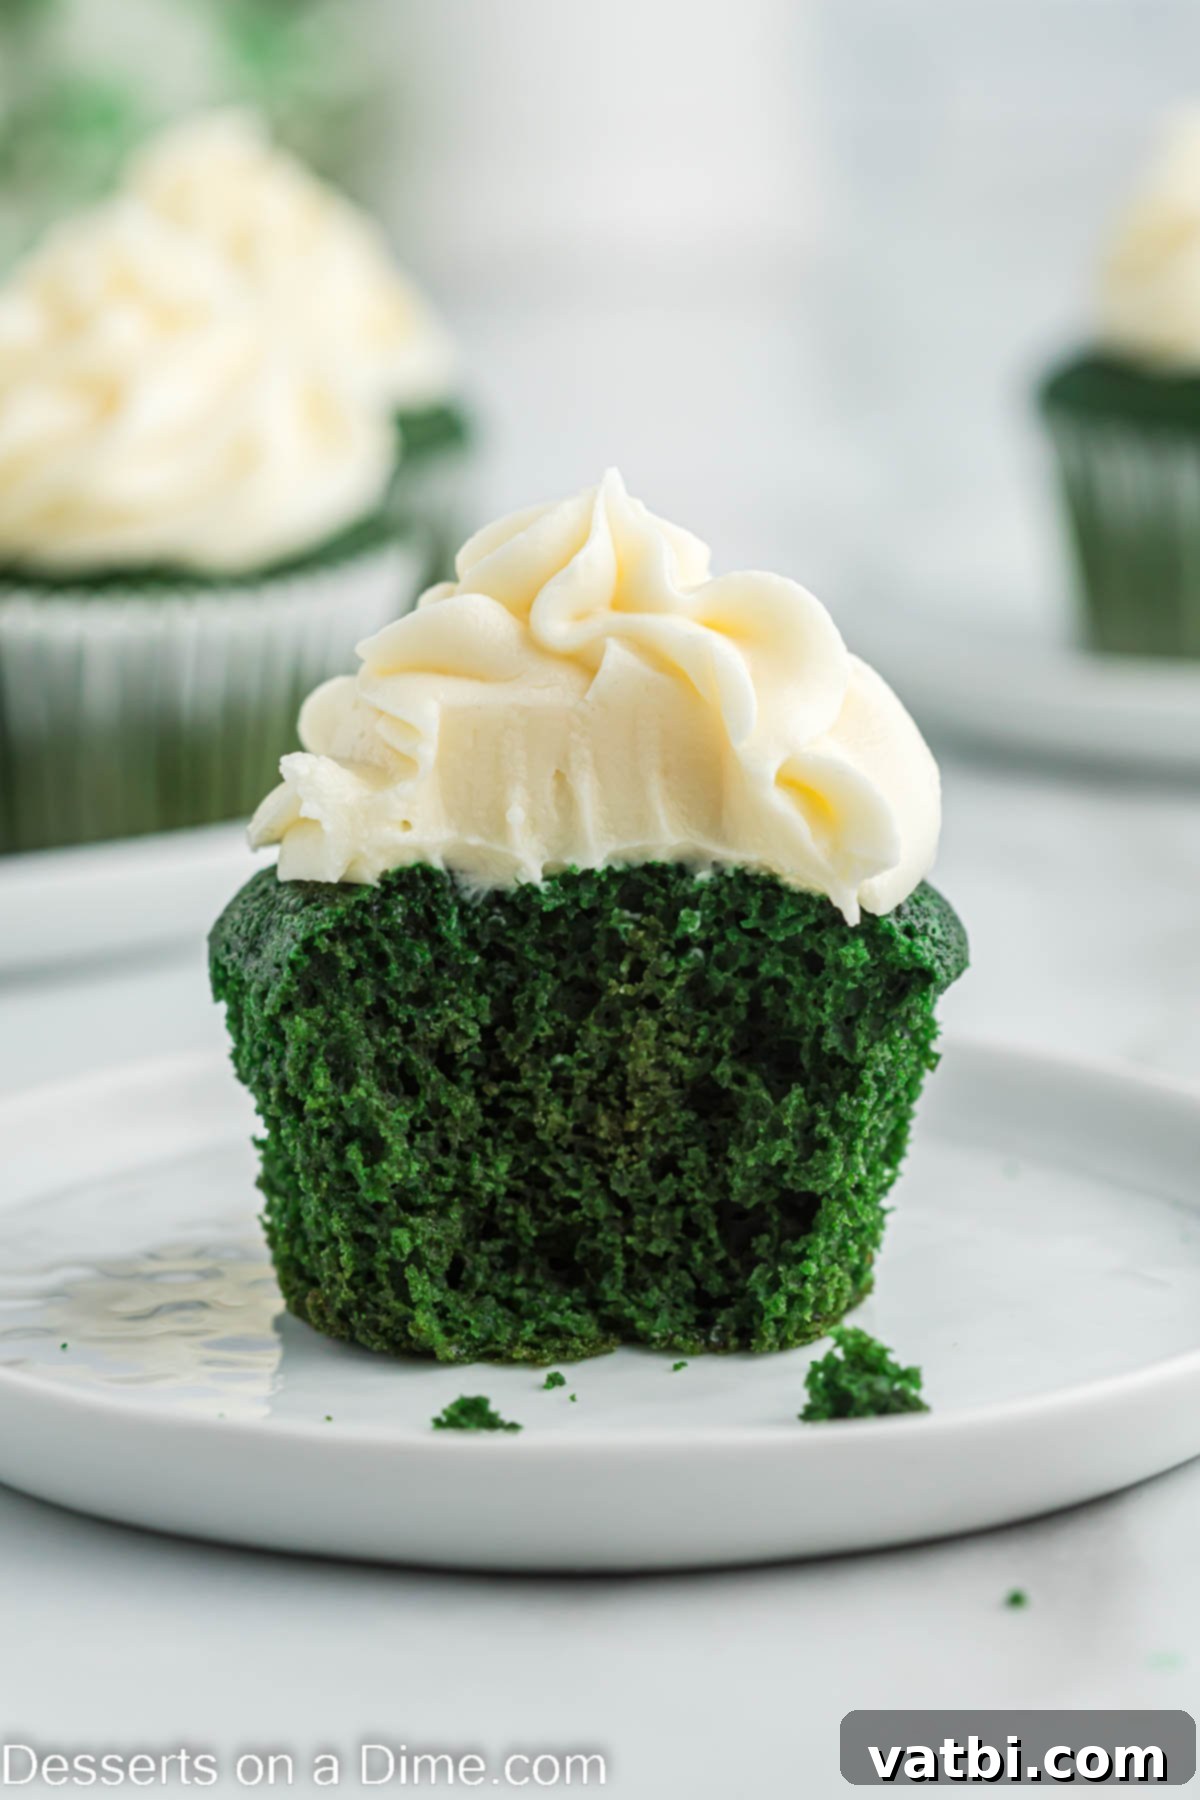
Can You Freeze Green Velvet Cupcakes for Later?
Absolutely! These delicious green velvet cupcakes are freezer-friendly, making them perfect for meal prepping desserts or saving leftovers for a future craving. For the best results, we recommend freezing the cupcakes unfrosted. This helps maintain their fresh taste and texture, and you can always whip up a fresh batch of cream cheese frosting when you’re ready to serve them.
To freeze, ensure the baked cupcakes are completely cooled. Place them in a single layer in an airtight freezer-safe container or wrap each cupcake individually in plastic wrap and then place them in a freezer bag to prevent freezer burn. They can be stored in the freezer for up to 2 months. When you’re ready to enjoy, simply thaw the cupcakes overnight in the refrigerator, then proceed with making and applying the cream cheese frosting as usual. They’ll taste just as good as freshly baked!
Proper Storage for Fresh Green Velvet Cupcakes
Once frosted, these Green Velvet Cupcakes, especially with their cream cheese frosting, need to be stored correctly to maintain their freshness and flavor. Place the cupcakes inside an airtight container. This will protect them from drying out and absorbing other refrigerator odors. Store them in the refrigerator for up to 5 days. We find they taste even better on day two, as the flavors meld beautifully.
They store exceptionally well and make fantastic leftovers, perfect for a quick snack or dessert throughout the week. Be warned, though – they’re so popular that you might find everyone fighting over who gets the last one!
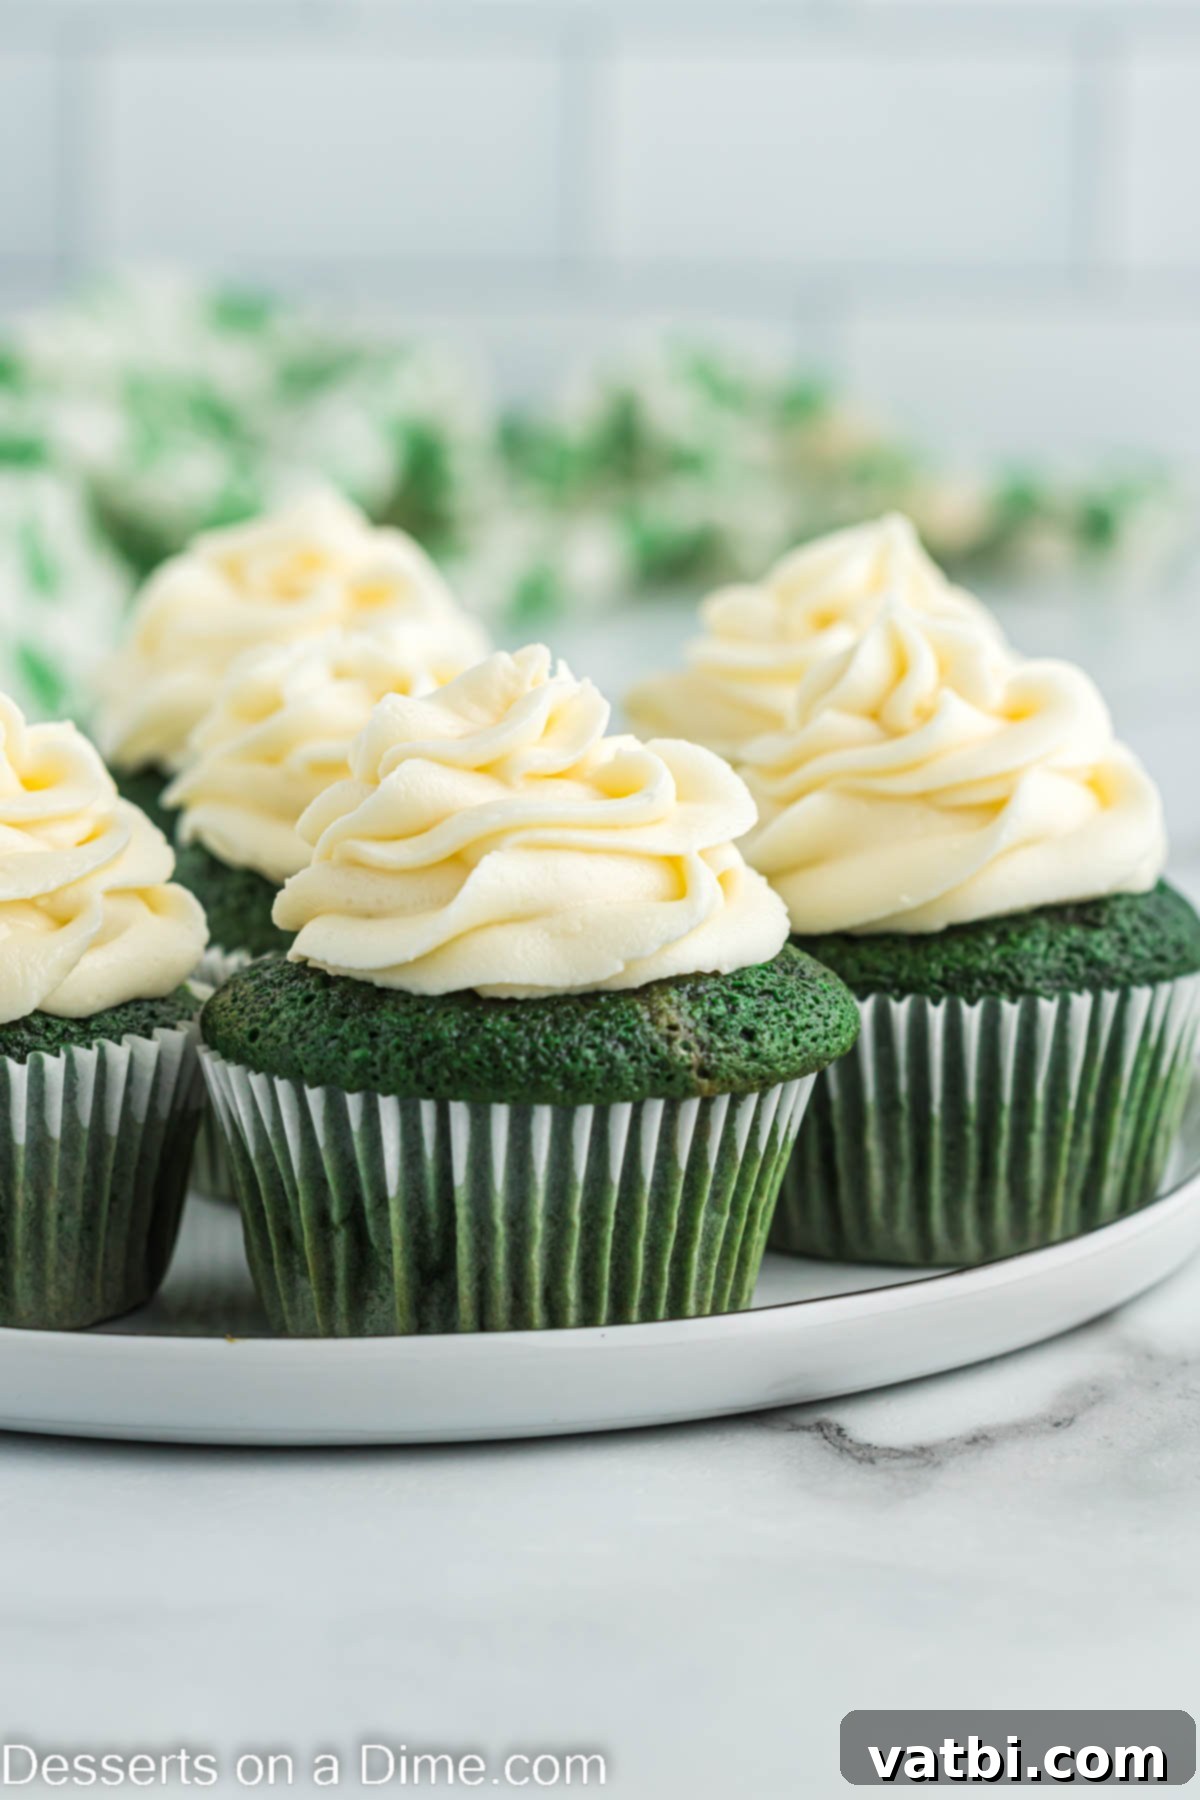
Expert Tips for Perfect Green Velvet Cupcakes
Achieving bakery-quality Green Velvet Cupcakes at home is entirely possible with a few insider tips. Here’s how to ensure your cupcakes are moist, vibrant, and utterly delicious every single time:
- Choosing the Right Food Coloring. For the most vibrant and consistent green color, we strongly recommend using gel food coloring. Gel colors are highly concentrated, meaning you’ll need only a small amount to achieve a brilliant hue, and they won’t add excess liquid to your batter, which can negatively impact the texture of your cupcakes. If you opt for liquid food coloring, be aware that you’ll need significantly more to reach the same intensity, and you might need to slightly adjust other liquid ingredients to maintain the correct batter consistency.
- Always Use Cupcake Liners. Don’t forget to line your muffin pans with paper liners! Not only do they make for easy cleanup, but they also help the cupcakes release cleanly from the pan and maintain their shape, ensuring a neat and professional appearance for each individual serving.
- The Buttermilk Advantage. Buttermilk is a hero ingredient in velvet cakes. Its acidity reacts with the baking soda to create a beautifully tender crumb and provides that signature subtle tang that makes velvet cakes so unique. Do not substitute buttermilk with regular milk; the chemical reaction won’t occur, and your cupcakes will not have the same moistness or distinctive flavor. If you don’t have buttermilk, a homemade version can be made by adding a tablespoon of lemon juice or white vinegar to regular milk and letting it sit for 5-10 minutes until it slightly curdles.
- Creative Toppings and Decorations. While the cream cheese frosting is a showstopper on its own, feel free to get creative with toppings! A sprinkle of chopped nuts (like pecans or walnuts) adds texture, while colorful sprinkles can enhance the festive look. For St. Patrick’s Day, consider adding edible gold coins, green sanding sugar, or even a tiny shamrock made from fondant for an extra touch of charm.
- The Magic of Cake Flour. Using cake flour truly makes a significant difference in the final outcome of this recipe. Its lower protein content results in cupcakes that are exceptionally light, airy, and fluffy, far surpassing the texture achieved with all-purpose flour. It’s a small change that yields remarkable results.
- Mini Cupcakes for Parties. If you’re hosting a party or simply prefer bite-sized treats, you can easily make mini cupcakes instead of regular size. Just remember to adjust the baking time accordingly, as mini cupcakes will bake much faster. Start checking for doneness after about 8-10 minutes.
- Bake in Advance for Convenience. These cupcakes are fantastic for preparing ahead of time. You can bake the unfrosted cupcakes up to 2 days in advance. Once cooled, store them in an airtight container in the fridge. When you’re ready to serve, simply make the frosting fresh and decorate them as normal. This convenient trick is a lifesaver for busy weeks or when preparing for parties.
- Room Temperature Ingredients. Ensure all cold ingredients, especially butter, cream cheese, and eggs, are at room temperature before you begin. This allows them to cream together smoothly, creating a uniform batter and a silky frosting, preventing lumps and ensuring proper emulsification.
- Don’t Overmix the Batter. Overmixing can lead to gluten development, resulting in tough, dense cupcakes. Mix the wet and dry ingredients only until just combined. A few small lumps are perfectly fine and often preferred over an overmixed batter.
Discover More Easy & Delicious Cupcake Recipes
If you’ve enjoyed baking these festive Green Velvet Cupcakes, you’ll love exploring other delightful cupcake creations. Here are some of our favorite easy cupcake recipes that are perfect for any occasion:
- Orange Creamsicle Cupcakes Recipe: A nostalgic flavor that’s bright, creamy, and utterly delicious.
- Lemon Cupcakes Recipe: Zesty and refreshing, these are perfect for spring and summer gatherings.
- Margarita Cupcakes Recipe: A fun, adult-friendly treat infused with the classic flavors of a margarita.
- Rainbow Cupcakes: Vibrant and cheerful, these colorful cupcakes are guaranteed to bring a smile to anyone’s face.
We encourage you to try this fun and festive recipe for Green Velvet Cupcakes. Once you do, please come back and leave a comment to share your experience and any creative twists you added!
Pin
Green Velvet Cupcakes
Ingredients
For the Cupcakes:
- 1 1/3 Cups Cake Flour
- 2 Tbsp Cocoa Powder
- 1 tsp Baking Soda
- 1/4 tsp Salt
- 1/4 cup Butter softened
- 1 cup Granulated Sugar
- 1/4 cup Vegetable Oil
- 2 Large Eggs
- 1 teaspoon Vanilla Extract
- Green Gel Food Coloring
- 2/3 Cup Buttermilk
For the Cream Cheese Frosting:
- 2 pkgs Cream Cheese 8 oz each -softened
- 1/2 cup Unsalted Butter softened
- 6 cups Powdered Sugar sifted
- 1 teaspoon Vanilla Extract
Instructions
For the Cupcakes:
-
Preheat the oven to 350 degrees F.
-
Line 16 muffin tins with cupcake liners.
-
Combine the flour, baking soda, cocoa and salt together in a mixing bowl.
-
Using either a stand up or hand held mixer, combine the butter and sugar until thoroughly mixed together (approximately 1 minute).
-
Then add in the oil, egg yolks (save the egg whites) and vanilla extract. Mix until these ingredients are combined and use a spatula to scrape the edge of the bowl as well.
-
Then slowly add in the dry ingredients and the buttermilk until both are thoroughly combined into the wet ingredients.
-
Then add approximately 2 tsp of green gel food coloring until the batter is the color that you desire for your cake.
-
Next in a separate mixing bowl, beat the egg whites until they are light and fluffy and form peaks.
-
Gently stir in the eggs white until the red batter until they are combined. Do not over mix.
-
Pour the batter evenly into the 16 cupcake liners in the muffin pans.
-
Bake for 15-18 minutes until a toothpick inserted into the center comes out clean.
-
Move the cupcakes to a wire rack to cool completely.
For the Frosting:
-
Beat the cream cheese in a large mixing bowl until smooth.
-
Add in the butter and beat until combined and smooth.
-
Then slowly add in the powdered sugar (1 cup at a time). Mix after each cup is added. Continue to add until the frosting is thick and smooth. Then mix in the vanilla extract.
-
Top each cupcake with cream cheese frosting and enjoy!
Recipe Notes
Nutrition Facts
Pin This Now to Remember It Later
Pin Recipe
