Easy & Adorable Homemade Mickey Mouse Cookies: A Magical Disney Treat Recipe
Step into the enchanting world of Disney right from your kitchen with these utterly adorable Mickey Mouse Cookies! Whether you’re planning a Disney-themed birthday party, celebrating a movie night with family, or simply want to add a touch of magic to your day, these decorated sugar cookies are guaranteed to bring smiles. We’ll show you how anyone, from novice bakers to seasoned pros, can easily create these iconic treats that look as fantastic as they taste. Get ready to sprinkle some fairy dust on your baking adventure!
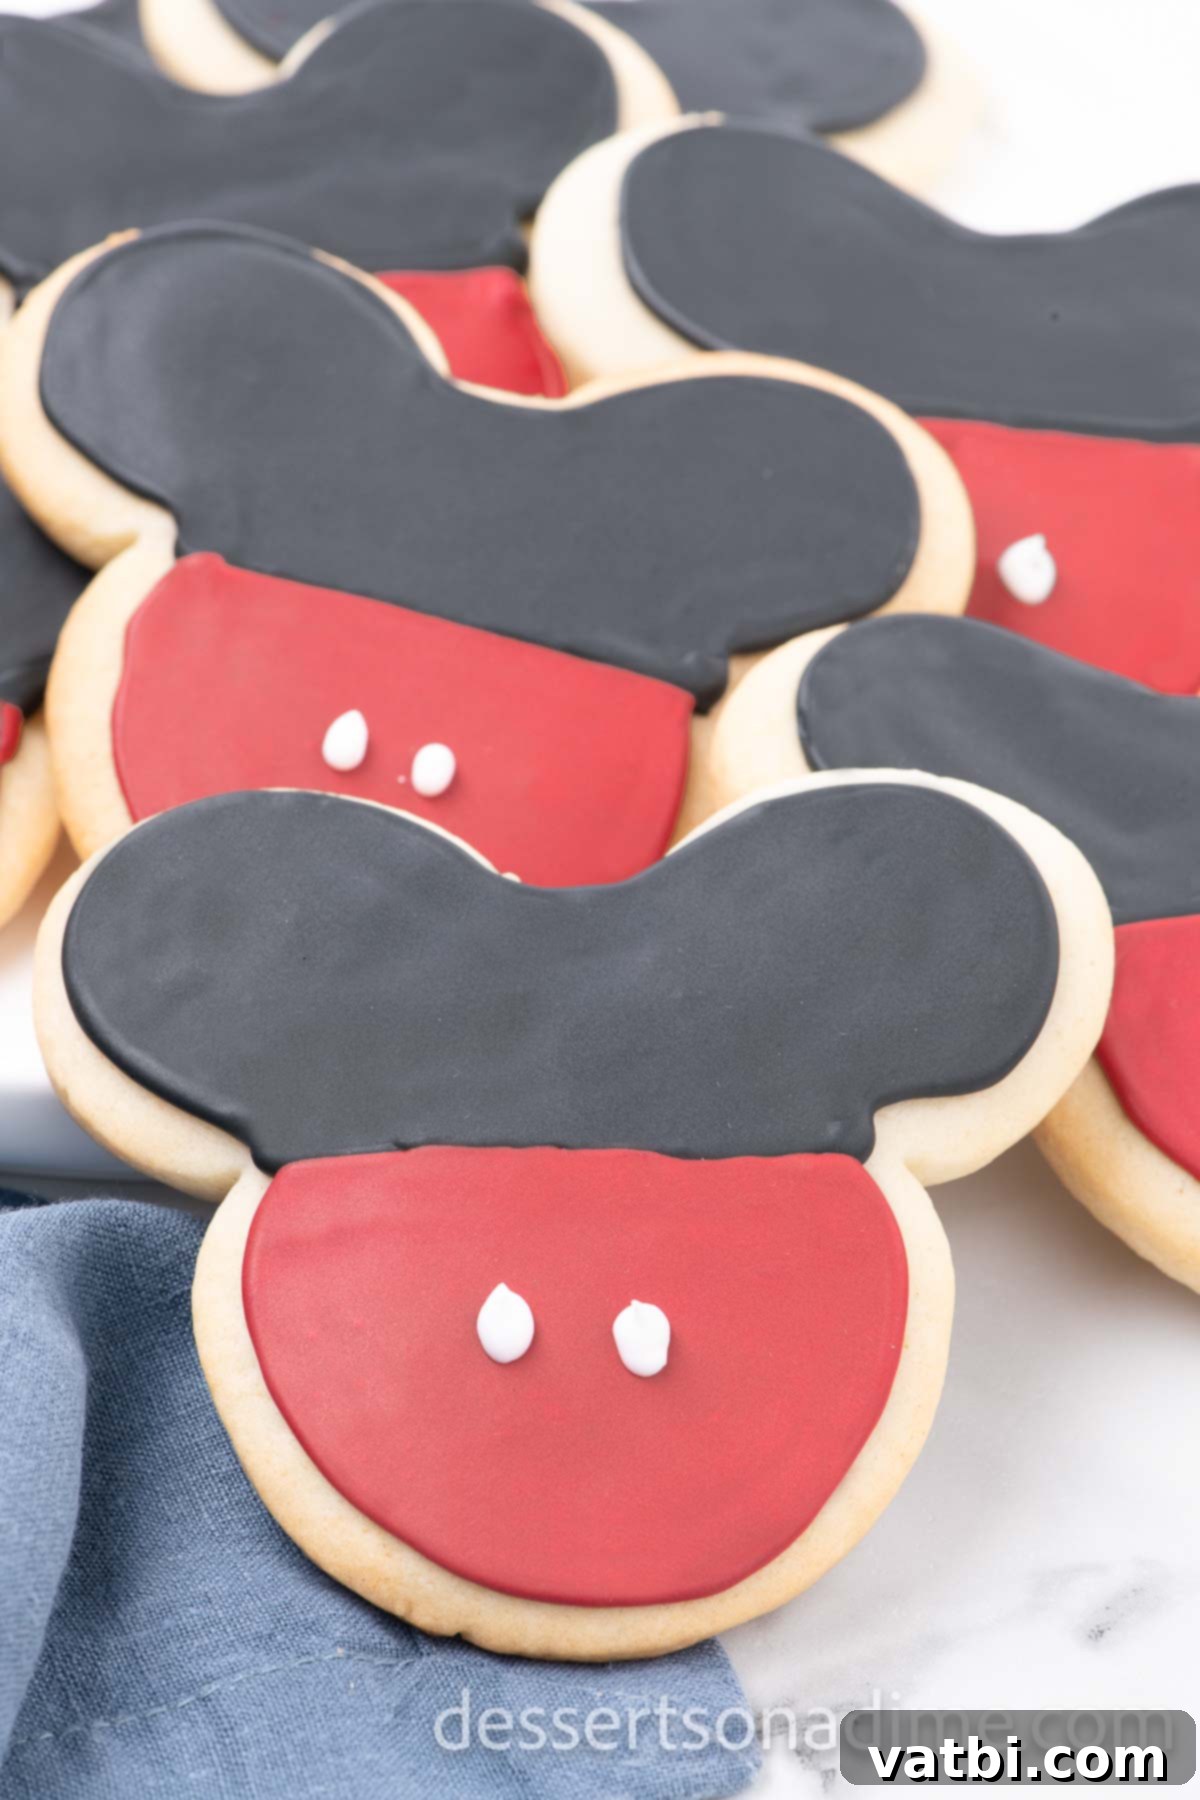
This delightful cookie recipe is the perfect centerpiece for Mickey Mouse party themes, holiday gatherings, or just a fun afternoon activity with the kids. They make fantastic party favors and are surprisingly simple to create. We start with a classic, buttery Sugar Cookies Recipe and, with just a few easy steps, transform them into everyone’s favorite mouse! The process is designed to be straightforward, ensuring beautiful, professional-looking results without any stress.
If you’re in a hurry or prefer a no-bake option, don’t miss our quick and fun Mickey Mouse Oreo Cookies. We love finding creative ways to turn ordinary ingredients into extraordinary Disney treats, and these Oreos are a testament to that! For those who dream of a trip to the Happiest Place on Earth, you might also want to try our copycat Dole Whip Recipe to enjoy a taste of Disneyland or Disney World from your own home. And for fans of a different magical world, our Harry Potter Butterbeer recipe is an absolute must-try!
What’s in this post: Mickey Mouse Cookies
- Why We Love This Recipe
- Ingredients You’ll Need
- How to Make Mickey Mouse Cookies
- Frequently Asked Questions
- Expert Tips for Perfect Mickey Cookies
- More Fun Sugar Cookie Recipes
- Mickey Mouse Cookies Recipe Card
Why We Adore This Mickey Mouse Cookie Recipe
There’s a reason these Mickey Mouse sugar cookies have become a beloved favorite in our kitchen. They combine the timeless joy of Disney with the simple pleasure of homemade baking, making them truly special. Here’s why we know you’ll love them too:
- Iconic Mickey Mouse Theme: These aren’t just any cookies; they’re the cutest cookies for anyone who adores Mickey Mouse. The iconic silhouette and vibrant colors instantly evoke joy and nostalgia, making them a show-stopper at any event. They’re guaranteed to be your new go-to recipe for all things Disney.
- Simple Step-by-Step Instructions: While these cookies look incredibly impressive and professionally decorated, the process is surprisingly straightforward. We’ve broken down every step with clear, easy-to-follow instructions, ensuring that even beginners can achieve perfect results. You don’t need to be a pastry chef to create these beautiful treats!
- Delicious, Classic Flavor: Beyond their charming appearance, these sugar cookies taste absolutely amazing. They boast a tender crumb and a rich, buttery vanilla flavor that everyone loves. You can enjoy the authentic taste of these classic sugar cookies right at home, no expensive trip to Disneyland or Disney World required to savor that magical flavor.
- Perfect for Any Occasion: From birthday parties and baby showers to school events, holiday gatherings, or simply a fun weekend baking project, these cookies fit every occasion. They’re versatile and always a hit with both kids and adults.
- Customizable Fun: While we stick to the classic Mickey colors, this recipe is a fantastic base for creativity! You can experiment with different color combinations for other Disney characters, or even add sprinkles and edible glitter for extra sparkle.
- Memorable Family Activity: Baking these cookies is more than just making a treat; it’s an opportunity to create cherished memories with your loved ones. Kids especially love helping with the cutting and decorating, making it a wonderful family bonding experience.
Essential Ingredients for Your Mickey Mouse Cookies
Crafting the perfect Mickey Mouse cookie starts with a selection of fresh, quality ingredients. Each component plays a crucial role in achieving that delicious taste and perfect texture. Here’s what you’ll need for both the delightful sugar cookies and the vibrant royal icing:
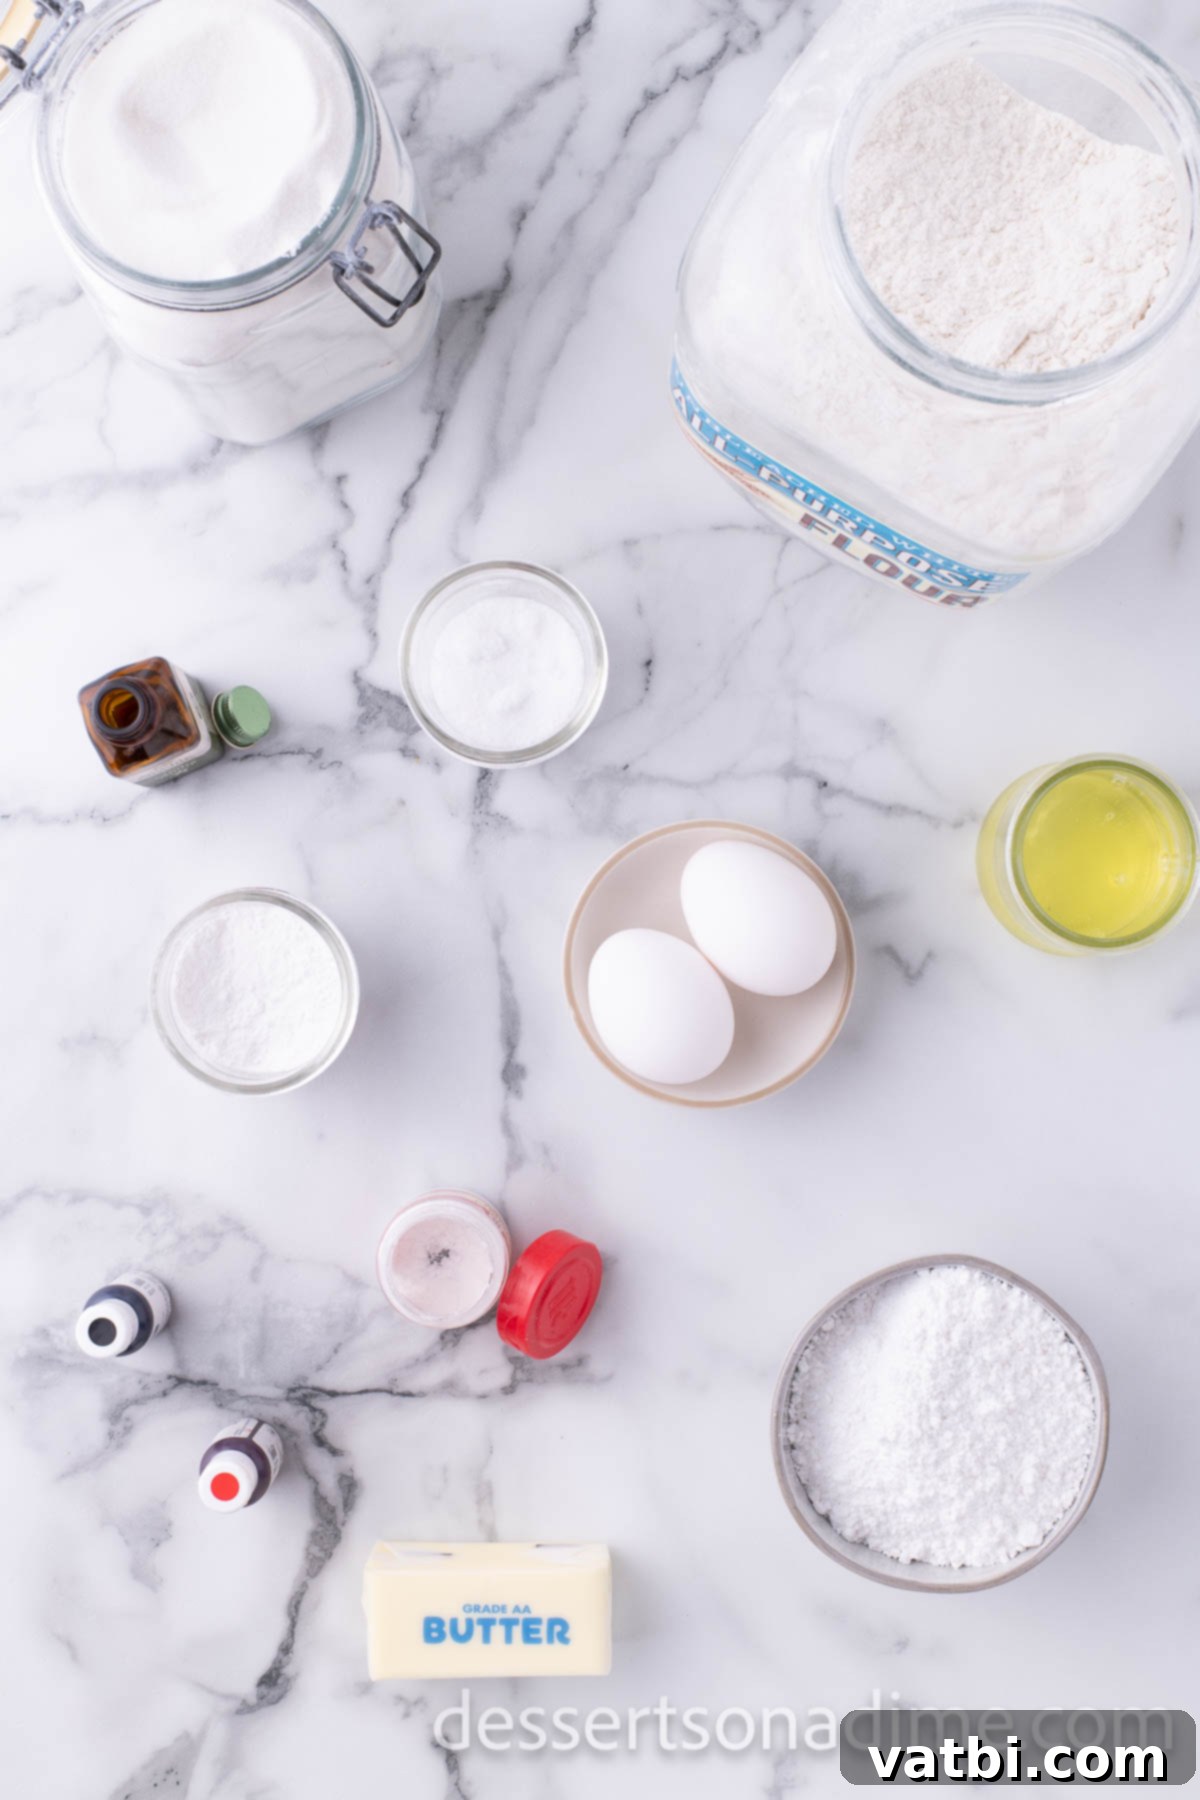
For the Tender Sugar Cookies:
- All Purpose Flour: This is the backbone of our cookies. For accurate measurement and a perfectly tender cookie, always spoon the flour into your measuring cup and level it off with a straight edge. Avoid scooping directly from the bag, as this can pack too much flour and result in dry, dense cookies.
- Baking Powder: A touch of baking powder gives our cookies just the right amount of lift, ensuring they’re soft and slightly chewy without puffing up too much and losing their shape.
- Salt: Essential for balancing the sweetness and enhancing all the other flavors in the dough. Don’t skip it!
- Unsalted Butter: Using unsalted butter allows you to control the overall salt content in your recipe. Make sure your butter is softened to room temperature – this is crucial for creaming it properly with the sugar, creating a light and airy base for your dough.
- Granulated Sugar: White granulated sugar provides the classic sweetness and helps create that crisp edge and tender center.
- Large Eggs: It’s important to use large eggs at room temperature. Room temperature eggs emulsify much better with the butter and sugar, leading to a smoother, more uniform dough.
- Vanilla Extract: Always opt for pure vanilla extract for the best flavor. It adds a warm, aromatic depth that imitation vanilla simply can’t replicate, truly elevating your sugar cookies.
For the Smooth Royal Icing:
- Egg Whites: These are the base for our royal icing, providing structure and a beautiful sheen. For safety, you can use pasteurized egg whites from a carton, or carefully separate them from fresh large eggs. Discard the yolks.
- Powdered Sugar: Also known as confectioners’ sugar, this finely milled sugar is key for smooth icing. Sift the powdered sugar meticulously to remove any lumps, ensuring your icing is perfectly smooth and easy to pipe.
- Cream of Tartar: A small amount of cream of tartar stabilizes the egg whites, helping the icing hold its shape and achieve that crisp, hardened finish that is characteristic of royal icing.
- Red and Black Gel Food Coloring: For vibrant, rich colors without thinning your icing, I highly recommend using gel food coloring. A little goes a long way, so add it gradually until you achieve your desired shade. These colors are essential for Mickey’s iconic look!
You can find the complete list of ingredients with precise measurements in the recipe card at the bottom of the page.
How to Make Adorable Mickey Mouse Cookies: Step-by-Step Guide
Creating these charming Mickey Mouse cookies is a fun and rewarding process. Follow these detailed steps to bake and decorate your way to a magical batch of treats!
Step 1: Prepare Dry Ingredients. First, preheat your oven to 350°F (175°C). In a medium-sized mixing bowl, whisk together all your dry ingredients: the all-purpose flour, baking powder, and salt. Whisking ensures they are well combined and evenly distributed throughout the dough. Set this bowl aside for now.
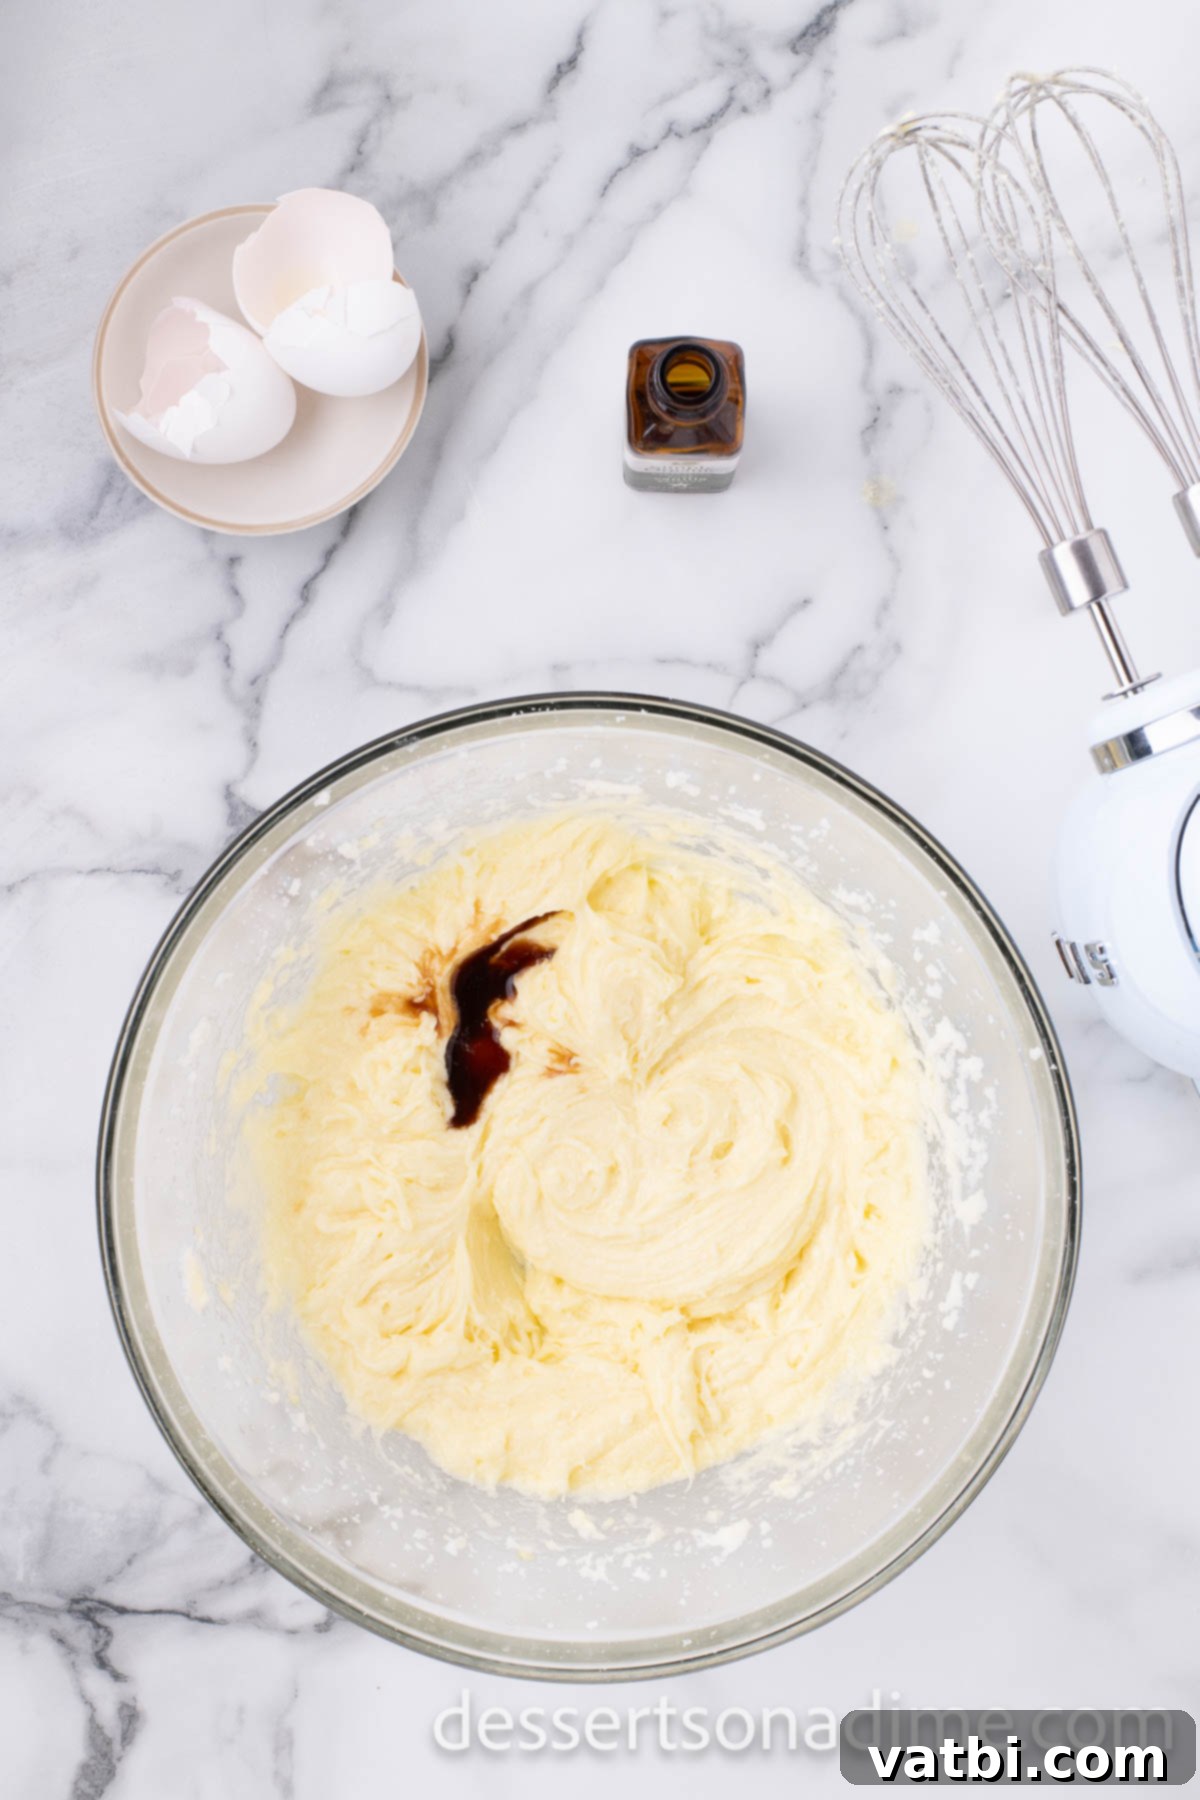
Step 2: Cream Wet Ingredients. Next, in a separate, larger bowl (or the bowl of a stand mixer), cream together the softened unsalted butter and granulated sugar until the mixture is light, fluffy, and pale in color. This process incorporates air, which contributes to the cookies’ tender texture. Then, add the large eggs one at a time, mixing well after each addition until fully incorporated. Lastly, stir in the pure vanilla extract. Continue mixing just until everything is combined.
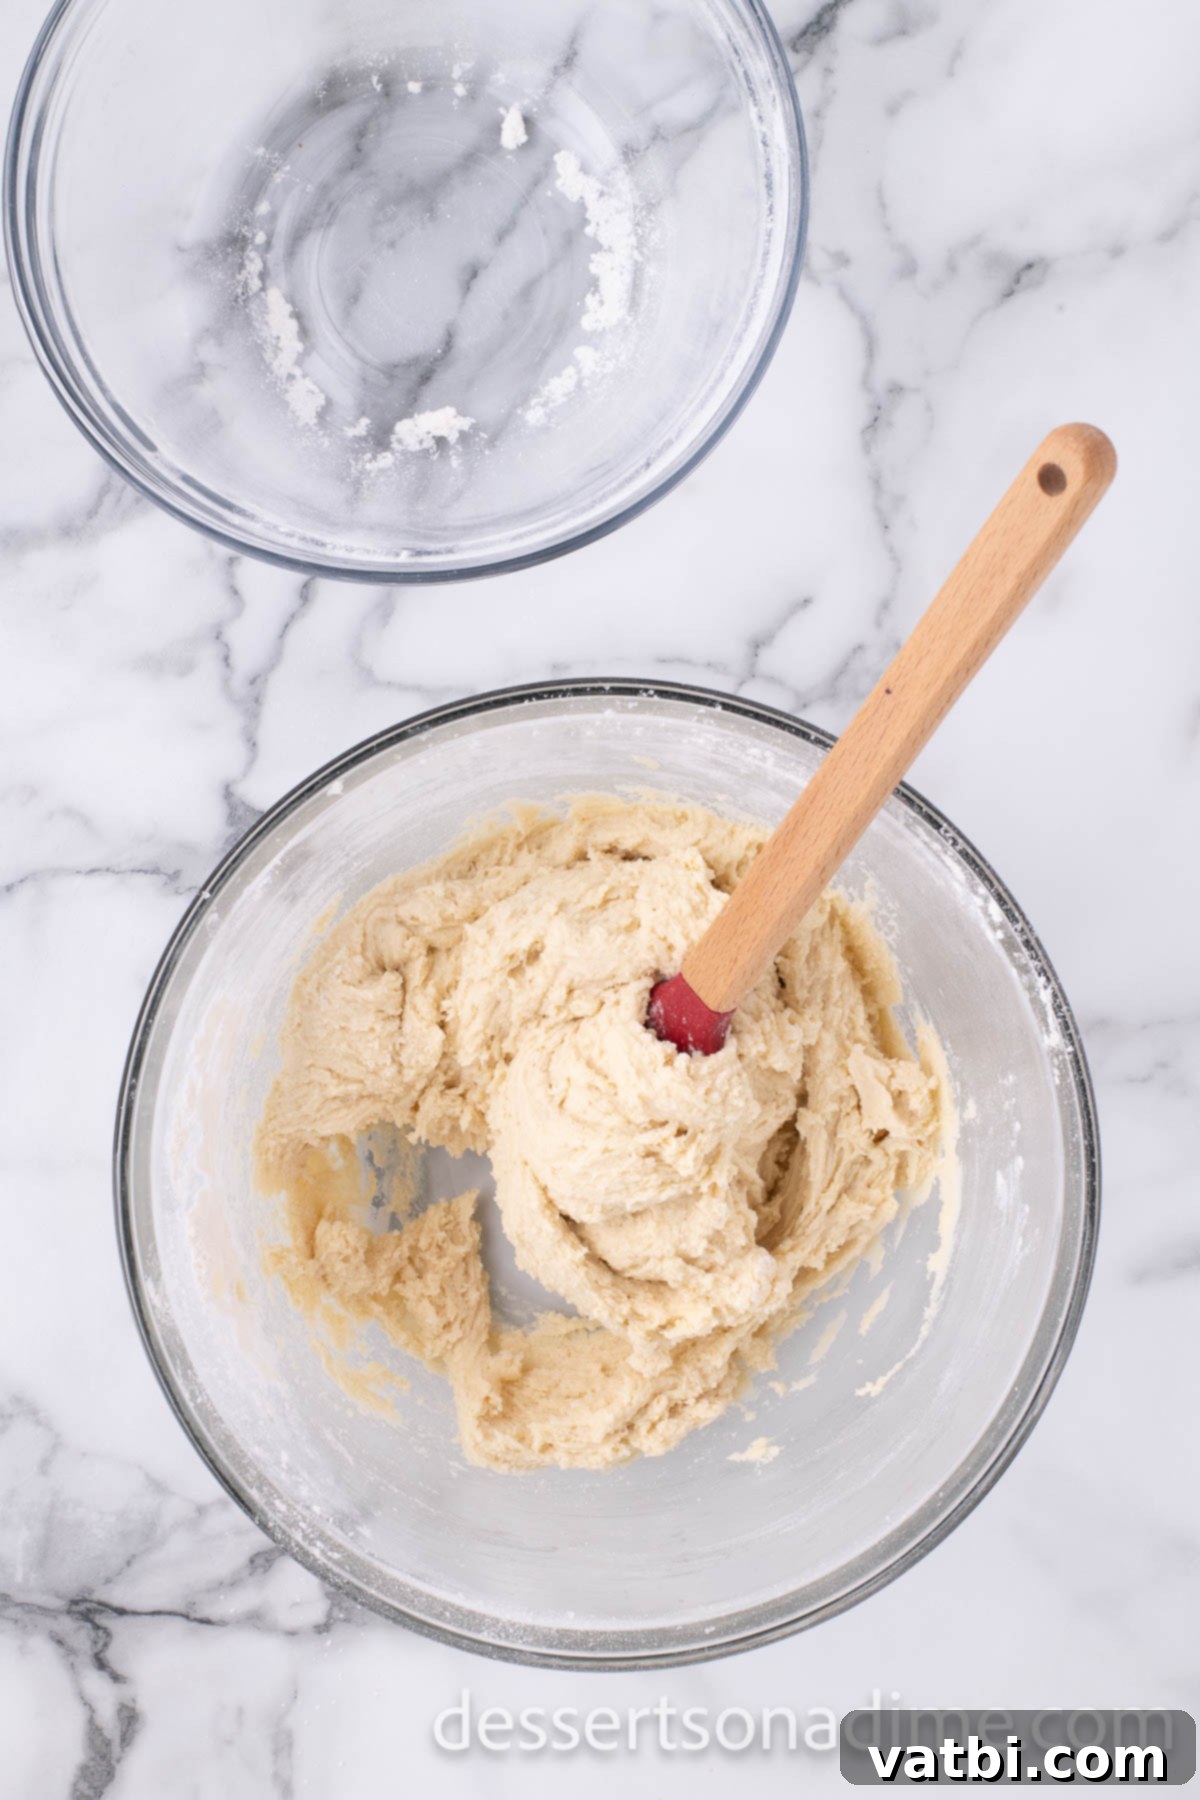
Step 3: Combine Wet and Dry Mixtures. Gradually add the whisked dry mixture to the butter and sugar mixture. Mix on low speed until the ingredients are just combined, being very careful not to overmix the dough. Overmixing can develop the gluten in the flour, resulting in tough cookies. Scrape down the sides of the bowl with a spatula to ensure all ingredients are incorporated. A stand mixer works wonderfully for this step, but a hand mixer is also suitable.
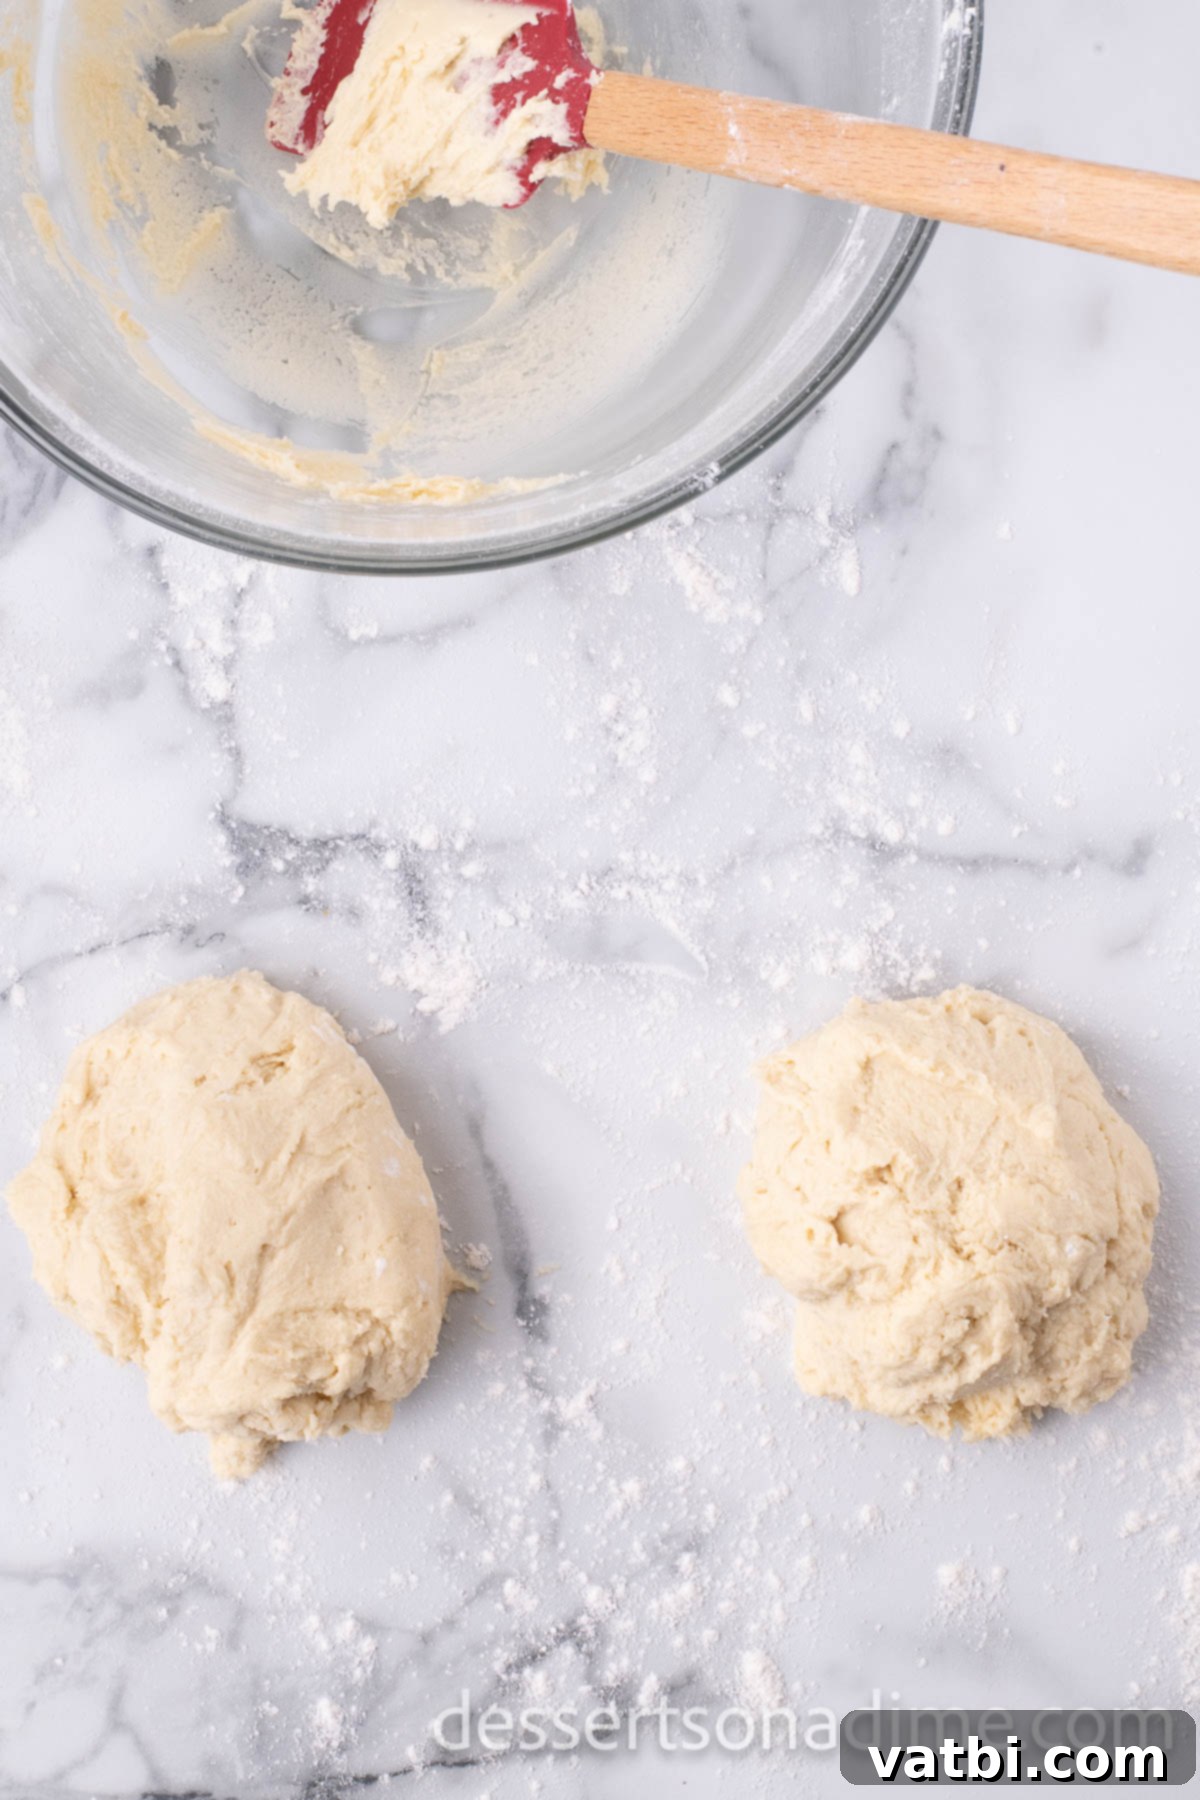
Step 4: Divide and Chill the Dough. Divide the cookie dough into 2 to 3 manageable sections. This makes it easier to roll out evenly. For best results, lightly flatten each section into a disc, wrap it in plastic wrap, and chill for at least 30 minutes (or up to 2 hours). Chilling the dough helps prevent spreading during baking and makes it easier to handle and cut.
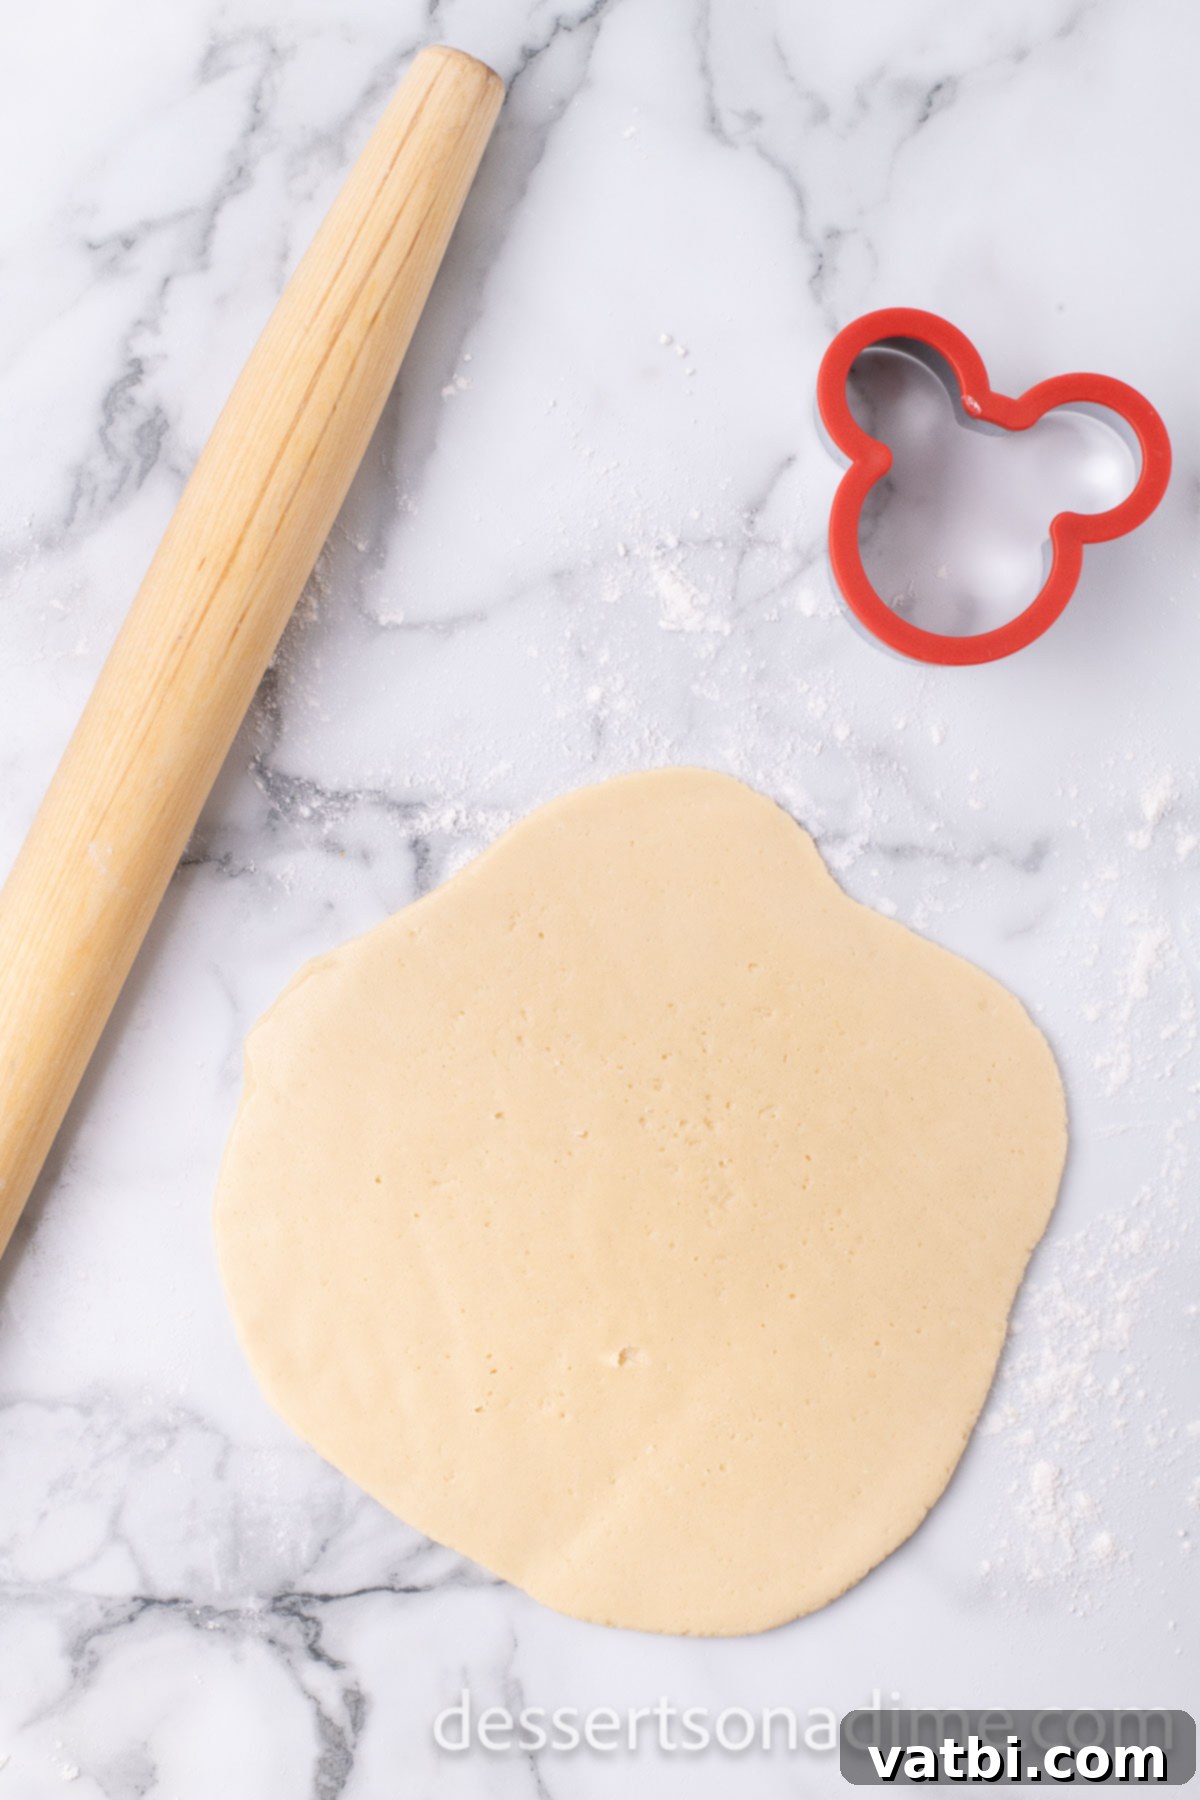
Step 5: Roll Out the Dough. Lightly flour your work surface and your rolling pin. Take one section of chilled dough and roll it out to an even thickness, approximately ¼ inch thick. Keep your surface lightly floured to prevent sticking, but avoid using too much, which can make the dough dry.
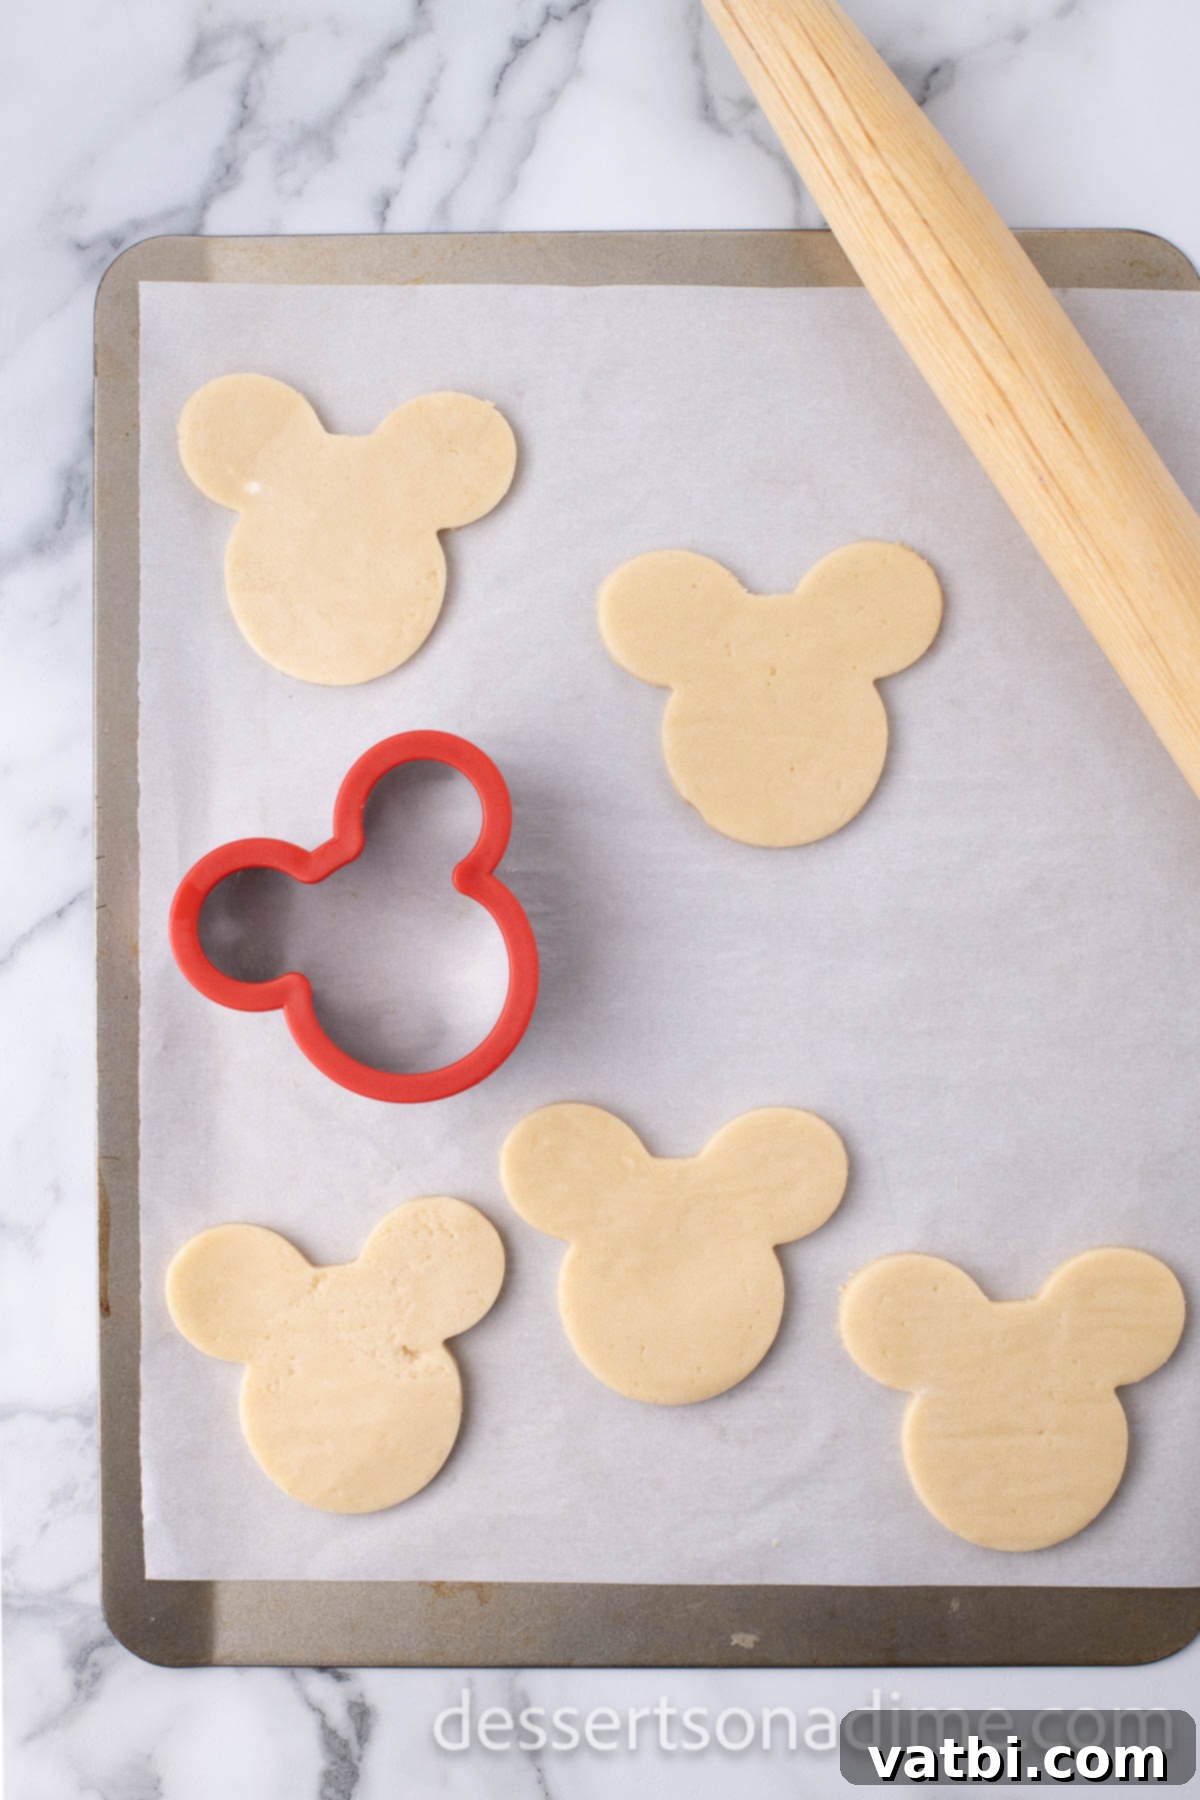
Step 6: Cut Out Mickey Shapes. Now for the fun part! Use a Mickey Mouse cookie cutter to cut out your cookie shapes. Press firmly to ensure clean edges. Carefully transfer the cut cookies to a baking sheet lined with parchment paper. Continue this process until all the dough is formed into delightful Mickey shapes. Re-roll scraps as needed, but try not to overwork the dough.
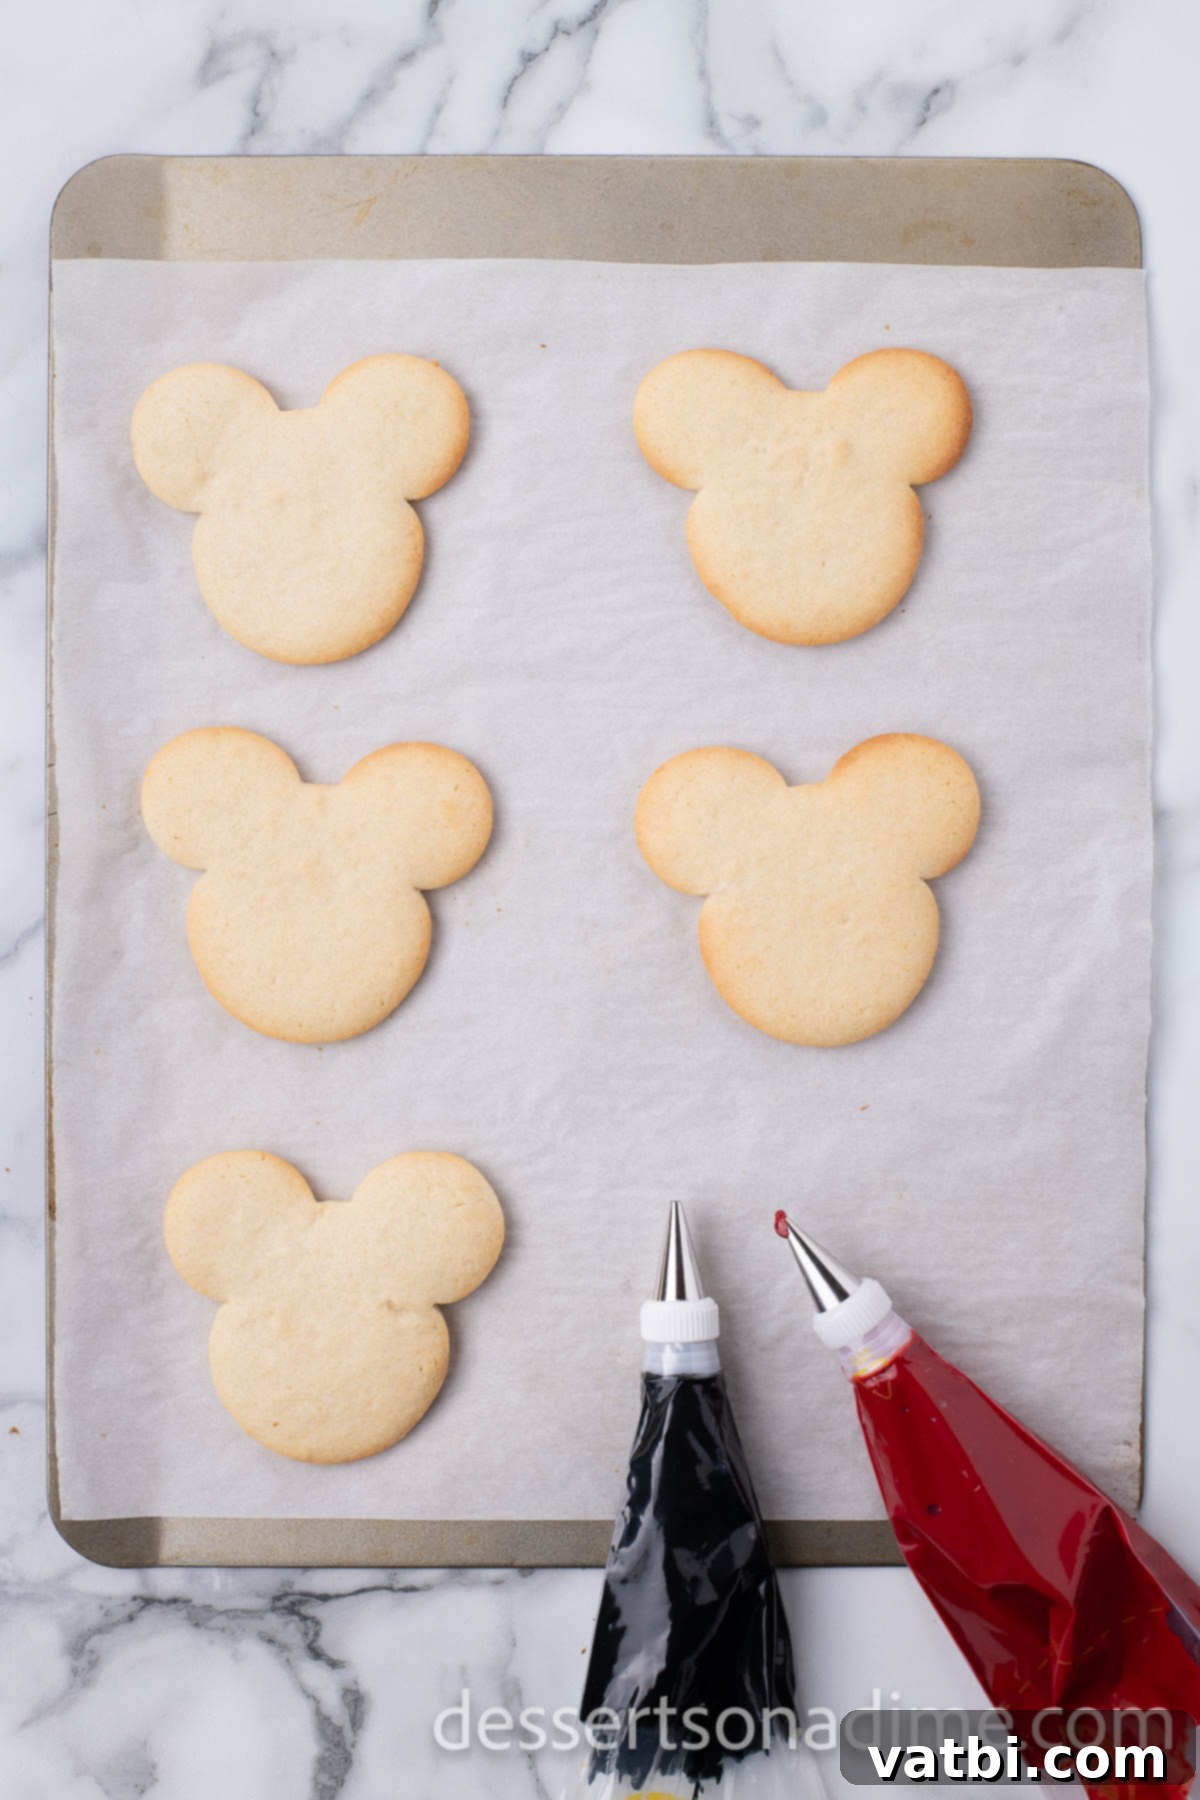
Step 7: Bake the Cookies. Place the baking sheet in the preheated oven and bake for 7-8 minutes. Keep a close eye on them; the cookies are done when the edges are lightly golden brown, but the centers still look soft. This ensures a tender cookie. Once baked, allow the cookies to cool on the pan for about 5 minutes before carefully transferring them to a wire rack to cool completely. This prevents them from breaking and helps them firm up.
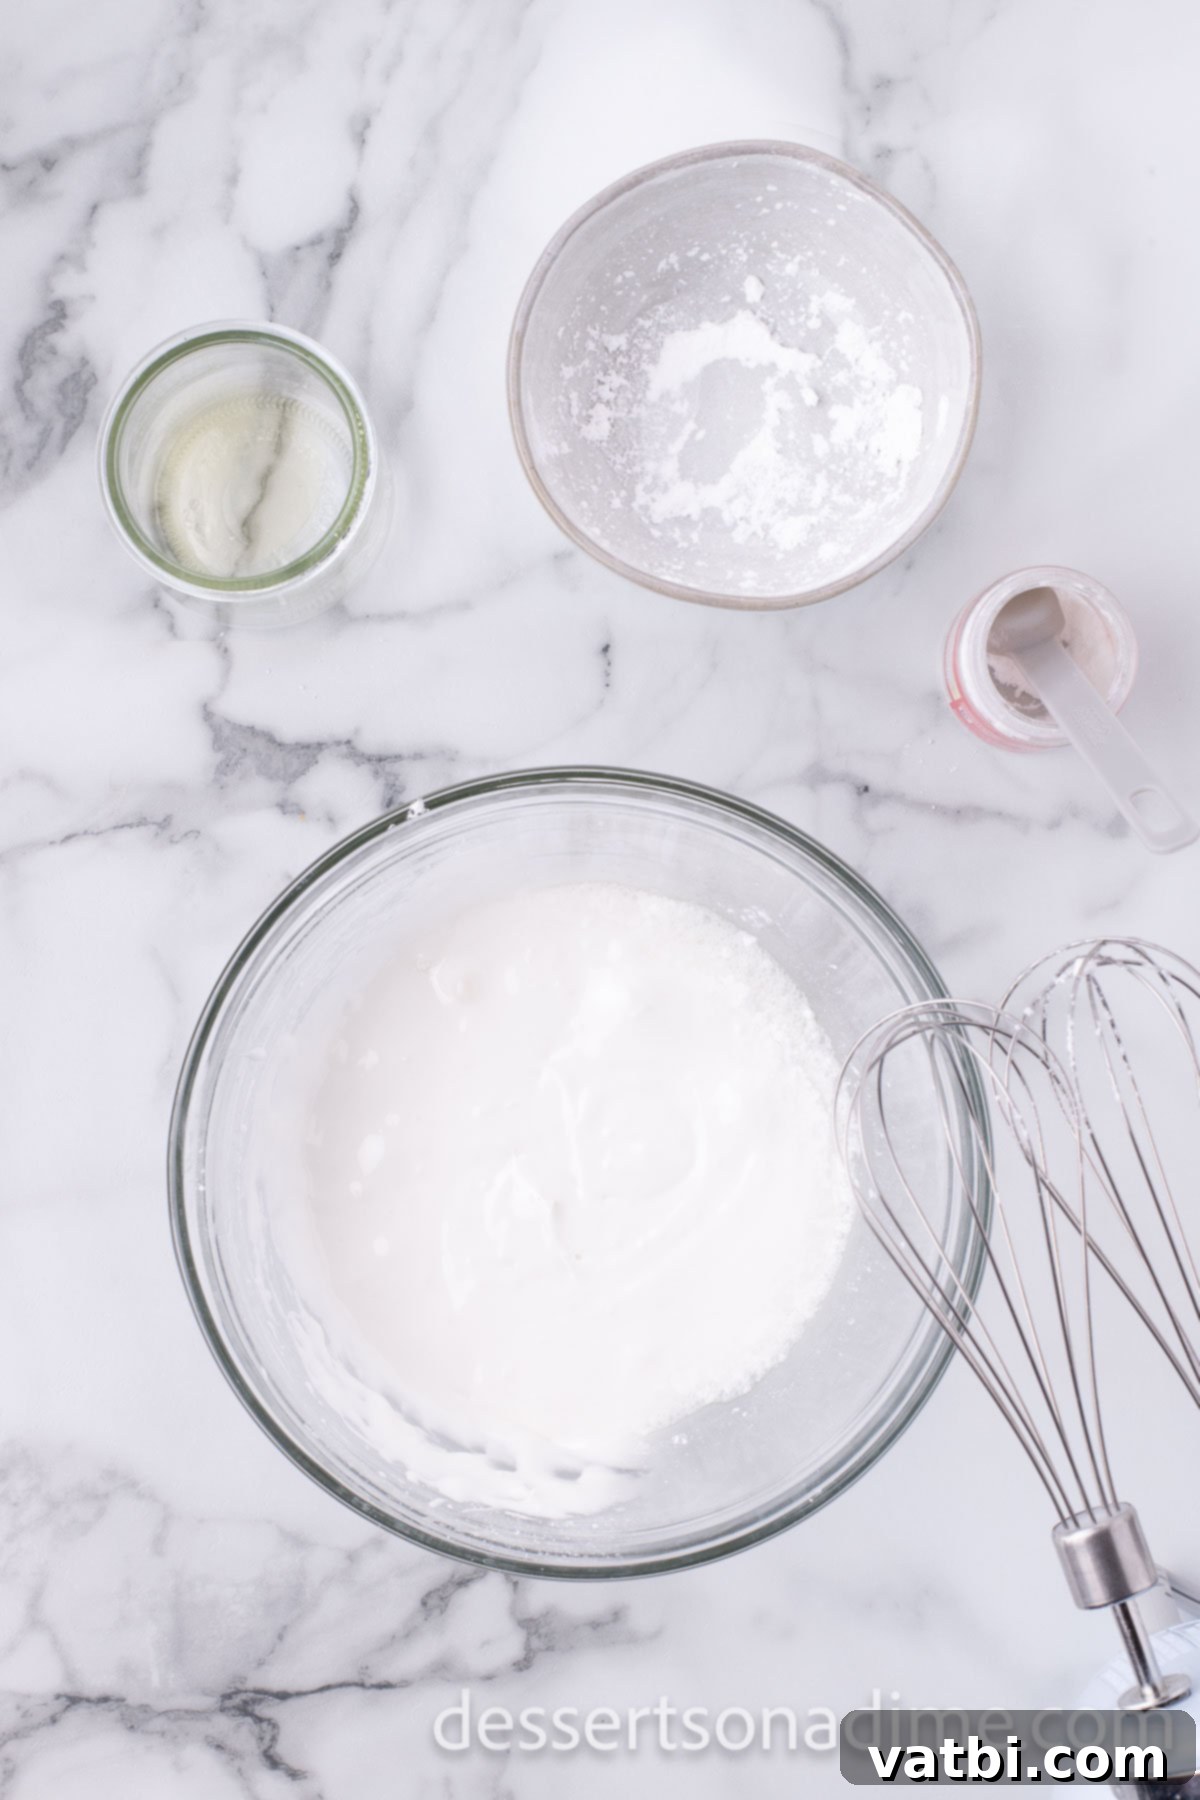
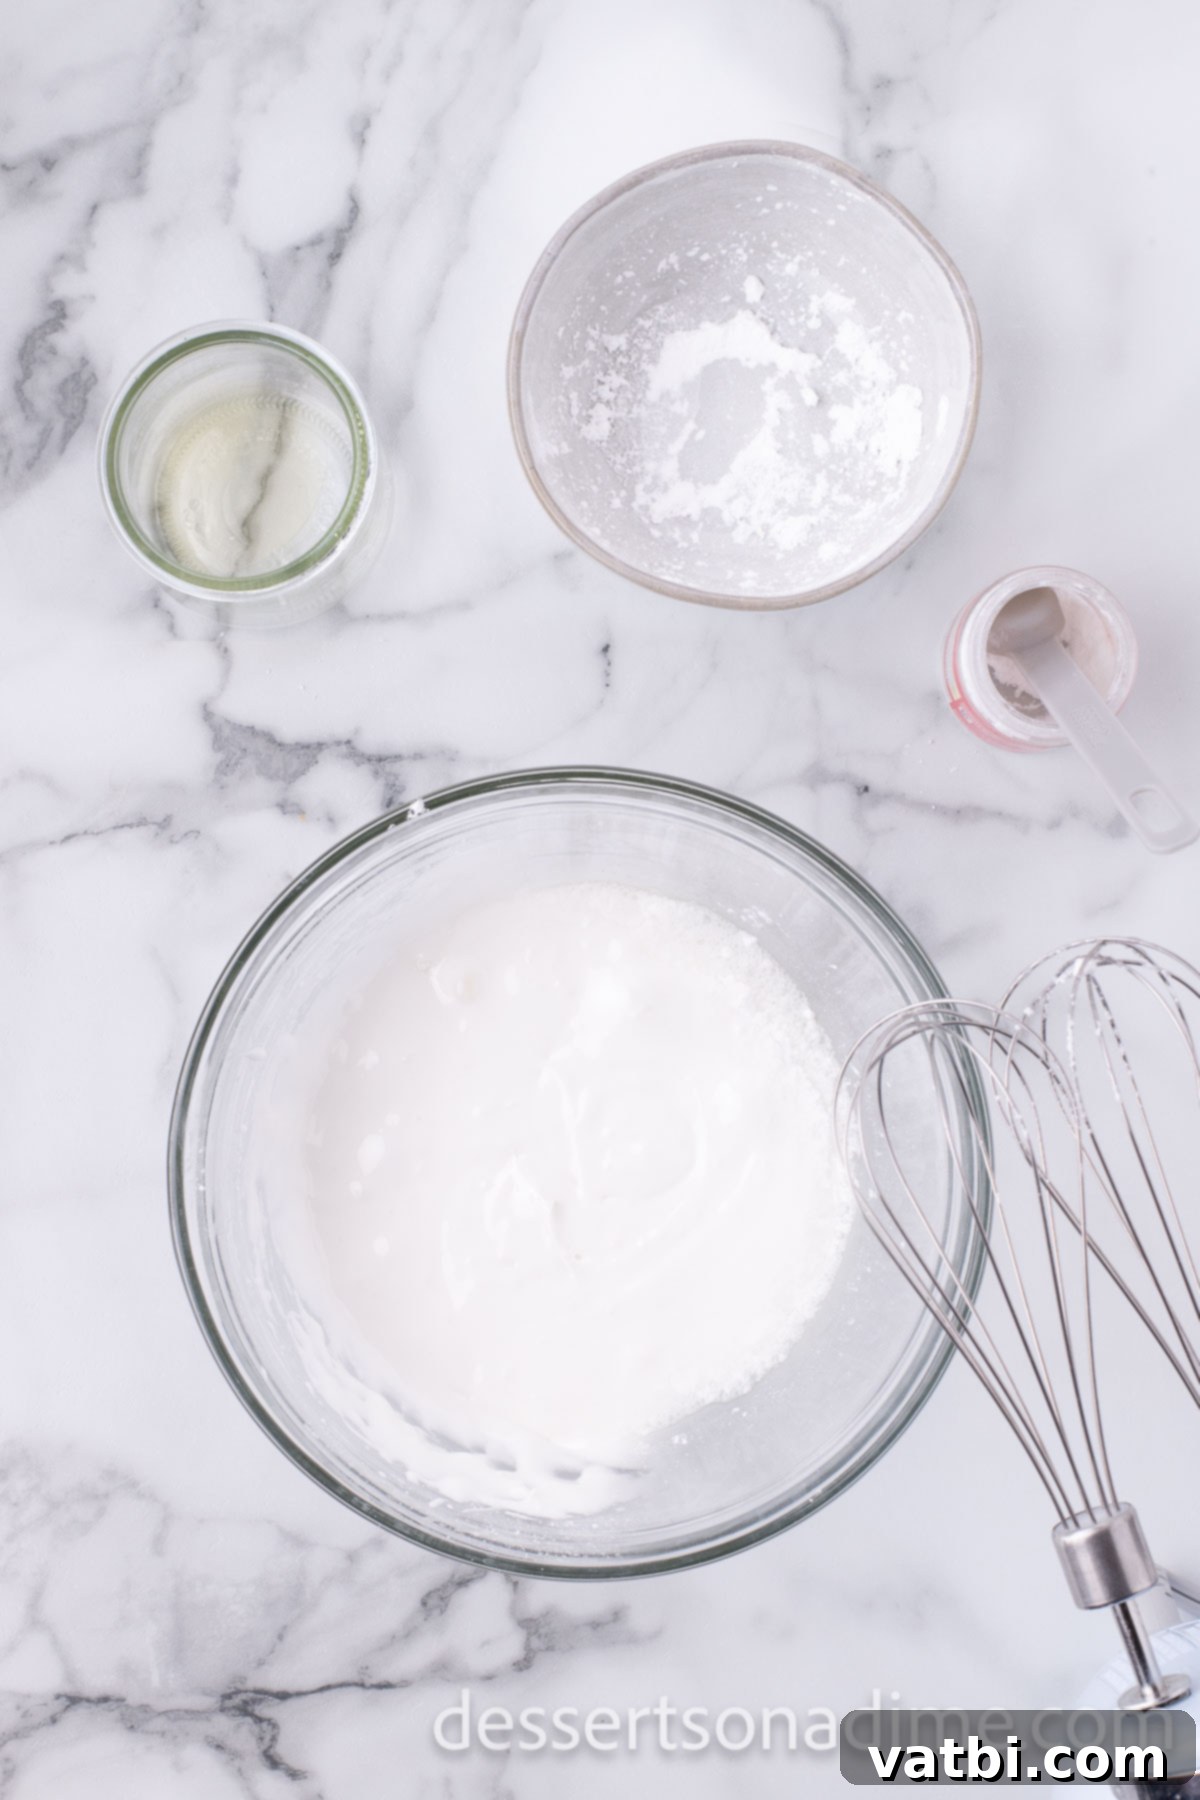
Step 8: Prepare the Royal Icing. While your cookies are cooling, it’s time to make the royal icing. In a clean mixing bowl, combine the egg whites, sifted powdered sugar, and cream of tartar. Beat on medium speed for about 4 minutes until the icing is thick and glossy. You may need to adjust the consistency: if it’s too thick, add a tiny bit of water (½ teaspoon at a time); if too thin, add ¼ cup more sifted powdered sugar. Aim for a “15-second consistency,” which means that when you drag a spatula across the surface, the line disappears within 15 seconds. This consistency is perfect for both outlining and flooding your cookies.
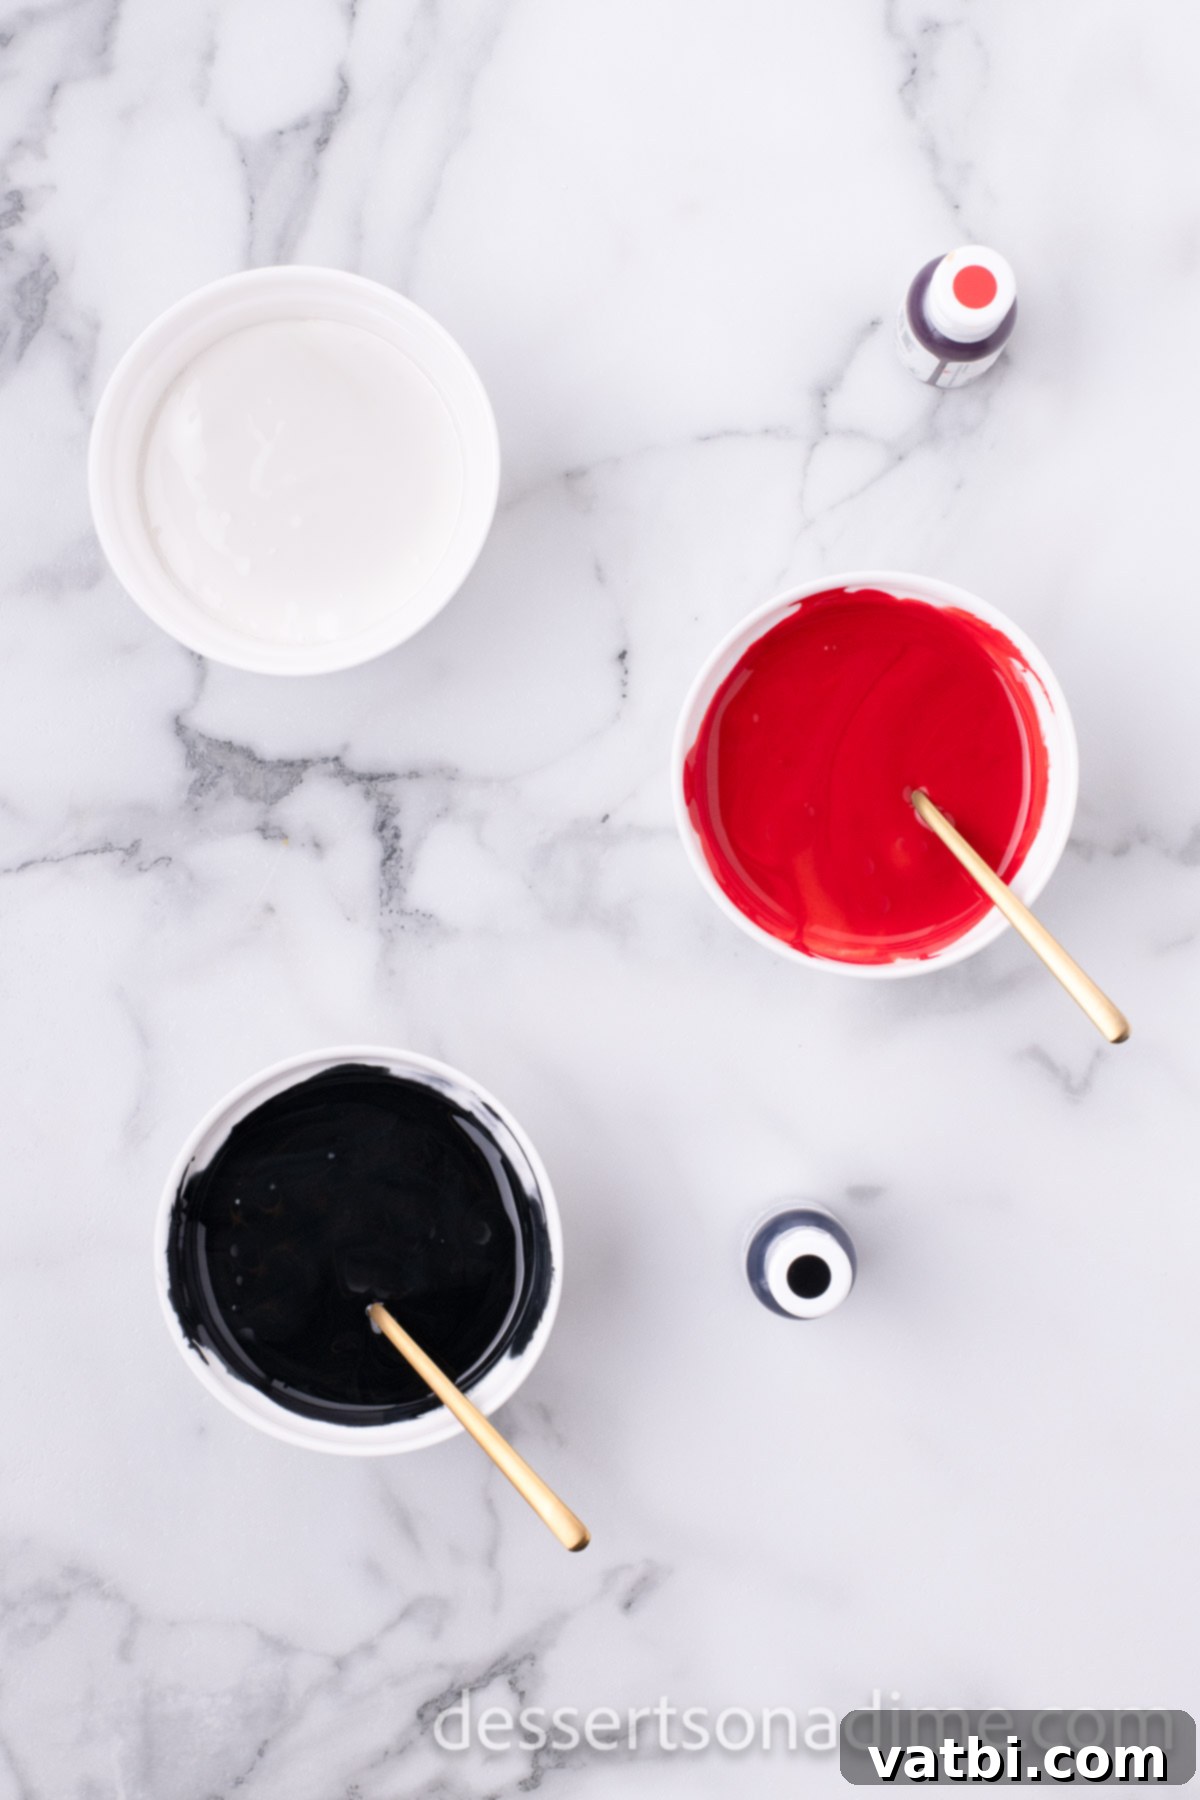
Step 9: Color the Icing. Divide the prepared royal icing into three small bowls. Mix one bowl with red gel food coloring for Mickey’s shorts, another bowl with black gel food coloring for his ears and head, and leave the last bowl white for the buttons. Stir each color thoroughly until you achieve a consistent, vibrant hue. For deeper colors, add more gel coloring incrementally.
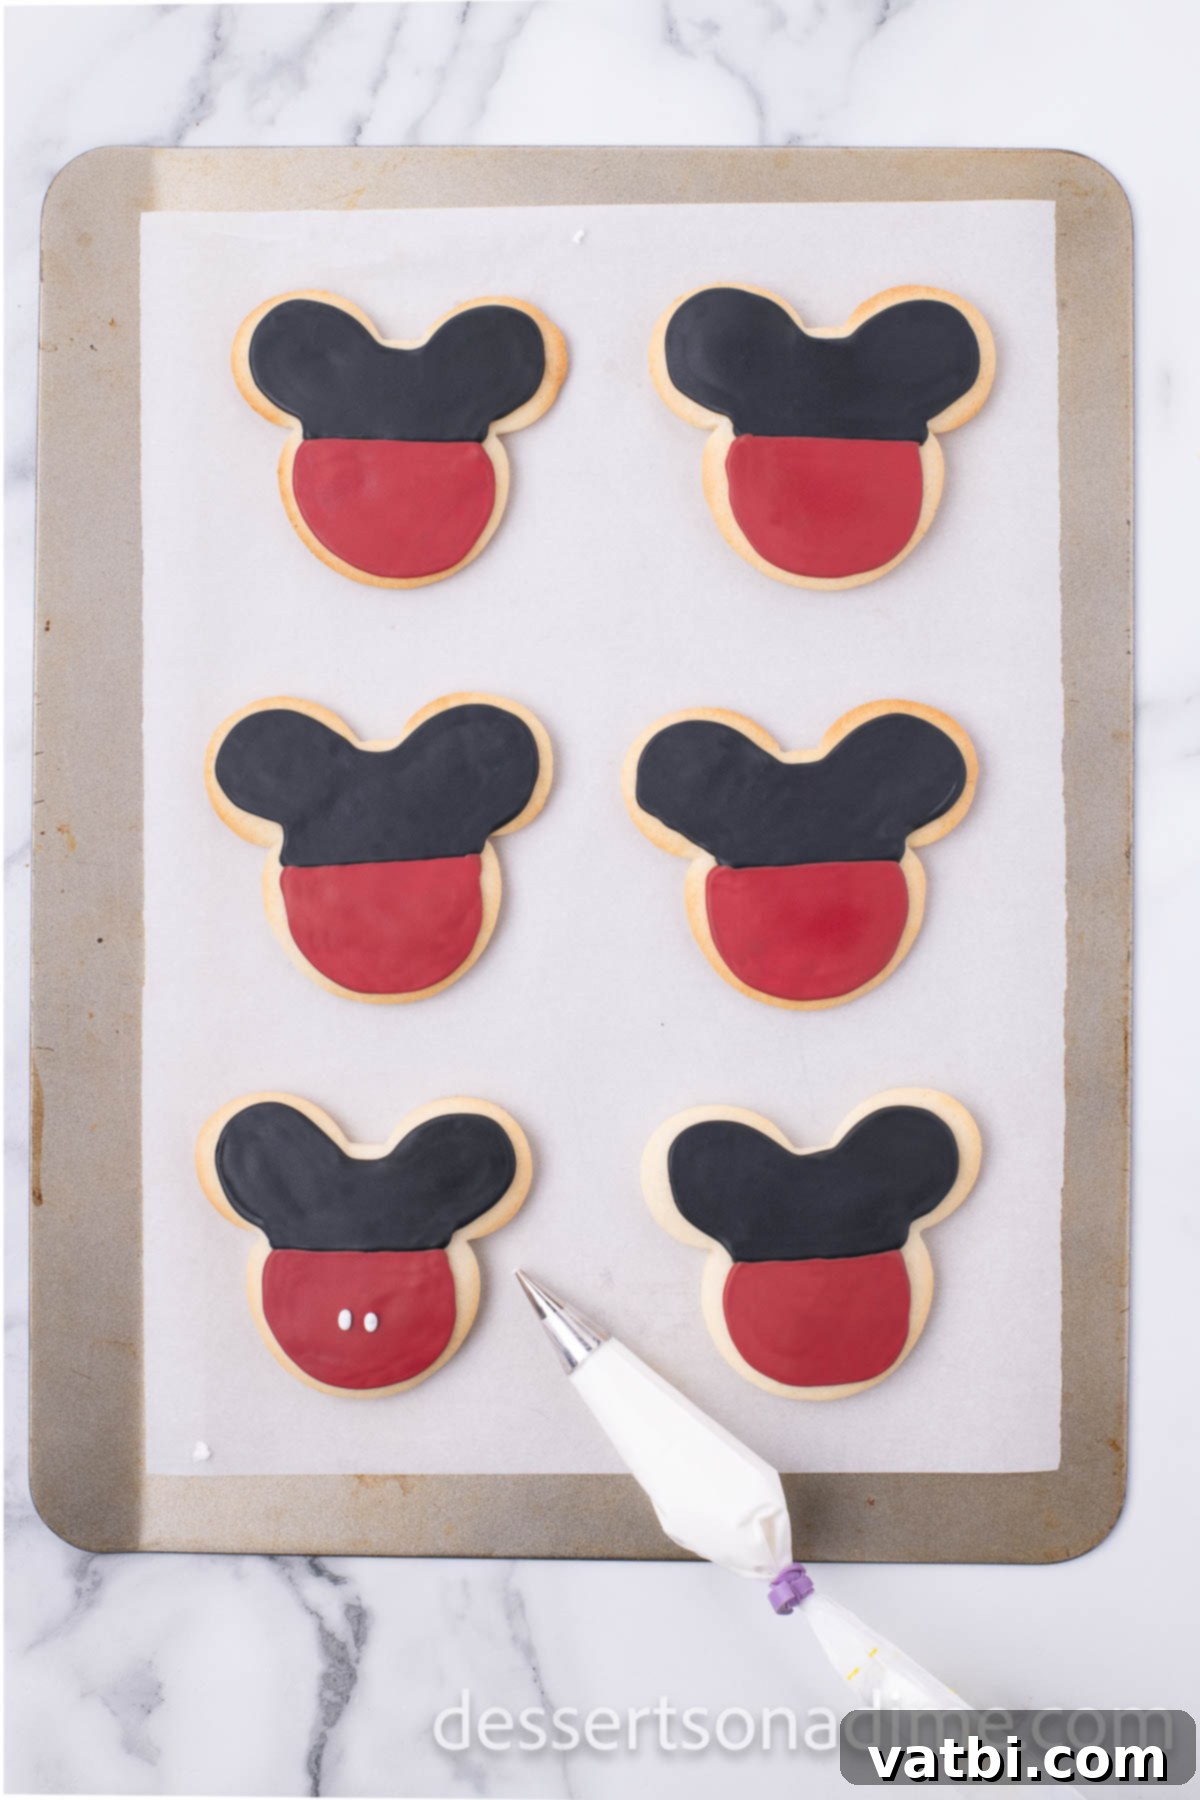
Step 10: Decorate the Cookies (First Layer). Transfer the red and black icing into separate piping bags fitted with small round tips (or use ziploc bags with a tiny corner snipped off). Start by piping the black icing to outline and fill in Mickey’s ears and the top portion of his head. Then, using the red icing, outline and fill in the bottom portion of the cookies, mimicking Mickey Mouse’s iconic red shorts. This creates the foundational colors for his classic look.
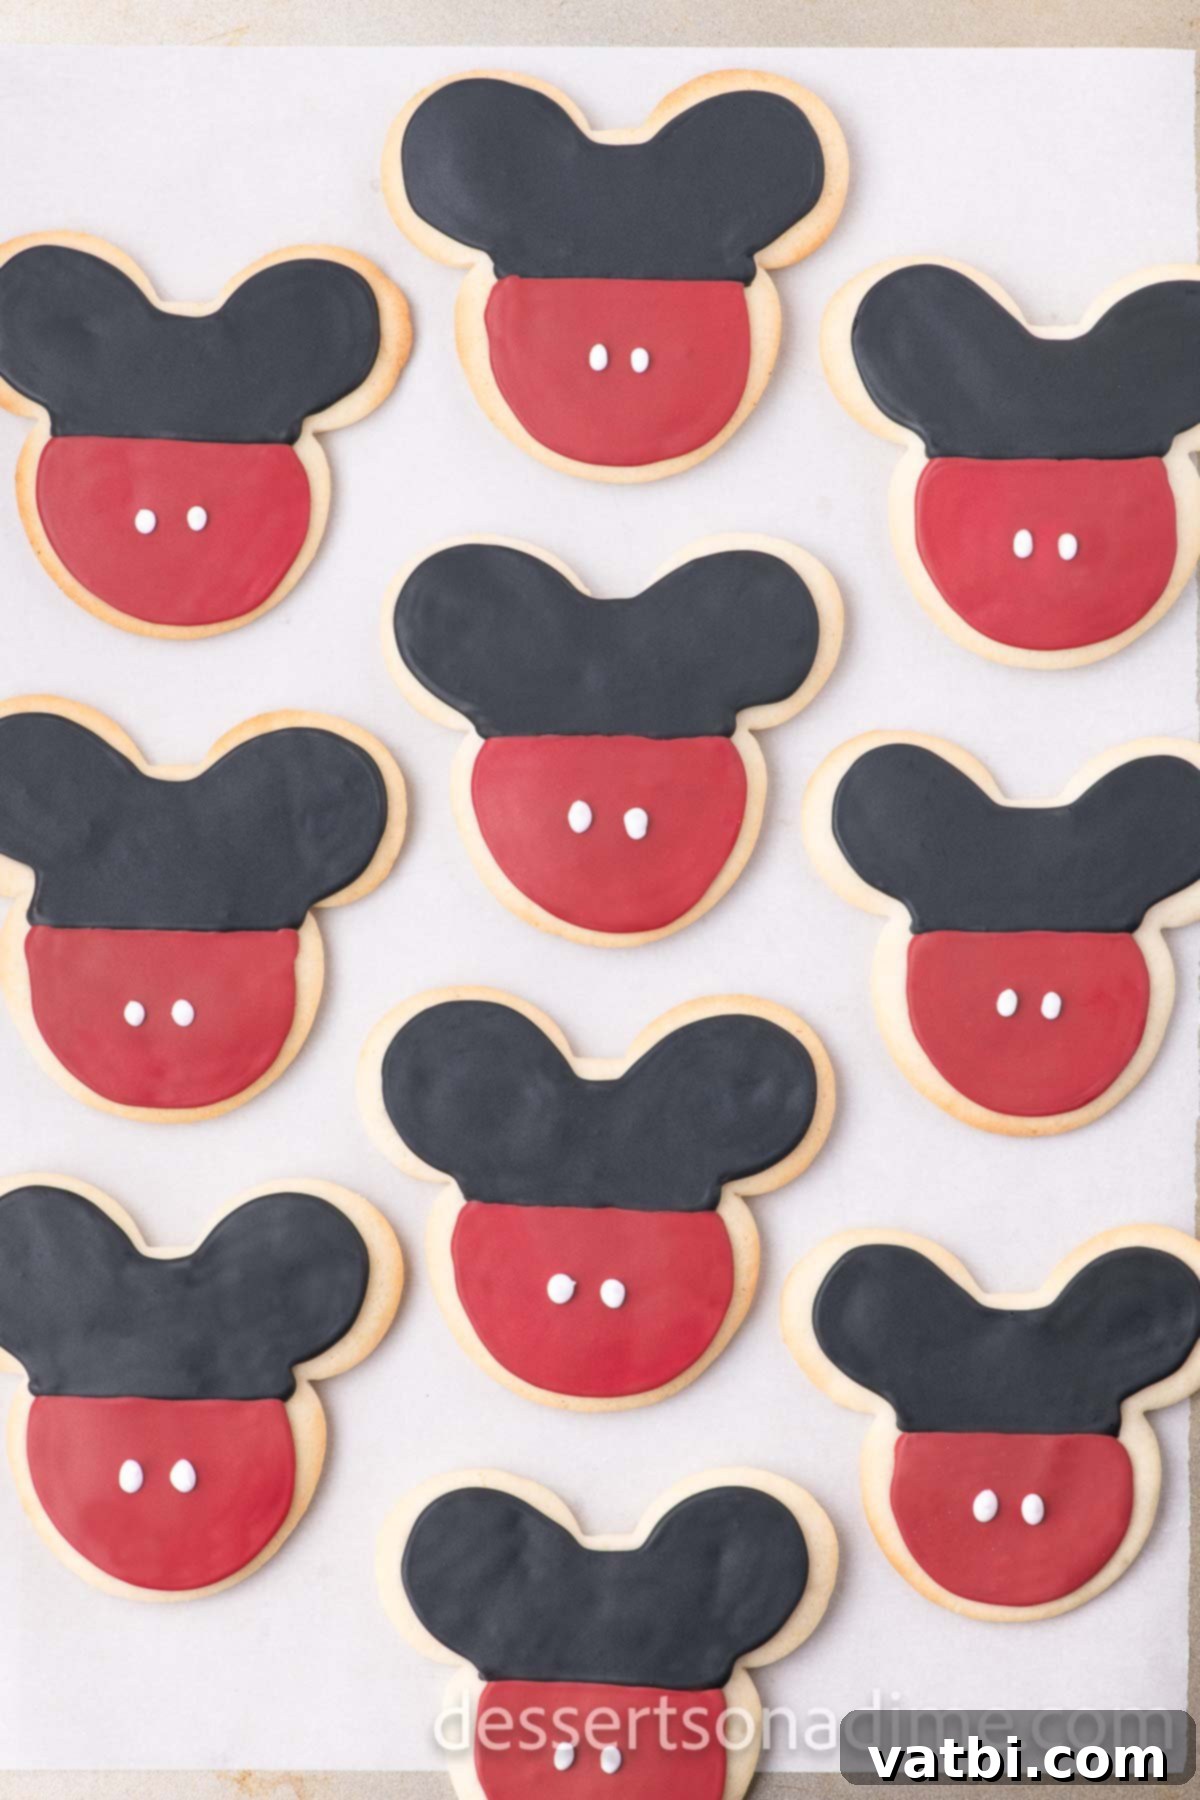
Step 11: Add White Buttons. It’s crucial to allow the first layer of colored icing (black and red) to set completely. This typically takes 2-3 hours, or even overnight, depending on humidity. Once the colored icing is firm to the touch, transfer the white icing into a piping bag fitted with a small round tip. Carefully pipe two white buttons onto the red portion of each cookie, completing Mickey’s iconic outfit. Let these buttons set for another 1-2 hours.
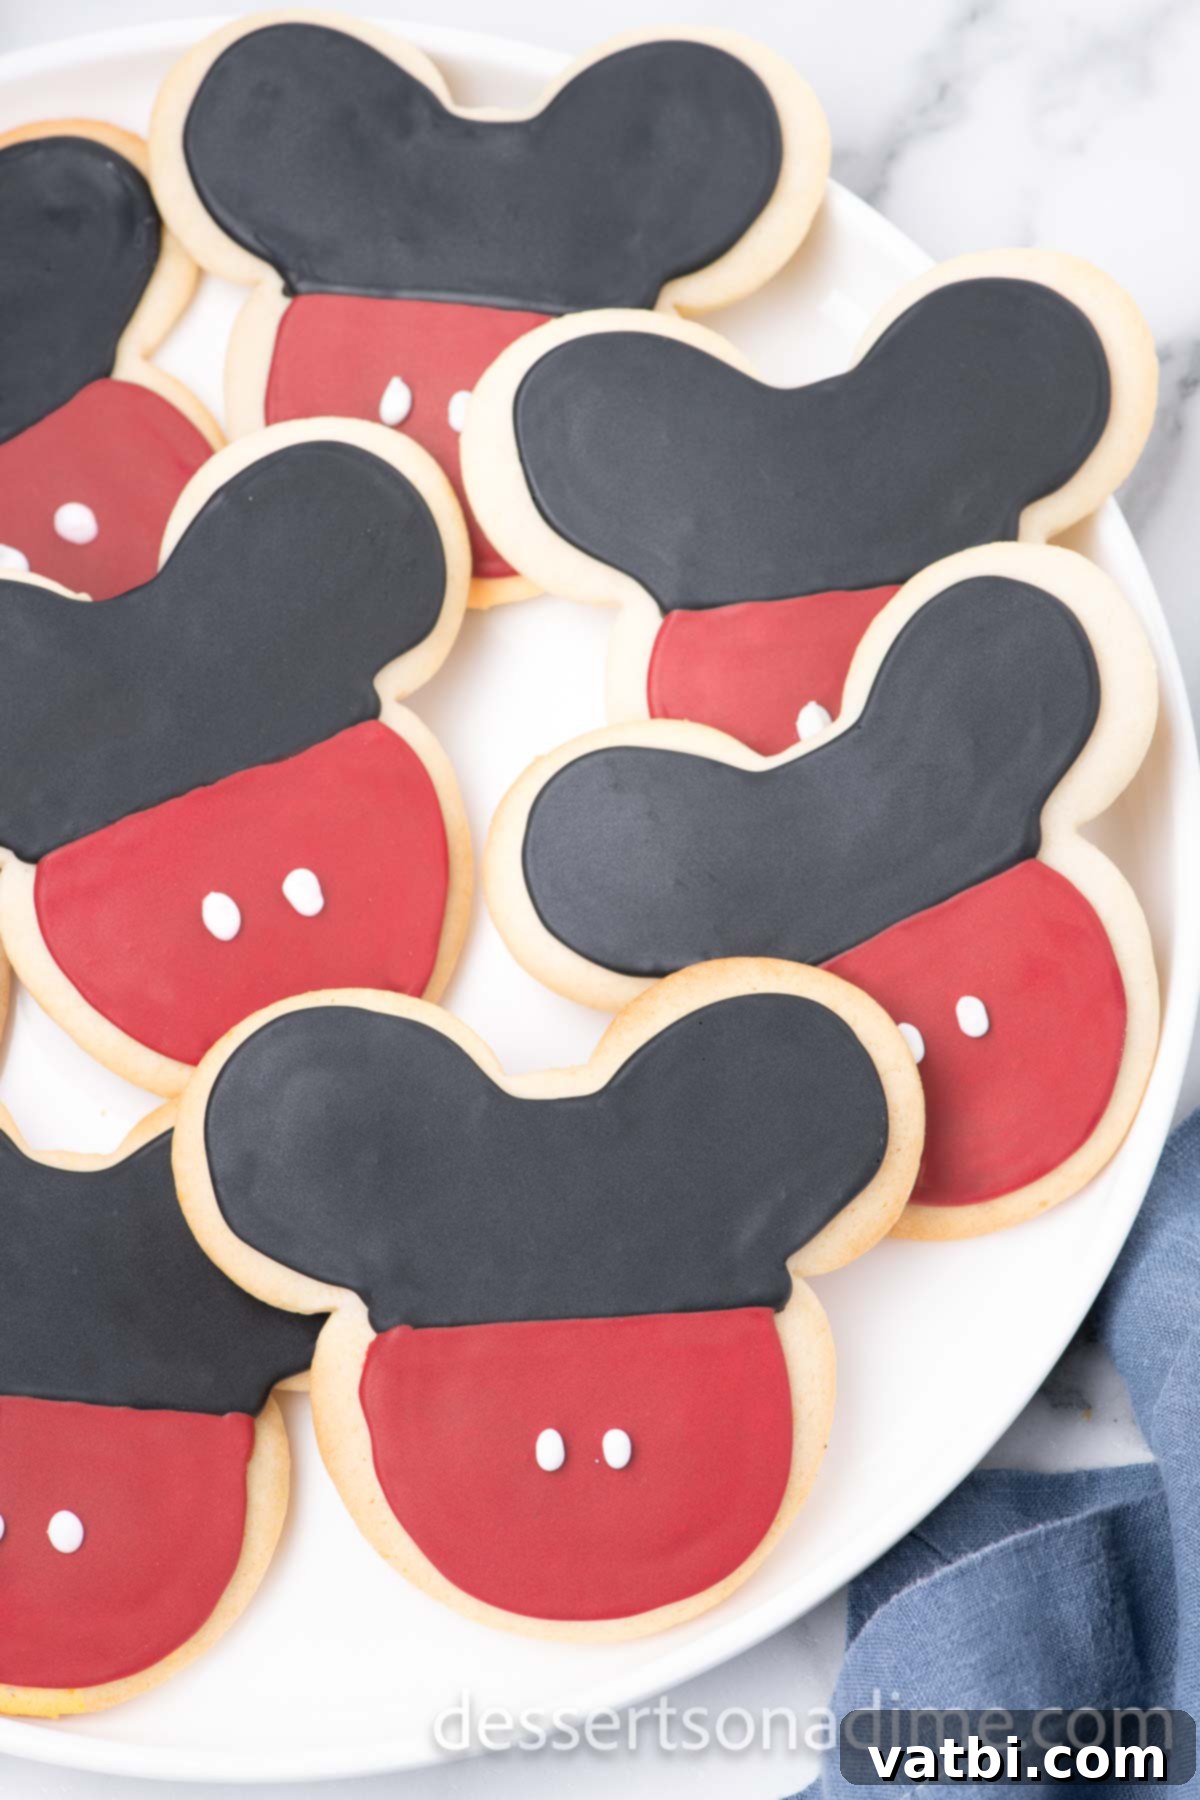
Step 12: Serve and Enjoy! Once all the icing layers have fully set and hardened – which is essential for easy handling and stacking – your adorable Mickey Mouse cookies are ready to be served! Arrange them on a platter for a party, package them as gifts, or simply enjoy them with a glass of milk. These fun Mickey Heads with Mickey’s ears are sure to be a magical hit!
Frequently Asked Questions About Mickey Mouse Cookies
Here are some common questions and helpful answers to ensure your Mickey Mouse cookies turn out perfectly every time:
Once the royal icing has completely hardened (this is very important to prevent smudging), store your decorated Mickey Mouse cookies in an airtight container at room temperature. Layer them with parchment paper between layers to protect the delicate icing.
When stored properly in an airtight container at room temperature, these cookies will maintain their freshness and delicious taste for about a week. The royal icing acts as a protective barrier, keeping them from drying out too quickly.
Absolutely! This is a fantastic time-saving tip. You can make the cookie dough up to 2-3 days in advance. Wrap it tightly in plastic wrap and store it in the refrigerator. When you’re ready to bake, let it sit at room temperature for about 15-20 minutes to soften slightly before rolling it out.
Yes, these cookies freeze beautifully! Once the royal icing is completely dry and hardened, place the cookies in a single layer on a baking sheet and freeze for about an hour until firm. Then, transfer them to an airtight freezer-safe container or bag, layering with parchment paper. They can be frozen for up to 2-3 months. Thaw at room temperature before serving.
Royal icing can be finicky. If your icing is too thick for piping, add water one drop at a time, stirring thoroughly until you reach the desired “15-second consistency.” If it’s too thin, gradually add more sifted powdered sugar until it thickens up. Small adjustments make a big difference, so go slowly!
Expert Tips for Perfect Mickey Mouse Cookies Every Time
Achieving bakery-worthy Mickey Mouse cookies is easier than you think with these expert tips and tricks. Follow these guidelines for baking success and beautifully decorated treats:
- Do Not Cover Cookies Before Icing Sets: This is perhaps the most important tip for decorated cookies! After applying the royal icing, allow the cookies to air dry completely for several hours (2-3 hours minimum, preferably overnight) until the icing is rock hard. Covering them too soon will trap moisture, causing the icing to become sticky, soft, or even develop an unappealing cloudy appearance.
- Do Not Overmix the Dough: When combining the wet and dry ingredients, mix just until the flour streaks disappear. Overmixing develops gluten, which can lead to tough, chewy cookies rather than the desired tender texture.
- Ensure Icing Layers Set Completely: For sharp, distinct designs, make sure each layer of icing is fully dry before adding the next. For instance, the black and red base layers must be completely set before piping on the white buttons. Patience here pays off in a stunning final product.
- Always Line Your Baking Sheet: Use parchment paper or a silicone baking mat to line your baking sheets. This prevents sticking, ensures even baking, and makes for easy cleanup. It also helps the bottom of your cookies bake beautifully without excessive browning.
- Chill the Dough: Don’t skip the chilling step! Chilled dough is much easier to roll out and cut, and it helps prevent your cookies from spreading too much in the oven, ensuring your Mickey shapes stay perfectly defined. Even 15-30 minutes can make a difference.
- Measure Flour Correctly: As mentioned, spoon and level your flour. Too much flour is a common baking mistake that leads to dry, crumbly cookies.
- Room Temperature Ingredients: For butter and eggs, ensure they are at room temperature. This allows them to cream together smoothly, creating a uniform dough that results in a better cookie texture.
- Use Gel Food Coloring: For vibrant, true-to-Disney colors, gel food coloring is superior to liquid. It’s more concentrated, so you need less, and it won’t thin out your royal icing.
- Practice Your Piping: If you’re new to piping, do a quick practice run on a piece of parchment paper before decorating your cookies. Get a feel for the pressure and flow of the icing.
- Cookie Cutter Quality: Invest in a good quality metal Mickey Mouse cookie cutter for clean, crisp edges. Plastic cutters can sometimes be too dull.
More Fun Sugar Cookie & Disney-Inspired Recipes
If you loved making these adorable Mickey Mouse cookies, you’ll be thrilled to explore more of our creative and delicious cookie recipes. Perfect for holidays, special occasions, or just a sweet treat any day!
- Christmas Cut Out Sugar Cookie Recipe: A festive classic perfect for holiday baking and decorating with family.
- Melted Snowman Cookies Recipe: A whimsical and fun cookie that’s surprisingly easy to make and always gets a laugh.
- Unicorn Sugar Cookies: Bring more magic to your kitchen with these enchanting and colorful unicorn-themed treats.
Ready to bring some extra Disney magic to your house? These fun and festive Mickey Mouse cookies are the perfect way to do it. They’re not just a treat; they’re an experience! We can’t wait to hear how much you love them. Be sure to leave a comment once you make them and share your enchanting creations!
Pin
Mickey Mouse Cookies
Ingredients
For the Cookies:
- 2 1/2 cups All Purpose Flour
- 1 tsp baking powder
- 1/2 tsp salt
- 3/4 cup unsalted butter softened
- 1 cup granulated sugar
- 2 Large Eggs
- 1 tsp Vanilla Extract
For the Icing:
- 2 egg whites
- 1 cup powdered sugar
- 1/2 tsp cream of tartar
- Red and Black Gel Food Coloring
Instructions
For the Cookies:
-
Preheat the oven to 350 degrees Fahrenheit.
-
In a medium size mixing bowl, whisk together the flour, baking powder and salt. Then set aside.
-
In a separate bowl, beat together the butter with the sugar until creamy and light and fluffy. Add in the eggs one at a time until combined. Then add in the vanilla extract. Continue mixing.
-
Slowly add the dry mixture to the butter mixture. Mix until just combined. Be careful not to over mix.
-
Divide the cookie dough into 2-3 balls.
-
Roll out each of the dough balls onto a lightly floured surface until the dough is approximately ¼ inch thick. Then use a Mickey Mouse cookie cutter to cut out the cookies. Continue this process until all the dough is formed into the cookies.
-
Line the cookie sheet with parchment paper. Using a metal spatula move the cut cookies to the parchment lined cookie sheet.
-
Bake for 7-8 minutes until the cookies are lightly browned around the edges (just a slight change of color).
-
Let the cookies cool on the pan for 5 minutes and then carefully move the cookies to a wire rack to cool completely. (About 10 minutes).
For the Icing:
-
Combine all ingredients in a mixing bowl mixing on medium speed for 4 minutes. (except your food coloring). If icing is not stiff enough add ¼ cup powder sugar until the icing is to a 15 second consistency. Which means that when you slice a spatula across the top of the icing, it would take 15 seconds to disappear.
-
Separate the icing into 3 small bowls. Mix one bowl of the icing with the red, a different bowl with the black gel food coloring and leave the last bowl white.
-
Place the red and black icing in piping bags and pipe the icing on the cookies. Pipe the ears black and pipe the bottom of the cookies red to look like Mickey Mouse’s shirt.
-
Let this icing cool completely (2-3 hours). Then place the white icing in a decorated bag fitted with a small round tip and use it to pipe 2 white buttons of the red portion of each cookie.
-
Allow the icing to cool completely (2-3 hours). Do not cover the cookies while the icing is cooling.
-
After the icing has cooled completely, store at room temperature in an airtight container for up to 5-7 days.
Recipe Notes
Nutrition Facts
Pin This Now to Remember It Later
Pin Recipe
