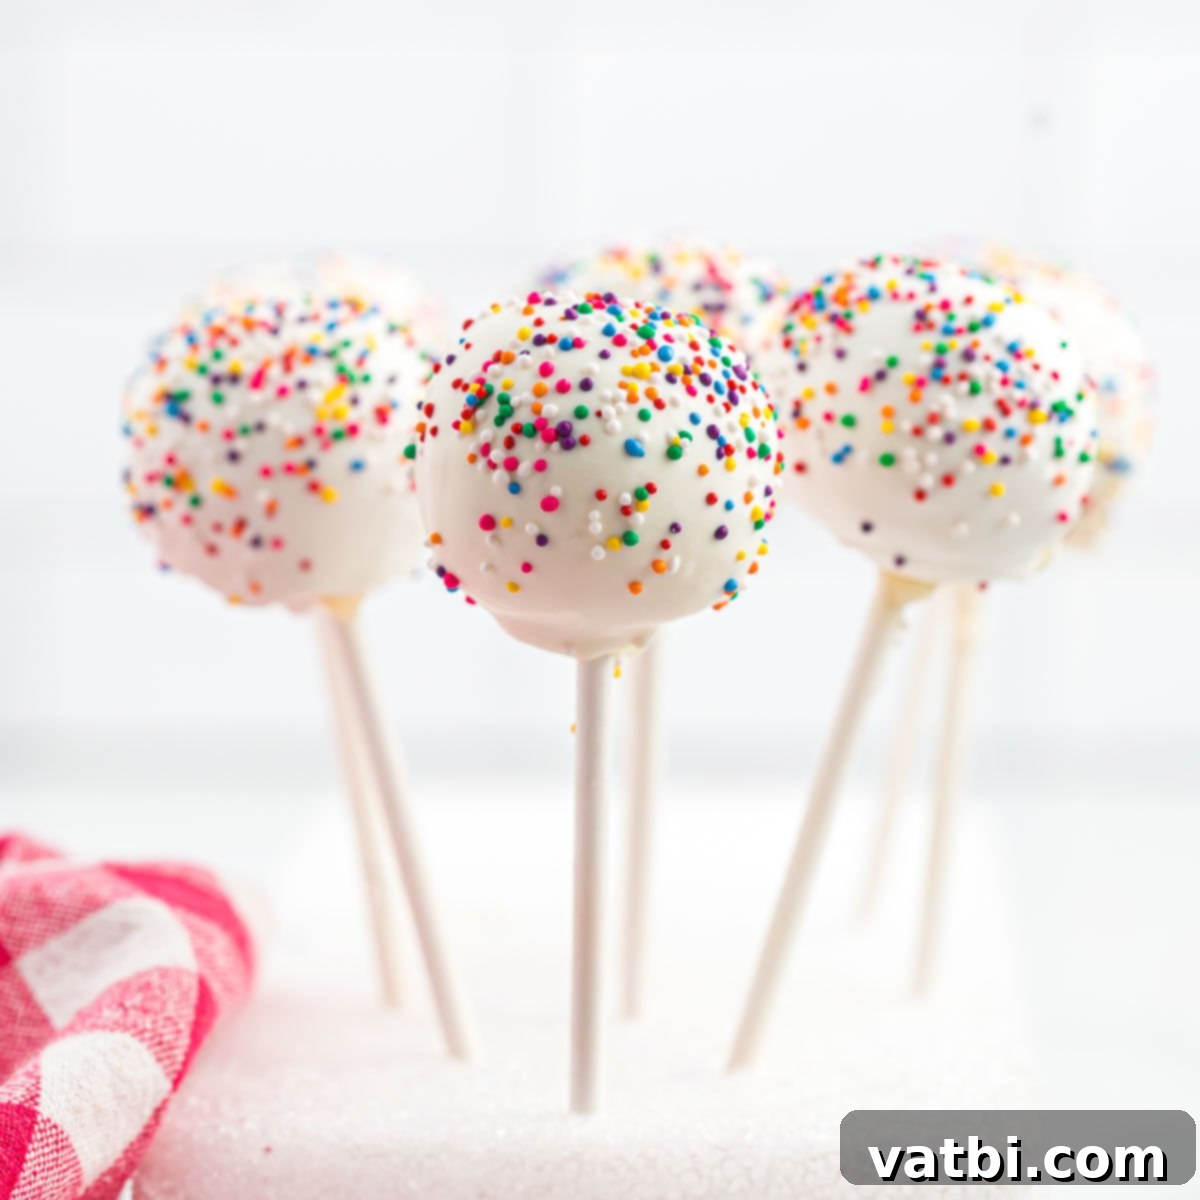
The Best Homemade Cake Pop Recipe: Simple Steps for Perfect Party Treats
Delight your guests and unleash your inner baker with this incredibly easy and utterly delicious Cake Pop Recipe! Whether you’re planning a birthday bash, celebrating a holiday, or simply looking for a fun dessert to brighten any special occasion, these bite-sized treats are guaranteed to be a hit. This guide will walk you through transforming a simple cake mix into an array of adorable and customizable party favors that taste as good as they look. Get ready to impress without the stress!
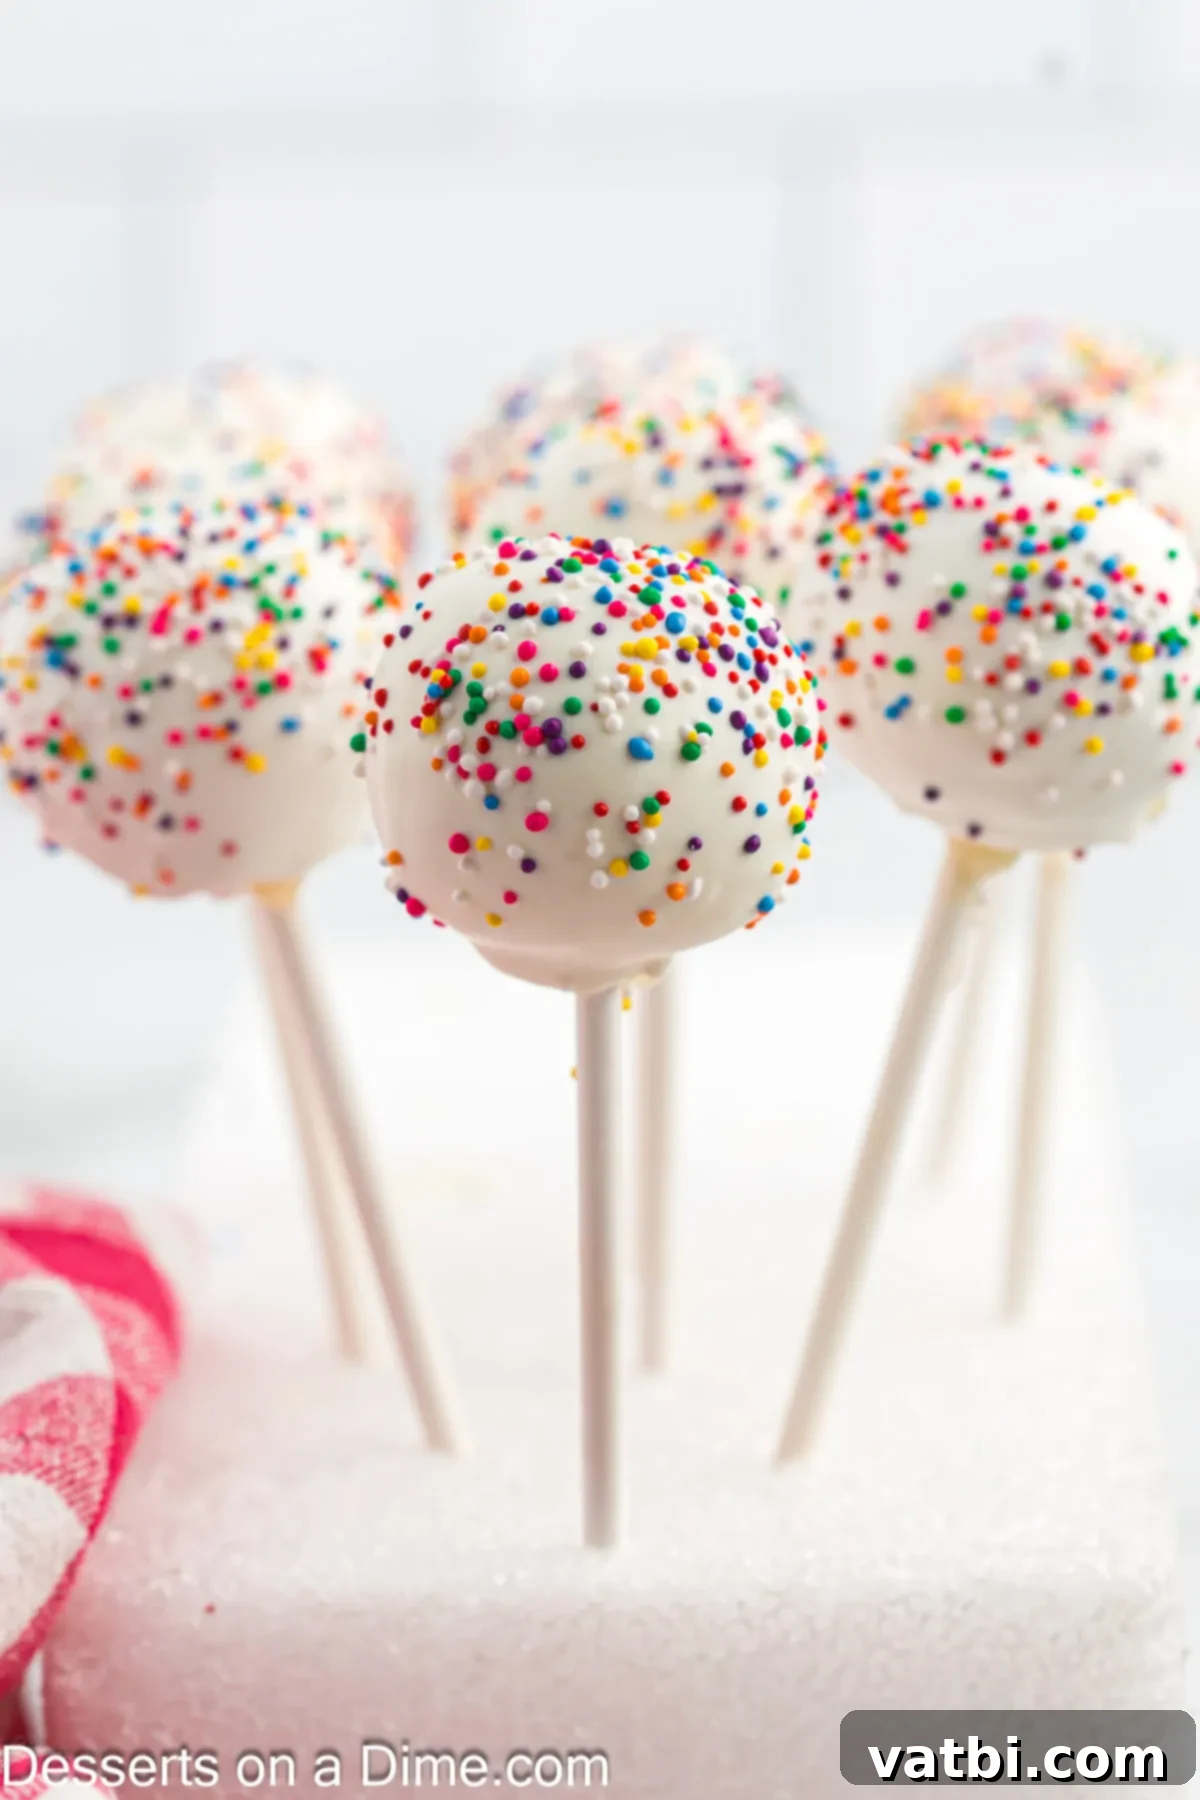
Making homemade cake pops is a rewarding experience that offers both creativity and significant savings compared to bakery prices. You’ll learn how to create these charming desserts with straightforward instructions, making it a fantastic cake recipe for bakers of all skill levels. Beyond classic cake pops, you can also explore other delightful variations like Brownie Cake Pops, Oreo Cake Pops, and Cookie Dough Cake Pops – perfect for adding a unique twist to any celebration. Kids absolutely adore these whimsical treats, making them an ideal project for family fun in the kitchen!
What’s in this post: Cake Pop Recipe
- Why you will love this recipe
- Ingredients for the Best Cake Pops
- Variations and Substitutions
- Step by Step Instructions
- Pro Tips for Perfect Cake Pops
- Frequently Asked Questions
- More Easy Cake Pop Recipes to try
- Cake Pop Recipe
Why You Will Love This Easy Cake Pop Recipe
This cake pop recipe isn’t just about making a delicious dessert; it’s about simplifying the process while maximizing fun and flavor. Here’s why you’ll want to make these homemade cake pops time and time again:
- It starts with a cake mix. Using a store-bought cake mix is the ultimate hack for saving time and ensuring consistent, delicious results every single time. This means less measuring, less stress, and more time for the fun part: decorating! Even beginner bakers can achieve bakery-quality cake pops with this convenient shortcut. It takes very little time, making it perfect for busy schedules or impromptu celebrations.
- Budget-friendly. Forget expensive bakery prices! Crafting an entire batch of homemade cake pops costs a mere fraction of what you’d pay for pre-made treats. This recipe uses simple, accessible ingredients that won’t break the bank, allowing you to create a large quantity of delightful desserts for parties, bake sales, or gifts without overspending. It’s an economical way to serve a crowd-pleasing dessert.
- Kid-friendly and always a hit. Cake pops are inherently fun and appealing to all ages. Their whimsical, bite-sized nature makes them a favorite at any gathering. Kids especially love the vibrant colors and playful designs. Plus, the process of rolling the cake balls and decorating offers a fantastic opportunity to involve little helpers in the kitchen, making it a memorable activity for the whole family. They truly are a popular dessert that tastes great and brings smiles!
Ingredients for the Best Cake Pops
Gathering your ingredients is the first step to creating these delightful cake pops. This recipe utilizes common baking staples and a few special items to achieve that perfect cake pop texture and appearance. The full list with precise measurements can be found in the recipe card at the bottom of this post, but here’s a quick overview of what you’ll need:
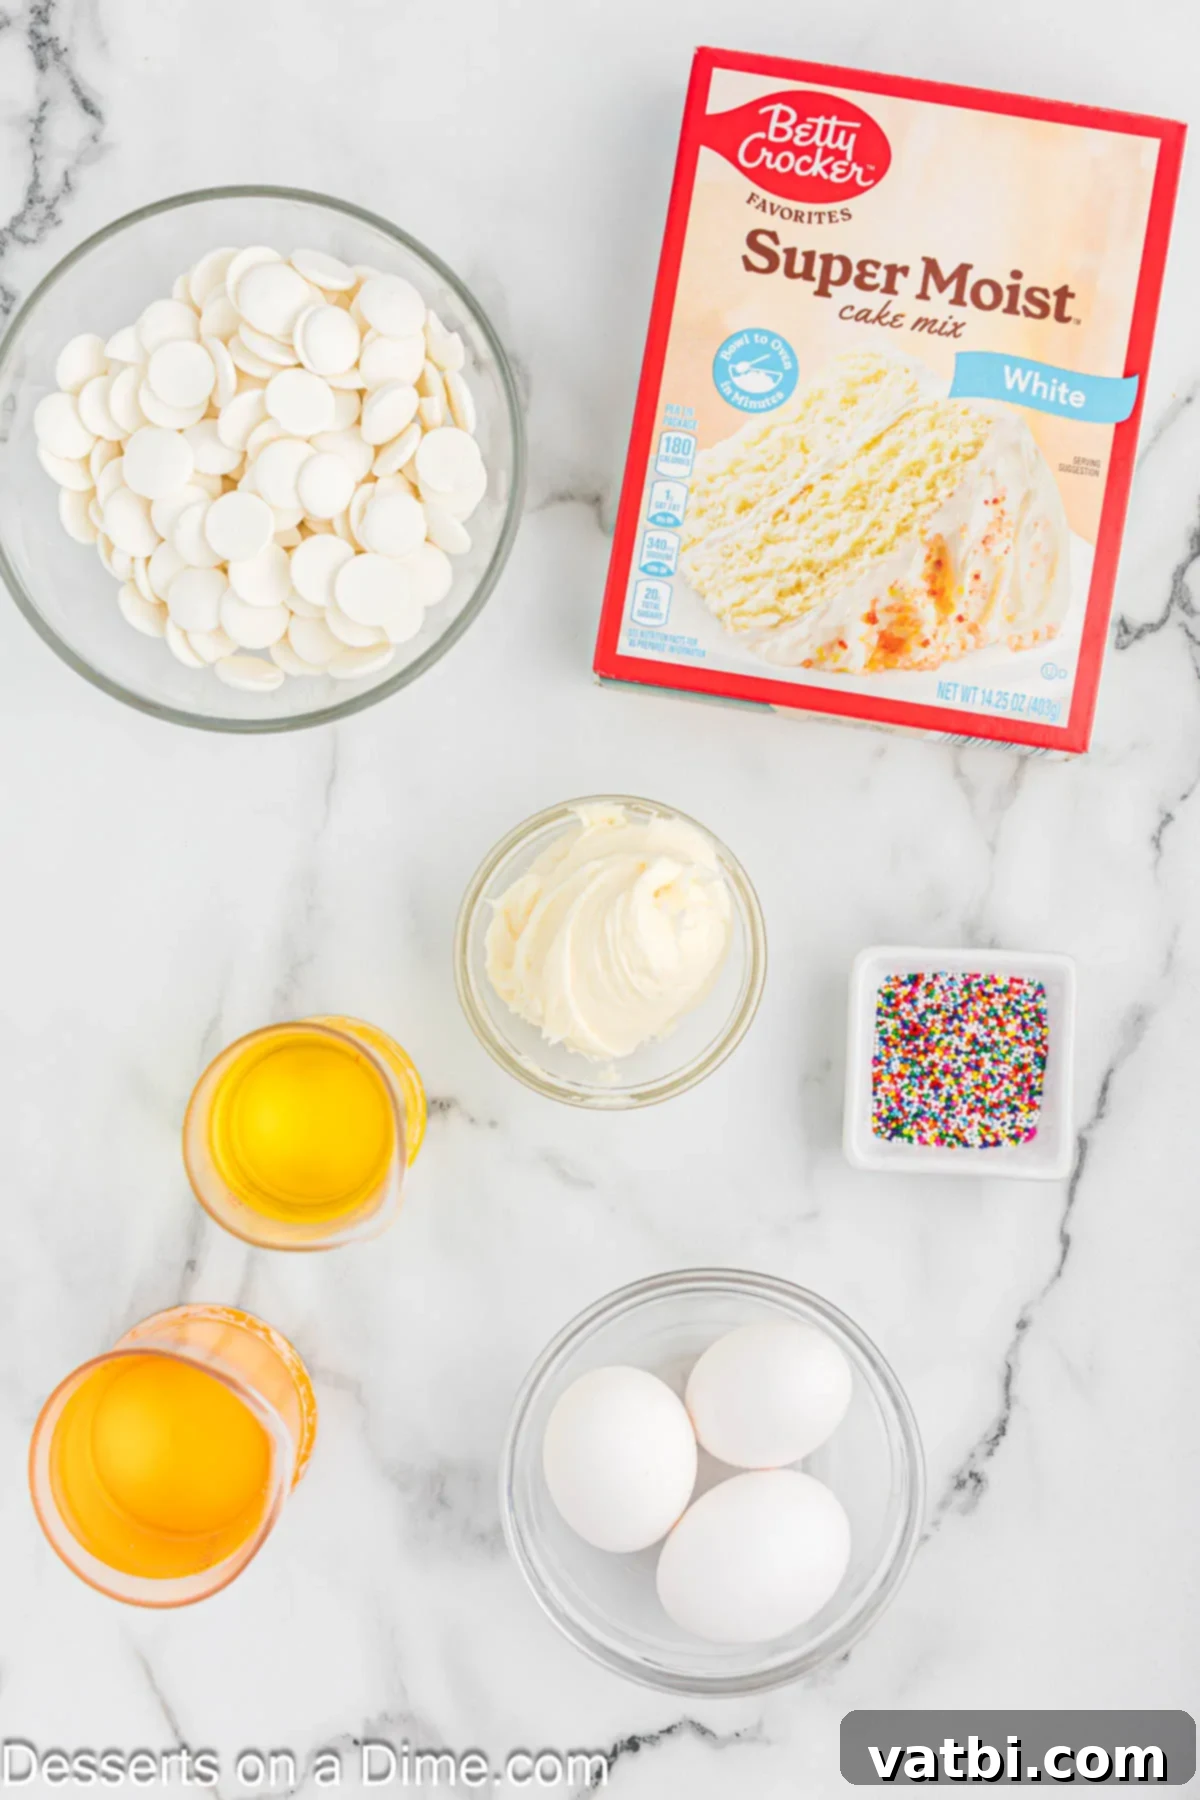
- Classic White Cake Mix: This is our secret weapon for speed and simplicity. You’ll need one box to form the base of your cake pops.
- Vegetable Oil & Large Eggs: These are typically required to prepare the cake mix according to package directions, contributing to a moist and tender cake.
- Vanilla Frosting: Whether you opt for convenient store-bought frosting or prefer to whip up a batch of homemade vanilla frosting, this ingredient is crucial for binding the crumbled cake into a pliable mixture. It adds richness and moisture.
- Lollipop Sticks: These are essential for transforming your cake balls into the iconic “pops.”
- Candy Melts: The colorful coating for your cake pops! Candy melts are specifically designed for easy melting and a smooth finish, available in a rainbow of colors to match any theme.
- Multi-Colored Sprinkles: The final touch of festive charm! Choose your favorite variety to make your cake pops truly pop.
Scroll to the bottom of the post for the complete ingredient list and detailed instructions, including exact quantities.
Creative Variations and Smart Substitutions
One of the best things about this cake pop recipe is its versatility! You can easily customize it to suit your taste, theme, or what you have on hand. Here are some fantastic ideas to get you started:
- White Chocolate: While candy melts are fantastic for vibrant colors and easy handling, you can absolutely substitute them with high-quality white chocolate or almond bark for a rich, classic flavor. If using white chocolate, you might need to add a small amount of coconut oil or shortening to achieve a smoother dipping consistency.
- Cream Cheese Frosting: Don’t limit yourself to vanilla! Experiment with other frosting varieties for different flavor profiles. Homemade cream cheese frosting adds a delightful tangy richness that pairs wonderfully with many cake flavors, especially red velvet or carrot cake. Chocolate frosting, lemon frosting, or even a simple buttercream can also be used.
- Cake flavors: The possibilities are endless! Beyond the classic white cake, let your imagination run wild. Strawberry cake mix makes beautiful pink cake pops, vanilla cake is a versatile base, red velvet cake adds a rich color and flavor, and lemon cake offers a bright, zesty twist. Don’t forget Chocolate Cake Pops, which are always a crowd-pleaser and a great base for various decorations. You can even try funfetti for an extra festive touch!
- Sprinkles. The decoration is where you can truly personalize your cake pops for any occasion. Change the type and color of sprinkles to match holidays (e.g., red and green for Christmas, pastels for Easter), team colors, or party themes. Consider using edible glitter, crushed nuts, shredded coconut, or even a contrasting drizzle of melted candy for an extra layer of flair.
Step by Step Instructions for Irresistible Cake Pops
Creating these delightful cake pops is a fun and straightforward process. Follow these detailed steps to ensure perfectly formed and beautifully decorated treats every time:
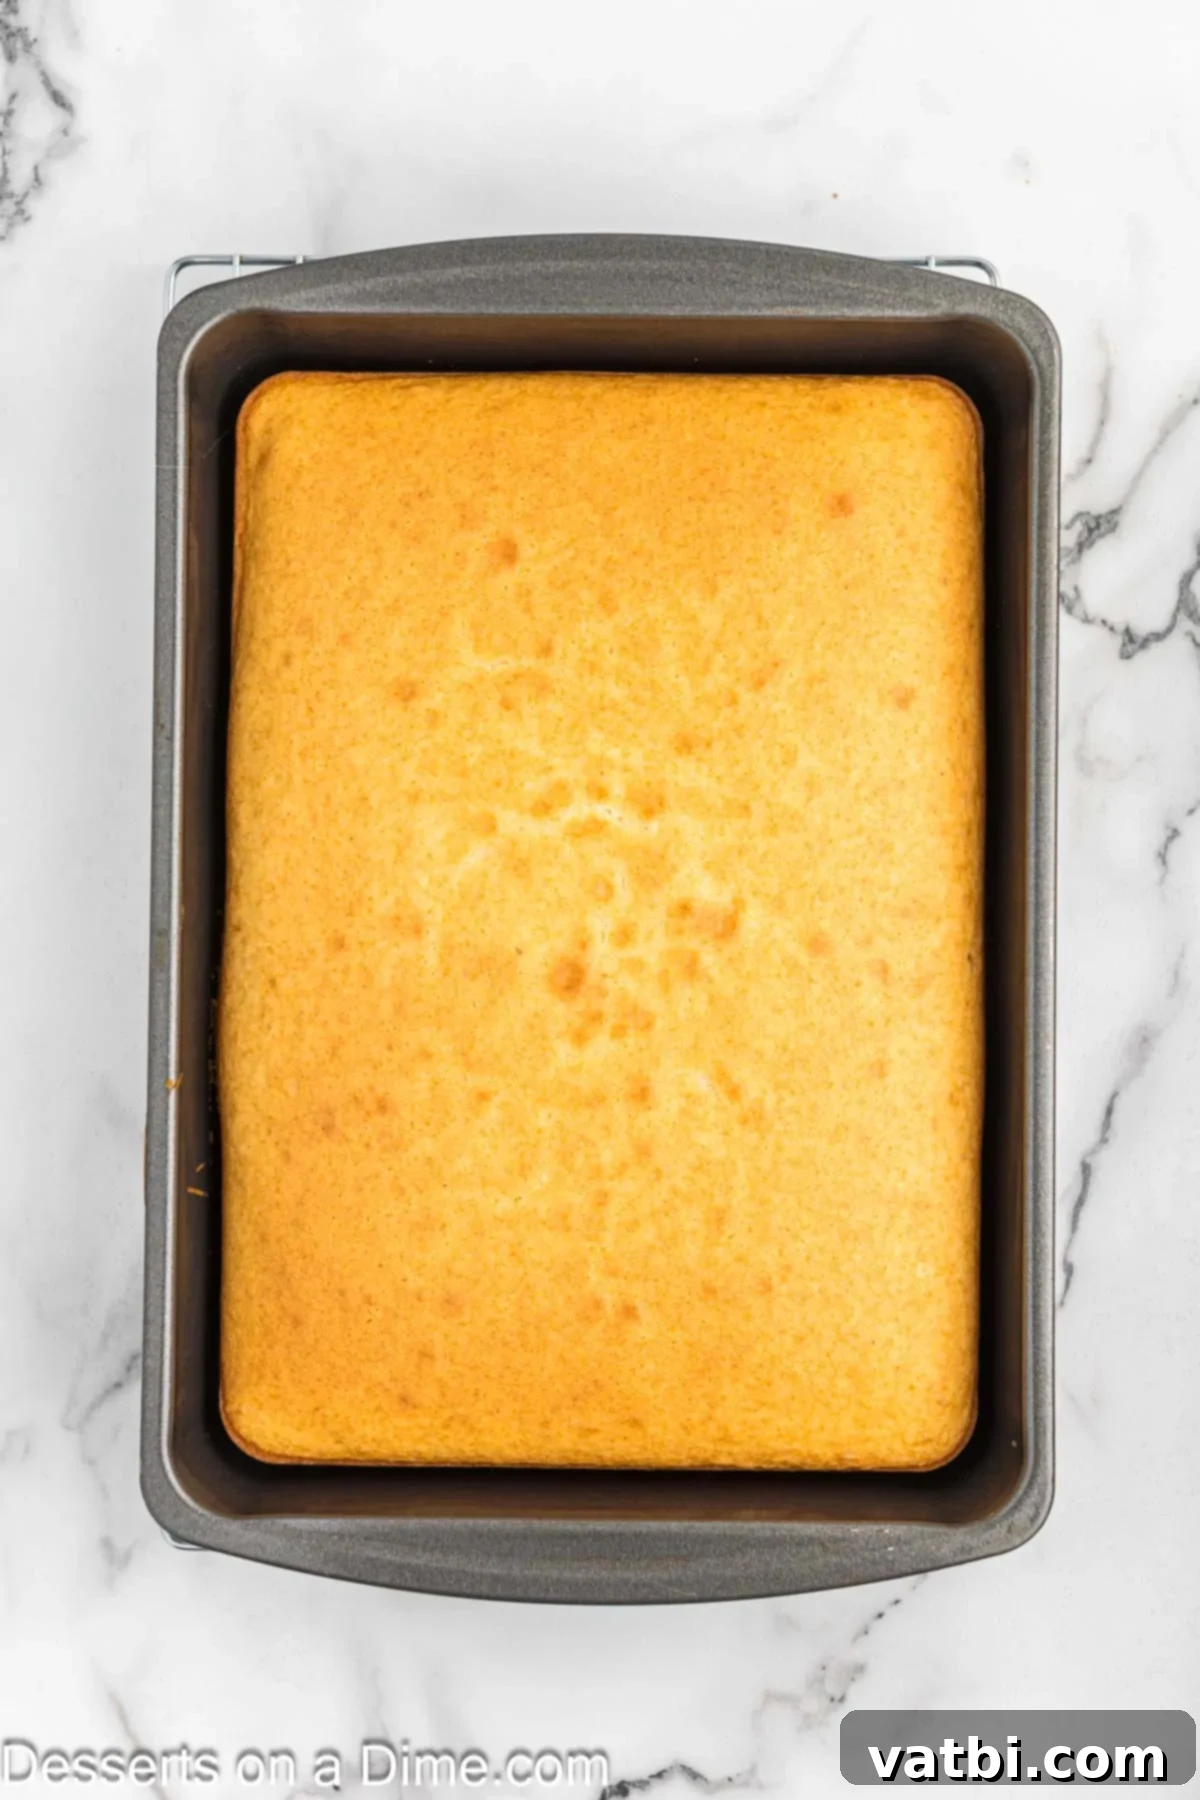
Step 1: Bake the Cake. Start by preparing your boxed cake mix according to the package instructions, using the specified amounts of water, vegetable oil, and eggs. Pour the batter into a greased 9×13 inch baking pan and bake until a toothpick inserted into the center comes out clean. Once baked, allow the cake to cool completely to room temperature. This is a crucial step; attempting to crumble a warm cake will result in a messy, sticky texture, rather than the fine crumbs needed for cake pops.
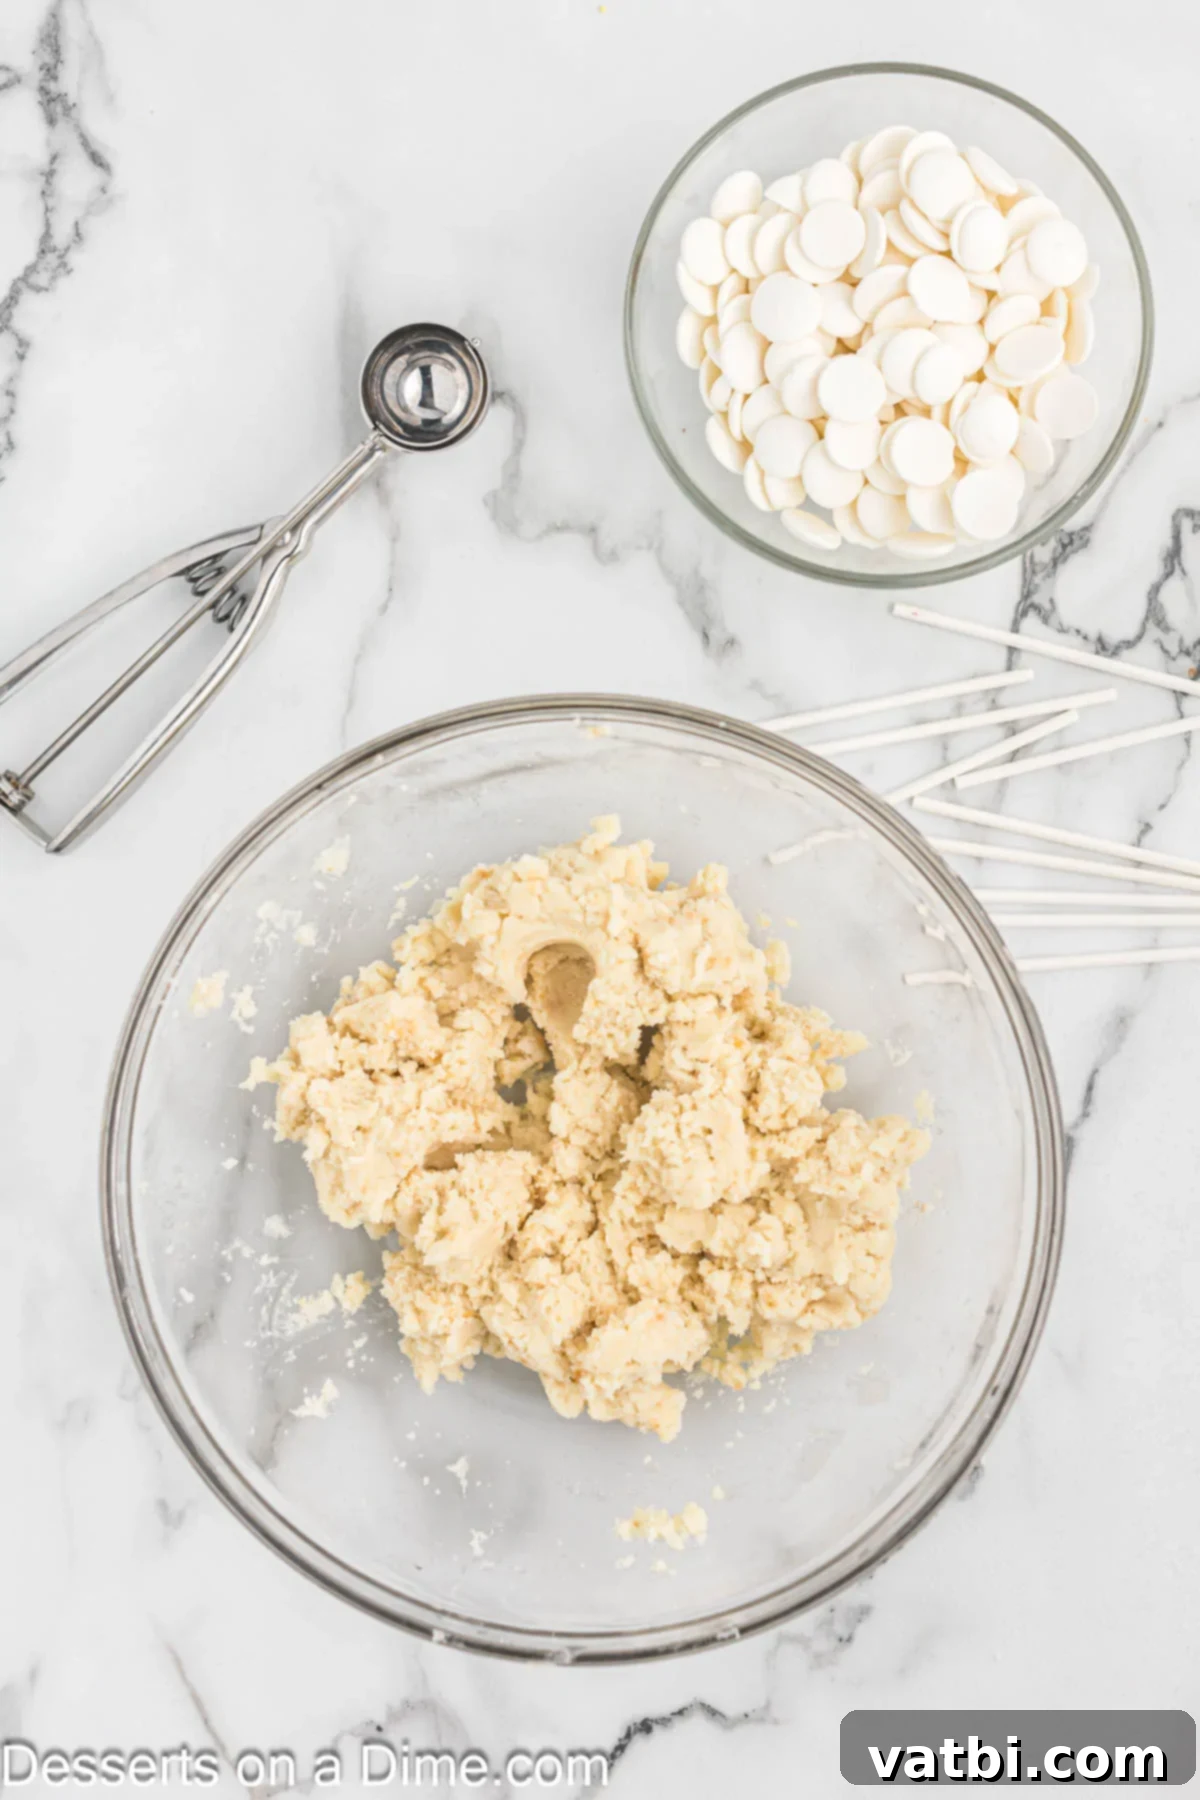
Step 2: Crumble and Combine. Once the cake is fully cooled, remove it from the pan. Carefully crumble the entire cake into a large mixing bowl. For the best results and a uniform appearance, make sure to remove all of the slightly browned outside layers of the cake as you crumble it; these can sometimes be drier or have a different texture. Once crumbled, add the vanilla frosting. Stir and mix thoroughly until the cake crumbs and frosting are well combined and form a thick, dough-like consistency that can be easily rolled. This mixture is what gives cake pops their signature dense and moist texture.
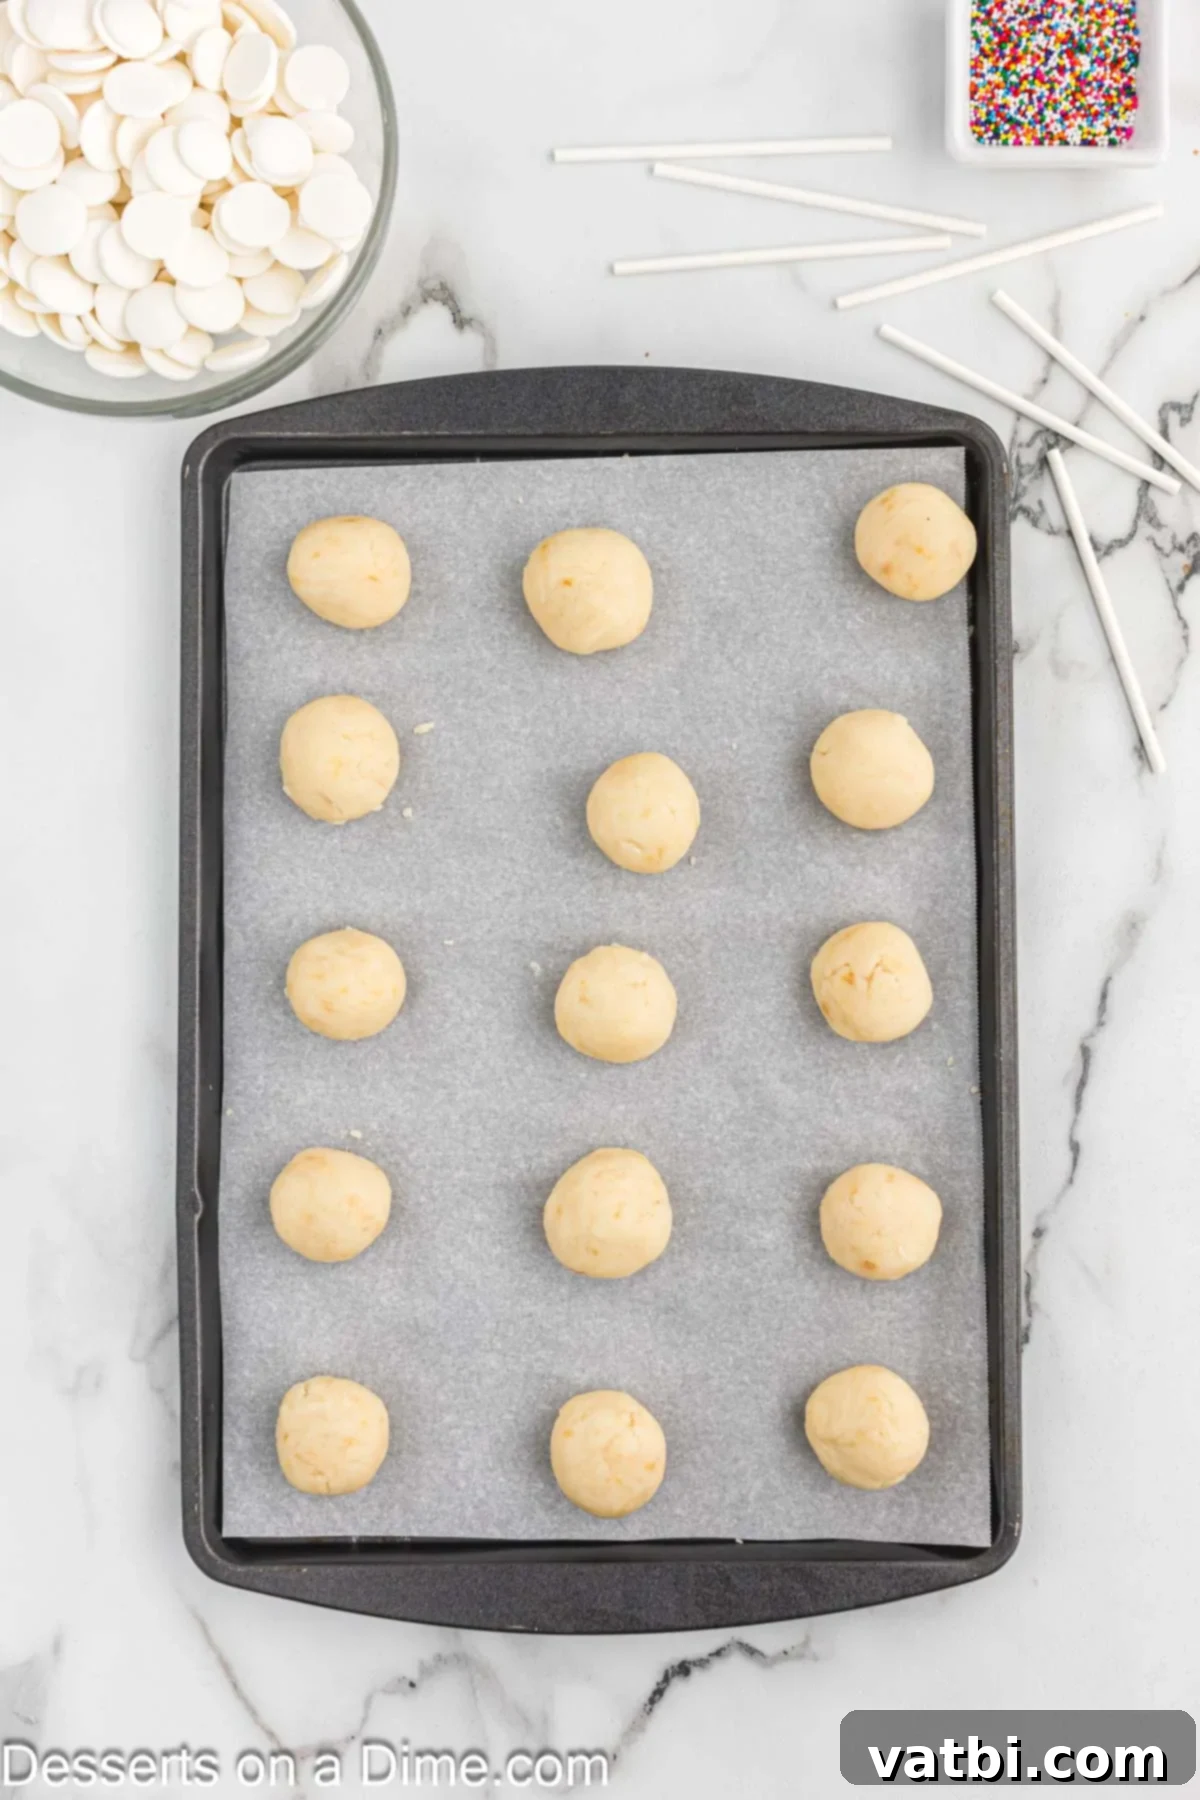
Step 3: Form Cake Balls. Now for the fun part! Take portions of the cake mixture and roll them into smooth, compact balls. To ensure that each cake pop is approximately the same size, I highly recommend using a cookie scoop (about 1.5 tablespoons) for consistent portions. Place the formed cake balls onto a baking sheet lined with parchment paper or wax paper. This prevents sticking and makes them easy to handle in the next steps.
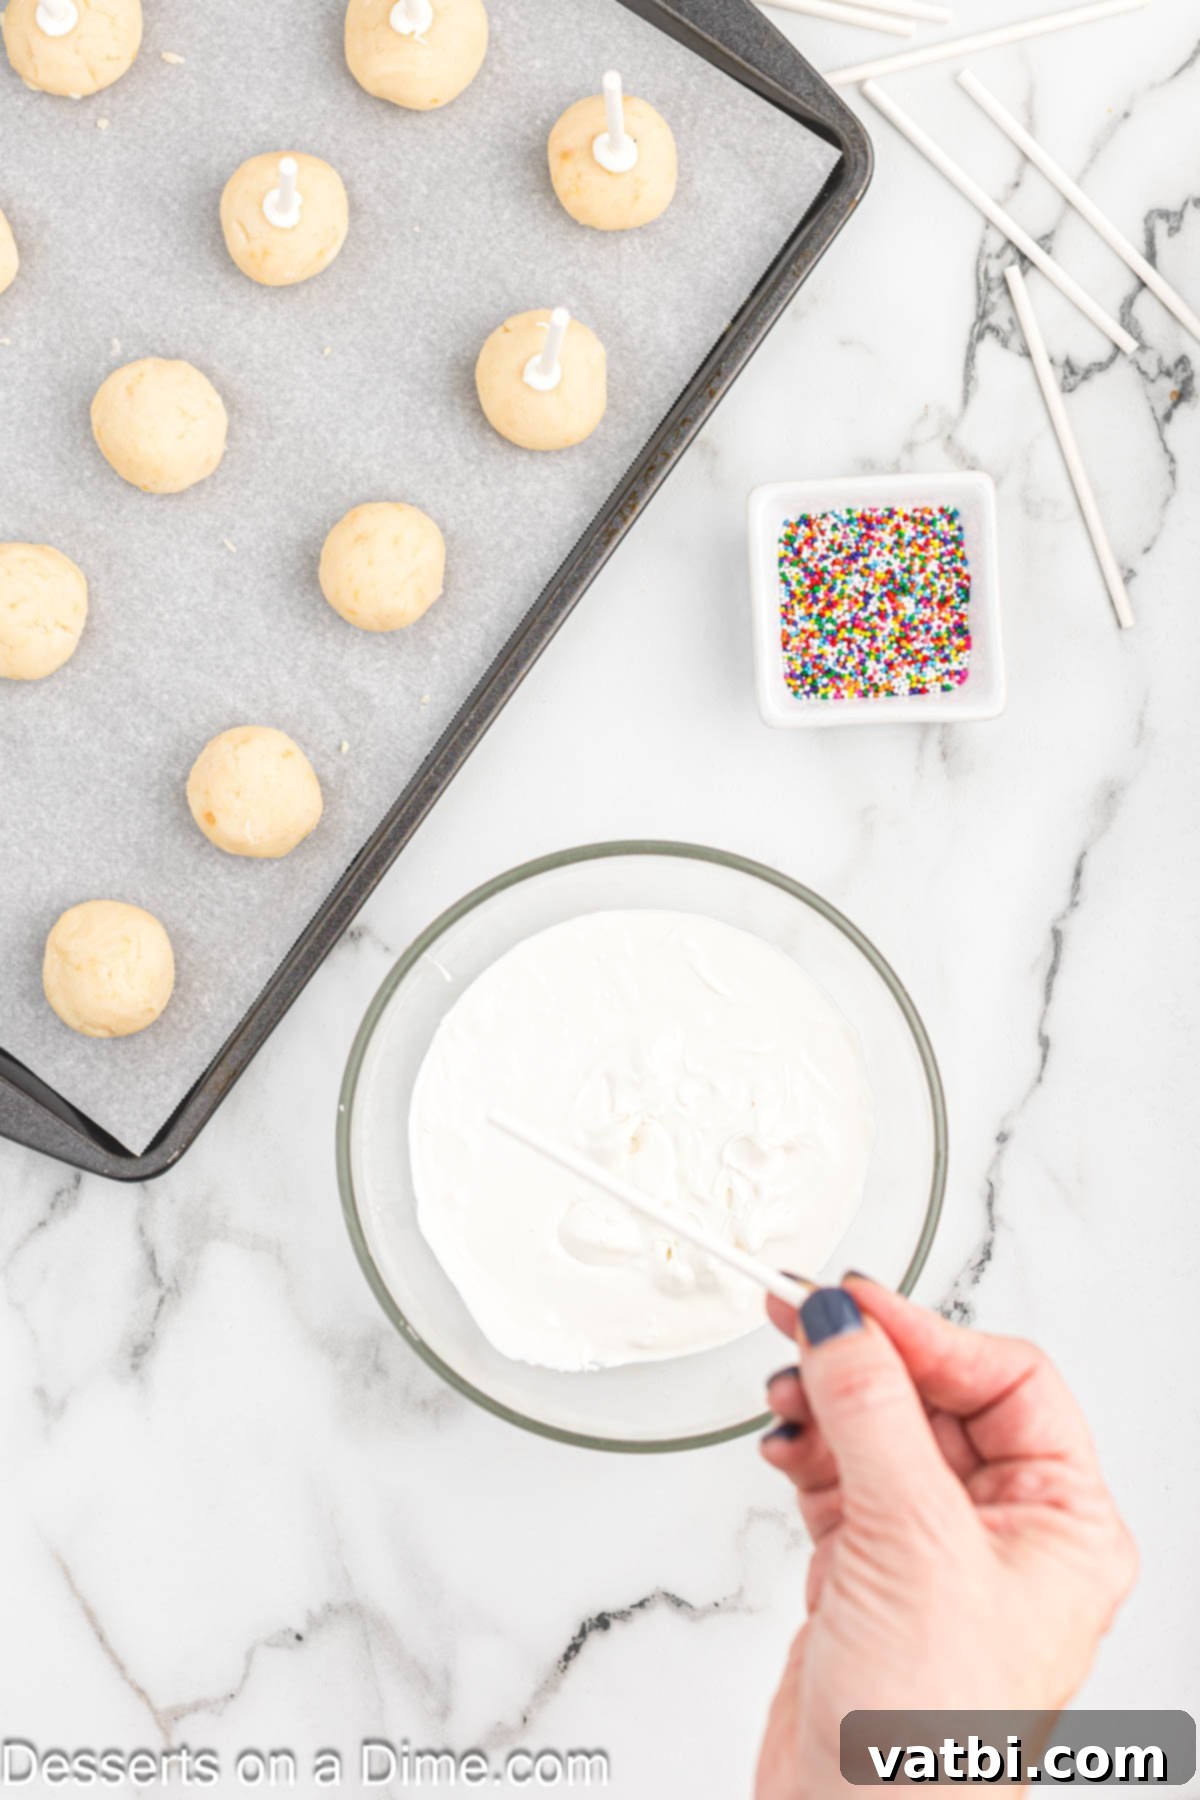
Step 4: Prepare and Insert Sticks. In a small, microwave-safe bowl, microwave the candy melts in 30-second increments, stirring well after each interval, until completely smooth and melted. This method helps prevent scorching. Take a lollipop stick, dip one end into the melted candy (about half an inch deep), and then insert the candy-coated end into the center of a cake ball, going about halfway through. The melted candy acts as a “glue” to secure the stick firmly to the cake ball.
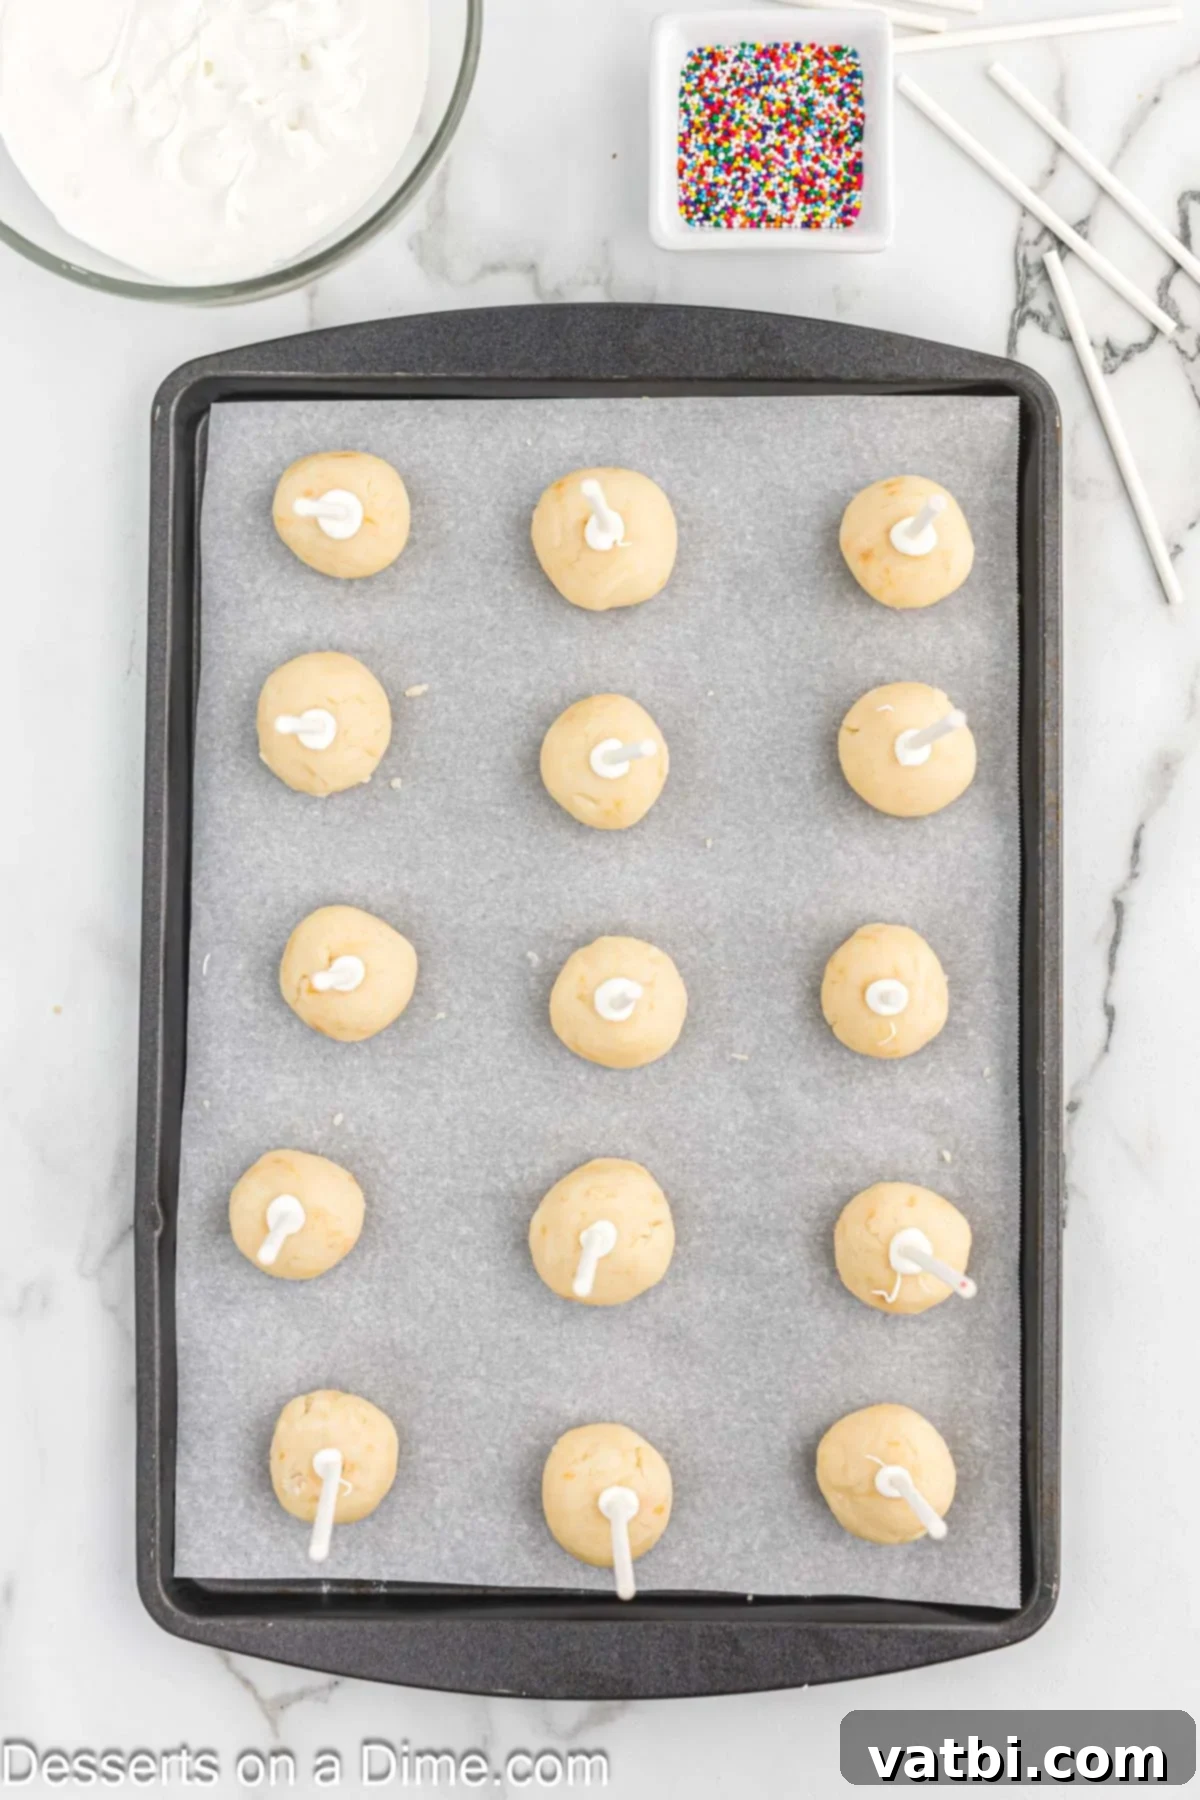
Step 5: Chill the Cake Pops. Arrange the cake balls with their inserted sticks on a lined baking sheet. Place the entire tray into the freezer for 10 to 15 minutes. This chilling step is vital as it firms up the cake balls, making them easier to dip and preventing them from falling apart or cracking when they come into contact with the warm candy coating.
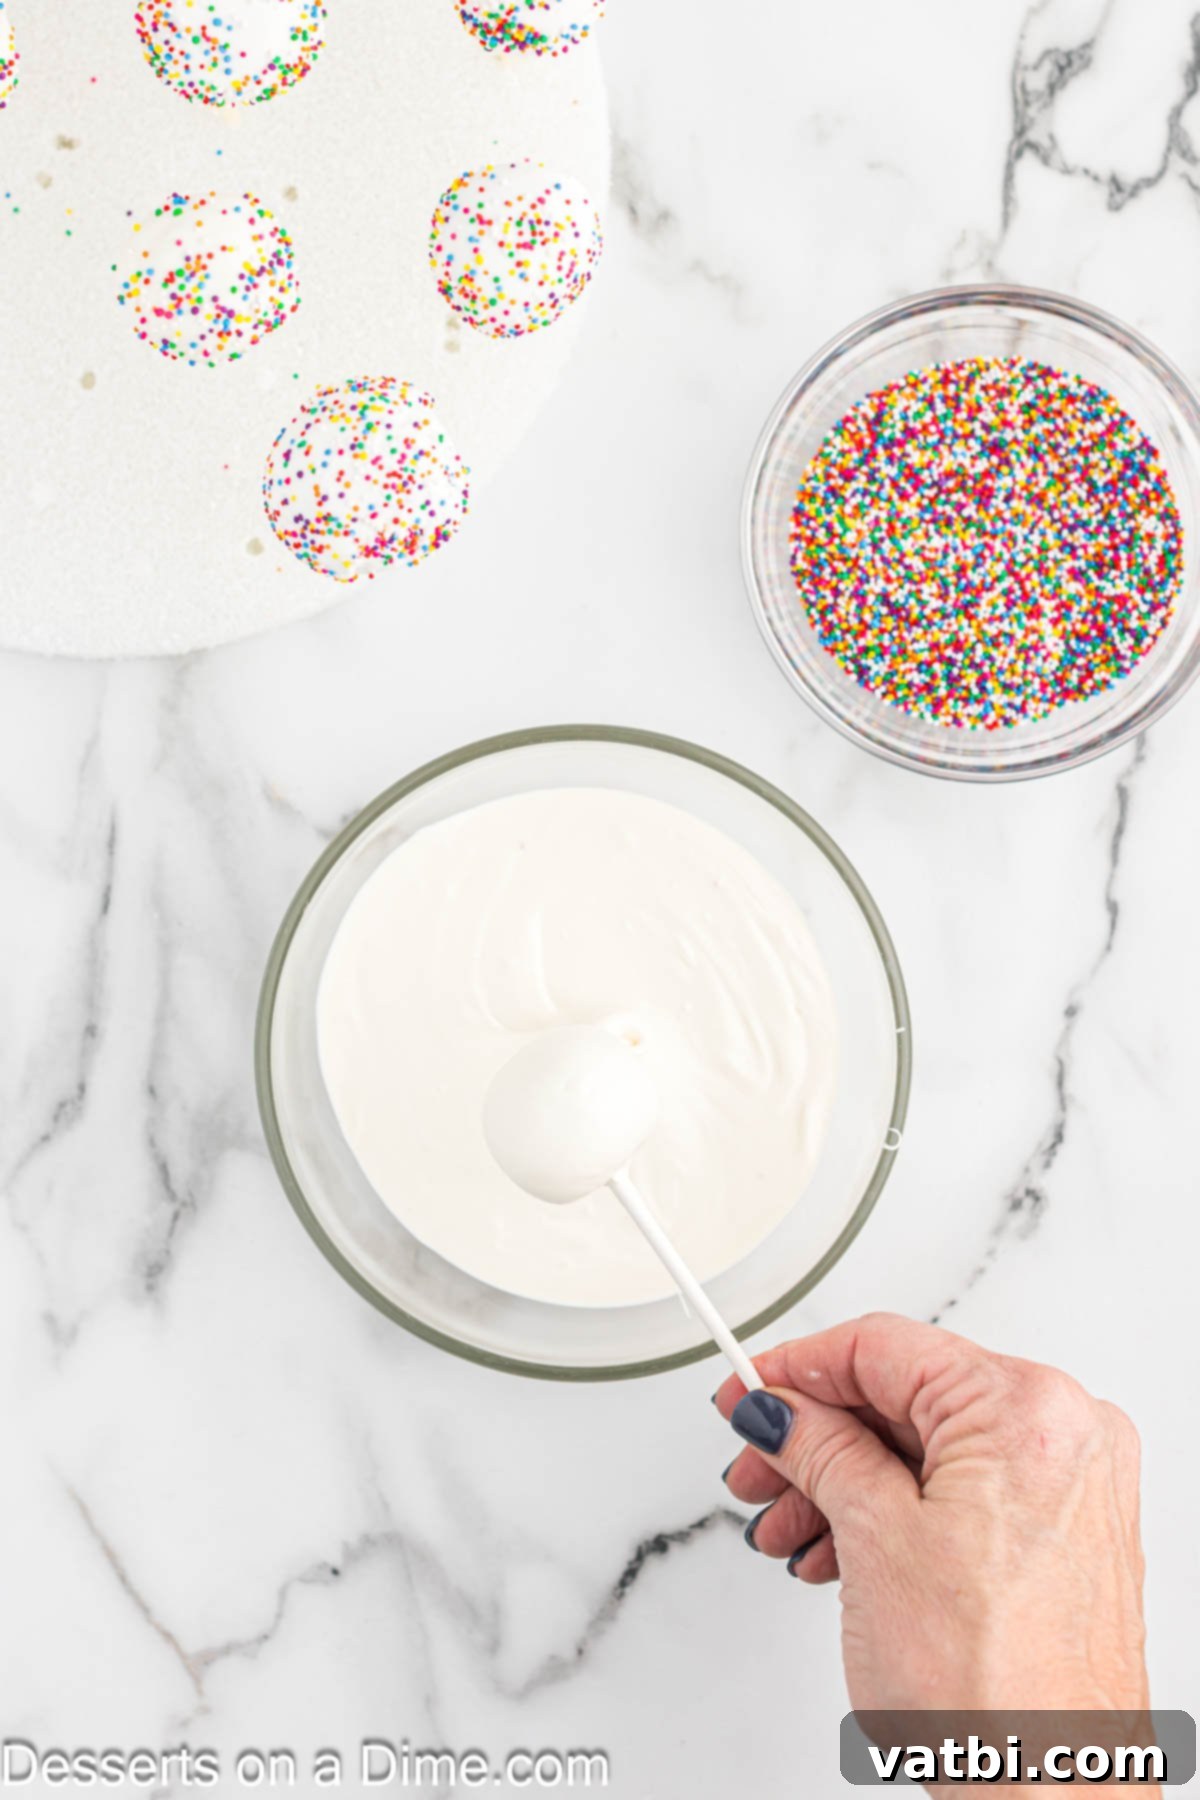
Step 6: Dip the Cake Pops. Remove the chilled cake pops from the freezer. If your candy melts have solidified, re-microwave them in 15-second intervals, stirring until smooth again. Dip each cake pop into the melted candy melts, ensuring the candy completely covers the cake pop. Gently tap the stick against the edge of the bowl to allow any excess chocolate to drip back into the bowl. This helps achieve a smooth, even coating without thick drips.
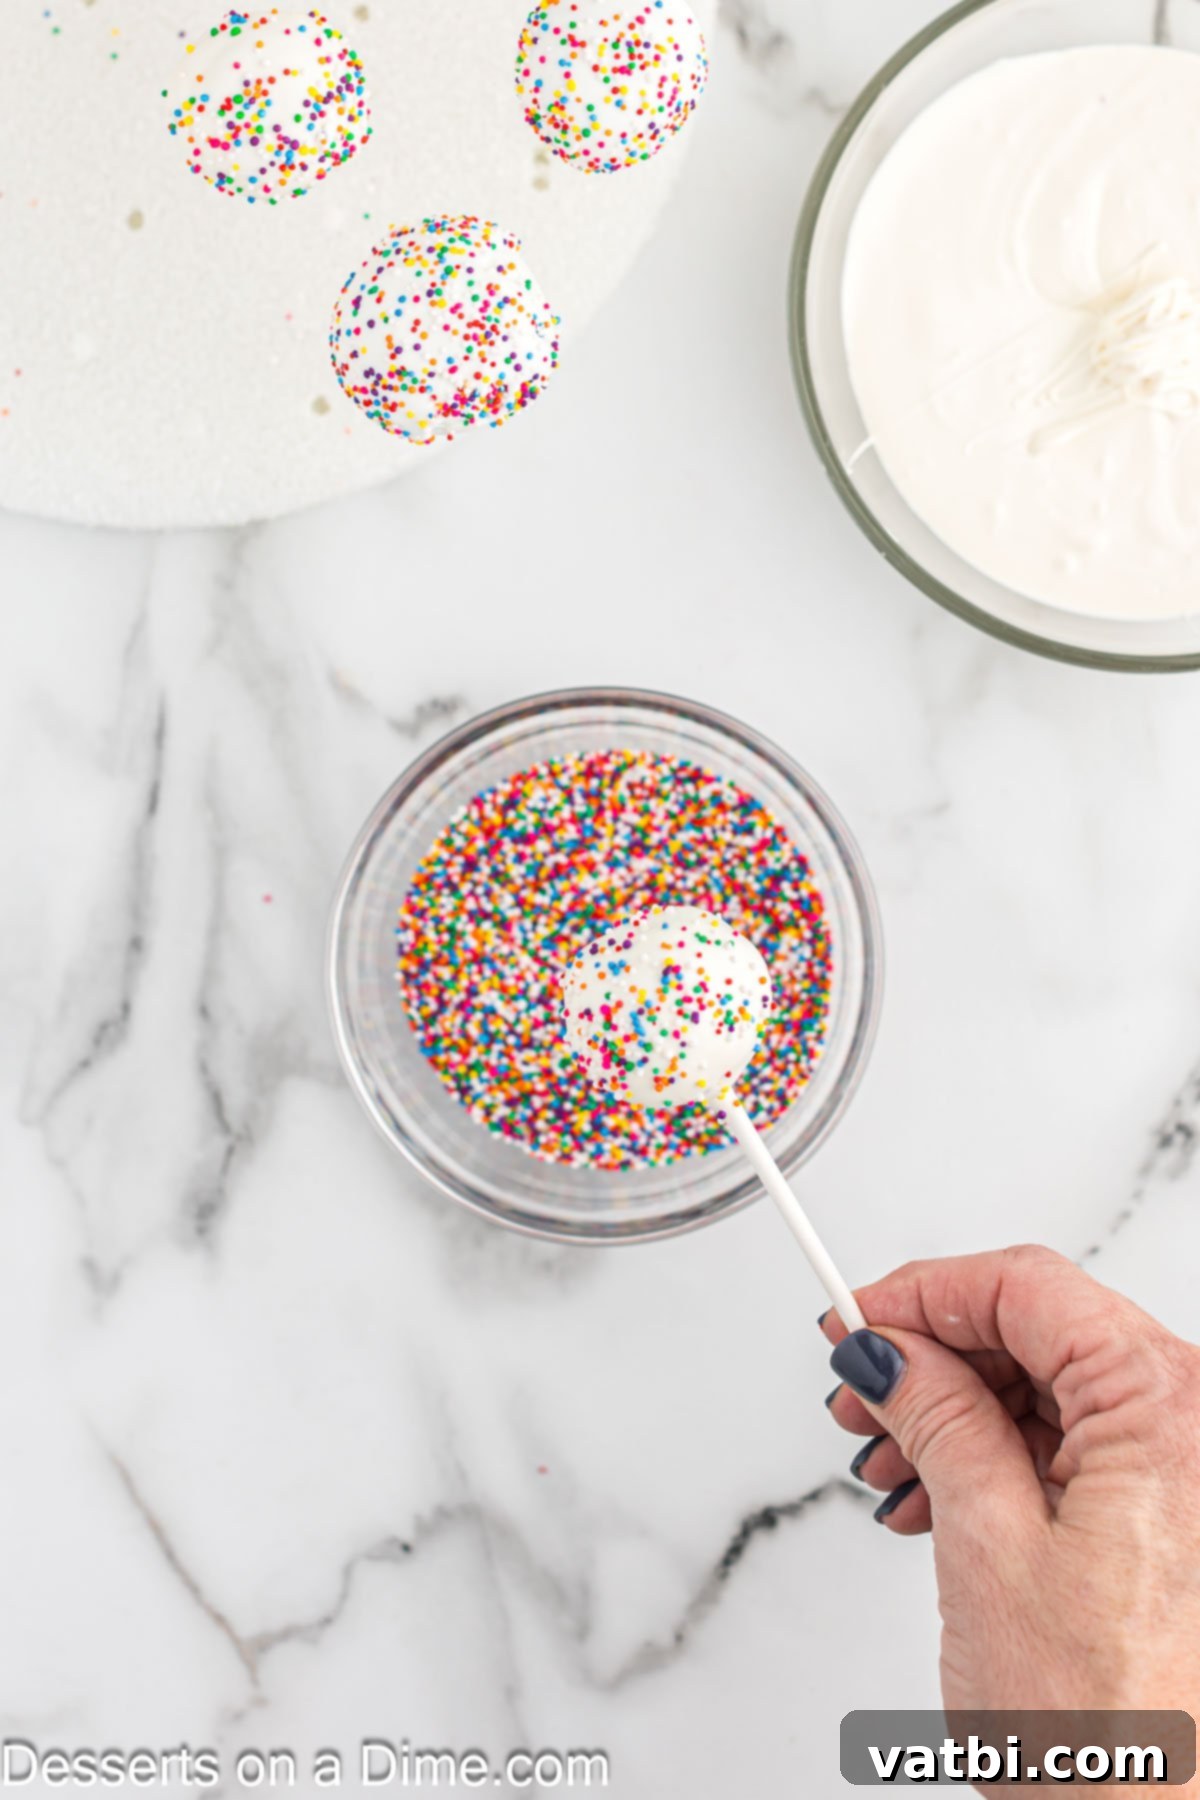
Step 7: Add Sprinkles (Immediately!). This step requires quick action! As soon as you finish dipping a cake pop, and while the candy coating is still wet, generously add your multi-colored sprinkles or other chosen decorations. If you wait too long, the candy will dry and the sprinkles won’t adhere. You can hold the cake pop over a plate to catch any fallen sprinkles for re-use.
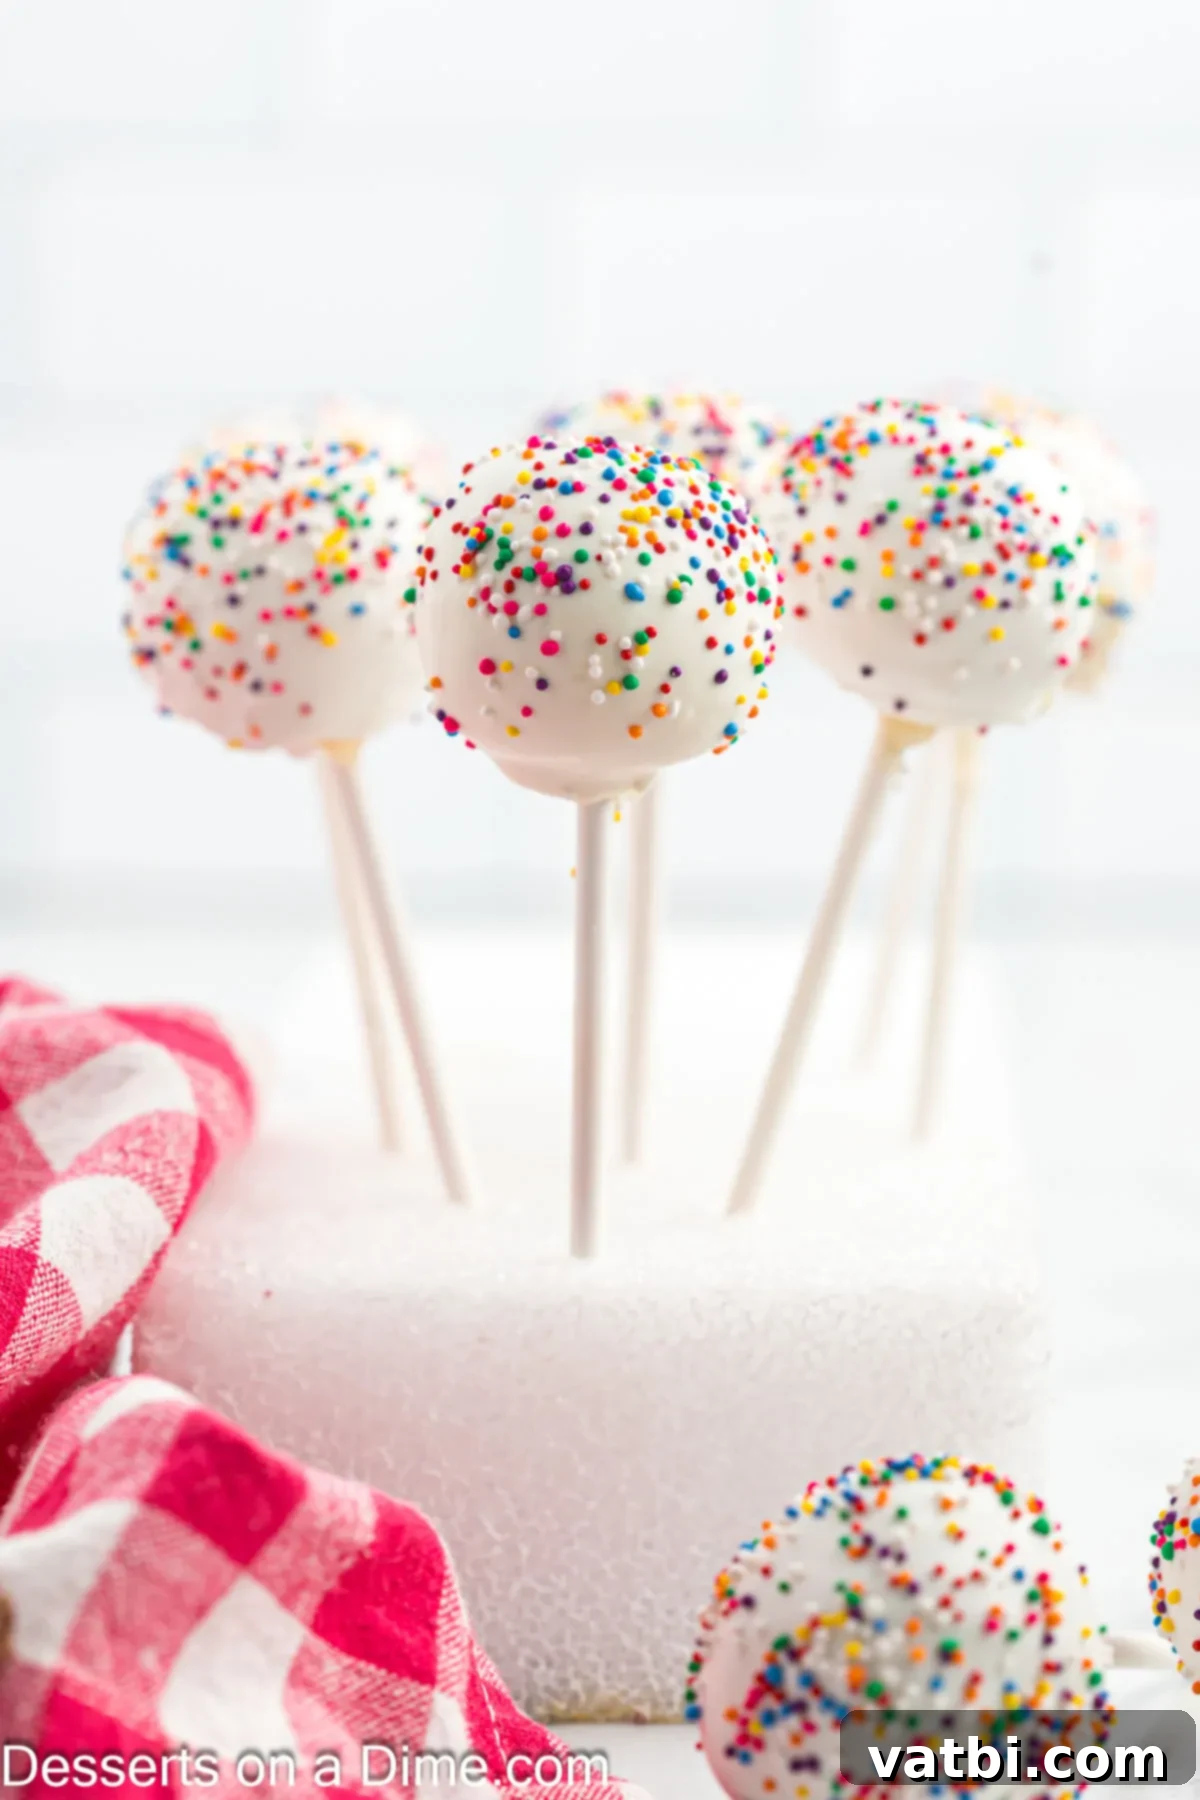
Step 8: Dry and Serve. To allow the candy coating to set and dry completely without smudging, place the sticks upright in a Styrofoam block, a tall glass filled with rice, or a specialized cake pop stand. Continue this process until all your cake pops are coated and decorated. Once the candy is fully hardened (which usually takes about 15-30 minutes at room temperature, or faster in the fridge), your delightful treats are ready to be served and enjoyed!.
Pro Tips for Perfect Cake Pops
Achieving bakery-worthy cake pops is easier than you think with these expert tips and tricks:
- Make sure to add enough frosting. The frosting is the binder that holds your cake pops together and contributes to their moist texture. If there isn’t enough frosting in the mixture, the cake pops will be crumbly and prone to cracking, especially during the dipping process. Aim for a consistency that is moist and pliable, like Play-Doh. If the mixture feels too dry, add frosting in small increments (teaspoon by teaspoon) until the perfect consistency is reached.
- Freeze before dipping. This step is absolutely critical. Freezing the cake pops for 10-15 minutes (no longer!) before dipping them in melted candy helps them stay intact on the stick and prevents them from crumbling. The slight chill also helps the candy coating set more quickly and evenly, reducing drips and streaks. However, be careful not to over-freeze them, as too cold cake pops can cause the candy coating to crack due to the extreme temperature difference.
- Use quality candy melts. High-quality candy melts are formulated to melt smoothly and provide a beautiful, hard shell. If your candy melts are too thick, add a teaspoon of paramount crystals or shortening (not water or milk, which will seize the chocolate) to thin them out for a smoother dip.
- Tap and rotate for a smooth coating. After dipping, gently tap and rotate the cake pop stick against the side of your bowl. This allows excess candy coating to drip off, preventing puddles at the base and creating a smooth, even finish.
- Have decorations ready. Sprinkles, edible glitter, or other decorations must be applied immediately after dipping, while the candy coating is still wet. Have your chosen decorations organized and ready to go for a seamless process.
Frequently Asked Questions About Cake Pops
Leftover cake pops should be refrigerated in an airtight container. They will stay fresh and delicious for up to 1 week. If you need to store them for longer, freezing is also an option (see below).
Absolutely! If you prefer bite-sized treats without the stick, simply skip the lollipop sticks. Follow all other instructions to make the cake mixture, roll them into balls, chill, and then dip them in melted candy. Cake balls are just as delicious and perfect for platters or dessert tables.
Cracking is a common issue often caused by a significant temperature difference between the cold cake balls and the warm melted chocolate. It is crucial not to over-freeze the cake balls; stick to the recommended 10-15 minutes in the freezer. If the cake balls are too cold, the candy coating will set too quickly and shrink, leading to cracks. Additionally, ensuring your cake mixture has enough frosting (as mentioned in the Pro Tips) helps create a more stable cake ball less prone to cracking.
Yes, it is easy to freeze cake pops for longer storage. Just make sure they are completely dry and the candy coating is fully set before freezing. Place them in a single layer on a baking sheet to freeze, then transfer them to an airtight freezer-safe container. They can be frozen for up to 5 to 6 weeks. When you’re ready to serve, thaw them at room temperature for an hour or two until soft. This is a great way to make them ahead of time for future events.
More Easy Cake Pop Recipes to try
If you loved making these classic cake pops, be sure to explore more variations to expand your dessert repertoire:
- Copycat Starbucks Cake Pops Recipe
- Red Velvet Cake Pops Recipe
- Birthday Cake Pops Recipe
Go ahead and make these fun, delicious, and easy cake pops today! They are truly a delightful treat for any occasion, simple to make, and always impressive. Don’t forget to leave a comment and a star recipe rating below to let us know how your cake pops turned out. Happy baking!
Pin
Cake Pop
Ingredients
- 1 box Classic White Cake Mix
- 1 cup Water
- 1/2 cup Vegetable Oil
- 3 Large Eggs
- 1/2 cup Vanilla Frosting pre-made or homemade
- 24 Lollipop Sticks
- 12 ounces Candy Melts
- Multi-Colored Sprinkles
Instructions
-
Preheat the oven to 350 degrees Fahrenheit and spray a 9X13 baking pan with non-stick cooking spray.
-
In a large mix, stir together the cake mix, water, vegetable oil and eggs until combined.
-
Pour the batter into the prepared pan and bake based on the cake mix package instruction.
-
Let the cake cool completely at room temperature.
-
Remove the cake from the pan and remove all the brown outside layer of the cake and throw it away.
-
Crumble up the remaining cake into a large mixing bowl. Stir the frosting in with the crumbled cake until everything is well combined.
-
Shape mixture into 24 cake balls and place on a lined cookie sheet. I used a cookie scoop to ensure that each one is approximately the same size.
-
Place the candy melts in a small microwave safe bowl and microwave for 30 seconds, then stir. Then continue to heat in 30 second intervals stirring between each one until the candy melts are fully melted.
-
Dip each cake pop stick into the melted candy and then place them into the cake balls about halfway through the balls. Then place in the freezer for 10-15 minutes.
-
Then dip each cake pop into the melted candy melts (you may need to re-melt if it has solidified some while the cake pops were in the freezer). Make sure that the candy covers the cake pop completely. Allow the excess melted candy to drip off back into the bowl.
-
Then place the stick of cake pops in a block of styrofoam while the candy dries and solidifies. Add the sprinkles immediately before the candy dries.
-
Continue until all the cake pops have been covered. Once all the cake pops are dry, they are ready to serve and enjoy!
Nutrition Facts
Pin This Now to Remember It Later
Pin Recipe
