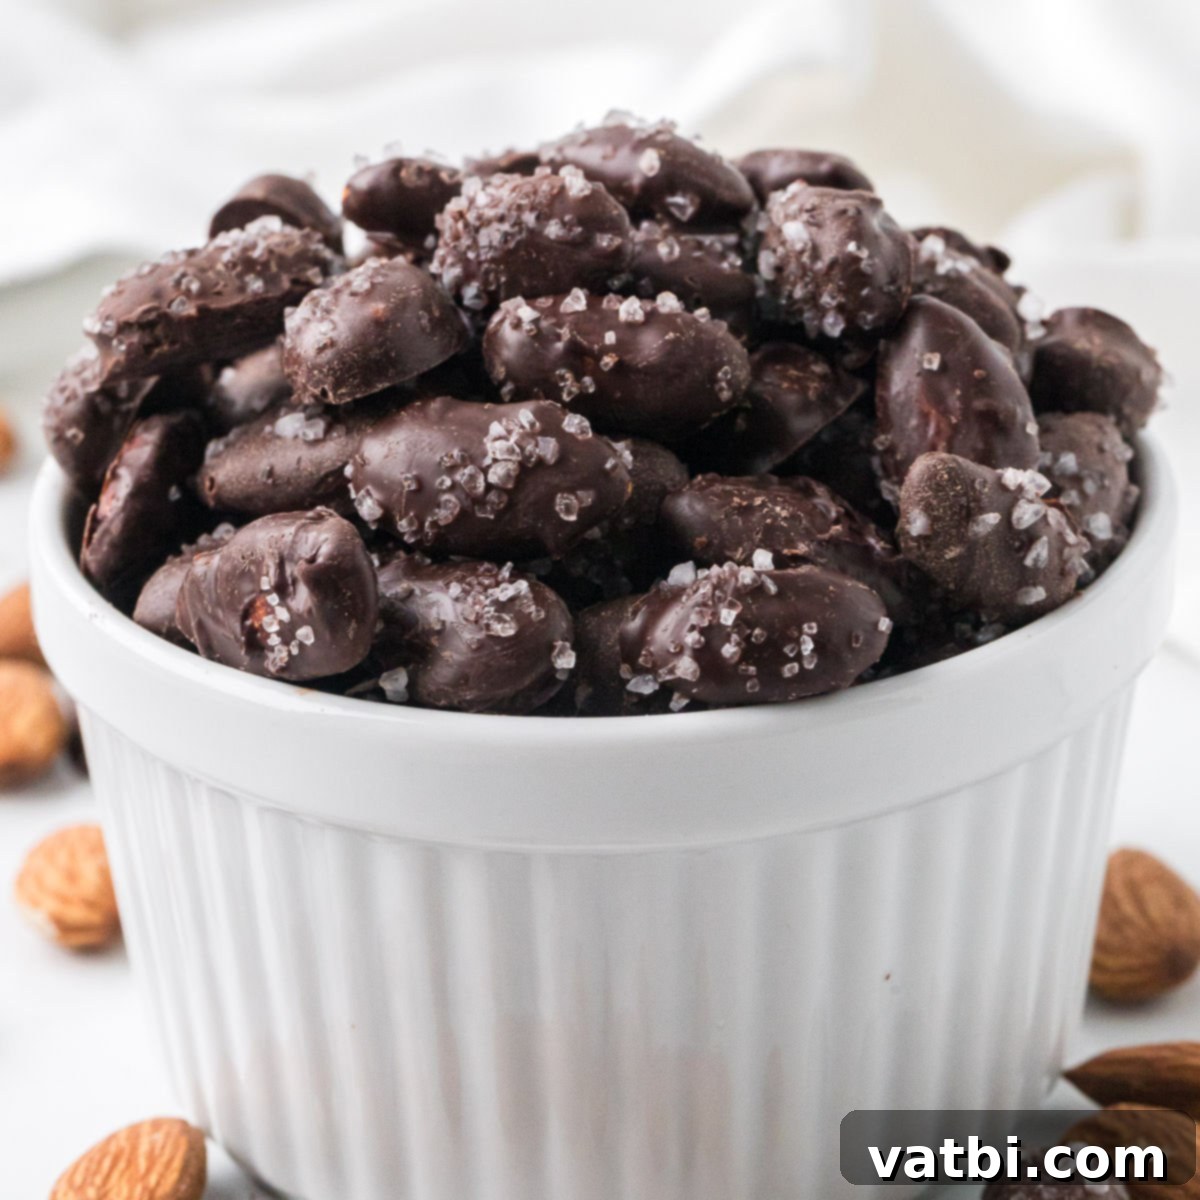
Homemade Dark Chocolate Covered Almonds: The Easiest 3-Ingredient Recipe for a Wholesome Snack or Dessert
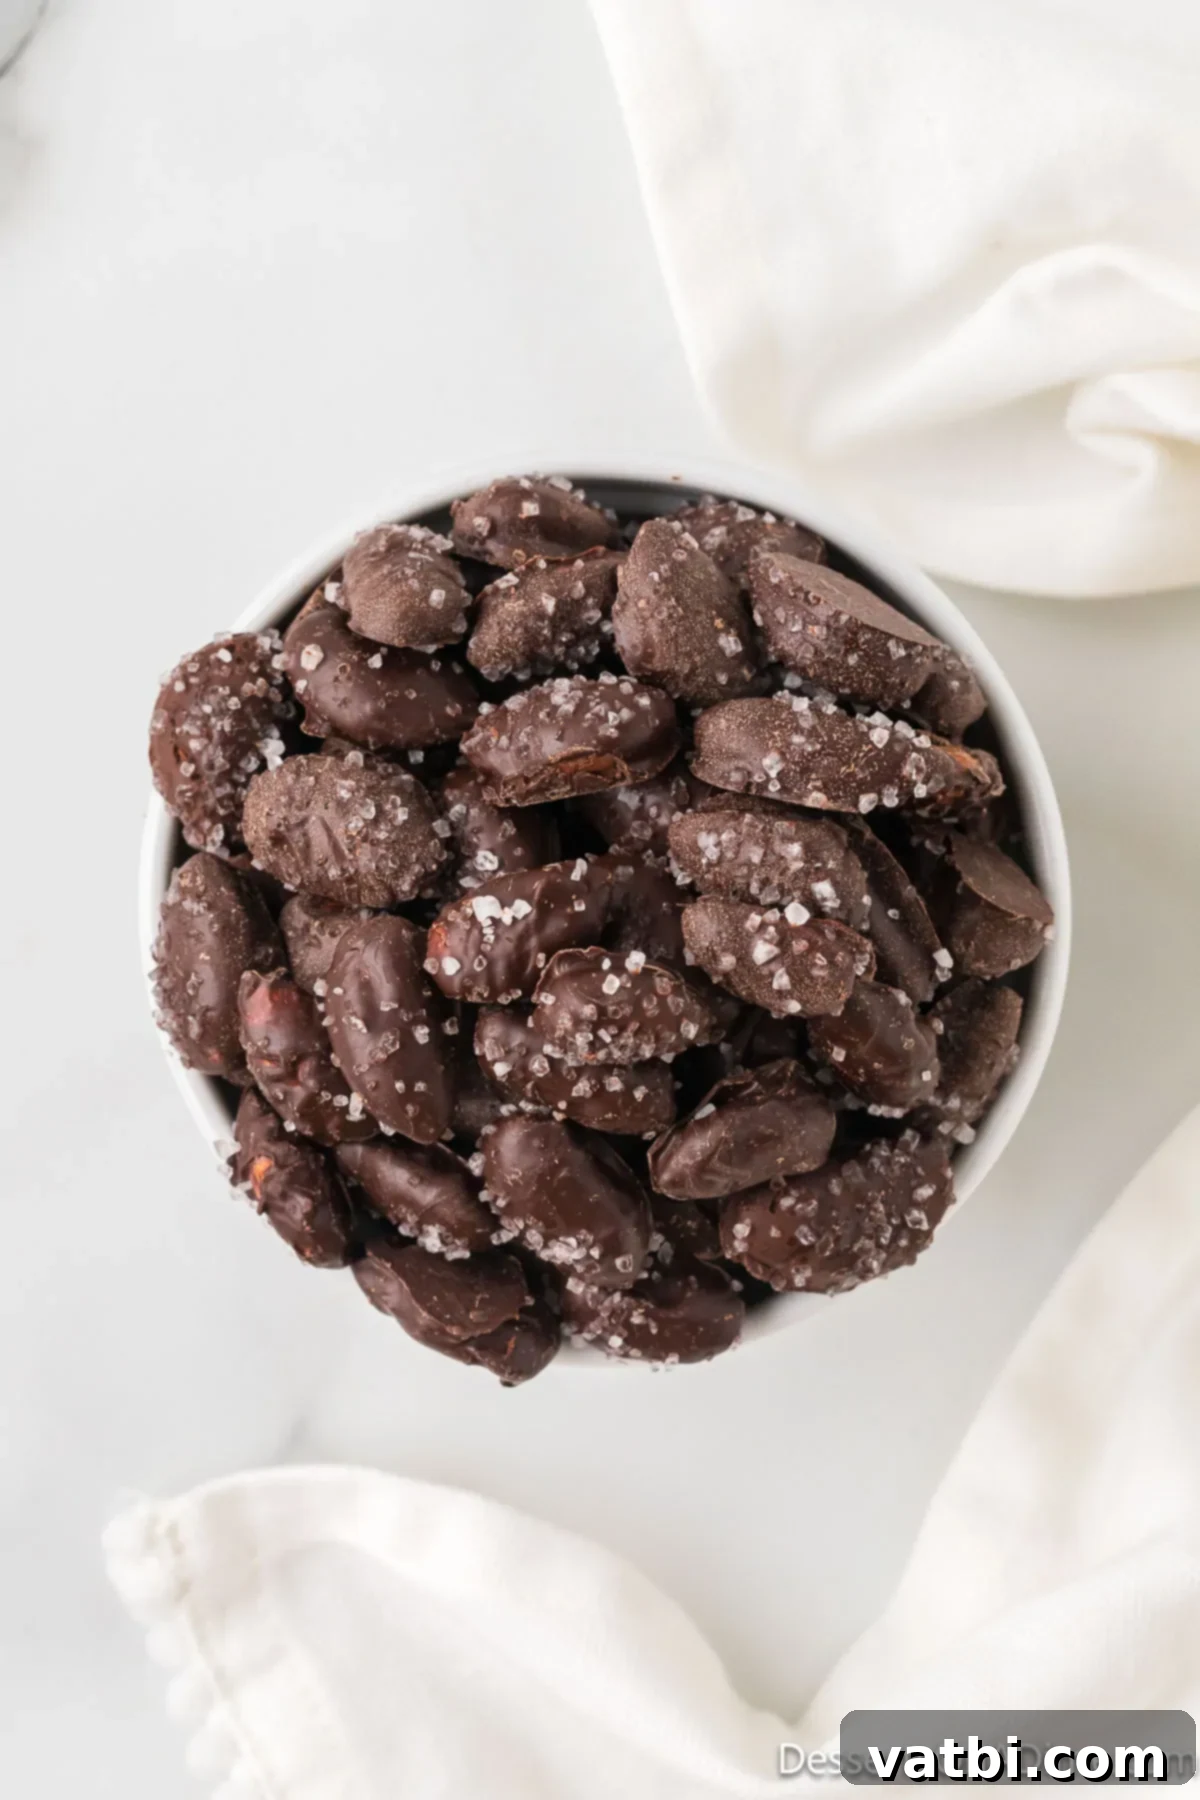
Discover the delightful simplicity of making your very own Dark Chocolate Covered Almonds right at home! With just three essential ingredients, this recipe is incredibly straightforward, offering a perfect solution for a healthier snack, a quick dessert craving, or even a thoughtful homemade gift. Forget store-bought options filled with additives; this homemade version promises pure, unadulterated flavor and crunch.
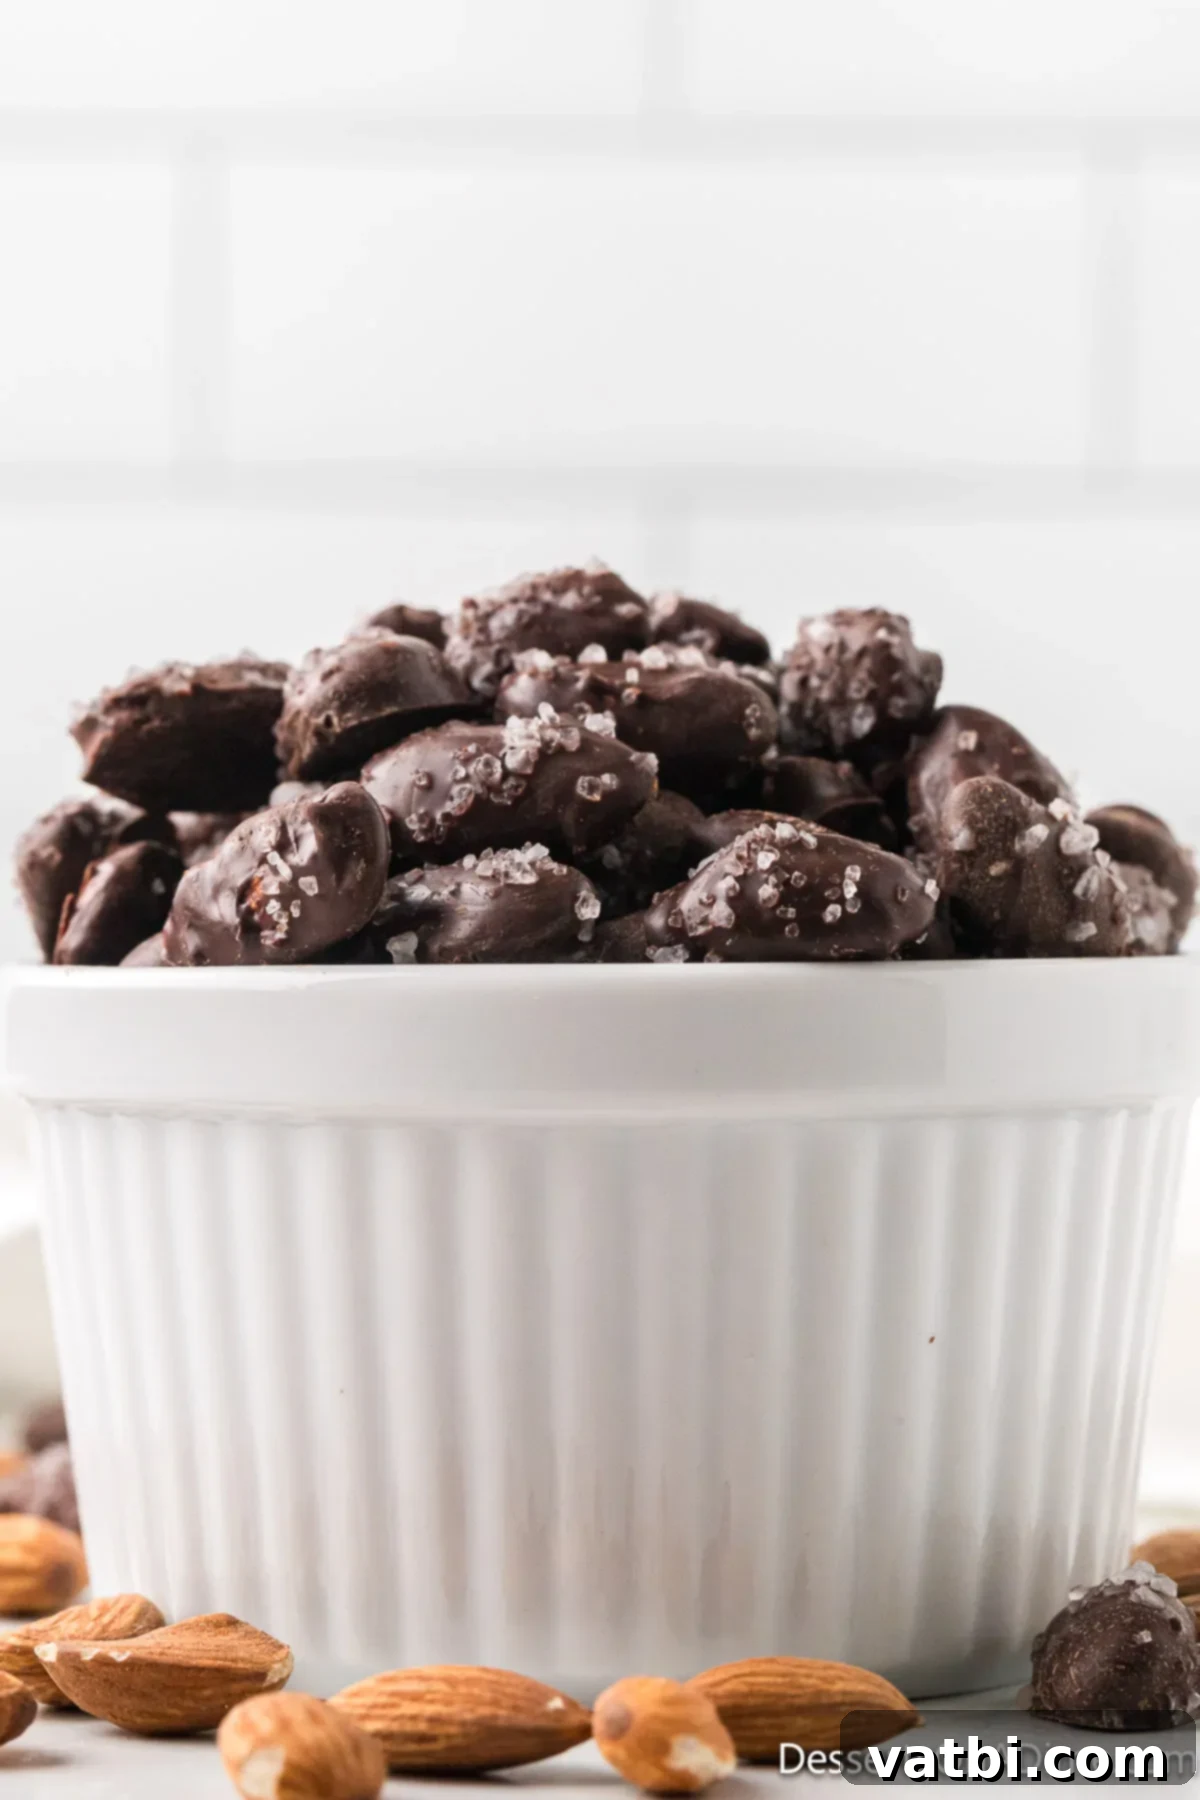
As a huge fan of easy no-bake desserts, I can confidently say this recipe for dark chocolate almonds is an absolute winner. It requires minimal effort and delivers maximum satisfaction. Anyone can master these delectable treats with only a handful of ingredients. I particularly love indulging in these when I’m craving something sweet but prefer an option with less refined sugar and more natural goodness. The combination of rich dark chocolate and crunchy almonds is simply irresistible and incredibly satisfying.
For years, I’ve cherished making my Candied Pecans Stovetop Recipe, a family favorite. However, I recently decided to venture into something new using almonds, and the results were truly outstanding. This recipe proved to be practically effortless, yielding an incredible flavor that perfectly balances the bitterness of the chocolate with the nutty notes of the almonds and a hint of sea salt. It’s quickly become a new staple in my snack rotation!
Table of contents
- Why This Recipe Works
- Ingredients for Dark Chocolate Covered Almonds
- Delicious Variations and Customizations
- Step-by-Step Instructions for Perfect Chocolate Almonds
- Storage Tips for Freshness
- Pro Tips for Success
- Frequently Asked Questions
- More Chocolate Covered Treats to Try
Why This Recipe Works: Simple, Satisfying, and Smart
There are countless reasons why this easy recipe for homemade chocolate-covered almonds deserves a spot in your culinary repertoire. First and foremost, it’s incredibly time and cost-efficient. You don’t need to spend a fortune on gourmet snacks or dedicate hours in the kitchen to create something truly delicious. With literally just three core ingredients, you can whip up a batch of these delectable treats in minutes, making them perfect for last-minute cravings or unexpected guests.
The magic lies in the exquisite combination of flavors and textures. The deep, rich notes of dark chocolate perfectly complement the natural sweetness and satisfying crunch of the almonds, while a sprinkle of sea salt elevates the entire experience, creating that highly sought-after sweet and salty balance. This trifecta of flavors ensures every bite is a delightful sensory adventure.
Beyond taste, the savings are significant when you choose to make this treat at home. Store-bought chocolate-covered almonds can be surprisingly expensive, especially for high-quality versions. Crafting them yourself not only saves money but also gives you complete control over the quality of ingredients. Moreover, these Dark Chocolate Covered Almonds make for a fantastic and much-appreciated holiday gift. Package them in a decorative tin or bag, and you have a thoughtful, personalized present that everyone will love.
This recipe also aligns perfectly with a desire for healthier snacking. By choosing good quality dark chocolate (with a higher cacao percentage) and raw, unsalted almonds, you’re creating a snack that’s rich in antioxidants, healthy fats, and protein, all while managing sugar content. It’s a guilt-free indulgence that supports your well-being without compromising on flavor.
Ingredients for Dark Chocolate Covered Almonds: Quality Matters
With a recipe this simple, the quality of your ingredients truly shines through. Opting for the best possible chocolate and fresh almonds will make all the difference in the final taste and texture of your chocolate-covered almonds.
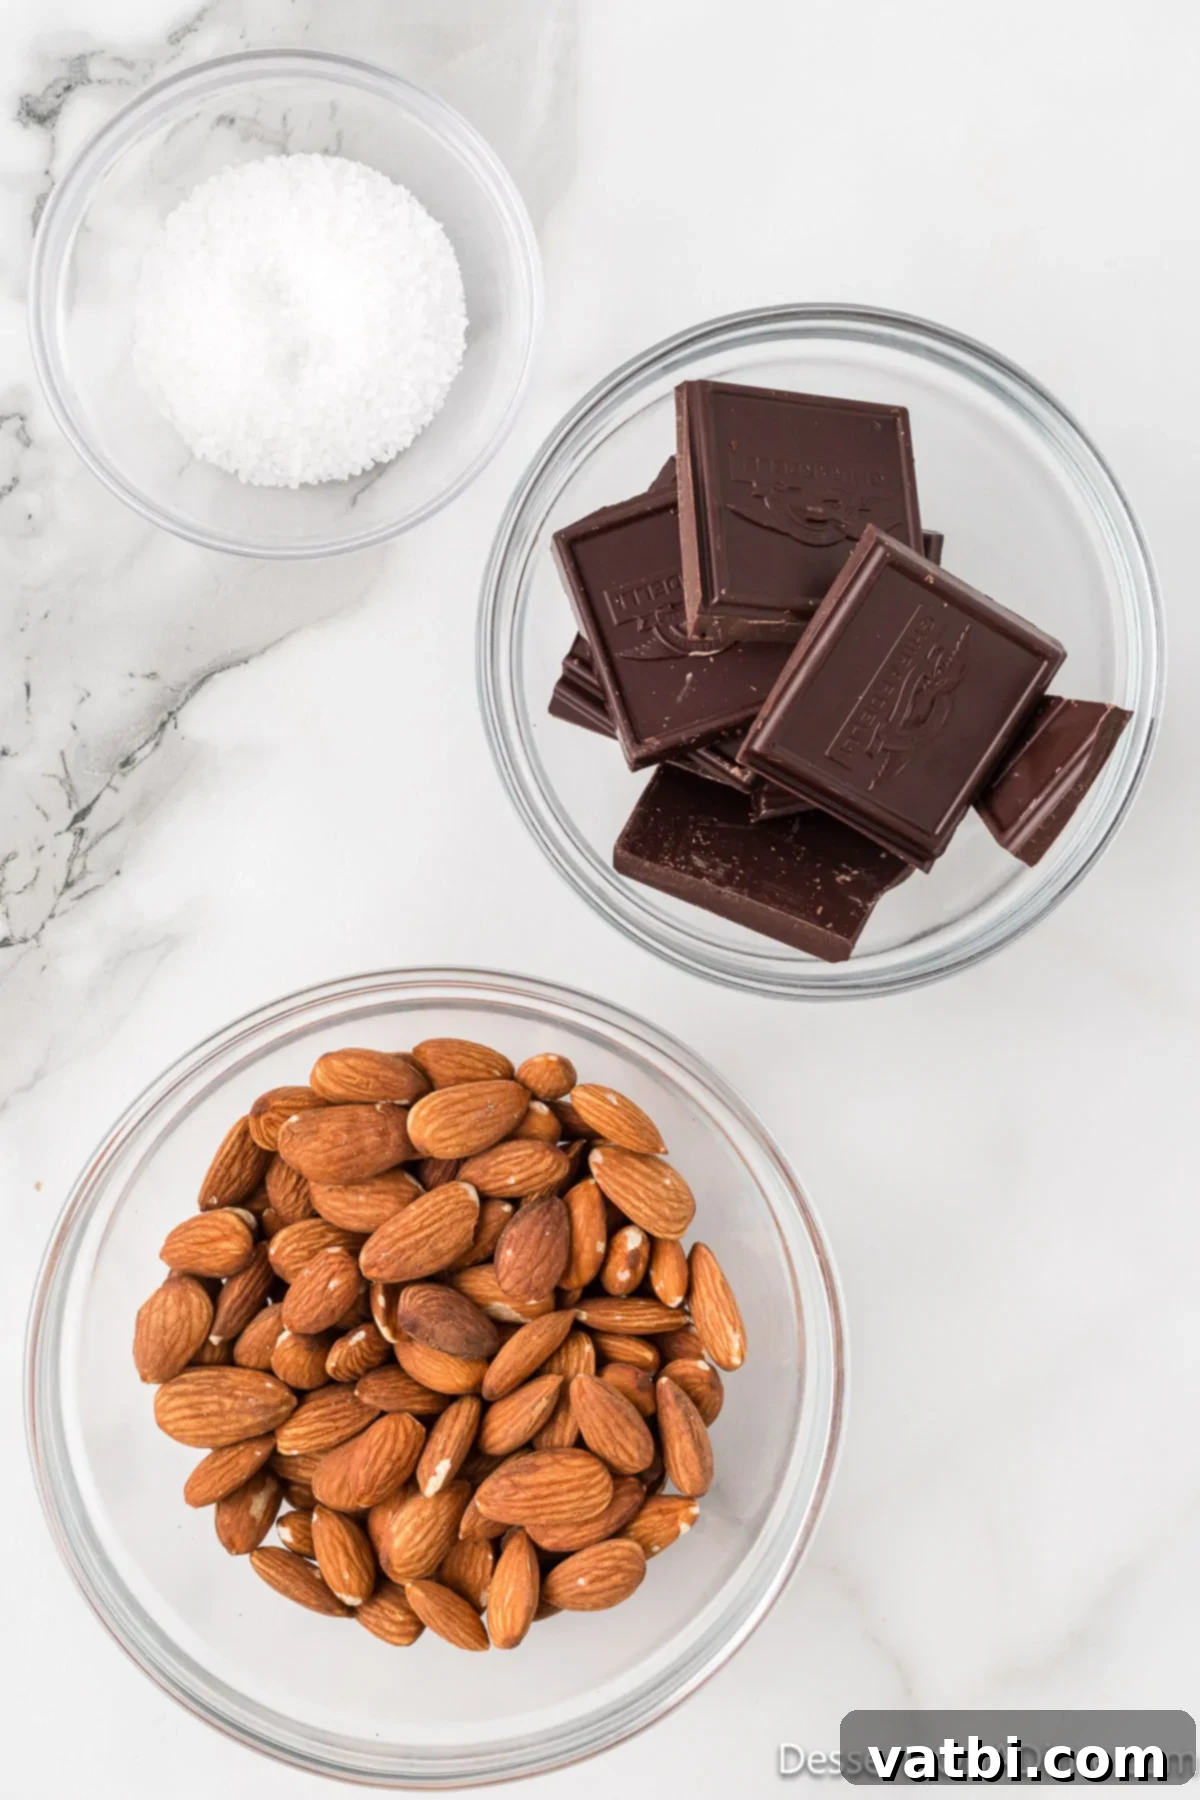
- Bittersweet or Semi-Sweet High-Quality Chocolate. This is the star of the show! Using a premium chocolate bar or high-quality chocolate chips is crucial, especially since there are so few ingredients. Good quality chocolate melts smoothly, coats beautifully, and offers a superior flavor profile. Bittersweet chocolate (typically 70% cacao or higher) provides a deeper, less sweet taste, while semi-sweet is a bit milder. Avoid waxy, low-quality chocolate, as it won’t melt as evenly and can impact the overall experience. You can use chocolate baking bars, discs, or even good quality chocolate chips.
- Almonds. For the best results, use raw and unsalted almonds. This allows you to control the saltiness with the added sea salt. Raw almonds have a natural, fresh flavor and a satisfying crunch that perfectly contrasts the smooth chocolate. If you prefer a deeper, toastier flavor, you can lightly toast them in a dry skillet or oven before dipping (see Pro Tips for more details!).
- Sea Salt. A generous sprinkle of flaky sea salt is essential for achieving that irresistible sweet and salty combination. Unlike regular table salt, sea salt provides a pleasant textural crunch and a burst of briny flavor that cuts through the richness of the chocolate beautifully. It’s an optional, but highly recommended, ingredient that truly elevates these treats.
You can find the precise measurements and the full recipe card with detailed instructions at the bottom of this page. Don’t underestimate how these three simple ingredients, when chosen wisely, can create such a gourmet-tasting snack!
Delicious Variations and Customizations
While the classic dark chocolate-covered almond is perfect as is, this recipe is incredibly versatile and lends itself beautifully to various customizations. Feel free to get creative and tailor them to your personal preferences or dietary needs.
- Omit the Sea Salt. If you’re not a fan of the sweet and salty combination, or simply prefer a pure chocolate and nut experience, you can absolutely skip the sea salt. The almonds will still be incredibly delicious without it.
- Explore Different Nuts. Almonds are fantastic, but don’t limit yourself! This recipe works wonderfully with a variety of other nuts. Try swapping the almonds for pecans, walnuts, peanuts, macadamia nuts, or even cashews. Each nut offers a unique flavor and texture profile that pairs beautifully with chocolate. Hazelnuts and pistachios are also excellent choices for a more gourmet touch.
- Add Some Heat. For those who love a bit of a kick, try adding a pinch of chili powder, cayenne pepper, or even a tiny amount of smoked paprika to your melted chocolate before dipping. The subtle warmth complements the dark chocolate in a surprisingly delicious way. Start with a small amount and adjust to your taste.
- Fun Toppings. Beyond sea salt, there’s a world of toppings to explore! Immediately after dipping and before the chocolate sets, consider sprinkling with shredded coconut, colorful sprinkles, finely chopped dried fruit (like cranberries or cherries), or even crushed peppermint candy canes for a festive holiday treat.
- Vary the Chocolate Type. While this recipe highlights dark chocolate, you can certainly experiment with other types. Milk chocolate will give you a sweeter, creamier treat, while white chocolate offers a distinct, milky sweetness. You could even do a swirl of two different chocolates for a visually appealing effect.
- Flavor Extracts. A tiny drop (start with 1/8 teaspoon) of almond extract or vanilla extract can be stirred into the melted chocolate for an added layer of flavor. During the holidays, a touch of peppermint extract would create a delicious seasonal twist.
Step-by-Step Instructions for Perfect Chocolate Almonds
Making these gourmet-quality dark chocolate covered almonds is surprisingly easy. Follow these simple steps for a flawless finish:
- Step 1: Prepare Your Work Surface. First things first, get your large baking sheet ready. Line it with parchment paper or a silicone baking mat. This step is crucial for preventing the almonds from sticking and makes for easy cleanup. Set it aside, as you’ll need it immediately after dipping.
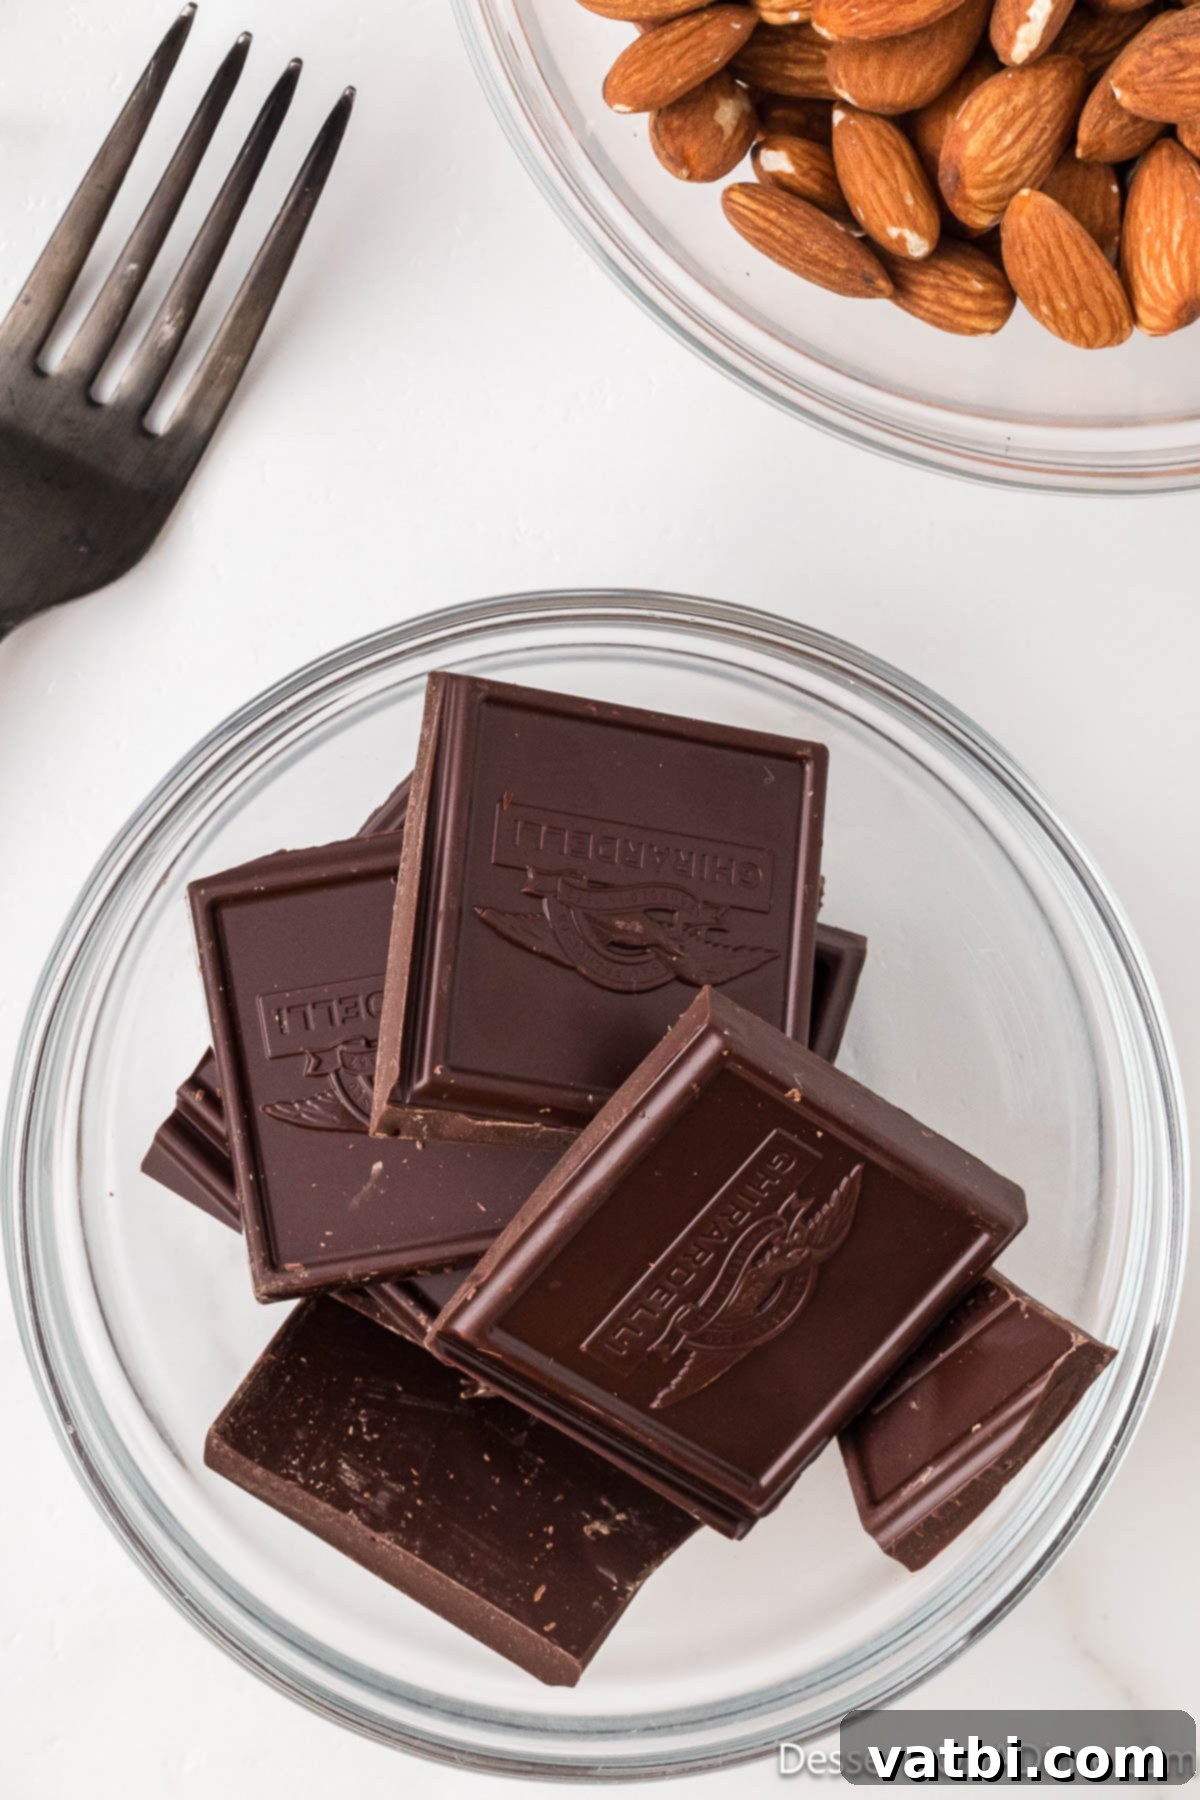
Step 2: Prepare the Chocolate for Melting. Next, break your high-quality chocolate into smaller pieces (if using a bar) and place it in a microwave-safe bowl. Smaller pieces will melt more evenly and quickly.
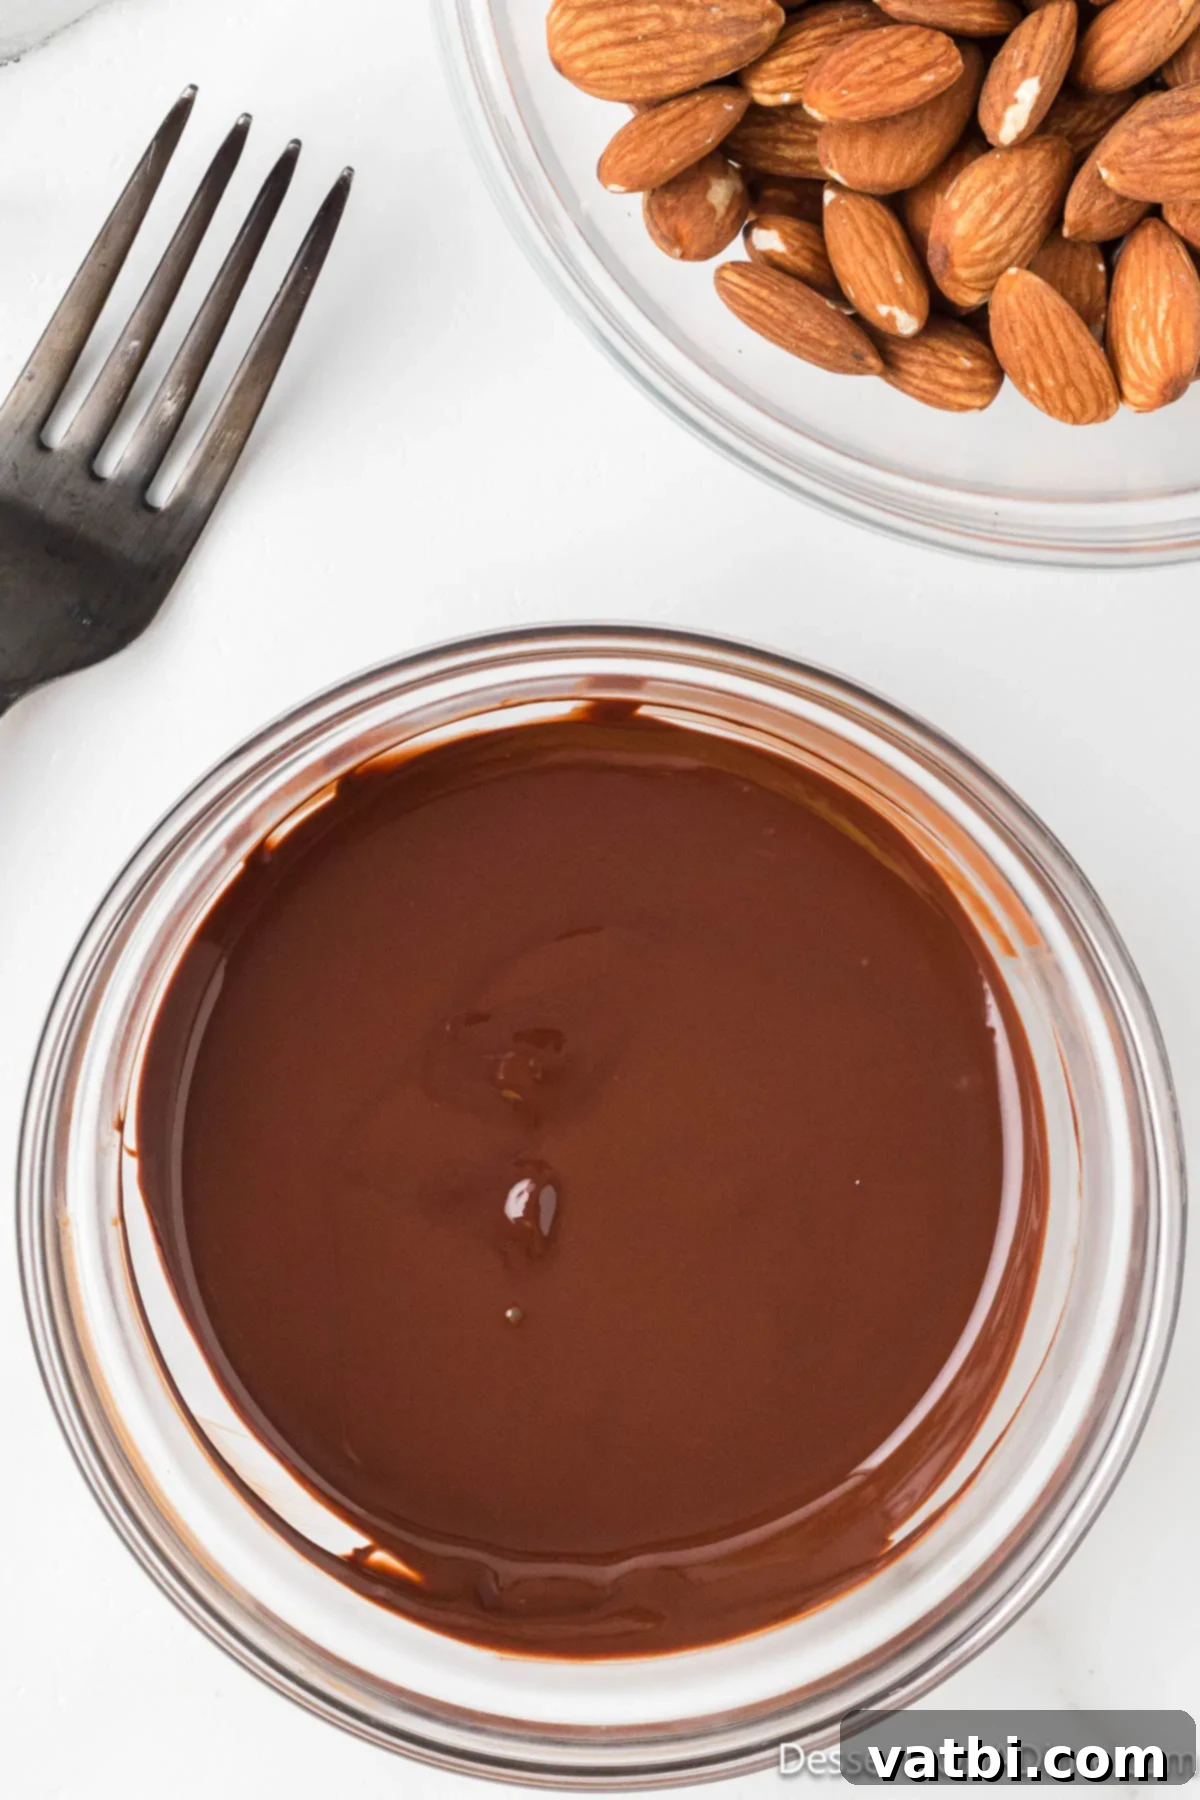
Step 3: Melt the Chocolate Carefully. Begin heating the chocolate in the microwave in short 30-second intervals. After each interval, remove the bowl and stir the chocolate thoroughly. This is important to prevent burning and ensure even melting. Continue this process until the chocolate is completely melted and beautifully smooth, with no lumps remaining. Alternatively, you can use a double boiler method for a gentler melt (see Pro Tips).
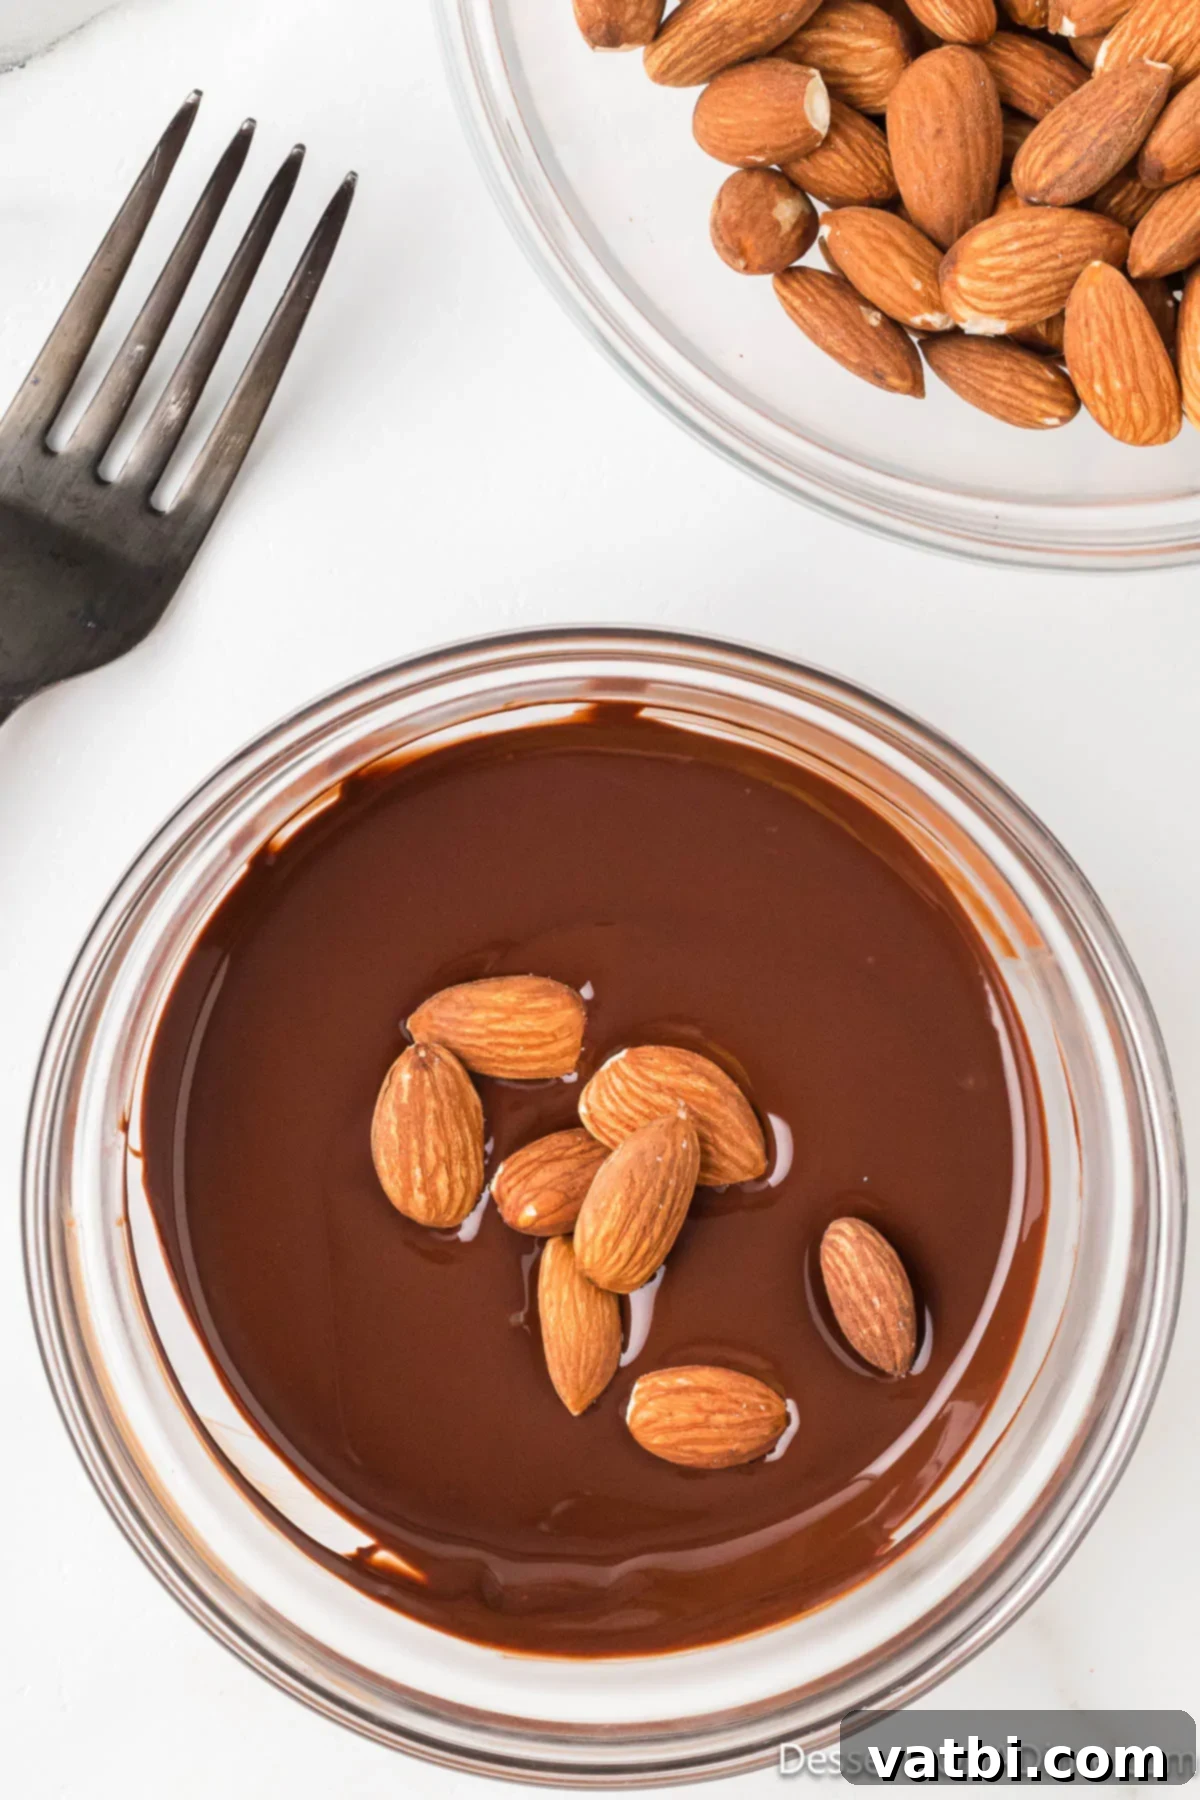
Step 4: Coat the Almonds in Batches. Once your chocolate is perfectly melted, add the raw almonds to the bowl in manageable batches. Gently stir them with a fork or a spoon, ensuring that each almond is thoroughly coated in the luxurious melted chocolate. Don’t overcrowd the bowl; work in small batches for the best results.
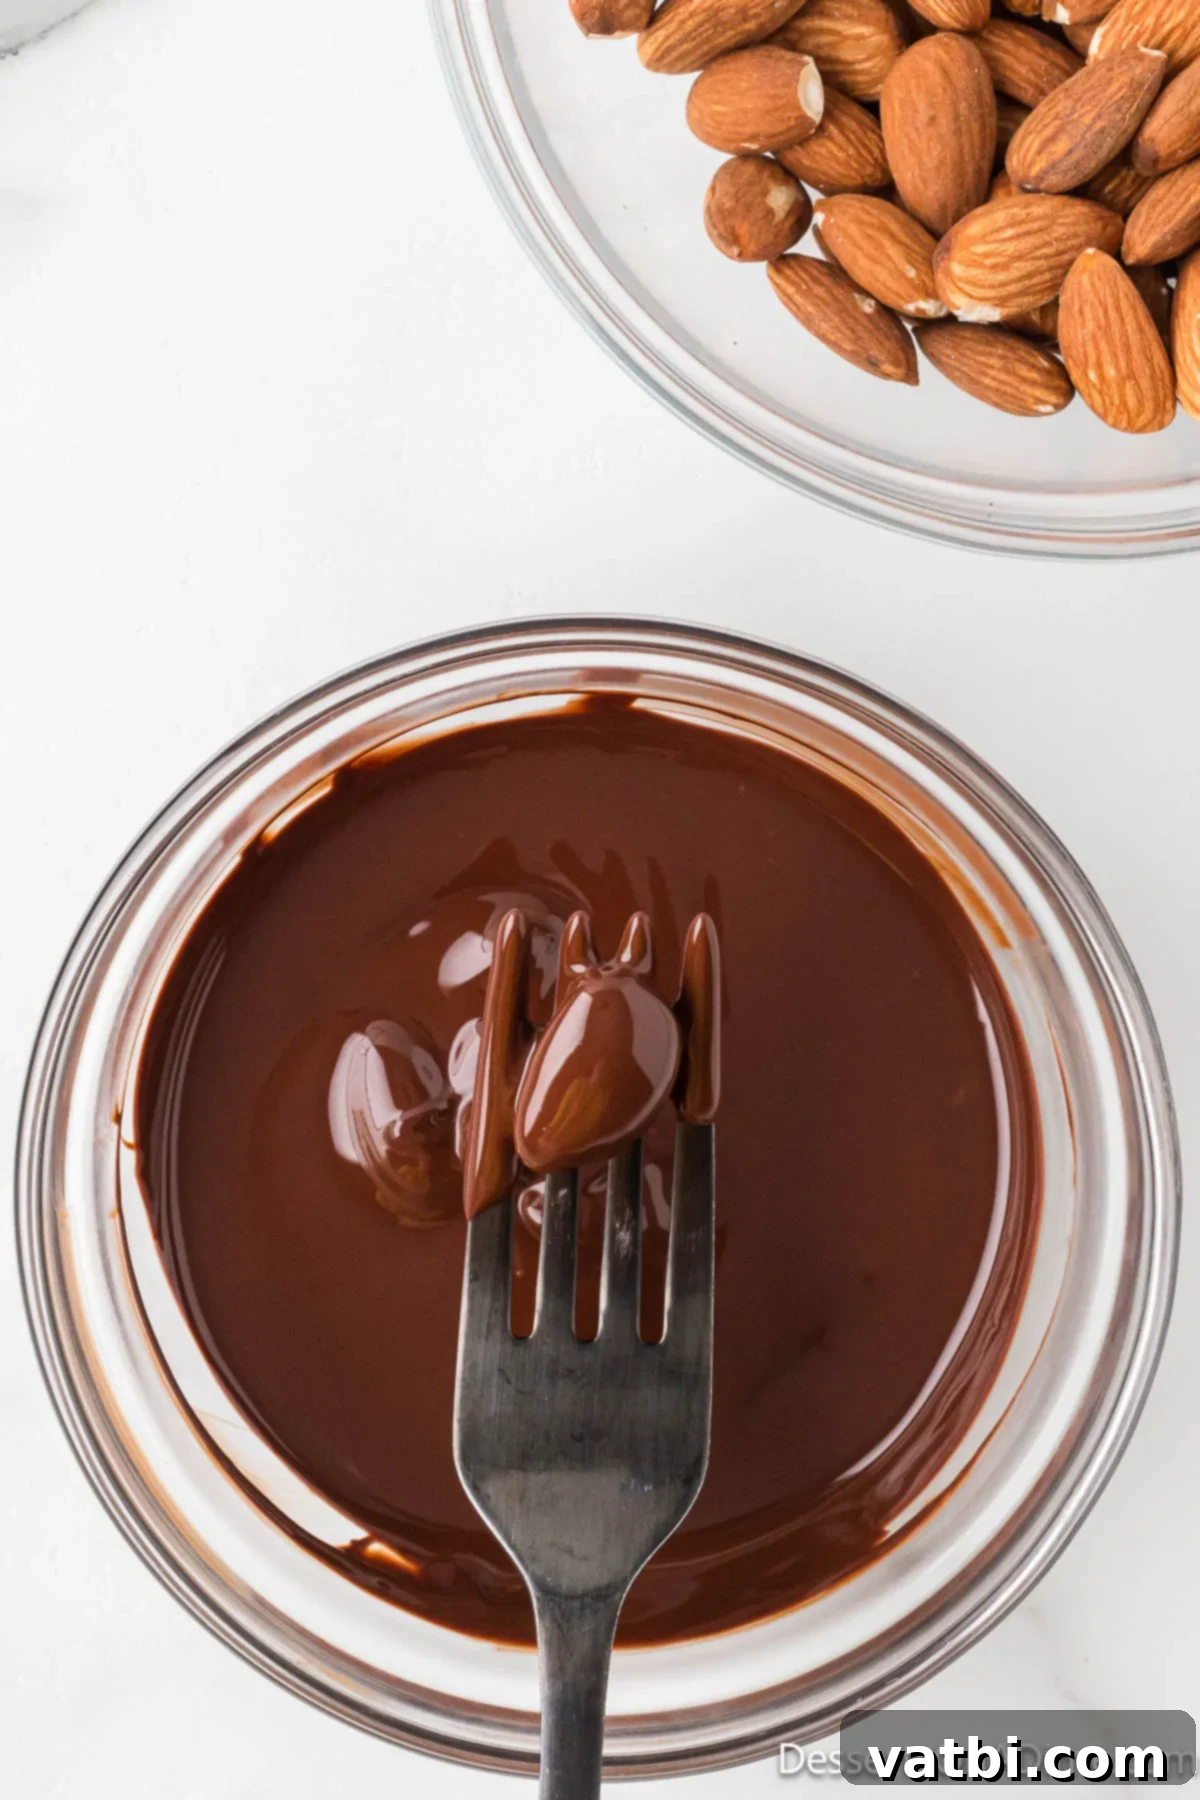
Step 5: Remove Excess Chocolate. Carefully remove the chocolate-covered almonds one at a time from the bowl. A fork or a specialized candy dipping tool works best for this. Gently tap the fork or tool against the side of the bowl. This helps to remove any excess chocolate, ensuring a thinner, more elegant coating and preventing large puddles of chocolate on your baking sheet.
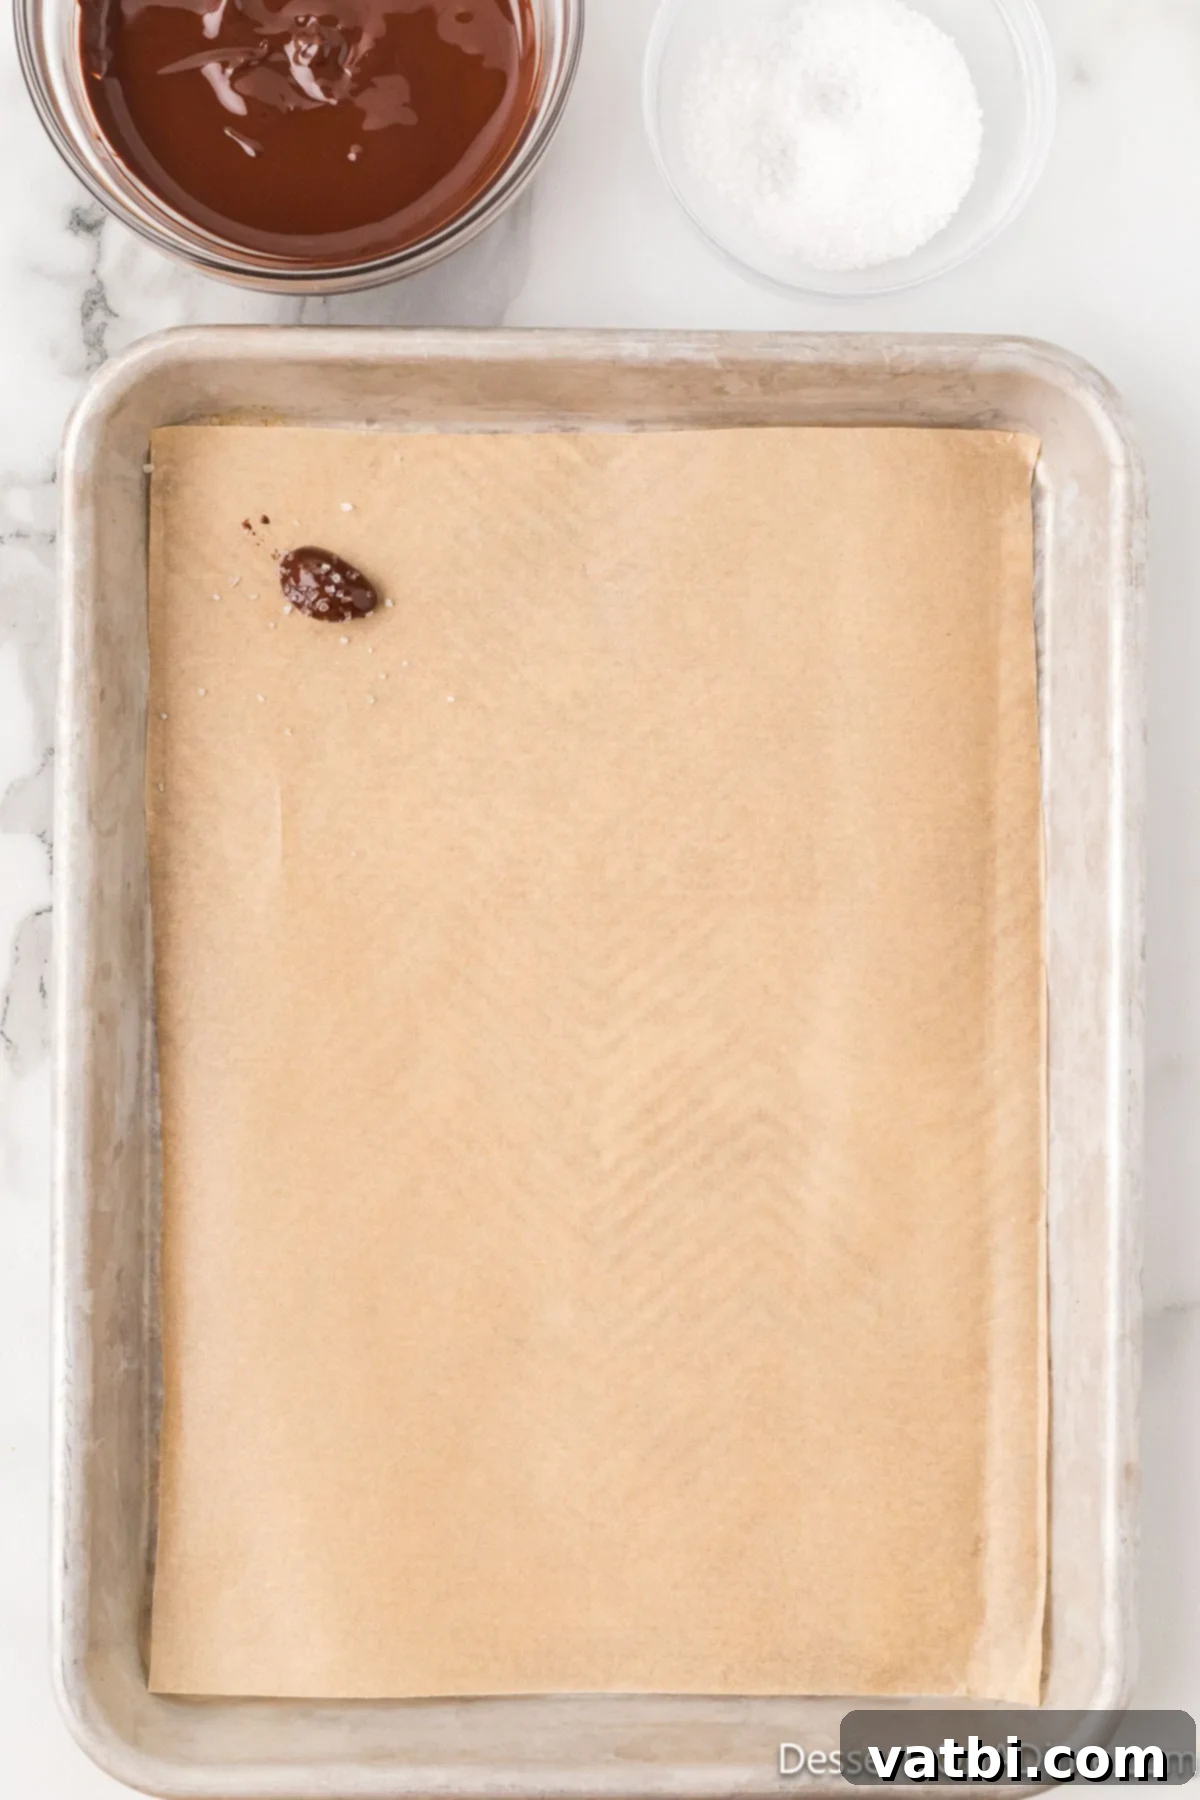
Step 6: Arrange and Continue Coating. Once an almond is coated and excess chocolate has been removed, carefully place it on the parchment-lined baking sheet. Make sure to leave a little space between each almond so they don’t stick together as they set. Continue this dipping and placing process until all your almonds are beautifully coated in chocolate.
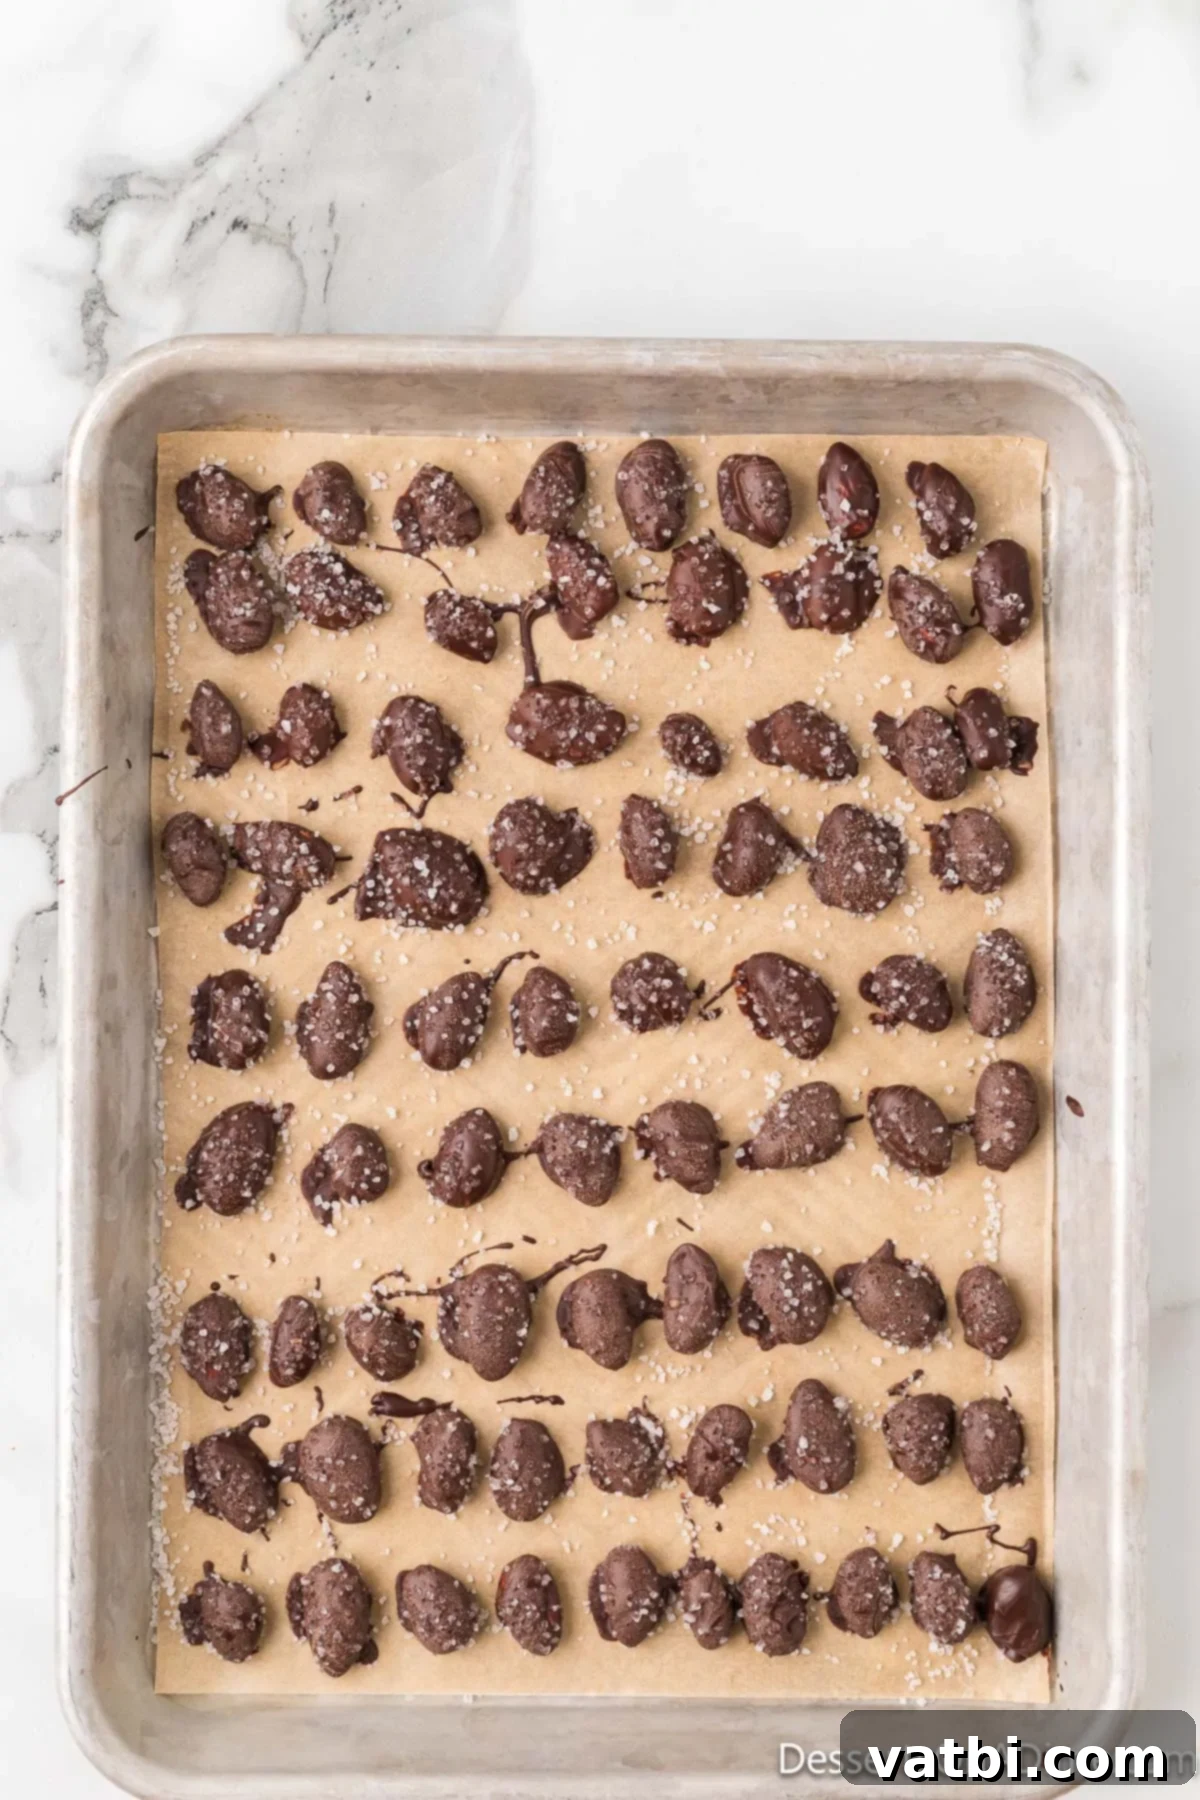
Step 7: Add Sea Salt and Allow to Set. Immediately after placing the chocolate almonds on the baking sheet, sprinkle them generously with sea salt. Do this while the chocolate is still wet, so the salt adheres properly. Then, allow the dark chocolate almond clusters to sit undisturbed at room temperature until the chocolate has fully set and hardened. This can take about 1-2 hours depending on your room temperature and humidity. If you’re in a hurry or your kitchen is warm, you can transfer the baking sheet to the refrigerator or freezer for a quicker set.
Storage Tips for Freshness
Proper storage is key to keeping your homemade Dark Chocolate Covered Almonds fresh and delicious for as long as possible. Once the chocolate has fully set, carefully transfer the almonds into an airtight container. You can store them at room temperature in a cool, dry place for up to 1-2 weeks. However, for extended freshness, especially in warmer climates, it’s best to refrigerate them. When refrigerated, they will maintain their quality and crunch for up to 3-4 weeks. If you want to enjoy them for even longer, these chocolate delights are also freezer-friendly, lasting up to 1 month.
Pro Tips for Success
Achieving perfectly coated dark chocolate almonds is simple with a few expert tricks. These tips will help ensure your treats are delicious every time:
- Mastering the Chocolate Melt. While the microwave is quick, for the smoothest, most tempered chocolate, consider using a double boiler. Simply place a heat-proof bowl over a saucepan of simmering water, ensuring the bottom of the bowl doesn’t touch the water. Stir gently until melted. Whichever method you choose, avoid introducing any water to the chocolate, as this can cause it to seize and become unusable. Stirring frequently is key to even melting.
- Toasting Almonds for Enhanced Flavor. For an even deeper, nuttier flavor, lightly toast your raw almonds before dipping them. You can do this by spreading them in a single layer on a baking sheet and roasting at 350°F (175°C) for 5-7 minutes, or until fragrant. Let them cool completely before proceeding with the chocolate coating. This step is optional but highly recommended for an extra flavor boost.
- Ensure Chocolate Sets Properly. Patience is a virtue when it comes to chocolate setting! If your kitchen is warm or humid, the chocolate may take longer to harden at room temperature. To speed things up, place the parchment-lined baking sheet with the coated almonds into the refrigerator for 15-30 minutes, or even the freezer for 10-15 minutes. Once hardened, they’re ready to enjoy!
- Timely Sea Salt Application. Don’t wait too long to sprinkle on that sea salt! It needs to be added while the chocolate is still wet and tacky for it to adhere properly. If the chocolate starts to set, the salt won’t stick, and you’ll miss out on that essential sweet and salty crunch.
- Thorough Coating and Excess Removal. When dipping, ensure each almond is fully submerged and coated. Use a fork or a specialized candy dipping tool to lift the almond out, then gently tap it on the edge of the bowl. This helps to remove any excess chocolate, creating a thinner, more even coating and preventing thick, messy pools of chocolate around your almonds.
- Always Line Your Baking Sheet. This seemingly small step is critical for easy removal and cleanup. Whether you use parchment paper or a silicone baking mat, it ensures your chocolate-covered almonds don’t stick to the pan and can be effortlessly lifted once set.
- Work in Small Batches. If you’re making a large quantity, avoid adding all the almonds to the chocolate at once. Working in smaller batches (e.g., 1/4 to 1/2 cup at a time) keeps the chocolate warm and workable and makes the dipping process much more manageable and less messy.
Frequently Asked Questions About Dark Chocolate Covered Almonds
Absolutely! This recipe is ideal for making ahead of time, which makes them perfect for party prep or gift-giving. Once fully set, refrigerate any leftovers in an airtight container for up to 3-4 weeks. They’ll retain their delightful crunch and rich flavor.
Yes, you can certainly use chocolate chips! High-quality chocolate chips (like Ghirardelli or Guittard) will work well. However, be aware that chocolate chips often contain stabilizers to help them hold their shape during baking. This can sometimes result in a slightly less smooth melted texture or a slightly thicker coating compared to baking chocolate bars, which are formulated for melting.
Yes, this recipe freezes beautifully! Once the chocolate is completely set, place the almonds in a single layer on a baking sheet and flash freeze for about 30 minutes to prevent sticking. Then, transfer them to a freezer-safe airtight container or a heavy-duty freezer bag. They can be frozen for up to 1 month. Thaw at room temperature for a few minutes before enjoying.
Absolutely! Feel free to experiment with your favorite type of chocolate. Milk chocolate will yield a sweeter, creamier treat, while semi-sweet offers a balanced sweetness. White chocolate is also an option for a distinctly different flavor profile. The method remains the same regardless of your chocolate choice.
Chocolate seizing is almost always caused by contact with even a tiny amount of water or steam. Ensure all your bowls and utensils are completely dry. Also, avoid overheating the chocolate; if melting in the microwave, stick to short 30-second intervals and stir well. If using a double boiler, make sure the water is simmering, not boiling, and that no steam or water gets into the chocolate.
This recipe works well with both blanched (skin removed) and unblanched (skin on) raw almonds. Unblanched almonds offer a slightly more rustic look and a touch more fiber and nutrients from the skin. Blanched almonds will give a smoother, more uniform appearance. The choice largely comes down to personal preference for texture and aesthetics.
More Chocolate Covered Treats to Try
If you’re a fan of these delightful chocolate-covered almonds, you’ll love exploring other easy and delicious chocolate-coated treats. Here are some more irresistible recipes to satisfy your sweet tooth:
- Crock Pot Chocolate Peanut Clusters Recipe
- Chocolate Covered Oreos
- Chocolate Covered Rice Krispie Treats
- Buckeye Balls
- Chocolate Covered Twinkies Recipe
Don’t hesitate to make these incredibly satisfying dark chocolate sea salt almonds. They are guaranteed to be a hit with everyone who tries them, offering a perfect blend of sweet, salty, and crunchy in every bite. Once you’ve made your batch, please come back and leave a comment and a star rating. Your feedback helps other home bakers discover and enjoy this fantastic, quick, and easy recipe!
Pin
Dark Chocolate Covered Almonds
Ingredients
- 4 ounces Bittersweet or Semi-Sweet High Quality Chocolate
- 1 cup Almonds raw and unsalted
- Sea Salt for Sprinkling
Instructions
-
Line a baking sheet with parchment paper and set aside.
-
Place the chocolate in a microwave safe bowl. Microwave in 30 second intervals, stirring after each interval, until fully melted and smooth.
-
In batches, place some of the almonds in the chocolate making sure that they are fully coated in the chocolate.
-
Then carefully remove the almonds one at a time with a fork or dipping tool from the chocolate. Tap the fork or dipping tool on the side of the bowl to remove any excess chocolate from the almonds.
-
Place the chocolate almonds on the prepared baking sheet. Continue this process until all the almonds are coated.
-
Sprinkle the sea salt on the almonds before the chocolate sets.
-
Allow the almonds to sit at room temperature until the chocolate has fully set and then they are ready to serve and enjoy!
Recipe Notes
These almonds can easily be made ahead of time. Refrigerate any leftovers in an airtight container for up to 3-4 weeks.
If it’s humid in your area, you can place the almonds in the refrigerator or freezer to help the chocolate set quicker.
Nutrition Facts
Pin This Now to Remember It Later
Pin Recipe
