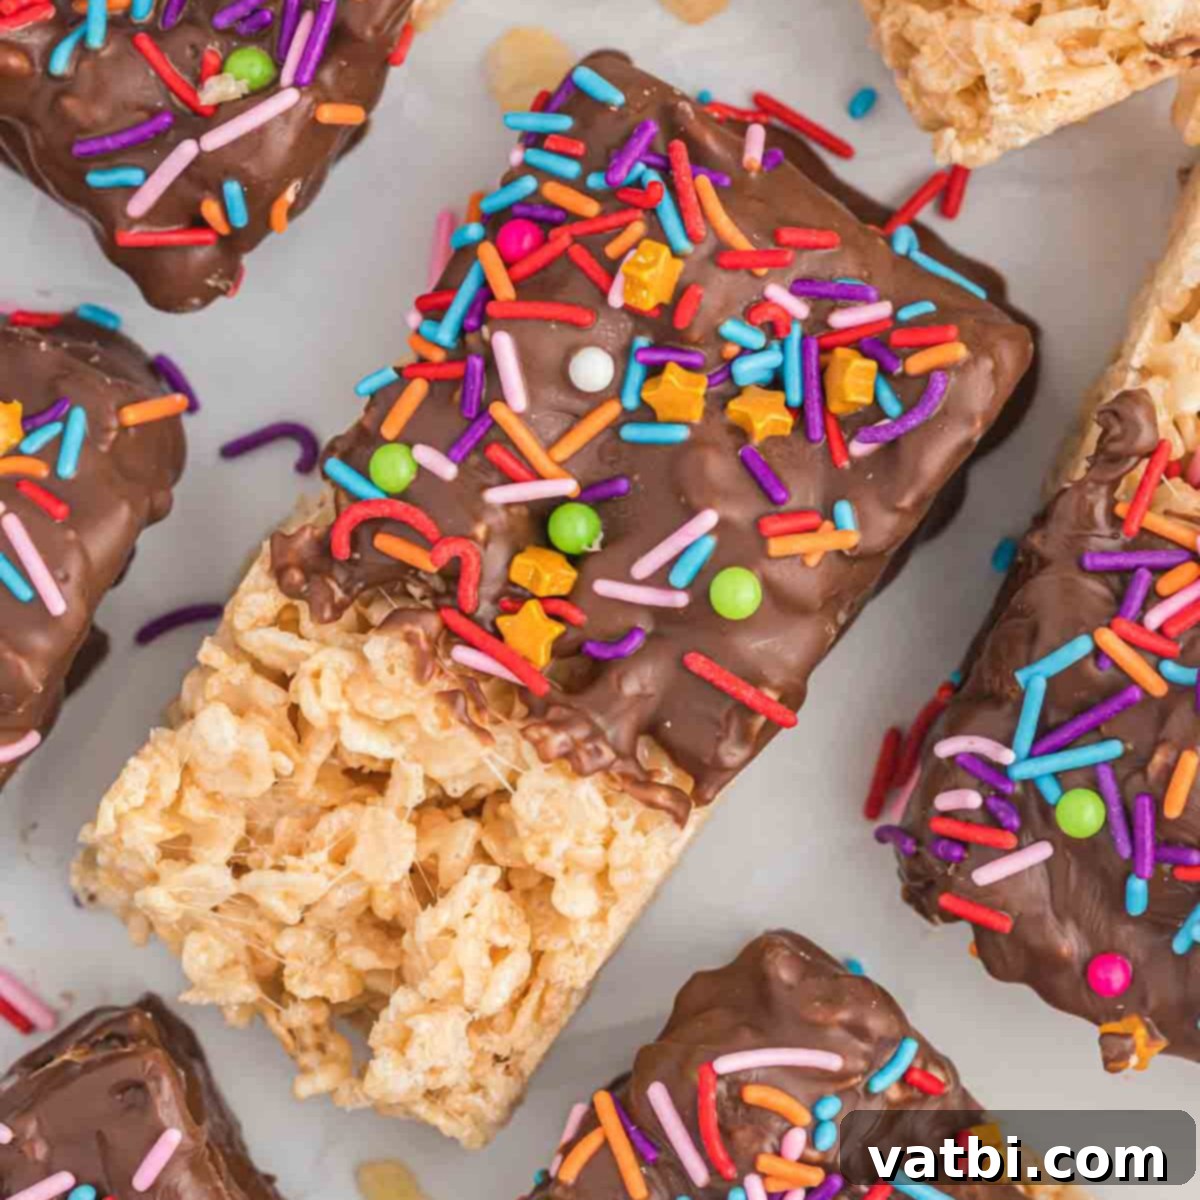
Easy & Delicious Chocolate Dipped Rice Krispie Treats: The Ultimate No-Bake Dessert Guide
Get ready to indulge in the ultimate no-bake dessert: Chocolate Dipped Rice Krispie Treats! This classic childhood favorite gets a gourmet upgrade when coated in rich, melted chocolate and adorned with colorful sprinkles. Simple to make yet impressively delicious, these treats are perfect for parties, holiday celebrations, or a delightful everyday snack. Forget the oven – with just a few ingredients and minimal effort, you can create a batch of these chewy, chocolatey, and fun-filled delights that everyone will adore.
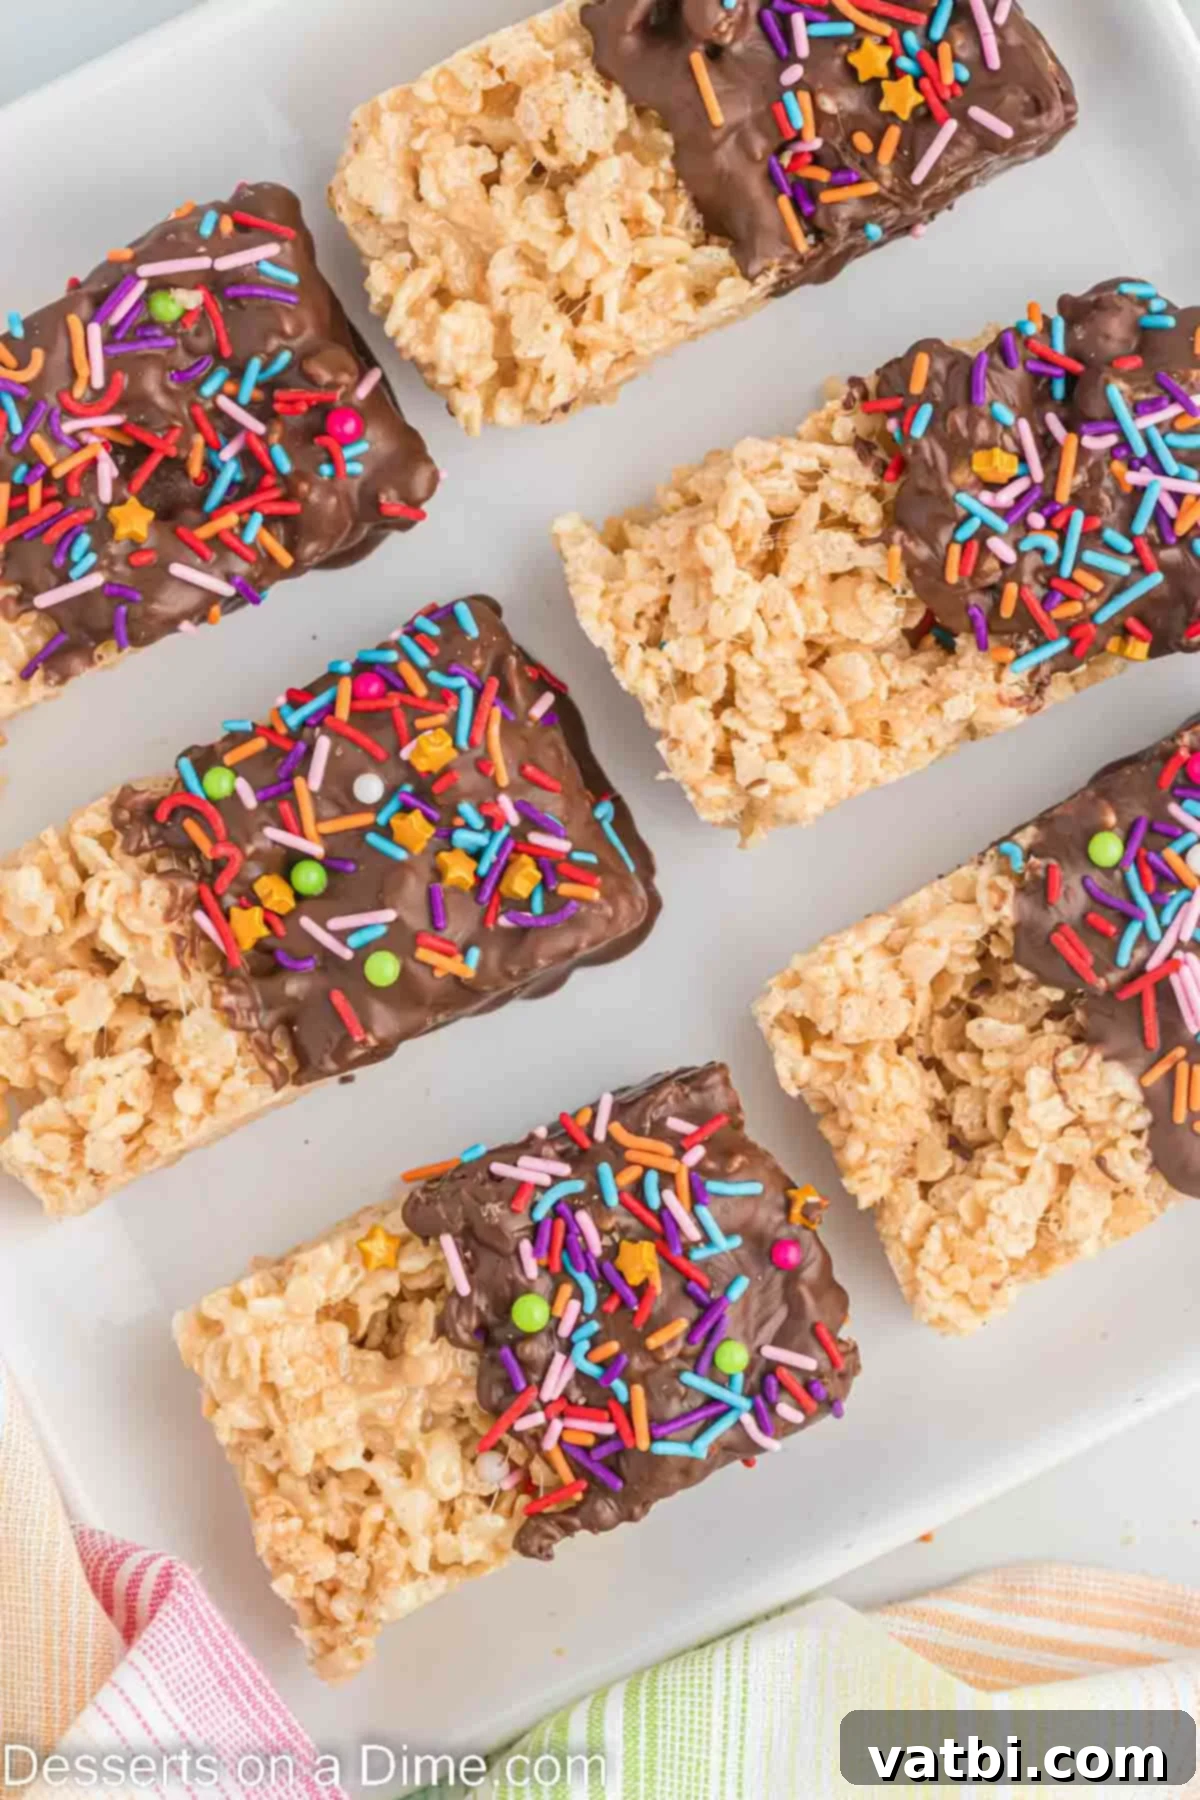
Everyone loves the nostalgic taste of gooey marshmallow Rice Krispie Treats, and this beloved recipe takes them to the next level. By simply dipping them in smooth chocolate and adding a festive sprinkle topping, you transform a simple snack into a truly fabulous dessert. It’s an effortless way to elevate a classic, making it even more appealing for both kids and adults alike.
As a huge fan of no-bake dessert recipes, I can confidently say that these chocolate-dipped wonders are incredibly easy. The marshmallow mixture comes together in minutes, and the dipping process is straightforward and fun. Prepare to make these a regular in your dessert rotation!
What’s in this post: Chocolate Dipped Rice Krispie Treats
- Why You’ll Love This Recipe
- Essential Ingredients
- Exciting Variations & Customizations
- Step-By-Step Instructions for Perfect Treats
- Expert Tips for Success
- Storage Best Practices
- Frequently Asked Questions
- More Cereal Treat Ideas
- Chocolate Dipped Rice Krispie Treats Recipe Card
Why You’ll Love This Recipe
There are countless reasons why these chocolate-dipped Rice Krispie Treats are a perennial favorite. First and foremost, the entire recipe is incredibly simple to prepare, making it a fantastic option for busy days or impromptu gatherings. They require no baking, which is a huge plus, especially during warmer months or when your oven is already occupied. This also makes them a safe and fun activity to do with children.
These treats are versatile enough for any occasion. Whether you’re hosting a sophisticated party, packing a school lunch, or simply craving a sweet bite, they fit the bill perfectly. Their beautiful appearance, especially with vibrant sprinkles, makes them a standout on any dessert table. Kids are absolutely obsessed with them, but adults find them equally irresistible, tapping into a nostalgic joy with every chewy, chocolatey bite. We’re big fans of chocolate-dipped goodies, just like our popular Chocolate Dipped Potato Chips, and these Rice Krispie treats are no exception to the rule of deliciousness.
The combination of crispy cereal, gooey marshmallow, and rich chocolate creates a textural and flavor experience that is truly satisfying. Plus, they offer endless possibilities for customization, allowing you to tailor them to any theme, season, or personal preference. It’s a truly winning dessert that delivers on taste, ease, and visual appeal.
Essential Ingredients
Creating these delightful chocolate-dipped treats requires only a handful of common ingredients. The key to the best results lies in using fresh, quality components. Here’s what you’ll need:
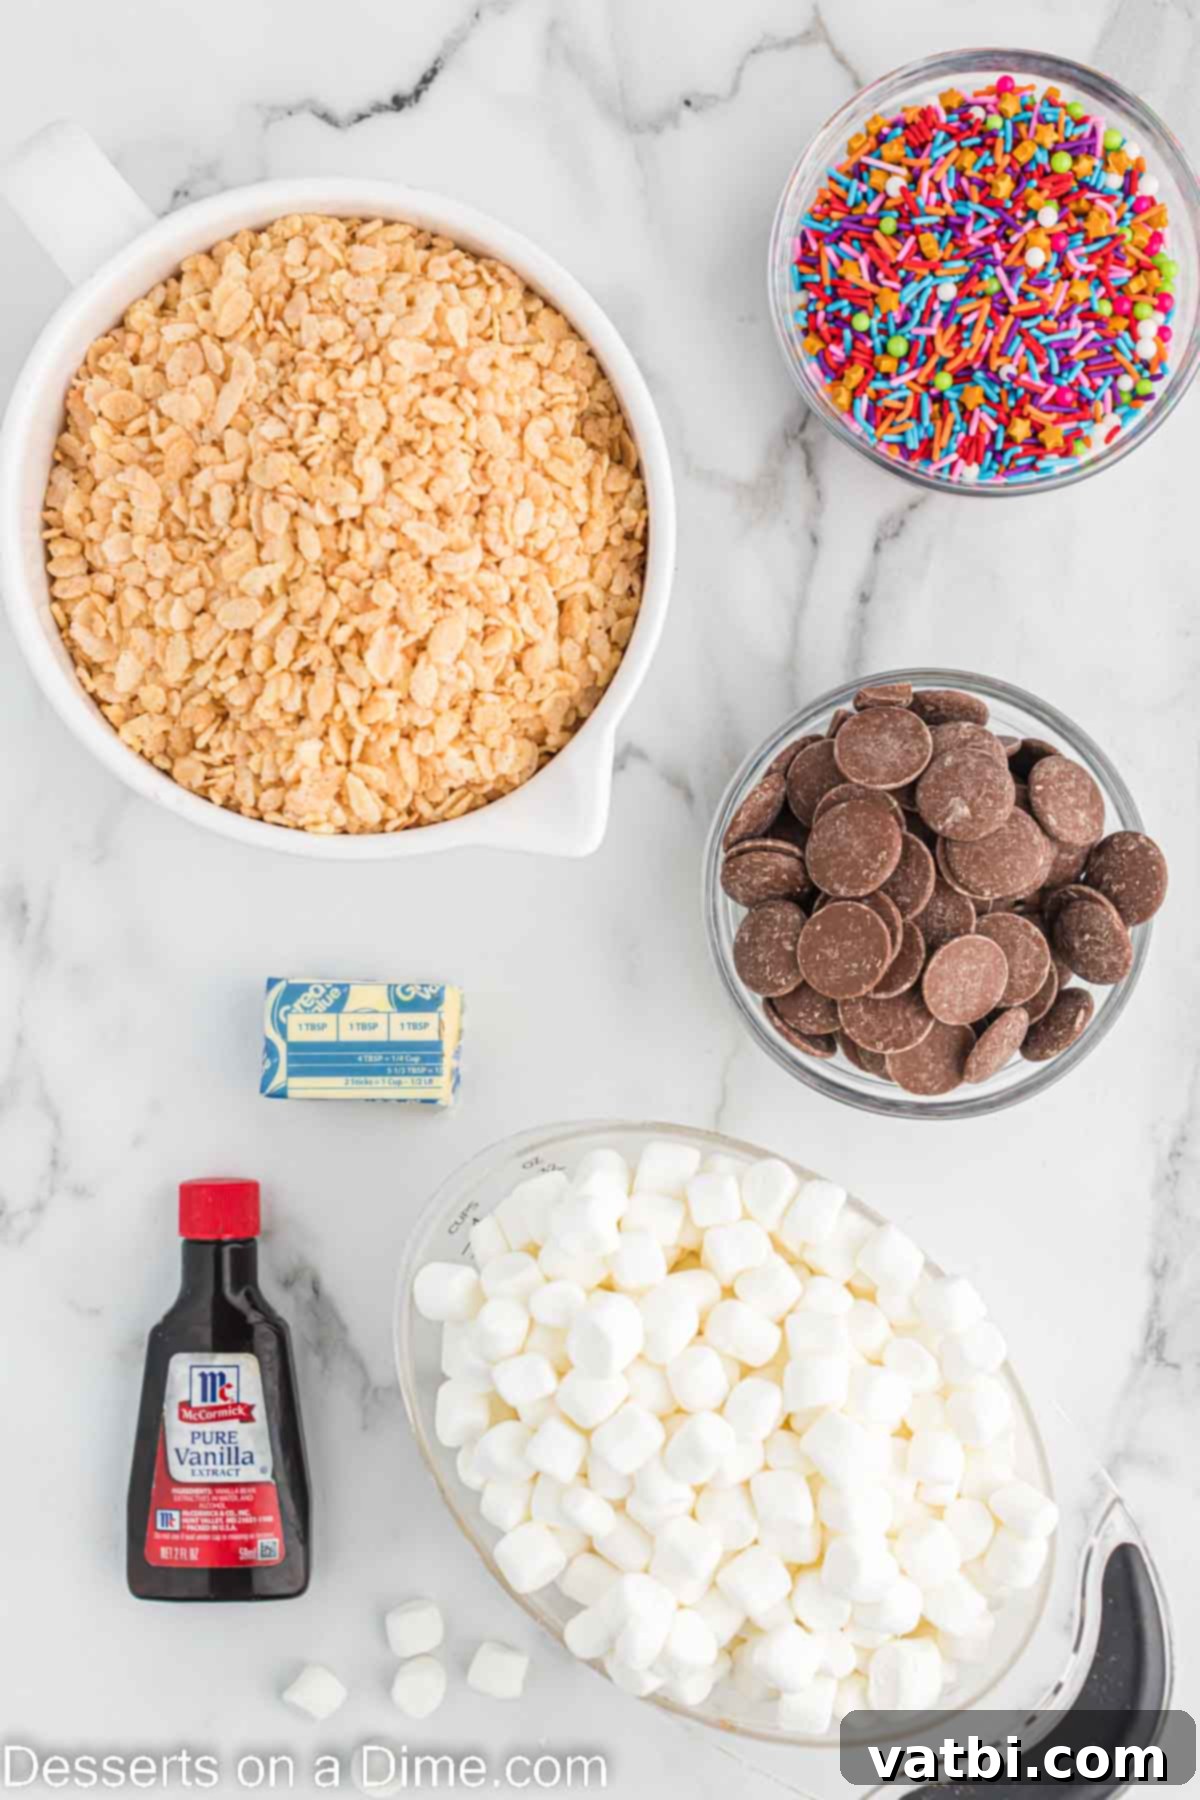
- Rice Krispies Cereal: This is the foundation of our treats! Ensure your cereal is fresh and crisp, not stale, for the best texture. Fresh cereal will give your treats that signature “snap, crackle, pop.”
- Butter: For the most delicious and rich flavor, real butter is highly recommended. It contributes to the chewy texture and helps the marshmallows melt smoothly.
- Mini Marshmallows: Mini marshmallows are ideal for this recipe because they melt much more easily and evenly compared to larger ones, creating that perfectly gooey binder. Make sure they are fresh for optimal melting and stretchiness.
- Vanilla Extract: A touch of vanilla extract is crucial for enhancing the overall flavor profile of the marshmallow base, adding a warm and inviting aroma.
- Chocolate Melting Chips: These are specifically designed to melt smoothly and harden beautifully, making them perfect for dipping. They provide a glossy, even coating without the need for tempering. High-quality melting chips will give you the best finish.
- Multi-Colored Sprinkles: These add a fantastic visual appeal and a fun crunch. You can choose any color or mix of colors to match your theme or simply add a burst of joy.
You can find the precise measurements for each of these ingredients in the recipe card at the bottom of this page.
Exciting Variations & Customizations
One of the best things about Rice Krispie treats is how incredibly versatile they are! While the classic chocolate-dipped version is a winner, don’t hesitate to get creative with these delicious variations to suit any taste or occasion:
- Chocolate Type: The possibilities are endless when it comes to chocolate! You can easily dip these treats in any of your favorite chocolate varieties. Try semi-sweet chocolate for a balanced flavor, rich milk chocolate for a sweeter touch, decadent dark chocolate for an intense experience, or creamy white chocolate for a luxurious finish. To ensure a smooth, dippable consistency, especially with regular chocolate chips, consider adding a teaspoon of coconut oil or shortening while melting.
- Nut Butter Infusion: For peanut butter lovers, melt some peanut butter morsels or a spoon of creamy peanut butter and drizzle it generously over the chocolate-dipped treats before the chocolate sets. The combination of chocolate and peanut butter is always a crowd-pleaser! Almond butter or other nut butters could also be used for a different flavor.
- Sprinkle Spectacle: Sprinkles are your secret weapon for customization! Any type or color of sprinkles can be used to match holidays, party themes, or personal preferences.
- Christmas: Switch to festive red and green sprinkles for a joyful holiday treat.
- Halloween: Use orange and black sprinkles for a spooky, fun dessert.
- Birthdays: Opt for bright, multi-colored confetti sprinkles.
- Baby Showers: Pink or blue sprinkles can add a sweet touch.
- Crunchy Toppings: Elevate the texture and flavor by sprinkling crushed candy or cookies on the wet chocolate before it sets. Think crushed Oreos, M&Ms, peppermint candies, or even crushed pretzels for a sweet and salty twist. A sprinkle of flaky sea salt on top also adds a sophisticated contrast to the sweetness.
- Elegant Drizzles: After the main chocolate dip has set, melt a contrasting chocolate or candy melts and drizzle it over the treats for an artistic touch. For instance, if you dipped them in milk chocolate, a drizzle of melted white chocolate looks incredibly elegant and adds another layer of flavor.
- Treats on a Stick: Make these even more fun to eat and serve by inserting popsicle sticks or sturdy paper straws into the treats before dipping them in chocolate. This makes them perfect for grab-and-go party favors or a less messy snack for kids.
- Gluten-Free Option: If you or your guests have dietary restrictions, simply substitute regular Rice Krispie cereal with a certified gluten-free rice cereal to make the recipe accessible for everyone. Ensure all other ingredients are also gluten-free if necessary.
- Flavor Extracts: Beyond vanilla, consider adding other extracts to the marshmallow mixture, such as almond, peppermint, or even a citrus zest, to create unique flavor profiles.
With these variations, you can create a truly personalized and unforgettable dessert that will impress everyone!
Step By Step Instructions for Perfect Treats
Making chocolate-dipped Rice Krispie Treats is a straightforward process, even for beginner bakers. Follow these simple steps for a flawless batch:
- Step 1: Prepare Your Baking Dish. Begin by preparing a 9×13 inch baking pan. You can either grease it thoroughly with butter or cooking spray, or line it with parchment paper, leaving an overhang on the sides. The parchment paper method makes for easier removal and cleaner cuts later.
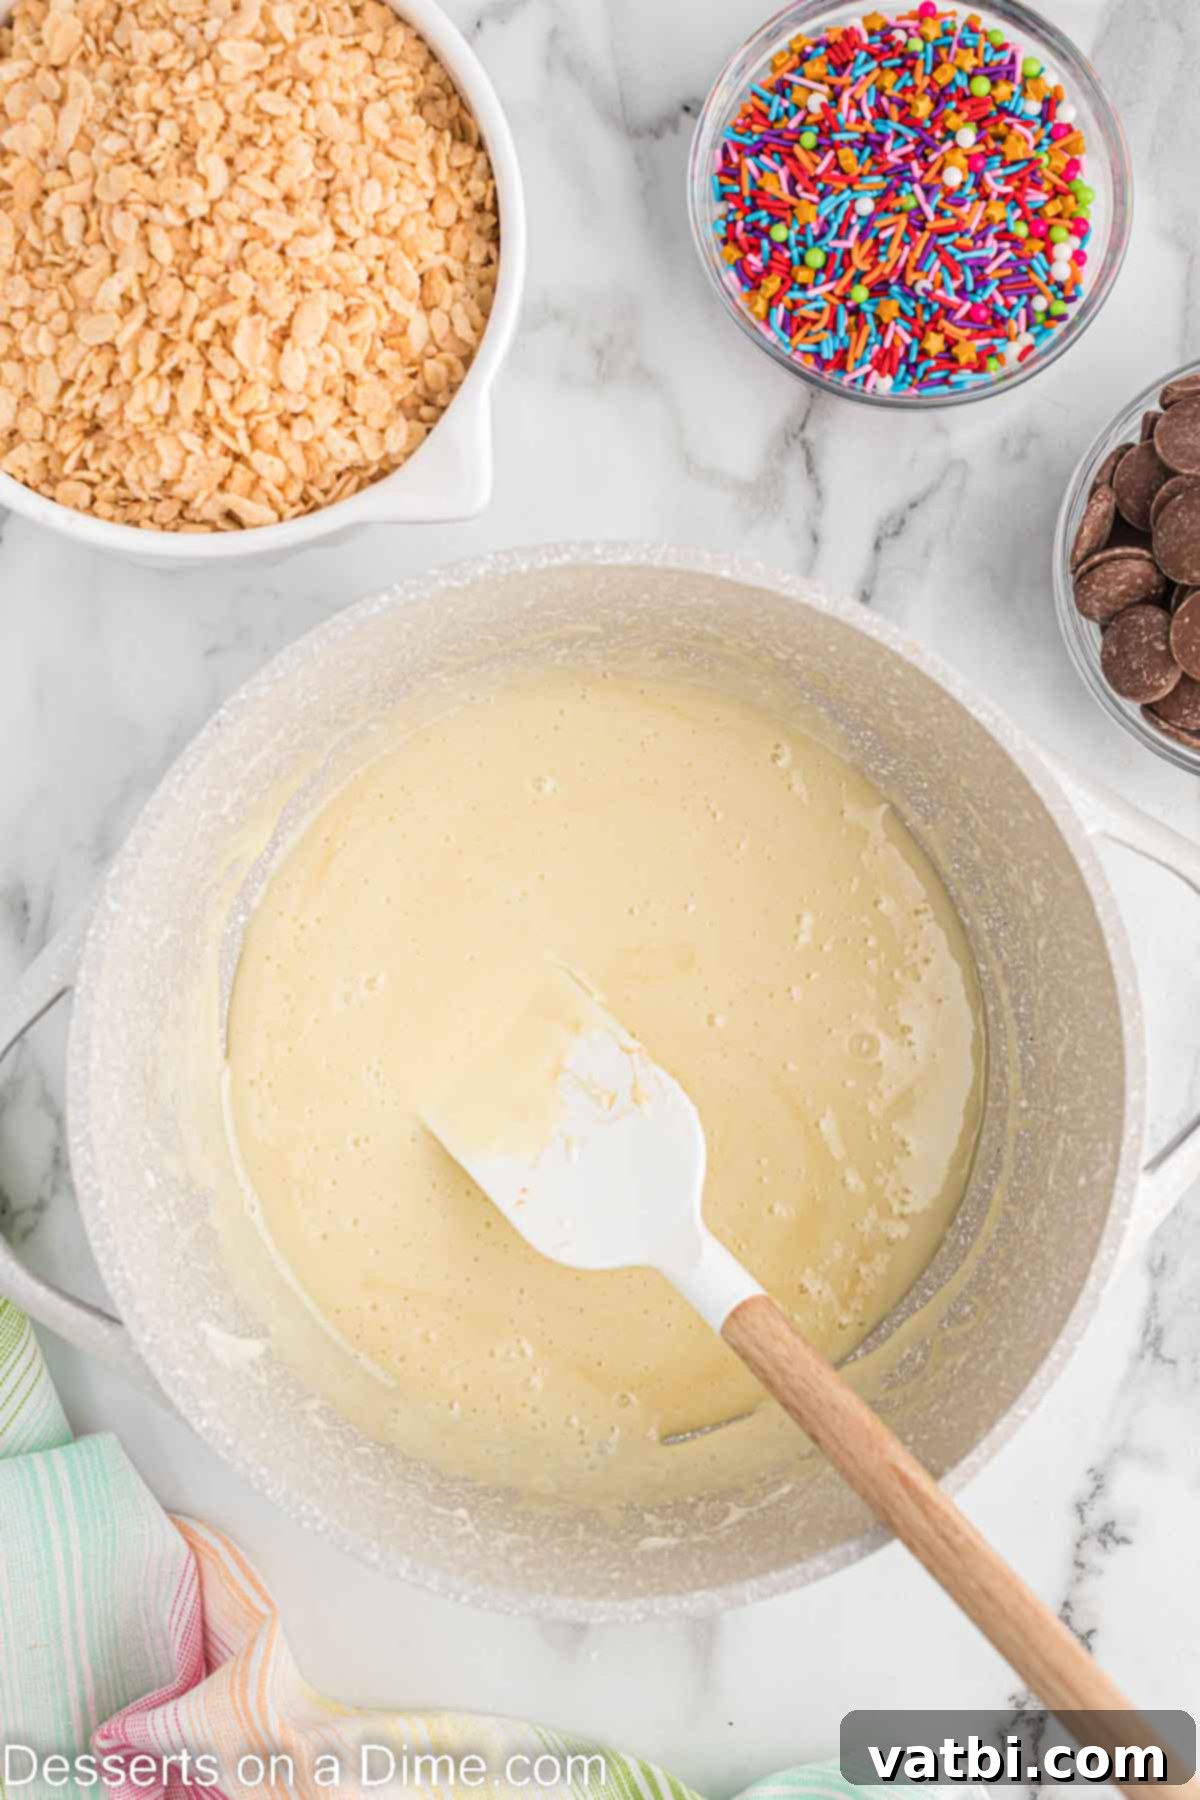
Step 2: Melt Butter and Marshmallows. In a medium to large saucepan, melt the butter over low heat. It’s crucial to use low heat to prevent the butter from browning and the marshmallows from burning. Once the butter is melted, add the mini marshmallows to the saucepan. Stir continuously with a spatula or wooden spoon until the marshmallows are completely melted and smooth. As soon as they are fully melted, remove the pan from the heat immediately to avoid overcooking them, which can result in hard treats.
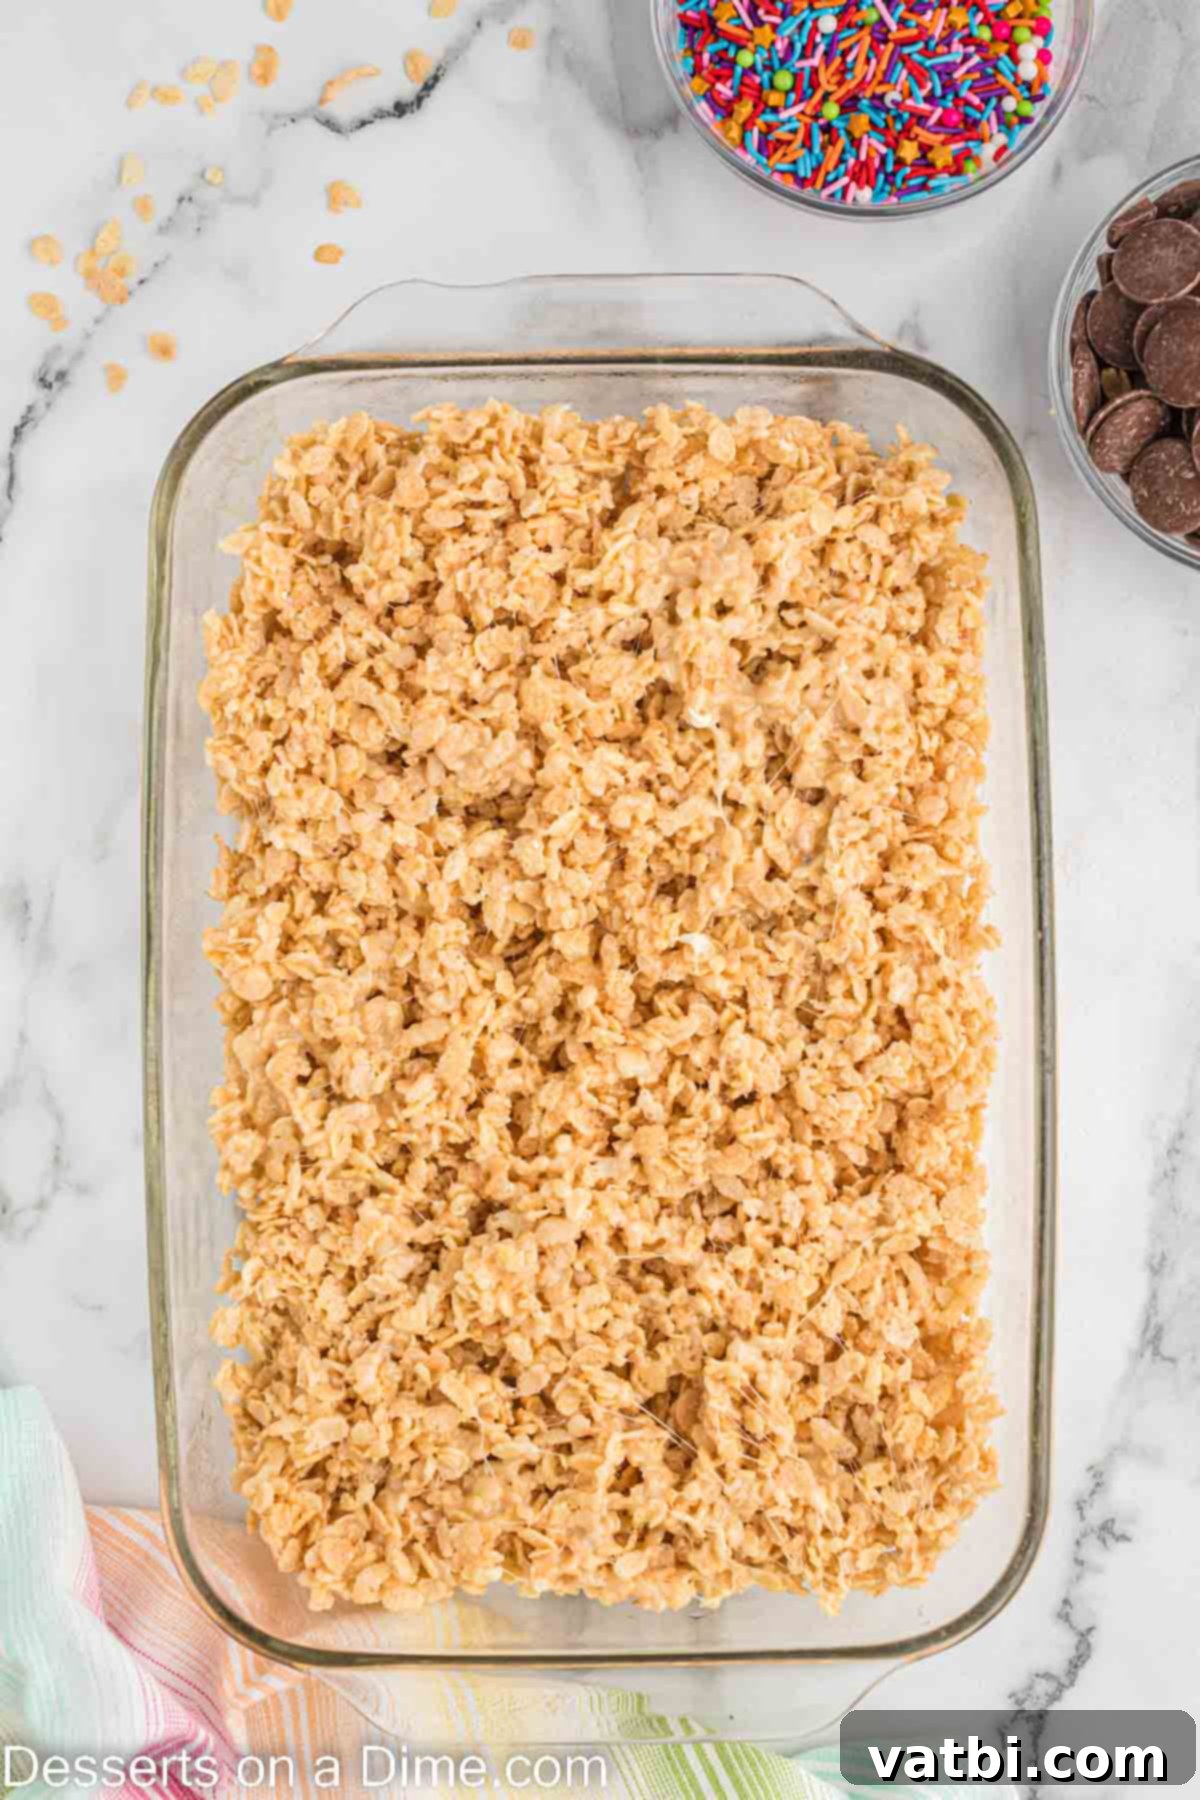
Step 3: Combine with Cereal and Press into Pan. Stir in the vanilla extract into the marshmallow mixture. Then, quickly pour the Rice Krispie cereal into the saucepan with the melted marshmallow mixture. Stir until the cereal is thoroughly coated. Work quickly but gently. Transfer the mixture into your prepared pan. To press the mixture into an even layer, I recommend buttering your hands lightly or using a piece of wax paper or parchment paper. This prevents the sticky mixture from adhering to your hands. Most importantly, do not pack the mixture down too firmly, as this will result in hard, dense Rice Krispie treats rather than soft and chewy ones.
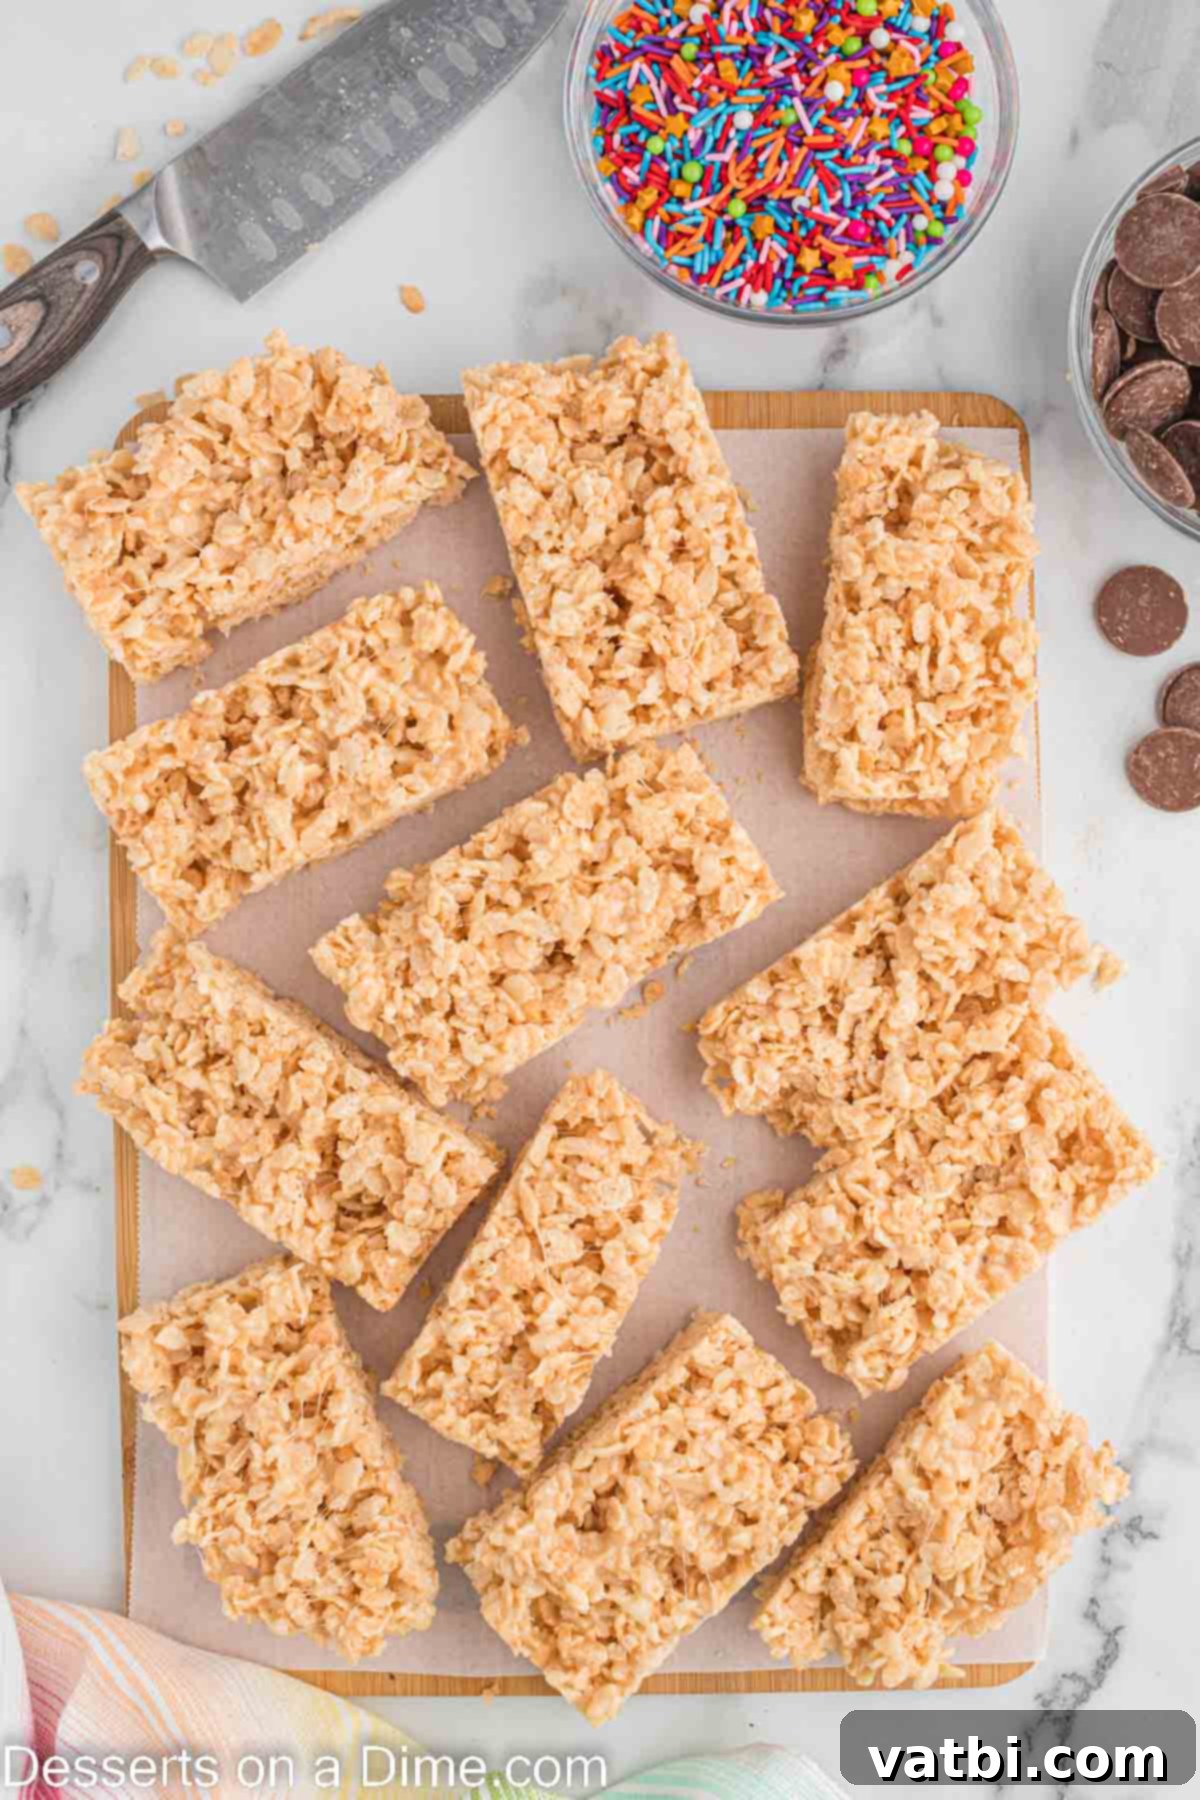
Step 4: Allow to Set and Cut. Once the cereal mixture is evenly pressed into the pan, allow the Rice Krispies to cool completely and set at room temperature. This usually takes about 30-60 minutes. Avoid refrigerating them at this stage, as it can make them hard. Once set, use a sharp knife (lightly greased if needed) to cut the treats into 12 uniform rectangles or any desired shape.
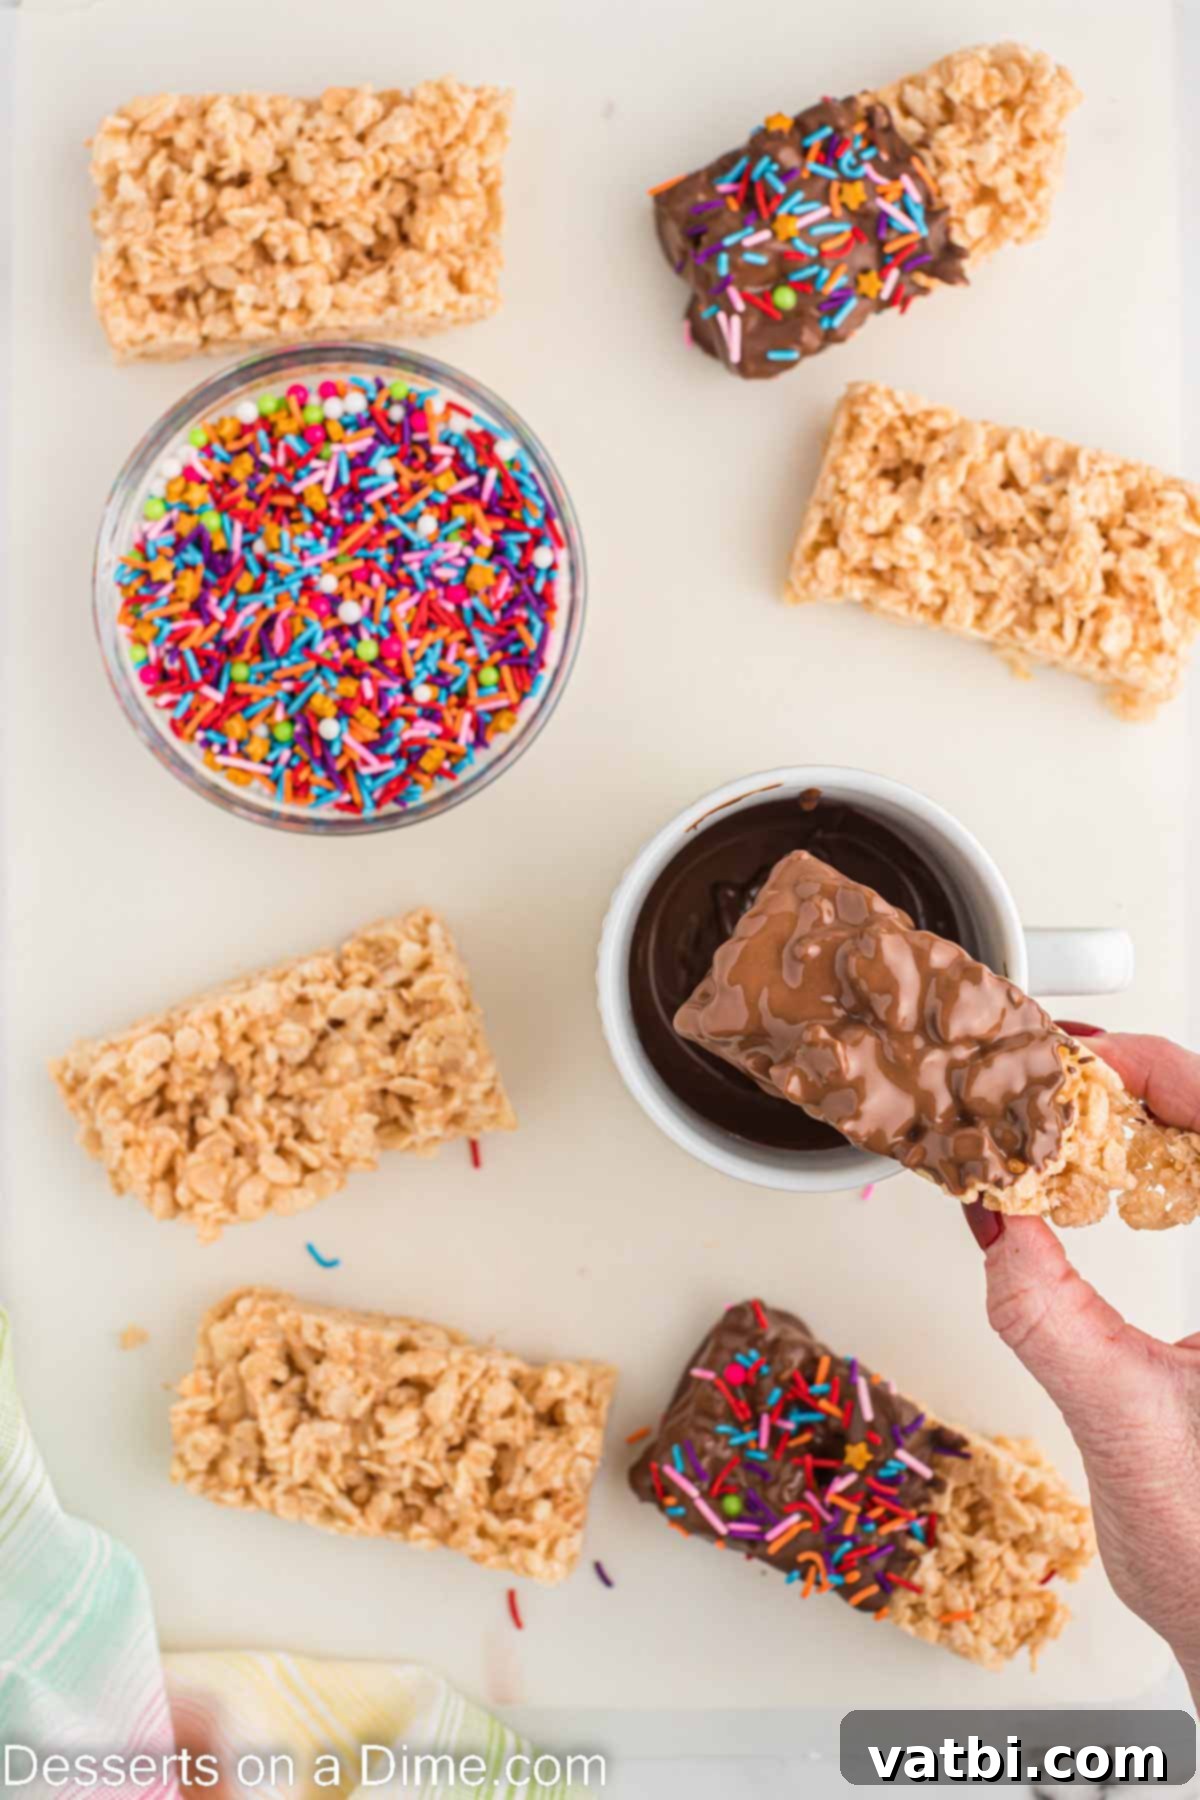
Step 5: Dip in Chocolate and Decorate. Prepare your melting chocolate chips. Place them in a microwave-safe bowl and heat them in 30-second intervals, stirring thoroughly after each interval. Continue until the chocolate is smooth and fully melted. Do not overheat. Dip each Rice Krispie treat halfway or fully into the melted chocolate, allowing any excess chocolate to drip off. Immediately after dipping, place the chocolate-coated treats on a piece of parchment paper. While the chocolate is still wet, generously top them with your chosen sprinkles. Allow them to set completely at room temperature. This will ensure the chocolate hardens beautifully and the sprinkles adhere perfectly.

Expert Tips for Success
Achieving perfectly chewy and delicious chocolate-dipped Rice Krispie Treats is simple when you know a few key tricks. Here are some expert tips to ensure your treats turn out amazing every time:
- Always Use Fresh Marshmallows: This is arguably the most crucial tip! Fresh marshmallows are soft and pliable, melting into a smooth, gooey consistency that perfectly binds the cereal. Older, slightly hardened marshmallows won’t melt as evenly or create the desired chewy texture, often leading to tougher treats. Check the expiry date and ensure your bag is sealed.
- Melt on Low Heat: When melting the butter and marshmallows, always use low heat. High heat can cause the marshmallows to caramelize too quickly, becoming brittle and sticky, or even burn. It can also cause the butter to brown excessively, affecting the flavor. Gentle, consistent low heat ensures a smooth, even melt. Patience is key here!
- Do Not Over-Pack the Mixture: After combining the cereal and marshmallow mixture and transferring it to the baking dish, resist the urge to press it down too firmly. Lightly press the mixture into the pan just enough to create an even layer. Over-compressing the treats squeezes out all the air, resulting in dense, hard bars instead of the light and chewy texture you’re aiming for.
- Allow Chocolate to Harden at Room Temperature: For the best results and a beautiful, shiny finish, allow the chocolate-dipped treats to set at room temperature. Placing them in the refrigerator can cause the chocolate to “bloom” (develop a dull, streaky appearance) and can also make the Rice Krispie treats themselves too hard. Depending on your room temperature, this might take 30-60 minutes.
- Butter Your Hands or Utensils: The marshmallow mixture is notoriously sticky. Lightly buttering your hands, a spatula, or a piece of wax paper before pressing the mixture into the pan, or even before handling the cut bars, will prevent sticking and make the process much cleaner and easier.
- Don’t Overcook the Chocolate: When melting your chocolate chips, especially in the microwave, heat in short intervals (30 seconds) and stir well after each. Chocolate can burn very quickly, becoming grainy and unusable if overheated. Stirring helps distribute the heat and ensures a smooth melt.
- Work Quickly Once Cereal is Added: Once the Rice Krispies cereal is added to the melted marshmallow mixture, it’s important to stir and transfer it to the pan fairly quickly. The mixture cools and stiffens rapidly, making it harder to spread evenly if you delay too long.
By following these expert tips, you’ll be well on your way to creating irresistible chocolate-dipped Rice Krispie treats that are perfectly chewy, wonderfully chocolatey, and a joy to eat.
Storage Best Practices
To keep your Chocolate Dipped Rice Krispie Treats fresh, chewy, and delicious, proper storage is essential. Store them inside an airtight container at room temperature. They will maintain their quality for approximately 3 to 4 days. It is important to avoid refrigerating them, as this can cause the treats to harden and the chocolate to potentially “bloom” and lose its shine.
For best results and to prevent the bars from sticking together, I highly recommend placing wax paper or parchment paper in between layers of bars within the container. This ensures that each treat remains perfectly intact and easy to grab. If stacking multiple layers, a piece of parchment paper between each layer will work wonders.
Frequently Asked Questions
If your Rice Krispie treats have turned out harder than desired, there are a few tricks you can try. For individual bars, a quick microwave session can often do the trick: place a single hardened bar in the microwave for about 5-10 seconds. Be careful not to overheat it, as it can melt the chocolate and marshmallows too much. For an entire batch, or to prevent hardening, place a slice of fresh white sandwich bread in the storage container with the treats. The moisture from the bread should be absorbed by the Rice Krispie treats, helping to soften them over several hours or overnight.
Soggy Rice Krispie treats can be quite disappointing. There are a couple of common culprits. Firstly, using too much butter in the recipe can lead to an overly moist and therefore soggy texture. It’s crucial to stick to the specified amount in the recipe. Secondly, the crispy rice cereal itself might be stale or expired. Stale cereal loses its crunch and can absorb moisture from the marshmallow mixture, making the treats soft and unappealing. Always use fresh cereal for the best crispy texture.
Melting chocolate for dipping requires a gentle approach to ensure it’s smooth and doesn’t burn. The easiest method is using a microwave. Place your chocolate chips in a microwave-safe bowl. Heat them in short intervals, typically 30 seconds at a time. After each interval, remove the bowl and stir the chocolate thoroughly, even if it doesn’t look fully melted. The residual heat will continue to melt the chocolate. Repeat this process until the chocolate is completely smooth and free of lumps. Alternatively, you can use a double boiler method on the stovetop for a more controlled melt.
Dipping Rice Krispie treats in chocolate is simple. Hold a cooled and cut Rice Krispie treat and submerge about half or all of it into your melted chocolate. Gently lift the treat, allowing any excess chocolate to drip back into the bowl. You can gently tap the side of the treat against the rim of the bowl to help remove excess. Immediately after dipping, place the chocolate-coated bars on a baking sheet lined with parchment paper. This prevents them from sticking to the surface as the chocolate sets. Don’t forget to add your sprinkles while the chocolate is still wet!
Absolutely! While the microwave is convenient, you can certainly melt the butter and marshmallows in a large pot on the stove if you prefer. Use low to medium-low heat, stirring constantly to prevent sticking and burning. This method gives you excellent control over the melting process, which some home cooks prefer for consistency.
Yes, these chocolate-dipped Rice Krispie Treats are an excellent make-ahead dessert. You can prepare them 1-2 days in advance and store them in an airtight container at room temperature. This makes them perfect for parties or events, allowing you to get some of your dessert prep done ahead of time without sacrificing freshness or quality.
More Cereal Treat Ideas
If you love the simplicity and deliciousness of Rice Krispie treats, you’ll be thrilled to explore these other fantastic cereal treat recipes. They’re just as easy to make and offer unique flavor twists for every palate:
- Chocolate Rice Krispie Treats
- Butterscotch Rice Krispie Treats
- Oreo Rice Krispie Treats
- M&M Rice Krispie Treats
- Chocolate Caramel Rice Krispie Treats
- Peanut Butter Balls with Rice Krispies
Don’t wait any longer to try this incredibly delicious and fun recipe for Chocolate Dipped Rice Krispie Treats! It’s guaranteed to bring smiles and satisfy any sweet craving. Once you’ve made them, we’d love to hear your thoughts – please leave a comment below and share your experience! Enjoy!
Pin
Chocolate Dipped Rice Krispie Treats
Chocolate Dipped Rice Krispie Treats are an effortless no-bake dessert that combines crispy cereal with gooey marshmallows, all coated in delicious chocolate and festive sprinkles. Perfect for any occasion!
Ingredients
- 6 cup Rice Krispies Cereal
- 3 tbsp Butter
- 10.5 oz Mini Marshmallows
- 1 teaspoon Vanilla Extract
- 1 cup Chocolate Melting Chips
- Multi-Colored Sprinkles
Instructions
-
Using butter or cooking spray, prepare a 9 x 13 inch pan, or line it with parchment paper for easy removal.
-
In a medium to large saucepan, melt the butter over low heat.
-
Add the marshmallows and stir continuously until they are completely melted and smooth.
-
Immediately remove the saucepan from the heat.
-
Add the vanilla extract, then pour the Rice Krispies cereal into the marshmallow mixture and stir until the cereal is thoroughly coated.
-
Transfer the mixture to the prepared pan. Lightly butter your hands or use wax paper to gently press the mixture into an even layer. Avoid packing them down too firmly, or the treats will be hard.
-
Allow the Rice Krispies to cool and set completely at room temperature. Do not refrigerate.
-
Line a cutting board or tray with parchment paper or wax paper for the next step.
-
Once fully set, cut the Rice Krispie treats into 12 rectangles using a sharp, lightly greased knife.
-
Prepare the chocolate: heat melting chocolate chips in a microwave-safe bowl in 30-second intervals, stirring thoroughly after each interval, until smooth and fully melted.
-
Dip each of the cut Rice Krispie treats into the melted chocolate, allowing any excess to drip off. Place the dipped treats on your lined cutting board or tray. Immediately top with multi-colored sprinkles before the chocolate sets. Allow them to set completely at room temperature.
Recipe Notes
Store these chocolate-dipped delights in an airtight container at room temperature for up to 3-4 days to maintain their freshness and chewy texture. Place wax paper between layers to prevent sticking.
Feel free to customize your chocolate! Semi-sweet, milk chocolate, dark chocolate, or white chocolate melting chips all work wonderfully for dipping. For regular chocolate chips, add a teaspoon of coconut oil to ensure a smooth, dippable consistency.
Nutrition Facts
Carbohydrates 40g,
Protein 2g,
Fat 9g,
Saturated Fat 5g,
Polyunsaturated Fat 0.4g,
Monounsaturated Fat 3g,
Trans Fat 0.1g,
Cholesterol 8mg,
Sodium 118mg,
Potassium 105mg,
Fiber 1g,
Sugar 21g,
Vitamin A 1026IU,
Vitamin C 9mg,
Calcium 12mg,
Iron 5mg
Pin This Now to Remember It Later
Pin Recipe
