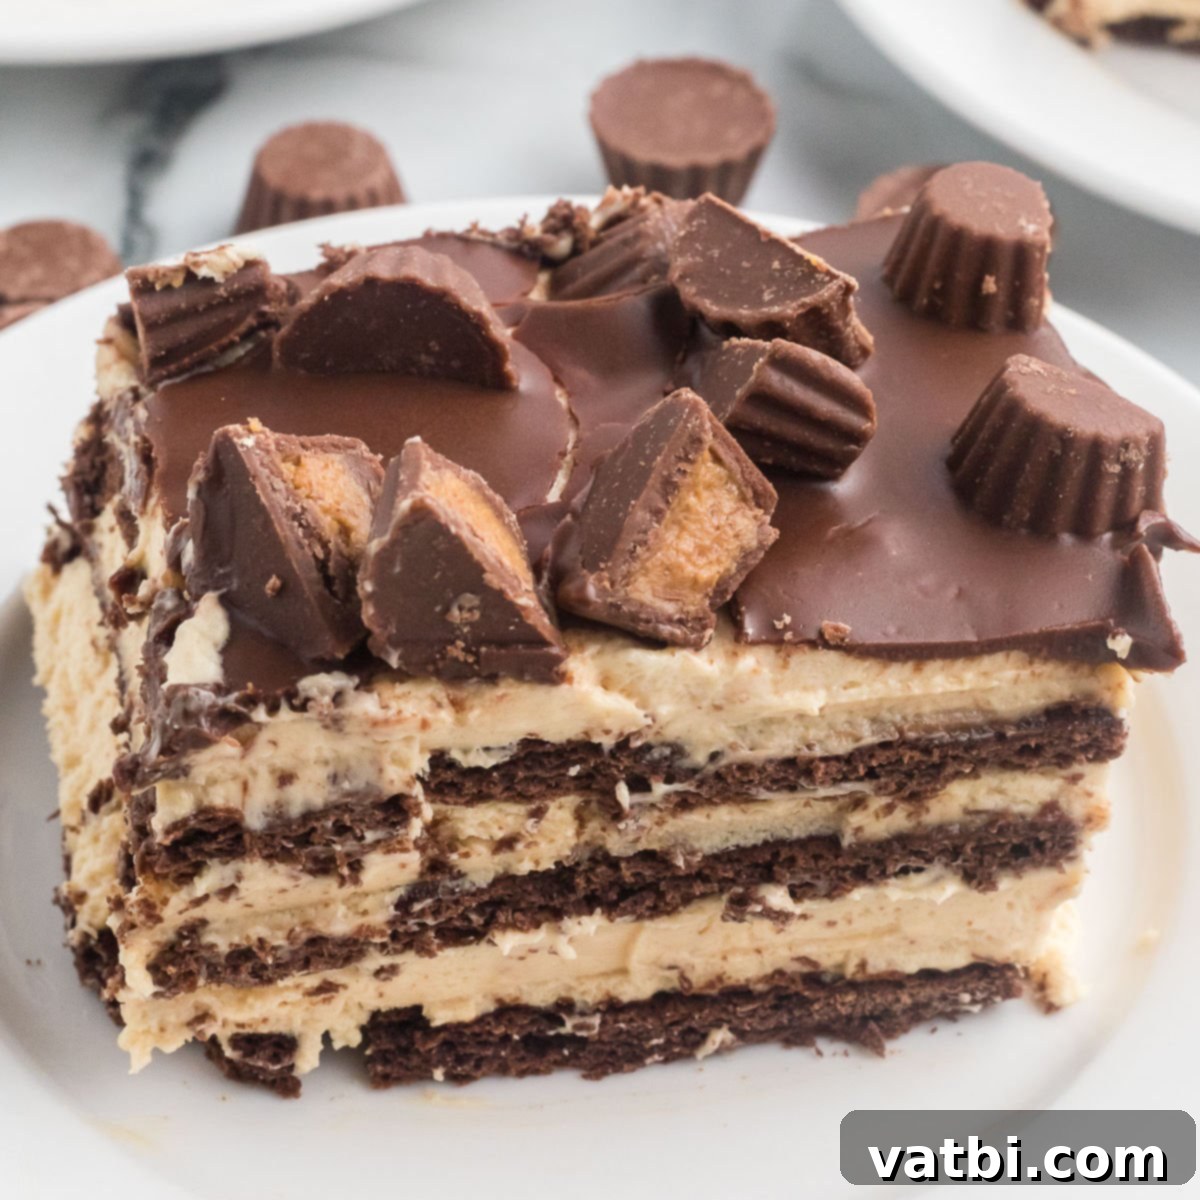
Decadent No-Bake Peanut Butter Icebox Cake: An Easy Recipe for a Crowd-Pleasing Dessert
Indulge in the ultimate no-bake treat with this incredibly easy Peanut Butter Icebox Cake. Featuring luscious layers of creamy peanut butter filling, crisp chocolate graham crackers, fluffy whipped cream, and a rich chocolate magic shell topping, this dessert is a dream come true for peanut butter and chocolate lovers alike. It requires minimal preparation time and consistently delivers a show-stopping, decadent dessert that’s perfect for any occasion, from casual family gatherings to special celebrations. Best of all, there’s no need to even turn on your oven!
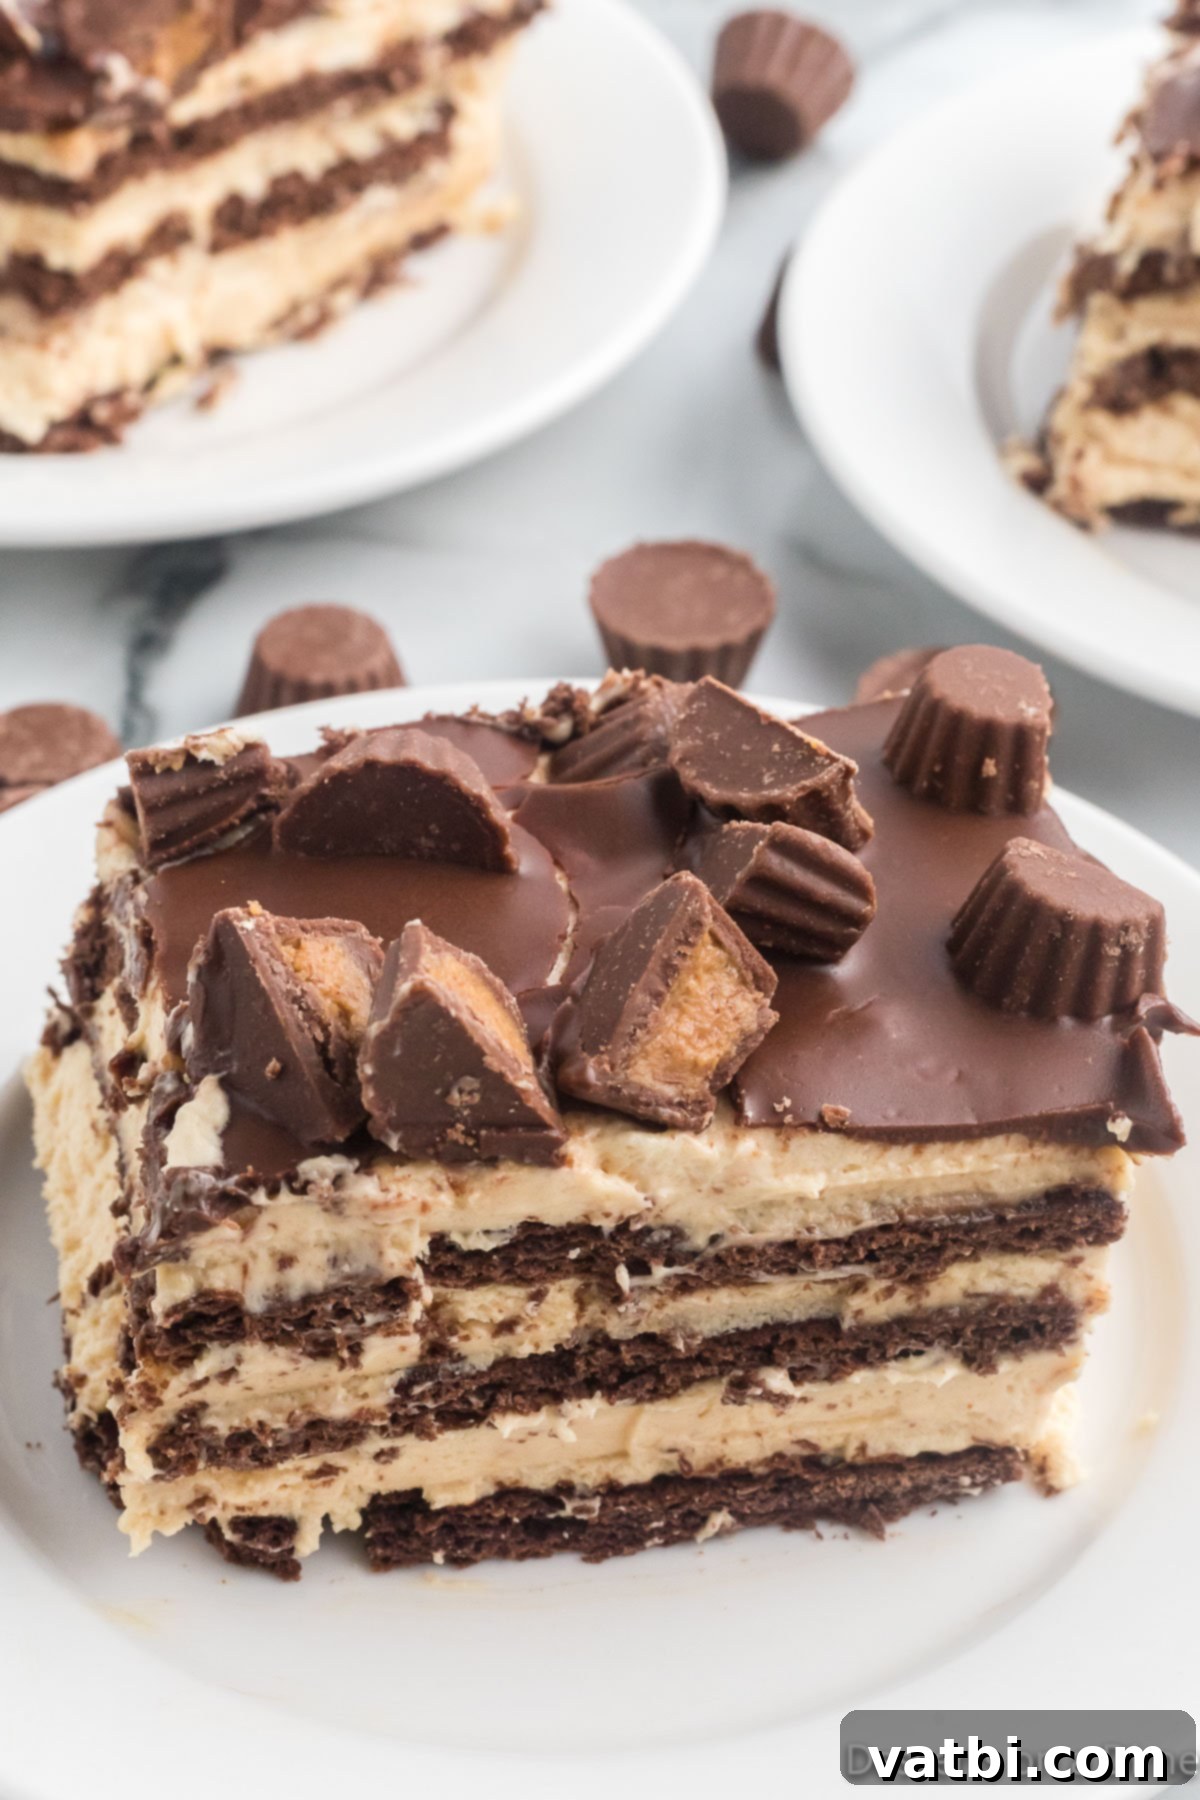
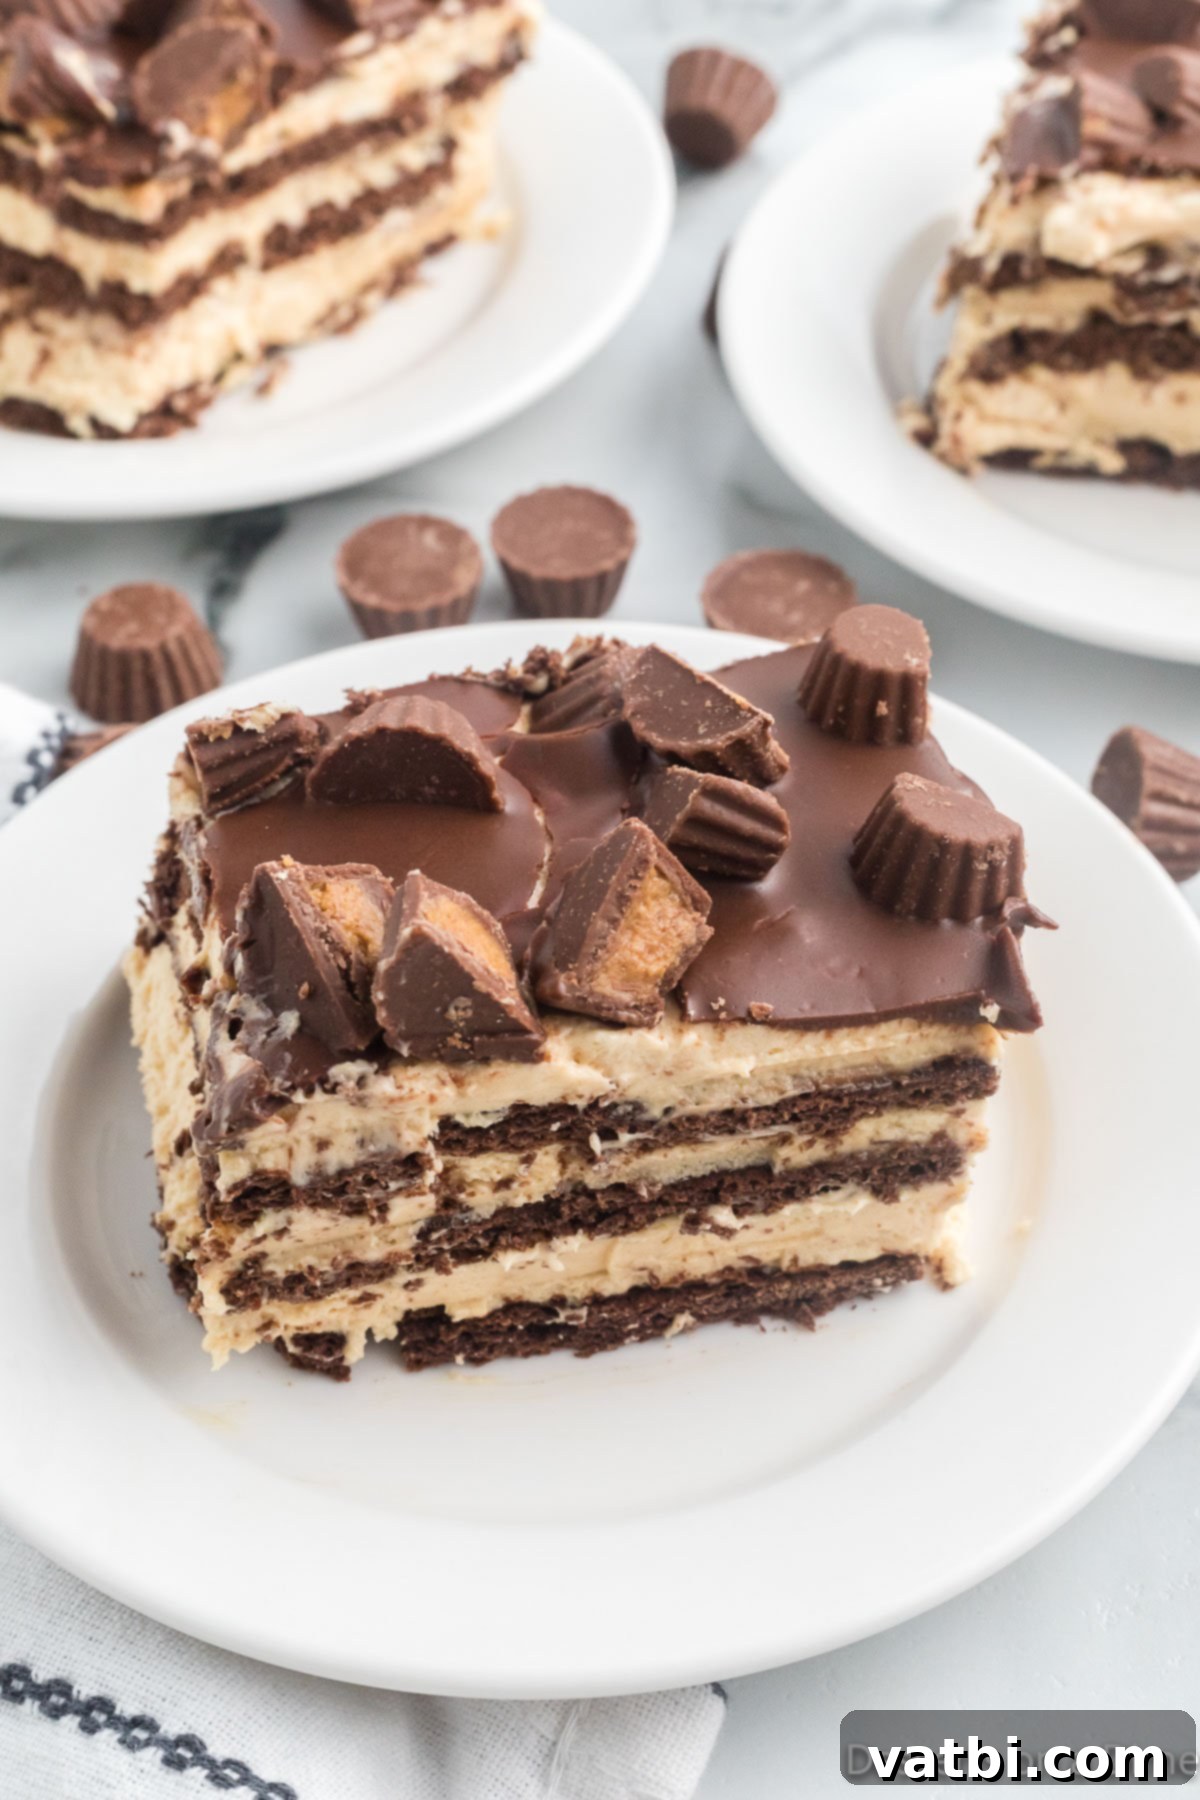
This no-bake dessert recipe is a true sensation among peanut butter aficionados. With less than 10 minutes of active prep time, you can create a dessert that tastes incredibly indulgent and looks professionally made. The neatly stacked layers of chocolate and peanut butter create a stunning visual when sliced, making it an impressive centerpiece for any dessert table. Icebox cakes are renowned for their simplicity and irresistible charm. If you love the concept, be sure to explore our delightful Oreo Icebox Cake Recipe and the refreshing No Bake Lemon Icebox Cake.
For those who simply can’t get enough peanut butter flavor, don’t miss our Peanut Butter Snowballs and discover a treasure trove of ideas with our 55 Peanut Butter Desserts collection. This icebox cake is about to become your new go-to for a quick, impressive, and utterly delicious sweet treat.
Table of Contents
- Why You’ll Love This No-Bake Peanut Butter Icebox Cake
- Essential Ingredients
- Creative Variations & Easy Substitutions
- Step-by-Step Instructions
- Proper Storage Tips
- Expert Tips for the Perfect Icebox Cake
- Frequently Asked Questions (FAQs)
- More Simple No-Bake Desserts to Try
Why You’ll Love This No-Bake Peanut Butter Icebox Cake
There are countless reasons why this Peanut Butter Icebox Cake is a guaranteed hit, making it a beloved recipe in many households. First and foremost, the filling is exquisitely creamy, offering a delightful fusion of rich peanut butter and a subtle, tangy cheesecake-like flavor from the cream cheese. This unique combination creates a filling that is both comforting and incredibly luxurious. You only need a handful of basic ingredients to bring this masterpiece to life, which means less time shopping and more time enjoying.
Beyond its incredible taste, the convenience factor is unmatched. The “no-bake” aspect is a game-changer, especially during warmer months or when your oven is already occupied. It’s the perfect solution for dessert cravings without the heat and hassle of baking. Furthermore, the simplicity of assembly belies its elegant presentation. Each slice reveals beautiful, distinct layers that look as impressive as they taste. This makes it an ideal dessert for entertaining, as it can be prepared ahead of time, freeing you up to enjoy your guests.
Whether you’re a seasoned baker or a complete novice, this recipe is incredibly forgiving and yields consistently fabulous results. It’s a nostalgic dessert that brings joy to all ages, and once you try it, you’ll understand why it quickly becomes a family favorite.
Essential Ingredients for Your Peanut Butter Icebox Cake
Crafting this irresistible no-bake treat requires a few simple ingredients that come together to create a symphony of flavors and textures. Here’s a detailed look at what you’ll need:
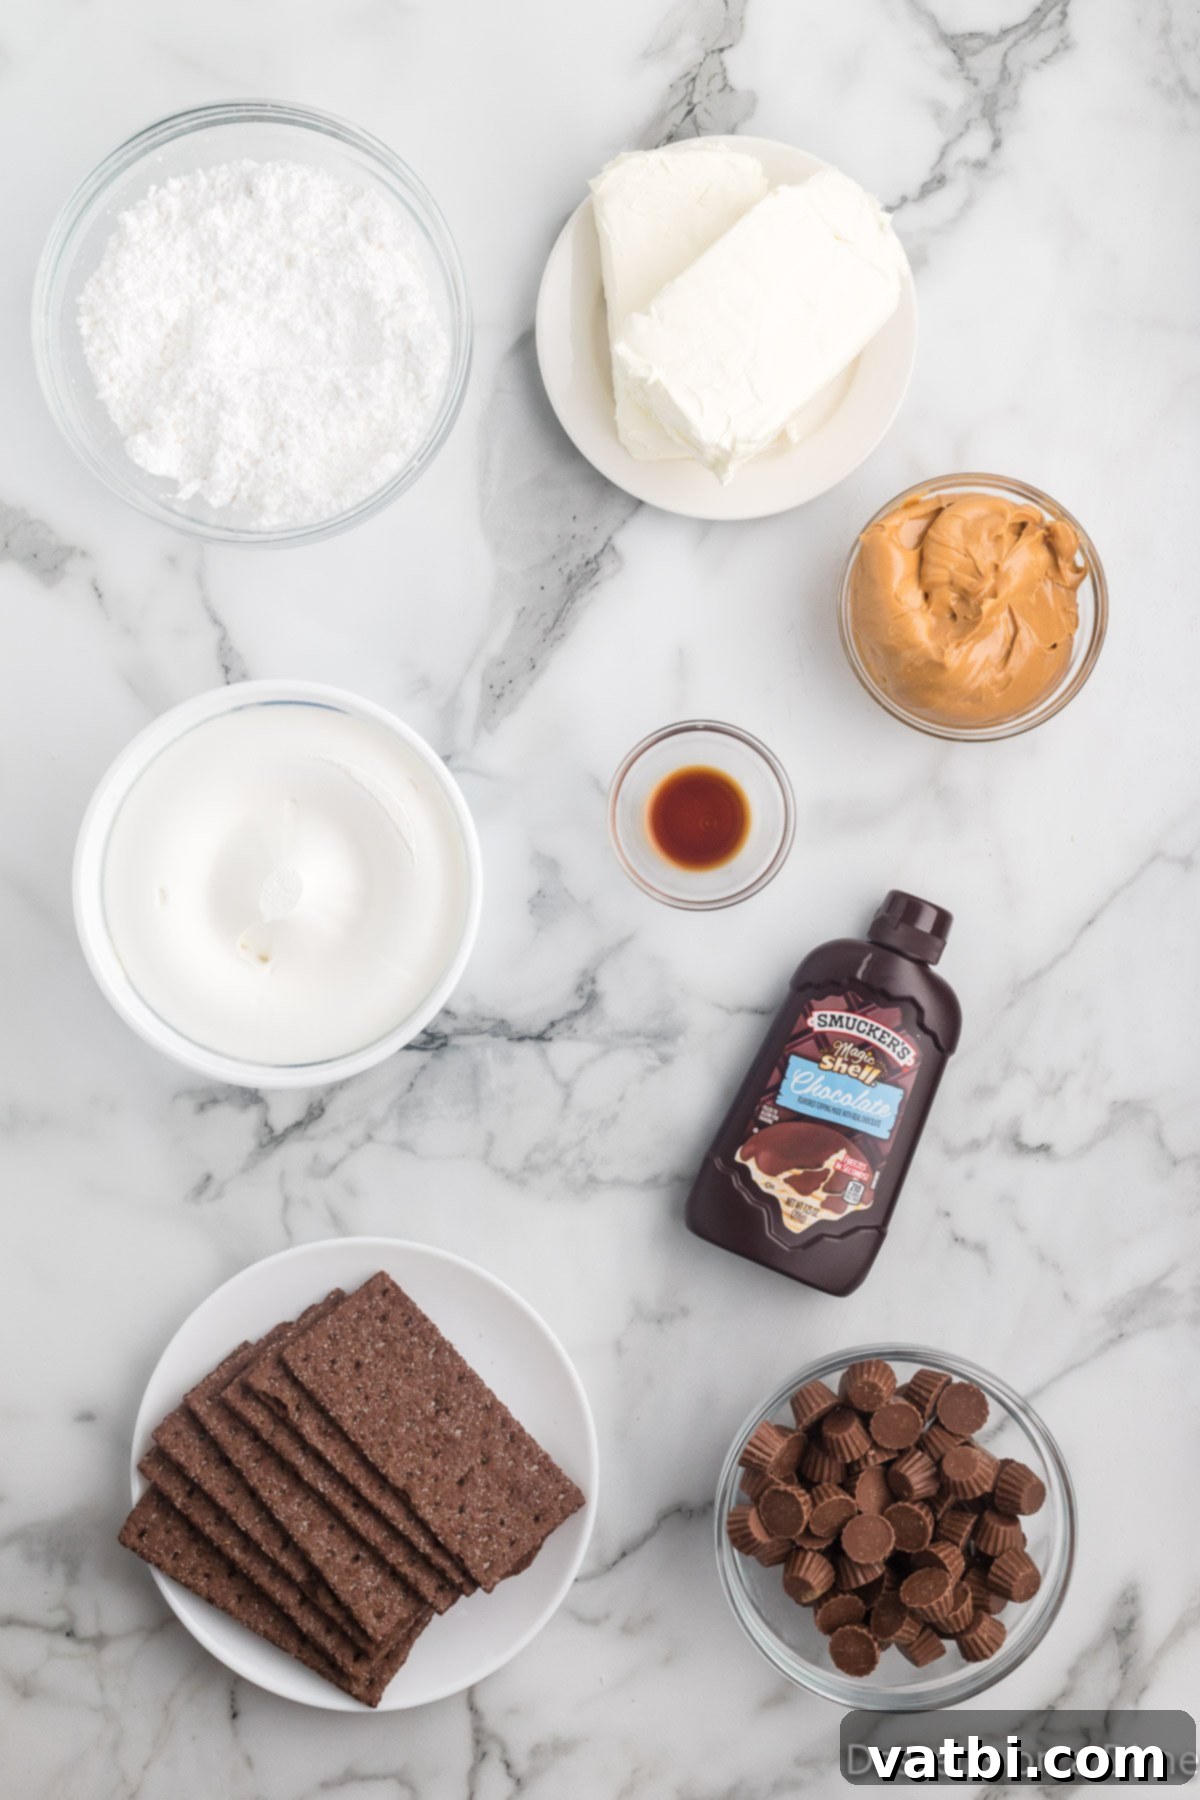
- Chocolate Graham Crackers: These form the base and provide a delightful contrast in texture and flavor with their rich cocoa notes. They soften beautifully in the fridge, becoming cake-like.
- Cream Cheese, softened: Essential for that creamy, slightly tangy “cheesecake” element in the filling. Ensuring it’s softened to room temperature is crucial for a smooth, lump-free mixture.
- Creamy Peanut Butter: The star of the show! Use your favorite smooth, creamy variety for the best texture and flavor.
- Powdered Sugar: Also known as confectioners’ sugar, this fine sugar blends seamlessly into the filling, providing sweetness without a gritty texture.
- Vanilla Extract: A touch of vanilla enhances all the other flavors, adding depth and warmth to the peanut butter filling.
- Whipped Topping (thawed): A light and airy component that adds volume and makes the filling wonderfully fluffy. Ensure it’s fully thawed before incorporating.
- Chocolate Magic Shell: This iconic topping hardens when it hits the cold cake, creating a satisfying chocolate crunch on top.
- Miniature Reese’s Peanut Butter Cups (unwrapped and cut in half): The perfect garnish, adding extra peanut butter and chocolate goodness, along with a pleasant chewiness.
The precise quantities for each ingredient, along with detailed instructions, are readily available in the comprehensive recipe card below.
Creative Variations & Easy Substitutions
One of the best things about this Peanut Butter Icebox Cake is its versatility. You can easily adapt it to suit your preferences or what you have on hand. Here are some fantastic ideas to get you started:
- Peanut Butter: While creamy peanut butter offers a silky smooth texture, feel free to use crunchy peanut butter for an added textural dimension. If you prefer using natural peanut butter, be aware that its oil separation might alter the texture slightly; make sure it’s very well stirred before adding. Almond butter or cashew butter can also be used for a different nut butter flavor profile.
- Topping: The possibilities for toppings are endless! Instead of or in addition to Reese’s Peanut Butter Cups, try Reese’s Pieces for a colorful crunch, chopped roasted peanuts for extra nuttiness, chocolate chips (mini or regular), a drizzle of caramel sauce, or even a sprinkle of sea salt to enhance the flavors. Chopped cookies like Nutter Butters or Oreos would also be delicious. For a festive touch, add some sprinkles!
- Graham Crackers: While chocolate graham crackers are excellent, classic honey graham crackers offer a milder base. You can also experiment with other cookies to create unique flavor combinations. Nutter Butter cookies would amplify the peanut butter flavor, while Oreo cookies would create a dynamic chocolate-peanut butter experience. Vanilla wafers, shortbread cookies, or even gingersnap cookies (for a seasonal twist) could also work wonderfully as the base layer. Just ensure your chosen cookie softens nicely in the refrigeration process.
- Whipped Cream: For an even more homemade touch, consider making your own Homemade Whipped Cream Recipe. It’s surprisingly easy and adds an extra layer of freshness. If using homemade whipped cream, ensure it’s stiffly peaked to hold its structure within the cake layers. Alternatively, any brand of store-bought whipped topping (like Cool Whip) works perfectly for convenience.
Don’t be afraid to get creative and tailor this recipe to your unique taste! These variations allow you to customize this classic dessert and enjoy it in many delicious ways.
Step-by-Step Instructions for Your Easy Peanut Butter Icebox Cake
Creating this delicious no-bake cake is surprisingly simple. Follow these steps for a perfect layered dessert:
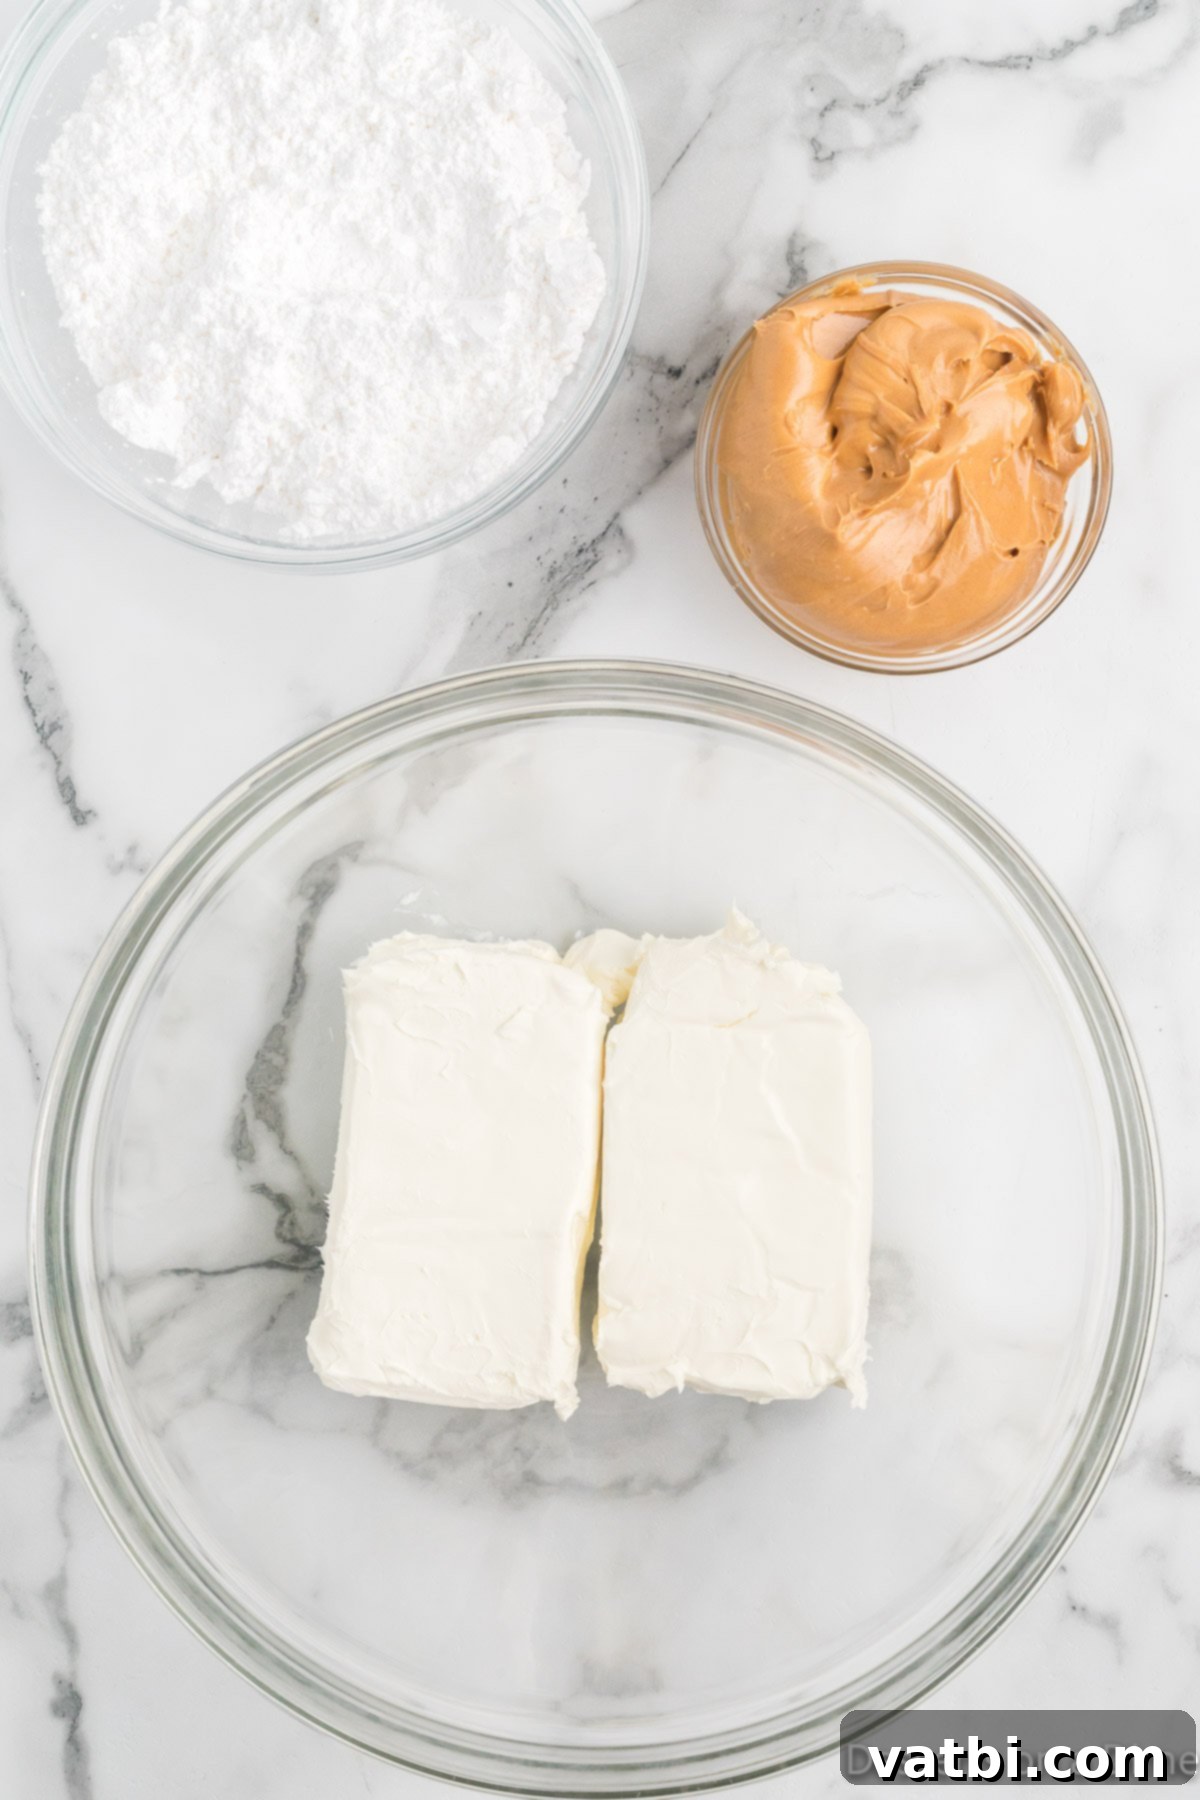
Step 1. In a large mixing bowl, combine the softened cream cheese and creamy peanut butter. Using a handheld electric mixer or a stand mixer fitted with the paddle attachment, beat these two ingredients together until the mixture is light, fluffy, and completely smooth. Make sure there are no lumps of cream cheese remaining, as this will ensure a silky filling.
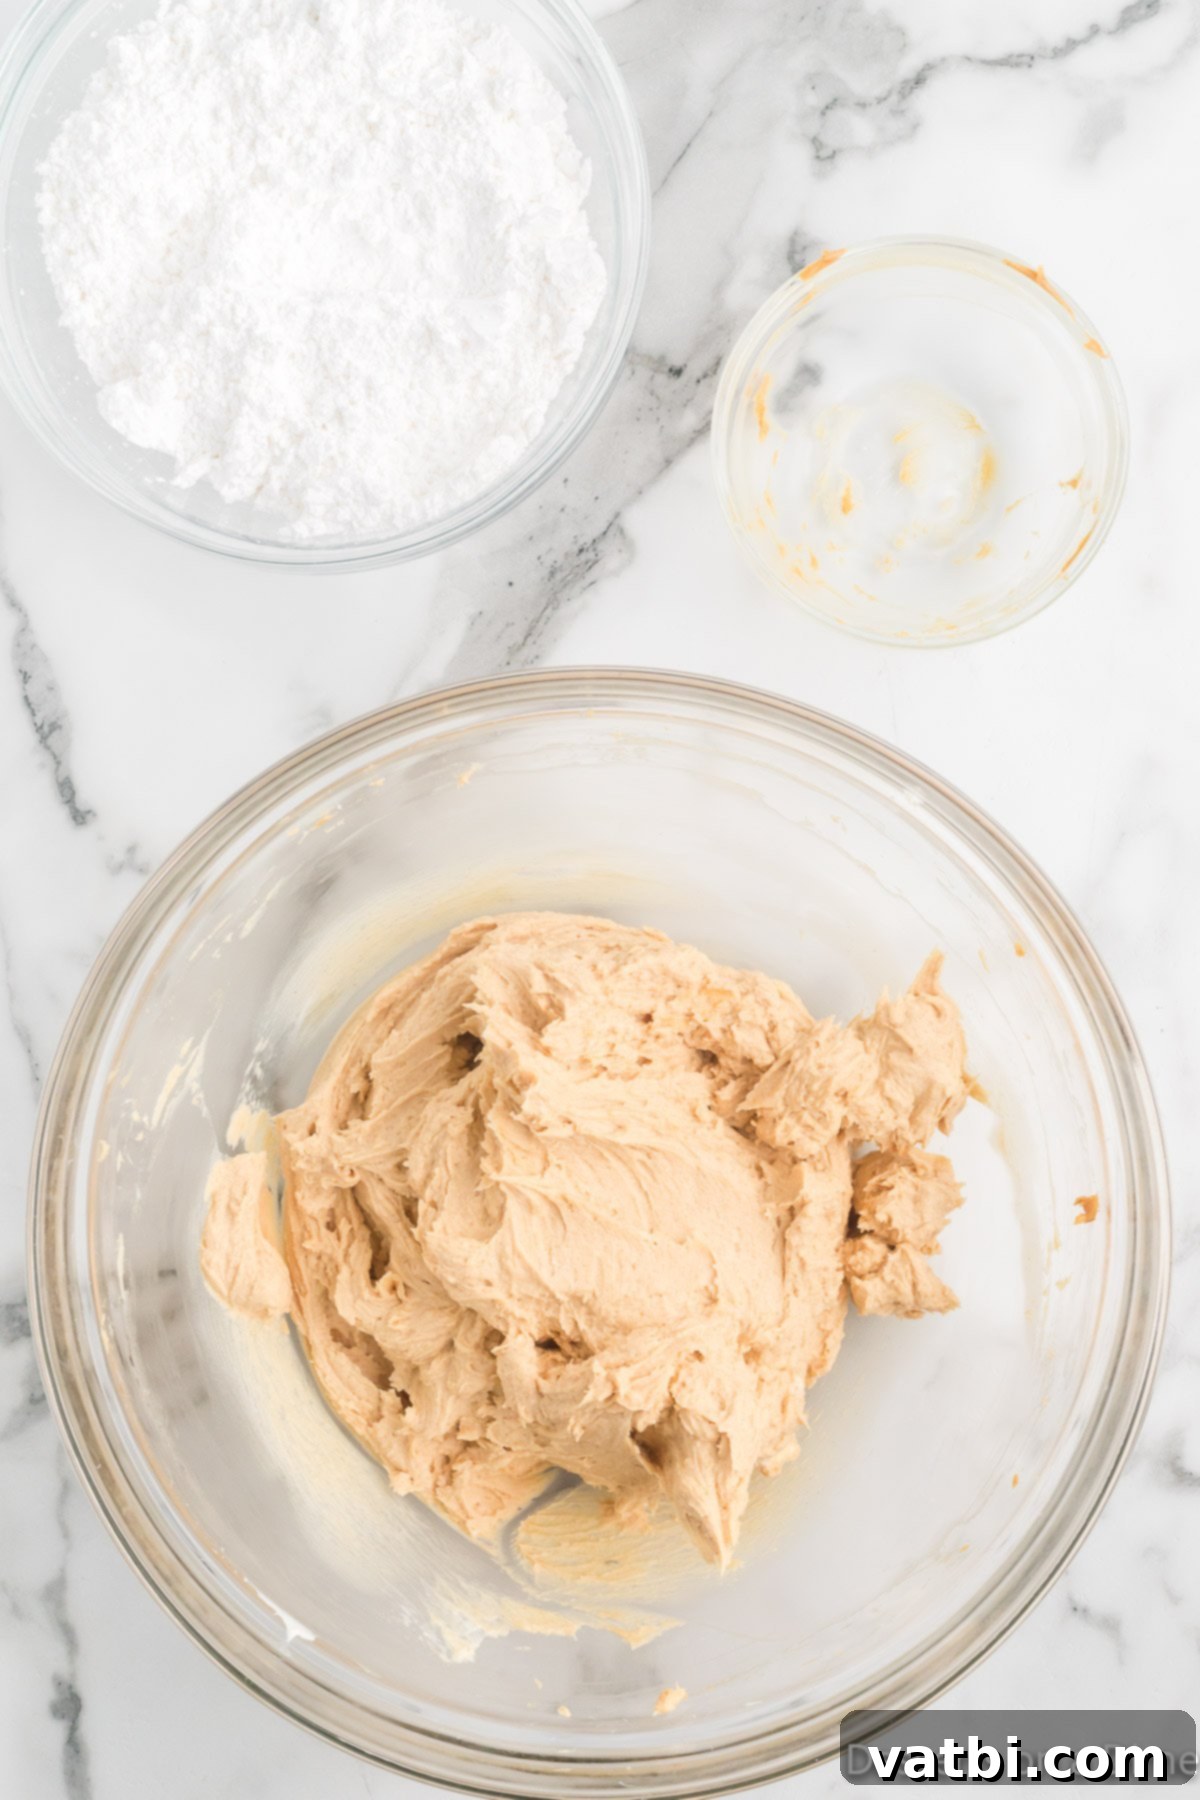
Step 2. Next, gradually add the powdered sugar to the peanut butter and cream cheese mixture. Continue mixing until the sugar is fully incorporated and the filling is thick and perfectly smooth. Scrape down the sides of the bowl as needed to ensure everything is well combined.
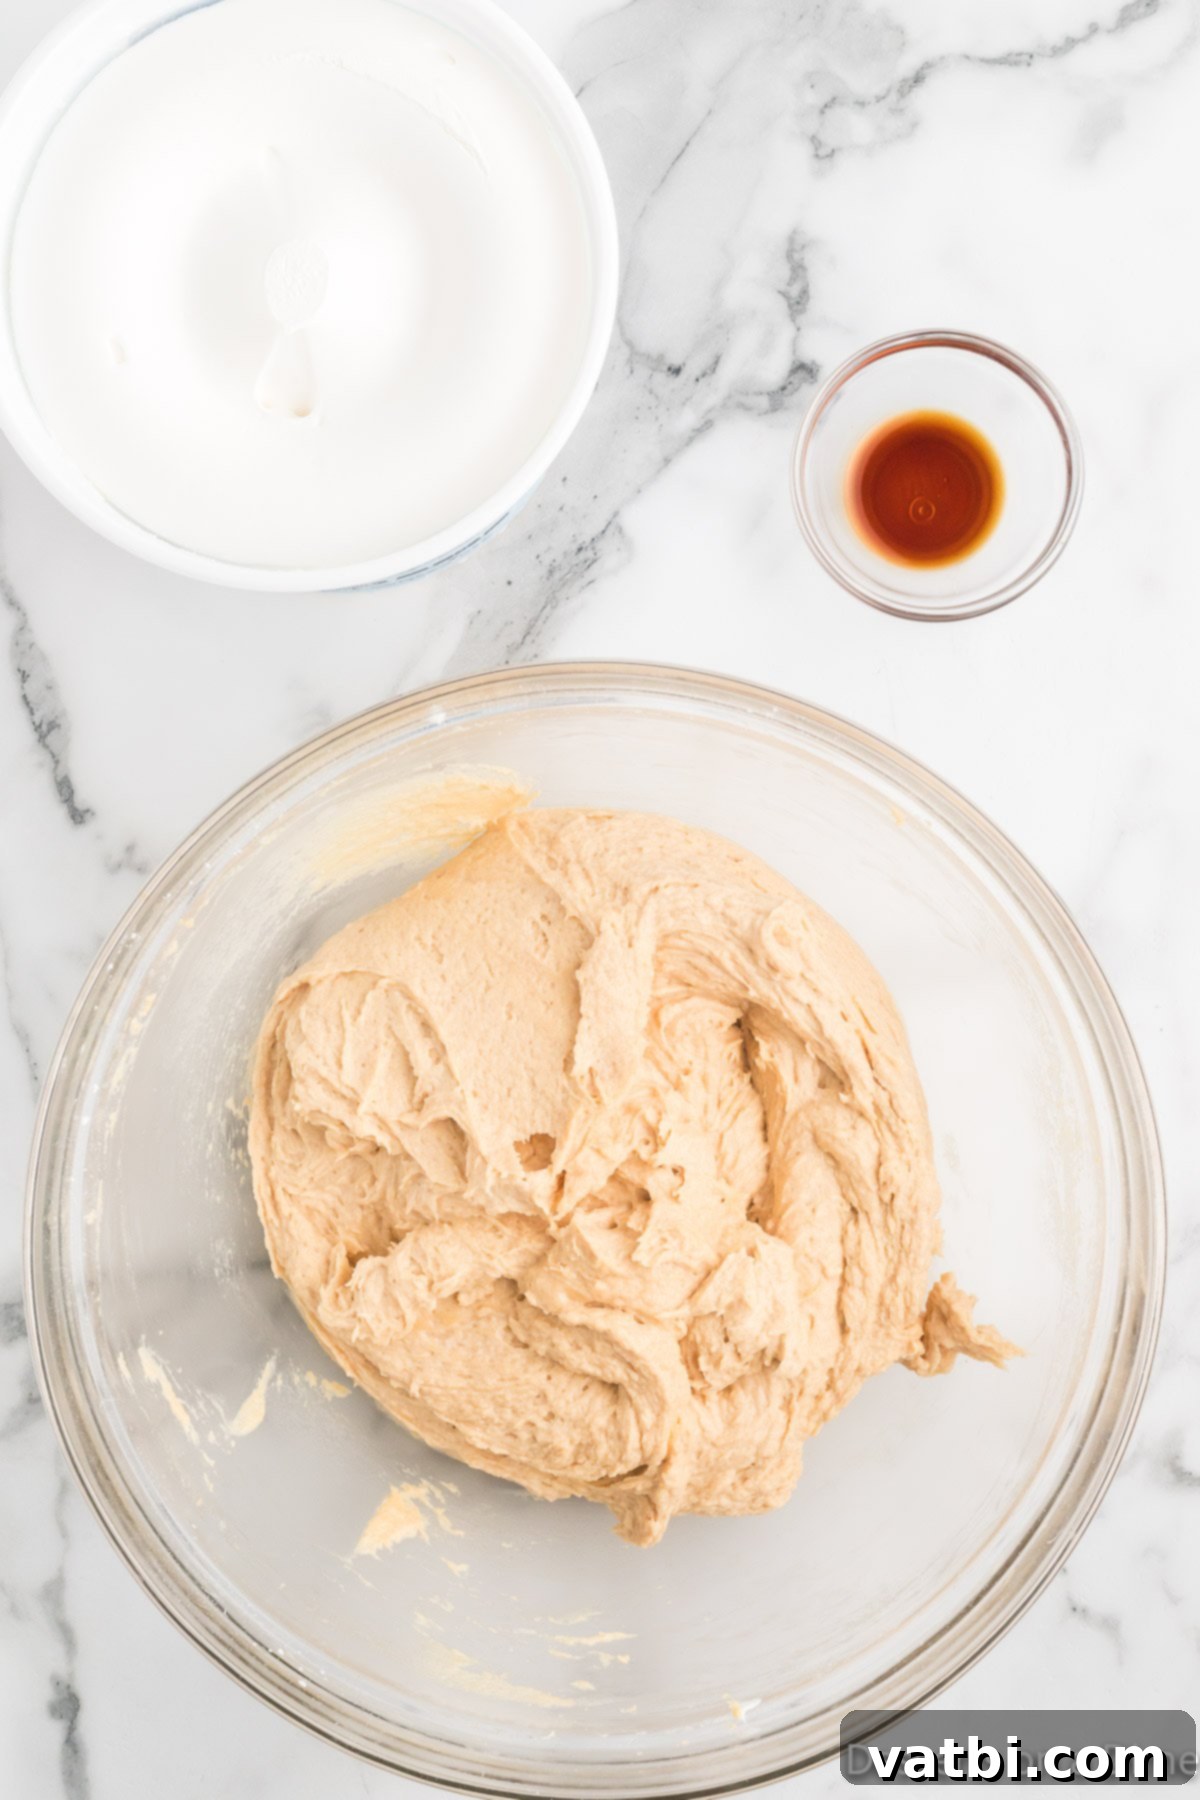
Step 3. Now, gently stir in the vanilla extract and the thawed whipped topping. It’s important to fold these ingredients in by hand to maintain the airy texture of the whipped topping. Mix until just combined, being careful not to overmix, which could deflate the mixture.
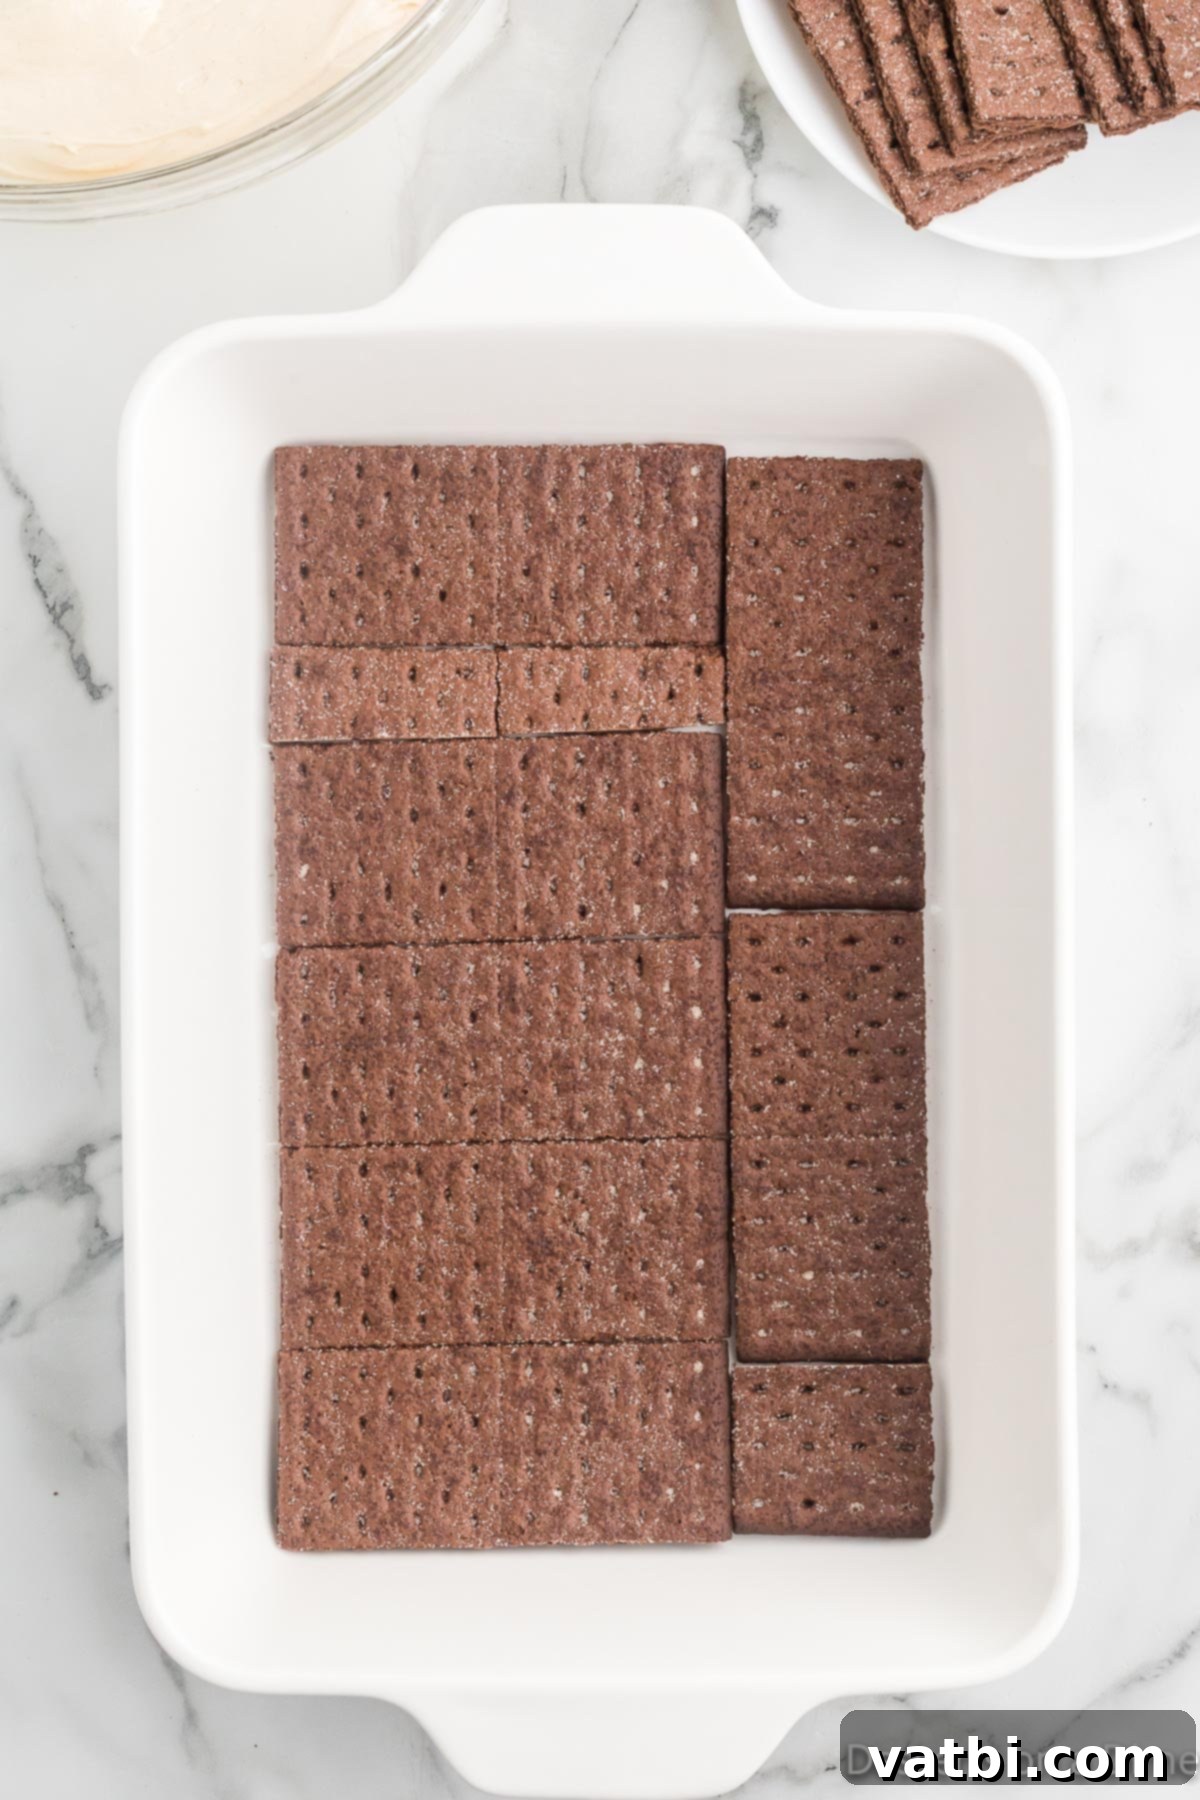
Step 4. Arrange a single layer of chocolate graham crackers evenly in the bottom of a 9X13 baking dish. You may need to break some of the graham crackers into smaller pieces to fill any gaps and create a continuous, solid layer. This forms the essential base for your icebox cake.
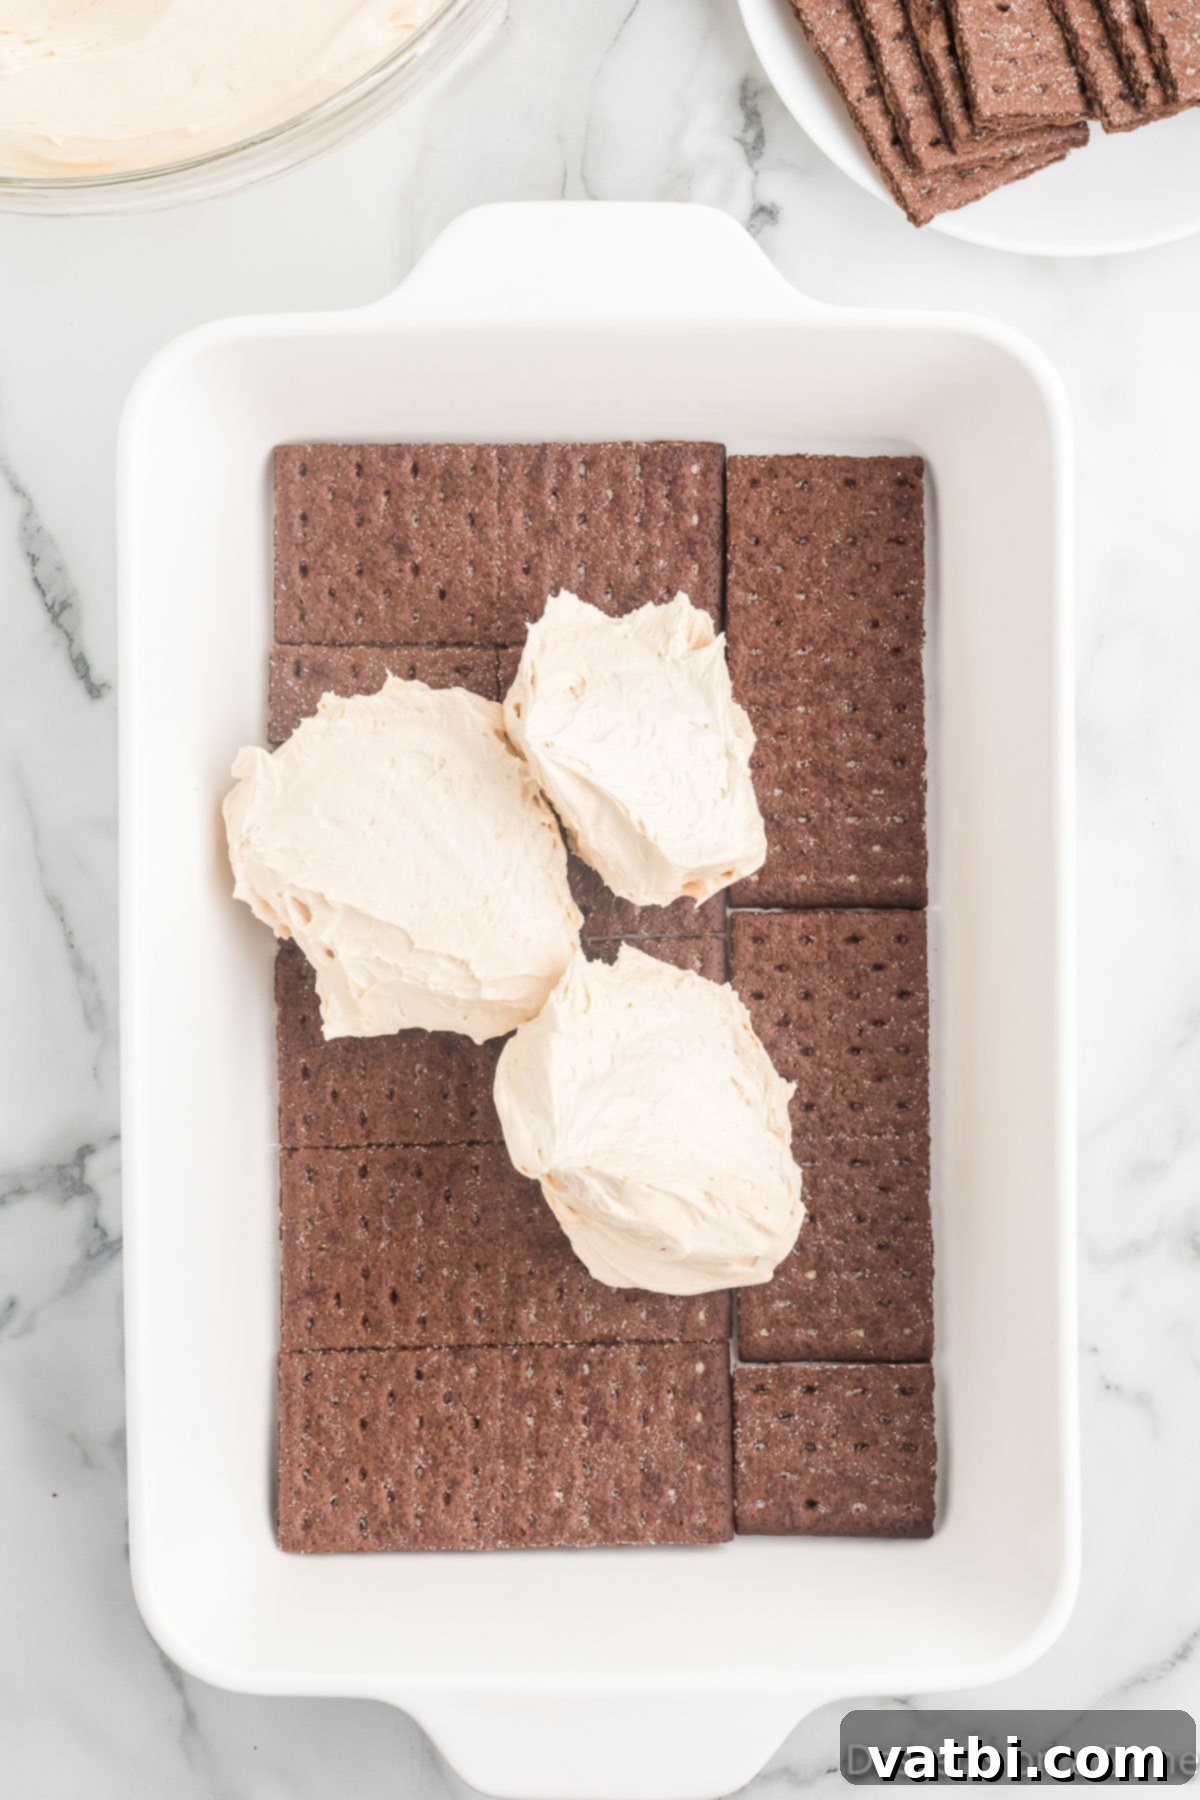
Step 5. Take approximately one-third of the prepared peanut butter mixture and spread it gently and evenly over the layer of graham crackers. An offset spatula works wonderfully for this, ensuring a smooth and consistent layer across the entire surface.
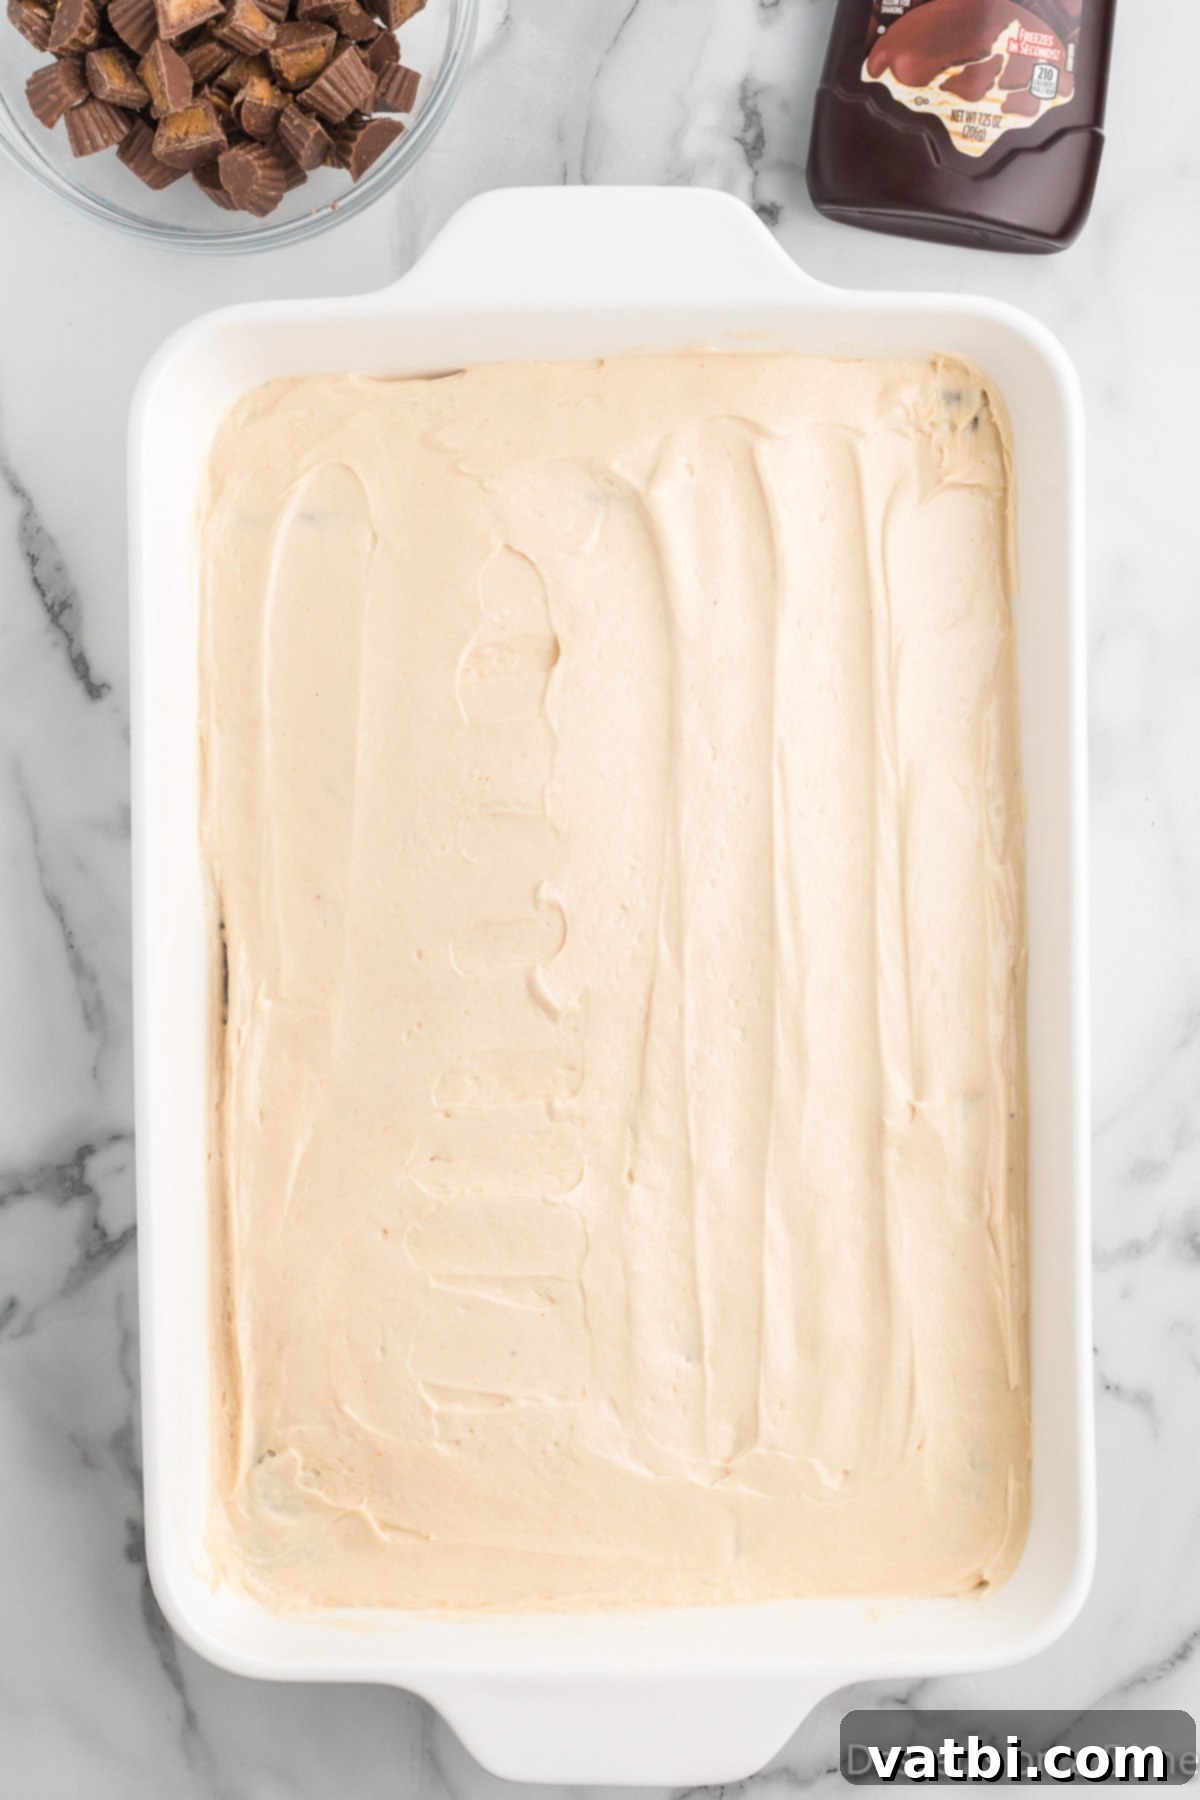
Step 6. Place another layer of graham crackers on top of the peanut butter filling, once again breaking pieces as necessary to cover the surface. Then, spread another third of the peanut butter mixture over these crackers. Repeat this layering process one more time, ensuring that the final layer on top is the peanut butter mixture. This will result in three layers of graham crackers and three layers of creamy peanut butter filling.
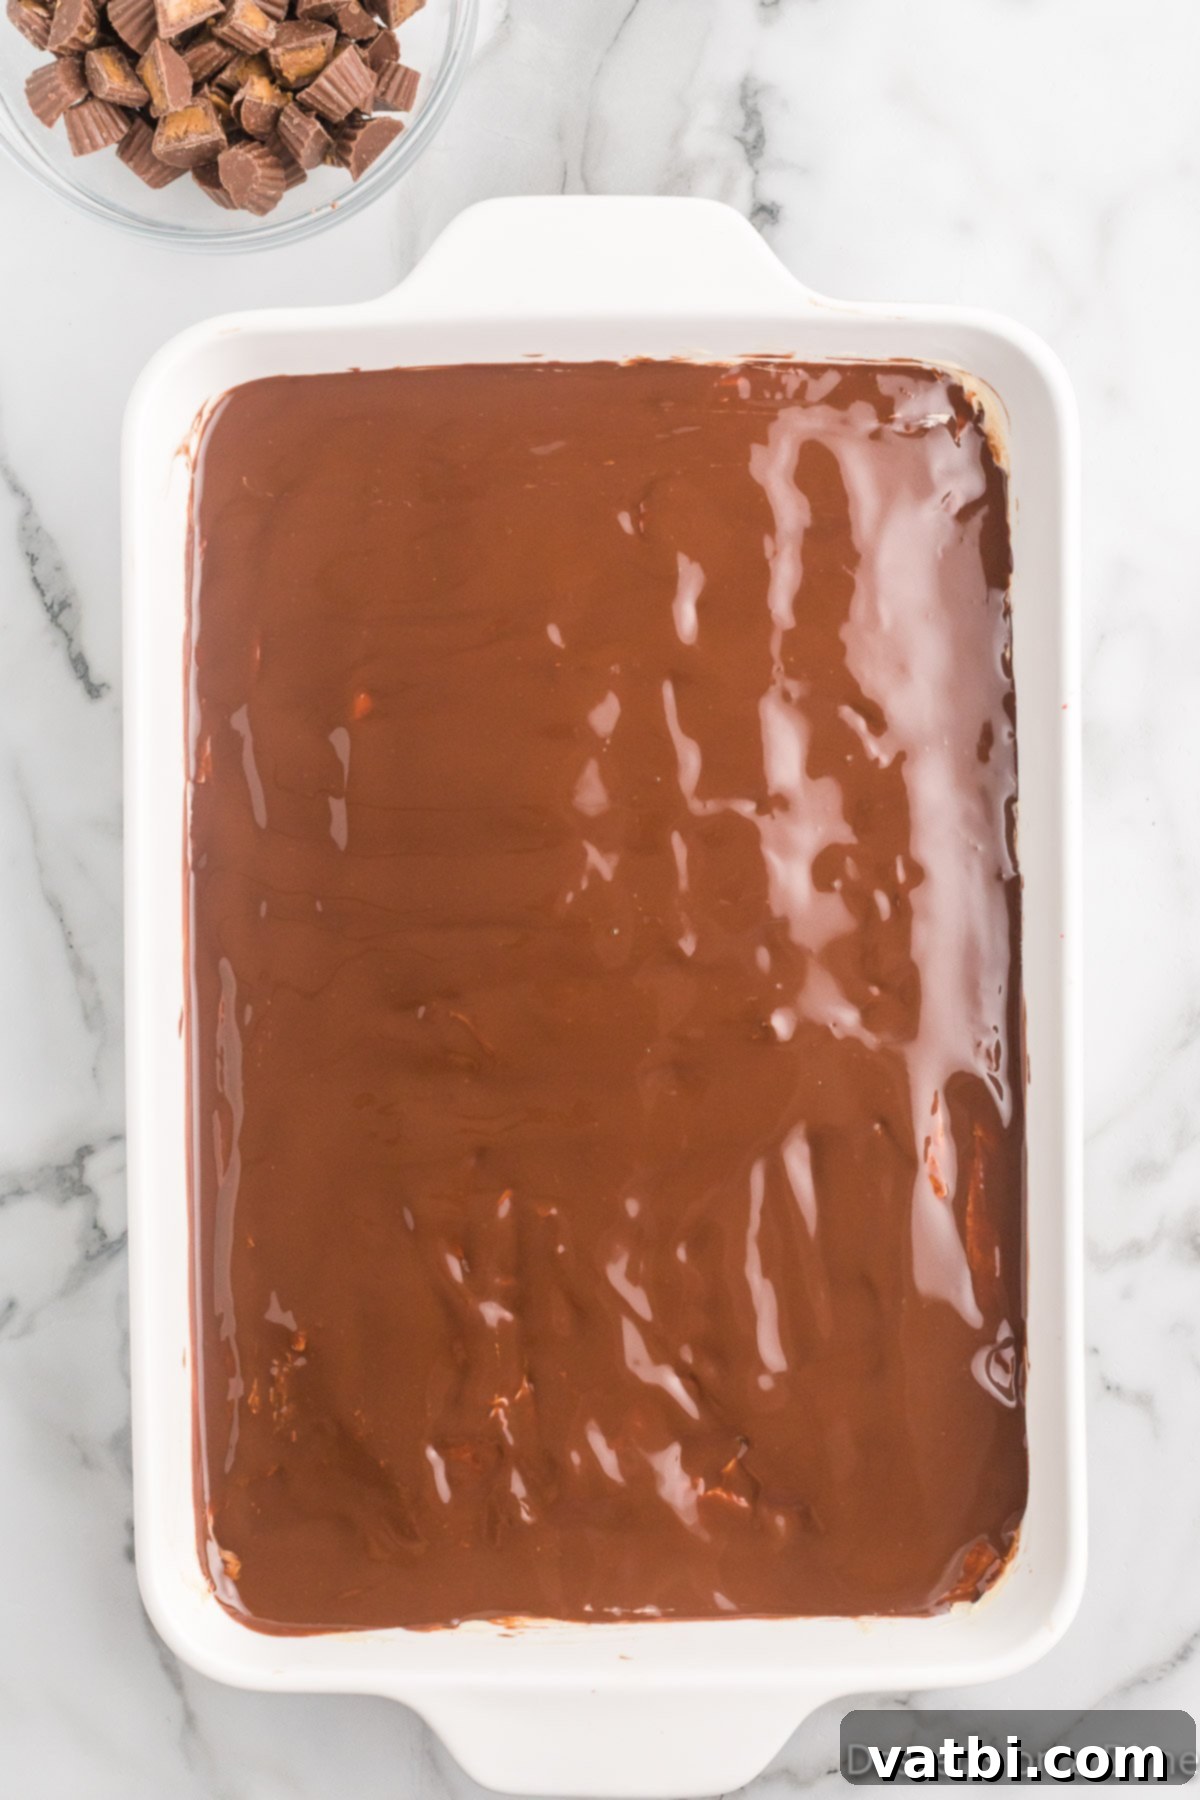
Step 7. Drizzle the Chocolate Magic Shell topping generously over the final peanut butter layer. Use a spatula to gently spread it out, covering the entire surface as evenly as possible. As the Magic Shell hits the cold peanut butter mixture, it will begin to harden, creating a delightful crunchy chocolate layer.
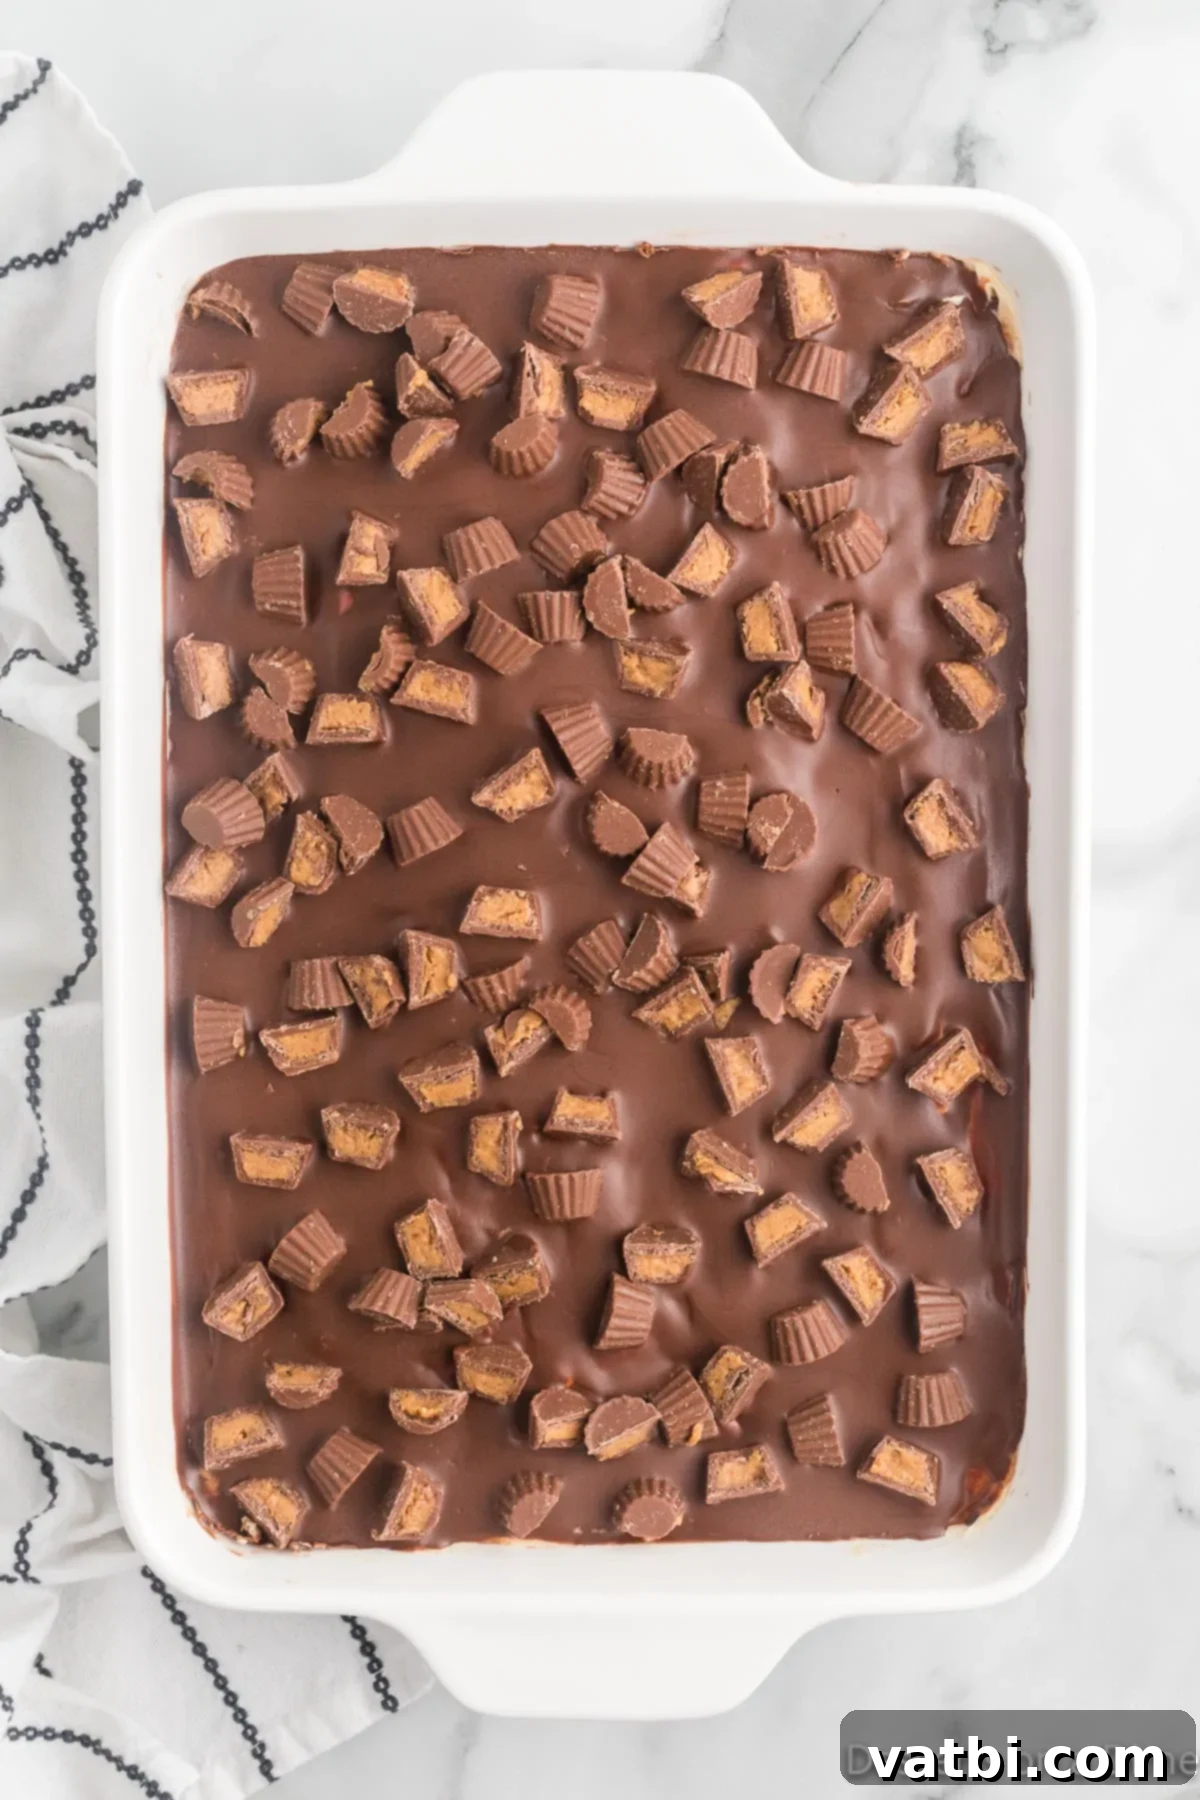
Step 8. Finally, sprinkle the chopped Miniature Reese’s Peanut Butter Cups over the Magic Shell layer. This adds both visual appeal and an extra burst of peanut butter and chocolate flavor. Cover the dish tightly with plastic wrap or aluminum foil and refrigerate for at least 4 hours, or ideally, overnight. This chilling time is essential for the cake to set and for the graham crackers to soften to a cake-like consistency. When you’re ready to serve, remove the cake from the fridge and allow it to sit at room temperature for at least 1 hour to soften slightly for easier slicing. Then, slice, serve, and savor every delicious bite!
Proper Storage Tips for Your Icebox Cake
To keep your Peanut Butter Icebox Cake fresh and delicious, proper storage is key. Once assembled and thoroughly chilled, cover the baking dish tightly with plastic wrap or aluminum foil. This will prevent it from absorbing any odors from the fridge and keep the layers moist. Stored this way, the cake will remain fresh in the refrigerator for up to 5 days, making it an excellent make-ahead dessert.
For longer storage, this icebox cake can also be frozen! Wrap the entire cake (or individual slices for easy access) very tightly in several layers of plastic wrap, then an additional layer of aluminum foil. Label with the date. It can be stored in the freezer for up to 2 months. When you’re ready to enjoy a frozen slice, transfer it to the refrigerator and allow it to thaw overnight, or for a quicker thaw, let it sit at room temperature for 1-2 hours until it reaches your desired consistency. Freezing can be a fantastic way to extend the enjoyment of this delightful dessert!
Expert Tips for the Perfect Peanut Butter Icebox Cake
Achieving a flawless and delicious icebox cake is simple with a few insider tricks. Keep these expert tips in mind for the best results:
- Fully Softened Cream Cheese: This is perhaps the most crucial tip. Ensure your cream cheese is at true room temperature (soft to the touch) before you begin mixing. If it’s too cold, it will be difficult to beat smoothly, resulting in lumps in your peanut butter filling. A smooth, lump-free filling is essential for the creamy texture of the cake.
- Utilize an Offset Spatula: An offset spatula is your best friend when it comes to spreading the peanut butter mixture. Its angled blade makes it incredibly easy to smooth out each layer evenly across the graham crackers, ensuring a consistent thickness and a beautiful presentation when sliced. If you don’t have one, the back of a spoon or a regular spatula can also work, but an offset spatula offers superior control.
- Allow Ample Setting Time: Patience is a virtue, especially with icebox cakes! While 4 hours of refrigeration is the minimum, chilling the cake overnight is strongly recommended. This extended time allows the graham crackers to fully absorb moisture from the filling, transforming them from crispy crackers into tender, cake-like layers. It also ensures the filling is firm and set, making for cleaner slices and a more cohesive dessert.
- Refrigerate Peanut Butter Cups for Easy Chopping: Miniature Reese’s Peanut Butter Cups can be a bit soft and sticky, making them challenging to chop cleanly. To make this task much easier, place them in the refrigerator for 5 to 10 minutes (or even the freezer for a few minutes) before unwrapping and cutting. The chilled candy will be firmer and less prone to squishing, resulting in perfectly diced pieces for your topping. A sharp knife also helps here!
- Achieve Clean Slices: For presentation, clean slices are key. After chilling, if your knife drags, run it under hot water and wipe it clean between each slice. This will give you crisp, beautiful layers every time.
Frequently Asked Questions (FAQs)
Absolutely! This Peanut Butter Icebox Cake freezes beautifully. To freeze, wrap the entire cake (or individual slices) tightly in plastic wrap, followed by a layer of aluminum foil to prevent freezer burn. It can be stored in the freezer for up to 2 months. When you’re ready to enjoy, transfer the cake to the refrigerator to thaw overnight, or let it sit at room temperature for 1-2 hours for a quicker defrost.
Yes, you certainly can! Using homemade Magic Shell Recipe is a fantastic option and incredibly easy to make. It typically involves just two ingredients (chocolate chips and coconut oil) melted together, and it hardens just like the store-bought version.
Not at all! You have the flexibility to use either store-bought whipped topping (like Cool Whip) for convenience, or you can opt for homemade whipped cream for a richer, fresher flavor. Both options work wonderfully in this recipe, so choose whichever best suits your preference and time constraints.
Yes, this is one of the best make-ahead desserts! You can easily prepare this Peanut Butter Icebox Cake 3 to 4 days in advance and keep it refrigerated. Just ensure it’s properly covered with plastic wrap and then aluminum foil to maintain its freshness and prevent it from drying out or absorbing fridge odors. Making it ahead allows the flavors to meld beautifully and the graham crackers to soften perfectly.
This recipe is designed for a standard 9×13 inch baking dish. This size allows for three distinct layers of graham crackers and filling, and yields about 20 generous servings. If you use a different size, you may need to adjust the number of cracker layers and the thickness of the filling accordingly.
Ready to try this amazing dessert?
More Simple No-Bake Desserts to Try
If you’ve fallen in love with the ease and deliciousness of this Peanut Butter Icebox Cake, you’re in for a treat! There’s a whole world of incredible no-bake desserts waiting to be explored. These recipes are perfect for satisfying your sweet tooth without ever having to turn on the oven. They are quick to prepare, often require minimal ingredients, and are always crowd-pleasers. Expand your no-bake repertoire with these delightful ideas:
- No Bake Twinkie Cake
- 35 Best No Bake Summer Desserts
- No Bake Strawberry Cheesecake
- Peanut Butter No Bake Cookies Recipe
- Peanut Butter Fluff
- Chocolate Icebox Cake
We encourage you to whip up this fun and fabulous Peanut Butter Icebox Cake. Don’t forget to come back and leave a comment once you’ve tried it – we love hearing about your creations!
Pin
Peanut Butter Icebox Cake
Ingredients
- 18 ounces Chocolate Graham Crackers
- 16 ounces cream cheese softened
- 1 cup creamy peanut butter
- 1½ cups powdered sugar
- 1 teaspoon Vanilla Extract
- 16 ounces Whipped Topping thawed
- 7.25 ounces Chocolate Magic Shell
- 3 cups Miniature Reese’s Peanut Butter Cups unwrapped and cut in half
Instructions
-
In a large mixing bowl, beat together the cream cheese and peanut butter with a hand held mixer or stand up mixer until combined and smooth.
-
Add in the powdered sugar and mix until smooth.
-
Gently stir in the vanilla extract and whipped topping by hand until combined.
-
Lay the graham crackers in the bottom of a 9X13 baking pan (break the graham crackers if necessary).
-
Pour one-third of the peanut butter mixture on top of the graham crackers.
-
Top with another layer of graham crackers and then another third of the peanut butter mixture.
-
Continue this process 1 more time making sure that the peanut butter mixture is on top.
-
Drizzle the magic shell topping on top of the peanut butter layer and use a spatula to spread it out as evenly as possible.
-
Sprinkle the peanut butter cups on top of the cake.
-
Cover and refrigerate for at least 4 hours or overnight.
-
Before serving, allow the cake to thaw at room temperature for at least 1 hour.
-
Then the cake is ready to slice, serve and enjoy!
Recipe Notes
Nutrition Facts
Pin This Now to Remember It Later
Pin Recipe
