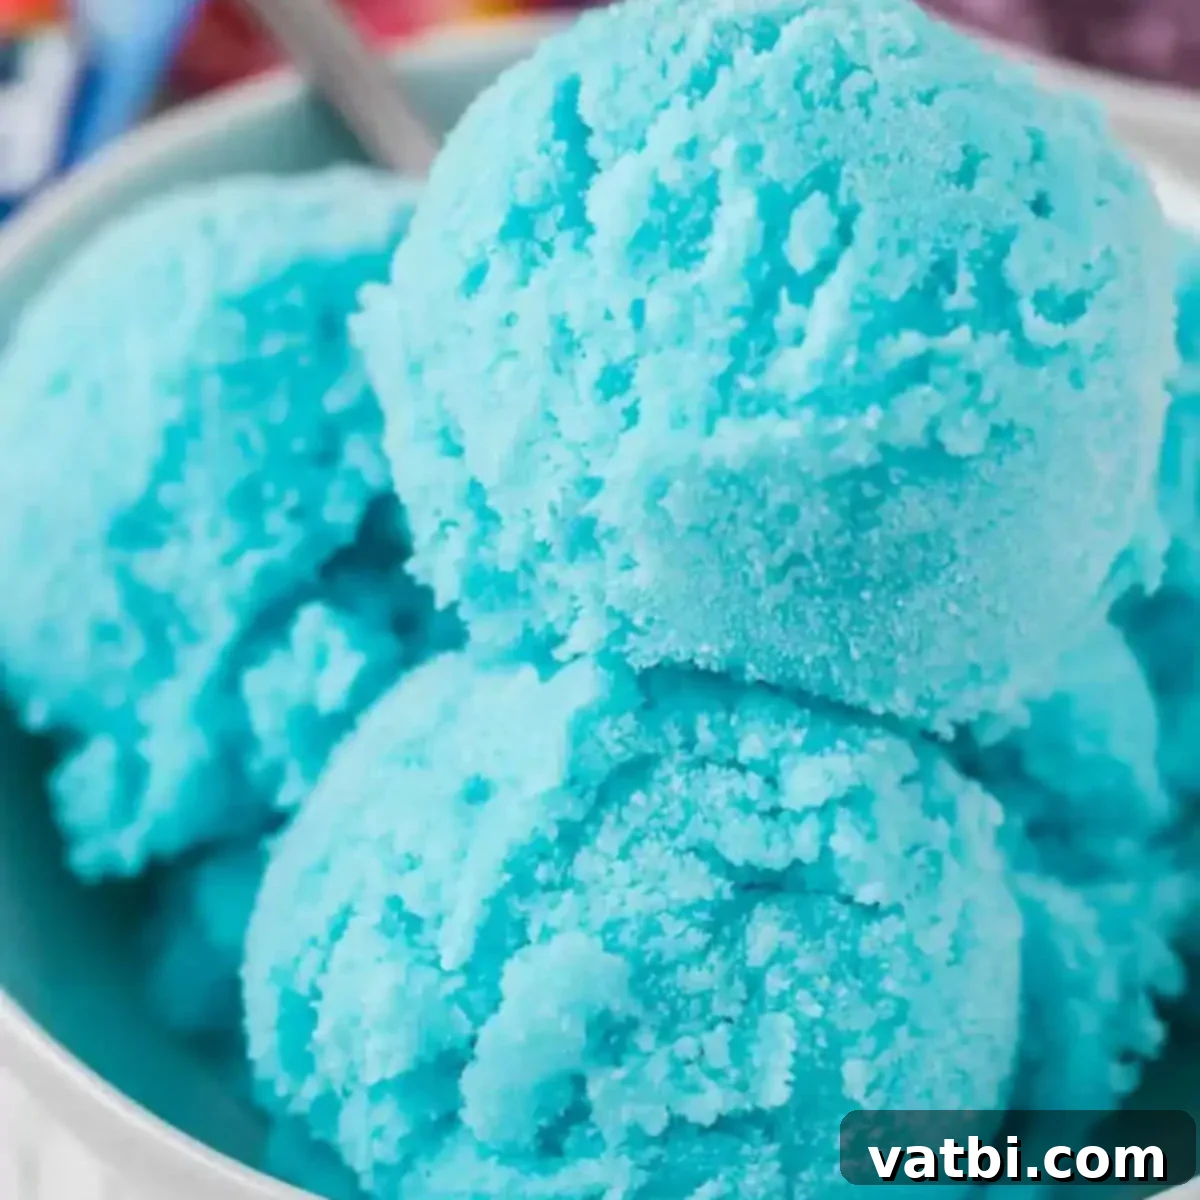
The Ultimate Guide to Easy No-Churn Kool-Aid Ice Cream: Your 3-Ingredient Summer Dessert!
Get ready to beat the summer heat with the most delightful and ridiculously simple dessert imaginable: homemade Kool-Aid Ice Cream! This vibrant, creamy treat requires only three basic ingredients and surprisingly, no fancy ice cream maker is needed. It’s the perfect project to get the kids involved, allowing them to choose their favorite Kool-Aid flavor and watch the magic happen. Prepare yourselves for a summer filled with delicious, colorful scoops that will become an instant family favorite!
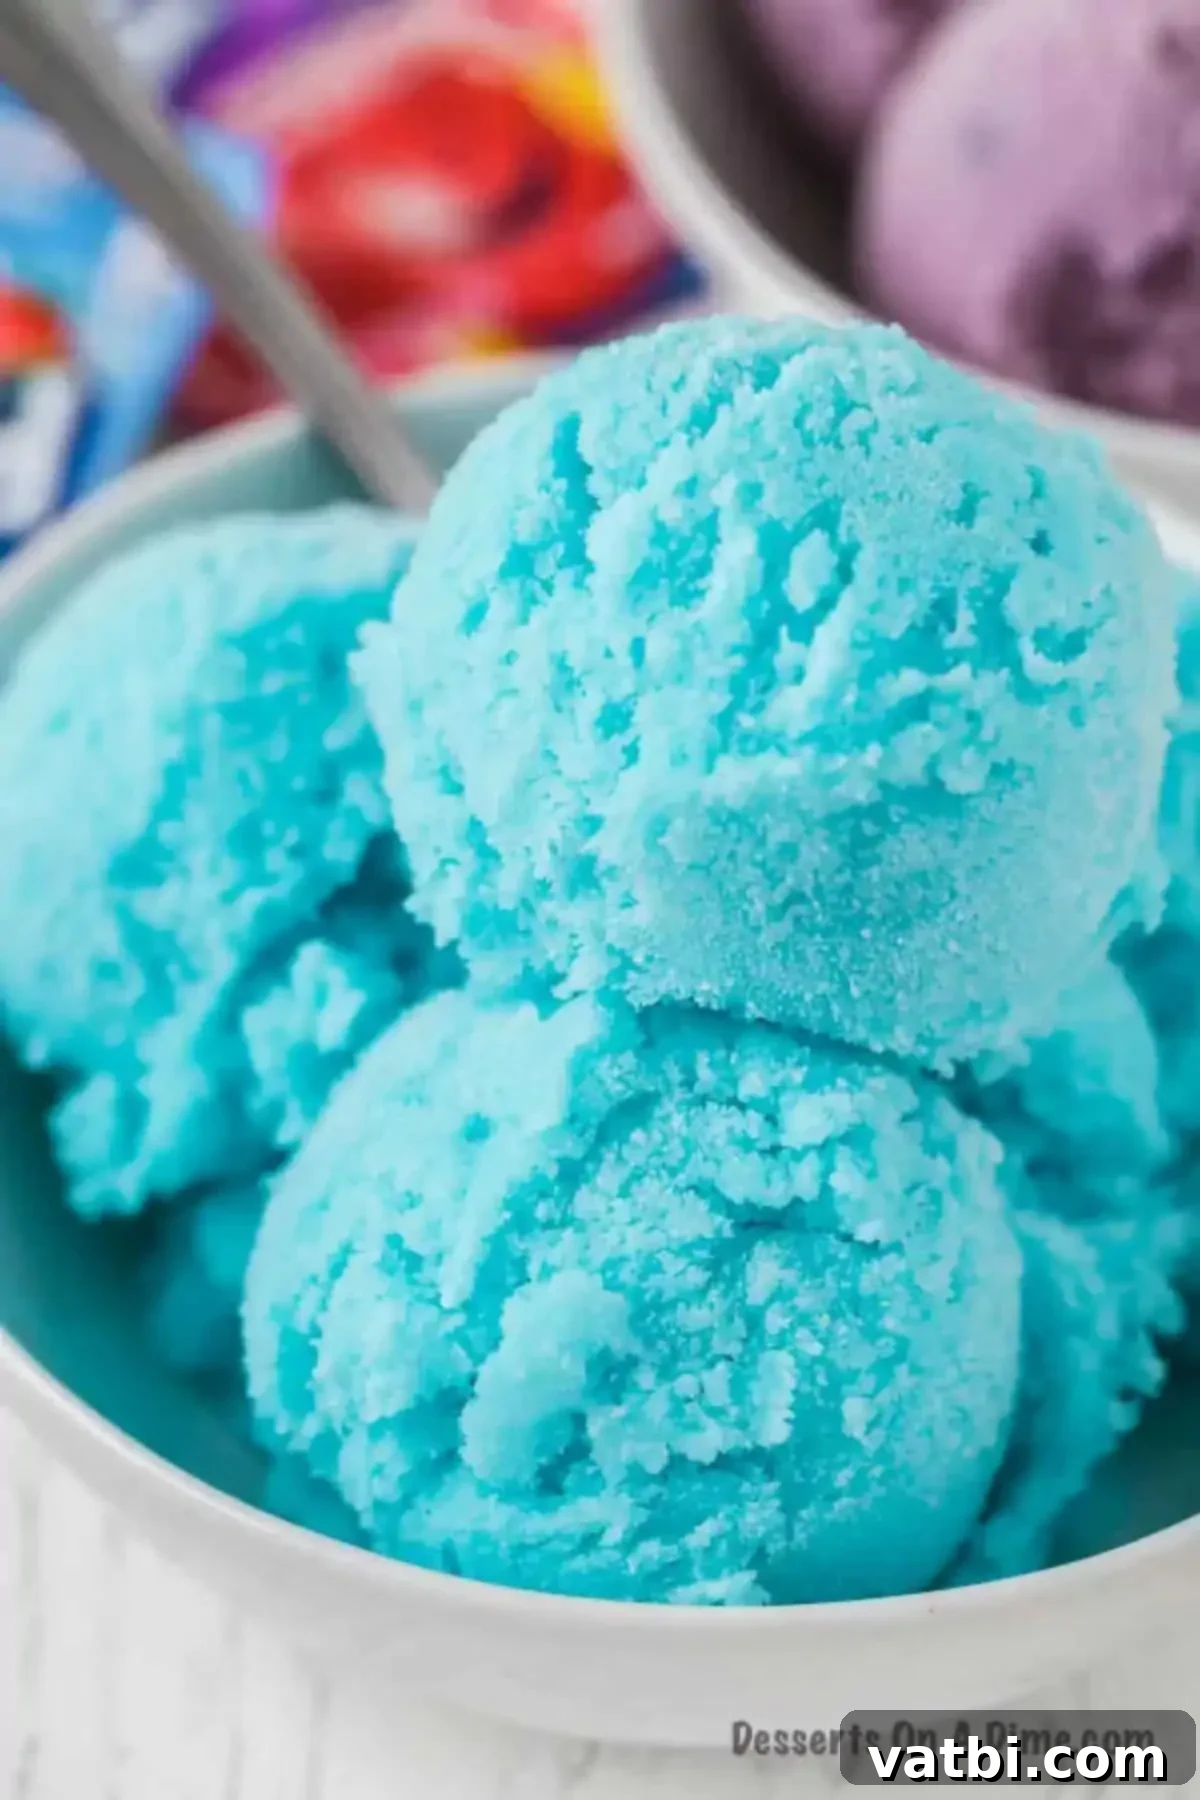
This Kool-Aid Ice Cream recipe isn’t just a dessert; it’s a full-fledged summer activity that promises smiles and sweet satisfaction. Kids absolutely adore helping in the kitchen, and the excitement of choosing a vibrant color and flavor of Kool-Aid makes this experience even more special. Forget about complex recipes or expensive equipment – this no-churn ice cream method is incredibly straightforward, resulting in a perfectly creamy texture every time. It’s the ideal frosty delight for a scorching summer day, a backyard barbecue, or simply a fun afternoon treat.
If you’re a fan of homemade frozen desserts, be sure to explore some of our other fantastic ice cream creations like Cookie Monster Ice Cream, Puppy Chow Ice Cream, and Cotton Candy Ice Cream. For those looking to elevate their dessert game even further, learn How to Make Ice Cream Cake to truly impress your guests!
Table of contents
- Why We Love This Recipe
- Essential Ingredients for Kool-Aid Ice Cream
- Simple Substitutions and Variations
- Step-by-Step: How to Make Kool-Aid Ice Cream
- Proper Storage for Optimal Freshness
- Pro Tips for Perfect Kool-Aid Ice Cream
- Endless Kool-Aid Flavor Ideas
- More Easy Kool-Aid Recipes
Why We Love This Recipe
There are countless reasons why this 3-ingredient ice cream recipe is an absolute game-changer. First and foremost, its simplicity is unmatched. You literally only need three common ingredients, most of which you likely already have stashed in your pantry and refrigerator. This means no last-minute trips to the grocery store and no complex preparation steps.
Beyond the ease, this recipe is incredibly budget-friendly. Making your own ice cream at home, especially with affordable ingredients like Kool-Aid, sugar, and milk, is significantly cheaper than buying premium pints from the store. It’s also a fantastic way to control the ingredients, ensuring you know exactly what your family is enjoying. Plus, the vibrant colors and customizable flavors make it an exciting activity for kids, transforming a simple dessert into a fun, interactive culinary adventure for the whole family. It truly does not get any easier, or more enjoyable, than this delightful frozen treat!
Essential Ingredients for Kool-Aid Ice Cream
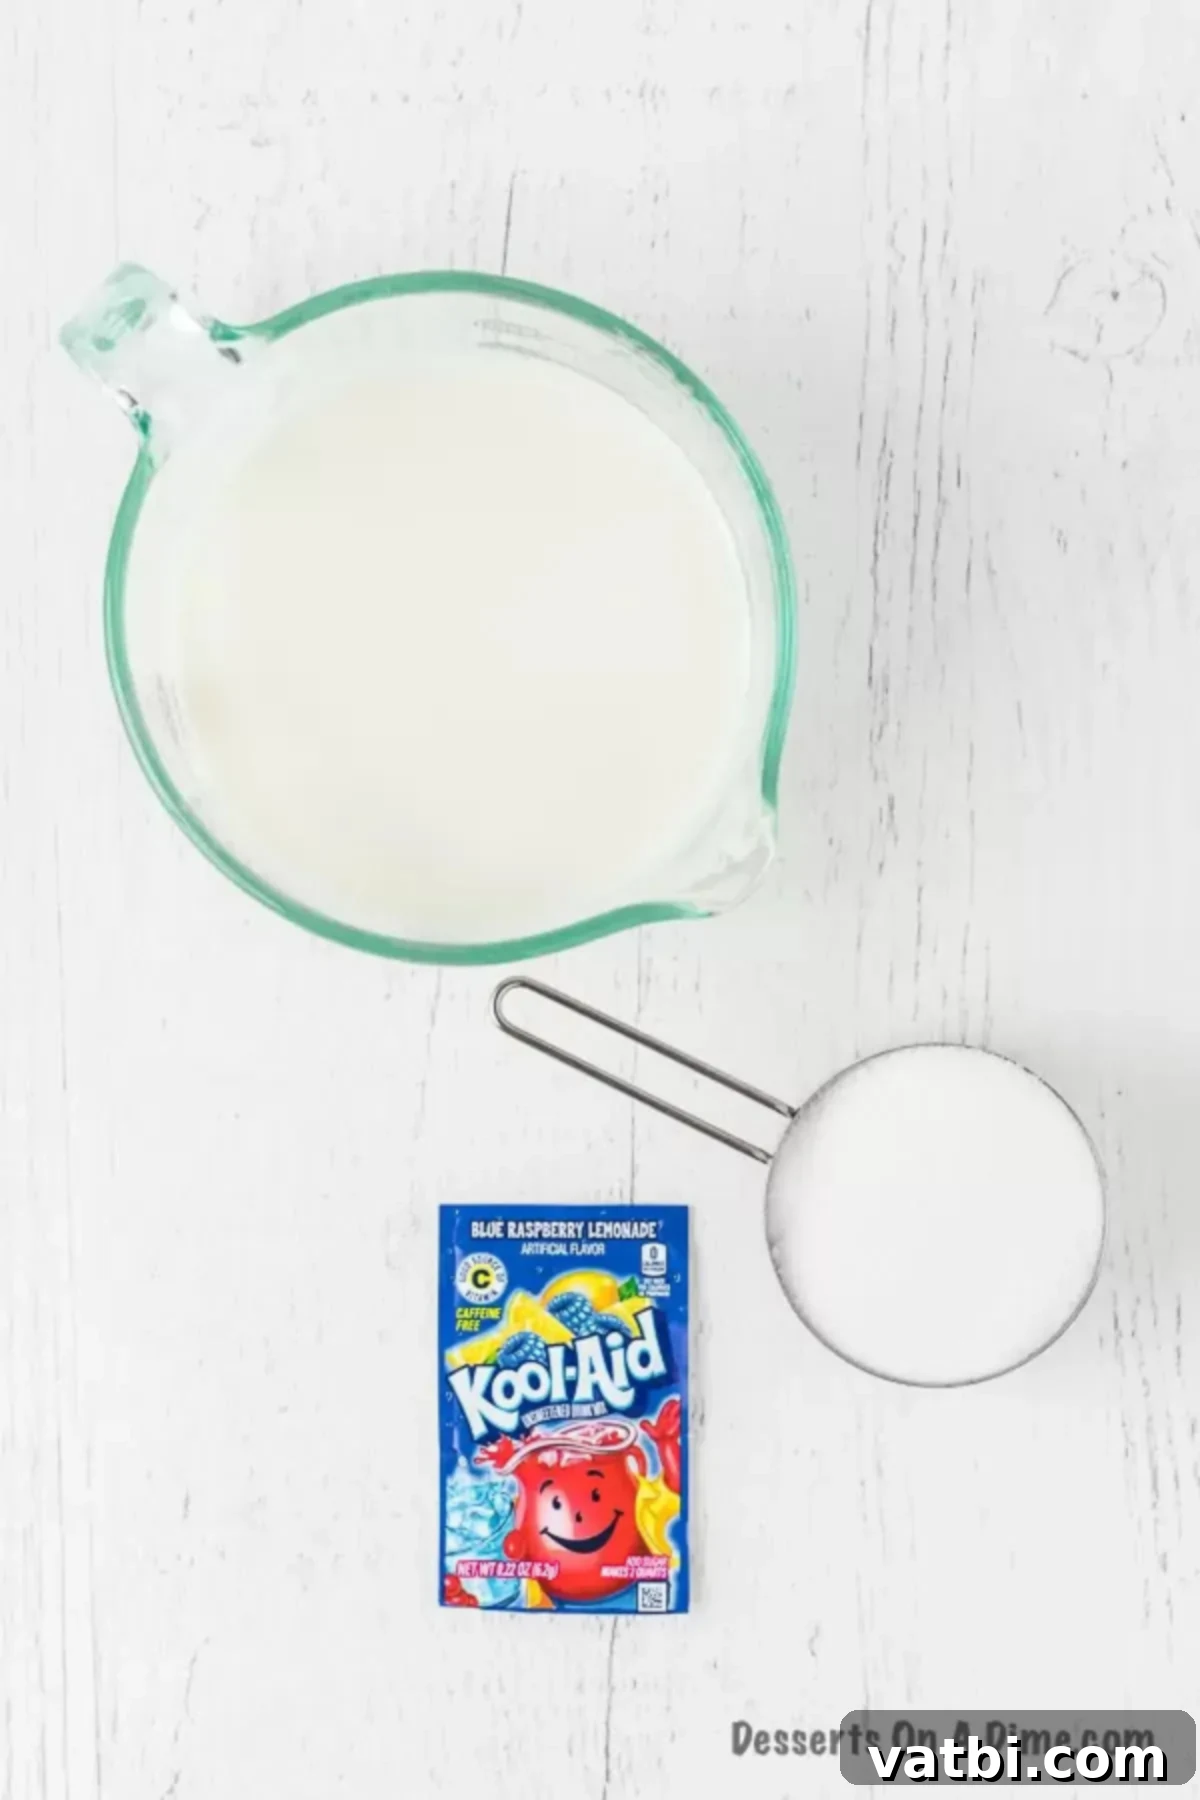
The beauty of this no-churn Kool-Aid ice cream lies in its minimal ingredient list. You’ll be amazed at the rich and creamy texture you can achieve with just these three pantry staples:
- Unsweetened Kool-Aid Packet: This is where all the fun and flavor come from! Make sure you grab the unsweetened variety, as this allows you to control the sugar content precisely. The possibilities are truly endless when it comes to flavor choices. From classic Cherry and Grape to exotic Tropical Punch or Lemonade, each packet promises a unique and colorful ice cream experience.
- Granulated Sugar: Sugar isn’t just for sweetness here; it also plays a crucial role in the texture of your ice cream. It helps to prevent large ice crystals from forming, contributing to that smooth, scoopable consistency we all love. Adjust the amount slightly to your personal preference, keeping in mind the unsweetened nature of the Kool-Aid.
- Whole Milk: For the absolute best results and a luxuriously creamy texture, whole milk is highly recommended. The higher fat content in whole milk is essential for creating a smooth, rich ice cream that doesn’t become icy. I strongly advise against using skim milk or low-fat alternatives, as these will result in a much icier and less satisfying final product due to their lower fat content. The fat in whole milk emulsifies beautifully with the other ingredients, leading to that desirable creamy mouthfeel.
For the complete, precise measurements and detailed instructions, please scroll down to the full recipe card at the bottom of this page.
Simple Substitutions and Variations
While the original recipe calls for specific ingredients to achieve its signature creamy texture, a few thoughtful substitutions can cater to different dietary needs or preferences:
- Dairy-Free Option: If you’re looking for a dairy-free alternative, full-fat canned coconut milk makes an excellent substitute for whole milk. Be sure to use the thick cream from the top of the can for the richest results. This will impart a subtle coconut flavor, which can be a delicious complement to many Kool-Aid flavors, especially tropical ones. Ensure your other ingredients are also dairy-free if following a strict diet.
- Richer Texture: For an even richer, more decadent ice cream, you could experiment with replacing a portion of the whole milk with heavy cream. This will increase the fat content, resulting in an even silkier texture, though it will deviate slightly from the original “3-ingredient” simplicity.
- Sugar Alternatives: While granulated sugar is key for texture, some users might prefer alternative sweeteners. However, be aware that artificial sweeteners may affect the final texture and freezing consistency, as they don’t contribute to the body of the ice cream in the same way sugar does. If using a sugar substitute, you might need to adjust the quantities and expect a slightly different result.
Step-by-Step: How to Make Kool-Aid Ice Cream
Creating this delicious no-churn Kool-Aid ice cream is incredibly simple. Follow these steps for a perfectly creamy and flavorful frozen treat:
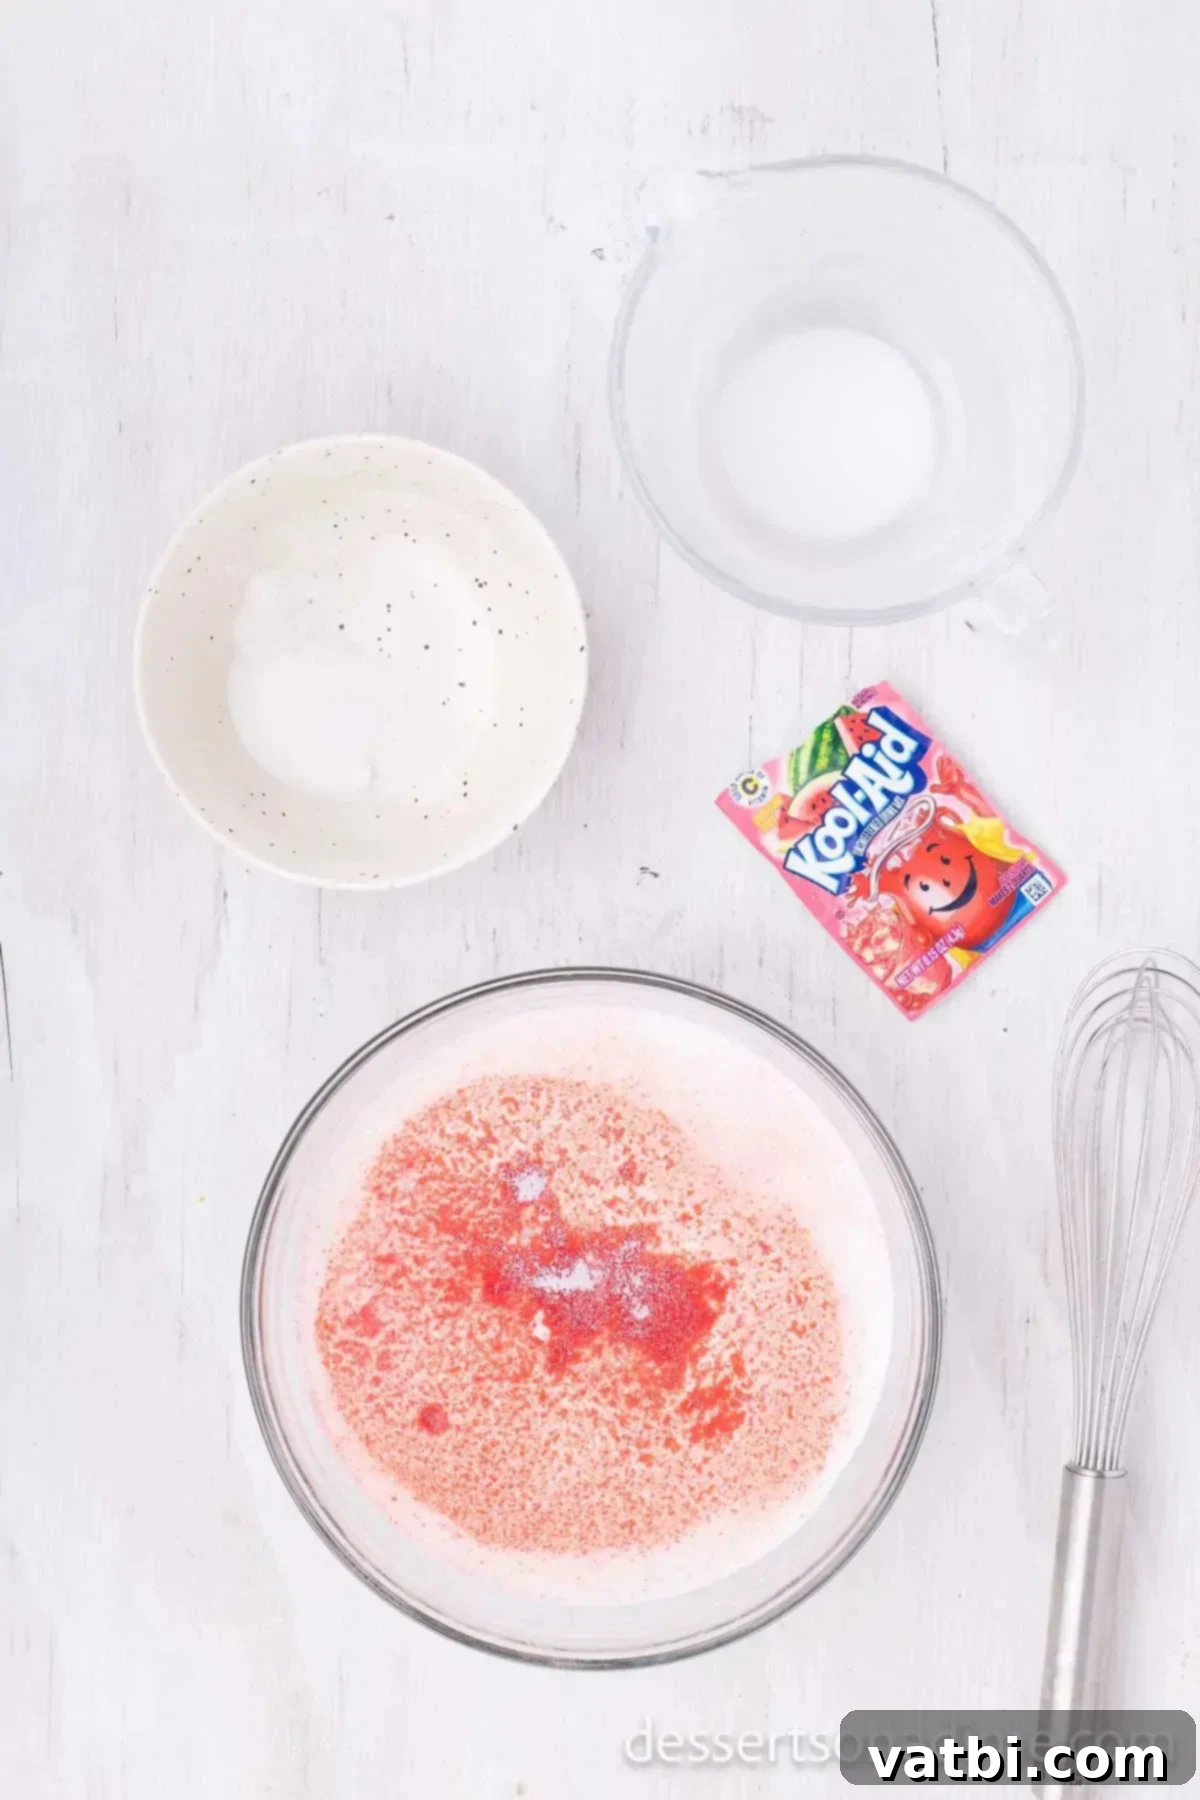
Step 1: Combine Ingredients. Begin by gathering a large mixing bowl. Add all of your chosen Kool-Aid packet, granulated sugar, and whole milk into the bowl. Using a sturdy whisk, vigorously combine these ingredients. Continue whisking until you are certain that both the sugar granules and the Kool-Aid powder have completely dissolved into the milk. This ensures an even flavor and smooth texture, preventing any gritty bits in your final ice cream. Ensure everything is thoroughly mixed and well combined.
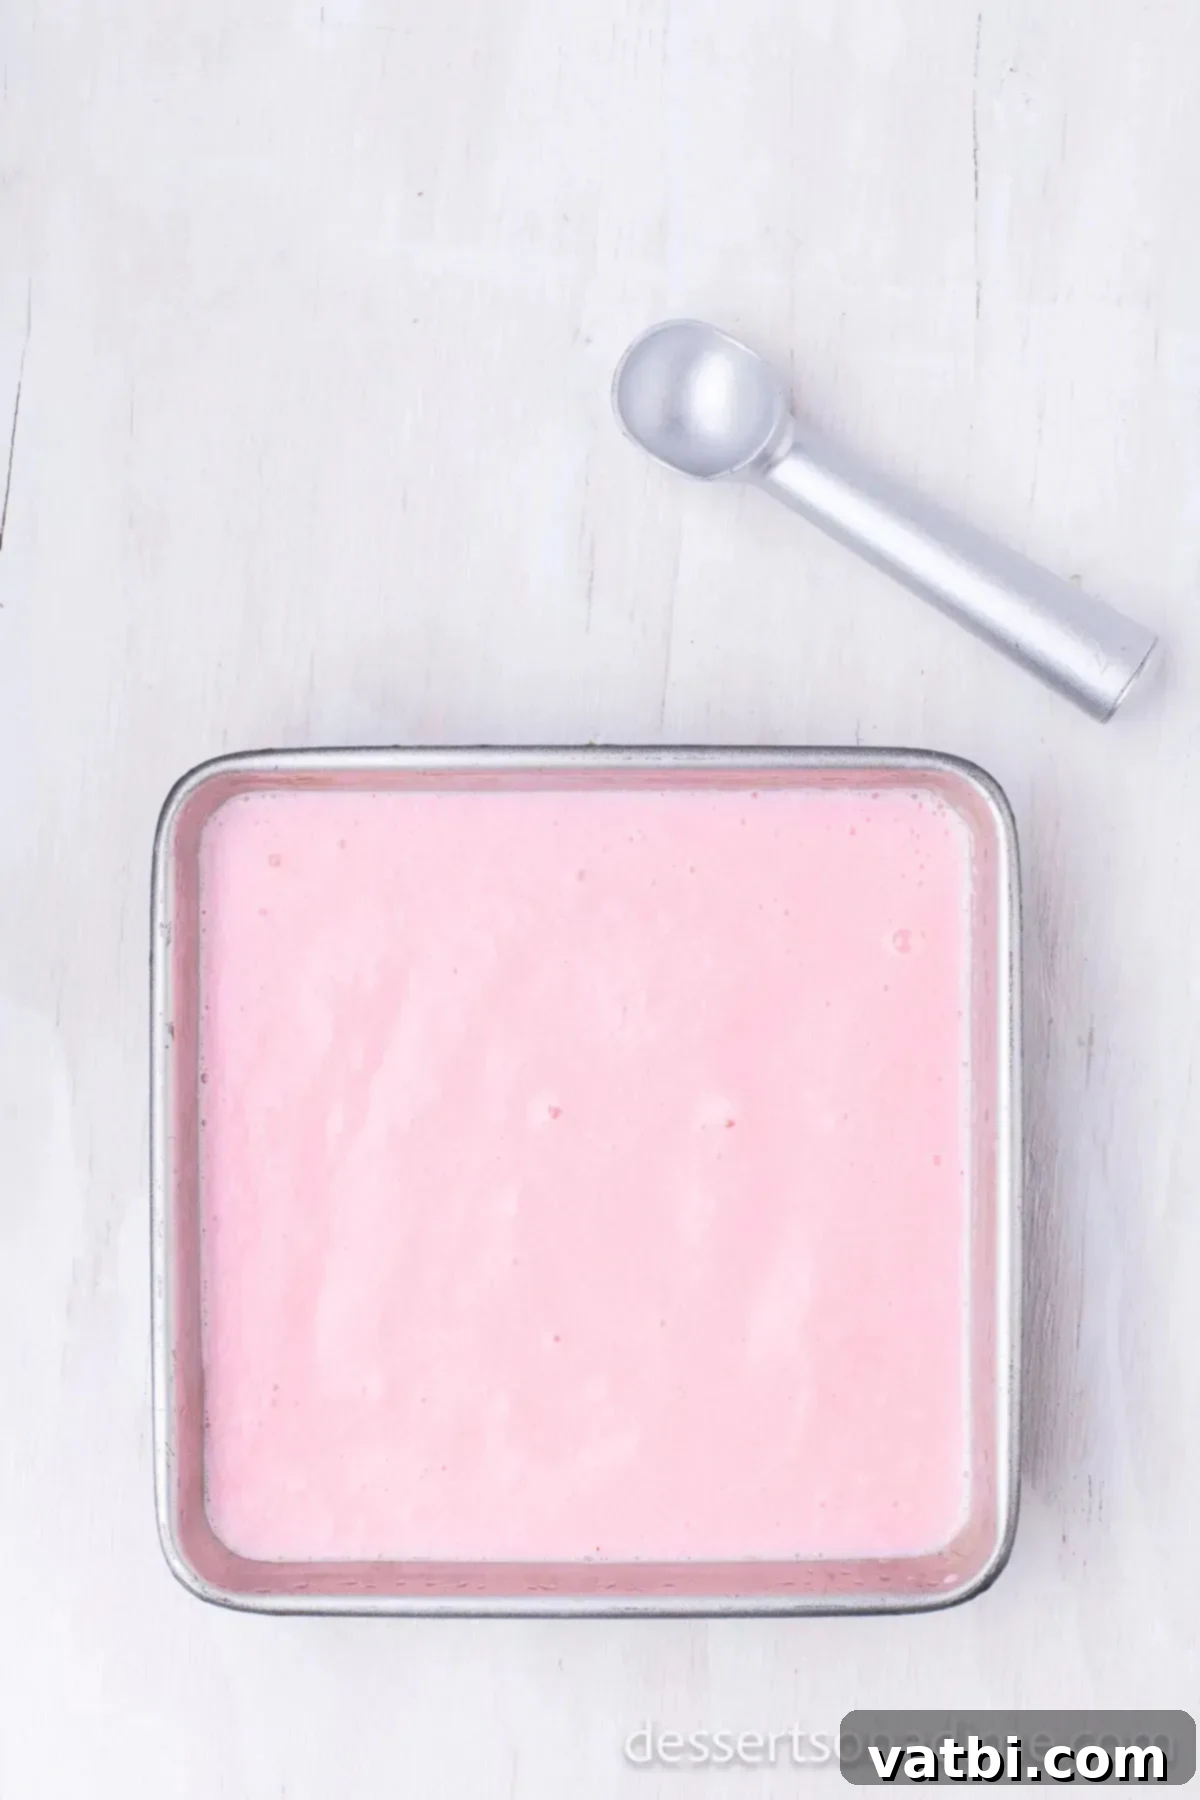
Step 2: Initial Freeze. Once your mixture is perfectly smooth, carefully pour it into a shallow cake pan. A shallow pan is key here, as it allows the mixture to freeze more quickly and evenly, which is important for preventing large ice crystals. Place the pan in your freezer for approximately two hours, or until the ice cream mixture is mostly set around the edges but still a bit soft in the center. The goal is for it to be firm enough to scoop out but not completely solid.
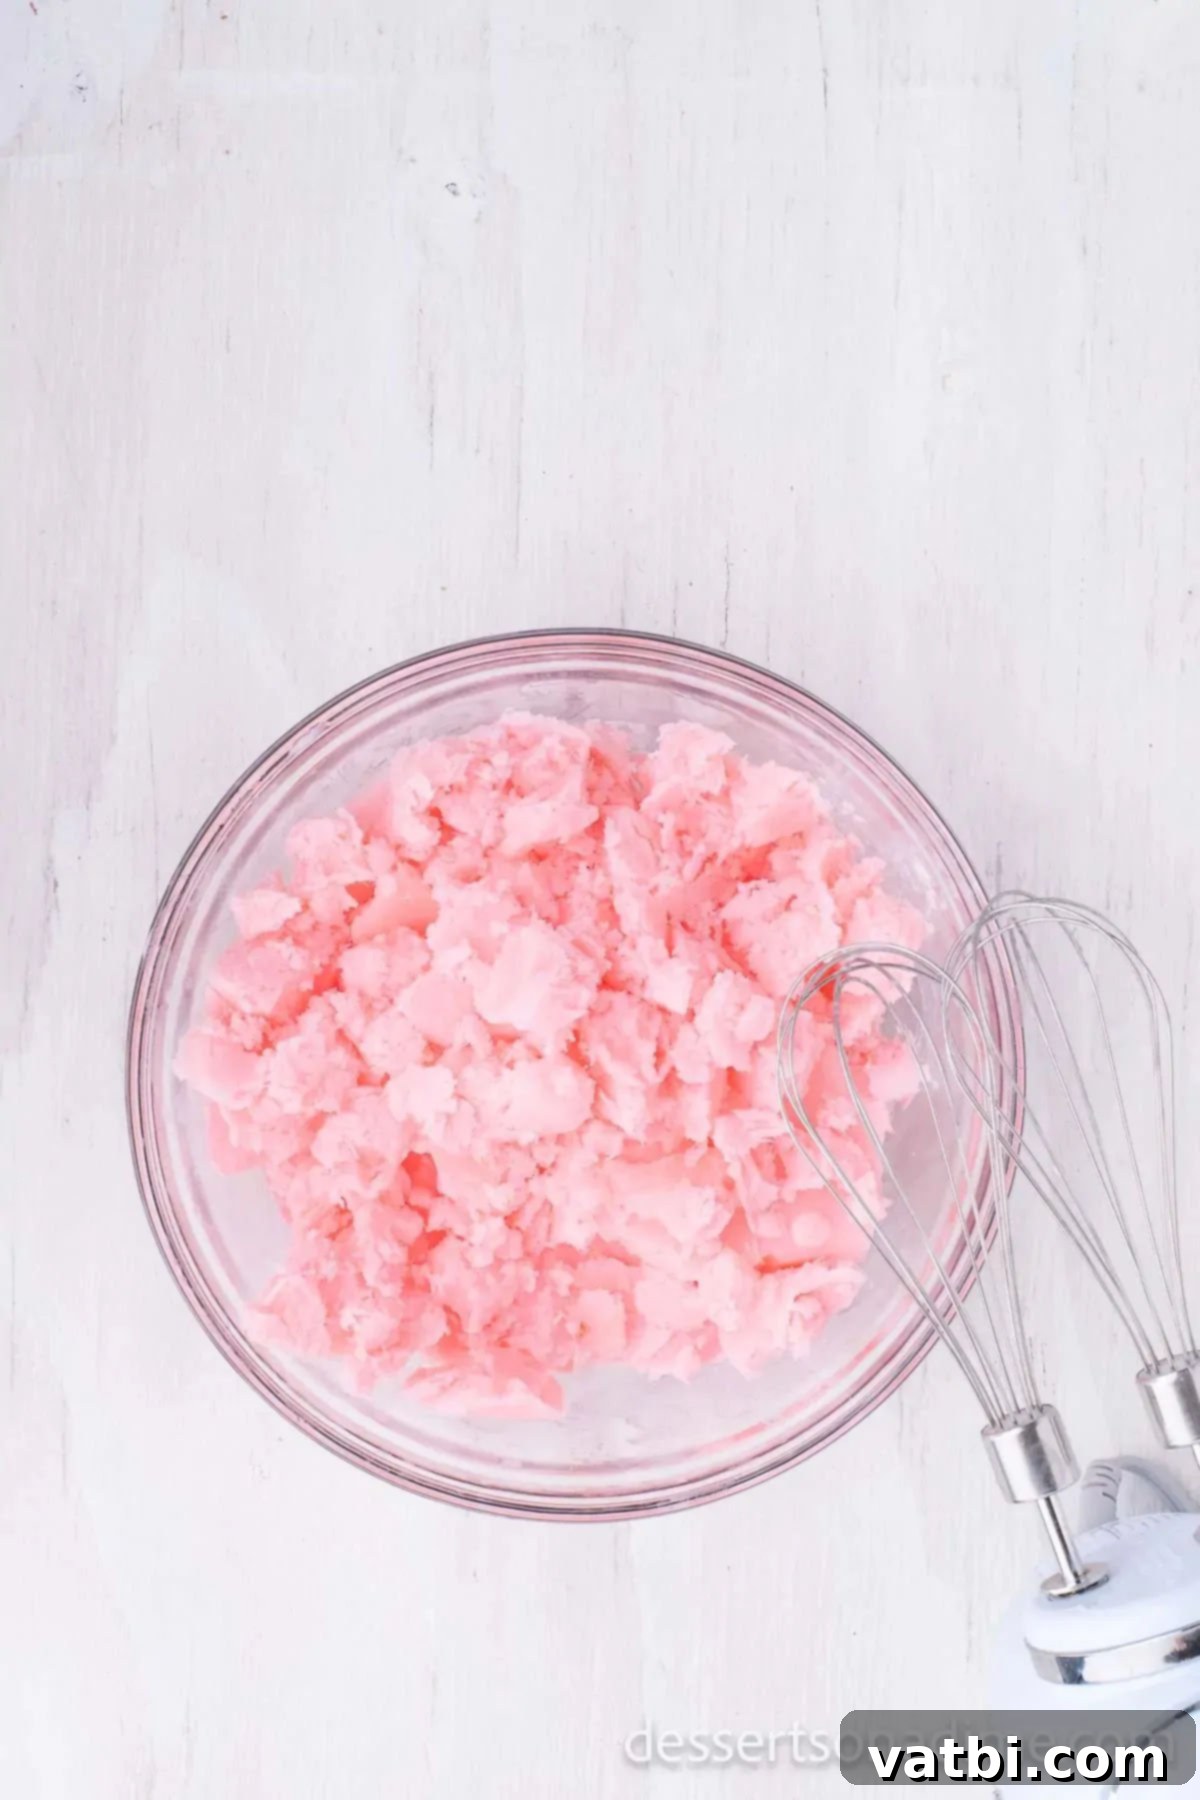
Step 3: Whip for Creaminess. After the initial freeze, transfer the partially frozen mixture from the shallow pan back into a large mixing bowl. This is a crucial step for achieving that desired smooth, creamy, and no-churn consistency. Using an electric mixer (either a stand mixer with a paddle attachment or a powerful hand mixer) on medium-high speed, beat the mixture vigorously for several minutes. You’ll notice it transform into a much smoother, lighter, and airier consistency, similar to soft-serve ice cream. This re-mixing breaks up any forming ice crystals and incorporates air, which is essential for a velvety final product.
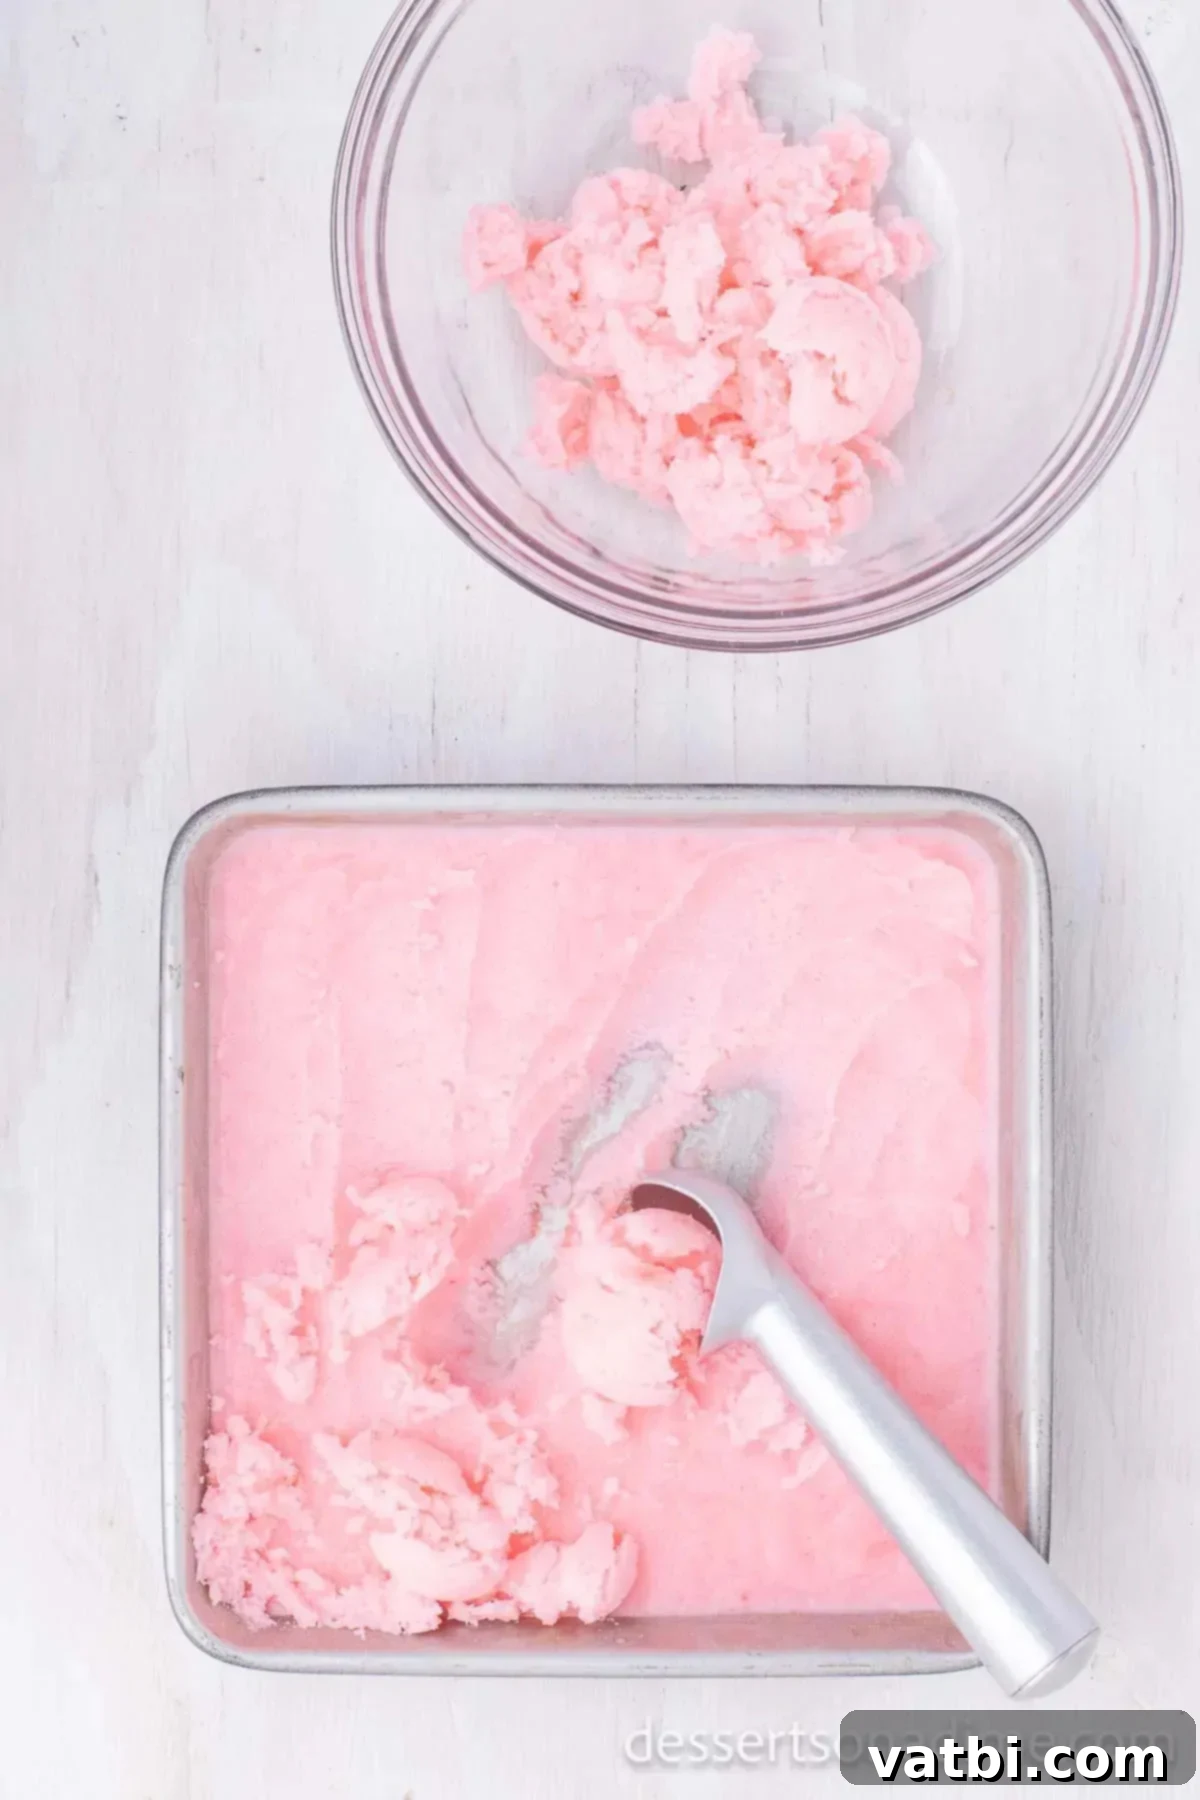
Step 4: Final Freeze. Once the mixture is beautifully smooth and creamy from whipping, pour it back into the same shallow cake pan. Cover the pan tightly with plastic wrap or aluminum foil to prevent freezer burn and ice crystal formation on the surface. Return the pan to the freezer for its final chill. Allow it to refreeze for another 2-3 hours, or until it is completely firm and scoopable. While it may start firming up within 1-2 hours, for a perfectly set ice cream, allow the full 2-3 hours for optimal consistency.
Proper Storage for Optimal Freshness
To ensure your homemade Kool-Aid ice cream stays fresh, delicious, and free from freezer burn, proper storage is key. Once your ice cream is completely frozen and ready to enjoy, transfer it from the shallow pan into a dedicated freezer-safe container with an airtight lid. This could be a sturdy plastic container, a glass container with a tight-fitting lid, or even a heavy-duty zip-top freezer bag with as much air pressed out as possible. Preventing air exposure is crucial for maintaining both flavor and texture.
Stored correctly, your Kool-Aid ice cream will retain its peak freshness and creamy texture for up to one week. While it can technically last longer in the freezer (up to 2-3 months), you might notice a gradual decline in quality, with the texture becoming slightly icier and the flavors less vibrant over time. For the best possible eating experience, we recommend enjoying it within the first week of preparation.
Pro Tips for Perfect Kool-Aid Ice Cream
Achieving the perfect scoop of homemade Kool-Aid ice cream is simple, but a few expert tips can elevate your results:
- I personally love using my stand mixer for the whipping step, as it’s powerful and frees up your hands. However, a good quality hand mixer will work just as effectively. Just be sure to have it ready!
- Choose the Right Pan: It’s crucial to use a shallow pan for freezing, such as a metal cake pan or a baking dish. If your pan is too deep, the ice cream will take significantly longer to freeze through evenly, potentially leading to an inconsistent texture and larger ice crystals.
- Do Not Skip the Mixing Step: This is arguably the most vital step for no-churn ice cream. The whipping process after the initial freeze breaks up any developing ice crystals and incorporates air, which is essential for creating that smooth, creamy, and scoopable consistency, mimicking traditional churned ice cream.
- Always Use Unsweetened Kool-Aid: This gives you complete control over the sweetness level of your ice cream. Using pre-sweetened Kool-Aid will make your ice cream overly sweet and could also affect the final texture.
- Airtight Storage is Key: To prevent freezer burn and maintain the best texture and flavor, always store your finished ice cream in a freezer-safe, airtight container. This helps keep it fresh for longer.
- Chill Your Bowl: For an even faster initial freeze and to help maintain a colder temperature during mixing, consider placing your mixing bowl in the freezer for 15-20 minutes before combining your ingredients.
- Get Creative with Toppings: Once your ice cream is ready, don’t forget the fun toppings! Sprinkles, whipped cream, fresh fruit, or even a drizzle of chocolate syrup can make your Kool-Aid ice cream extra special.
- Double the Batch: This ice cream is so popular, you might find yourself running out quickly! Consider doubling the recipe, especially if you’re serving a larger crowd or want enough for multiple servings throughout the week.
Endless Kool-Aid Flavor Ideas
One of the most exciting aspects of this Kool-Aid ice cream recipe is the incredible variety of flavors you can create. Each packet offers a distinct and vibrant taste, making the possibilities truly endless. Here are just a few popular and delicious ideas to get you started:
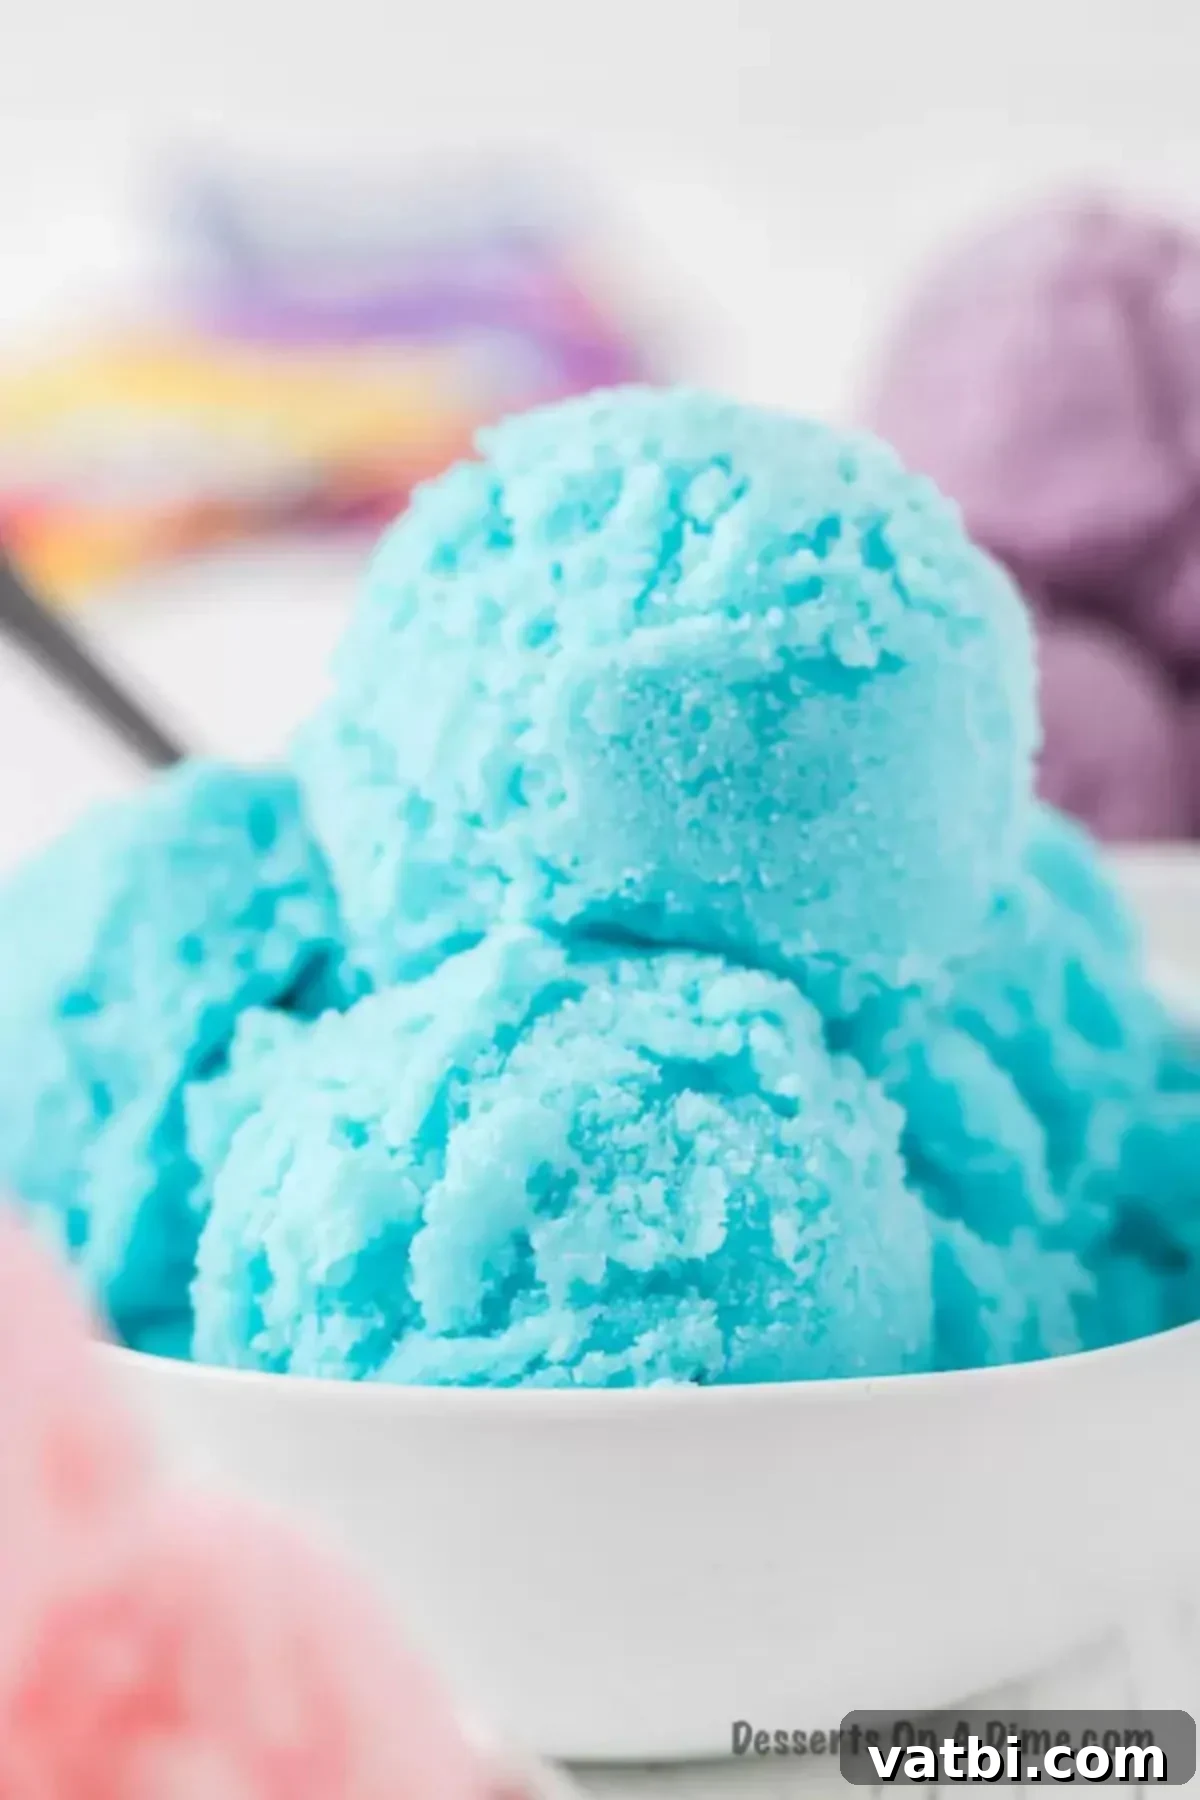
- Blue Raspberry (for a bright blue hue)
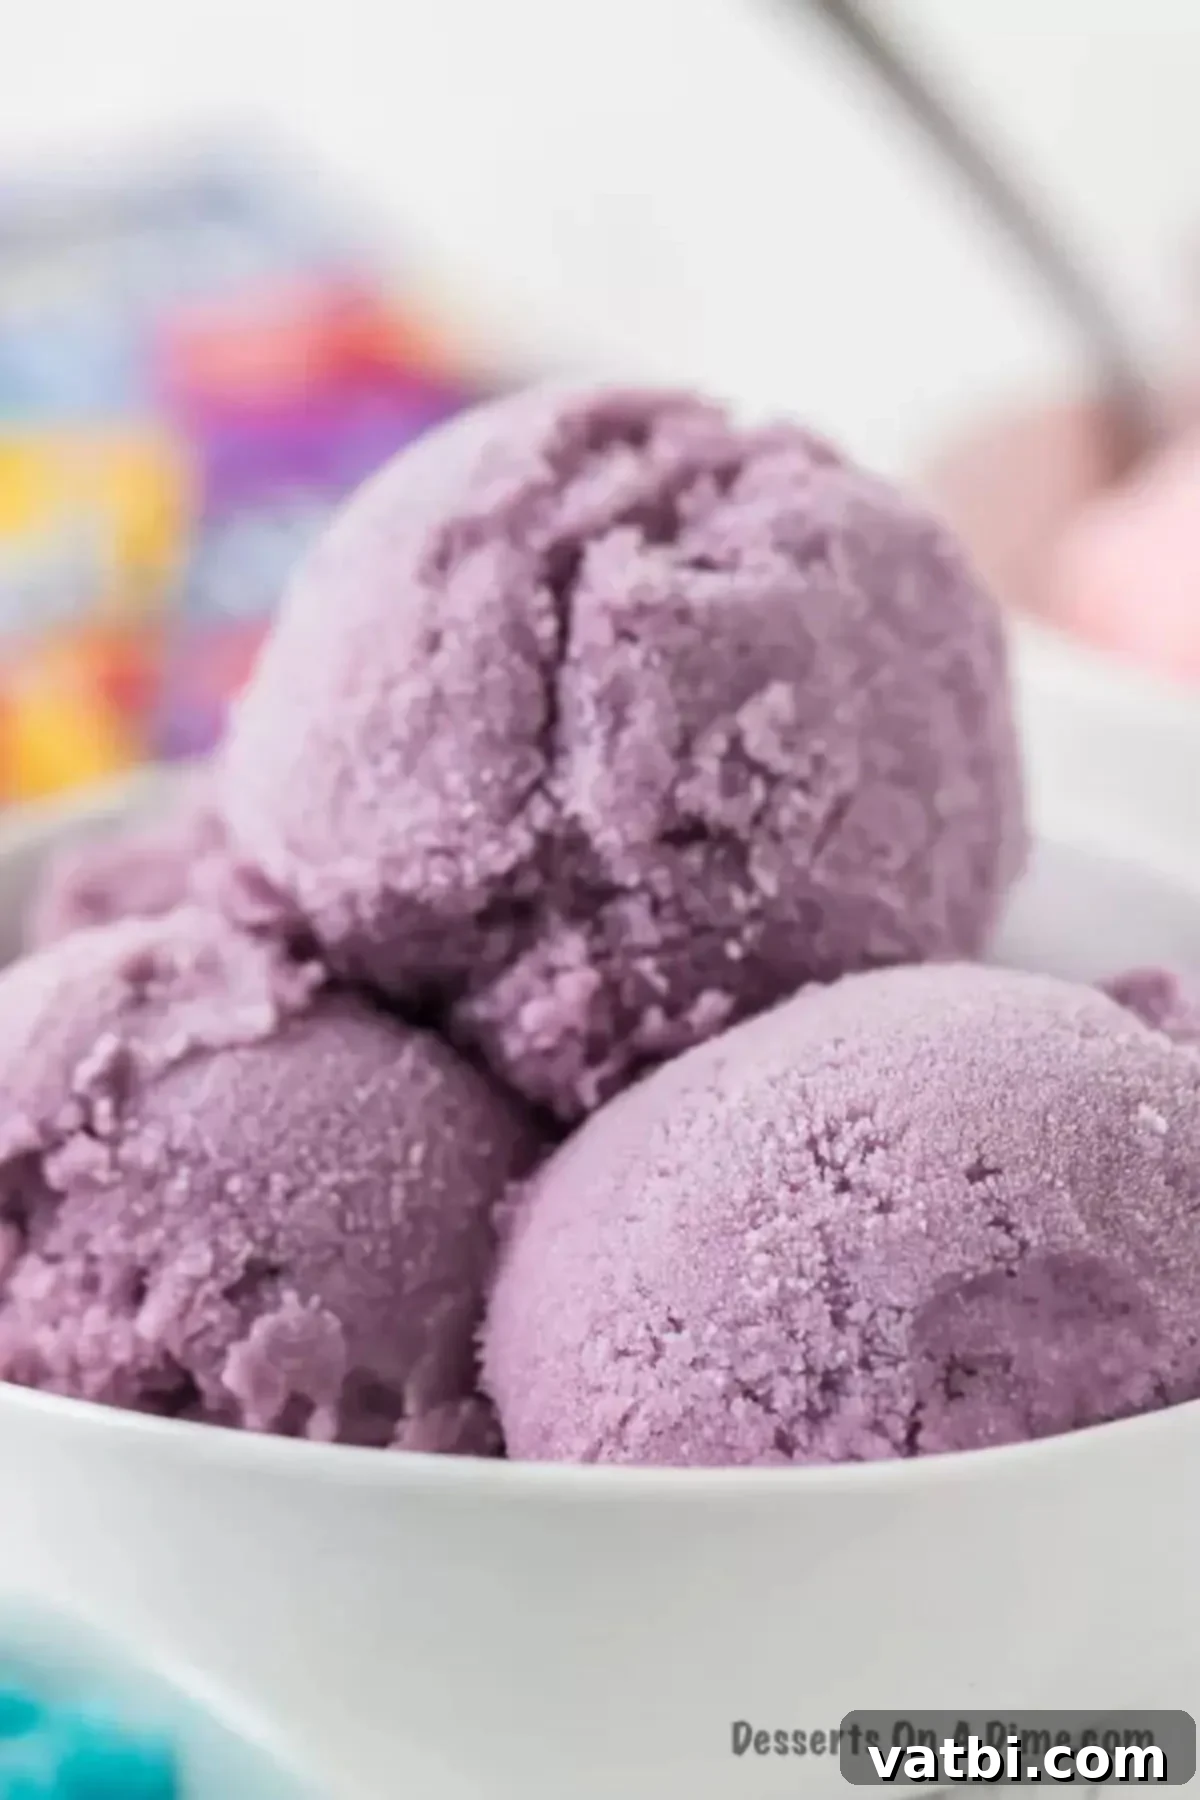
- Grape (rich purple perfection)
- Strawberry (a classic pink and sweet favorite)
- Lemonade (tangy and refreshing yellow)
- Orange (a burst of sunny citrus flavor)
- Cherry (a bold red and fruity choice)
- Tropical Punch (a blend of exotic flavors)
- Green Apple (a fun, tart green)
But why stop there? Feel free to mix and match or get adventurous with less common flavors! It’s incredibly fun to make several different flavors simultaneously and then serve them as a colorful “ice cream flight” or even layer them in a pan for a stunning rainbow ice cream cake. Imagine a vibrant scoop featuring a strawberry layer, followed by grape, and then blue raspberry—the visual appeal is just as delightful as the taste. This allows everyone to enjoy more delicious flavors and find their personal favorite combination.
More Easy Kool-Aid Recipes
Kool-Aid isn’t just for drinks and ice cream! It’s a versatile ingredient that can add a burst of color and flavor to many other fun recipes. If you loved making this ice cream, you’ll definitely want to try these other simple Kool-Aid creations:
- Kool Aid Pie Recipe
- Kool-Aid Popcorn
- Easy Kool-Aid Pickles Recipe
- How to make a slushie with Kool-Aid mix
- Sour Patch Grapes
We hope you enjoy making and devouring this incredibly easy and delicious Kool-Aid ice cream. It’s truly a summer staple waiting to happen in your kitchen! Once you try this delightful, no-churn dessert, please don’t hesitate to share your experience. Let us know what flavor you decide to try and what creative combinations you come up with. We’d love to hear from you – leave a comment and a star rating below!
Pin
Kool-Aid Ice Cream Recipe
Ingredients
- 1 Package Unsweetened Kool-Aid, Any Flavor (0.16 ounces)
- 1 Cup Granulated Sugar (link)
- 3 Cups Whole Milk (link)
Instructions
-
In a large mixing bowl, whisk together all ingredients (Kool-Aid, sugar, and milk) until the sugar and Kool-Aid powder are completely dissolved. Ensure the mixture is smooth and uniform.
-
Pour the mixture evenly into a shallow cake pan or baking dish. Place it in the freezer for approximately two hours, or until it is mostly set around the edges but still slightly soft in the middle.
-
Remove the partially frozen mixture from the pan and spoon it back into a large mixing bowl. Using an electric mixer (handheld or stand mixer) on medium-high speed, beat the mixture until it becomes smooth, creamy, and airy, breaking up any ice crystals.
-
Return the whipped ice cream mixture to the shallow cake pan. Cover tightly with plastic wrap or foil. Refreeze for another 2-3 hours, or until the ice cream is completely frozen and firm enough to scoop.
Recipe Notes
Nutrition Facts
Pin This Now to Remember It Later
Pin Recipe
