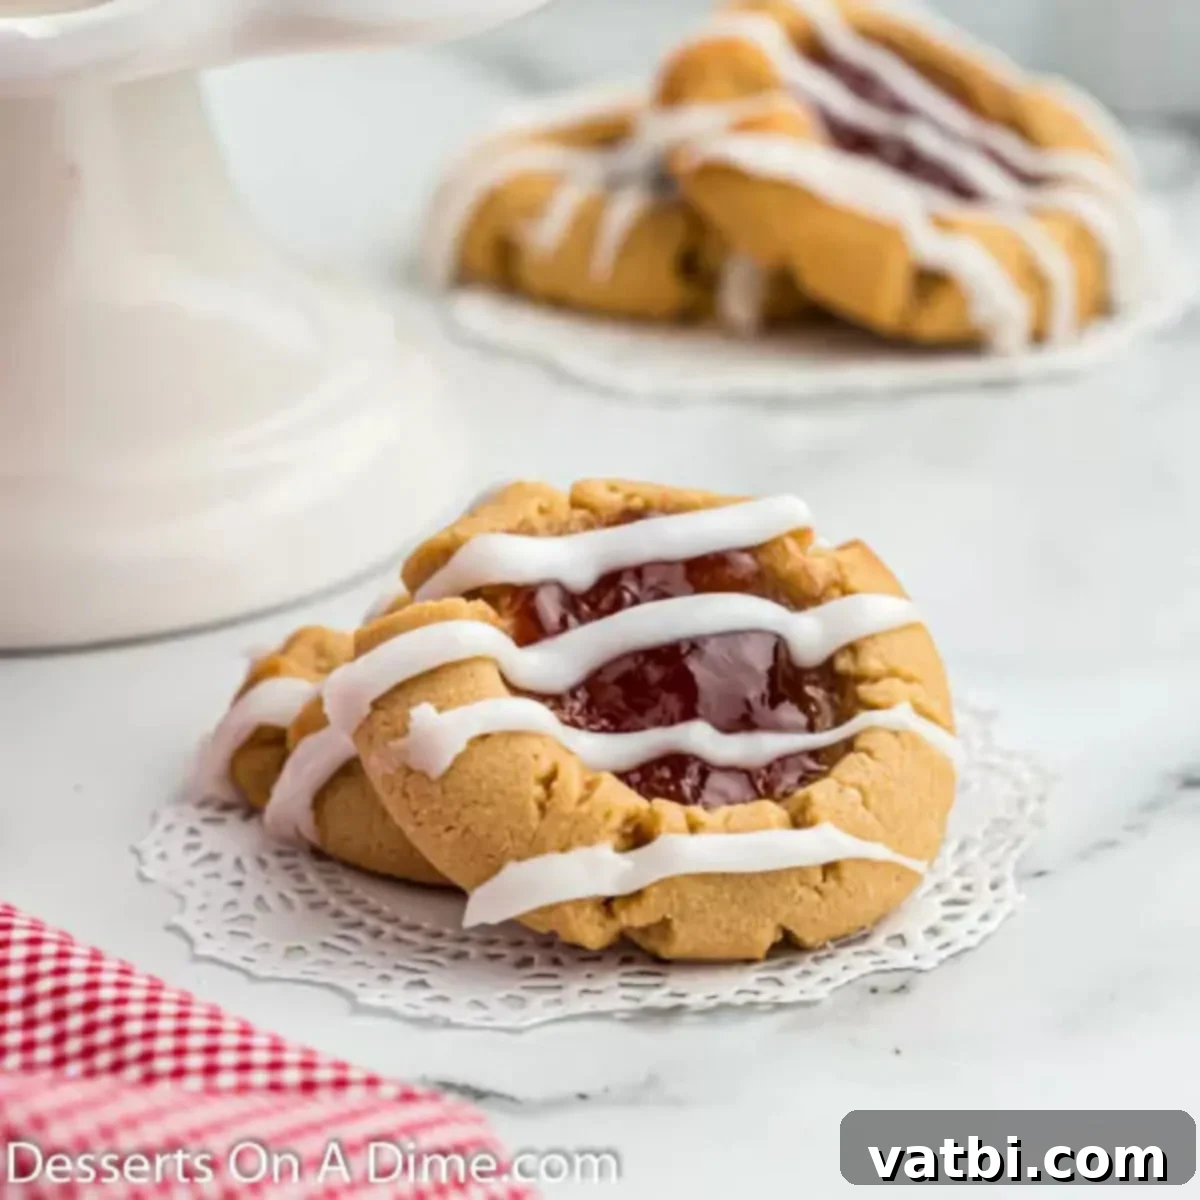
Irresistible Peanut Butter and Jelly Cookies: A Sweet Taste of Childhood Nostalgia
Get ready to rediscover your favorite childhood flavor combination in an utterly delightful new form! These Peanut Butter and Jelly Cookies are not just easy to bake; they are incredibly delicious, delivering that perfect balance of nutty and sweet with every single bite. From the moment you taste the soft, chewy peanut butter cookie base, through the luscious strawberry jam center, to the delicate sweetness of the glaze topping, this recipe is guaranteed to be a hit. It’s a nostalgic treat that brings joy to both kids and adults alike, proving that some classic duos are just meant to be.
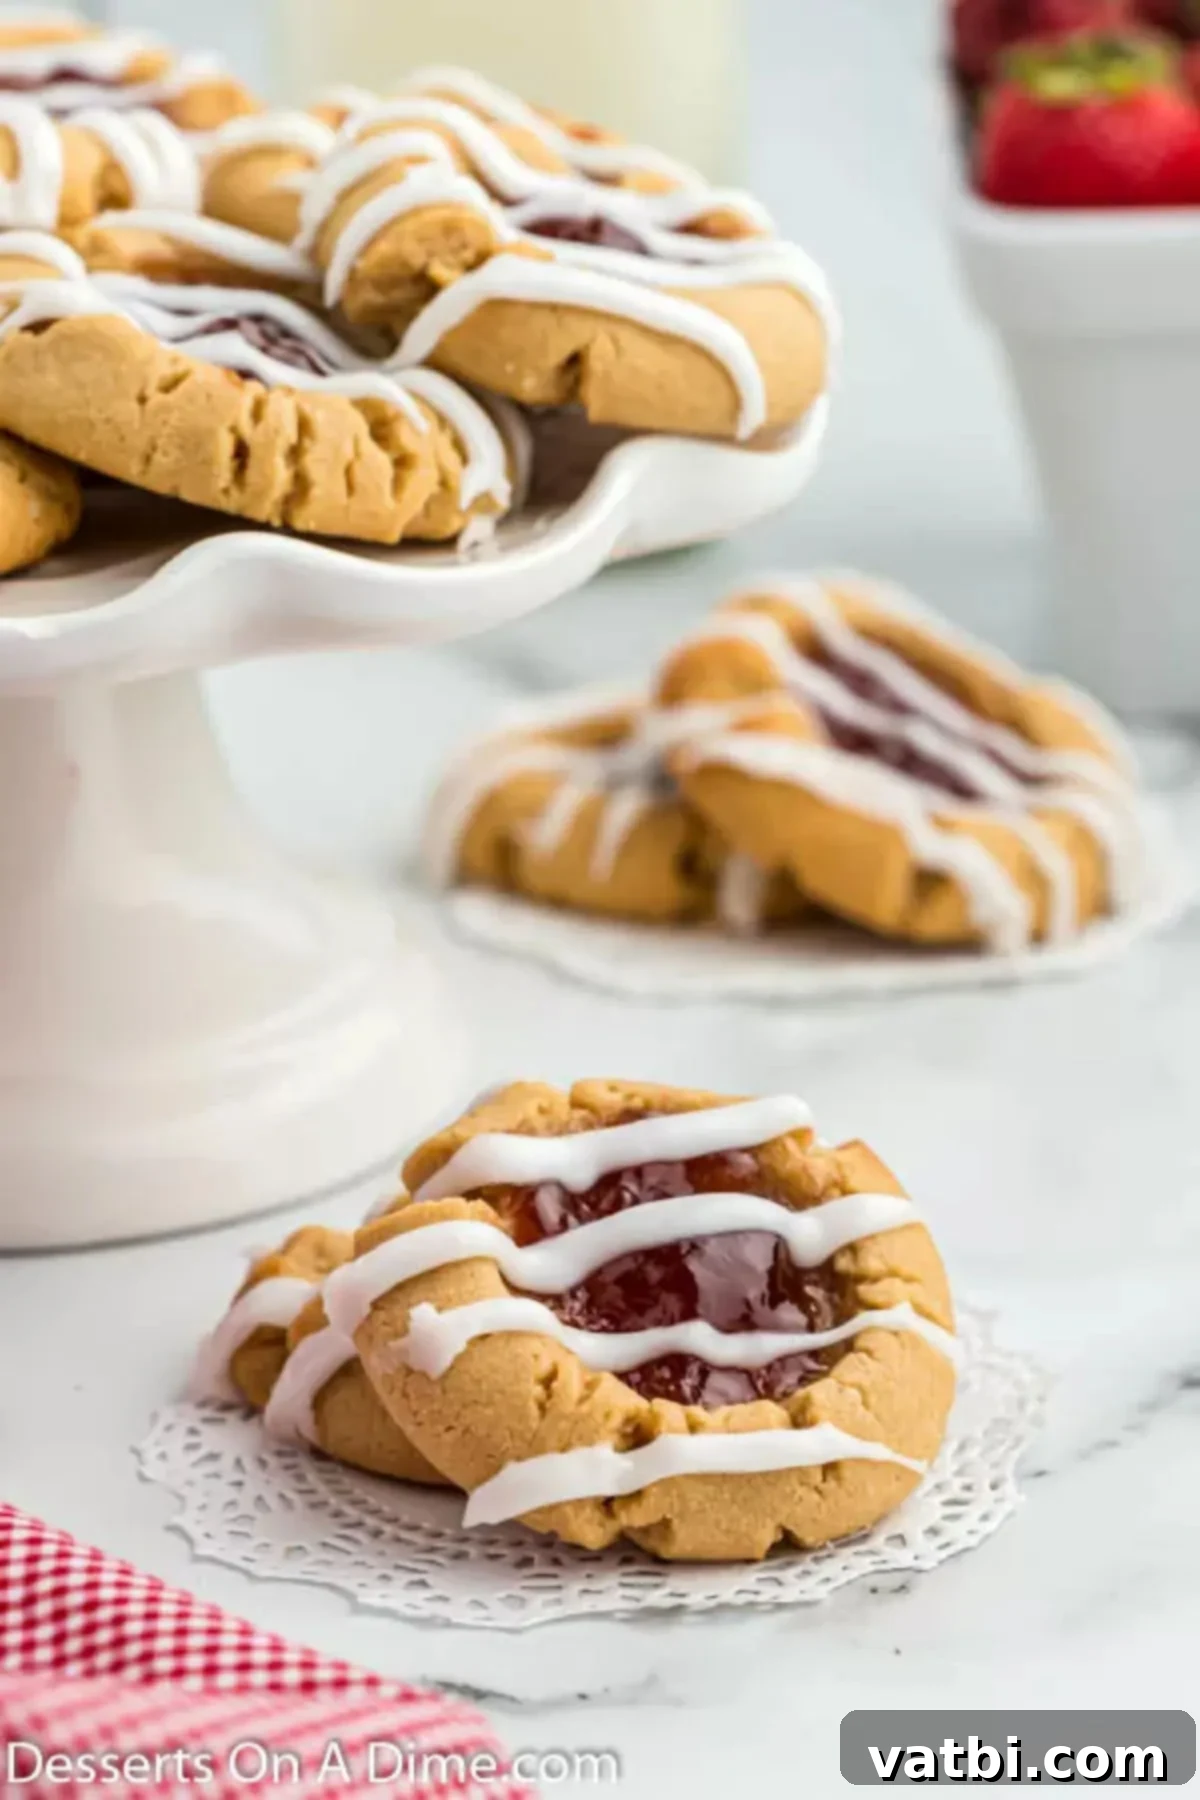
If you’re a devoted fan of the classic peanut butter and jelly sandwich, then you are absolutely going to adore this cookie recipe. Each cookie masterfully captures the essence of that beloved sandwich: a rich, soft, and chewy peanut butter base that cradles a vibrant dollop of fruity jam. The optional but highly recommended sweet glaze adds an extra layer of sweetness and a beautiful finish, making these cookies truly irresistible. This recipe takes everything you love about traditional Peanut Butter Cookies and elevates it with a fruity twist. And if you’re a true peanut butter connoisseur, you might also want to explore making these delightful Homemade Nutter Butter Cookies for another nutty indulgence.
Table of contents
- Why We Love This Recipe
- Ingredients for the Perfect PB&J Cookies
- Creative Variations & Easy Substitutions
- How to Make Peanut Butter and Jelly Cookies
- How to Make the Sweet Glaze
- Pro Tips for Baking Success
- Frequently Asked Questions (FAQs)
- More Easy Cookie Recipes to Enjoy
Why We Love This Recipe: A Delightful Blend of Flavors & Simplicity
There are countless reasons why these Peanut Butter and Jelly Cookies have become a staple in our dessert rotation. First and foremost, the recipe utilizes simple, everyday ingredients that you likely already have in your pantry, making it an accessible baking project for anyone. But don’t let the simplicity fool you – the resulting combination of flavors is truly extraordinary. Each cookie delivers a harmonious blend of salty-sweet peanut butter and vibrant fruit jam, creating a taste sensation that’s both comforting and exciting. It’s like bottling up all the joy and nostalgia of a classic PB&J sandwich and transforming it into a soft, chewy, and utterly addictive cookie. Every bite is a journey back to simpler times, packed with deliciousness that appeals to all ages. Plus, they look absolutely charming with their colorful jam centers and elegant glaze drizzle, making them perfect for sharing at parties or enjoying as a special everyday treat.
Ingredients for the Perfect PB&J Cookies
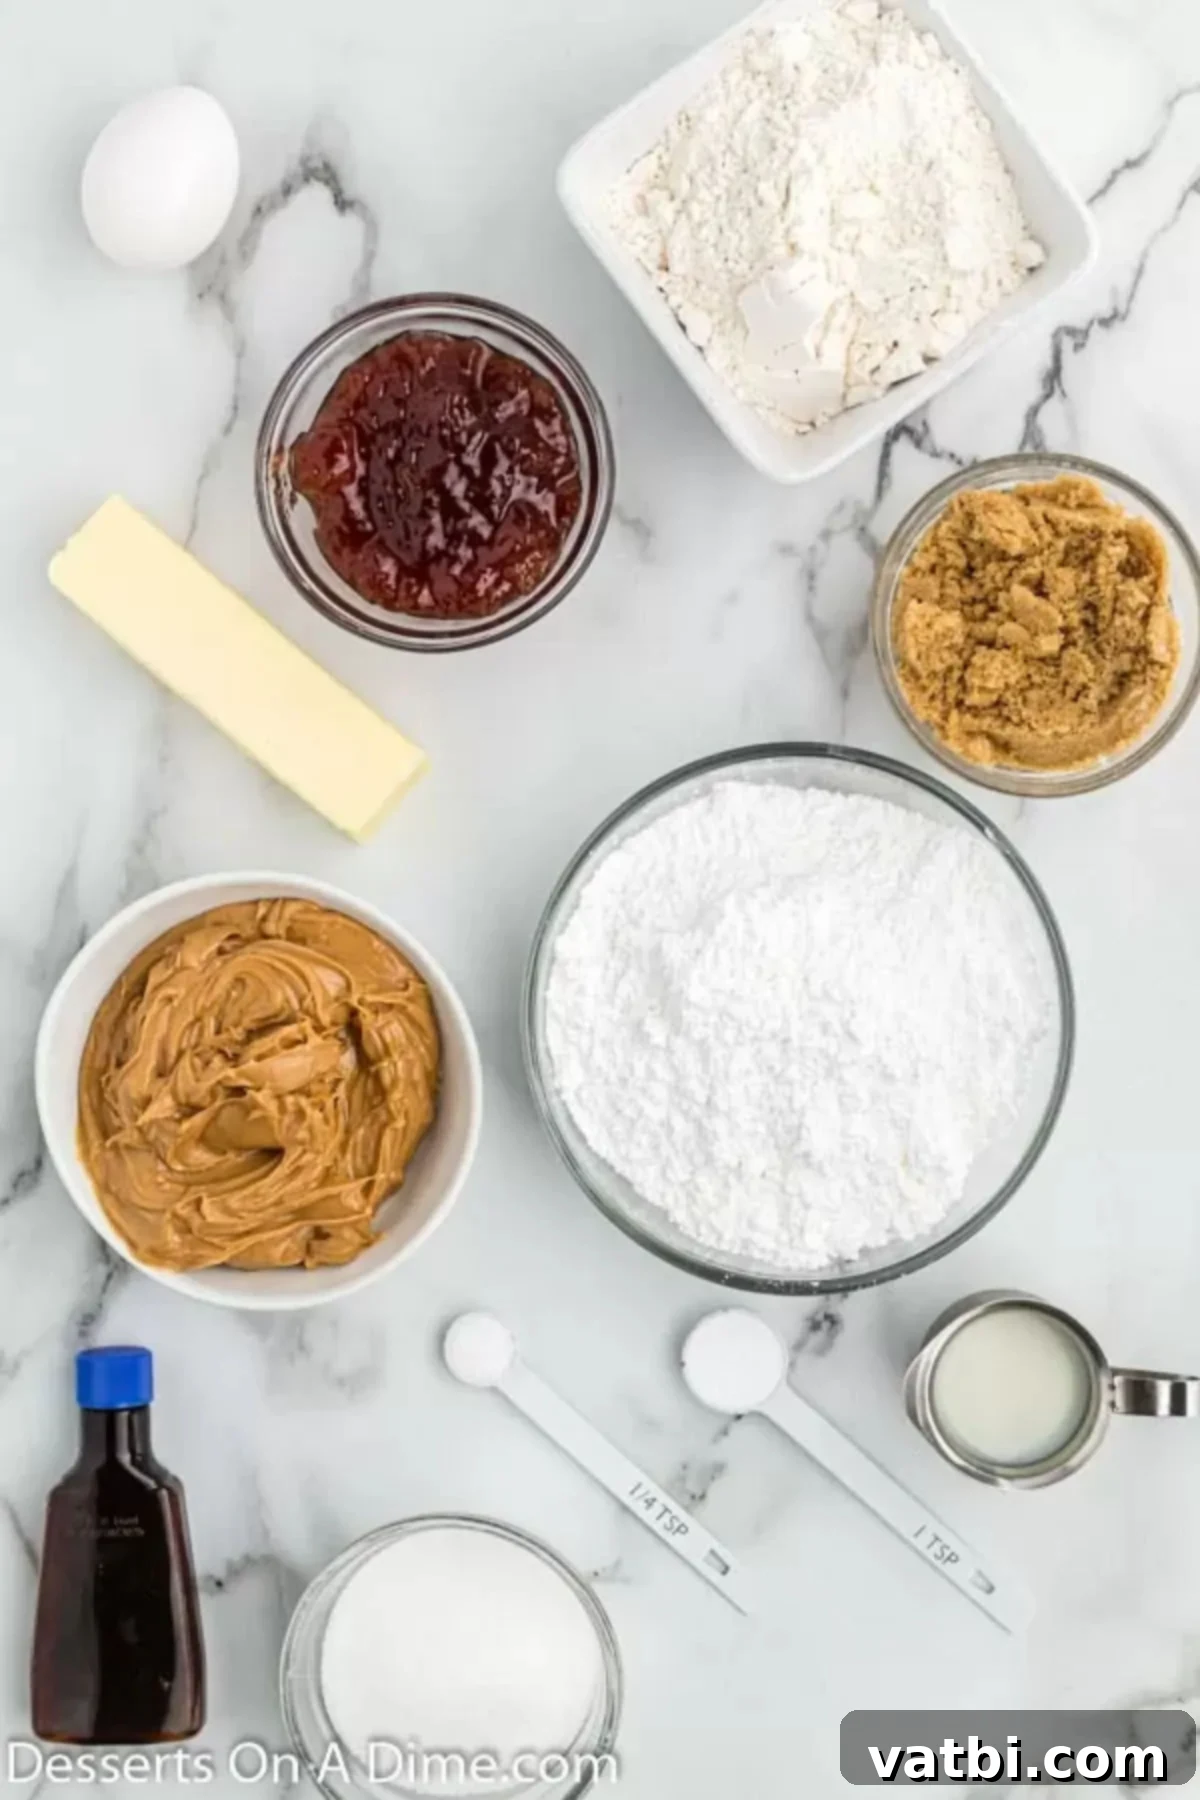
Gathering your ingredients is the first step to creating these delectable cookies. Here’s a closer look at what you’ll need and why each component is essential:
- Butter: For the best texture and flavor, make sure your butter is softened to room temperature. This allows it to cream smoothly with the sugars, incorporating air and creating a tender, light cookie.
- Creamy Peanut Butter: We highly recommend using creamy peanut butter for this recipe to achieve a consistently smooth and tender cookie texture. It blends beautifully into the dough, ensuring that classic, melt-in-your-mouth feel.
- All-Purpose Flour: This forms the structural foundation of your cookies. To ensure accuracy and prevent a dense cookie, always spoon the flour into your measuring cup and level it off, rather than scooping directly from the bag.
- Baking Soda: This leavening agent helps your cookies rise slightly and contributes to their soft, chewy texture. If you’re out, check out some Best Baking Soda Substitutes.
- Strawberry Jam: A generous ½ cup of strawberry jam is the perfect amount to fill all your cookies with a burst of fruity sweetness. Its bright flavor perfectly complements the rich peanut butter.
- Powdered Sugar: Essential for our smooth, drizzly glaze. For the best, lump-free results, we like to sift the powdered sugar before mixing.
- Milk: A small amount of milk is used to achieve the ideal consistency for the glaze. Whole milk is generally preferred for a richer flavor, but any milk will work.
- Sugar & Brown Sugar: A combination of both granulated and brown sugar provides depth of flavor and contributes to the cookies’ chewiness and golden-brown edges.
- Large Egg: Acts as a binder, holding the cookie dough together and adding richness.
- Vanilla Extract: A touch of vanilla enhances all the other flavors, adding a warm, aromatic note to the cookies.
- Salt: A pinch of salt balances the sweetness and brings out the full flavor of the peanut butter.
The complete list of specific quantities for each ingredient can be found in the detailed recipe card at the bottom of this post.
Creative Variations & Easy Substitutions to Make Them Your Own
While the classic Peanut Butter and Jelly Cookie is perfect as is, feel free to get creative with these delicious variations and substitutions to tailor them to your personal taste or what you have on hand:
- Different Types of Jelly or Jam: Don’t limit yourself to strawberry! Explore other tasty options such as raspberry, grape, peach, apricot, or even a mixed berry jam. Each type will lend a unique flavor profile to your cookies, making every batch a new adventure. Cherry or fig preserves could also be delightful!
- Custom Glaze Flavors: For a delightful twist, consider making a cream cheese glaze to drizzle on top. The slight tanginess of cream cheese would beautifully complement the sweet and nutty flavors. You could also infuse your glaze with a hint of almond extract, lemon zest, or even a touch of cinnamon for added warmth. For a chocolate lover, a simple chocolate drizzle would be phenomenal.
- Crunchy Peanut Butter: If you prefer a bit more texture, substitute creamy peanut butter with crunchy peanut butter. The added peanut pieces will give your cookies a delightful bite and extra nutty flavor, offering another fantastic option for peanut butter enthusiasts.
- Nutty Add-Ins: Fold in some chopped nuts like peanuts, walnuts, or pecans into the cookie dough for an extra layer of crunch and flavor.
- Chocolate Chips: Who can resist the classic peanut butter and chocolate combo? Mix in a handful of mini chocolate chips or regular chocolate chips into your cookie dough for an even richer dessert.
- Nutella Swirl: For a truly decadent treat, swirl a small amount of Nutella into the jam before placing it in the cookie indentation, or simply use Nutella as the “jelly” filling.
- Spice It Up: A pinch of cinnamon or nutmeg in the cookie dough can add a warm, comforting undertone that complements both the peanut butter and fruit flavors.
- Peanut Butter Alternatives: For those with peanut allergies or seeking different flavors, consider using almond butter or cashew butter. Be aware that the texture might vary slightly, but the concept remains delicious.
How to Make Peanut Butter and Jelly Cookies: Step-by-Step Perfection
Baking these delightful cookies is a straightforward process that yields incredibly rewarding results. Follow these simple steps to create a batch of perfect Peanut Butter and Jelly Cookies:
- Step 1: Prepare Your Oven. Before you begin mixing, go ahead and preheat your oven to 350 degrees F (175 degrees C). This ensures your oven is at the correct temperature when your cookies are ready to bake, which is crucial for even cooking.
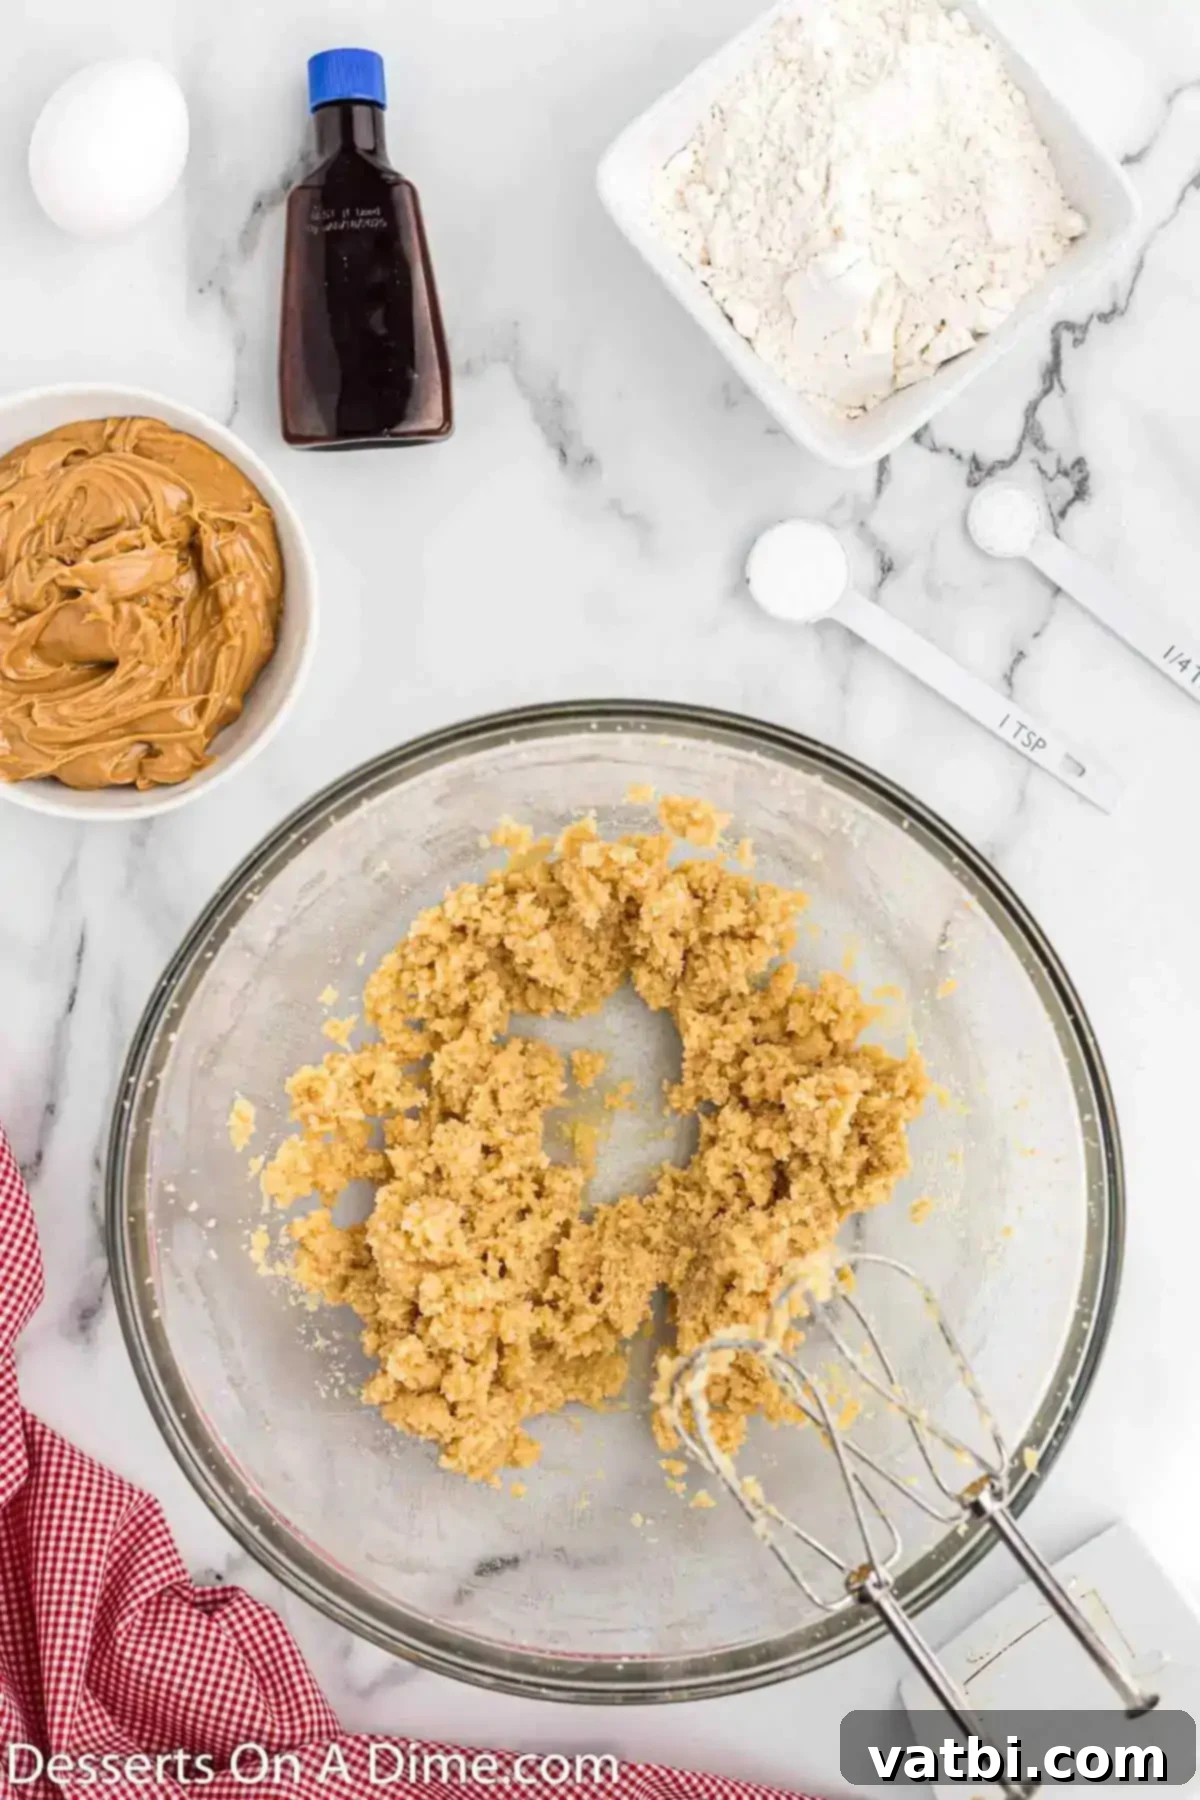
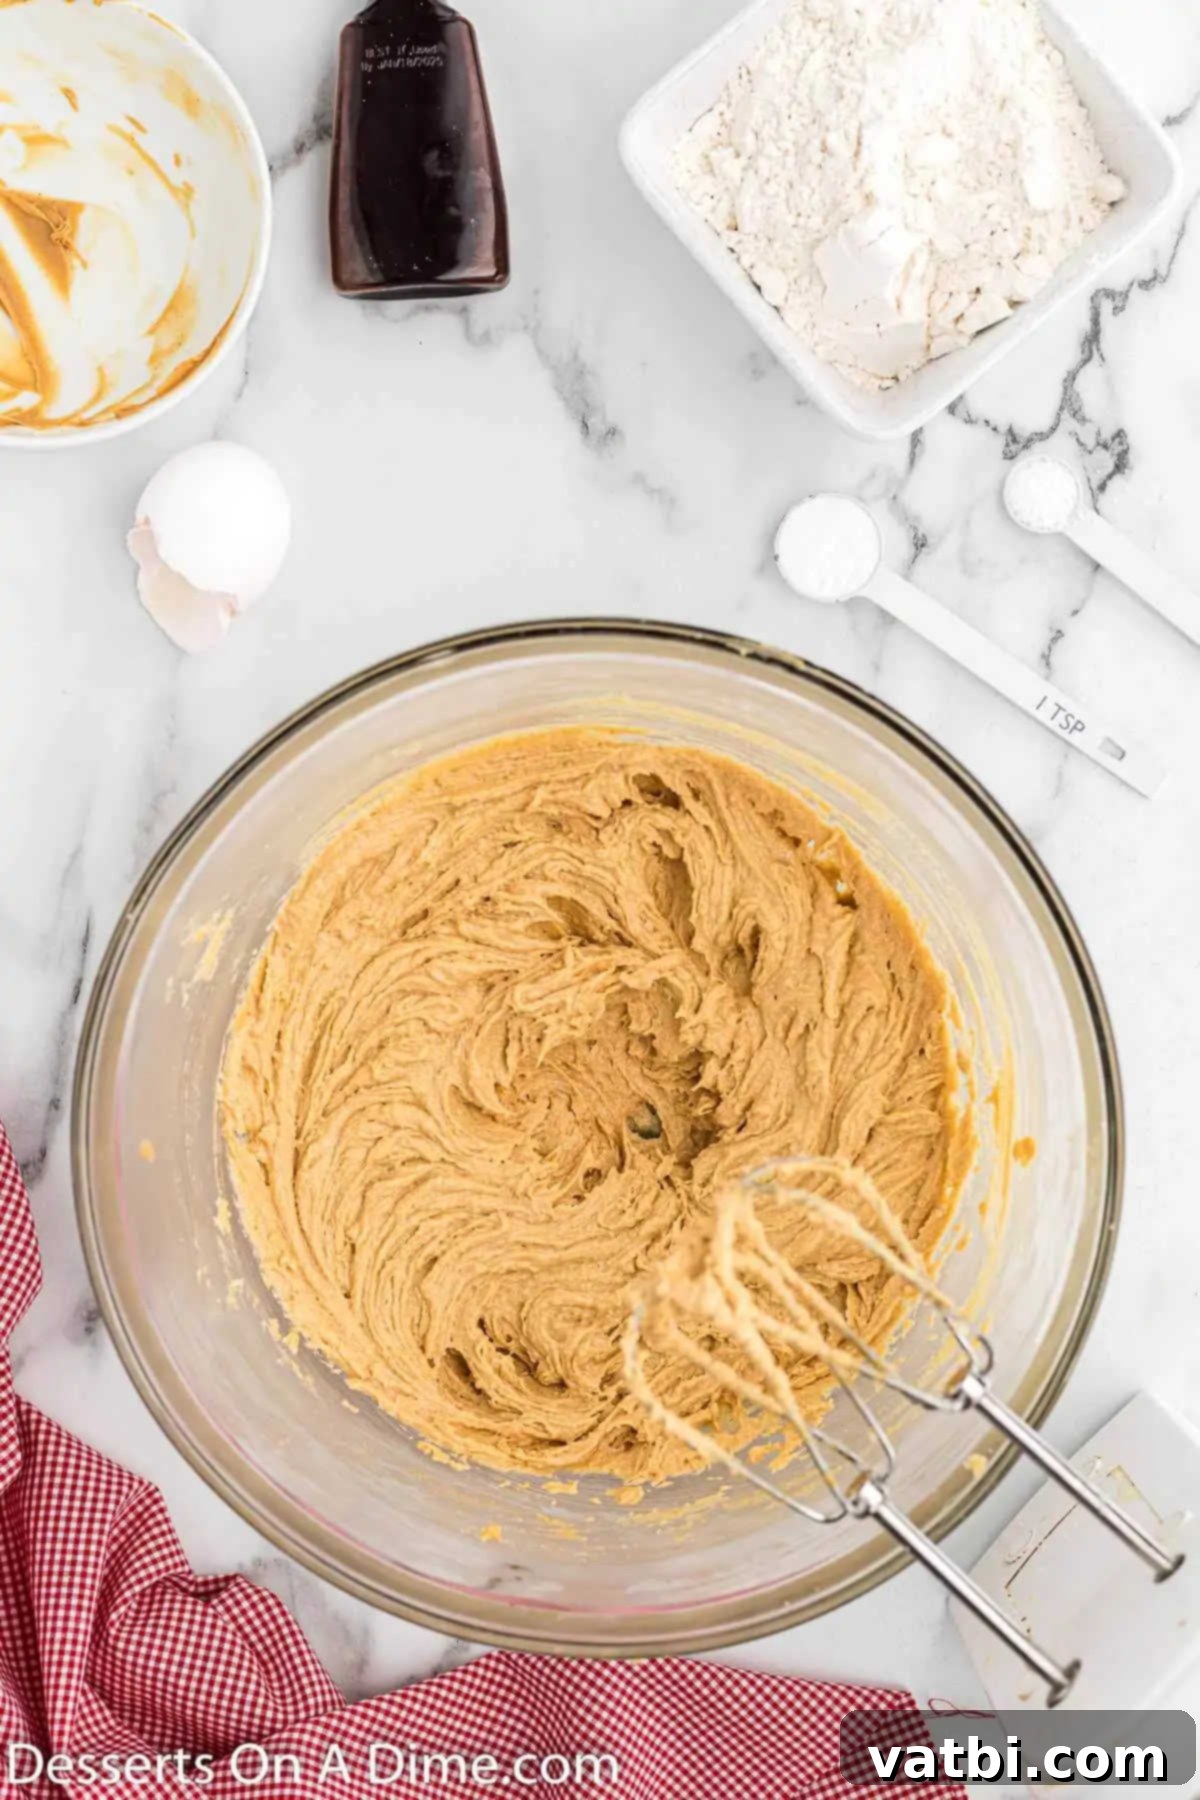
Step 2: Cream Wet Ingredients. In a large mixing bowl, combine the softened butter and both granulated sugar and brown sugar. Using a stand mixer or a hand mixer, beat these ingredients together until the mixture is light, fluffy, and well combined. This creaming process incorporates air, which is vital for a soft and tender cookie. Next, add the creamy peanut butter, large egg, and vanilla extract. Continue to mix until all ingredients are thoroughly combined and smooth, ensuring no lumps remain.
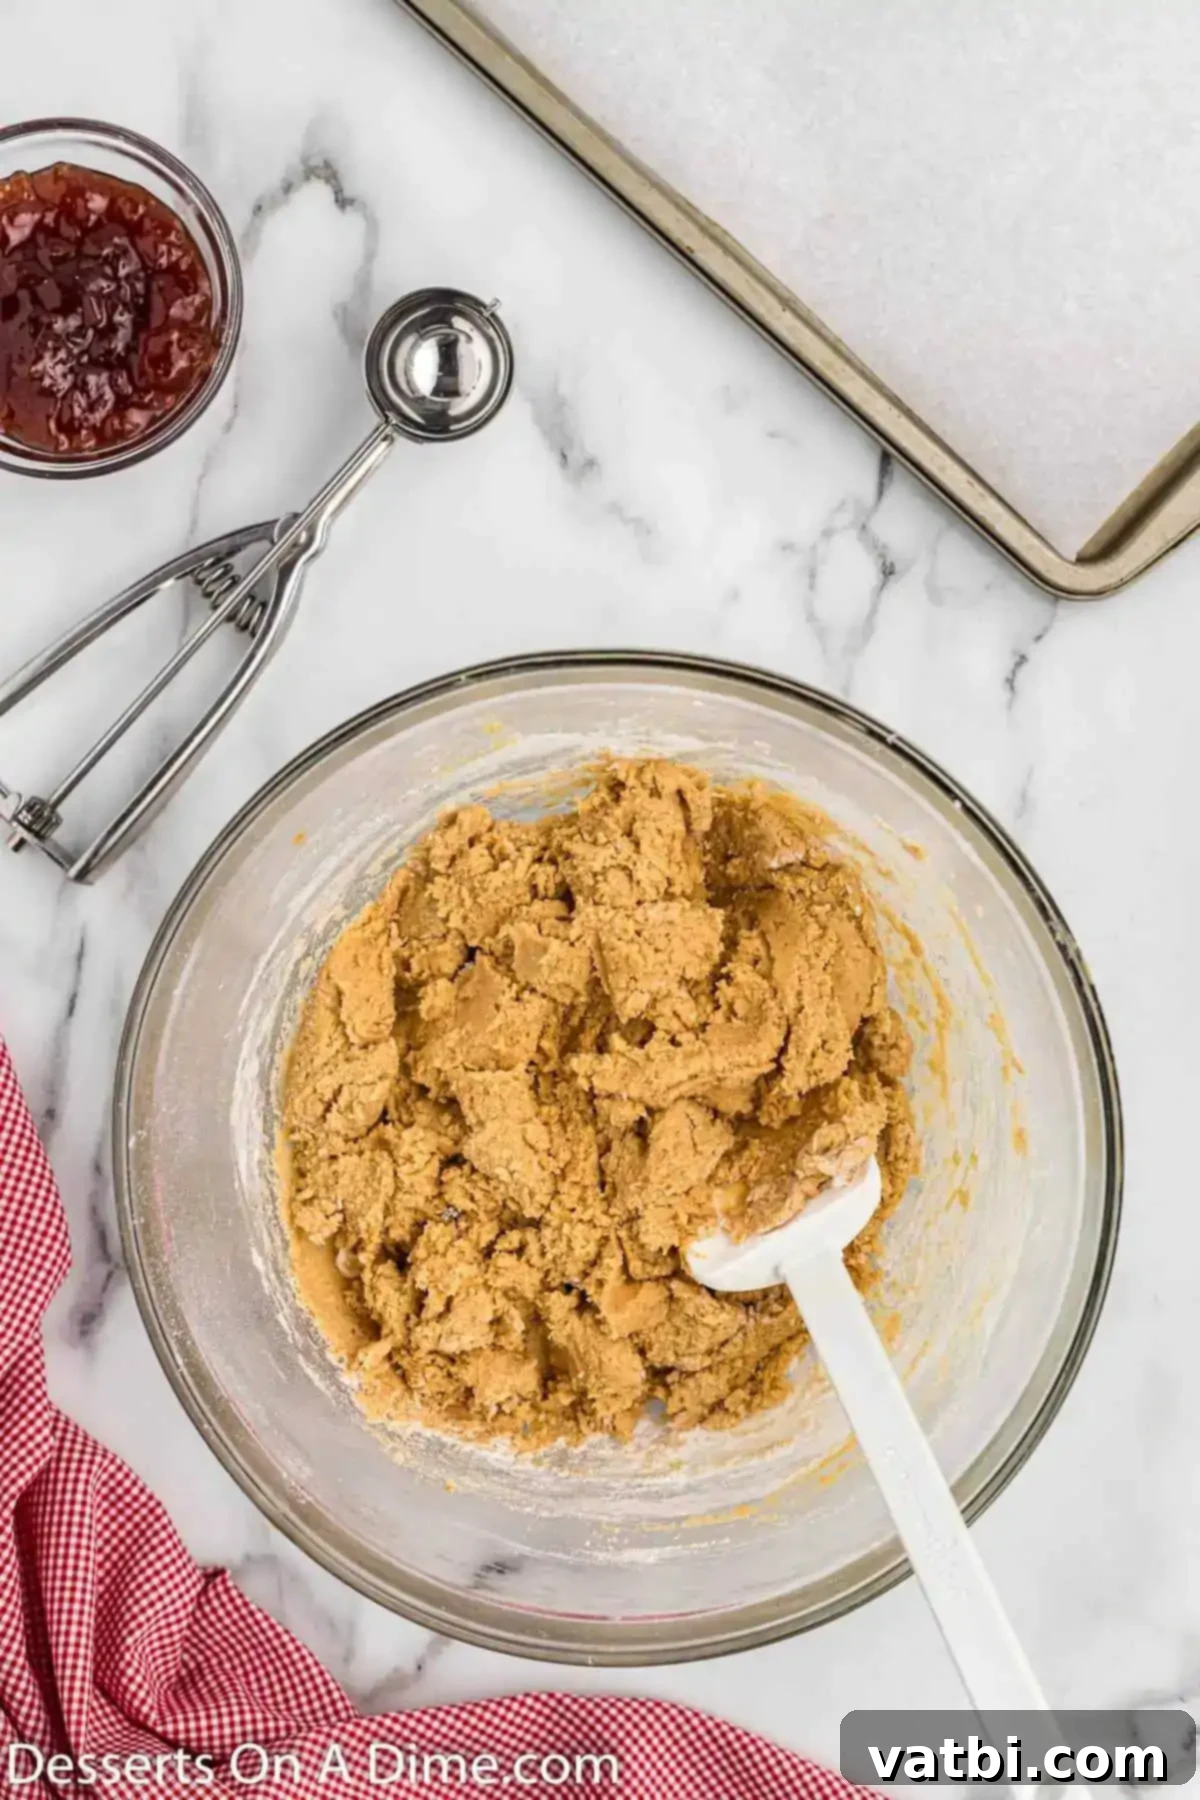
Step 3: Incorporate Dry Ingredients. Gently stir in your dry ingredients: the all-purpose flour, baking soda, and salt. Mix until they are just combined, being careful not to over-mix the dough. Over-mixing can develop the gluten in the flour too much, leading to tougher, less tender cookies.
Step 4: Form the Cookies. Once your dough is ready, it’s time to shape your cookies. Roll the dough into uniform balls, approximately 1 to 1 ½ inches in diameter. For consistent sizing and perfectly round cookies, a cookie scoop is a fantastic tool to use.
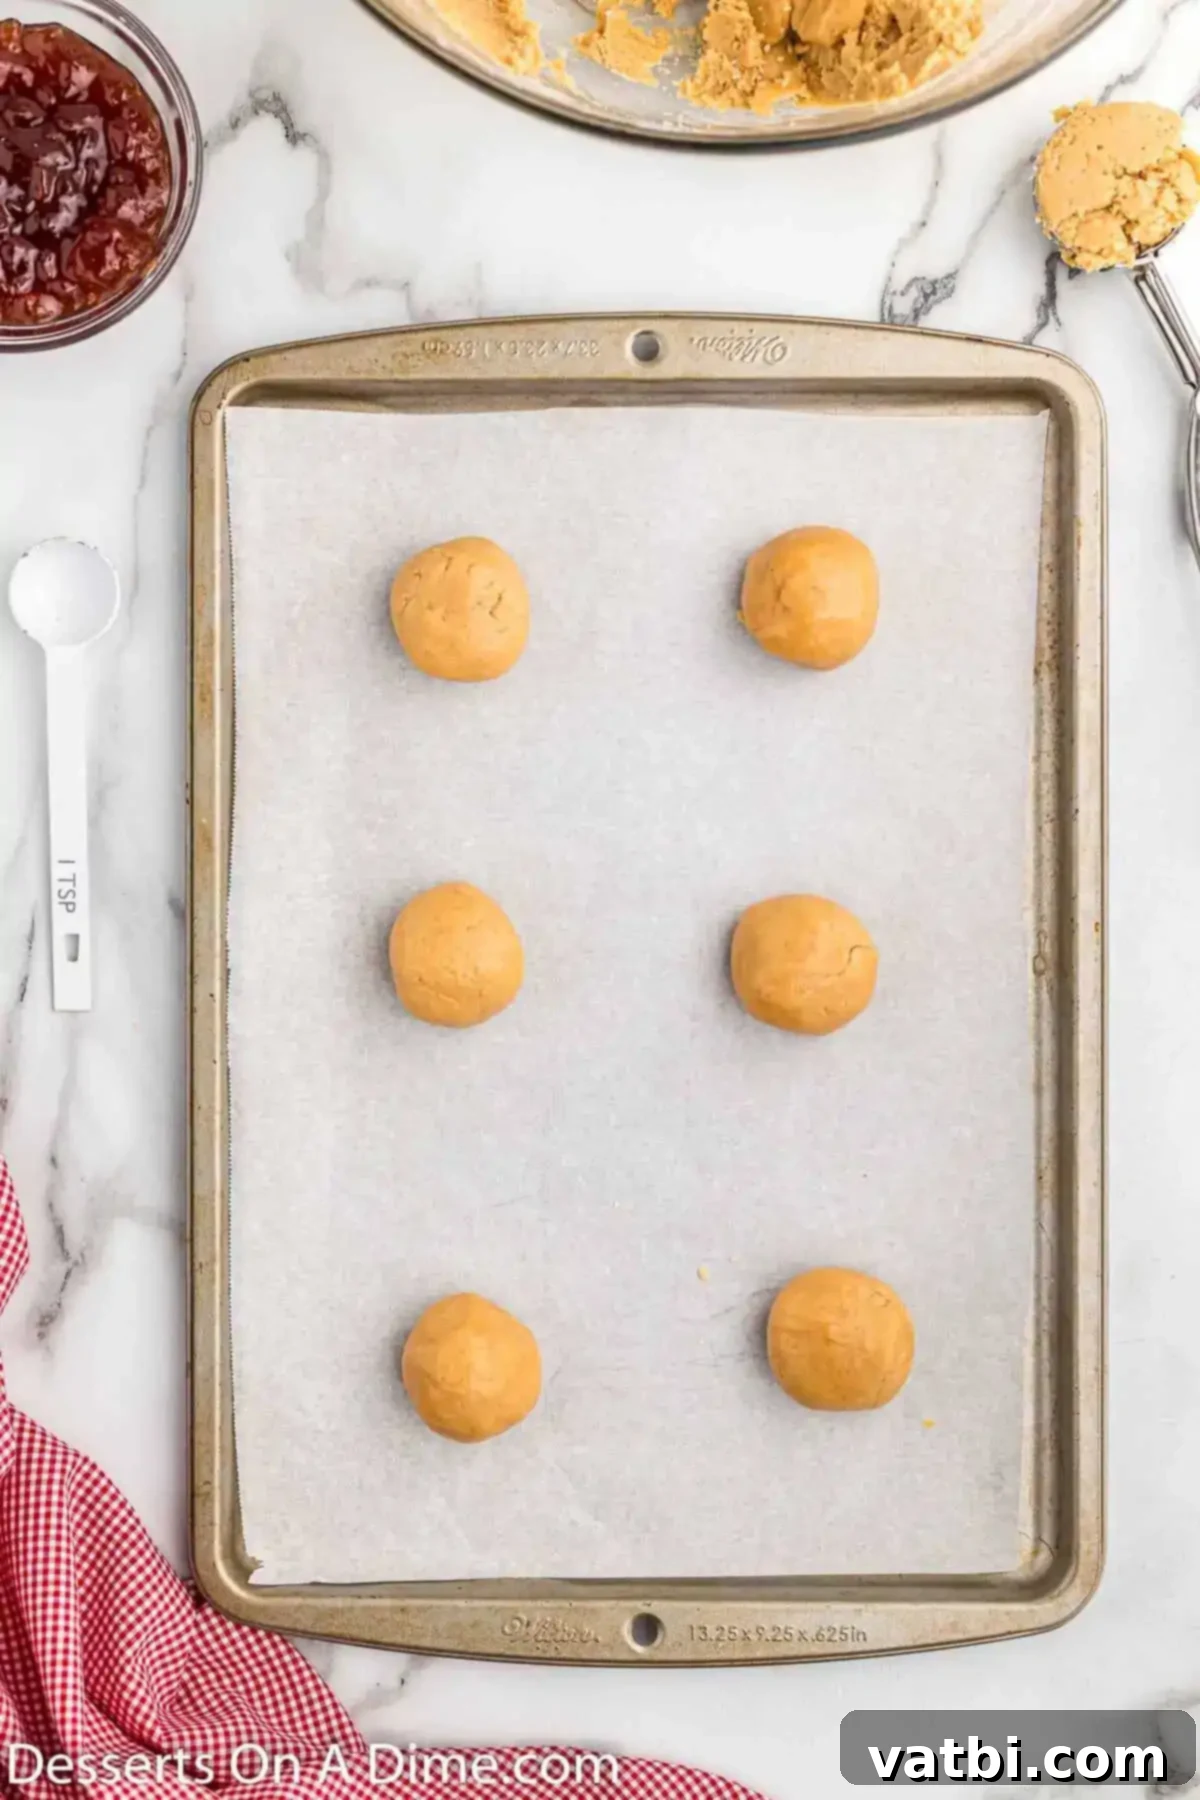
Step 5: Arrange on Baking Sheet. Place the evenly-sized cookie dough balls onto a baking sheet. For best results and easy cleanup, line your baking sheet with parchment paper or a silicone baking mat. Make sure to leave some space between each cookie to allow for spreading during baking.
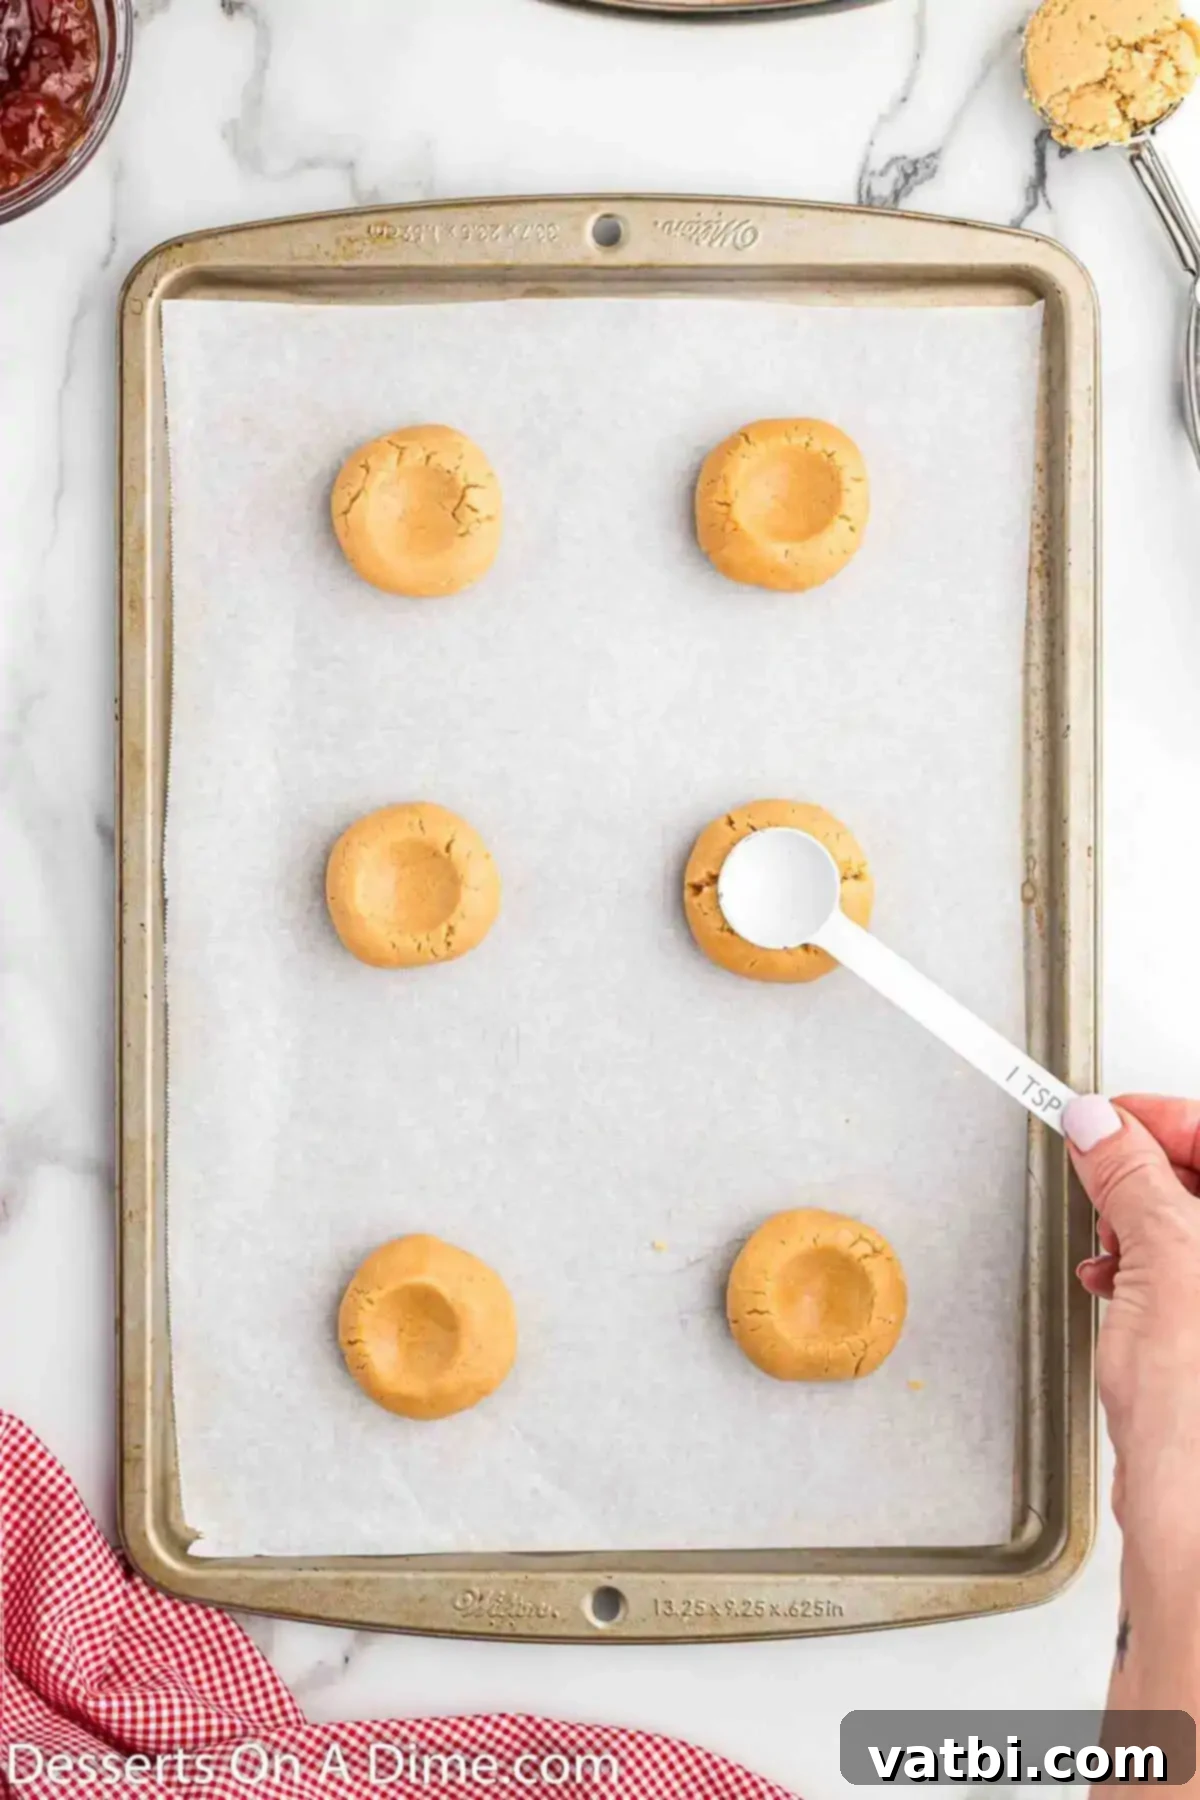
Step 6: Create Indentations. Using your thumb, the back of a teaspoon, or even a small round measuring spoon, gently make an indentation into the center of each cookie dough ball. This will be the perfect little well to hold your delicious jam filling.
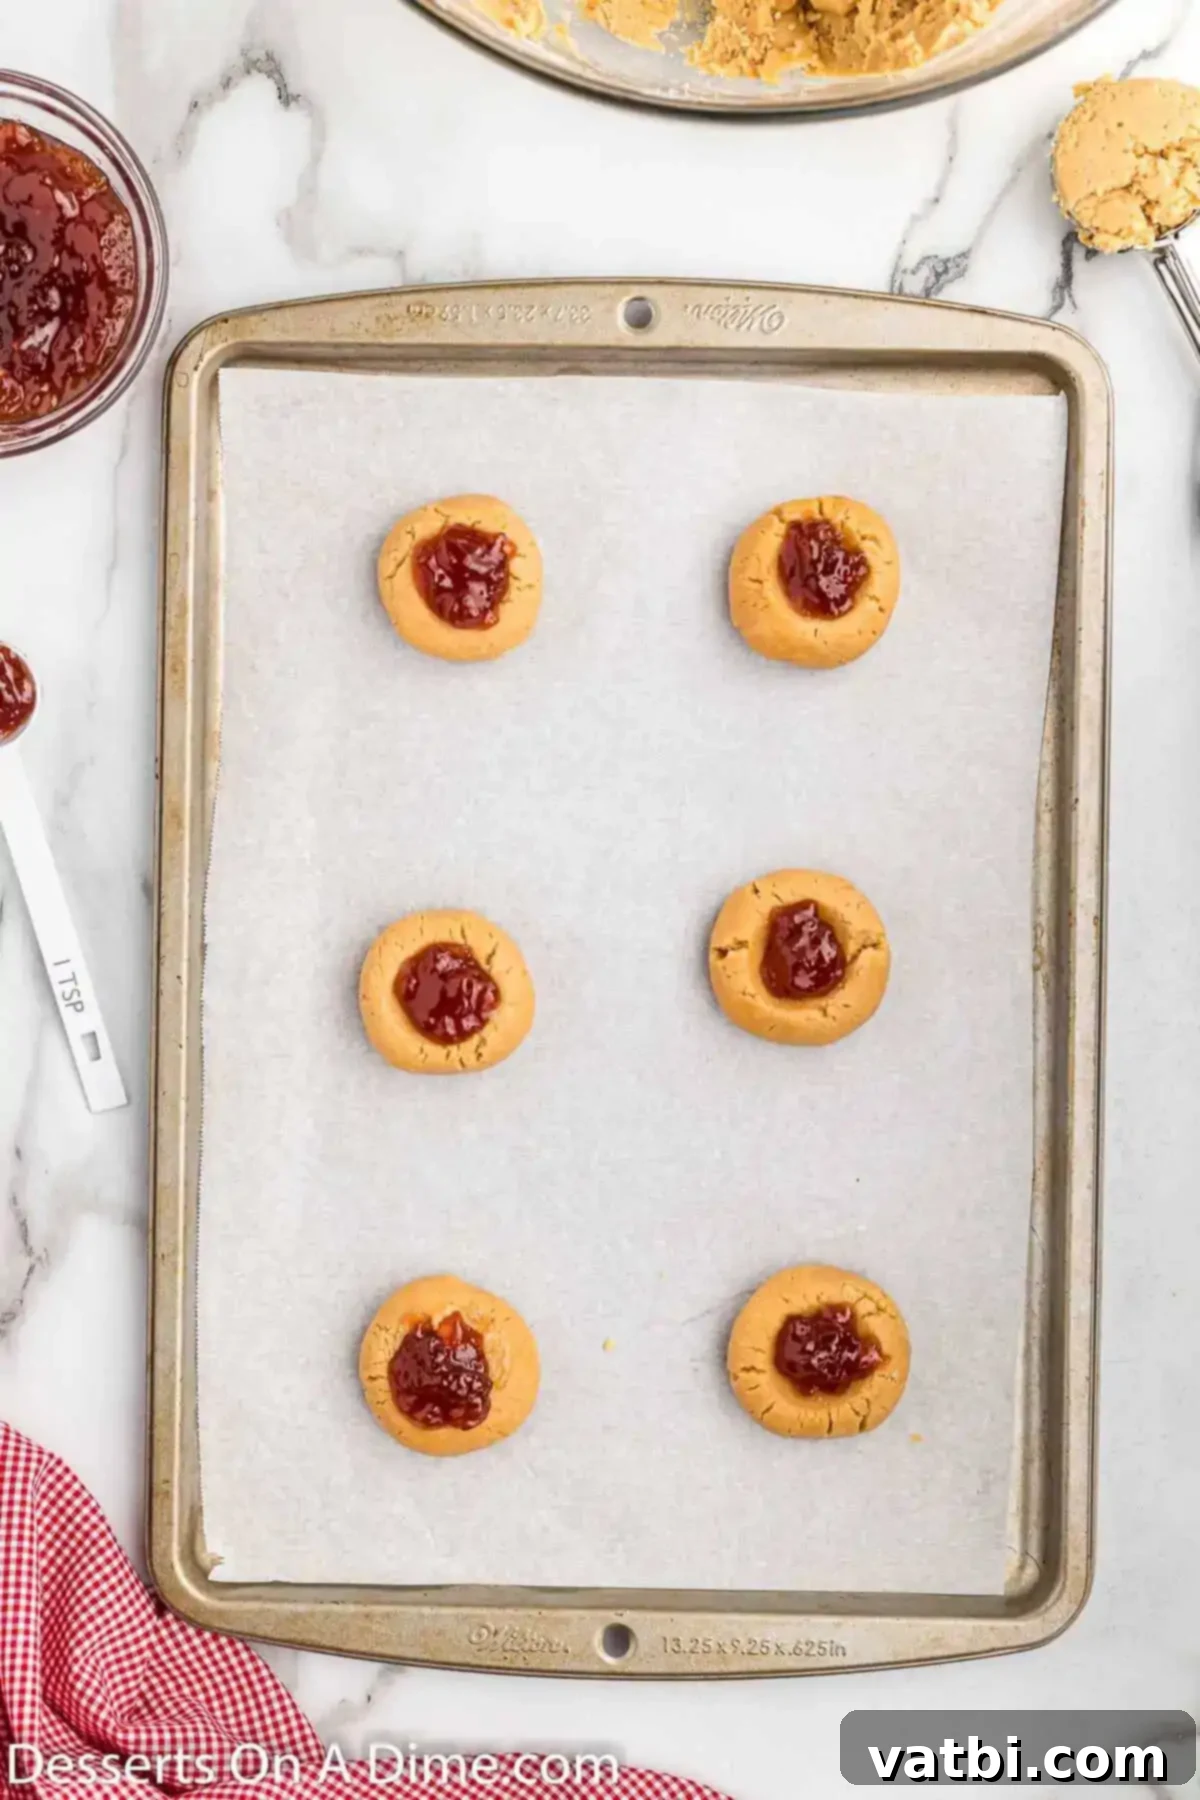
Step 7: Fill with Jam. Carefully spoon approximately 1 teaspoon of your favorite strawberry jam (or other preferred jam) into the indentation of each cookie. Be mindful not to overfill, as the jam can bubble over during baking.
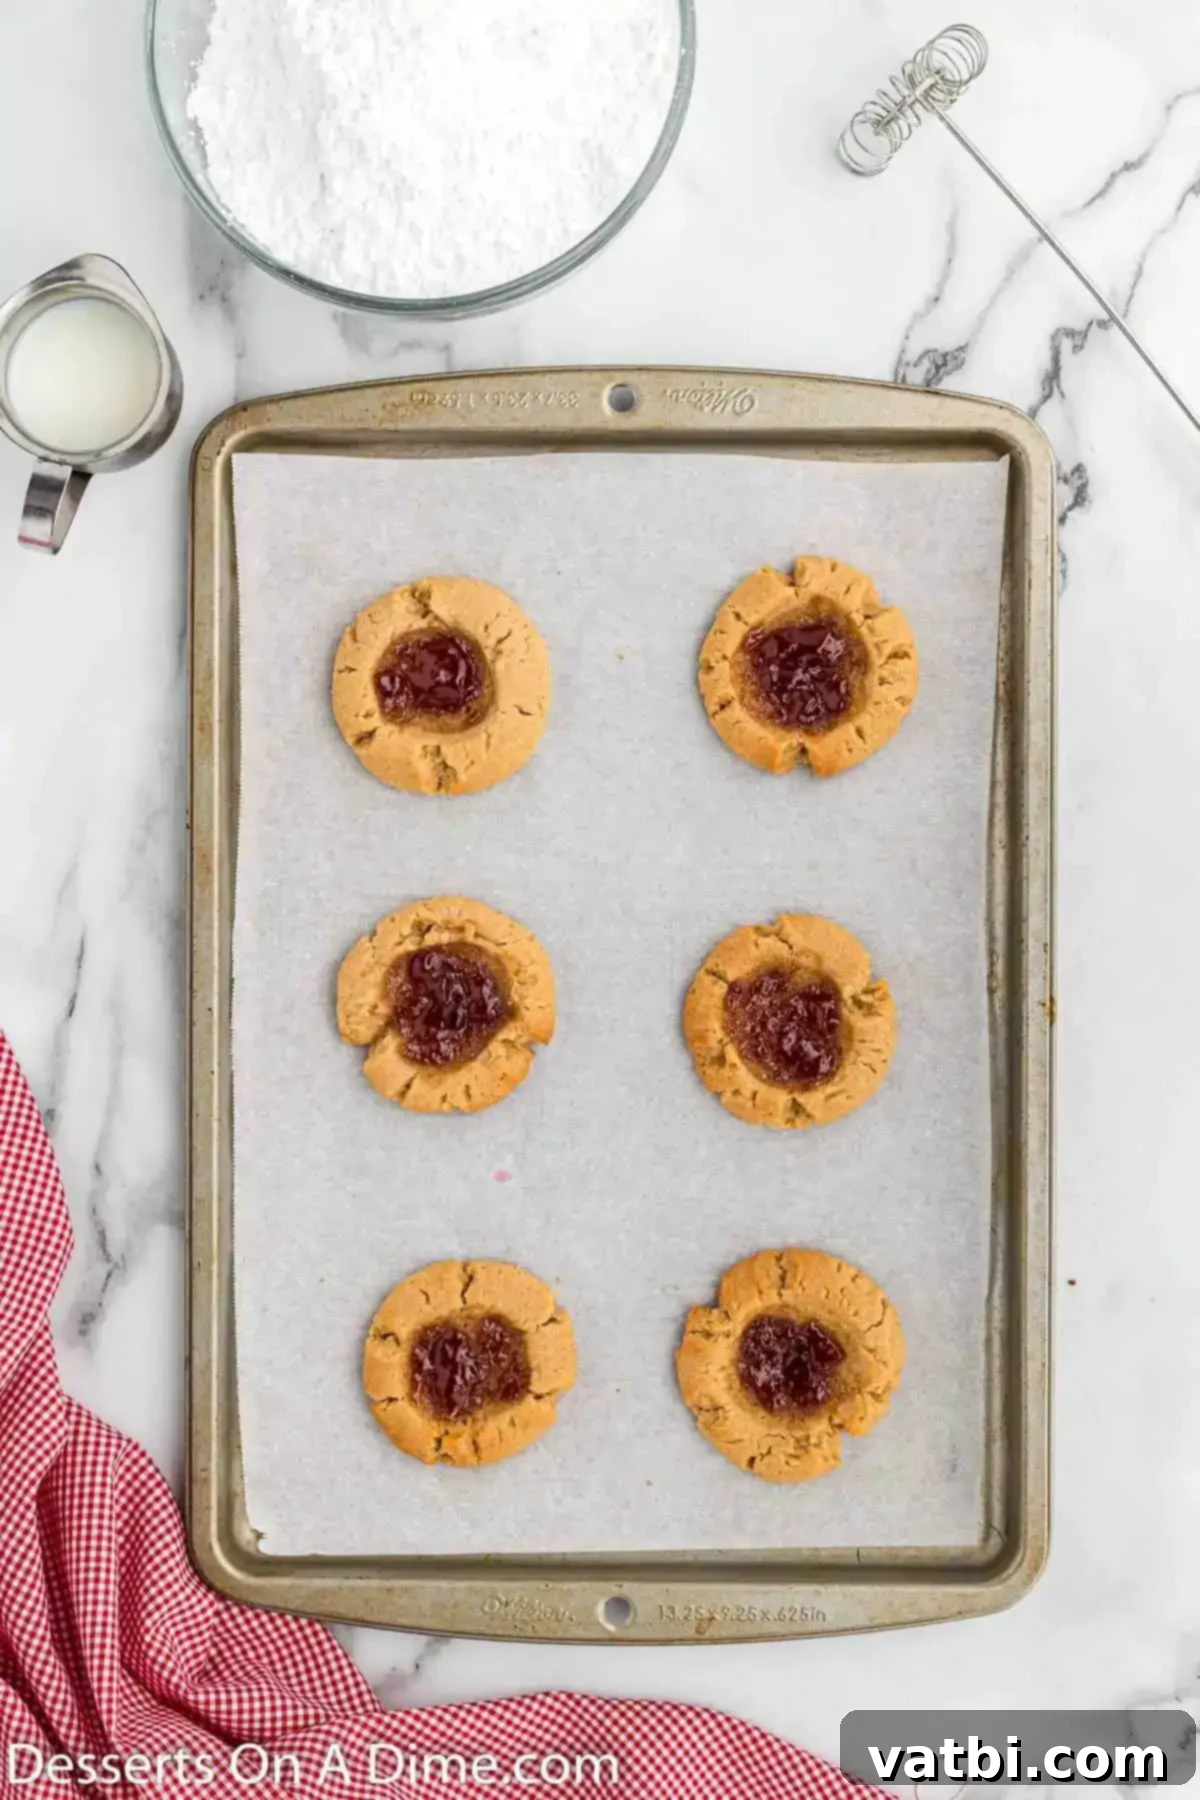
Step 8: Bake to Perfection. Transfer the baking sheet to your preheated oven and bake for 9 to 11 minutes. The cookies are ready when the edges are lightly golden and set. The center may still appear soft, but they will firm up as they cool.
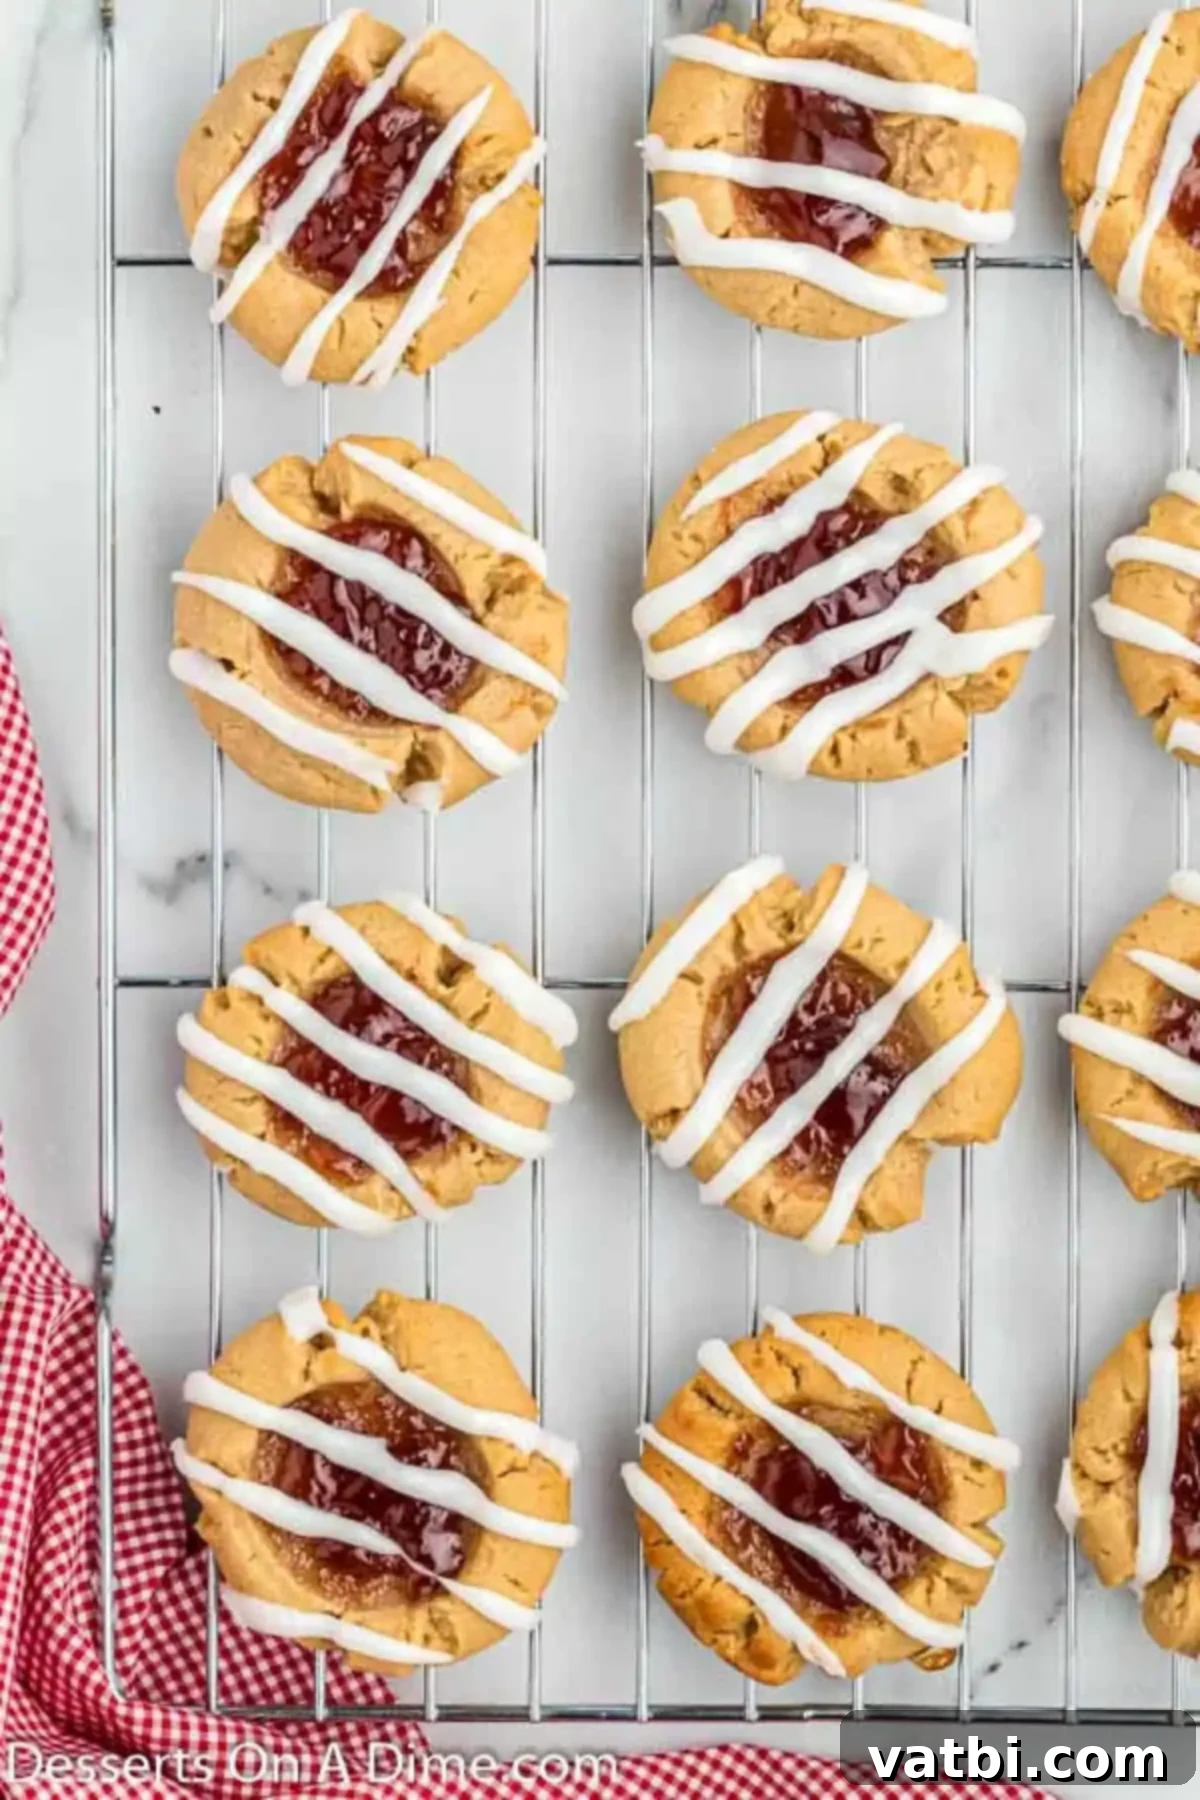
Step 9: Cool & Glaze. Once baked, remove the cookies from the oven. Allow them to cool on the baking sheet for about 5 minutes. This crucial step allows them to set fully before you attempt to move them. Then, carefully transfer the cookies to a wire rack to cool completely. Once cooled, drizzle generously with the prepared glaze.
How to Make the Sweet Glaze: The Perfect Finishing Touch
While your freshly baked Peanut Butter and Jelly Cookies are cooling on the wire rack, it’s the perfect time to whip up the simple yet elegant glaze. This sweet drizzle adds another layer of flavor and a beautiful visual appeal to your cookies:
- Combine Ingredients: In a medium-sized bowl, whisk together the powdered sugar and milk until a smooth, pourable glaze has formed. Start with the suggested amount of milk and add more very gradually.
- Adjust Consistency: The key to a perfect glaze is the right consistency. If your glaze appears too thin or watery, gradually add more powdered sugar, a tablespoon at a time, until it thickens. Conversely, if the glaze is too thick and doesn’t drizzle easily, add in a tiny bit more milk, just half a teaspoon at a time, until you reach your desired consistency. It should be thick enough to cling to the spoon but thin enough to drizzle.
- Drizzle and Enjoy: Once your glaze reaches the ideal consistency, it’s ready to be drizzled over the completely cooled cookies. Allow the glaze to set for a few minutes before serving. Then, your beautiful and delicious Peanut Butter and Jelly Cookies are ready to be enjoyed!
Pro Tips for Baking Success and Delicious Results
Achieving bakery-quality Peanut Butter and Jelly Cookies is simple with a few insider tricks. Here are some pro tips to ensure your cookies turn out perfectly every time:
- Effortless Glaze Application: For a neat and professional-looking drizzle, transfer your prepared glaze into a small ziplock bag. Snip a tiny corner off the bag (start with a very small snip, you can always make it larger). This creates a makeshift piping bag, allowing you to easily and precisely drizzle the glaze over each cookie. Alternatively, a fork or a small whisk can be used to create fine lines of glaze.
- Control the Sweetness: If you prefer a less sweet cookie, you have a couple of options. The simplest is to omit the glaze entirely. These cookies are absolutely delicious even without the extra sweetness of the glaze. Another approach is to reduce the amount of granulated sugar in the cookie dough slightly, or use an unsweetened jam. However, we find the glaze adds a special touch, enhancing both the flavor and the visual appeal.
- Avoid Overmixing the Dough: This is a crucial rule for many cookie recipes! Once you add the dry ingredients (flour, baking soda, salt), mix them into the wet ingredients only until they are just combined. Overmixing develops the gluten in the flour, which can lead to tough, dry, and less tender cookies. A light hand mixer or even mixing by hand with a spatula is often best at this stage.
- Room Temperature Ingredients: Ensure your butter and egg are at room temperature. This helps them emulsify properly with the other ingredients, leading to a smoother, more uniform dough and better cookie texture.
- Proper Flour Measurement: Always use the “spoon and level” method for measuring flour. Spoon the flour into your measuring cup until it overflows, then use the back of a knife or straight edge to level it off. Scooping directly can compact the flour, resulting in too much flour and a dry, crumbly cookie.
- Consistent Cookie Size: Use a cookie scoop (or measure with a tablespoon) to ensure all your cookie dough balls are the same size. This promotes even baking, so all your cookies are perfectly done at the same time.
- Don’t Overbake: Peanut butter cookies can go from perfectly soft to dry and crumbly very quickly. Keep an eye on them during the last few minutes of baking. They should be lightly golden around the edges, and the centers may still look a bit soft. They will continue to set as they cool.
- Make Perfect Indentations: If your fingers are too warm or sticky, lightly flour the back of a teaspoon or even the bottom of a shot glass to make clean, perfect indentations without the dough sticking.
Frequently Asked Questions (FAQs) About Peanut Butter and Jelly Cookies
To maintain their freshness and softness, store any leftover cookies in an airtight container at room temperature for up to 1 week. It’s important to allow the cookies to cool completely before placing them in the container to prevent condensation, which can make them soggy. For an extra tip to keep them super soft, you can place a piece of plain bread in the container with the cookies; the bread will absorb moisture and keep the cookies moist. Due to the jam topping, it’s also a good idea to place wax paper or parchment paper in between layers of cookies to prevent them from sticking together.
Absolutely! These cookies freeze wonderfully, making them an excellent option for meal prepping or having a quick sweet treat on hand whenever a craving hits. Freezing cookies is a fantastic way to save time later and enjoy homemade goodness without the full baking process.
Here’s how to freeze them properly:
1. Allow the cookies to cool completely before freezing. This prevents ice crystals from forming.
2. Place the cooled cookies in a single layer on a baking sheet and freeze for 1-2 hours until solid. This “flash freezing” prevents them from sticking together.
3. Transfer the flash-frozen cookies to a freezer-safe airtight container or a heavy-duty freezer bag. If layering, separate each layer with wax paper or parchment paper.
4. They can be frozen for up to 3 months. To enjoy, simply thaw them at room temperature for an hour or two, or briefly warm them in the microwave for a fresh-baked feel.
For this recipe, creamy, shelf-stable peanut butter (like Jif or Skippy) is recommended. Its consistent texture ensures a smooth dough and predictable results. While natural peanut butter can be used, its oil separation might alter the texture of the dough and the final cookie slightly. If using natural, ensure it’s very well stirred and consider chilling the dough if it seems too oily.
Several factors can cause cookies to spread excessively. Ensure your butter wasn’t too soft or melted, as this will lead to a greasy, flat cookie. Using too little flour or an inaccurate measurement can also contribute. Additionally, ensure your baking soda is fresh and active. Chilling the dough for 30 minutes before baking can also help prevent excessive spreading.
Yes, you can! Prepare the cookie dough as directed, then wrap it tightly in plastic wrap and refrigerate for up to 2-3 days. When ready to bake, let the dough sit at room temperature for about 15-20 minutes to soften slightly before rolling and shaping, or you might need to add a few extra minutes to the baking time.
More Easy Cookie Recipes to Enjoy
If you’ve enjoyed these fantastic Peanut Butter and Jelly Cookies and are looking for more simple yet delicious cookie recipes to add to your repertoire, you’re in luck! Here are some other easy-to-make cookie recipes that are sure to satisfy your sweet tooth and impress your family and friends:
- Classic Thumbprint Cookies: Another delightful cookie with a jam-filled center, perfect for customizing with your favorite preserves.
- Decadent Chocolate Crinkle Cookies: Rich, fudgy, and coated in powdered sugar, these cookies are a chocolate lover’s dream.
- Rich Chocolate Peanut Butter Cookies: The ultimate combination of two beloved flavors in a single, chewy cookie.
- Delicate Russian Tea Cakes: Also known as Mexican Wedding Cookies, these buttery, melt-in-your-mouth confections are coated in powdered sugar.
- Easy Cake Mix Chocolate Chip Cookie Recipe: A super simple hack for soft, chewy chocolate chip cookies using a cake mix base.
- Peanut Butter Stuffed Chocolate Cookies: For when you want to take your chocolate and peanut butter obsession to the next level – a rich chocolate cookie with a creamy peanut butter filling.
We are confident that these Peanut Butter and Jelly Cookies will quickly become a cherished recipe in your home. They’re a fantastic way to impress the kiddos (and adults!) with a homemade treat that tastes like pure joy. Once you try them, please come back and leave a comment to let us know how much you loved them!
Pin
Peanut Butter and Jelly Cookies
Ingredients
FOR THE COOKIES:
- 1/2 cup Butter softened
- 1/2 cup Sugar
- 1/2 cup Brown Sugar
- 1 cup Creamy Peanut Butter
- 1 Large Egg
- 1 tsp Vanilla Extract
- 1 1/2 cup All Purpose Flour
- 1 tsp Baking Soda
- 1/4 tsp Salt
- 1/2 cup Strawberry Jam
FOR THE GLAZE:
- 2 cups Powdered Sugar
- 1 Tbsp Milk
Instructions
-
Preheat the oven to 350 degrees F.
-
In a large mixing bowl, beat together with a stand up mixer or hand held mixer the butter and both sugars until light and fluffy. Then add in the peanut butter, egg and vanilla extract. Mix until combined and smooth.
-
Then hand stir in the flour, baking soda and salt until just combined. Be careful not to over mix these ingredients.
-
Then shape the dough into approximately 1 – 1 ½ inch balls (I like to use a cookie scoop). Place the cookie dough balls onto a baking sheet. Then use your finger or the back of a teaspoon to make an indentation onto each of the cookie dough balls.
-
Place approximately 1 tsp of the strawberry jam onto each cookie.
-
Then bake for 9-11 minutes until the edges of the cookies are set. Allow the cookies to cool on the baking sheet for approximately 5 minutes and then move them to a wire rack to cool completely.
-
While the cookies are cooling, mix together the glaze ingredients until the glaze is formed. If the glaze is too thin, add more powdered sugar or if the glaze is too thick, add in more milk.
-
Drizzle the glaze on top of the cookies and then they are ready to enjoy!
Recipe Notes
Nutrition Facts
Pin This Now to Remember It Later
Pin Recipe
