Delightful No-Bake Pumpkin Truffles: Your Ultimate Fall Dessert Recipe
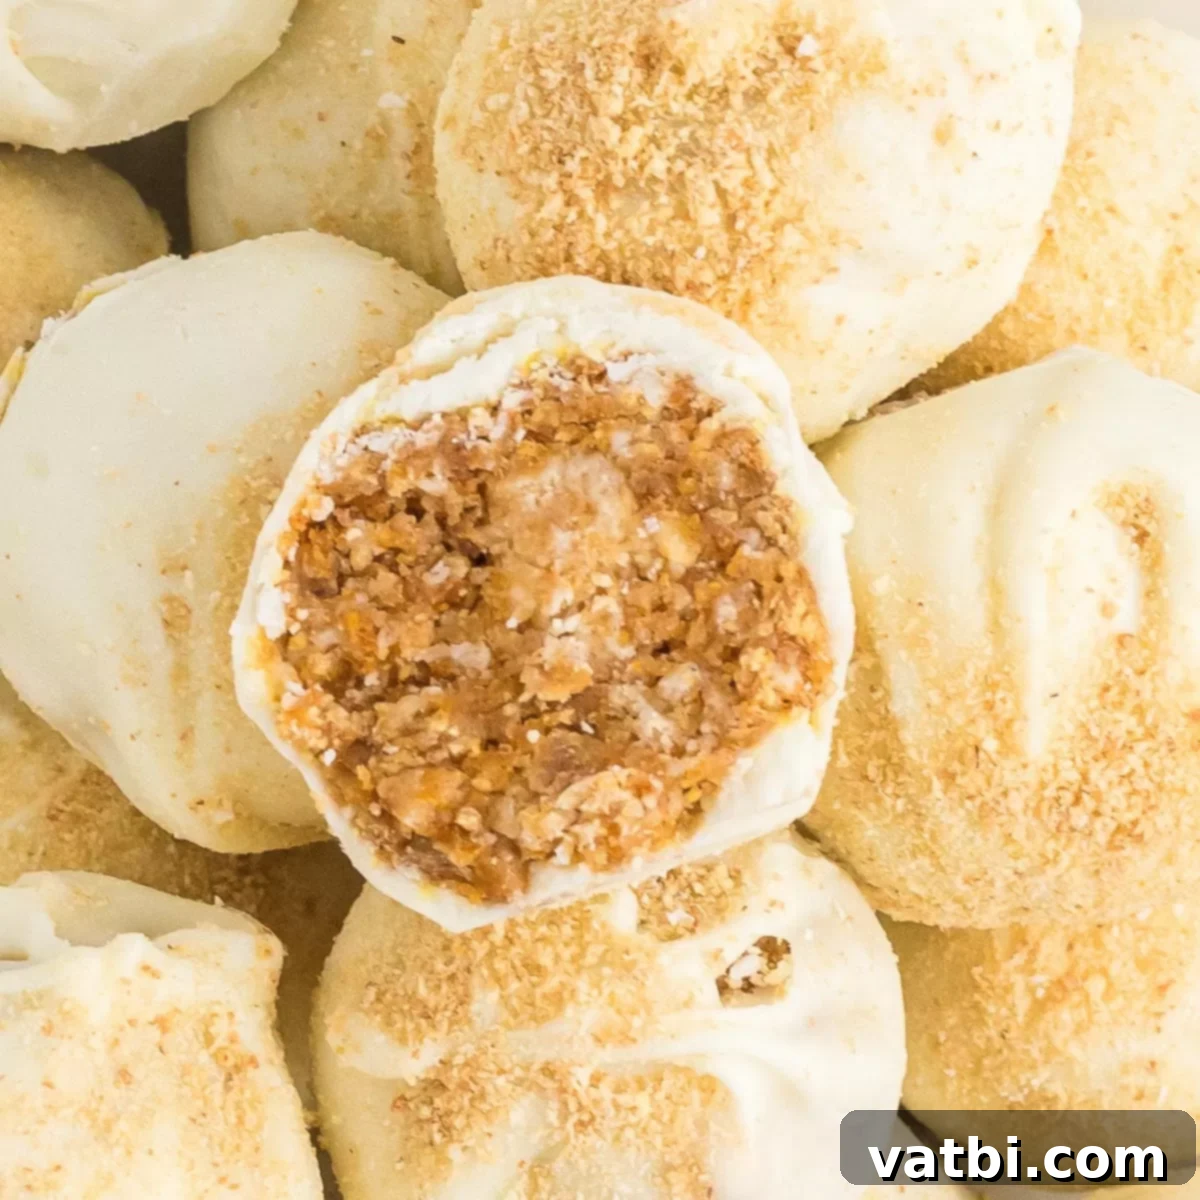
As the leaves turn golden and the air grows crisp, there’s nothing quite like the comforting embrace of pumpkin spice. Our **Pumpkin Truffles** are the epitome of this cherished season, offering a rich, bite-sized fall treat that perfectly captures the essence of autumn. Crafted with velvety pumpkin purée, infused with an aromatic blend of warm spices, and enrobed in a smooth, decadent chocolate coating, these truffles are an absolute dream come true for any pumpkin lover.
These delightful no-bake sweets are incredibly simple to make, yet they deliver an impressive gourmet touch to any occasion. Whether you’re planning for festive autumn gatherings, searching for the perfect homemade gift, or simply craving a cozy sweet snack during a relaxed night in, these pumpkin truffles promise to bring a touch of seasonal magic and joy. Their irresistible flavor and charming appearance make them a must-have for your fall baking (or rather, no-baking) repertoire.
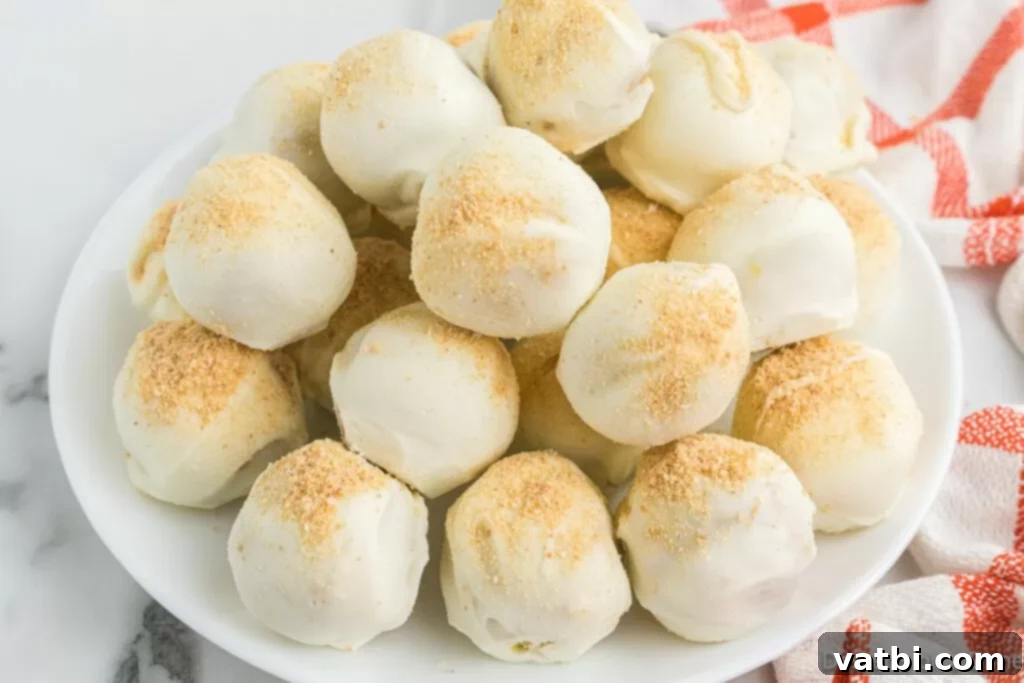
Beyond these sensational **homemade pumpkin truffles**, pumpkin dessert enthusiasts will be thrilled to explore other autumnal delights. We highly recommend our Pumpkin Whoopie Pies, a classic comfort food, and our incredibly easy Crustless Pumpkin Pie, perfect for a lighter take on the holiday favorite. For those looking to diversify their dessert table, our collection of 51 Easy Thanksgiving Cupcakes offers endless inspiration.
Table of contents
- Why We Love These Pumpkin Truffles
- Key Ingredients for Your No-Bake Truffles
- Delicious Variations and Additions
- How to Make Perfect Pumpkin Truffles (Step-by-Step)
- Expert Tips for the Best Pumpkin Truffles
- Frequently Asked Questions About Pumpkin Truffles
- More Easy Truffle Recipes to Try
Why We Love These Pumpkin Truffles
These no-bake pumpkin truffles are more than just a dessert; they are a celebration of autumn wrapped in a bite-sized package. Here’s why they’ll quickly become a cherished part of your fall traditions:
- Perfect Fall Flavors: Every bite is a harmonious blend of creamy pumpkin and a symphony of warm spices, instantly evoking the cozy, comforting feelings of the season. It’s like a miniature pumpkin pie, but even more decadent!
- No Baking Required: Say goodbye to hot ovens and complex baking steps. This recipe is a true no-bake wonder, making it incredibly easy and time-saving, and keeping your kitchen cool – perfect for busy holidays.
- Bite-Sized and Shareable: Their small, elegant size makes them ideal for parties, potlucks, or gift-giving. They’re effortlessly portioned, making them a crowd-pleaser that everyone can enjoy without feeling overwhelmed.
- Rich Chocolate Coating: The smooth, luxurious chocolate shell provides a delightful contrast to the spiced pumpkin filling, adding an extra layer of richness and a satisfying snap with every bite. It elevates the entire truffle experience.
- Customizable: This recipe is wonderfully versatile! Easily adjust the spice levels to your preference, experiment with different types of chocolate (dark, milk, or white), or add various toppings and mix-ins to create your unique twist.
- Make-Ahead Friendly: Designed for convenience, these truffles store exceptionally well in the refrigerator or freezer. Prepare them in advance, and you’ll have a gourmet treat ready to impress whenever you need it.
Key Ingredients for Your No-Bake Truffles
Crafting these delectable pumpkin truffles requires a few simple, yet essential, ingredients. Each component plays a vital role in achieving that perfect texture and quintessential fall flavor profile. Here’s what you’ll need, along with a bit more detail on why each ingredient matters:
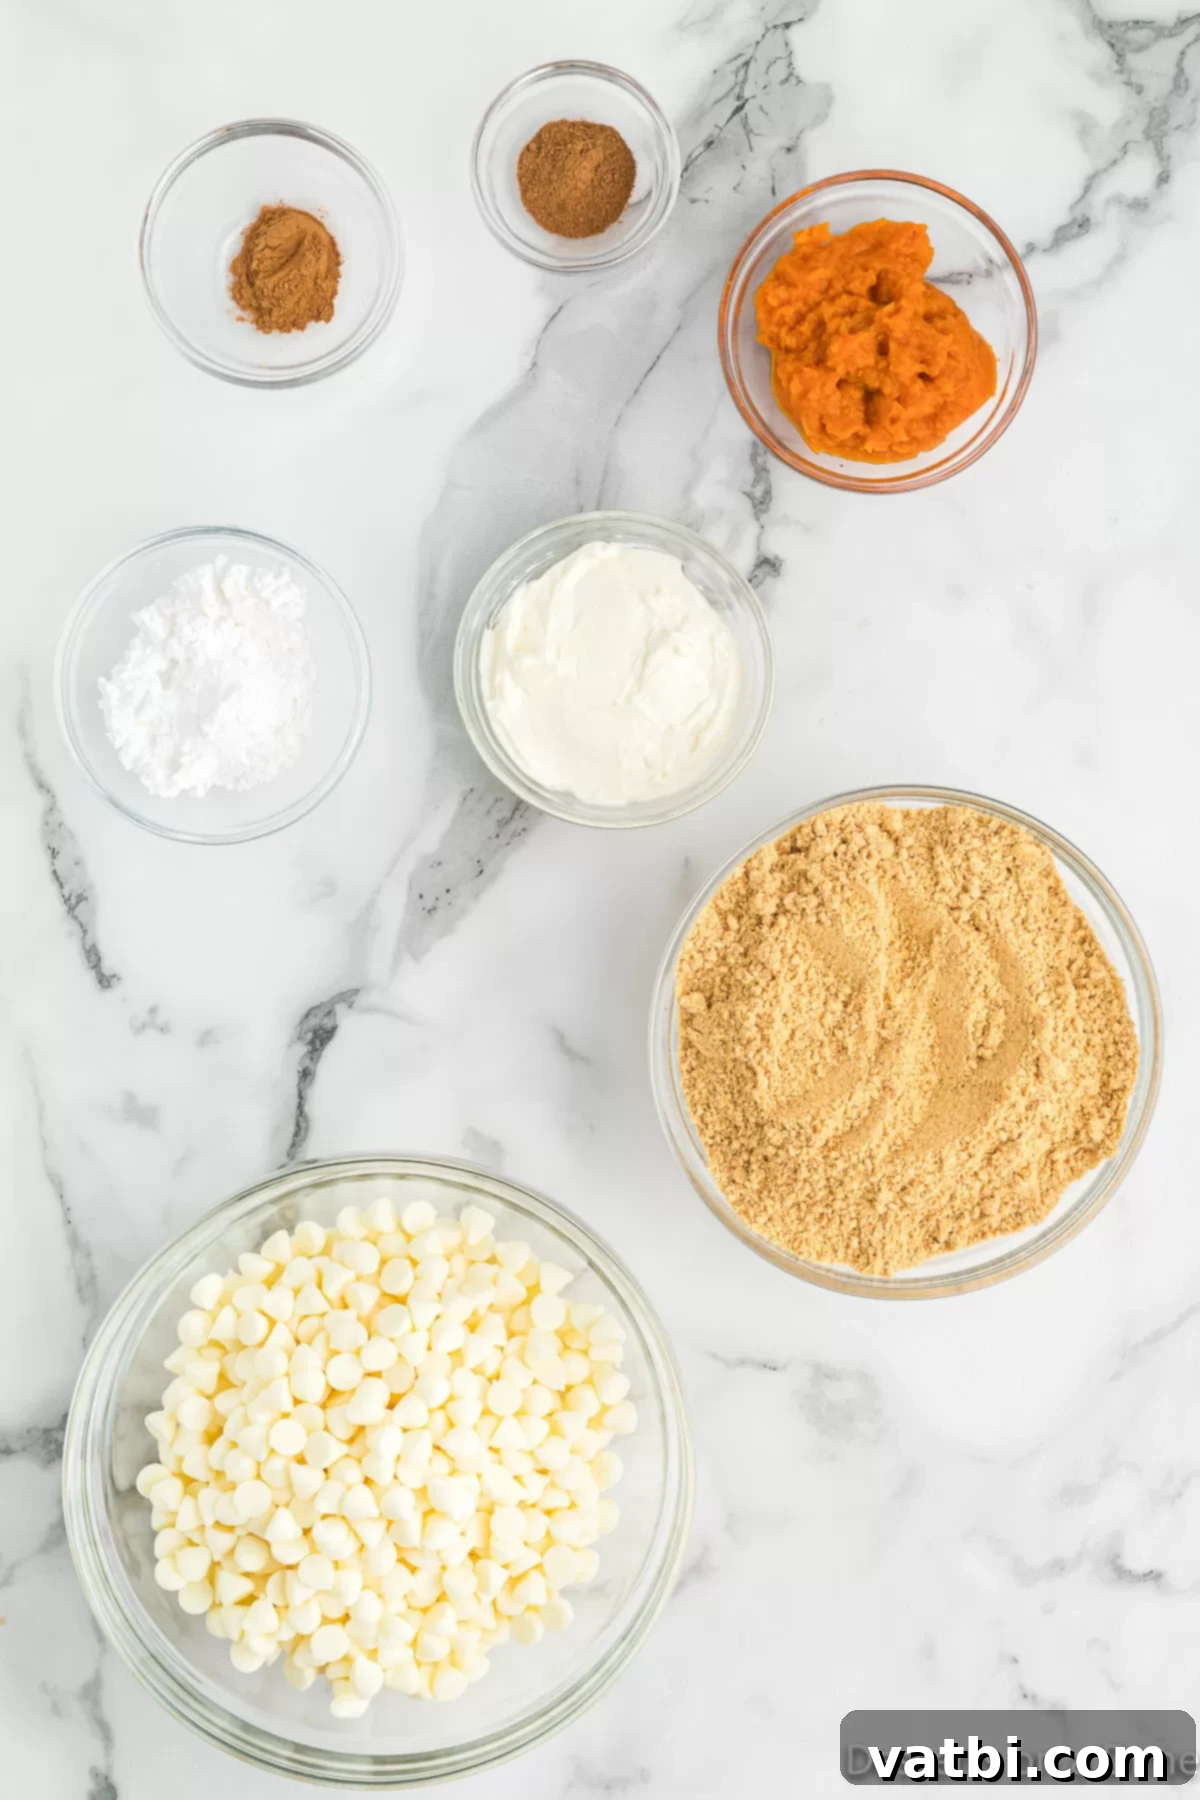
- Pumpkin Purée: This is the star of the show! Ensure you use pure pumpkin purée, not pumpkin pie filling, which is pre-spiced and sweetened. Pure pumpkin provides the natural flavor and essential moisture for the truffle base. If you’re feeling ambitious, learn how to make pumpkin puree from scratch for an even fresher taste.
- Cream Cheese: Softened cream cheese is crucial for achieving a smooth, rich, and creamy truffle filling. It binds the ingredients together and adds a delightful tang that balances the sweetness. Make sure it’s at room temperature for easy blending!
- Powdered Sugar: Also known as confectioners’ sugar, this fine sugar blends seamlessly into the cream cheese and pumpkin mixture, ensuring a lump-free and perfectly sweet truffle interior.
- Graham Cracker Crumbs: These crumbs act as a binding agent, giving the truffles structure and a pleasant texture, reminiscent of a pie crust. They also add a subtle honey-graham flavor that complements the pumpkin wonderfully.
- Pumpkin Pie Spice & Ground Cinnamon: The heart of the fall flavor! A blend of cinnamon, nutmeg, ginger, and cloves, pumpkin pie spice, combined with extra ground cinnamon, creates that iconic warm and inviting aroma and taste.
- White Chocolate Chips: Used for both mixing into the filling and for the final luscious coating. Using a good quality chocolate is paramount for the best truffles. Higher quality chocolate melts more smoothly and sets with a beautiful shine and snap.
Scroll to the bottom for the complete ingredient list with precise measurements and the full recipe instructions in a convenient, printable recipe card.
Delicious Variations and Additions
One of the joys of making homemade truffles is the endless possibility for customization. These pumpkin truffles are a fantastic canvas for your creativity. Here are some ideas to make them uniquely yours:
- Melted Chocolate – While white chocolate offers a sweet and creamy contrast, you can easily change the coating to suit your preferences. For a deeper, more intense flavor, opt for dark chocolate chips. If you prefer a classic, milder chocolate taste, milk chocolate chips are a great choice. You could even try semi-sweet chocolate for a balanced flavor profile. Consider using colored candy melts for a festive touch!
- Topping – Crushed graham crackers provide a rustic and complementary crunch, but the topping options are truly limitless. Brighten them up with colorful sprinkles for a festive look, or add a luxurious touch with finely chopped nuts like pecans, walnuts, or even candied almonds. Shredded coconut, a dusting of cocoa powder, or a drizzle of contrasting dark chocolate over a white chocolate coating can also create stunning visual and textural appeal.
- Filling – Enhance the texture and flavor of the pumpkin mixture by incorporating additional elements. Finely chopped nuts (pecans, walnuts) add a delightful crunch. For an extra chocolatey surprise, mix in mini chocolate chips (dark, milk, or white) or even tiny toffee bits. A dash of vanilla extract or a hint of maple extract can also deepen the overall flavor profile.
- Spices – The beauty of homemade treats is adjusting the spices to your liking. For an even more aromatic and warming kick, feel free to add a pinch of ground nutmeg, a tiny bit of ground ginger, or even a whisper of allspice. Remember, cinnamon and nutmeg are often considered the perfect combination for pumpkin, so don’t be shy about experimenting with these classic pairings.
How to Make Perfect Pumpkin Truffles (Step-by-Step)
Making these no-bake pumpkin truffles is surprisingly straightforward. Follow these detailed steps to create a batch of perfectly spiced, chocolate-covered autumn delights. Remember, patience with chilling times is key for the best results!
Expert Tips for the Best Pumpkin Truffles
Achieving perfectly smooth, flavorful, and beautifully coated pumpkin truffles is easy with these insider tips. Pay attention to these details for a truly professional-looking and tasting result:
- Store Properly: To maintain their optimal freshness, texture, and shape, always store your finished truffles in an airtight container in the refrigerator. This prevents them from becoming too soft or drying out.
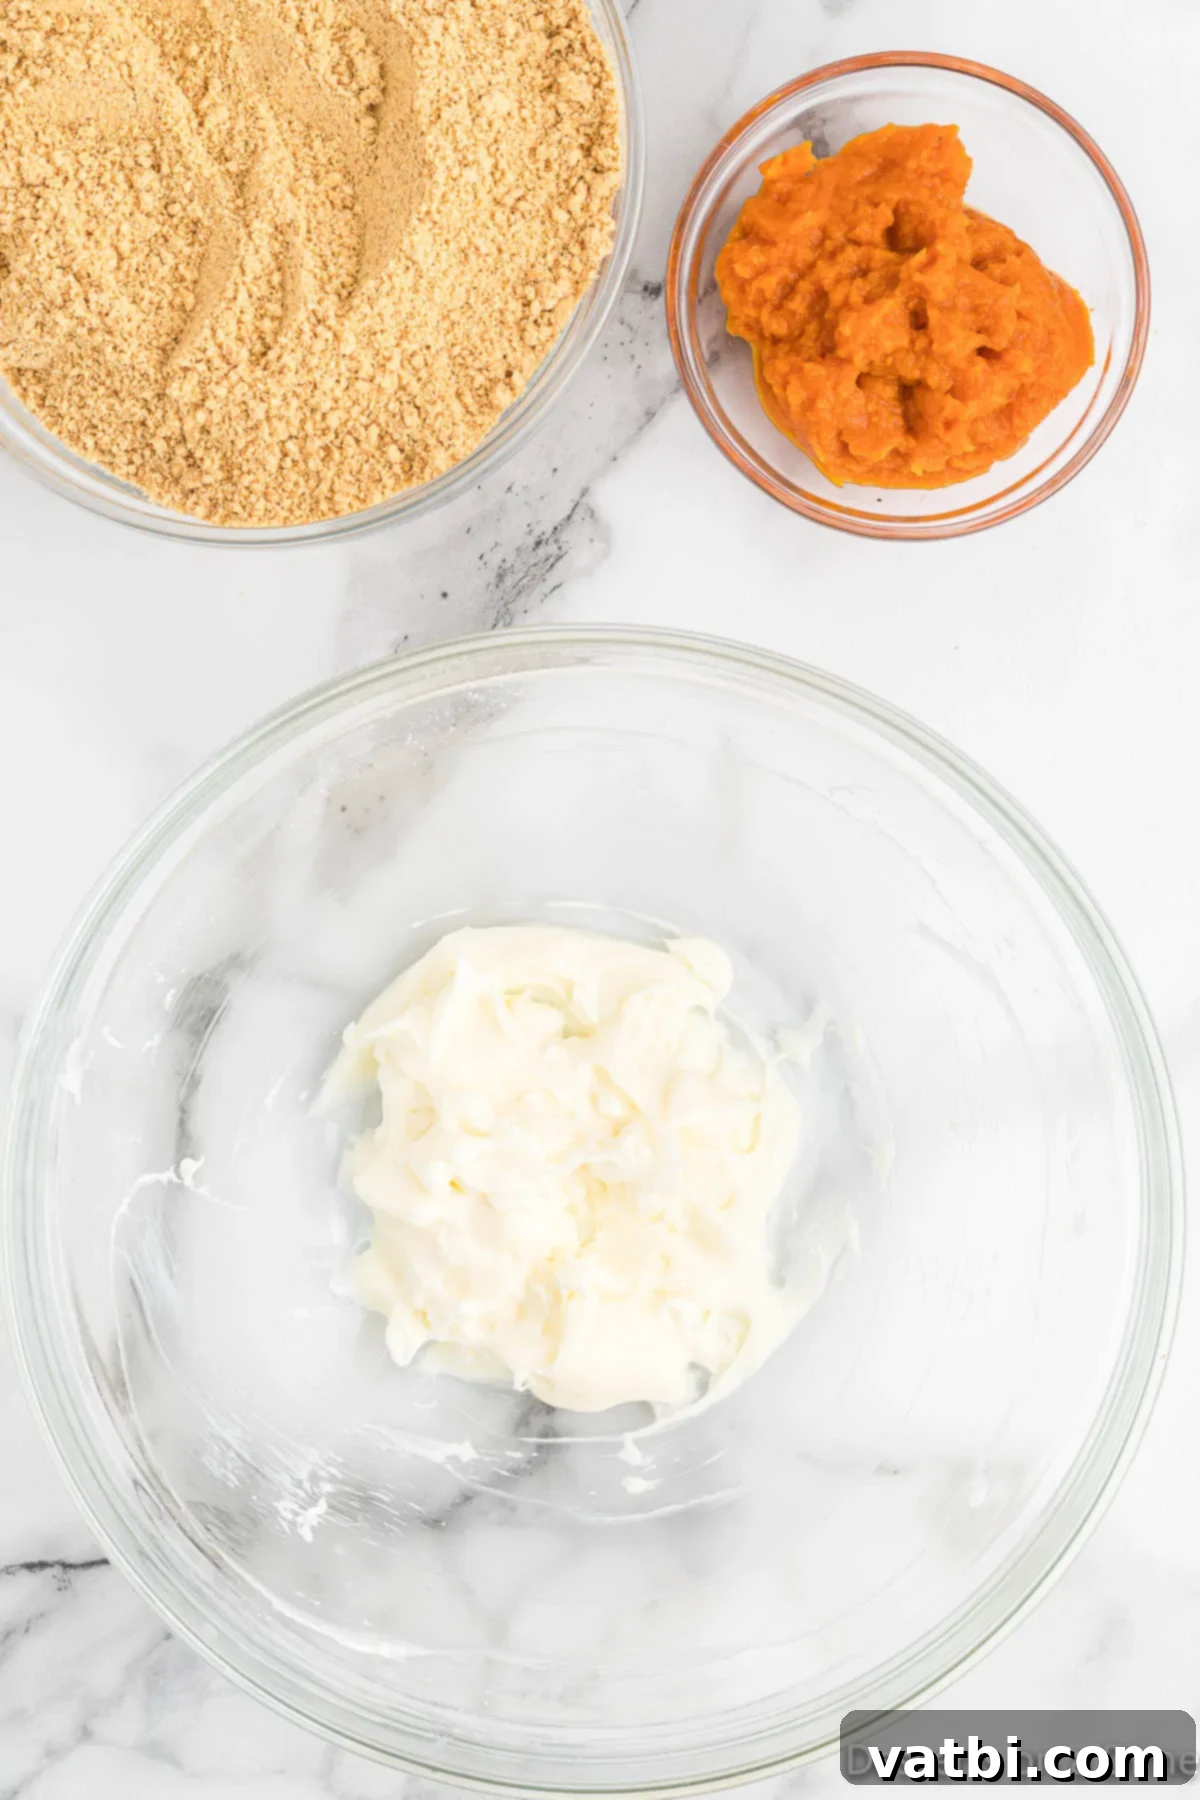
- Soften the Cream Cheese: This is a crucial step! Ensure your cream cheese is at room temperature and fully softened before you begin mixing. This will allow it to blend smoothly with the powdered sugar and other ingredients, preventing lumps and ensuring a consistently creamy filling.
- Melt Chocolate Carefully: Chocolate can seize or burn if overheated. Always melt your chocolate chips in short 30-second intervals in the microwave, stirring thoroughly after each interval. This gentle approach ensures a silky, smooth, and easily dippable consistency.
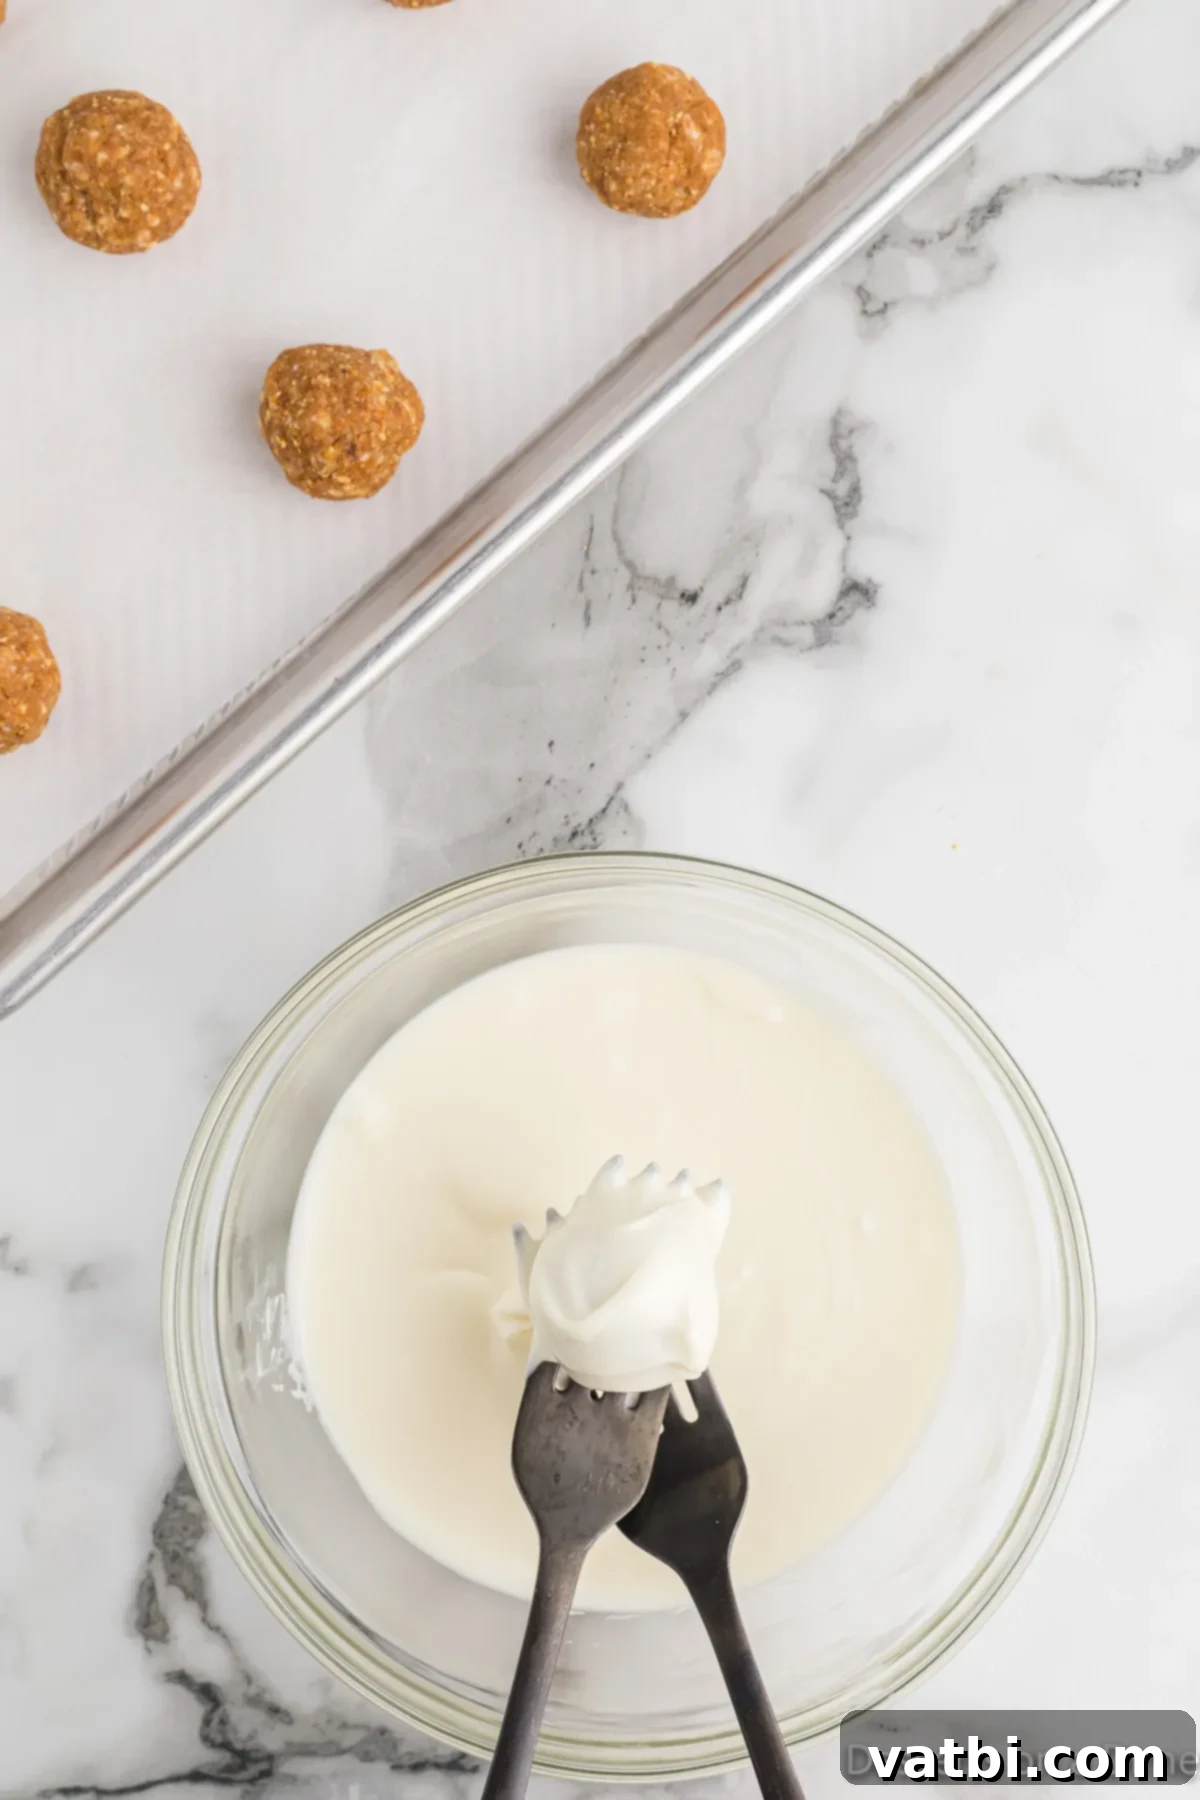
- Remove Excess Chocolate: After dipping each pumpkin ball, gently tap the fork against the side of the bowl or give it a light shake. This allows any excess chocolate to drip off, ensuring a thinner, more elegant coating and preventing puddles of chocolate around the base of the truffle.
- Chill Thoroughly: Patience is a virtue here! Allow the truffles to chill in the refrigerator for the recommended time until the chocolate coating is completely set. This provides a clean, crisp finish and prevents smudging when handled.
- Use Pure Pumpkin Purée: Double-check your can! This recipe specifically calls for pure pumpkin purée, not pumpkin pie filling. Pumpkin pie filling contains added spices and sweeteners that will alter the intended flavor and texture of your truffles.
- Choose Good Quality Chocolate: The quality of your chocolate makes a significant difference in the final taste and appearance of your truffles. Investing in good quality chocolate chips or melting wafers will result in a richer flavor and a smoother, more professional-looking coating.
- Work Quickly While Dipping: The pumpkin filling can soften at room temperature, making it harder to dip. If you notice your truffle balls becoming too soft, pop them back into the fridge for 10-15 minutes before continuing. Working efficiently also helps maintain a consistent coating.
- Optional: Use a Double Boiler: For the most consistent melting, especially with larger batches or different types of chocolate, consider using a double boiler method instead of a microwave. This provides more controlled, even heat.
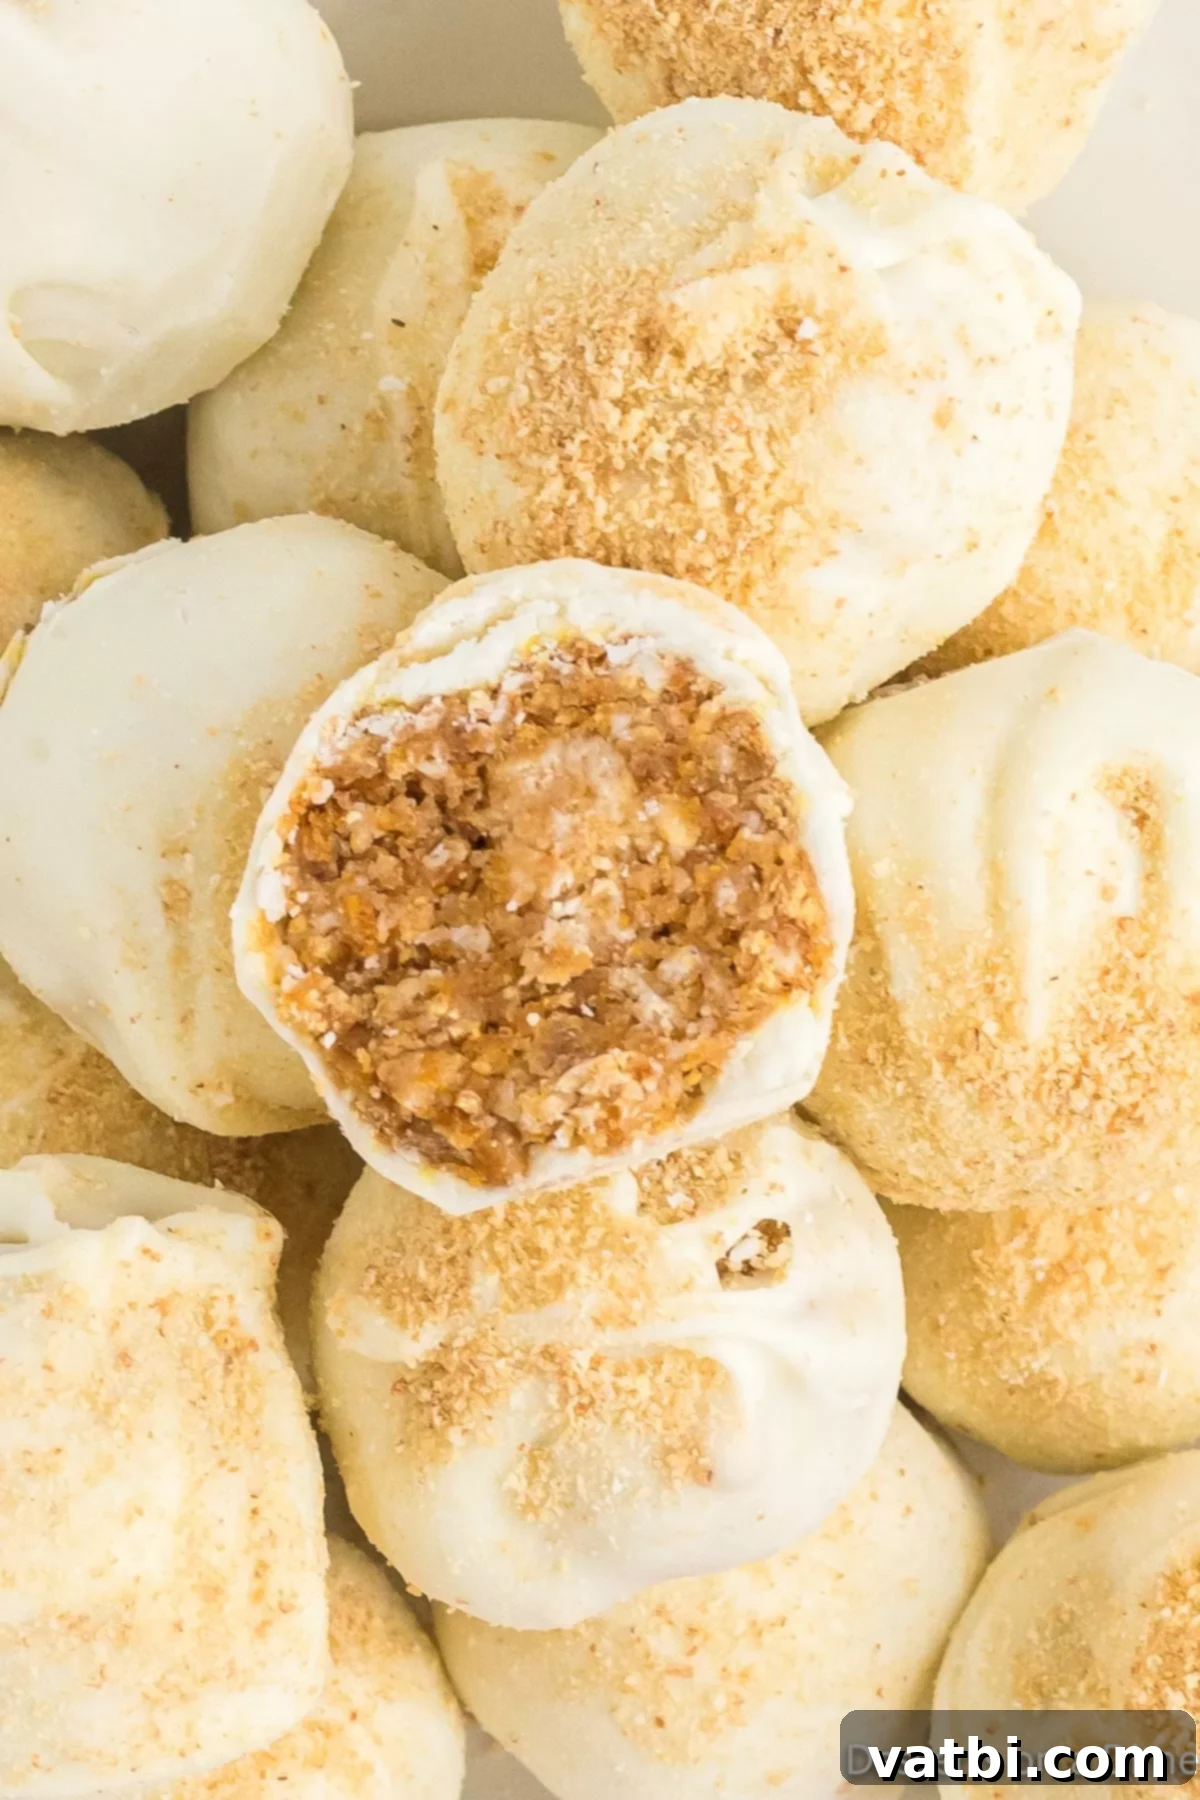
- Presentation Matters: Once set, arrange your truffles beautifully on a platter, in mini paper liners, or in a decorative box for gifting. A little care in presentation goes a long way!
Frequently Asked Questions About Pumpkin Truffles
Have questions about making or storing these delicious fall treats? We’ve got you covered with answers to some of the most common queries about pumpkin truffles.
Pumpkin Truffles are fantastic for making ahead of time, which is perfect for busy holiday seasons! Once prepared and fully set, they will last about 1 week when stored properly in an airtight container in the refrigerator. This makes them an excellent choice for meal prep or for preparing treats for a gathering in advance.
Absolutely! Freezing pumpkin truffles is a wonderful way to extend their shelf life and have a delicious treat on hand whenever a craving strikes. These are always on our holiday candy list because they freeze so well. We recommend doubling the batch and freezing some for later!
To freeze them effectively, place the finished truffles on a baking sheet, ensuring they are not touching each other. Flash freeze them for about an hour, or until they are solid. Once frozen, transfer them to a freezer-safe zip-top bag or an airtight container, separating layers with parchment paper to prevent sticking. They can be stored in the freezer for up to 2-3 months. When you’re ready to enjoy, simply take out the desired amount and let them thaw in the refrigerator for an hour or at room temperature for about 15-20 minutes.
Any leftover pumpkin truffles should be stored in an airtight container in the refrigerator. This keeps them fresh, prevents them from drying out, and ensures the chocolate coating remains firm. They will maintain their delicious flavor and texture for up to 1 week. For longer storage, refer to the freezing instructions above.
Always use 100% pure pumpkin puree, not pumpkin pie filling. Pumpkin pie filling is already sweetened and spiced, which will throw off the carefully balanced flavors in this truffle recipe. Check the label to ensure you’re getting pure pumpkin.
Yes, with a few substitutions! For a gluten-free version, simply use gluten-free graham cracker crumbs. For a vegan option, use dairy-free cream cheese, ensure your pumpkin puree is vegan, and use dairy-free chocolate chips or vegan white chocolate for both the filling and coating. The texture and flavor will be very similar!
More Easy Truffle Recipes to Try
If you’ve fallen in love with the simplicity and decadence of these pumpkin truffles, you’ll be excited to explore more of our easy truffle recipes. These bite-sized delights are perfect for any season or occasion:
- Grinch Truffles Recipe
- Christmas Truffles
- Carrot Cake Truffles
- Strawberry Truffles
- No Bake Oreo Truffles
We hope you thoroughly enjoy making and sharing these wonderful no-bake pumpkin truffles. They are truly the perfect autumn treat, bringing warmth and sweetness to every moment. Try this recipe today and leave a comment and star rating to let us know what you think! Your feedback helps us share more delicious recipes with everyone.
Pin
Pumpkin Truffles
2 hours
20 minutes
30 minutes
2 hours
50 minutes
24
American
Dessert
139
Carrie Barnard
Ingredients
- 2 ounces Cream Cheese softened
- 2 Tablespoons Powdered Sugar
- 1/4 cup Pumpkin Purée
- 1 3/4 cup Graham Cracker Crumbs approximately 12 full graham cracker sheets
- 1/2 teaspoon Pumpkin Pie Spice
- 1/2 teaspoon Ground Cinnamon
- 2 1/2 cups White Chocolate Chips divided
Instructions
-
In a medium bowl, mix together the softened cream cheese and powdered sugar with a hand held mixer until the mixture is completely creamy and smooth.
-
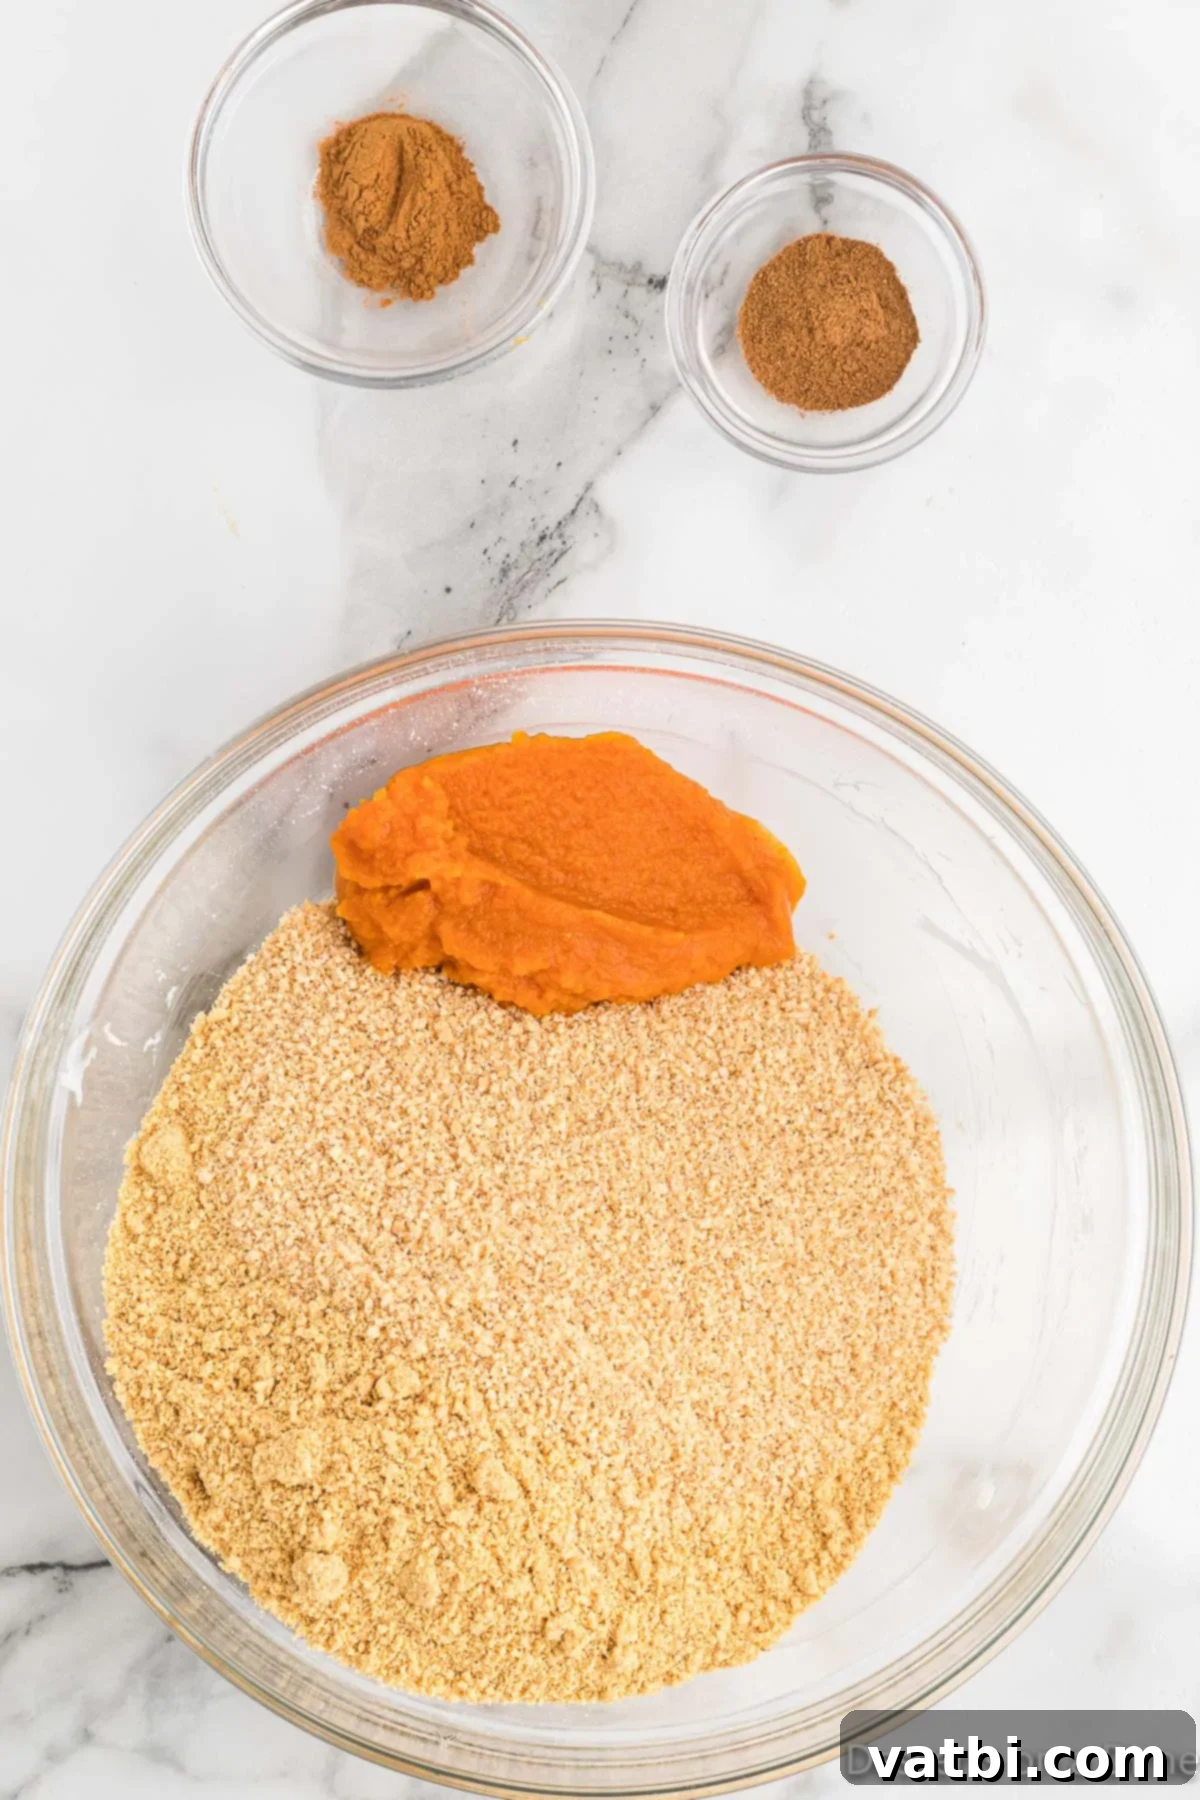
Add in the pumpkin purée, graham cracker crumbs, pumpkin pie spice, and cinnamon. Mix all the ingredients until well combined. Remember to set aside a small portion of the graham cracker crumbs for your topping later.
-
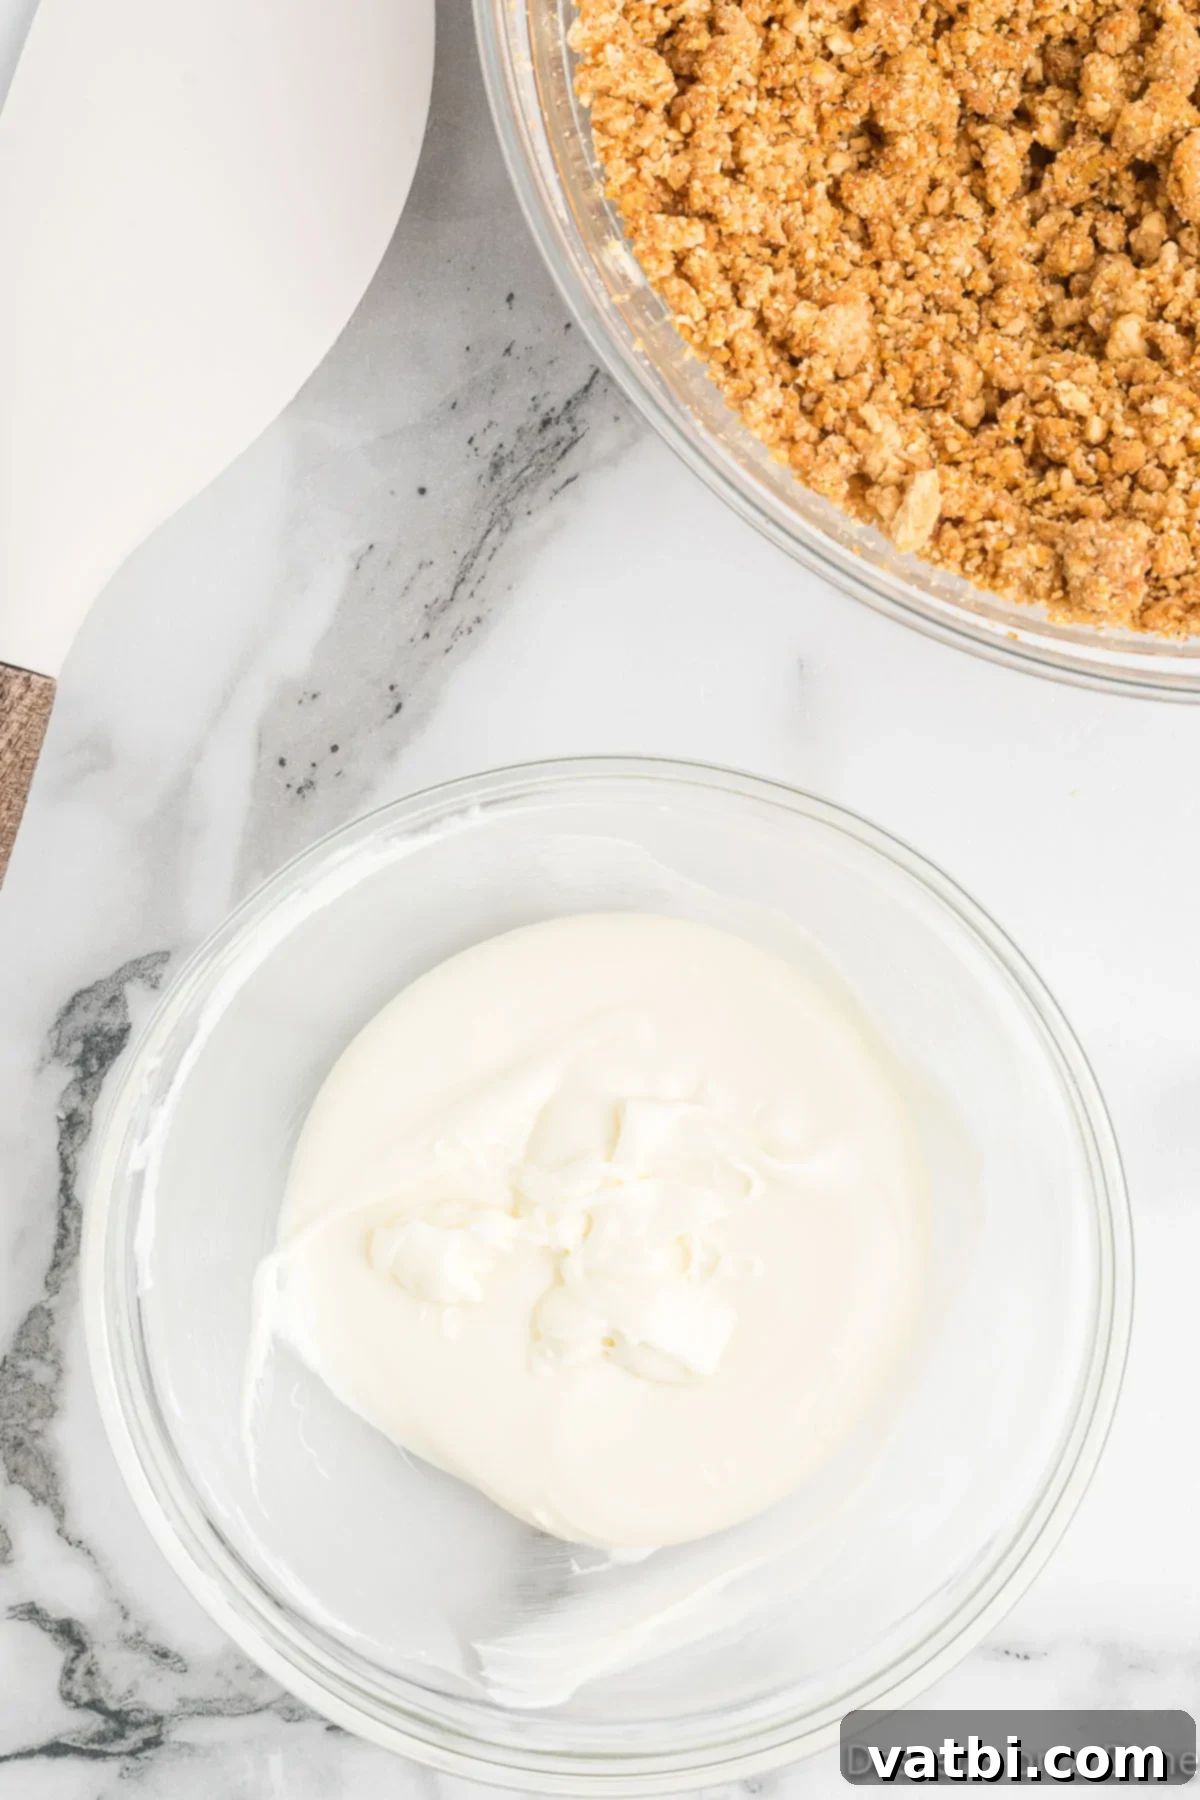
Melt ½ cup of the white chocolate chips. Do this by microwaving in 30-second intervals, stirring thoroughly after each interval, until the chocolate is fully melted and smooth. Stir this melted chocolate into your pumpkin mixture until fully incorporated.
-
Cover the bowl and refrigerate the mixture for at least 2 hours. This is important to allow the truffle mixture to firm up, making it easier to roll into balls.
-
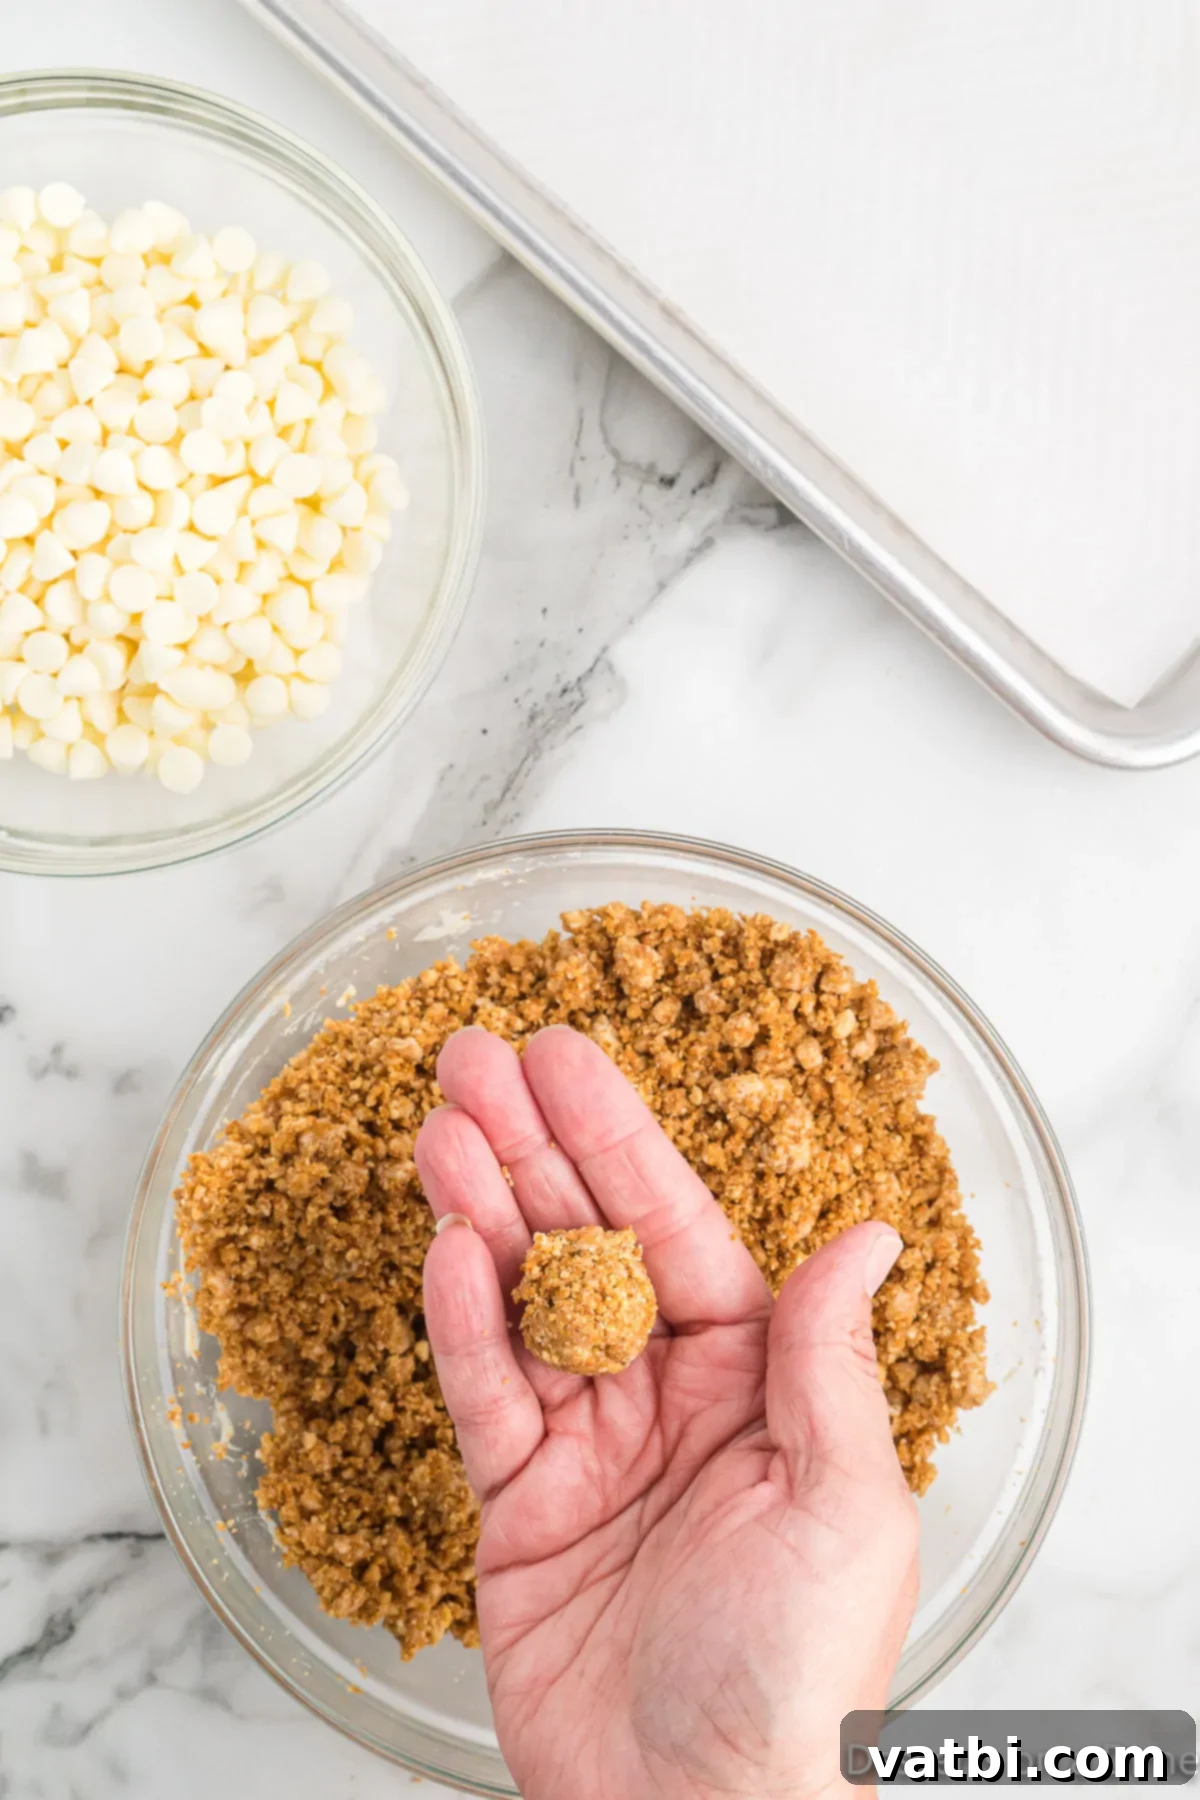
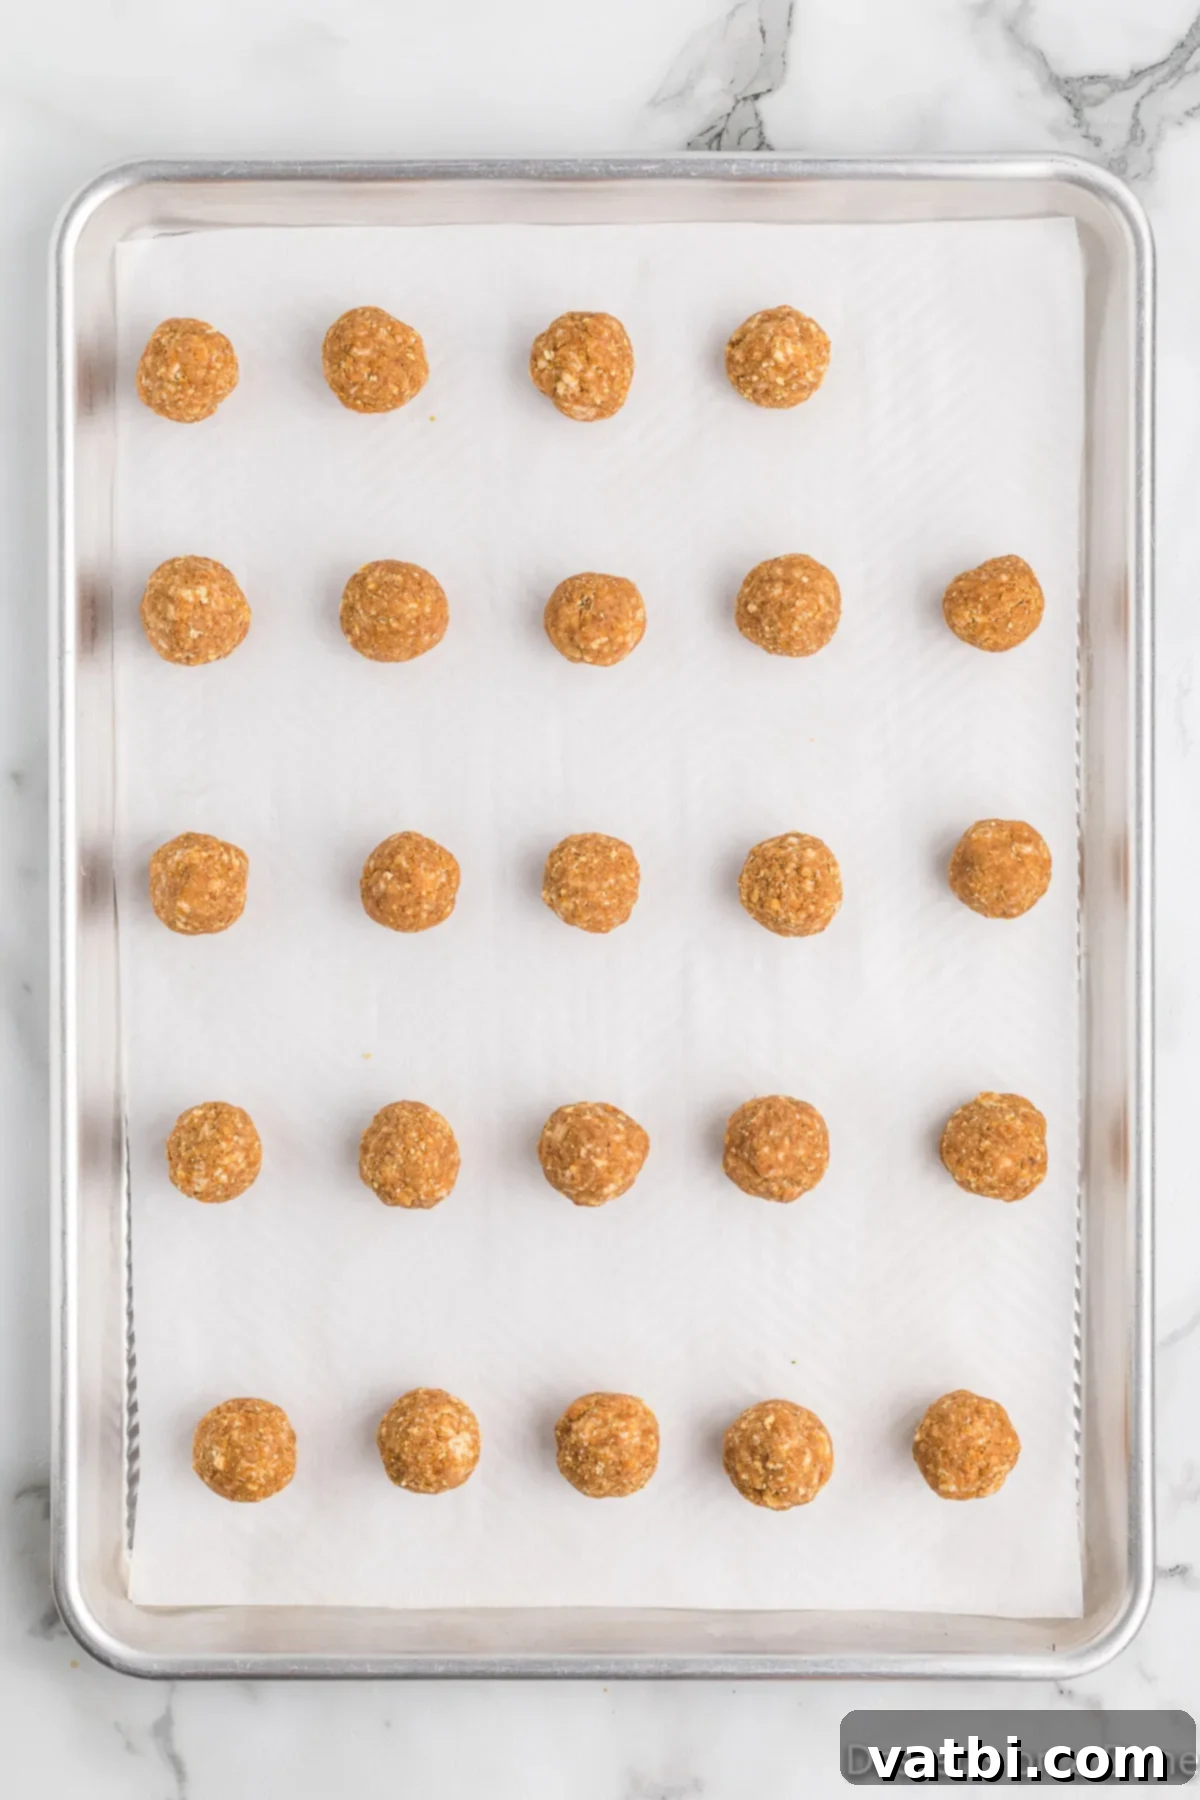
After chilling, line a baking sheet with parchment paper. Using a small cookie scoop or your hands, roll the firm mixture into small balls, each approximately 1 teaspoon in size. Place them on the prepared baking sheet.
-
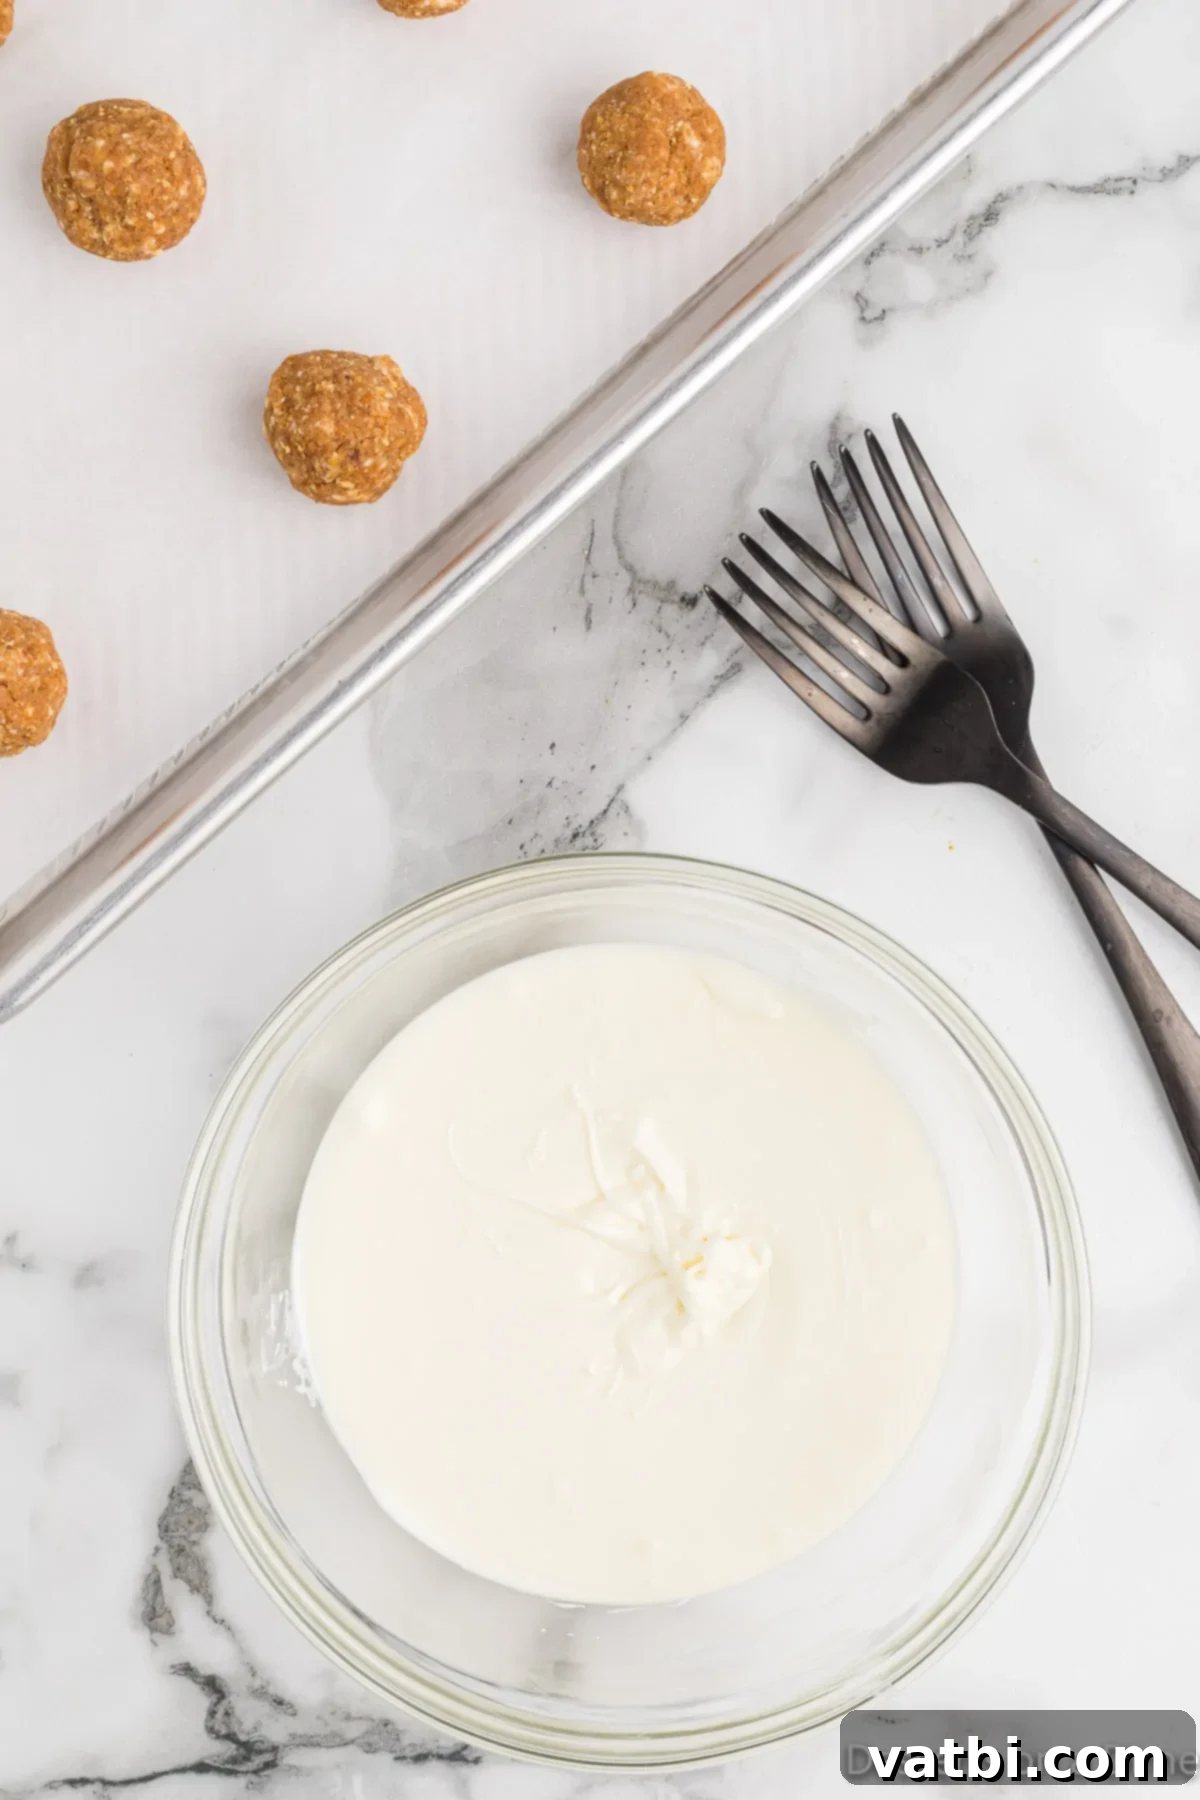
In a separate microwave-safe bowl, melt the remaining chocolate chips. Heat in 30-second intervals, stirring after each interval, until the chocolate is smooth and completely melted.
-
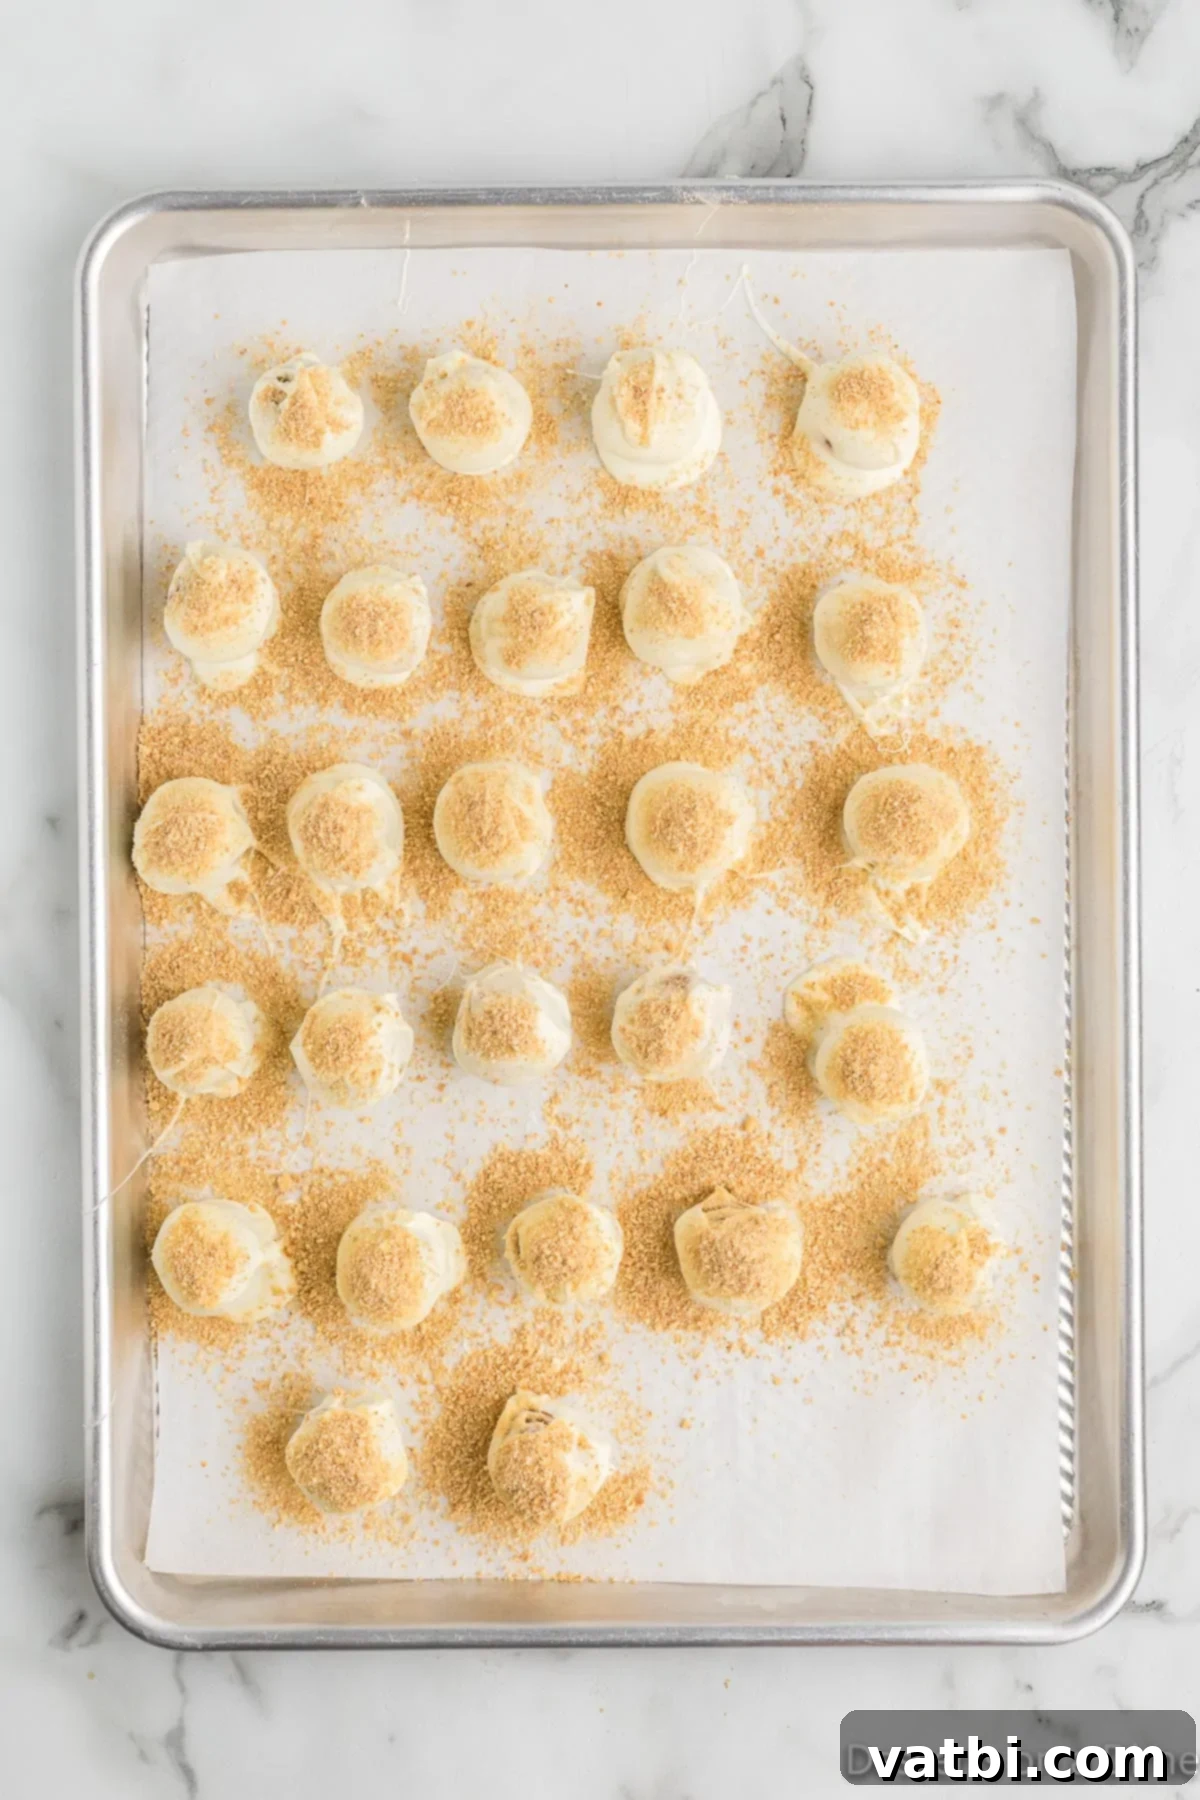
Using two forks (or a dipping tool), carefully dip each pumpkin ball into the melted chocolate, ensuring it’s fully coated. Lift it out, allowing any excess chocolate to drip off, then place the coated truffle back on the parchment-lined baking sheet. While the chocolate is still wet, sprinkle a small amount of the reserved graham cracker crumbs over the top for garnish.
-
Continue this dipping and garnishing process until all the truffles are beautifully coated in chocolate and topped with crumbs.
-
Refrigerate the finished truffles for approximately 30 minutes, or until the chocolate coating is fully set and firm. Once set, they are ready to serve and enjoy their rich, fall-inspired flavors!
Recipe Notes
Nutrition Facts
Carbohydrates 17g,
Protein 2g,
Fat 7g,
Saturated Fat 4g,
Polyunsaturated Fat 0.3g,
Monounsaturated Fat 2g,
Cholesterol 6mg,
Sodium 65mg,
Potassium 73mg,
Fiber 0.3g,
Sugar 13g,
Vitamin A 435IU,
Vitamin C 0.2mg,
Calcium 46mg,
Iron 0.3mg
Pin This Now to Remember It Later
Pin Recipe
