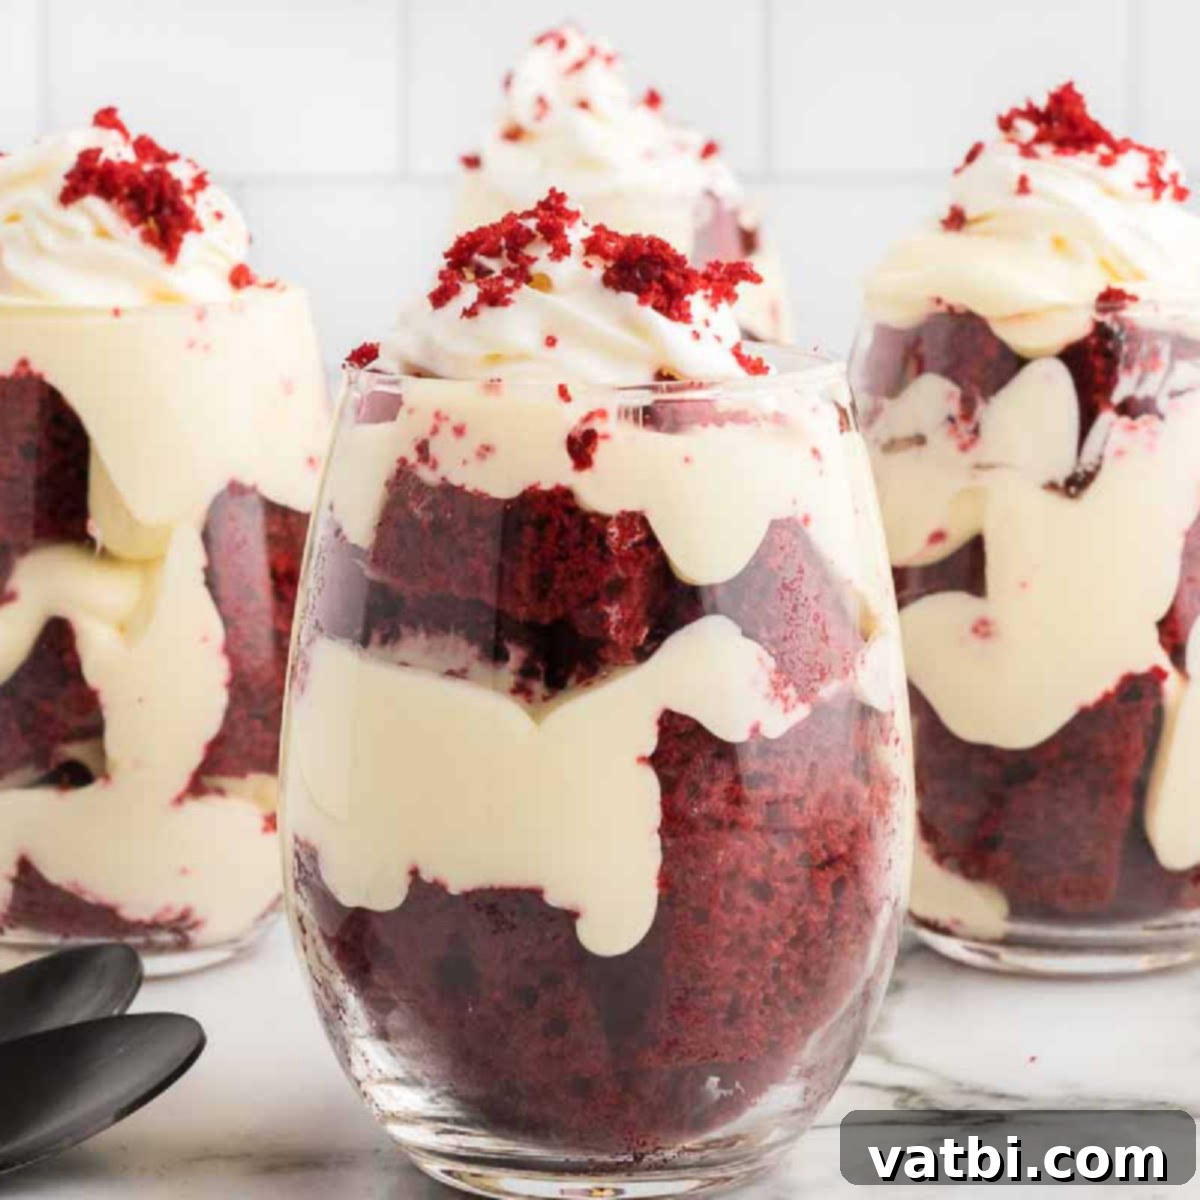
Decadent Red Velvet Trifle Cups: The Ultimate Easy Dessert for Any Occasion
Indulge in the rich, vibrant flavors of this stunning dessert with our incredibly simple recipe for Red Velvet Trifle Cups. These individual servings are not only visually appealing but also exceptionally easy to prepare, featuring luscious layers that promise to delight your taste buds. Whether you’re hosting a grand party, celebrating a special holiday, or simply craving a delightful treat, these trifle cups are designed for convenience and maximum impact. They combine the classic moistness of red velvet cake with a creamy, tangy cream cheese mixture and a light, airy whipped topping, creating a harmonious symphony of textures and flavors in every spoonful.
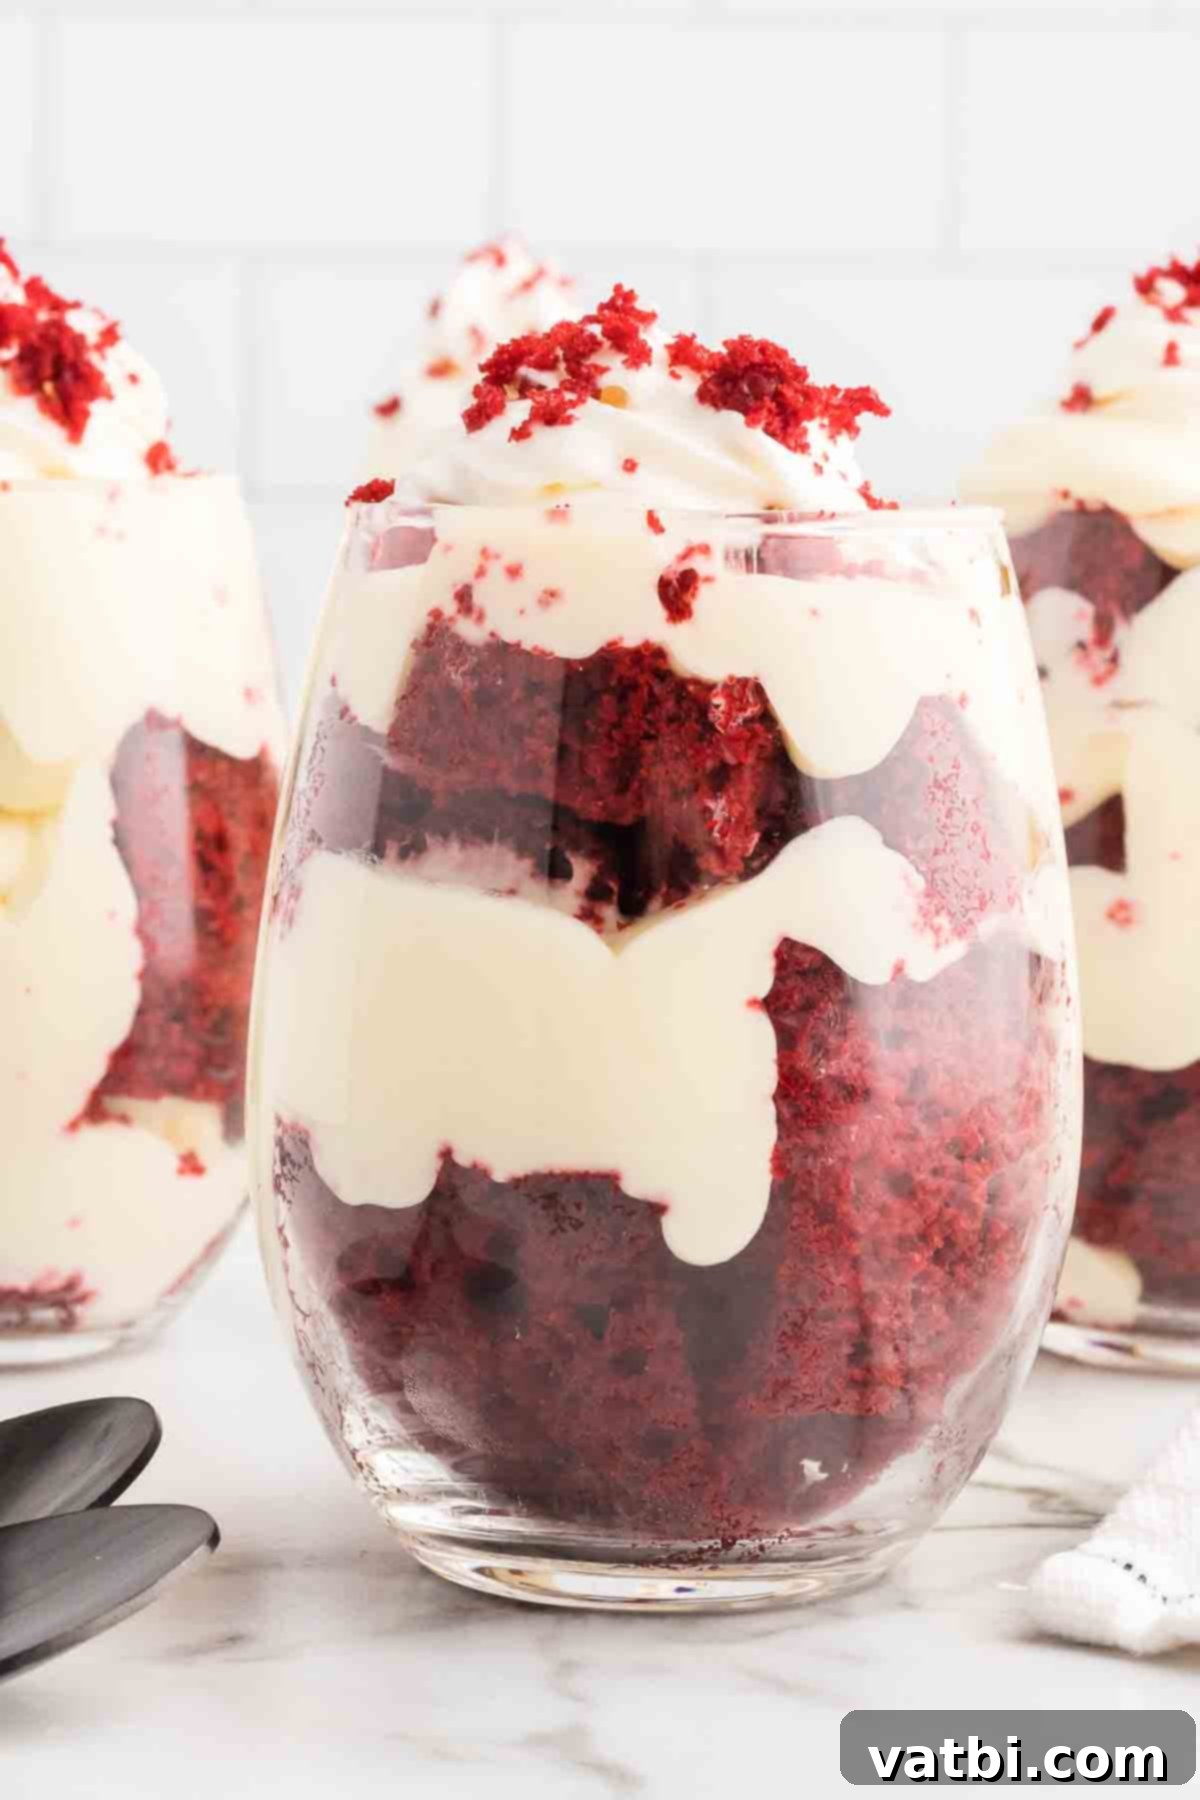
You’re about to discover your new go-to dessert for effortless elegance. Each individual cup is a masterpiece of taste and texture, meticulously layered with tender cubes of Red Velvet Cake and a rich, velvety cream cheese pudding mixture. The experience culminates with a generous dollop of fluffy whipped cream on top, often sprinkled with reserved red velvet cake crumbs or fresh berries, transforming each serving into a truly decadent treat. The best part? This show-stopping dessert comes together with minimal fuss, making it perfect for busy hosts who want to impress without the stress.
Trifle-style desserts are always a hit, offering a beautiful presentation and a delightful blend of flavors. If you love this concept, be sure to explore more family favorites such as our refreshing Strawberry Trifle,the patriotic Red White and Blue Mini Trifles, or the ever-popular Chocolate Trifle. For the cookie enthusiasts, our Oreo Trifle is an absolute must-try!
Table of contents
- Why These Red Velvet Trifle Cups Are a Must-Try
- Essential Ingredients for Your Red Velvet Trifle
- Delicious Variations to Customize Your Trifle
- Step-by-Step Guide to Assemble Your Trifles
- Can You Prepare Red Velvet Trifle Cups in Advance?
- Pro Tips for Perfect Trifle Cups Every Time
- More Irresistible Red Velvet Dessert Recipes
Why These Red Velvet Trifle Cups Are a Must-Try
There are countless reasons to fall in love with this Red Velvet Trifle Cup recipe. Firstly, the moist and tender red velvet cake base is simply divine, offering that signature cocoa-vanilla flavor with a hint of tang. The best part? We achieve this amazing flavor with minimal effort, thanks to the clever use of a box cake mix, saving you precious time without compromising on taste. While this dessert can certainly be assembled in a large, traditional trifle dish or trifle bowl for a communal serving, we specifically designed this recipe for small, individual cups. This makes them incredibly easy to serve, eliminating the need for cutting and plating, which is ideal for gatherings, potlucks, and any event where convenience is key. Each guest gets their own perfectly portioned, beautiful dessert.
Beyond their practicality, these Red Velvet Trifle Cups are a celebration of flavor and festivity. Their stunning red and white layers make them an instant showstopper, perfectly suited for a wide array of occasions. They are an absolute dream for Valentine’s Day, bringing a romantic touch to your dessert spread. For the winter holidays, particularly Christmas, their festive colors align beautifully with holiday themes. However, their charm extends far beyond specific holidays; these delightful cups are truly perfect for any day of the year you want to add a touch of sweetness and elegance.
Essential Ingredients for Your Red Velvet Trifle
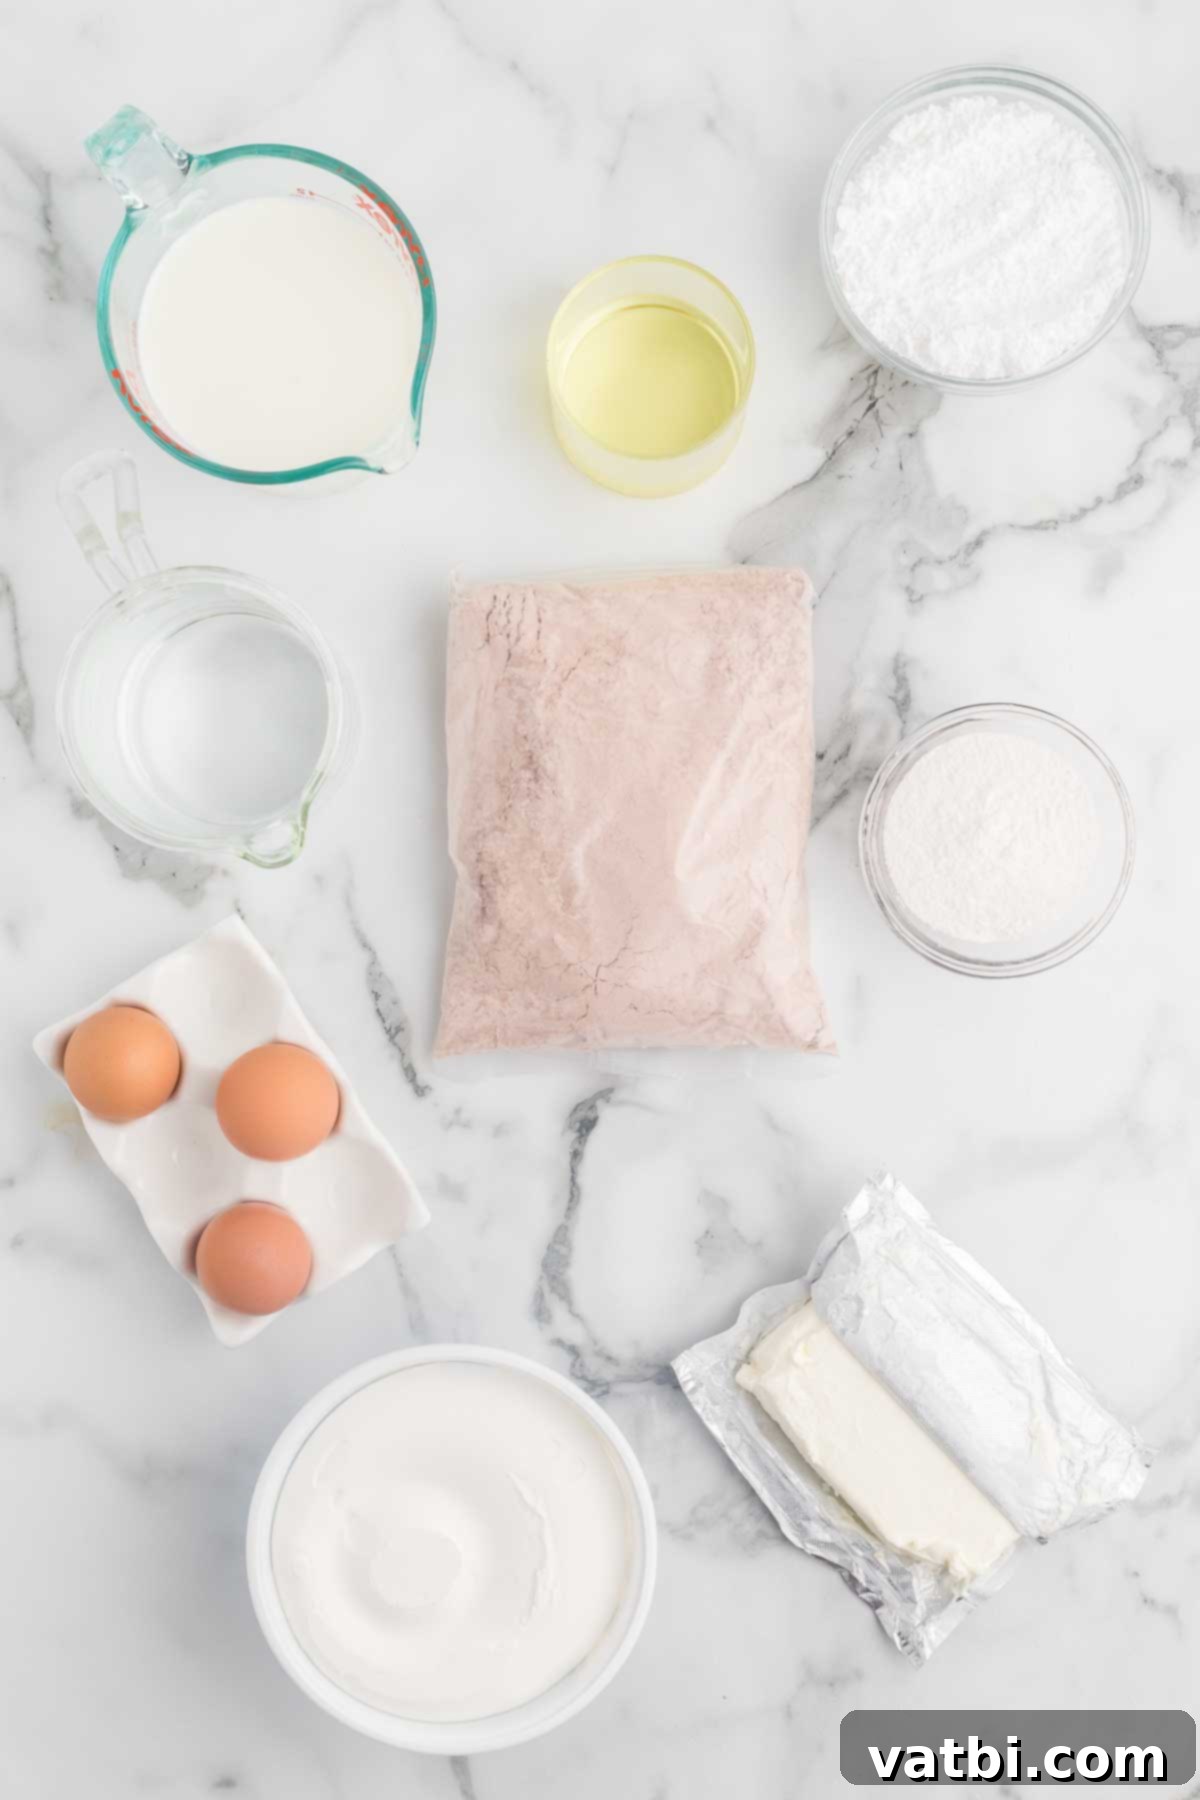
Crafting these delectable trifles requires a handful of readily available ingredients, most of which you likely already have in your pantry. Here’s a detailed look at what you’ll need to create these layered masterpieces:
- Red Velvet Cake Mix: This is our secret weapon for speed and convenience! While you can certainly bake a red velvet cake from scratch, a quality box mix ensures consistent results and saves a significant amount of time. Remember to also gather the additional ingredients required to prepare the cake according to the specific package instructions, typically eggs, oil, and water. Ensure the cake is fully cooled before cutting and assembling.
- Vanilla Pudding: The key here is to use instant pudding mix, not the cook-and-serve variety. Instant pudding provides the perfect texture and sets quickly, forming the creamy base of our luscious filling. Vanilla is a classic choice that complements red velvet beautifully, but other flavors can be explored in the variations section.
- Milk: Crucially, the milk should be cold. Using cold milk helps the instant pudding set properly and quickly, yielding a thick, smooth consistency for your cream cheese mixture. Keep it in the fridge until you are ready to combine it with the pudding mix.
- Cream Cheese: Opt for full-fat, block cream cheese (not the spreadable kind in a tub) for the richest flavor and best texture. It must be softened at room temperature. This is vital for achieving a smooth, lump-free, and fluffy cream cheese mixture when beaten. If it’s too cold, it will be difficult to mix evenly.
- Powdered Sugar: Also known as confectioners’ sugar, this ingredient sweetens our cream cheese filling and contributes to its silky-smooth texture. For an extra-fine, lump-free consistency, I highly recommend sifting the powdered sugar before adding it to the cream cheese. This step prevents any grainy pockets in your delightful filling.
- Cool Whip: This light and airy whipped topping forms the final cloud-like layer and is incorporated into the cream cheese filling. You can use store-bought Cool Whip for ultimate convenience, or for an even fresher, more indulgent taste, consider making your own Homemade Whipped Cream. If using homemade, make sure it’s stabilized to hold its shape.
For the complete, detailed ingredients list with precise measurements, please scroll down to the bottom of the page where you’ll find our comprehensive recipe card.
Delicious Variations to Customize Your Trifle
While the classic Red Velvet Trifle Cups are undeniably delicious, this recipe is incredibly versatile, allowing for numerous creative twists to suit your preferences or the occasion. Don’t hesitate to experiment with these delightful variations:
- Pudding Flavor: Elevate the flavor profile by substituting the vanilla instant pudding. Consider using white chocolate instant pudding for an extra layer of richness, cheesecake-flavored pudding for an even tangier cream cheese experience, or even chocolate pudding for a richer, more decadent combination with the red velvet cake.
- Cake Type: While red velvet is iconic, feel free to use any type of cake mix you prefer for a completely different flavor profile. A chocolate fudge cake mix would create a dark, rich contrast, a yellow cake mix would offer a classic vanilla-butter flavor, or even a strawberry cake mix for a fruity twist. If you’re feeling ambitious, a homemade cake can always be substituted for a truly gourmet touch.
- Topping Enhancements: Beyond the classic whipped cream and cake crumbs, get creative with your garnishes! Sprinkle chocolate shavings or mini chocolate chips for added texture and chocolatey goodness. Fresh berries like blueberries, raspberries, or sliced strawberries add a burst of color and a refreshing tartness that beautifully complements the sweet and creamy layers. A dusting of cocoa powder or a drizzle of chocolate sauce can also make for a sophisticated finish.
- Nutty Crunch: Introduce a delightful textural contrast by adding chopped nuts between the layers. Toasted pecans or walnuts would be particularly delicious, offering a warm, earthy flavor and a satisfying crunch that plays wonderfully against the soft cake and smooth cream. Make sure to toast them lightly for maximum flavor.
- Fruit Layers: For an extra layer of freshness and flavor, consider adding a thin layer of fruit between the cake and cream cheese. Cherry pie filling, a compote of mixed berries, or even thinly sliced bananas could create an exciting new dimension to your trifle.
- Extracts and Flavorings: Enhance the cream cheese mixture with a few drops of different extracts. Almond extract can add a subtle sophisticated note, or a touch of peppermint extract could make these trifles perfect for a holiday treat.
- Serving Vessels: While individual cups are convenient, you can also assemble these in small mason jars for a charming, rustic presentation that’s also perfect for gifting or picnics. A large glass trifle bowl will create a dramatic centerpiece, showcasing all the beautiful layers.
Step-by-Step Guide to Assemble Your Trifles
Creating these beautiful Red Velvet Trifle Cups is a straightforward process. Follow these detailed instructions to layer your way to a stunning dessert:
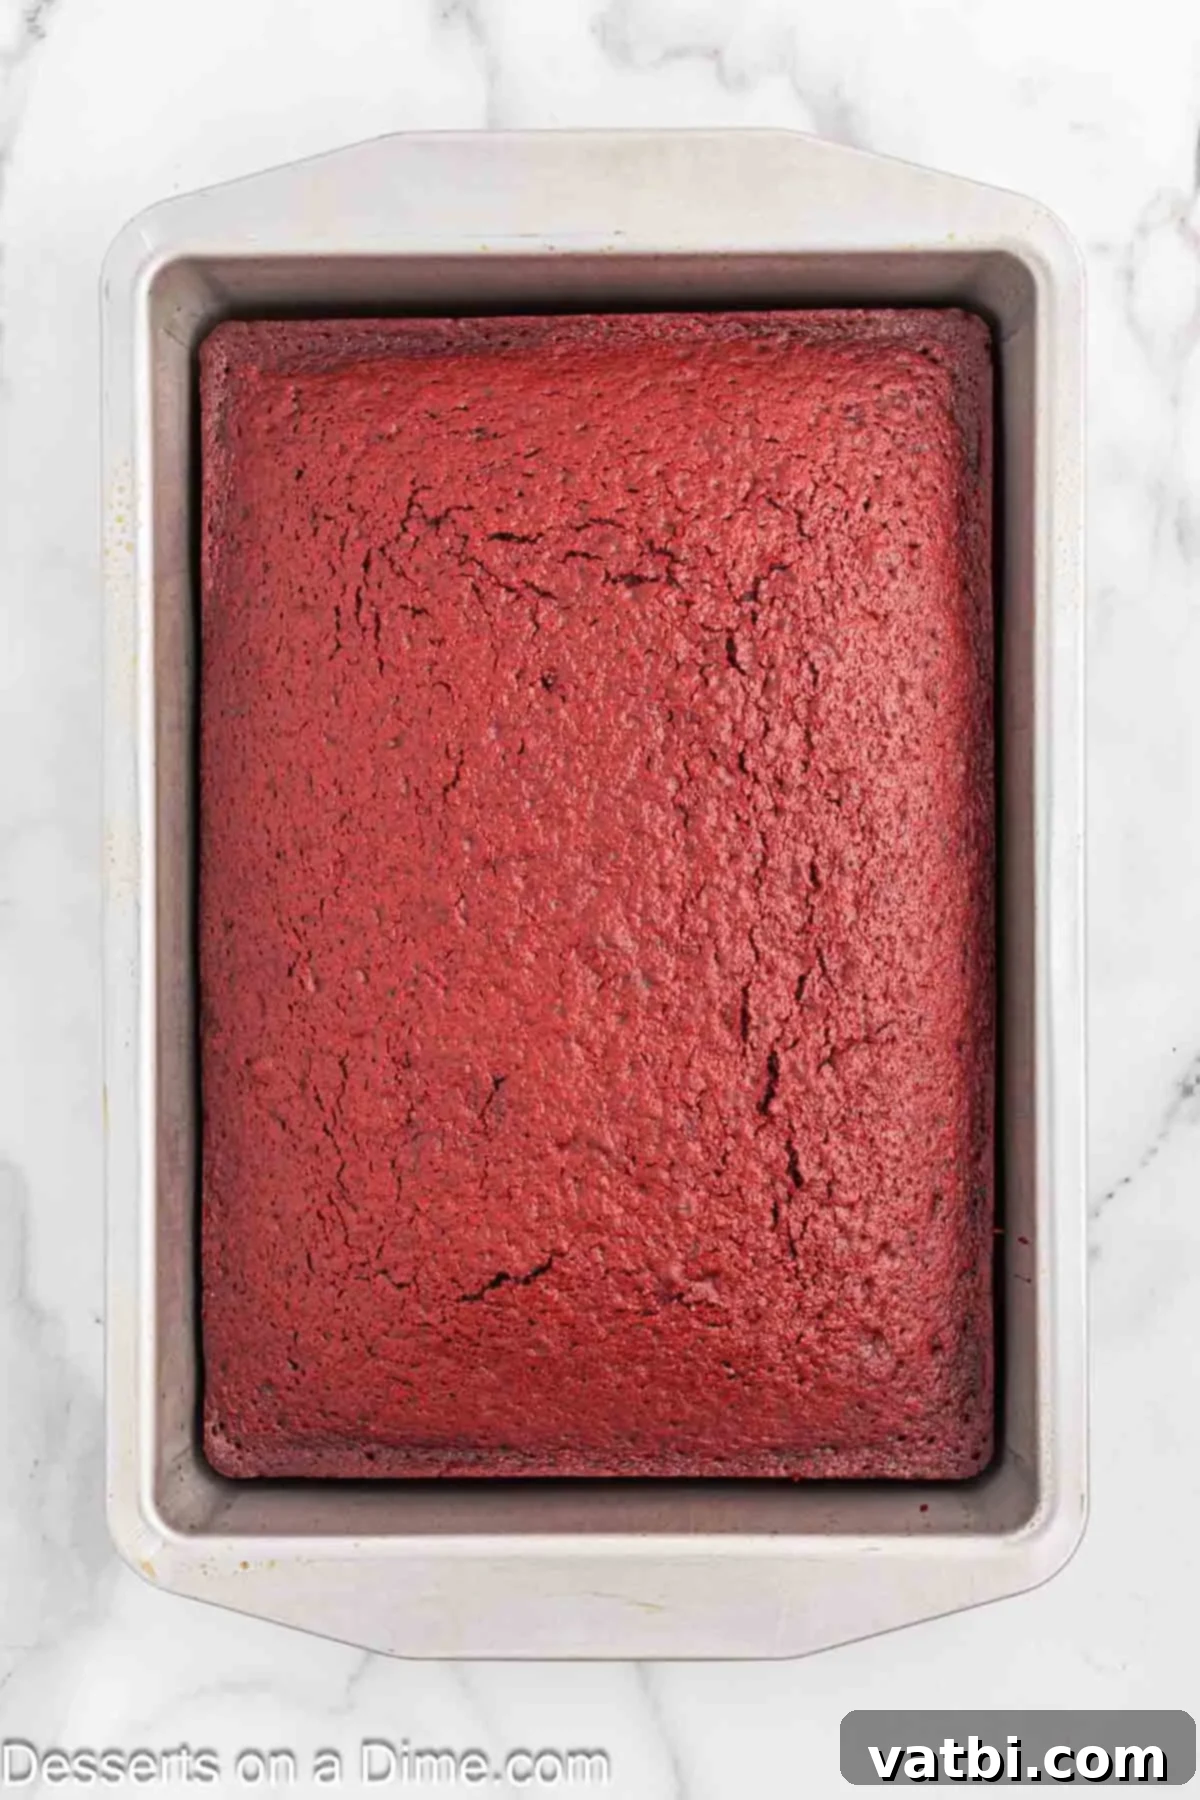
Step 1: Prepare and Cool the Cake. Begin by preparing the red velvet cake batter according to the instructions on your box mix. Pour the batter into a prepared 9×13 inch pan and bake as directed. Once baked, it is absolutely crucial to allow the cake to cool completely at room temperature. Rushing this step will result in a messy trifle and melted cream cheese. You can even bake the cake the day before and cover it until ready to use.
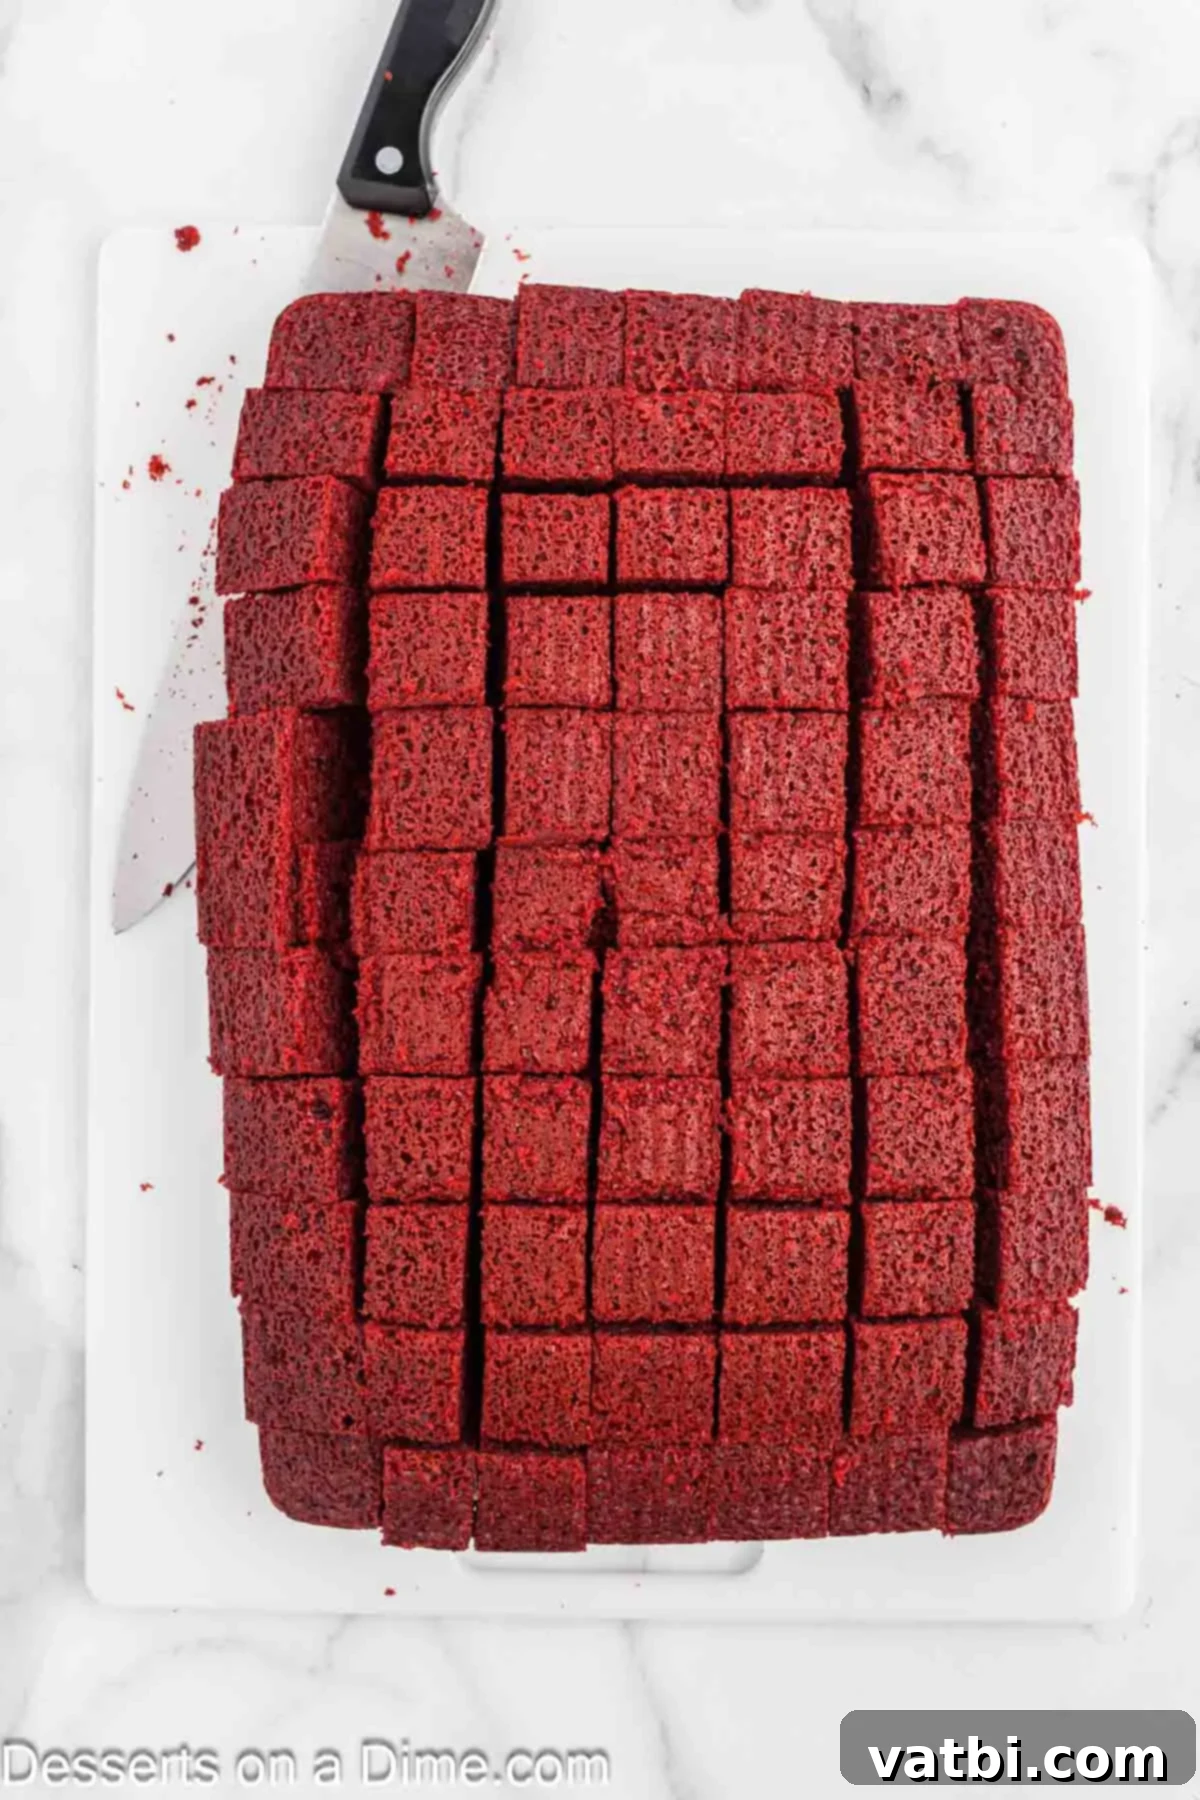
Step 2: Cube the Cake. Once the cake is fully cooled, carefully cut it into approximately 1-inch cubes. Aim for relatively uniform pieces, as this will ensure even layers and a beautiful presentation in your trifle cups. Set aside a small handful of cake crumbs or a few cubes to crumble later for a decorative topping.
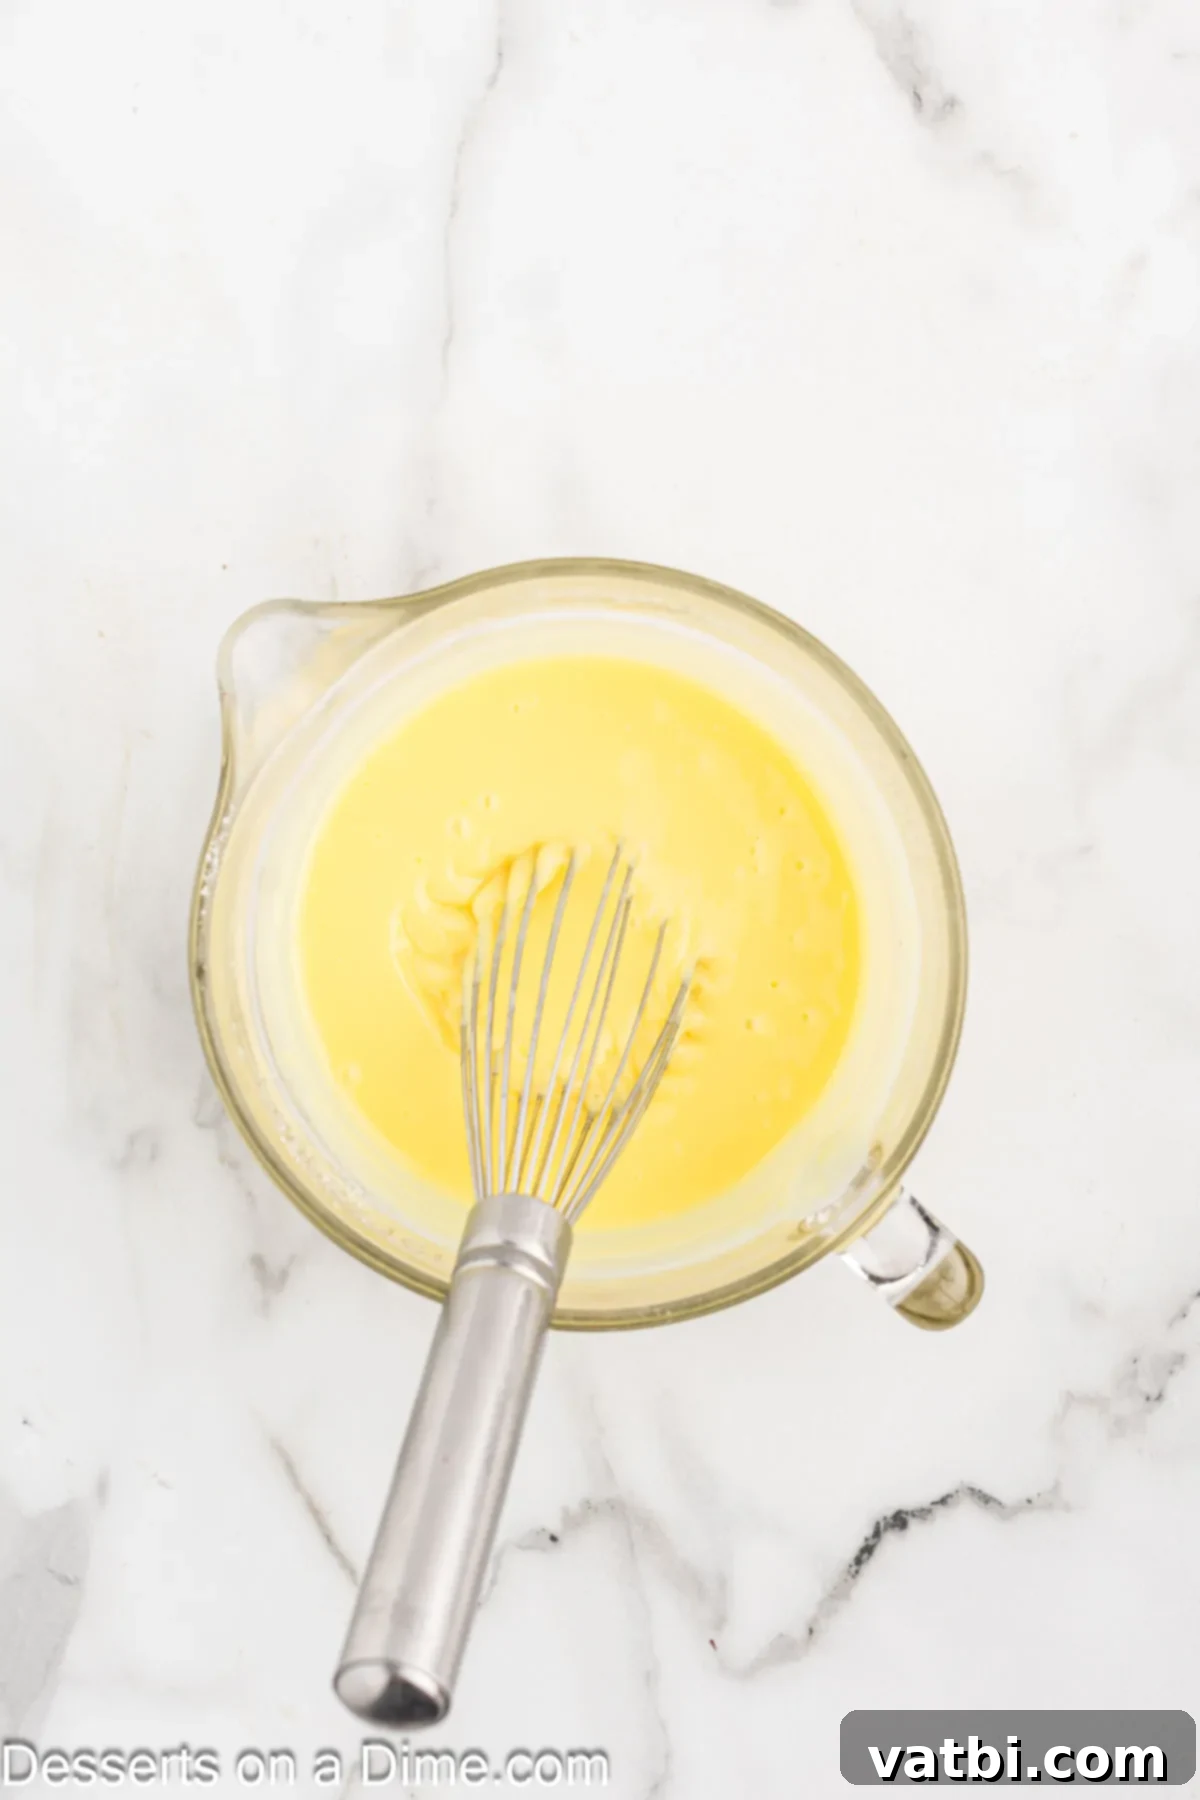
Step 3: Prepare the Pudding. In a medium-sized bowl, combine the instant vanilla pudding mix with the cold milk. Whisk vigorously for about two minutes until the mixture begins to thicken. It’s important to whisk well to ensure there are no lumps and the pudding sets properly. Once whisked, set the pudding aside to continue thickening while you prepare the cream cheese mixture.
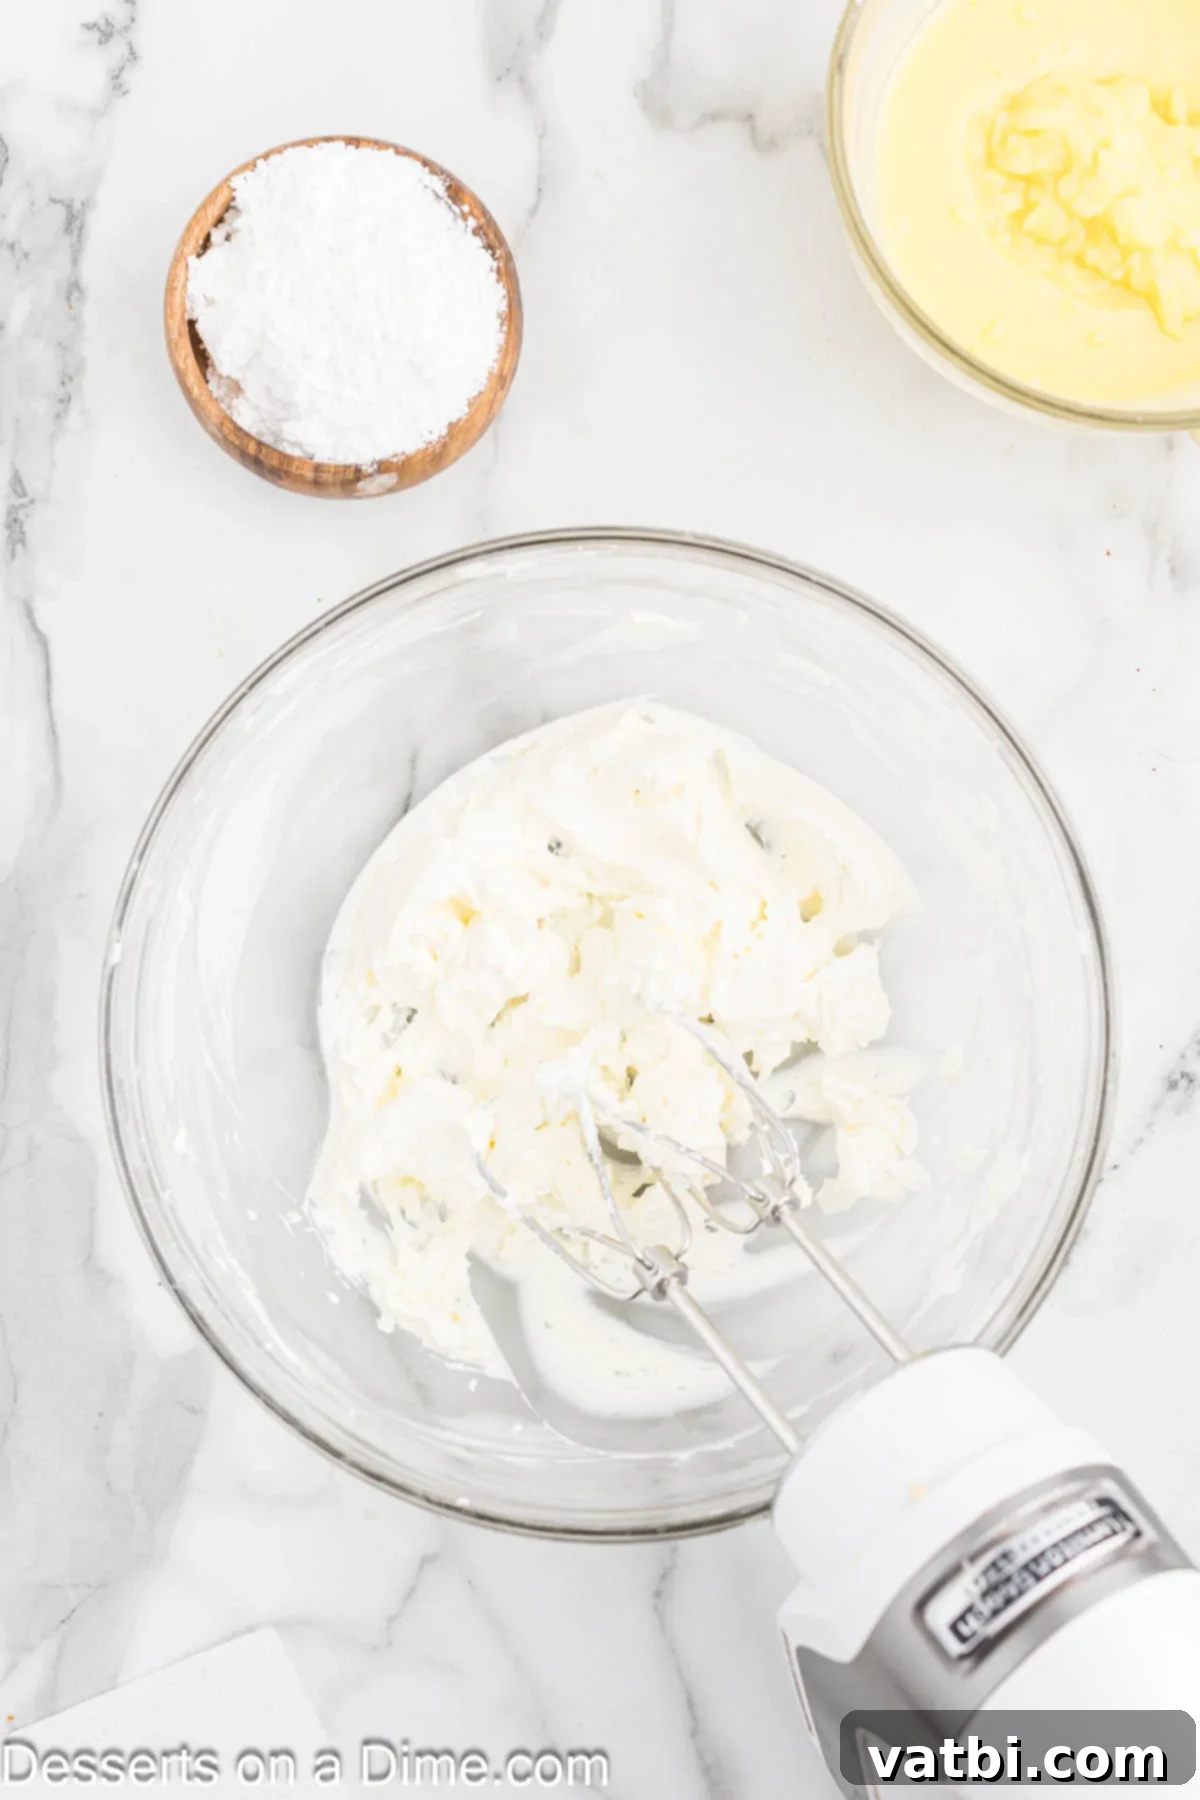
Step 4: Beat the Cream Cheese. Place the softened cream cheese into a large mixing bowl. Using an electric mixer (a hand mixer on medium speed works perfectly), beat the cream cheese for approximately 2-3 minutes. Continue mixing until it becomes wonderfully light, fluffy, and completely smooth. Scrape down the sides of the bowl occasionally to ensure everything is evenly incorporated.
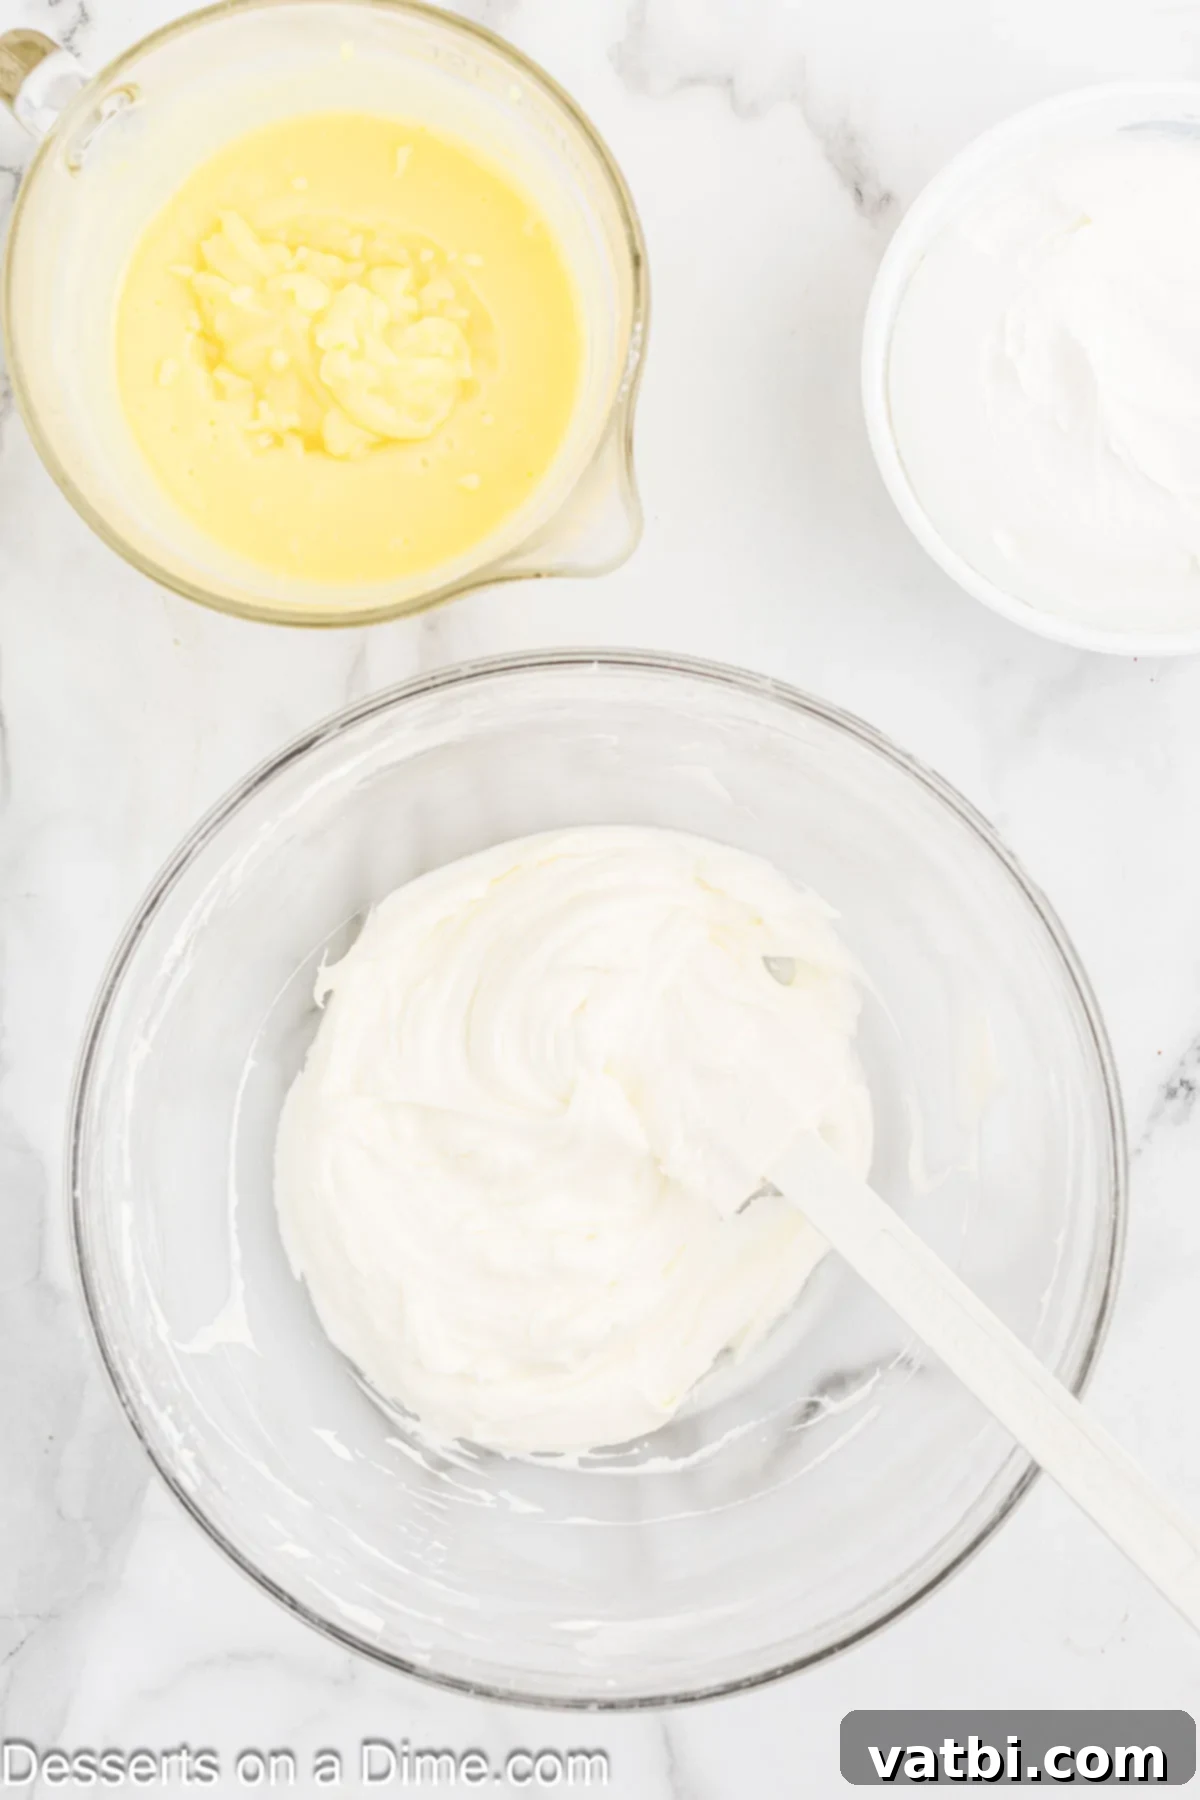
Step 5: Incorporate Powdered Sugar. Reduce the mixer speed to low. Gradually add the powdered sugar to the beaten cream cheese. Adding it slowly helps prevent a cloud of sugar from escaping your bowl! Once all the sugar has been incorporated, increase the speed to medium and beat for another minute or until the mixture is completely smooth and creamy.
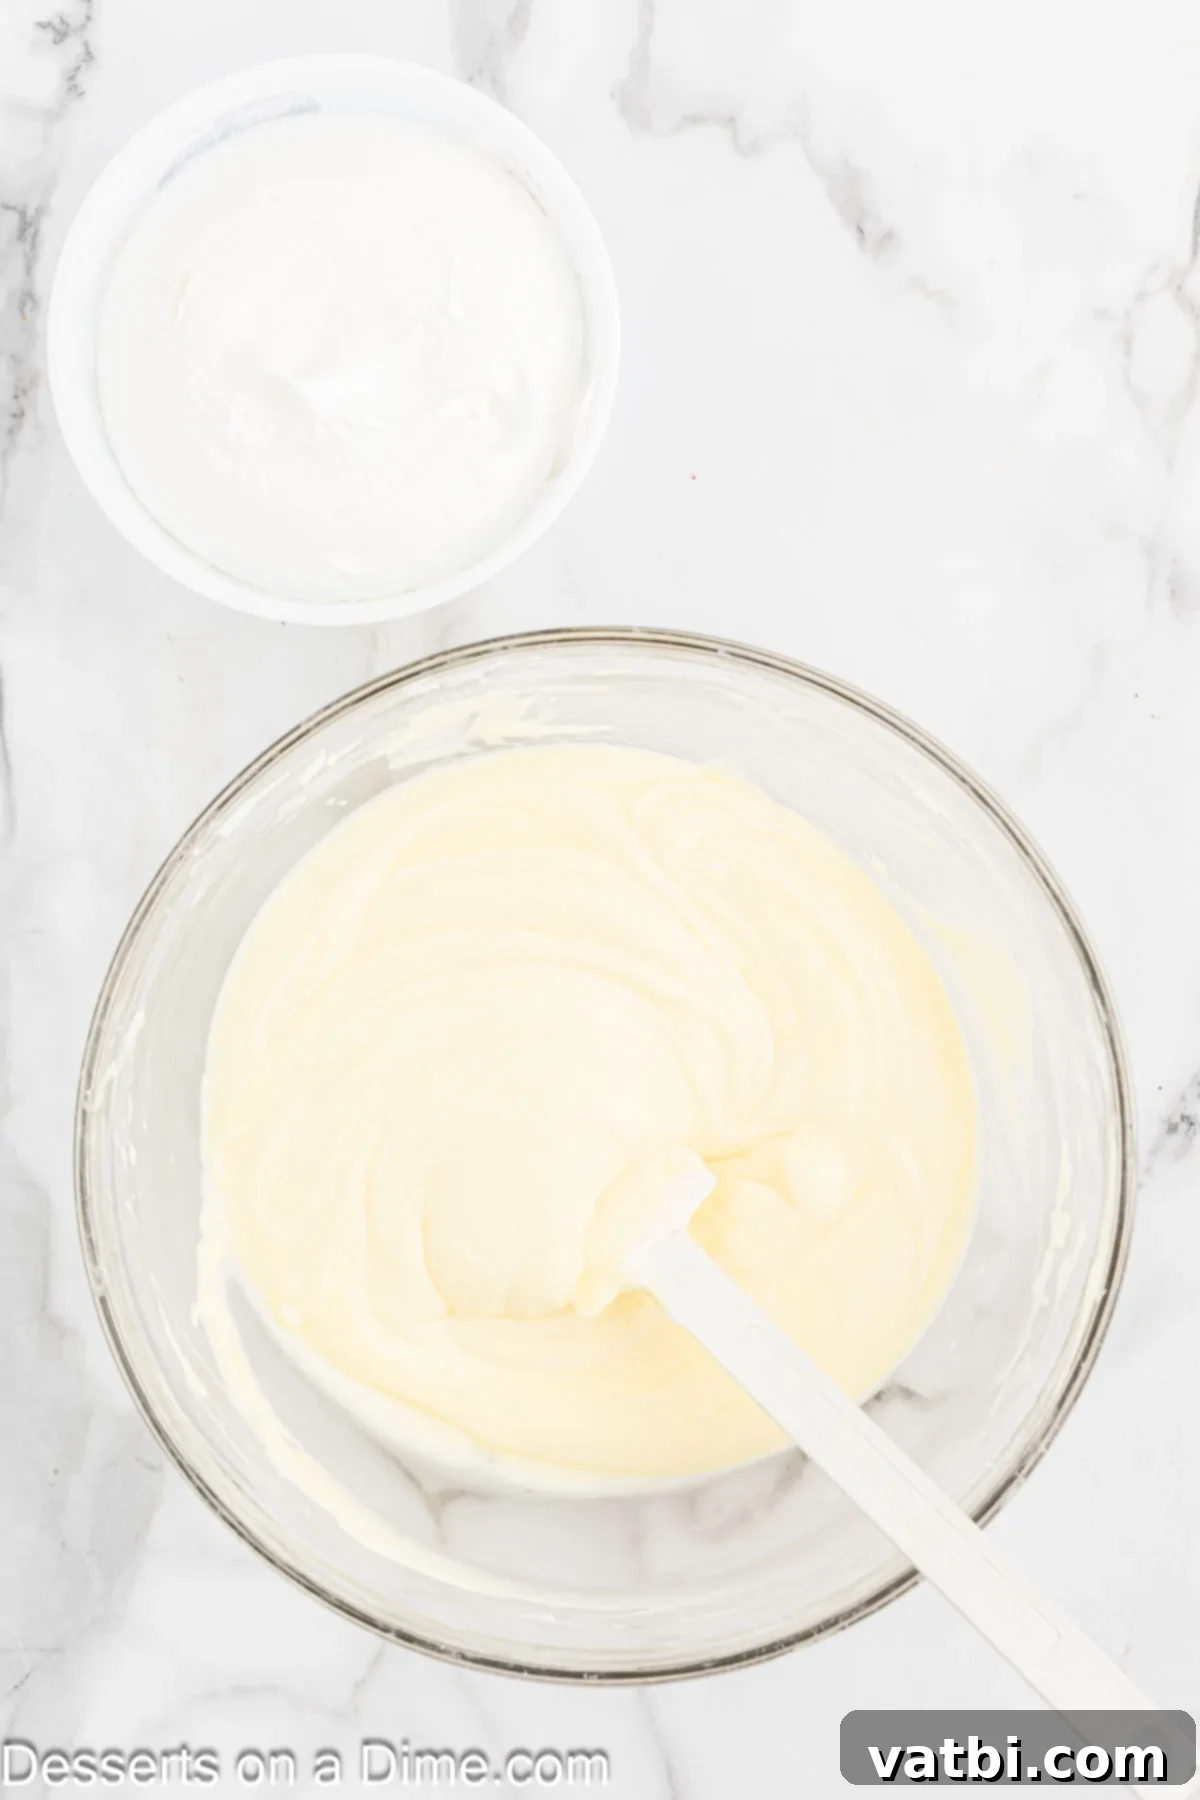
Step 6: Combine Pudding and Cool Whip. Gently fold the prepared vanilla pudding into the cream cheese mixture using a rubber spatula until it’s just combined. Next, add about 8 oz of the Cool Whip (reserving the rest for topping) to the bowl. Fold it in carefully until no white streaks remain and the mixture is light and uniform. Be gentle to maintain the airy texture.
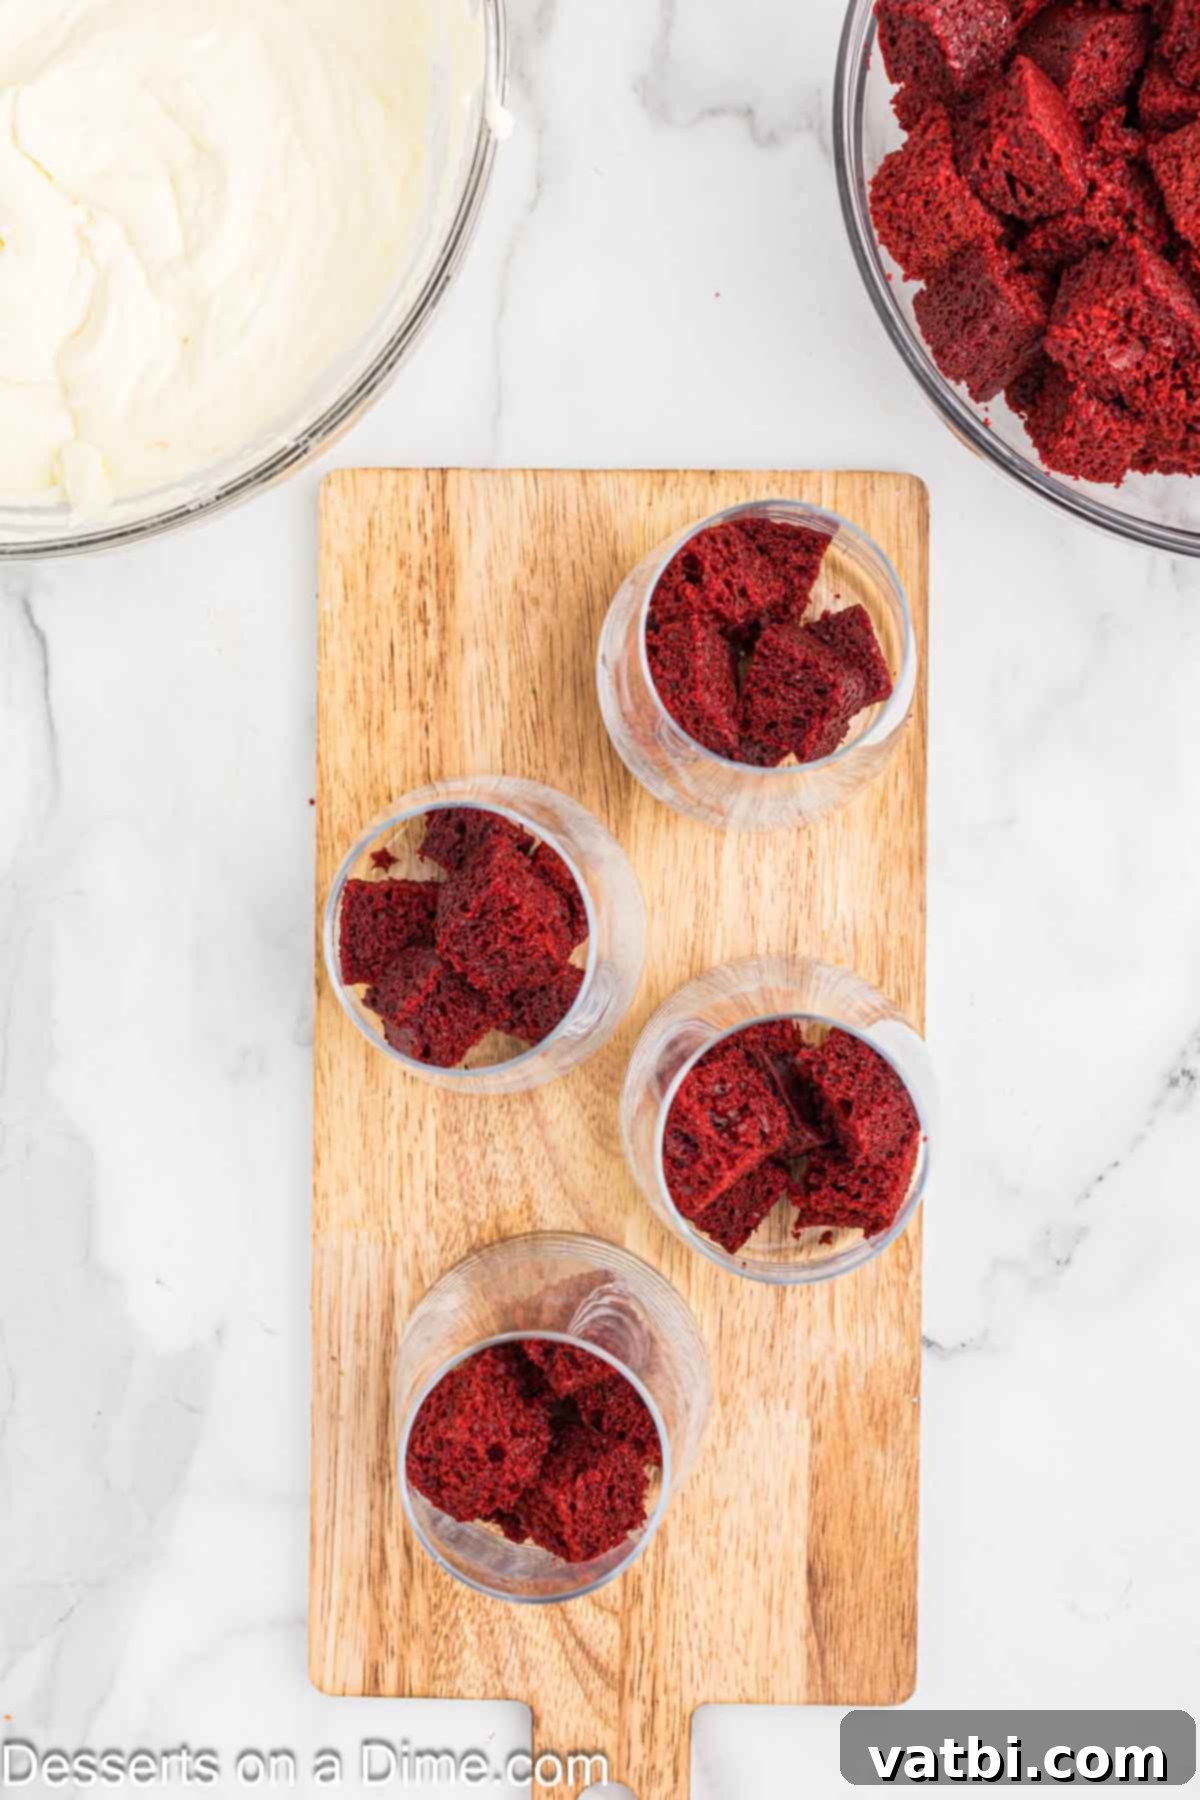
Step 7: Assemble the Trifle Layers. Now for the fun part – assembling your individual trifles! Start by placing an even layer of red velvet cake cubes at the bottom of each serving cup. Then, top the cake layer with a generous spoonful of your creamy pudding mixture. Continue to alternate layers of cake cubes and the luscious pudding mixture until you reach near the top of each cup, making sure to end with a layer of the pudding mixture. For neatness, you can use a piping bag to dispense the cream cheese mixture.
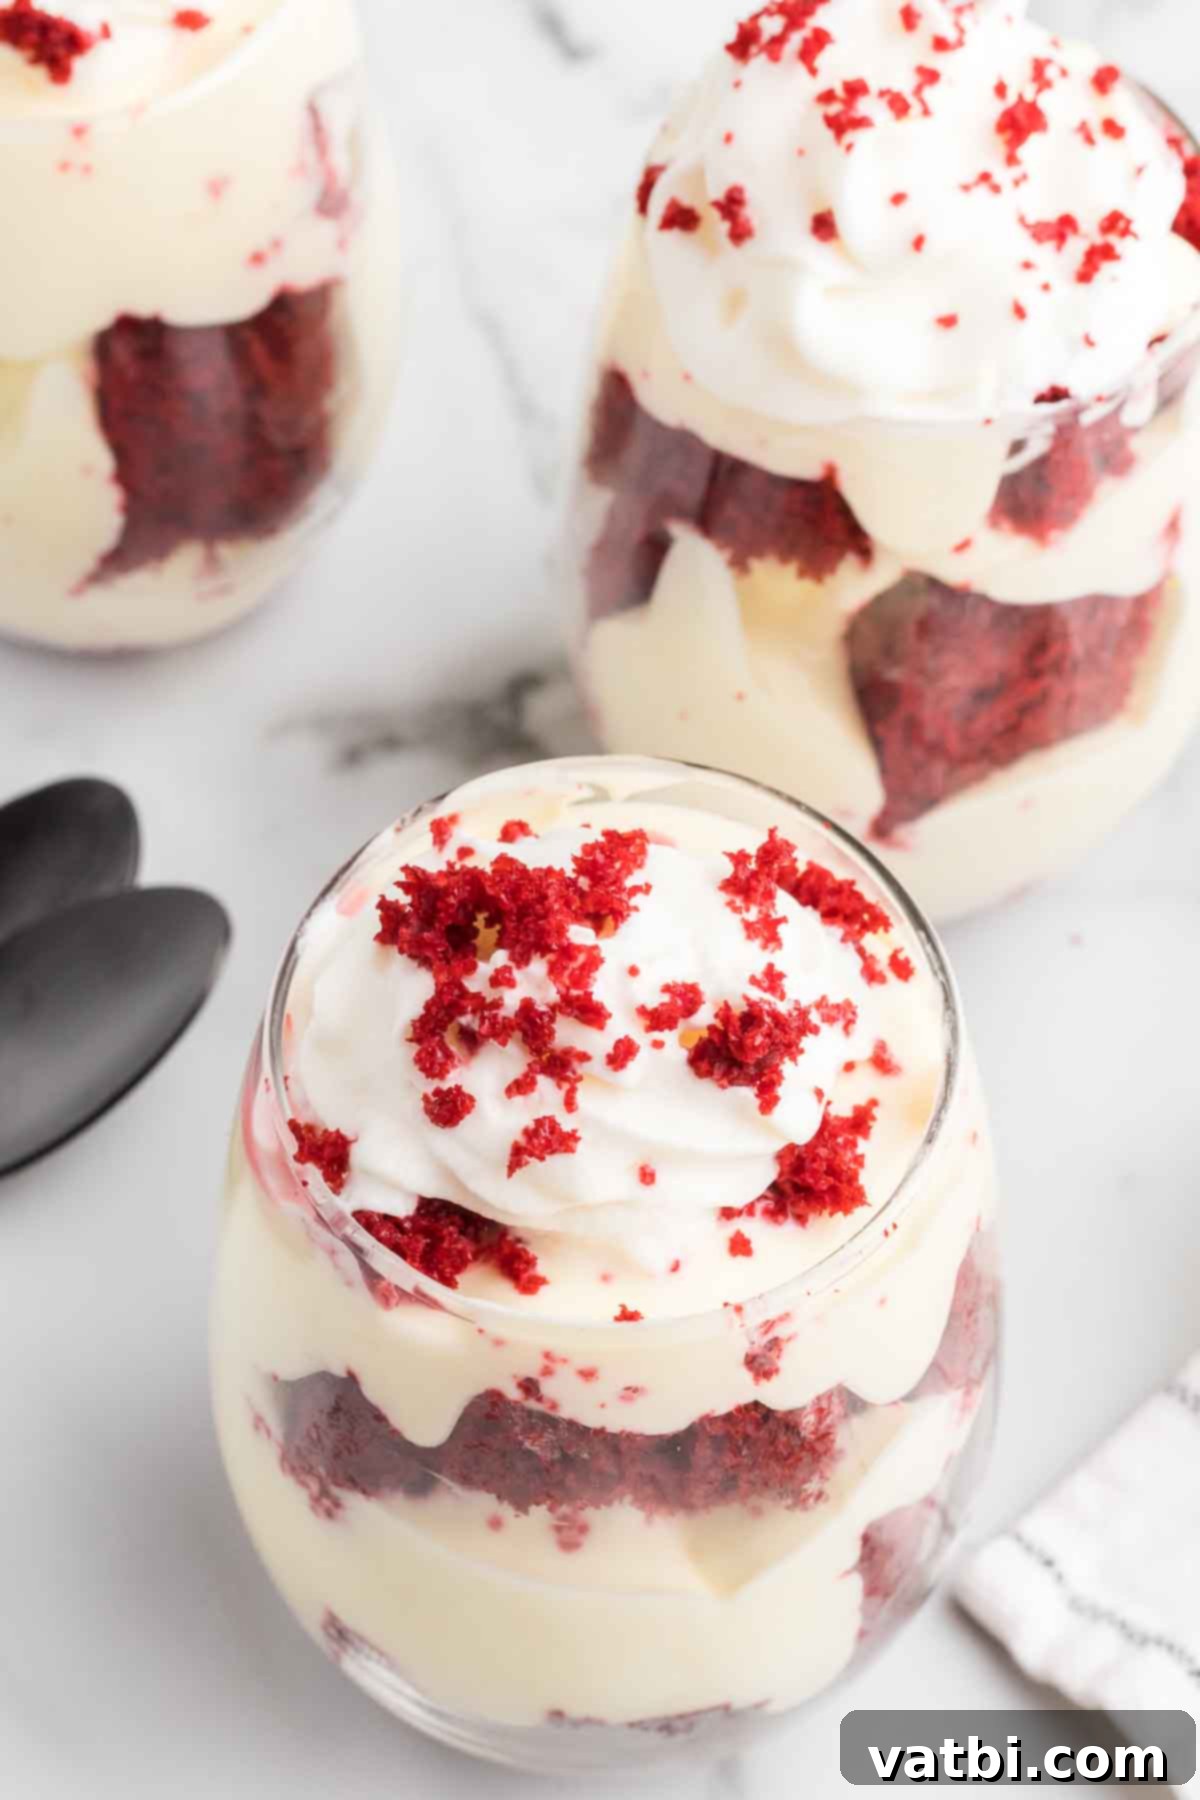
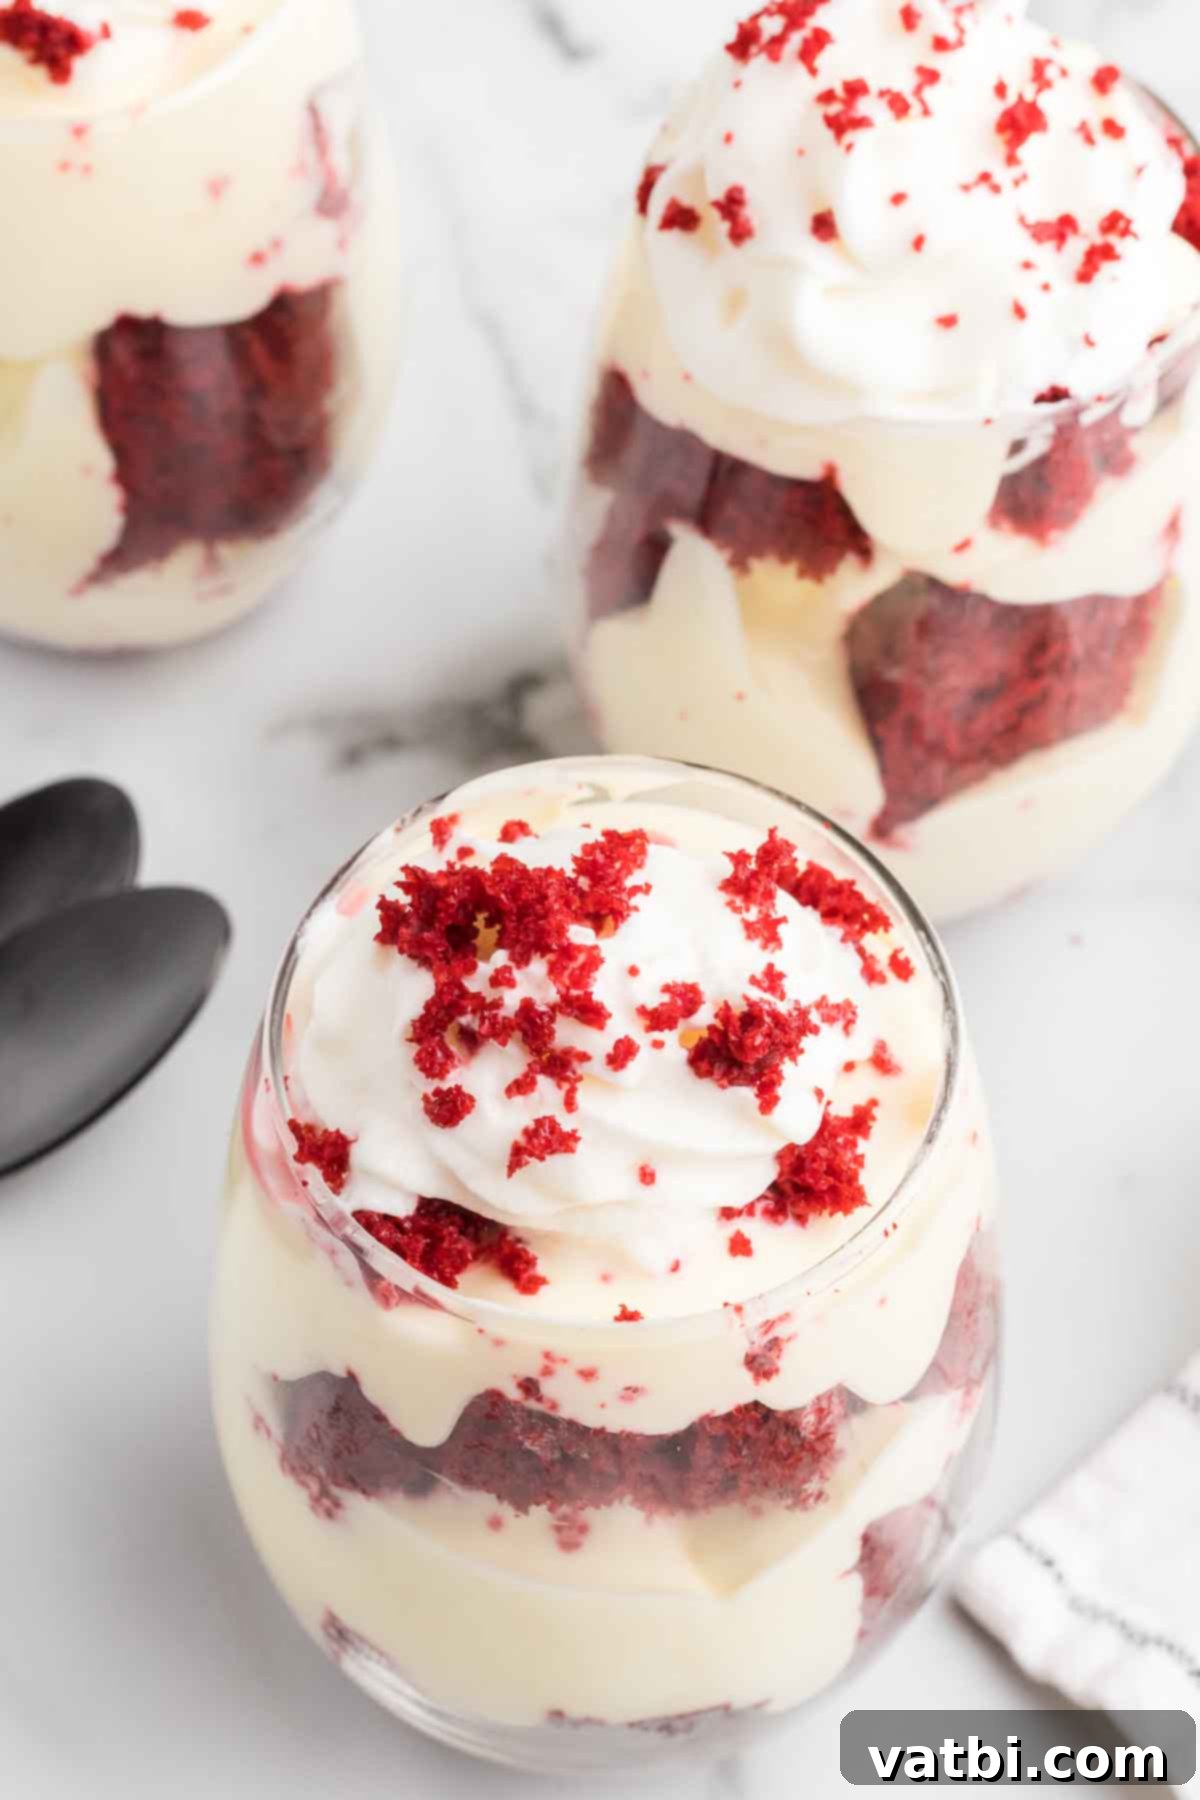
Step 8: Garnish and Serve. Finish each trifle cup with the remaining reserved whipped topping (Cool Whip or homemade whipped cream) piped or spooned on top. Sprinkle with the reserved red velvet cake crumbs for a classic look, or add fresh garnishes like vibrant blueberries or fresh raspberries for a burst of color and flavor. Serve immediately for optimal freshness, or cover and refrigerate until you’re ready to enjoy!
Can You Prepare Red Velvet Trifle Cups in Advance?
Absolutely! One of the many advantages of these Red Velvet Trifle Cups is their excellent make-ahead potential, making them perfect for party planning or when you want to get a head start on your dessert preparations. This dessert can easily be assembled and stored in the refrigerator the day before your event. Preparing them in advance allows the flavors to meld beautifully, often enhancing the overall taste and moistness of the cake as it absorbs some of the creamy filling.
However, for the best presentation and texture, I highly recommend waiting to add the final dollop of whipped cream (whether store-bought or homemade) and any delicate fresh fruit garnishes until just before you are ready to serve. Whipped cream can sometimes lose a bit of its volume or weep slightly if left too long. Once assembled (without the final topping), cover the individual trifle cups tightly with plastic wrap to prevent them from drying out or absorbing any odors from the refrigerator. They will stay fresh and delicious for up to 2-3 days in the fridge.
Pro Tips for Perfect Trifle Cups Every Time
Achieving a perfectly delicious and visually stunning Red Velvet Trifle Cup is simple with a few expert tips:
- Choose the Right Cream Cheese: For the best consistency and richest flavor in your creamy layers, always use full-fat block cream cheese. Avoid using cream cheese spreads from a tub, as they often contain added water and stabilizers that can result in a thinner, less stable filling.
- Ensure Softened Cream Cheese: This is paramount for a smooth, lump-free filling. Allow your cream cheese to sit at room temperature for at least 30-60 minutes before mixing. If you’re short on time, you can quickly soften it by unwrapping it and microwaving it on low power for 10-15 second intervals until just soft, or by placing the foil-wrapped blocks in a bowl of warm water for 10-15 minutes.
- Uniform Cake Cubes are Key: When cutting the cake, aim for consistent, approximately 1-inch cubes. This not only ensures that each serving has an even distribution of cake but also contributes significantly to the neat and attractive appearance of your trifle layers.
- Utilize a Piping Bag for Neatness: For perfectly clean and uniform layers of the cream cheese mixture, transfer the filling into a piping bag (or a large Ziploc bag with the corner snipped off). This allows for precise dispensing into your cups, preventing smudges on the sides of the glass and creating a professional-looking dessert.
- Chill Time is Your Friend: While delicious immediately, allowing the assembled trifles to chill in the refrigerator for at least 2-4 hours before serving (or overnight) will let the flavors meld beautifully and the layers set more firmly. This also gives the cake a chance to absorb some moisture from the cream, resulting in an even more tender texture.
- Cold Milk for Pudding: As mentioned, always use cold milk when preparing instant pudding. This helps the pudding set quickly and properly, creating a thick and stable base for your cream cheese mixture.
- Don’t Overmix the Whipped Cream: If you choose to make homemade whipped cream, be careful not to overmix it, as it can quickly turn grainy or separate. Beat until it holds soft peaks for the filling, and slightly stiffer peaks for the topping.
- Creative Presentation: Think beyond just cake crumbs for topping. Fresh mint leaves, chocolate curls, a light dusting of cocoa powder, or a drizzle of raspberry coulis can all elevate the visual appeal of your trifle cups.
More Irresistible Red Velvet Dessert Recipes
If you’ve fallen in love with the classic taste of red velvet in these trifle cups, you’ll be thrilled to discover the versatility of this beloved flavor. Red velvet’s unique blend of cocoa and vanilla with a hint of tang makes it perfect for a wide array of sweet treats. Explore these other fantastic red velvet dessert recipes that are sure to become new favorites:
- Easy Red Velvet Cookies Recipe
- Red Velvet Cake Pops Recipe
- Red Velvet Pound Cake
- Easy Red Velvet Brownies
- Red Velvet Popcorn
Get ready to create memorable moments and delightful desserts! Make these incredible Red Velvet Trifle Cups for a truly fabulous and effortless dessert experience. Don’t forget to leave a comment below and a star rating after you’ve tried them!
Pin
Red Velvet Trifle Cups
Ingredients
- 1 box Red Velvet Cake Mix
- *Ingredients to prepare the cake (e.g., eggs, oil, water) based on the package instructions.
- 1 box Instant Vanilla Pudding (3.4 oz box)
- 2 cups Cold Milk
- 8 oz Cream Cheese (full-fat, block, softened at room temperature)
- 1 cup Powdered Sugar (sifted, if desired)
- 16 oz Cool Whip (or homemade whipped cream, divided)
Instructions
-
Prepare the red velvet cake batter according to the package instructions. Bake the cake in a 9×13 inch pan and allow it to cool completely at room temperature before proceeding. This step is crucial for the cake to hold its shape.
-
Once cooled, cut the red velvet cake into approximately 1-inch cubes. Reserve a small amount of the cake cubes or crumbs to use as a garnish for the topping.
-
In a separate small bowl, combine the instant vanilla pudding mix with the cold milk. Whisk vigorously for two minutes until the mixture begins to thicken. Set aside.
-
Place the softened cream cheese into a large mixing bowl. Using a hand-held electric mixer, beat the cream cheese on medium speed for 2-3 minutes until it’s light, fluffy, and smooth. Scrape down the sides of the bowl as needed.
-
Reduce the mixer speed to low and gradually add the powdered sugar to the cream cheese mixture. Once all the sugar is incorporated, increase the speed to medium and beat for another minute until the mixture is completely smooth and creamy.
-
Gently fold the prepared pudding into the cream cheese mixture with a rubber spatula until just combined. Then, add 8 oz of the Cool Whip (reserving the remaining 8 oz for topping) to the bowl and gently fold it into the mixture until no white streaks remain and the filling is uniform.
-
To assemble the trifles, begin by layering an even amount of red velvet cake cubes at the bottom of each individual cup. Follow with a layer of the creamy pudding mixture. Continue alternating layers of cake and pudding mixture until you reach the top of the cups, ensuring the final layer is the pudding mixture.
-
Top each cup with the remaining reserved Cool Whip (or homemade whipped cream). For a classic finish, sprinkle with the reserved cake crumbs.
-
Serve immediately for optimal freshness, or cover the cups tightly with plastic wrap and refrigerate for at least 2-4 hours, or until ready to serve. For best results, add any fresh fruit garnishes just before serving.
Nutrition Facts
Pin This Now to Remember It Later
Pin Recipe
