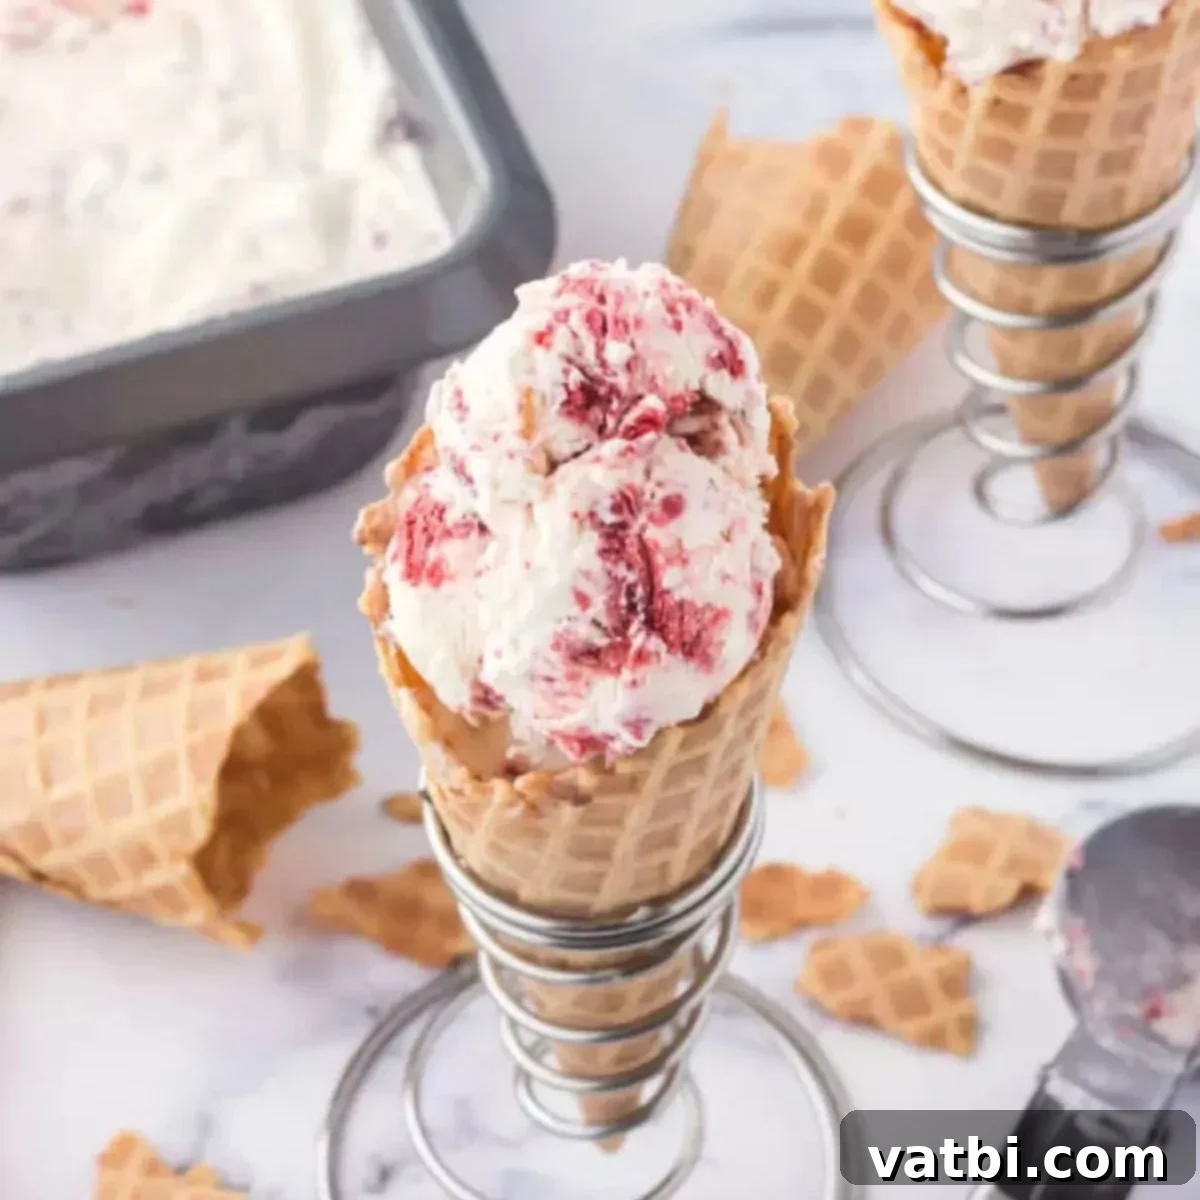
Decadent No-Churn Red Velvet Ice Cream: An Easy Homemade Recipe
Indulge in the rich, creamy, and irresistibly delicious world of Red Velvet Ice Cream! This homemade treat is bursting with the classic flavors of red velvet cake, featuring delightful bits of crumbled cake swirled into a luscious, velvety base. The best part? You can easily make this stunning dessert at home without needing any specialized ice cream maker. Perfect for satisfying your sweet cravings or impressing guests, this simple no-churn recipe delivers incredible flavor and a wonderfully smooth texture with minimal effort, making it an ideal choice for any occasion.
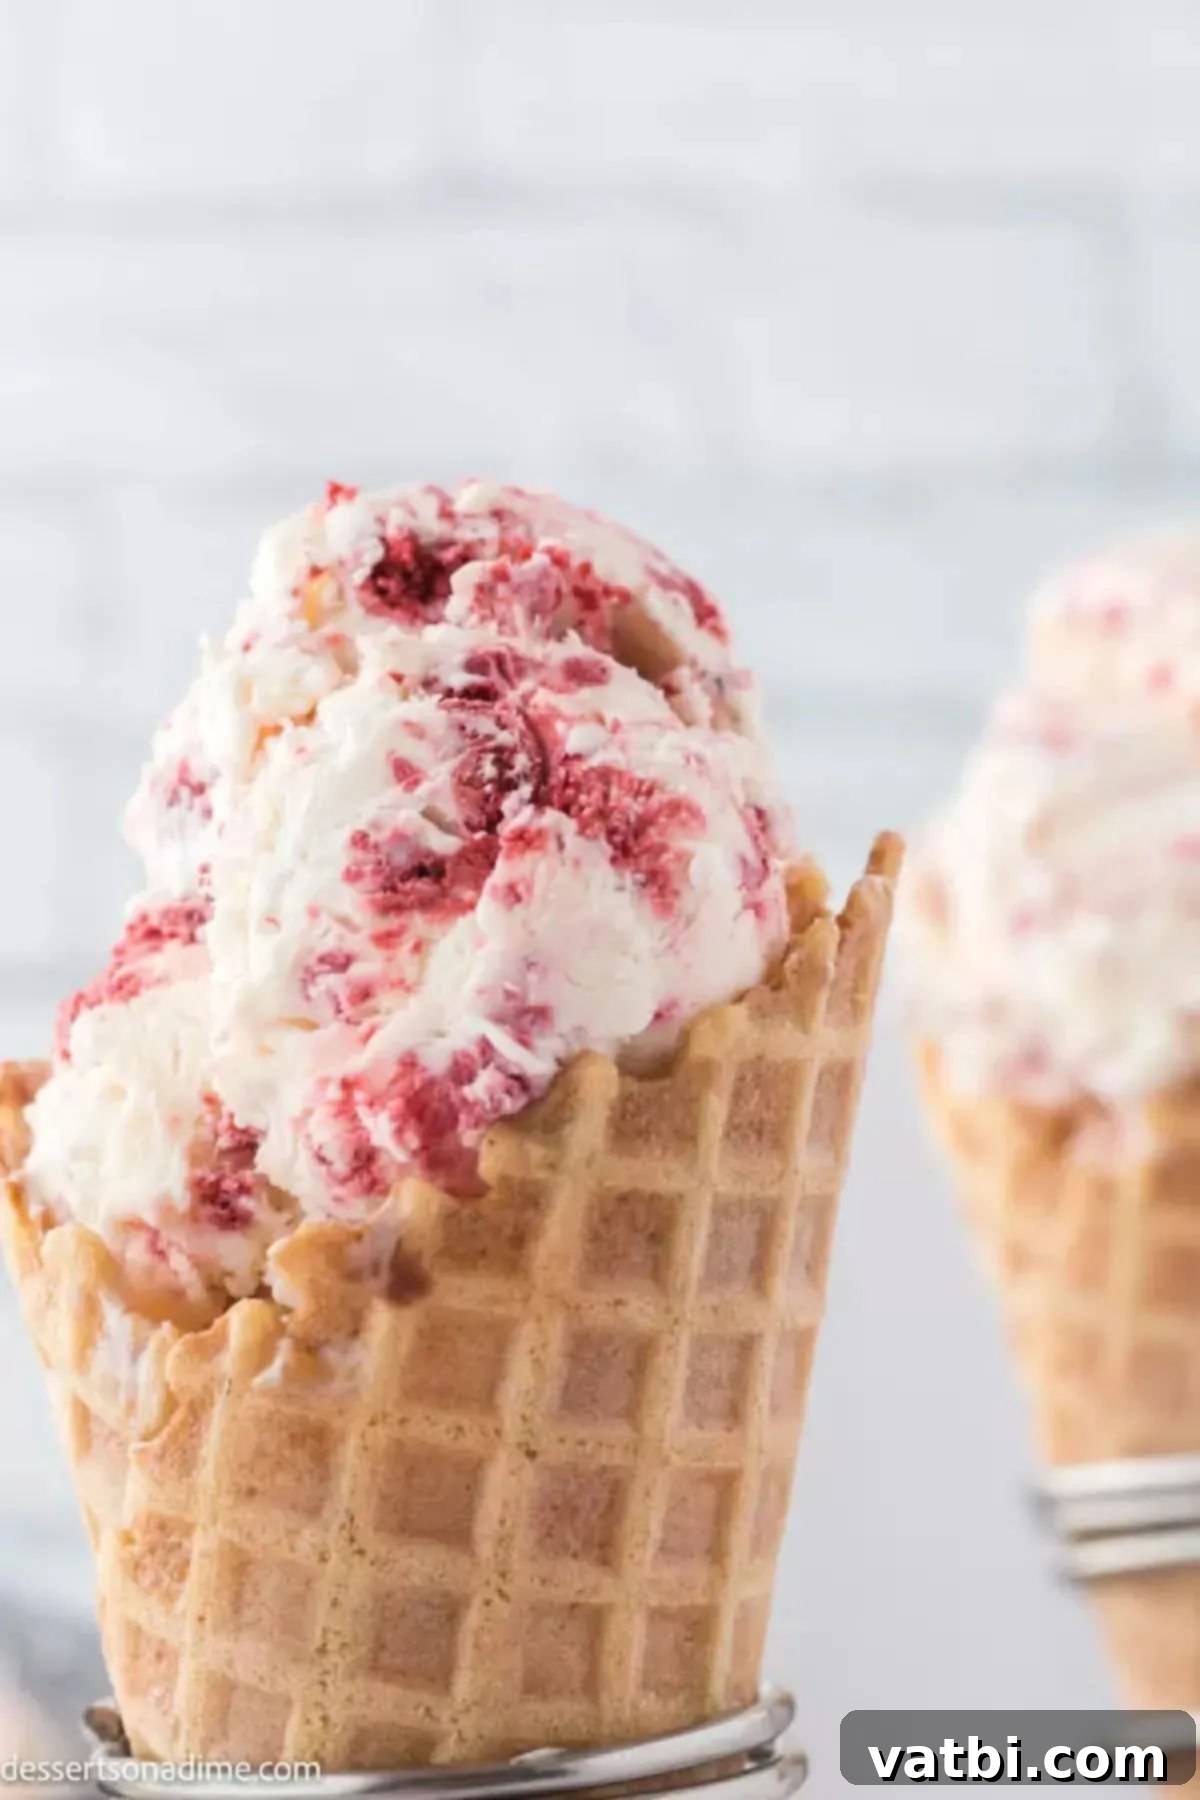
Homemade ice cream recipes are always a special treat, and this Red Velvet Ice Cream recipe truly stands out as one of our absolute favorites. Every spoonful offers a perfect blend of rich, creamy ice cream intertwined with delicious, tender pieces of authentic red velvet cake. It’s an incredibly simple dessert to whip up, requiring just a few basic ingredients to create a show-stopping frozen delight. If you’re a fan of the iconic flavor of Red Velvet Cake and enjoy indulging in Red Velvet Cupcakes, then you are absolutely going to adore this easy-to-make, supremely satisfying no-churn ice cream version. Get ready for a dessert experience that is both elegant and effortless!
Table of Contents
- Why You’ll Love This Recipe
- Ingredients for Homemade Red Velvet Ice Cream
- Delicious Variations and Additions
- How to Make Red Velvet Ice Cream (Step-by-Step)
- How to Serve and Enjoy
- Storage Tips for Homemade Ice Cream
- Frequently Asked Questions
- Pro Tips for Perfect No-Churn Ice Cream
- The Enchanting Allure of Red Velvet
- More Red Velvet Desserts
- More Homemade Ice Cream Recipes
Why You’ll Love This Easy No-Churn Red Velvet Ice Cream Recipe
There are countless reasons to fall in love with this homemade Red Velvet Ice Cream. First and foremost, the sheer simplicity of its preparation makes it a standout. You absolutely do not need an expensive or bulky ice cream machine to create this simple yet incredibly flavorful dessert. Everything comes together beautifully using just an electric mixer, either a stand mixer fitted with a whisk attachment or a handheld one, making it accessible to any home cook. This means no churning, no rock salt, and no specialized equipment – just pure, delicious homemade ice cream ready to be enjoyed.
Unlike traditional ice cream recipes that often rely on a custard base made with egg yolks, this no-churn method simplifies the process dramatically. Instead, we harness the magic of sweetened condensed milk, which provides both the perfect level of sweetness and an incredible creaminess that mimics store-bought luxury. The result is a smooth, luscious texture without the fuss of tempering eggs or constantly stirring a custard. This ingenious approach saves you time and effort while still delivering a professional-quality frozen treat.
Imagine the delight on everyone’s faces when you present this homemade red velvet ice cream! It’s super easy to make, yet tastes like it came from a gourmet ice cream parlor. The vibrant color, the subtle cocoa notes with a hint of tang, and the delightful moist pieces of red velvet cake make every bite a celebration. It’s the perfect dessert for parties, family gatherings, a romantic evening, or simply treating yourself on a warm afternoon. This easy recipe truly offers a delightful combination of simplicity, elegance, and unforgettable flavor, solidifying its place as a family favorite and your go-to no-churn ice cream recipe.
Essential Ingredients for Homemade Red Velvet Ice Cream
Crafting this irresistible no-churn Red Velvet Ice Cream requires just a handful of simple ingredients. Each one plays a crucial role in achieving that perfect rich, creamy texture and iconic red velvet flavor profile. The beauty of this recipe lies in its minimal components that yield maximum taste.
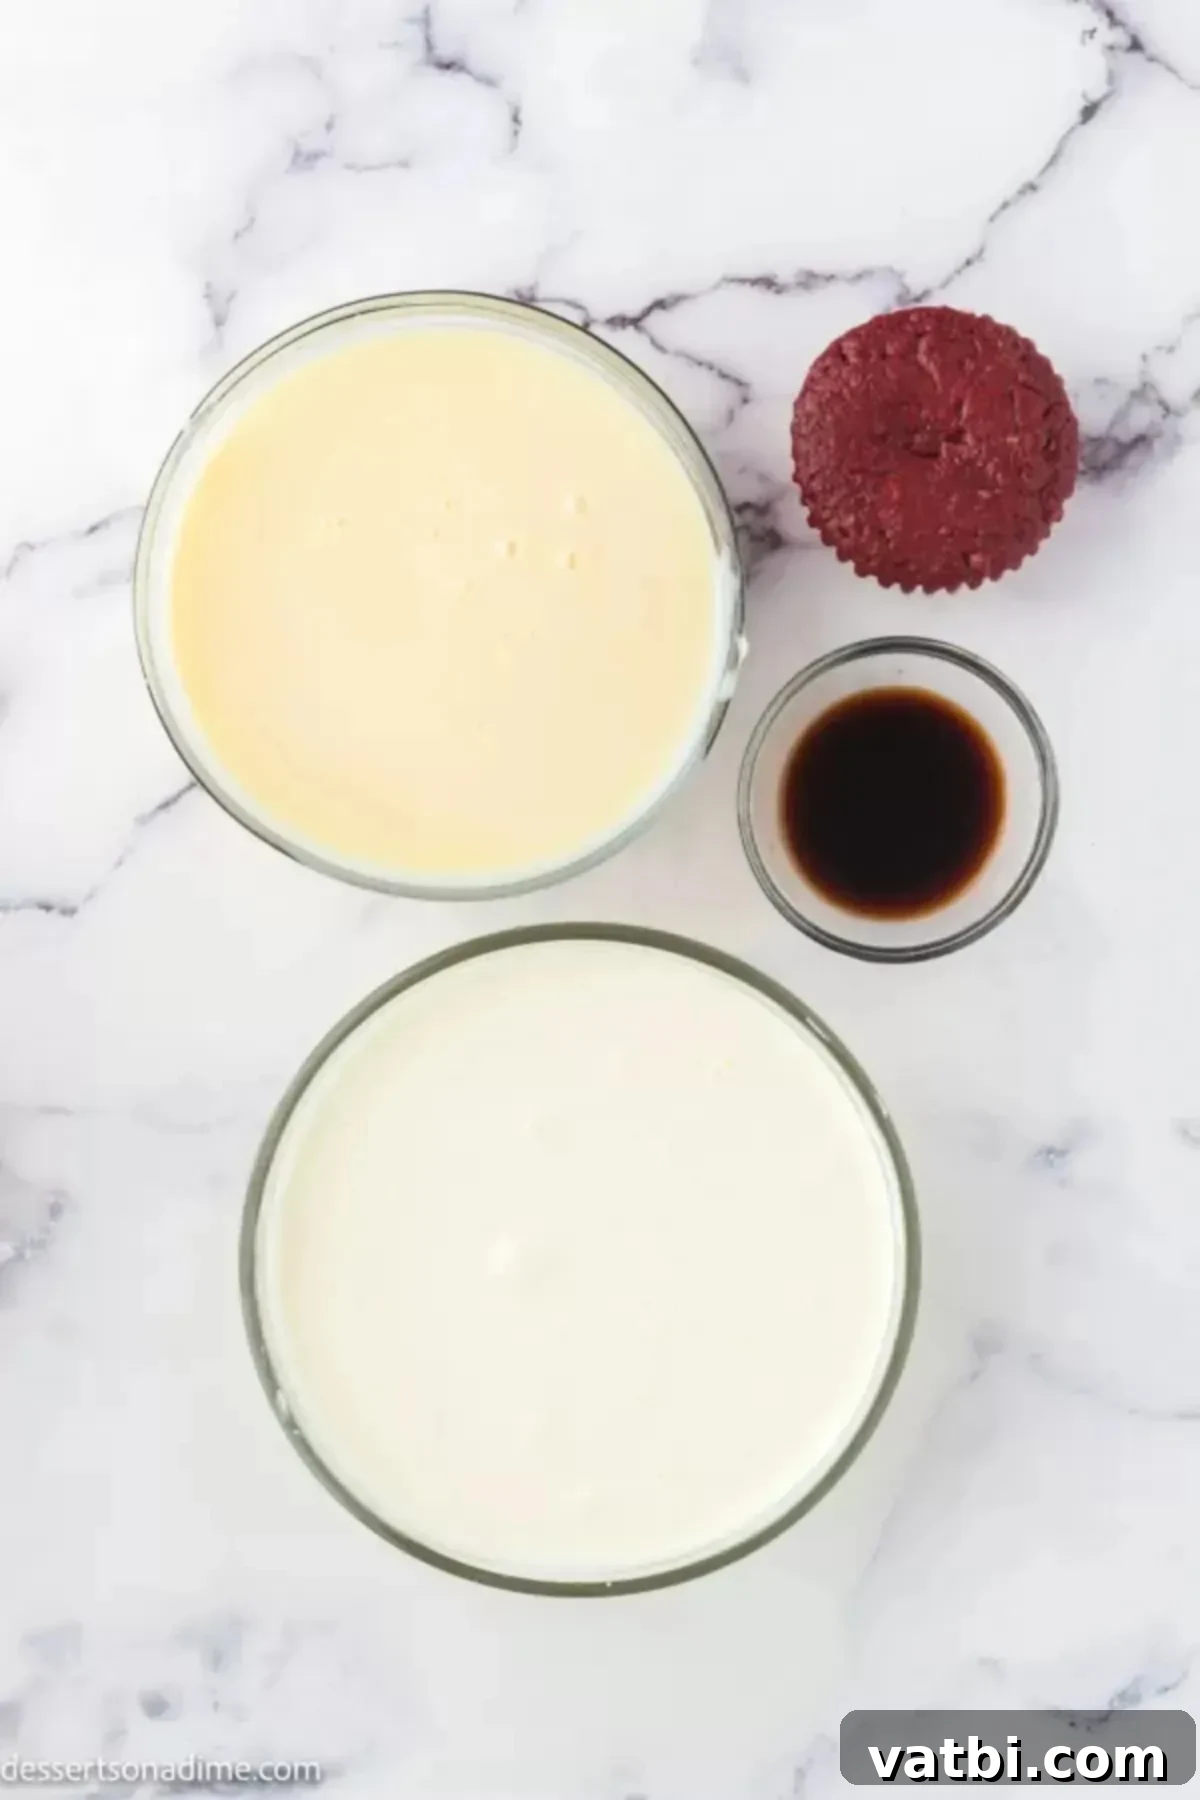
- Heavy Whipping Cream (Chilled): This is the crucial foundation of our no-churn ice cream. When whipped, heavy cream incorporates a significant amount of air, creating that light, fluffy, and ultimately creamy texture that is essential for ice cream. It’s absolutely vital that your heavy whipping cream is well-chilled before you begin, as this allows it to whip up much faster, achieve greater volume, and hold its shape better, leading to a richer and airier final product.
- Sweetened Condensed Milk: This magical ingredient is the heart of the “no-churn” method. It not only provides the necessary sweetness to balance the other flavors but also contributes significantly to the ice cream’s smooth, dense, and luxuriously creamy consistency. Its high sugar content also acts as an anti-freeze, helping to prevent large, icy crystals from forming during freezing, ensuring a delightfully smooth bite. Do not substitute this with regular whole milk or evaporated milk, as they will not provide the same sweetness, richness, or texture-improving qualities.
- Vanilla Extract: A touch of high-quality vanilla extract enhances all the other flavors in the ice cream, adding a warm, aromatic depth that perfectly complements the subtle cocoa and tang of red velvet. It rounds out the overall taste beautifully.
- Red Velvet Cupcake (or Cake): This is where the signature red velvet flavor and texture truly shine! Using a pre-made or homemade Red Velvet Cupcake (or a slice of red velvet cake) crumbled into the base infuses the ice cream with authentic cake flavor and delightful moist crumbs. These tender cake pieces create a wonderful textural contrast that makes every spoonful a pleasant surprise.
- Cream Cheese (Optional, but highly recommended): For that classic red velvet tang and extra richness, a small amount of softened cream cheese swirled into the mixture takes this ice cream to the next level. It perfectly balances the sweetness and adds another layer of authentic red velvet experience, mimicking the beloved cream cheese frosting. Ensure you use full-fat, brick-style cream cheese for the best results.
You’ll find the full, precise ingredient measurements and a detailed recipe card at the bottom of this page. Gather these simple components, and you’ll be well on your way to a spectacular homemade red velvet dessert!
Delicious Variations and Additions for Your Red Velvet Ice Cream
While the classic Red Velvet Ice Cream is absolutely perfect as is, there are several wonderful ways to customize and enhance this recipe to suit your preferences, or to explore new flavor dimensions. Feel free to get creative and make this already amazing homemade treat truly your own!
- Cream Cheese Frosting Swirl: If you’re using a pre-made red velvet cupcake that already comes topped with cream cheese frosting, don’t let that delicious frosting go to waste! Instead of adding plain cream cheese as an optional ingredient, simply remove the frosting from the cupcake first, crumble the cake, and then drop spoonfuls of the cream cheese frosting directly into the ice cream mixture when you’d normally add the cream cheese. Swirl it gently as you would with regular cream cheese. This adds an even richer, sweeter, and tangier dimension, perfectly mimicking the true red velvet cake experience and ensuring no part of that delightful cupcake goes unused.
- Boosting the Red Color with Food Coloring: While the red velvet cupcake will impart some color, you can achieve a more vibrant and intense red hue throughout your ice cream base by adding a few drops of red food coloring. This step is entirely optional, but it definitely makes the ice cream more visually striking and appealing, enhancing that classic red velvet aesthetic. Just add a few drops at a time until you reach your desired shade of red. For the most vivid and concentrated color without altering the liquid consistency too much, we highly recommend using a gel food coloring over liquid varieties, as it delivers more pigment.
- Extra Red Velvet Cake for Intense Flavor: For those who simply can’t get enough of that delightful red velvet flavor and moist cake texture, don’t hesitate to add an extra red velvet cupcake or a larger slice of cake to the base. This will amplify the cake-to-ice-cream ratio, resulting in a richer, more textural experience with even more cakey goodness in every single bite.
- Chocolate Chips or Chunks: Introduce a delightful textural contrast and an extra layer of chocolatey goodness by folding in some mini chocolate chips, white chocolate chunks, or even finely chopped dark chocolate into the ice cream base just before freezing. The subtle chocolate notes will meld beautifully with the red velvet flavor.
- Sprinkles for a Festive Touch: For an added festive touch, especially if serving this no-churn red velvet ice cream for a celebration or holiday, gently fold in some red or multi-colored sprinkles. This adds a fun visual element and a slight, satisfying crunch.
- Coffee Extract Enhancement: A tiny hint of coffee (about ¼ teaspoon of coffee extract or a pinch of instant espresso powder) can subtly deepen and enhance the cocoa flavor in the red velvet. Be careful not to add too much, or it might taste like coffee ice cream rather than red velvet!
How to Make Red Velvet Ice Cream (Step-by-Step)
Creating this decadent no-churn Red Velvet Ice Cream is a straightforward process that yields incredibly satisfying results. With just a few simple steps, you’ll have a gourmet-quality frozen dessert ready for your freezer. Follow these detailed instructions for a perfect batch every time:
- Step 1: Whip the Heavy Whipping Cream and Vanilla. Begin by pouring the well-chilled heavy whipping cream and vanilla extract into a large, clean mixing bowl. Using either a stand mixer fitted with a whisk attachment or a handheld electric mixer, beat the mixture on medium-high speed. Continue beating for several minutes until the heavy cream is fully whipped and forms beautiful soft peaks. The mixture should hold its shape when the beaters are lifted, but still be light and airy. Remember to start with very cold cream and, ideally, a chilled bowl and beaters for the best and quickest results!
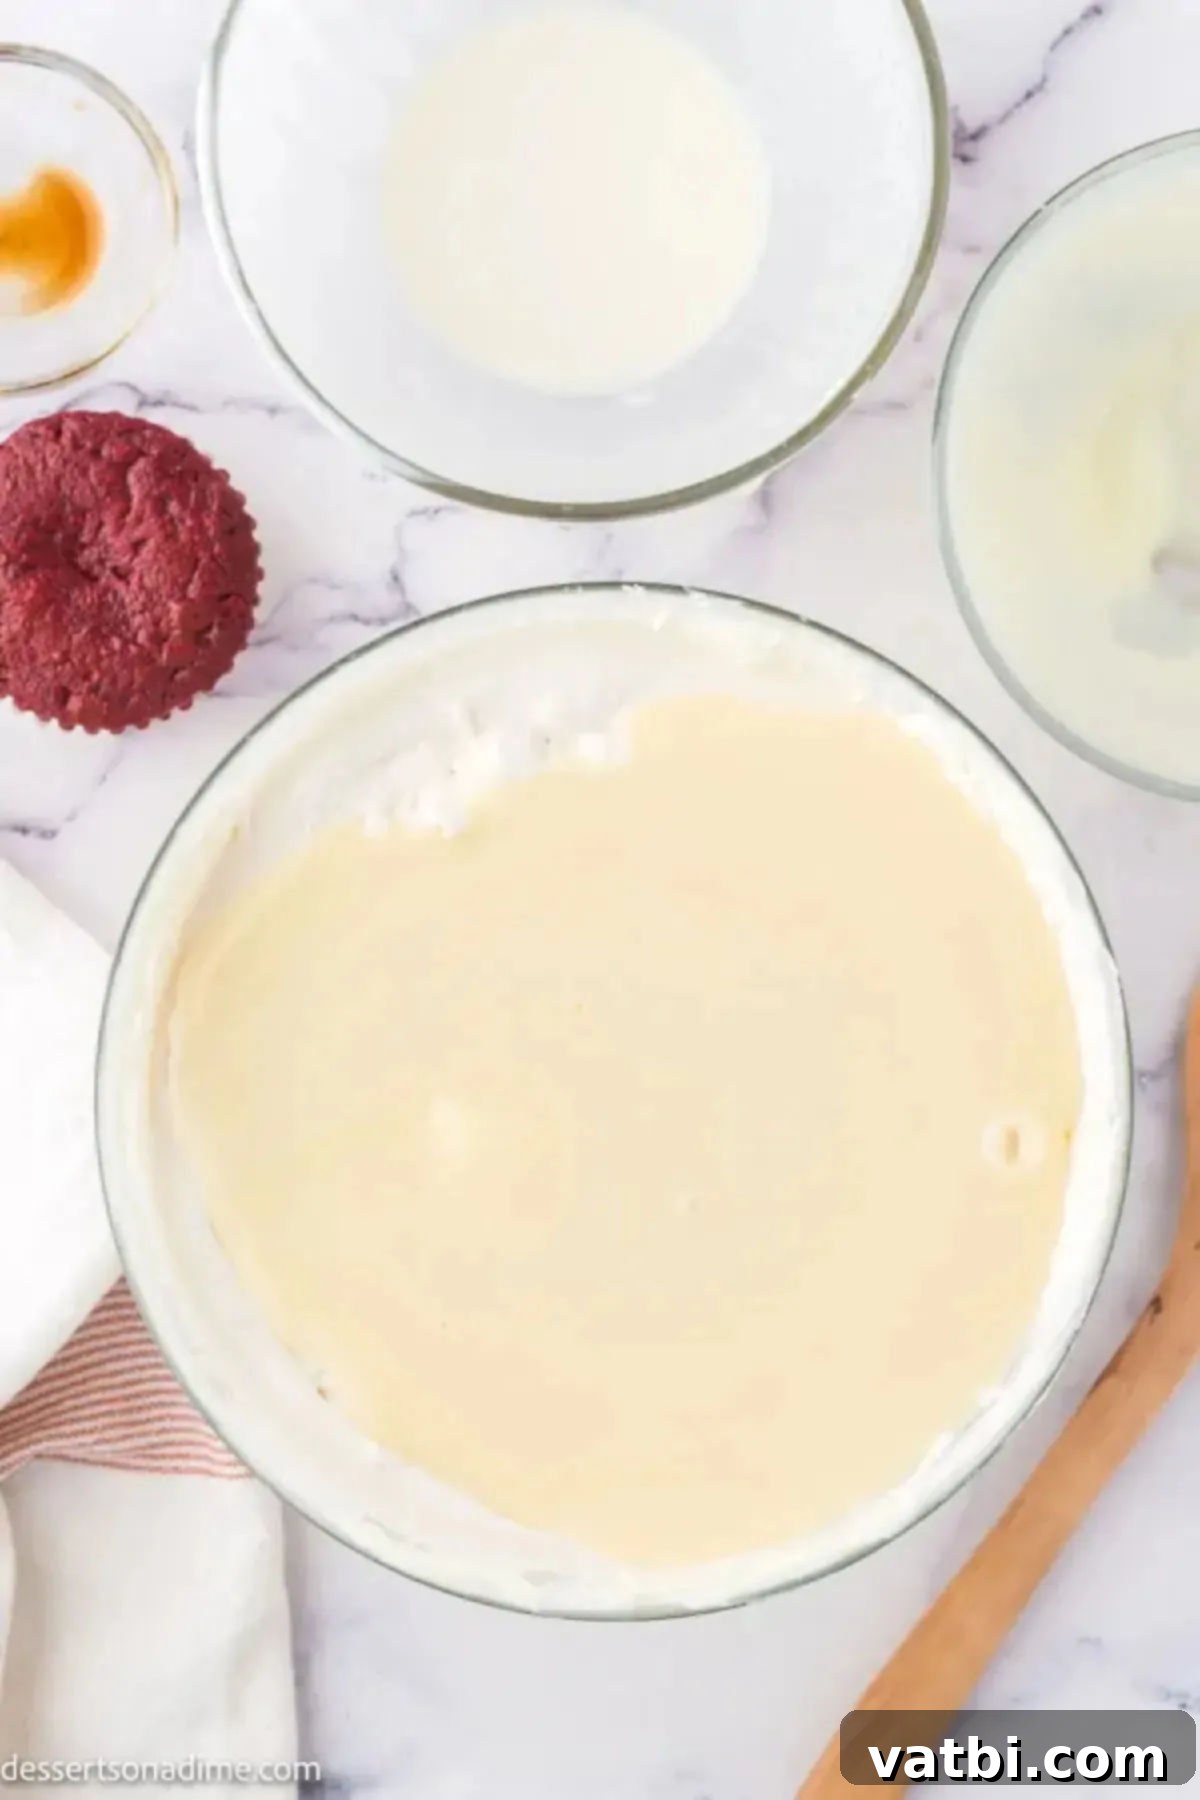
Step 2: Gently Fold in Sweetened Condensed Milk. Once your whipped cream has reached soft peaks, it’s time to introduce the sweetened condensed milk. Carefully pour the entire can of sweetened condensed milk into the whipped cream. Using a flexible spatula, gently fold the condensed milk into the whipped cream until it is just combined and no streaks of condensed milk remain. The key here is to mix gently and avoid vigorous stirring to retain as much of the air in the whipped cream as possible; this air is crucial for the light, creamy, no-churn texture of your ice cream. Do not overmix!
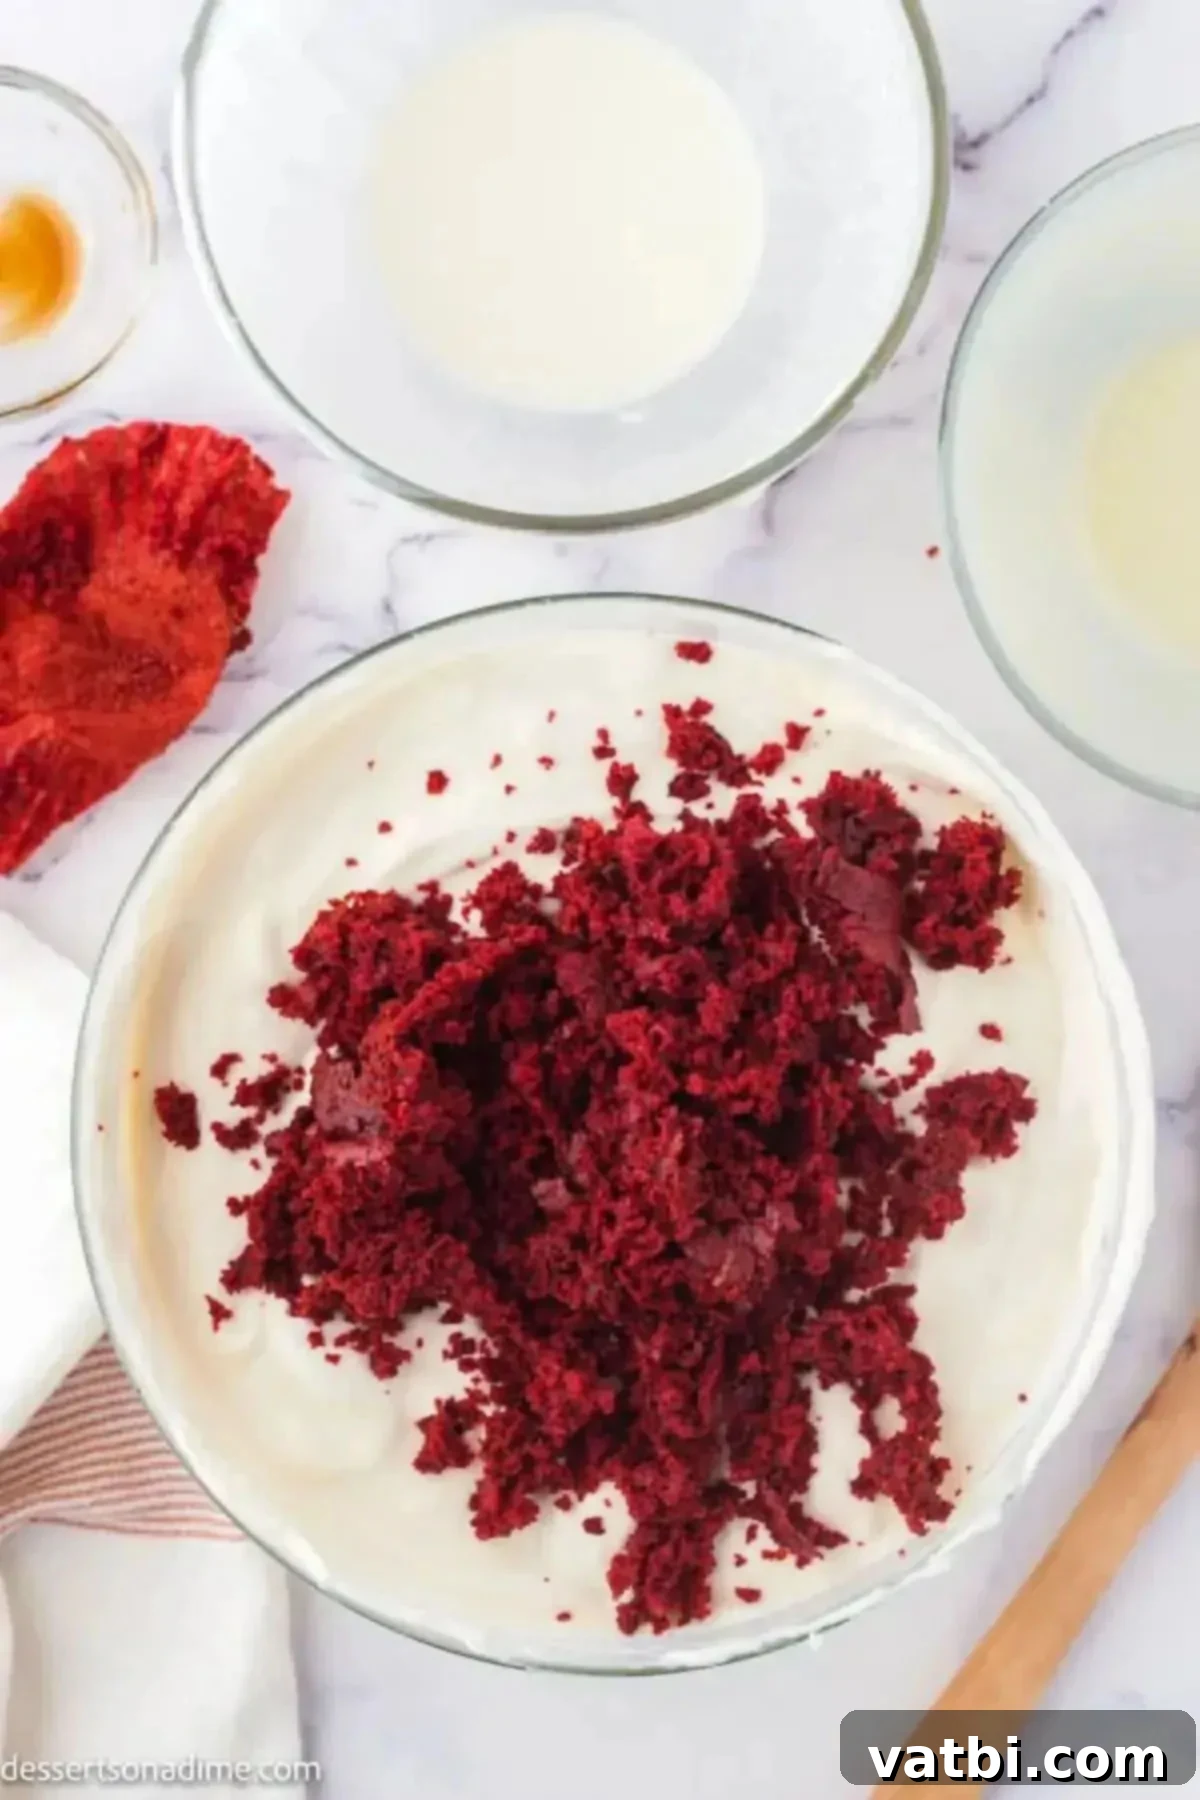
Step 3: Incorporate the Red Velvet Cake Crumbs. Now for the signature red velvet component! Take your red velvet cupcake (or a slice of cake) and crumble it into small, delightful pieces. The size of the crumbs is up to your preference – some prefer larger chunks for more texture, while others like smaller, more evenly distributed bits. Carefully add these cake crumbs into the ice cream base. Once again, gently fold them in until they are evenly distributed throughout the mixture. Be mindful not to overmix, as vigorous stirring can deflate the whipped cream and result in a less airy ice cream.
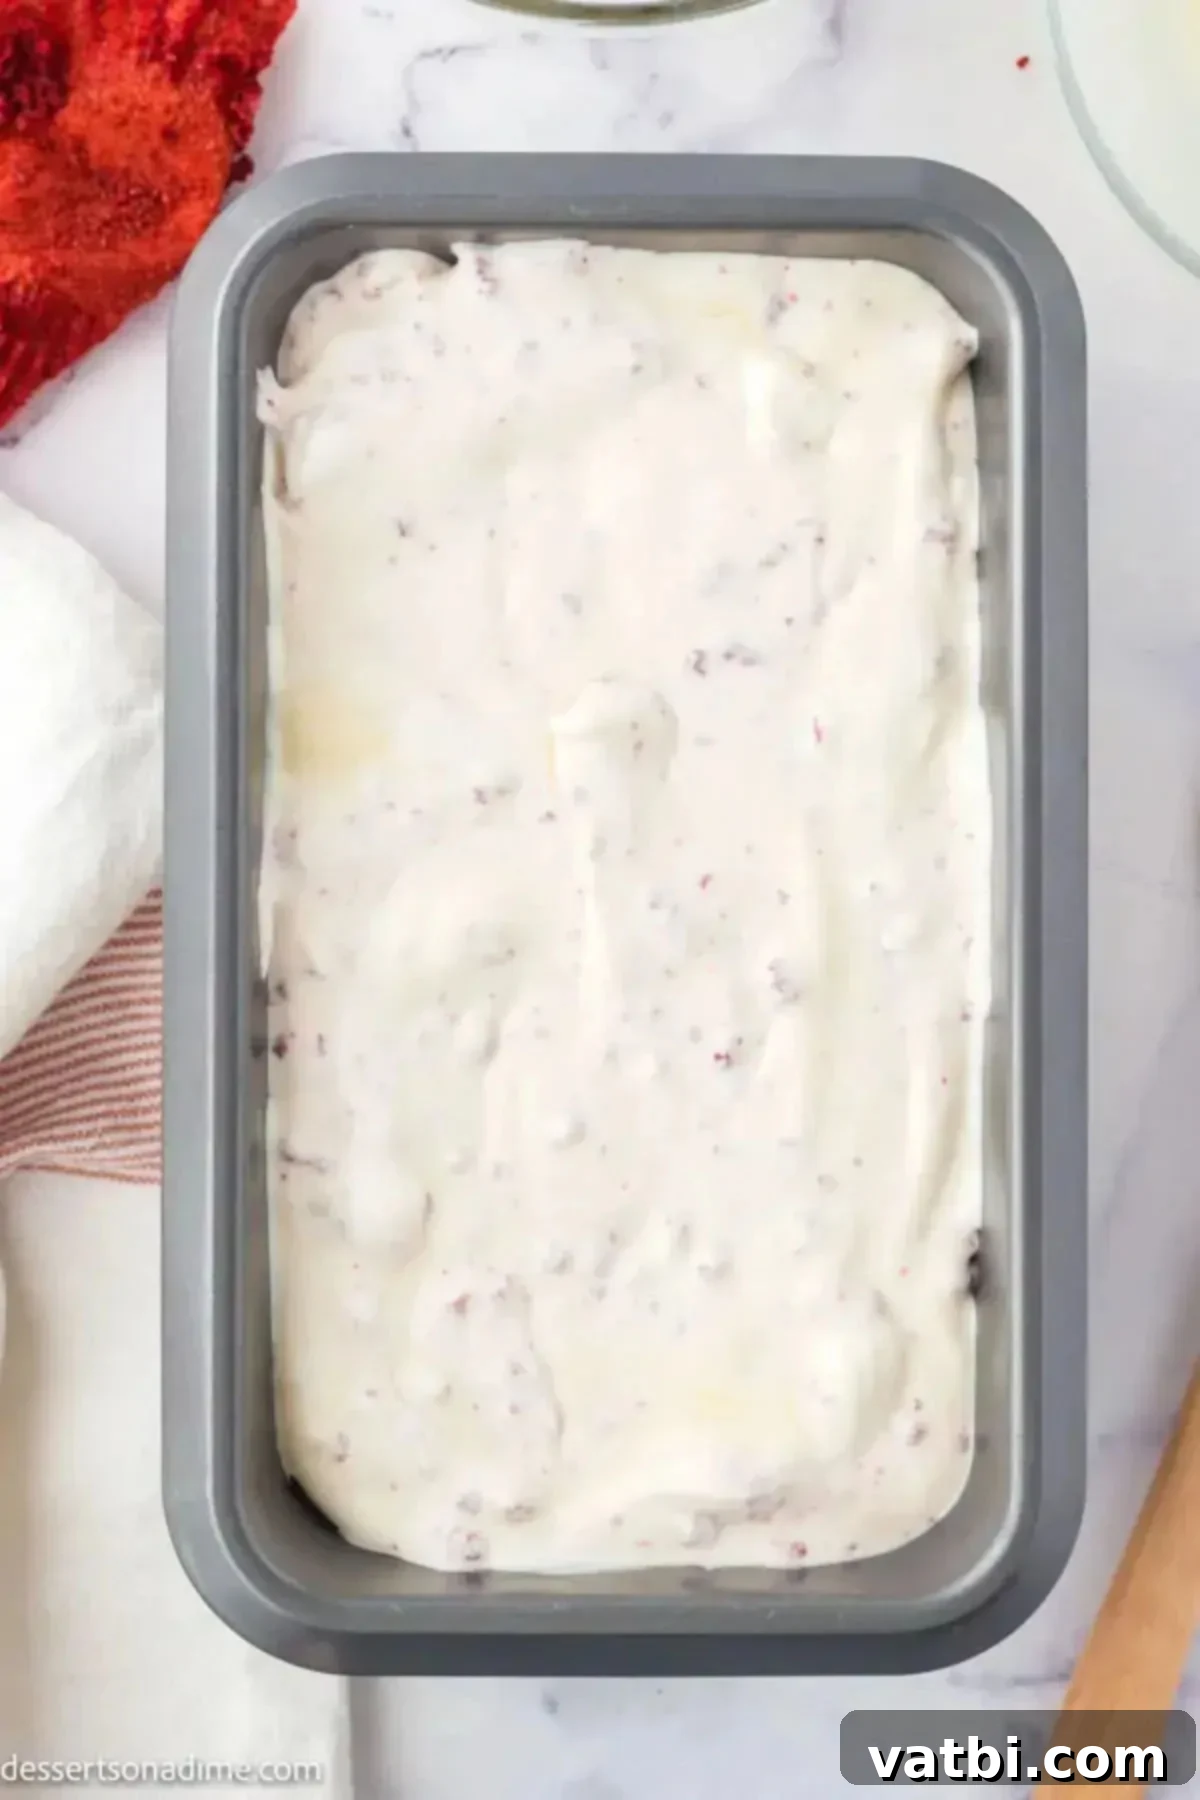
Step 4: Prepare for Freezing with Optional Cream Cheese. Once all your ingredients are gently combined, pour the luscious ice cream mixture into a standard loaf pan (approximately 9×5 inches) or an airtight freezer-safe container. Smooth out the top gently with a spatula. If you plan to add cream cheese for that authentic red velvet tang (which we highly recommend for an extra layer of flavor!), now is the time. Drop small spoonfuls of softened cream cheese randomly over the surface of the ice cream mixture in the pan. Distribute them somewhat evenly to ensure delightful pockets of tangy cream cheese throughout your ice cream.
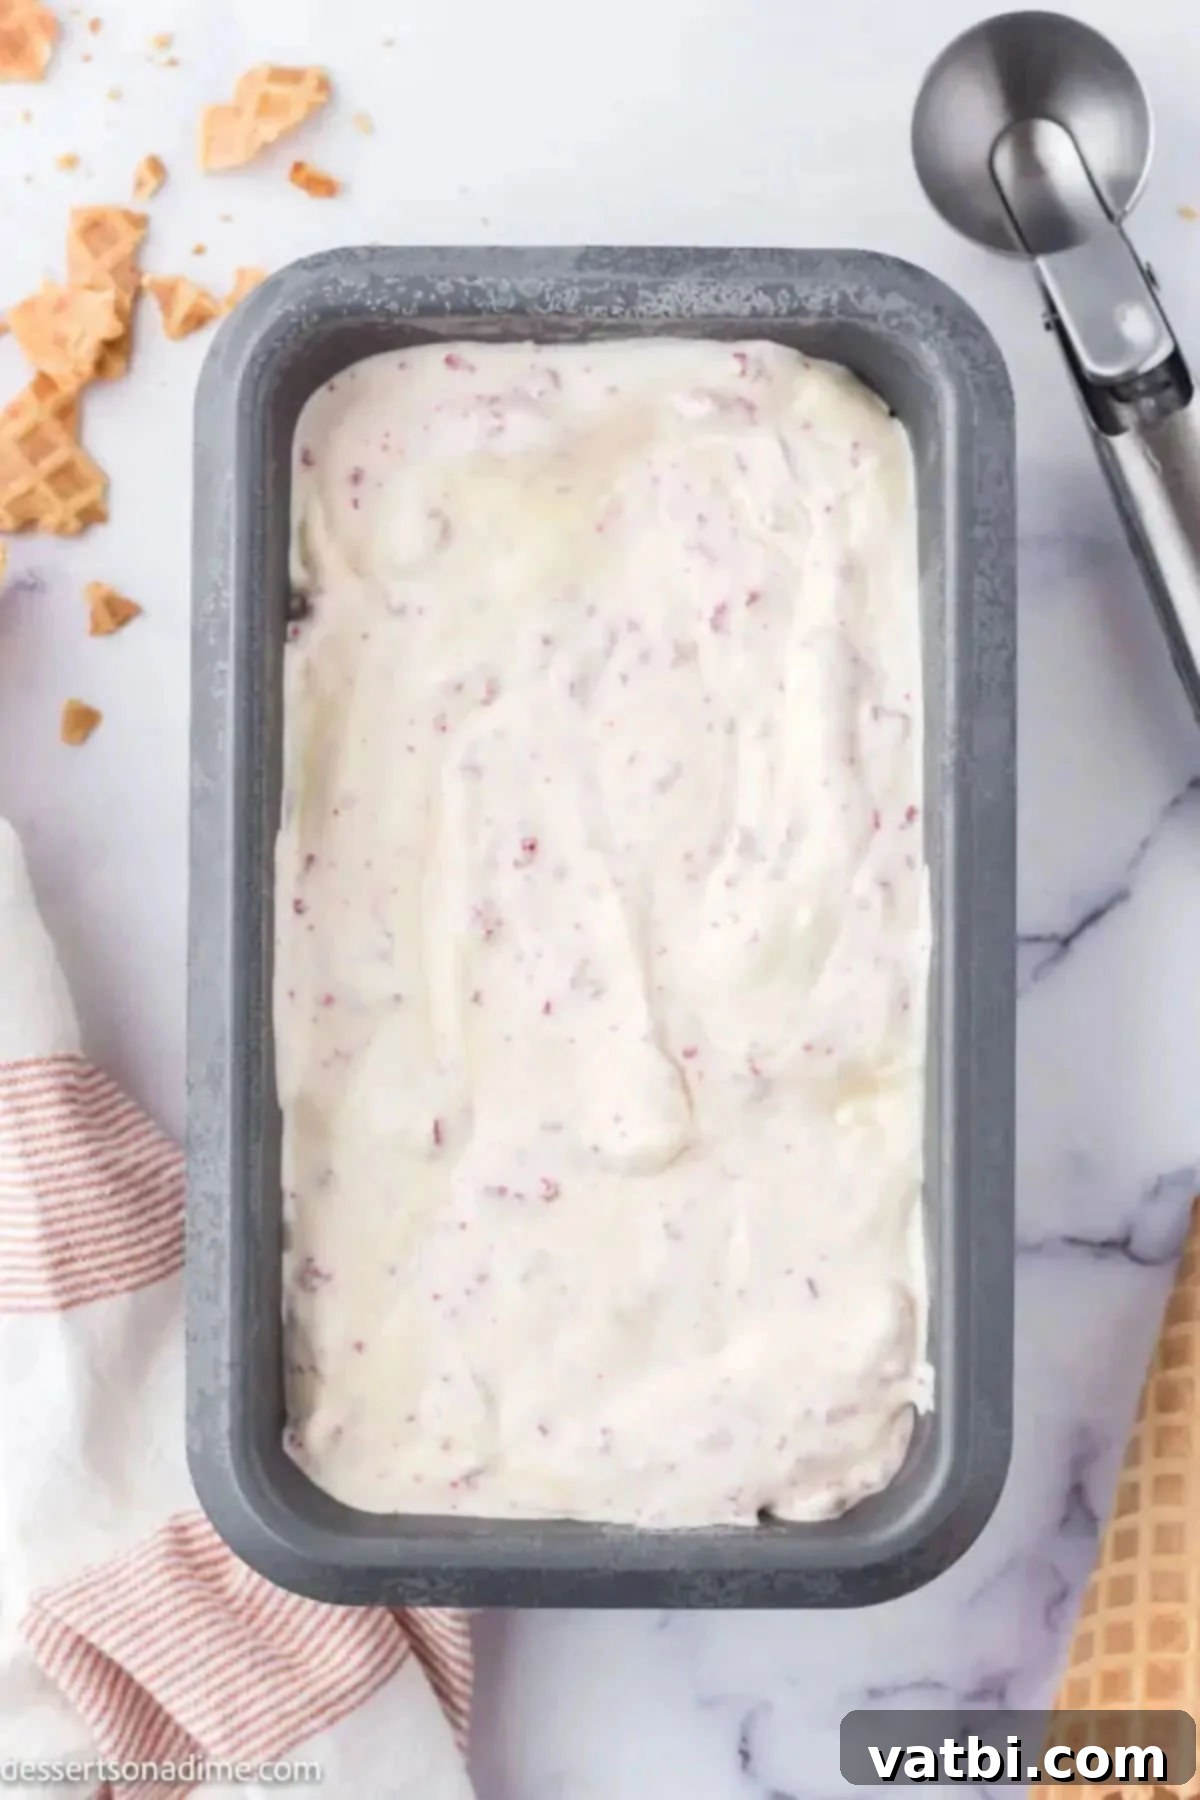
Step 5: Swirl and Freeze. Using a butter knife or a skewer, gently swirl the dollops of cream cheese into the ice cream mixture. You want beautiful streaks and pockets of cream cheese, not a fully blended mixture, to achieve that appealing marbled effect and bursts of tangy flavor. After swirling, cover the container tightly with plastic wrap pressed directly onto the surface of the ice cream to prevent ice crystals from forming, then add an airtight lid or cover with aluminum foil. Place the pan in the freezer for at least 4 hours, or preferably overnight, until the ice cream is firm and scoopable. The longer it freezes, the firmer and more set it will become.
How to Serve and Enjoy Your Homemade Red Velvet Ice Cream
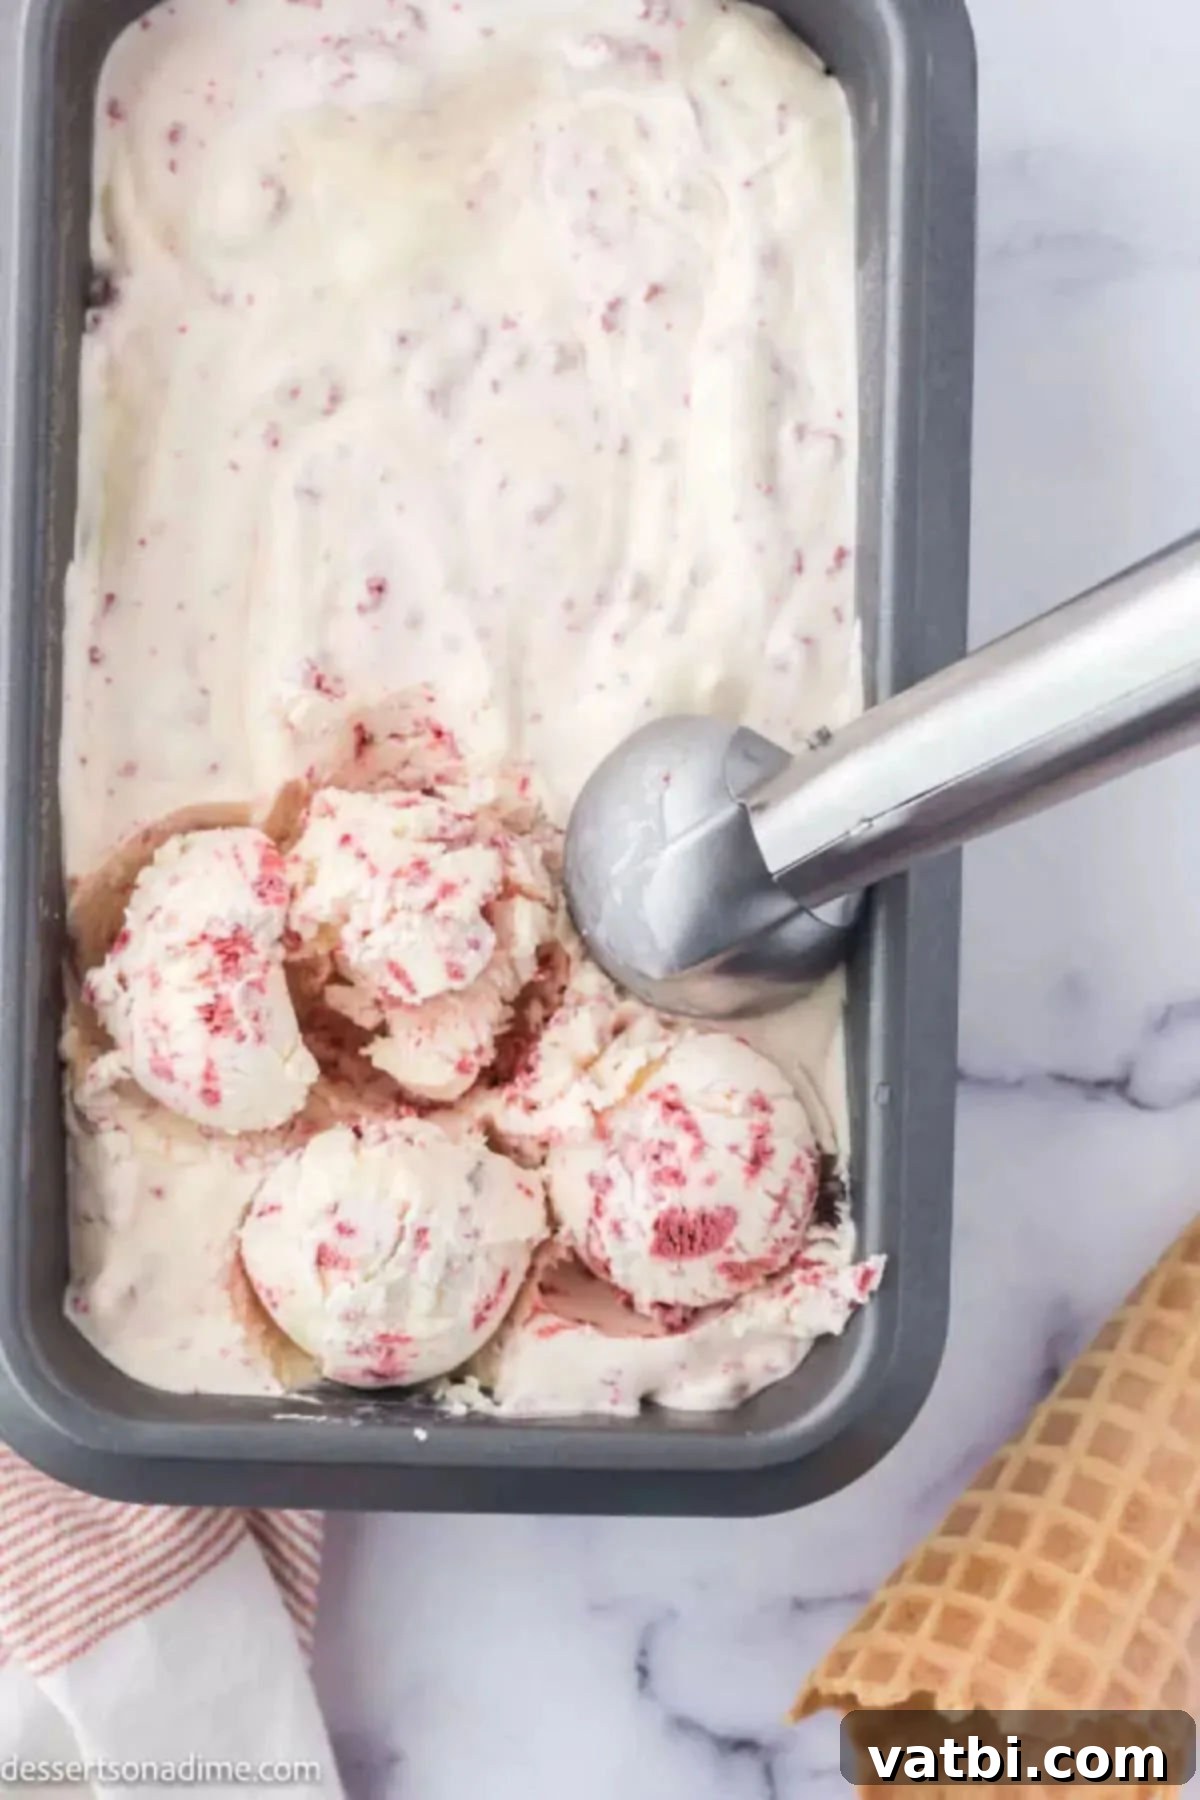
Once your homemade Red Velvet Ice Cream is perfectly frozen and firm, it’s ready to be enjoyed! This decadent dessert is incredibly versatile and can be served in a variety of delightful ways, making it perfect for any occasion. To get the best scoopable consistency, remove the ice cream from the freezer about 5-10 minutes before serving, allowing it to soften slightly. Scoop generous portions into individual bowls for a classic presentation, allowing the vibrant red color and cake pieces to shine through. For a fun and nostalgic touch, serve it in crisp sugar cones or waffle cones – a definite hit with kids and adults alike.
Elevate your serving experience with a few simple garnishes. A dollop of fresh whipped cream on top, a rich drizzle of chocolate syrup, or even a sprinkle of extra red velvet cake crumbs can add a professional and appealing finish. A maraschino cherry on top also brings that quintessential ice cream parlor charm and a pop of color. For an extra indulgent treat, consider serving it alongside a slice of actual red velvet cake or a warm brownie. Whether you choose a simple bowl or a festive cone, your family and friends will absolutely adore this rich, creamy, and wonderfully flavorful homemade Red Velvet Ice Cream. It’s truly a treat that feels gourmet but is so easy to create at home!
Storage Tips for Homemade No-Churn Ice Cream
Proper storage is essential to maintain the delicious taste and creamy texture of your homemade Red Velvet Ice Cream. While it might be tempting to devour it all in one sitting, knowing how to store it correctly ensures you can enjoy it for longer, preserving its delightful qualities and preventing common freezer issues.
Once your ice cream has fully firmed up, ensure it is stored in an airtight freezer-safe container. A loaf pan tightly covered with several layers of plastic wrap and then aluminum foil, or a dedicated heavy-duty freezer-safe ice cream container with a tight-fitting lid, works best. This tight seal is crucial to create a barrier against air and moisture, which are the primary culprits behind freezer burn and the formation of large, unappealing ice crystals on the surface of your ice cream. Store it in the coldest part of your freezer, ideally towards the back where temperatures are more consistent.
The ice cream will keep well in the freezer for up to 1 month. However, for the absolute best taste and creamy texture, it is highly recommended to enjoy your homemade Red Velvet Ice Cream within 2 weeks of making it. Beyond this timeframe, even with meticulous storage, slight ice crystals might begin to form, subtly changing the texture and making it a little less smooth and luxurious. If ice crystals do form, simply allow the ice cream to soften slightly at room temperature for about 5-10 minutes before scooping; this can help improve its consistency. Always aim to serve it relatively fresh to experience its optimal richness and flavor!
Frequently Asked Questions About Red Velvet Ice Cream
Your homemade Red Velvet Ice Cream will maintain its best quality when stored in an airtight container in the coldest part of your freezer for up to 1 month. However, for the very best taste and creamy texture, it is highly recommended to enjoy it within 2 weeks of preparation. After this period, ice crystals may start to form, which can slightly alter the smooth, luscious consistency.
This delightful no-churn ice cream is crafted with a surprisingly simple and accessible base, typically consisting of heavy whipping cream, sweetened condensed milk, and a touch of vanilla extract. The signature red velvet flavor and lovely cake bits come from crumbling a red velvet cupcake (or a slice of red velvet cake) directly into the mixture. The optional, but highly recommended, addition of softened cream cheese further enhances that classic tangy red velvet profile, mimicking the beloved cream cheese frosting. It’s a remarkably simple recipe that transforms just a few basic ingredients into a truly gourmet and satisfying dessert from scratch.
While this recipe is specifically designed as a no-churn method, making it accessible without special equipment, you can certainly adapt it for an ice cream maker if you prefer. To do so, prepare the base mixture (heavy cream, condensed milk, vanilla) as instructed. Then, churn it in your ice cream maker according to the manufacturer’s directions until it reaches a soft-serve consistency. At that point, fold in the crumbled red velvet cake and optional cream cheese swirl, then transfer the mixture to a freezer-safe container to firm up for a few additional hours in the freezer.
Absolutely! This homemade Red Velvet Ice Cream is an excellent make-ahead dessert, making it perfect for entertaining. You can prepare it up to a week or even two in advance of your event. Just ensure it’s stored in a tightly sealed, freezer-safe container with plastic wrap pressed directly onto the surface to maintain its optimal texture and prevent any freezer burn or ice crystal formation. When it’s time to serve, simply remove it from the freezer about 5-10 minutes beforehand to allow it to soften slightly for easier, perfect scooping.
Icy ice cream can be caused by a few factors. One common reason is not covering the ice cream tightly enough during freezing, which allows moisture to evaporate and form large ice crystals. Another reason could be overmixing the whipped cream after adding the condensed milk, which deflates the air and results in a denser, icier texture. Ensure your heavy cream is very cold when whipping, use full-fat sweetened condensed milk (no substitutions!), and always cover your container meticulously to prevent ice crystal formation.
Pro Tips for Perfect No-Churn Red Velvet Ice Cream
Achieving the perfect, creamy consistency and rich flavor in your homemade Red Velvet Ice Cream is easy when you follow these expert tips and tricks:
- Chill Your Equipment Thoroughly: For the quickest and most voluminous whipped cream, a crucial base for no-churn ice cream, place your mixing bowl and beaters (or whisk attachment for a stand mixer) in the fridge or freezer for 10 to 15 minutes before you start whipping the heavy cream. A very cold bowl and tools help the cream emulsify faster and achieve those beautiful, stable soft peaks more efficiently, resulting in a lighter, airier, and ultimately creamier ice cream base.
- Choose the Right Cream Cheese: If you’re incorporating the optional cream cheese swirl, always opt for full-fat, brick-style cream cheese. This type provides the best richness, tang, and firm-yet-creamy texture for swirling, which holds up well in the freezer. Avoid using whipped cream cheese from a tub or reduced-fat varieties, as these can have a higher water content and different stabilizers that may lead to a less desirable texture or more ice crystals in your final ice cream. Ensure it’s softened slightly at room temperature before adding for easier swirling.
- Do Not Overmix the Ingredients: This is a critically important tip for no-churn ice cream. After whipping the heavy cream to soft peaks, gently fold in the sweetened condensed milk and the red velvet cake pieces. Overmixing can deflate the whipped cream, removing the precious air that gives no-churn ice cream its light, airy, and creamy texture. Mix just until combined to preserve that fluffy consistency for the best results.
- Sweetened Condensed Milk is Key – No Substitutions: Sweetened condensed milk is an indispensable ingredient in this recipe. It serves multiple vital functions: it provides the necessary sweetness, contributes a unique creamy consistency, and its high sugar content actively helps to prevent large ice crystals from forming during the freezing process. Substituting it with regular milk, evaporated milk, or another sweetener will fundamentally change the texture of the ice cream, almost certainly resulting in a less creamy and icier product.
- Use Quality Vanilla Extract: While a small amount, a good quality pure vanilla extract can make a noticeable difference in the overall flavor profile of your ice cream. It adds a warm, rich, and complex undertone that beautifully complements the subtle cocoa and tangy notes of the red velvet flavor, enhancing the gourmet feel of your homemade treat.
- Ensure a Tight Seal for Freezing: Always ensure your ice cream container is covered meticulously before placing it in the freezer. Use plastic wrap pressed directly onto the surface of the ice cream to prevent air from reaching it, then cover with an airtight lid or an additional layer of aluminum foil. This barrier helps prevent freezer burn and minimizes the formation of undesirable ice crystals, which are detrimental to the smooth and creamy texture of your finished ice cream.
The Enchanting Allure of Red Velvet
Red Velvet is far more than just a flavor; it’s a beloved culinary icon with a fascinating history and an undeniable charm that captivates dessert lovers worldwide. Originating in the Victorian era, the classic red velvet cake initially acquired its unique reddish-brown hue naturally, as a result of the chemical reaction between cocoa powder, baking soda, and acidic buttermilk or vinegar. The subtle chocolate flavor combined with a tender crumb quickly made it a favorite.
Over time, as artificial food coloring became more widely available and accepted, the “red” aspect of red velvet was intensified, transforming it into the strikingly vibrant, deep crimson dessert we know and adore today. What truly sets red velvet apart, however, is not just its visual appeal, but its unique and complex flavor profile. It’s not simply a red-colored chocolate cake; it offers a distinct subtle cocoa flavor with a slight tangy note, traditionally attributed to the buttermilk and vinegar used in the batter. This delicate balance of mild chocolate and acidity is perfectly complemented by the rich, sweet, and slightly tangy cream cheese frosting – a hallmark of any authentic red velvet dessert.
When these beloved elements are transformed into a frozen treat like this homemade ice cream, they create a symphony of flavors and textures that is both comforting and sophisticated. The tender bits of red velvet cake swirled through the creamy, sweet, and tangy ice cream base offer a delightful textural contrast, making each spoonful an exciting and memorable experience. It’s this enchanting combination of striking appearance, subtle complexity, and irresistible texture that makes red velvet, and especially this easy no-churn ice cream, an enduring and cherished favorite among sweet treats.
More Irresistible Red Velvet Desserts to Try
If you’ve fallen in love with the distinct flavor and beautiful color of red velvet after trying this ice cream, you’ll be thrilled to know there are many other delightful ways to enjoy this classic dessert. The unique blend of subtle cocoa and tangy notes lends itself perfectly to a variety of sweet treats. Here are some fantastic red velvet recipes to explore next, perfect for any occasion:
- Red Velvet Poke Cake: A moist and flavorful cake infused with a sweet, creamy filling that seeps into every crevice, offering a delightful surprise in each bite.
- Easy Red Velvet Cake Balls: These bite-sized delights are perfect for parties, gift-giving, or a quick, indulgent treat. They’re rich, decadent, and incredibly addictive.
- Red Velvet Brownies: Experience the best of both worlds with chewy, fudgy brownies infused with that signature red velvet twist. They’re dense, rich, and utterly satisfying.
- Red Velvet Cake Mix Cookies: For a super easy and delicious cookie, these use a convenient cake mix to create soft, chewy cookies bursting with red velvet flavor.
Discover More Homemade Ice Cream Recipes
The joy of making ice cream at home is truly unmatched, offering endless possibilities for creative flavors and satisfying sweet cravings. Once you master this easy no-churn Red Velvet version, you’ll undoubtedly want to explore other exciting flavors and textures. Whether you prefer the simplicity of no-churn methods or the classic appeal of churned varieties, there’s a homemade ice cream recipe for everyone. Here are some more fantastic ideas to inspire your next frozen dessert adventure and delight your taste buds:
- Homemade S’mores Ice Cream Recipe: Indulge in all the campfire goodness – toasted marshmallows, chocolate, and graham crackers – transformed into a creamy, chilled treat.
- Cherry Garcia Ice Cream Recipe: Recreate this vibrant and fruity classic at home, packed with juicy cherries and delightful chocolate chunks.
- Chunky Monkey Ice Cream Recipe: A delightful and satisfying blend of creamy banana ice cream loaded with chocolate chunks and crunchy walnuts.
- Cookie Monster Ice Cream Recipe: A fun, colorful, and cookie-filled treat that’s perfect for all ages, bursting with cookie dough and chocolate cookies.
- Snickerdoodle Ice Cream Recipe: Capture the warm, comforting cinnamon-sugar magic of the beloved snickerdoodle cookie in a scoopable, frozen form.
- Christmas Ice Cream: Explore festive flavors and delightful mix-ins to create a seasonal ice cream perfect for holiday celebrations.
We genuinely hope you give this luscious and easy-to-make Red Velvet Ice Cream recipe a try! It’s a truly rewarding experience to create such a delicious and beautiful dessert from scratch. Once you’ve whipped up a batch and savored its creamy goodness, please come back and leave a comment and a star rating. Your feedback not only helps us but also inspires and guides other home bakers and dessert enthusiasts to discover wonderful new treats!
Pin
Red Velvet Ice Cream
15
4
4 15
8
American
Dessert
411
Carrie Barnard
Ingredients
- 2 cups Heavy Whipping Cream chilled
- 14 oz. Sweetened Condensed Milk
- 2 tsp Vanilla Extract
- 1 Red Velvet Cupcake pre-made or homemade, crumbled
- 1/4 cup Cream Cheese Optional, full-fat brick-style, softened
Instructions
-
In a large mixing bowl, using a stand mixer or handheld electric mixer, beat together the chilled heavy whipping cream and vanilla extract on medium-high speed. Continue beating until the cream is fully whipped and forms soft peaks.
-
Gently pour the sweetened condensed milk into the whipped cream. Using a spatula, carefully fold the condensed milk into the whipped cream until just combined. Avoid overmixing to maintain the airiness.
-
Crumble the red velvet cupcake into small pieces and gently fold the cake crumbs into the ice cream mixture until evenly distributed. Again, do not overmix.
-
Pour the mixture into a loaf pan or an airtight freezer-safe container. If adding cream cheese, drop spoonfuls of softened cream cheese over the top of the mixture.
-
Using a butter knife or skewer, gently swirl the cream cheese into the mixture to create streaks and pockets of flavor. Cover the container tightly with plastic wrap pressed directly onto the surface of the ice cream, then add an airtight lid or aluminum foil.
-
Freeze for at least 4 hours, or preferably overnight, until the ice cream is firm and ready to scoop. Serve and enjoy!
-
Store any remaining ice cream covered in an airtight container in the freezer for up to 1 month. For best texture, consume within 2 weeks.
Recipe Notes
Nutrition Facts
Pin This Now to Remember It Later
Pin Recipe
