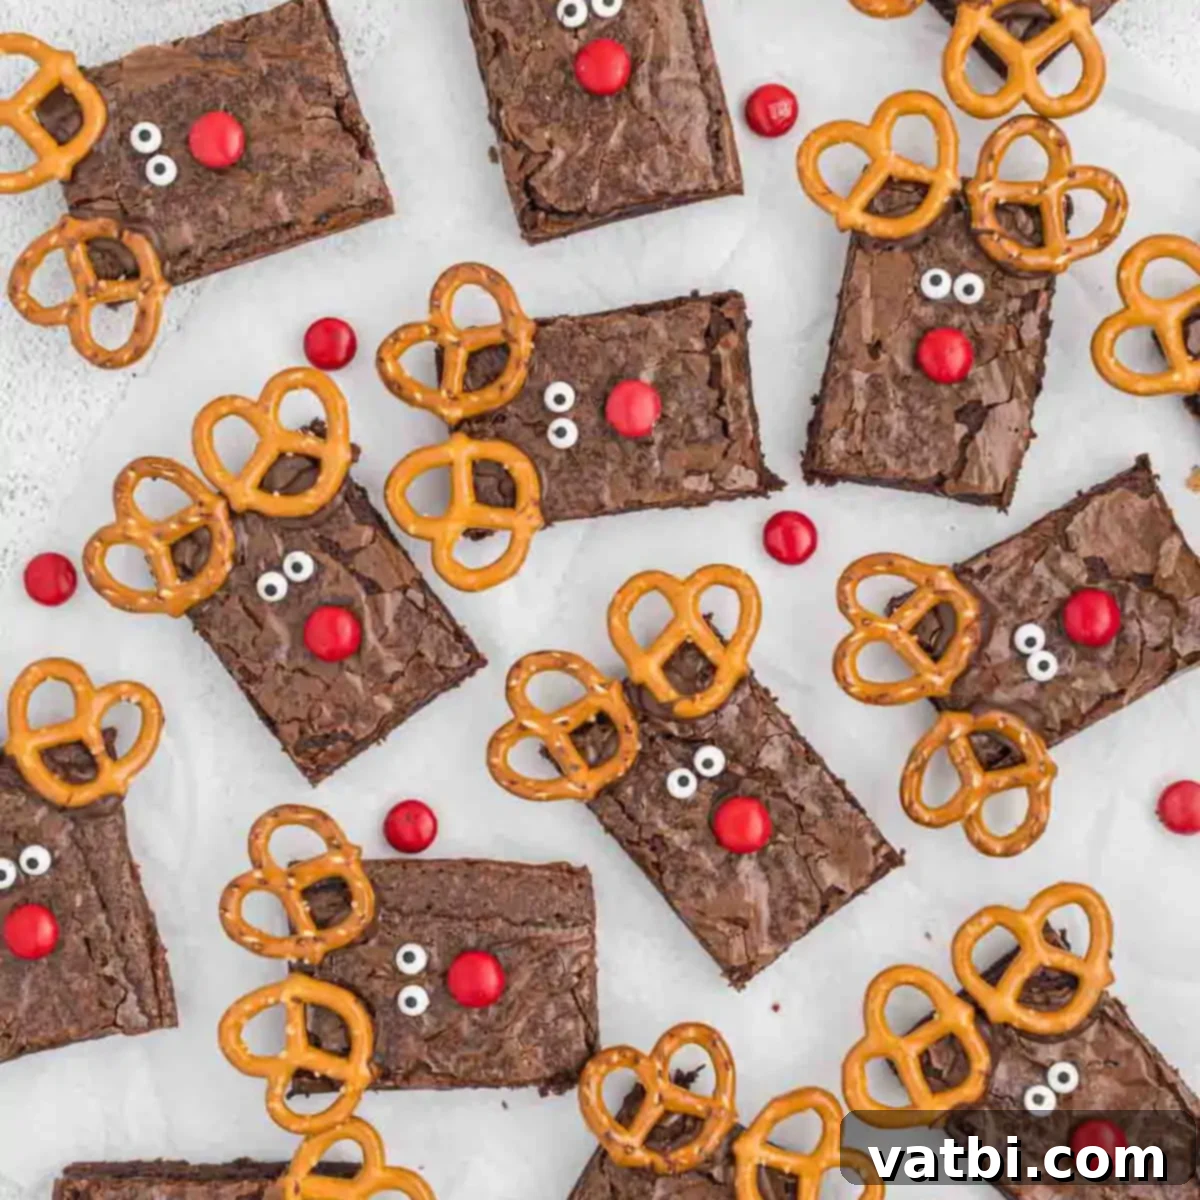
Simple & Sweet: How to Make Adorable Reindeer Brownies (Rudolph’s Favorite Holiday Treat)
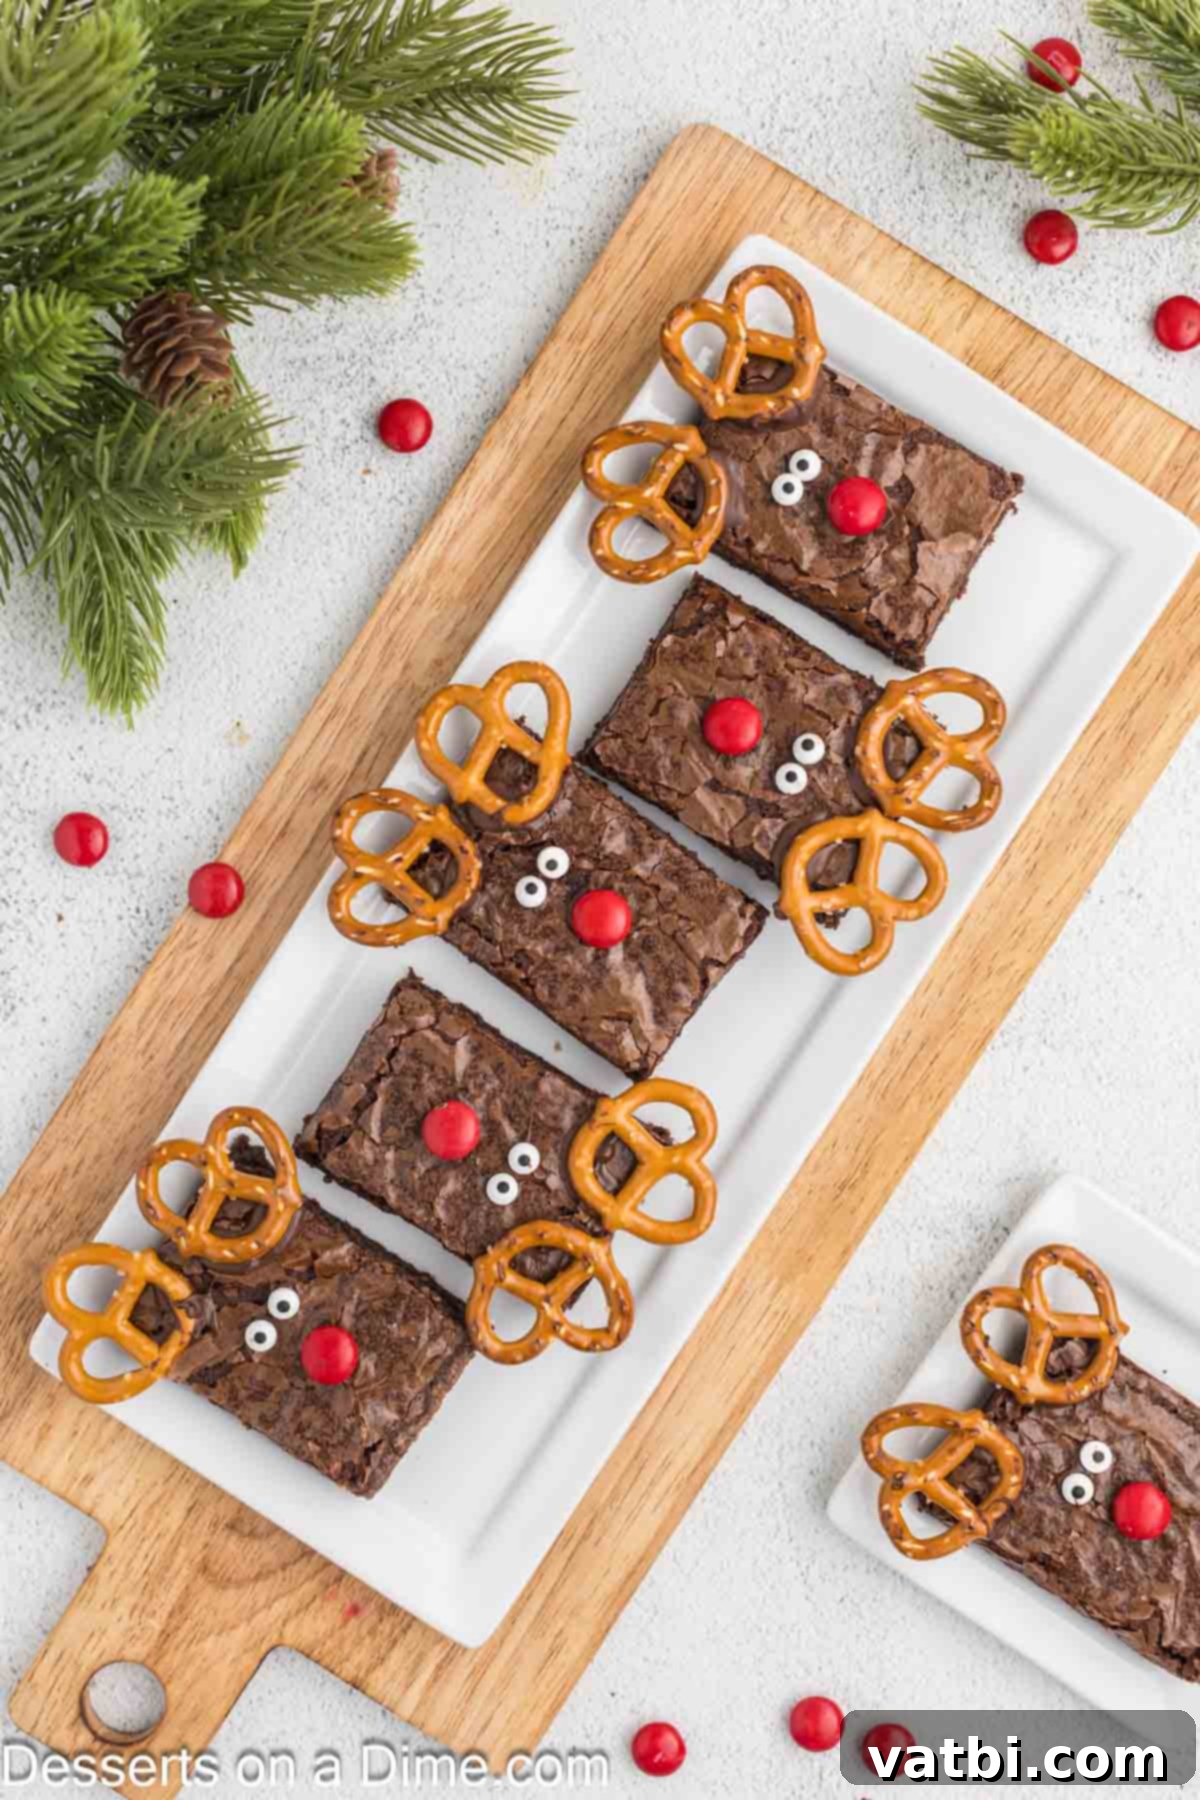
Get ready to spread some holiday cheer with these incredibly easy Reindeer Brownies! Made effortlessly from a simple box mix and transformed into everyone’s favorite red-nosed reindeer, Rudolph, these festive treats are an absolute must-have for your holiday celebrations. Whether you’re planning a Christmas party, a family gathering, or just a fun baking activity with the kids, these brownies are sure to bring smiles and delicious chocolatey joy.
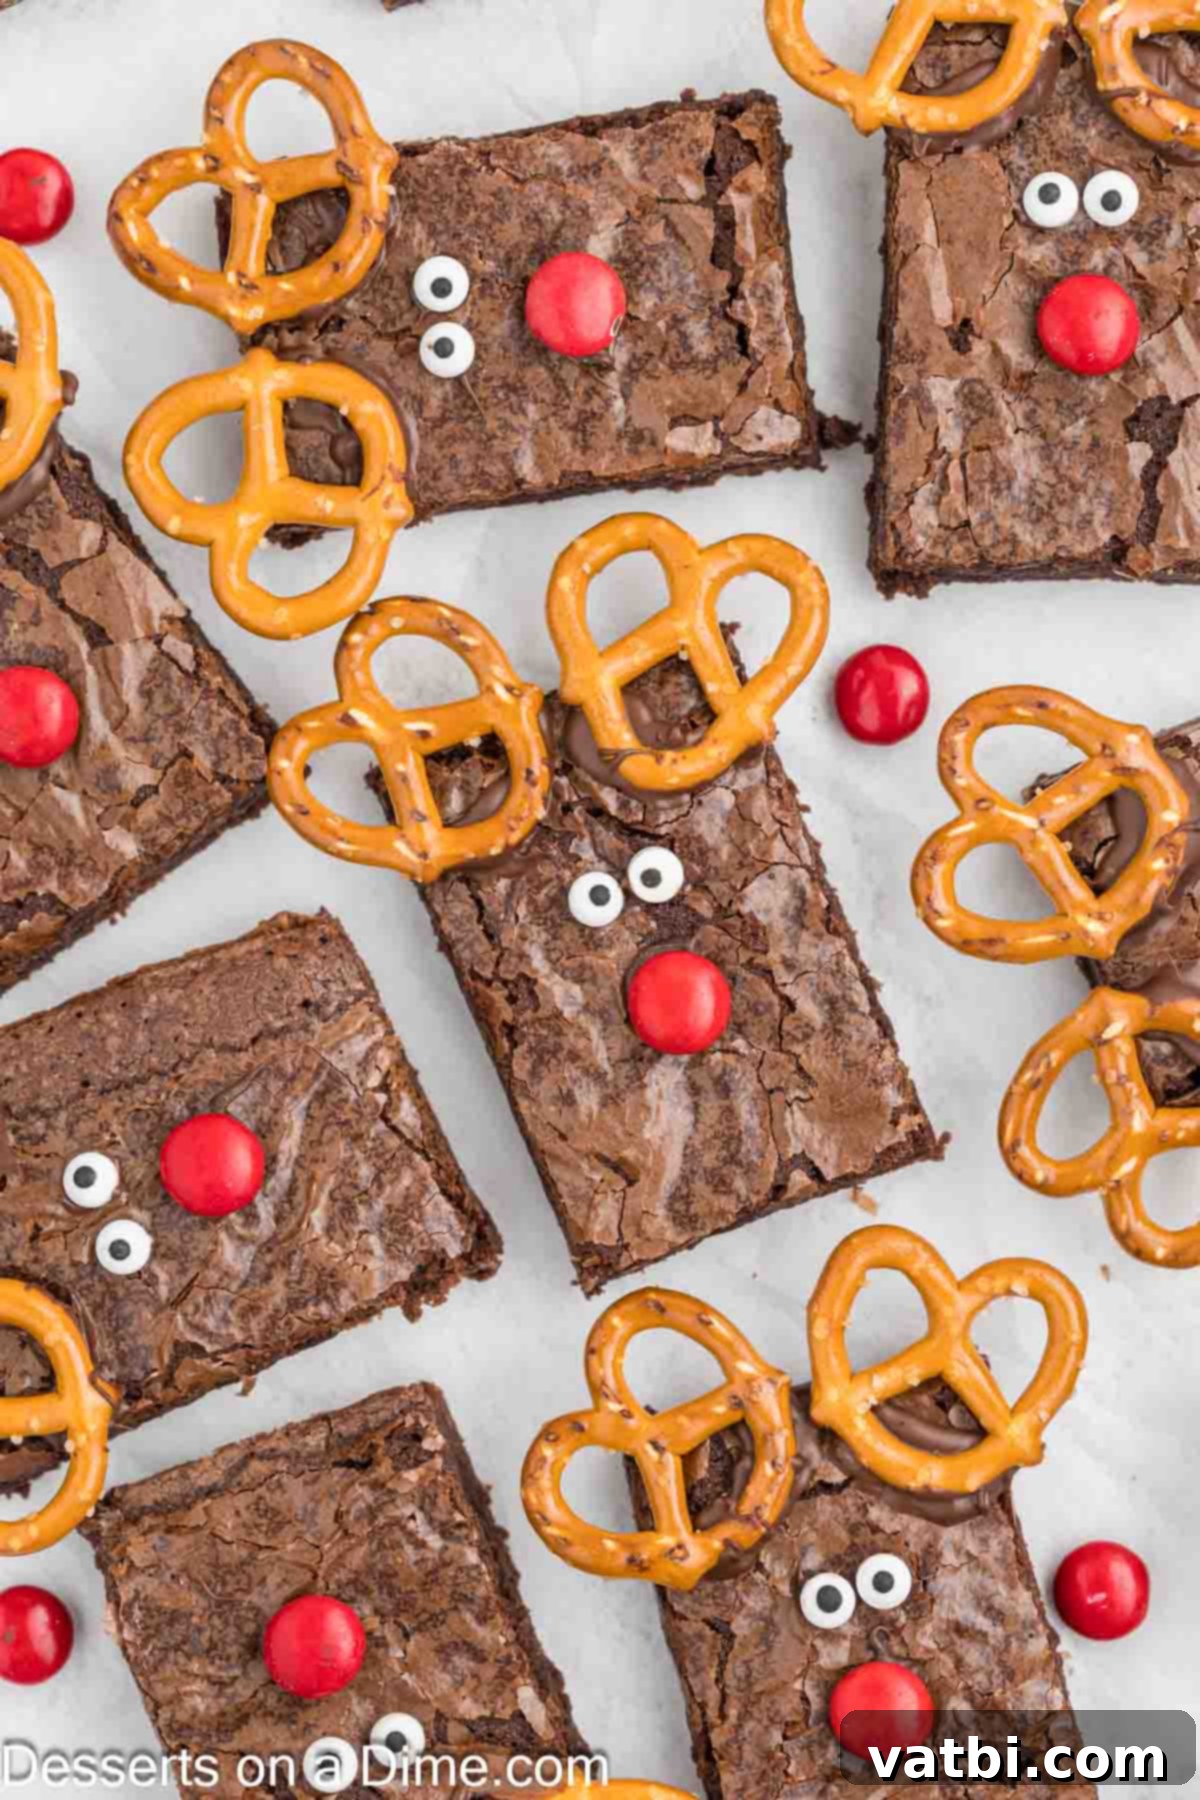
There’s nothing quite like fun Christmas dessert recipes to get everyone into the holiday spirit, and these festive Reindeer Brownies are truly perfect for parties! The best part? Anyone can make them, regardless of their baking experience. Plus, the kids will absolutely adore helping to decorate Rudolph the red-nosed reindeer, making it a fantastic family activity and a cherished holiday tradition. We love making these delightful brownies every single year, creating sweet memories along with sweet treats.
If you’re as big a fan of reindeer-themed treats as we are, you’ll also want to check out our easy Reindeer Cookies and adorable Reindeer Pretzel Rods. These recipes are ideal for December, adding a touch of magic as everyone eagerly awaits Santa’s arrival. And for those who can’t get enough of delightful cupcakes, our Christmas Tree Cupcakes are another festive hit! Don’t forget to explore other tempting brownie creations like our Pecan Pie Brownies for year-round deliciousness.
Table of Contents
- Why We Love This Recipe
- Ingredients
- Brownies
- Decorations
- Additions and Substitutions
- Step By Step Instructions
- Storage
- Pro Tips for Perfect Reindeer Brownies
- Serving & Party Ideas
Why These Reindeer Brownies Are a Holiday Favorite
These charming Reindeer Brownies aren’t just cute; they’re incredibly practical and delicious, making them a top choice for any busy holiday baker. Here’s why they’ll become your new favorite Christmas tradition:
- Super Easy to Make: Forget complicated recipes and long hours in the kitchen. With just a few simple ingredients and the convenience of a box brownie mix, these festive treats come together incredibly fast. This means more time enjoying the holidays and less time stressing over dessert!
- Inexpensive Holiday Fun: The holiday season can get pricey, but your festive treats don’t have to be. This delightful Christmas dessert uses budget-friendly ingredients that are readily available at any grocery store. It’s an affordable way to bring a lot of joy to your table.
- Absolutely Delicious & Adorable: Beyond their undeniable cuteness, these brownies are rich, fudgy, and loaded with chocolate flavor. Topped with playful candy decorations, they’re a treat for both the eyes and the taste buds. They’re guaranteed to be a hit with everyone, from the littlest elves to the biggest Santa fans!
Gather Your Ingredients for Rudolph’s Debut
Creating these adorable Reindeer Brownies requires a few basic baking staples and some fun decorative elements. Here’s what you’ll need to bring Rudolph to life:
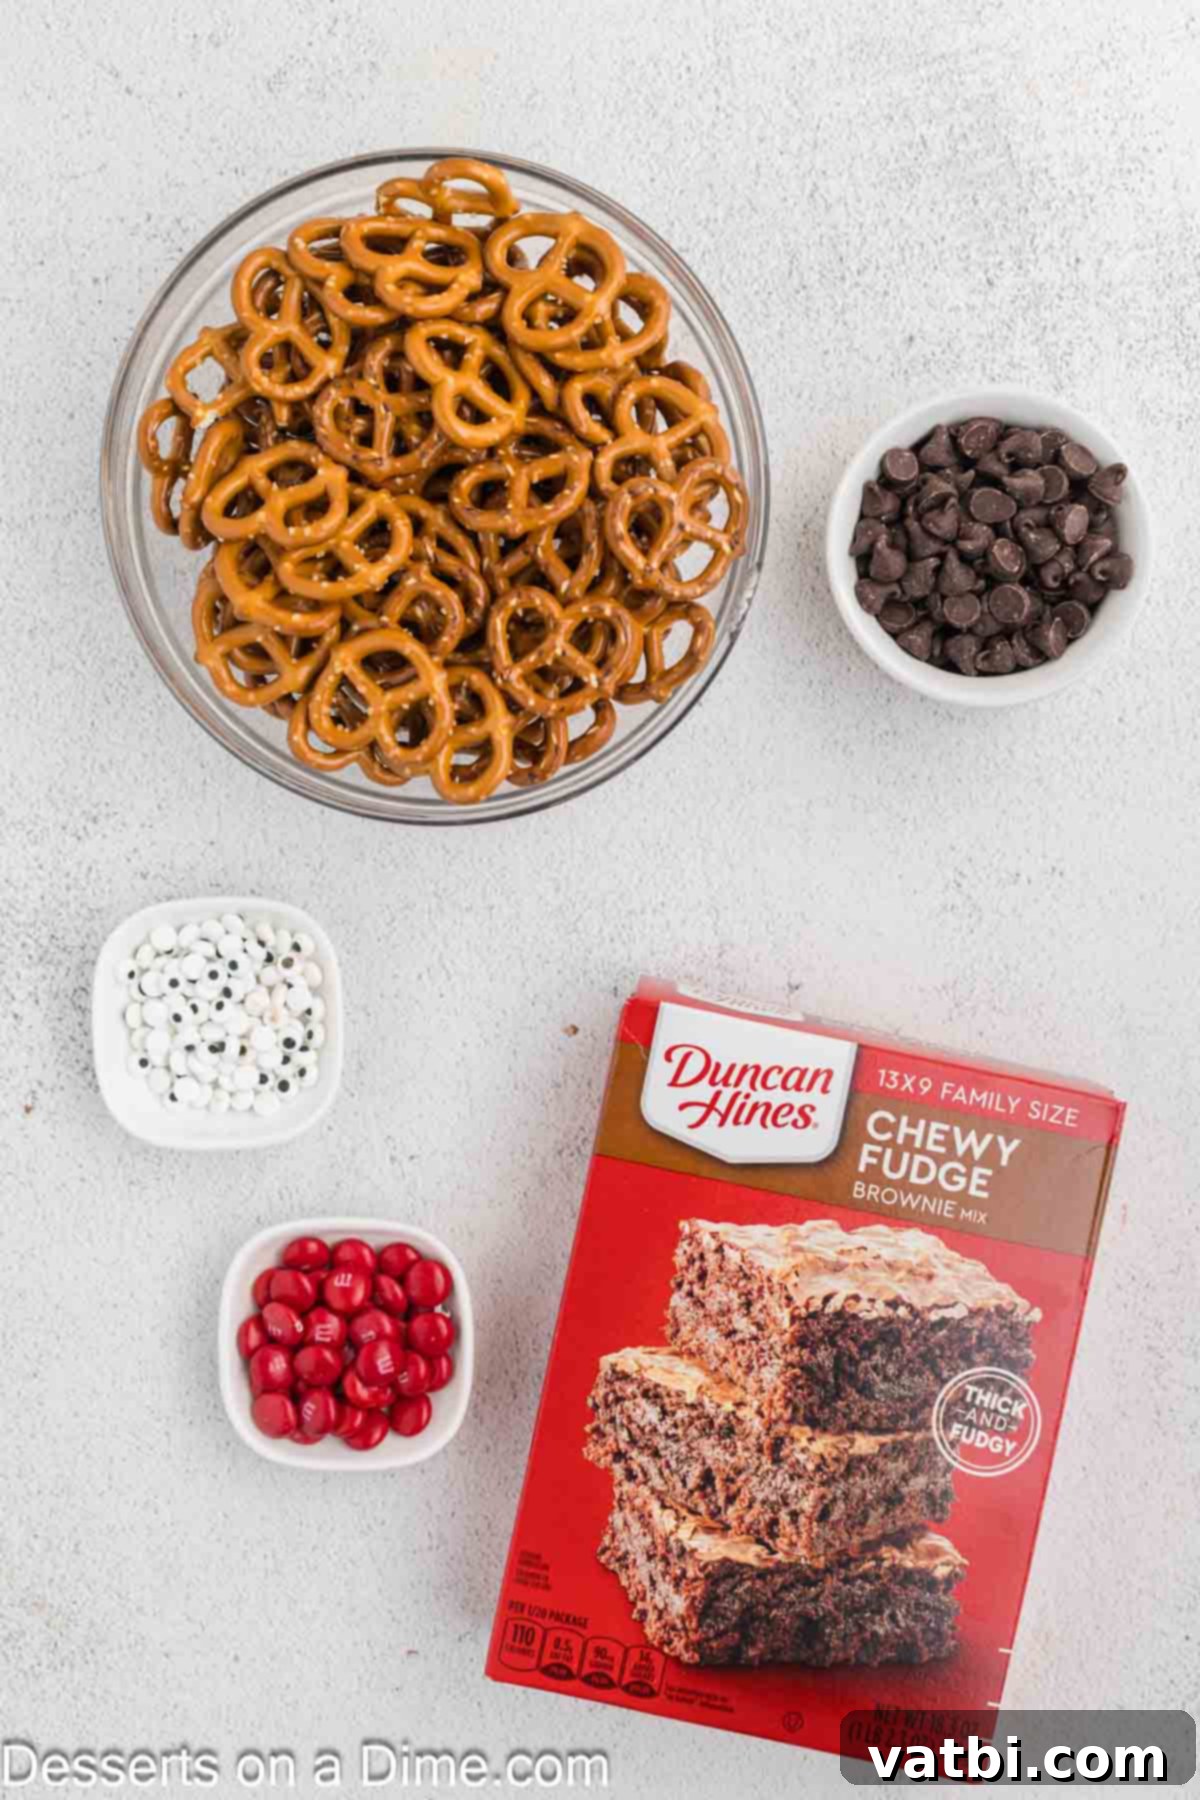
For the Fudgy Brownie Base:
- Box Brownie Mix: Choose your favorite brand of fudge brownie mix. The convenience of a box mix is what makes this recipe so incredibly quick and easy. You’ll typically prepare this in a 9×13 inch baking pan for the ideal brownie thickness.
- Ingredients to Prepare the Brownie Mix: Refer to the specific instructions on your chosen box mix. This usually includes common pantry items like vegetable oil or melted butter, water, and eggs.
For Rudolph’s Festive Features:
- Chocolate Chips: You’ll need about half a cup of chocolate chips, which will be melted down to act as edible “glue” for the decorations. Feel free to use your preferred type of chocolate – milk chocolate for a sweeter touch, semi-sweet chocolate chips for a classic flavor, or even dark chocolate for a richer brownie. A good quality chocolate will melt smoothly and set nicely.
- Mini Pretzels: These small, twisted pretzels are absolutely perfect for creating Rudolph’s adorable antlers. Their size and shape give that unmistakable reindeer silhouette.
- Candy Eyes: These edible candy eyes are what truly bring the reindeer to life, adding a darling and whimsical touch to each brownie. They’re available in most baking aisles during the holiday season.
- Red M&Ms: Of course, no Rudolph is complete without his famous red nose! We typically use regular-sized red M&Ms for a prominent nose, but you could also opt for mini M&Ms if you prefer a smaller detail. These add a pop of color and a satisfying crunch.
You can find the complete list of ingredients with precise measurements at the bottom of the page in the detailed recipe card.
Creative Additions and Smart Substitutions
While this recipe is fantastic as is, feel free to customize your Reindeer Brownies to suit your taste and what you have on hand. Here are some ideas to get you started:
- Brownie Base Options: Don’t feel limited to a box mix! If you prefer a homemade touch, you can absolutely use your favorite scratch Brownies recipe. Just ensure it’s a fudgy recipe that holds its shape well when cut into rectangles.
- Add a Nutty Crunch: For an extra layer of texture and flavor, consider mixing in chopped pecans or walnuts directly into your brownie batter before baking. Nuts complement the rich chocolate beautifully.
- Antler Alternatives: While mini pretzels are classic, you have other options for the antlers. Mini candy canes (cut to size) can provide a festive peppermint twist, or for a more natural look, use pecan halves to mimic the antler shape.
Bringing Rudolph to Life: Easy Decorating Steps
Creating these delightful Reindeer Brownies is a straightforward and fun process. Follow these simple steps, and you’ll have a tray full of adorable holiday treats in no time. Remember, the key to neat cutting is allowing your brownies to cool completely!
- Step 1: Prepare Your Pan. Start by lining your 9×13 inch baking pan with parchment paper. This crucial step will make it incredibly easy to lift the entire batch of brownies out of the pan once they’re baked and cooled, ensuring clean cuts.
- Step 2: Bake the Brownies. Whisk together your chosen brownie mix according to the package instructions. Pour the batter evenly into your prepared pan and bake in the preheated oven as directed. Once baked, it’s essential to allow the brownies to cool completely in the pan. Patience here is key! For tips on knowing when your brownies are perfectly done, check out our guide on How to Tell if Brownies are Done.
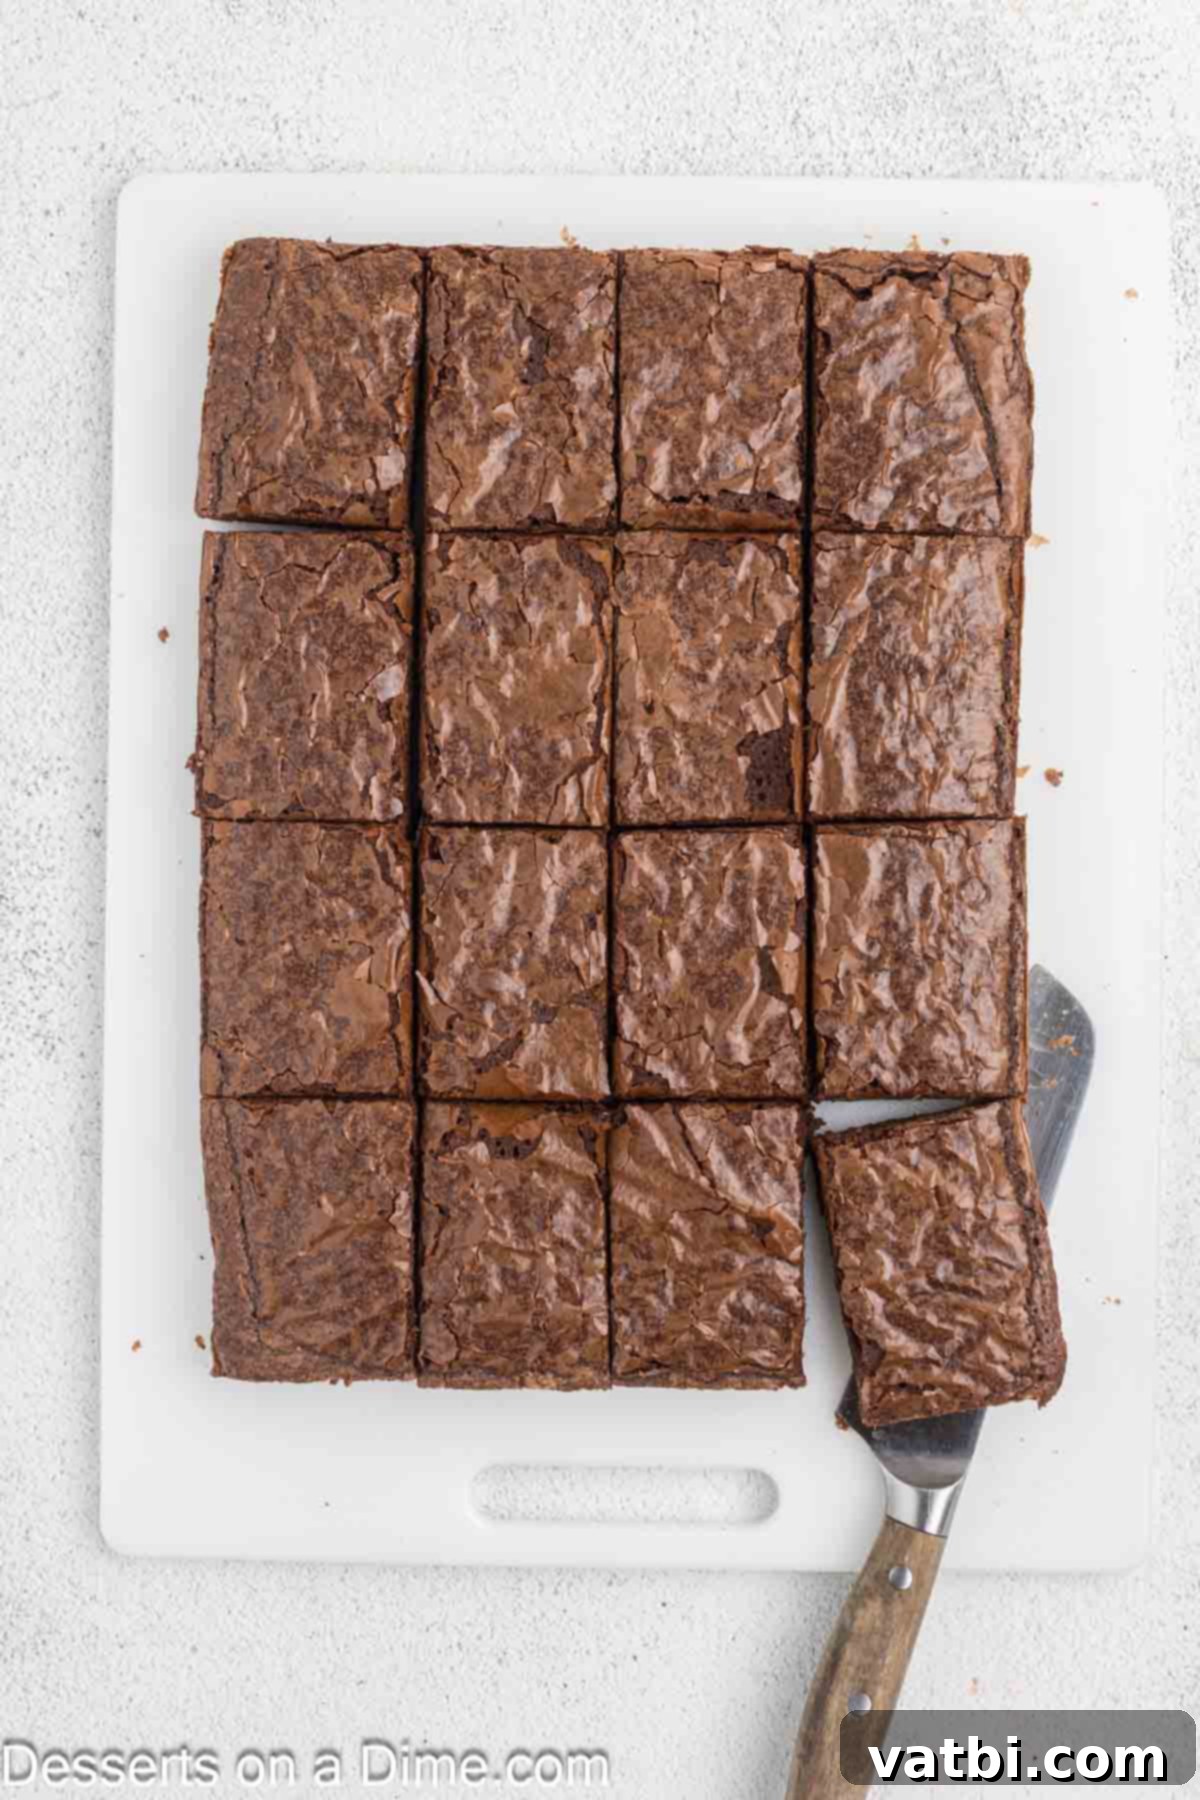
Step 3: Cut the Brownies. Once the brownies are thoroughly cooled, carefully remove them from the pan by lifting the parchment paper. Place the entire slab onto a large cutting board. Using a sharp knife, cut the brownies into 16 even rectangle pieces. For the cleanest cuts, wipe your knife clean after each slice.
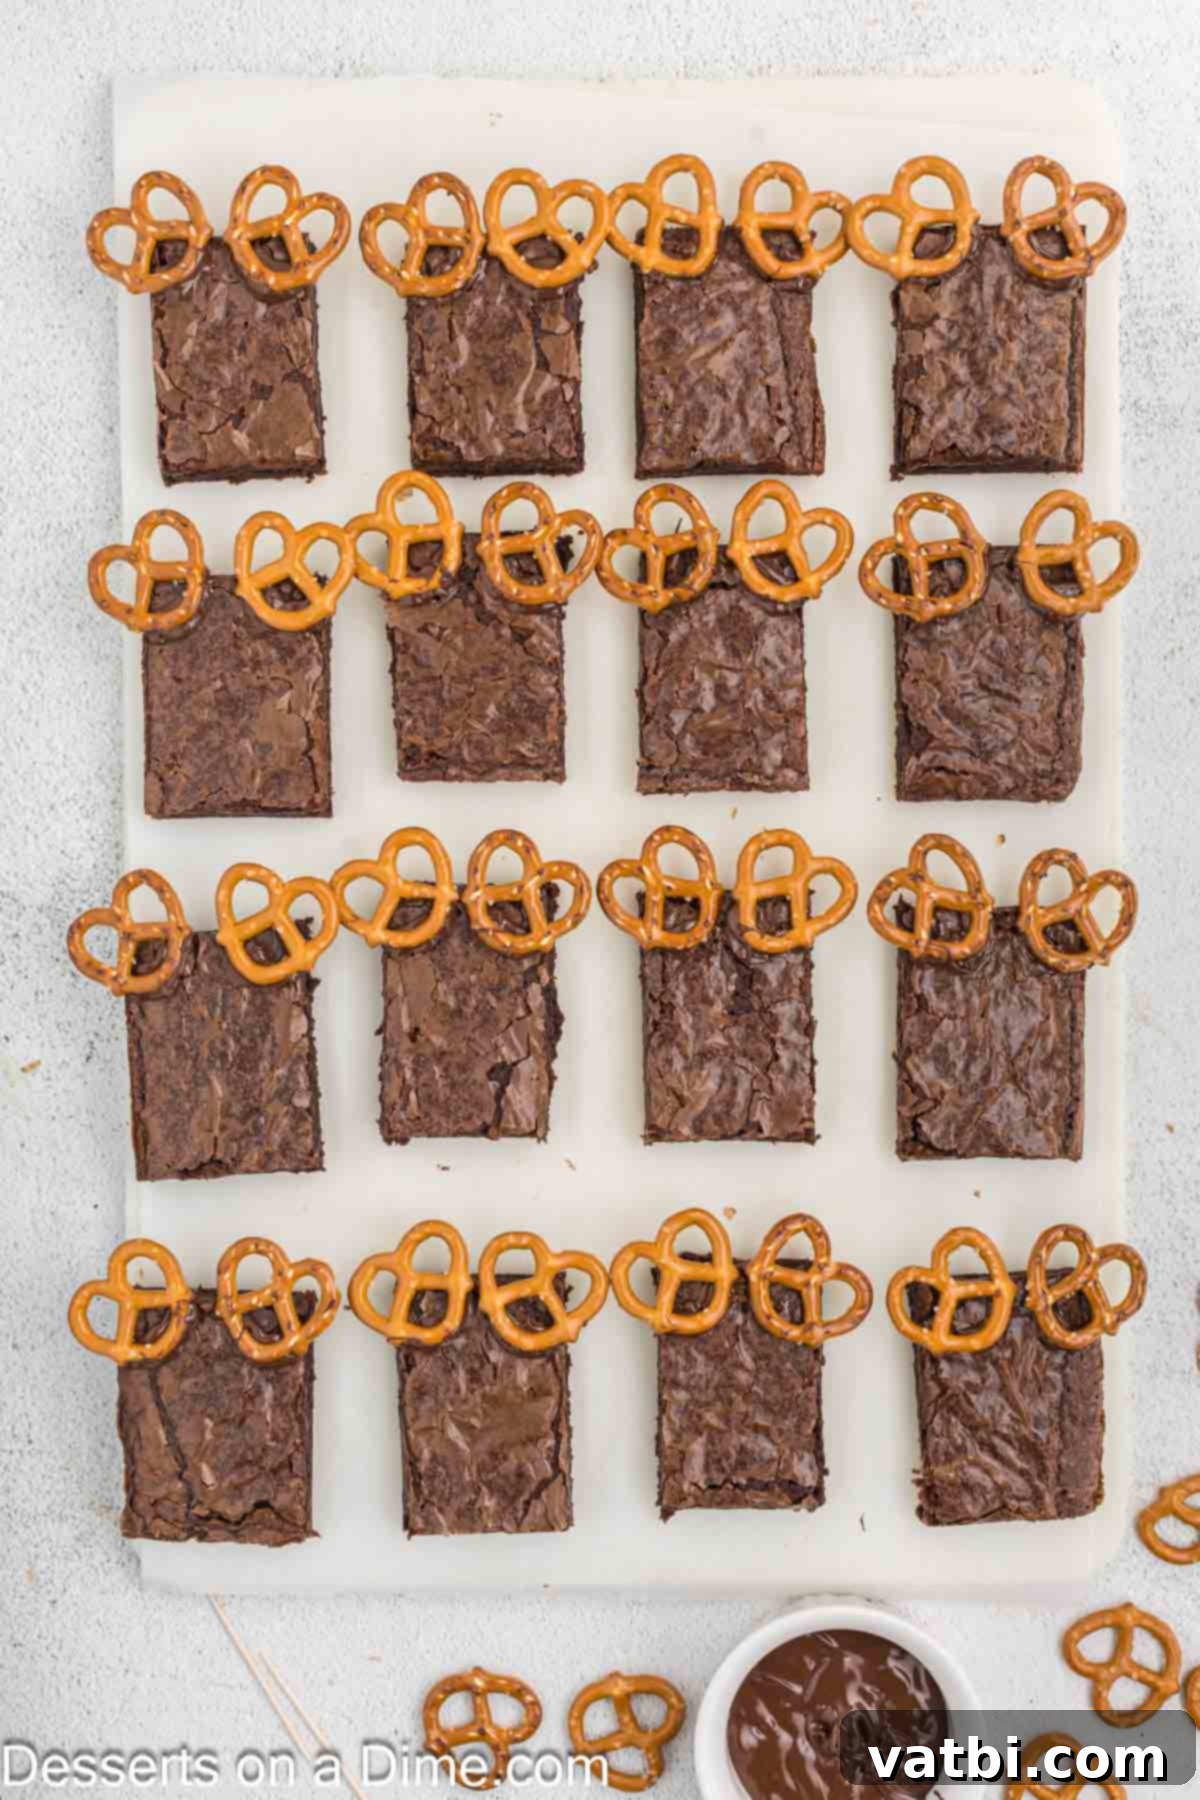
Step 4: Melt Chocolate & Add Antlers. Melt the chocolate chips in a microwave-safe bowl. Heat them in 30-second intervals, stirring thoroughly after each interval until the chocolate is completely smooth and melted. Using a toothpick, place a small dollop of melted chocolate onto the top corners of each brownie where the antlers will go. Then, gently press two mini pretzels into the chocolate to create the reindeer’s antlers.
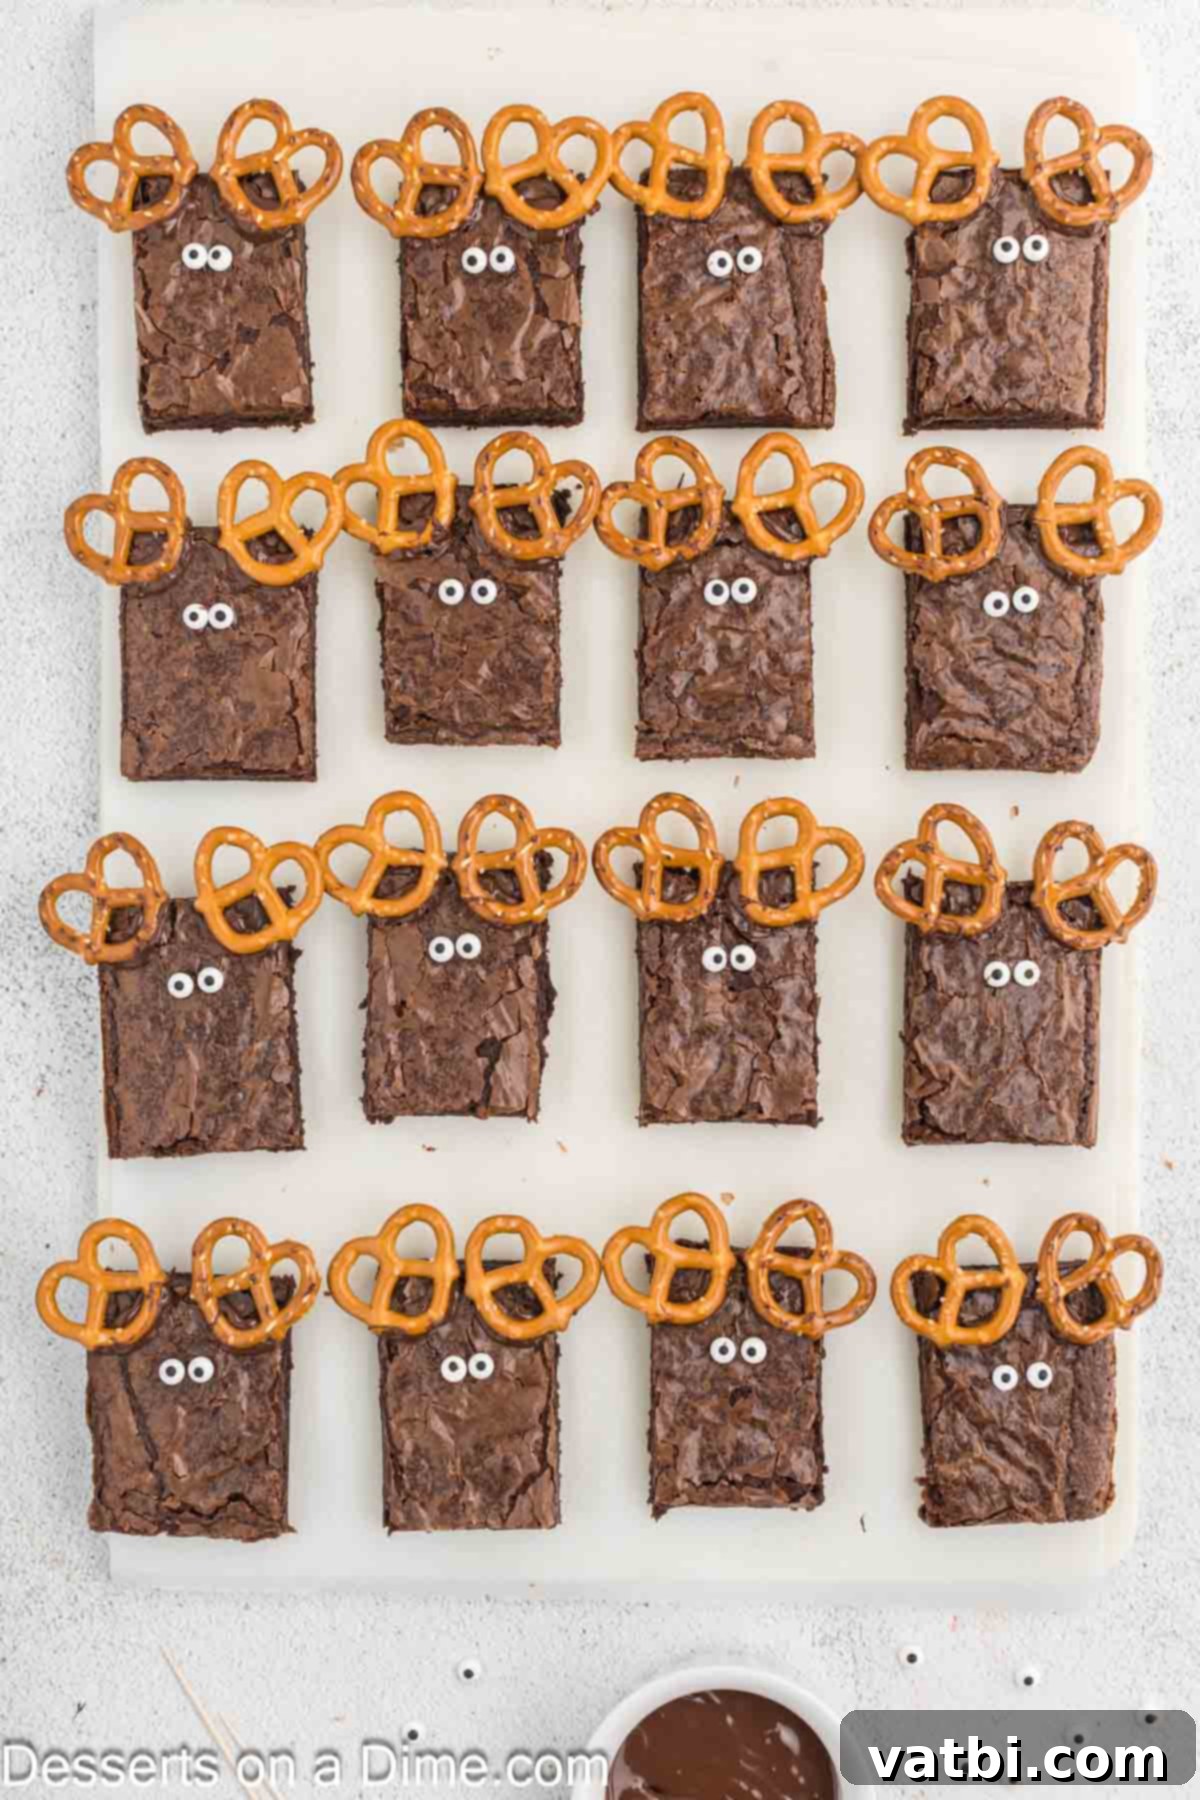
Step 5: Place the Eyes. Next, apply a tiny bit more melted chocolate below the antlers. Carefully place two candy eyes onto each brownie, ensuring they adhere well. These little eyes truly bring the reindeer faces to life!
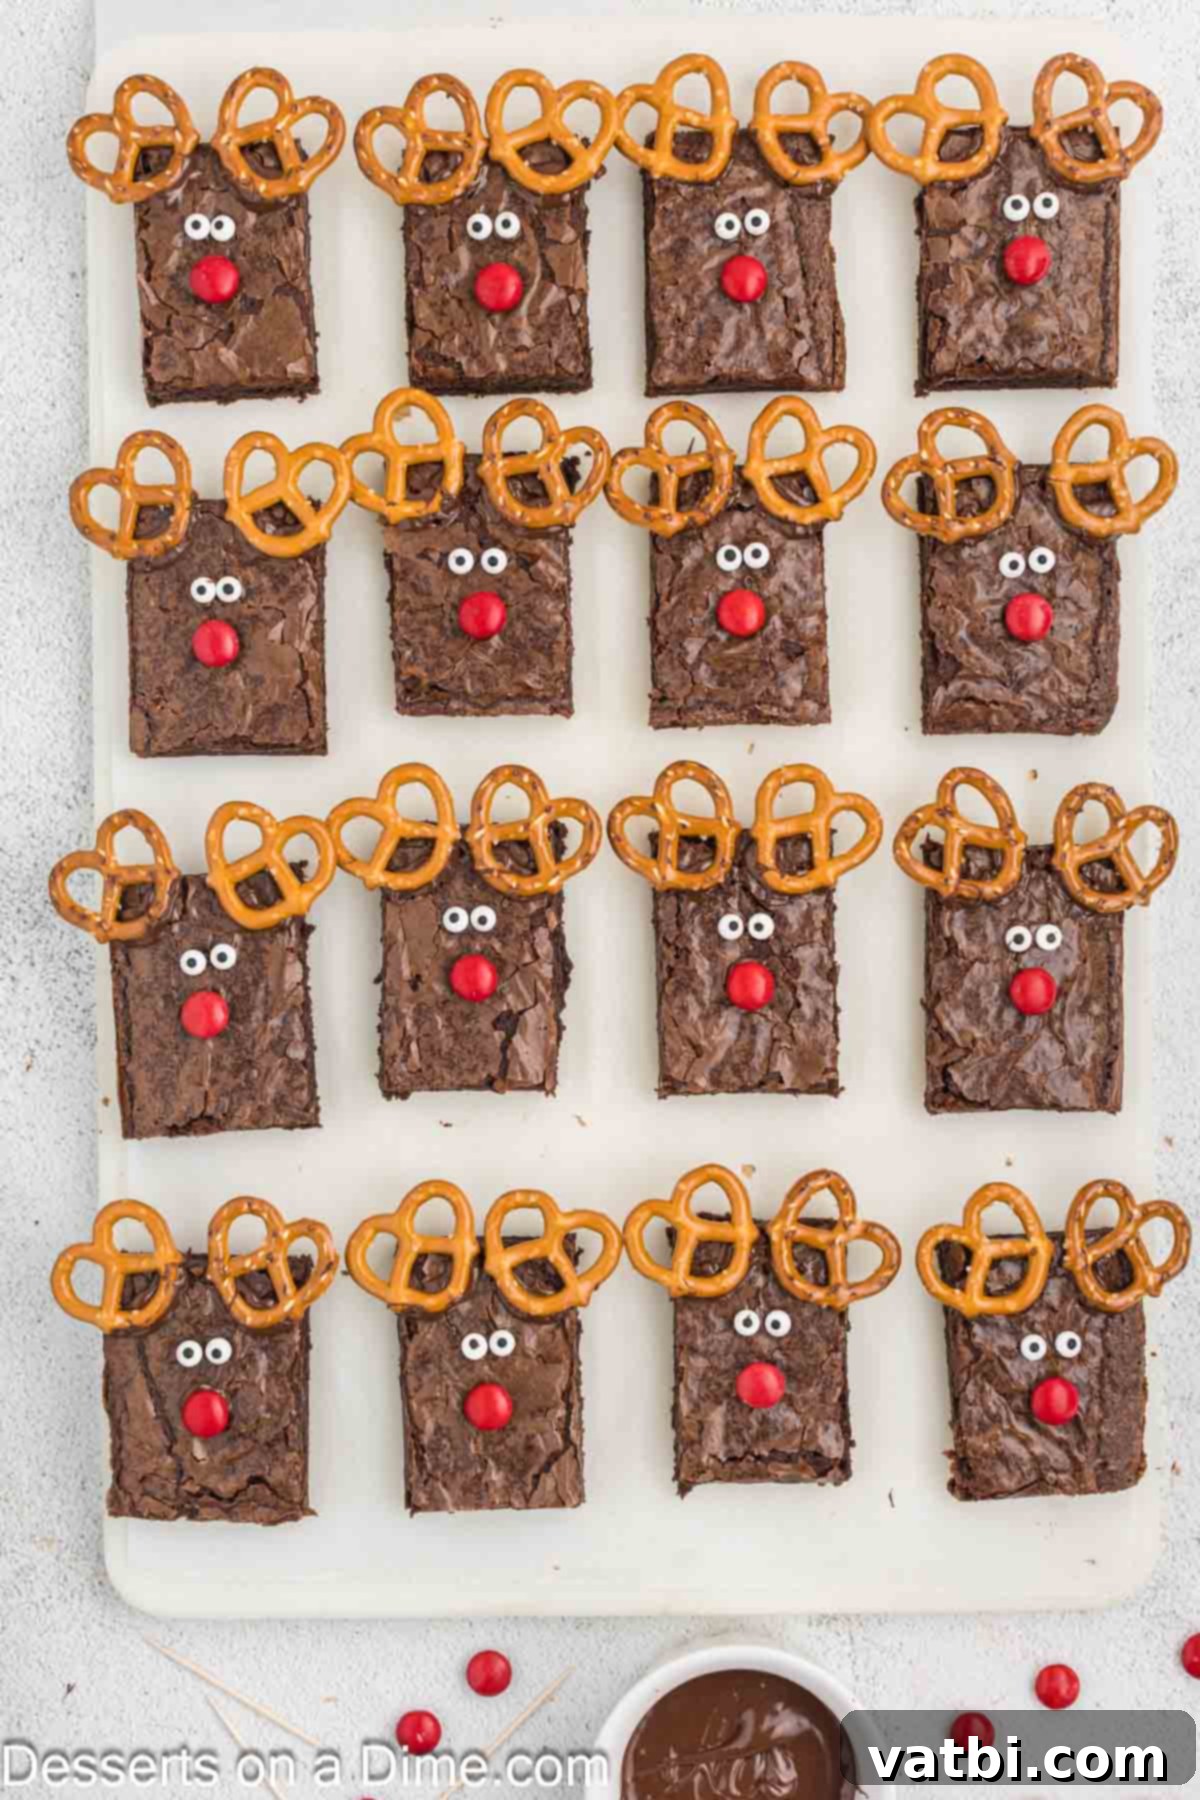
Step 6: Add Rudolph’s Red Nose. Finally, complete your Rudolph brownies by adding his iconic red nose. Dab a very small amount of melted chocolate onto the center of each brownie, just below the eyes, and gently press a red M&M into place. Allow the chocolate to set completely, and then your adorable Rudolph brownies are ready to serve and impress!
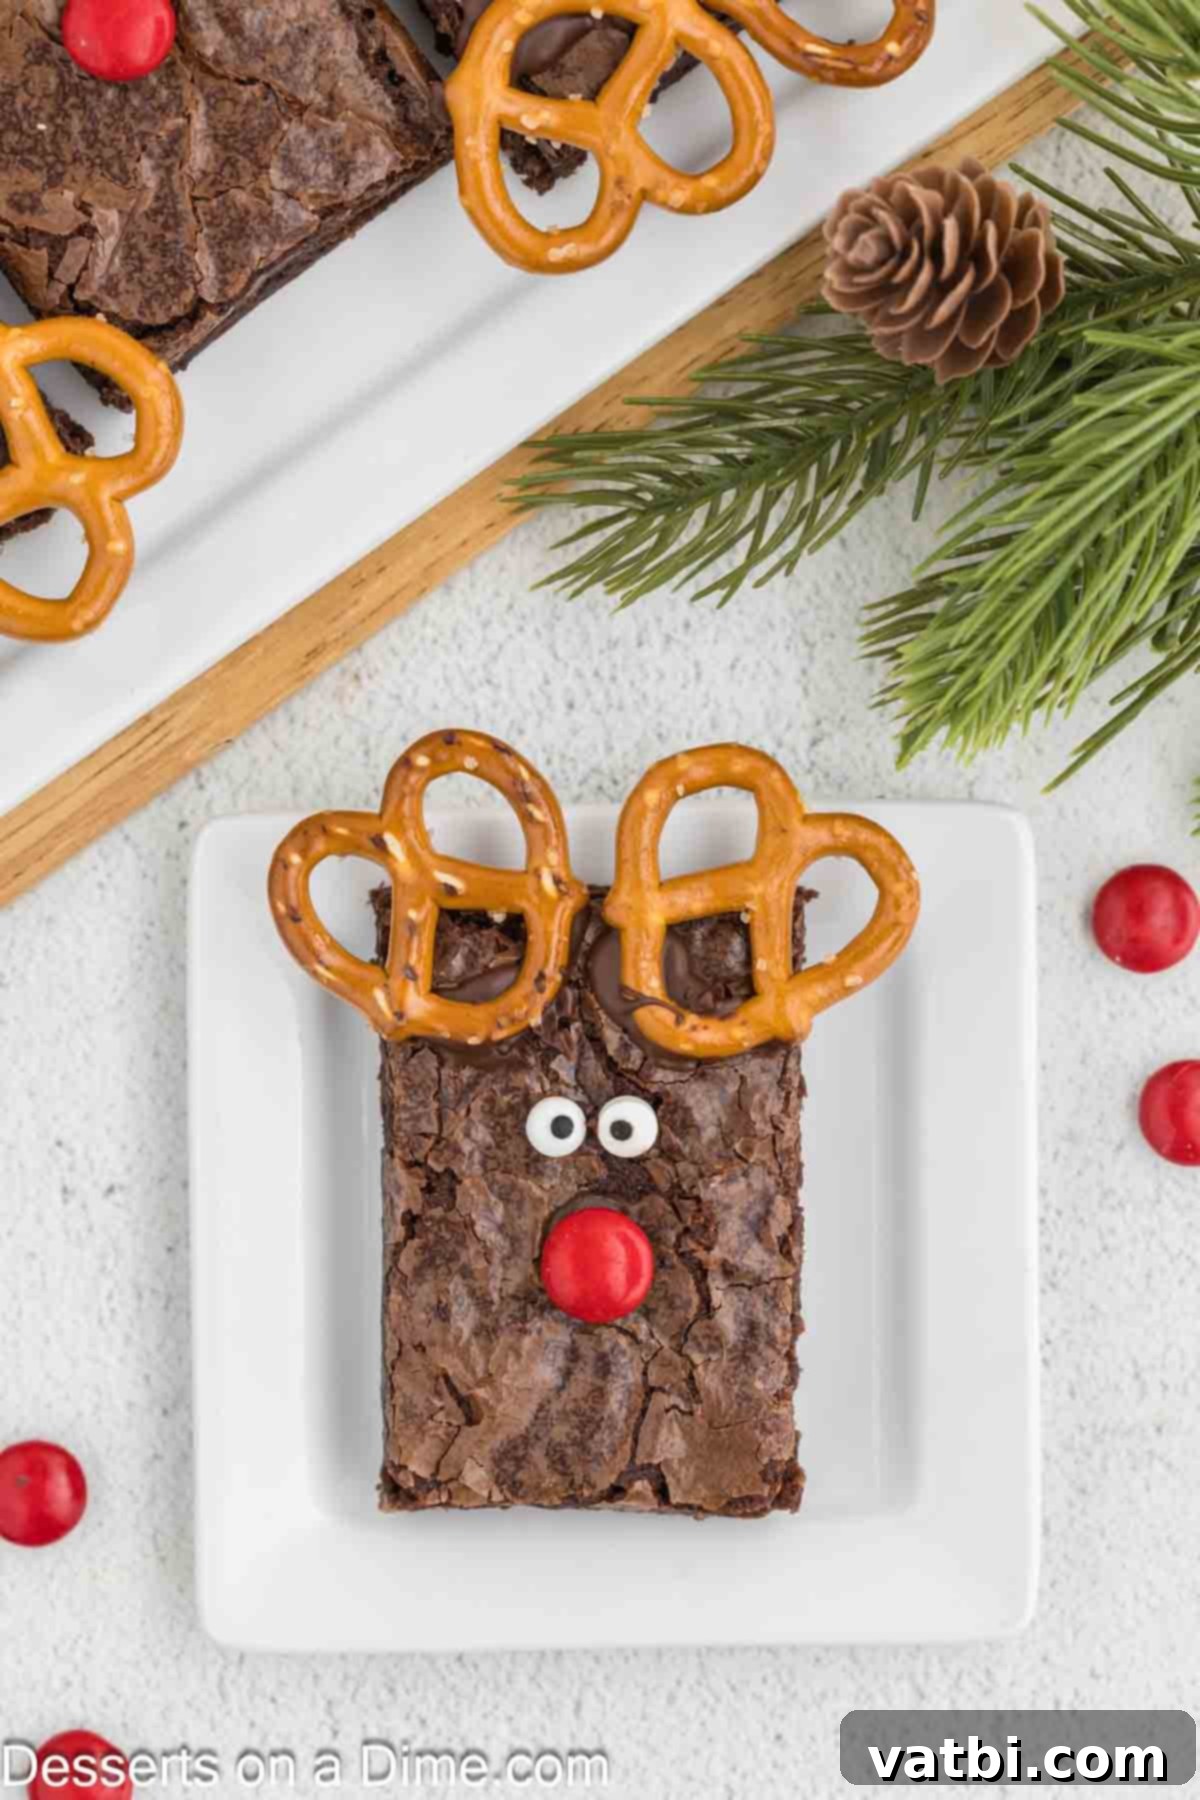
Keeping Your Reindeer Brownies Fresh
To ensure your delightful Reindeer Brownies stay fresh and delicious for as long as possible, proper storage is key. Once they’ve cooled completely and the chocolate decorations have set, store any leftovers in an airtight container. Keep them at room temperature, and they will maintain their quality and festive charm for up to 4-5 days. There’s no need to refrigerate them, as that can sometimes dry out brownies.
Pro Tips for Perfect Reindeer Brownies Every Time
Even though this recipe is incredibly simple, a few expert tips can elevate your Reindeer Brownies from great to absolutely perfect. Keep these pointers in mind for a smooth and successful baking and decorating experience:
- Mastering Melted Chocolate: When melting your chocolate chips, remember to use short intervals (30 seconds at a time) in the microwave. Stir well after each interval, even if the chocolate doesn’t look fully melted. This prevents the chocolate from burning or seizing, ensuring a smooth, workable consistency for your decorations.
- Lining the Brownie Pan is a Game-Changer: For effortless removal and perfectly shaped brownies, always line your baking pan. Using parchment paper, or even aluminum foil underneath the parchment, will create “handles” that allow you to easily lift the entire slab of baked brownies out of the pan. This makes cutting so much simpler and less messy.
- Cooling is Crucial Before Cutting: Patience is a virtue, especially in baking! It’s absolutely essential to allow your brownies to cool completely before attempting to cut them. Warm brownies are delicate and will be difficult to cut cleanly, often crumbling or falling apart. A fully cooled brownie will yield much neater, crisper edges.
- Keep Your Knife Clean for Crisp Edges: To achieve those professional-looking, clean edges on each brownie piece, wipe your knife clean with a damp cloth or paper towel after every single cut. This removes any excess brownie residue and prevents it from sticking to the knife and tearing subsequent pieces.
- Less is More with Chocolate “Glue”: When applying the melted chocolate to adhere the decorations, use a very small amount. A tiny dollop from a toothpick is usually all you need. Applying too much chocolate can make the pretzels, eyes, and M&Ms slide off the brownies, especially before the chocolate sets.
- Consider Frosting as an Adhesive: If you prefer, or if you don’t have chocolate chips on hand, you can easily use a small amount of chocolate frosting as an alternative adhesive for the reindeer face components. Just a tiny dab will work just as well to secure the decorations.
Serving Your Festive Reindeer Brownies
These adorable Reindeer Brownies are not only a joy to make but also a delight to serve! They are perfectly portioned for individual treats, making them ideal for holiday parties, school events, or even as edible gifts. Arrange them on a festive platter or a wooden serving board for a beautiful presentation that will impress your guests. For an extra touch of holiday magic, you can serve them alongside a scoop of vanilla ice cream, a dollop of whipped cream, or a sprinkle of powdered sugar to mimic snow. They’re also wonderful paired with a warm cup of hot cocoa or coffee, creating a cozy holiday experience for everyone.
More Easy Reindeer Recipes for the Holidays
Cute Christmas Desserts
Nutter Butter Reindeer
Easy Candy
Reindeer Chow
Cute Christmas Desserts
Reindeer Cake Pops
Don’t wait to add these cheerful Reindeer Brownies to your holiday baking list! They’re simple, satisfying, and guaranteed to bring a bit of Rudolph’s magic to your table. Make these fun Christmas brownies and let us know what you think in the comments below. We love hearing from you and getting your feedback!
Pin
Reindeer Brownies
Ingredients
For the Brownies:
- 1 box Fudge Brownie Mix to be made in a 9X13 pan
- Ingredients to prepare the Brownie Mix based on the instructions
For the Decorations:
- 1/2 cup chocolate chips
- 32 Mini Pretzel Twists
- 32 Candy Eyes
- 16 Red M&Ms
Instructions
For the Brownies:
-
Line a 9X13 baking pan with parchment paper.
-
Prepare the brownie mix based on the package instructions in the prepared 9X13 baking pan.
-
Let the brownies cool completely in the pan.
-
Carefully remove the brownies from the pan to a large cutting board.
-
Cut the brownies into 16 rectangle pieces.
To Decorate:
-
Place the chocolate chips in a microwave safe bowl. Heat in 30 second intervals, stirring after each interval, until fully melted.
-
Use a toothpick to apply the melted chocolate to the back of the pretzels, candy eyes and M&M and then carefully place them on each of the brownies to make the antlers and face of each of the reindeers on each of the brownies.
-
Then the brownies are ready to serve and enjoy!
Recipe Notes
Nutrition Facts
Pin This Now to Remember It Later
Pin Recipe
