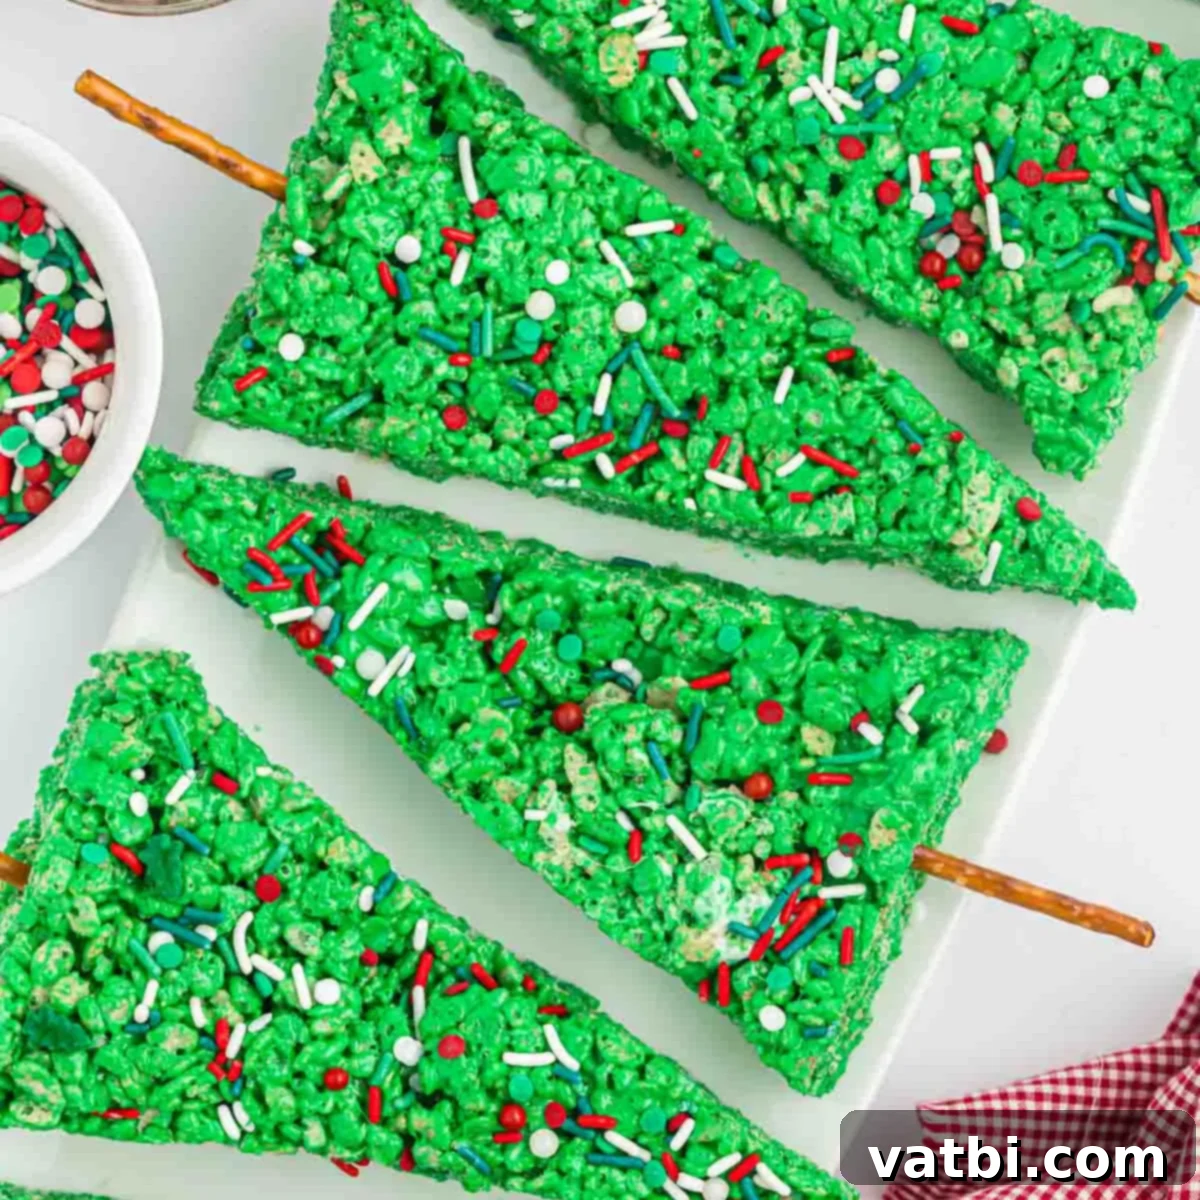
Delicious & Easy Christmas Tree Rice Krispie Treats: Your Go-To Holiday Recipe
These adorable and delicious Christmas Tree Rice Krispie Treats are not just a festive dessert; they’re a delightful holiday activity for the whole family! Simple to make and wonderfully charming, they bring a touch of seasonal magic to any gathering. If you’re looking for a fun, no-bake treat that will get everyone into the Christmas spirit, you’ve found your perfect recipe. Gather your little helpers and prepare for a sprinkle-filled adventure in the kitchen!
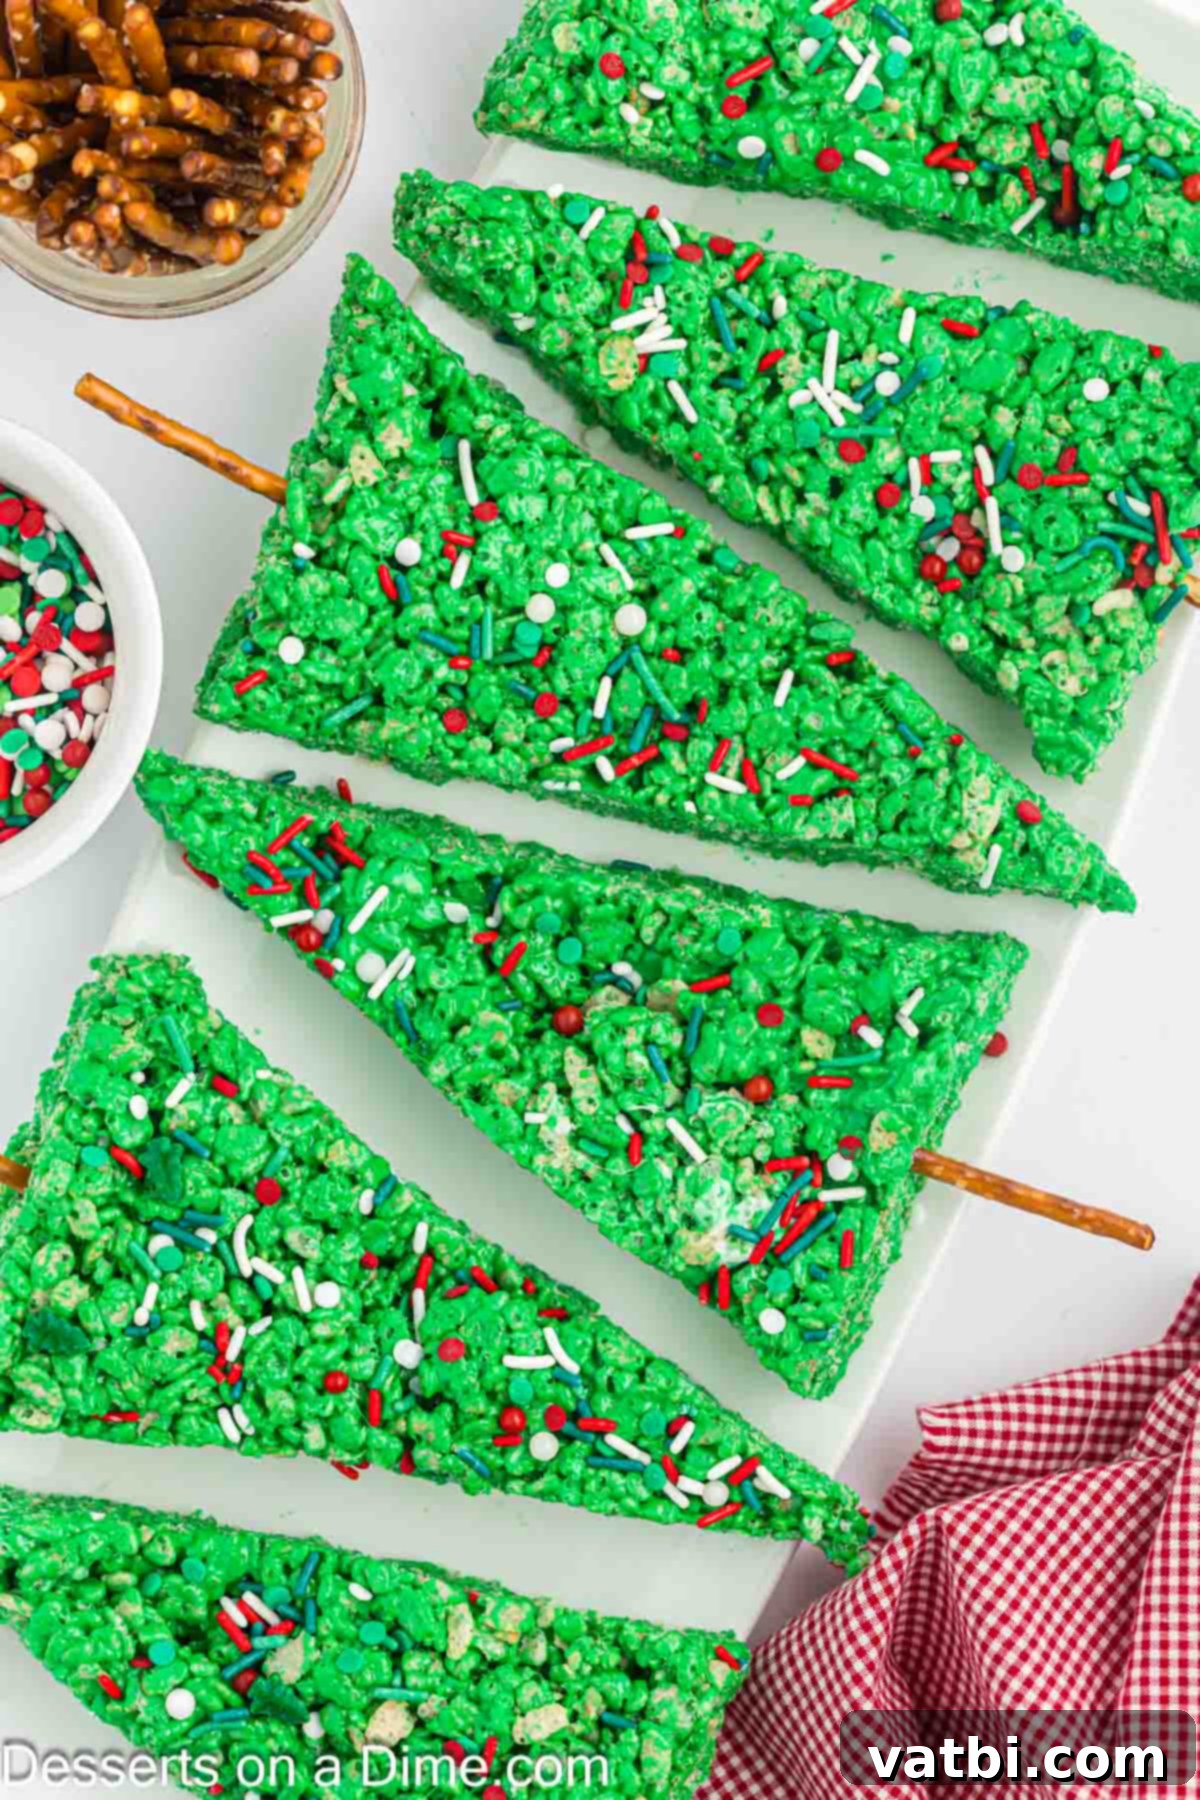
Our family absolutely adores classic Rice Krispie treats, so I’m always on the lookout for exciting and creative twists on this beloved no-bake dessert recipe. The beauty of Rice Krispie treats lies in their simplicity, affordability, and incredible versatility. They offer a blank canvas for culinary creativity, allowing us to transform a timeless snack into something truly special for any occasion. For the Christmas season, shaping them into charming green trees adorned with sprinkles and pretzel trunks is an instant hit! It’s an easy way to elevate a traditional favorite into a festive showstopper.
If you’re eager to master the art of Rice Krispie treats, you can find even more tips and tricks in our comprehensive guide on how to make perfect Rice Krispie treats every time. You might also enjoy our equally easy Christmas Rice Krispie Treats Recipe for other holiday-themed variations.
Table of contents
- Why We Love This Recipe
- Equipment You’ll Need
- Ingredients for Christmas Tree Rice Krispie Treats
- How to Make Christmas Tree Rice Krispie Treats
- Pro Tips for Perfect Rice Krispie Trees
- How to Cut Rice Krispie Treats Neatly
- How to Decorate Christmas Tree Rice Krispie Treats
- Storage and Freshness
- Variations for Your Holiday Treats
Why We Love This Recipe
There are countless reasons why these Christmas Tree Rice Krispie Treats have become a cherished tradition in our home and are sure to become one in yours too. First and foremost, their unbeatable simplicity makes them accessible to even the most novice bakers. You don’t need any fancy equipment or advanced culinary skills to whip up a batch of these adorable treats. This super easy recipe is truly the cutest Christmas dessert, perfect for bringing joy to any holiday party, school event, or family gathering.
Beyond their ease, these festive Rice Krispie treats are incredibly budget-friendly. With just a few staple ingredients like cereal, marshmallows, and butter, you can create a large batch of treats that feed a crowd without breaking the bank. This makes them an ideal choice if you’re looking for an inexpensive Christmas recipe that still delivers on charm and deliciousness.
Finally, the sheer joy of customizing each “tree” is a huge part of their appeal. From vibrant green food coloring to an array of festive sprinkles and candies, there are endless ways to make each treat unique. It’s a wonderful opportunity for children to get involved in the kitchen, fostering creativity and a love for baking. Anyone can make these delightful treats, and everyone will undoubtedly enjoy them – they’re guaranteed to bring smiles and holiday cheer!
Equipment You’ll Need
Making Christmas Tree Rice Krispie Treats doesn’t require a lot of specialized kitchen gadgets, which is another reason this recipe is so appealing. Here’s a quick list of what you’ll need to get started:
- Large Microwave-Safe Bowl: Essential for melting the butter and marshmallows. Make sure it’s big enough to comfortably mix in the cereal afterward.
- Baking Sheet or 9×13 Inch Pan: You’ll need this to spread out your Rice Krispie mixture before cutting. A larger surface area will allow for thinner treats, which are easier to shape into trees.
- Spatula or Wooden Spoon: For mixing the ingredients thoroughly. A non-stick spatula is highly recommended to prevent the sticky marshmallow mixture from clinging.
- Non-Stick Cooking Spray: Crucial for preventing sticking on your baking sheet, spatula, and even your hands.
- Sharp Knife or Pizza Cutter: For cleanly slicing the cooled Rice Krispie treats into triangles.
- Parchment Paper (Optional, but recommended): Lining your pan with parchment paper makes removing the entire slab of treats much easier for cutting.
Ingredients for Christmas Tree Rice Krispie Treats
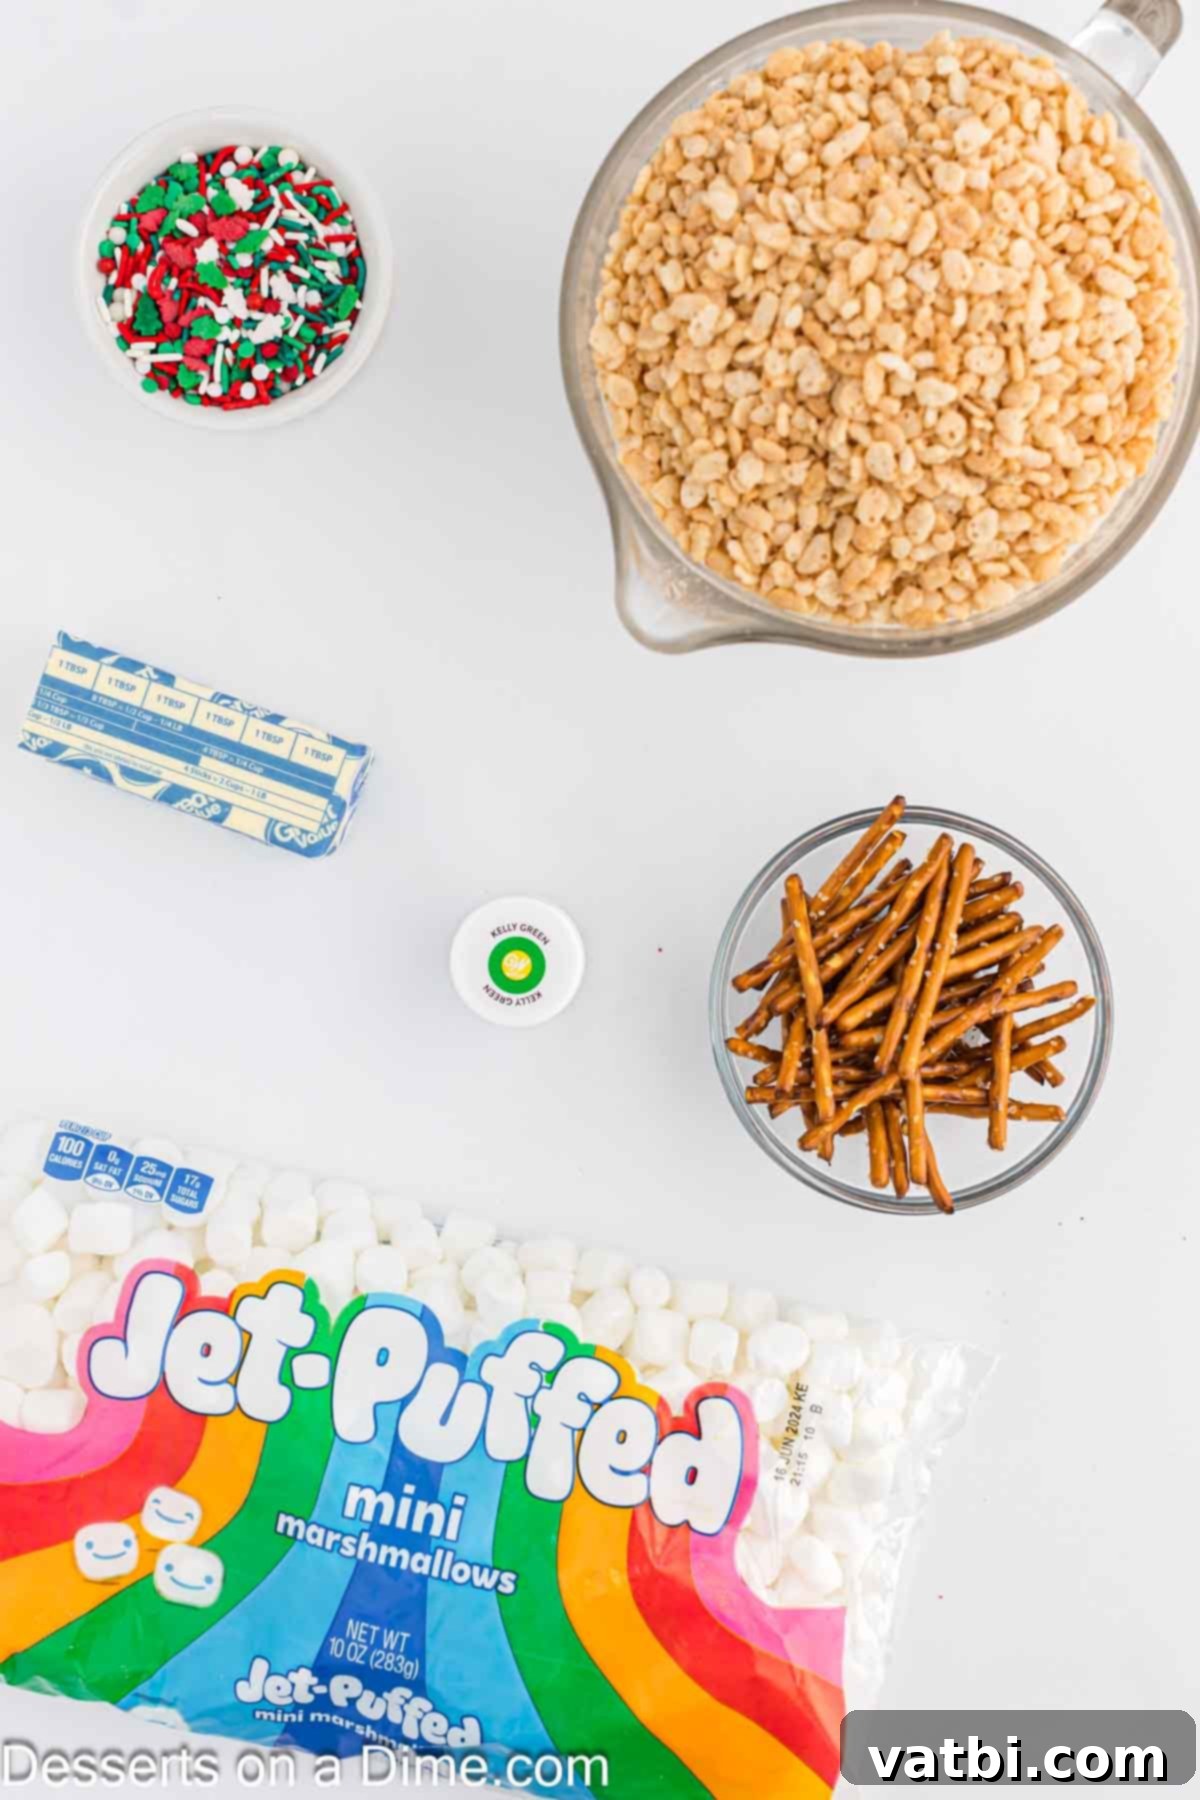
The beauty of this recipe lies in its incredibly simple ingredient list. You likely have most of these on hand already! Here’s what you’ll need to create your festive Rice Krispie trees:
- Rice Krispie Cereal: The star of the show! Make sure your cereal is fresh for the best crispy texture. Stale cereal can lead to soft treats. You’ll need 12 cups for this recipe to make about 40 trees.
- Butter: For that rich, essential flavor and gooey texture. We always recommend using real butter (unsalted or salted, depending on your preference) over margarine for superior taste and consistency. You’ll need 6 tablespoons.
- Mini Marshmallows: While you *can* use regular-sized marshmallows, mini marshmallows are definitely preferred for this recipe. They melt much more quickly and evenly, ensuring a smoother, more consistent marshmallow base without scorching. We’ll use two 10 oz. packages.
- Green Gel Food Coloring: This is what gives our Christmas trees their vibrant, festive hue. Make sure to use gel food coloring rather than liquid drops. Gel coloring provides a much more intense color with less product, preventing your mixture from becoming too wet.
- Small Pretzel Rods: These ingeniously serve as the tree trunks, adding a lovely salty crunch to complement the sweet treats. You’ll need about 40, one for each tree.
- Christmas Sprinkles: The ornaments for your trees! Use your favorite festive mix of red, green, gold, or silver sprinkles to add a cheerful and colorful touch.
Find the complete ingredient list with precise measurements at the bottom of the page in the printable recipe card section. These simple ingredients combine to create a truly magical holiday treat!
How to Make Christmas Tree Rice Krispie Treats
Get ready for a super simple, fun, and family-friendly baking experience! Follow these easy steps to create your adorable Christmas Tree Rice Krispie Treats:
- Step 1 – Prepare Your Pan: First, ensure your workspace is ready. Lightly spray a large baking sheet (or a 9×13 inch pan) with a non-stick cooking spray. If you’re using parchment paper, line the pan first and then spray the parchment paper for extra non-stick insurance.
- Step 2 – Melt Butter & Marshmallows: Next, combine the butter and marshmallows in a large, microwave-safe bowl. Microwave the mixture in 30-second intervals, stirring thoroughly with a greased spatula after each interval. Continue until the mixture is completely melted and smooth. This gradual melting prevents the marshmallows from overheating and becoming hard.
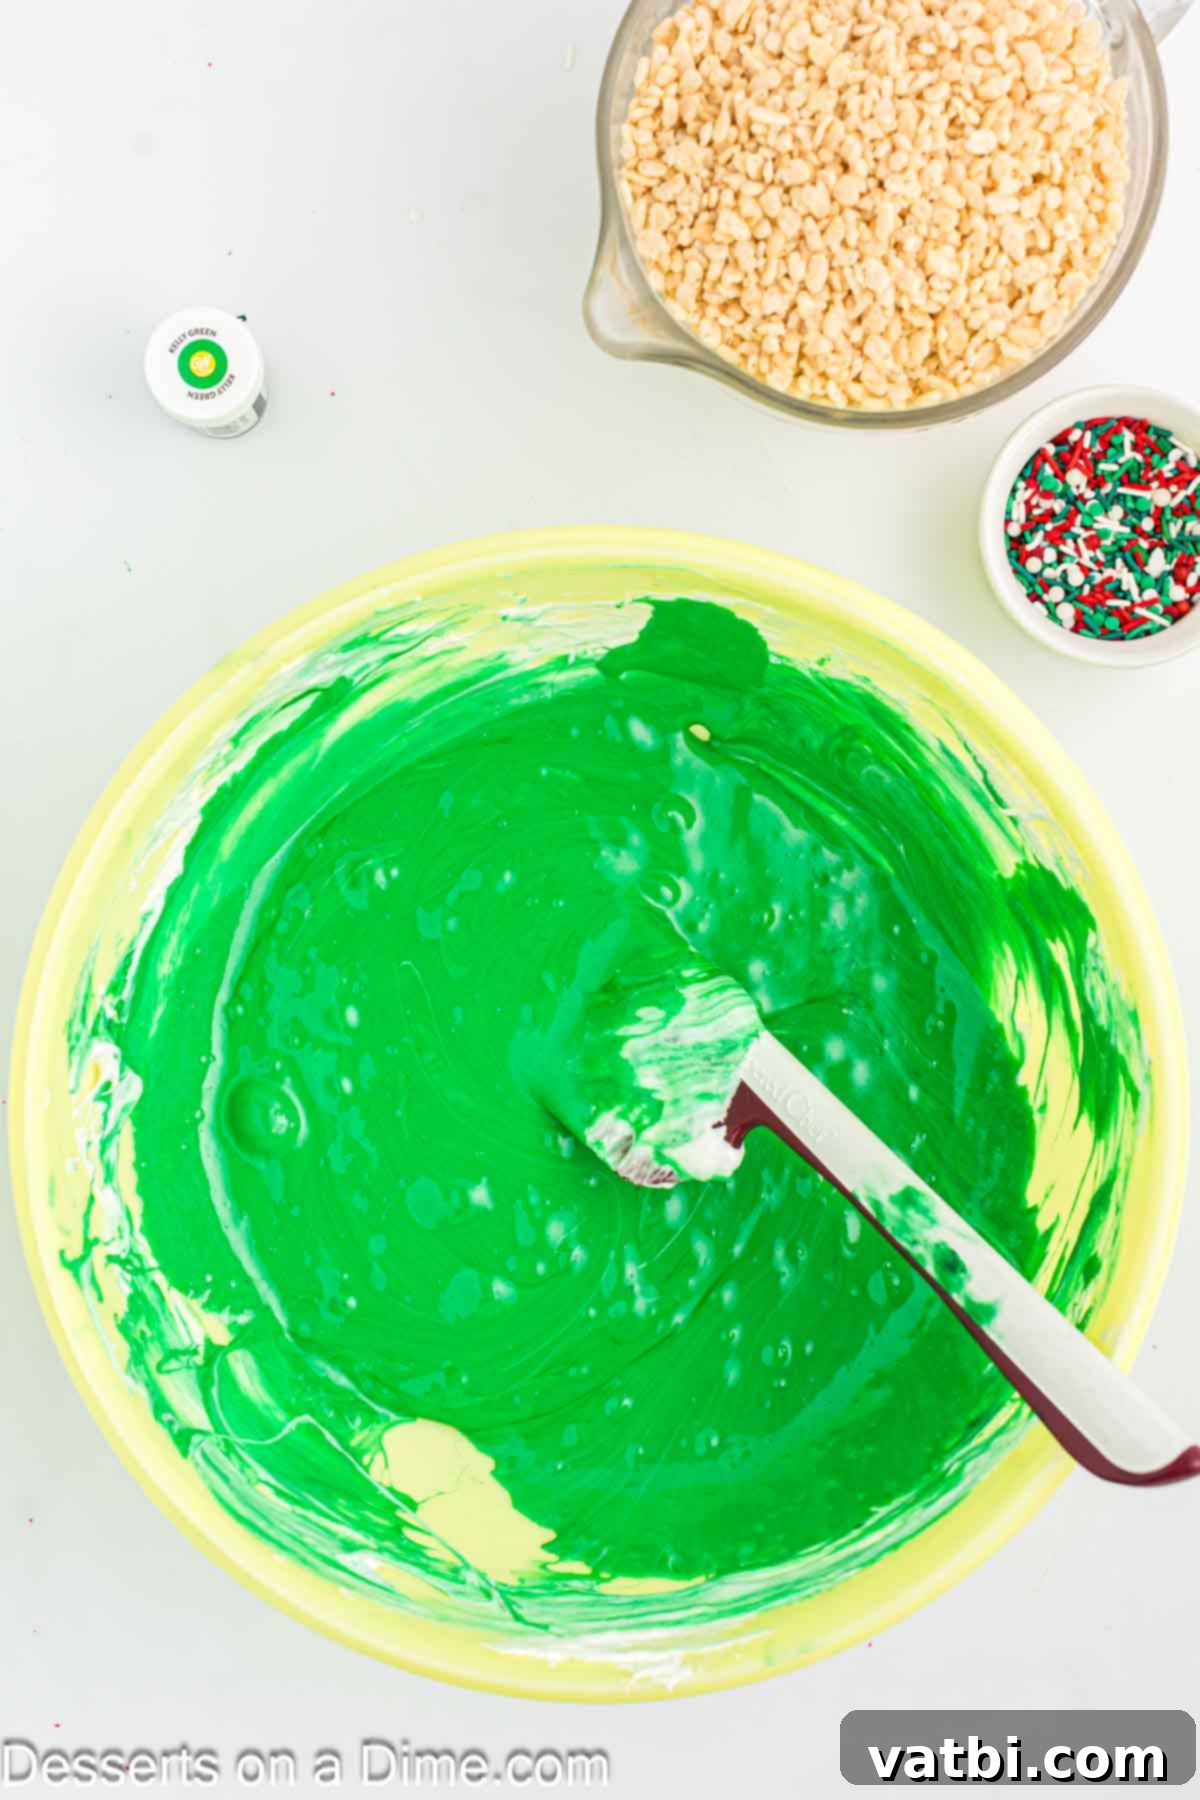
Step 3 – Add Green Color: Carefully add the green gel food coloring to the melted butter and marshmallow mixture. Stir with your spatula until the color is evenly distributed and you achieve a vibrant green. You can adjust the amount of coloring until it reaches your desired shade, adding a little at a time.
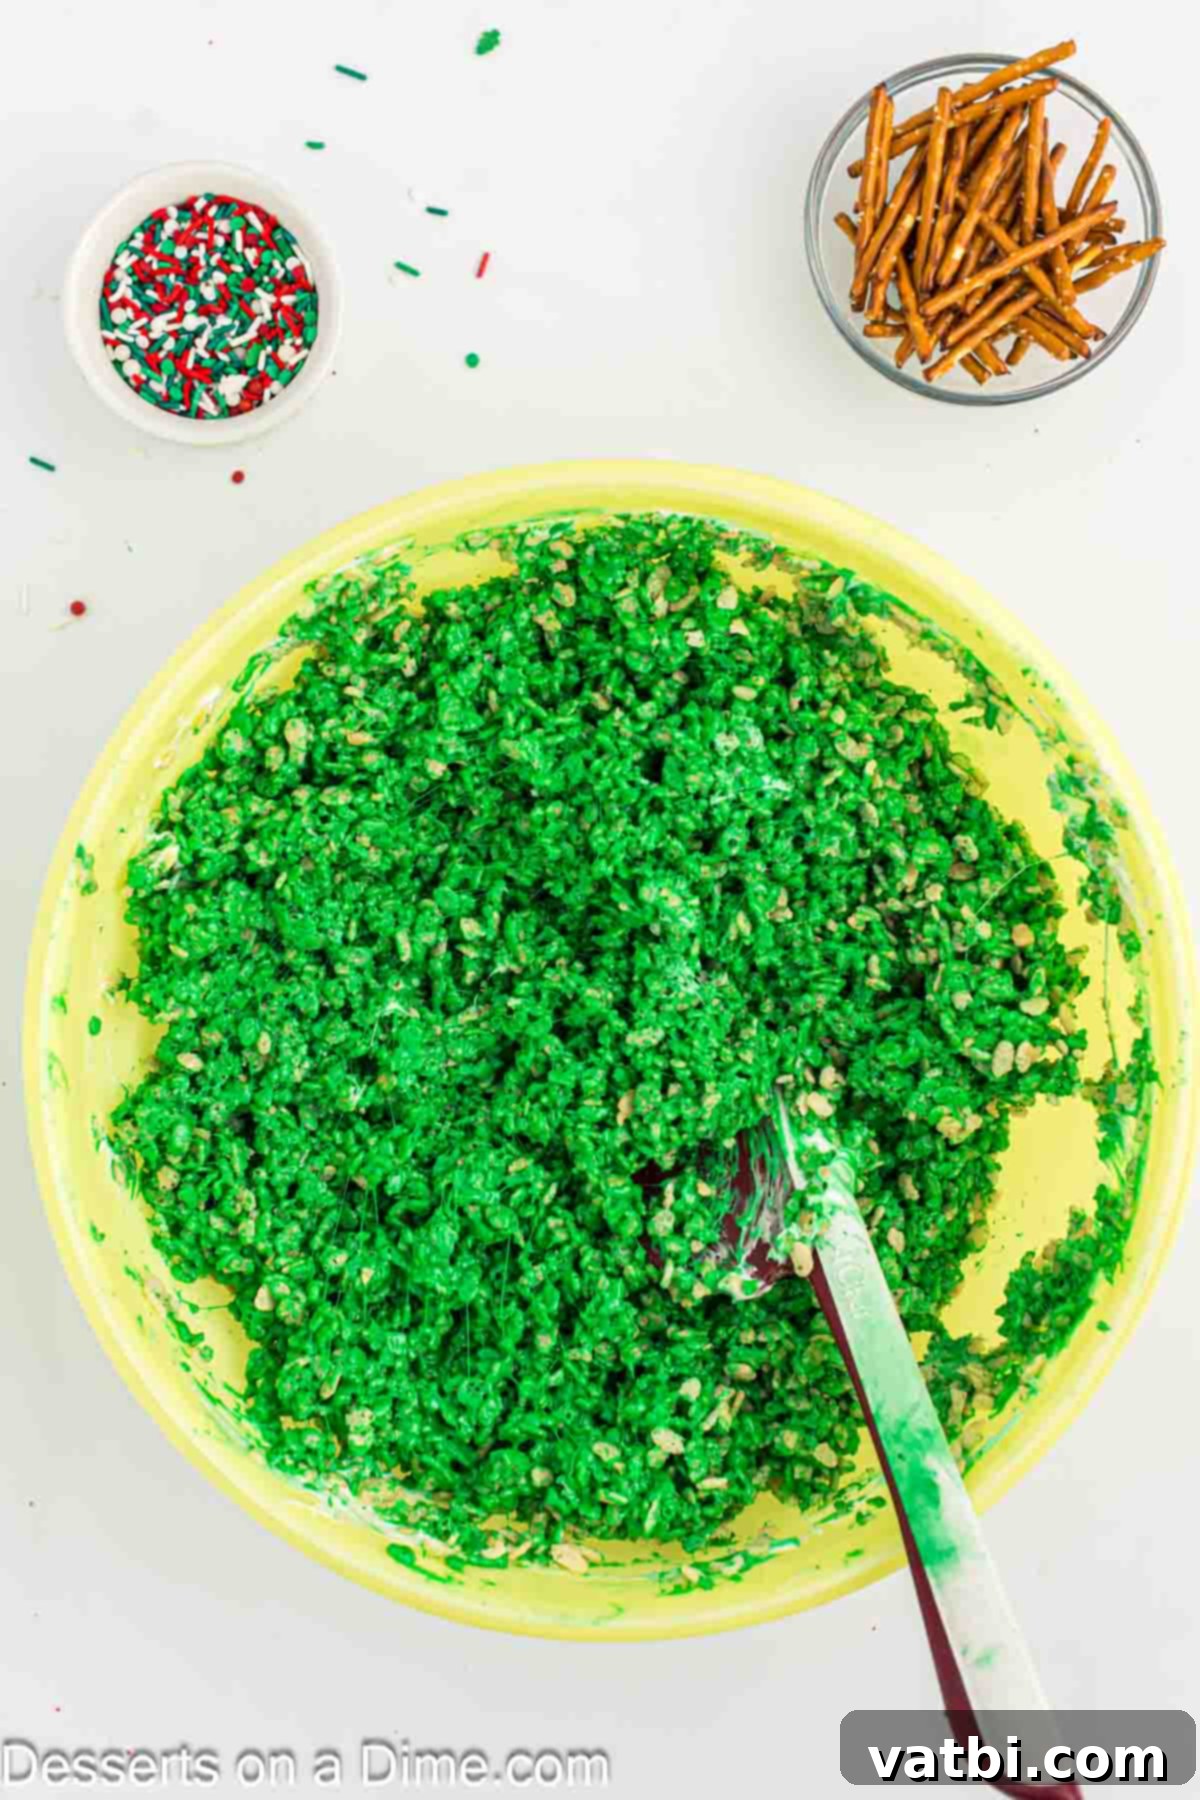
Step 4 – Incorporate Cereal: Once your marshmallow mixture is a beautiful green, gradually add in the Rice Krispies cereal. Fold gently with your greased spatula until the cereal is completely coated in the green marshmallow mixture. Be careful not to overmix, as this can make your treats hard.
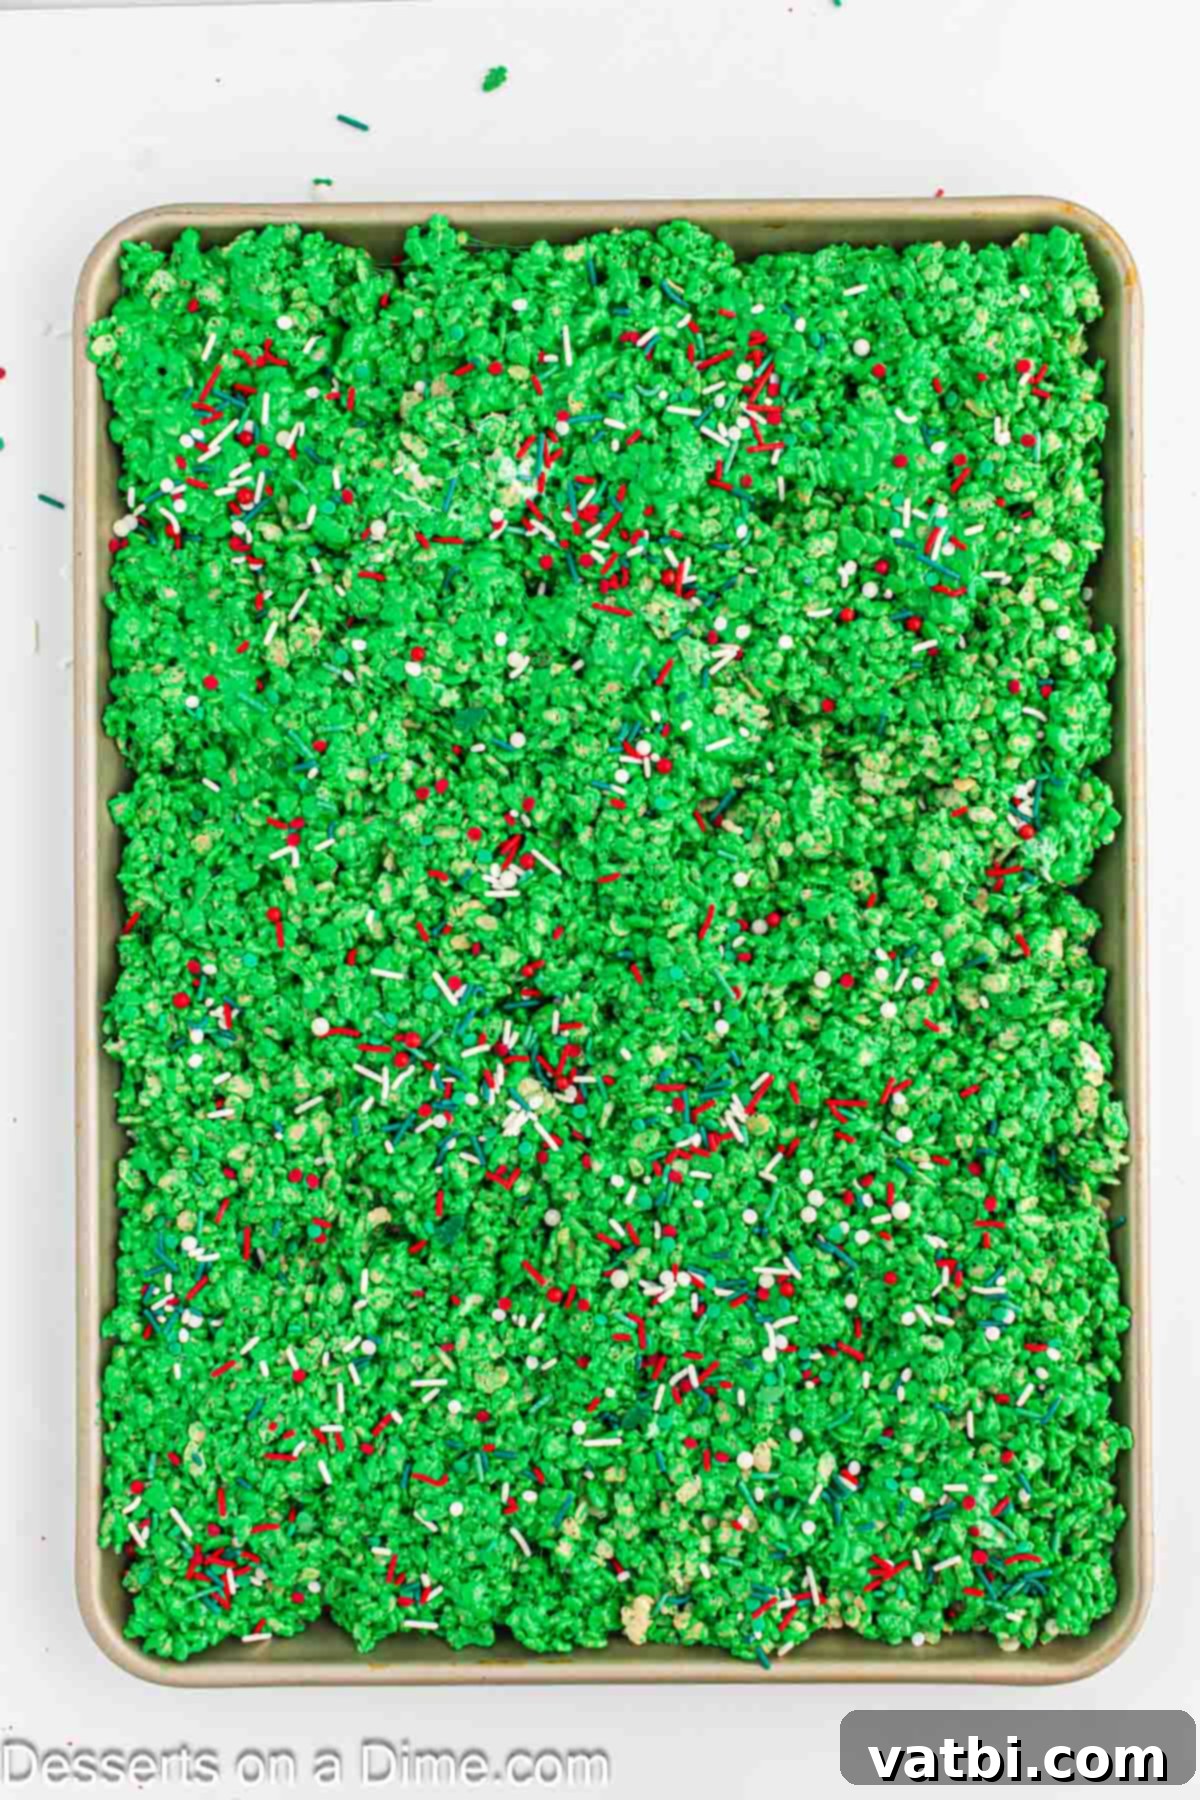
Step 5 – Press into Pan & Decorate: Using your greased spatula (or a piece of wax paper sprayed with non-stick cooking spray), spread the Rice Krispie mixture evenly into your prepared pan. Gently press it down into an even layer. Immediately add your chosen Christmas sprinkles to the top, pressing them down lightly so they adhere to the warm mixture.
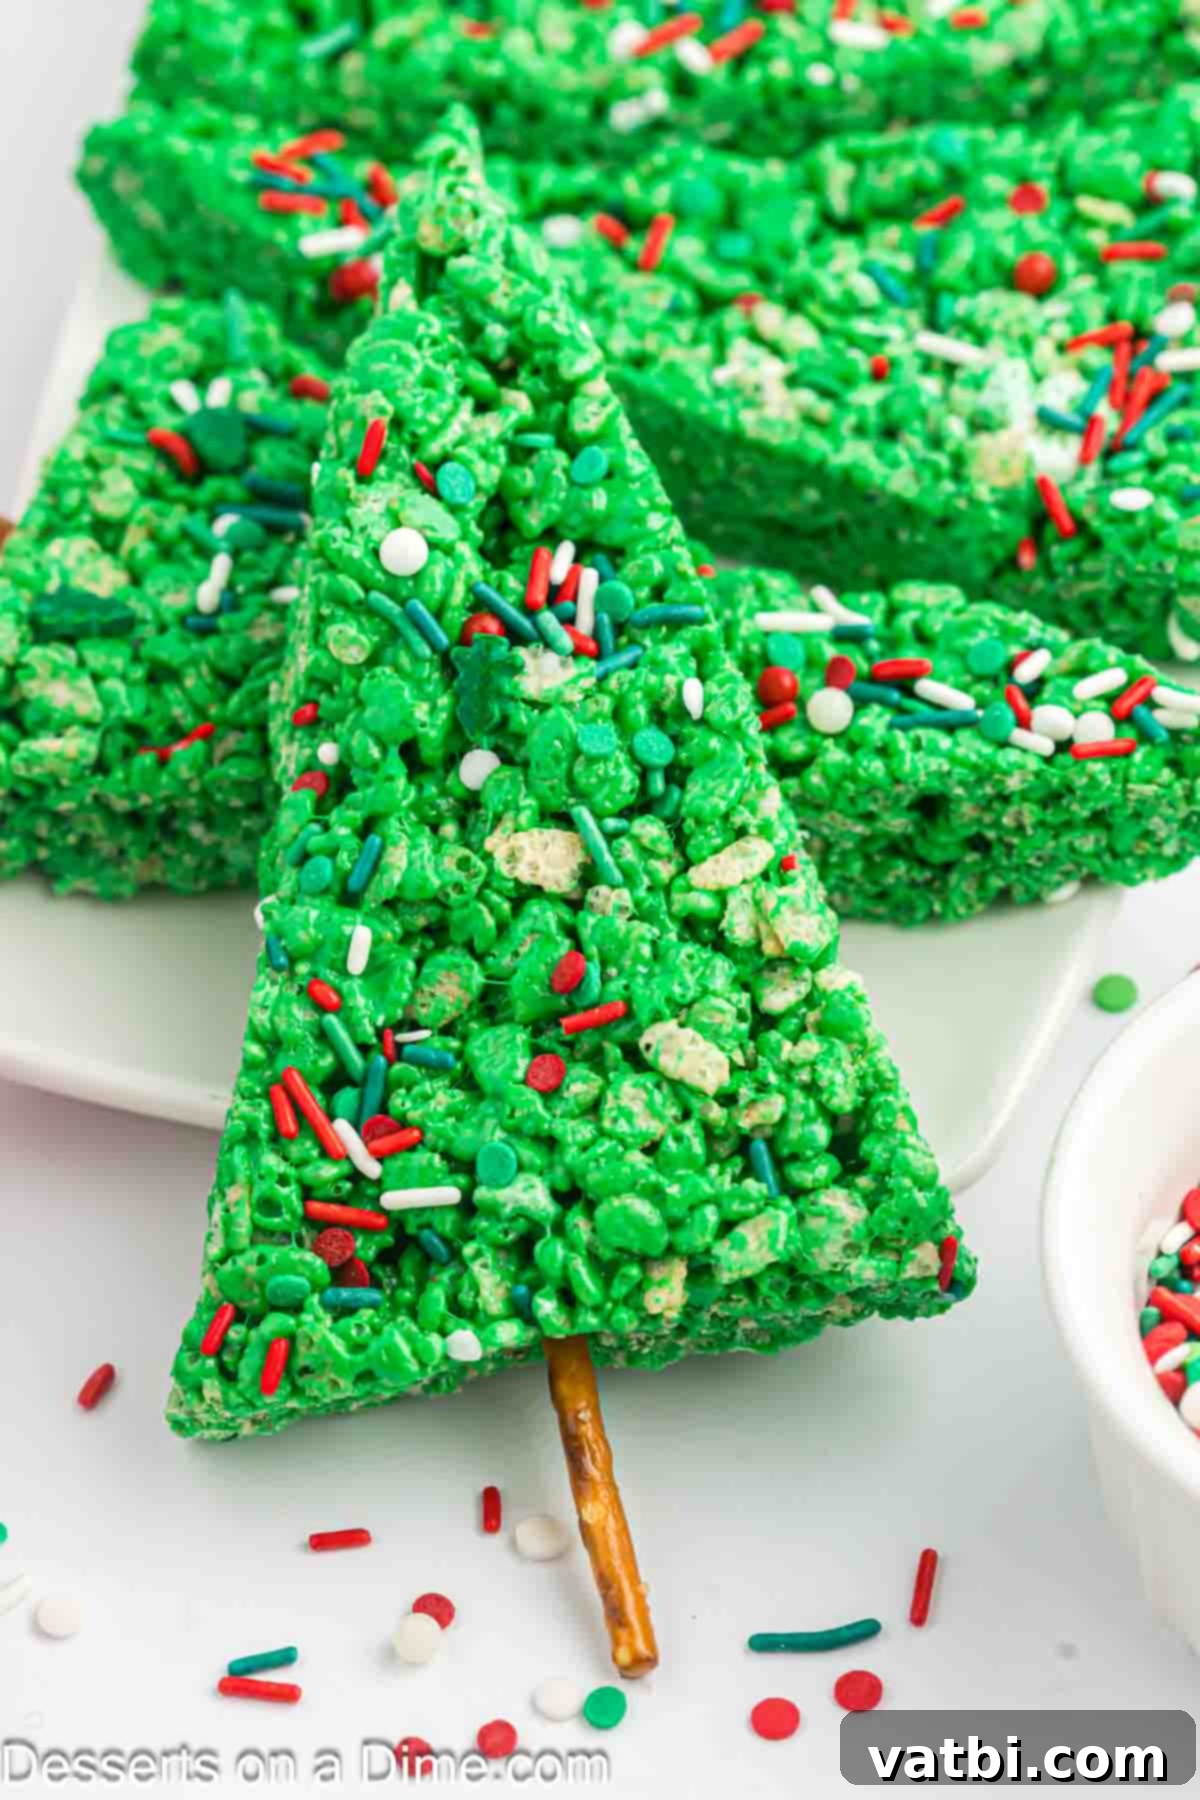
Step 6 – Cool, Cut & Add Trunks: Allow the mixture to cool completely at room temperature in the baking dish for at least 1-2 hours. Once set, carefully remove the entire slab of Rice Krispies onto a cutting board. Cut the mixture into approximately 40 even triangles. Finally, gently press a small pretzel stick into the bottom of each triangle to form the tree trunk. Now they’re ready to serve and enjoy!
Pro Tips for Perfect Rice Krispie Trees
Achieving perfectly soft, chewy, and beautifully shaped Christmas Tree Rice Krispie Treats is easy with a few simple tricks. Keep these pro tips in mind for the best results:
- Use Fresh Marshmallows: This is perhaps the most important tip! Fresh marshmallows are soft and pliable, melting smoothly to create a wonderfully gooey treat. Older, hardened marshmallows will result in stiff, difficult-to-mix, and less enjoyable treats.
- Don’t Overheat Marshmallows: When melting your butter and marshmallows, use low heat or short microwave intervals. Overheating can cause the marshmallows to become tough and rubbery once cooled. Melt until just smooth, stirring frequently.
- Cutting Bars – Timing is Key: Allow your holiday treats to set for at least an hour (or up to two hours) before cutting. This crucial cooling time allows the Rice Krispie mixture to firm up, making it much easier to achieve clean, defined triangle shapes without crumbling or sticking to your knife.
- Baking Pan Size – Aim for Thinness: We recommend using a large baking sheet or a 9×13 inch pan. The thinner your Rice Krispie treat layer, the easier it will be to cut into trees. A thicker layer might be harder to manage for precise cuts.
- Combine Ingredients – Gently Does It: When adding the Rice Krispies cereal to the marshmallow mixture, combine the ingredients until *just* coated. Overmixing is a common culprit for hard Rice Krispie treats. Stir just enough to evenly distribute the cereal.
- Pressing Mixture into Pan – Be Gentle: When spreading the mixture into the prepared pan, do not pack it down too firmly. Firmly compacting the ingredients will squeeze out the air, resulting in dense, hard bars that lose their delightful softness. Use a light hand and an even pressure to create a uniform layer. A piece of wax paper or parchment paper sprayed with cooking spray on top of the mixture can help you press it down gently without sticking to your hands.
- Grease Your Tools (and Hands!): Always spray your spatula, knife, and even your hands with non-stick cooking spray before working with the sticky marshmallow mixture. This prevents frustration and ensures a smoother process.
How to Cut Rice Krispie Treats Neatly
Cutting Rice Krispie treats into neat shapes, especially triangles for our Christmas trees, can be a bit tricky if not done correctly. Here’s how to ensure your trees look picture-perfect:
- Cool Completely: As mentioned in our pro tips, patience is a virtue! Ensure your Rice Krispie treat slab is fully cooled and set at room temperature. This is vital for clean cuts.
- Remove from Pan: The treats are easiest to cut when taken entirely out of the pan. If you lined your pan with parchment paper, simply lift the entire sheet of treats out and place it on a large cutting board. If you didn’t use parchment paper, carefully loosen the edges with a greased spatula and flip the slab out onto the cutting board.
- Use a Sharp, Greased Knife: A really sharp knife is your best friend here. Spray the blade generously with non-stick cooking spray before you start cutting. This prevents the sticky marshmallow from adhering to the knife and tearing your treats. After every few cuts, wipe the knife clean to ensure there isn’t any sticky buildup that could ruin subsequent cuts.
- Achieve Triangle Shapes: To cut into triangles, first slice the large rectangle into even strips. Then, take each strip and cut it diagonally from corner to corner to form triangles. For approximately 40 trees, aim for strips about 1 to 1.5 inches wide, then cut each strip into multiple triangles.
- Pizza Cutter Alternative: Another fantastic option for cutting Rice Krispie treats is a pizza cutter. Just like with a knife, spray the pizza cutter with non-stick cooking spray before use. This can make the process faster and often results in very clean, straight lines (though you’ll still need a knife for the diagonal cuts of the triangles).
Either of these options, combined with proper cooling and greasing, should ensure your Christmas Tree Rice Krispie treats look great and are perfectly formed.
How to Decorate Christmas Tree Rice Krispie Treats
This is where the real fun begins! Decorating your Christmas Tree Rice Krispie Treats allows for endless creativity and personalization. Think of each green triangle as a mini canvas ready for holiday cheer!
- Sprinkles Galore: We already added some Christmas sprinkles when the mixture was warm, but don’t stop there! Once the treats are completely cool and cut, you can add more. Use any type of sprinkles to decorate your Christmas Tree. Red and green are classic, but gold, silver, white, or even themed sprinkles (like tiny stars or snowflakes) would be wonderful. You can apply them with a little bit of melted white chocolate or gel icing as a “glue.”
- Gel Icing Garland: These Christmas Tree Rice Krispie Treats are perfect for adding thin lines of gel icing to mimic garlands. Opt for white, silver, or even contrasting red gel icing to swirl around your trees. This simple detail adds a lot of visual appeal and makes them look even more like miniature decorated Christmas trees.
- Candy Ornaments: Turn small candies into edible ornaments! Mini M&M’s, small round candies, edible glitter, or even tiny silver dragees can be pressed onto the trees (again, a dab of melted chocolate or icing helps them stick).
- Powdered Sugar “Snow”: For a magical, snowy effect, lightly dust the finished trees with powdered sugar just before serving. This adds a delicate sweetness and a beautiful wintery touch.
- Edible Gold/Silver Dust: For a touch of elegance, lightly brush edible gold or silver dust onto the trees, especially if you’re making them for an adult gathering.
- Different Shapes for Variety: While triangles are traditional for trees, don’t limit yourself! You can easily use different shapes of cookie cutters (like stars, bells, or gingerbread men) to create a variety of festive treats. Just ensure your cookie cutters are greased to prevent sticking.
Let your imagination run wild! The more creative you get with decorations, the more unique and memorable your Christmas Tree Rice Krispie Treats will be. It’s an excellent activity for kids to customize their own trees.
Storage and Freshness
To keep your delicious Christmas Tree Rice Krispie Treats soft, gooey, and fresh for as long as possible, proper storage is essential. They are a delightful snack, and with the right care, you can enjoy them for up to a week.
- Room Temperature is Best: Always store any leftover Rice Krispie treats in an airtight container at room temperature. A countertop pantry or cupboard is ideal. They will remain wonderfully soft and chewy for up to 1 week.
- Avoid the Refrigerator: Do not store these treats in the refrigerator. While it might seem like a good idea for freshness, the cold temperature will actually cause the marshmallows to harden and become stiff. This makes the treats less enjoyable and loses that signature gooey texture we all love.
- Freezing Not Recommended: We also do not recommend freezing these crispy treats. Freezing them will significantly change the texture of the treat. Upon thawing, they often become soggy, lose their crispness, and can develop a chewy, rubbery consistency that is far from their original deliciousness.
For the absolute best results and optimal texture, it’s always recommended to consume Rice Krispie treats within the first 2-3 days of making them, though they will certainly last longer when stored correctly at room temperature.
Variations for Your Holiday Treats
One of the many joys of Rice Krispie treats is how adaptable they are. While these Christmas Tree Rice Krispie Treats are festive on their own, you can easily customize them further to suit different tastes or occasions:
- Different Flavors: Try adding a touch of peppermint extract for a minty twist, or a dash of almond extract for a subtle, nutty flavor. You could even swirl in some melted chocolate into a portion of the mixture for chocolate trees!
- White Chocolate Drizzle: Instead of just sprinkles, melt some white chocolate and drizzle it over the cooled trees for an elegant “snowy” effect, or use it to create zig-zag patterns.
- Candy Cane Crush: For a vibrant red and white pop, crush some candy canes and sprinkle them over the warm mixture along with or instead of traditional sprinkles.
- Nutty Treats: If allergies aren’t a concern, mix in some finely chopped nuts (like pecans or walnuts) for added texture and a rich flavor profile.
- Chocolate Chips: Mini chocolate chips can be folded into the mixture or pressed onto the trees as “ornaments.” White chocolate chips would look especially festive on the green background.
- Different Colored Trees: While green is classic, imagine a forest of colorful trees! You could make some with red food coloring for Santa hats, or white with blue sprinkles for a winter wonderland theme.
These variations offer fantastic ways to keep the recipe fresh and exciting, allowing you to tailor your holiday treats to any preference or party theme!
More Christmas Tree Desserts
Cute Christmas Desserts
Christmas Tree Sugar Cookies Recipe
Cute Christmas Desserts
Little Debbie Christmas Tree Dip
Cute Christmas Desserts
Ice Cream Cone Christmas Trees
Cookies
Meringue Christmas Trees
Making these easy and adorable Christmas Tree Rice Krispie Treats is truly one of the most enjoyable holiday traditions. They are perfect for sharing, gifting, or simply enjoying with your loved ones during the festive season. Their simplicity means more time for making memories and less time stressing in the kitchen. So, gather your ingredients, call the kids, and get ready to create some delicious, edible Christmas magic!
We hope you enjoy making these delightful Christmas Tree Rice Krispie Treats. Please leave a comment below letting us know what you think and share your favorite decorating ideas. We love to hear from you!
Pin
Christmas Tree Rice Krispie Treats
15 minutes
1 hour
1 hour 15 minutes
40
American
Dessert
108
Carrie Barnard
Ingredients
- 12 cups Rice Krispie Cereal
- 6 Tablespoons Butter
- (2) 10 oz. package of Marshmallows
- Green Gel Food Coloring
- 40 Small Pretzel Rods
- Christmas Sprinkles
Instructions
-
Spray a baking sheet with a non-stick cooking spray.
-
Add the butter and marshmallows to a microwave safe bowl. Melt by microwaving in 30 second intervals and stir between each interval until fully melted.
-
Add the green gel food coloring to this mixture and stir until it’s a vibrant green color.
-
Gradually add in the Rice Krispies cereal. Mix until completely coated.
-
Spread evenly in prepared pan. You can use a piece of wax paper sprayed with non-stick cooking spray and press the rice krispie mixture into the bottom of the pan.
-
Top with the Christmas sprinkles and press them down slightly into the mixture as well.
-
Allow to cool by sitting at room temperature for 1-2 hours.
-
After this time, cut the mixture into approximately 40 even triangles and gently press a pretzel rod into the bottom of the triangle.
-
Serve and enjoy!
Nutrition Facts
Pin This Now to Remember It Later
Pin Recipe
