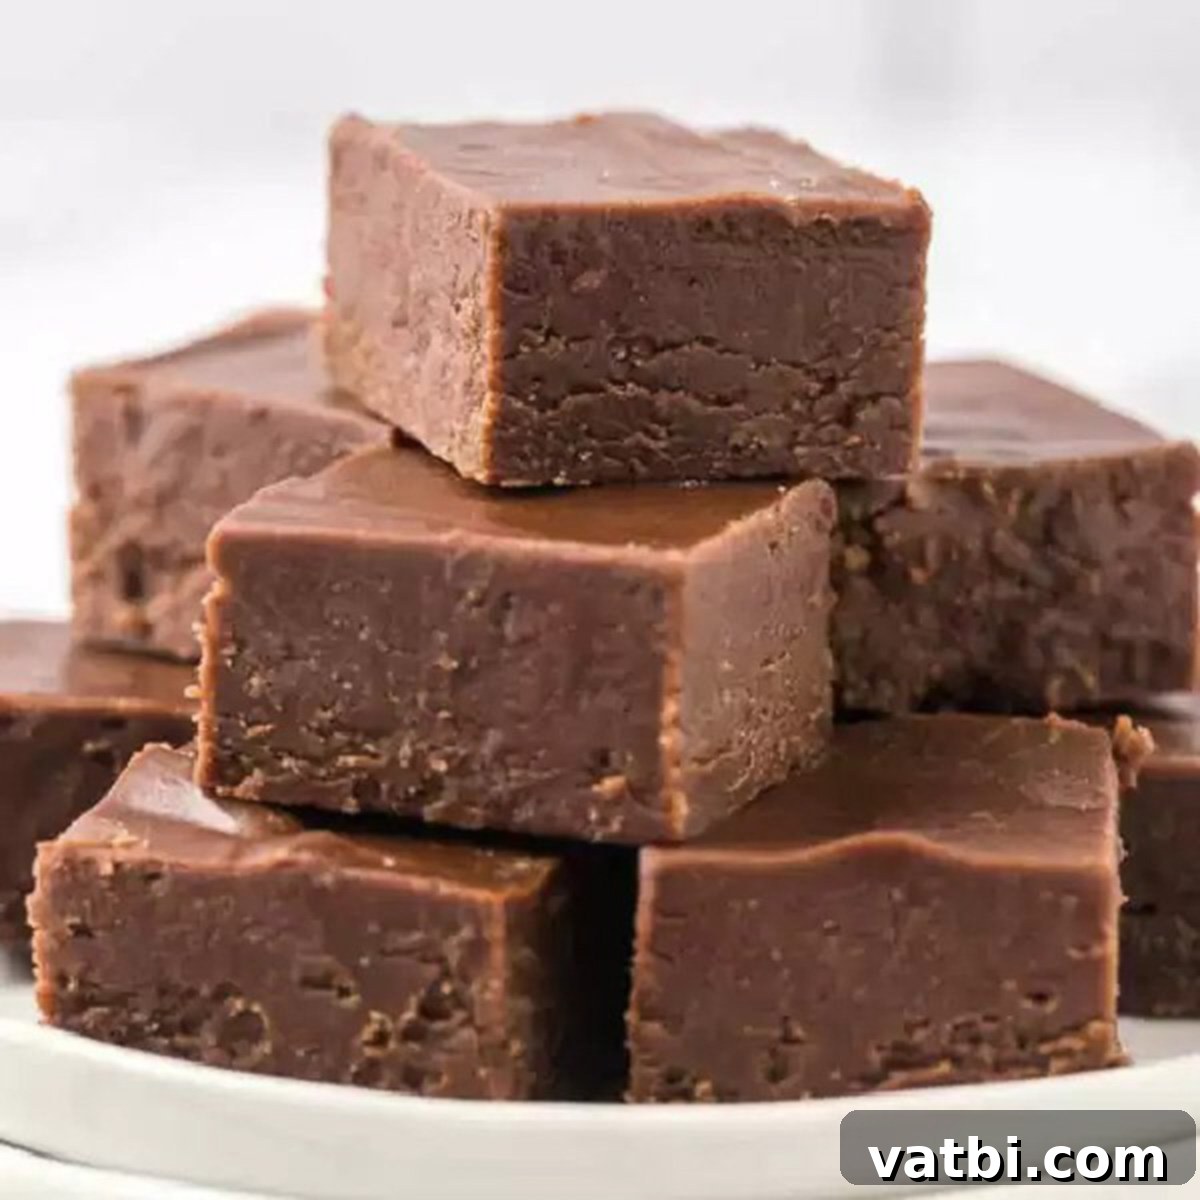
Easy 2-Ingredient Chocolate Peanut Butter Fudge: The Ultimate Simple Dessert Recipe
Prepare to be amazed by the incredible simplicity and irresistible flavor of this 2-ingredient Chocolate Peanut Butter Fudge recipe. It’s a true game-changer for anyone who loves rich, creamy fudge but doesn’t have hours to spend in the kitchen. This foolproof recipe delivers a decadent, smooth, and intensely flavored chocolate peanut butter treat that tastes like it came from a gourmet candy shop, yet requires minimal effort and no fancy equipment. Perfect for satisfying those sudden sweet cravings or preparing a quick dessert for guests, this fudge will quickly become a cherished favorite in your recipe collection.
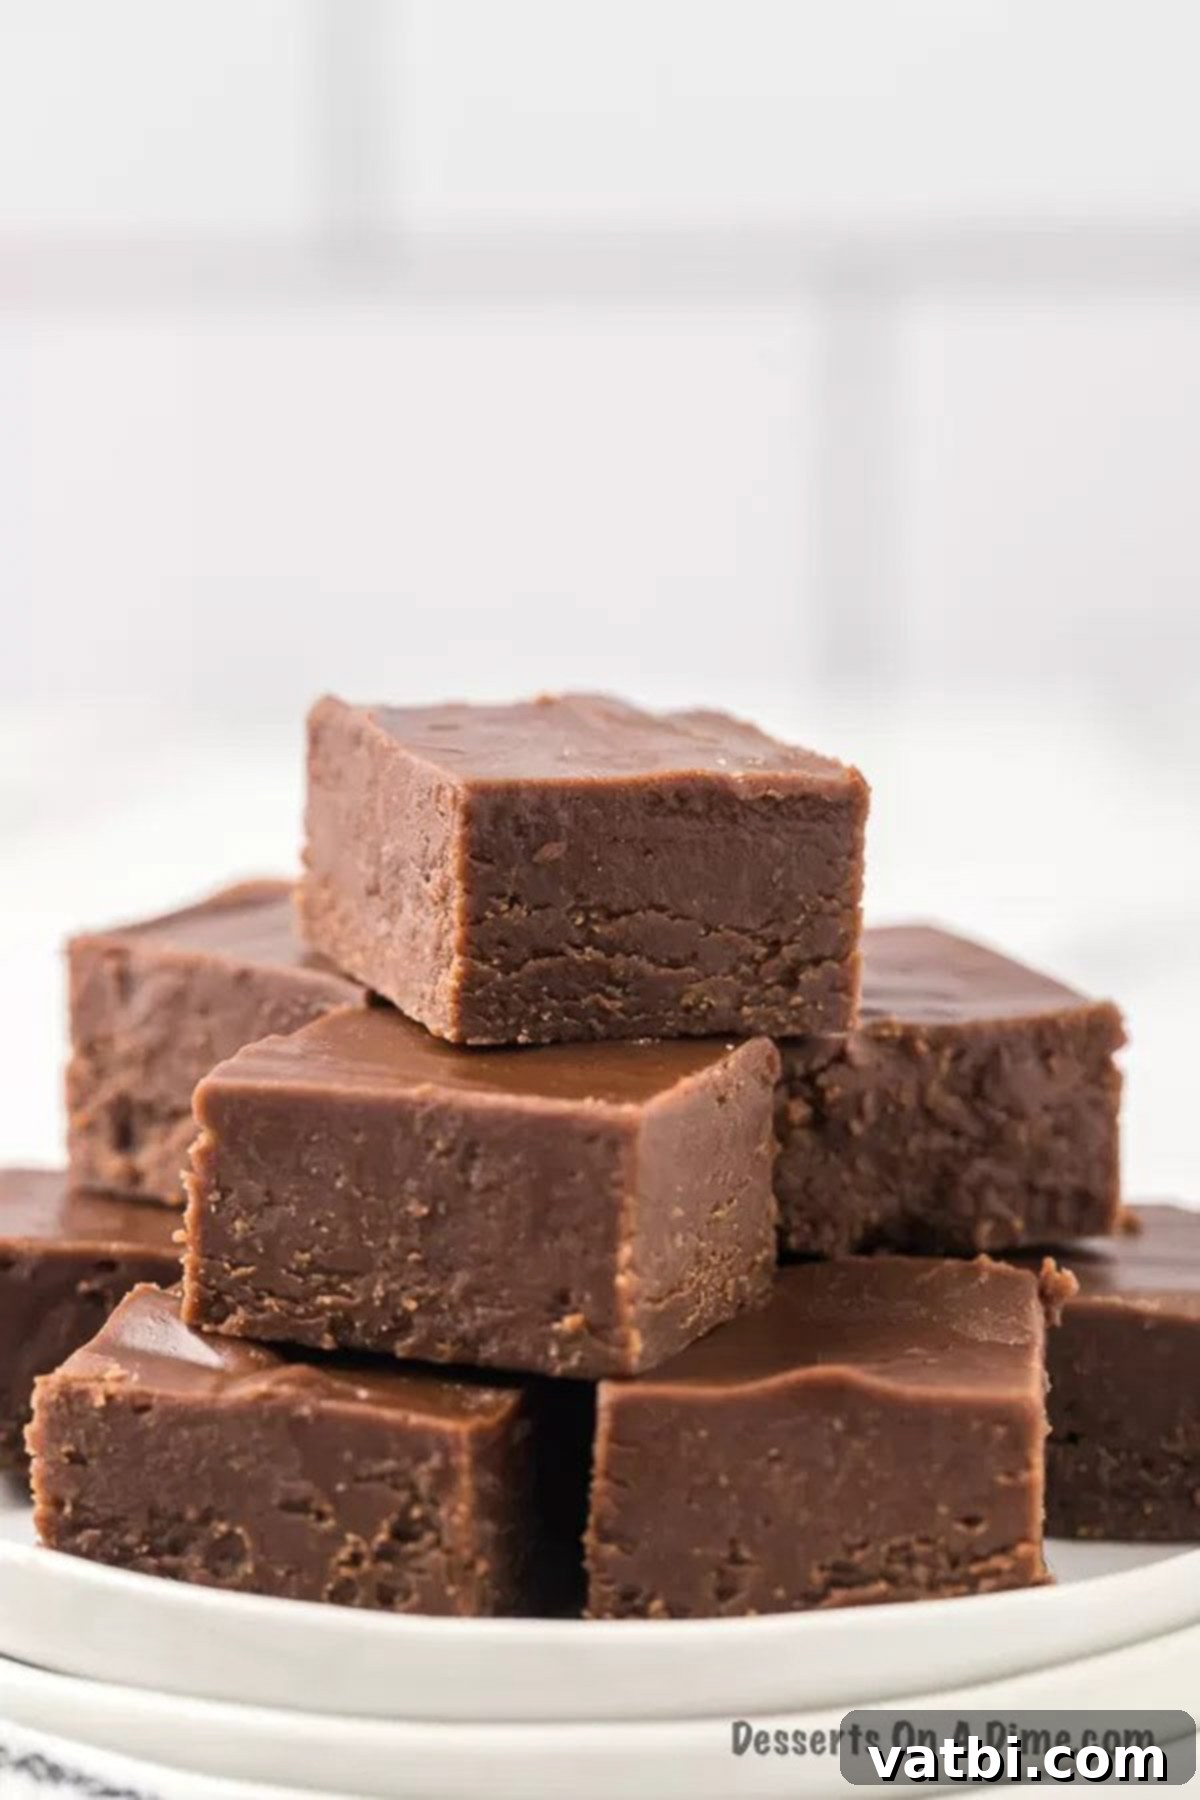
Finding a recipe that combines pure deliciousness with absolute ease is a culinary triumph, and this 2-ingredient fudge is precisely that. For many of us, traditional fudge recipes, with their precise sugar stages and candy thermometers, can feel daunting and time-consuming. This recipe eliminates all that complexity, offering a streamlined approach to homemade fudge that is perfect for busy schedules. Whether you’re whipping up a batch for a special holiday like Christmas, or simply craving a sweet snack any time of year, this recipe is incredibly adaptable. From classic Salted Caramel Fudge to vibrant Tiger Butter Fudge, the world of fudge offers endless possibilities, but none are quite as effortless and satisfying as this chocolate peanut butter microwave fudge.
This remarkably simple chocolate peanut butter fudge recipe is designed for speed and convenience, taking just a few minutes of active time in the microwave. The beauty of this method lies in its ability to produce incredibly smooth and creamy fudge with a deeply satisfying flavor profile, reminiscent of a classic peanut butter cup, but in a delightful fudge form. It’s a no-bake dessert that requires minimal clean-up and delivers maximum indulgence, making it ideal for novice bakers and seasoned dessert enthusiasts alike. Get ready to impress yourself and everyone else with this delightful, quick, and easy treat!
Table of Contents
- Why You’ll Adore This Recipe
- Essential Ingredients
- Exciting Variations & Mix-ins
- Step-by-Step Instructions for Perfect Fudge
- Expert Tips for the Best Results
- Frequently Asked Questions
- More Irresistible Easy Fudge Recipes
Why You’ll Adore This Recipe
There are countless reasons to fall in love with this easy 2-ingredient peanut butter fudge recipe. First and foremost, its sheer simplicity means you can satisfy your fudge cravings almost instantly, without the usual fuss or extensive ingredient list. Forget about complex techniques, standing over a hot stove, or painstakingly monitoring temperatures with a candy thermometer. All you need are two pantry staples and the humble convenience of your microwave.
This recipe is an absolute lifesaver for last-minute gatherings, unexpected guests, or simply when you need a quick pick-me-up. It’s a no-bake wonder, meaning no oven required and less heat in your kitchen, which is especially great during warmer months. The rich, creamy texture and deep chocolate peanut butter flavor make it incredibly satisfying. It’s also a fantastic recipe for involving kids in the kitchen, as the steps are straightforward and safe. Seriously, if you’re looking for the easiest, creamiest, and most delicious fudge you’ve ever made, look no further. This truly is the best fudge recipe for convenience without compromising on taste or texture, ensuring a perfect batch every single time.
Essential Ingredients
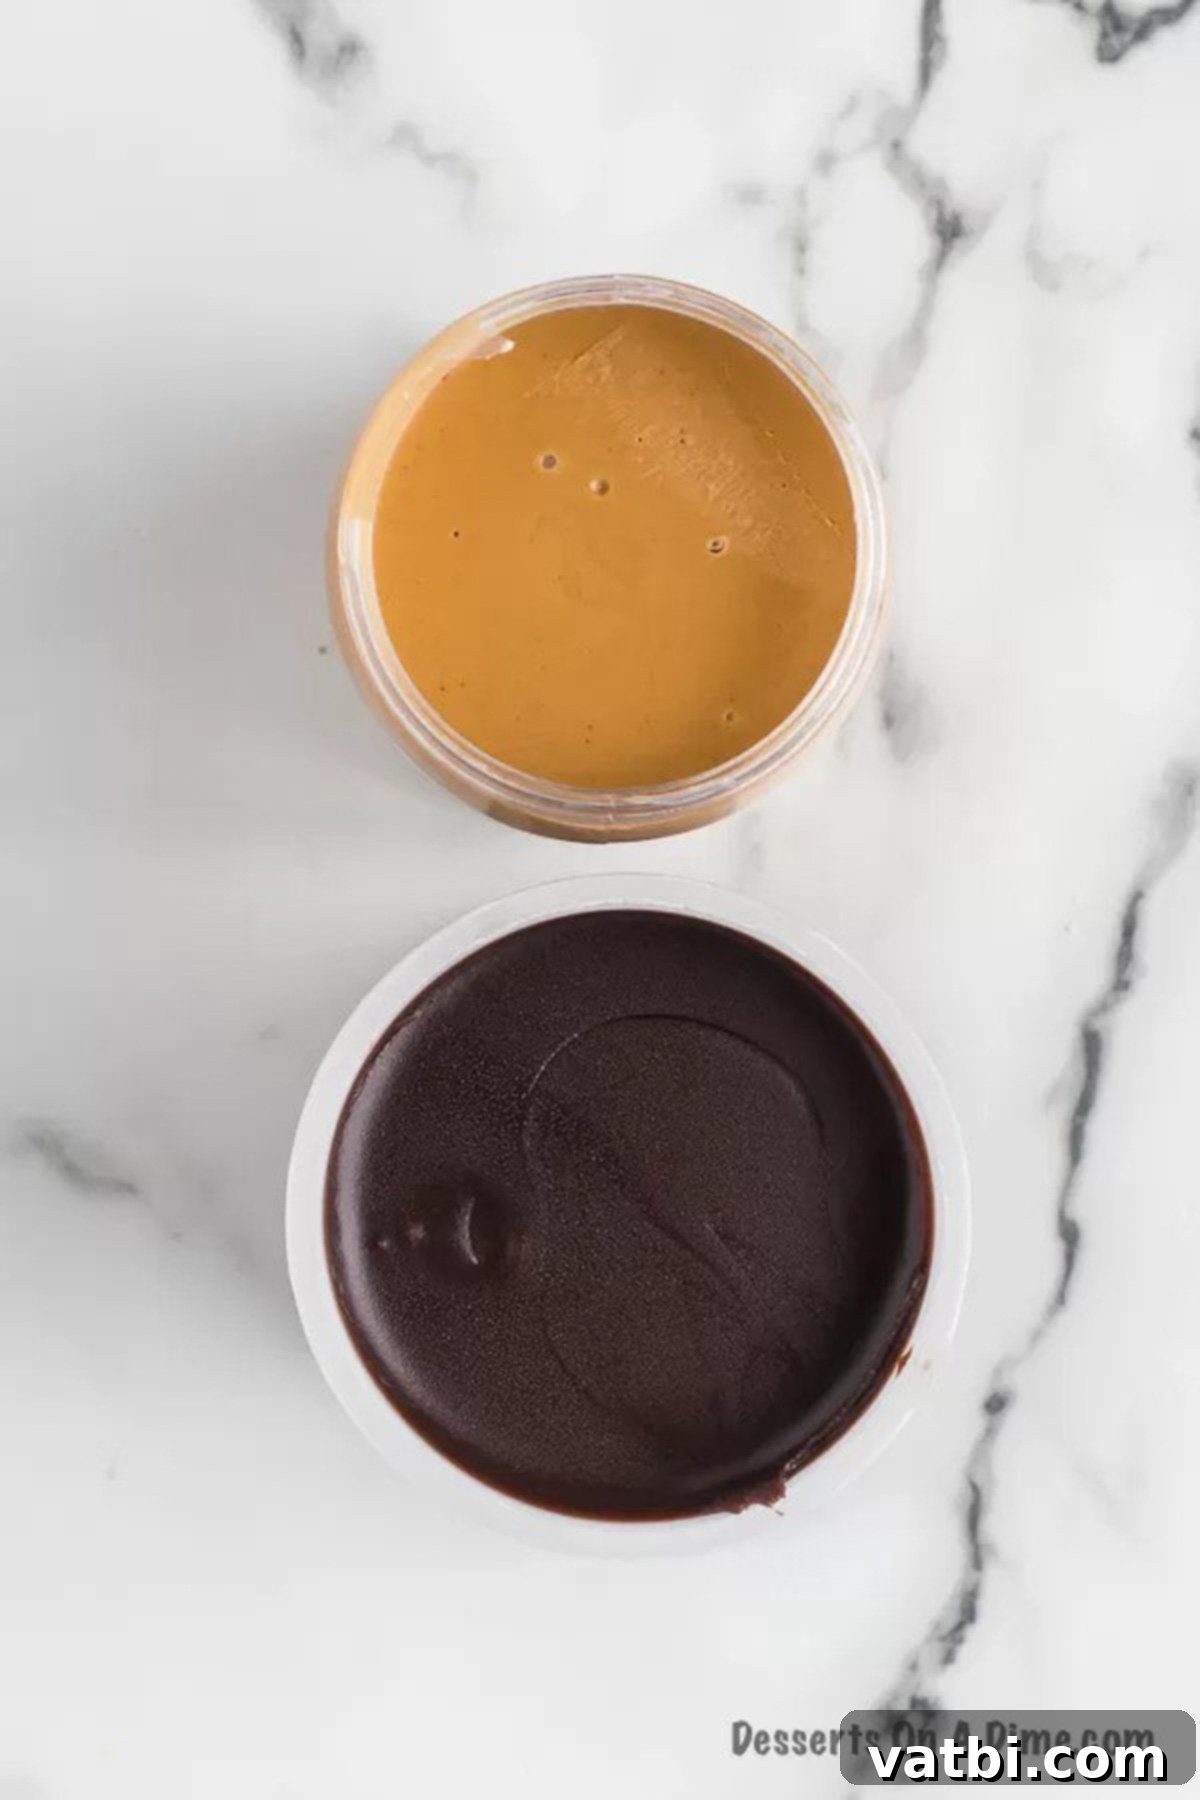
The magic of this 2-ingredient chocolate peanut butter fudge lies in its incredibly short and sweet ingredient list. You only need two items, which makes shopping a breeze and prep even easier. Here’s what you’ll need to create this delightful treat:
- Peanut Butter: For that signature smooth and melt-in-your-mouth texture, opt for creamy peanut butter. While natural peanut butter can be used, ensure it’s well-stirred and fully emulsified to prevent a grainy fudge. The classic creamy varieties work best to achieve the desired consistency and flavor profile for this easy recipe. Avoid sugar-free or reduced-fat options, as their different compositions may affect the final texture of your fudge.
- Chocolate Frosting: The brilliant secret ingredient that provides both sweetness and structure! Choose a traditional, store-bought chocolate frosting, ideally one that is rich and thick, not whipped. The consistency of traditional frosting is crucial here as it contains the sugar, fat, and binding agents needed to create the perfect fudge texture when combined with peanut butter. A standard 16-ounce jar is the ideal amount and works wonderfully with a corresponding jar of peanut butter.
That’s it! Just two simple ingredients transform into a decadent treat. You won’t believe how much rich flavor these two components unlock when combined and set properly. Refer to the full recipe card below for precise measurements and detailed instructions.
Exciting Variations & Mix-ins
While the classic 2-ingredient chocolate peanut butter fudge is undeniably delicious on its own, its simplicity also makes it a fantastic canvas for creative variations and delightful mix-ins. Don’t be afraid to experiment and customize your fudge to suit your taste or the occasion!
- Alternative Nut Butters: If you’re not a fan of peanut butter, or simply want to try something new, feel free to substitute it with another creamy nut butter. Almond butter, cashew butter, or even a seed butter like sunflower seed butter could offer unique flavor profiles and textures. Just ensure the alternative butter has a similar creamy consistency to traditional peanut butter for the best results, as oil separation or differing emulsifiers could impact the final set.
- Crunchy Peanut Butter: For those who love a bit of texture in their sweets, swap creamy peanut butter for crunchy peanut butter. This will introduce delightful pockets of peanut pieces throughout the fudge, adding a satisfying bite and a slightly different mouthfeel to your peanut butter fudge. Keep in mind that the overall smoothness will be slightly reduced, but the added crunch is a welcome trade-off for many!
- Different Frosting Flavors: The frosting is a key component for both flavor and structure.
- Pure Peanut Butter Fudge: Substitute the chocolate frosting with vanilla frosting to create a delicious, pure peanut butter fudge. This variation is incredibly popular and truly highlights the rich, nutty flavor of the peanut butter without the chocolate interference.
- Other Exciting Flavors: Don’t limit yourself to chocolate or vanilla! Imagine the possibilities with cream cheese frosting for a tangy touch, caramel frosting for a rich, buttery depth, or even strawberry frosting for a unique fruity twist. Each change in frosting will completely transform the flavor profile of your fudge, opening up a world of new taste sensations.
- Add a Nutty Crunch: Enhance the texture and flavor by folding in chopped nuts. Walnuts, pecans, or even roasted peanuts would be absolutely delicious in this recipe, complementing the rich flavors. You can stir them directly into the fudge mixture before pouring it into the pan, or sprinkle them generously on top for an appealing garnish and extra crunch. Toasting the nuts lightly beforehand can also deepen their flavor.
- Fun Mix-ins: Take your fudge to the next level with a variety of sweet mix-ins. The possibilities are truly endless and can be tailored to any preference or theme.
- Candy Goodness: Mini M&M’s, Reese’s Pieces, or chopped Snickers bars can add a burst of color, a delightful candy crunch, and an extra layer of sweetness.
- Sweet Chips & Chunks: Peanut butter chips, white chocolate chips, butterscotch chips, or even dark chocolate chunks can deepen the flavor and add another layer of indulgence, creating a more complex flavor profile.
- Soft & Chewy: Mini marshmallows, stirred in just before setting, will create a soft, chewy texture, adding a delightful contrast to the smooth fudge.
- Sweet & Salty: For a popular sweet and salty combination, crush some pretzels and sprinkle them over the top or gently fold them into the mixture.
Stir your chosen mix-ins into the warm fudge mixture just before pouring it into the prepared baking dish to ensure even distribution.
- Flavor Extracts: A simple addition of 1 teaspoon of vanilla extract can deepen and round out the flavors of the fudge, enhancing both the chocolate and peanut butter notes. Other extracts like almond, coffee, or peppermint could also be used for seasonal variations or specific flavor profiles, offering an aromatic boost.
- Decorative Toppings: Elevate the visual appeal of your fudge by adding toppings.
- Sprinkles: Colorful sprinkles are perfect for holidays, birthday parties, or any special occasion. Choose colors and shapes to match your theme!
- Crushed Delights: Graham cracker crumbs, crushed Oreos, or finely chopped cookies can add texture and an extra layer of flavor.
- Cocoa Powder: A dusting of unsweetened cocoa powder can enhance the chocolate notes and give it a sophisticated, slightly bitter finish to balance the sweetness.
- Sea Salt Flakes: A sprinkle of flaky sea salt on top provides a beautiful contrast and elevates the overall taste profile, especially with the chocolate and peanut butter combination, making it utterly addictive.
- Creative Shapes: Instead of traditional squares or bars, use festive cookie cutters to cut your fudge into fun shapes once it has fully set. Hearts for Valentine’s Day, stars for patriotic celebrations, or Christmas trees for the holidays – this makes the fudge even more special and appealing, particularly for kids and themed events. Ensure your cookie cutters are sharp and clean for best results.
Step-by-Step Instructions for Perfect Fudge
Making this 2-ingredient chocolate peanut butter fudge is incredibly straightforward, thanks to the magic of your microwave. Follow these simple steps for a consistently perfect batch every time. Before you begin, ensure you have your two ingredients ready and a suitable baking dish prepared.
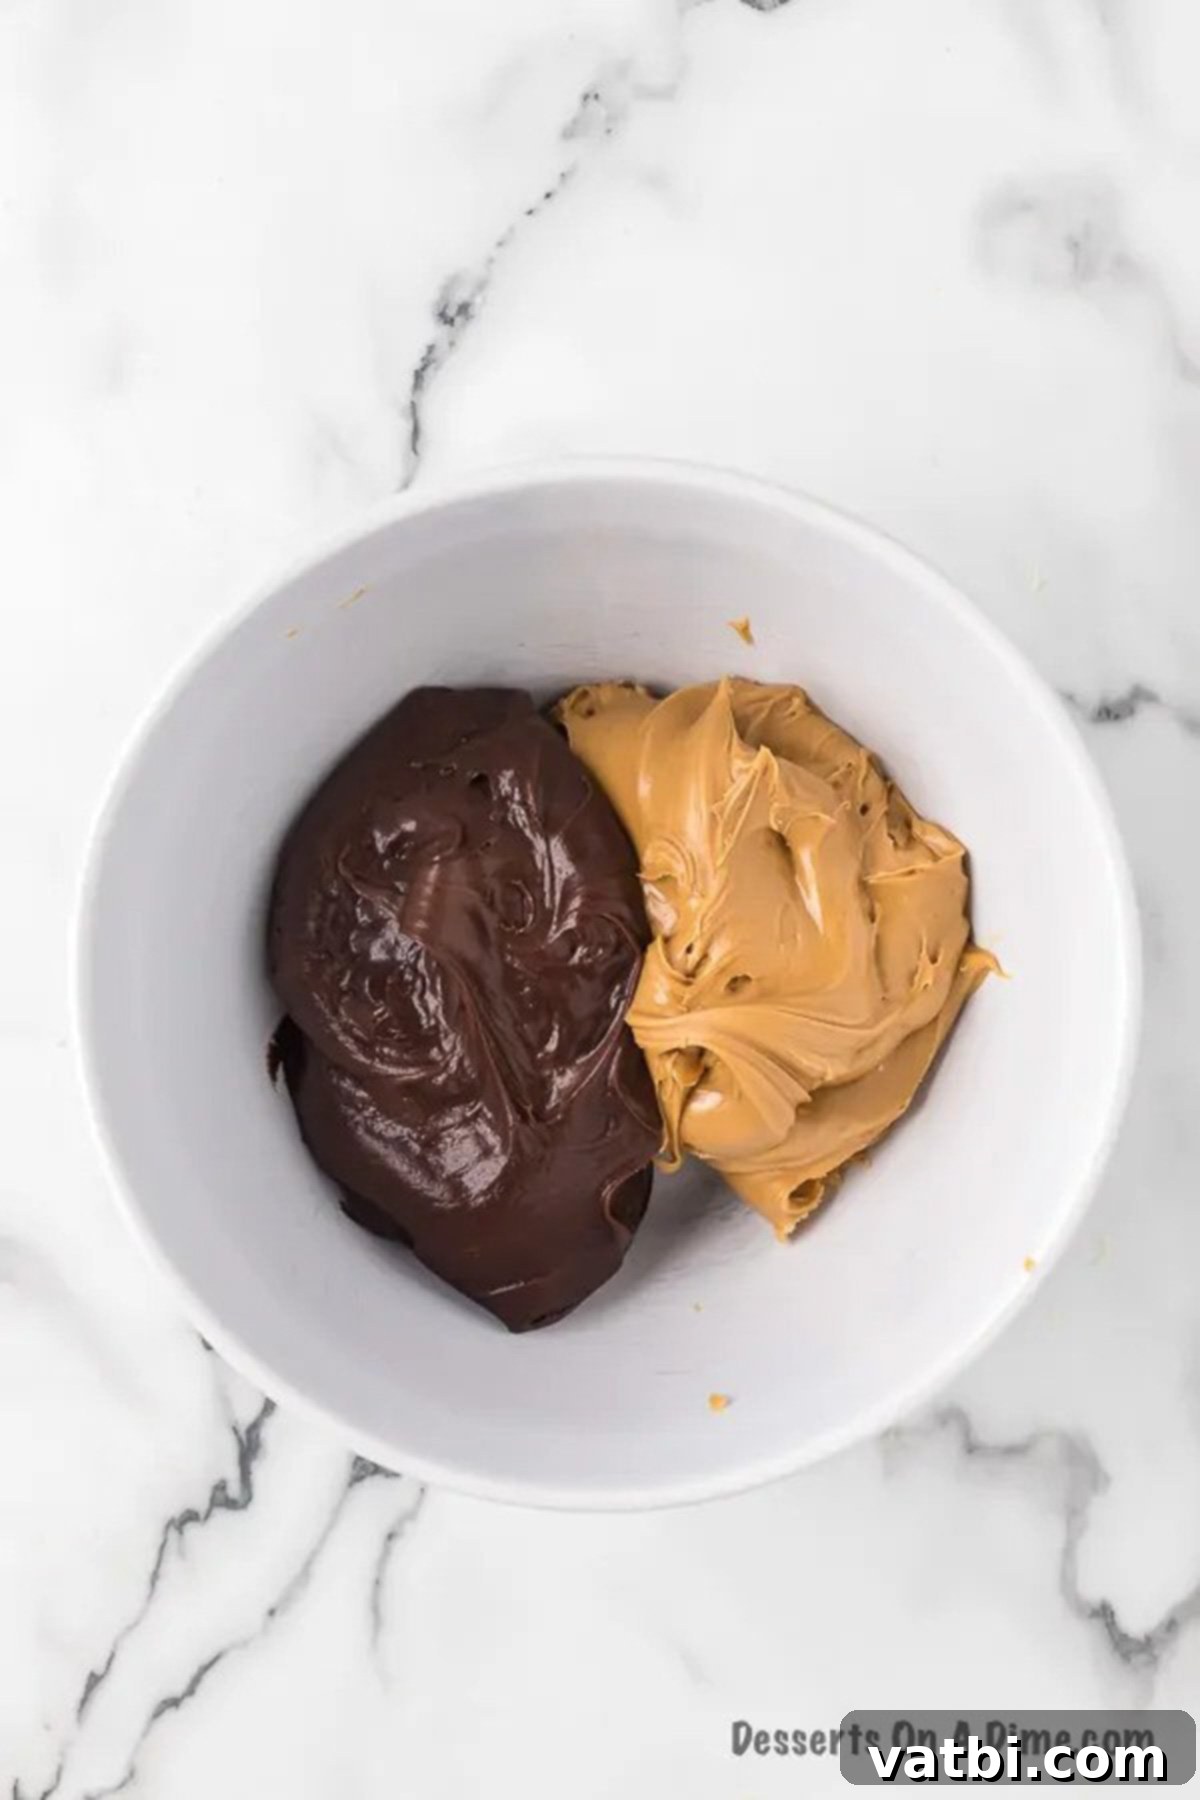
Step 1: Combine and Initial Melt. First, select a large, microwave-safe bowl. Add the entire 16-ounce jar of creamy peanut butter and the entire 16-ounce jar of traditional chocolate frosting into the bowl. Place the bowl in the microwave and heat for precisely one minute. This initial burst of heat will begin to soften both ingredients, making them much easier to combine smoothly.
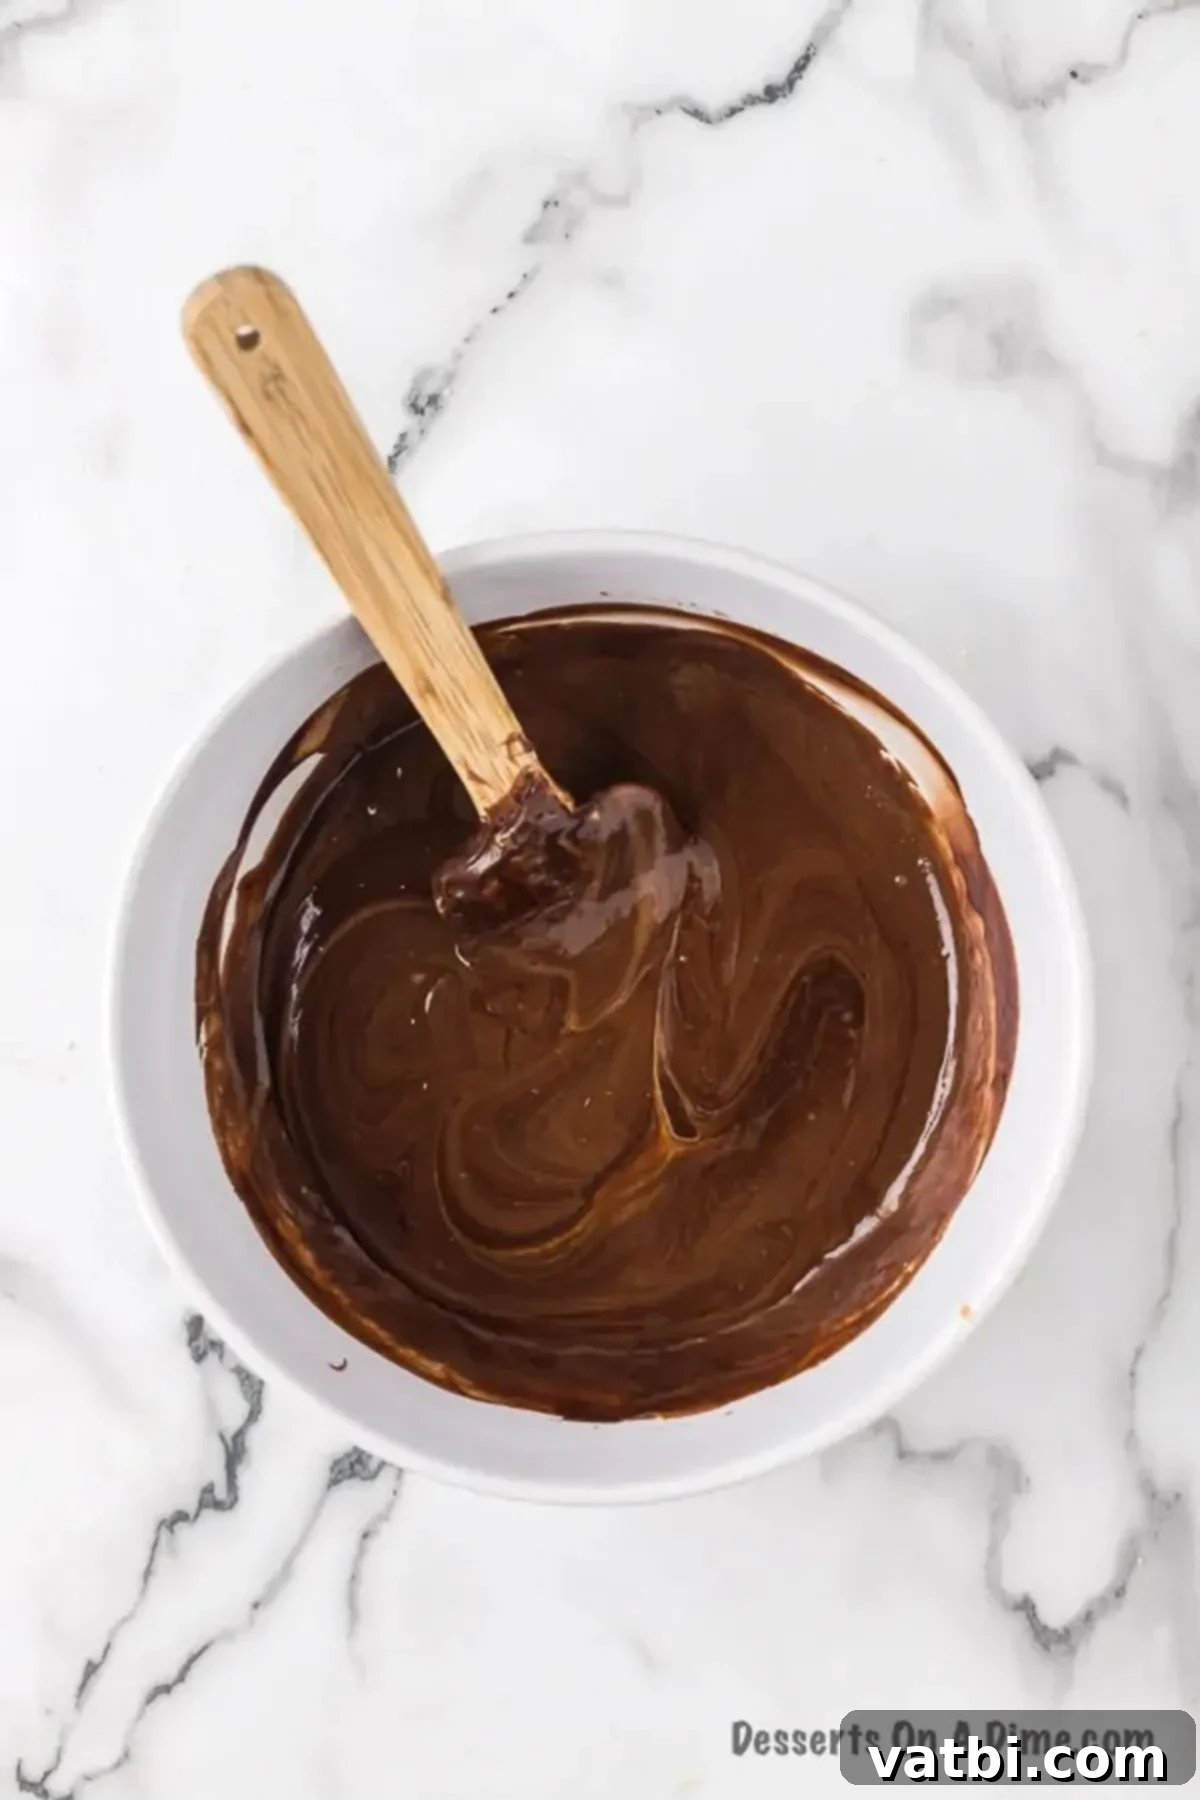
Step 2: Stir Until Smooth. After the first minute, carefully remove the bowl from the microwave (it may be warm). Use a sturdy spoon or heat-resistant spatula to thoroughly stir the mixture. The frosting and peanut butter should begin to combine, creating a somewhat lumpy but melting consistency. Return the bowl to the microwave for another minute. Continue to stir vigorously until the entire mixture is completely smooth, glossy, and homogeneous, with no streaks of separate ingredients remaining. This typically takes two one-minute intervals, but you may need a third if your microwave is less powerful; aim for a consistent, pourable texture.
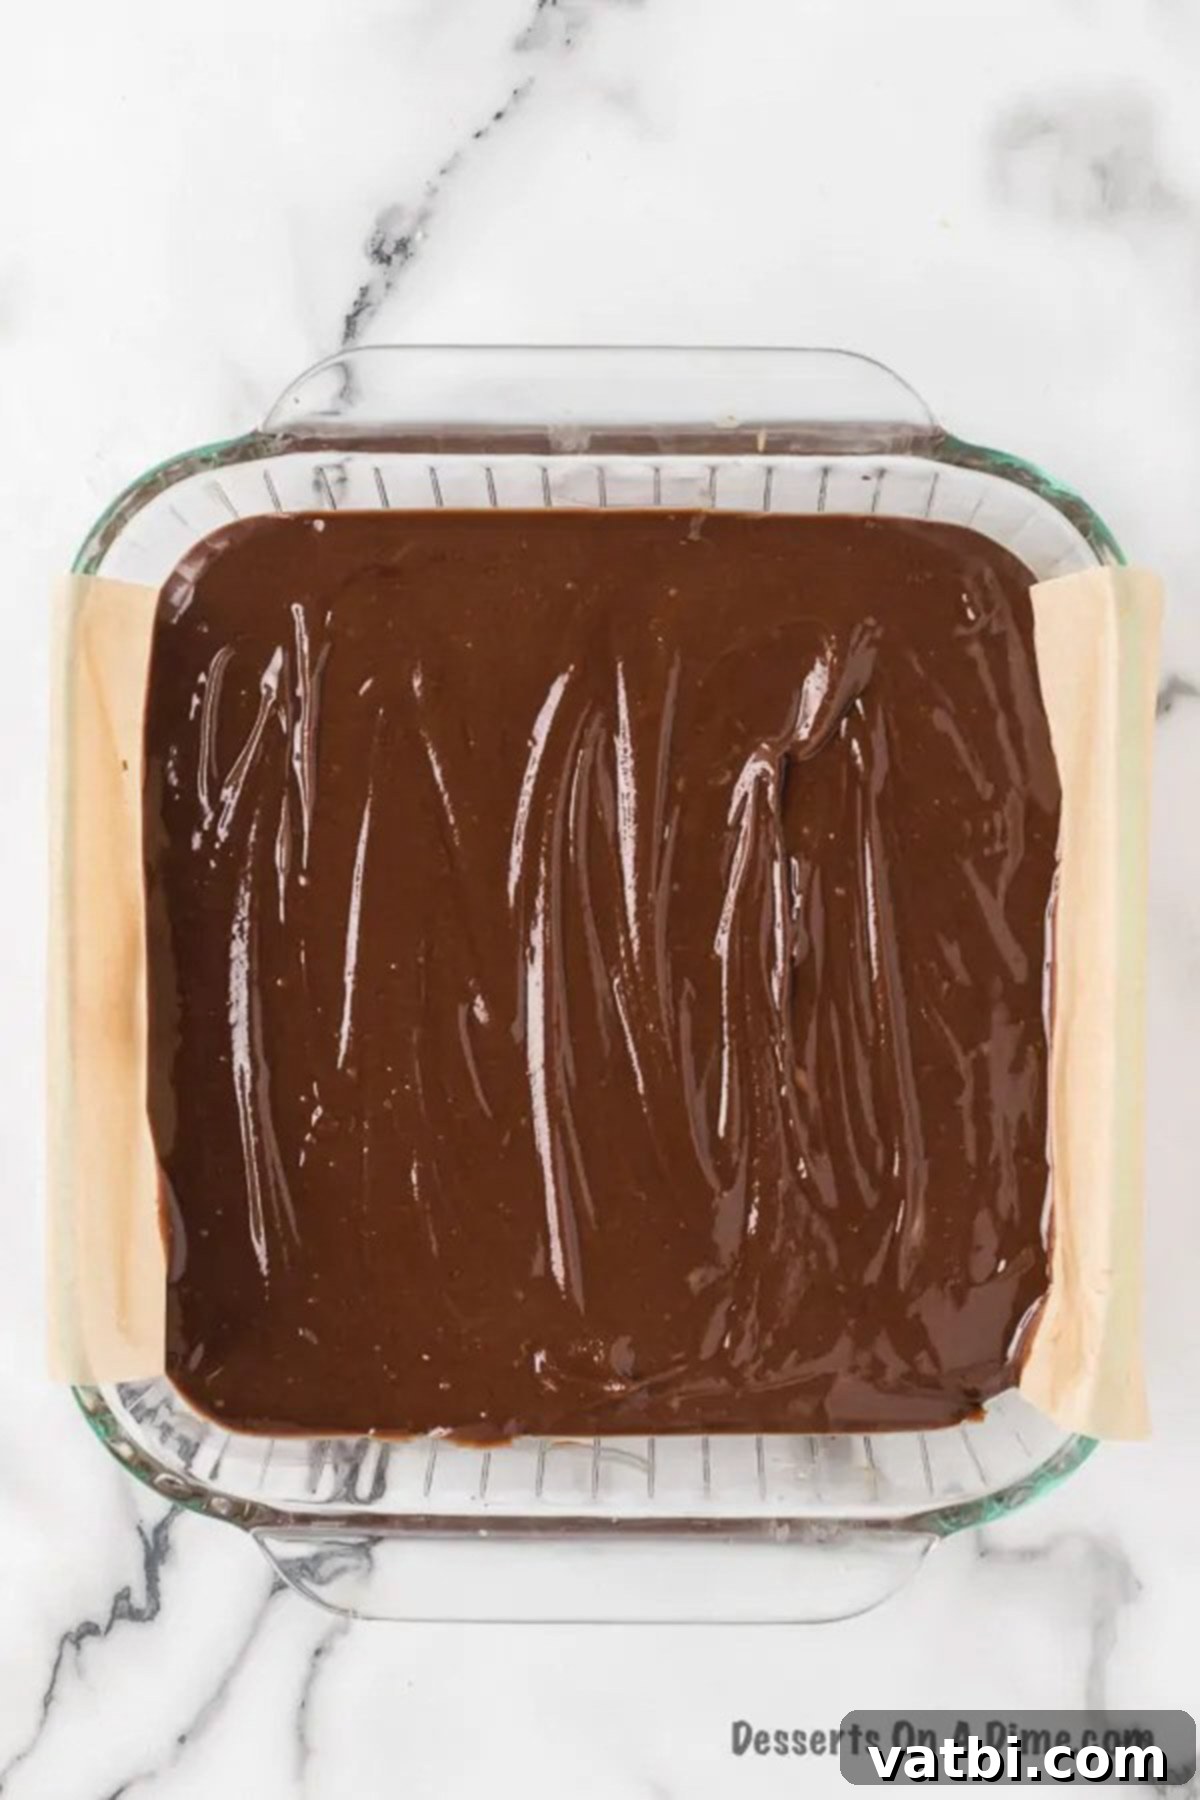
Step 3: Prepare Pan and Pour Fudge. While your fudge mixture is warm and smooth, prepare your baking dish. A 9×9 inch glass baking pan is ideal for achieving a good fudge thickness. To ensure easy removal of the set fudge, it’s highly recommended to line the pan with either parchment paper or aluminum foil, leaving an overhang on the sides. Then, lightly spray the lining with cooking spray. This crucial step creates “handles” that allow you to simply lift the entire block of fudge out of the pan once it’s firm, making cutting a breeze and minimizing mess.
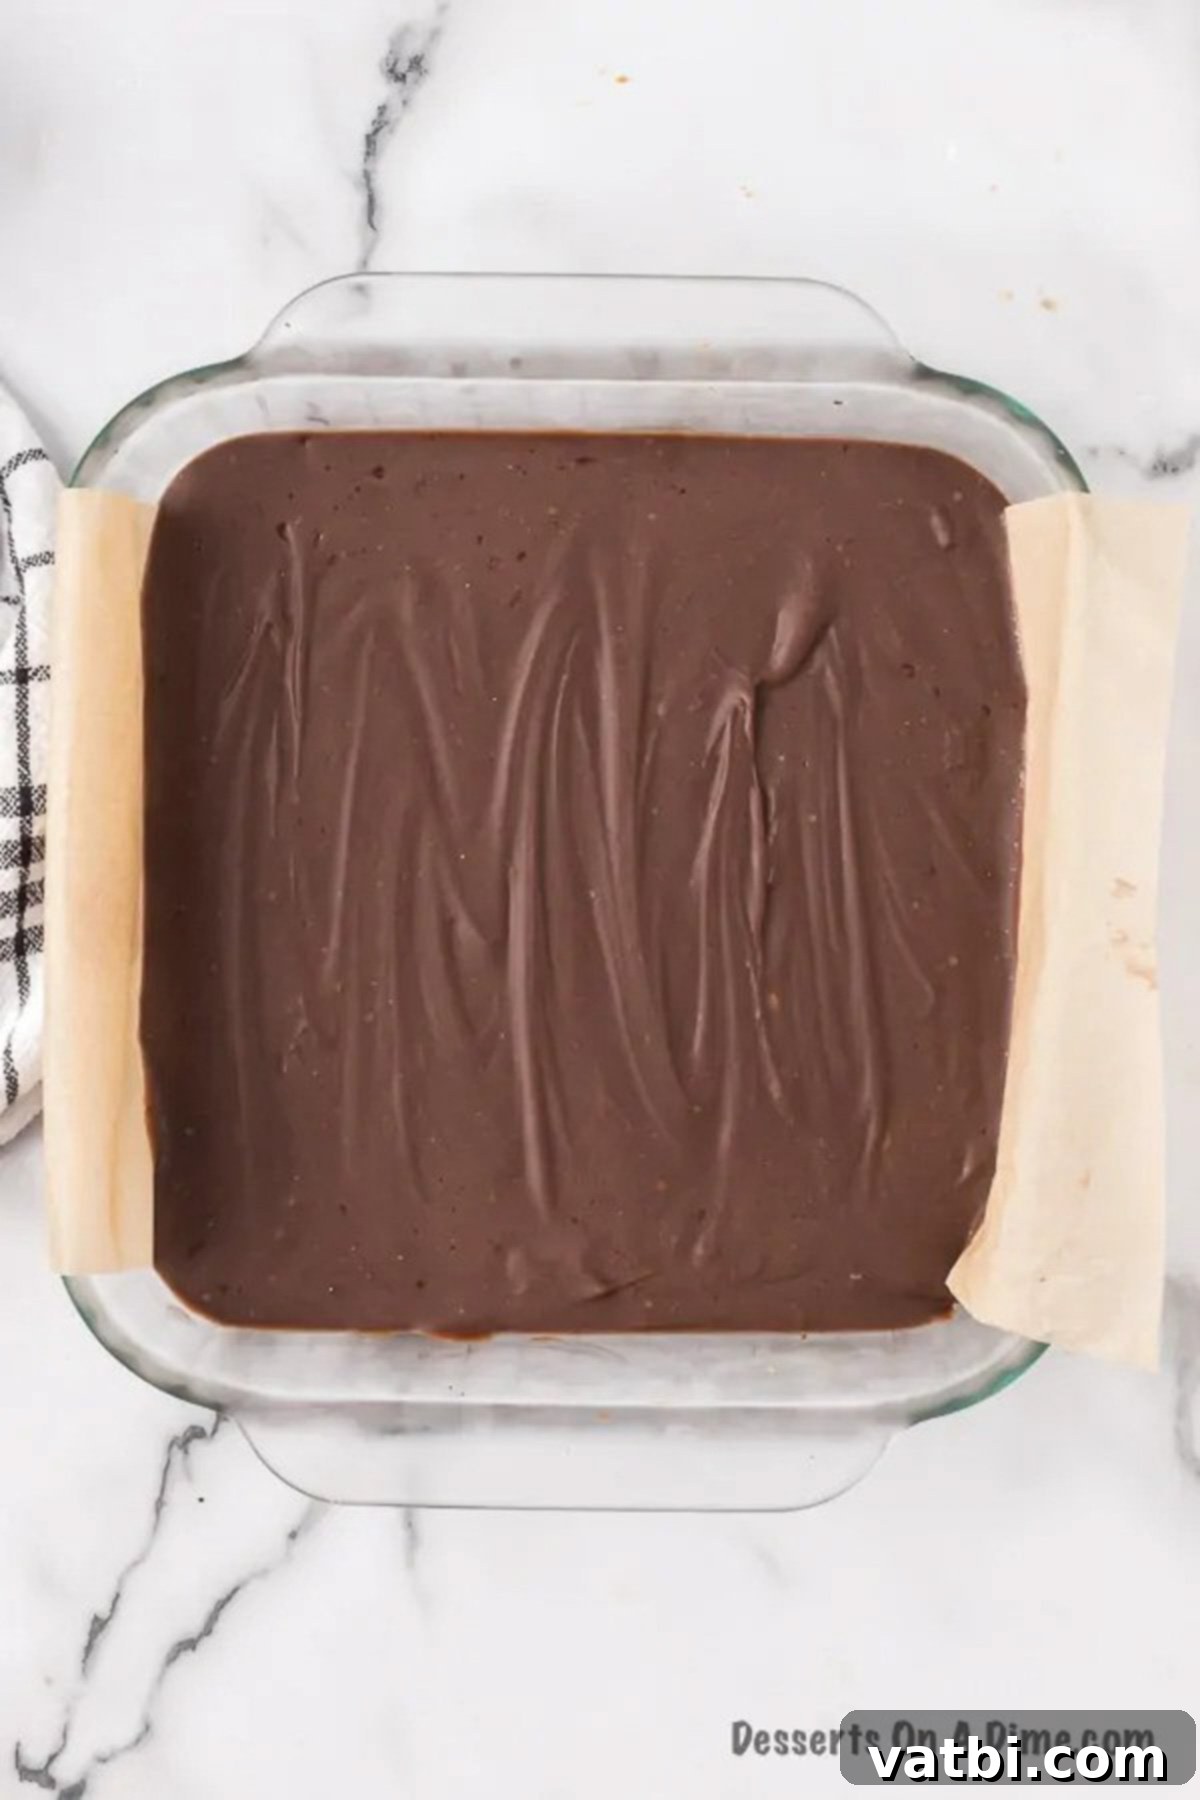
Step 4: Smooth and Chill. Promptly pour the warm chocolate peanut butter fudge mixture into your prepared baking pan. Use a spatula to spread it evenly into all corners and smooth the top surface. For any desired toppings (like sprinkles, nuts, or sea salt), now is the ideal time to add them before the fudge begins to set. Place the pan directly into the refrigerator. Allow the fudge to chill for at least one hour, or until it is completely firm to the touch. Once hardened, use the parchment paper or foil overhangs to lift the fudge block from the pan onto a cutting board. Now it’s ready for slicing into individual pieces!
Expert Tips for the Best Results
Even with a recipe as simple as this 2-ingredient chocolate peanut butter fudge, a few expert tips can elevate your results and ensure a perfect batch every time. Keep these suggestions in mind for truly irresistible fudge:
- Achieving a Harder Fudge: If you prefer your fudge with a firmer, more solid texture that’s less prone to softening quickly at room temperature, the freezer is your friend! After refrigerating for the initial hour to set, transfer the pan to the freezer for an additional 30 minutes. This will significantly quicken the hardening process and result in a denser fudge that holds its shape beautifully, especially if you plan to transport it or serve it in warmer environments.
- Serving at Room Temperature for Optimal Flavor: While chilling is essential for setting, fudge is truly best enjoyed at room temperature. The subtle nuances of both the chocolate and peanut butter flavors become more pronounced, and the texture softens just enough to be wonderfully creamy and melt-in-your-mouth. I recommend taking your fudge out of the refrigerator approximately 15-20 minutes before you plan to serve it. This short waiting period allows it to reach its peak deliciousness.
- Patience is Key for Setting: It can be tempting to cut into your delicious creation right away, but resist the urge! Allowing the fudge ample time to set in the refrigerator is crucial. If you try to cut it too early, it will be soft, sticky, and difficult to get clean slices, leading to a messy presentation. An hour is generally sufficient for a firm set, but a bit longer (up to two hours) won’t hurt and can ensure a perfect result.
- Clean Cuts with a Plastic Knife: For perfectly clean and neat squares, especially for gifting or elegant presentation, try a simple trick: use a plastic knife to cut your fudge. The non-stick nature of plastic often prevents the fudge from dragging and sticking to the blade, resulting in beautifully sharp lines. For even cleaner cuts, wipe the knife with a damp paper towel after every few slices to remove any sticky residue.
- Adjusting the Serving Size: This fudge is incredibly rich and sweet, so a little goes a long way. While you can cut it into any size you prefer, I often recommend slicing it into very small, bite-sized pieces. This allows everyone to enjoy a taste without feeling overwhelmed by the richness, and it also makes the batch go further, perfect for sharing at parties or enjoying over several days as a controlled indulgence.
- Lining the Pan for Easy Removal: Do not skip the critical step of lining your baking pan with parchment paper or foil and giving it a light spray with cooking oil. This step is a true lifesaver! It creates convenient “handles” that allow you to easily lift the entire block of set fudge cleanly out of the pan, making slicing much simpler and less prone to breakage or sticking.
- Don’t Over-Microwave: While the microwave is used for melting, avoid continuously heating the mixture for too long. Short, controlled bursts (like the one-minute intervals specified) followed by thorough stirring are best. Overheating can cause the fats in the peanut butter to separate, leading to a greasy or crumbly texture that won’t set properly.
Frequently Asked Questions
To keep your chocolate peanut butter fudge fresh and delicious, store it in an airtight container in the refrigerator. This helps maintain its firm texture and prevents it from drying out. To prevent the individual pieces from sticking together, you can place layers of parchment paper or wax paper between them. Stored properly in the fridge, your homemade fudge will maintain its quality for up to one week. Remember, for the best flavor and creamy texture, allow the fudge to come to room temperature for about 15-20 minutes before serving.
Yes, this 2-ingredient fudge freezes beautifully, making it an excellent option for meal prep, holiday gifting, or simply ensuring you always have a sweet treat on hand. To freeze, first cut the fudge into individual squares. Arrange the squares in a single layer on a parchment-lined baking sheet and freeze for about an hour until firm. Then, transfer the frozen fudge squares to an airtight freezer-safe container or a heavy-duty freezer bag, placing sheets of wax paper or parchment paper between layers to prevent sticking. Properly frozen, fudge can last in the freezer for up to 3 months without losing its quality or flavor. When you’re ready to enjoy it, simply transfer the desired amount to the refrigerator to thaw overnight, or let it sit at room temperature for about 30-60 minutes before serving. Having a stash in the freezer is perfect for unexpected cravings or last-minute gifts!
This easy fudge recipe typically sets quite quickly! After pouring into the prepared pan and smoothing, it generally takes about one hour in the refrigerator to become firm enough to cut. The exact time can vary slightly depending on the temperature of your refrigerator and the thickness of your fudge layer. If you’re in a hurry or prefer a harder consistency, you can place it in the freezer for about 30 minutes, keeping a close eye on it to ensure it doesn’t freeze solid, but just firms up quickly.
More Irresistible Easy Fudge Recipes
If you’ve enjoyed the simplicity and deliciousness of this 2-ingredient fudge, you’ll be thrilled to discover many more equally easy and delightful fudge creations. Expand your dessert repertoire with these fantastic options that are perfect for any occasion or craving:
- Classic Vanilla Fudge Recipe: A timeless treat that is sweet, creamy, and melts in your mouth, offering a pure, comforting flavor.
- Decadent Oreo Fudge Recipe: A true fan favorite, combining rich chocolate fudge with crunchy Oreo cookie pieces for an unbeatable texture and taste.
- Peanut Butter Chocolate Chip Fudge: For the ultimate peanut butter lover, this recipe is generously studded with sweet chocolate chips for an extra layer of indulgence.
- Festive Peppermint Fudge Recipe: Perfect for holiday gatherings, offering a refreshing and invigorating minty twist to your creamy fudge.
- Sweet Maple Fudge: A delightful autumn-inspired fudge with a rich, caramelized maple flavor that evokes cozy feelings.
We hope you’ll try your hand at this incredibly simple and intensely satisfying chocolate peanut butter fudge today. It’s truly a recipe that proves deliciousness doesn’t have to be complicated, and with just two ingredients, you can create a memorable dessert. Once you’ve experienced the magic, please consider leaving a star recipe rating and a comment to share your experience – we absolutely love hearing from you and seeing your creations!
Pin
Chocolate Peanut Butter Fudge
Ingredients
- 1 jar creamy peanut butter (16 oz.)
- 1 jar traditional chocolate frosting (16 oz.)
Instructions
-
In a large, microwave-safe bowl, combine the entire jar of creamy peanut butter and the jar of traditional chocolate frosting. Microwave the mixture for one minute to begin softening the ingredients.
-
Remove the bowl and stir the mixture vigorously until it starts to combine. Return to the microwave for another minute. Continue stirring until the fudge mixture is completely smooth and homogeneous, with no lumps or streaks of separate ingredients.
-
Prepare a 9×9 inch glass baking pan by lining it with parchment paper or aluminum foil, ensuring an overhang on the sides for easy removal. Lightly spray the lining with cooking spray. Pour the warm, smooth fudge mixture into the prepared pan.
-
Use a spatula to spread the fudge evenly and smooth the top surface. Place the pan in the refrigerator.
-
Allow the fudge to chill for approximately one hour, or until it is firm to the touch and fully set.
-
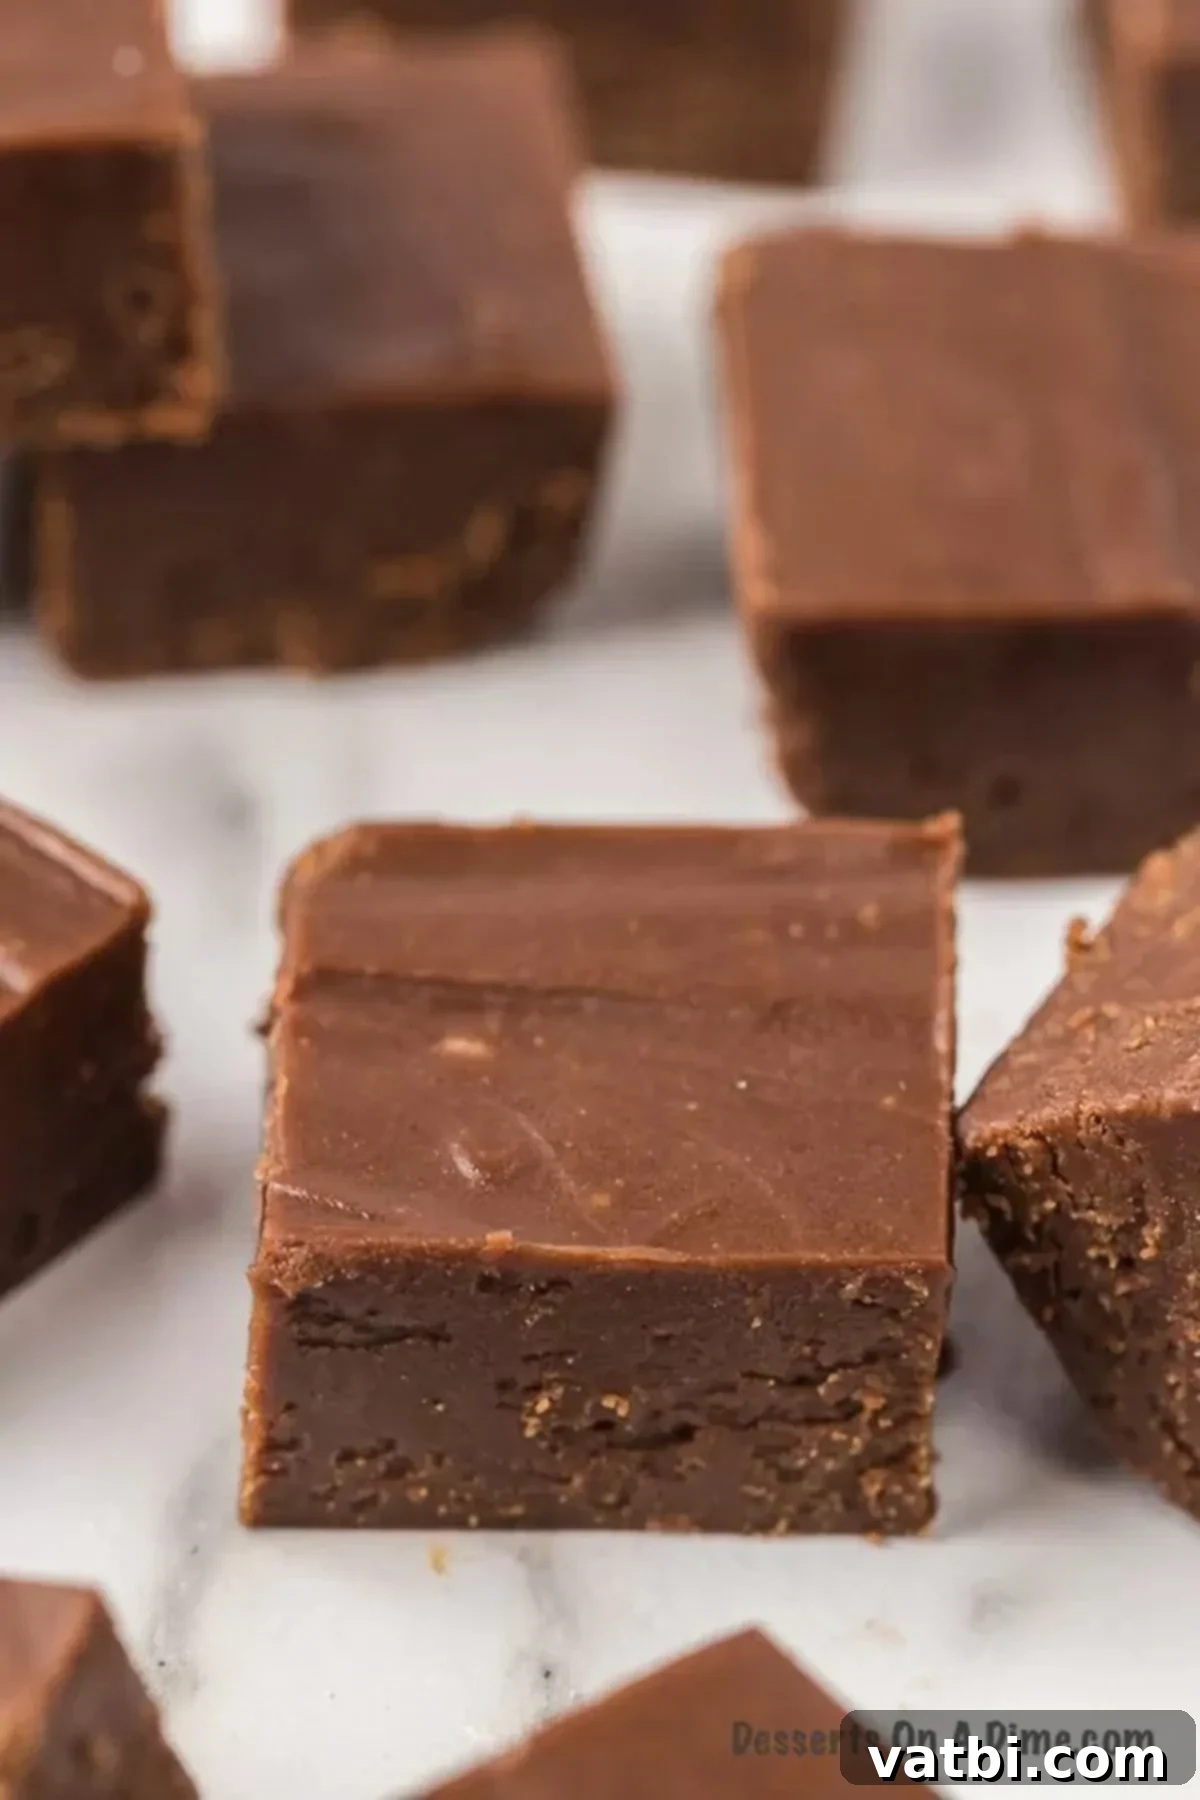
Once hardened, use the overhangs of the parchment paper or foil to lift the entire fudge block from the pan onto a cutting board. Cut the fudge into your desired bite-sized pieces using a sharp knife (a plastic knife often works best for clean cuts). Serve and enjoy!
Nutrition Facts
Pin This Now to Remember It Later
Pin Recipe
