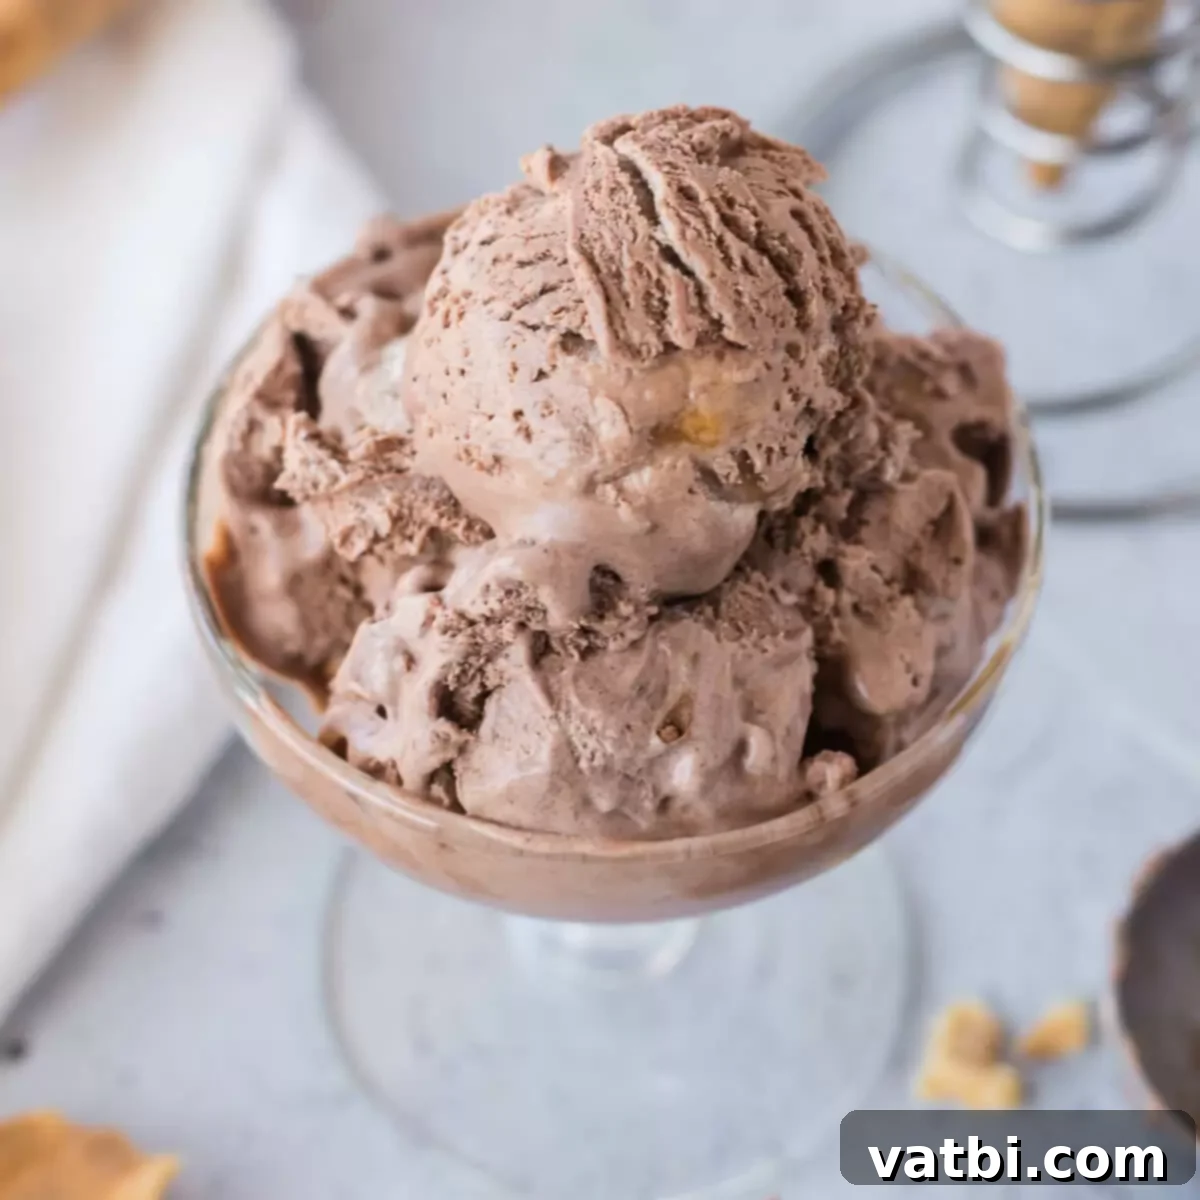
Decadent No-Churn Chocolate Caramel Ice Cream: Your Easiest Homemade Summer Treat
Prepare to fall in love with this incredibly rich and creamy Chocolate Caramel Ice Cream! Loaded with the perfect balance of chocolate and luscious caramel flavors, this dessert is an absolute dream come true. Whether you’re facing a scorching summer day or simply craving a luxurious sweet escape, this homemade ice cream is the ultimate way to indulge. What makes it even better? You don’t need a fancy ice cream maker to achieve its wonderfully smooth texture. It’s truly the perfect fuss-free delight!
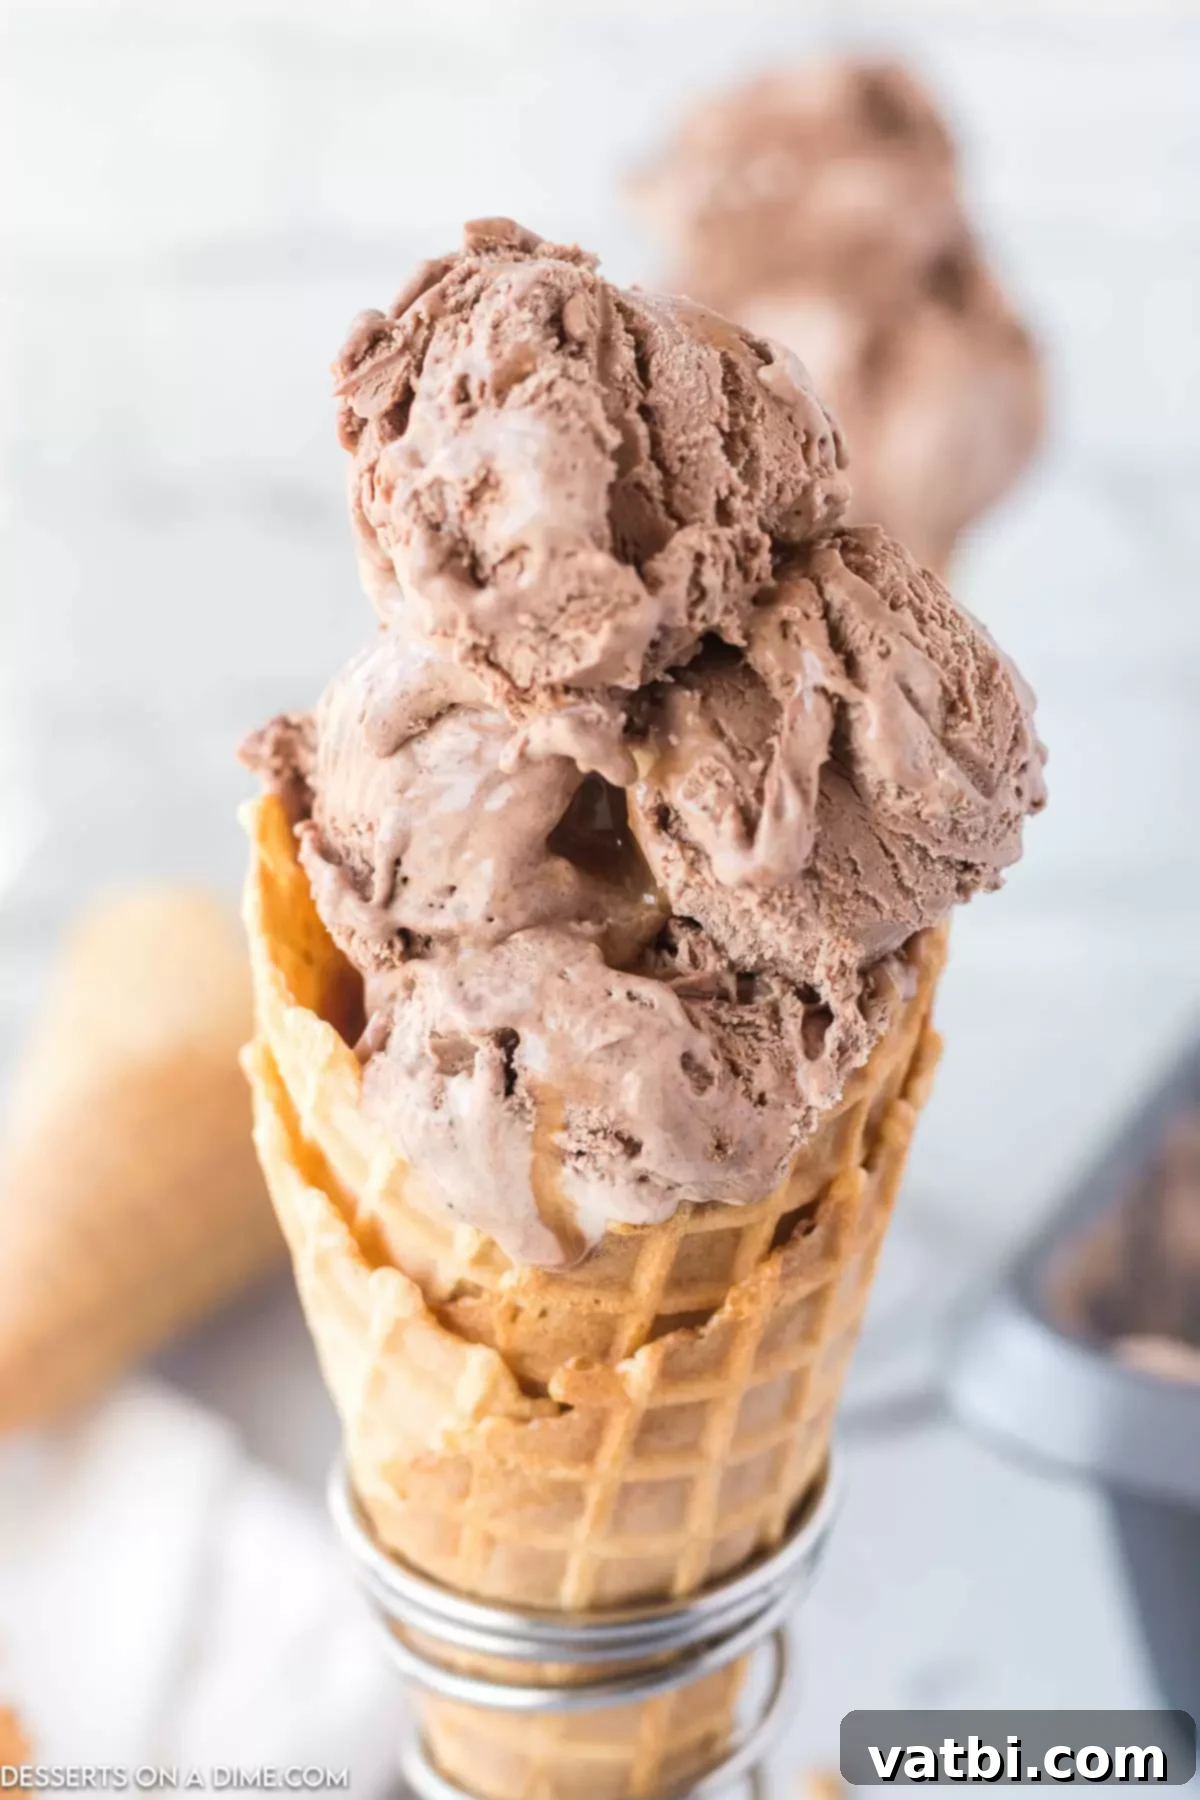
This no-churn ice cream recipe delivers an explosion of flavor in every spoonful. Its velvety, creamy texture is surprisingly easy to achieve with just a few simple, readily available ingredients. If you’re a devoted fan of classic chocolate ice cream, prepare to elevate your dessert game by introducing swirls of decadent caramel sauce. This combination creates an irresistible treat that will have everyone asking for seconds. You might also enjoy exploring other delightful frozen treats like our Snickers Ice Cream Recipe, the comforting Snickerdoodle Ice Cream Recipe, or the wholesome Peanut Butter Banana Ice Cream.
Table of contents
- Why This Recipe Works
- Key Ingredients
- Endless Recipe Variations
- How to Make Chocolate Caramel Ice Cream
- Irresistible Ice Cream Topping Ideas
- Proper Storage for Homemade Ice Cream
- How Long Will Homemade Ice Cream Last?
- Expert Tips for Perfect No-Churn Ice Cream
- More No-Churn Ice Cream Recipes
- More Chocolate Caramel Desserts
Why This Recipe Works: Simplicity Meets Deliciousness
This chocolate caramel ice cream isn’t just delicious; it’s incredibly simple to prepare, making it a perfect project for any home cook. The magic lies in its “no-churn” method, meaning there’s absolutely no need for an expensive or cumbersome ice cream maker. Forget about special equipment and complicated steps; this recipe relies on easy, step-by-step instructions that guarantee rich, creamy, and utterly delicious results every single time. It’s a fantastic way to enjoy gourmet-quality homemade ice cream with minimal effort, transforming basic ingredients into a luxurious frozen dessert. Plus, the satisfaction of making your own ice cream from scratch is truly unmatched!
Key Ingredients for No-Churn Magic
Crafting this delightful chocolate caramel ice cream requires just a handful of essential ingredients. Each plays a crucial role in achieving the perfect balance of flavor and that signature creamy texture without the need for an ice cream machine. Here’s a closer look at what you’ll need:
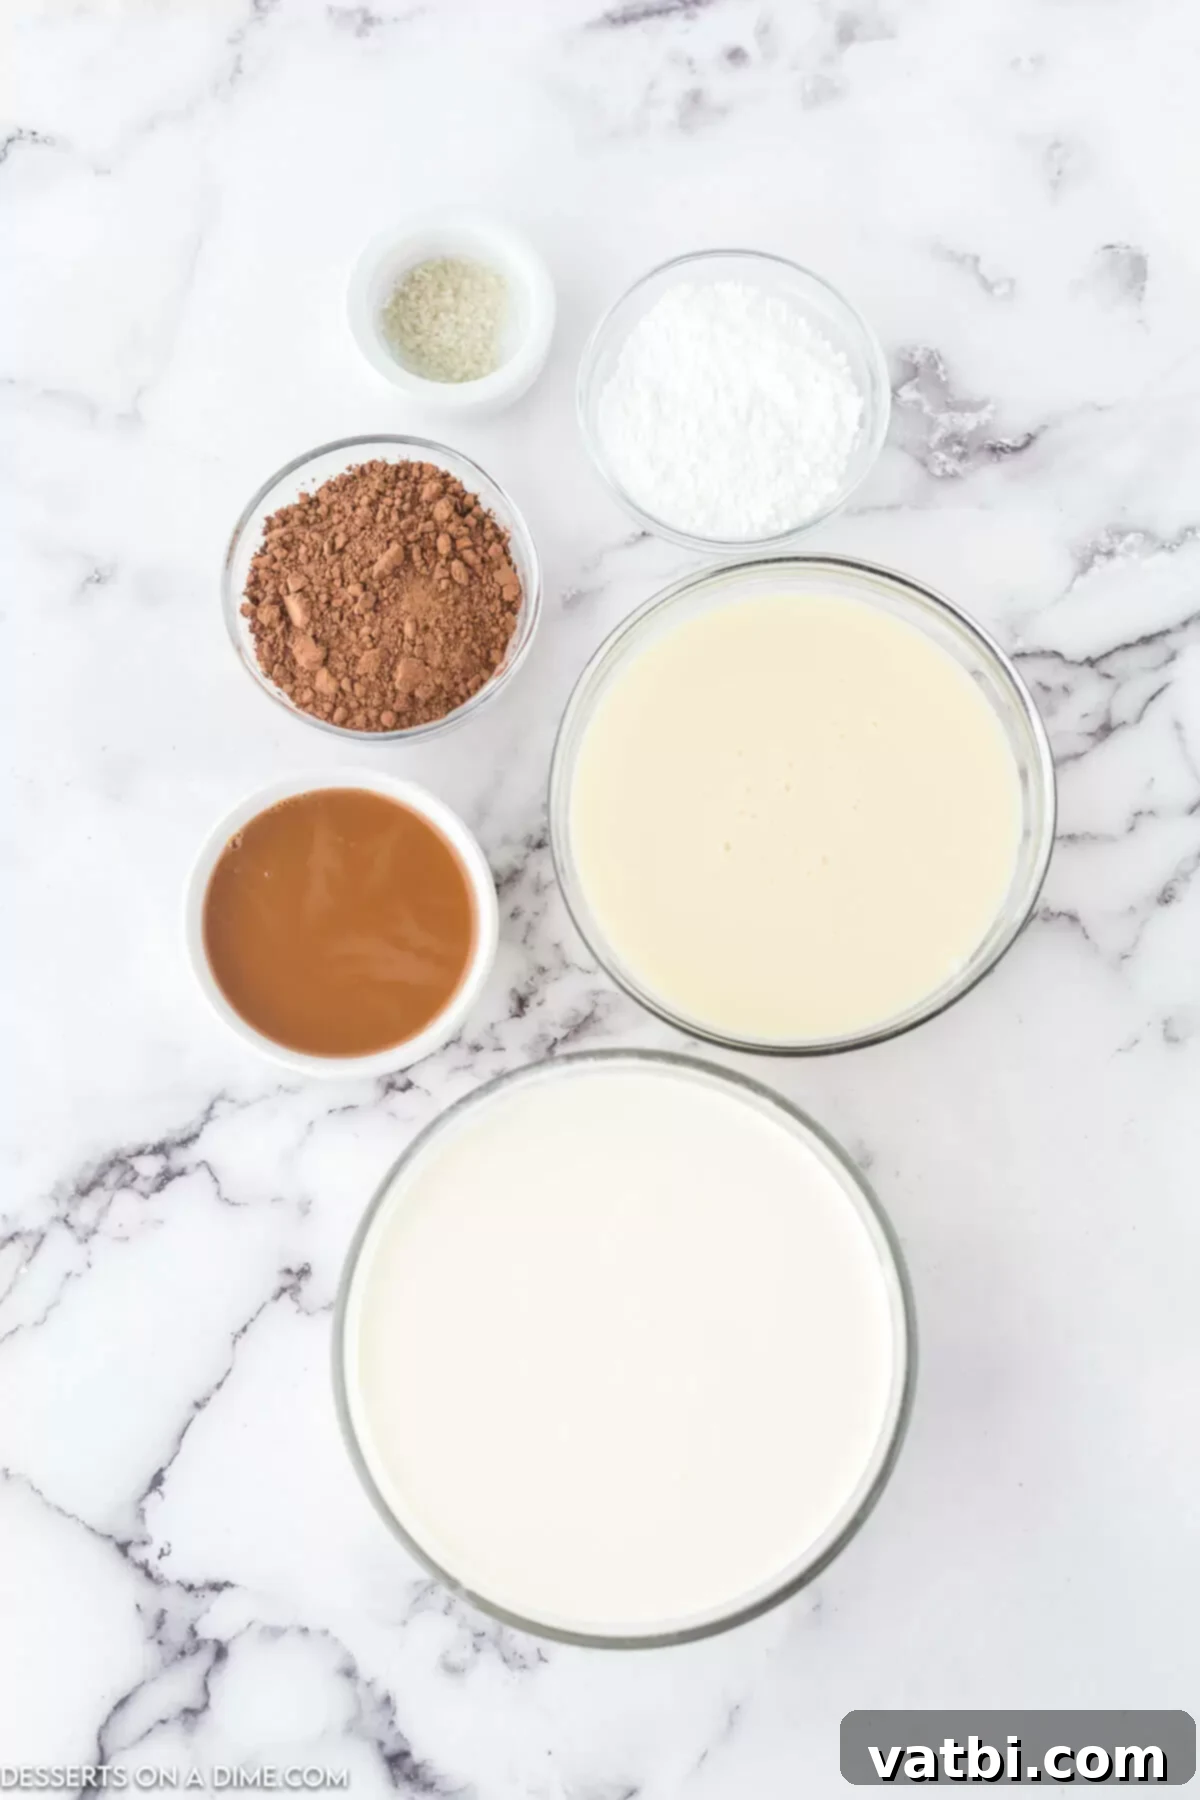
- Heavy Whipping Cream: This is the cornerstone of our no-churn recipe. When whipped, it creates the airy, rich base that gives homemade ice cream its luxurious volume and smooth texture. Ensure it’s very cold before whipping; this allows it to incorporate more air and achieve stiff peaks quickly.
- Powdered Sugar: Also known as confectioners’ sugar, its fine texture dissolves effortlessly into the cream, ensuring a silky-smooth finish without any grainy residue. Sifting it before use, especially if it’s lumpy, helps ensure an even mix and a perfectly smooth ice cream.
- Sweetened Condensed Milk: This magical ingredient is what makes no-churn ice cream possible! It provides the necessary sweetness and, more importantly, prevents the mixture from freezing into a solid block of ice, contributing significantly to the creamy consistency we all love. It’s the secret to that dreamy, scoopable texture.
- Dutch Process Cocoa Powder: Opting for Dutch process cocoa powder lends a richer, darker chocolate flavor and color to the ice cream. It has a less acidic, nuttier, and smoother taste compared to natural cocoa, which perfectly complements the caramel without being overly bitter.
- Caramel Sauce: The star of the show! You can choose the convenience of a high-quality store-bought caramel sauce, or for an even more exquisite touch, try our Homemade Caramel Sauce Recipe. The choice is yours, but either way, it adds that irresistible buttery, sweet depth.
- Salt: A tiny pinch of salt might seem counterintuitive in a sweet dessert, but it’s essential! It doesn’t make the ice cream salty; instead, it subtly enhances all the other flavors, particularly the chocolate and caramel, preventing the ice cream from being overwhelmingly sweet and adding complexity.
You can find the precise measurements for these ingredients in the detailed recipe card at the bottom of the page.
Endless Recipe Variations for Your Perfect Scoop
One of the best things about making homemade ice cream is the freedom to customize! This chocolate caramel base is incredibly versatile, allowing you to get creative with mix-ins and tailor it to your exact preferences. Here are some fantastic ideas to spark your imagination:
- Chopped Candy: Elevate your ice cream with delightful candy crumbles. If you have leftover Halloween treats or just a sweet tooth, chop up your favorite candy bars and fold them in. Mini Kit Kat bars add a satisfying crunch, mini Reese’s Peanut Butter Cups bring a salty-sweet dimension, and Heath bars contribute a buttery toffee note.
- Cookies: Who doesn’t love cookies and ice cream? Crumble your favorite cookies into the mixture for an added layer of texture and flavor. Mini Oreo cookies add classic chocolatey goodness, while mini chocolate chip cookies bring chewy sweetness. You could also try shortbread, biscoff, or even crushed waffle cones for extra crunch.
- Fun Sprinkles: Make your ice cream a feast for the eyes as well as the taste buds! A generous sprinkle of colorful jimmies, nonpareils, or even themed sprinkles can make this dessert extra festive and fun, especially for celebrations or kids’ parties.
- Chopping Nuts: For those who love a textural contrast, adding chopped nuts is a must. Toasted chopped peanuts provide a classic crunch and nutty flavor, while sliced almonds or pecans can offer a more delicate crispness. Toasting the nuts beforehand enhances their flavor significantly.
- Coffee Kick: For a mocha-caramel twist, dissolve 1-2 teaspoons of instant espresso powder in a tablespoon of hot water and fold it into the chocolate mixture.
- Spices: A pinch of cinnamon, chili powder, or even a touch of smoked paprika can add an unexpected depth and warmth that pairs beautifully with chocolate and caramel.
How to Make Chocolate Caramel Ice Cream: A Simple Guide
Creating this rich and creamy chocolate caramel ice cream is surprisingly straightforward, even without an ice cream machine. Just follow these simple steps for a truly delightful homemade treat:
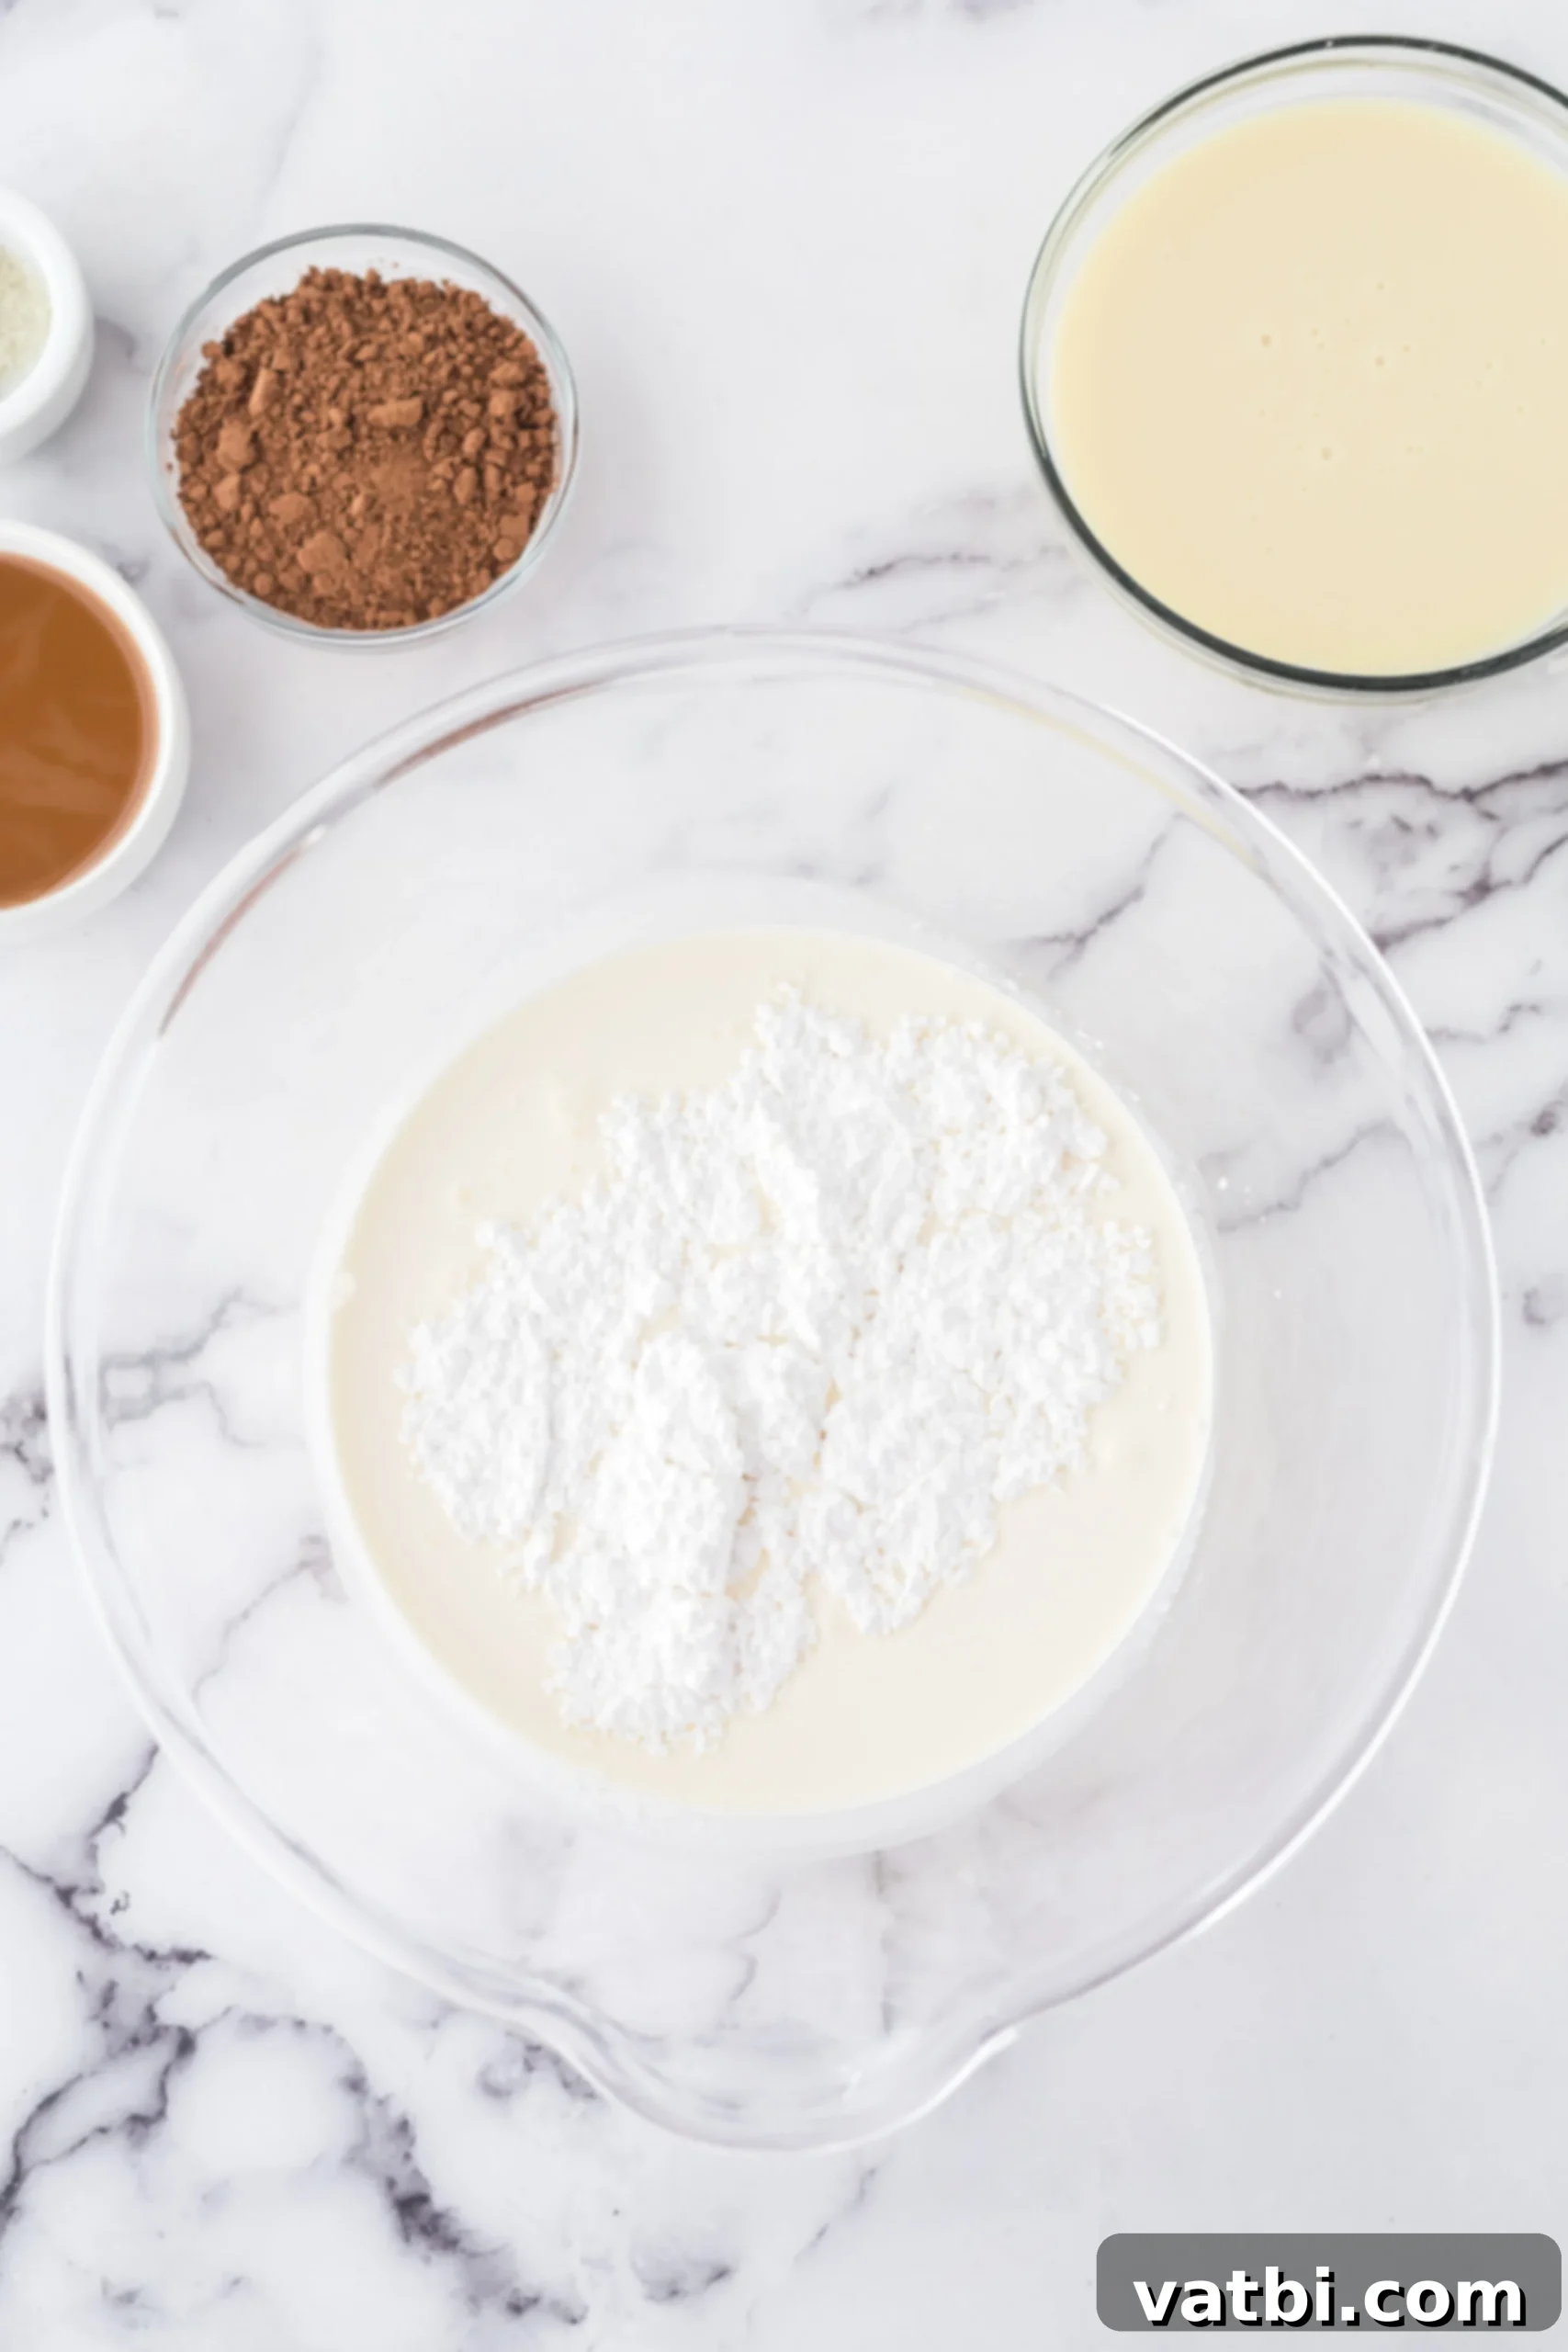
Step 1: Whip the Heavy Cream and Powdered Sugar. In a large, chilled mixing bowl, combine the very cold heavy whipping cream and powdered sugar. Using an electric mixer, whip the mixture on medium-high speed. It typically takes about five to seven minutes for the cream to transform into light, airy, and fluffy stiff peaks. Be careful not to over-whip, as it can turn grainy.
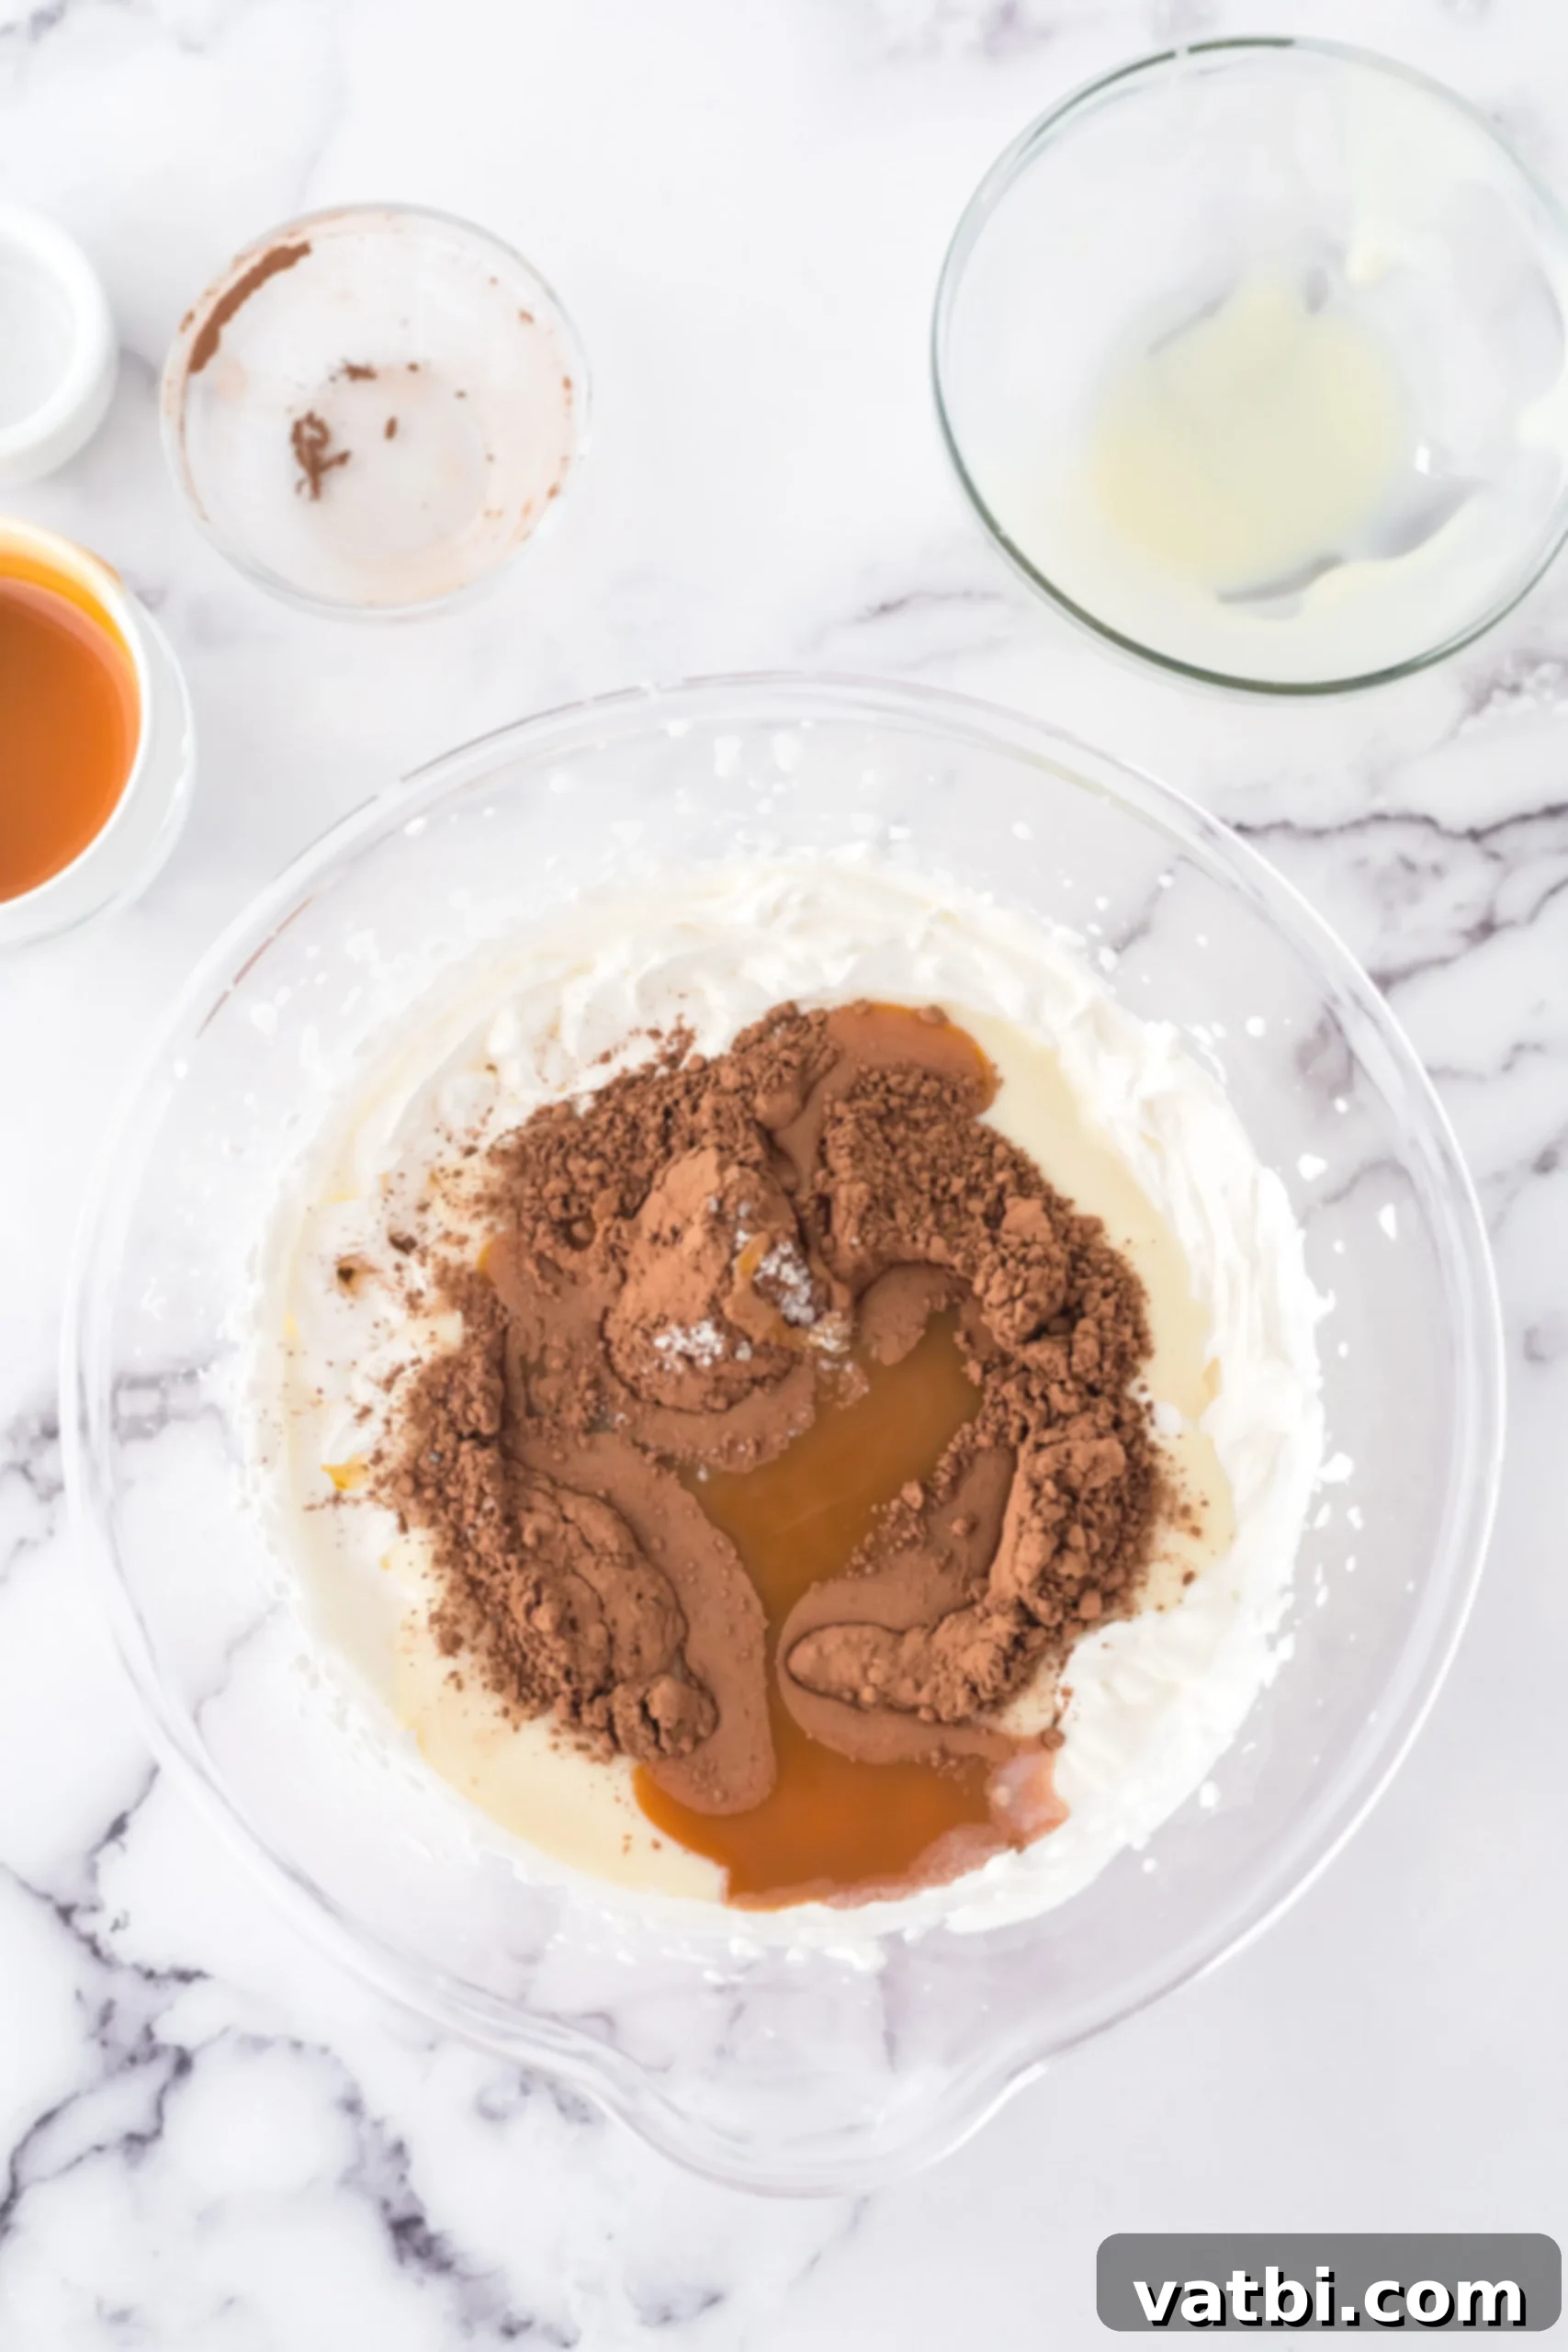
Step 2: Gently Fold in Additional Ingredients. Once your whipped cream has reached stiff peaks, it’s time to incorporate the remaining flavors. Carefully fold in the sweetened condensed milk, Dutch process cocoa powder, and approximately half of your prepared caramel sauce. Use a large spoon or a spatula and employ a gentle folding motion to combine everything. The goal is to mix thoroughly without deflating the airy whipped cream, ensuring no dry clumps of cocoa powder remain.
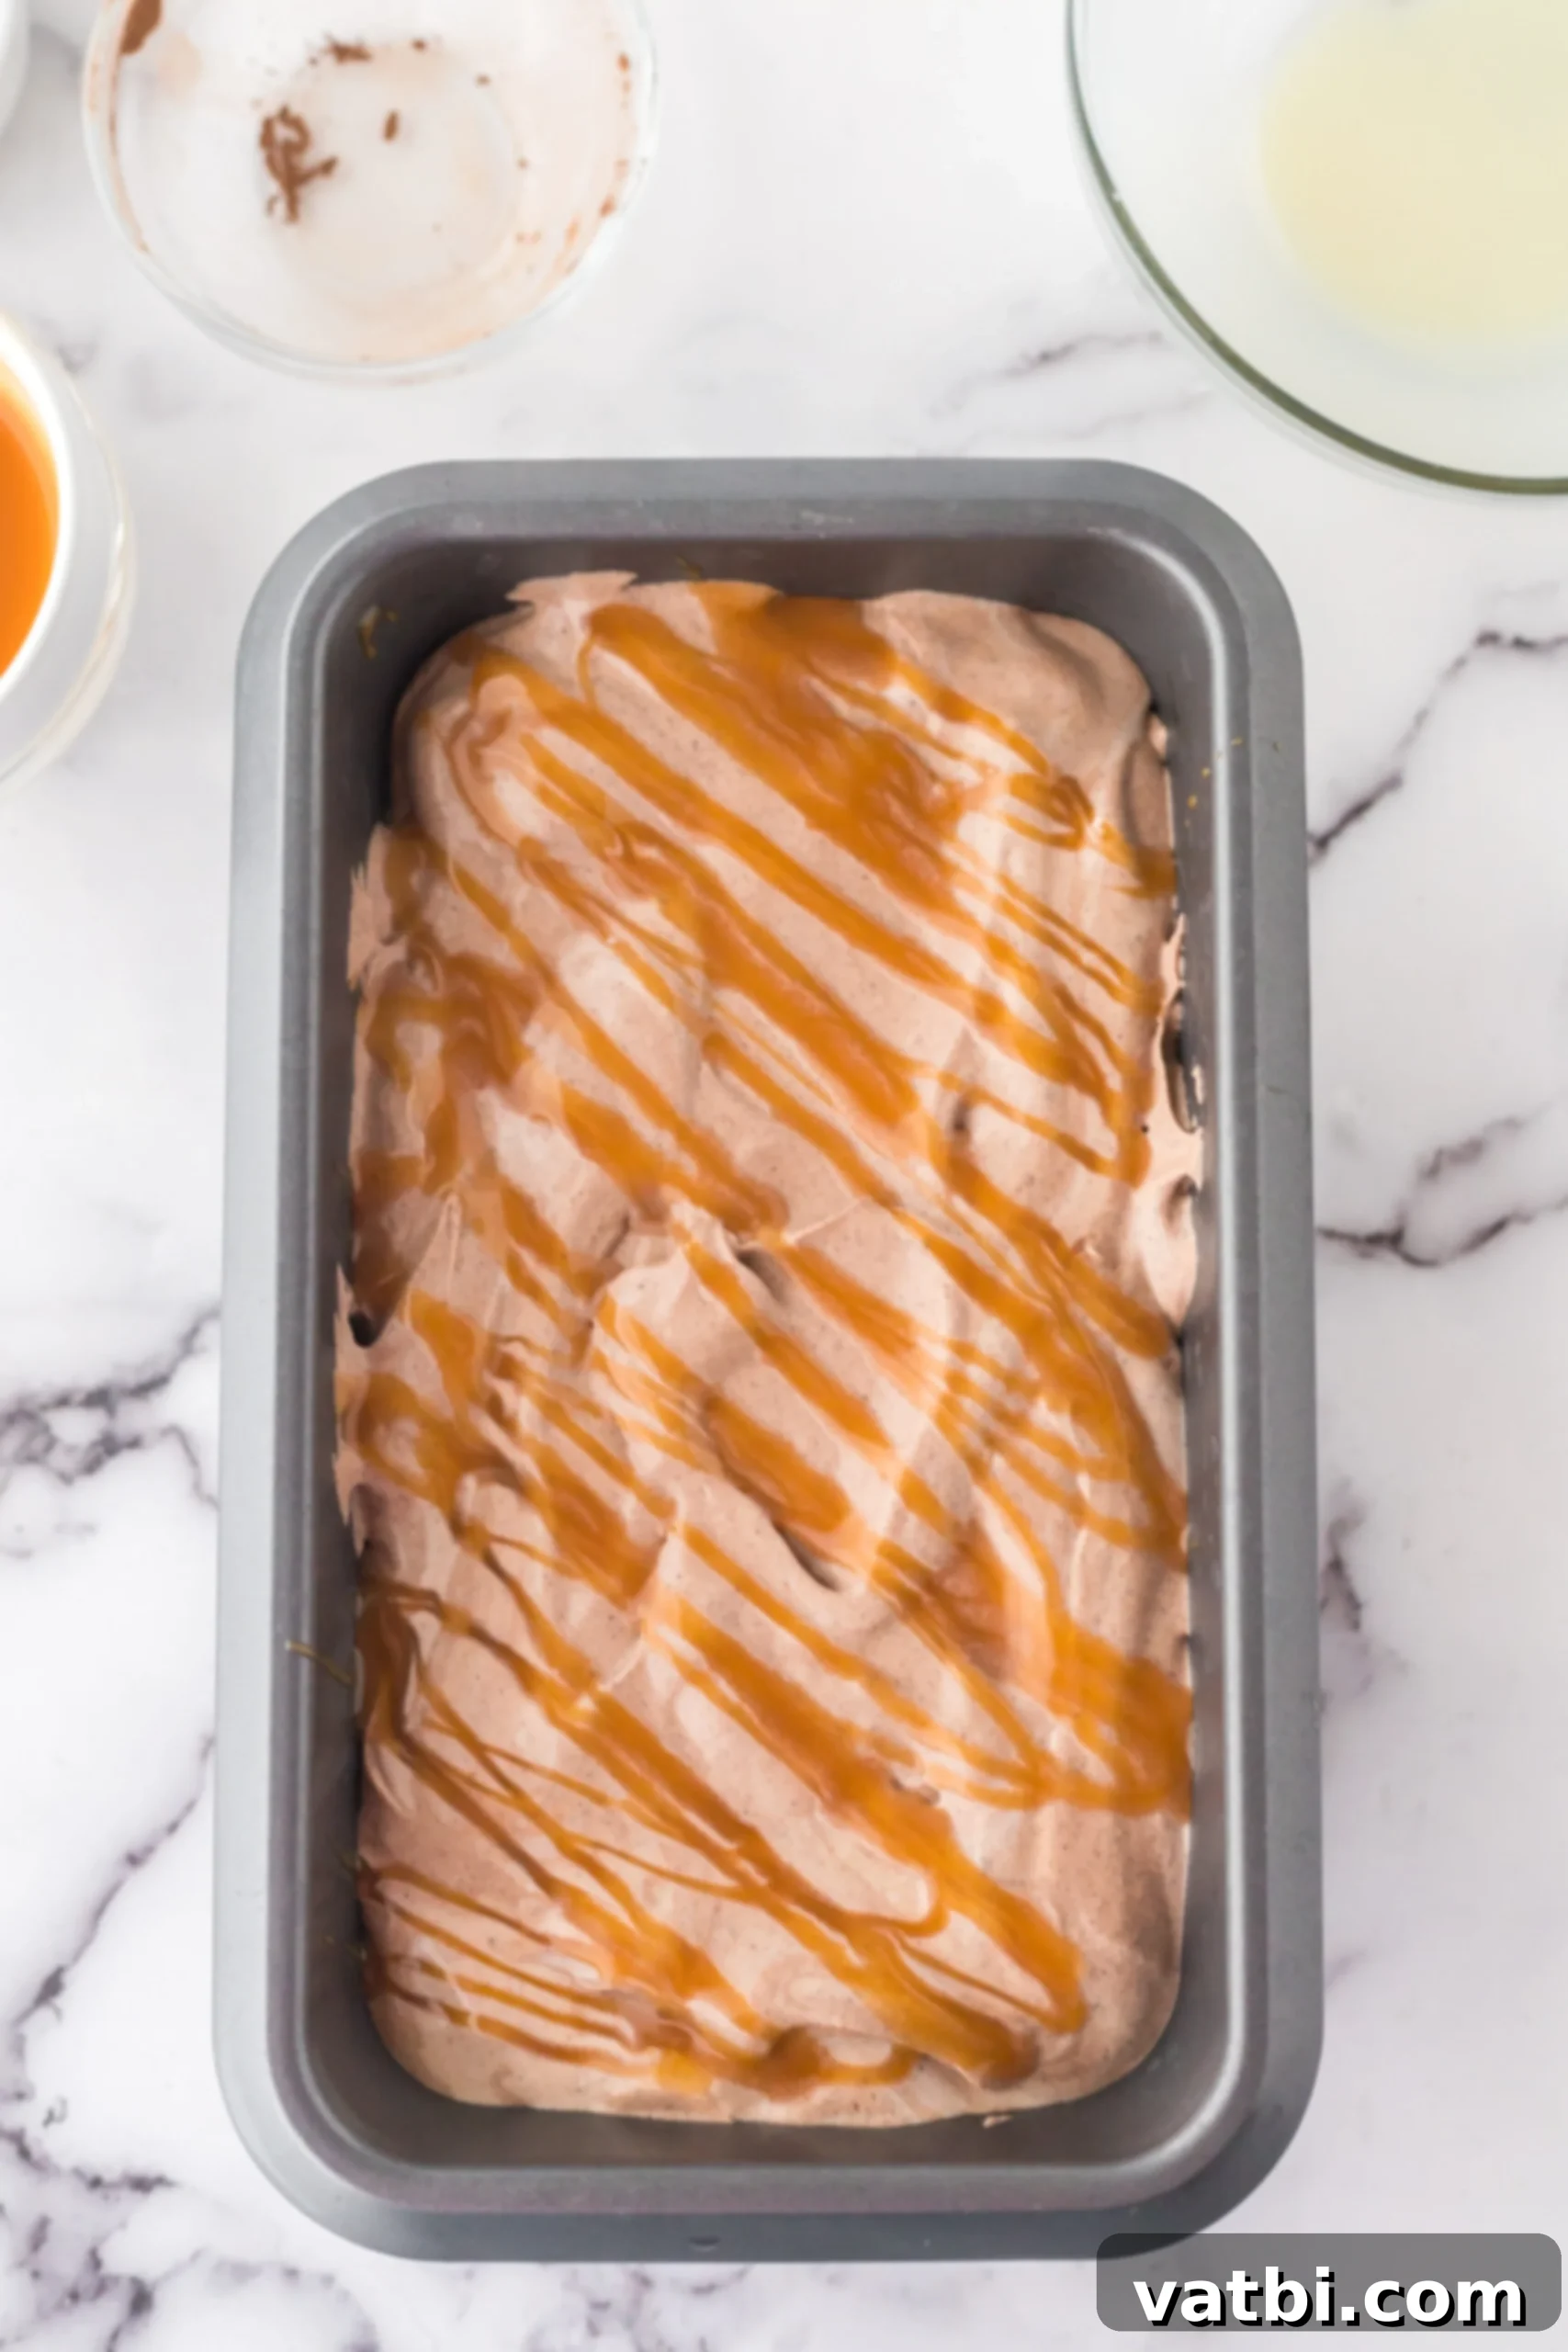
Step 3: Prepare for Freezing. Carefully pour the beautifully combined ice cream mixture into a standard 9×5 inch loaf pan. Use a spatula to spread it evenly. Then, drizzle the remaining caramel sauce generously over the top of the ice cream mixture, creating lovely swirls or patterns. Cover the loaf pan tightly with plastic wrap or aluminum foil to prevent ice crystals from forming. Freeze for a minimum of 5 hours, though for the best, firmest consistency, we highly recommend freezing it overnight.
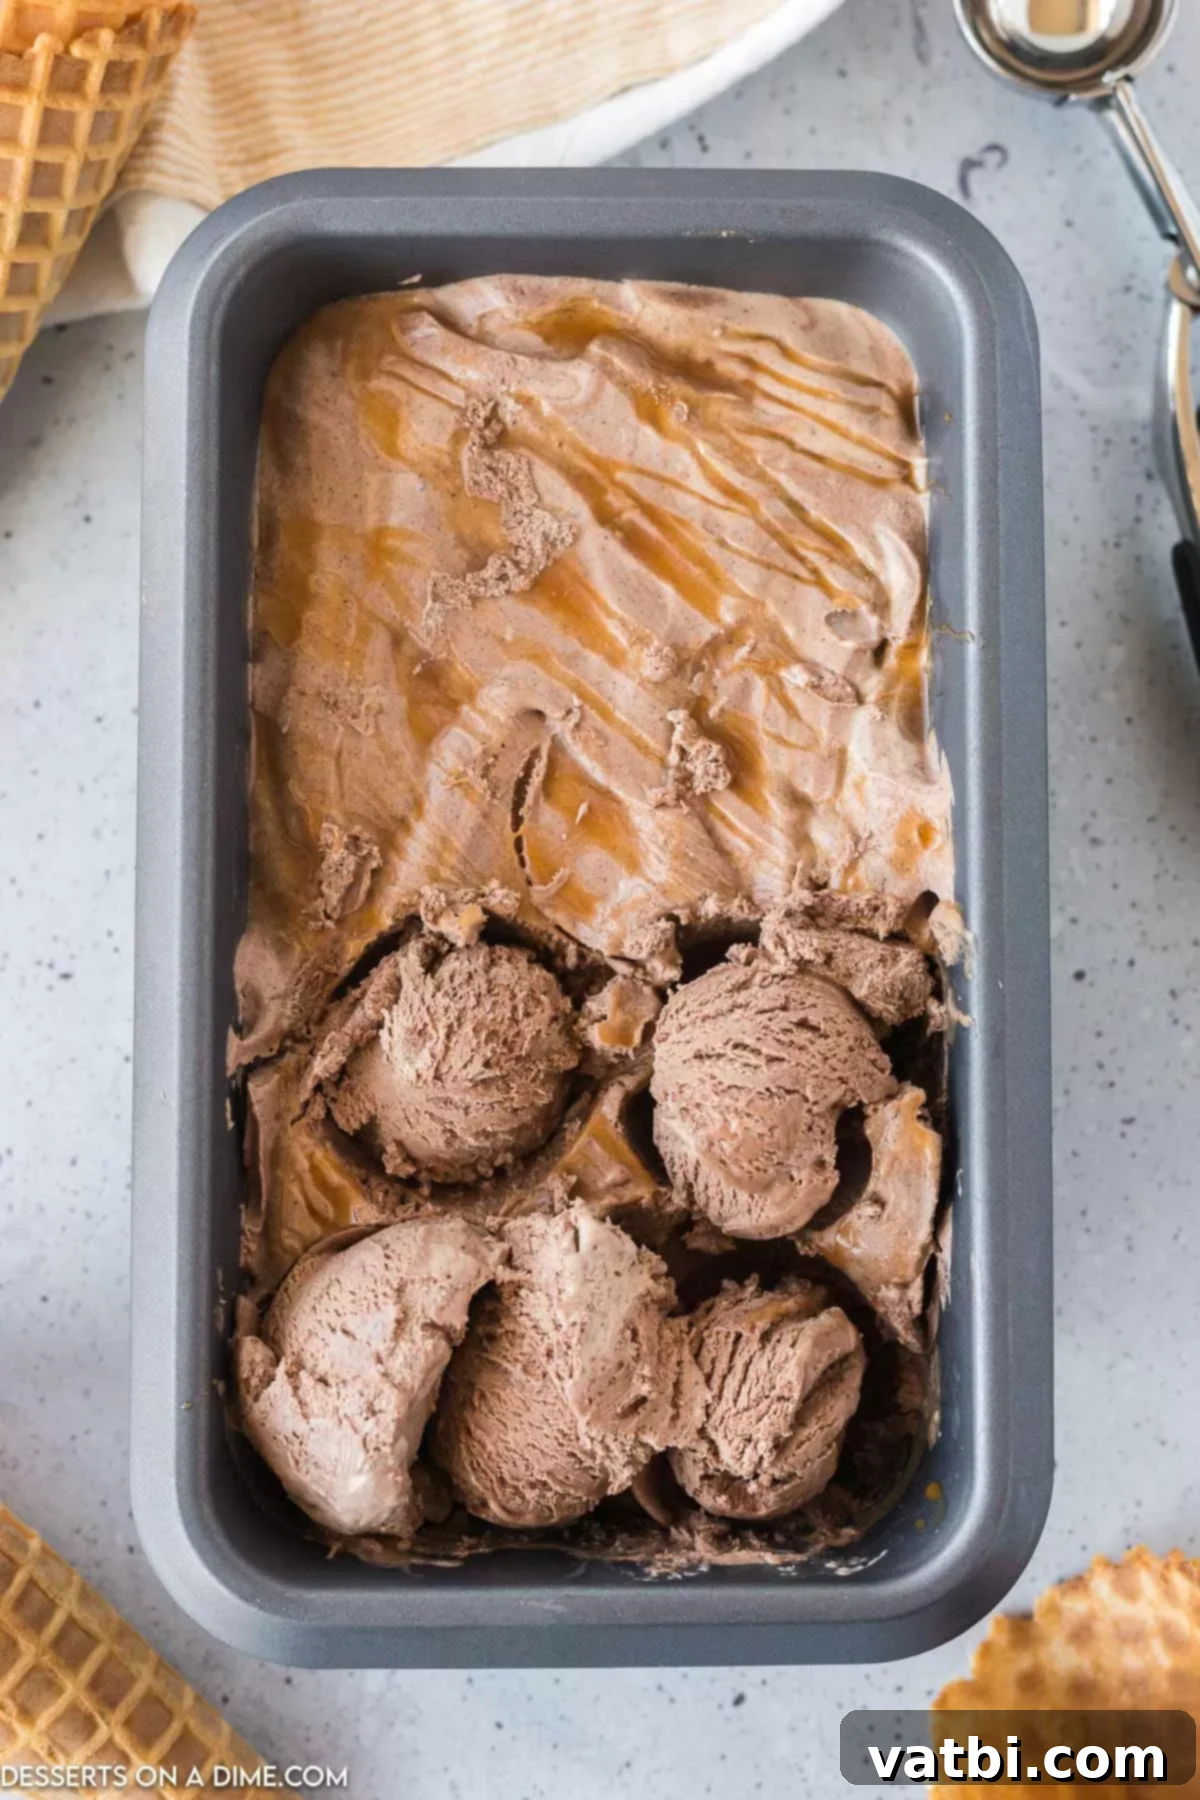
Step 4: Scoop and Enjoy! Once the ice cream is thoroughly frozen and firm, it’s ready to be served. If it’s too hard straight from the freezer, let it sit on the counter for a few minutes to soften slightly, making it easier to scoop. Serve in bowls, cones, or alongside your favorite desserts. Don’t forget to add your favorite toppings for an extra touch of indulgence!
Irresistible Ice Cream Topping Ideas
While this chocolate caramel ice cream is fantastic on its own, adding toppings can elevate it to a whole new level of dessert decadence. Here are some fantastic ideas to crown your scoops:
- Extra Caramel Drizzle: You can never have too much caramel! An additional swirl of rich caramel sauce or even a salty caramel sauce drizzled over your scoops enhances the existing flavors beautifully.
- Chocolate Chips or Shaved Chocolate: For an extra burst of chocolate, sprinkle on some mini chocolate chips, chocolate shavings, or even finely chopped dark or milk chocolate. This adds delightful texture and intensifies the chocolate experience.
- Warm Hot Fudge: A classic pairing! Drizzle a generous amount of warm Hot Fudge Sauce Recipe over your ice cream for a warm-and-cold sensation that’s utterly divine.
- Homemade Whipped Cream and Cherries: A dollop of fluffy Homemade Whipped Cream Recipe, topped with a bright maraschino cherry or fresh cherry, adds a light, airy contrast and a pop of color.
- Fresh Fruit: Brighten up the rich flavors with a serving of fresh fruit. Sliced strawberries or bananas are excellent choices, offering a refreshing counterpoint to the sweet chocolate and caramel. Other berries like raspberries or blueberries also work wonderfully.
- Toasted Nuts: Add a pleasant crunch and nutty aroma with a sprinkle of toasted pecans, walnuts, or almonds. The warmth of the toasted nuts complements the cold ice cream.
- Cookie Crumbles: Crush some of your favorite cookies like Oreos, shortbread, or graham crackers for a delicious, easy topping that adds texture and flavor.
- Coconut Flakes: Toasted coconut flakes add a tropical twist and a lovely chewiness that pairs surprisingly well with chocolate and caramel.
Proper Storage for Homemade Ice Cream
To keep your homemade chocolate caramel ice cream tasting fresh and delicious, proper storage is key. Transfer the finished ice cream to an airtight, freezer-safe container. A shallow, wide container is often better than a deep one for even freezing. If using a loaf pan, ensure it’s tightly covered with at least two layers of plastic wrap, pressed directly onto the surface of the ice cream to minimize air exposure, and then sealed with aluminum foil. This crucial step prevents the formation of ice crystals and protects against dreaded freezer burn, preserving the creamy texture and rich flavor for longer.
How Long Will Homemade Ice Cream Last?
When stored correctly in an airtight, freezer-safe container and covered with plastic wrap pressed directly against the surface, your delicious homemade chocolate caramel ice cream can last for up to 1 month in the freezer. While it might remain edible for longer, its texture and quality can start to degrade after this period. Freezer burn, indicated by ice crystals and a harder, drier texture, typically occurs when air comes into contact with the ice cream, drawing out moisture. Following proper storage guidelines will ensure you enjoy every last scoop at its best!
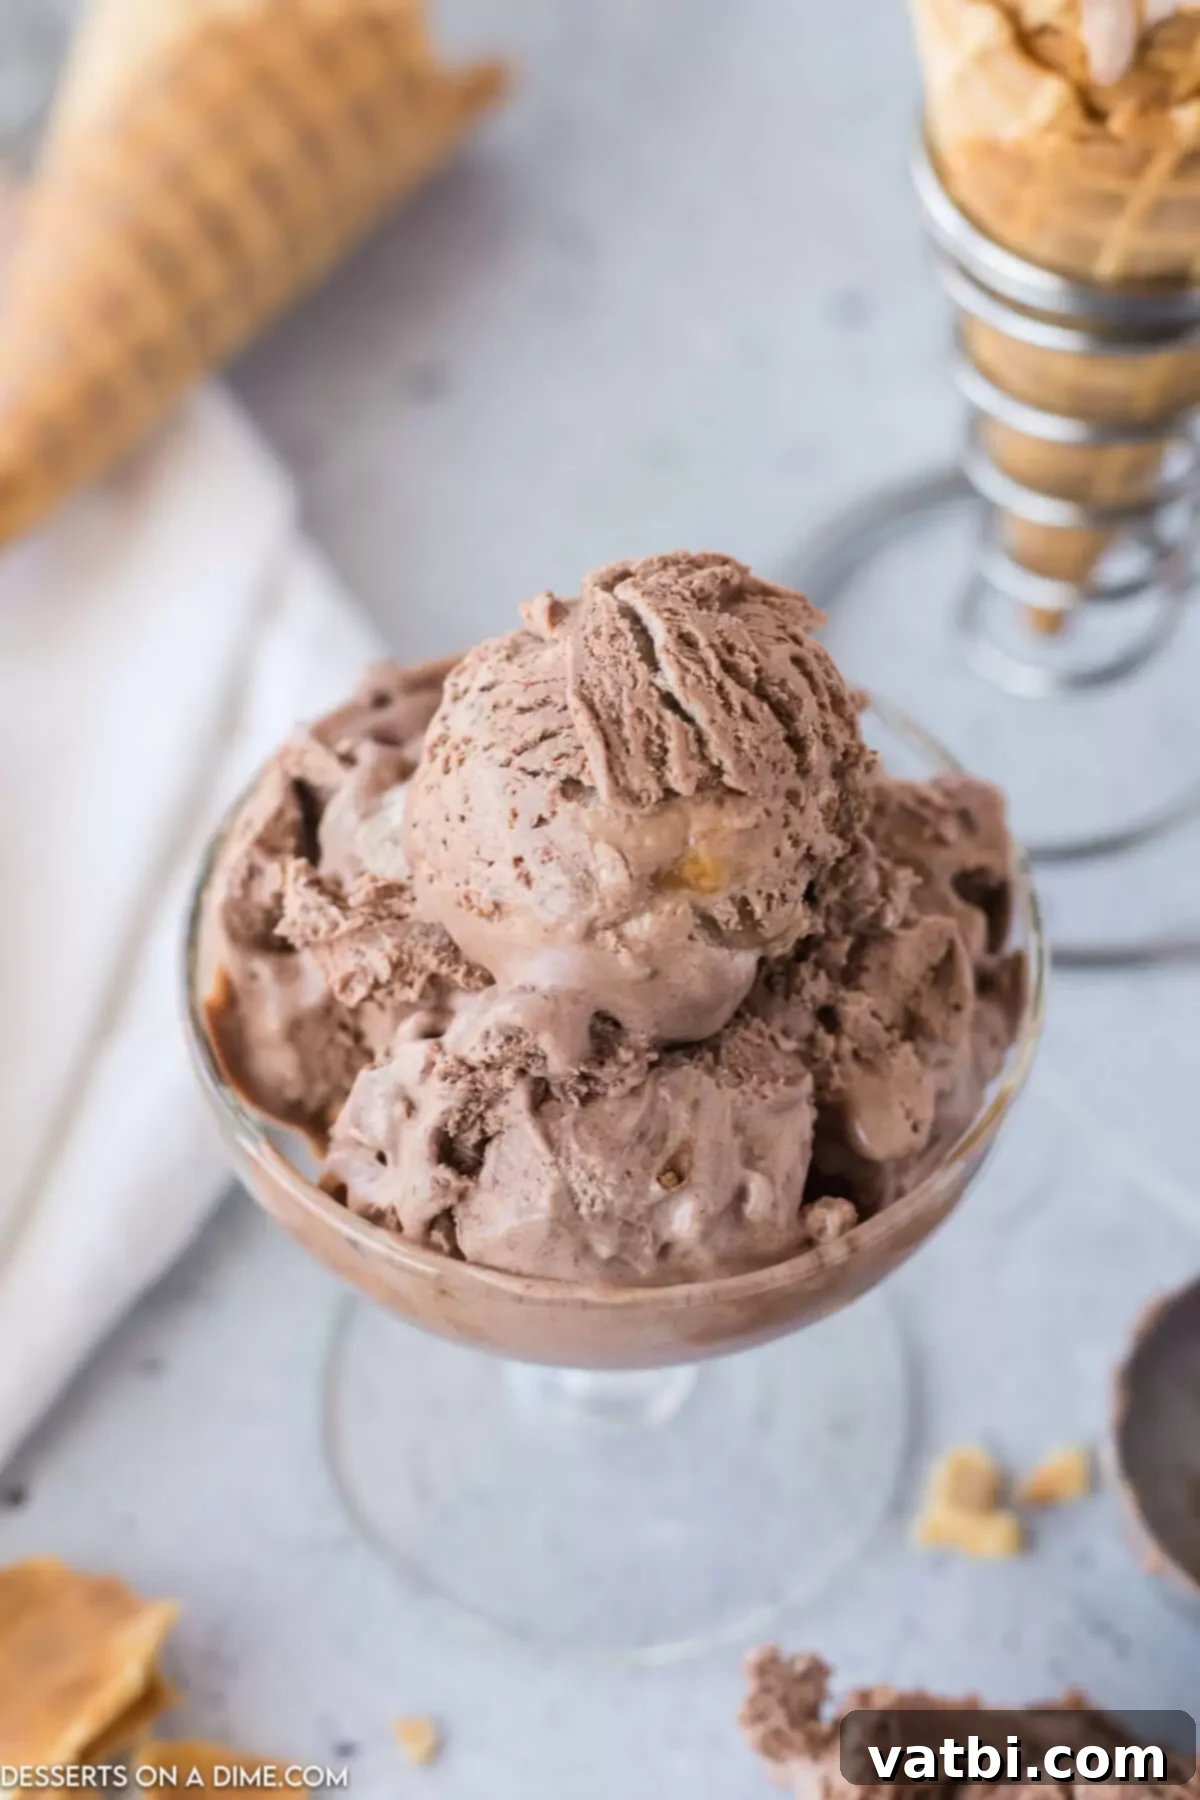
Expert Tips for Perfect No-Churn Ice Cream Every Time
Achieving perfectly creamy, delicious homemade ice cream is easy with a few insider tricks. These expert tips will help ensure your chocolate caramel ice cream turns out wonderfully:
- Scooping Ice Cream: The ideal serving temperature can vary. Depending on how cold your freezer runs, your ice cream might be rock-hard straight out of it. If so, let it sit on the counter for 5-10 minutes to temper slightly before attempting to scoop. A scoop dipped in warm water can also make serving much easier.
- Adding the Salt: Don’t skip the salt! While it might seem small, the pinch of salt is crucial. It doesn’t make the ice cream salty but instead acts as a flavor enhancer, balancing the intense sweetness from the condensed milk and caramel. This prevents the ice cream from being overwhelmingly sugary and truly allows the chocolate and caramel notes to shine.
- Versatile Ice Cream Bases: This no-churn recipe provides a fantastic base that’s incredibly versatile. Once you master this chocolate caramel version, feel free to experiment with other flavors! You can swap cocoa for different extracts (like mint or almond), swirl in fruit purees, or mix in various syrups or chocolate chips to create endless flavor combinations.
- Use a Frozen Bowl and Whisk: For the best whipping results, place your mixing bowl and whisk attachment (if using a stand mixer) in the freezer for at least 15-20 minutes, or even 24 hours prior to use. A very cold bowl helps the heavy cream whip up faster and achieve stiffer, more stable peaks, which is essential for that airy, creamy texture.
- Quality Ingredients Matter: With a recipe that calls for so few ingredients, the quality of each component truly impacts the final flavor. Opt for high-quality heavy whipping cream, a good brand of sweetened condensed milk, and excellent Dutch process cocoa powder and caramel sauce. You’ll taste the difference!
- Heavy Cream is Non-Negotiable: Do not attempt to substitute regular milk or half-and-half for the heavy whipping cream. The high-fat content of heavy cream is what allows it to whip into stable peaks and contributes to the rich, creamy texture of no-churn ice cream. Lower-fat alternatives simply will not yield the same results.
- Gentle Mixing for Airiness: When combining the condensed milk and cocoa mixture with the whipped cream, it’s crucial not to over-mix. Use a gentle folding technique with a large spatula. Stir just until the ingredients are combined and no streaks remain. Over-mixing will deflate the whipped cream, resulting in a denser, less airy ice cream.
- Preventing Ice Crystals: To ensure the smoothest texture and prevent the formation of ice crystals, always cover your ice cream tightly. Press plastic wrap directly onto the surface of the ice cream before sealing the container. This creates a barrier against air, which is the main culprit behind freezer burn.
More No-Churn Ice Cream Recipes to Explore
Loved this no-churn method? Great news! There are many other incredible no-churn ice cream recipes to try that are just as easy and delicious. Expand your homemade ice cream repertoire with these fantastic ideas:
- No-Churn Lemon Shortbread Ice Cream
- Butterfinger Ice Cream Recipe
- No-Churn Cotton Candy Ice Cream
- Peach No-Churn Ice Cream
- Pistachio Ice Cream
More Chocolate Caramel Desserts You’ll Adore
If you’re a fan of the irresistible combination of chocolate and caramel, you’re in for a treat! This dynamic duo shines in many other desserts beyond ice cream. Here are a few more decadent recipes that highlight this perfect flavor pairing:
- Chocolate Caramel Poke Cake
- Salted Caramel Chocolate Chip Cookies
I’m genuinely excited for you to try making this easy and incredibly satisfying no-churn chocolate caramel ice cream. It’s a game-changer for homemade desserts! Please leave a comment and rating once you’ve made it – I promise you will absolutely love the rich flavors and creamy texture!
Pin
Chocolate Caramel Ice Cream
Ingredients
- 3 cups heavy whipping cream
- ¼ powdered sugar
- 14 oz can sweetened condensed milk
- 1/3 cup Dutch process cocoa powder
- ½ cup caramel sauce
- 1 tsp salt
Instructions
-
In a large mixing bowl, use an electric hand mixer to whip the heavy cream and powdered sugar for about five minutes until the cream forms stiff peaks.
-
Gently fold in the condensed milk, cocoa powder, and half of the caramel sauce using a large spoon or spatula. Gently fold the mixture until no dry clumps of cocoa powder remain and the ingredients are homogenous.
-
Pour the ice cream mixture into a 9×5 inch loaf pan and drizzle the remaining caramel over the top of the ice cream. Allow the ice cream to set in the freezer for 5 hours.
-
Scoop and enjoy!
Recipe Notes
Depending on the temperature of your freezer, you may need to let your ice cream sit on the counter for a few minutes before scooping it.
This ice cream is great topped with an extra drizzle of caramel and some shaved chocolate.
The salt helps balance the sweetness from the condensed milk and caramel, so the ice cream isn’t overwhelmingly sweet.
Nutrition Facts
Pin This Now to Remember It Later
Pin Recipe
