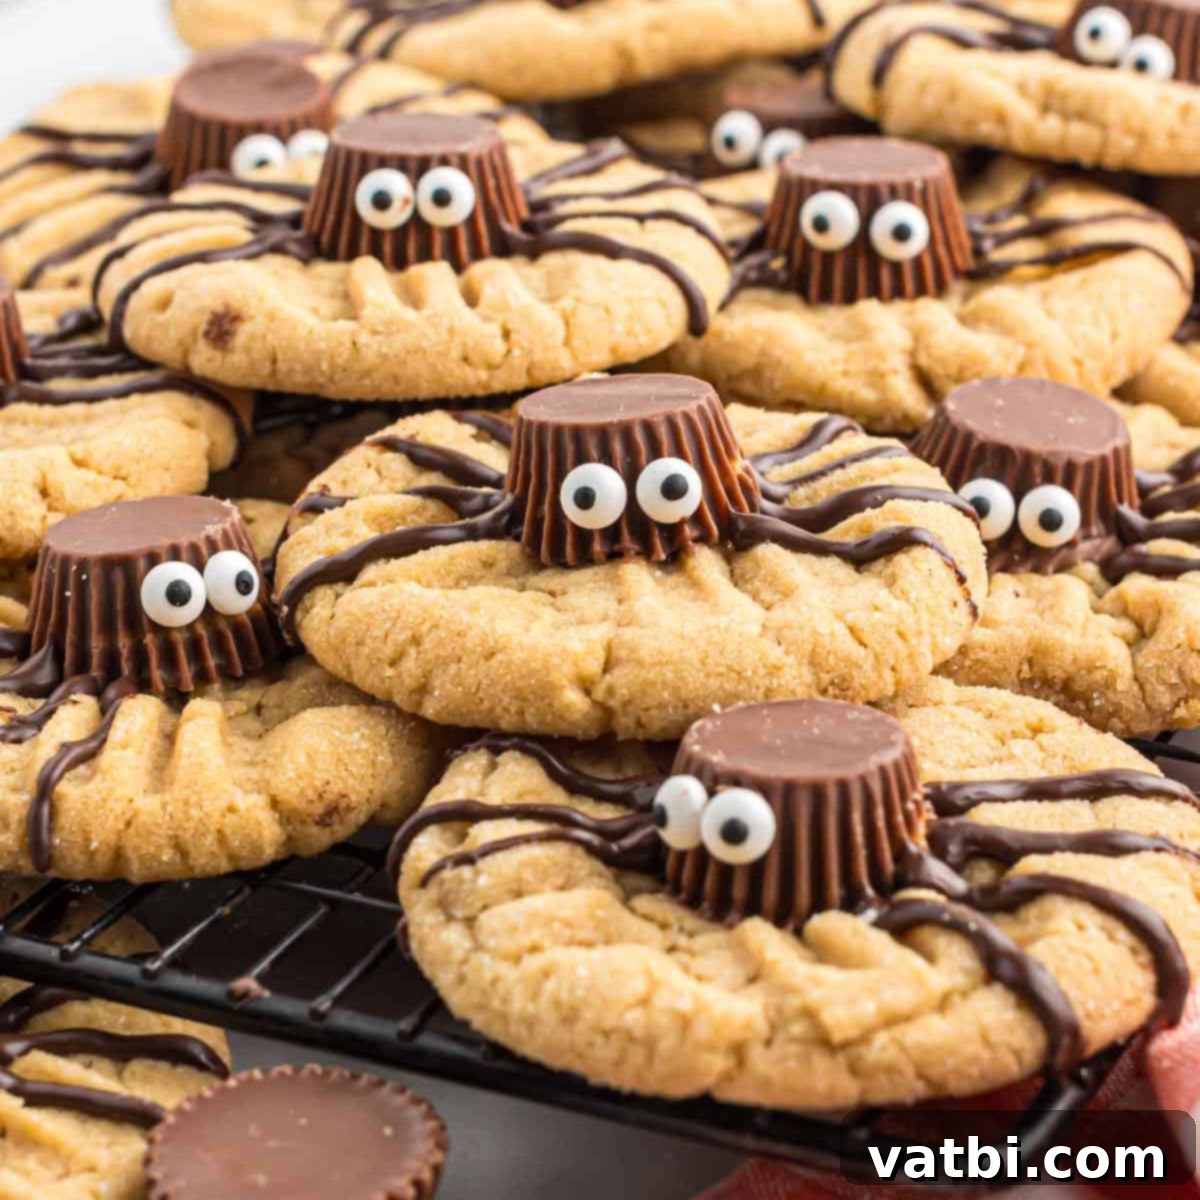
Spooktacularly Simple Halloween Spider Cookies: Your Ultimate Guide to Easy Peanut Butter Fun
Get ready to weave some magic into your Halloween celebrations with these incredibly fun and utterly delicious Halloween Spider Cookies! These aren’t just any ordinary cookies; they’re a delightful transformation of classic peanut butter cookies into adorable (or spooky, depending on your perspective!) cookie spiders, all thanks to the magic of Reese’s peanut butter cups and playful googly eyes. Whether you’re a seasoned baker or just starting out, this recipe promises an easy, tasty, and memorable treat that everyone will love.
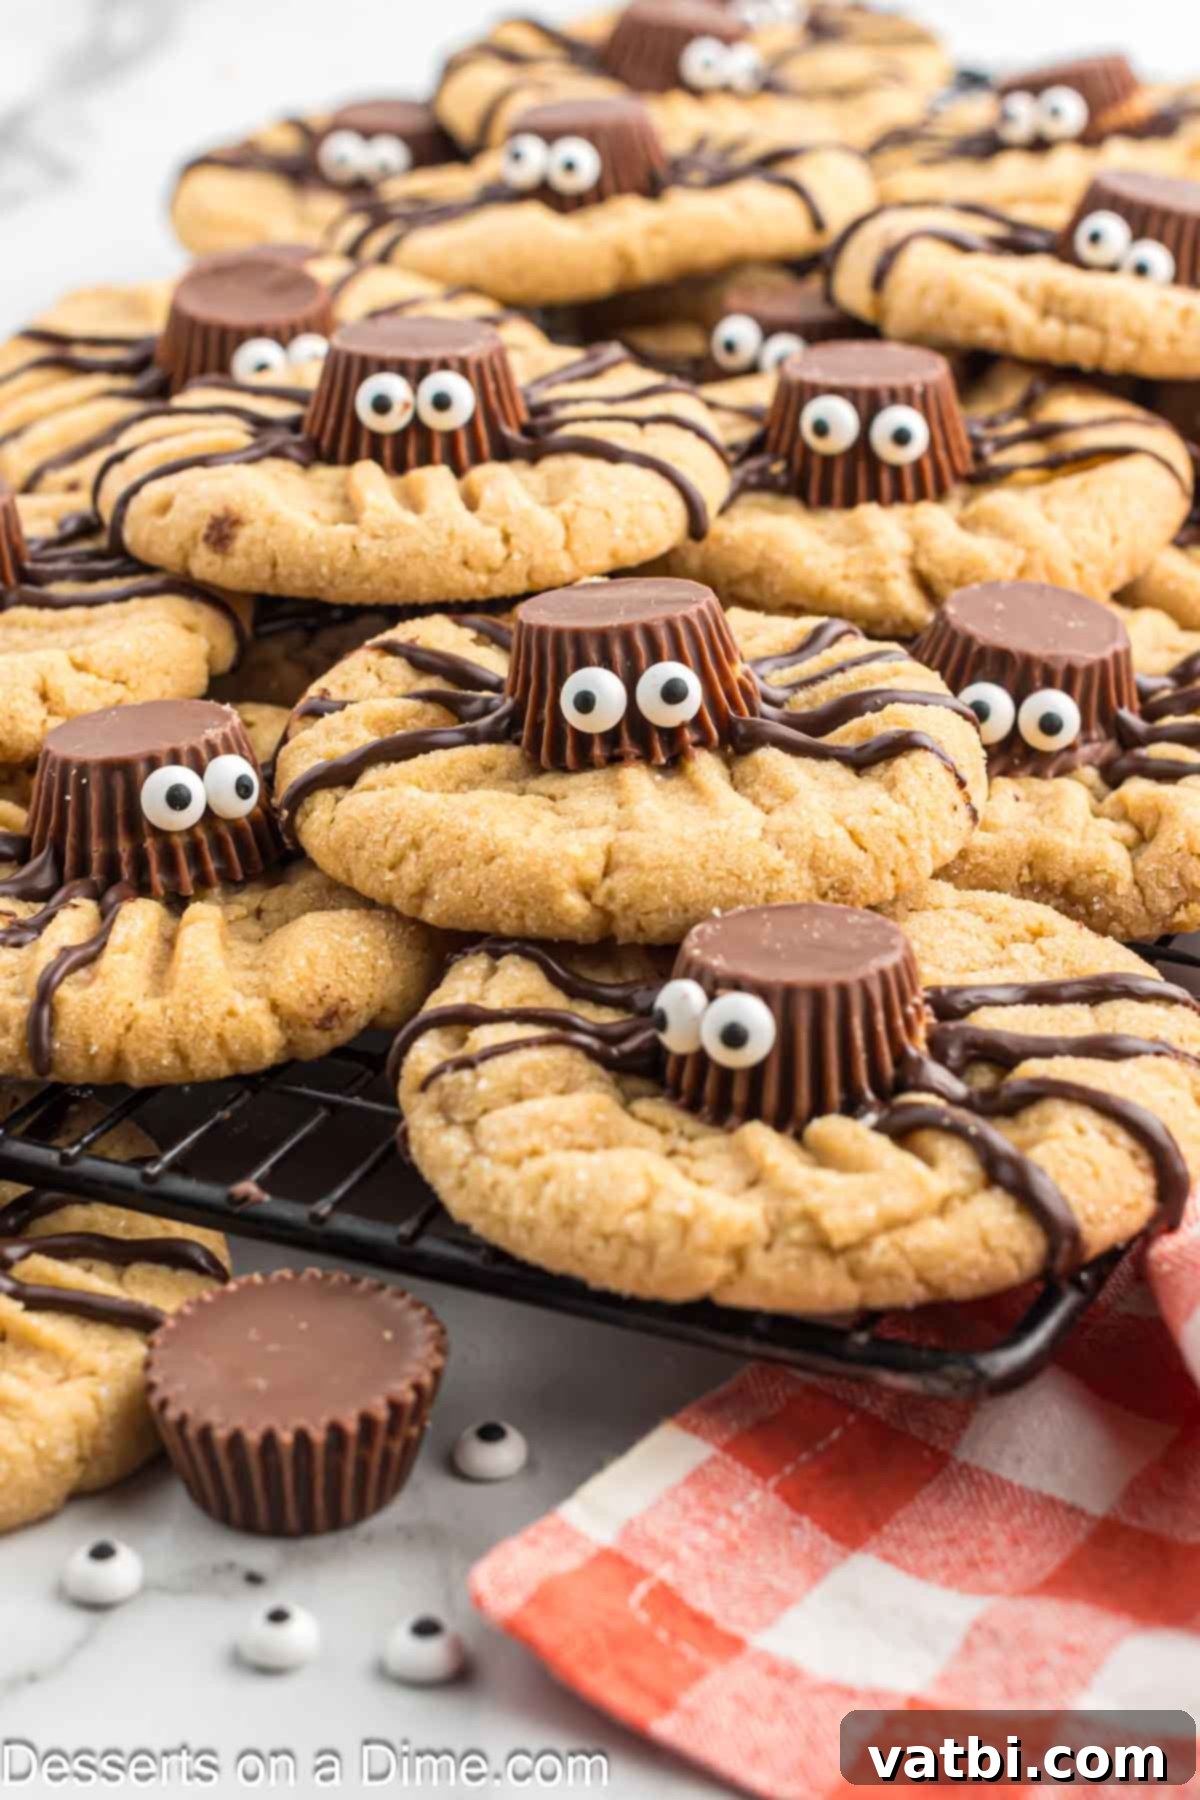
For over a decade, my family has celebrated Halloween with annual parties filled with laughter, costumes, and, of course, plenty of Halloween desserts. While classics like Witch Hat Cookies always make an appearance, these peanut butter spider cookies are consistently a crowd-pleaser. They’re essentially the Halloween-themed version of everyone’s beloved Peanut Butter Blossom Cookies, elevated with a spooky twist that makes them perfect for the season.
Planning a Halloween bash or simply looking for delightful autumn treats? These spider cookies are a fantastic addition to any spread. You might also enjoy pairing them with other creative Halloween party treats like Spider Brownies, fun Frankenstein Rice Krispie Treats, or even Oreo Spider Cookies for a variety of creepy-crawly delights. Don’t forget to check out Halloween Sugar Cookies, Halloween Puppy Chow Recipe, and Halloween Cake Pop Recipes to complete your festive menu.
What’s in this post: Easy Halloween Spider Cookies Recipe
- Why We Love This Recipe
- Ingredients
- Step By Step Instructions
- Pro Tips
- Storage
- More Easy Halloween Treats
- Halloween Spider Cookies Recipe
Why These Halloween Spider Cookies Are a Must-Make
These spooktacular peanut butter spider cookies are more than just a sweet treat; they’re an experience waiting to happen. Here’s why they’ve become a cherished part of our Halloween traditions:
- Fun and Festive Treat: Halloween is all about embracing the spooky and the silly, and these cookies perfectly capture that spirit. Decorating them is a fantastic activity for all ages, fostering creativity and providing a delightful way to bond with family and friends. The whimsical googly eyes and chocolate legs instantly evoke the festive atmosphere of the season, making them a holiday baking favorite year after year. It’s a joyful way to usher in the holiday cheer, much like baking festive chocolate truffles during Christmas!
- Simple, Accessible Ingredients: You won’t need to hunt for exotic components for this recipe. The ingredient list features common pantry staples that are likely already in your kitchen. This makes whipping up a batch of these Halloween treats incredibly convenient and budget-friendly. Most of the items are everyday baking essentials, ensuring a stress-free trip to the grocery store if you need to stock up.
- Perfect for Parties & Gatherings: Whether it’s a school Halloween party, a family gathering, or a neighborhood potluck, these cookies are guaranteed to be a hit. Their unique appearance and irresistible peanut butter flavor make them stand out on any dessert table. They’re easy to transport and store, making them an ideal make-ahead option for busy hosts. Watch as both kids and adults delight in these charmingly creepy confections!
- Engaging for Kids: The decorating phase is where the real fun begins, especially for younger helpers. Letting children add the googly eyes and pipe the spider legs not only makes them feel involved but also adds a unique, personal touch to each cookie. It’s a wonderful opportunity for creative expression and a memorable bonding activity.
- Customizable Fun: While the classic Reese’s and googly eyes are perfect, you can easily customize these cookies. Experiment with different types of chocolate for the legs, various candy toppers, or even different cookie bases if you dare!
Essential Ingredients for Your Spider Cookie Creation
Crafting these delicious Halloween spider cookies requires a few key ingredients. Many of these are likely already in your pantry, making this a convenient recipe to tackle. Remember to check the full list on the recipe card below for precise measurements, but here’s a breakdown of what you’ll need and why:
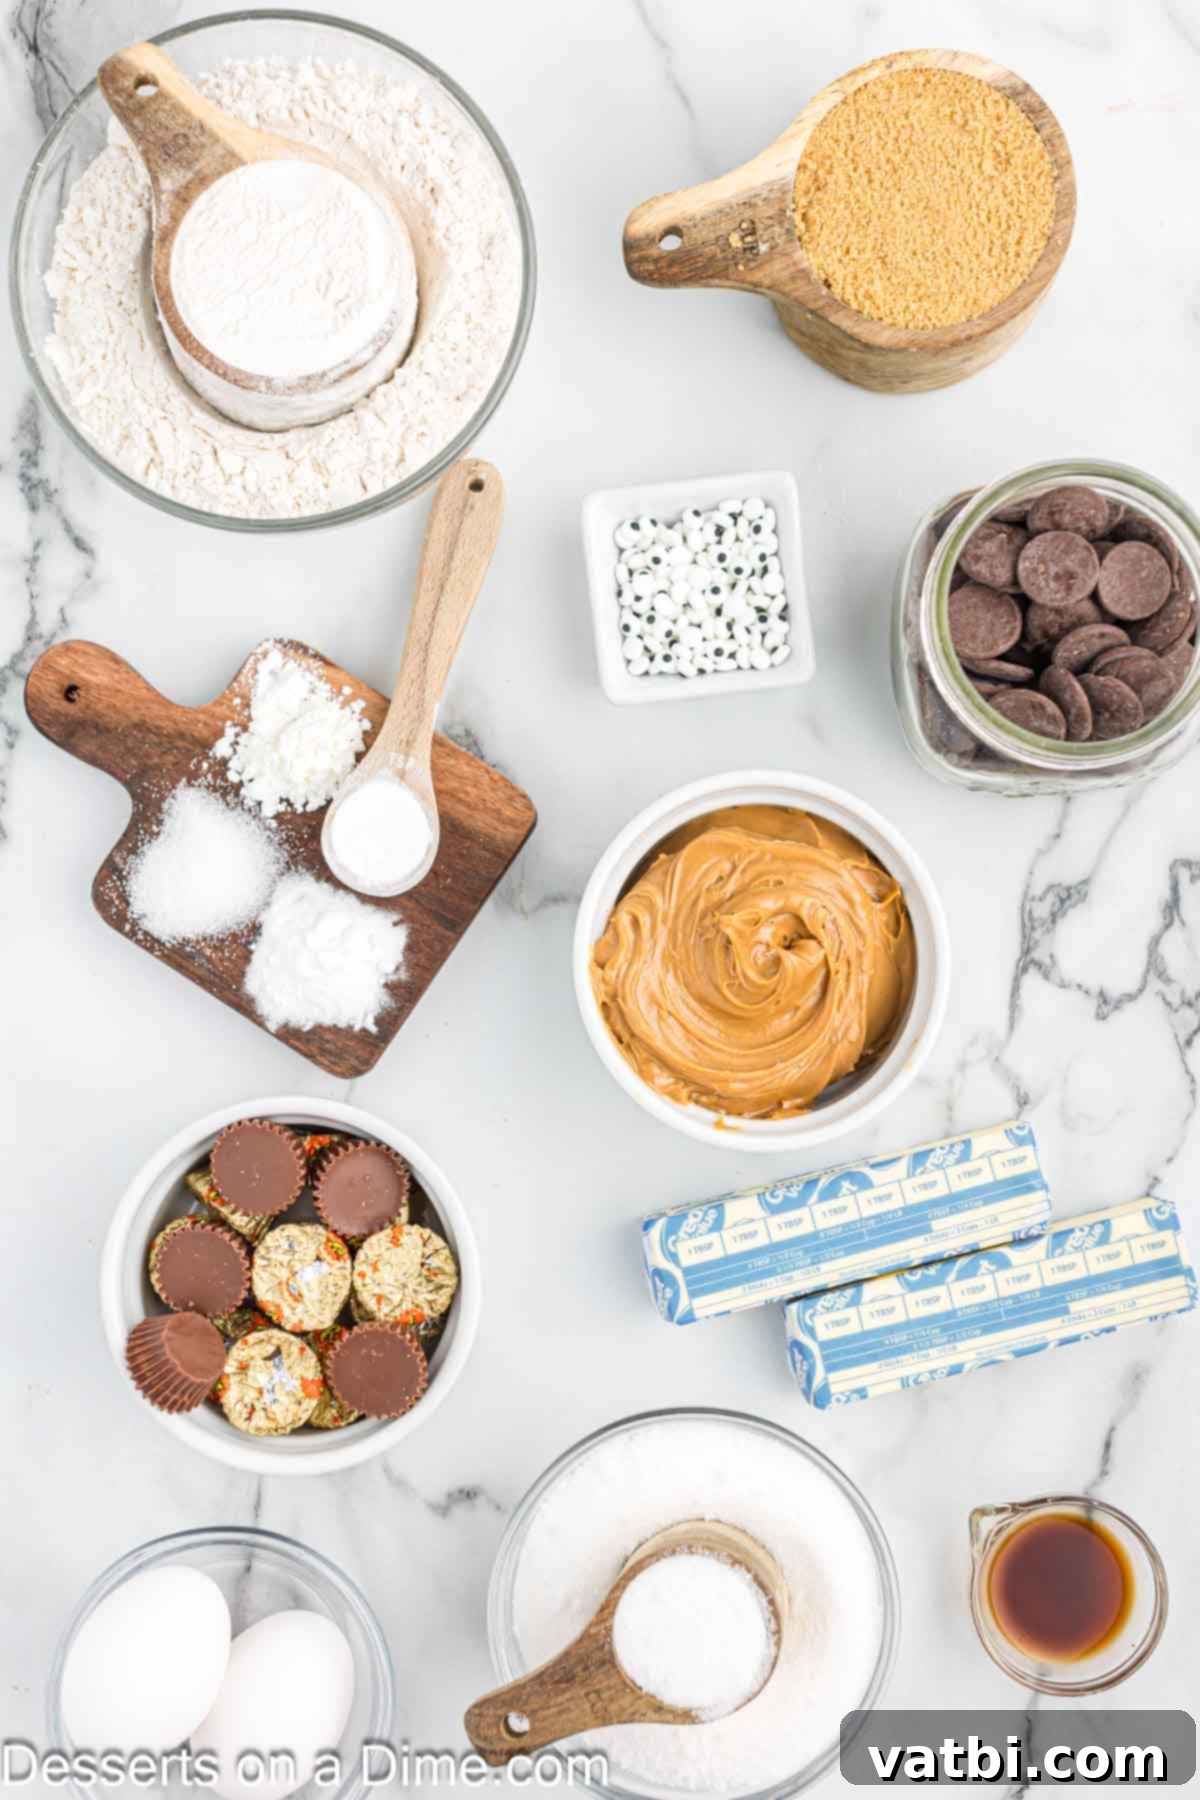
- All-Purpose Flour: The foundational dry ingredient. For the most accurate measurement, spoon the flour into your measuring cup and level it off with a straight edge, rather than scooping directly from the bag. This prevents compacting the flour and ensures a lighter, softer cookie.
- Granulated Sugar & Brown Sugar: A combination of both sugars creates the perfect balance of sweetness and texture. Granulated sugar contributes to crispiness, while brown sugar adds moisture, chewiness, and a subtle caramel note. Running low on brown sugar? Our Homemade Brown Sugar Recipe is incredibly easy to whip up!
- Butter: Use softened, unsalted butter at room temperature. This allows it to cream smoothly with the sugars, incorporating air and creating a light, fluffy cookie dough texture.
- Peanut Butter: Creamy peanut butter is highly recommended for these cookies as it provides a smooth, consistent flavor and texture. Natural peanut butters (the kind that separate) can sometimes be too oily or stiff for baking, so opt for a classic creamy variety.
- Eggs: Room temperature eggs blend more evenly into the dough, leading to a more consistent crumb. They act as a binder and add richness to the cookies.
- Baking Powder & Baking Soda: These are your leavening agents, essential for giving the cookies their lift and signature soft texture.
- Cornstarch: A secret ingredient for extra tender and soft cookies. It helps to keep them from becoming too crisp.
- Salt: A pinch of salt balances the sweetness and enhances all the flavors in the cookie.
- Vanilla Extract: Adds a warm, aromatic depth to the peanut butter flavor.
- Reese’s Miniature Peanut Butter Cups: The star of your spider’s body! These need to be chilled before using. This helps them maintain their shape when pressed into the warm cookies and prevents them from melting too quickly. You’ll need about 36 for this recipe.
- Candy Eyes: These edible googly eyes bring your spiders to life! Kids especially love placing these. You can find them in the baking aisle of most grocery stores or craft stores.
- Chocolate Melting Wafers: Used for piping the spider legs and adhering the candy eyes. Melting wafers are designed to melt smoothly and set firmly, making them ideal for decorating. If you don’t have wafers, semi-sweet chocolate chips or even regular chocolate bars can be used, though they might require a touch of oil to achieve the right piping consistency.
For the complete, precise list of ingredients and their exact quantities, please refer to the comprehensive recipe card located at the very bottom of this post.
Crafting Your Spooky Spider Cookies: A Step-by-Step Guide
Follow these detailed instructions to create perfect Halloween Spider Cookies that are sure to impress:
- Step 1: Prepare Your Oven and Baking Sheets. Begin by preheating your oven to 350 degrees F (175 degrees C). This ensures the oven is at the correct temperature for even baking from the moment your cookies go in. Prepare your baking sheets by lining them with parchment paper. While peanut butter cookies don’t always stick, parchment paper guarantees easy removal and makes cleanup a breeze.
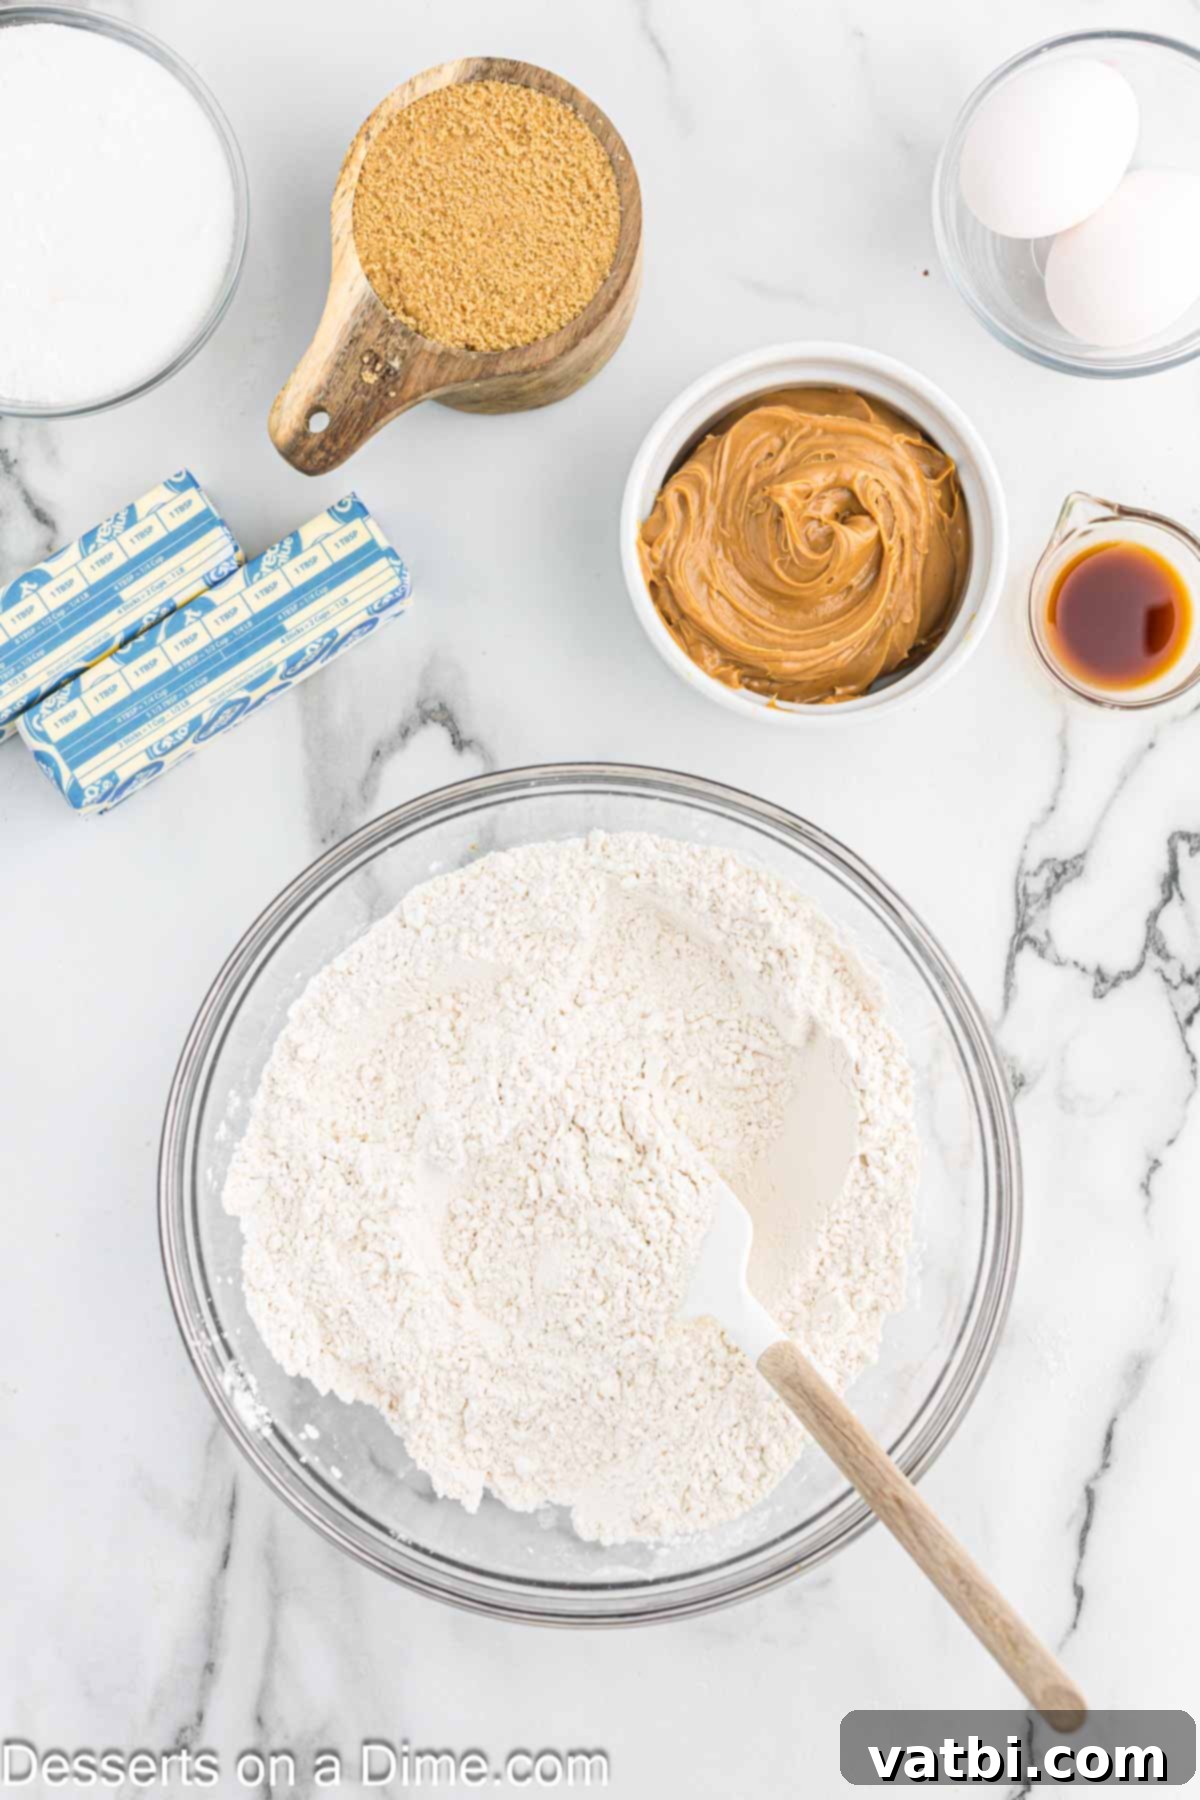
Step 2: Combine the Dry Ingredients. In a medium mixing bowl, whisk together the all-purpose flour, baking powder, baking soda, cornstarch, and salt. Whisking ensures these ingredients are thoroughly combined and evenly distributed, which is crucial for uniform cookie texture and rise. Set this bowl aside.
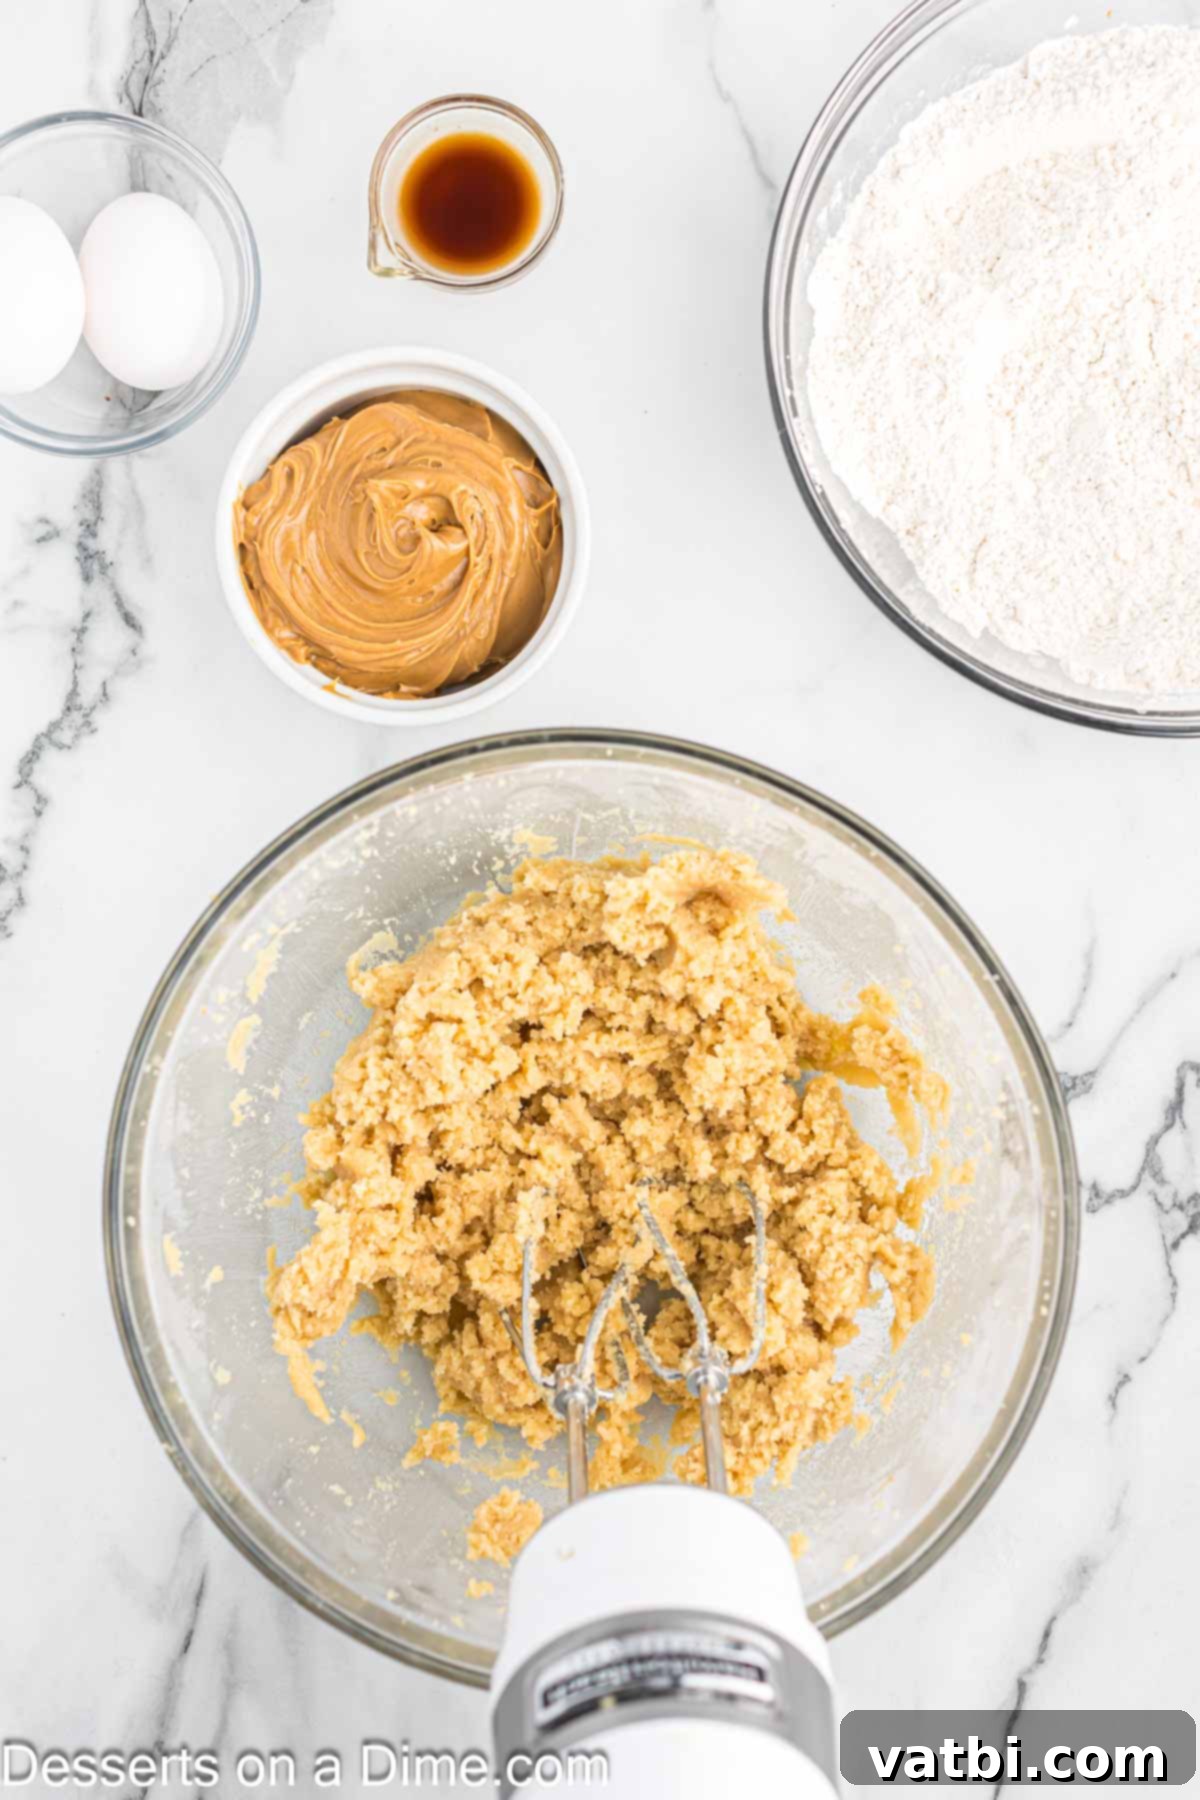
Step 3: Cream Wet Ingredients. In a separate, larger mixing bowl (preferably the bowl of a stand mixer with a paddle attachment, or use a hand-held mixer), combine the softened butter with both the granulated sugar and brown sugar. Beat these ingredients together on medium speed until the mixture is light, fluffy, and pale in color, usually about 2-3 minutes. This creaming process incorporates air, which contributes to the cookies’ soft texture.
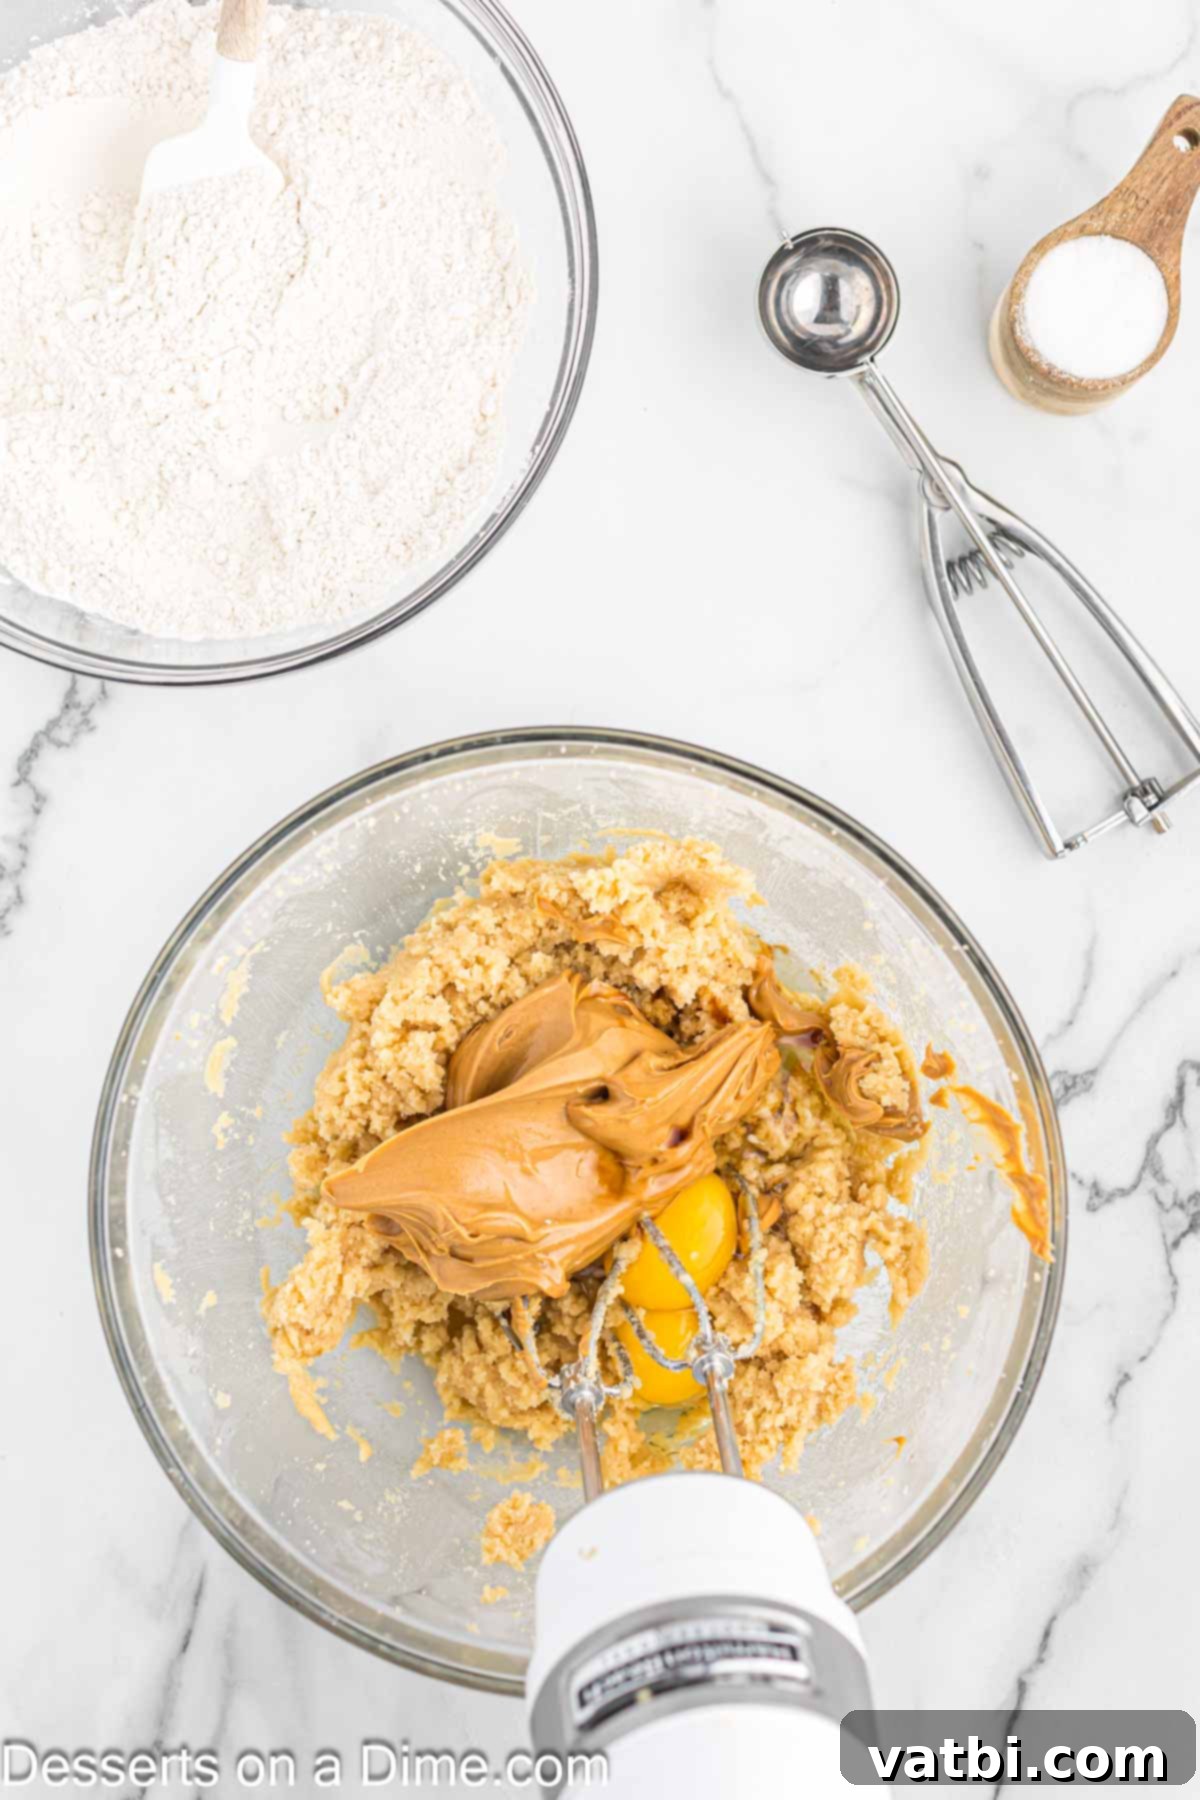
Step 4: Incorporate Peanut Butter, Eggs, and Vanilla. To the creamed butter and sugar mixture, add the creamy peanut butter, room temperature eggs, and vanilla extract. These ingredients add richness, flavor, and structure to the cookie dough.
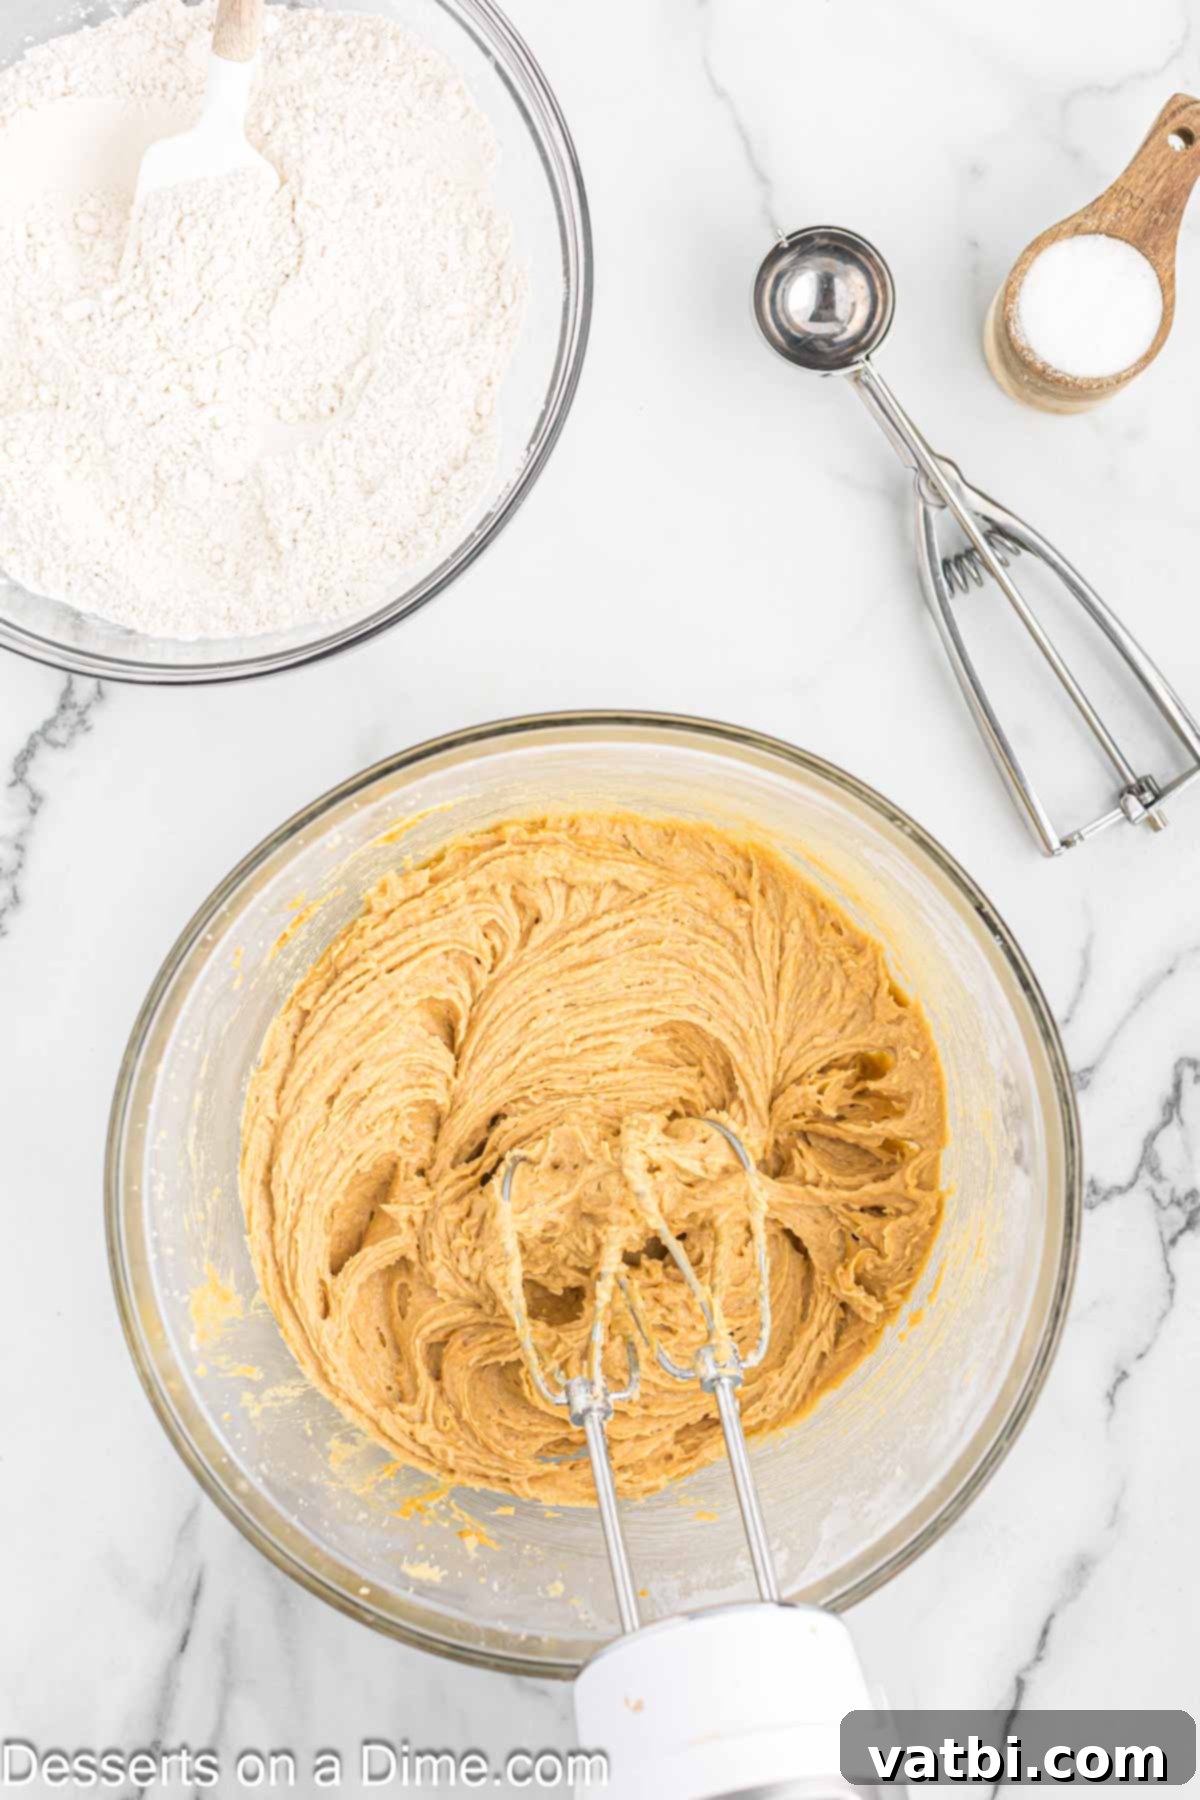
Step 5: Mix Until Just Combined. Continue mixing these wet ingredients until they are thoroughly combined and the mixture appears smooth and uniform. Scrape down the sides of the bowl as needed to ensure everything is incorporated.
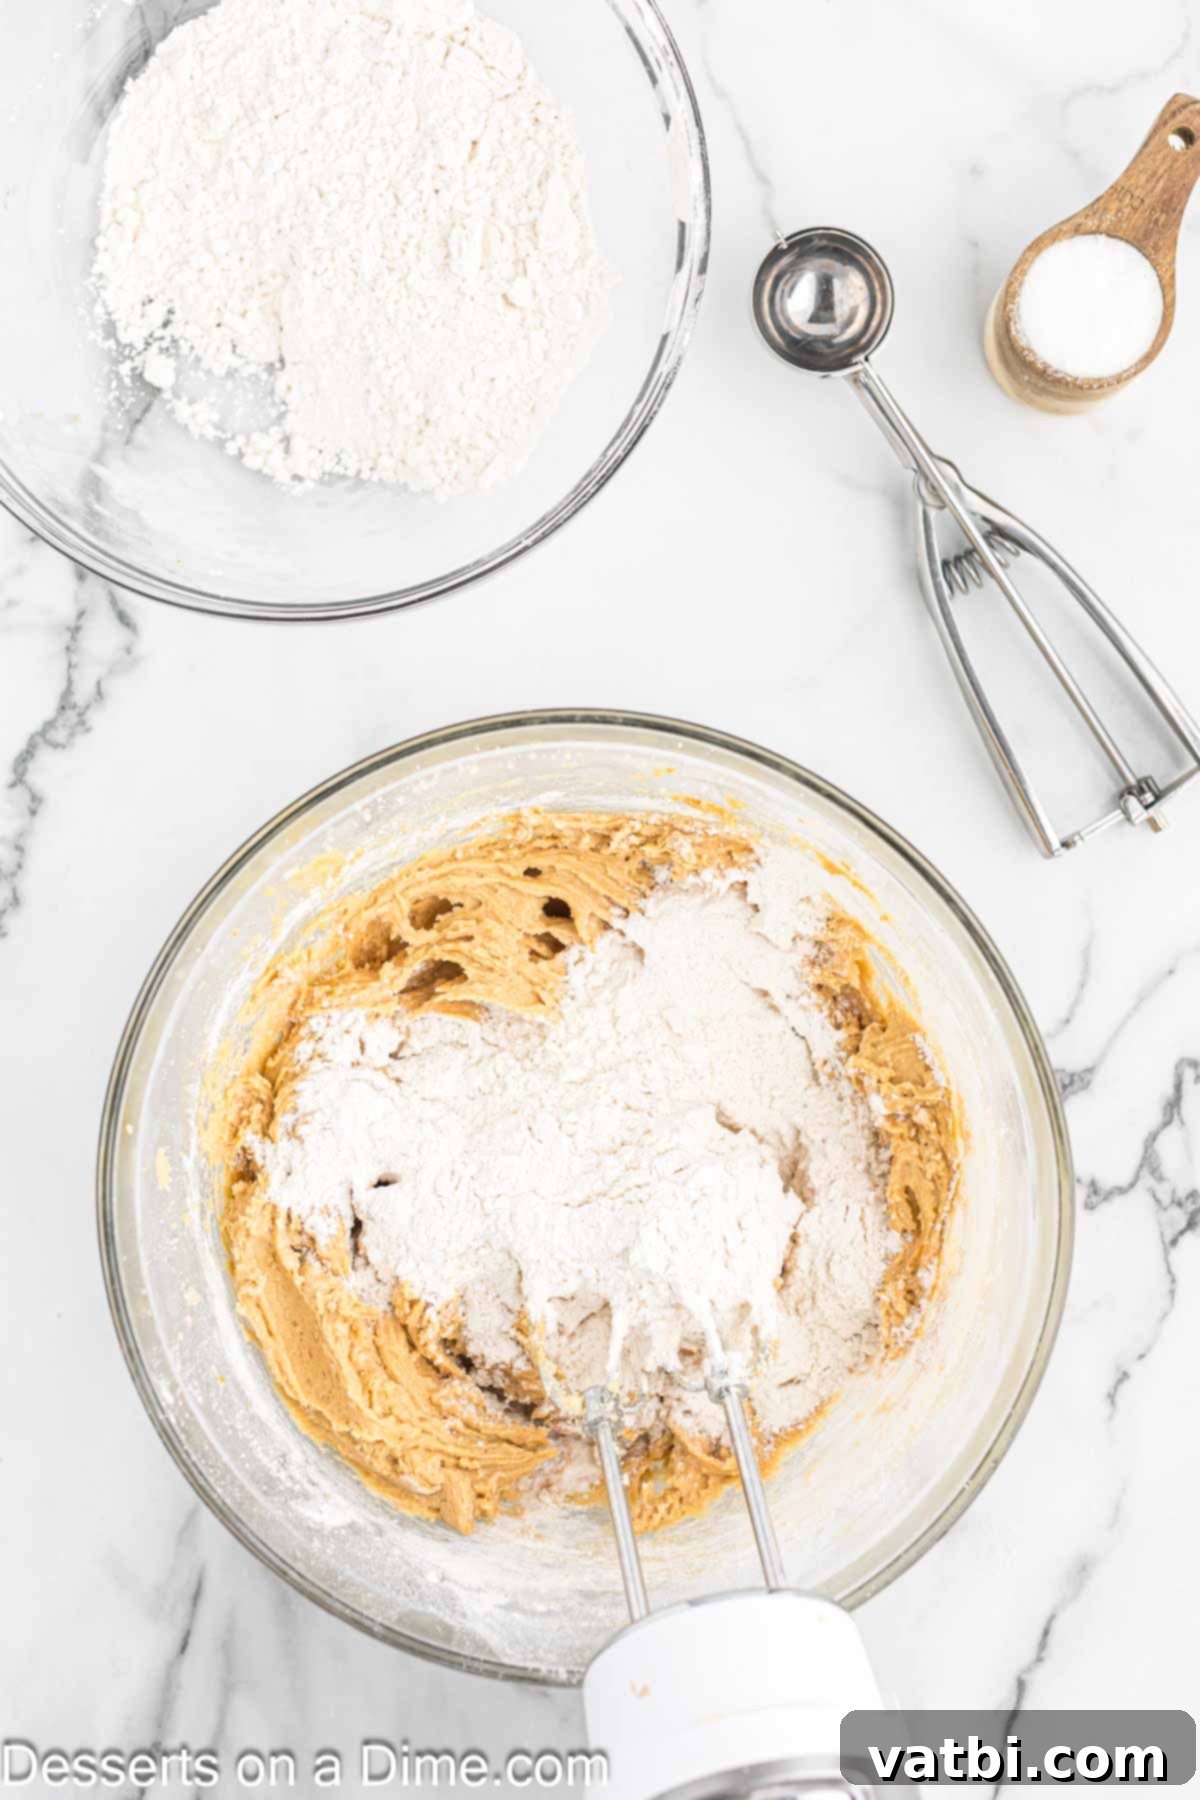
Step 6: Gradually Add Dry Ingredients. Reduce your mixer speed to low. Gradually add the dry ingredient mixture (from Step 2) into the wet ingredients. Add about a third at a time, allowing it to incorporate before adding more.
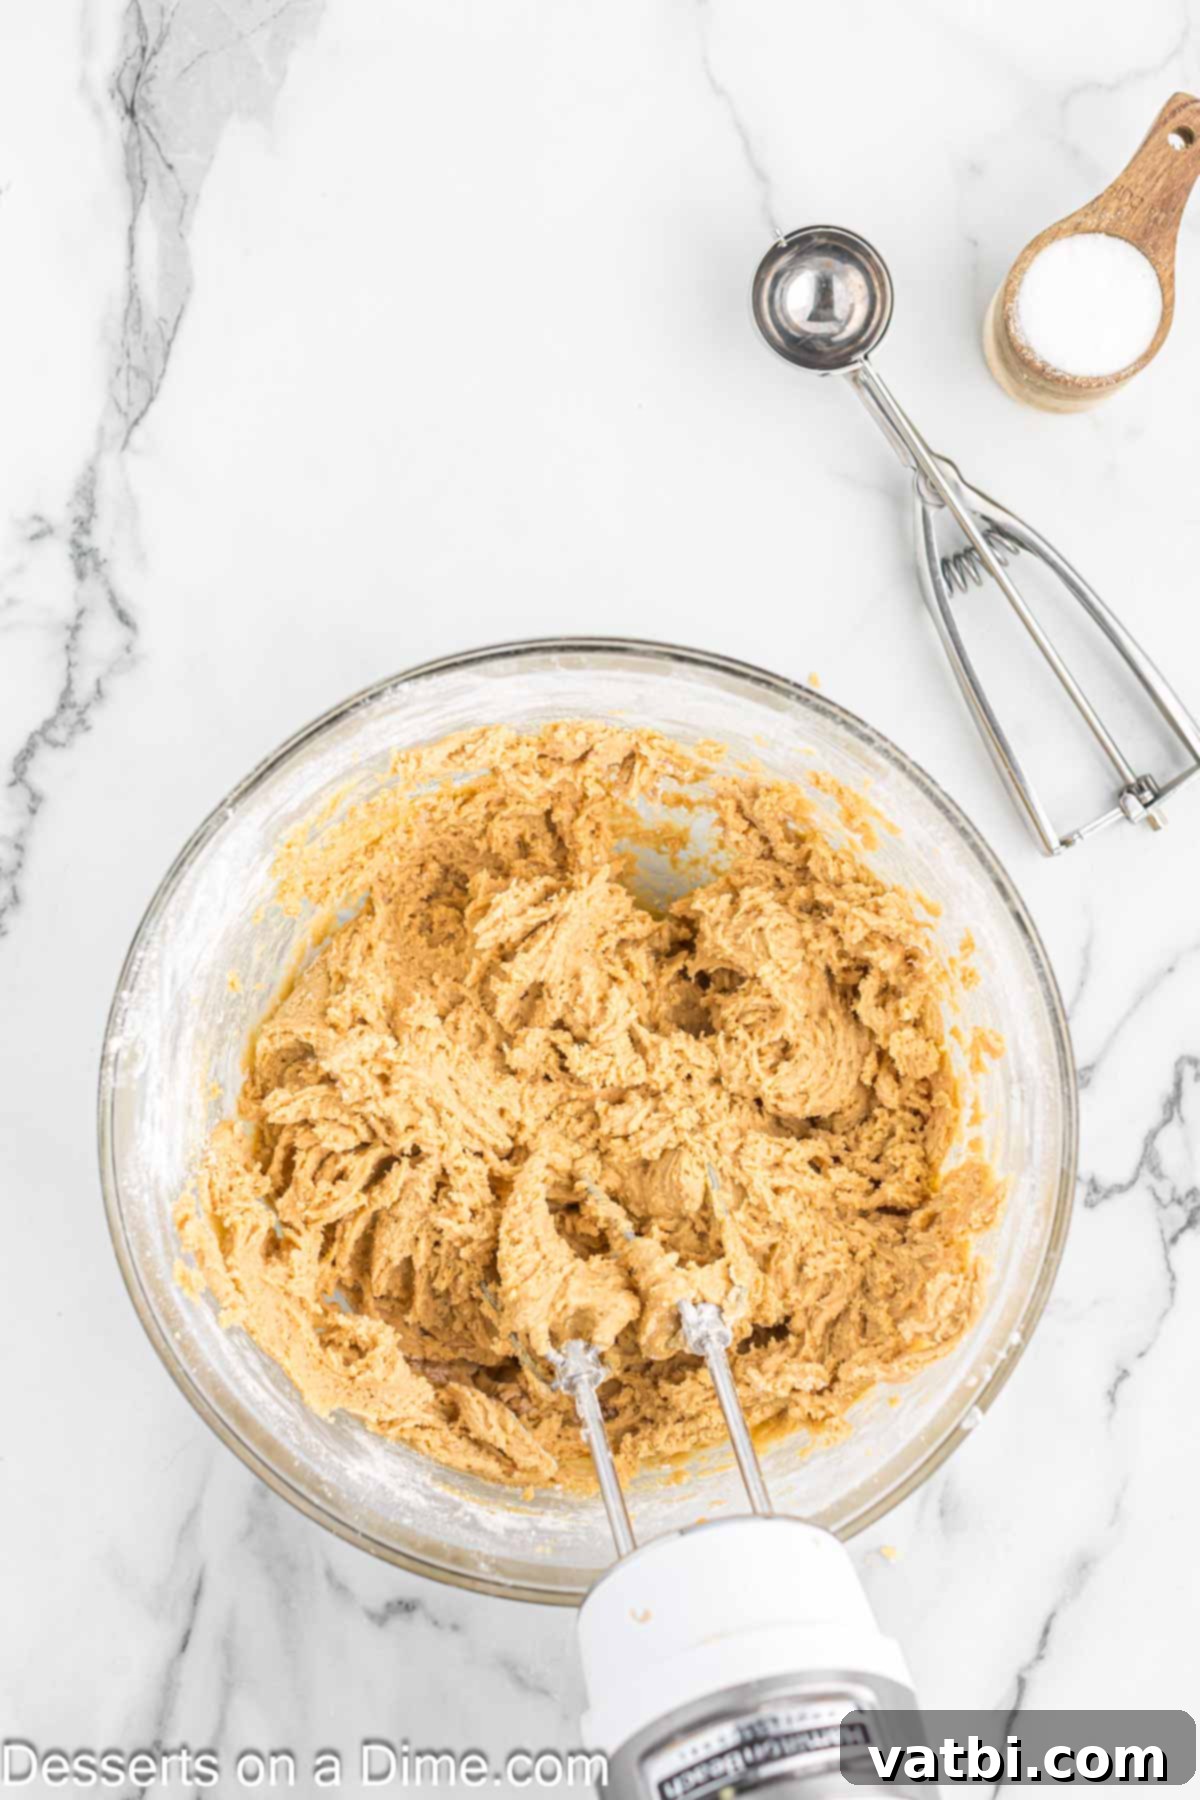
Step 7: Mix Until Just Blended. Continue mixing only until the dry ingredients are just incorporated into the wet. It’s crucial not to overmix at this stage, as overmixing can develop the gluten in the flour, leading to tough cookies. Stop as soon as no streaks of flour are visible.
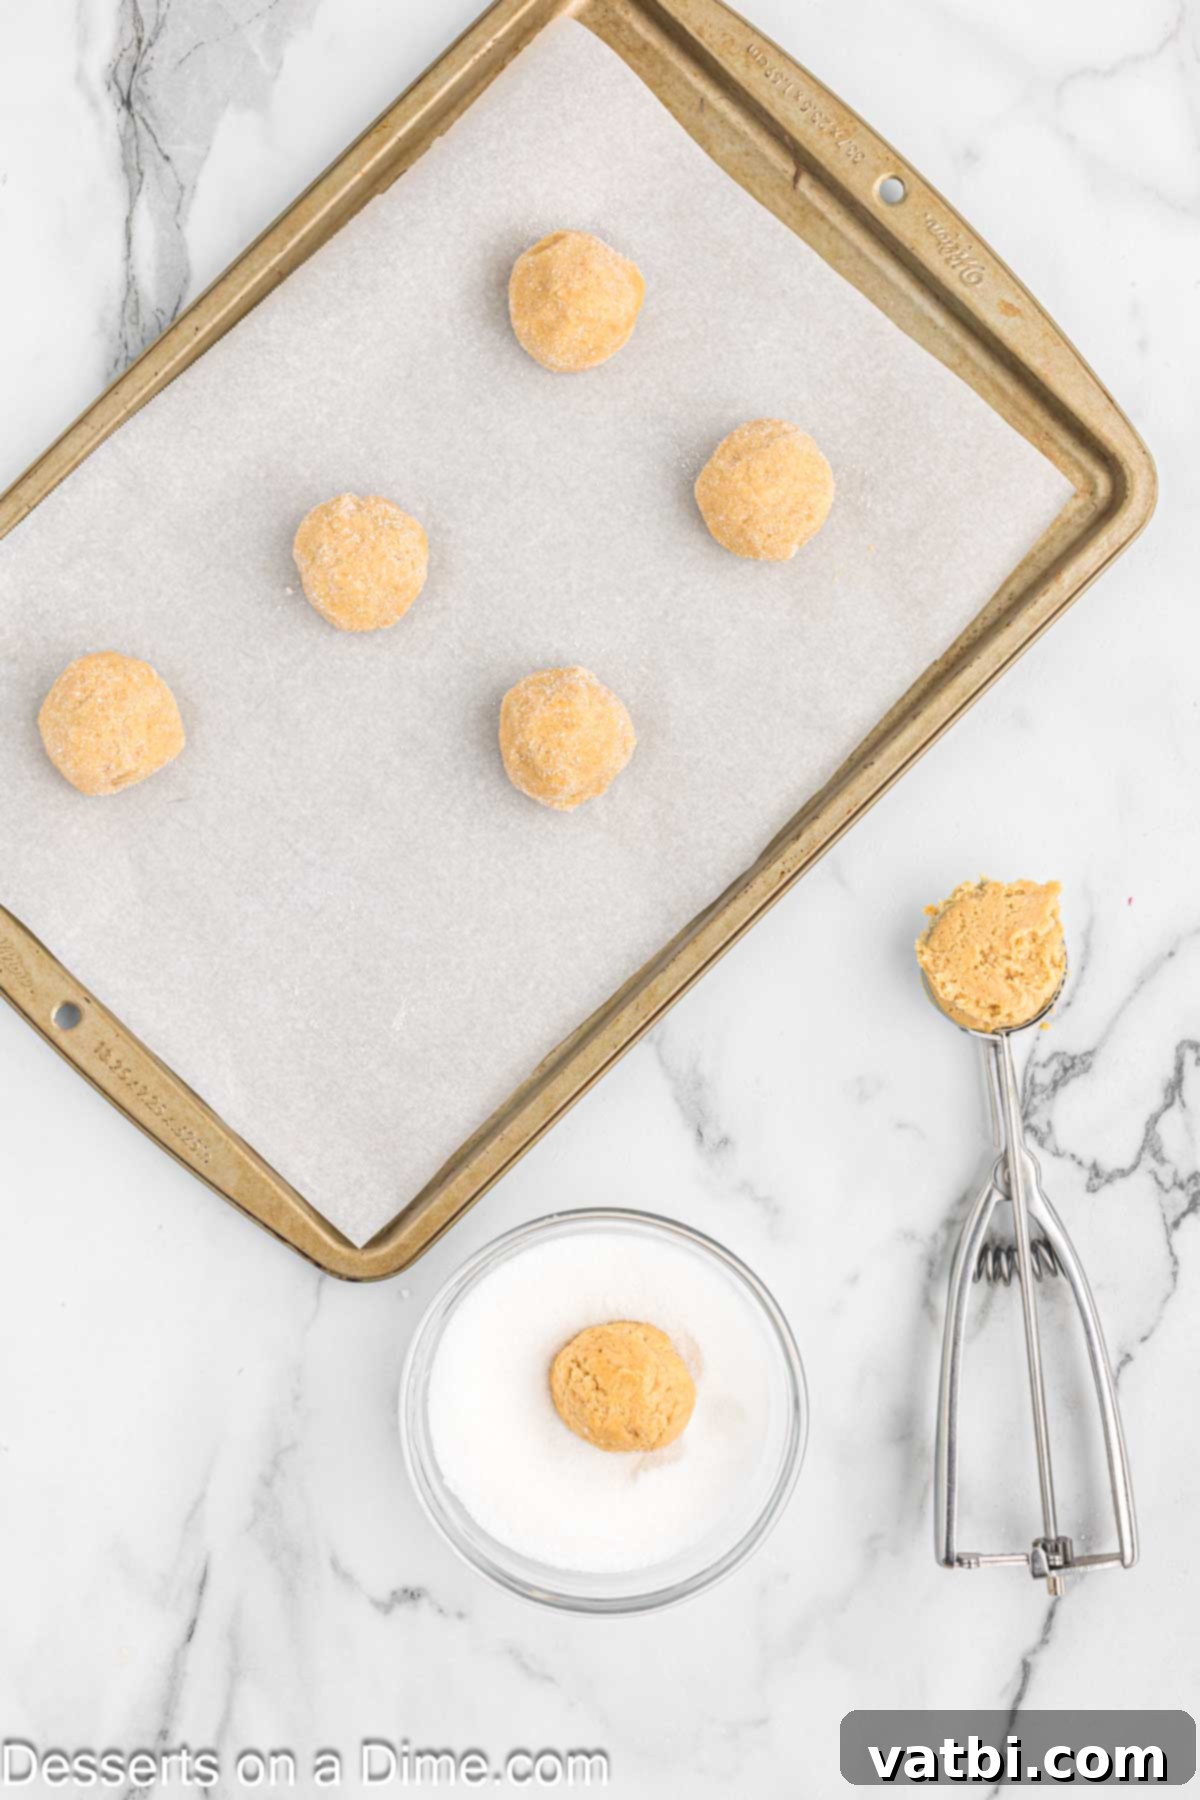
Step 8: Form and Sugar Coat Dough Balls. Use a cookie scoop to portion the dough into uniform round balls. This ensures all cookies bake evenly. Gently roll each dough ball in a shallow dish of granulated sugar (use about 1/4 cup of the initial 1 1/4 cups for this). This sugar coating provides a lovely sparkle and adds a slight crunch to the finished cookie. Place the sugar-coated balls onto your prepared un-greased baking sheet, leaving about 2 inches between each to allow for spreading.
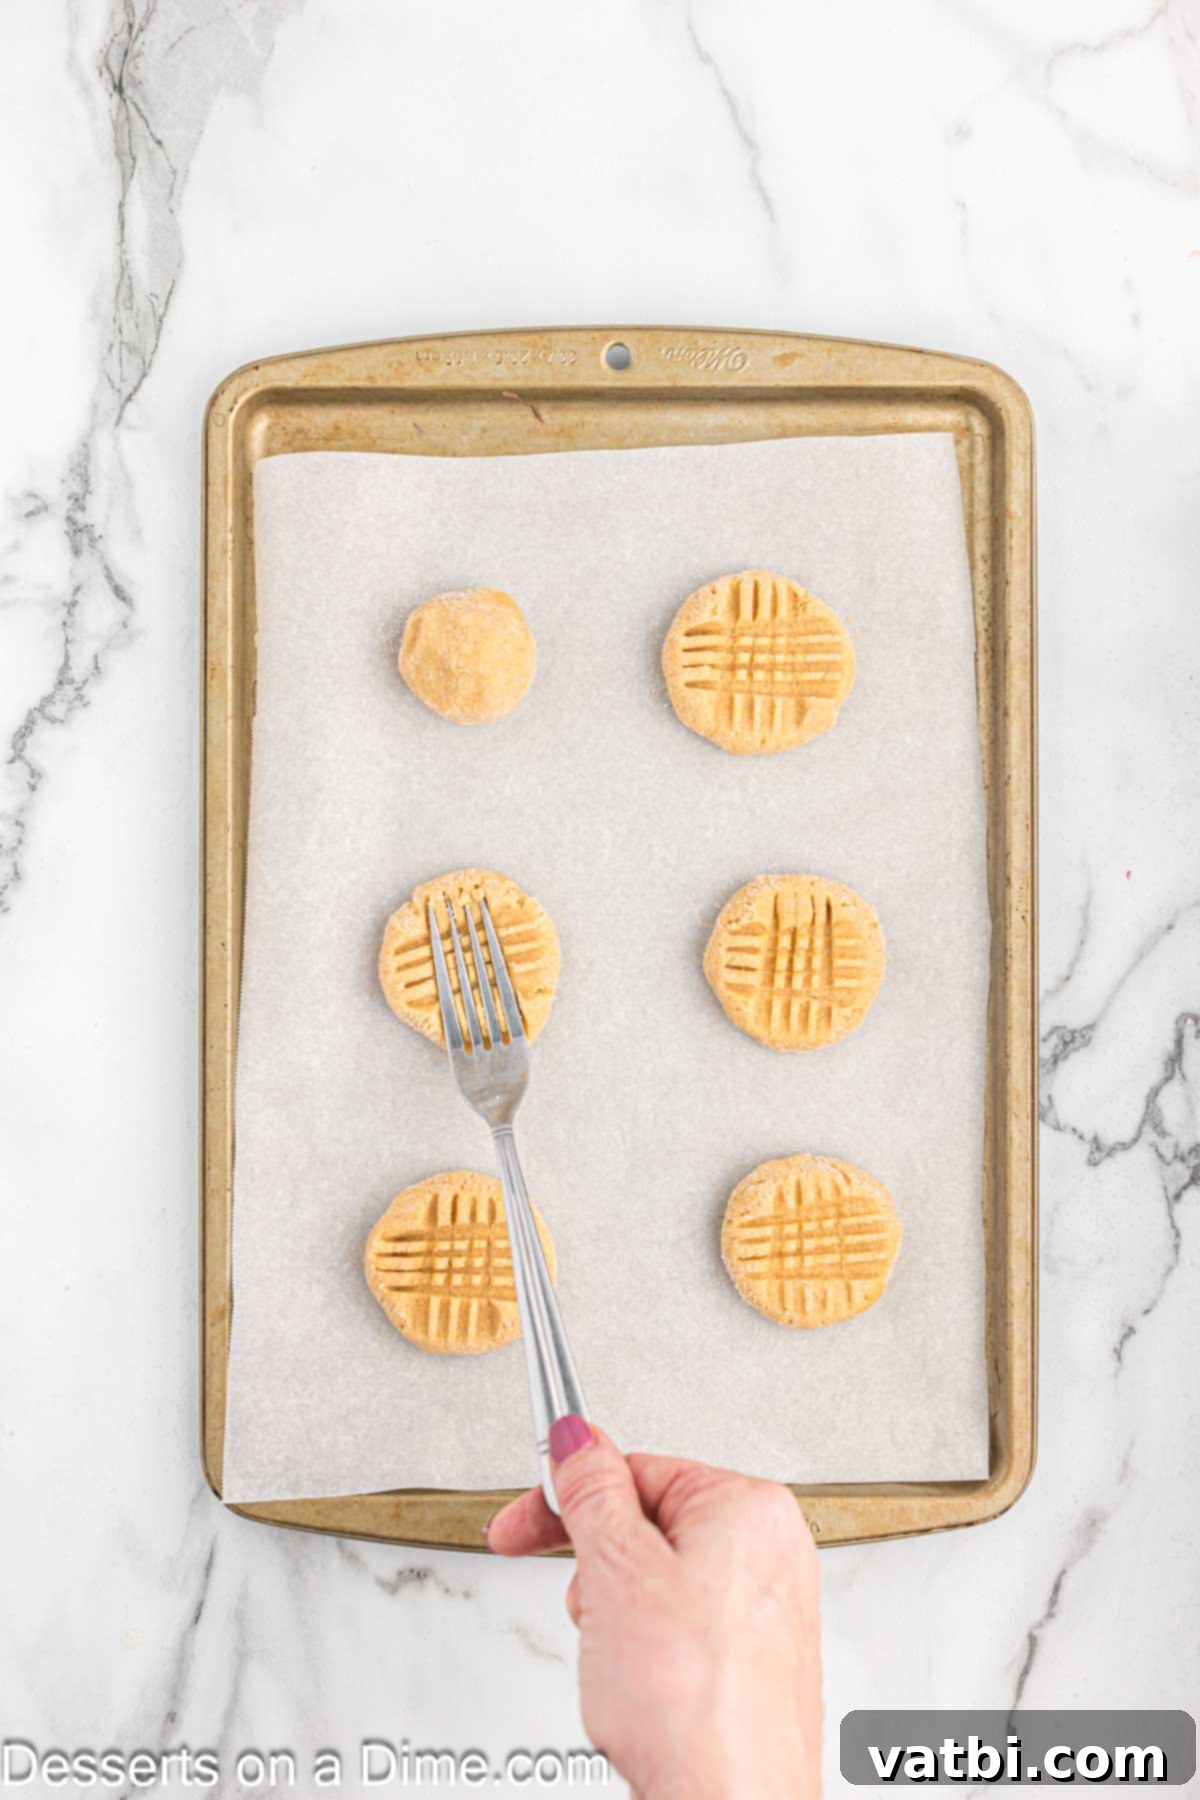
Step 9: Create the Classic Criss-Cross Pattern. Take a fork and gently flatten each dough ball, creating a criss-cross pattern on top. This is the hallmark of a classic peanut butter cookie and also helps them bake evenly and spread slightly. You’ll press once, then turn the fork 90 degrees and press again.
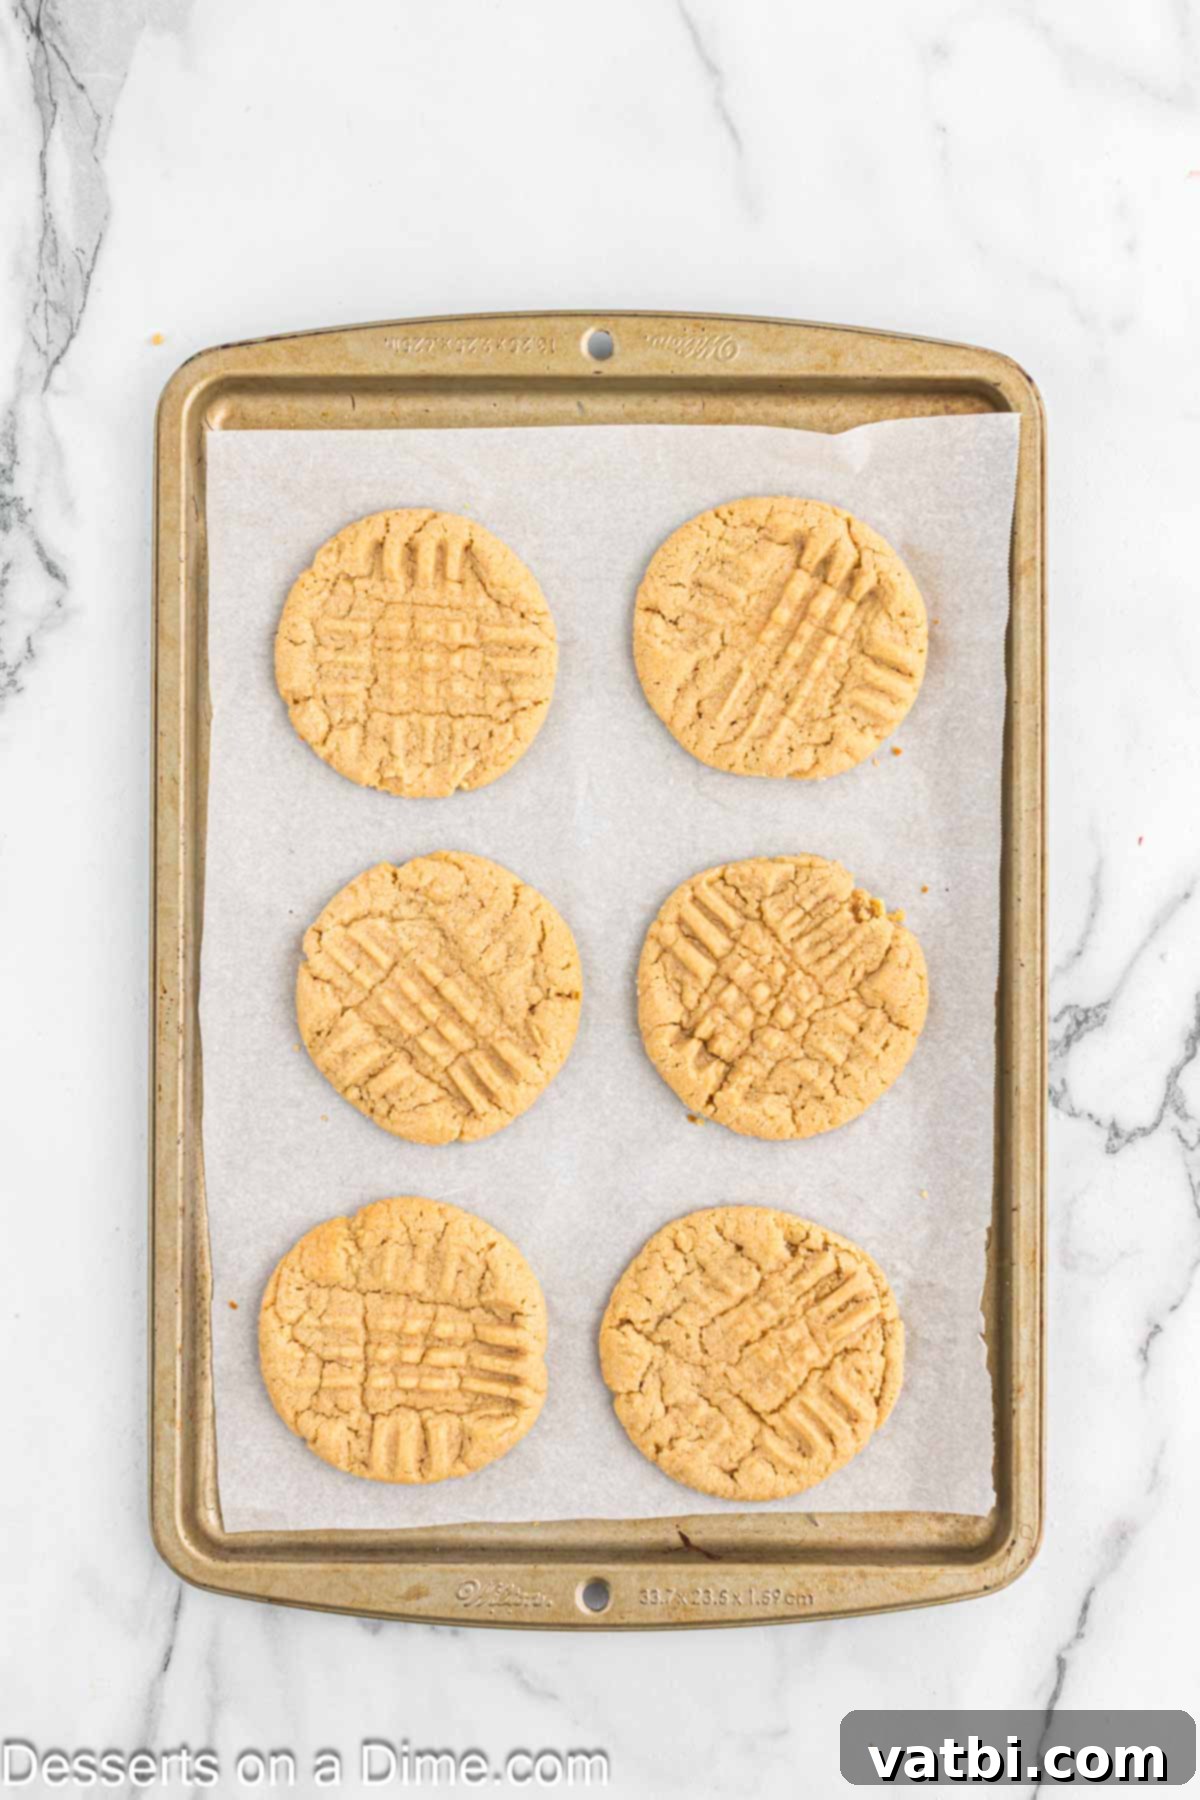
Step 10: Bake and Cool. Bake the cookies for 10-12 minutes, or until the edges are lightly golden brown and the centers appear set but still soft. Remember, cookies continue to cook slightly from residual heat after being removed from the oven, so avoid overbaking. Let the cookies cool on the baking sheet for 5 minutes before transferring them to a wire rack to cool completely. This cooling period on the hot sheet helps them firm up and prevents breakage.
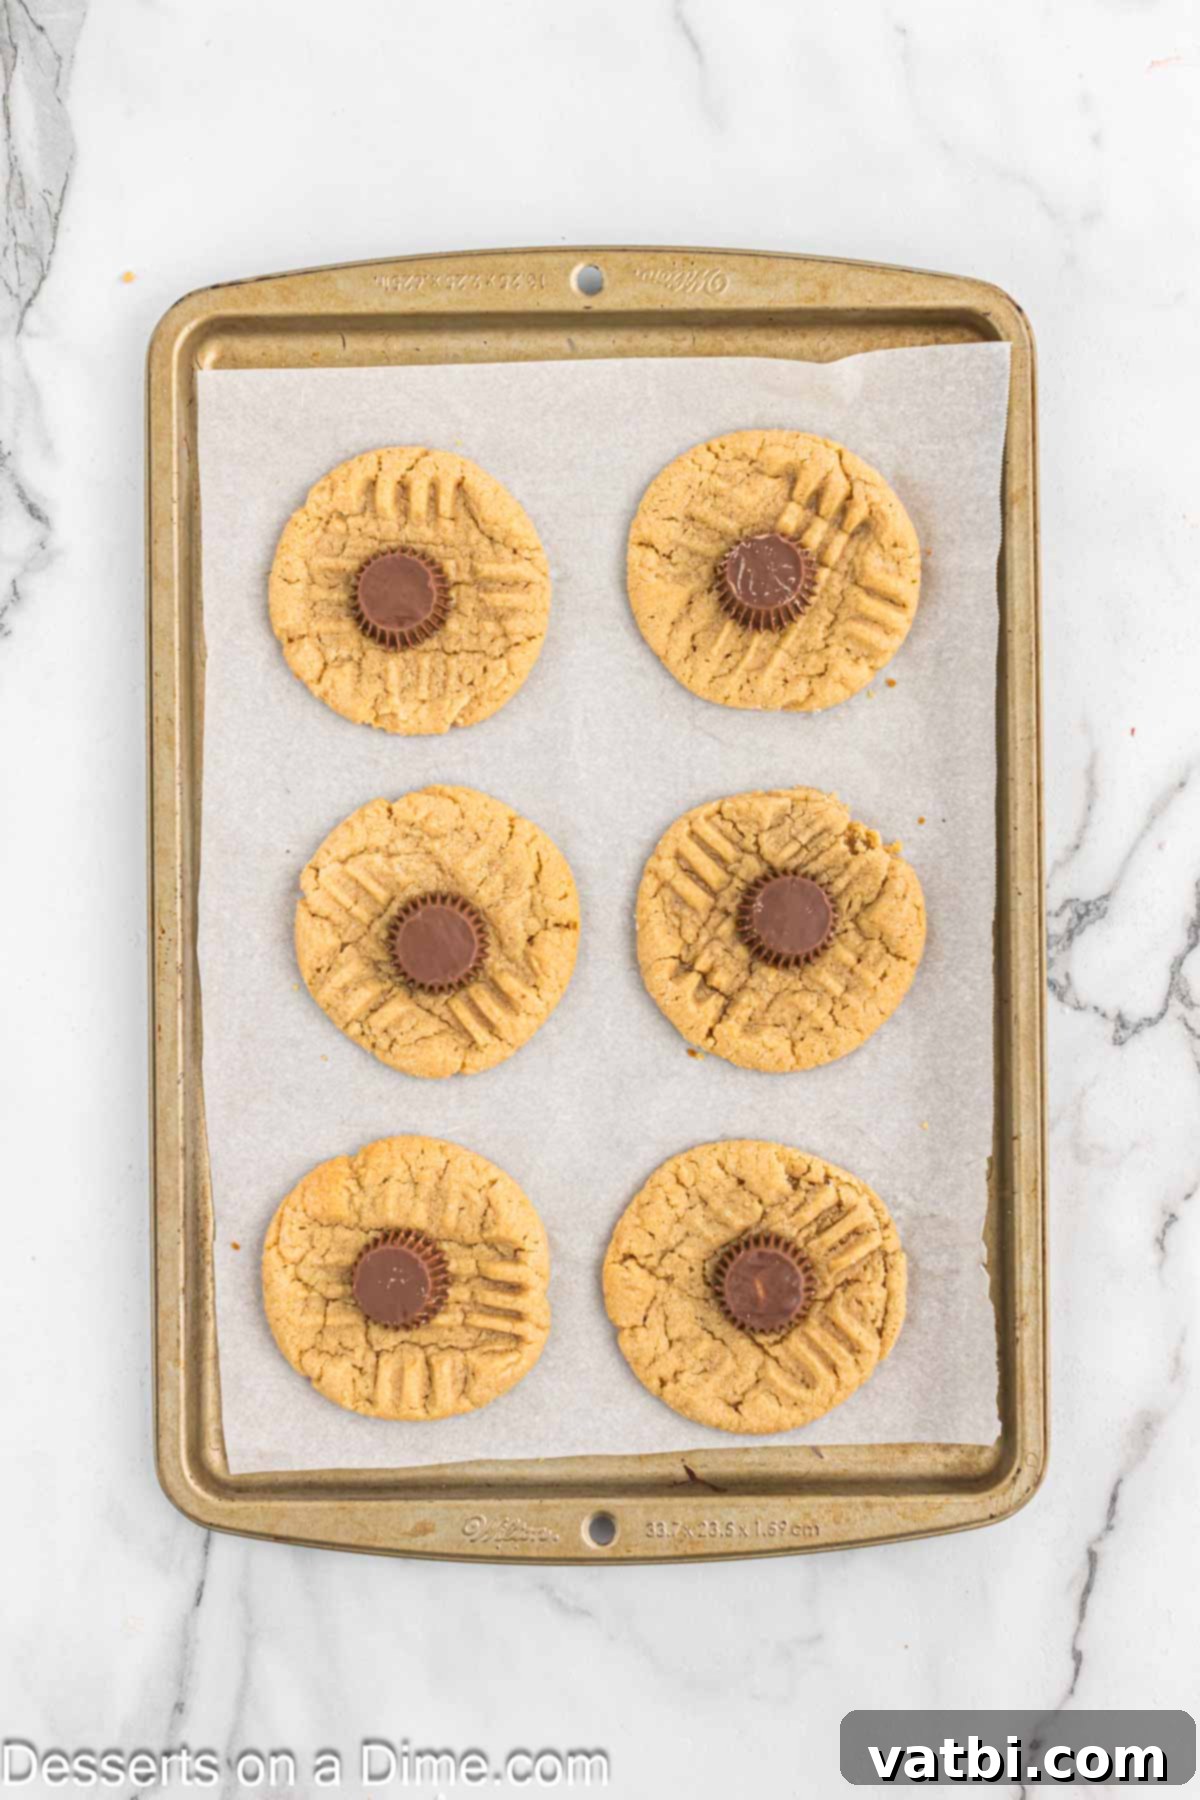
Step 11: Add the Peanut Butter Cup Body. While the cookies are still warm (after the initial 5-minute cooling period), unwrap your chilled Reese’s Miniature Peanut Butter Cups. Gently press one peanut butter cup, upside down, into the center of each cookie. The warmth of the cookie will slightly soften the chocolate, helping it adhere. If the cookies have cooled too much, you can dab a tiny bit of melted chocolate on the bottom of the Reese’s cup to secure it.
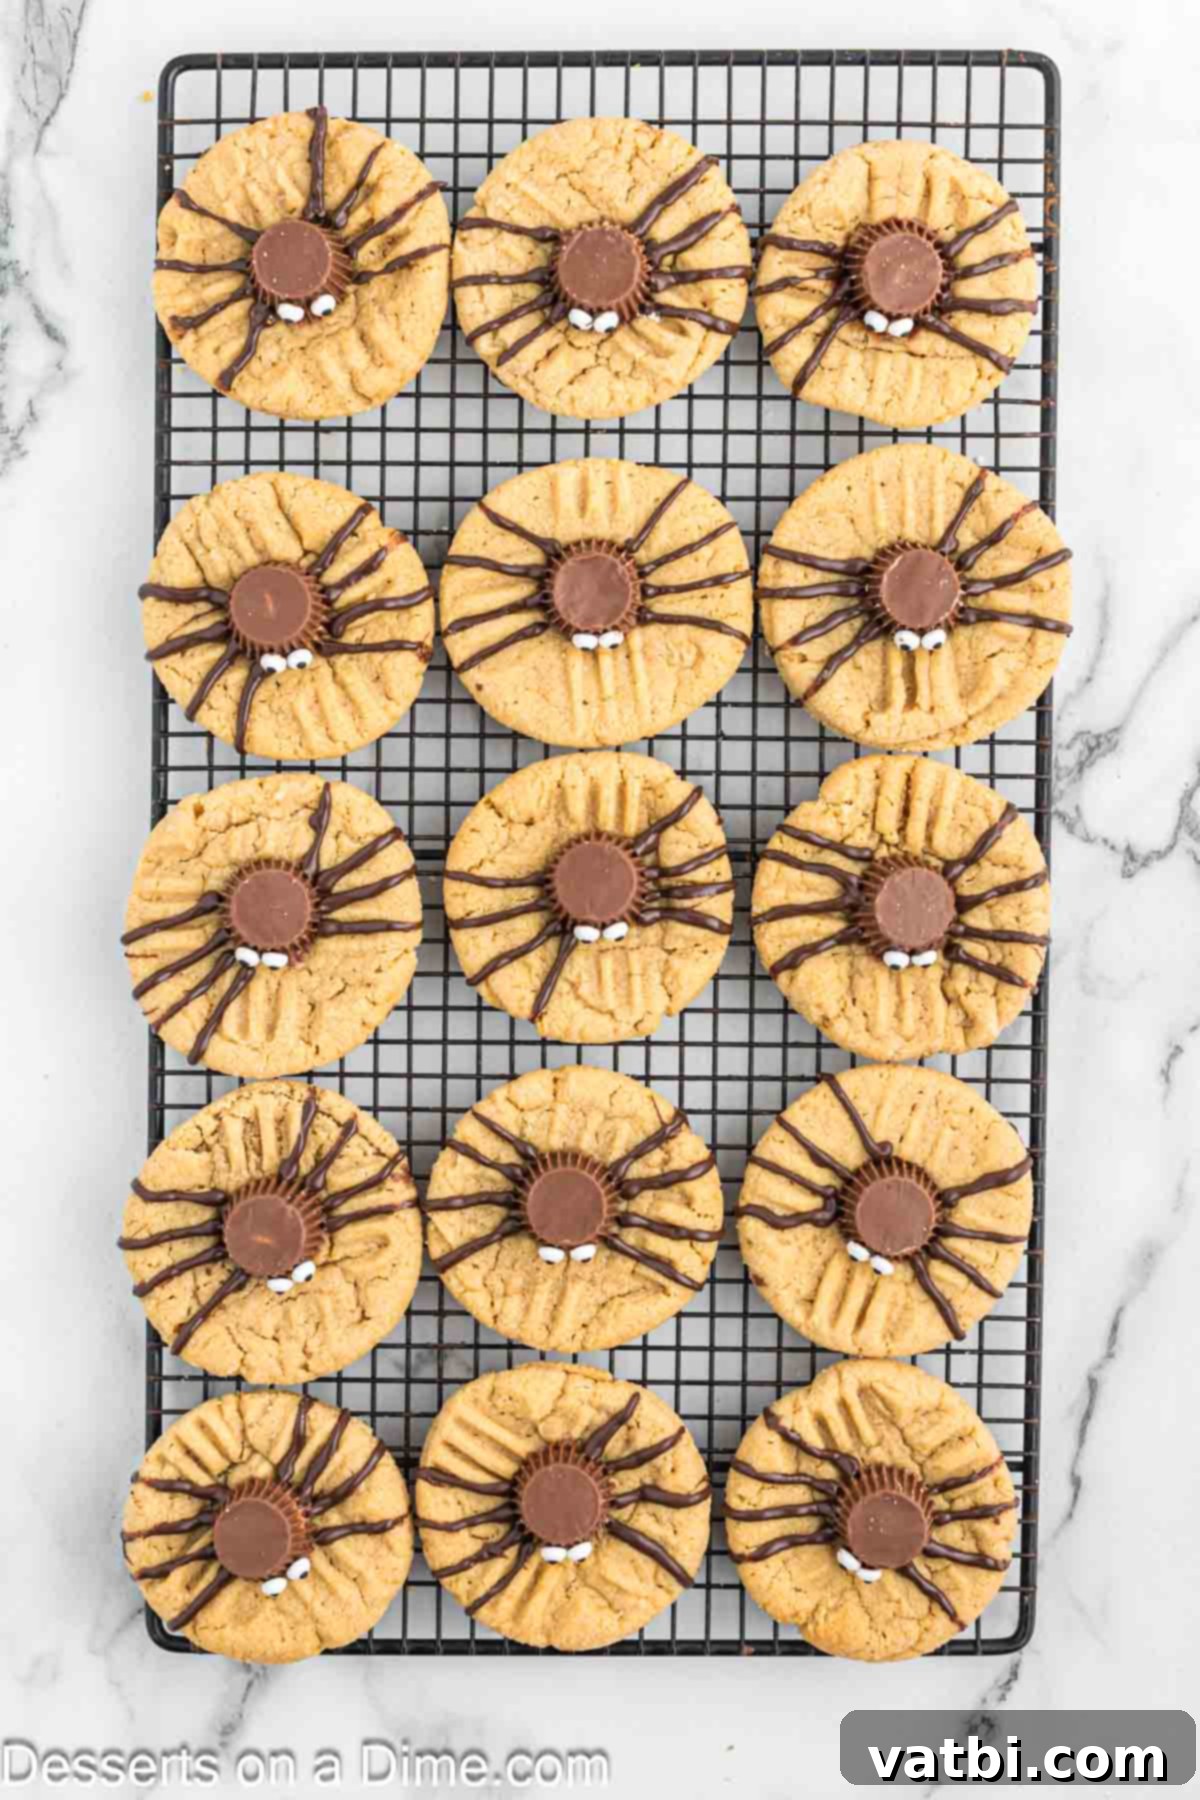
Step 12: Pipe the Spider Legs. Melt the chocolate wafers according to package directions in the microwave (usually in 30-second intervals, stirring in between, until smooth). Transfer the melted chocolate to a piping bag or a small ziplock bag with a tiny corner snipped off. Allow the chocolate to cool for about 5 minutes until it’s slightly thicker but still easily pipeable; this prevents it from spreading too much. Carefully pipe four chocolate lines on each side of the Reese’s peanut butter cup to create the spider’s eight legs. Be creative with the wiggles!
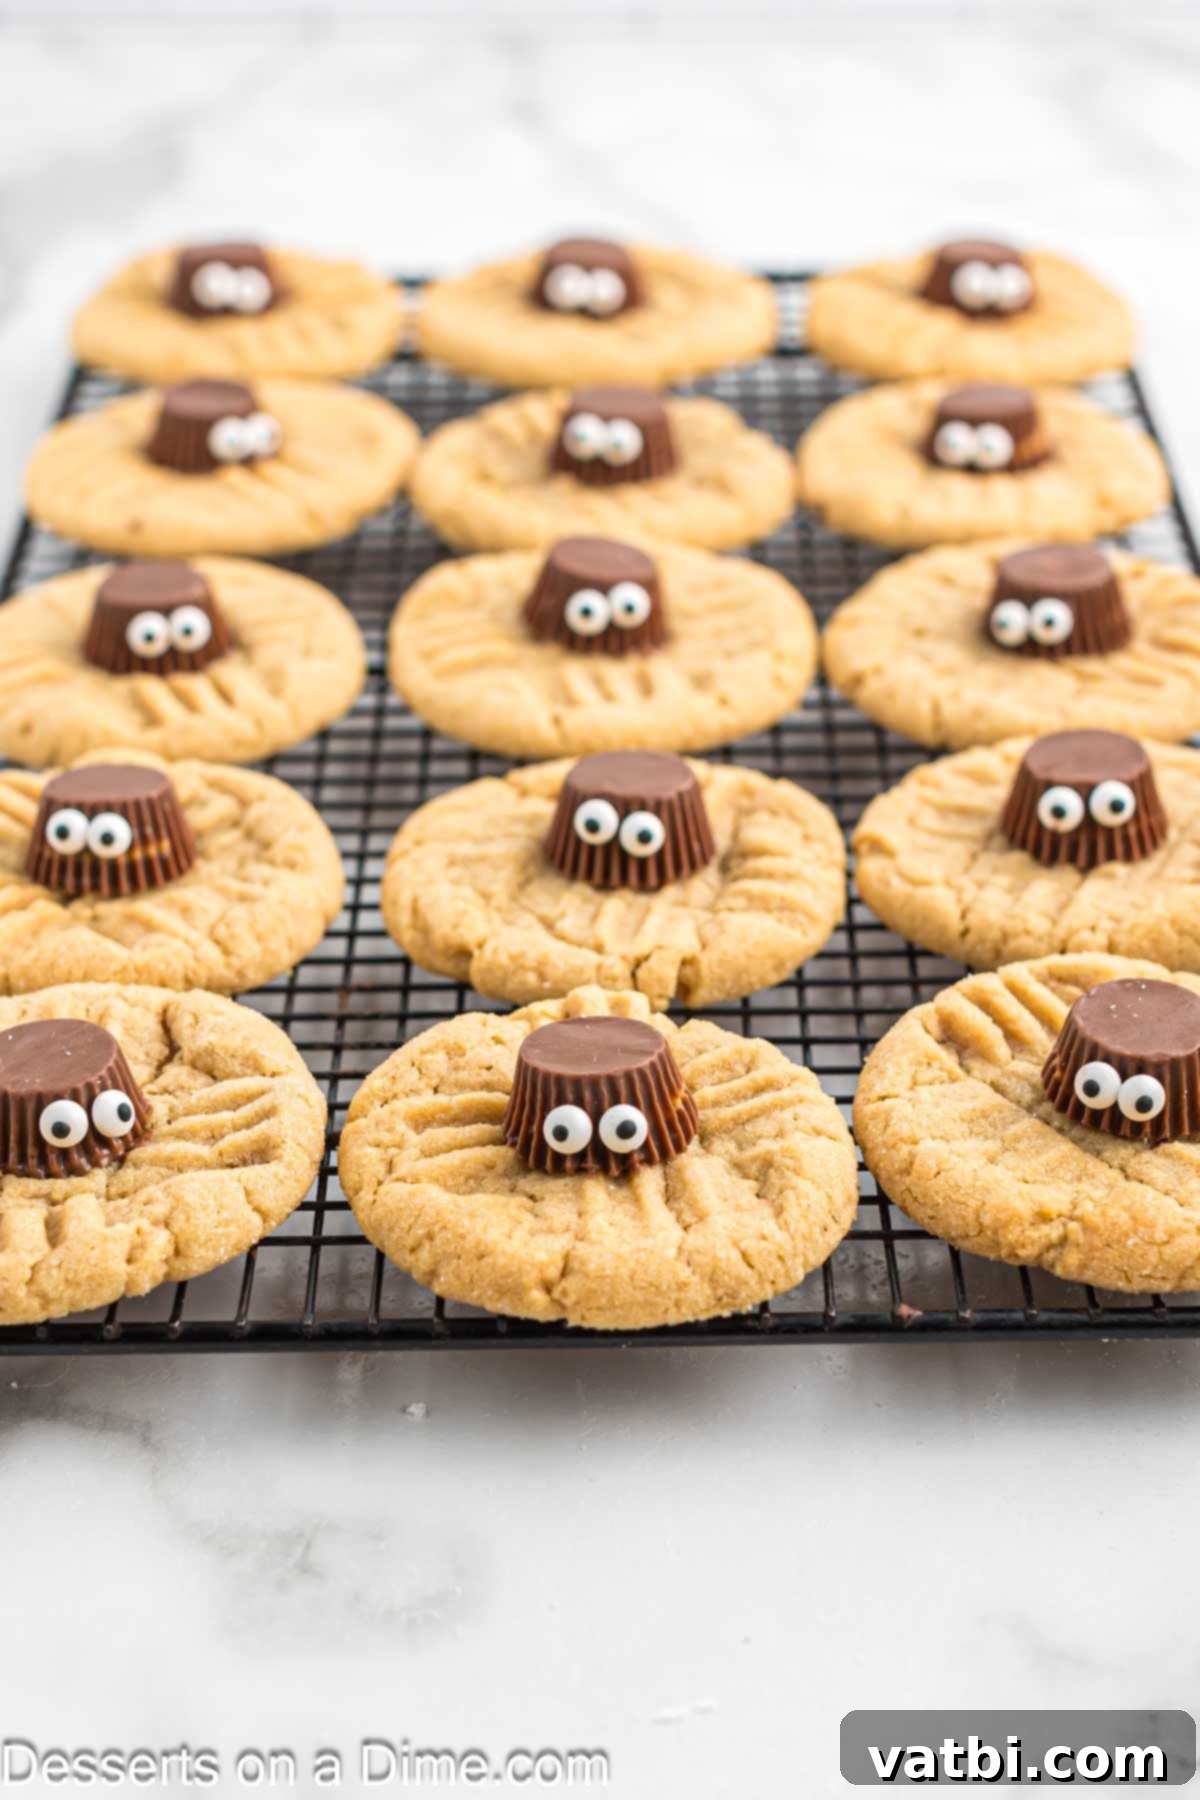
Step 13: Add the Googly Eyes and Set. For the final touch, add a tiny dot of melted chocolate to the front of the peanut butter cup where the “face” would be, and gently press two candy eyes onto the chocolate. Repeat for all your cookies. Allow the chocolate legs and eyes to fully set and harden before serving. This might take 15-30 minutes at room temperature, or you can speed it up by placing them in the refrigerator for 5-10 minutes. Once set, your charmingly spooky Halloween Spider Cookies are ready to be enjoyed!
Expert Tips for Perfect Halloween Spider Cookies Every Time
Achieving the perfect batch of these fun Halloween spider cookies is easy with a few insider tricks. Here are some pro tips to ensure your cookies are a spectacular success:
- Utilize a Cookie Scoop for Uniformity: A cookie scoop is your best friend for baking. It ensures that each dough ball is the same size, which leads to consistent baking and evenly sized cookies. This means no cookies are undercooked or overcooked, and all your spiders will be the same adorable size!
- Chill Your Peanut Butter Cups: This is a crucial step! Keep your Reese’s Miniature Peanut Butter Cups chilled (even frozen briefly) until you’re ready to use them. This prevents them from melting too quickly when pressed into the warm cookies, helping them maintain their shape and creating a cleaner look for your spider bodies.
- Don’t Overbake Your Cookies: Peanut butter cookies are best when they’re soft and chewy. Bake them just until the edges are lightly golden brown and the centers look set but still slightly soft. They will continue to firm up as they cool on the baking sheet. Overbaking will result in dry, crumbly cookies.
- Refrigerate the Dough (Optional, but Recommended): If your dough feels too soft or sticky to handle, refrigerate it for at least 30 minutes to an hour. Chilled dough is much easier to scoop and roll, and it also helps prevent the cookies from spreading too much during baking, ensuring a thicker, chewier cookie.
- Master the Piping Bag (or Ziploc): For neat and distinct spider legs, practice your piping technique. A small round tip (like a Wilton #3 or #4) works wonders. If you don’t own a piping bag, a small ziplock bag with a tiny corner snipped off is a perfectly effective substitute. Make sure your melted chocolate has cooled slightly so it’s not too runny, which can lead to messy legs.
- Ensure Proper Cooling: Allow the baked cookies to cool on the baking sheet for about 5 minutes before moving them to a wire rack. This initial cooling period allows them to set and firm up, preventing them from breaking when you transfer them. For the decorations to set completely, let the finished cookies sit at room temperature for 15-30 minutes, or pop them into the fridge for 5-10 minutes.
- Speedy Spider Cookies with Premade Dough: Short on time? You can absolutely use pre-made cookie dough! Store-bought peanut butter cookie dough or even sugar cookie dough from the refrigerated section of your grocery store works wonderfully. Simply bake as directed, then follow the decorating steps from Step 11 onwards.
- Get Creative with Spider Legs: Don’t limit yourself to straight lines! Experiment with slightly curved legs, or even pipe little “knuckles” in the middle of each leg for a more realistic (or cartoonish!) spider look.
- Kids in the Kitchen: This recipe is perfect for involving little ones. Let them help roll the dough balls, press the fork marks, place the Reese’s cups (once cooled enough), and especially add the candy eyes. It’s a great way to create family memories and teach basic baking skills.
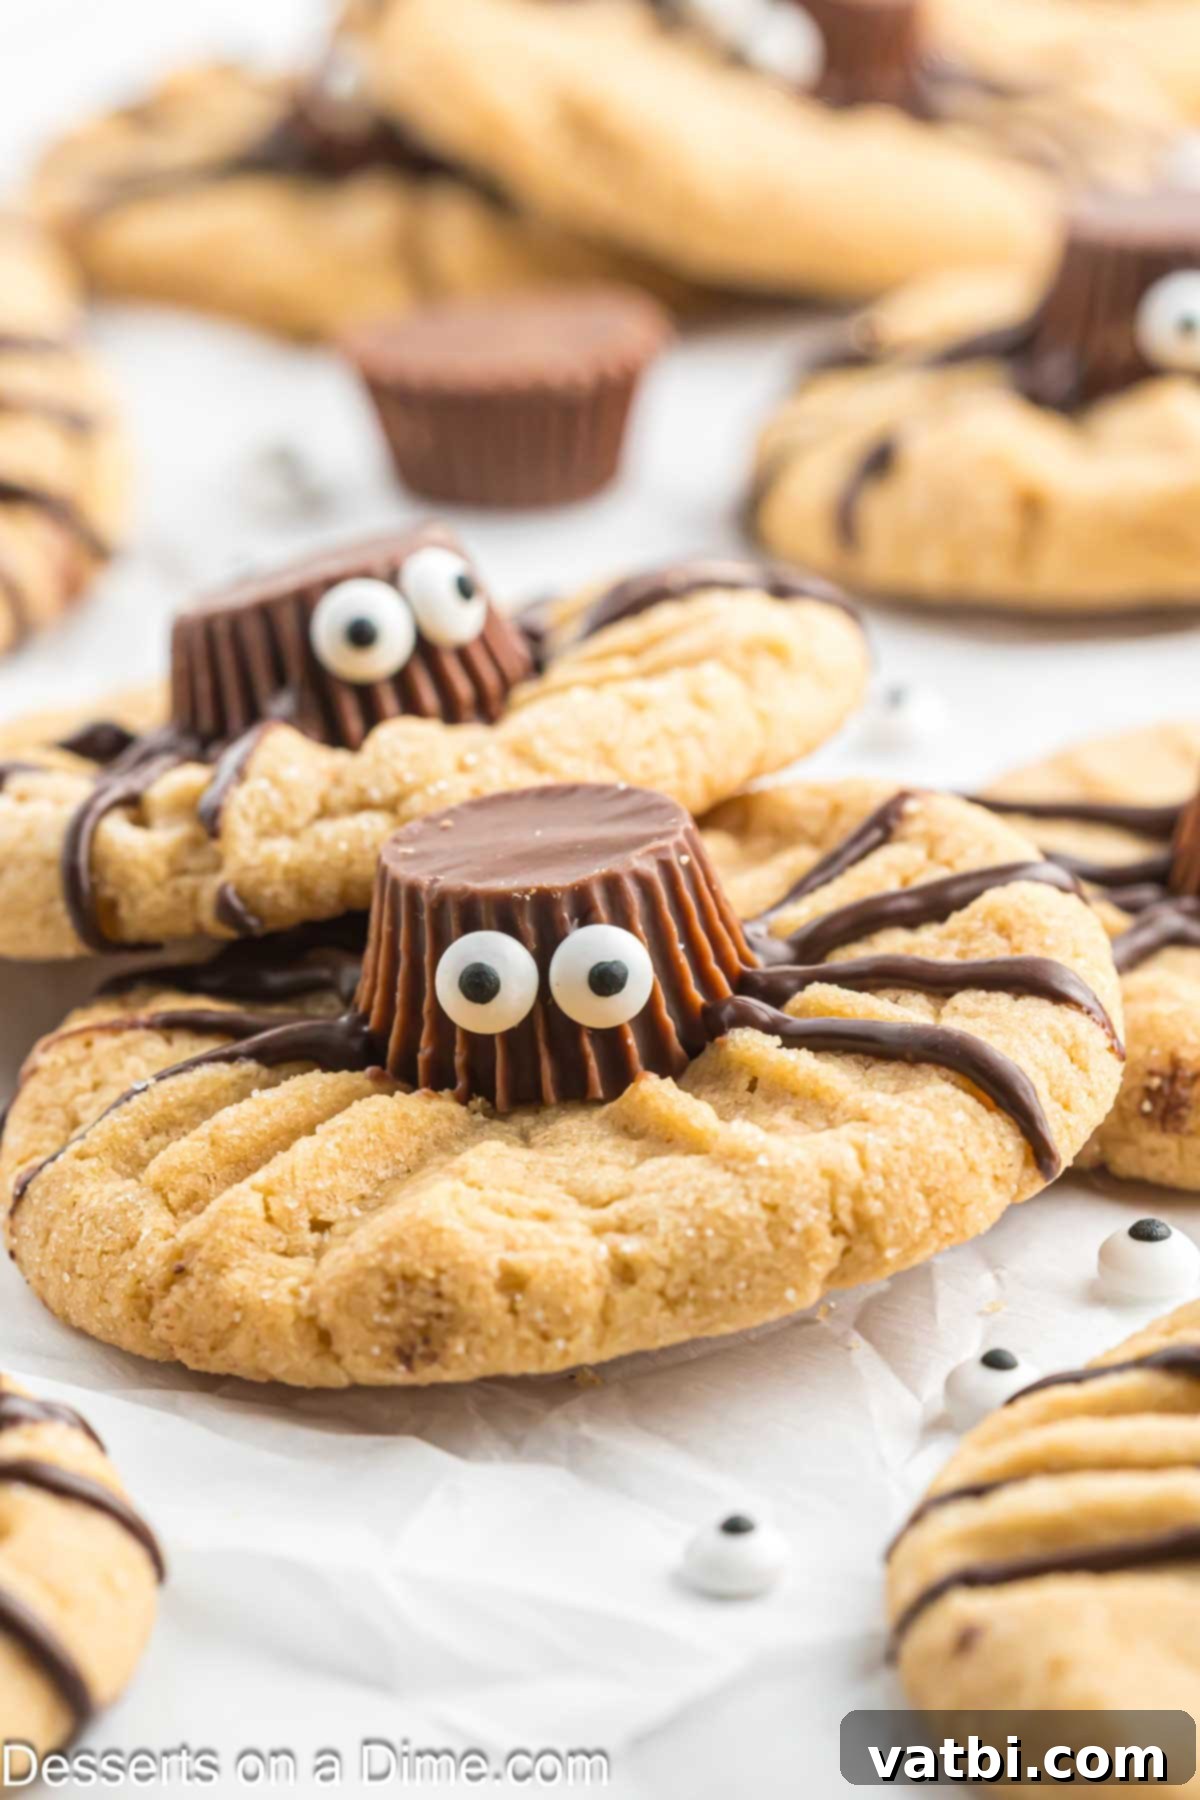
Storage Solutions for Your Halloween Spider Cookies
These delightful Halloween Spider Cookies are not only easy to make but also simple to store, making them an excellent option for preparing in advance for parties or enjoying throughout the week. Properly stored, they’ll maintain their delicious flavor and fun appearance.
To store leftover cookies, place them in an airtight container. You have a few options for where to keep them:
- Room Temperature: If you plan to enjoy them within 3-4 days, storing them at room temperature in an airtight container on your counter is perfectly fine. Ensure they are completely cooled before storing to prevent condensation, which can make them soggy. Separate layers with parchment paper if stacking to prevent the chocolate legs from sticking or smudging.
- Refrigerator: For extended freshness, especially if your home is warm, you can place the airtight container in the refrigerator. This will keep them fresh for up to a week. Be aware that refrigerated cookies might be a bit firmer; simply let them come to room temperature for about 10-15 minutes before serving for optimal texture.
- Freezer: These cookies freeze beautifully! Once the chocolate decorations are fully set and hard, place the cookies in a single layer on a baking sheet and freeze for about an hour. Then, transfer them to a freezer-safe airtight container or a heavy-duty freezer bag. They can be frozen for up to 2-3 months. To enjoy, simply thaw them at room temperature.
No matter how you store them, ensure the container is airtight to prevent the cookies from drying out and to keep their peanut butter flavor locked in. This Halloween dessert truly shines as a make-ahead option, allowing you to focus on other party preparations.
More Easy Halloween Treats to Delight Your Guests
If you loved making these fun spider cookies, you’ll surely enjoy exploring more creative and easy Halloween recipes. Here are some fantastic additions to your spooky season menu:
- Oreo Spider Cookies: Transform classic Oreos into charming arachnids with minimal effort, perfect for a quick and fun treat.
- Halloween Sugar Cookies: A versatile canvas for all your spooky decorating ideas, from ghosts to pumpkins to bats!
- Halloween Chocolate Covered Oreos Recipe: Dip Oreos in vibrant colored chocolate and add festive sprinkles for an instant party favorite.
- Jack o Lantern Chocolate Covered Oreos: A delightful twist on chocolate-covered Oreos, featuring adorable Jack-o’-lantern faces.
- Easy Spider Cupcakes: Elevate your cupcakes with a simple spider decoration that’s both cute and creepy.
- 55 Delicious Halloween Cupcakes: A comprehensive collection of cupcake ideas to inspire your most elaborate (or simple!) Halloween baking endeavors.
Don’t wait until the last minute – make these amazing Halloween Spider Cookies today for a truly fabulous and memorable treat! Once you’ve tried them, please take a moment to leave a comment and a star rating. I can’t wait to hear what you think of your delicious, spooky creations!
Pin
Halloween Spider Cookies
Ingredients
- 2 1/2 cup All-Purpose Flour
- 1 1/4 cup sugar
- 1 cup brown sugar
- 1 cup butter softened
- 1 cup Peanut Butter
- 1 tsp baking powder
- 1 tsp baking soda
- 1 tsp cornstarch
- 1 tsp salt
- 1 tsp Vanilla Extract
- 2 Eggs
- 36 Reese’s Miniature Peanut Butter Cups chilled
- Candy Eyes
- 10 Ounce Chocolate Melting Wafers
Instructions
-
Preheat the oven to 350 degrees F.
-
In a mixing bowl combine the dry ingredients: flour, baking powder, baking soda, cornstarch and salt.
-
In a separate mixing bowl, combine the butter and 1 cup of both of the sugars with a stand up mixer or a hand-held mixer. Mix until the ingredients are light and fluffy.
-
Then add in the peanut butter, eggs and vanilla. Mix until these ingredients are thoroughly combined.
-
Reduce the mixer sped to low and gradually mix in the dry ingredients until they are just incorporated. Do not over mix.
-
Form the dough into round balls with a cookie spoon. Gently roll the dough in the remaining sugar and place them on an un-greased baking sheet. Use a fork to flatten the dough balls and create a criss-cross shape into each cookie.
-
Bake for 10-12 minutes until the cookies are lightly golden brown.
-
Allow the cookies to cool for 5 minutes and then start decorating.
-
Melt the chocolate wafers in the microwave and transfer to a piping bag or small ziplock bag for piping. Allow this mixture to cool for 5 minutes for easier decorating.
-
Unwrap the miniature peanut butter cups and gently place them upside down in the center of the cookies. You can use the melted chocolate to adhere the peanut butter cups to the cookies if they do not stay.
-
Pipe four chocolate lines on both side of the peanut butter cups to make the spider’s legs.
-
Then place chocolate on the front of the peanut butter cup and adhere 2 of the candy eyes for the spider eyes.
-
Allow the chocolate to cool complete and then serve!
Nutrition Facts
Pin This Now to Remember It Later
Pin Recipe
