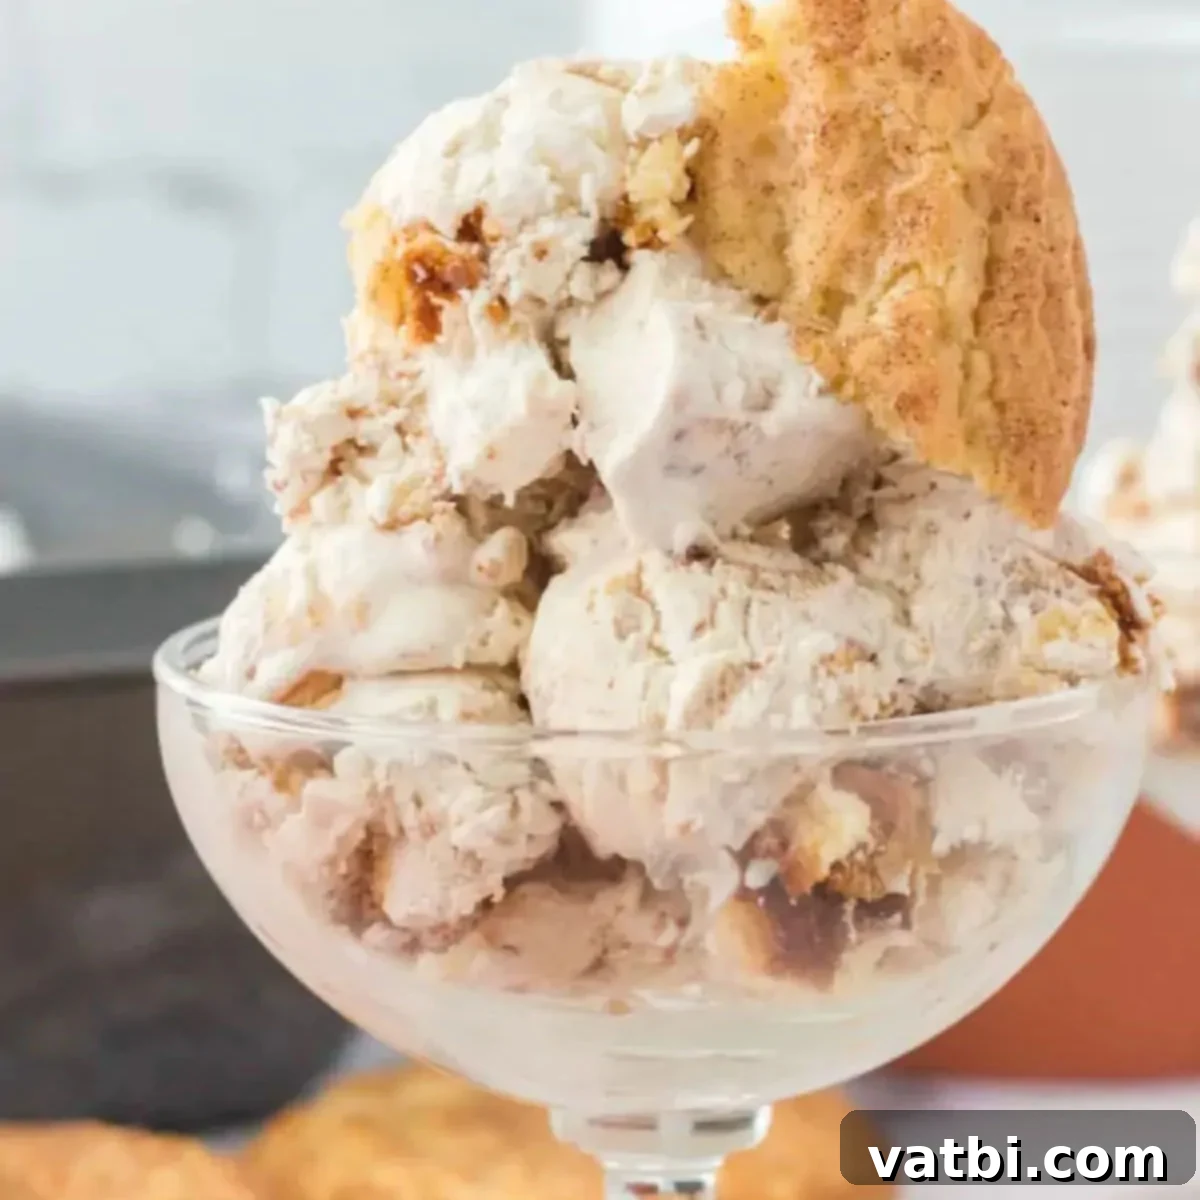
Irresistible No-Churn Snickerdoodle Ice Cream: Your Easy Homemade Recipe
Imagine the comforting warmth of a freshly baked Snickerdoodle Cookie, with its signature blend of cinnamon and sugar, transformed into a luxuriously creamy, frosty delight. That’s exactly what you get with this incredible homemade Snickerdoodle Ice Cream recipe. It perfectly captures all the beloved flavors and textures of your favorite cookie, swirled into a rich, velvety ice cream base. Each spoonful promises a delightful combination of sweet, cinnamony ice cream punctuated by generous chunks of chopped snickerdoodle cookies, making every bite an experience to savor.
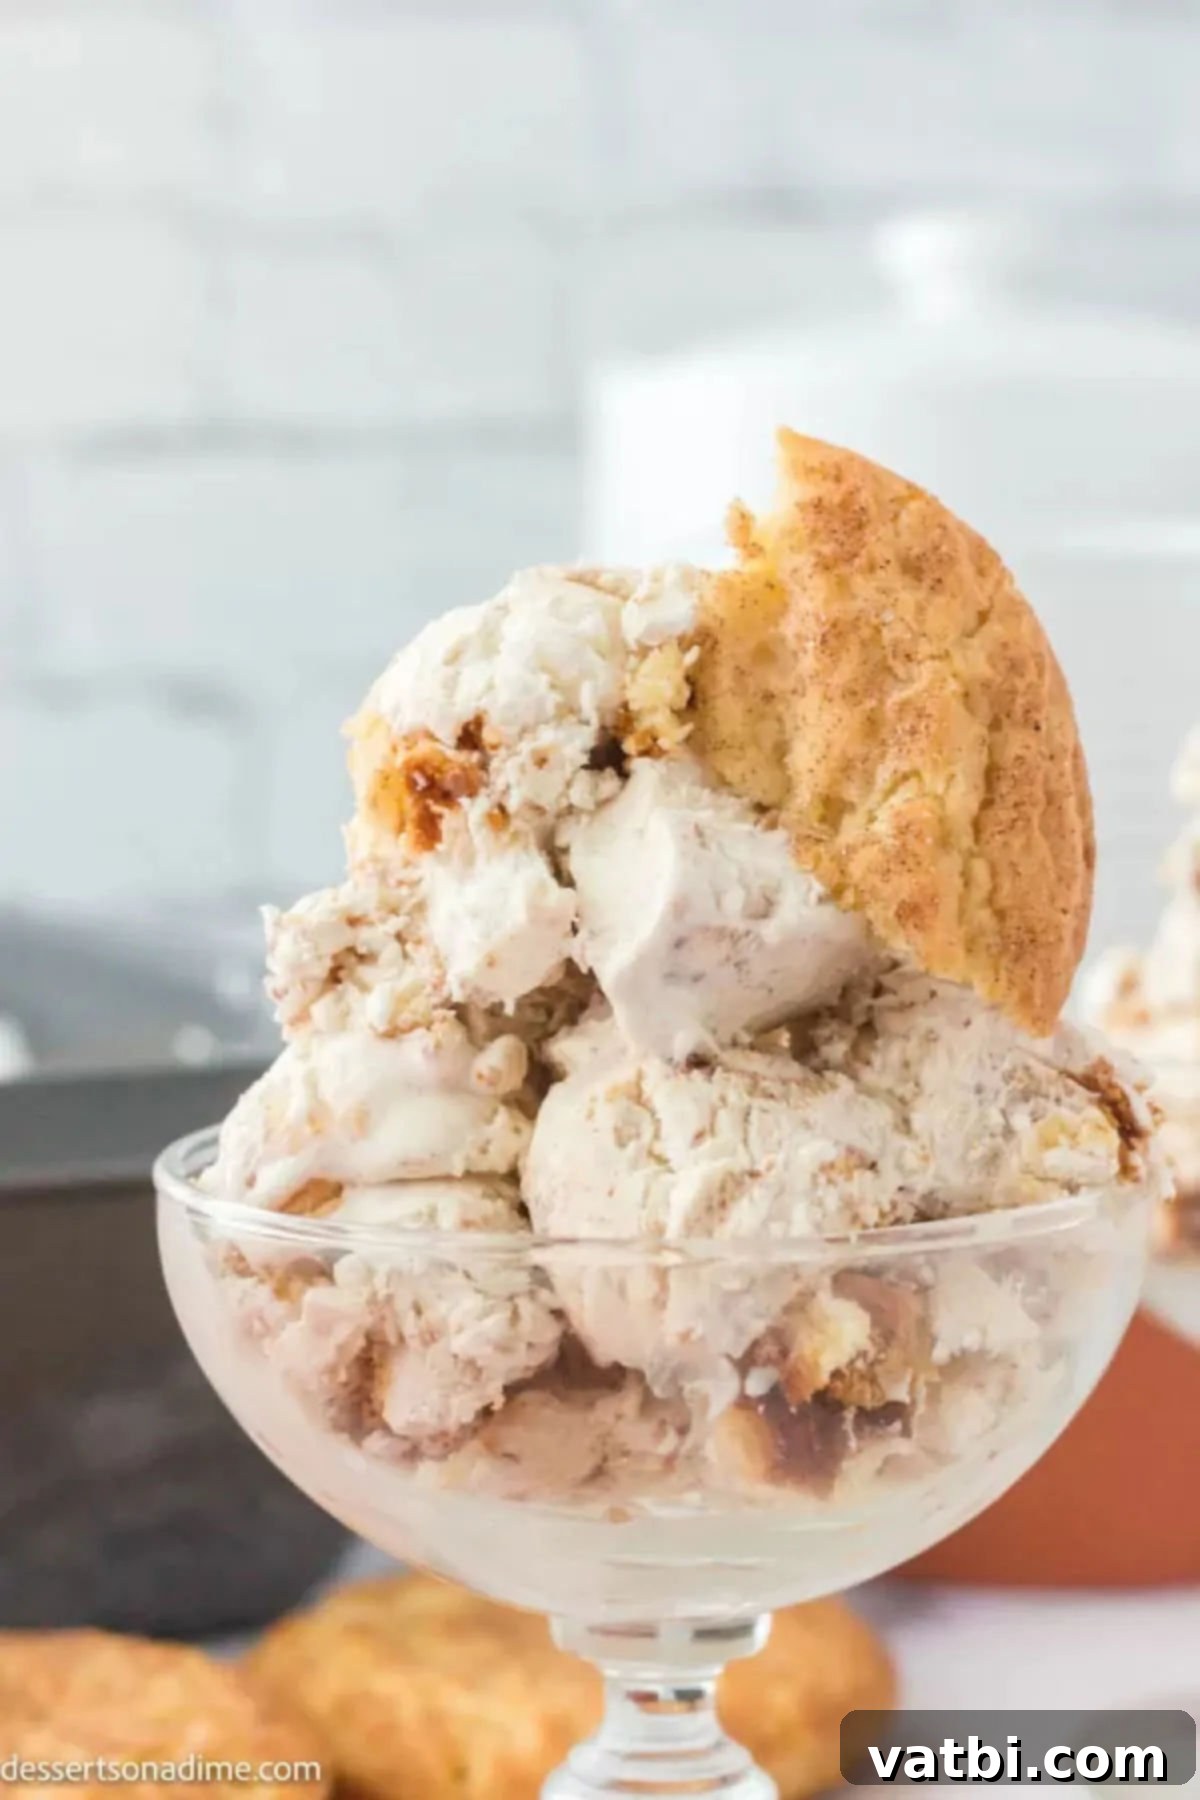
What makes this particular ice cream recipe truly special is its incredible simplicity. You can whip up this delightful dessert in mere minutes, and the best part? You don’t even need an ice cream maker! This no-churn method means anyone can create gourmet-quality ice cream right in their own kitchen, achieving that perfect creamy consistency without any special equipment. It’s truly a game-changer for homemade frozen treats, delivering all the rich, spiced flavors of classic snickerdoodle cookies in an effortlessly easy format.
Crafted with just 6 essential ingredients, this homemade ice cream is incredibly easy to prepare. Say goodbye to complicated steps and hello to simple, delicious results. If you enjoy this, you might also love exploring other easy no-churn options like Pumpkin Chocolate Chip Ice Cream for a fall treat or a festive Birthday Cake Ice Cream Recipe for any celebration. The world of no-churn ice cream is vast and delicious!
Table of Contents
- Why We Love This Easy Snickerdoodle Ice Cream Recipe
- Ingredients for the Best Snickerdoodle Ice Cream
- How to Make Homemade Snickerdoodle Ice Cream (Step-by-Step)
- Delicious Topping Ideas for Snickerdoodle Ice Cream
- Storage Tips for Homemade No-Churn Ice Cream
- Expert Tips for Perfect No-Churn Snickerdoodle Ice Cream
- Customizing Your Snickerdoodle Ice Cream
- Frequently Asked Questions (FAQ)
- More Irresistible No-Churn Ice Cream Recipes
Why We Love This Easy Snickerdoodle Ice Cream Recipe
There are so many reasons to fall in love with this homemade Snickerdoodle ice cream! The cinnamon-infused base is unbelievably rich, smooth, and creamy, delivering a comforting flavor reminiscent of classic snickerdoodle cookies. This recipe elevates a simple dessert into something truly special and memorable.
It’s a fantastic no-churn ice cream recipe, meaning you won’t need an expensive ice cream machine or a complicated custard base involving egg yolks. The secret to its luscious creaminess lies in the combination of whipped heavy cream and sweetened condensed milk. This magical duo creates a texture that rivals churned ice cream, making it accessible to any home cook. Its simplicity ensures that you can enjoy a delicious, gourmet-quality dessert with minimal effort. Don’t forget to consider serving it with a sprinkle of Slow Cooker Candied Pecans or a quick batch of Candied Pecans (Stovetop Recipe) for an extra layer of crunch and flavor!
Ingredients for the Best Snickerdoodle Ice Cream
Creating this delightful Snickerdoodle ice cream requires just a handful of straightforward ingredients. Each one plays a crucial role in achieving the perfect flavor and texture, ensuring a truly decadent treat. Here’s what you’ll need:
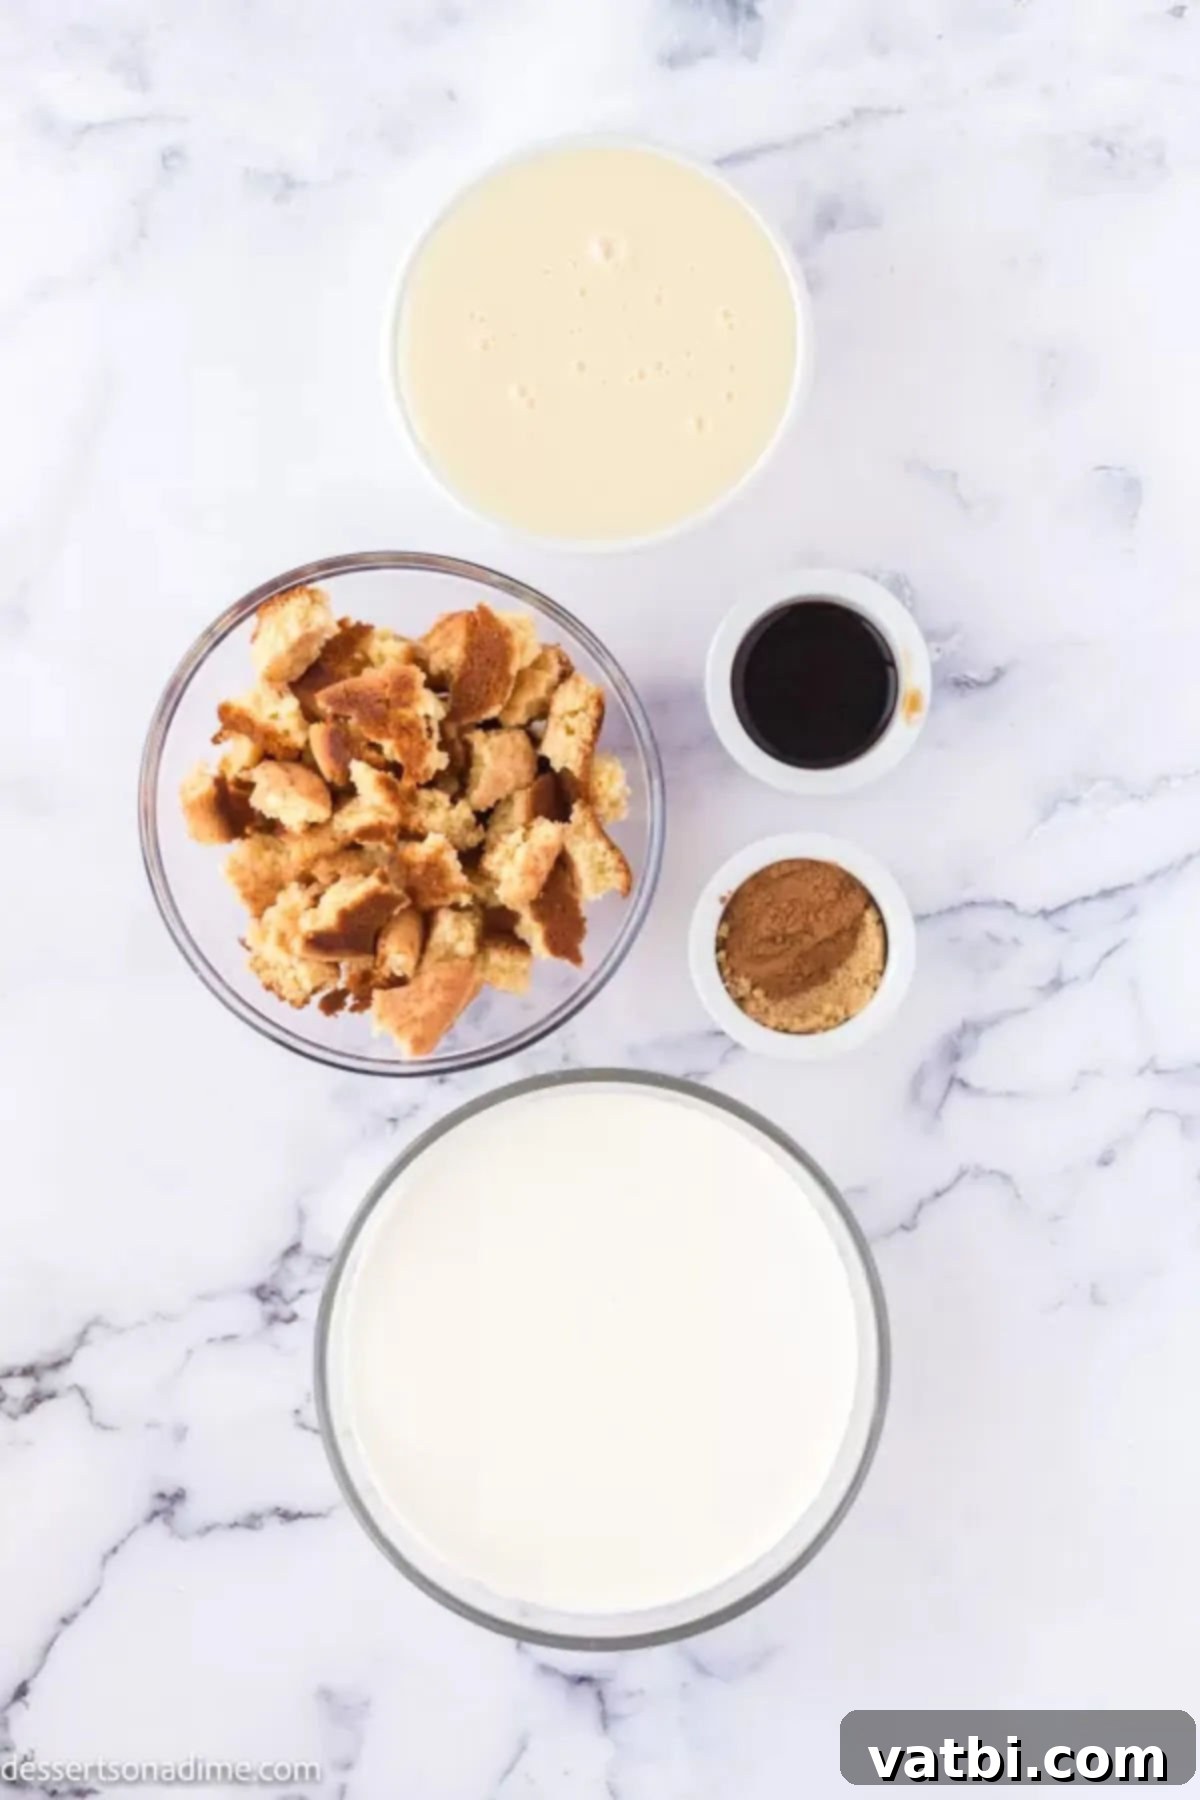
- Heavy Whipping Cream: This is the foundation of our creamy no-churn ice cream. It must be well-chilled to ensure it whips up properly, creating the light and airy volume necessary for a perfect texture. Keep it in the fridge until you’re absolutely ready to use it.
- Sweetened Condensed Milk: The star ingredient for no-churn ice cream, sweetened condensed milk provides both sweetness and that incredibly smooth, creamy texture without the need for an ice cream maker or cooking a custard. Do not substitute this with evaporated milk or regular milk, as they will not yield the same results.
- Vanilla Extract: Pure vanilla extract is always recommended for the best flavor, adding a warm, aromatic depth that complements the cinnamon beautifully. Avoid imitation vanilla if possible.
- Ground Cinnamon: This spice is essential for the classic snickerdoodle flavor. You can adjust the amount based on your personal preference for a stronger or milder cinnamon kick. Freshly ground cinnamon will offer the most potent aroma.
- Brown Sugar: The molasses in brown sugar adds a deep, caramel-like sweetness and a moist richness that is characteristic of snickerdoodle cookies, enhancing the overall flavor profile of the ice cream. You can even learn how to make your own Homemade Brown Sugar Recipe for an extra touch!
- Chopped Snickerdoodle Cookies: These are the delightful “mix-ins” that give the ice cream its authentic snickerdoodle identity. You can opt for store-bought cookies for convenience, or for an extra special touch, make your own using a recipe like Cake Mix Snickerdoodle Cookies. Ensure they are completely cooled before chopping to prevent them from becoming too soft in the ice cream.
You can find the complete, precise ingredient list with measurements at the bottom of this page in the recipe card.
How to Make Homemade Snickerdoodle Ice Cream (Step-by-Step)
Creating this delicious no-churn Snickerdoodle ice cream is incredibly straightforward. Just follow these simple steps, and you’ll be enjoying a homemade frozen treat in no time!
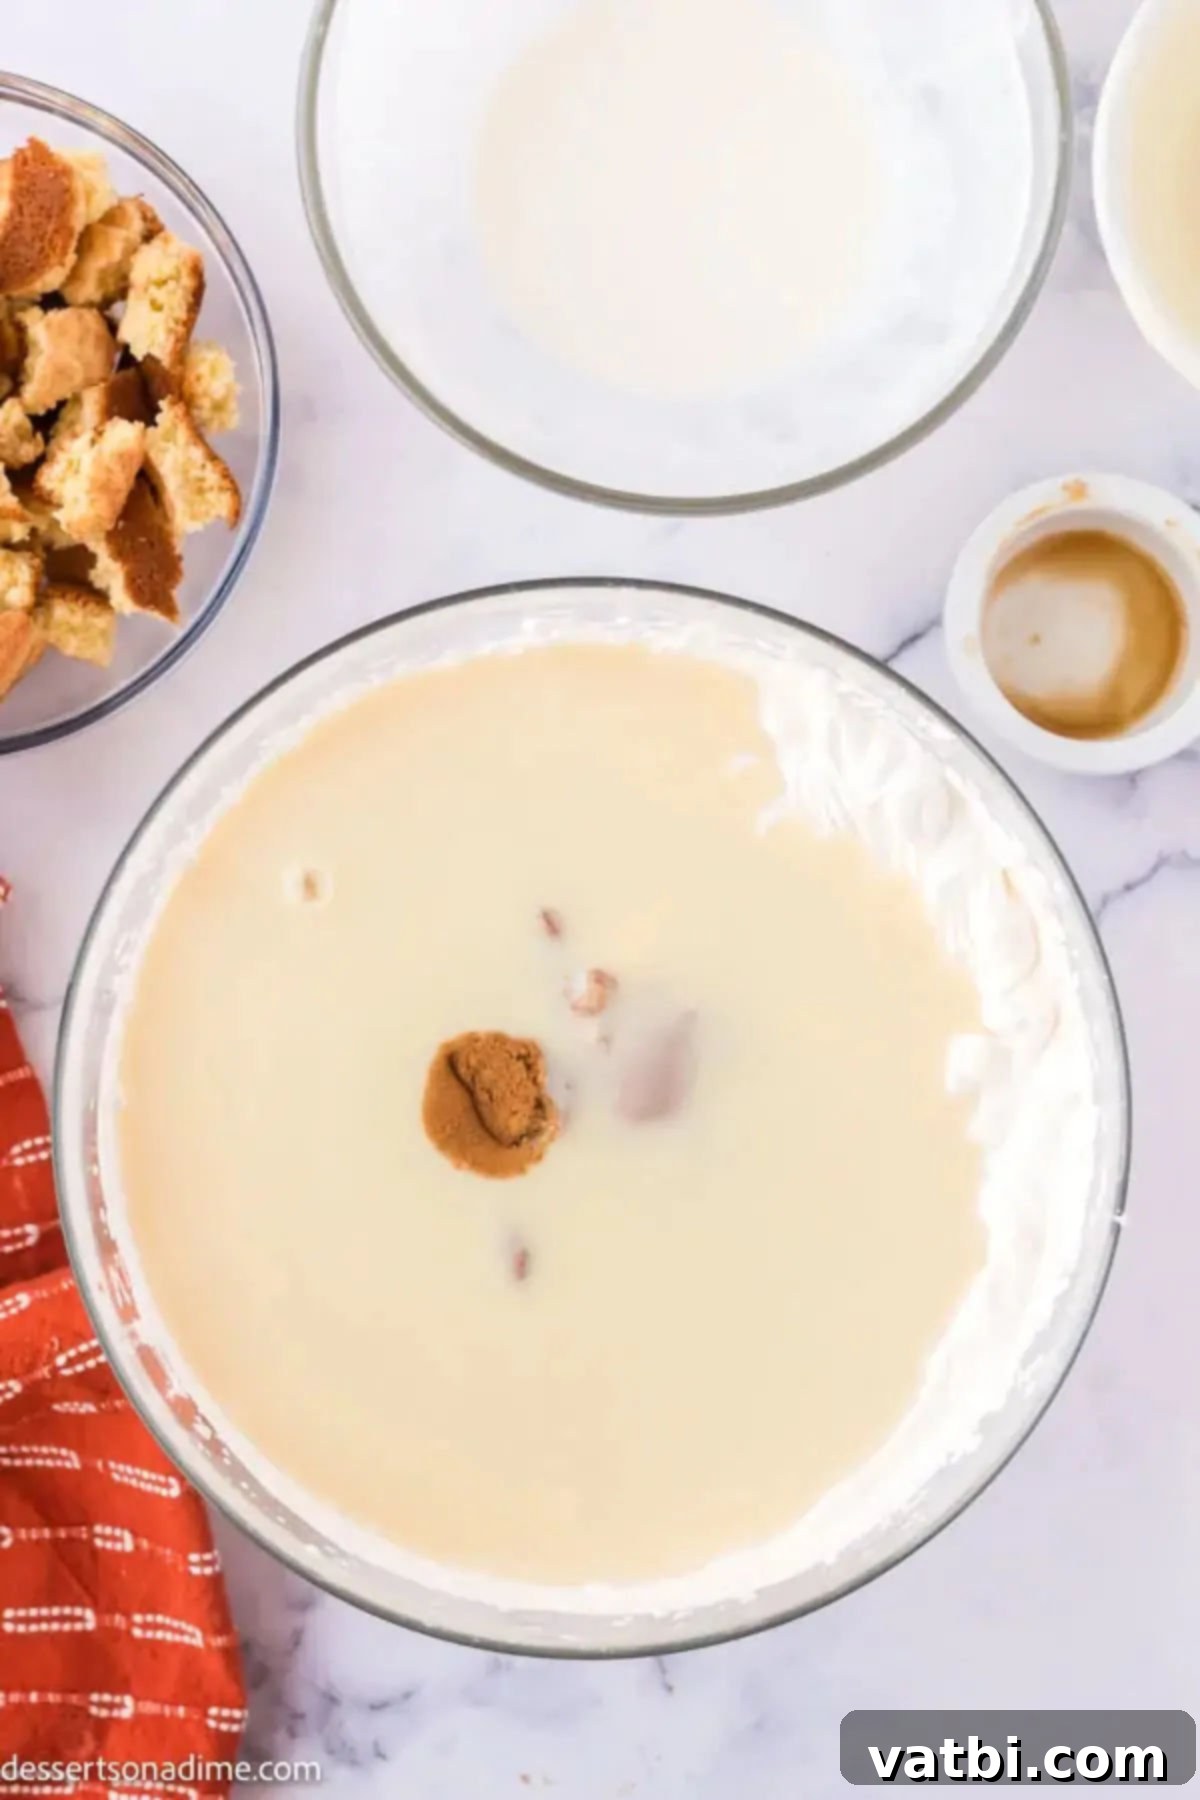
Step 1: Whip the Cream and Vanilla. In a large, chilled bowl, combine the cold heavy whipping cream and vanilla extract. Use a stand mixer with a whisk attachment or a hand mixer on medium-high speed. Beat until the mixture forms soft, billowy peaks. Be careful not to over-whip, as this can turn it grainy. Soft peaks mean that when you lift the whisk, the peak of cream holds its shape but gently curls over.
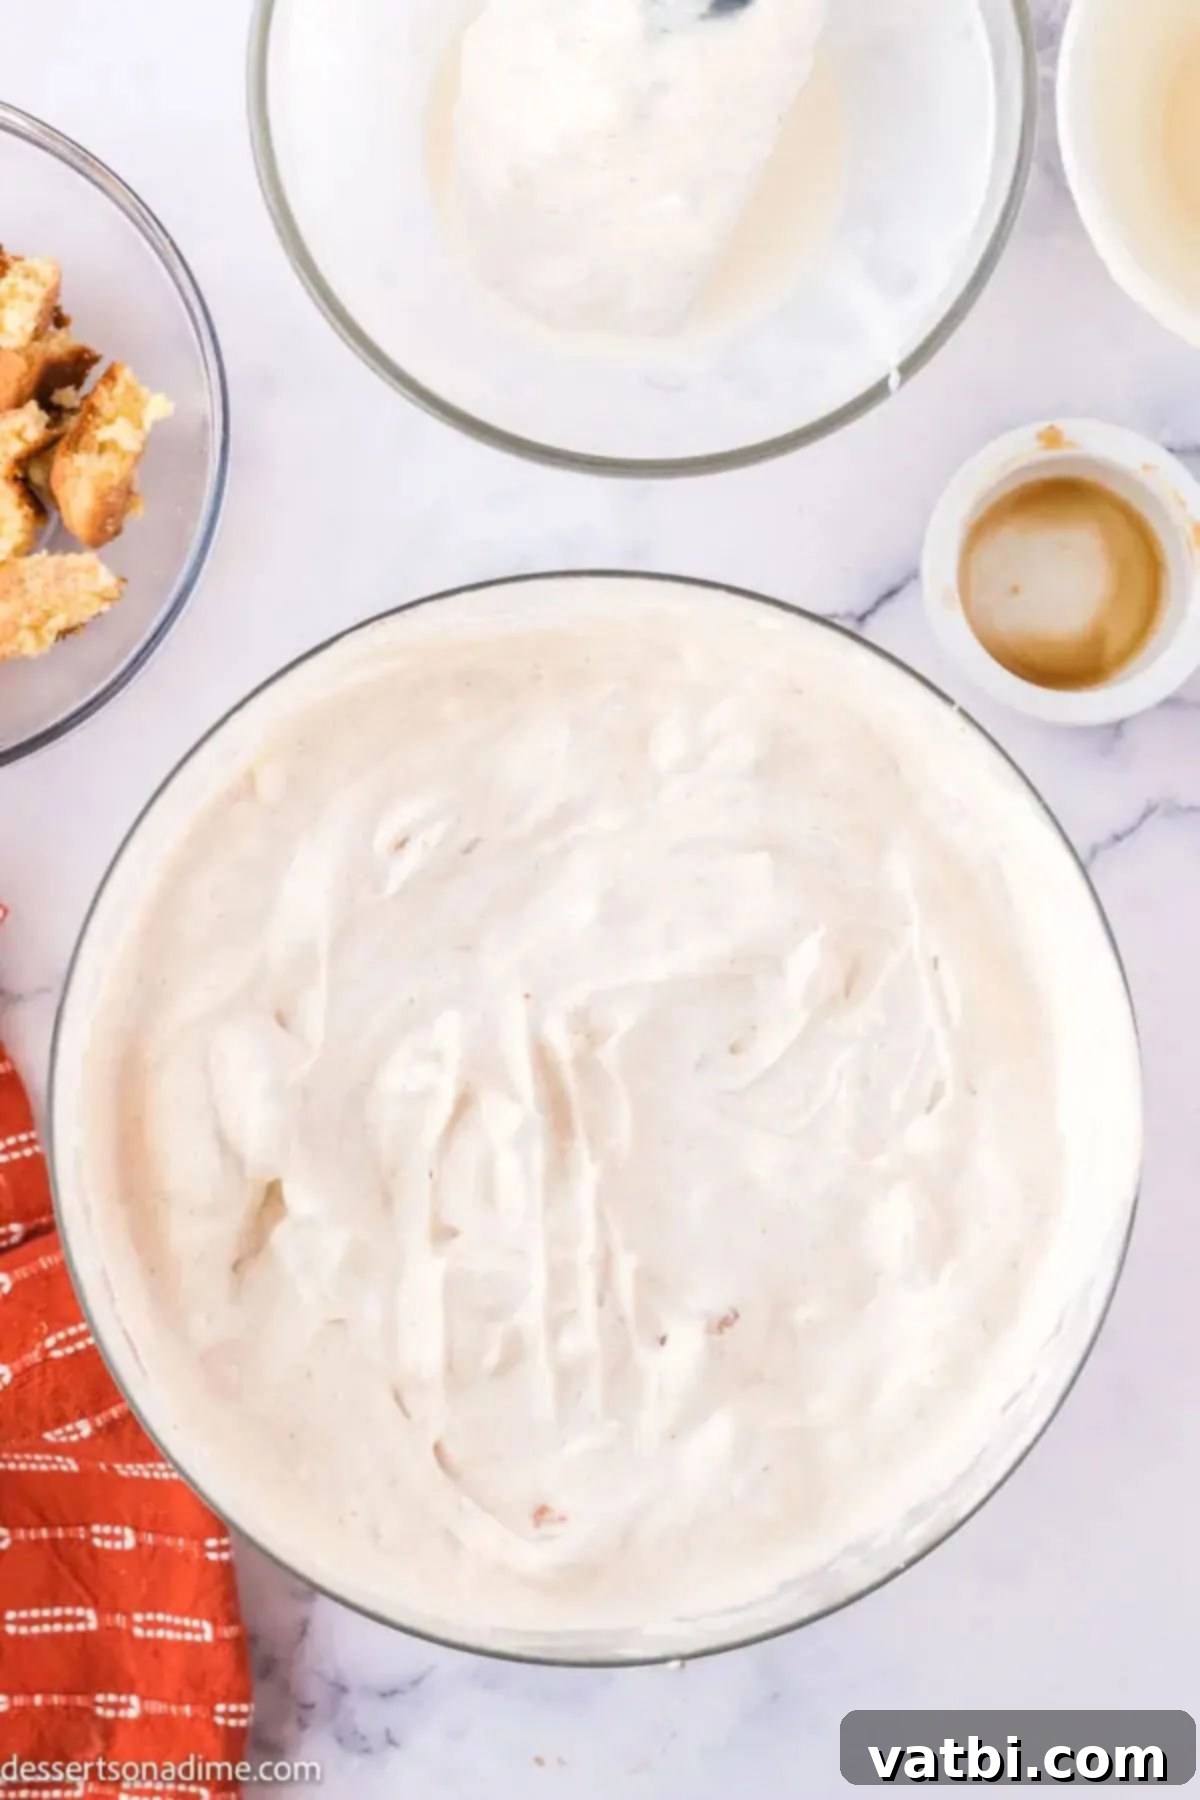
Step 2: Prepare the Condensed Milk Base. In a separate medium bowl, thoroughly mix together the sweetened condensed milk, ground cinnamon, and brown sugar. Stir until the brown sugar is fully dissolved and the cinnamon is evenly distributed. This mixture will be thick and fragrant, forming the sweet and spiced core of your ice cream.
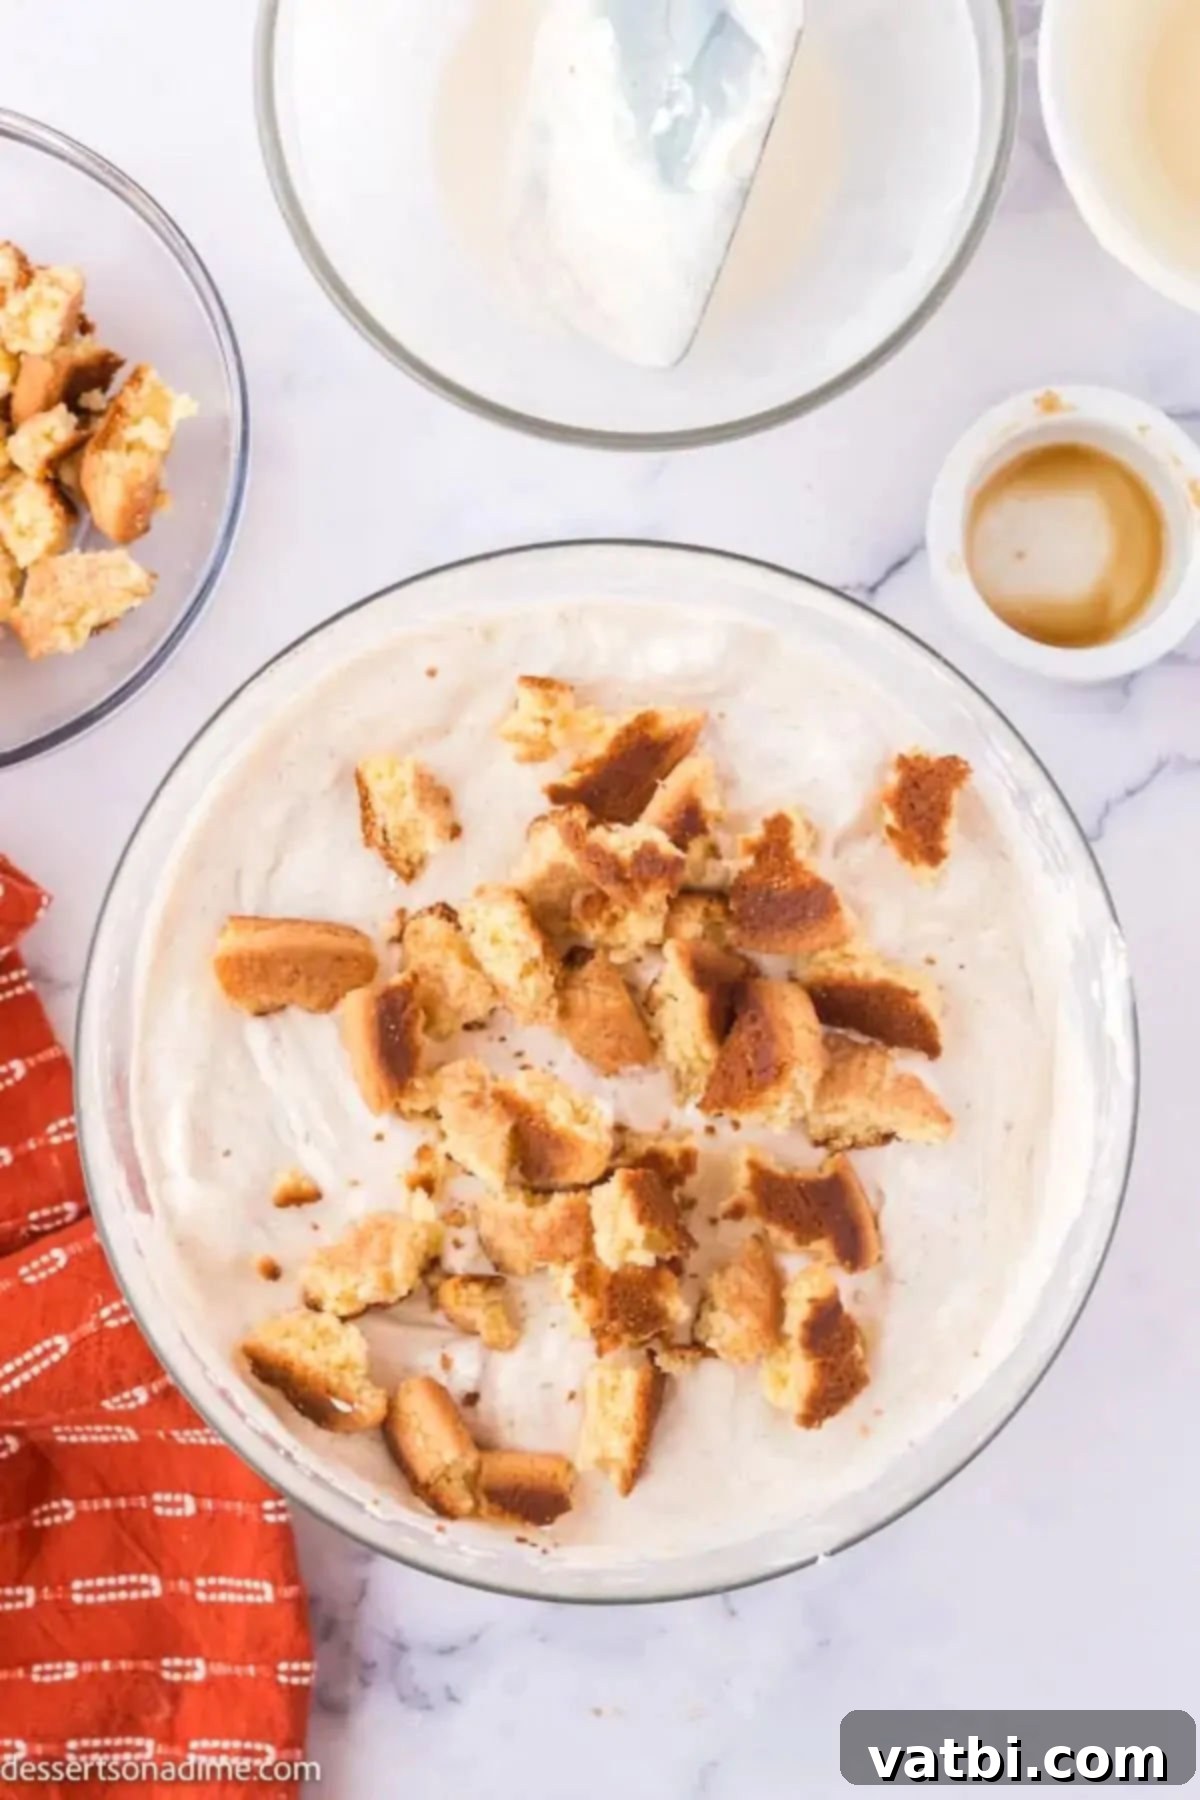
Step 3: Combine and Fold in Cookies. Gently fold the sweetened condensed milk mixture into the whipped cream using a rubber spatula. Use a light, lifting motion to combine them without deflating the whipped cream too much, which is essential for a light and airy ice cream. Once almost combined, carefully fold in 1 cup of the chopped snickerdoodle cookies. Ensure the cookies are evenly distributed throughout the mixture.
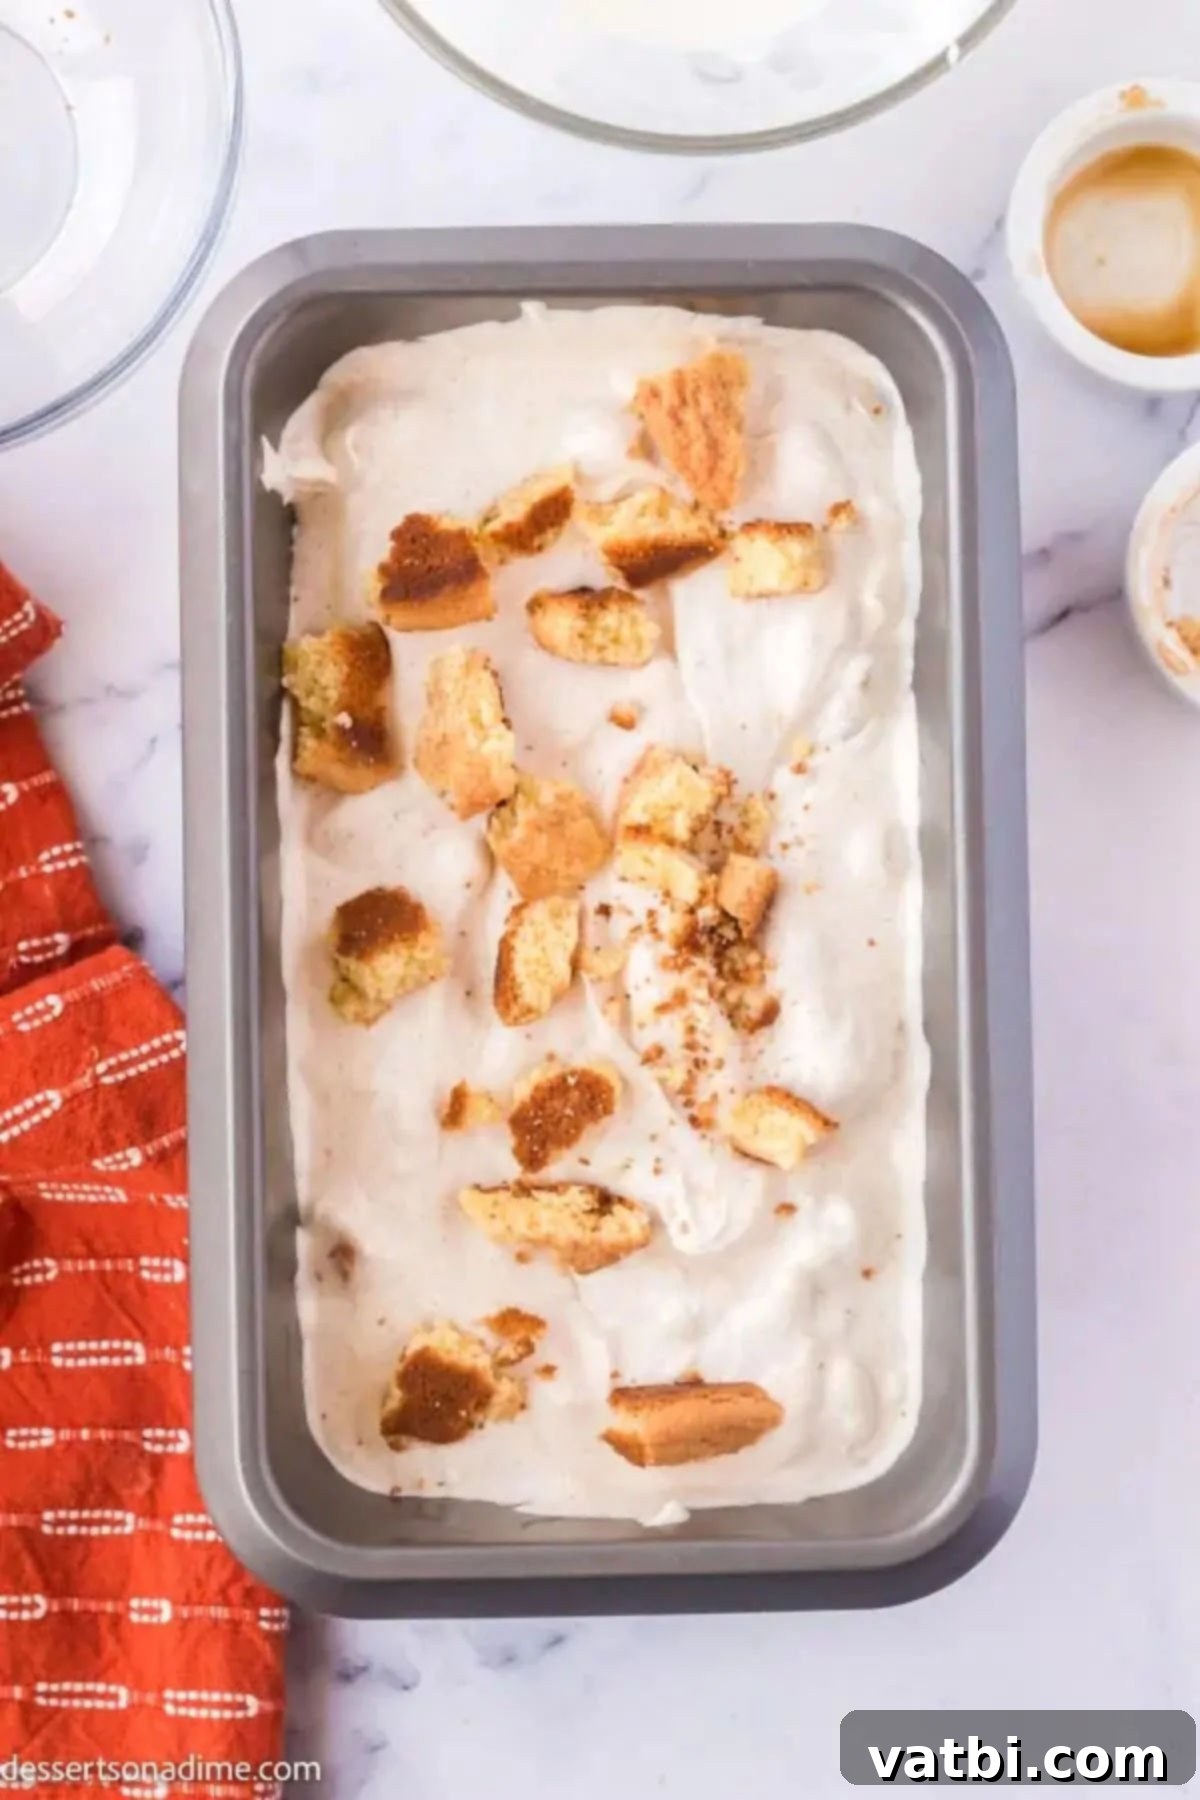
Step 4: Freeze. Finally, transfer the ice cream mixture into a standard loaf pan or an airtight freezer-safe container, spreading it evenly with your rubber spatula. Sprinkle the remaining chopped cookies over the top for an appealing visual and extra crunch. Cover the pan tightly with plastic wrap, pressing it directly onto the surface of the ice cream to prevent ice crystals from forming. Freeze for at least 4 hours, though overnight is best, to ensure it becomes firm and scoopable. When ready to serve, use a sturdy ice cream scoop to enjoy!
Delicious Topping Ideas for Snickerdoodle Ice Cream
While this Snickerdoodle ice cream is absolutely divine on its own, adding a few thoughtful toppings can elevate it to an even more spectacular dessert. Here are some ideas to inspire you:
- Additional Snickerdoodle Cookie Crumbs: For the ultimate cookie experience, sprinkle more crushed or finely chopped snickerdoodle cookies on top. This adds an extra layer of texture and reinforces the signature flavor. It’s also a fantastic way to use up any leftover or broken cookies.
- Cinnamon Sugar Sprinkled on Top: A simple dusting of cinnamon sugar mixture (a blend of granulated sugar and ground cinnamon) not only looks beautiful but also adds a sweet, spiced crunch that mirrors the classic cookie coating.
- Sprinkles: If you’re serving this to kids (or adults who are kids at heart!), colorful sprinkles are always a hit. They add a festive touch and a fun textural contrast.
- Whipped Cream: A generous dollop of Homemade Whipped Cream is always a welcome addition, providing a light, creamy cloud that balances the richness of the ice cream.
- Caramel Sauce: A drizzle of warm Homemade Caramel Sauce is decadently delicious. The buttery caramel notes beautifully complement the cinnamon-sugar profile of the snickerdoodle ice cream, creating a harmonious blend of flavors.
- Toasted Pecans or Walnuts: For an added layer of nuttiness and crunch, sprinkle some lightly toasted pecans or walnuts. Their earthy flavor pairs wonderfully with cinnamon.
- Chocolate Shavings: A hint of bittersweet or milk chocolate shavings can provide a lovely contrast and melt-in-your-mouth texture.
Storage Tips for Homemade No-Churn Ice Cream
To ensure your delicious homemade Snickerdoodle ice cream stays fresh and maintains its creamy texture for as long as possible, proper storage is key:
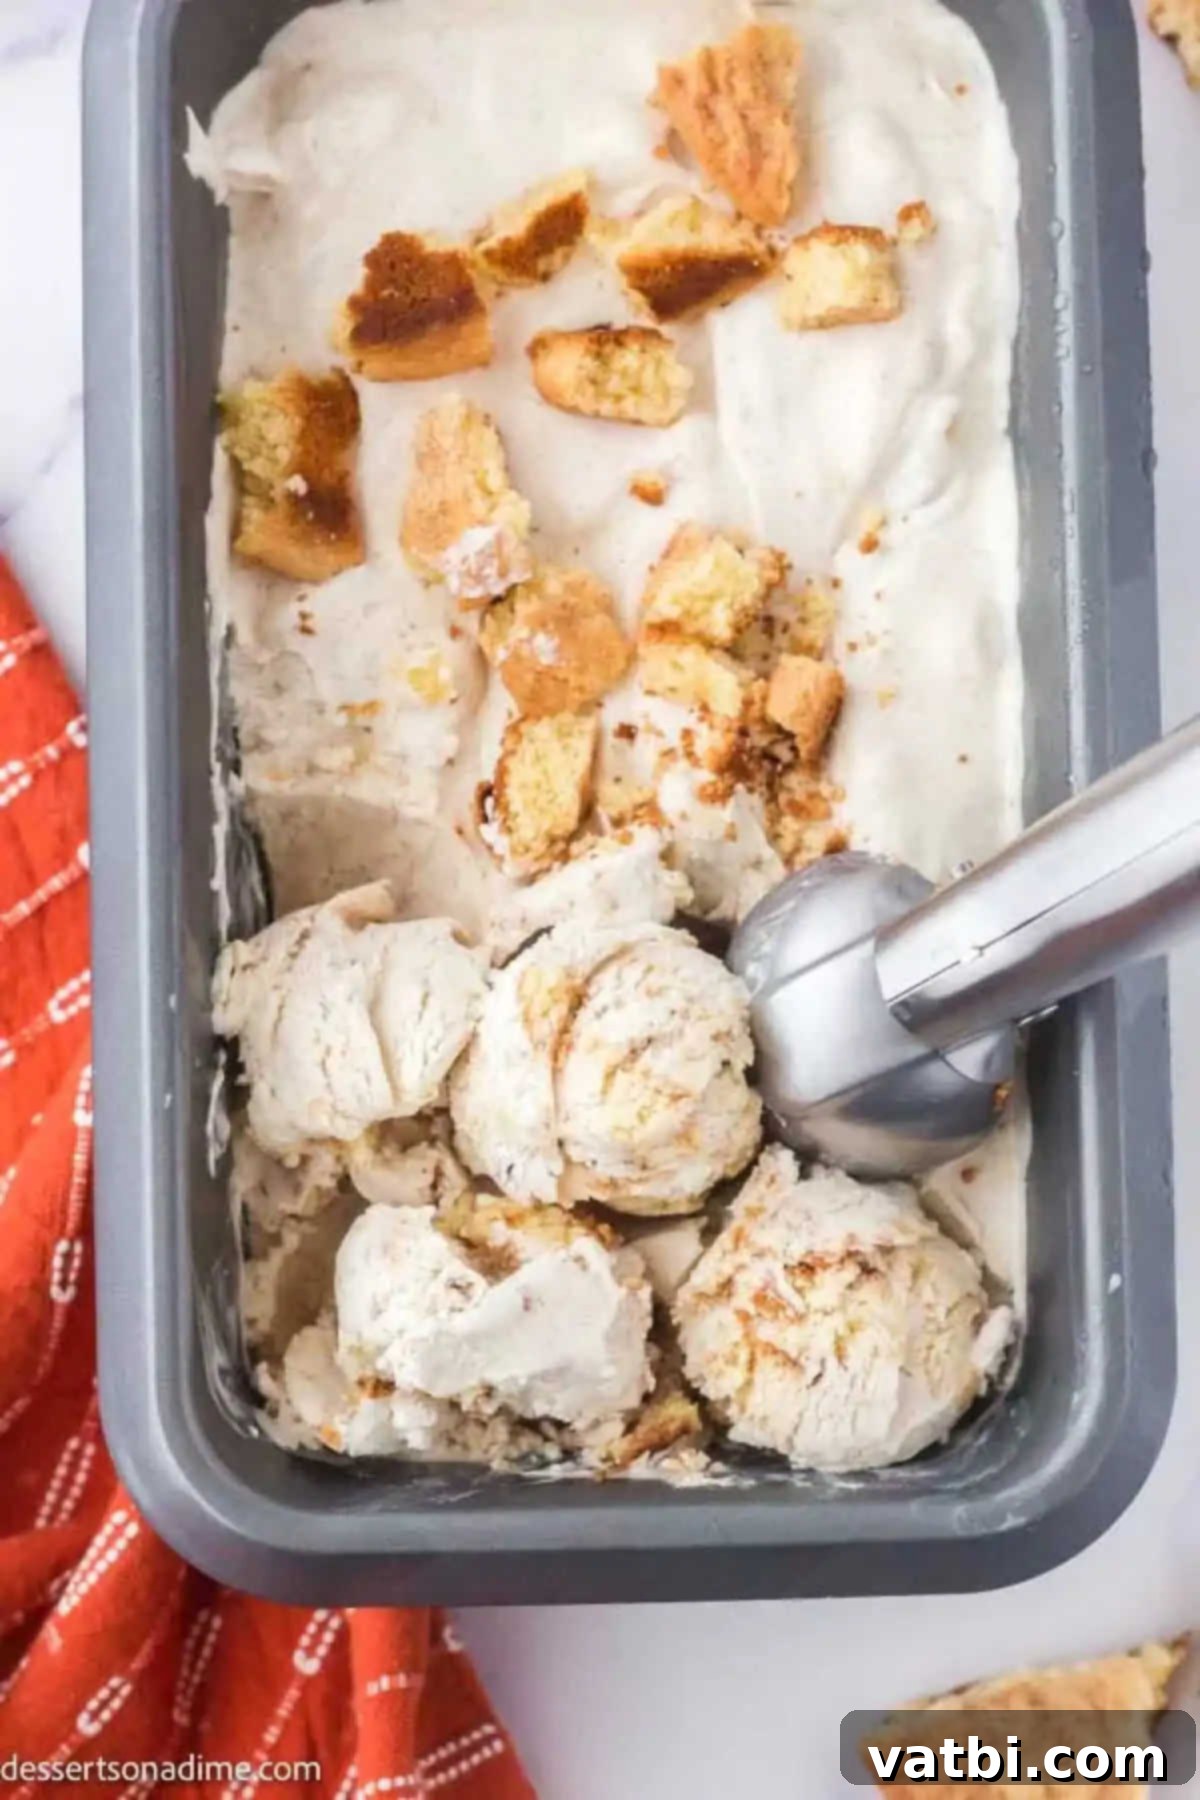
After it has firmed up, ensure the ice cream is covered tightly to prevent freezer burn and the formation of ice crystals. You can use the same loaf pan or transfer it to an airtight freezer-safe container. When covered properly, this delightful treat will stay fresh in the freezer for up to 1 month. For best results and to prevent any unpleasant freezer odors, make sure your container is truly airtight.
Expert Tips for Perfect No-Churn Snickerdoodle Ice Cream
Achieving perfectly creamy and flavorful no-churn ice cream is easy with a few insider tricks. Here are some expert tips to ensure your Snickerdoodle ice cream turns out fantastic every time:
- Chill the Mixing Bowl and Beaters: This simple step makes a significant difference. Placing your large mixing bowl and the whisk attachments (or hand mixer beaters) in the freezer for 10 to 15 minutes before you start whipping the cream will help the cream whip up much quicker and achieve stiffer, more stable peaks. Cold equipment keeps the cream colder, which is essential for volume.
- Use Quality Ingredients: Since there are so few ingredients, the quality of each really shines through. Use good quality heavy whipping cream and pure vanilla extract for the best flavor.
- Cookies: Store-Bought vs. Homemade: You have flexibility here! If time is a concern, good quality store-bought snickerdoodle cookies work perfectly. However, if you want to take your ice cream to the next level, using freshly baked homemade cookies (like the one from this snickerdoodles recipe) will impart an even richer, more authentic flavor and texture. Just ensure the cookies are completely cooled before chopping to avoid melting into the mixture.
- Do Not Substitute Sweetened Condensed Milk: This ingredient is non-negotiable for no-churn ice cream. It’s specifically formulated to provide both sweetness and a smooth, creamy consistency without churning. Evaporated milk, regular milk, or other alternatives will not yield the same results and will likely lead to an icy texture.
- Allow Enough Time to Freeze: Patience is key! For the ice cream to fully set and achieve its perfect scoopable texture, it needs ample time in the freezer. While 4 hours is the minimum, freezing it overnight is highly recommended for the best results. Rushing this step will result in a softer, less satisfying consistency.
- Prevent Ice Crystals with Parchment Paper: To avoid the formation of unpleasant ice crystals on the surface of your ice cream, place a layer of parchment paper directly on top of the ice cream before covering it with plastic wrap or the container lid. This creates an extra barrier against air and moisture.
- Gentle Folding: When combining the whipped cream with the condensed milk mixture, use a gentle folding technique. Overmixing can deflate the whipped cream, leading to a denser, less airy ice cream.
Customizing Your Snickerdoodle Ice Cream
While the classic Snickerdoodle flavor is fantastic, you can easily customize this no-churn ice cream to suit your personal tastes or experiment with new twists. Here are a few ideas:
- Add a Pinch of Nutmeg: For an even deeper spice profile, add a tiny pinch (about 1/4 teaspoon) of ground nutmeg along with the cinnamon. Nutmeg complements cinnamon beautifully and is often found in spiced baked goods.
- Molasses Boost: If you want a richer, more complex brown sugar flavor, you can add a small drizzle (1/2 to 1 teaspoon) of molasses to the sweetened condensed milk mixture. This will enhance the depth without overpowering the snickerdoodle essence.
- White Chocolate Chunks: Introduce a touch of sweetness and textural contrast by folding in some white chocolate chips or chopped white chocolate. White chocolate pairs wonderfully with cinnamon.
- Cream Cheese Swirl: For a “cookie dough” or “cheesecake” like variation, prepare a simple cream cheese swirl (softened cream cheese, powdered sugar, and a touch of vanilla) and ripple it through the ice cream mixture before freezing.
Frequently Asked Questions (FAQ)
Here are answers to some common questions about making homemade no-churn Snickerdoodle ice cream:
- Can I use light cream instead of heavy whipping cream? No, it is highly recommended to use full-fat heavy whipping cream. The high fat content is crucial for achieving the rich, creamy texture without churning. Lighter creams will not whip to the same volume and will result in an icy texture.
- How do I prevent ice crystals in my homemade ice cream? The best way is to ensure your ice cream is covered very tightly. Placing parchment paper directly on the surface of the ice cream before covering it with plastic wrap or a lid helps to create an airtight seal and prevents moisture from condensing and forming crystals.
- What if I don’t have a stand mixer? A hand mixer works perfectly fine! Just make sure your bowl and beaters are chilled to help the cream whip faster and more effectively.
- Can I use any type of snickerdoodle cookie? Yes, you can use store-bought cookies or bake your own. Just ensure they are completely cooled before chopping and folding into the ice cream mixture. Freshly baked, slightly chewy cookies offer the best texture contrast.
- How long does it take for the ice cream to freeze? While it needs a minimum of 4 hours to become firm, freezing it overnight (about 8-12 hours) will give you the best, most solid, and scoopable ice cream.
More Irresistible No-Churn Ice Cream Recipes
Loved this easy Snickerdoodle ice cream? Expand your no-churn repertoire with these other fantastic recipes:
- Reese’s Peanut Butter Cup Ice Cream Recipe
- Dulce De Leche Ice Cream Recipe
- Samoa Ice Cream Recipe
- Cinnamon Toast Crunch Ice Cream Recipe
- Homemade S’mores Ice Cream Recipe
- Cookie Monster Ice Cream Recipe
Ready to try this yummy Homemade No-Churn Snickerdoodle Ice Cream Recipe? It’s truly a delightful and effortless way to enjoy a classic dessert in a new, exciting form. Please leave a comment and let us know what you think once you give it a try!
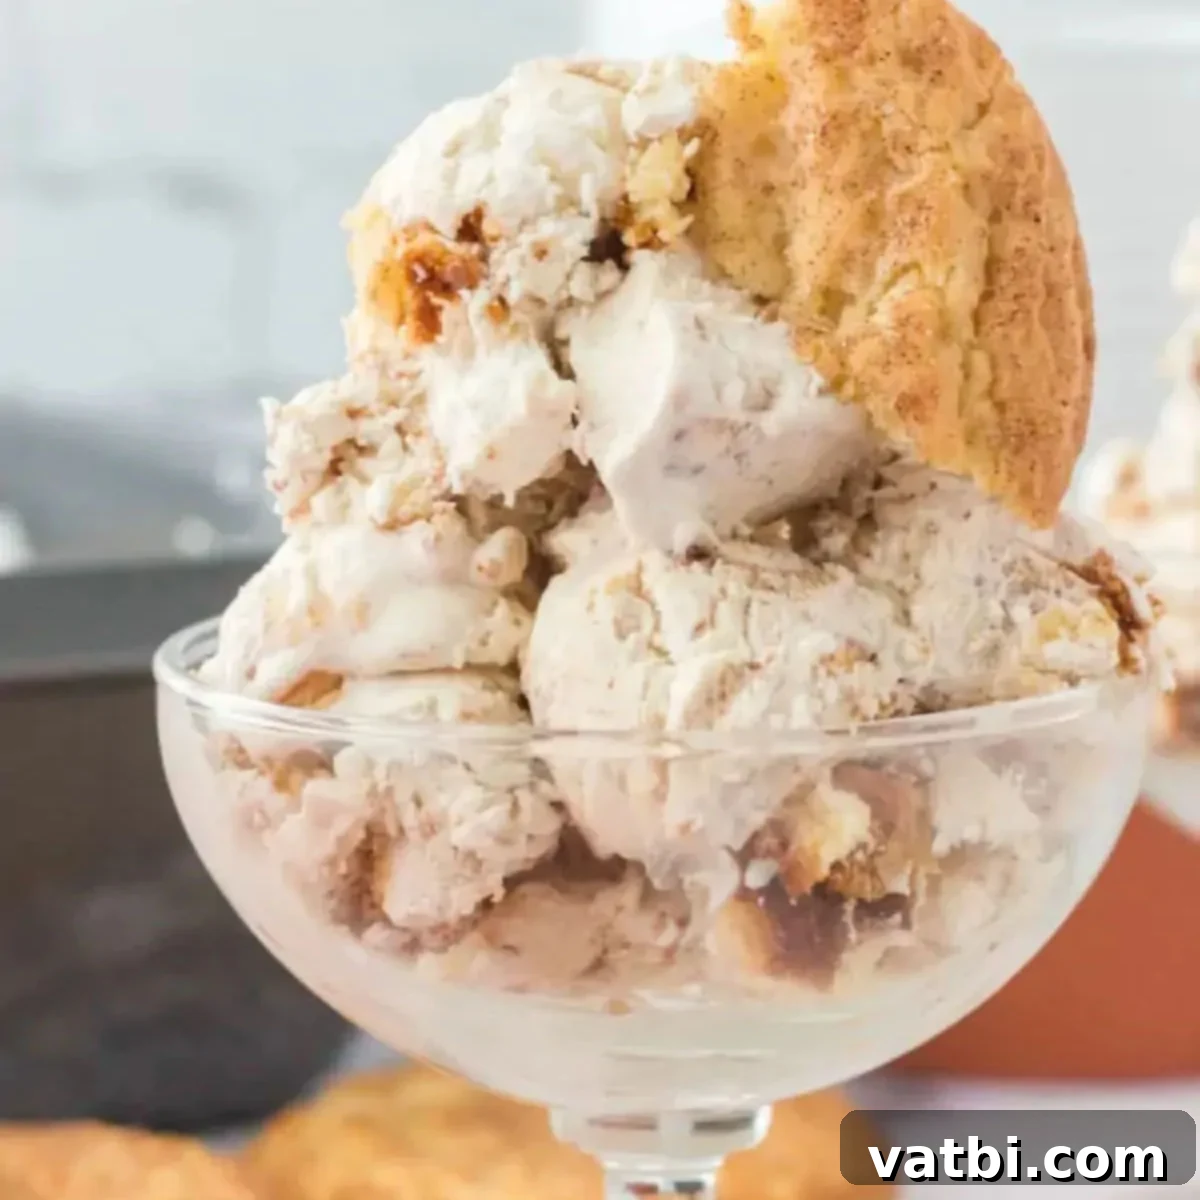
Snickerdoodle Ice Cream
Everything you love about Snickerdoodle Cookies is captured in this homemade Snickerdoodle Ice Cream. The creamy base boasts the perfect blend of brown sugar and cinnamon, with each bite loaded with chopped snickerdoodle cookies. No ice cream maker required!
15 mins
4 hrs
4 hrs 15 mins
8
American
Dessert
557 kcal
Carrie Barnard
Ingredients
- 2 cups Heavy Whipping Cream, chilled
- 14 oz. Sweetened Condensed Milk
- 2 tsp Vanilla Extract
- 1 tsp Ground Cinnamon
- 1 Tbsp Brown Sugar
- 1 1/4 cup Chopped Snickerdoodle Cookies (plus extra for topping, if desired)
Instructions
- With a stand mixer or hand mixer, beat together the heavy whipping cream and vanilla extract in a large, chilled bowl until the cream is whipped and forms soft peaks.
- In a separate medium bowl, stir together the sweetened condensed milk, cinnamon, and brown sugar until well combined and smooth.
- Gently fold the sweetened condensed milk mixture into the whipped cream with a spatula until thoroughly combined, being careful not to deflate the whipped cream.
- Then, carefully fold in 1 cup of the chopped snickerdoodle cookies until evenly distributed.
- Spread the mixture into a loaf pan or an airtight freezer-safe container. Top with the remaining chopped cookies. Cover tightly (preferably with parchment paper directly on the surface, then plastic wrap) and freeze for at least 4 hours, or preferably overnight, until firm.
- Serve and enjoy! The ice cream will keep covered in the freezer for up to 1 month.
Recipe Notes
For quicker whipping, place your mixing bowl and beaters in the freezer for 10-15 minutes before whipping the heavy cream.
Nutrition Facts
Calories: 557kcal, Carbohydrates: 56g, Protein: 7g, Fat: 35g, Saturated Fat: 20g, Polyunsaturated Fat: 4g, Monounsaturated Fat: 9g, Trans Fat: 1g, Cholesterol: 87mg, Sodium: 212mg, Potassium: 312mg, Fiber: 1g, Sugar: 42g, Vitamin A: 1008IU, Vitamin C: 2mg, Calcium: 184mg, Iron: 1mg
