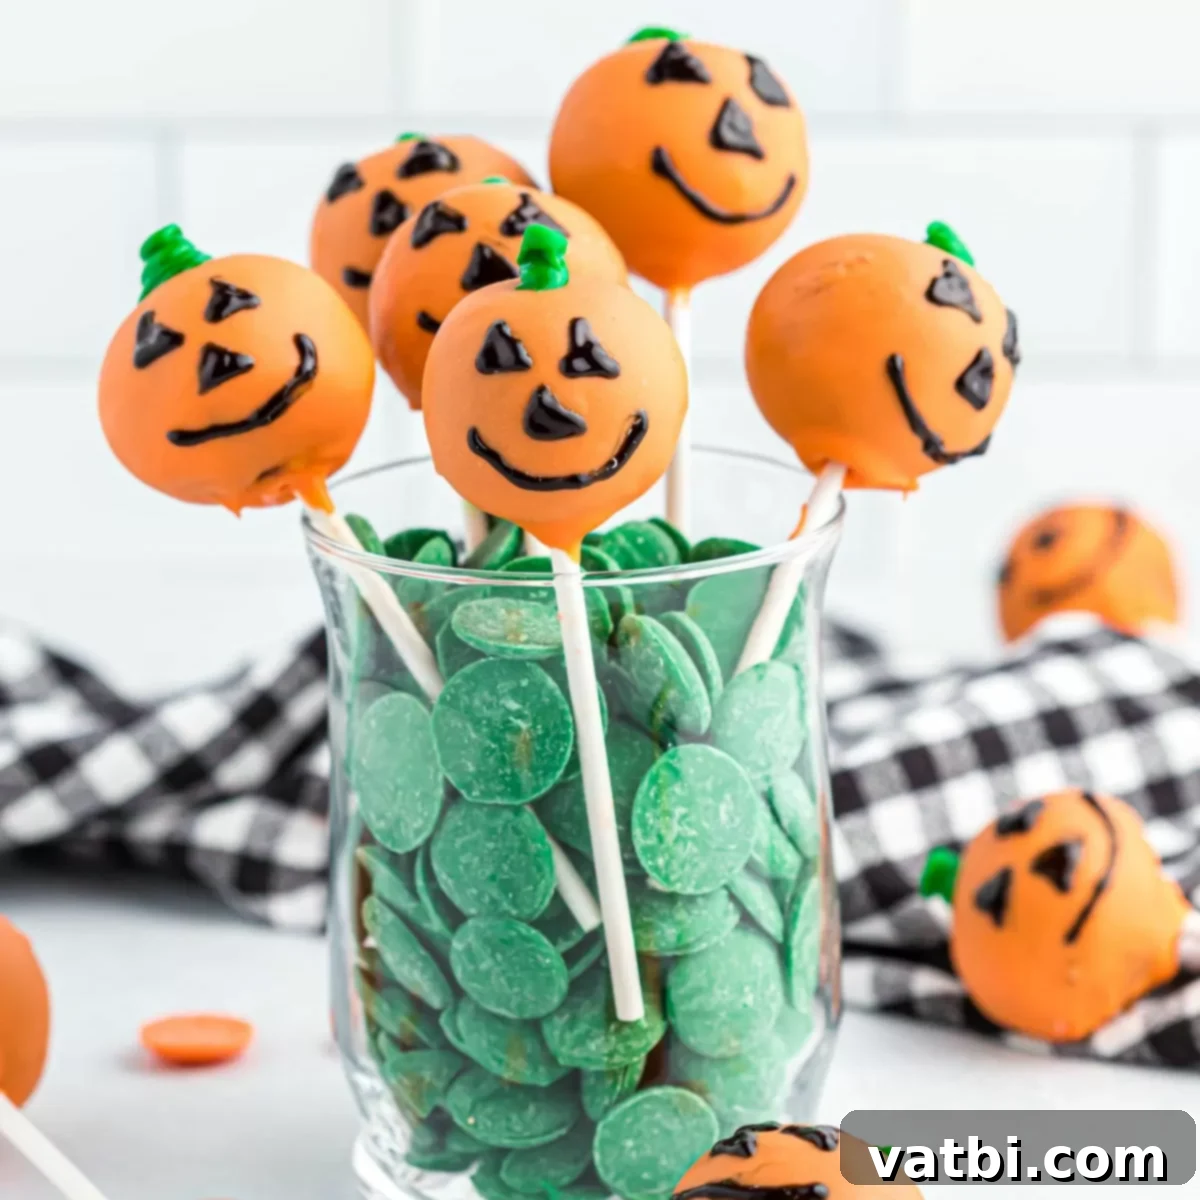
Easy Jack-o’-Lantern Halloween Cake Pops: Spooktacular Recipe & Decoration Guide
Get ready to enchant your taste buds and delight your guests this Halloween with our incredibly easy and festive Jack-o’-Lantern Halloween Cake Pops Recipe! These charming and delicious treats are a must-have for any Halloween celebration, from lively parties to fun trick-or-treating adventures, or simply as a special homemade dessert for your family. Dressed up like grinning jack-o’-lanterns, these cake pops are not just a delight to eat but also a joy to create, making them a perfect activity for bakers of all ages.
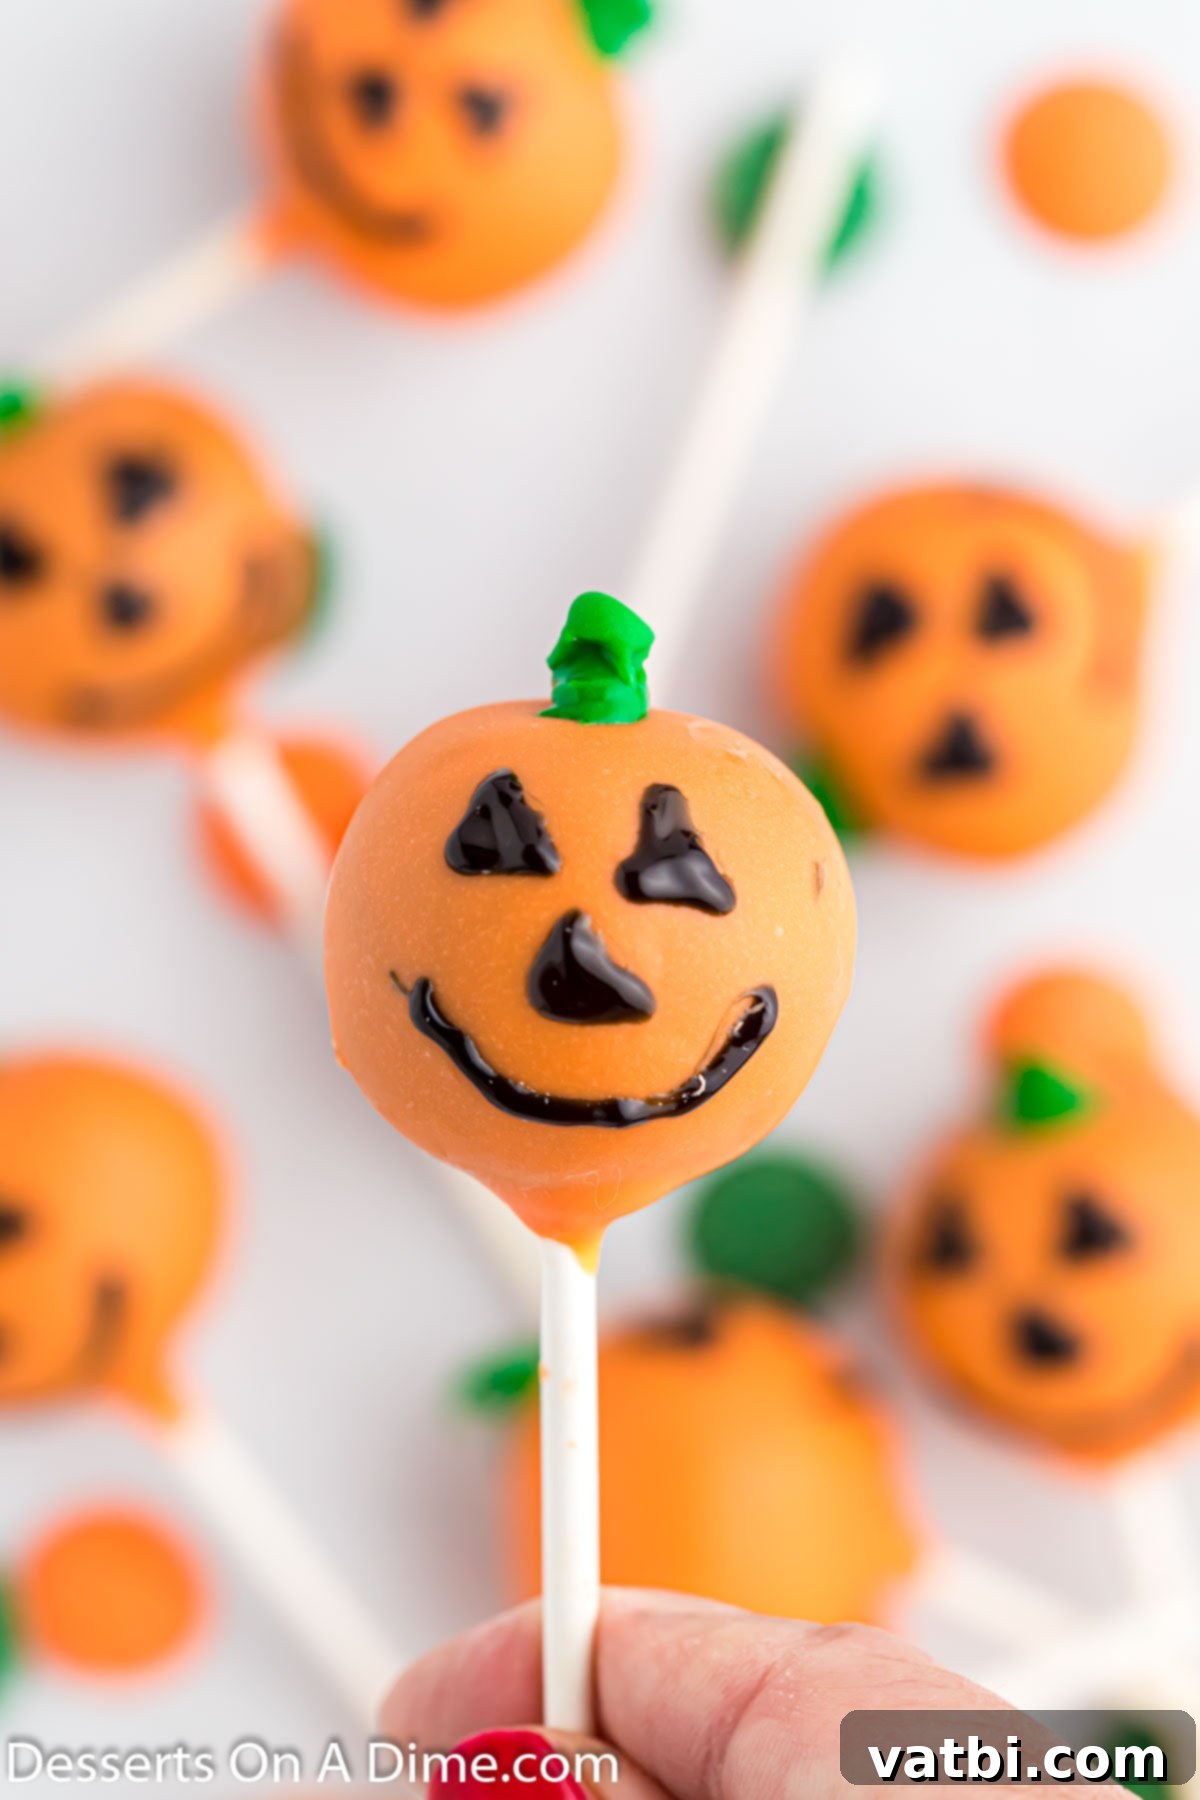
This fun and festive treat simplifies the baking process by starting with a convenient cake mix, making it incredibly easy for anyone to whip up. As someone with a large family, I constantly look for dessert recipes that are both simple to prepare and offer opportunities for the kids to get involved. These Halloween cake pops fit the bill perfectly, allowing little hands to help with crumbling cake, rolling balls, and especially with the fun part – decorating! The entire process is designed to be enjoyable, leading to a truly rewarding and delicious outcome that everyone will appreciate.
October is a magical month, and we absolutely adore making Halloween Desserts for various spooky occasions throughout the season. Beyond these delightful cake pops, some of our all-time favorite spooky treats that frequently make our list include the addictive Halloween Puppy Chow, the delightfully eerie Halloween Dirt Cups, and the adorable Easy Halloween Witch Cookies. Each recipe brings its own unique charm to your Halloween spread, but these Jack-o’-Lantern Cake Pops stand out as a particularly eye-catching and crowd-pleasing option.
What’s in this post: Halloween Cake Pops Recipe
- Why You’ll Adore This Recipe
- Essential Ingredients
- Creative Substitutions & Additions
- Simple Step-by-Step Instructions
- Mastering the Art of Dipping Cake Balls
- Decorating Your Spooky Cake Pops
- Expert Tips for Perfect Cake Pops
- Frequently Asked Questions
- More Easy Halloween Dessert Ideas
- Halloween Cake Pops Recipe Card
Why You’ll Adore This Recipe
There are so many reasons to fall in love with these homemade Halloween Cake Pops! First and foremost, making them at home can save you a significant amount of money compared to purchasing them from a bakery. But beyond the savings, the taste is simply amazing – a rich, moist cake center enveloped in a smooth, sweet candy shell. They also boast an incredibly pretty and festive appearance, guaranteed to be a hit at any Halloween gathering. Everyone, from the youngest trick-or-treater to the oldest party guest, will truly enjoy these delightful treats.
I particularly appreciate the versatility of this recipe. You can easily adapt them to various themes, and it’s a fantastic way to get your children involved in the kitchen. They’ll have a blast helping to crumble the cake, roll the balls, and especially with the creative decorating process. If you’re looking for another classic cake pop base, you might also want to try our Vanilla Cake Balls Recipe, which offers a different flavor profile that’s equally delicious.
Essential Ingredients
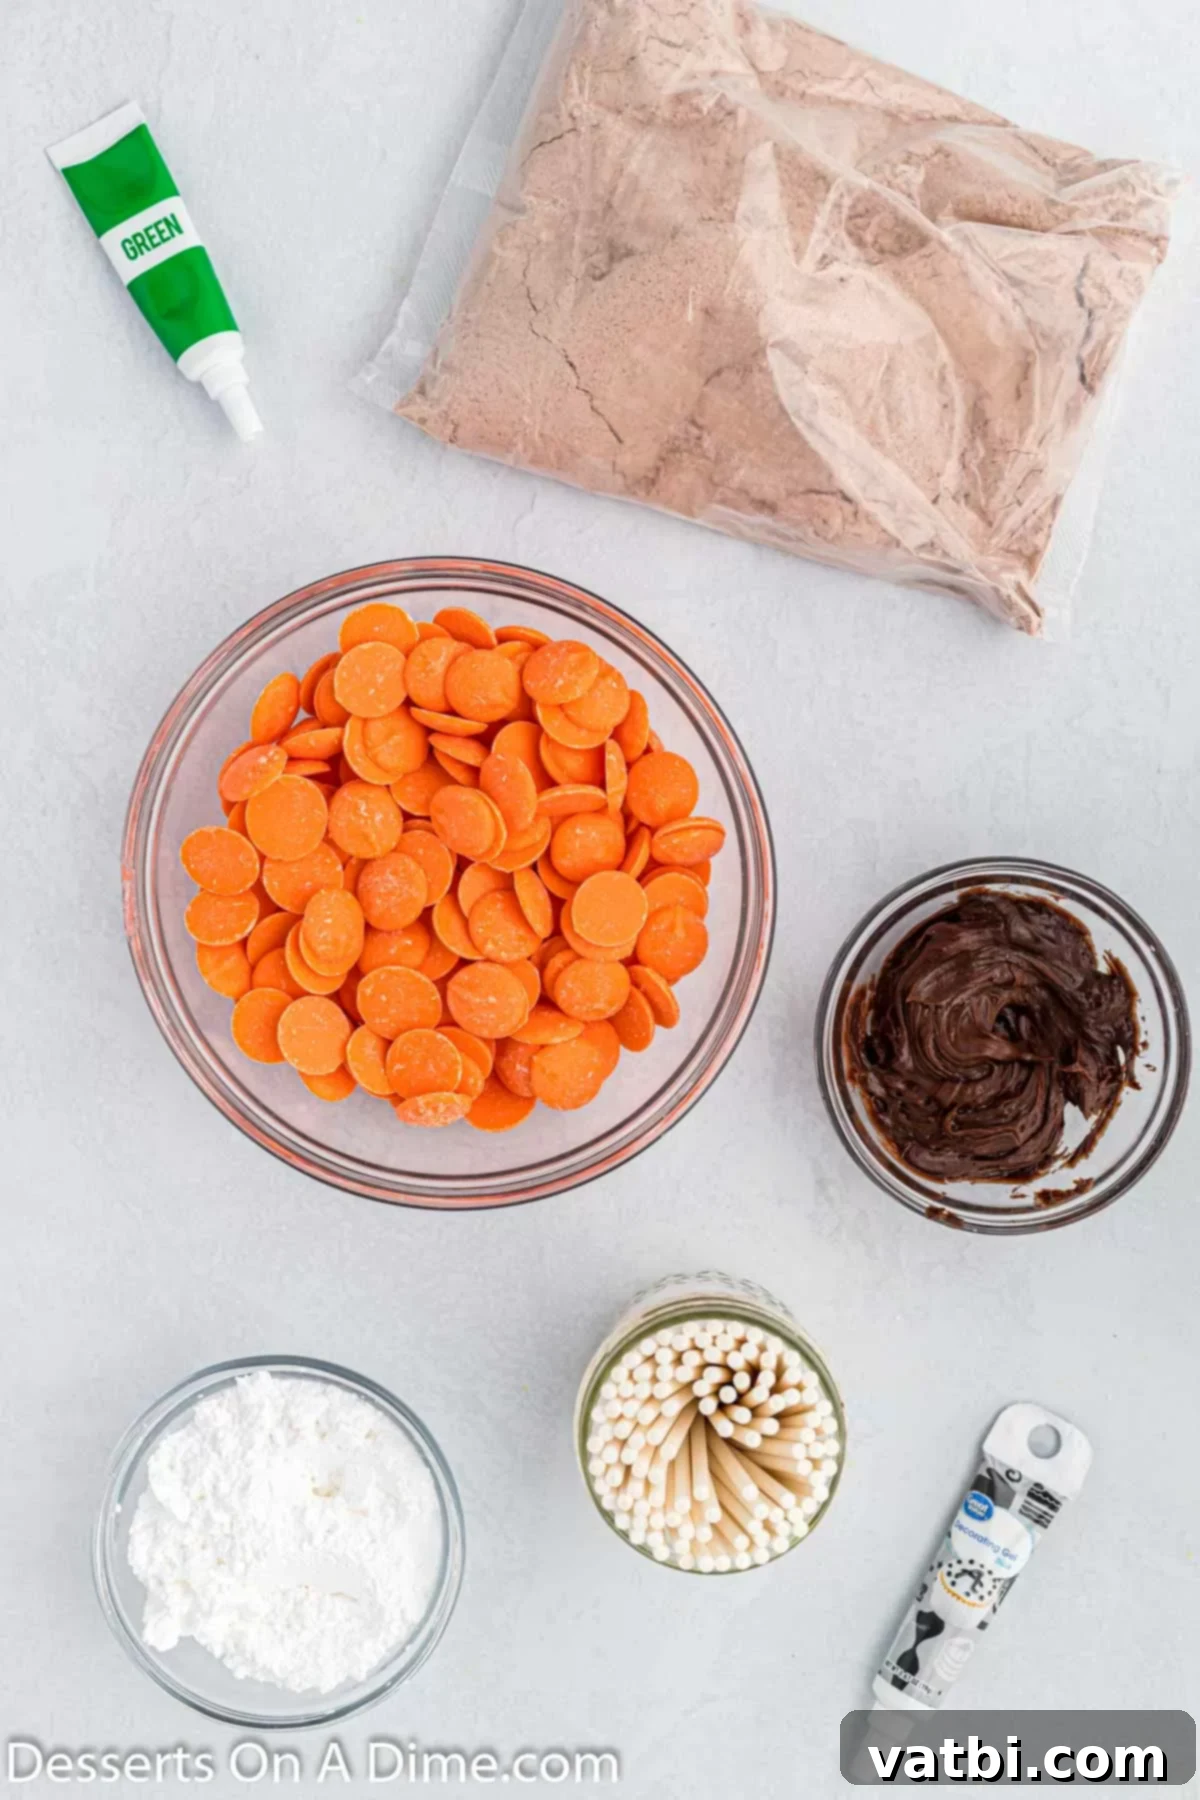
- Chocolate Box Cake Mix. Starting with a box cake mix is the ultimate shortcut to making these cake pops incredibly easy and quick. You can choose any brand of chocolate cake mix you prefer; they all work wonderfully to create a moist and flavorful base for your Halloween treats. Remember to have the additional ingredients listed on the cake mix box (like eggs, oil, and water) ready for preparation.
- Chocolate Fudge Frosting. Using pre-made chocolate fudge frosting is another fantastic time-saver. It provides the perfect consistency and rich flavor to bind the crumbled cake, creating that signature dense and delicious cake pop texture. You’ll only need a portion of a standard tub, so any leftover can be saved for another dessert!
- Orange Candy Melts. These are key for achieving that iconic, smooth, vibrant orange pumpkin coating. Candy melts are specifically designed for easy melting and provide a beautiful, hard shell that sets quickly, giving your cake pops a professional and polished appearance. They are much easier to work with than traditional chocolate for dipping.
- Confectioners Sugar. Also known as powdered sugar, this ingredient is crucial for creating the green icing that forms the pumpkin stems. If your powdered sugar seems lumpy, a quick sift will ensure a perfectly smooth icing for decorating.
- Green Food Gel Coloring. For vibrant and rich green stems, gel food coloring is highly recommended over liquid dyes. Gel colors are concentrated, meaning you need only a small amount to achieve a deep, consistent hue, and they won’t thin out your icing too much.
- Black Writing Gel Icing. This handy ingredient makes drawing the spooky or silly jack-o’-lantern faces incredibly simple. You can usually find these tubes of writing gel in the baking aisle of most grocery stores. The fine tip allows for precise lines and detailed facial expressions, bringing your pumpkins to life.
- Lollipop Sticks. Essential for transforming your cake balls into convenient, mess-free cake pops. Make sure to use sturdy lollipop sticks that are thick enough to securely support the weight of the cake pops once they are coated and decorated.
For the full, detailed list of ingredients with precise measurements and comprehensive recipe instructions, please scroll down to the bottom of this post where you’ll find our complete recipe card.
Creative Substitutions and Additions
One of the best things about making cake pops is how easily you can customize them! Don’t feel limited to the traditional jack-o’-lantern design. Here are some fantastic ideas to spark your creativity and personalize your Halloween cake pops:
- Little Monsters – Unleash your inner mad scientist! Instead of orange, use green candy melts for the base color. Once the green coating is set, use black writing gel icing to draw various scary or silly monster faces. To truly bring these creatures to life, don’t forget to add fun candy eyeballs, which can be affixed with a tiny dab of melted candy or frosting.
- Mummies – For a classic spooky look, dip your cake pops into melted white chocolate or white candy melts. After the initial white coating dries, drizzle additional melted white chocolate back and forth over the top of each cake pop in uneven lines. This creates the perfect “bandaged” appearance of a spooky, yet sweet, mummy.
- Sprinkles – Sprinkles are a quick and easy way to add festive flair! Dip your cake pops into any Halloween-appropriate color you prefer – orange, white, or green are always great options. Immediately after dipping, before the candy coating sets, douse them in a medley of festive sprinkles. Look for spooky shapes like bats, ghosts, pumpkins, or classic orange and black jimmies.
- Cake – While chocolate cake is a delicious choice, feel free to experiment with different cake flavors. Vanilla or white cake mix can be easily adapted, or for a truly festive twist, consider using a red velvet cake mix for a subtle blood-red interior, or even a funfetti cake mix for a surprising pop of color inside your Halloween treats. Use your favorite type of cake to create a base you’ll love.
- Melting Wafers – The world of candy melts offers a rainbow of possibilities! Feel free to change the colors of the candy melts to match any Halloween theme you have in mind. Beyond orange, you can find purple, black, green, or even shimmering metallic candy melts to create a truly unique assortment of spooky treats.
Simple Step by Step Instructions
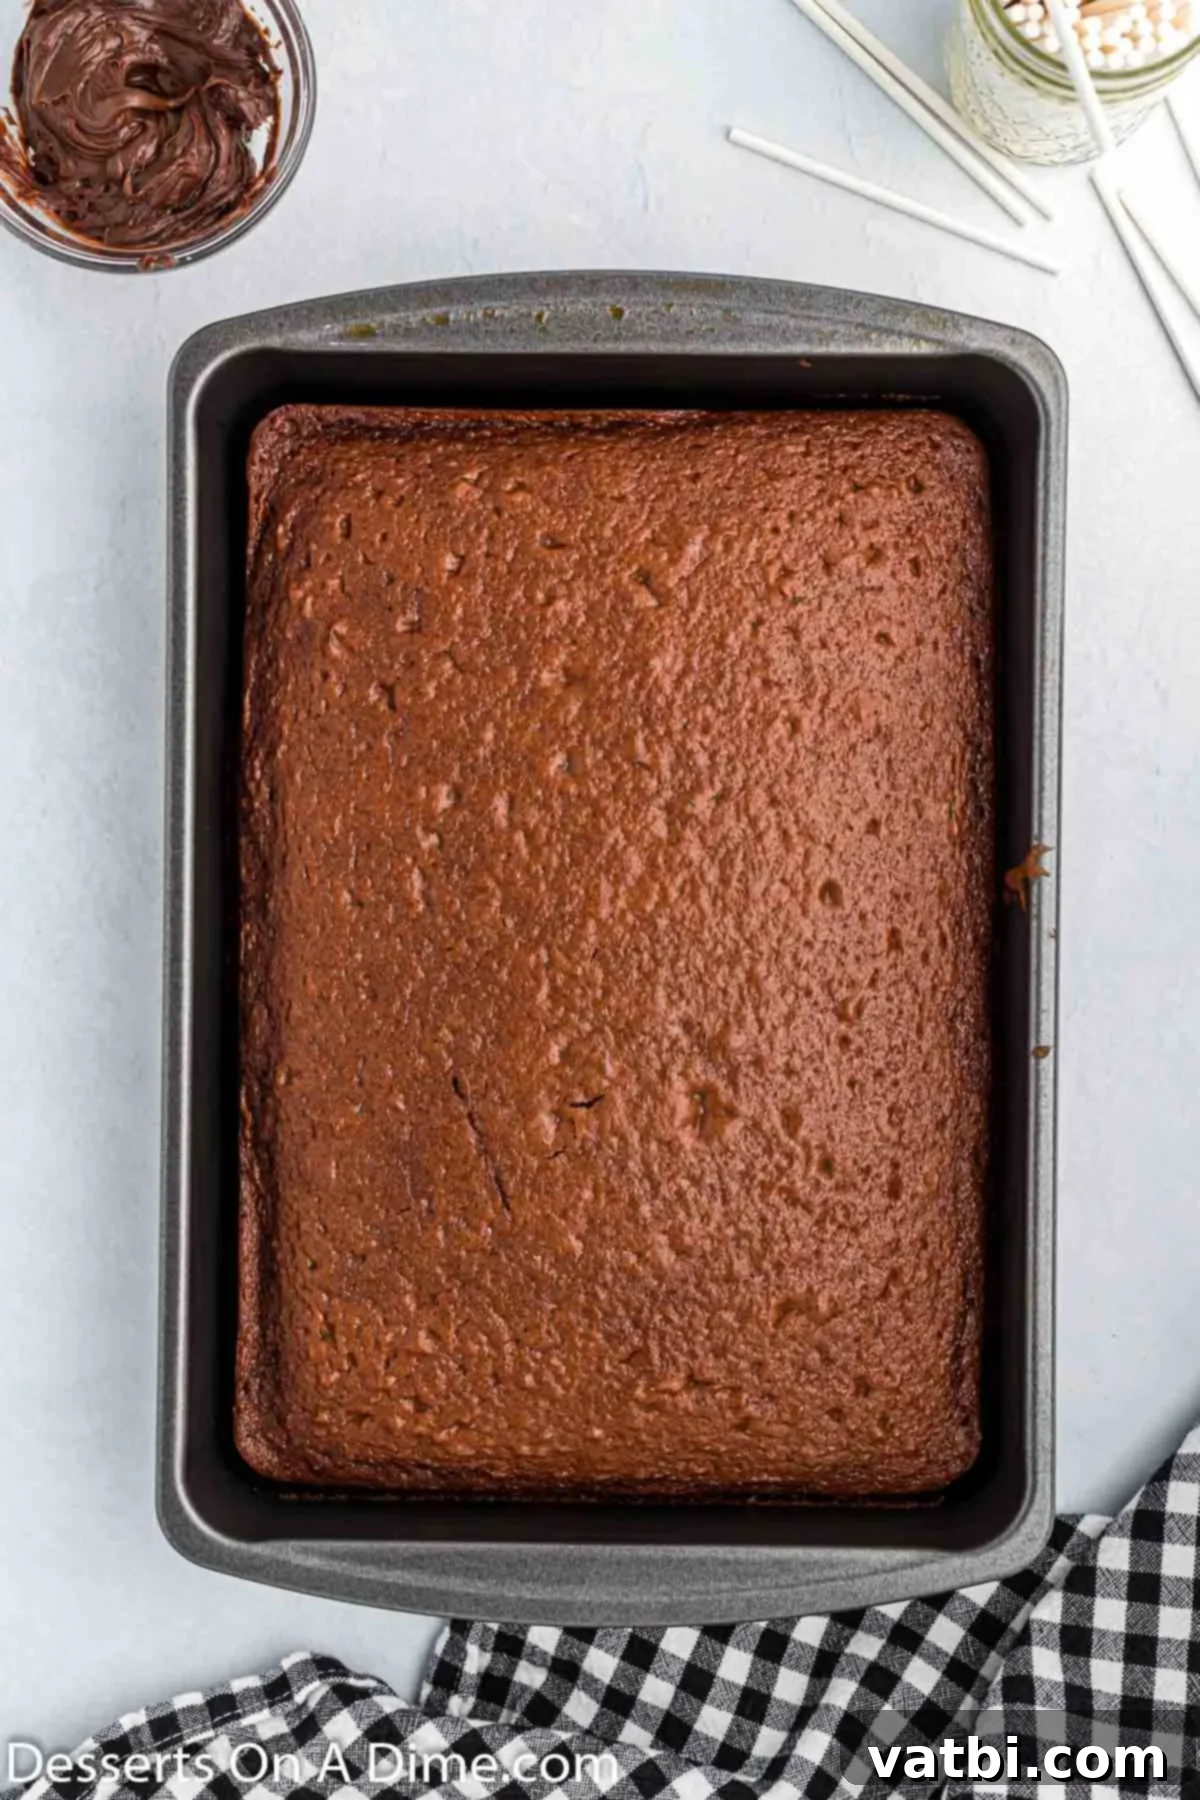
Step 1 – Begin by preparing your chosen cake mix according to the package instructions. Bake the cake in a 9×13 inch pan until a toothpick inserted into the center comes out clean. Once baked, allow the cake to cool completely at room temperature. This step is crucial, as a warm cake will not mix properly with the frosting.
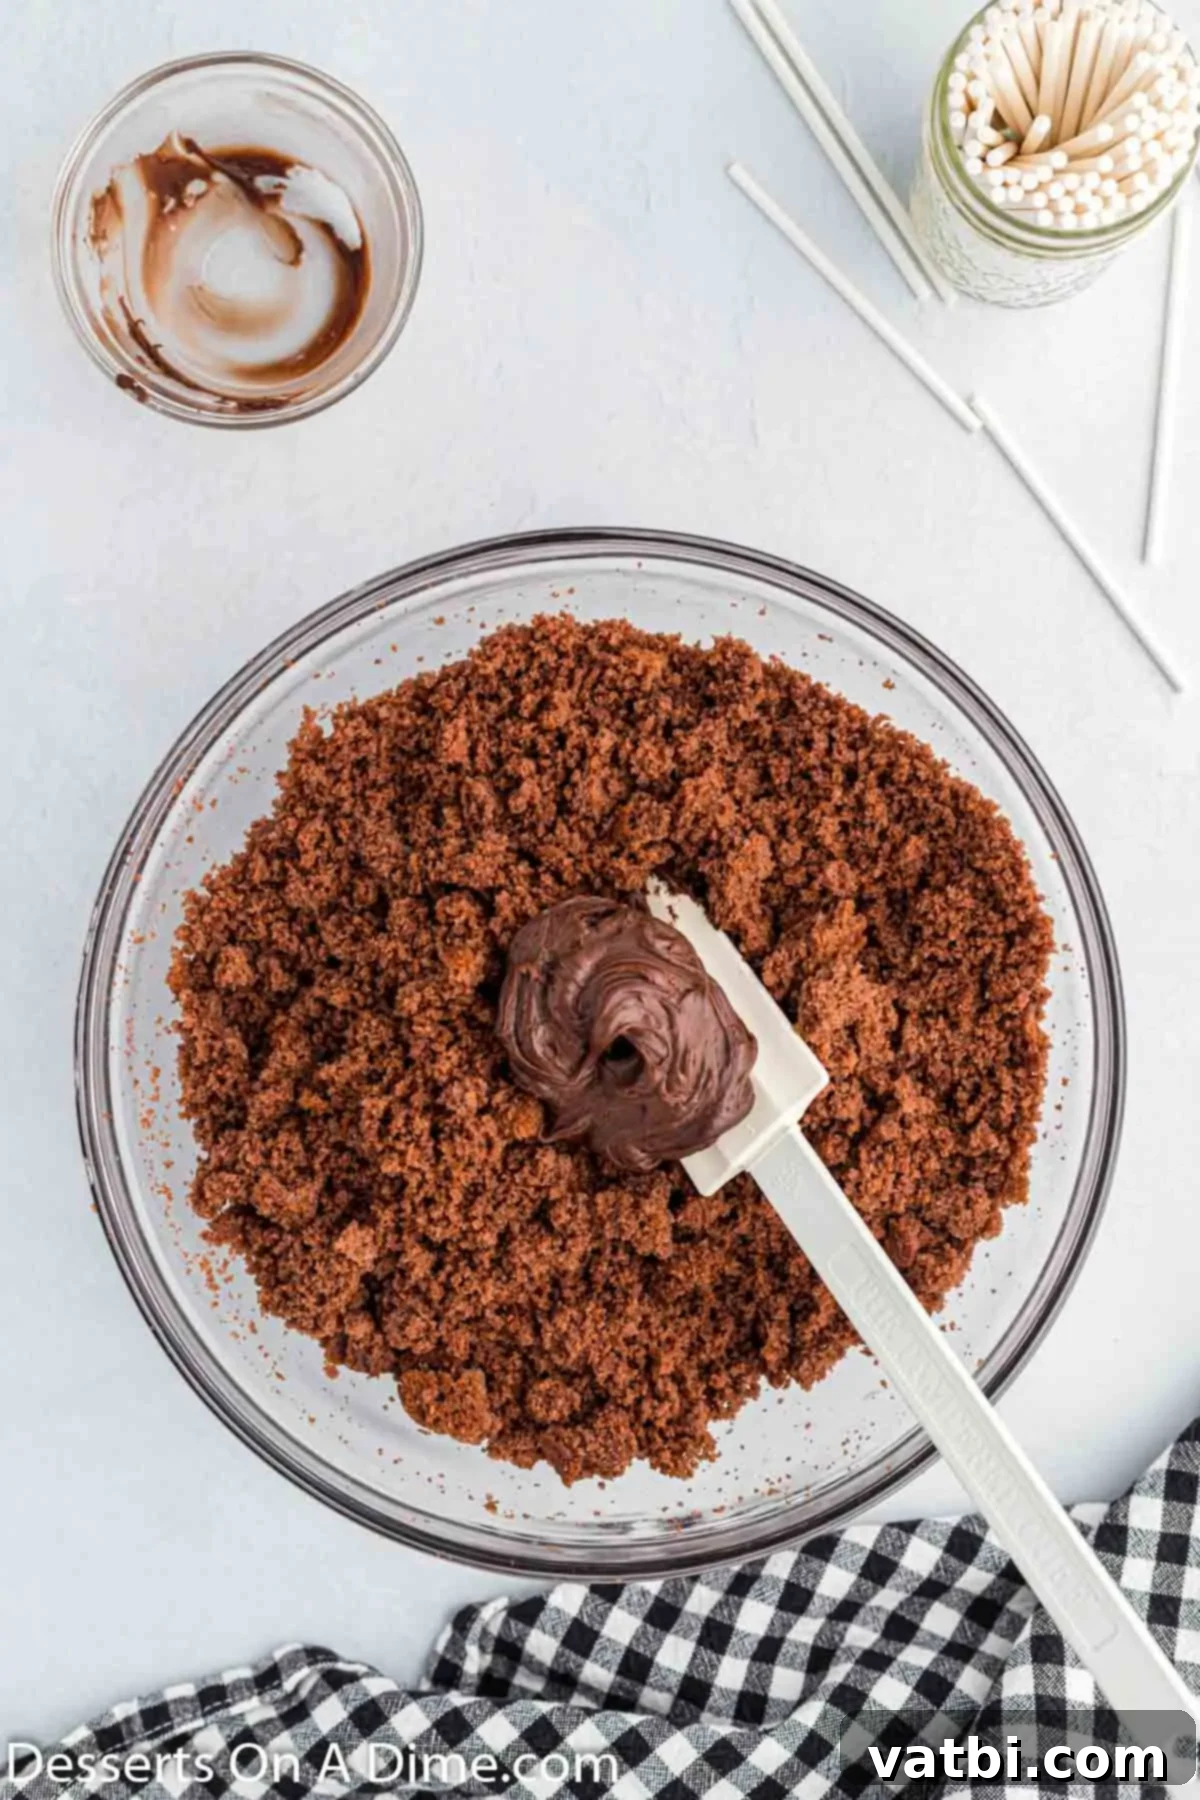
Step 2 – Once the cake is fully cooled, remove it from the pan. You’ll want to gently remove and discard the slightly crusty outside layer of the cake; this ensures a perfectly smooth interior for your cake pops. Then, crumble the remaining soft cake into a large mixing bowl. Add the chocolate frosting to your crumbled cake and stir everything together thoroughly until it’s well combined and forms a dense, moldable dough-like consistency. You can use your hands to really work it together for the best results.
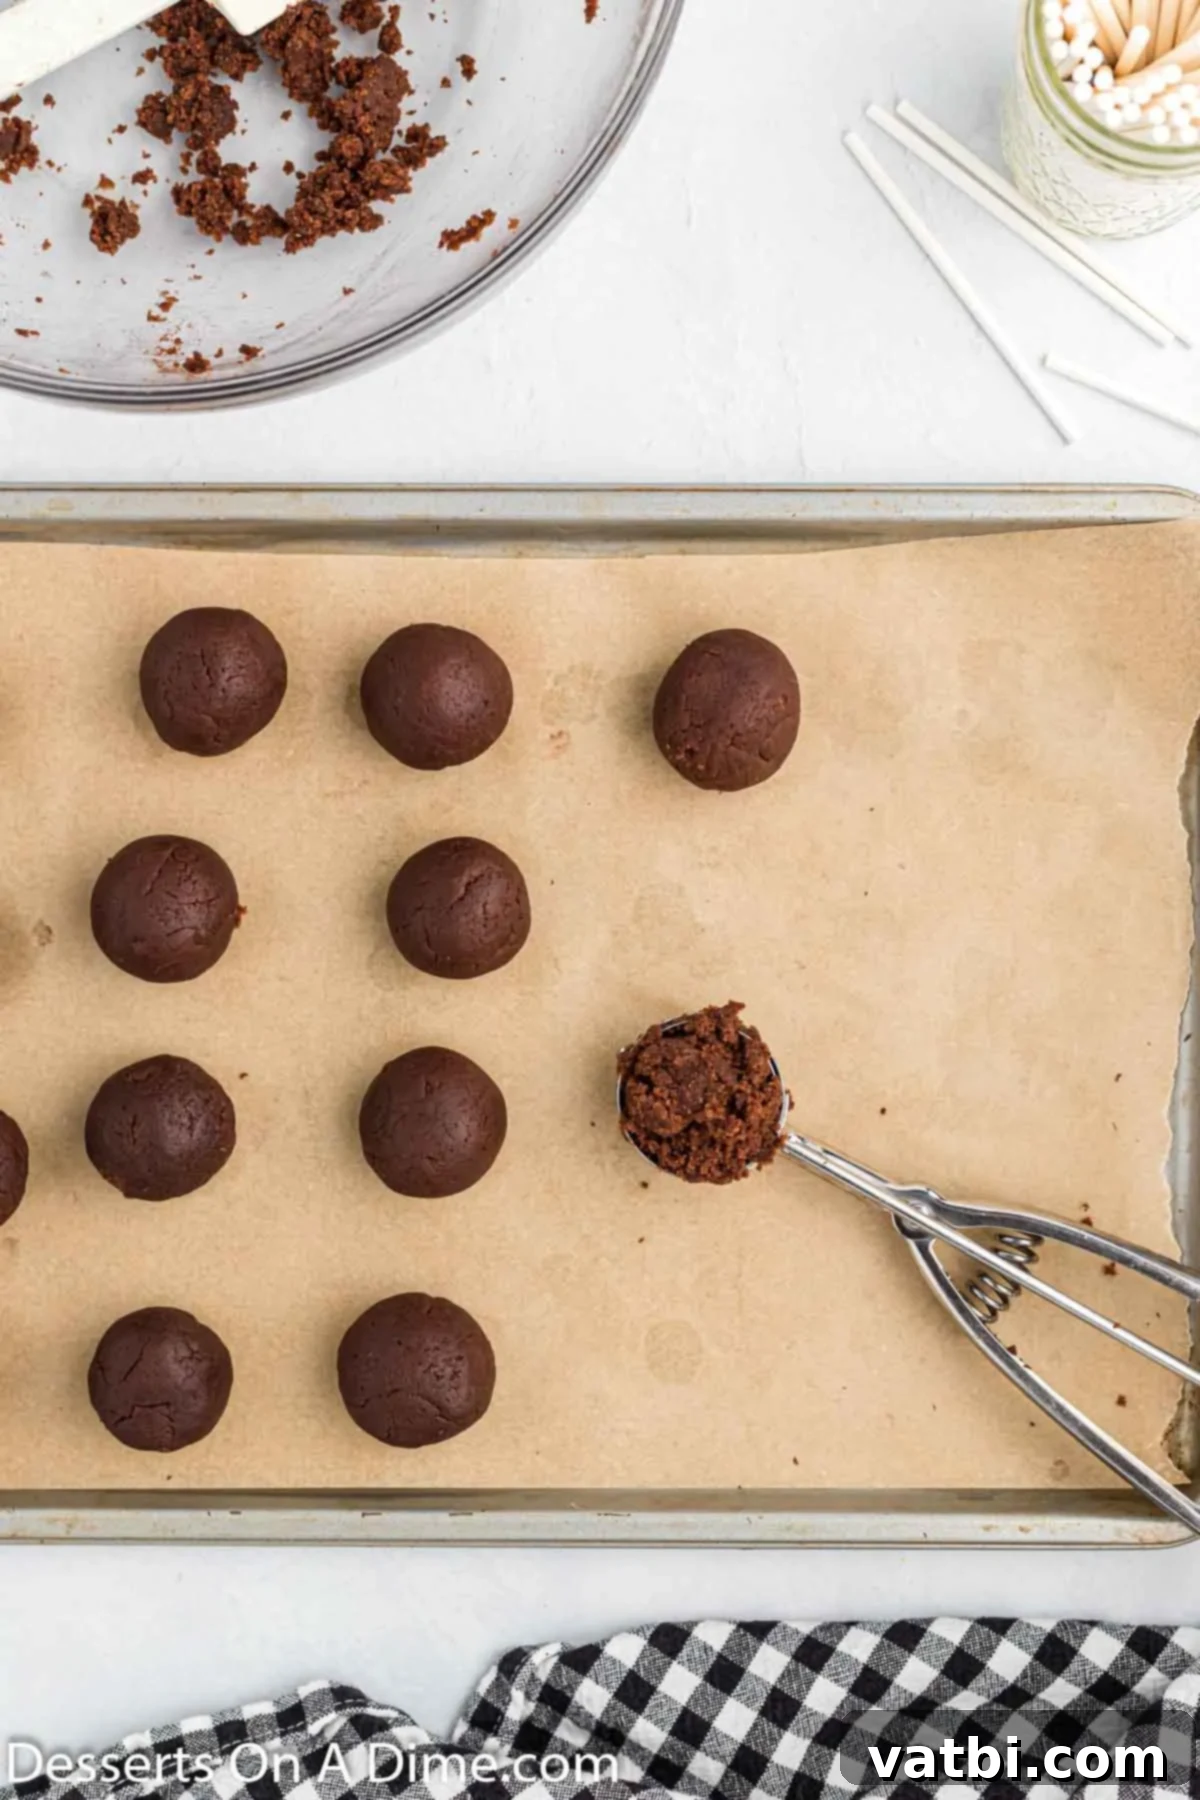
Step 3 – Now it’s time to form the cake balls! You can either use your hands to shape the mixture into uniform balls, or for consistent sizing and speed, use a small cookie scoop. Roll each portion firmly to create smooth, round cake balls. Place these formed cake balls onto a baking sheet that has been lined with parchment paper or wax paper. This prevents them from sticking and makes the next steps much easier. Once all balls are formed, place the baking sheet in the freezer for 10-15 minutes to chill them thoroughly.
Step 4 – Once your cake balls are perfectly chilled, it’s time for the fun part: dipping and decorating! Dip each cake pop into the smoothly melted orange candy melts, ensuring a complete and even coating. Allow any excess candy to drip off. After dipping, you’ll apply the festive jack-o’-lantern decorations. We’ll cover the detailed dipping and decorating steps in the following sections, ensuring your cake pops look as amazing as they taste.
Mastering the Art of Dipping Cake Balls
Dipping cake balls can seem intimidating, but with a few simple techniques, you’ll achieve perfectly smooth and professional-looking cake pops every time. Here’s a detailed guide to ensure your candy coating is flawless:
- Melt the candy melts. Place your orange candy melts into a small, microwave-safe bowl. Microwave the melts in short bursts – typically 30-second intervals – stirring thoroughly after each interval. Continue this process until the candy melts are fully melted and have a smooth, creamy, and fluid consistency. Be careful not to overheat, as this can cause them to seize or become grainy.
- Coat the cake ball sticks. This step is vital for ensuring your cake pops stay securely on their sticks. Dip one end of each lollipop stick into the melted candy about half an inch. Then, immediately insert the candy-coated end of the stick into the center of a cake ball, pushing it about halfway through. The melted candy acts as a “glue” to anchor the stick. Once all sticks are inserted, place the cake pops back in the freezer for an additional 10-15 minutes. This brief chilling period ensures the candy “glue” sets and the cake balls are firm, but not frozen solid, which prevents cracking in the final coating.
- Dip in the candy melts. After the cake pops have been sufficiently chilled (but not frozen solid), it’s time for the main dip. If your candy melts have started to solidify, re-melt them briefly until they are perfectly smooth and fluid again. Dip each cake pop into the melted orange candy melts, rotating gently to ensure the candy completely covers the cake ball. Tap the stick gently against the side of the bowl to allow any excess melted candy to drip off back into the bowl. A thin, even coating is ideal.
- Allow to dry. Immediately after dipping, place the stick of each cake pop into a block of Styrofoam. This allows the candy coating to dry and solidify evenly without developing flat spots on one side. Continue this process until all your cake pops have been beautifully covered and are standing upright, waiting for their final festive decorations.
Decorating Your Spooky Cake Pops
Once your cake pops are perfectly dipped and the candy coating has fully dried, it’s time to bring your jack-o’-lanterns to life with charming and spooky decorations! This is where your creativity can truly shine. Follow these steps for a delightful finish:
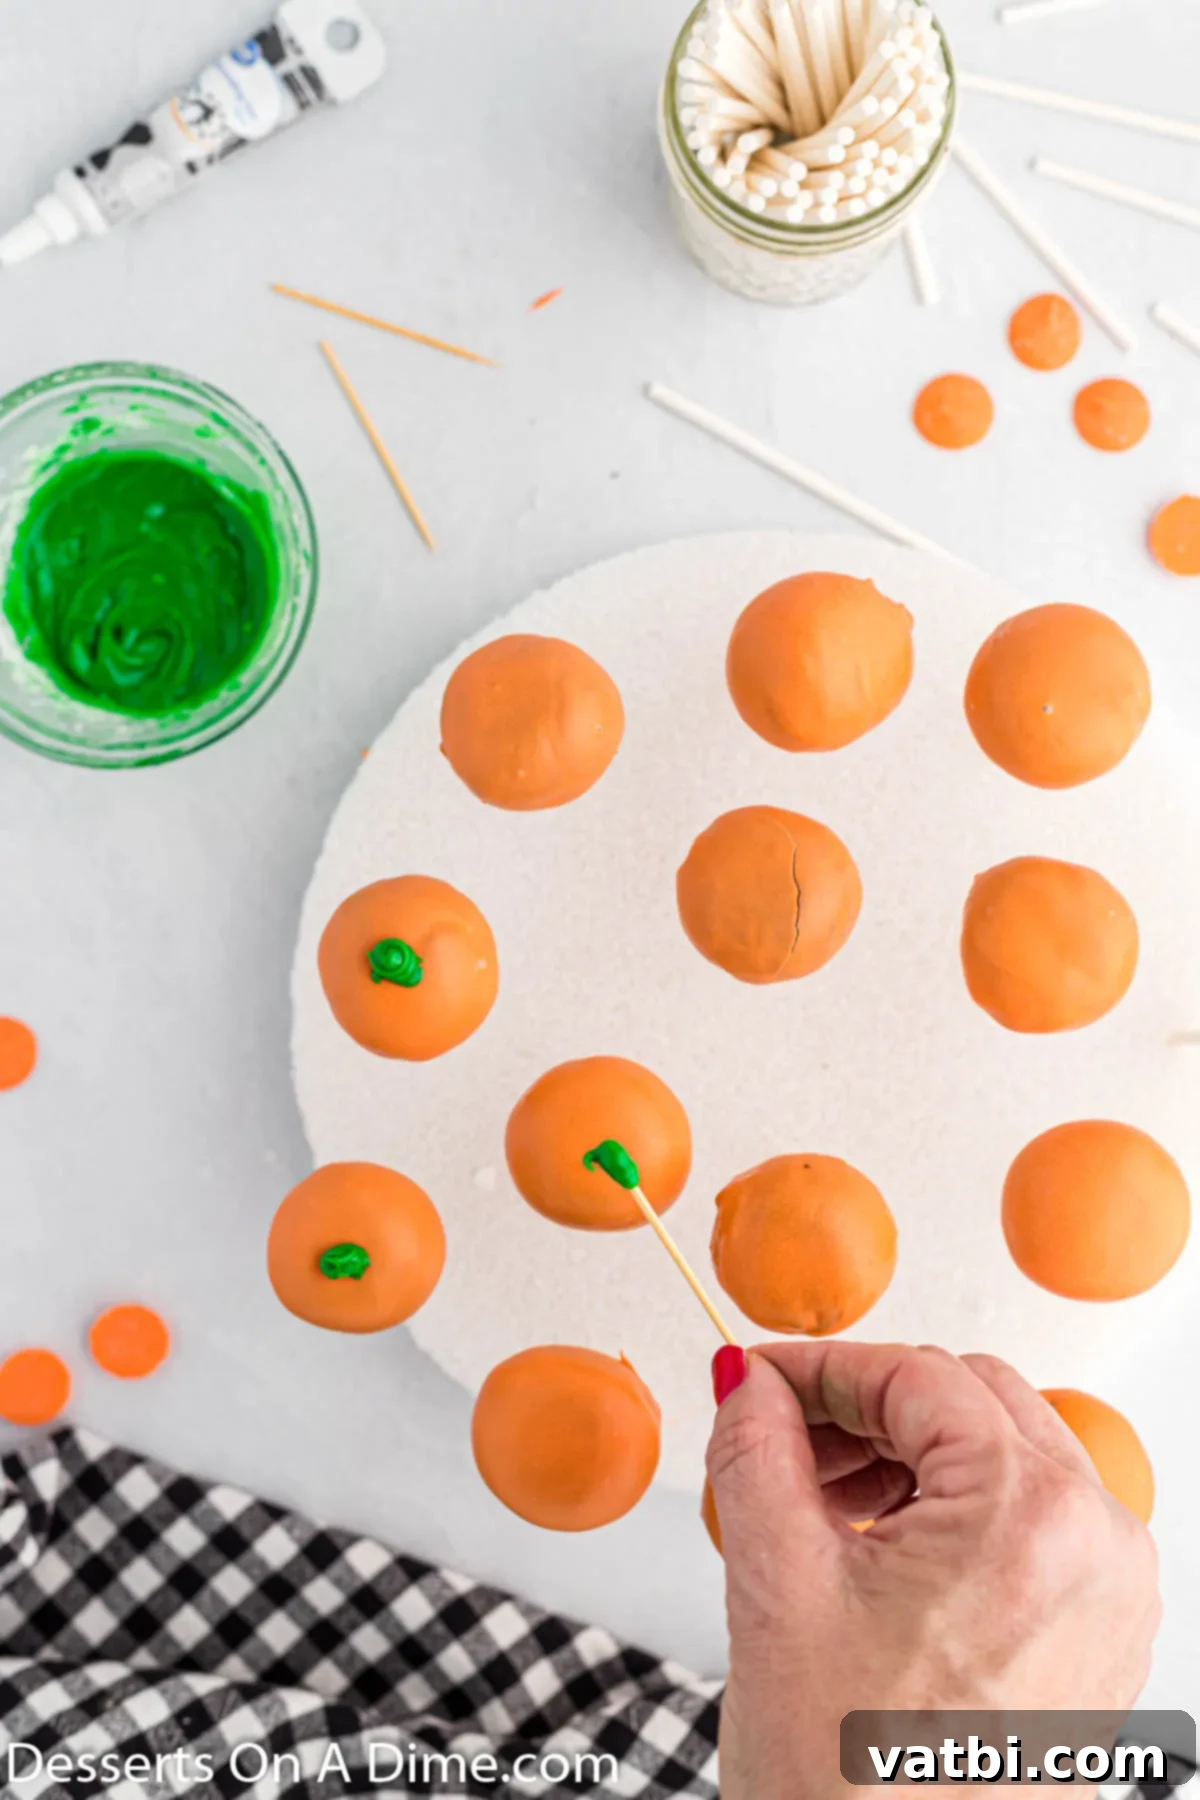
First, ensure that the orange candy coating on your cake pops is completely dry and set. This will prevent any smudging when you add the details. Next, prepare your green icing for the pumpkin stems: combine the confectioners’ sugar with a few drops of green food gel coloring. Mix thoroughly until you achieve a thick, vibrant green icing. If it’s too thick, add a tiny drop of water; if too thin, add a bit more powdered sugar.
Using a clean toothpick, carefully pick up a small amount of the green icing. Gently draw a small stem shape on the top center of each orange cake pop. This adds an authentic pumpkin look. Don’t worry about perfection; rustic stems add to the homemade charm!
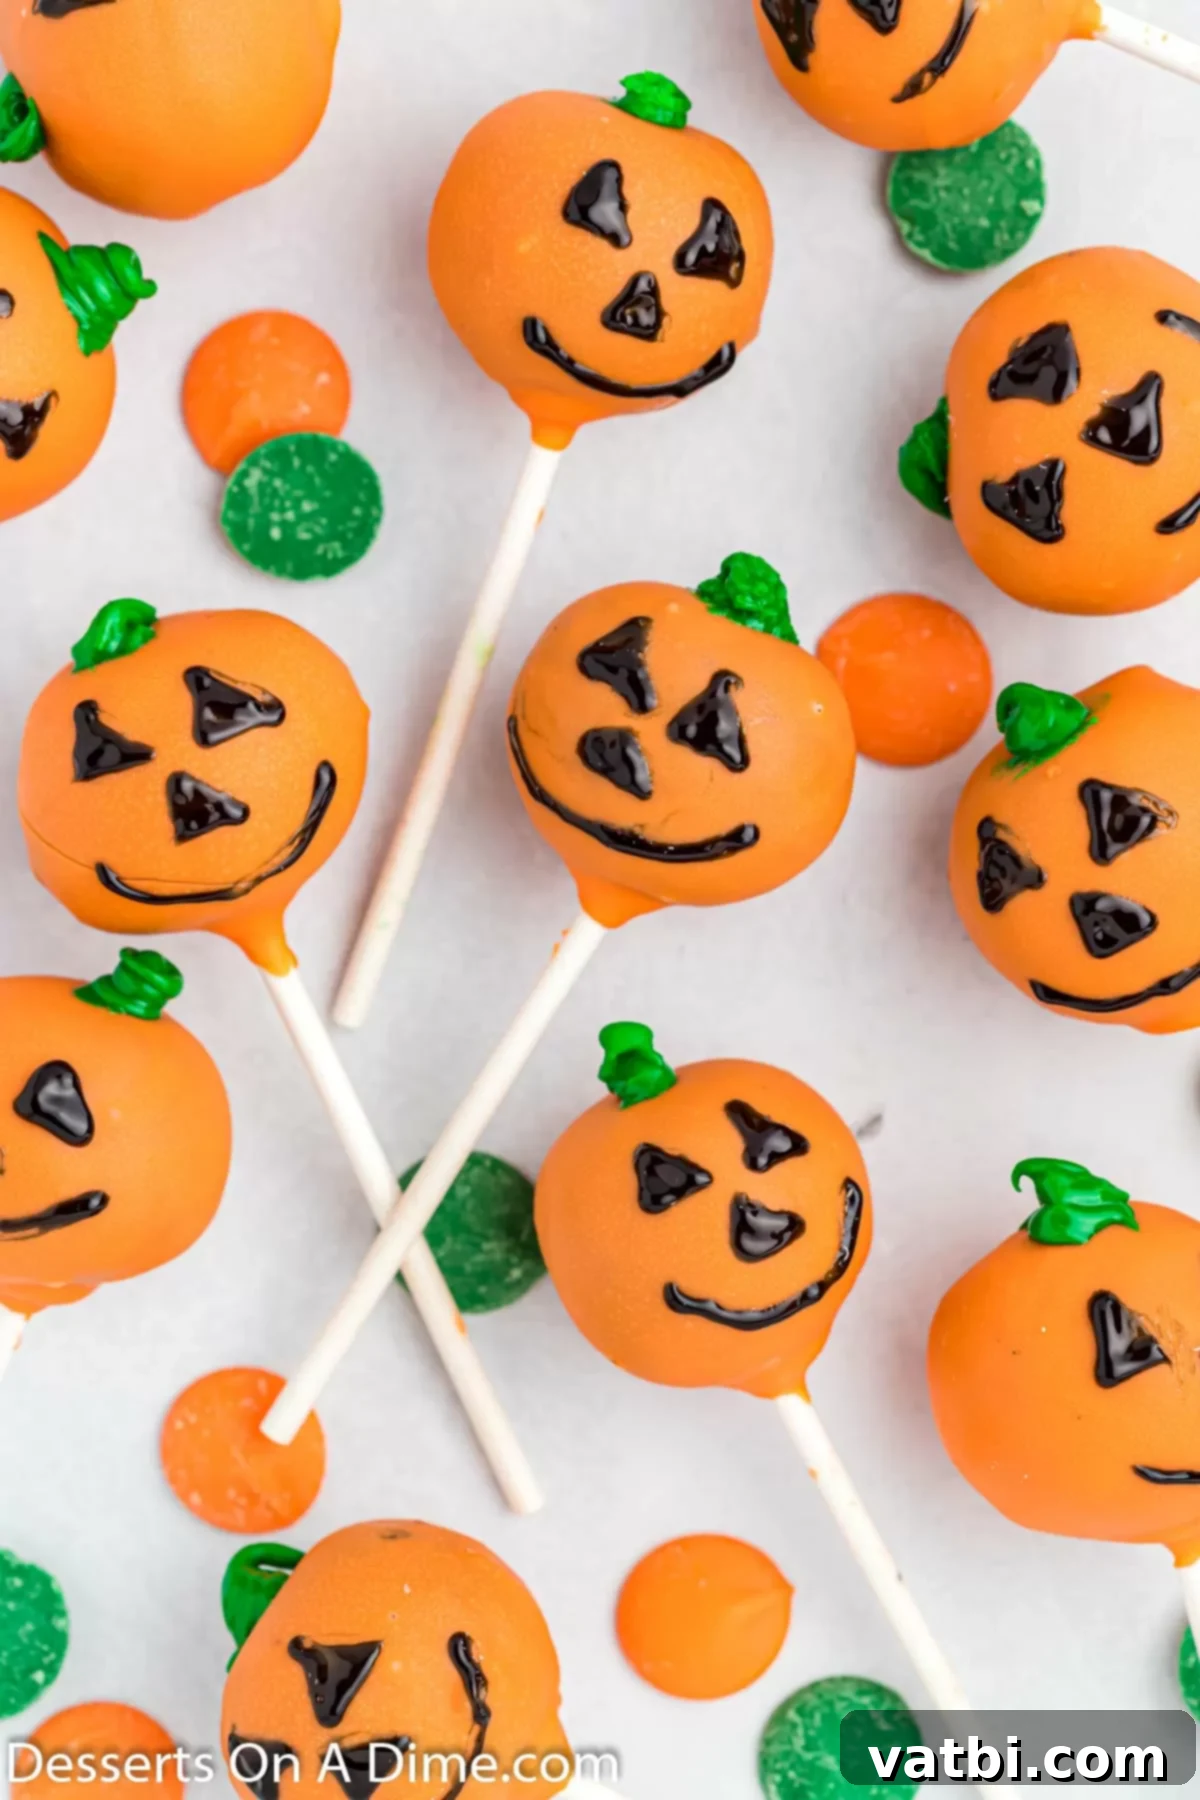
Finally, grab your black writing gel. Using a steady hand, draw classic jack-o’-lantern faces on each cake pop. You can create traditional triangles for eyes and noses, jagged grins, or experiment with various expressions – happy, spooky, silly, or surprised! The small tubes of writing gel make this step quite easy and precise.
Once all your jack-o’-lantern faces are drawn, allow the decorations to dry completely. This will ensure they don’t smudge. After they’ve set, your festive Halloween Cake Pops are ready to be displayed, shared, and most importantly, enjoyed by everyone!
Expert Tips for Perfect Cake Pops
Achieving bakery-quality cake pops at home is totally possible with a few insider tricks. These pro tips will help you navigate common challenges and elevate your Halloween Cake Pops to the next level:
- Thin the candy melts. If your melted candy coating appears too thick or difficult to work with, it can lead to lumpy cake pops or make dipping challenging. To remedy this, thin it out with a very small amount of vegetable oil, coconut oil, or even paramount crystals. Add it slowly, just a teaspoon at a time, stirring well after each addition until you reach the desired smooth, fluid consistency. This will ensure a beautiful, even coating.
- Melt in intervals. Patience is key when melting candy melts. Always melt them in short, controlled intervals (like 30 seconds at a time in the microwave) and stir well between each interval. This prevents the candy from overheating, burning, or seizing, which can ruin its texture and make it unusable.
- Cookie Scoop. For perfectly uniform cake pops, a cookie scoop is your secret weapon. Using a scoop ensures that each cake ball is approximately the same size and weight, which leads to more consistent baking (if you were baking them) and dipping results, and a more professional appearance overall. It also significantly speeds up the process of forming each individual ball.
- Styrofoam block. Don’t underestimate the utility of a simple Styrofoam block! After dipping your cake pops, inserting the sticks into a Styrofoam block allows them to dry upright. This crucial step prevents the candy coating from creating a flat bottom or messy pooling, ensuring each side of your cake pop is perfectly rounded and smooth as it sets. It’s incredibly handy and convenient for organized drying.
- White Chocolate. If you don’t have orange candy melts on hand or prefer the taste of real chocolate, you can absolutely substitute white chocolate. Simply melt good quality white chocolate chips or baking bars, then use oil-based food coloring (not water-based, as it will seize the chocolate) to dye it orange. This gives you more control over the shade and flavor.
- Decoration. Beyond the green icing stems and black gel faces, consider other creative decorations for your jack-o’-lanterns! You could use black candy melts for more defined facial features, or tiny black nonpareil sprinkles to create textured eyes and mouths. Edible food markers can also provide intricate details once the orange coating is fully set.
Frequently Asked Questions
To keep your delicious Halloween Cake Pops fresh and tasty, store any leftovers in an airtight container. They will maintain their quality and flavor beautifully at room temperature for up to 1 week. If your home is particularly warm, or for extended freshness, you can also store them in the refrigerator, but allow them to come to room temperature for the best texture before serving.
Absolutely! These Halloween Cake Pops are an excellent make-ahead dessert, which is perfect for busy party planning. I often prepare the cake balls the night before, allowing them to chill overnight in the refrigerator (or a quick freeze for 15 minutes before dipping). This saves a significant amount of time with prep work on the day of your party or event, allowing you to focus on dipping and decorating without feeling rushed.
Cake pops freeze wonderfully, extending their shelf life significantly! You can freeze them for up to 6 weeks. For best results, place the completed cake pops (without delicate decorations that might get damaged) in an airtight container. For extra protection against freezer burn, I also recommend wrapping each cake pop individually in plastic wrap before placing them in the container. When you’re ready to serve, simply thaw them overnight in the refrigerator.
Yes, it’s crucial for cake pops to be cold before dipping! Chilling the cake balls in the freezer for 10 to 15 minutes prior to dipping will help them hold their shape better and result in a much smoother, more even candy coating. The cold surface helps the candy melt set quickly and prevents the cake from crumbling into the coating. However, it is important that you do not freeze them longer than this recommended time. They need to be chilled and firm, but not so cold that the chocolate sets immediately upon contact and potentially cracks, which would prevent decorations from adhering properly or cause the coating to chip.
To make these cake pops, you’ll need a few basic tools: a 9×13 inch baking pan (for the cake), a large mixing bowl, a small microwave-safe bowl (for melting candy melts), a cookie scoop (optional, but recommended for uniform size), lollipop sticks, and a block of Styrofoam (for drying). A toothpick will also come in handy for creating the green stems.
More Easy Halloween Desserts
If you’re still craving more spooky sweets for your Halloween festivities, be sure to check out these other fantastic and easy dessert recipes. They’re all family-friendly and guaranteed to add extra fun to your celebration:
- Halloween Puppy Chow Recipe: An irresistible, no-bake treat that’s perfect for munching.
- Mummy Cake Pops Recipe: Another adorable cake pop variation with a classic Halloween theme.
- Monster Cupcakes: Colorful and fun, these cupcakes are easy to decorate and always a hit.
- Halloween Pretzels – Monster Eyeballs: Salty and sweet, these pretzel treats are wonderfully creepy and simple to make.
- Halloween Spider Cookies Recipe: Create cute and slightly spooky spider cookies using readily available ingredients.
If you tried your hand at making these delightful Halloween Cake Pops, we would absolutely love to hear about it! Please make sure to leave a star review and share your experience below. We can’t wait to hear how they turned out and see your creative jack-o’-lantern faces!
Pin
Halloween Cake Pops
Ingredients
- 1 box Chocolate Cake Mix 15 oz
- *Plus ingredients to prepare the cake on the back of the box
- 1/3 cup Chocolate Fudge Frosting I use pre-made
- 16 oz. Orange Candy Melts
- 1/2 cup Confectioners Sugar
- Green Food Gel Coloring
- Black Writing Gel Icing
- Lollipop Sticks
Instructions
-
Make cake and bake according to box instructions in a 9X13 pan. Then let the cake cool at room temperature.
-
Remove the cake from the pan. Remove the outside layer from the cake and throw it away. Crumble up the remaining cake into a large bowl.
-
Add the chocolate frosting to your crumbled cake and stir everything together until well combined.
-
Shape mixture into about 24-36 cake balls (depending on their size) and place on a lined cookie sheet. I used a cookie scoop to ensure that each one is approximately the same size.
-
Put the orange candy melts in a small microwave safe bowl and microwave for 30 seconds, then stir. Then continue to heat in 30 second intervals stirring between each one until the candy melts are fully melted and creamy.
-
Dip each cake pop stick into the melted candy and then place them into the cake balls about halfway into the balls. Then place in the freezer for 10-15 minutes (do not freeze for longer than 15 minutes).
-
After the cake pops have been chilled, dip each cake pop into the melted candy melts (you may need to re-melt it if it has solidified some). Make sure that the candy covers the cake pop completely. Allow the excess melted candy to drip off back into the bowl.
-
Then place the stick of cake pops in a block of styrofoam while the candy dries and solidifies.
-
Continue until all the cake pops have been covered.
-
Once all the cake pops are dry, mix the confectioner’s sugar with some green gel food coloring to form a thick green icing. Use a toothpick to make a stem on each cake pop with this mixture. Then draw a jack-o-lantern face on each cake pop with the black writing gel.
-
Let the decorations dry and then the cake pops are ready to enjoy!
Recipe Notes
*If the melted candy melt is too thick, thin it out with a small amount of vegetable oil or coconut oil. Add it slowly to the melted chocolate.
Nutrition Facts
Pin This Now to Remember It Later
Pin Recipe
