The Ultimate Halloween Dirt Cake Recipe: Easy & Spooky Graveyard Dessert for Your Party
Prepare for a hauntingly good time with this incredibly fun and easy Halloween Dirt Cake Recipe! Imagine decadent layers of crushed Oreo cookies and creamy chocolate pudding, transformed into a spooky graveyard scene. Topped with playful gummy worms, vibrant candy pumpkins, and eerie tombstone cookies, this no-bake dessert is a showstopper that promises smiles and a few delightful shivers at your next Halloween gathering. It’s truly the ultimate graveyard cake that everyone will rave about.
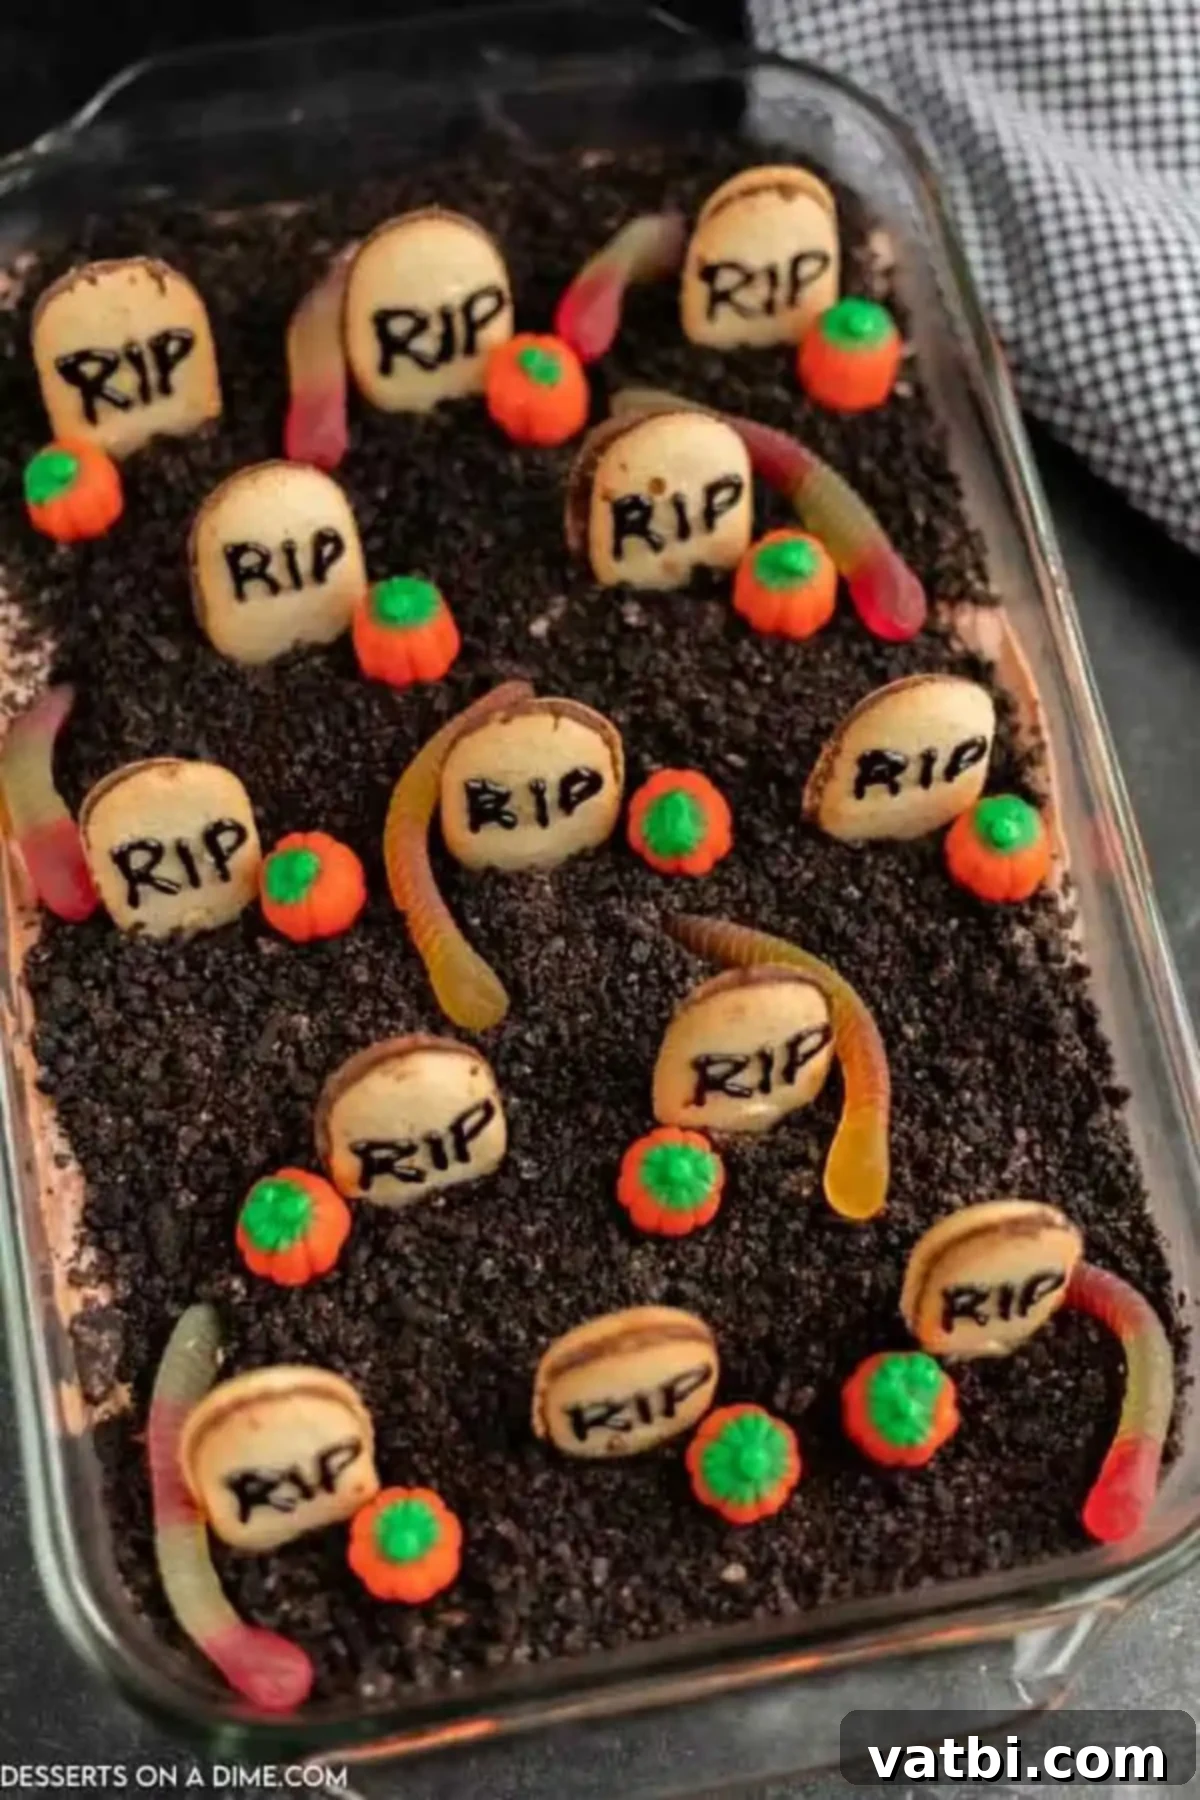
Dirt cake has always been a beloved classic in our family, a dessert that instantly brings joy with its irresistible combination of creamy filling and crunchy cookies. Everyone, without fail, adores Oreo cookies, which gives me the perfect excuse to whip up a batch of classic dirt cake whenever possible. This year, I decided to take our favorite treat to a new level by creating a festive Halloween themed dirt cake, and the result was absolutely adorable and delightfully spooky! It’s surprisingly simple to assemble, and the personalized tombstone cookies truly complete the eerie aesthetic.
Beyond this graveyard dessert, our kitchen traditions for Halloween include other creative concoctions. For years, we’ve enjoyed making Frankenstein Rice Krispie Treats, Halloween Monster Eyeballs, and various Halloween Cake Pop Recipes. This Halloween Dirt Cake fits right in, offering a fantastic and effortless addition to your collection of seasonal treats.
Table of Contents
- Why You’ll Love This Spooky Dirt Cake
- Gather Your Graveyard Ingredients
- Spooky Step-by-Step Instructions
- Serving Your Graveyard Masterpiece
- Storage Tips for Leftover Spookiness
- Pro Tips for the Best Halloween Dirt Cake
- More Frightfully Delicious Halloween Desserts
Why You’ll Love This Spooky Dirt Cake
There are countless reasons why this Halloween Dirt Cake will become your go-to spooky dessert for the season. First and foremost, it’s incredibly simple to make. As a no-bake recipe, it saves you valuable oven space and time, making party prep a breeze. The combination of rich, velvety chocolate pudding and a luscious, creamy mixture of cream cheese, butter, and Cool Whip creates a heavenly filling that’s simply irresistible. Layered with the classic crunch of crushed Oreo cookies, every spoonful offers a delightful mix of textures and flavors that captivates both kids and adults.
While traditional dirt cake is a year-round favorite (and you might remember our cheerful Easter dirt cake!), transforming it for Halloween adds a unique and fun twist. This particular recipe is a fantastic No Bake Halloween Treat, perfect for those busy autumn days when you want something festive without a lot of fuss. It’s ideal for school parties, family gatherings, or just a fun dessert night at home. Its playful graveyard theme offers endless possibilities for creative decoration, turning dessert-making into an enjoyable activity for the whole family. And if you’re looking for more holiday treats, don’t forget to check out our festive Candy Cane Cookies and whimsical Monster Donuts!
Gather Your Graveyard Ingredients
Creating this fun Halloween Dirt Cake requires just a few simple ingredients, most of which you likely already have on hand or can easily find at your local grocery store. The magic truly happens when these basic components come together to form a decadent and spooky treat.
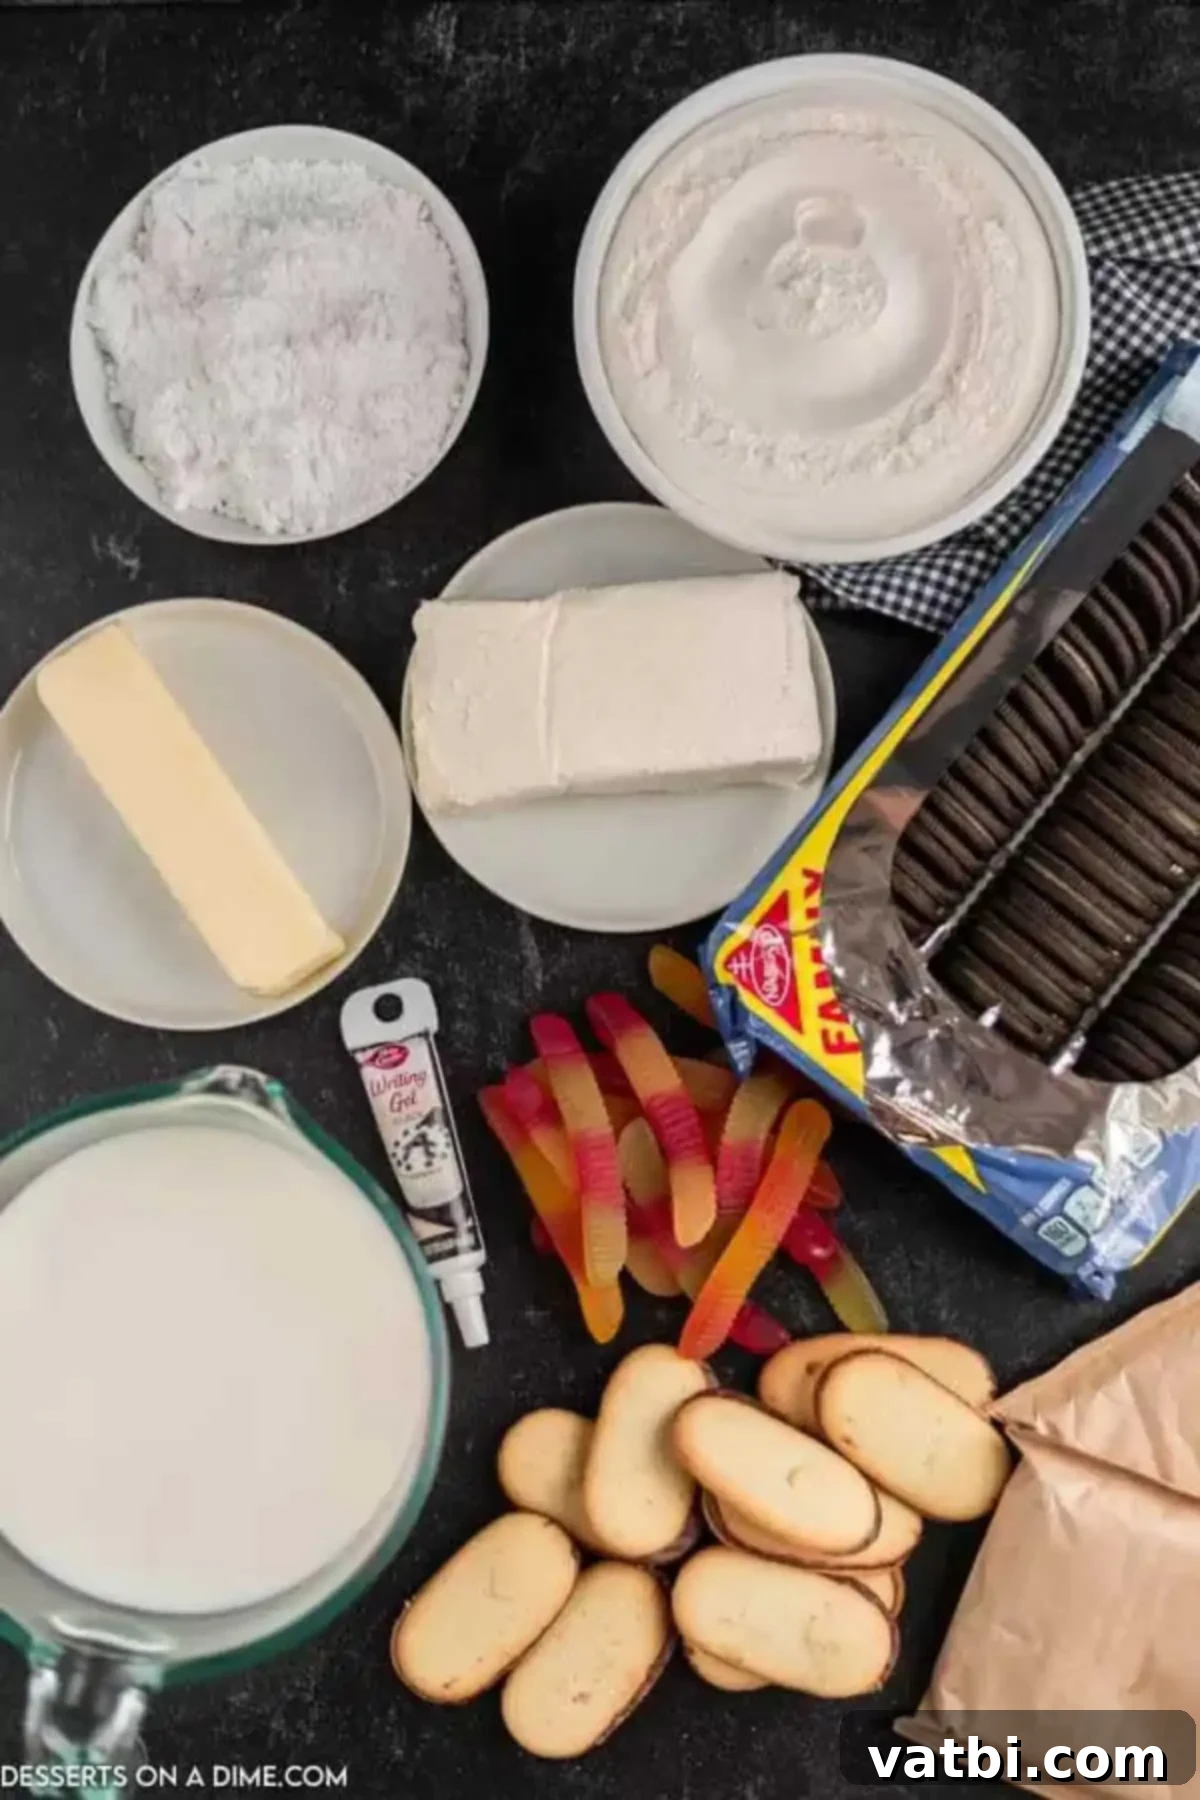
- Oreos: One packaged (15.5 oz) of classic Oreo cookies. Regular Oreos work best for crushing, as double-stuffed can be a bit too creamy and won’t give you the ideal “dirt” texture. These form the base and top layer of your “dirt.”
- Cream Cheese: An 8 oz block, softened at room temperature. This is crucial for achieving a smooth, lump-free, and creamy filling.
- Butter: ½ cup (one stick) of unsalted butter, softened but not melted. Like the cream cheese, proper softening ensures a silky-smooth mixture.
- Powdered Sugar: 1 cup of powdered sugar. Sift this to remove any lumps and ensure a velvety texture in your cream cheese mixture.
- Cool Whip: A 16 oz container of thawed Cool Whip. This adds lightness and additional creaminess to the pudding mixture. For a homemade touch, you can also use our Homemade Whipped Cream Recipe, but Cool Whip offers ultimate convenience.
- Instant Chocolate Pudding Mix: Two 3.3 oz boxes of instant chocolate pudding mix. It’s vital to use *instant* pudding that doesn’t require cooking, as this is a no-bake recipe. Any brand of chocolate instant pudding will work.
- Milk: 3 cups of cold milk. Whole milk will yield the richest and thickest pudding filling, but you can use reduced-fat milk if you prefer a slightly lighter option.
- Milano Cookies: One package of Pepperidge Farm Milano cookies. These elegant, oblong cookies are absolutely perfect for crafting realistic and delicious tombstones for your graveyard.
- Gummy Worms and Candy Pumpkins: These are optional but highly recommended for adding that iconic spooky, creepy-crawly graveyard aesthetic. Feel free to get creative with other Halloween candies like candy corn, mini chocolate ghosts, or even ghost peeps for an extra fun touch.
- Wilton Black Writing Icing: A tube of black writing icing. You can typically find this in the baking aisle of most grocery stores or craft stores. It’s essential for writing “RIP” or other spooky messages on your tombstone cookies.
You can find the complete list of ingredients with precise measurements in the recipe card at the bottom of the page.

Spooky Step-by-Step Instructions
Making this Halloween Dirt Cake is a straightforward and enjoyable process. Follow these simple steps to assemble your delicious graveyard masterpiece:
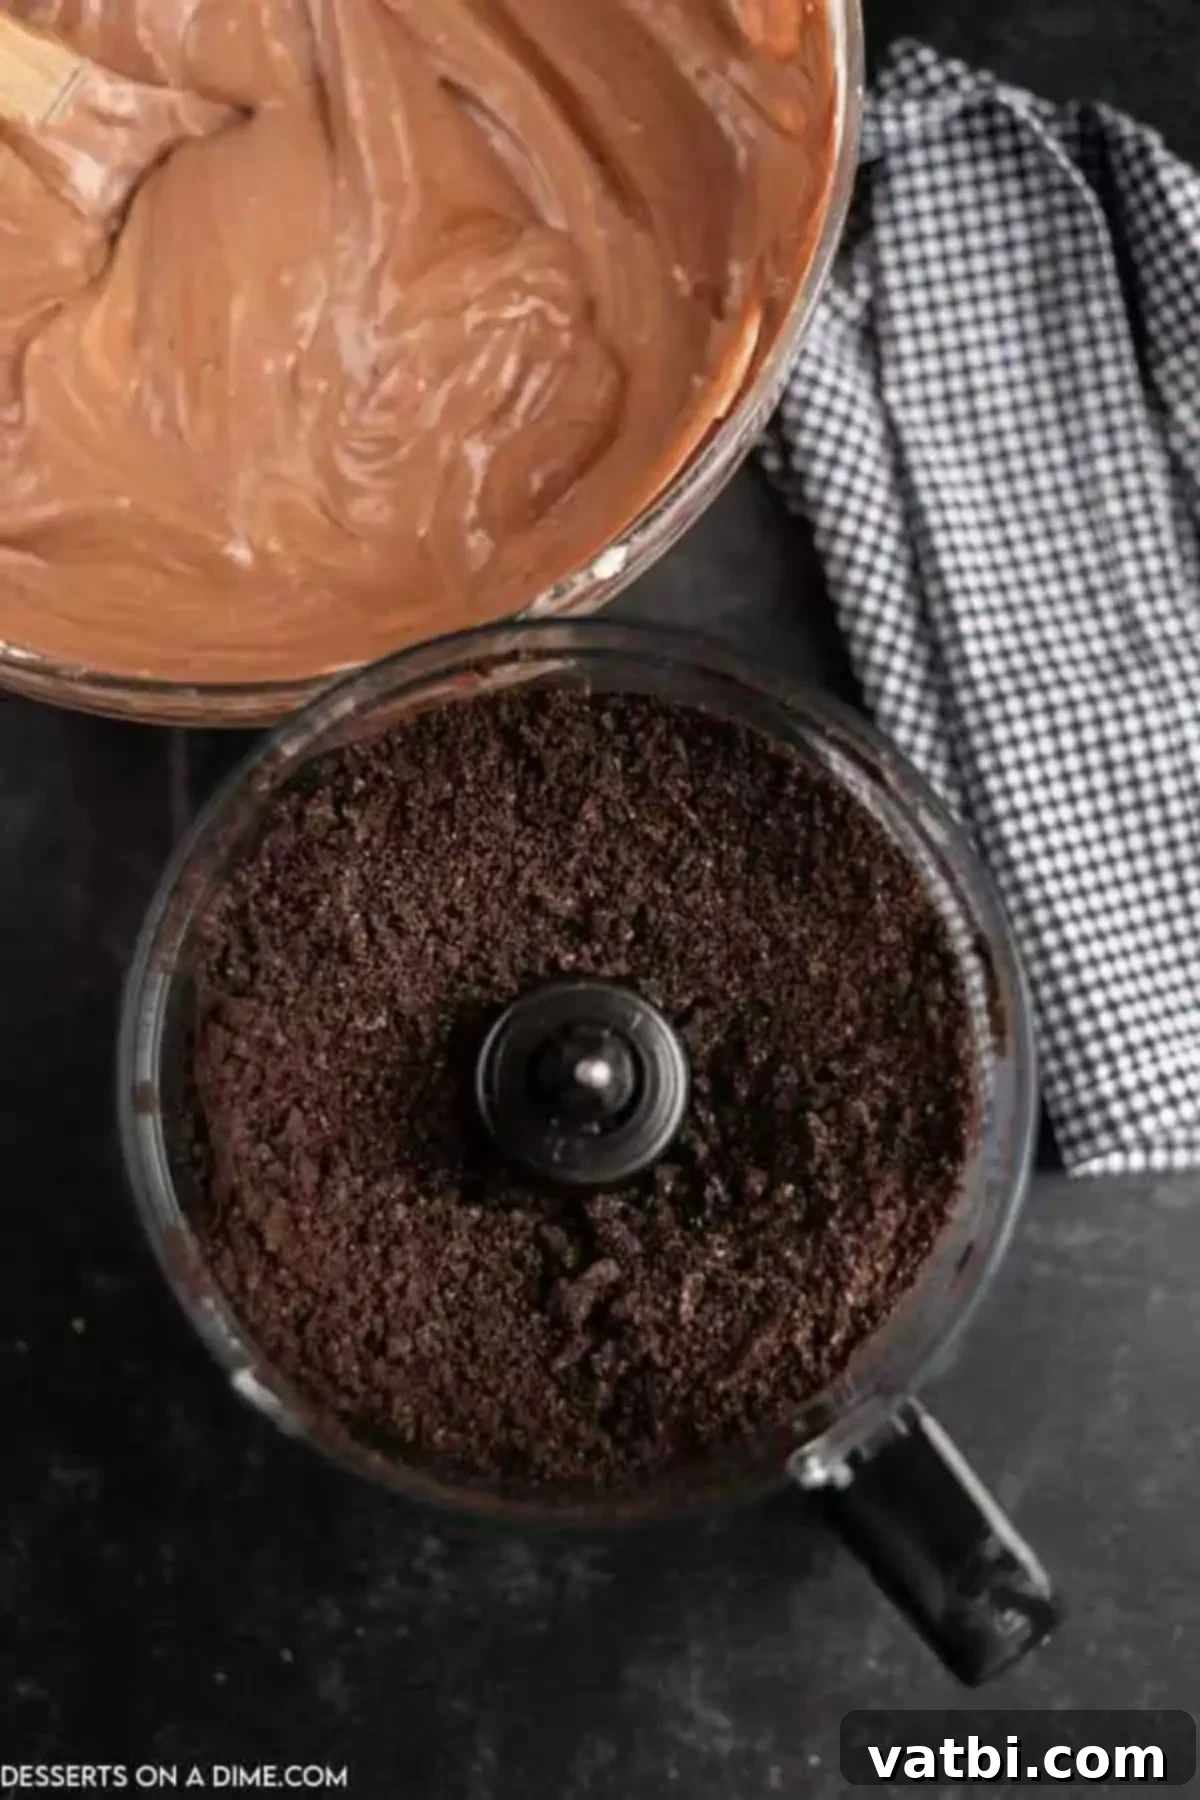
Step 1. First, take your entire package of Oreo cookies and crush them thoroughly. You can achieve this easily using a food processor or a blender until they resemble fine dirt crumbs. If you don’t have these appliances, place the cookies in a large Ziploc bag and crush them with a rolling pin or the back of a wooden spoon. Once crushed, take about two-thirds of these delicious “dirt” crumbs and spread them evenly into the bottom of a 9×13 inch baking pan. Set the remaining crumbs aside for the top layer.
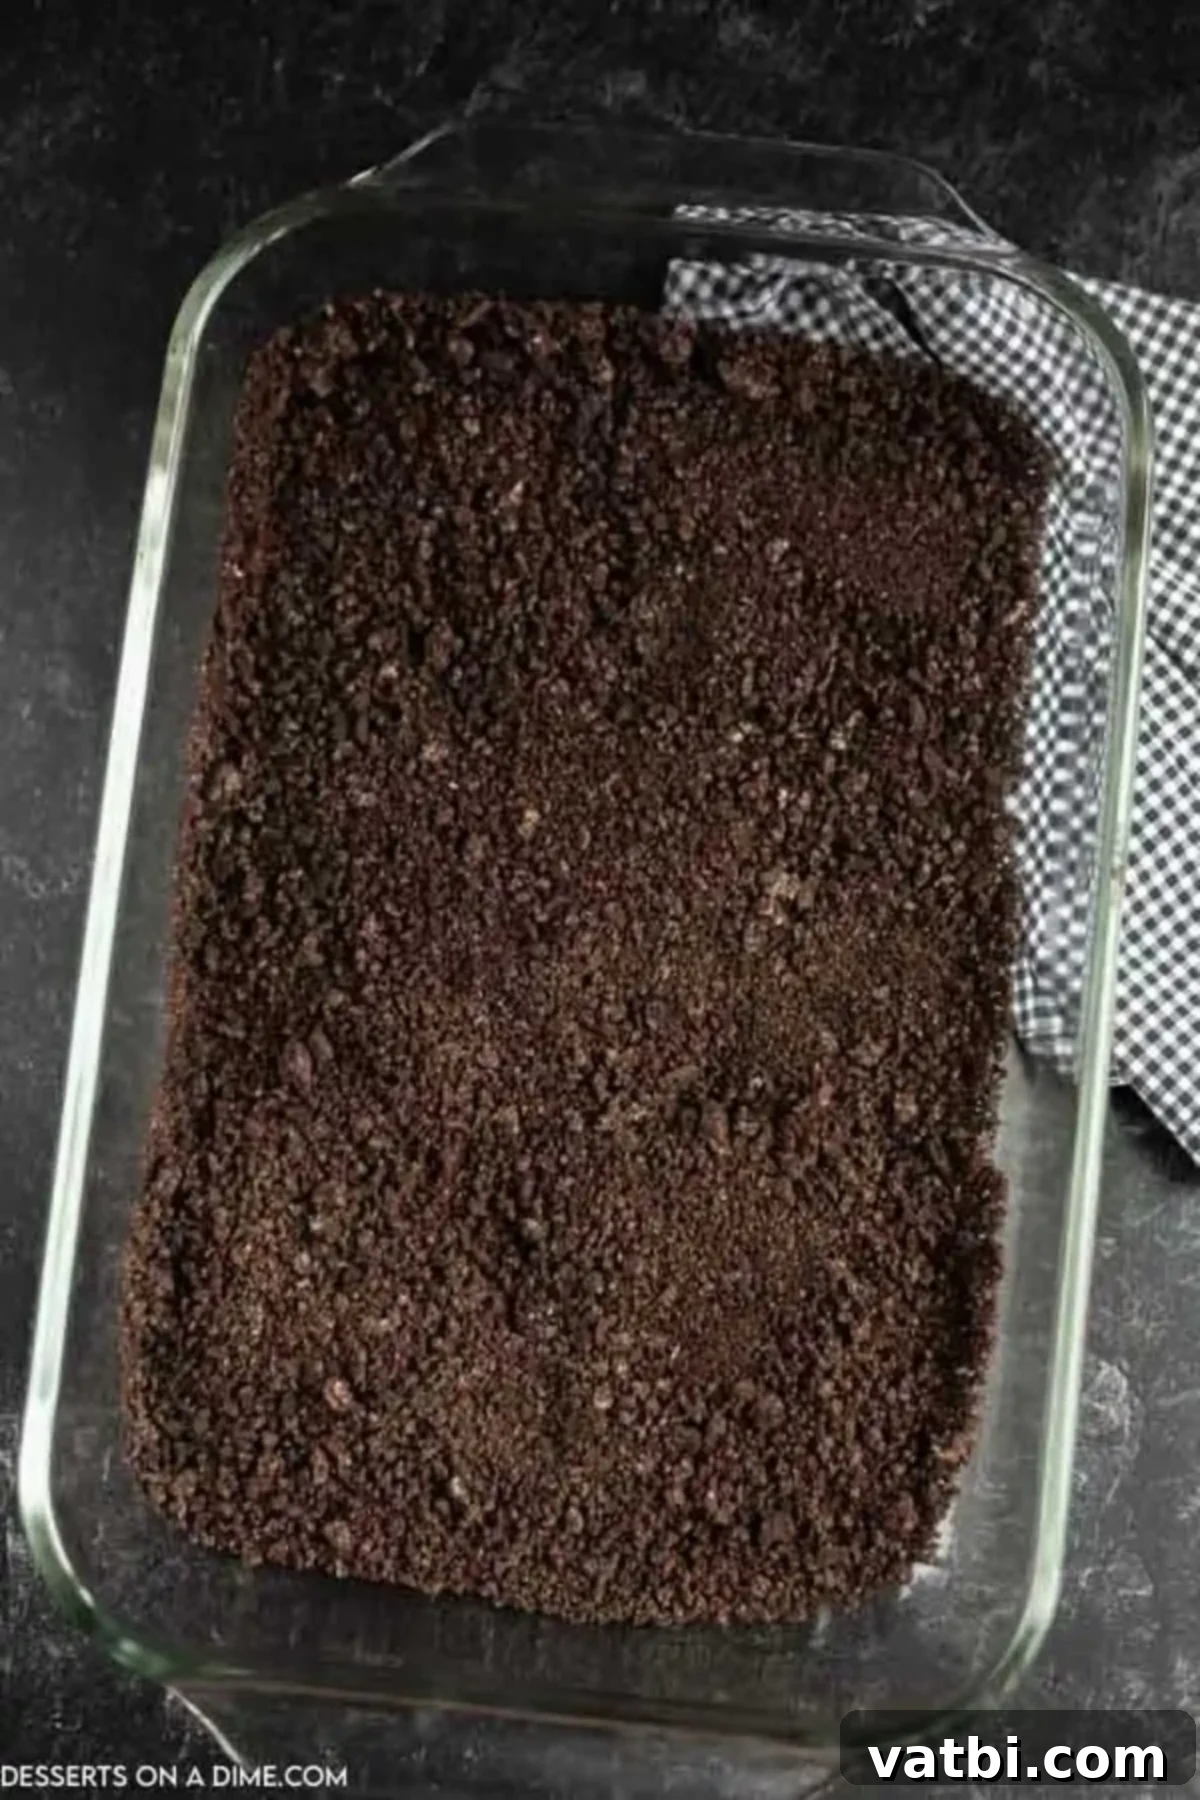
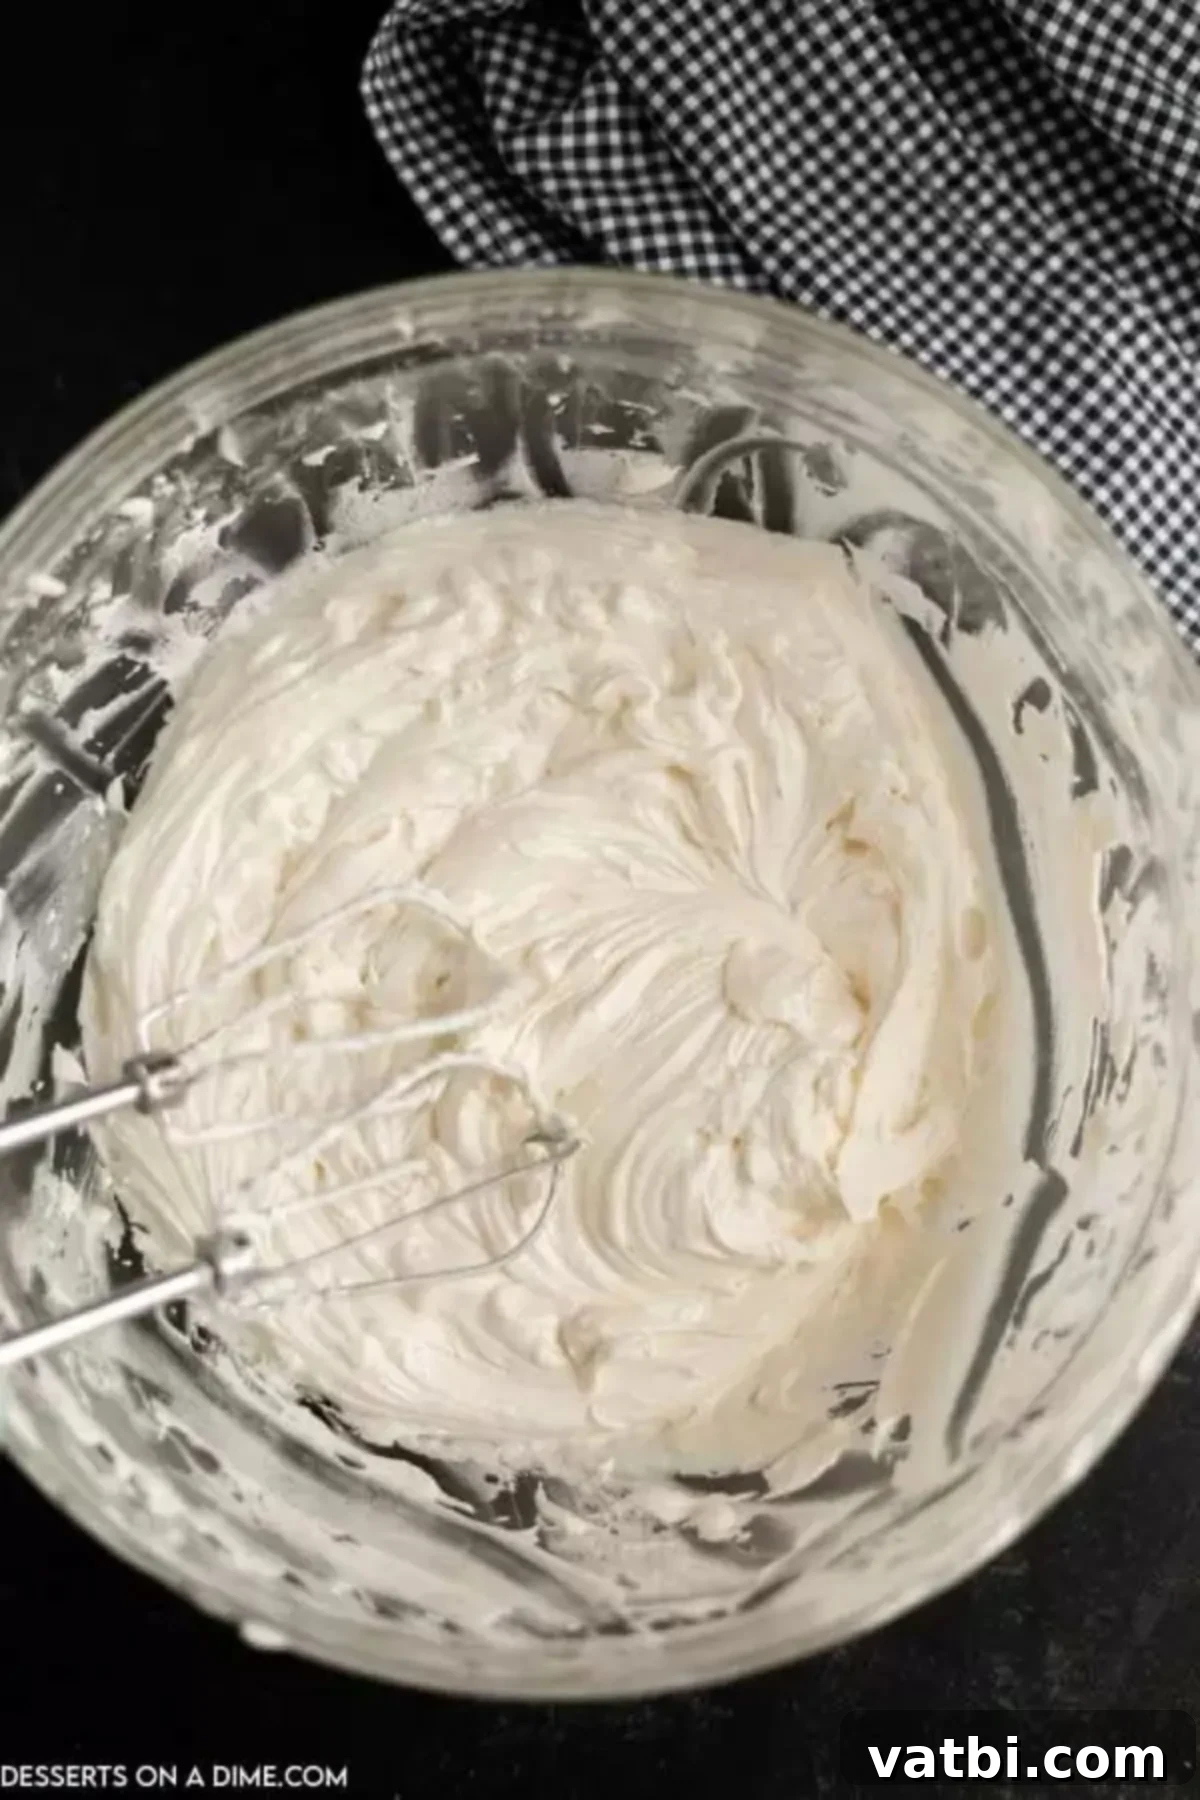
Step 2. Next, prepare the rich and creamy base. In a large mixing bowl, combine the softened cream cheese and softened butter. Using a hand mixer or a stand mixer, beat these two ingredients together until the mixture is light, fluffy, and completely smooth, with no lumps of cream cheese remaining. This step is crucial for the silky texture of the filling. After that, gradually add the powdered sugar and mix until well combined. Finally, gently fold in the thawed Cool Whip until everything is evenly incorporated, creating a light and airy cream cheese mixture.
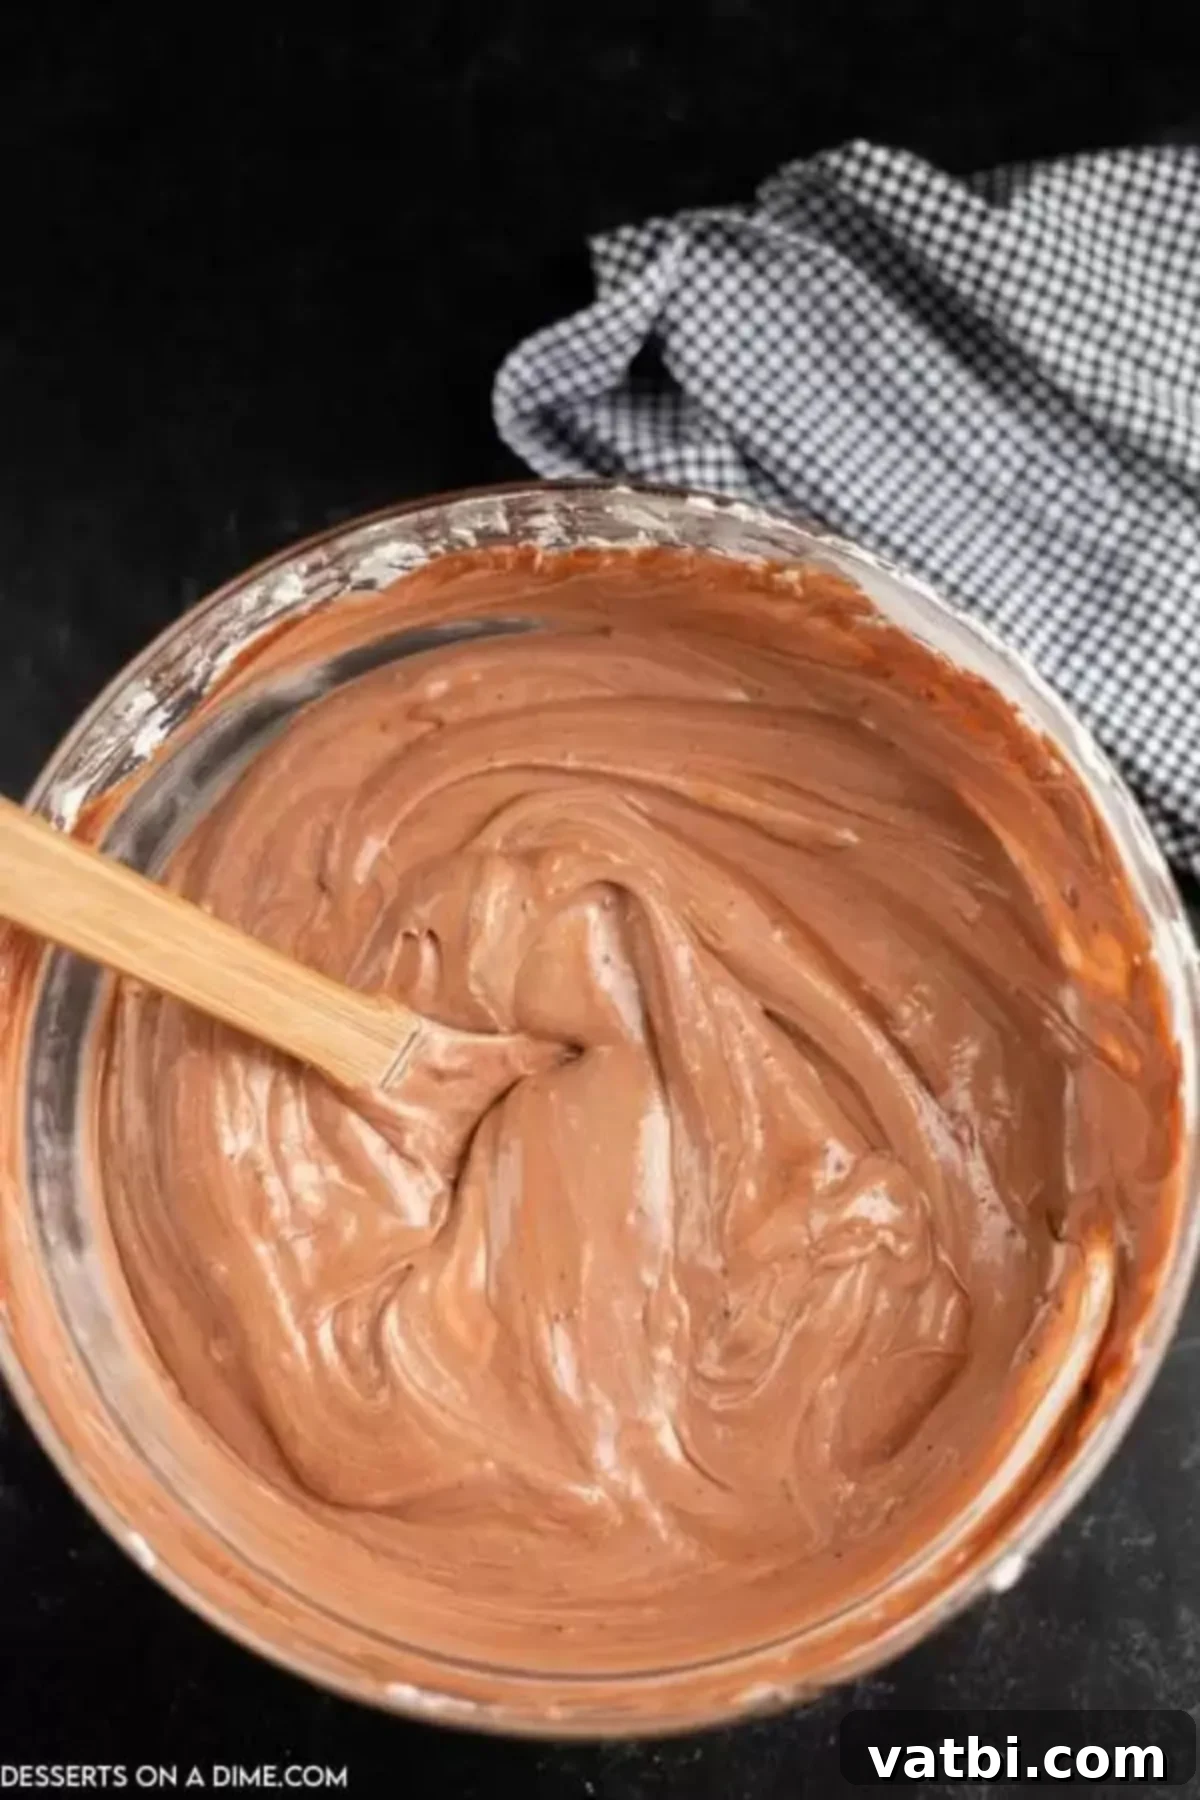
Step 3. Now, you need to prepare the chocolate pudding. In a separate, clean bowl, whisk together the cold milk and the two boxes of instant chocolate pudding mix. Continue whisking until the pudding starts to thicken, which usually takes about 2-3 minutes. Make sure there are no dry pudding clumps. Once thickened, gently fold this rich chocolate pudding mixture into the cream cheese and Cool Whip mixture you prepared in the previous step. Mix until just combined, ensuring not to overmix, as this can deflate the airy texture of the Cool Whip.
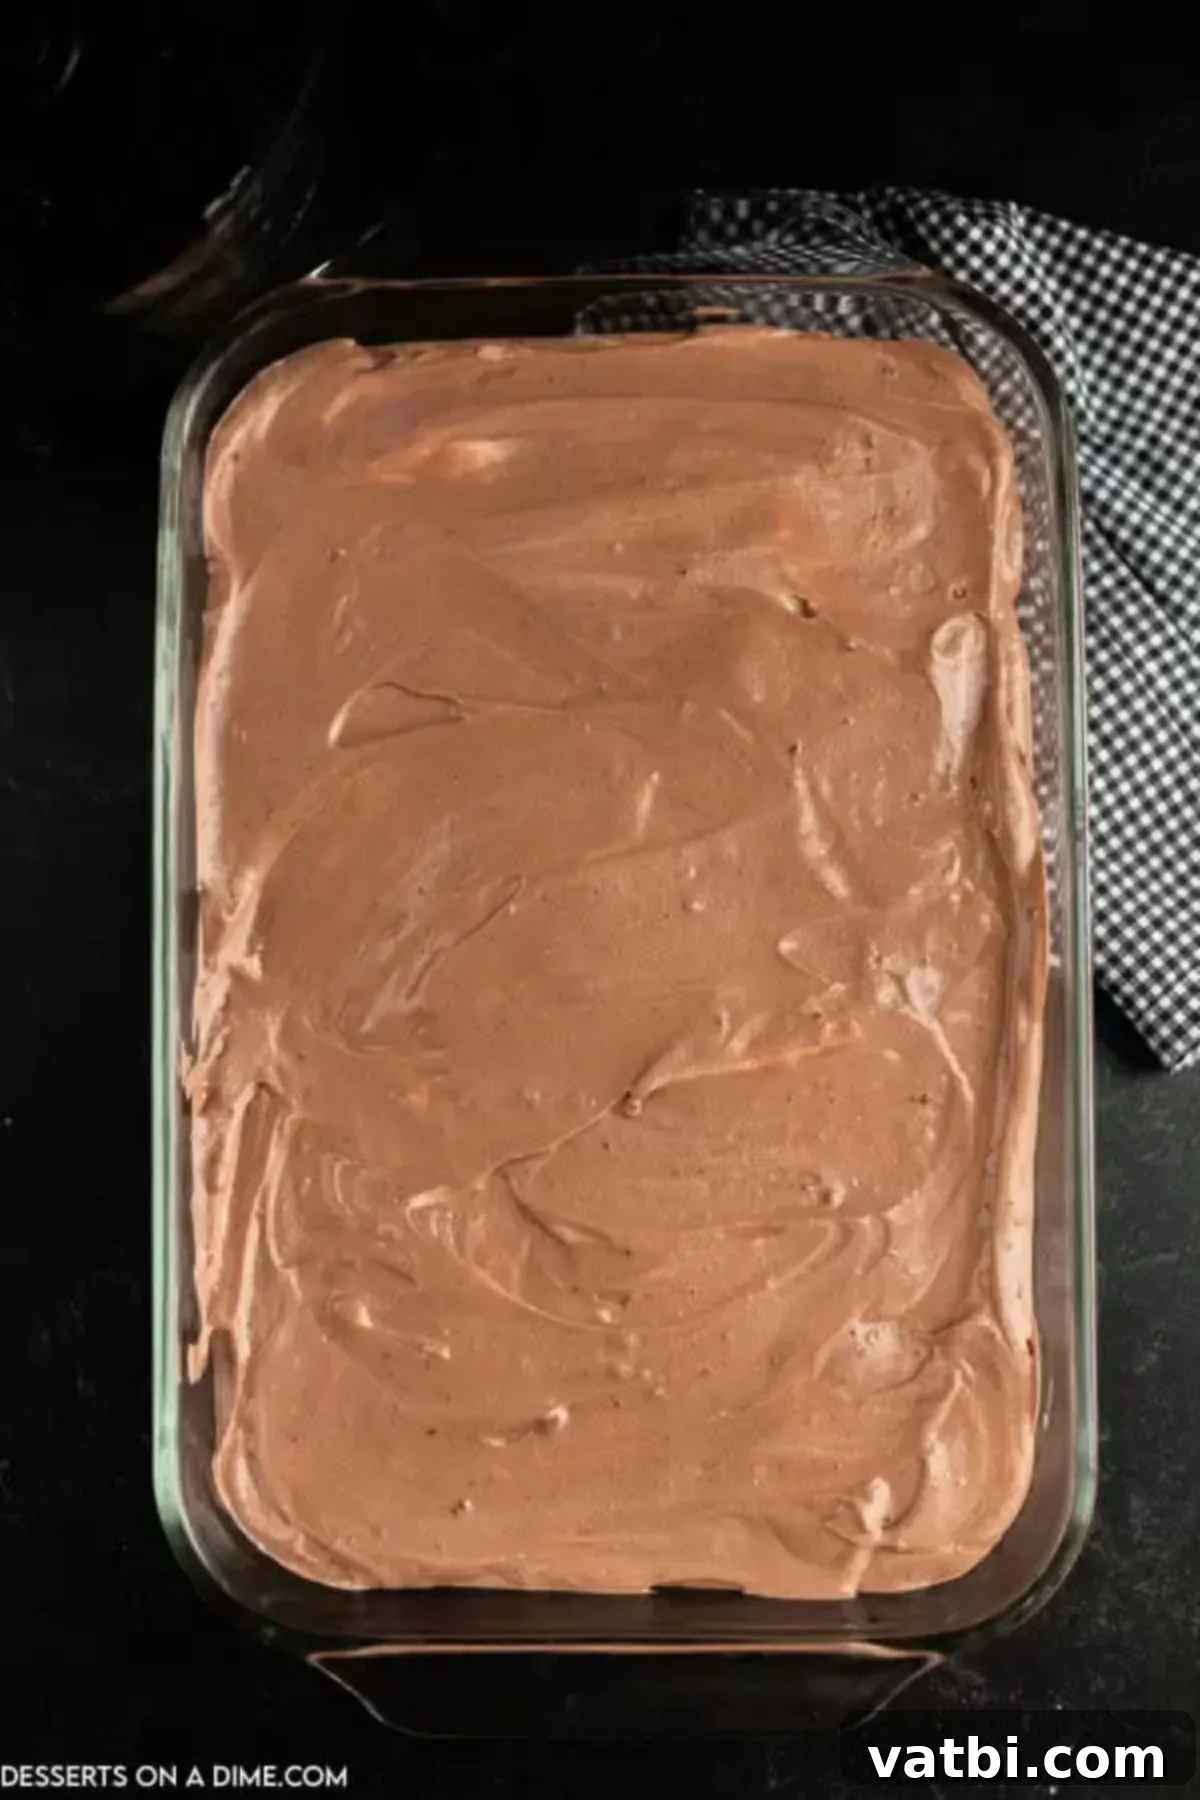
Step 4. Once your creamy pudding mixture is perfectly combined, carefully pour it over the crushed Oreo base in the 9×13 inch pan. Use a spatula to gently spread the pudding layer evenly, ensuring it covers all the Oreo crumbs. Aim for a smooth and consistent layer, as this will be the “dirt” where your graveyard decorations will rest.
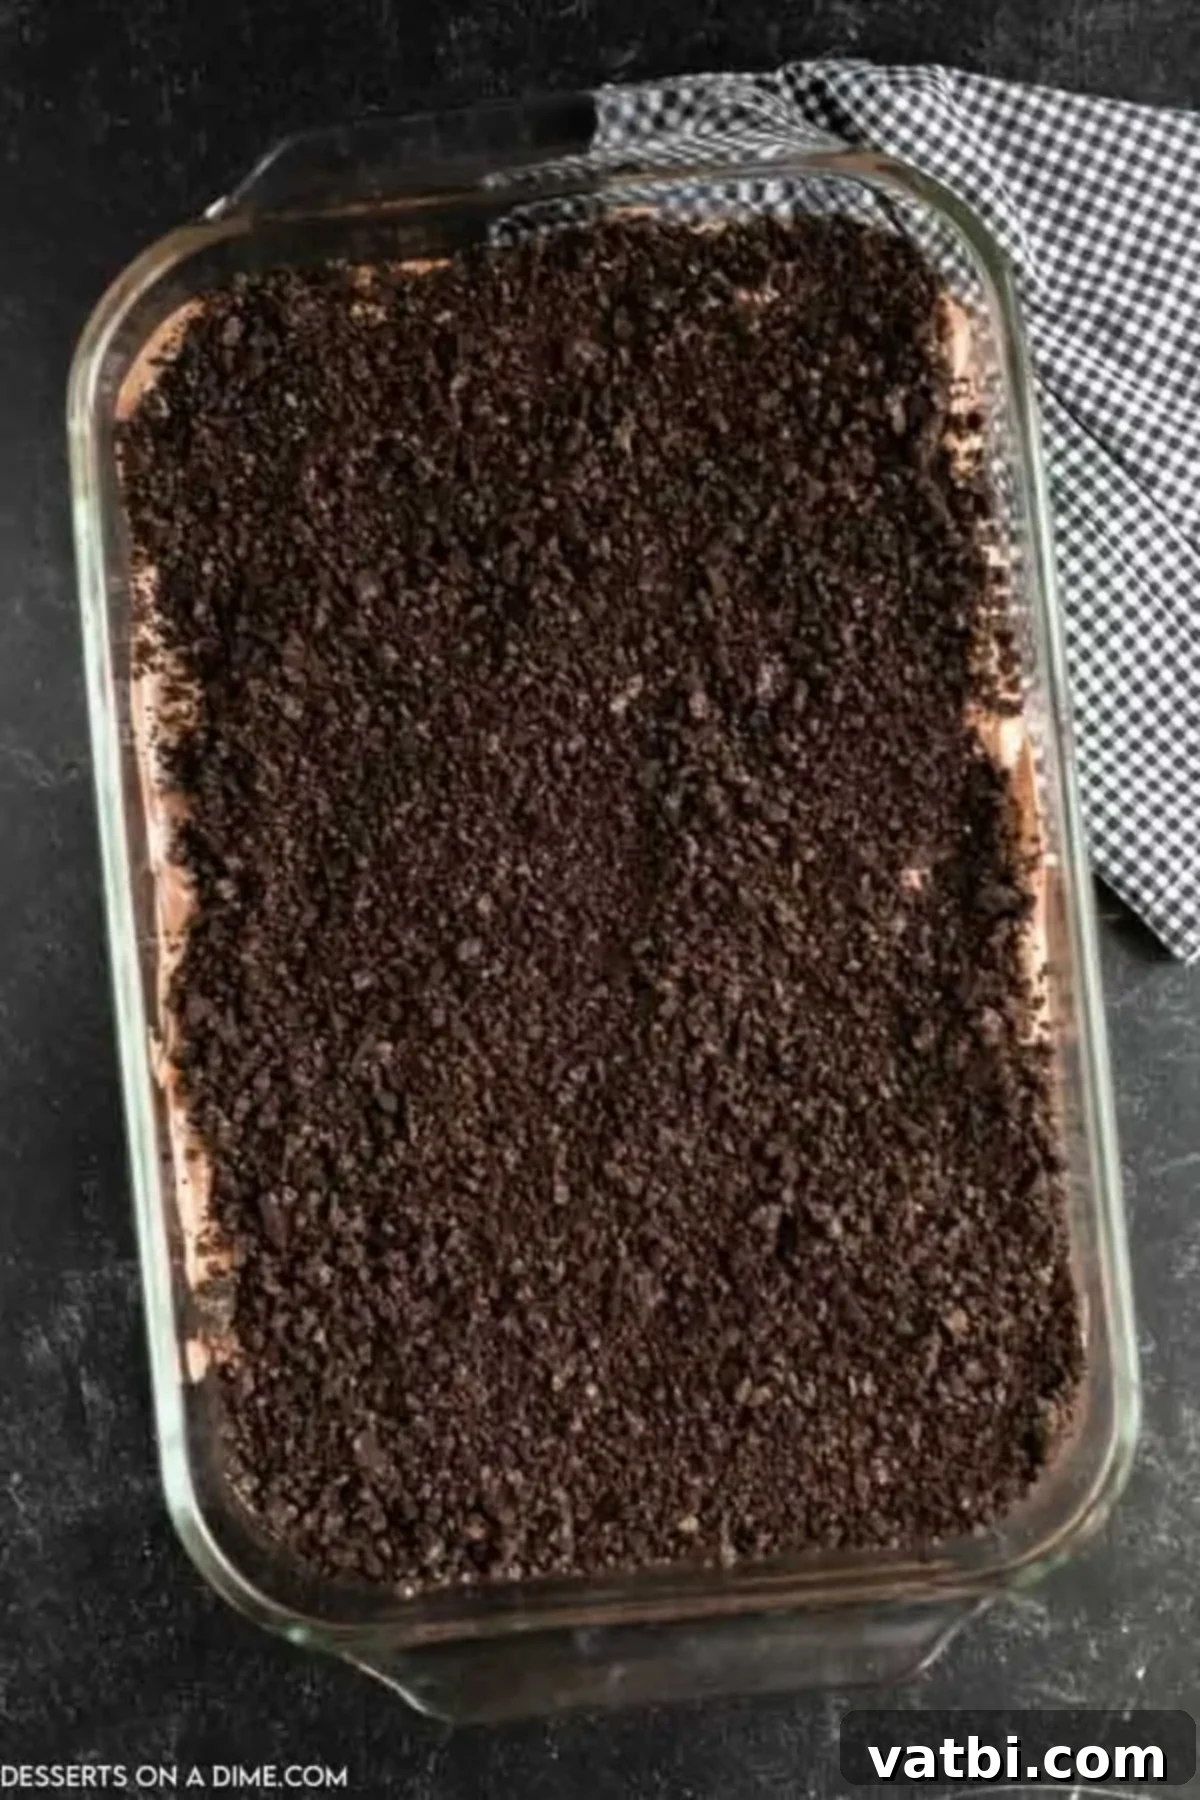
Step 5. Finally, sprinkle the remaining crushed Oreos evenly over the top of the pudding layer. This creates the authentic “dirt” appearance that makes this dessert so fun. Once the top is covered, gently cover the baking dish with plastic wrap, making sure it’s sealed tightly. Place the dirt cake in the refrigerator for at least 2 hours to allow it to set completely and for the flavors to meld beautifully. Chilling is essential for the pudding to firm up and for easy serving.
Step 6. Once your Halloween Dirt Cake has thoroughly chilled and set (after a minimum of 2 hours), it’s time for the exciting part – decorating! This is where your graveyard truly comes to life. Using the Wilton Black Writing Icing, carefully write “RIP” (or other spooky messages like “Boo!”) on the top of each Milano cookie. The oblong shape of the Milano cookies makes them ideal for creating realistic tombstone shapes. Strategically place these tombstone cookies all over the cake, pressing them gently into the “dirt” layer to stand upright.
Serving Your Graveyard Masterpiece
The presentation is key to making this Halloween Dirt Cake a memorable hit! Right before you’re ready to serve, begin the fun part of decorating. We love to take the Milano cookies and, using the Wilton black writing icing, carefully pipe “RIP” onto each one. These become your spooky tombstones. Arrange them artfully across the cake, pushing them gently into the “dirt” to make them stand upright, creating a chilling graveyard scene. Next, scatter the gummy worms around the tombstones, making them look like they are crawling out of the dirt. Add the candy pumpkins for a pop of festive color and a touch of autumnal charm. You can also add other spooky elements like plastic spiders, small ghost candies, or even edible moss (crushed green Oreos) for extra detail. Serve chilled, and watch as your guests delight in this delicious and visually impressive Halloween treat!
Storage Tips for Leftover Spookiness
If you happen to have any leftovers of this delectable Halloween Dirt Cake (which is a rare occurrence!), proper storage will help keep it fresh. Simply cover the baking pan tightly with plastic wrap or aluminum foil. Place the covered dish in the refrigerator, where it will keep well for up to 2 days. It’s important to note that the crushed Oreo cookies, and especially the decorative elements like tombstone cookies, gummy worms, and candy pumpkins, may start to soften and get a bit soggy over time due due to moisture from the pudding. For the best texture and appearance, we always recommend adding the decorations just before serving. This ensures your tombstones remain crisp and your gummy worms retain their chewiness.
Pro Tips for the Best Halloween Dirt Cake
Elevate your Halloween Dirt Cake from great to absolutely ghoulishly amazing with these expert tips and creative ideas:
- Experiment with More Flavors: While traditional Oreos and chocolate pudding create a classic dirt cake, don’t hesitate to get creative! You can easily change the flavor profile by using different types of Oreos and pudding mixes. Imagine Golden Oreos with vanilla pudding for a “sandy” graveyard, or mint-flavored Oreos with chocolate pudding for a unique twist. White chocolate pudding with regular Oreos can also create a striking contrast.
- Make in Advance for Stress-Free Parties: This no-bake dessert is a fantastic candidate for making ahead of time. You can prepare the entire cake (layers of crumbs and pudding) up to 1 week in advance and store it, tightly covered, in the refrigerator. This allows the flavors to meld beautifully and frees up your party day for other preparations. Just remember the golden rule: wait to add all the fun decorations (tombstones, worms, pumpkins) until you are ready to serve to maintain their freshness and crispness.
- Crush the Cookies with Ease: No food processor? No problem! Achieving perfectly crushed Oreo “dirt” is still simple. Place the entire package of Oreos inside a large, sturdy Ziploc bag and seal it tightly, removing as much air as possible. Then, use a rolling pin, the back of a heavy spoon, or even your hands to crush the cookies until they reach a fine, dirt-like consistency.
- Choose the Perfect Size Pan: This recipe is perfectly portioned for a standard 9×13 inch baking dish. This size is ideal for feeding a crowd (typically 12 servings) and creates a good depth for the layers. If you’re taking this dessert to a potluck or party, consider using a 9×13 pan with a lid, which makes transport incredibly easy and keeps your cake secure.
- Convenience with Disposable Pans: For ultimate convenience, especially when taking your dirt cake to a cookout, school event, or large party, disposable aluminum pans are a lifesaver. You won’t have to worry about getting your good dish back, and cleanup is a breeze!
- Create Individual Servings: For a personalized and hygienic touch, especially at kids’ parties, consider assembling the dirt cake in clear plastic cups instead of one large dish. Layer the crushed Oreos and pudding in individual cups, chill, and then let each guest decorate their own “graveyard cup” just before eating. This is not only fun but also makes serving effortless and minimizes mess.
- Boost the Spooky Factor: Don’t limit yourself to just gummy worms and pumpkins! Consider adding other Halloween candies like candy corn, candy eyeballs, mini ghost marshmallows, or even green or orange food coloring to a portion of your pudding for an extra vibrant and eerie look.
More Frightfully Delicious Halloween Desserts
If you’re hosting a full Halloween bash, you’ll need more than one spooky treat! Here are some other fantastic and fun Halloween dessert ideas to complete your spread:
- Halloween Spider Cookies
- Mummy Cake Pops Recipe
- Easy Halloween Puppy Chow
- Oreo Spider Cookies
- Fast and Easy Halloween Treats
- Halloween Cake Pops Recipe
This Halloween Dirt Cake is not only incredibly delicious but also a joy to create and decorate. Feel free to unleash your creativity and decorate it with whatever spooky candies and elements you have on hand – the possibilities are endless! If you try this recipe, please leave a comment below. I would love to hear how your spooktacular graveyard cake turned out and what creative touches you added. Happy haunting, and enjoy this incredibly fun and festive dessert!
Pin
Halloween Dirt Cake
Ingredients
- 1 packaged Oreos 15.5 oz (regular, not double stuffed)
- 8 oz Cream Cheese softened at room temperature
- 1/2 cup Butter softened, not melted
- 1 cup Powdered Sugar sifted to remove lumps
- 16 oz Cool Whip thawed (or homemade whipped cream)
- 2 boxes of Instant Chocolate Pudding Mix 3.3 oz each (ensure it’s instant, not cook-and-serve)
- 3 cups Milk (whole milk for richness, or reduced fat)
- 1 package Milano Cookies (for tombstones)
- Gummy Worms and Candy Pumpkins optional, for decoration
- Wilton Black Writing Icing (for writing on tombstones)
Instructions
-
Crush the entire package of Oreos in a food processor or blender until fine crumbs form. Spread about 2/3 of these crumbs evenly into the bottom of a 9×13 inch pan. Set the remaining crumbs aside.
-
In a large bowl, cream together the softened cream cheese and butter using a hand mixer or stand mixer until smooth and fluffy. Then, gradually mix in the powdered sugar until well combined. Gently fold in the thawed Cool Whip.
-
In a separate bowl, whisk together the cold milk and both boxes of instant chocolate pudding mix until the pudding starts to thicken (about 2-3 minutes). Fold this thickened pudding mixture into the cream cheese and Cool Whip mixture until just combined.
-
Pour this creamy pudding mixture evenly over the crushed Oreos in the 9×13 inch pan, spreading gently with a spatula.
-
Sprinkle the remaining crushed Oreos over the top of the pudding layer to create the “dirt” effect.
-
Cover the dish tightly with plastic wrap and refrigerate for a minimum of 2 hours, or until thoroughly set.
-
Right before serving, decorate the cake. Use Wilton Black Writing Icing to write “RIP” (or other spooky messages) on the Milano cookies. Arrange these “tombstone” cookies artfully in the cake. Scatter gummy worms and candy pumpkins over the “dirt” to complete your spooky graveyard scene.
-
Serve chilled and enjoy your spooktacular Halloween Dirt Cake!
Recipe Video
Nutrition Facts
Carbohydrates 64g,
Protein 8g,
Fat 27g,
Saturated Fat 14g,
Trans Fat 1g,
Cholesterol 82mg,
Sodium 390mg,
Potassium 232mg,
Fiber 1g,
Sugar 41g,
Vitamin A 656IU,
Calcium 152mg,
Iron 4mg
Pin This Now to Remember It Later
Pin Recipe
