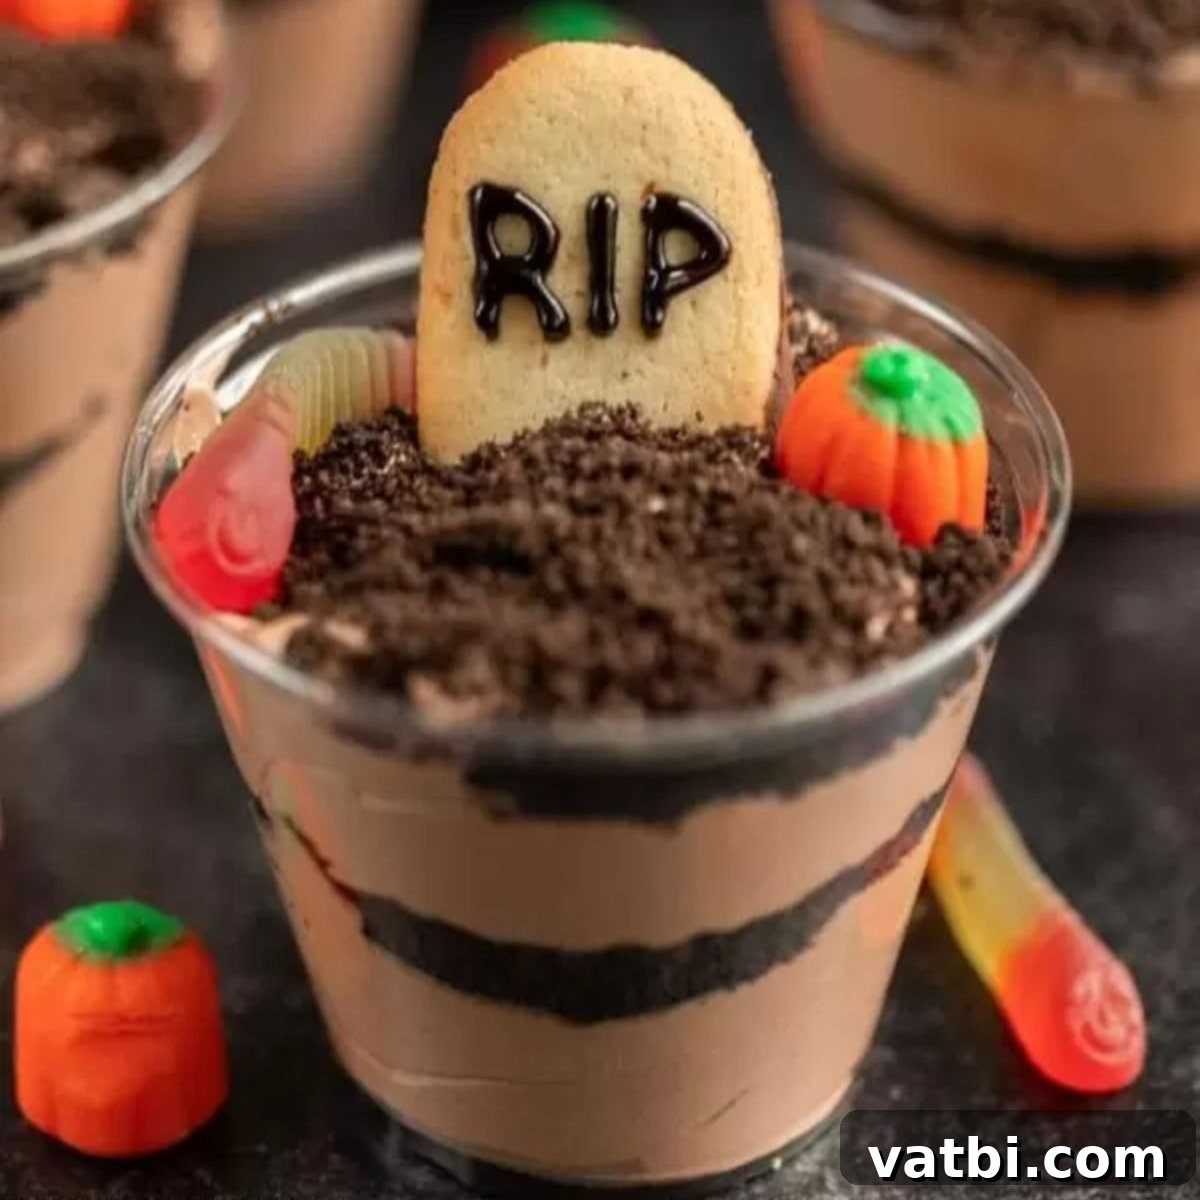
The Ultimate Halloween Dirt Cups Recipe: Spooky, Sweet, and Super Easy!
Prepare for a hauntingly delicious treat that’s as fun to make as it is to eat: Halloween Dirt Cups! This festive dessert is a ghoulishly good twist on the classic dirt cup, featuring rich layers of creamy chocolate pudding, crushed Oreo “dirt,” and adorable, spooky embellishments that kids and adults alike will adore. It’s the perfect no-bake creation for your next Halloween party, school event, or just a fun family activity.
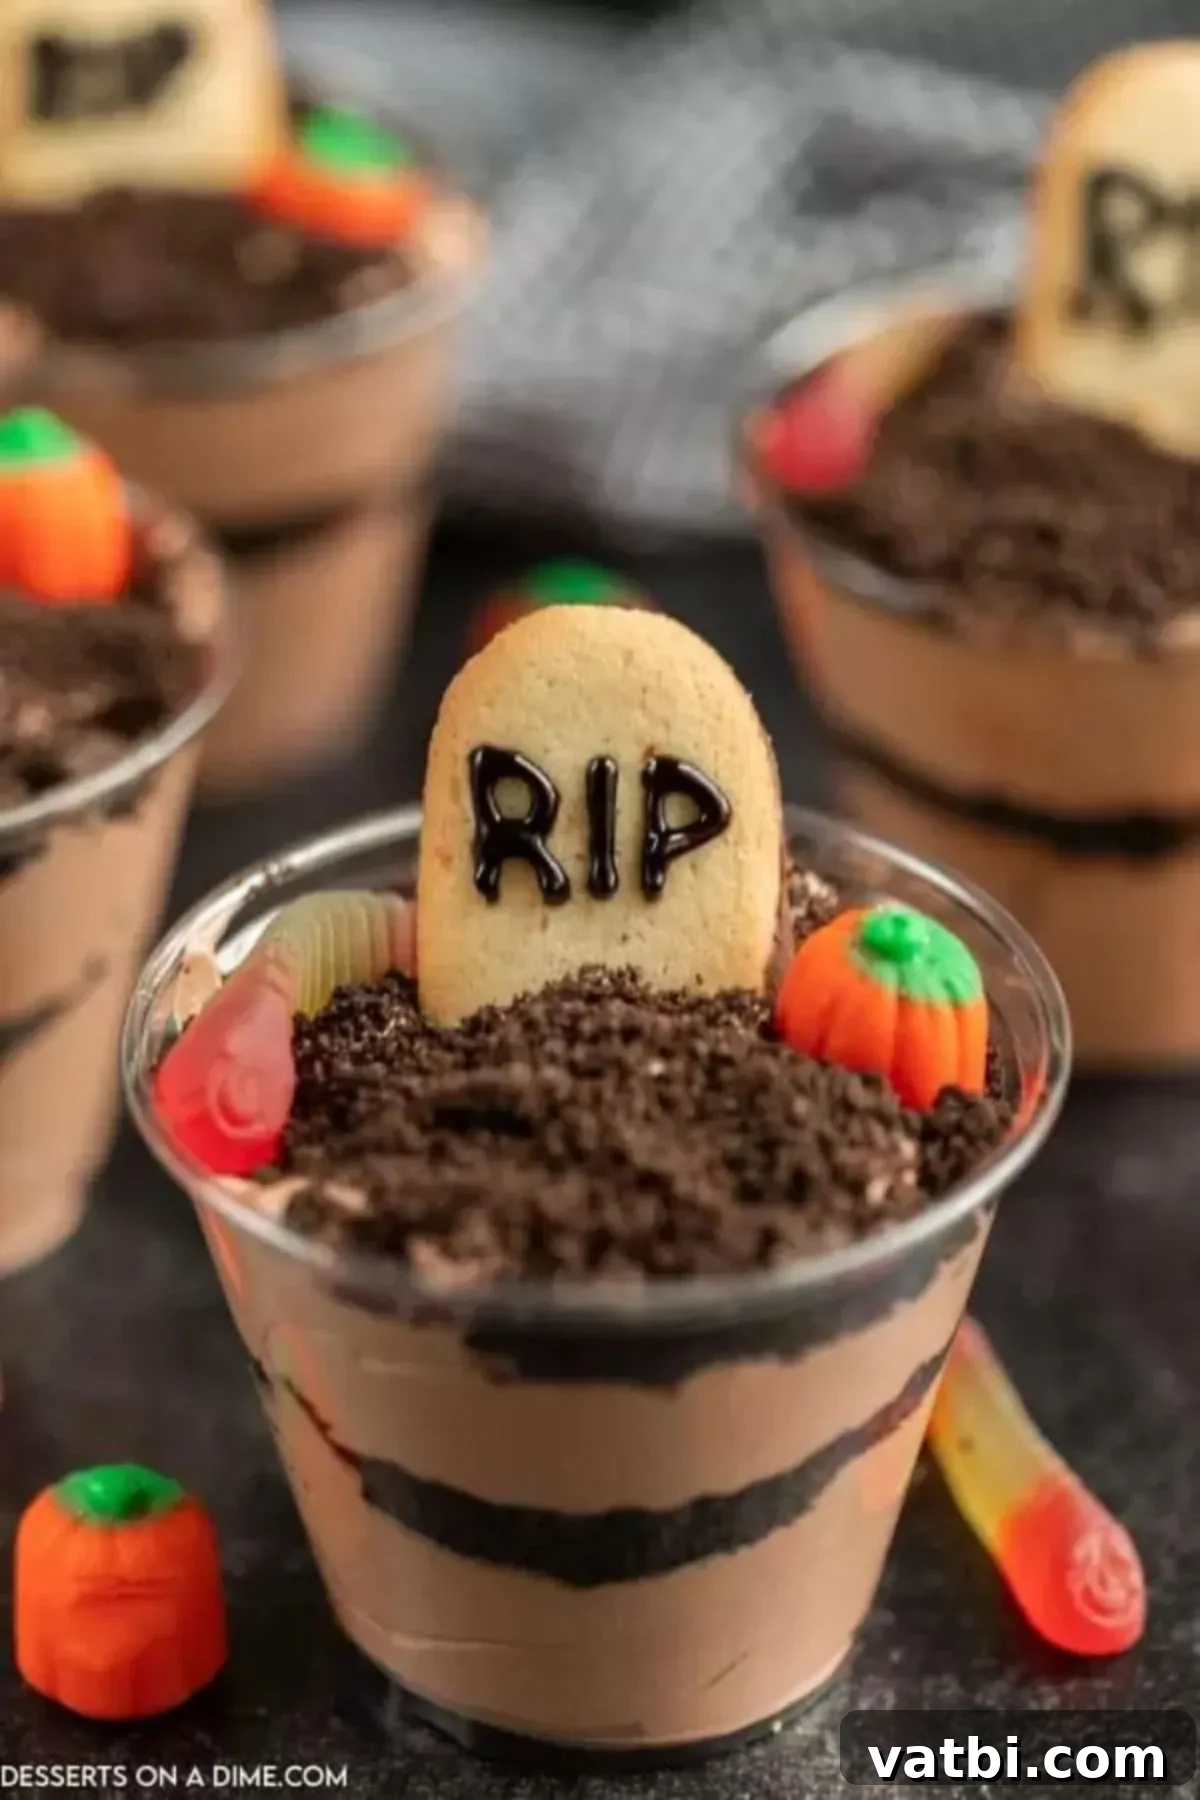
These individual desserts are incredibly easy to assemble, making them a fantastic choice for busy hosts or when you want to involve little hands in the kitchen. Using clear cups is key to showcasing the delightful “graveyard” layers, adding to the festive Halloween atmosphere. If you’re already a fan of our Best Dirt Cups Recipe, you’ll fall head over heels for this seasonal rendition. For those who prefer a larger, shareable dessert, be sure to check out our equally spooky Halloween Dirt Cake Recipe.
Watching the kids’ faces light up when they spot the gummy worms “crawling” out of the cookie dirt and the vibrant candy pumpkins is truly priceless. I’ve been making classic Oreo Dirt Cups for years, and it was only natural to adapt this beloved recipe for the spooky season. The simple modifications transform a favorite into a Halloween masterpiece!
We absolutely love Easy Dessert Cup Recipes for their convenience and charm. If you’re planning a Halloween gathering and need more no-bake ideas, explore these other fantastic options: Halloween Popcorn, Witch Hat Cookies, Halloween Chocolate Covered Strawberries, and Halloween Puppy Chow. Another crowd-pleaser that’s always a hit around here is our Halloween Chocolate Covered Oreos Recipe.
What’s in this Post: Halloween Dirt Cups
- Why We Love This Spooky Recipe
- Simple Ingredients for Spooky Fun
- Creative Variations and Additions
- How to Make Easy Halloween Dirt Cups
- Storage Tips for Freshness
- Expert Tips for Perfect Dirt Cups
- More Hauntingly Fun Halloween Treats
- Halloween Dirt Cups Recipe Card
Why We Love This Spooky Recipe:
- Perfect for Parties: These individual cups are ideal for Halloween parties. They’re easy to serve, require no plates or forks if you use spoons, and they look incredibly impressive without much effort. The themed decorations make them a standout dessert that perfectly complements the spooky celebrations.
- Effortlessly Easy to Make: The best part? This is a no-bake dessert! The preparation is straightforward, minimal, and doesn’t require any oven time. From mixing the pudding to crushing the cookies, each step is simple enough for even beginner bakers or kids to help with. We’re big fans of No Bake Halloween Treats, much like our Candy Corn Cookies and Monster Donuts, for their convenience and fun factor.
- Customizable Fun: One of the greatest joys of making dirt cups is the endless possibilities for customization. You can easily switch up pudding flavors, cookie types, and, of course, the spooky candy toppings to match any Halloween theme or personal preference.
- Kid-Friendly Activity: This recipe is fantastic for getting children involved in the kitchen. They love crushing the cookies, layering the ingredients, and especially decorating with gummy worms and candy pumpkins. It’s a sweet project that yields an even sweeter reward!
- Nostalgic Charm: Dirt cups evoke a sense of childhood nostalgia for many. This Halloween version brings that familiar comfort with a delightful spooky twist, making it a hit with guests of all ages.
Simple Ingredients for Spooky Fun
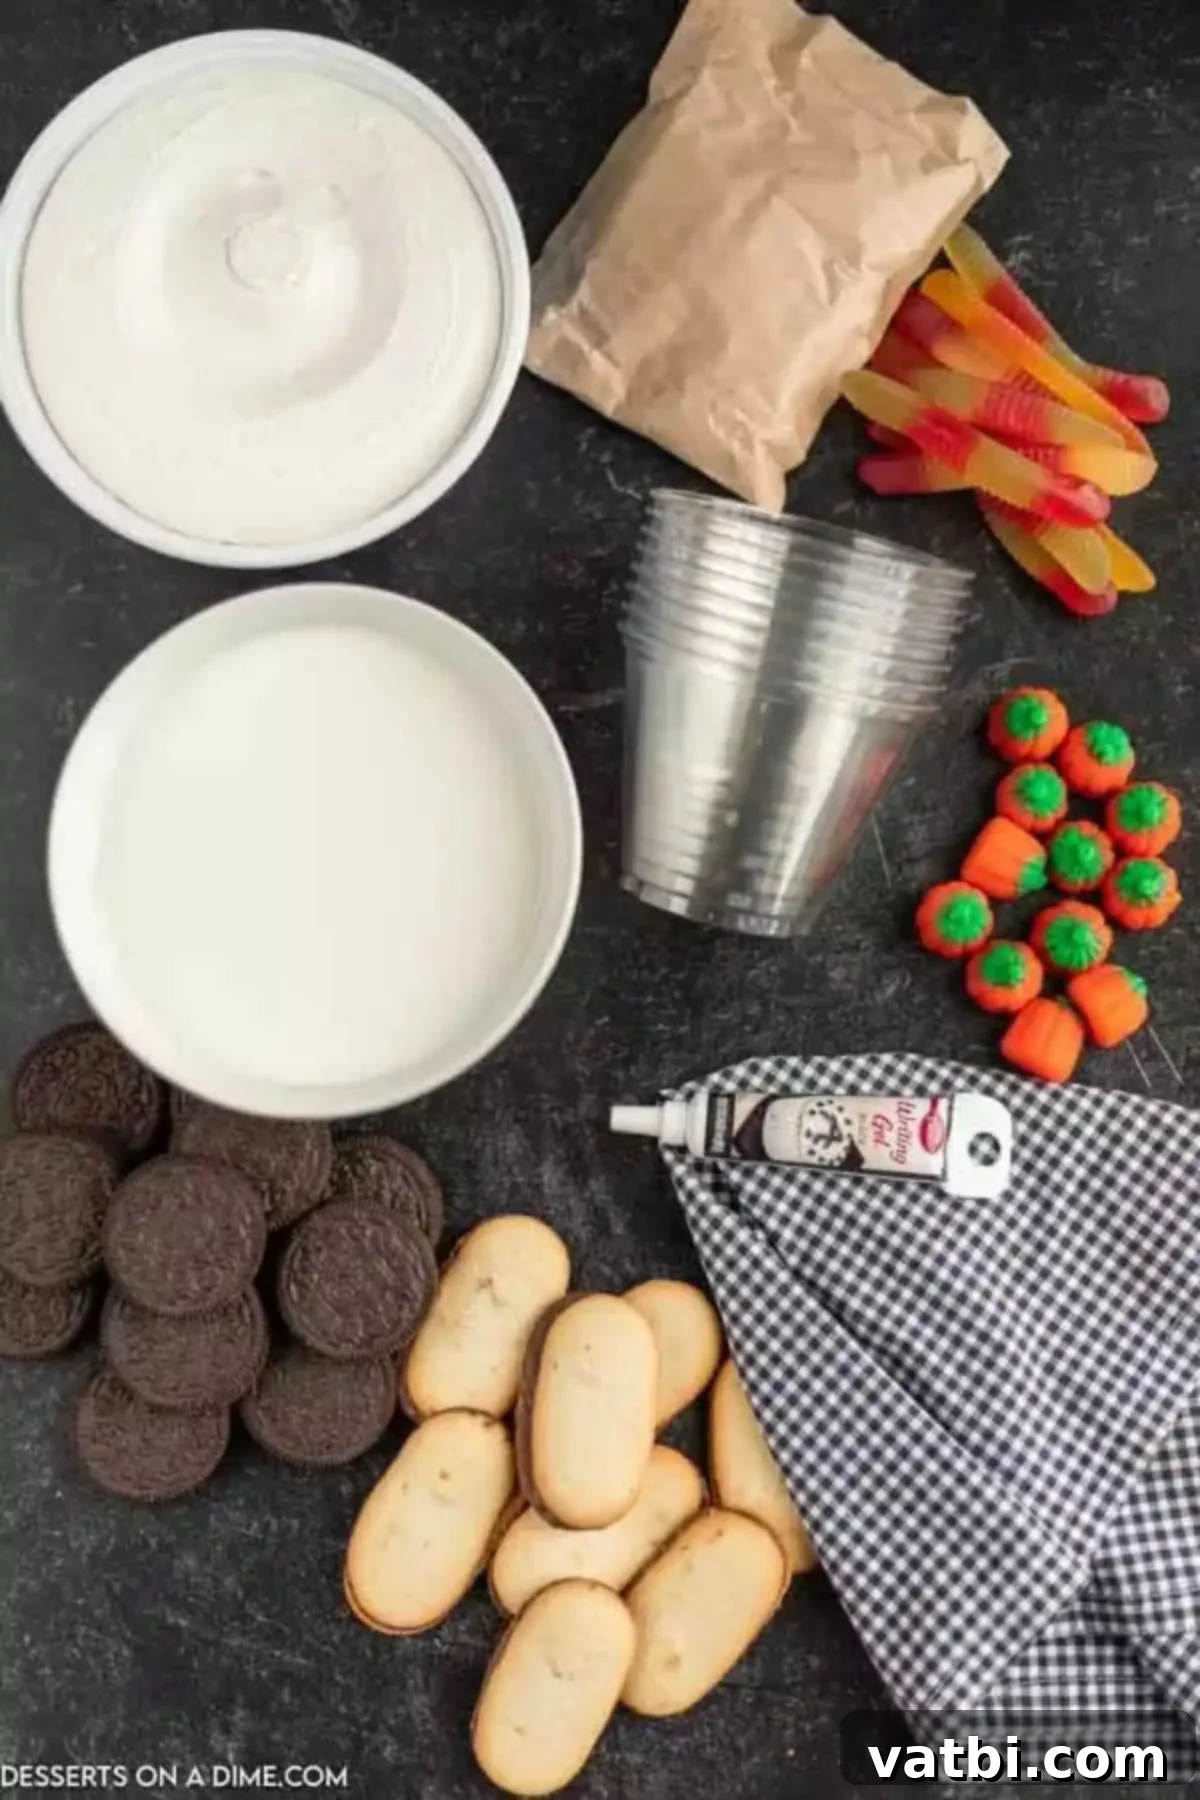
You’ll only need a handful of readily available ingredients to bring these graveyard dirt cups to life. Here’s what makes them so special:
- Oreo Cookies: These form the iconic “dirt” layer, offering a rich chocolate flavor and crumbly texture. You can use classic Oreos or any chocolate sandwich cookie brand you prefer. The cream filling adds to the overall sweetness and texture.
- Cool Whip: This whipped topping provides a light, airy, and creamy component that blends wonderfully with the pudding, creating a delightful contrast to the crunchy cookies.
- Instant Chocolate Pudding Mix: The base of our creamy layers. Instant pudding makes this recipe incredibly quick and easy. Chocolate flavor gives it that authentic “dirt” look and taste, but feel free to experiment with other flavors!
- Milk: Essential for preparing the instant pudding. Make sure it’s cold for the best results.
- Milano Cookies: These elegant, oblong cookies are perfect for transforming into tombstones. Their flat surface is ideal for writing “RIP” or other spooky messages.
- Gummy Worms and Candy Pumpkins: The star decorators! Gummy worms look like they’re crawling out of the dirt, and candy pumpkins add a pop of Halloween color and classic charm.
- Wilton Black Writing Icing: This is perfect for neatly writing “RIP” on your Milano cookie tombstones. Its fine tip allows for precise decoration.
Find the complete ingredient list with exact measurements in the detailed recipe card at the bottom of this post.
Creative Variations and Additions
One of the best things about Halloween Dirt Cups is how adaptable they are. Here are some ideas to make them uniquely yours:
- Festive Sprinkles: Add a generous sprinkle of orange, black, or mixed Halloween-themed sprinkles on top of each cup for extra color and crunch. You can find ghost, bat, or pumpkin-shaped sprinkles to make them even more festive.
- Alternative Cookies: While Oreos are classic, don’t be afraid to experiment! Use different types of chocolate sandwich cookies, or even crushed chocolate chip cookies, Nutter Butters, or Graham crackers for a different flavor profile.
- Extra Candy Fun: Beyond gummy worms and candy pumpkins, consider adding candy corn, mini chocolate chips, candy eyeballs, or even small chocolate bats to your graveyard scene. Green gummy candies can resemble “moss” or “slime.”
- Pudding Flavor Swap: Not a chocolate fan? Try instant vanilla pudding, white chocolate pudding, or even cheesecake flavored pudding for a different creamy layer. You can also mix in a drop of green food coloring to vanilla pudding for a “slime” effect.
- Richer Cream Cheese Layer: For an even more decadent dessert, fold in softened cream cheese (about 8 oz per batch) with the Cool Whip and pudding mixture. This adds a tangy richness that’s absolutely delicious and makes the dessert feel more substantial.
- Spooky Tombstone Alternatives: Instead of Milano cookies, use Pirouette cookies (for a taller tombstone) or even small rectangular shortbread cookies. You can also make your own edible tombstones from melted chocolate poured into molds or piped onto parchment paper.
- Edible “Moss”: To create edible “moss,” mix a few drops of green food coloring into some shredded coconut. Sprinkle this over the “dirt” for an extra touch of spooky realism.
How to Make Easy Halloween Dirt Cups
Making these spooky treats is a breeze! Follow these simple steps for a truly delightful dessert:
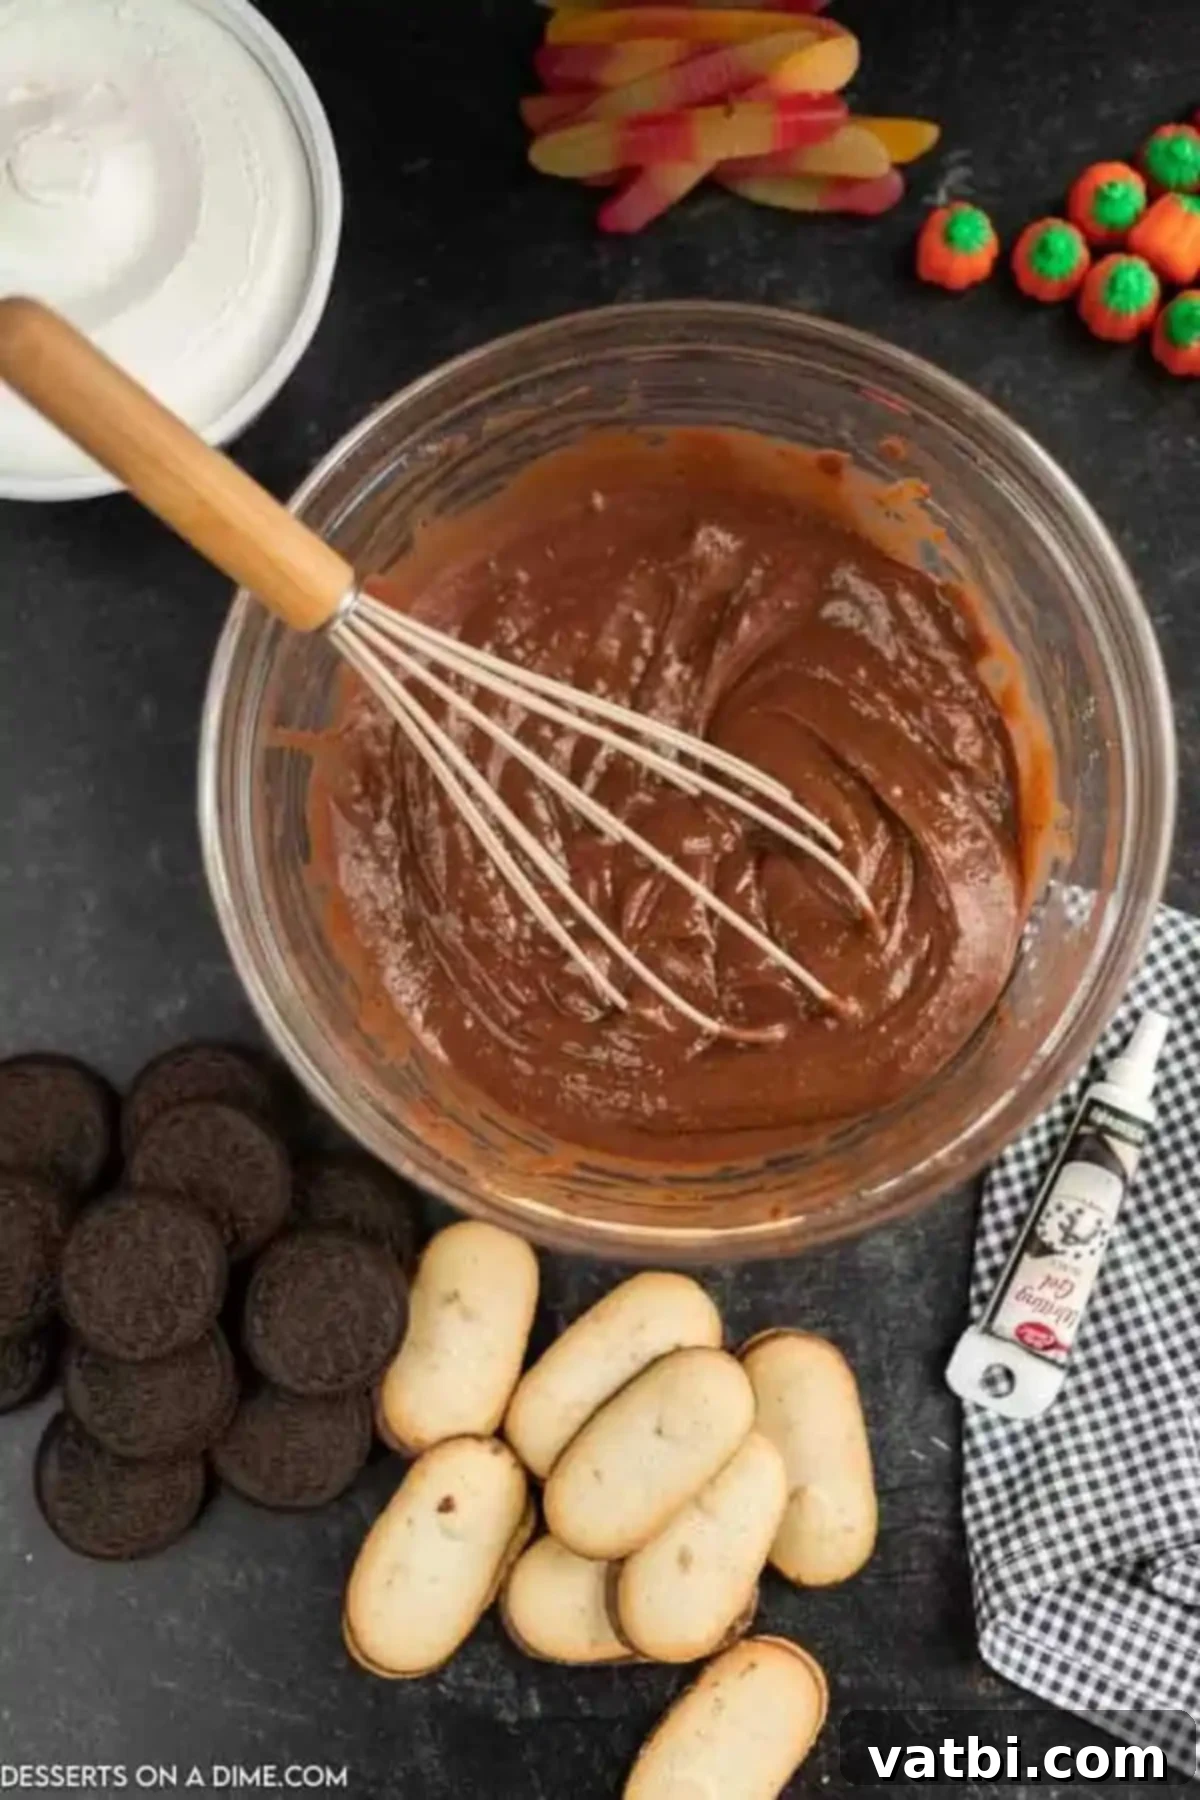
Step 1: Prepare the Pudding. Grab a medium-sized mixing bowl and combine the instant chocolate pudding mix with the cold milk. Whisk thoroughly for about 2 minutes until the mixture is smooth and starts to thicken. Place the bowl in the fridge to set for approximately 10 minutes. This chilling time helps the pudding achieve its perfect consistency.
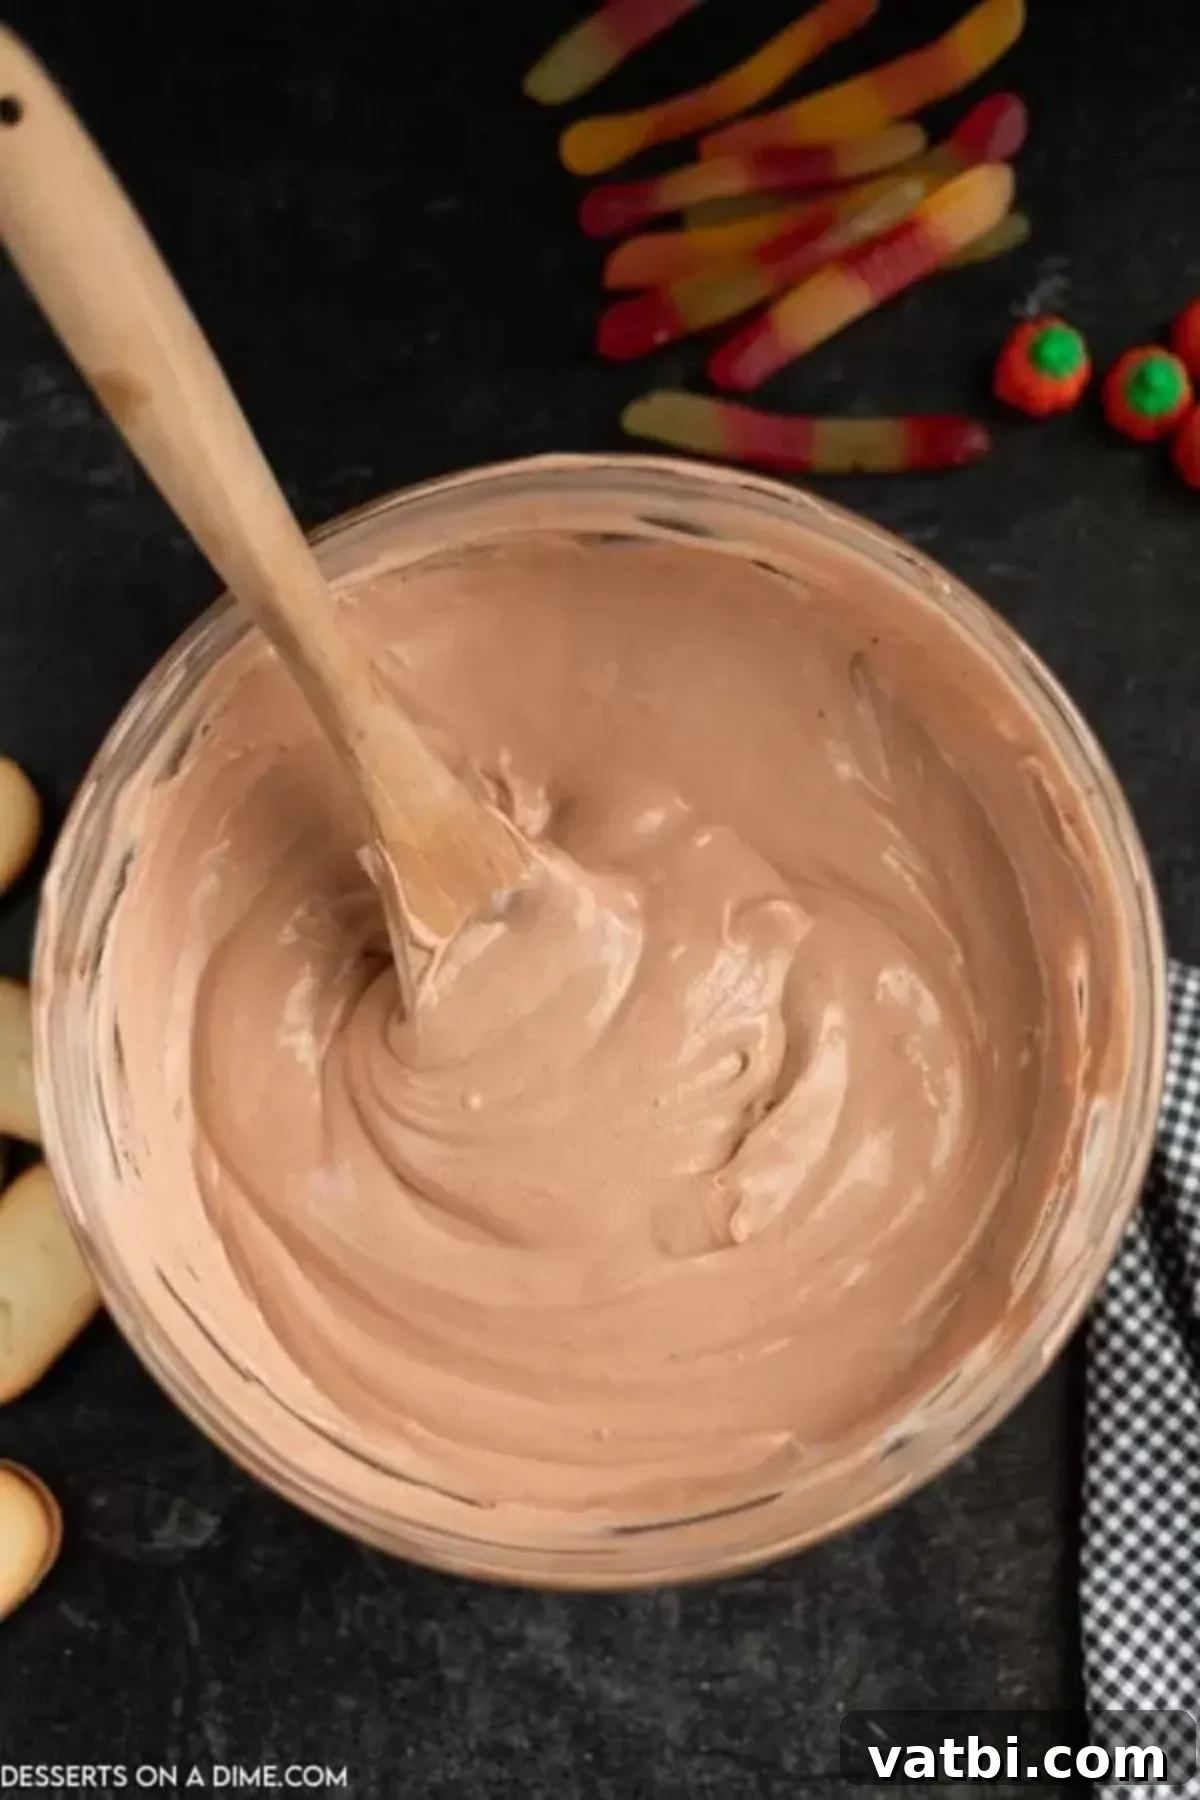
Step 2: Fold in the Cool Whip. Once the pudding has slightly set, remove it from the fridge. Gently fold in the Cool Whip (or your preferred whipped topping) until it’s fully incorporated and the mixture is light and fluffy. Be careful not to overmix, as this can deflate the whipped topping. Return this creamy pudding mixture to the fridge for another 20 minutes to ensure it’s well chilled and firm enough for layering.
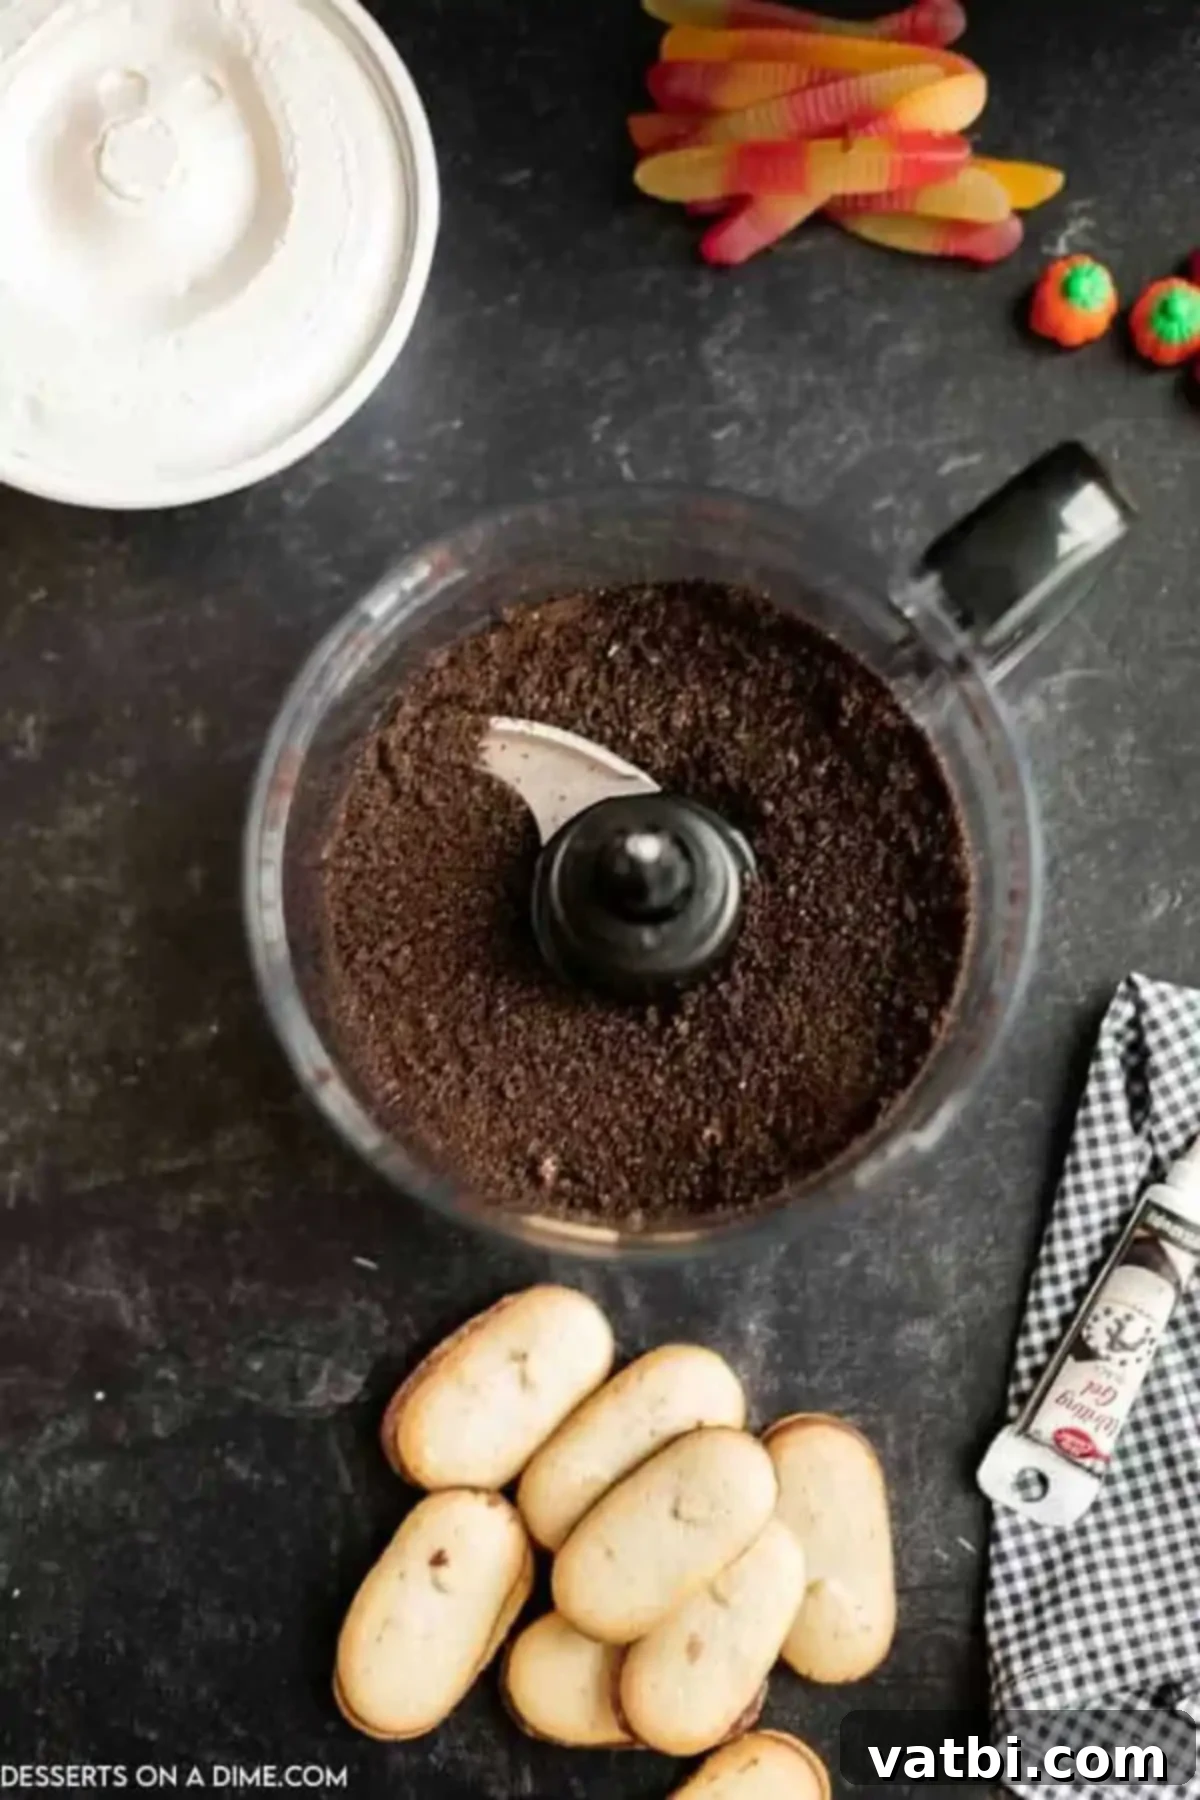
Step 3: Prepare the Oreo “Dirt.” While the pudding mixture is chilling, it’s time to make your “dirt.” Place the Oreo cookies into a food processor or blender. Pulse until the cookies are finely crushed, resembling dark, rich soil. If you don’t have a food processor, simply place the cookies in a Ziploc bag, seal it tightly, and use a rolling pin or the back of a sturdy spoon to crush them into crumbs.
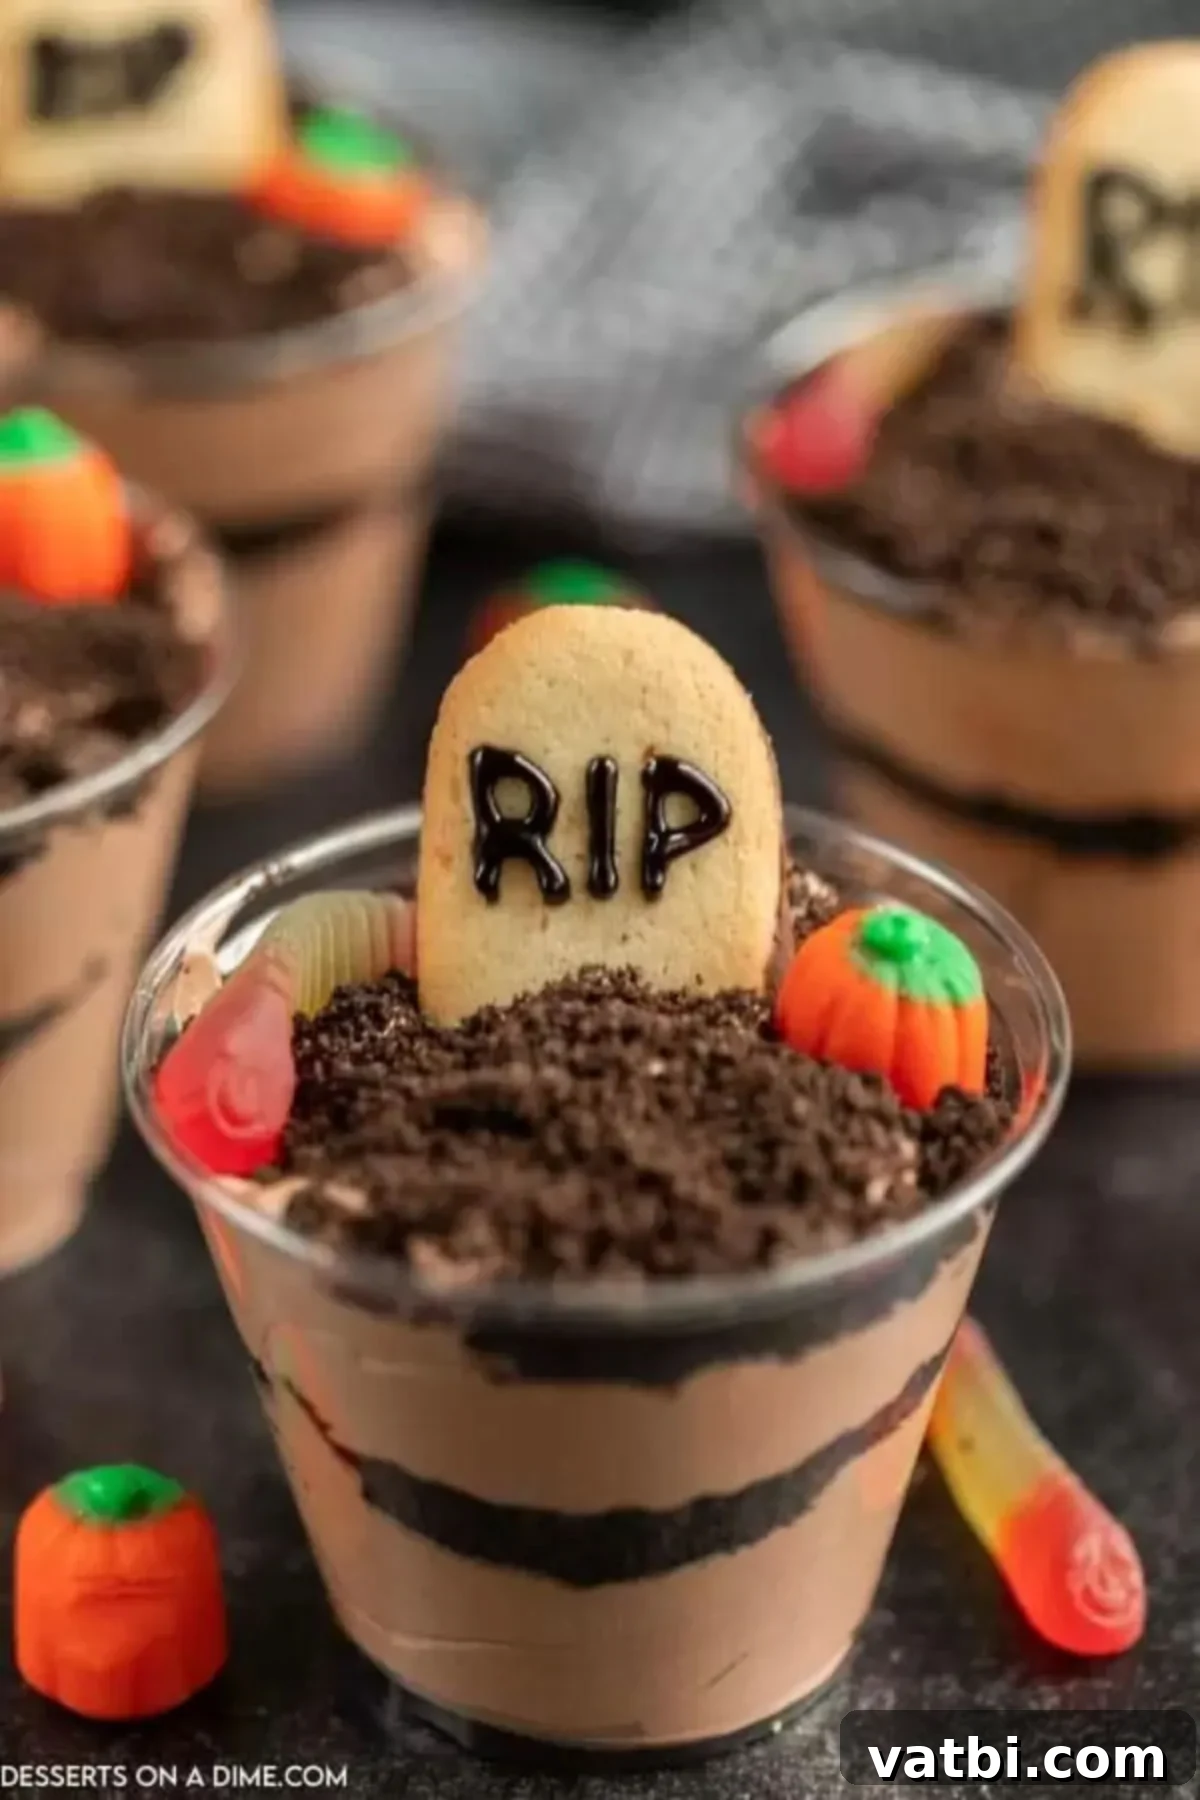
Step 4: Assemble Your Graveyard Cups. Now for the fun part! Get your clear plastic cups ready. Start by adding a layer of the chocolate pudding mixture to the bottom of each cup (about ⅓ full). Next, sprinkle a generous layer of the crushed Oreo cookies over the pudding. Repeat these layers until the cups are nearly full, ending with a final layer of “dirt” on top. For the tombstones, use the black writing icing to carefully write “RIP” on the Milano cookies. Gently insert one or two decorated Milano cookies into the top layer of Oreo crumbs in each cup. Finally, arrange gummy worms so they look like they’re emerging from the dirt, and place candy pumpkins to complete your spooky graveyard scene. Serve immediately or chill until ready to enjoy!
Storage Tips for Freshness
To keep your Halloween Dirt Cups fresh and delicious, cover each cup tightly with plastic wrap and store them in the refrigerator. They will stay fresh for up to 3 days. However, for the best presentation and texture, I highly recommend waiting to add the Milano cookie tombstones, gummy worms, and candy pumpkins until just before you plan to serve. This prevents the cookies from getting soft and ensures the candies maintain their festive look.
If you’ve already decorated them, they can still be refrigerated, but the cookies might soften slightly over time. Leftovers, once decorated, are still perfectly safe and tasty to eat, but best enjoyed within 24-48 hours for optimal texture.
Expert Tips for Perfect Dirt Cups:
- Customize Your Flavors: While traditional Oreos and chocolate pudding are a classic combination, feel free to get creative! Experiment with different Oreo flavors (mint, peanut butter, golden) or different pudding flavors (vanilla, white chocolate, butterscotch) to change the taste profile and make them uniquely yours.
- Chill for Success: Don’t skip the chilling steps! Allowing the pudding and the pudding/Cool Whip mixture to chill properly ensures they set well, creating distinct and stable layers in your cups. A well-chilled dessert is also much more refreshing.
- Plan Ahead for Parties: These dirt cups are perfect for making in advance. I love preparing the pudding and cookie crumbs the day before a party, then assembling and decorating just a few hours before guests arrive. This significantly reduces stress on the day of the event and ensures everything is fresh. Just remember to add the decorative toppings at the last minute to prevent sogginess.
- No Food Processor? No Problem! If you don’t own a food processor, you can easily crush the cookies manually. Place them inside a sturdy Ziploc bag, seal it tightly, and use a rolling pin, meat tenderizer, or the back of a heavy wooden spoon to crush them into fine crumbs. It’s a great way to release some stress, too!
- Add Cream Cheese for Richness: For a richer, more cheesecake-like pudding layer, fold in 4-8 ounces of softened cream cheese to the pudding and Cool Whip mixture. Beat the cream cheese until smooth before incorporating it. This creates an even more luxurious texture and flavor, though it’s completely optional.
- Clear Cups for Visual Appeal: Using clear plastic or glass cups is essential for showcasing the beautiful layers of pudding and cookie “dirt.” It truly enhances the “graveyard” effect and makes the dessert visually appealing.
- Get Creative with Decorations: Encourage creativity, especially if involving kids. Besides gummy worms and pumpkins, consider mini chocolate chips as “pebbles,” small candy bones, or even tiny edible ghost meringues perched on top.
- Portion Control: These individual cups are excellent for portion control, making them ideal for parties where guests can easily grab their own treat without mess.
More Hauntingly Fun Halloween Treats
If you’re still in the mood for more spooky baking and no-bake fun, here are some other fantastic Halloween recipes to try:
- Halloween Spider Cookies: Adorable and slightly creepy cookies topped with chocolate spiders.
- Jack-O-Lantern Cupcakes: Festive cupcakes decorated to look like classic jack-o’-lanterns, perfect for a cheerful Halloween spread.
- Halloween Cake Pops Recipe: Bite-sized cake pops dipped in spooky colors and decorated with fun Halloween designs.
- Fast and Easy Halloween Treats: A collection of quick recipes to whip up when you’re short on time but long on Halloween spirit.
- Mummy Cake Pops: Cute and spooky cake pops wrapped to resemble friendly mummies.
- Halloween Monster Eyeballs: Salty and sweet pretzel treats decorated like whimsical monster eyeballs, perfect for a spooky snack.
We hope you enjoy making these delightfully spooky Halloween Dirt Cups for your friends and family. They’re guaranteed to bring smiles and a touch of Halloween magic to any occasion. Please come back and leave a comment after you try them – we’d love to hear your thoughts! We truly think you will love these Graveyard Dirt Cups.
Halloween Dirt Cups
40 mins
40 mins
12
American
Dessert
200
Carrie Barnard
Ingredients
- 12 Oreo Cookies
- 16 oz Cool Whip
- 1 box Instant Chocolate Pudding Mix (3.3 oz)
- 2 cups Milk (cold)
- 8 Milano Cookies
- Gummy Worms and Candy Pumpkins (optional, for decoration)
- Wilton Black Writing Icing
Instructions
-
Whisk together the pudding mix and the cold milk in a medium-sized bowl for about 2 minutes. Refrigerate for about 10 minutes or until set.
-
Then, gently fold in the Cool Whip until well combined and light. Refrigerate for another 20 minutes to thoroughly chill the mixture.
-
While the pudding is chilling, place the Oreo cookies in a food processor or blender and pulse until they are finely crushed into crumbs. Alternatively, place them in a sealed Ziploc bag and crush with a rolling pin.
-
Now it’s time to assemble the cups!
-
Fill small clear cups with the chilled pudding mixture, making each layer approximately ⅓ of the way full.
-
Top the pudding layer with a small amount of the crushed Oreo “dirt.” Repeat these layers (pudding, then dirt) in all of the cups until they are nearly full, ending with a layer of cookie crumbs on top.
-
Using the black writing icing, carefully write “RIP” on the top of each Milano cookie. Gently place these decorated cookies into each cup, upright, to resemble tombstones. Finally, decorate with gummy worms (some crawling out of the dirt) and candy pumpkins.
-
Serve immediately and enjoy your spooky treat!
Recipe Notes
*Cover and refrigerate any leftovers for up to 5 days. For best results with decorations, add them just before serving.
Nutrition Facts
Calories
200
kcal
,
Carbohydrates
33
g
,
Protein
4
g
,
Fat
6
g
,
Saturated Fat
3
g
,
Trans Fat
1
g
,
Cholesterol
26
mg
,
Sodium
246
mg
,
Potassium
151
mg
,
Fiber
1
g
,
Sugar
19
g
,
Vitamin A
173
IU
,
Calcium
94
mg
,
Iron
1
mg
