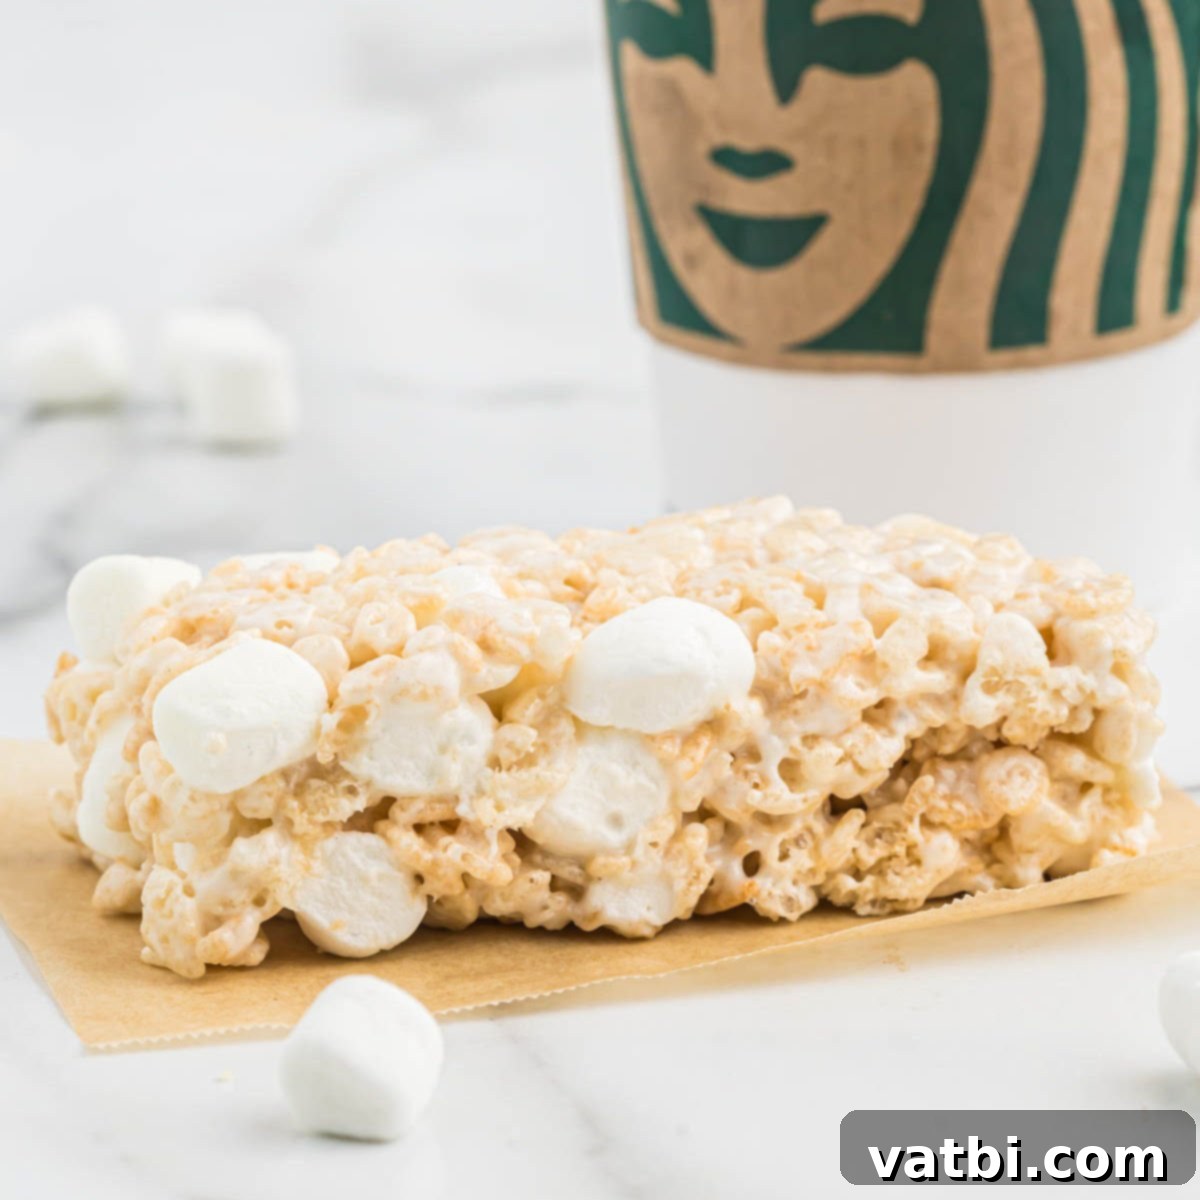
Homemade Starbucks Marshmallow Dream Bars: Your Easy Copycat Recipe for Gooey Perfection
Are you craving that iconic, irresistibly gooey **Starbucks Marshmallow Dream Bar** but wish you could enjoy it anytime without a trip to the coffee shop? Good news! This delectable treat is incredibly simple to recreate right in your own kitchen. With **just 5 essential ingredients**, you can whip up these ooey-gooey marshmallow delights that taste just like, if not better than, the original. Get ready to indulge in a classic comfort food, perfect for any occasion, all while saving money and enjoying the satisfaction of homemade baking.
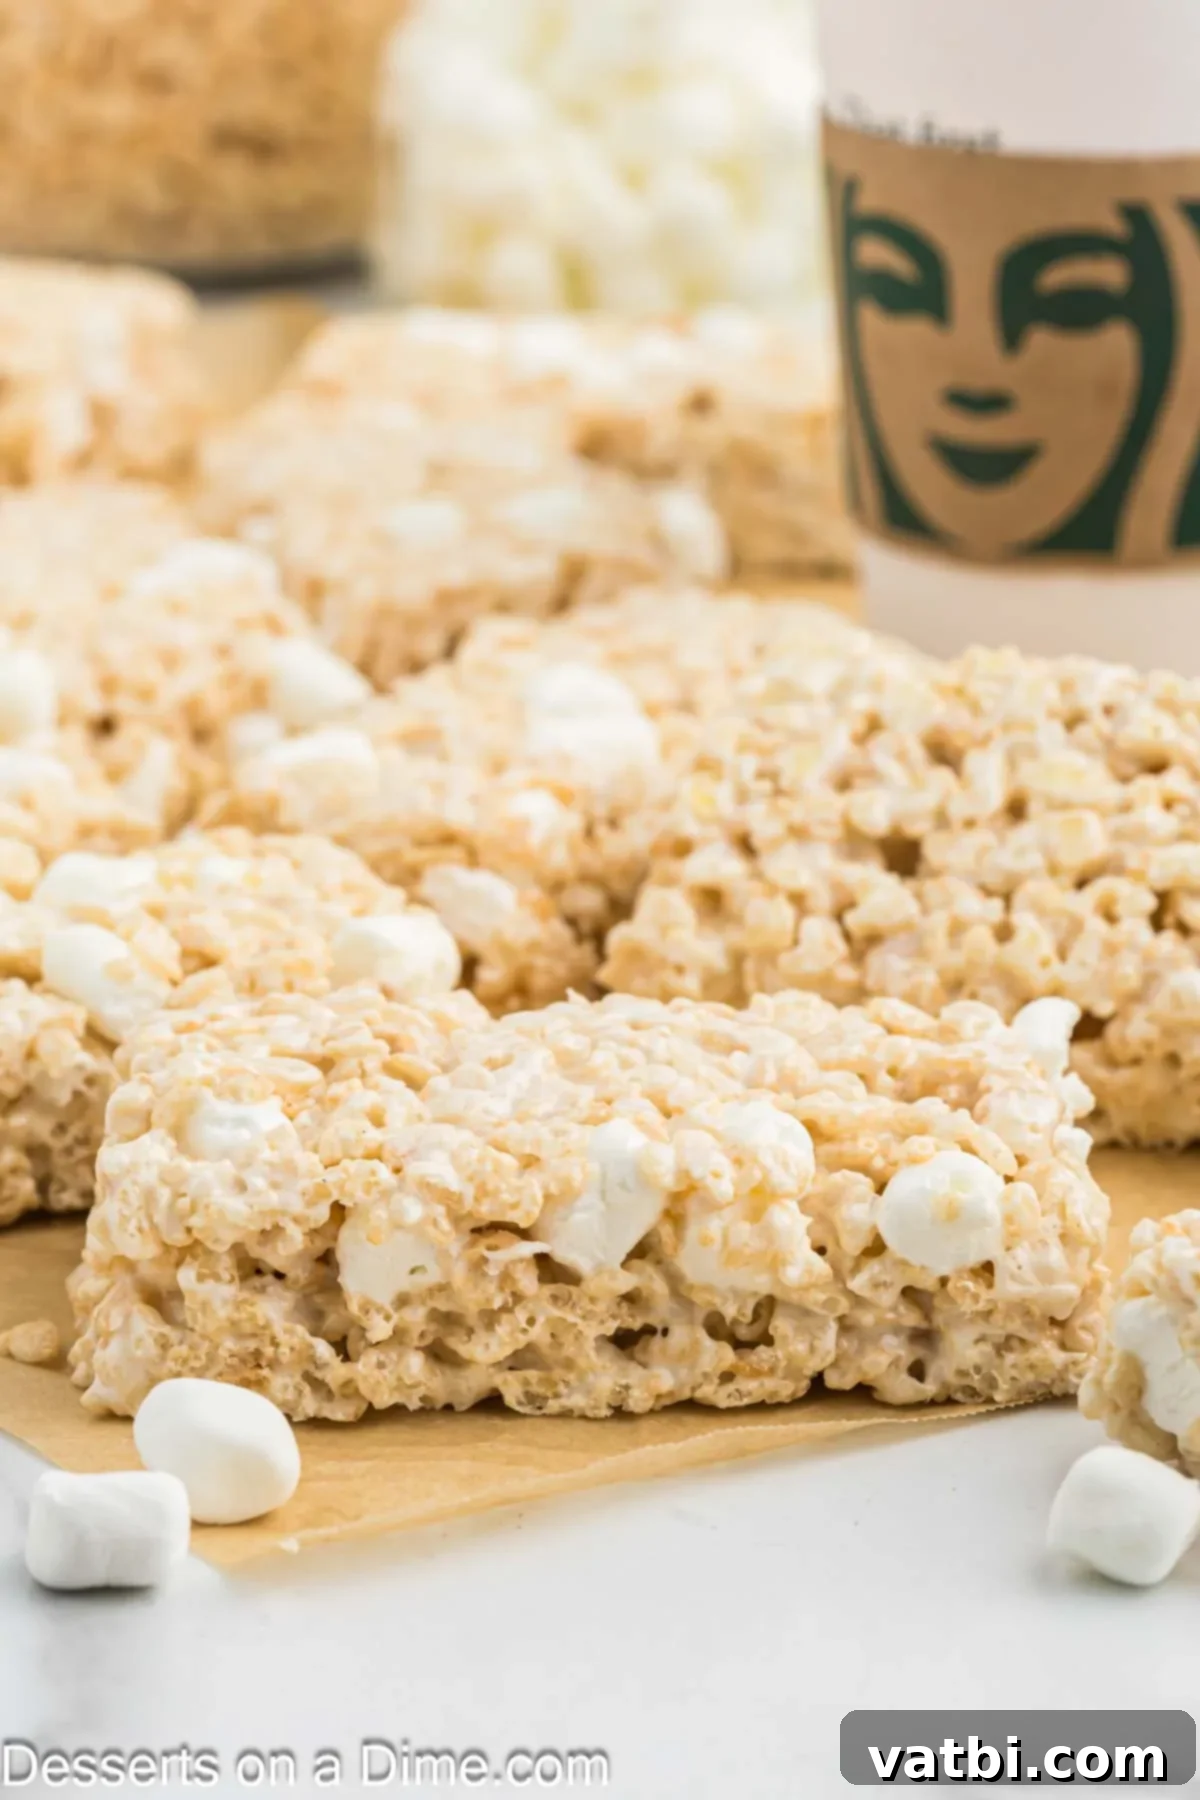
For many of us, a visit to Starbucks isn’t complete without pairing our favorite coffee with one of their famous treats. And if you’re a fan of classic Rice Krispie Treats, then the Starbucks Marshmallow Dream Bar is likely a go-to indulgence. Its signature ooey-gooey texture and rich, sweet flavor are simply unmatched. After countless trips and realizing how much these delicious bars added up, I embarked on a mission to perfect a homemade version. The result? An absolutely amazing copycat recipe that delivers all the flavor and chewiness of the original, right from my kitchen. It’s become a family favorite, saving us money and satisfying those sweet cravings effortlessly.
My passion for recreating beloved Starbucks treats at home doesn’t stop here. From the delightful Starbucks Lemon Cake Pop Recipe to the rich Starbucks Brownies Recipe, I love bringing those coffee shop flavors into our daily lives. This Marshmallow Dream Bar recipe is another testament to how easy and rewarding it can be to make your favorite treats from scratch.
Table of Contents
- Why We Love This Recipe
- Ingredients for Starbucks Marshmallow Dream Bars
- Step-by-Step Instructions: Making Your Dream Bars
- Proper Storage for Marshmallow Dream Bars
- Pro Tips for Perfect Marshmallow Dream Bars
Why We Absolutely Love This Copycat Recipe
There are so many reasons to fall in love with this homemade Starbucks Marshmallow Dream Bar recipe. First and foremost, it offers the ultimate convenience. Imagine having these delightful treats ready to enjoy whenever a craving strikes, without having to leave your house or stand in line. It’s perfect for those impromptu dessert moments, after-school snacks, or even a quick grab-and-go breakfast treat (we won’t tell!).
Beyond the convenience, the financial savings are a huge plus. Regularly buying these bars from Starbucks can quickly add up, but making them at home is remarkably cost-effective. Plus, you get to control the quality of ingredients, ensuring a fresh and delicious outcome every time. This recipe is incredibly versatile, making it ideal for lunchbox surprises, bake sales, potlucks, or simply as a special homemade dessert to share with family and friends. The joy of creating something so beloved from scratch, and seeing the smiles it brings, is truly rewarding.
What makes this recipe truly stand out is its simplicity. Requiring just five basic ingredients and minimal effort, it’s a fantastic recipe for beginners and seasoned bakers alike. The preparation and cook time are incredibly short, meaning you can go from craving to indulging in under 30 minutes (plus cooling time!). It’s a foolproof way to get that authentic ooey-gooey texture and sweet marshmallow flavor that Starbucks fans adore.
Essential Ingredients for Your Starbucks Marshmallow Dream Bars
One of the best things about this copycat recipe is the short and sweet ingredient list. Each component plays a crucial role in achieving the signature taste and texture of the Starbucks Marshmallow Dream Bar. Make sure to use high-quality ingredients for the best possible results.
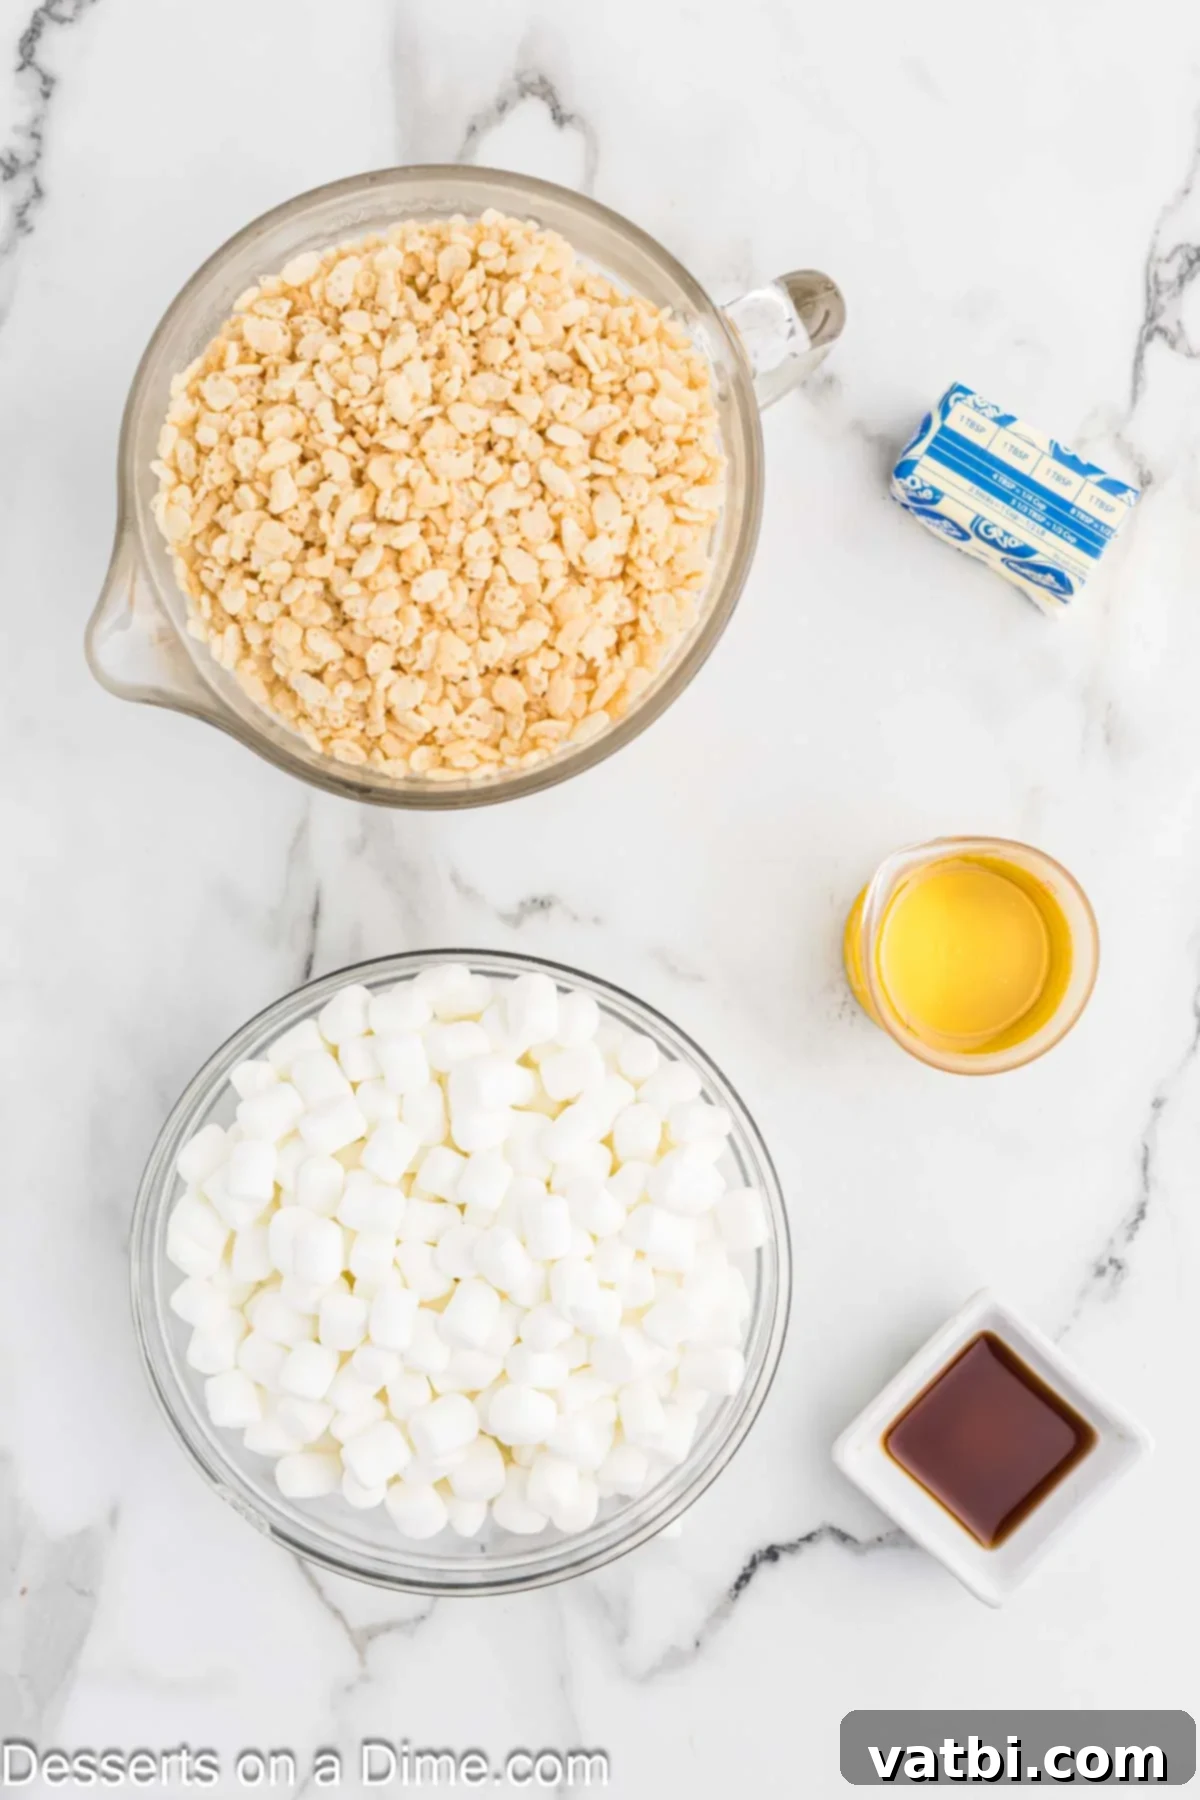
- Corn Syrup: This is a key ingredient for achieving that perfectly chewy, gooey texture and preventing the marshmallows from crystallizing. While you *can* substitute honey or agave nectar, be aware that these alternatives will impart a slightly different flavor profile to your dream bars, moving a little further from the authentic Starbucks taste. For the closest copycat, corn syrup is highly recommended.
- Unsalted Butter: Always opt for real butter for the richest flavor. Unsalted butter allows you to control the overall saltiness of the bars. If you only have salted butter on hand, you can use it, but you might want to consider slightly reducing any additional salt if you plan to add a sea salt topping.
- Rice Krispies Cereal: The foundation of any great Rice Krispie treat! For optimal taste and a delightful crisp texture, ensure your cereal is fresh. Stale cereal will result in a harder, less appealing bar. Check the expiration date and make sure the box has been sealed properly to maintain freshness.
- Mini Marshmallows: The mini size is absolutely essential for this recipe. They melt much more quickly and evenly than larger marshmallows, creating a smoother, more consistent marshmallow mixture. Crucially, we’ll be using a portion of these to melt into the base and then stirring in a reserved amount at the end, which is the secret to those delicious, chewy, pockets of gooey marshmallow that define the Starbucks Dream Bar.
- Pure Vanilla Extract: Don’t skimp on this! Pure vanilla extract makes a significant difference in the overall flavor of your bars. It adds a warm, aromatic depth that imitation vanilla simply can’t replicate. A good quality vanilla enhances the sweetness and rounds out the flavors beautifully.
You’ll find the complete, precise ingredient measurements and quantities listed in the detailed recipe card at the bottom of this page, ensuring you have everything you need for marshmallow dream bar success!
Step-by-Step Instructions: Crafting Your Perfect Marshmallow Dream Bars
Making these Starbucks Marshmallow Dream Bars is a straightforward process, but following these steps carefully will ensure you achieve that perfect gooey consistency and delightful flavor.
- Step 1: Prepare Your Baking Dish. Begin by greasing a standard 9×13 inch baking pan. You can use butter, cooking spray, or even line it with parchment paper for easy removal. Greasing prevents the sticky marshmallow mixture from adhering to the pan, making both pressing and cutting much simpler. Once prepared, set your pan aside, ready for the delicious mixture.
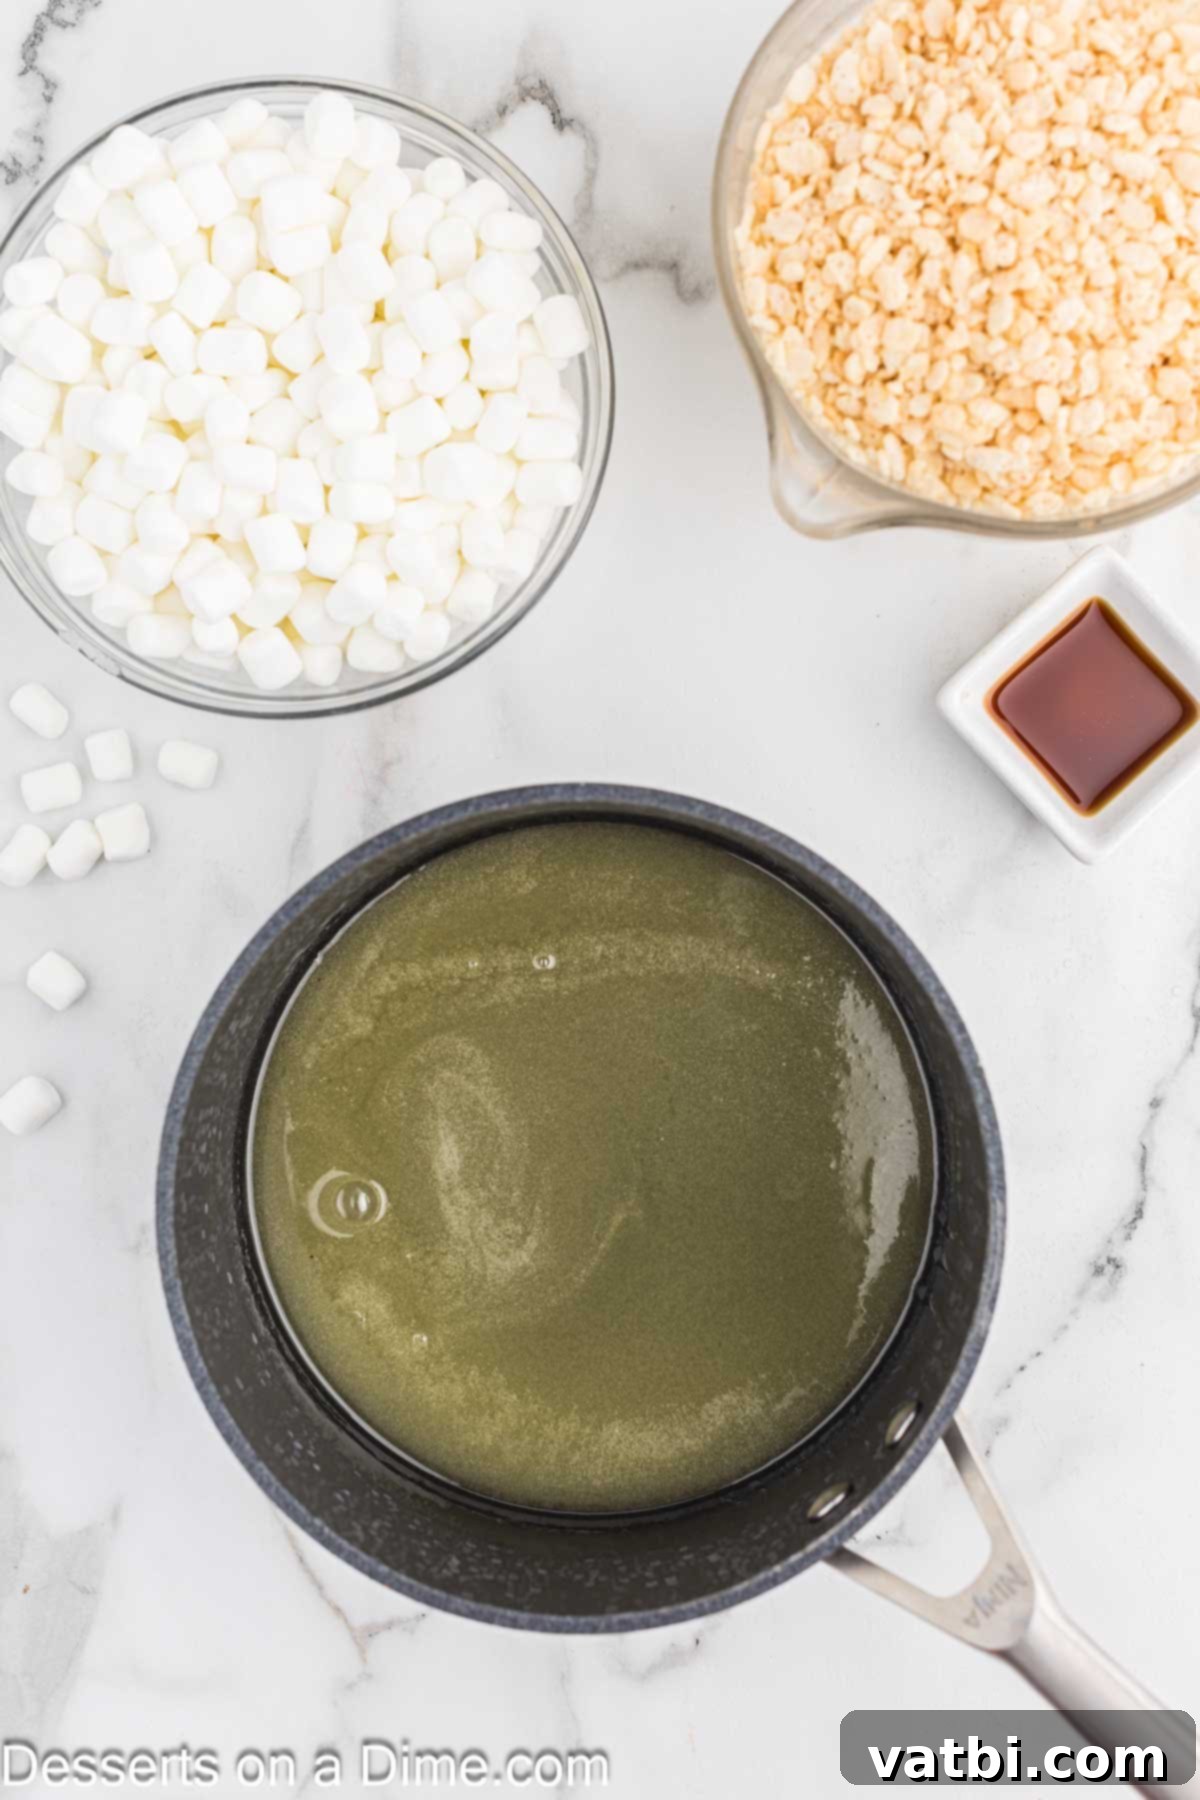
Step 2: Melt Butter and Corn Syrup. In a large, heavy-bottomed saucepan, combine the unsalted butter and corn syrup. Place the saucepan over medium heat, stirring occasionally, until the butter is completely melted and the two ingredients are well combined. The mixture should be smooth and slightly shimmering. This step creates the foundational gooey base for your treats.
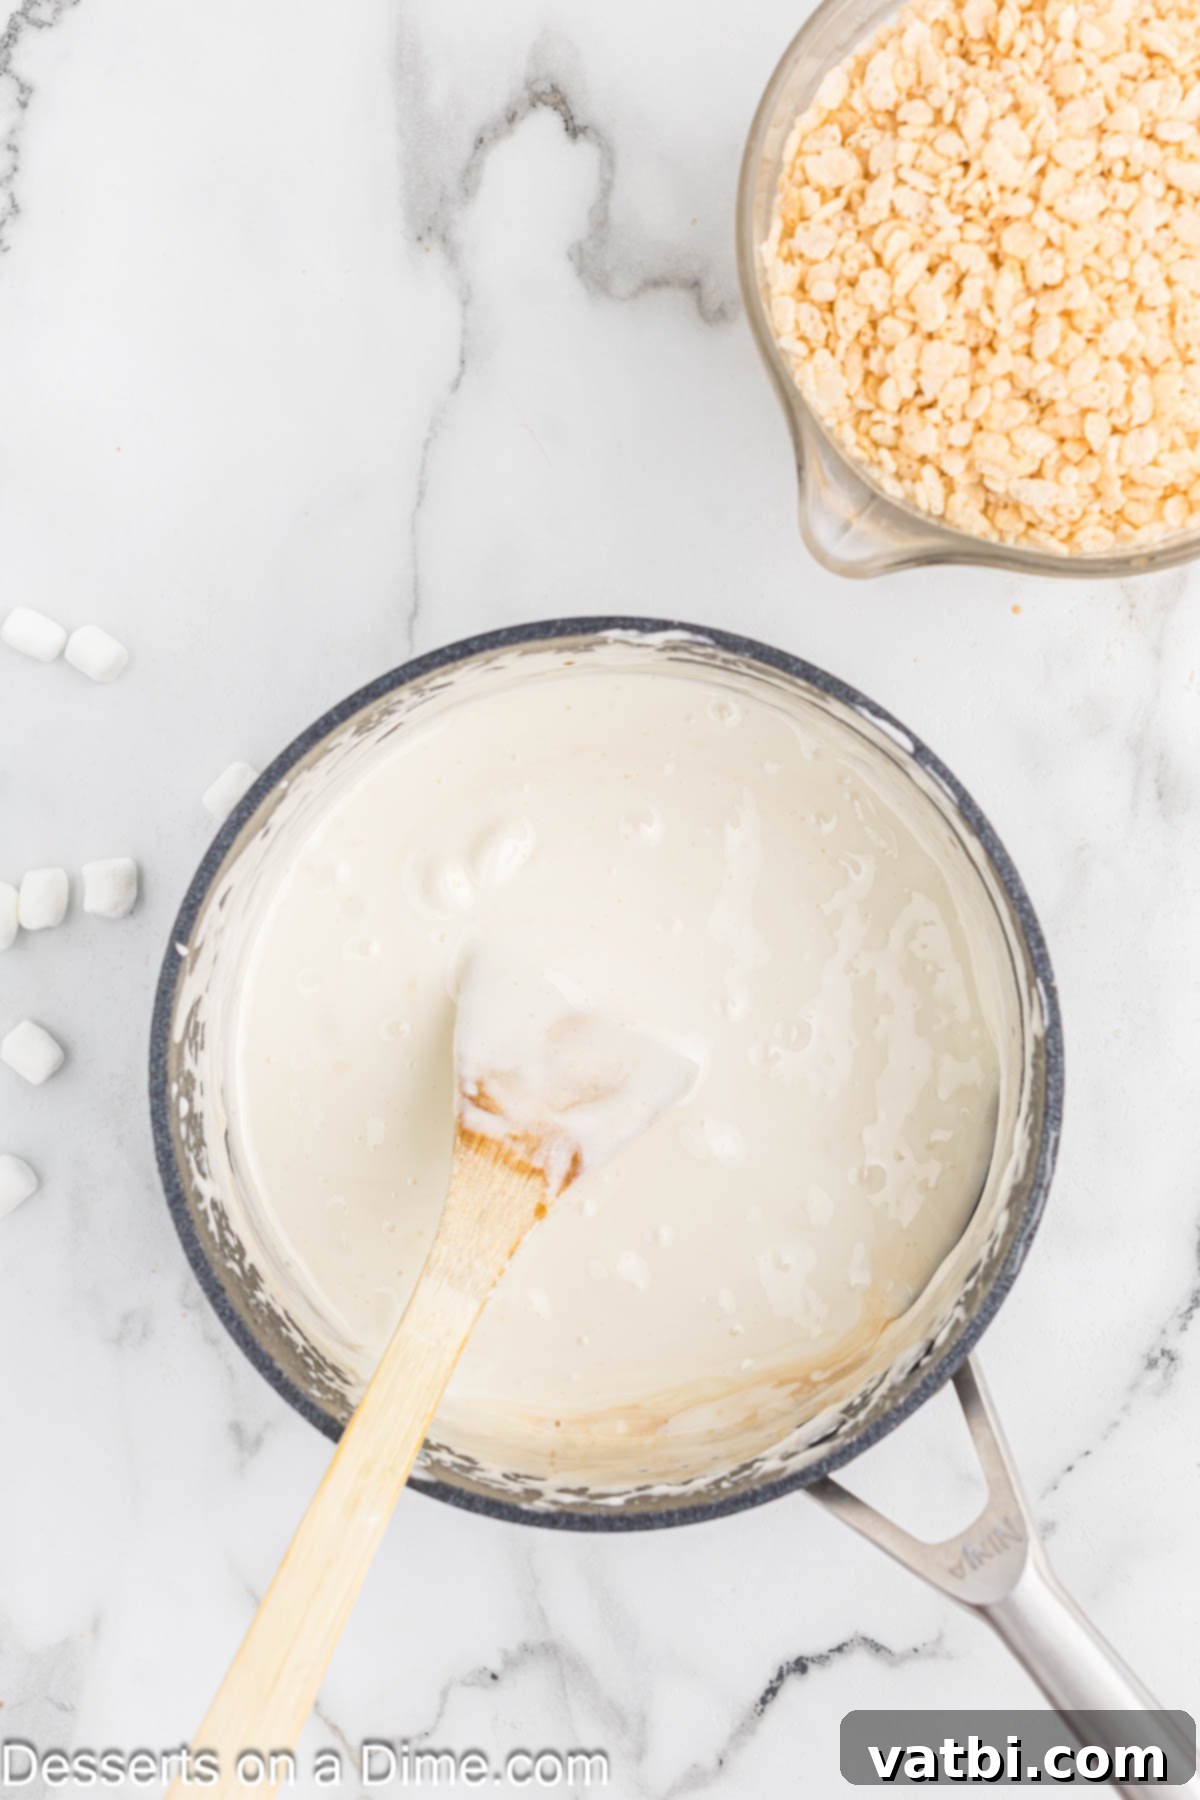
Step 3: Melt the Marshmallows. Before adding all the marshmallows, make sure to reserve about 6 ounces of the mini marshmallows for later. This is a crucial step for achieving that signature Starbucks texture with delightful pockets of un-melted marshmallow. Now, pour the *remaining* marshmallows into the melted butter and corn syrup mixture. Continue to heat the mixture over medium-low heat, stirring constantly with a spatula. It’s important to stir continuously to prevent the marshmallows from sticking to the bottom of the pan or burning. Keep heating until the marshmallows are completely melted and the mixture is smooth and creamy.
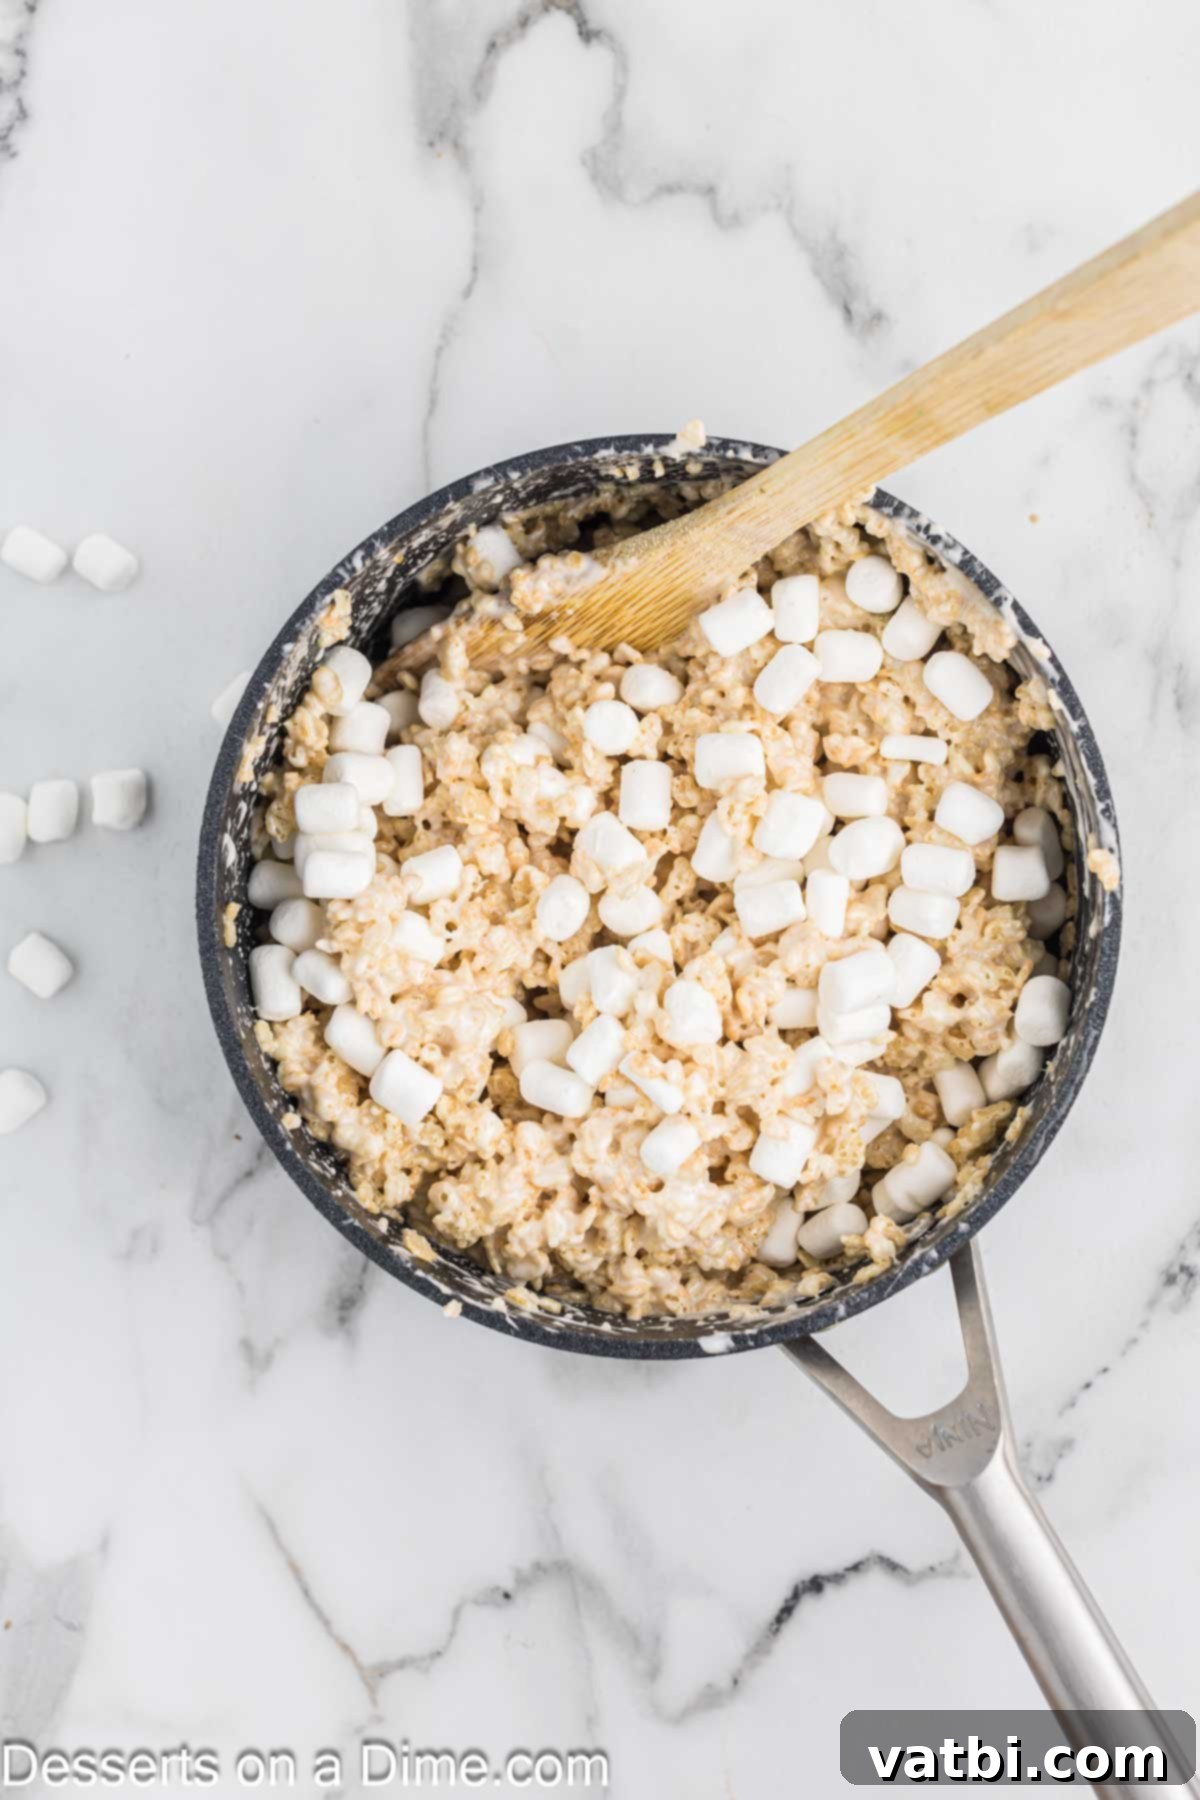
Step 4: Combine with Cereal and Extra Marshmallows. Once the marshmallows are fully melted, remove the pan immediately from the heat. Stir in the Rice Krispies cereal gently but thoroughly until every piece is coated with the sweet marshmallow mixture. At this point, mix in the remaining reserved mini marshmallows. These will partially melt from the residual heat, creating those wonderful, chewy, un-melted marshmallow pockets that make these bars truly special and akin to the Starbucks version.
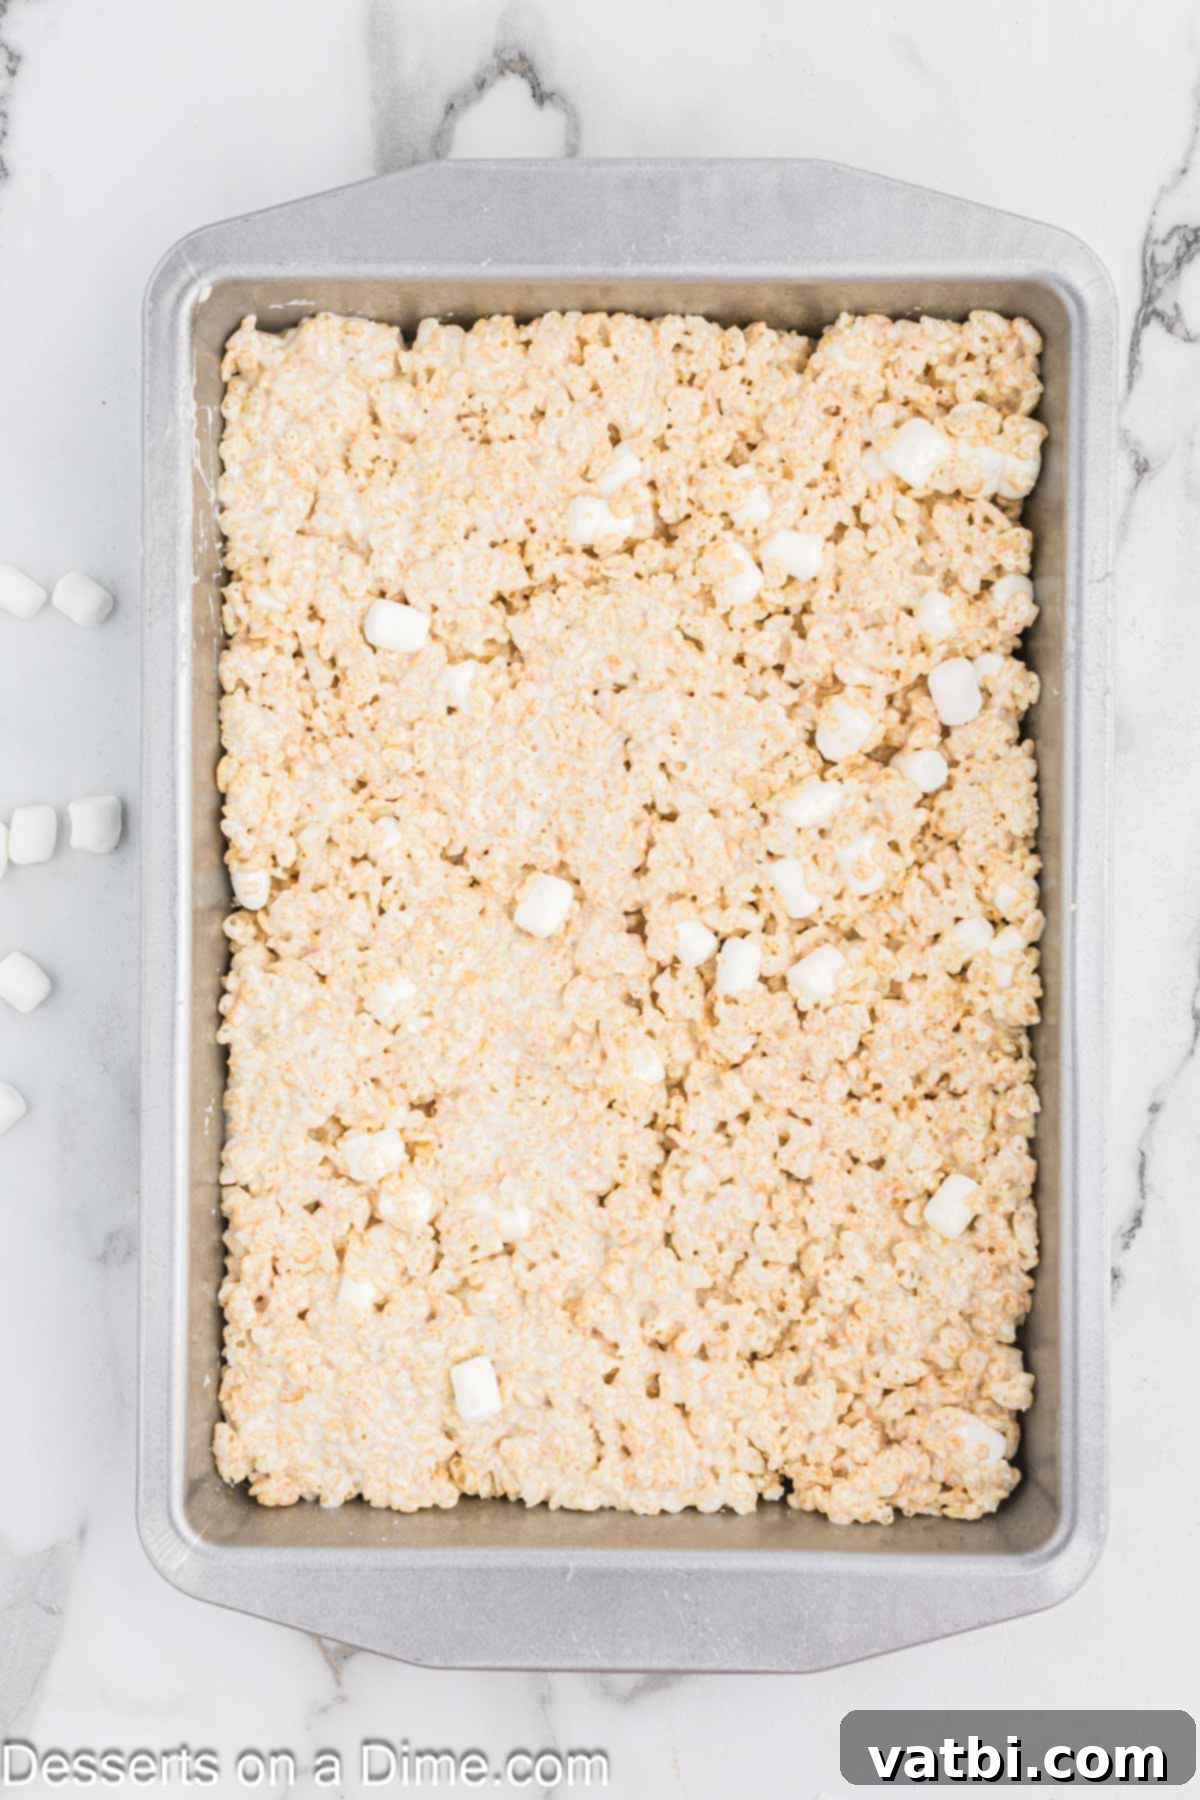
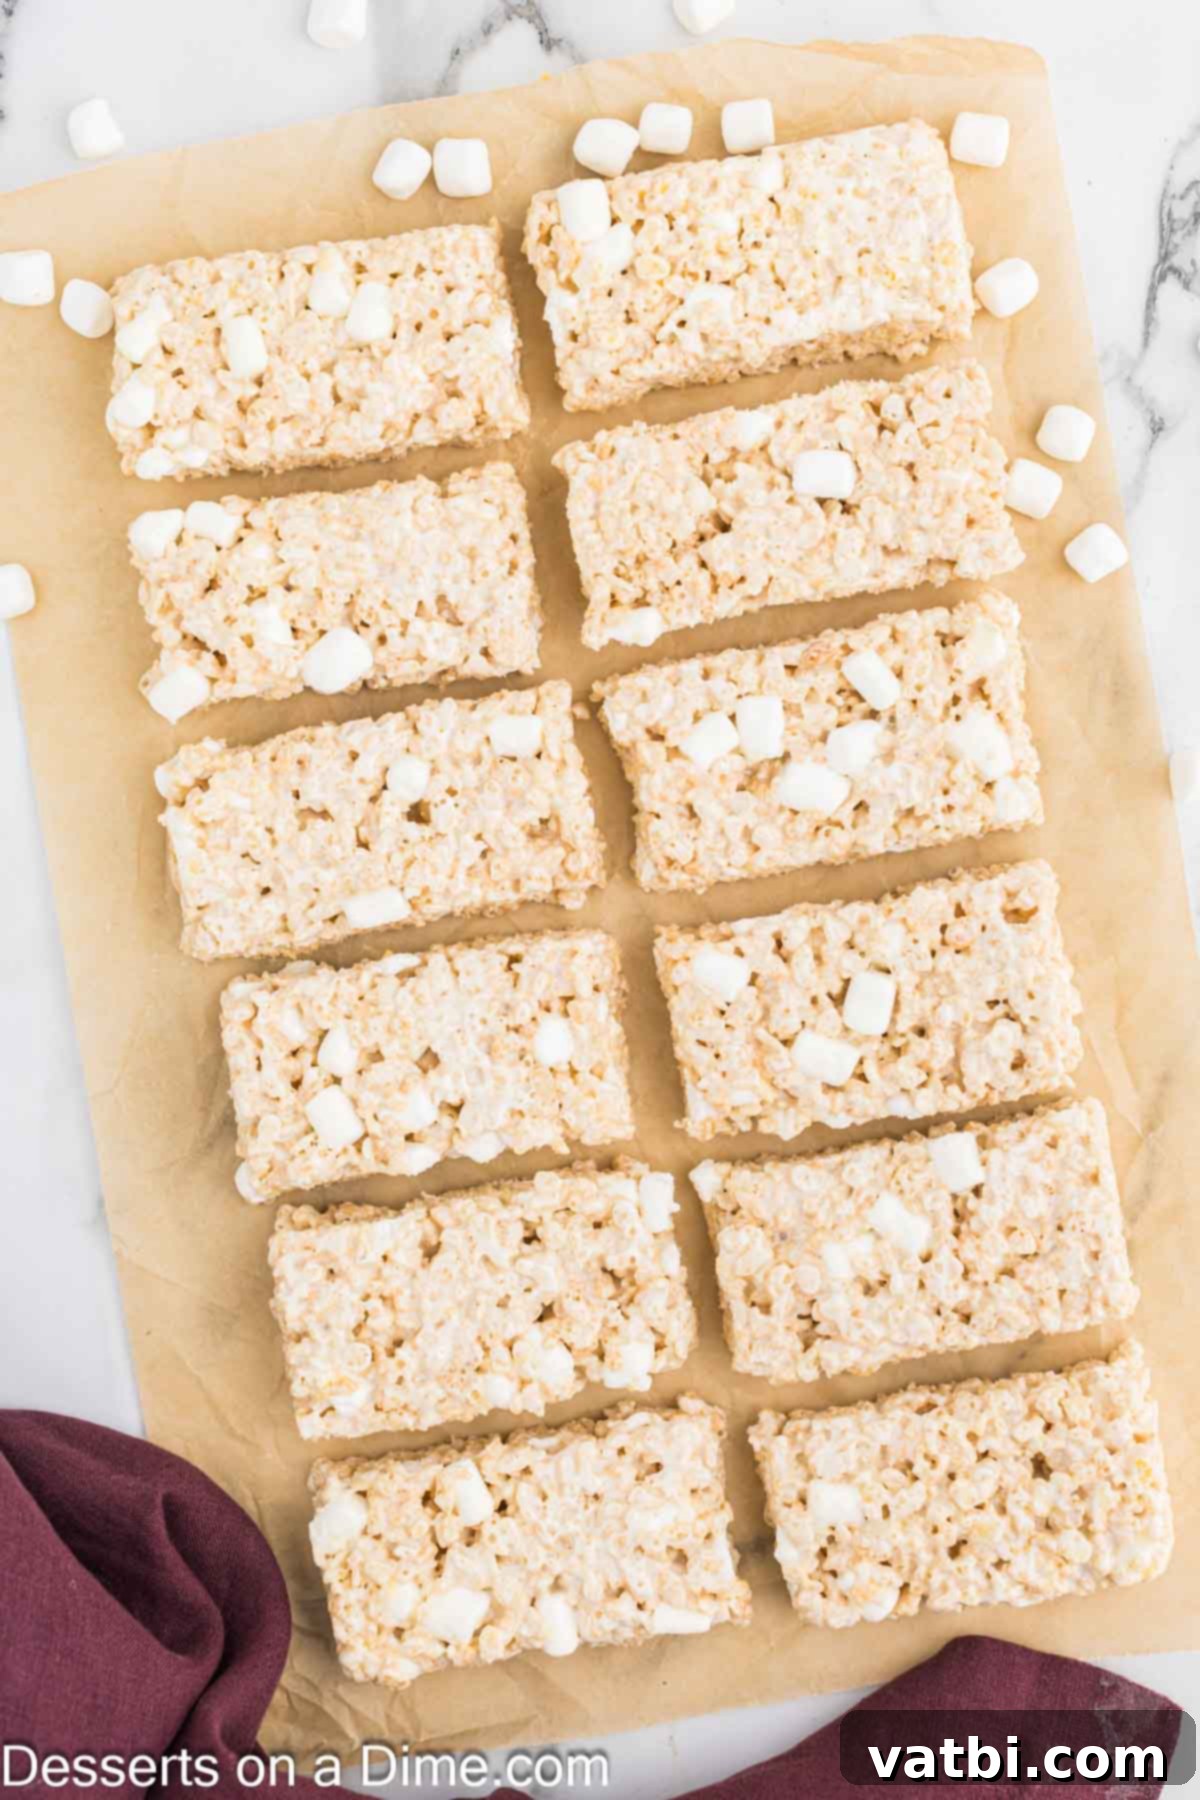
Step 5: Press, Cool, and Cut. Now, quickly spread the warm cereal mixture into your prepared 9×13 inch pan. To press the mixture evenly into the bottom of the pan without it sticking to your hands, I highly recommend using a piece of wax paper. For even easier handling, spray the wax paper lightly with cooking spray. Remember to press *gently* – pressing too hard will result in dense, hard bars instead of soft, chewy ones. Once pressed, allow the bars to cool completely at room temperature, which usually takes about an hour. Resist the urge to cut them while warm, as they will be too soft and sticky. Once cooled, slice into desired bar sizes. For an extra touch, you can sprinkle with a pinch of flaky sea salt for a delightful sweet and salty contrast. Enjoy your homemade Starbucks Marshmallow Dream Bars!
Proper Storage for Your Delicious Marshmallow Dream Bars
Proper storage is key to maintaining the irresistible gooey texture and freshness of your homemade Starbucks Marshmallow Dream Bars. These treats are best enjoyed when stored correctly.
Always store any leftover bars in an airtight container at room temperature. This is crucial for preserving their soft, chewy consistency. When stored this way, they will remain wonderfully fresh and delicious for 2-3 days. If you stack them, you might want to place a piece of parchment or wax paper between layers to prevent them from sticking together. Avoid placing them in direct sunlight or overly warm environments, as this can make them too soft and potentially melt the marshmallows.
It’s important to reiterate: **do not refrigerate these bars!** While it might seem like a good idea to keep them cool, refrigeration causes the marshmallows to harden significantly, turning your perfectly gooey dream bars into dense, tough bricks. The cereal can also lose its pleasant crispness when exposed to cold, damp air. For maximum enjoyment, room temperature storage is always the best approach.
Pro Tips for Achieving Perfect Marshmallow Dream Bars Every Time
To ensure your homemade Starbucks Marshmallow Dream Bars are absolutely perfect, keep these expert tips in mind. They’ll help you replicate that delightful Starbucks quality and avoid common pitfalls.
- Do Not Refrigerate the Bars: This cannot be stressed enough! Refrigeration is the arch-nemesis of a perfectly gooey marshmallow treat. The cold air will cause the sugar in the marshmallows to crystallize and harden, resulting in a firm, chewy, and less enjoyable bar. For that signature soft and yielding texture, always allow them to cool and store them at room temperature.
- Don’t Skip the Extra Marshmallows: This is the secret ingredient for the “dream” aspect! Adding a portion of mini marshmallows at the very end, after removing the mixture from the heat, is what creates those delightful pockets of partially melted, chewy marshmallow throughout the bar. It mimics the unique texture of the Starbucks version, adding an extra layer of gooey goodness that fully melted marshmallows alone can’t achieve.
- Ensure Fresh Cereal and Marshmallows: The quality and freshness of your primary ingredients are paramount. If you use stale Rice Krispies, they won’t have that satisfying crunch, and the bars will taste flat. Similarly, old or hardened marshmallows will not melt smoothly and will result in a tougher, less pleasant texture. Always use fresh ingredients for the best results.
- Don’t Press the Mixture Too Hard: When spreading the mixture into the pan, be gentle. Pressing too firmly compacts the cereal, removing air pockets and leading to dense, hard bars instead of the light, airy, and chewy texture you’re aiming for. A light, even press is all you need to ensure they hold together without becoming brick-like.
- Grease Your Tools: Marshmallow mixtures are notoriously sticky! To make handling easier, lightly grease your spatula, hands (if you’re using them), and the piece of wax paper you use to press the mixture into the pan with cooking spray or butter. This will prevent frustrating sticking and help you get a smooth, even layer.
- Patience During Cooling: While it’s tempting to dive in immediately, allowing the bars to cool *completely* at room temperature is essential. This not only sets the bars so they can be cut cleanly but also allows the flavors and textures to fully develop. About an hour should do the trick, but a little longer won’t hurt.
- Flavor Variations: Feel free to experiment! While these are delicious as is, you can enhance them with a drizzle of melted chocolate, a sprinkle of festive sprinkles for holidays, or even a tiny amount of almond extract for a subtle flavor twist.
More Starbucks Copycat Recipes to Try at Home
Cakes
Starbucks Chocolate Cake Pops Recipe
Quick Bread
Starbucks Pumpkin Bread Recipe
Cookies
Starbucks Snowman Cookie
Cakes
Starbucks Cake Pops Recipe
We encourage you to try this amazing **Starbucks Marshmallow Dream Bar recipe** today! Experience the joy of making these beloved gooey treats at home. Once you do, please take a moment to leave a star recipe rating and share your comments. Your feedback helps other home bakers and motivates us to keep creating delicious copycat recipes for you to enjoy!
Pin
Starbucks Marshmallow Dream Bar Copycat Recipe
Ingredients
- 1/2 cup Light Corn Syrup (essential for chewiness and preventing crystallization)
- 4 Tablespoons Unsalted Butter (real butter for best flavor)
- 6 cups Fresh Rice Krispies Cereal (for crisp texture)
- 15 ounces Mini Marshmallows divided (1 bag, 6 oz reserved for later)
- 1 1/2 teaspoon Pure Vanilla Extract (for rich, authentic flavor)
Instructions
-
1. Prepare the Baking Dish: Generously grease a 9×13 inch baking pan with butter or cooking spray. Alternatively, line it with parchment paper, leaving an overhang on the sides for easy lifting later. Set aside.
-
2. Melt Butter and Corn Syrup: In a large, heavy-bottomed saucepan, melt the butter and corn syrup over medium heat. Stir continuously until the butter is fully melted and the mixture is smooth and combined.
-
3. Melt Marshmallows (Divided): Reserve approximately 6 ounces (about 3 cups) of the mini marshmallows for later. Pour the *remaining* mini marshmallows into the saucepan with the butter and corn syrup mixture.
-
4. Stir Until Smooth: Continue to heat the marshmallow mixture over medium-low heat, stirring constantly with a spatula. It is crucial to stir continually to prevent burning. Heat until the marshmallows are completely melted and the mixture is smooth and creamy.
-
5. Combine with Cereal and Vanilla: Remove the pan from the heat immediately. Stir in the Rice Krispies cereal and vanilla extract until the cereal is thoroughly coated.
-
6. Add Reserved Marshmallows: Now, mix in the reserved 6 ounces of mini marshmallows. These will partially melt from the residual heat, creating those wonderful, gooey pockets that distinguish Starbucks Marshmallow Dream Bars.
-
7. Press into Pan: Pour the warm mixture into your prepared pan. Use a piece of wax paper (lightly sprayed with non-stick spray for easier handling) to *gently* press the Rice Krispies mixture evenly into the bottom of the pan. Avoid pressing too hard, which can make the bars dense.
-
8. Cool and Serve: Allow the bars to cool completely at room temperature for approximately 1 hour. Once fully cooled and set, slice them into bars of your desired size. Optionally, sprinkle with flaky sea salt for a delicious sweet and salty twist. Serve and enjoy your homemade Starbucks Marshmallow Dream Bars!
Recipe Notes
Nutrition Facts
Pin This Now to Remember It Later
Pin Recipe
