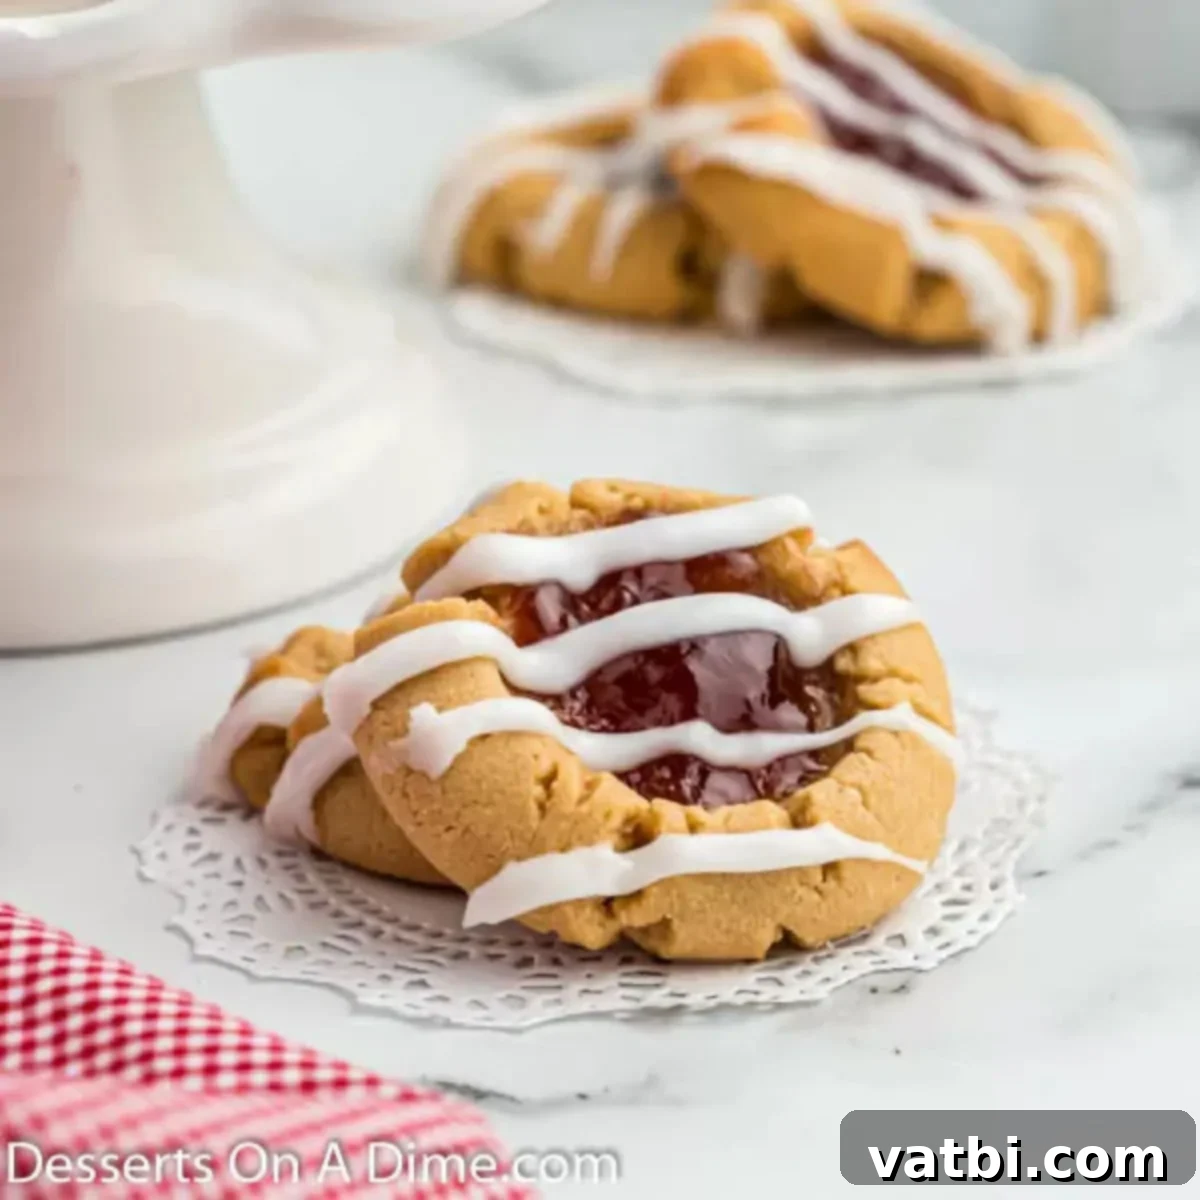
Easy Homemade Peanut Butter and Jelly Cookies: A Nostalgic Treat with a Delicious Glaze
There are some flavor combinations that simply stand the test of time, and peanut butter and jelly is undoubtedly one of them. What if you could transform that beloved sandwich into an irresistible cookie? Introducing our incredibly easy and utterly delicious Peanut Butter and Jelly Cookies recipe! These aren’t just any cookies; they’re a delightful journey back to childhood, crafted with a soft, chewy peanut butter base, a sweet, fruity jam center, and finished with a delicate glaze that elevates every bite. This recipe is designed to be simple enough for any home baker, yet impressive enough to become a staple in your dessert repertoire. Get ready to bake a batch of pure happiness that truly does not disappoint!
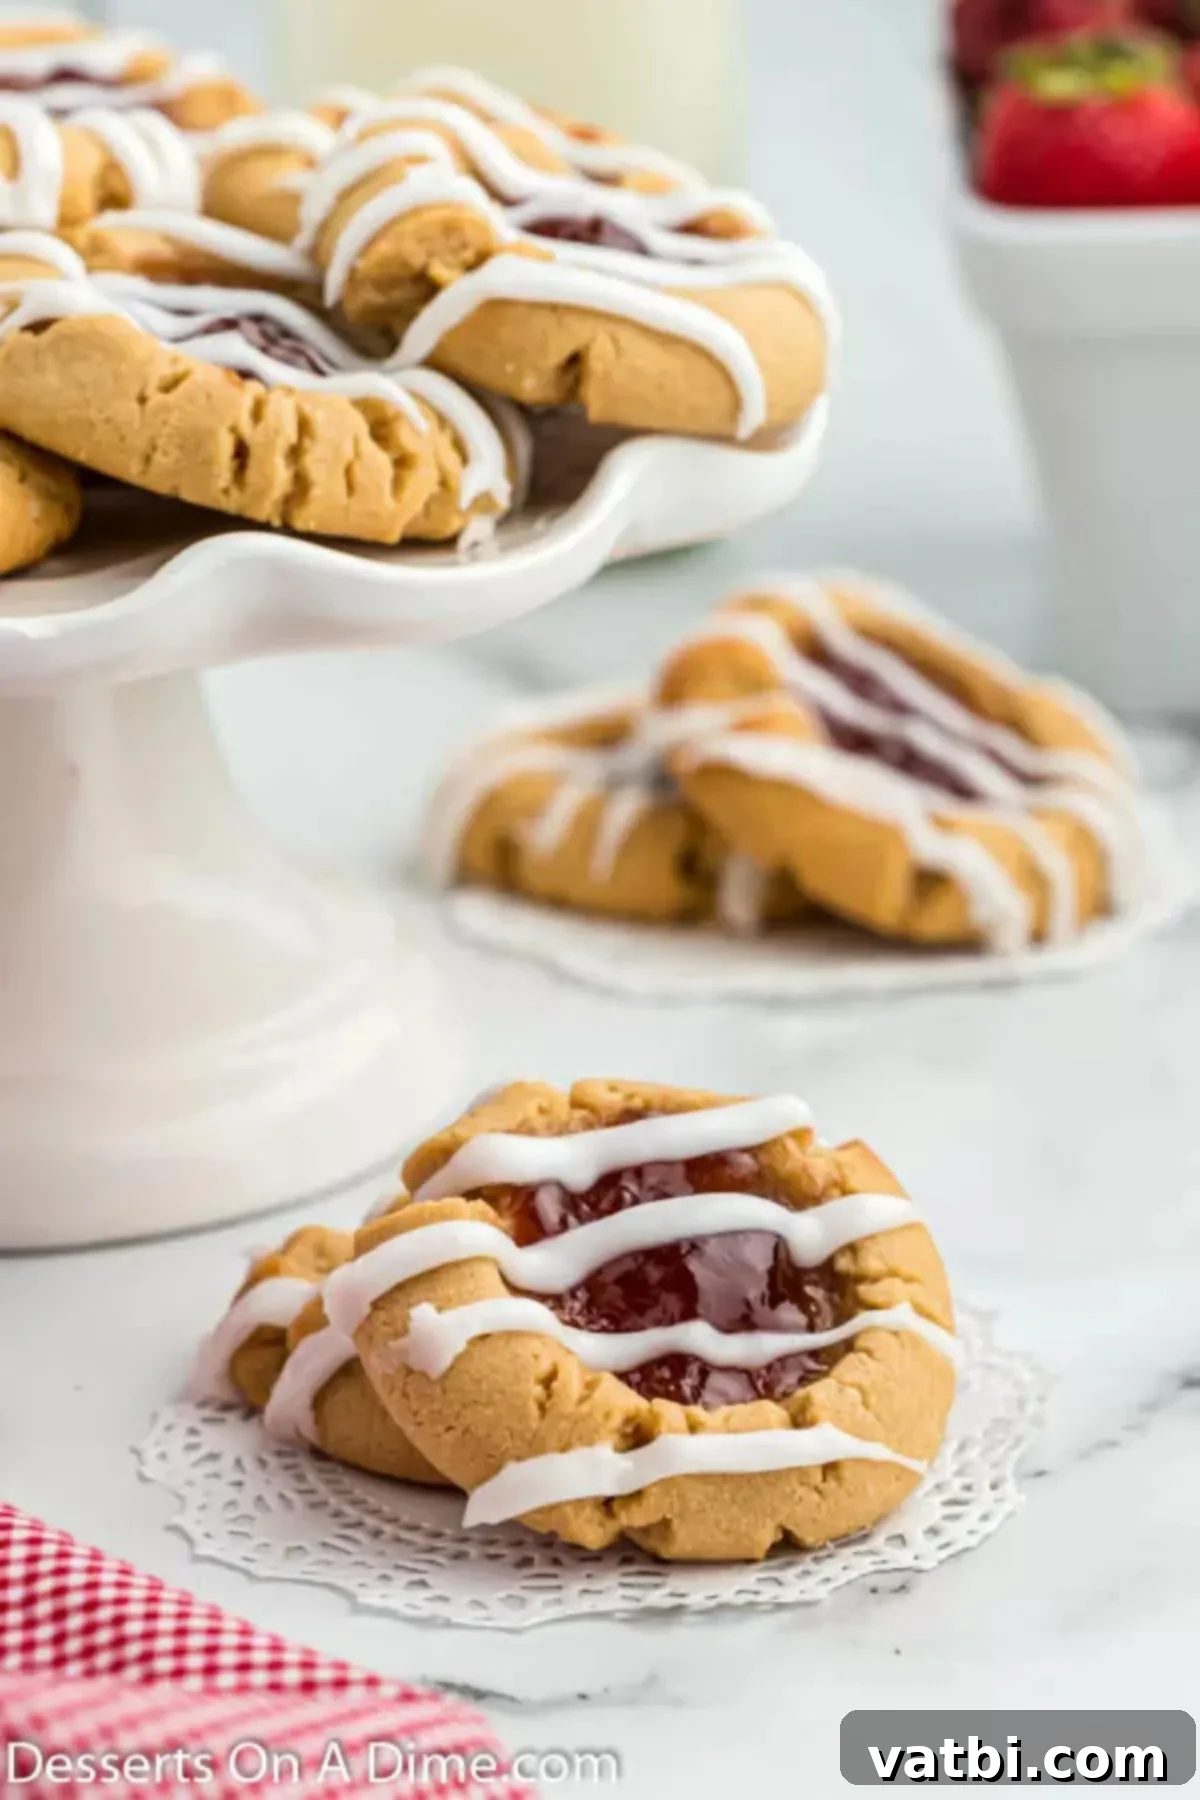
Why You’ll Fall in Love with These PB&J Cookies
If you’re a devoted fan of the classic peanut butter and jelly sandwich, prepare to have your world rocked by these amazing cookies. We’ve taken everything you adore about that iconic combination and baked it into a soft, chewy, and utterly satisfying treat. Here’s why this recipe will quickly become a family favorite:
- Nostalgic Flavor in Every Bite: These cookies capture the essence of a childhood favorite. The creamy peanut butter cookie base perfectly complements the sweet and tangy jam filling, evoking warm memories with every mouthful. It’s comfort food in cookie form!
- Incredibly Simple to Make: Don’t let their gourmet appearance fool you; these Peanut Butter and Jelly Cookies are surprisingly easy to whip up. With straightforward steps and common pantry ingredients, you don’t need to be an expert baker to achieve fantastic results. It’s a perfect project for a relaxing afternoon or baking with kids.
- Soft, Chewy, and Irresistible: The texture of these cookies is pure perfection. They’re soft and tender, with just the right amount of chewiness that makes them truly addictive. The rich peanut butter flavor shines through, creating a delightful base for the fruity surprise in the middle.
- Customizable to Your Taste: While we adore strawberry jam, this recipe is incredibly versatile. You can easily swap out the jelly for your favorite flavor, or even try different kinds of nut butter. The possibilities are endless, allowing you to personalize each batch to your preference.
- The Perfect Finishing Touch: The optional, yet highly recommended, glaze adds an extra layer of sweetness and a beautiful presentation. It takes these cookies from delicious to absolutely divine, making them suitable for any occasion, from casual snacking to special gatherings.
Whether you’re looking for a fun new dessert, a treat to share, or just a little something to brighten your day, these peanut butter and jelly cookies are guaranteed to impress. They truly embody the spirit of homemade goodness and are sure to bring smiles to everyone who tries them. If you love Peanut Butter Cookies, this new recipe will definitely remind you of your favorite childhood sandwich. Peanut butter fans might also enjoy making these Homemade Nutter Butter Cookies.
Table of contents
- Why You’ll Fall in Love with These PB&J Cookies
- Essential Ingredients for Peanut Butter and Jelly Cookies
- Creative Variations and Substitutions
- Step-by-Step: How to Make the Best Peanut Butter and Jelly Cookies
- Making the Perfect Glaze
- Pro Baking Tips for Success
- Frequently Asked Questions About PB&J Cookies
- More Irresistible Cookie Recipes
Essential Ingredients for Peanut Butter and Jelly Cookies
Crafting these delectable Peanut Butter and Jelly Cookies requires a few simple, everyday ingredients that likely already grace your pantry. The magic truly happens when these components come together to form the perfect blend of sweet and savory. Here’s a closer look at what you’ll need, along with a few helpful tips for each:
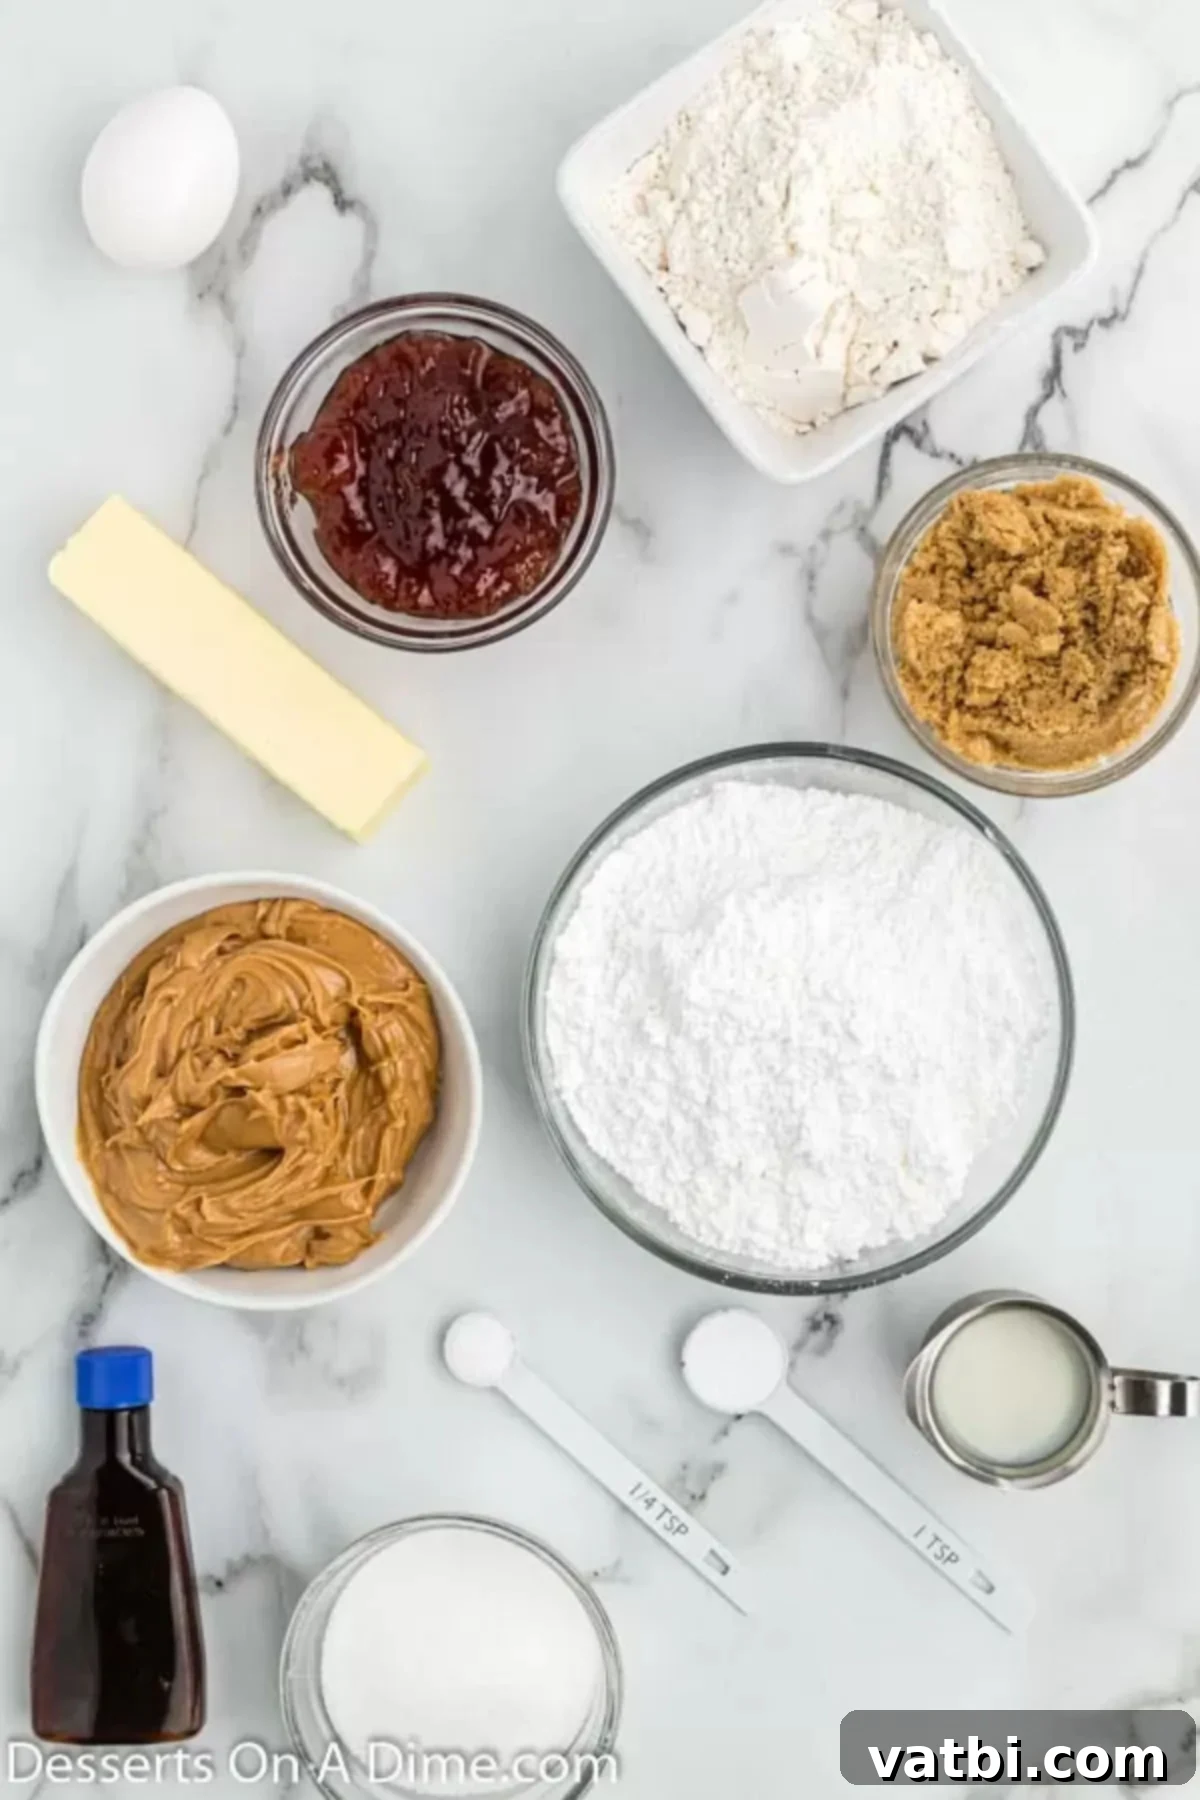
- Unsalted Butter (Softened): For optimal cookie texture, ensure your butter is at room temperature. This allows it to cream properly with the sugars, creating a light and fluffy base. Using unsalted butter gives you control over the salt content in your recipe.
- Granulated Sugar & Brown Sugar: The combination of these two sugars creates a cookie that is perfectly sweet and wonderfully chewy. Granulated sugar provides crispness, while brown sugar adds moisture and a hint of molasses flavor, contributing to that irresistible soft texture.
- Creamy Peanut Butter: For the smoothest, most consistent cookie dough, creamy peanut butter is highly recommended. Avoid natural peanut butters that separate, as their oil content can affect the cookie’s structure. Look for brands like Jif or Skippy for best results.
- Large Egg: The egg acts as a binder, holding all the ingredients together and adding richness to the cookie dough. Ensure it’s also at room temperature for better emulsification.
- Vanilla Extract: A touch of vanilla enhances all the other flavors, adding a warm, aromatic depth that is essential in any great cookie. Use pure vanilla extract for the best flavor profile.
- All-Purpose Flour: The backbone of our cookie. For accurate measurement, always spoon the flour into your measuring cup and then level it off with a straight edge, rather than scooping directly from the bag. This prevents over-measuring, which can lead to dry cookies.
- Baking Soda: This leavening agent helps the cookies rise slightly and contributes to their tender crumb. If you’re out, check out our guide on Best Baking Soda Substitutes.
- Salt: A pinch of salt balances the sweetness and brings out the robust flavor of the peanut butter. Don’t skip it!
- Strawberry Jam: We suggest using about ½ cup of your favorite strawberry jam for the centers. This amount typically provides enough for all the cookies. While strawberry is classic, feel free to experiment with other flavors!
- Powdered Sugar (for the Glaze): Also known as confectioners’ sugar, this creates the smooth, quick-drying glaze. Sifting it ensures there are no lumps, resulting in a silky-smooth finish.
- Milk (for the Glaze): A small amount of whole milk helps achieve the perfect consistency for the glaze. You can adjust the quantity slightly to make the glaze thinner or thicker.
With these quality ingredients and a little love, you’ll be well on your way to baking a batch of the most delightful Peanut Butter and Jelly Cookies imaginable. The complete, precise measurements are listed in the detailed recipe card at the bottom of this page.
Creative Variations and Substitutions
While the classic strawberry jam and creamy peanut butter combination is a guaranteed hit, these Peanut Butter and Jelly Cookies are incredibly adaptable! Don’t be afraid to get creative and customize them to your liking or to simply use what you have on hand. Here are some fantastic ideas to inspire your next batch:
- Explore Different Jams and Jellies: The world of preserves is your oyster! Instead of strawberry, consider these delicious alternatives:
- Grape Jelly: A timeless classic, grape jelly offers that authentic school-lunch PB&J flavor.
- Raspberry Jam: For a slightly tarter, more sophisticated twist, raspberry jam (with or without seeds) works wonderfully.
- Apricot or Peach Preserves: These offer a delightful sweetness and often have small fruit chunks for added texture.
- Blueberry or Cherry Preserves: Rich and flavorful, these can add a beautiful color and deep fruitiness.
- Fig Jam: For an elevated, gourmet touch, fig jam pairs surprisingly well with peanut butter.
- Switch Up the Peanut Butter:
- Crunchy Peanut Butter: If you love a bit of texture, swap creamy peanut butter for crunchy. Those extra peanut pieces will add a fantastic nutty crunch to your cookies.
- Almond Butter or Cashew Butter: For those with a peanut allergy or simply looking for a different flavor profile, almond butter or cashew butter can be used. Just ensure they have a similar consistency to creamy peanut butter.
- Nutella: Turn these into “Peanut Butter and Chocolate Hazelnut” cookies! Use a dollop of Nutella instead of jam for a truly indulgent treat.
- Alternative Glaze Options: The simple powdered sugar glaze is perfect, but you can certainly experiment:
- Cream Cheese Glaze: Whisk together softened cream cheese, powdered sugar, a splash of milk, and a hint of vanilla for a richer, tangy topping.
- Chocolate Drizzle: Melt some chocolate chips (milk, dark, or white) and drizzle over the cooled cookies instead of or in addition to the glaze.
- No Glaze: If you prefer a less sweet cookie, or are short on time, these cookies are absolutely delicious even without the glaze. The jam center provides plenty of flavor!
- Add-Ins to the Dough:
- Mini Chocolate Chips: Fold a handful of mini chocolate chips into the peanut butter cookie dough for a triple-threat cookie.
- Chopped Nuts: Enhance the nutty flavor by adding finely chopped peanuts or other nuts to the dough.
- Sprinkles: Make them extra festive by adding colorful sprinkles to the dough or on top of the glaze.
Don’t be afraid to experiment! Half the fun of baking is discovering new favorite combinations. Whatever variation you choose, these PB&J cookies are sure to be a delightful success.
Step-by-Step: How to Make the Best Peanut Butter and Jelly Cookies
Baking these delightful Peanut Butter and Jelly Cookies is a straightforward process, even for novice bakers. Follow these detailed steps to create perfectly soft, chewy, and flavorful cookies that everyone will adore. Remember to read through all the instructions before you begin!
- Step 1: Prepare Your Oven and Baking Sheets. Begin by preheating your oven to 350°F (175°C). While the oven heats, line several baking sheets with parchment paper or silicone baking mats. This ensures your cookies won’t stick and will bake evenly, making cleanup a breeze.
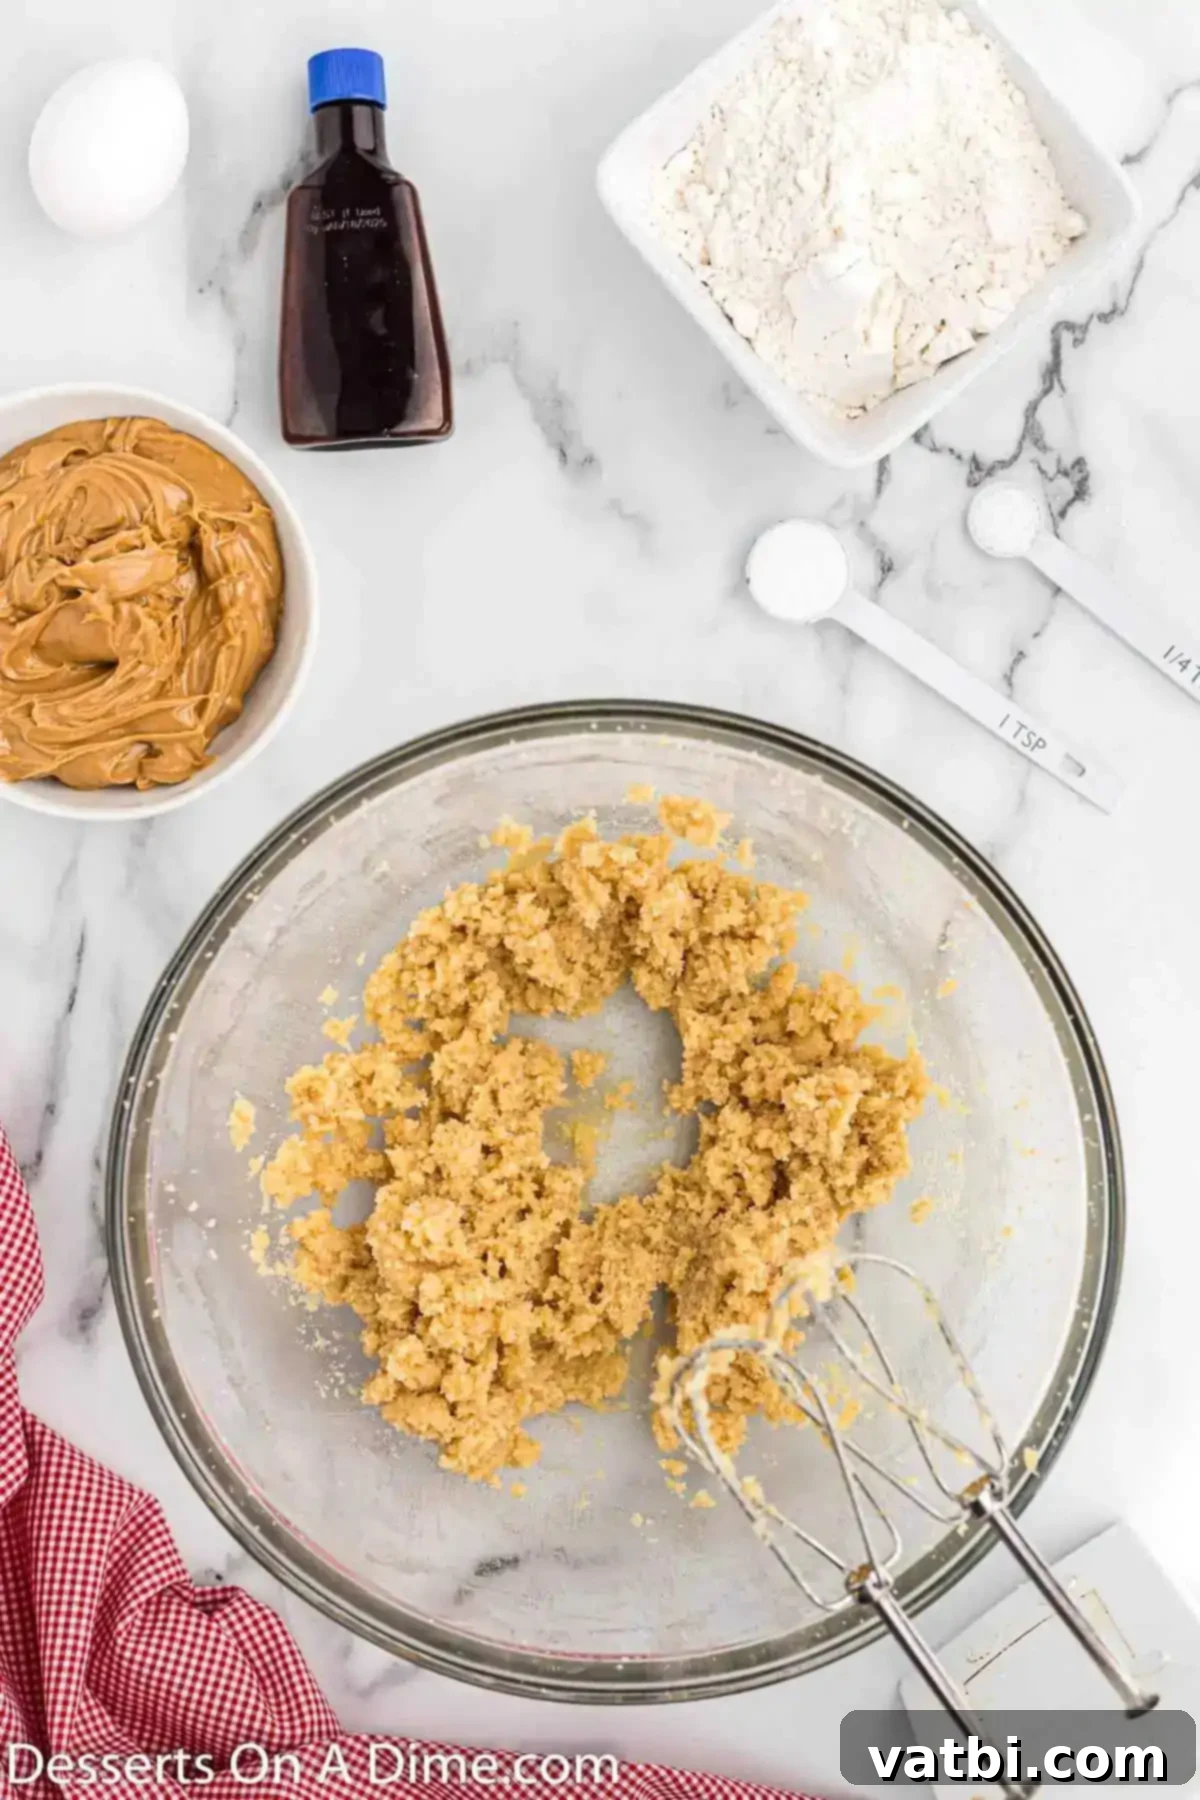
Step 2: Cream Wet Ingredients. In a large mixing bowl, using either a stand mixer with the paddle attachment or a hand mixer, beat together the softened unsalted butter, granulated sugar, and brown sugar. Beat on medium speed until the mixture is light, fluffy, and pale in color, typically 2-3 minutes. This aeration is crucial for a tender cookie. Next, add the creamy peanut butter, large egg, and vanilla extract. Continue mixing until all ingredients are well combined and the mixture is smooth and uniform, scraping down the sides of the bowl as needed.
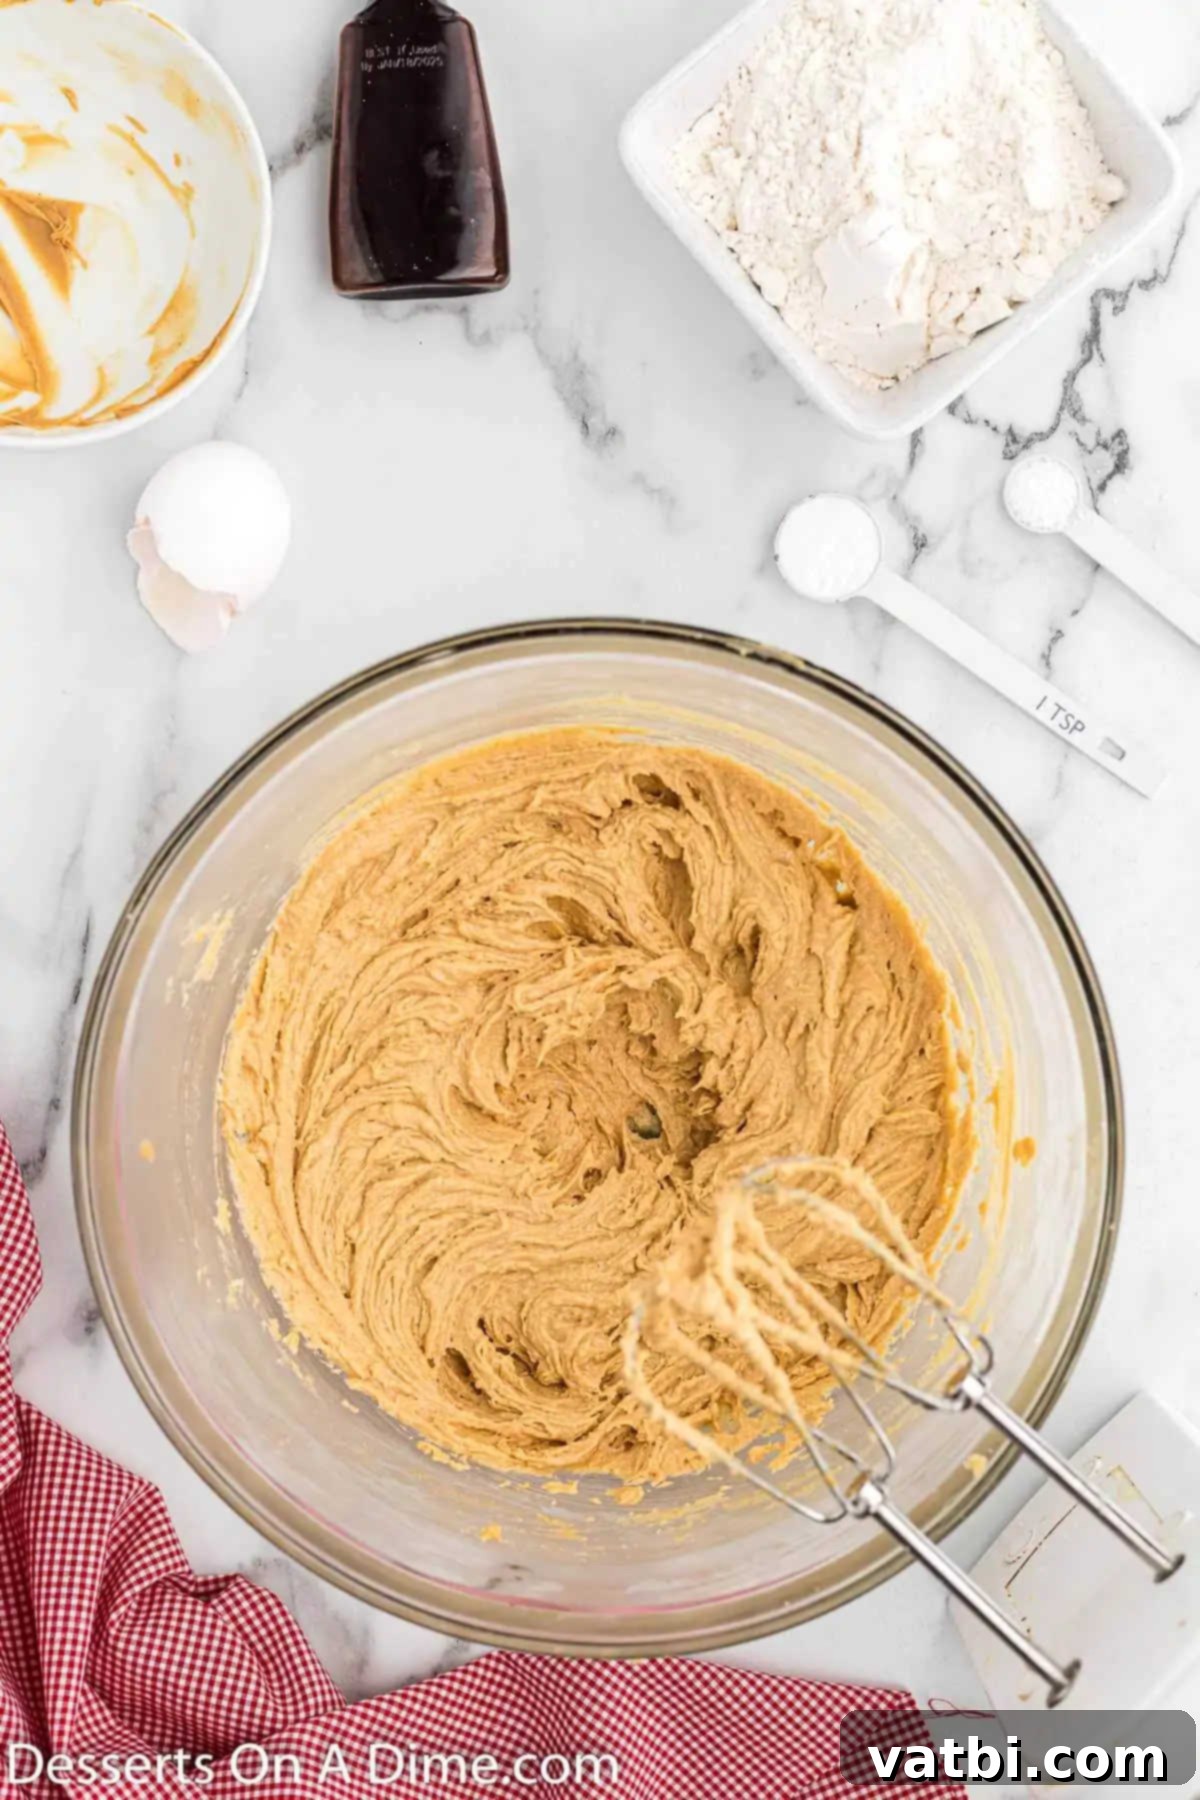
Step 3: Incorporate Dry Ingredients. In a separate medium bowl, whisk together the all-purpose flour, baking soda, and salt. Gradually add these dry ingredients to the wet mixture, mixing on low speed until just combined. It’s very important not to over-mix at this stage, as over-developing the gluten can lead to tough cookies. Stop mixing as soon as no streaks of flour are visible.
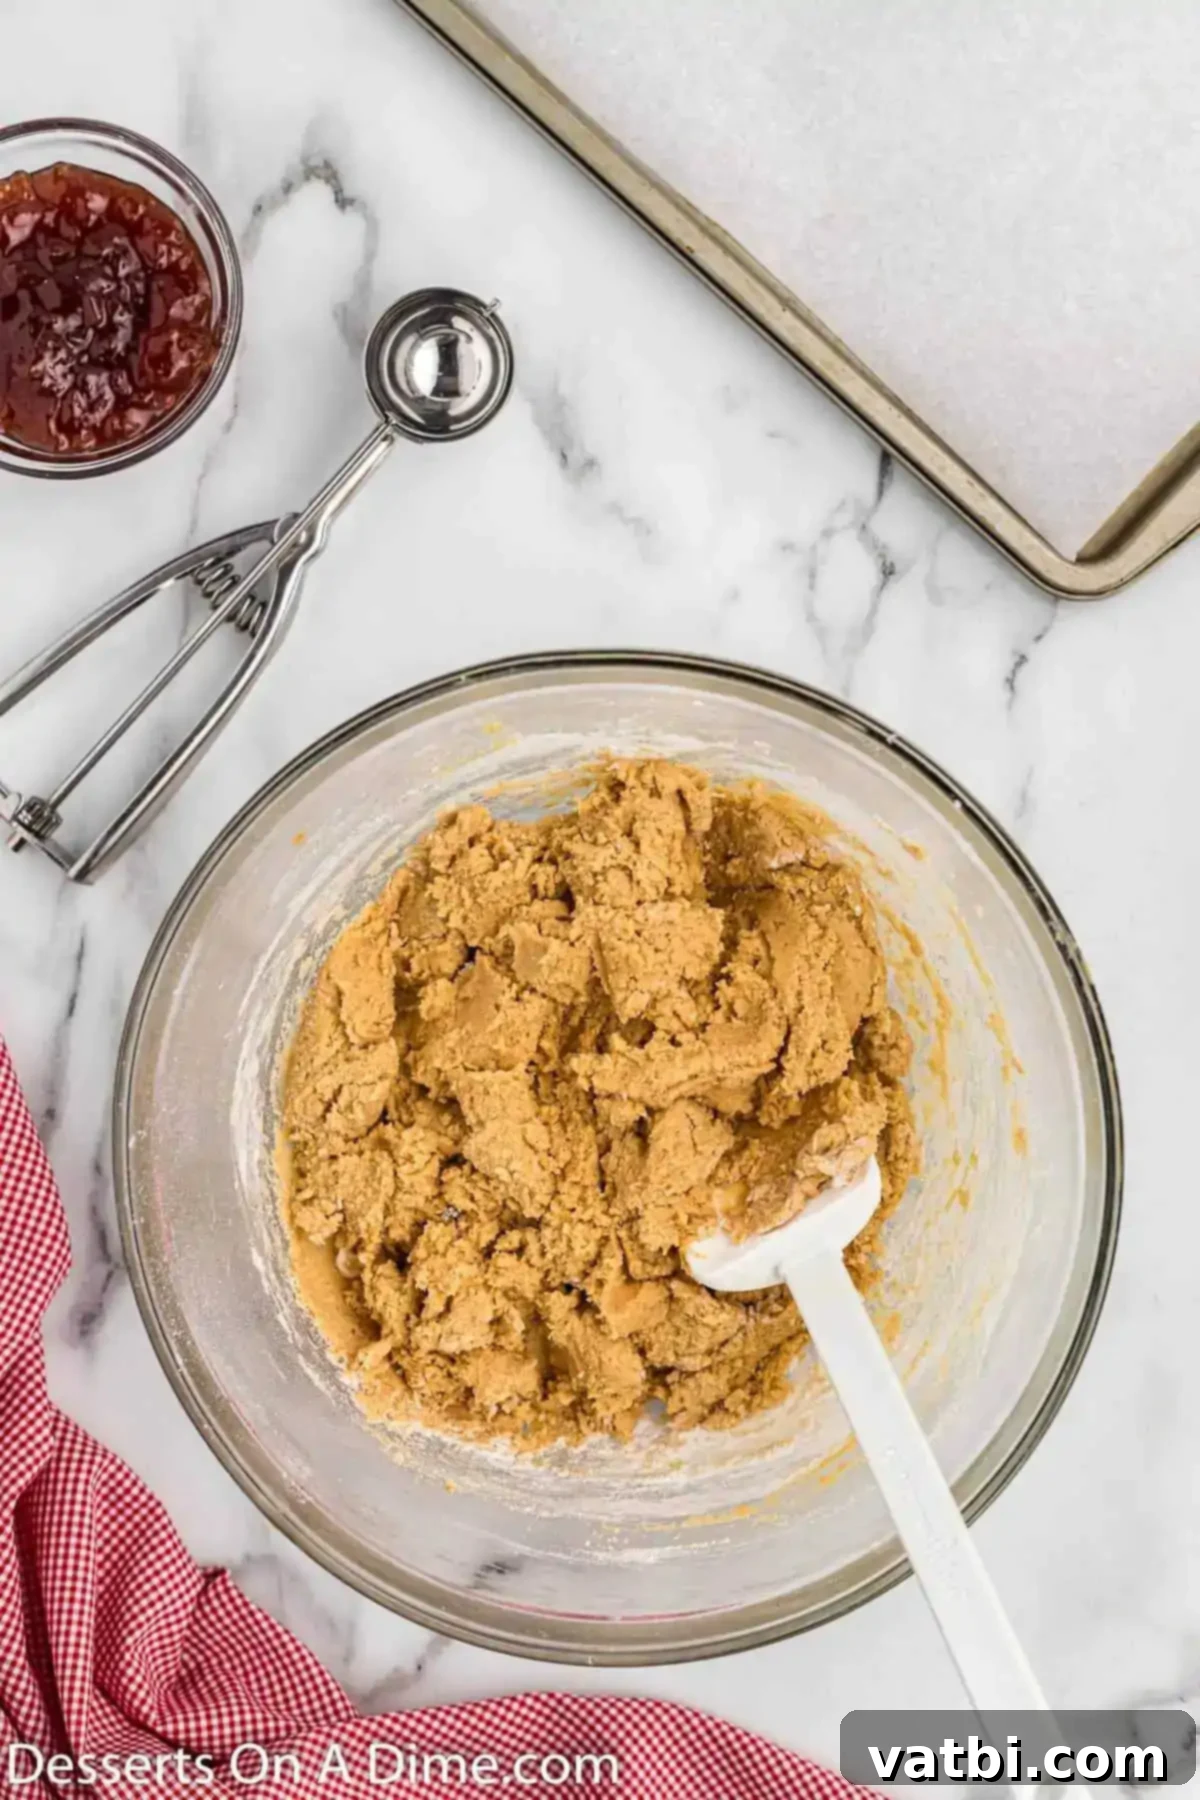
Step 4: Form the Cookie Balls. Scoop the cookie dough into uniform balls, each approximately 1 to 1 ½ inches in diameter. A cookie scoop (about 1.5 tablespoons) is highly recommended for consistency, which helps ensure even baking. If you don’t have a scoop, you can roll them by hand. Aim for roughly 24 cookies from this recipe.
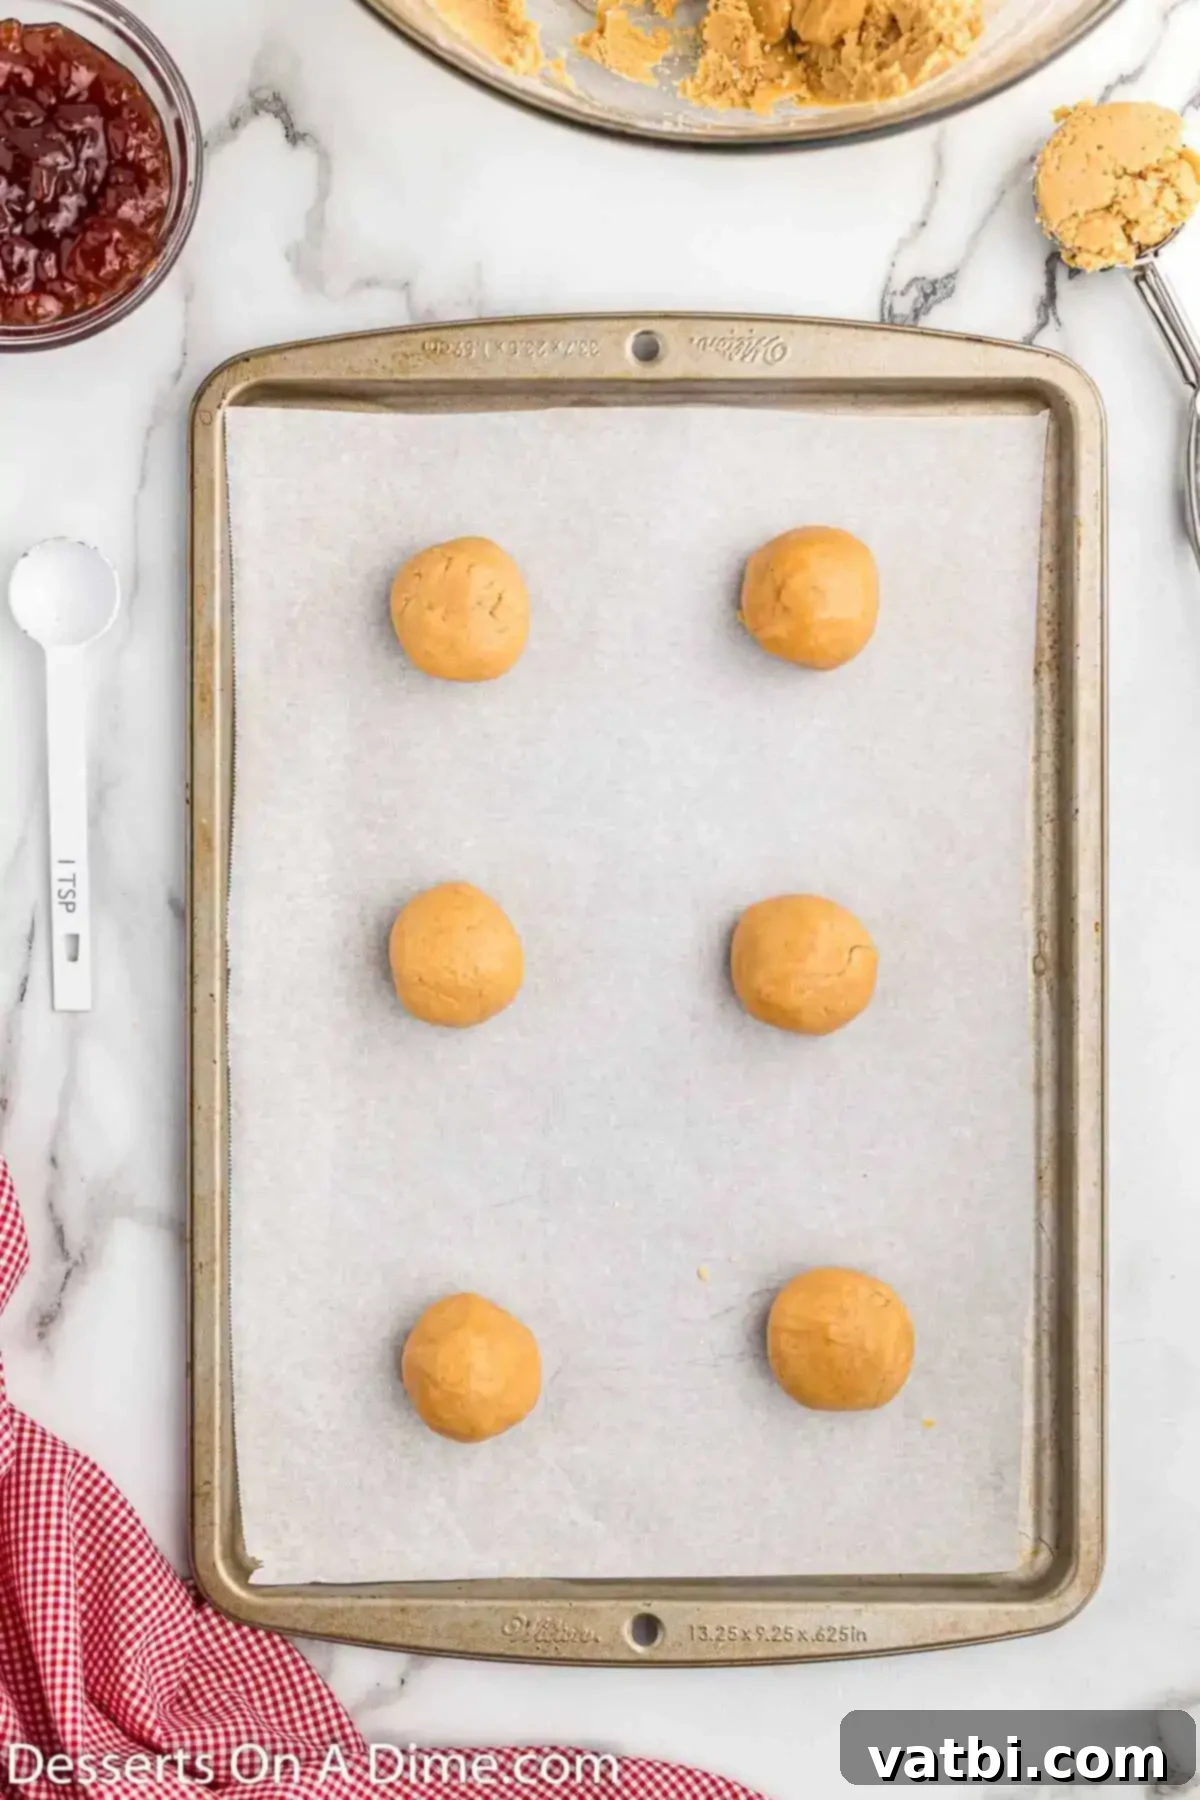
Step 5: Arrange on Baking Sheet. Place the formed cookie dough balls onto your prepared baking sheets, ensuring they are spaced about 2 inches apart. This allows for proper air circulation and prevents them from spreading into each other during baking. You might need to bake them in batches depending on the size of your baking sheets.
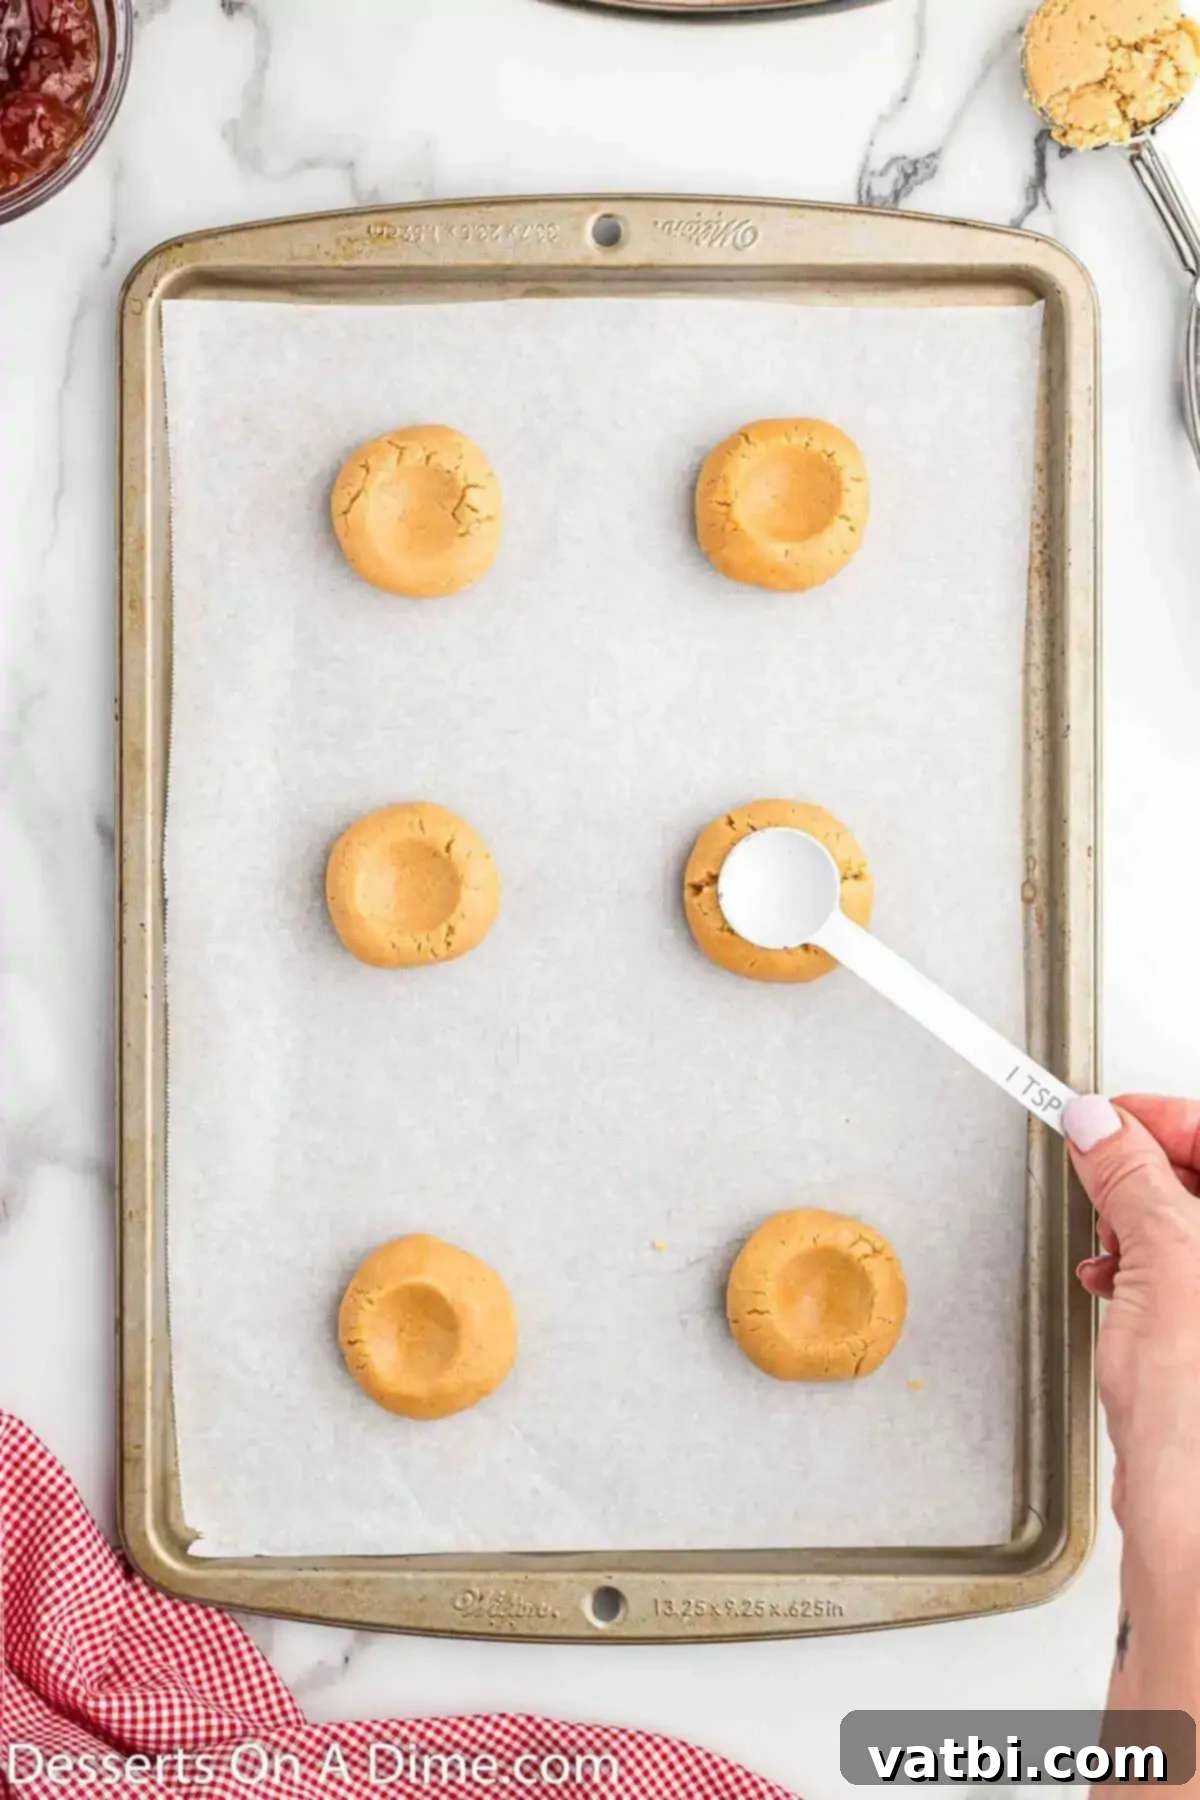
Step 6: Create the Jam Indentation. Gently use your thumb, the back of a rounded teaspoon, or a small measuring spoon to create a shallow indentation in the center of each cookie dough ball. This little “well” will hold the delicious jam. Be careful not to press all the way through the dough.
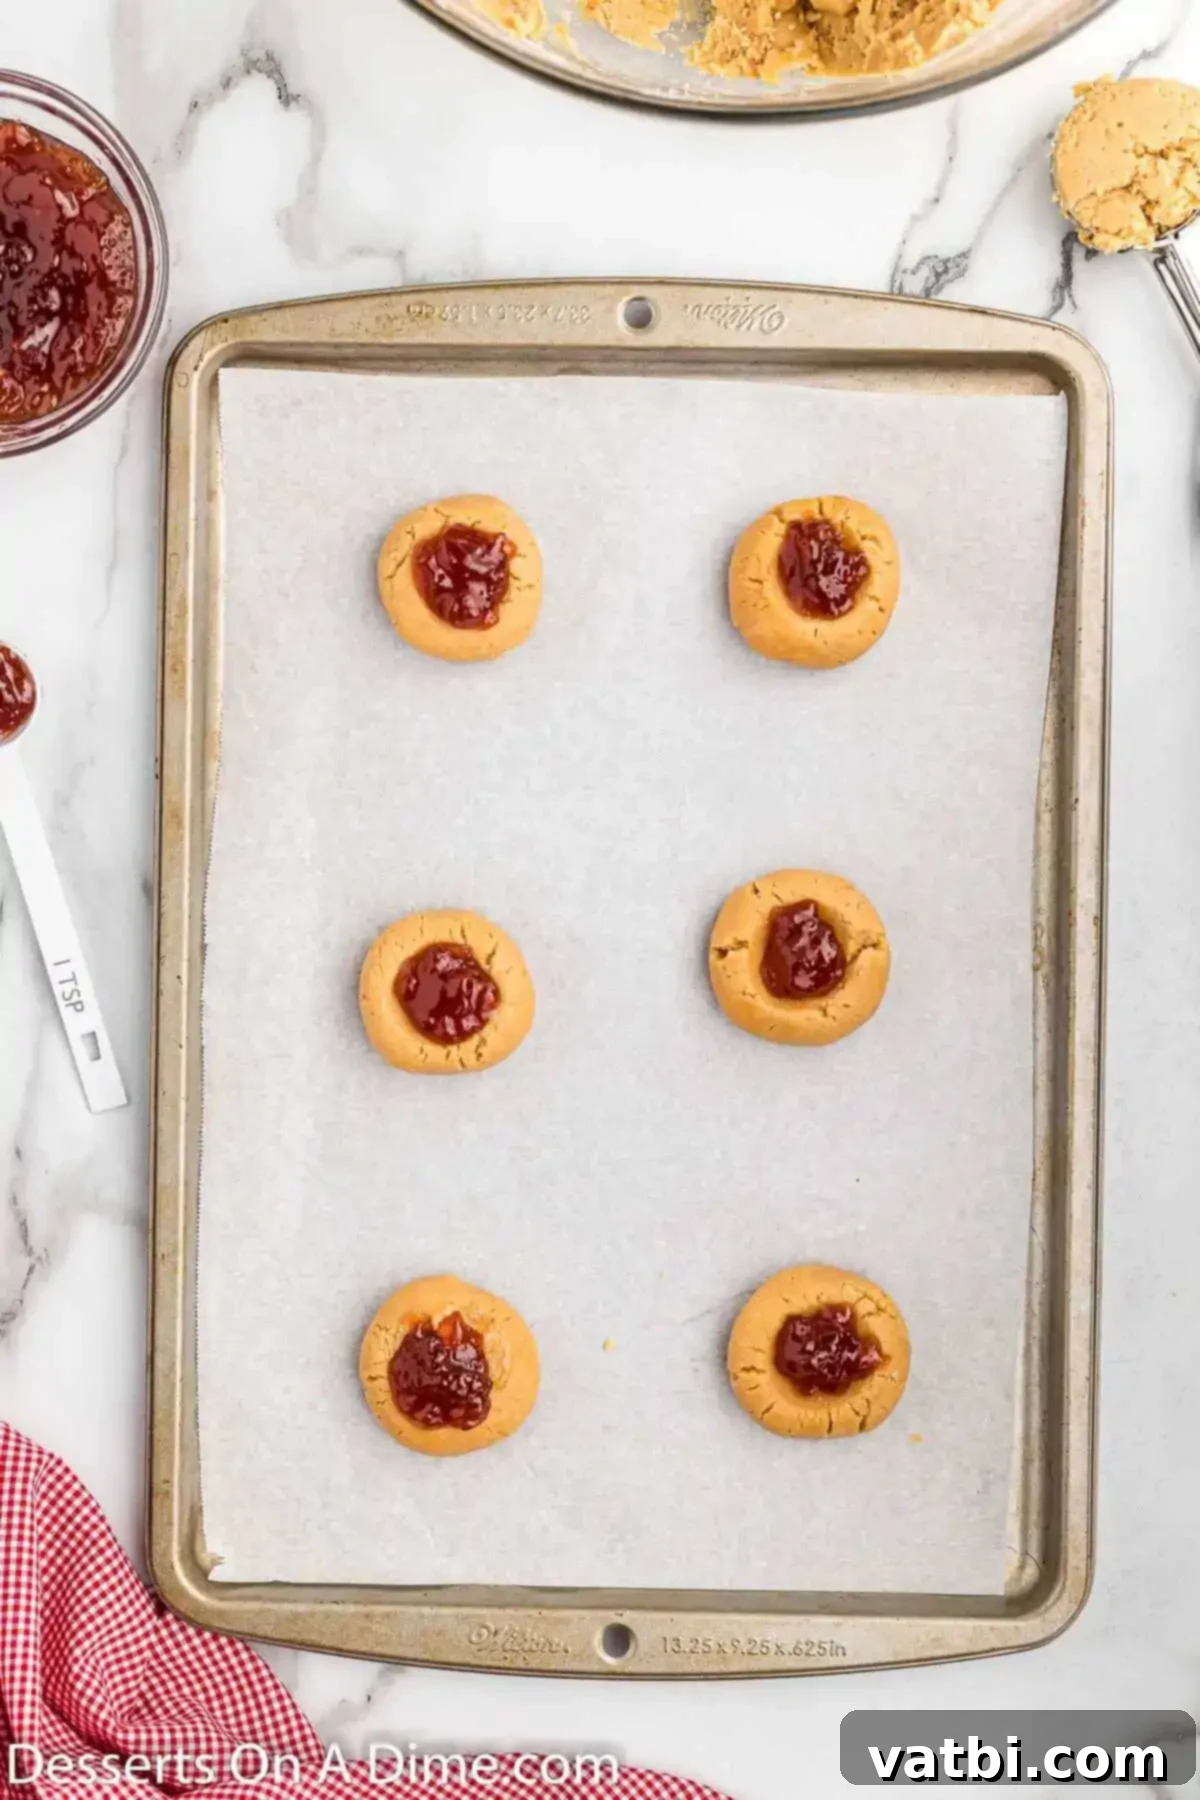
Step 7: Fill with Jam. Spoon approximately 1 teaspoon of your chosen strawberry jam (or other flavor) into the indentation of each cookie. Don’t overfill, as the jam can bubble over during baking. A small, even amount is perfect for that fruity burst.
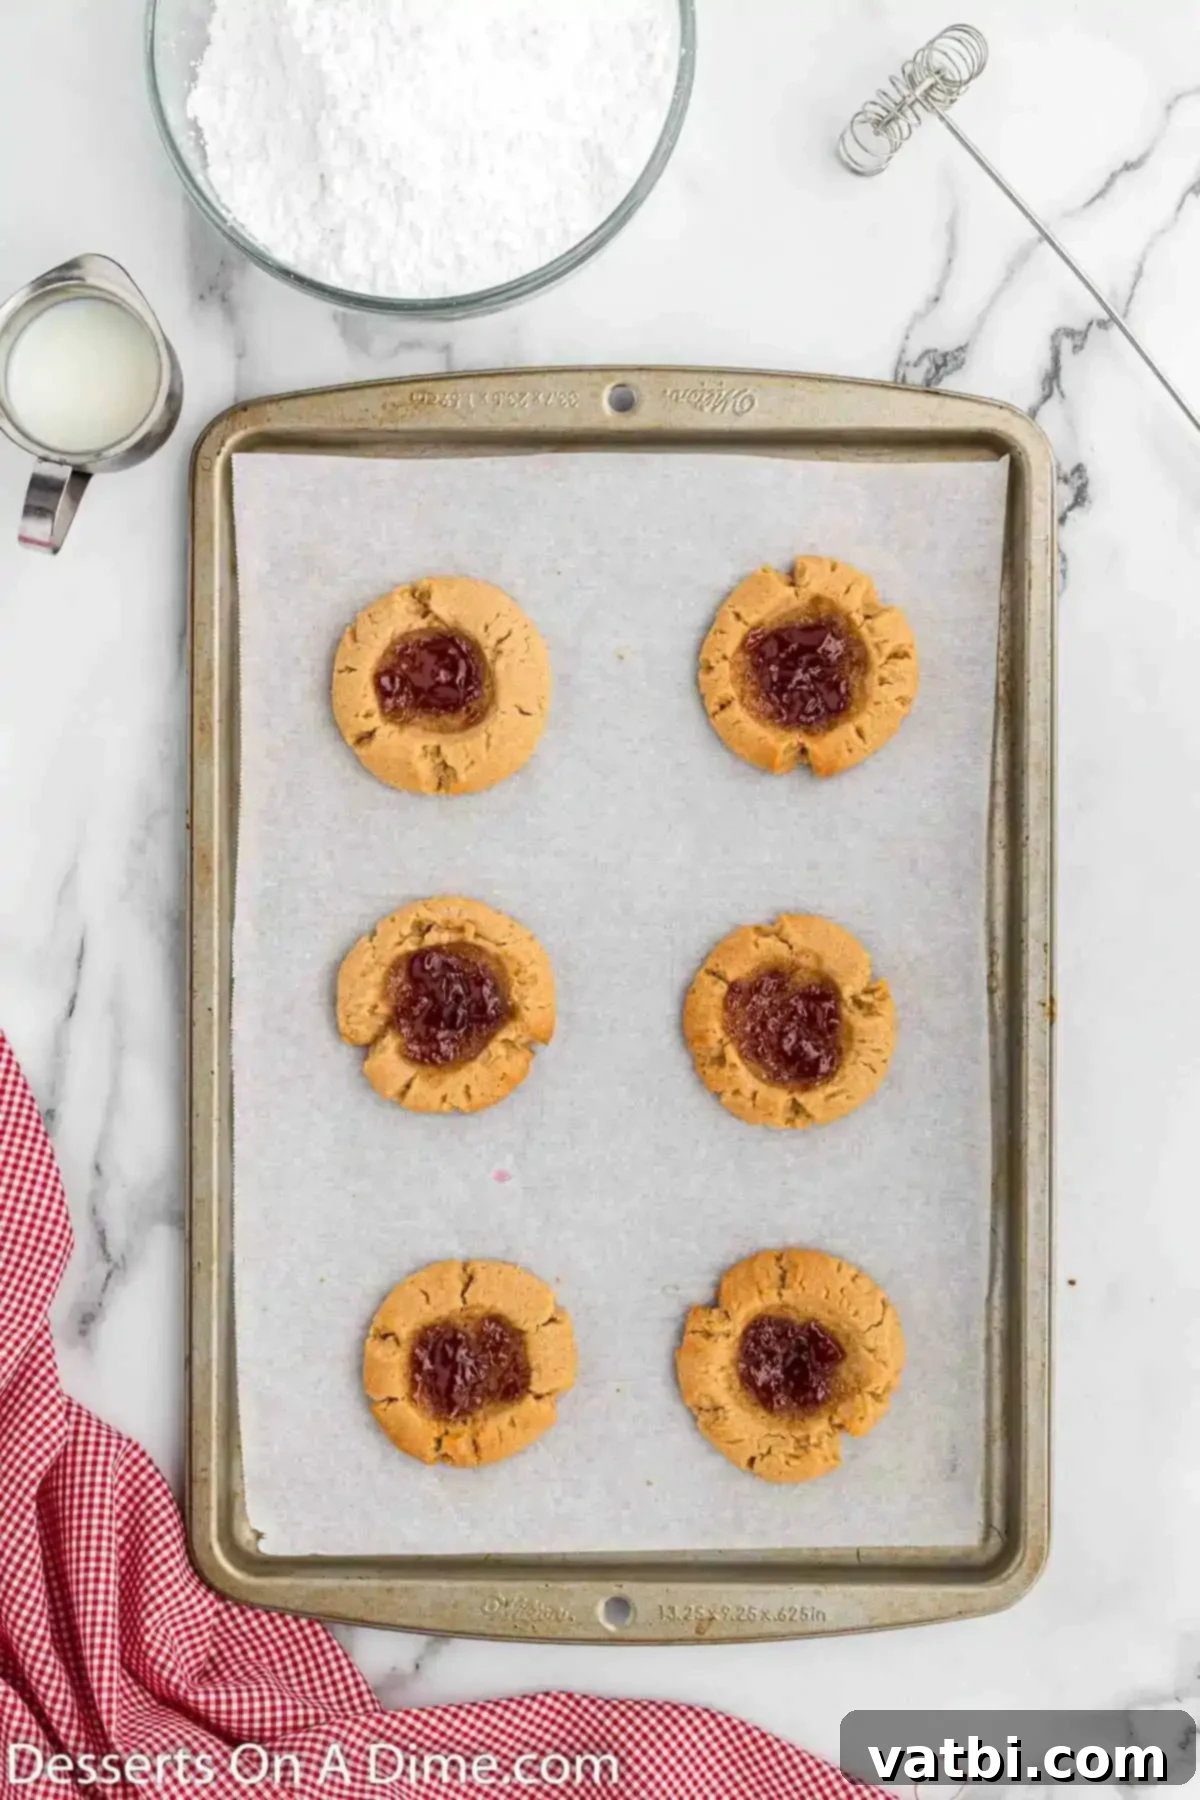
Step 8: Bake to Perfection. Transfer the baking sheets to your preheated oven and bake for 9 to 11 minutes. The cookies are ready when their edges are lightly golden and set, but the centers still look slightly soft. They will continue to firm up as they cool. Avoid overbaking to maintain their soft, chewy texture.
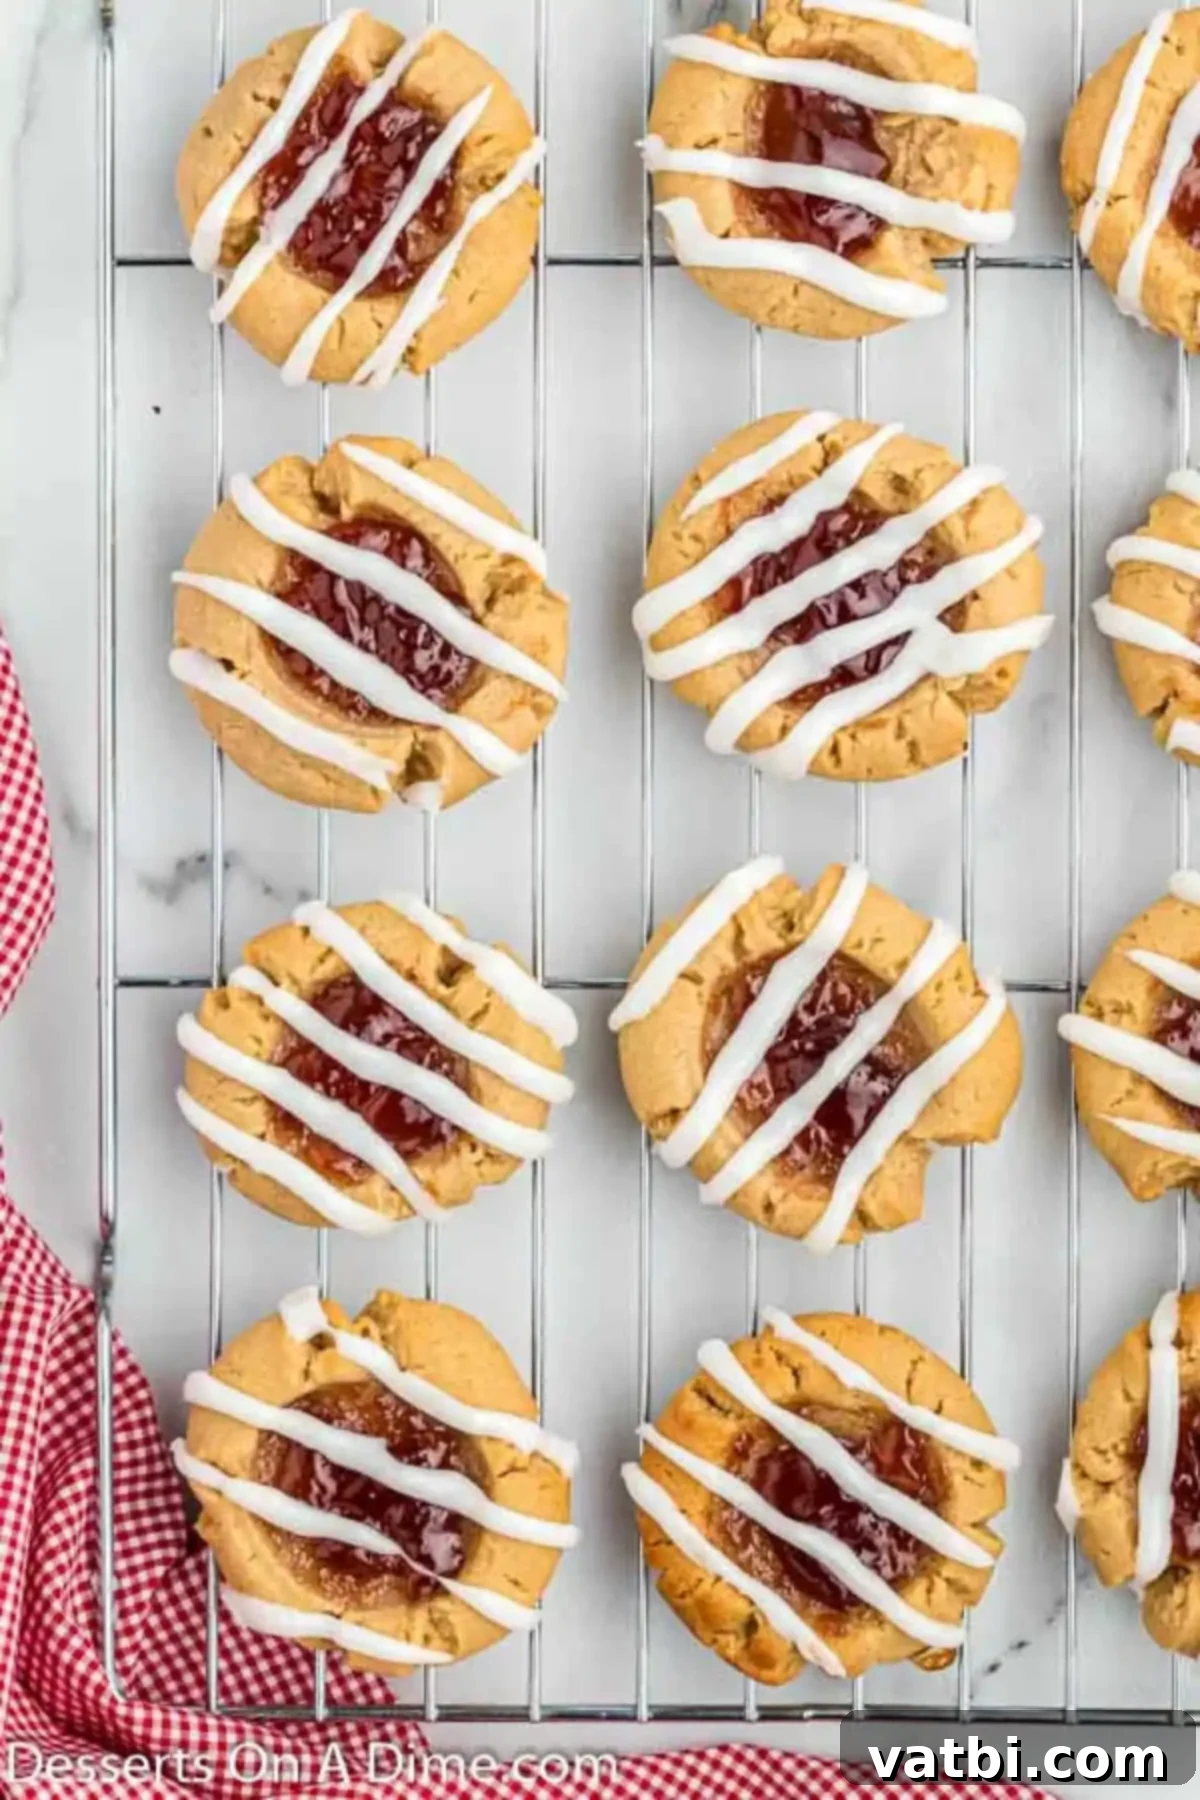
Step 9: Cool Completely. Once baked, remove the cookies from the oven and let them cool on the baking sheet for about 5 minutes. This allows them to set fully without breaking. Then, carefully transfer them to a wire rack to cool completely. The cookies must be entirely cool before glazing, otherwise, the glaze will melt and run off.
Making the Perfect Glaze
The sweet glaze is an optional, but highly recommended, finishing touch that adds a beautiful sheen and extra layer of sweetness to your Peanut Butter and Jelly Cookies. It’s incredibly simple to prepare while your cookies are cooling.
- Combine Ingredients: In a medium-sized bowl, whisk together the powdered sugar and milk. Start with the specified amount of milk in the recipe card, then add more gradually as needed.
- Adjust Consistency: The goal is a smooth, pourable glaze that isn’t too runny. If your glaze seems too thin, incrementally add more powdered sugar, a tablespoon at a time, until the desired thickness is reached. Conversely, if the glaze is too thick to drizzle, add a tiny splash more milk (about ½ teaspoon at a time) until it flows easily but still holds its form.
- Drizzle and Serve: Once your cookies are completely cool, drizzle the glaze generously over the tops. You can use a spoon for a rustic look, or for more precision, see our pro tip below for using a Ziploc bag. Allow the glaze to set for a few minutes before serving. Then, get ready to enjoy your beautifully finished homemade Peanut Butter and Jelly Cookies!
Pro Baking Tips for Success
Achieving bakery-quality Peanut Butter and Jelly Cookies is easier than you think, especially with a few insider tips. These suggestions will help ensure your cookies turn out perfectly every time, from consistency to flavor and presentation:
- Room Temperature Ingredients are Key: This cannot be stressed enough, especially for butter and eggs. Room temperature butter creams beautifully with sugar, incorporating air for a lighter texture. Cold ingredients can cause the dough to seize and prevent proper emulsification, leading to a denser cookie. Plan ahead and take your butter and egg out of the fridge at least 30-60 minutes before you start baking.
- Precision with Flour Measurement: Always spoon and level your flour rather than scooping directly from the bag. Scooping packs too much flour into the cup, resulting in a dry, crumbly dough and tough cookies. A properly measured cup of flour is much lighter, leading to tender, soft cookies.
- Avoid Overmixing the Dough: Once you add the dry ingredients to the wet, mix only until just combined. Overmixing develops the gluten in the flour, which can lead to tough, dense cookies instead of soft, chewy ones. A few streaks of flour are better than an overmixed dough; you can finish mixing gently by hand if needed.
- For Perfectly Drizzled Glaze: For a neat and professional-looking glaze, pour your prepared glaze into a small Ziploc bag. Snip a tiny corner off the bag with scissors. This creates a makeshift piping bag, allowing you to control the flow and create beautiful, even drizzles over each cookie.
- Adjust Sweetness Levels: The glaze adds a lovely visual appeal and an extra layer of sweetness. However, if you prefer a less sweet cookie, feel free to omit the glaze entirely. The cookies are wonderfully delicious on their own, with the sweet jam providing plenty of flavor. It’s all about personal preference!
- Uniform Cookie Size for Even Baking: Using a cookie scoop is not just for convenience; it ensures that all your cookie balls are roughly the same size. This consistency is vital for even baking, preventing some cookies from burning while others are still underbaked.
- Don’t Overfill with Jam: While it’s tempting to load up on jam, filling the indentations with about 1 teaspoon is usually sufficient. Overfilling can cause the jam to bubble over excessively during baking, potentially burning or making a mess on your baking sheet.
- Cooling Time is Crucial: Allow the cookies to cool on the baking sheet for about 5 minutes before transferring them to a wire rack. This initial cooling period allows the cookies to set and firm up, making them less likely to break when moved. Always cool completely on a wire rack before applying glaze to prevent it from melting.
By keeping these simple tips in mind, you’ll be well on your way to baking a batch of the most perfect Peanut Butter and Jelly Cookies that taste as good as they look!
Frequently Asked Questions About PB&J Cookies
Here are answers to some common questions you might have when making these delicious Peanut Butter and Jelly Cookies:
To maintain their freshness and soft texture, store any leftover Peanut Butter and Jelly Cookies in an airtight container at room temperature. They will stay delicious for up to 1 week. It’s crucial to ensure the cookies have completely cooled before placing them in the container to prevent condensation, which can make them soggy. For an extra tip to keep them super soft, you can place a slice of fresh bread in the container with the cookies; the bread will absorb moisture, keeping your cookies moist. Also, because of the jam filling and glaze, it’s a good idea to place sheets of parchment or wax paper between layers of cookies to prevent them from sticking together.
Absolutely! These cookies freeze beautifully, making them perfect for meal prep or for having a stash of delicious treats ready for unexpected guests or cravings. Freezing them is a fantastic way to enjoy homemade cookies anytime. Here’s how to do it effectively:
- First, allow the baked cookies to cool completely to room temperature.
- Once cooled, arrange them in a single layer on a baking sheet and flash freeze for about 1-2 hours until solid. This prevents them from sticking together when stored in bulk.
- Transfer the flash-frozen cookies to a freezer-safe airtight container or a heavy-duty freezer bag.
- To prevent sticking, you can place parchment or wax paper between layers of cookies.
- They can be frozen for up to 3 months. When you’re ready to enjoy, simply take out as many as you need and let them thaw at room temperature. They’ll taste almost as fresh as the day they were baked!
For the best results and a consistently smooth cookie dough, we highly recommend using creamy, processed peanut butter (like Jif or Skippy). Natural peanut butter, especially the kind that separates into oil and solids, tends to be drier and can lead to a crumbly or greasy dough that doesn’t hold its shape as well. If you only have natural peanut butter, make sure it’s very well stirred and consider reducing the flour by a tablespoon or two if the dough seems too stiff.
There are a few common culprits for dry or crumbly cookies:
- Over-measuring Flour: Scooping flour directly from the bag can add too much. Always spoon flour into your measuring cup and level it off.
- Overbaking: Even a minute or two extra in the oven can dry out cookies. Bake until the edges are just set and lightly golden, even if the centers look slightly soft.
- Too Little Fat: Ensure your butter is at room temperature and accurately measured.
- Wrong Peanut Butter: As mentioned, some natural peanut butters can be drier.
Following the recipe precisely and keeping an eye on your baking time will help ensure perfectly moist cookies.
Yes, you can! Preparing the cookie dough in advance is a great time-saver. Once you’ve mixed the dough, wrap it tightly in plastic wrap and store it in the refrigerator for up to 2-3 days. When you’re ready to bake, let the dough sit at room temperature for about 10-15 minutes to soften slightly, then proceed with shaping, indenting, and filling with jam as per the recipe. Chilling the dough can actually lead to slightly thicker cookies that spread less, which is often a desirable outcome!
More Irresistible Cookie Recipes
- Thumbprint cookies
- Chocolate Crinkle Cookie Recipe
- Chocolate Peanut Butter Cookies
- Russian Tea Cakes
- Cake Mix Chocolate Chip Cookie Recipe
- Peanut Butter Stuffed Chocolate Cookies
There you have it – a wonderfully simple yet incredibly satisfying recipe for homemade Peanut Butter and Jelly Cookies. These delightful treats are perfect for satisfying your sweet tooth, sharing with family and friends, or simply enjoying a moment of nostalgic bliss. They are sure to impress both kids and adults alike with their soft texture, rich peanut butter flavor, and a burst of fruity jam. Don’t wait to bake up a batch of these irresistible cookies! When you do, we’d absolutely love to hear about your experience. Please share your thoughts and leave a comment below once you’ve tried them – happy baking!
Pin
Peanut Butter and Jelly Cookies
Ingredients
FOR THE COOKIES:
- 1/2 cup Butter softened
- 1/2 cup Sugar
- 1/2 cup Brown Sugar
- 1 cup Creamy Peanut Butter
- 1 Large Egg
- 1 tsp Vanilla Extract
- 1 1/2 cup All Purpose Flour
- 1 tsp Baking Soda
- 1/4 tsp Salt
- 1/2 cup Strawberry Jam
FOR THE GLAZE:
- 2 cups Powdered Sugar
- 1 Tbsp Milk
Instructions
-
Preheat the oven to 350 degrees F (175°C). Line baking sheets with parchment paper.
-
In a large mixing bowl, beat together with a stand up mixer or hand held mixer the softened butter, granulated sugar, and brown sugar until light and fluffy (2-3 minutes). Then add in the creamy peanut butter, large egg, and vanilla extract. Mix until well combined and smooth.
-
In a separate bowl, whisk together the all-purpose flour, baking soda, and salt. Gradually add these dry ingredients to the wet mixture, mixing on low speed until just combined. Be careful not to over mix the dough.
-
Shape the dough into approximately 1 – 1 ½ inch balls (using a cookie scoop for consistency is recommended). Place the cookie dough balls onto the prepared baking sheets, spaced 2 inches apart. Use your finger or the back of a teaspoon to make a shallow indentation onto the center of each cookie dough ball.
-
Place approximately 1 teaspoon of the strawberry jam into the indentation of each cookie.
-
Bake for 9-11 minutes, or until the edges of the cookies are lightly golden and set, and the centers still look slightly soft. Allow the cookies to cool on the baking sheet for approximately 5 minutes and then move them to a wire rack to cool completely.
-
While the cookies are cooling, prepare the glaze. In a medium bowl, mix together the powdered sugar and milk until smooth. If the glaze is too thin, add more powdered sugar; if it’s too thick, add more milk, a tiny bit at a time, until the desired drizzling consistency is achieved.
-
Once the cookies are completely cool, drizzle the glaze generously on top. Allow the glaze to set for a few minutes before serving. Enjoy your delicious homemade Peanut Butter and Jelly Cookies!
Recipe Notes
Nutrition Facts
Pin This Now to Remember It Later
Pin Recipe
