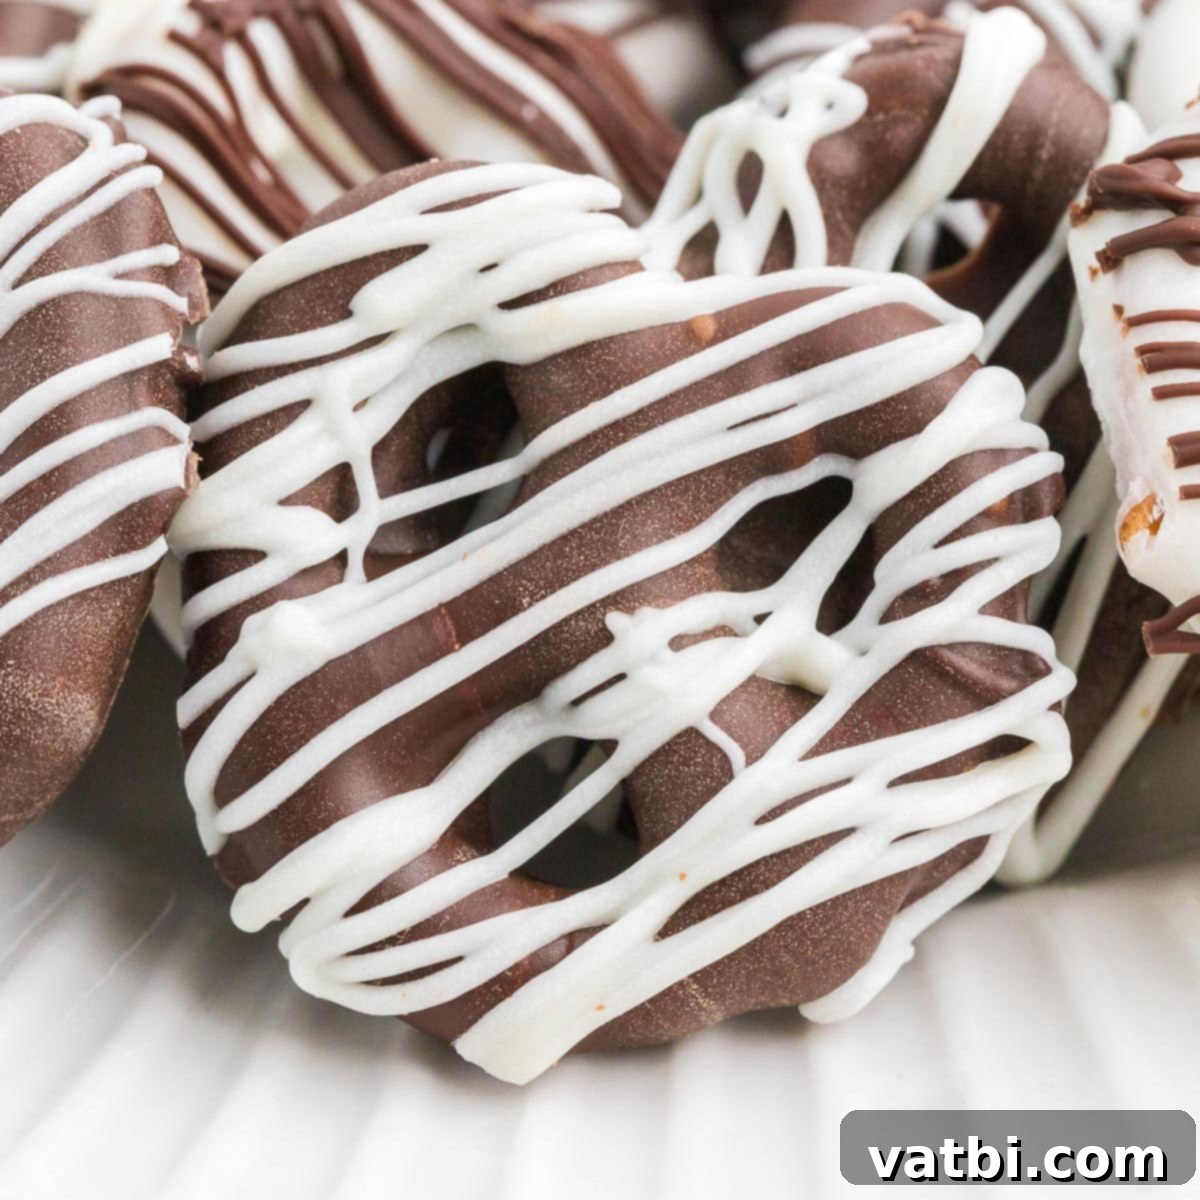
Easy Homemade Chocolate Covered Pretzels: The Ultimate Sweet & Salty Treat
Discover how to create the most delicious **Chocolate Covered Pretzels** with incredible ease, requiring **only 2 simple ingredients**. This recipe is your go-to solution when you’re craving a delightful treat but have limited ingredients and even less time. The irresistible combination of sweet chocolate and salty pretzel crunch makes it an absolute favorite for all ages, perfect for quick snacks or impressive party favors.
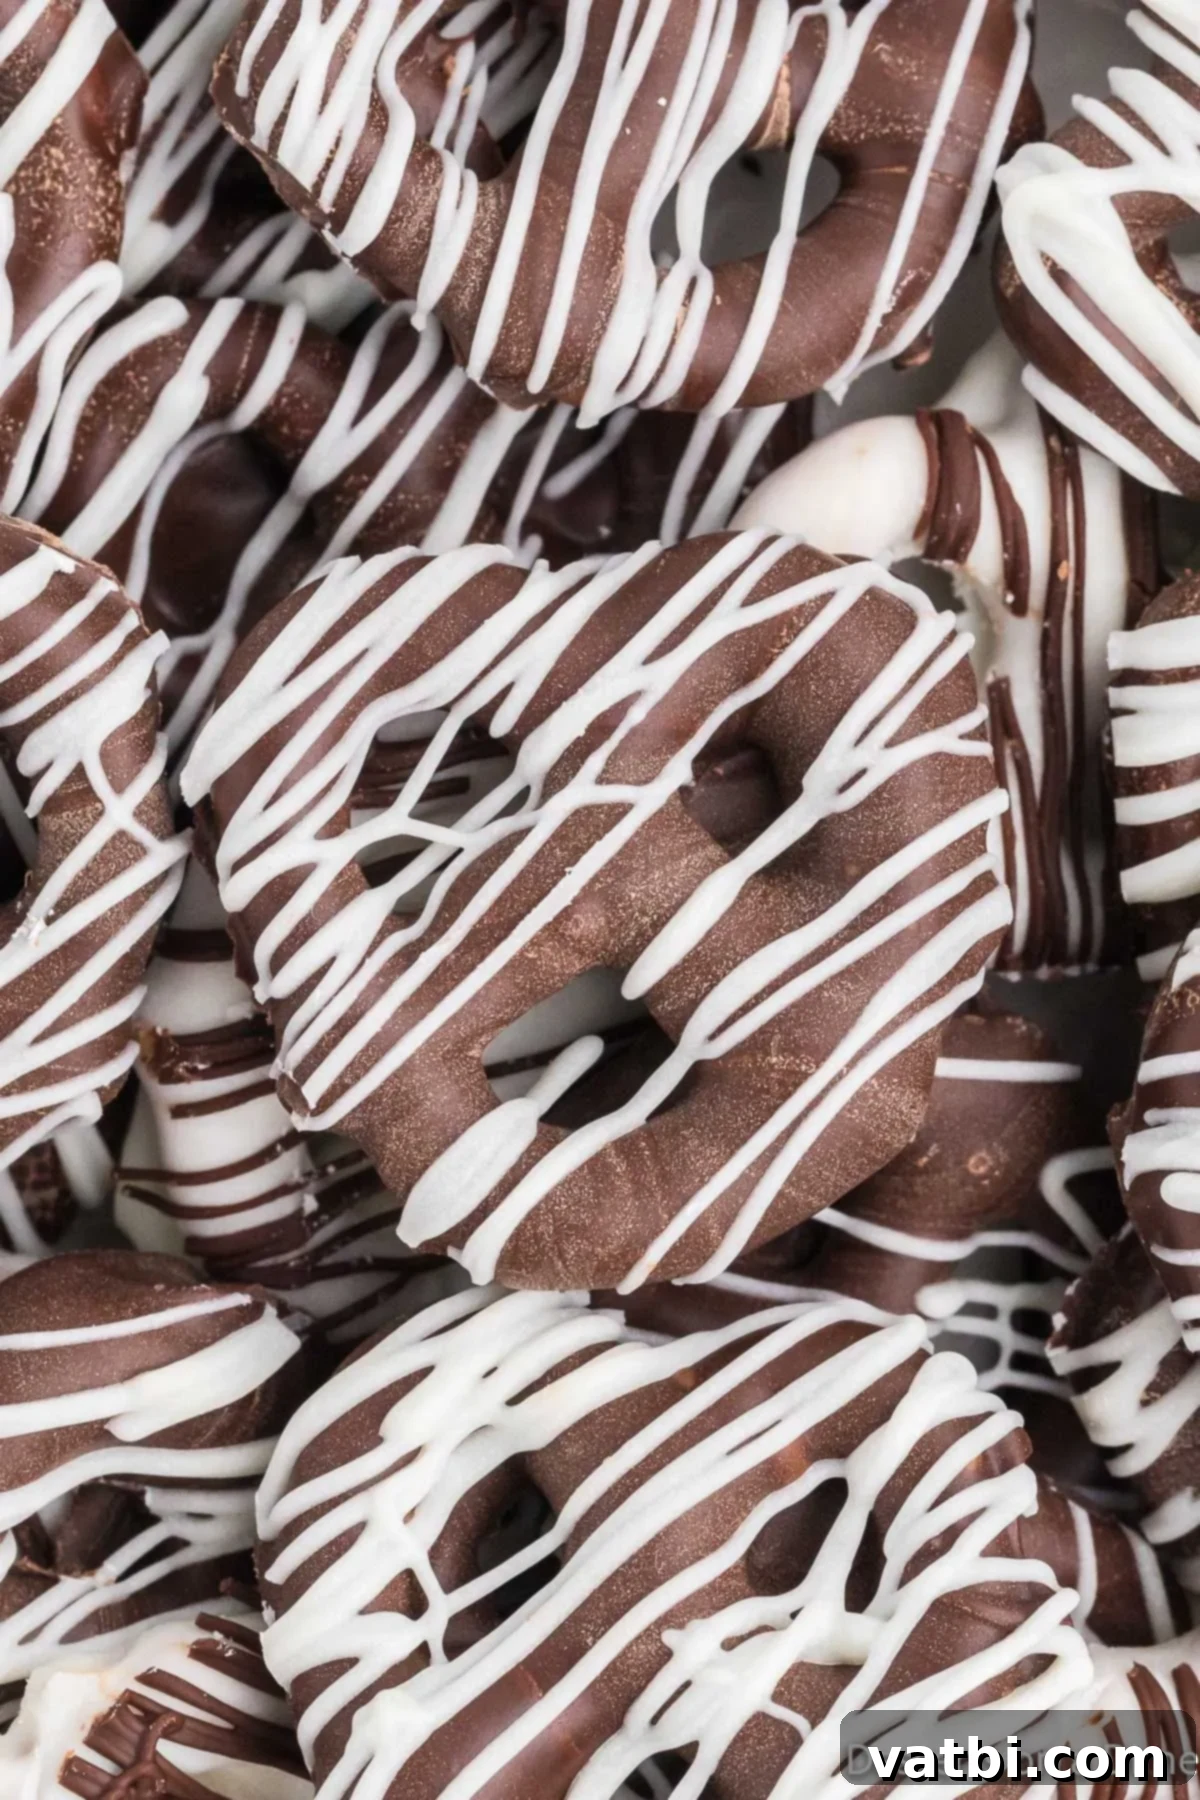
The harmonious blend of sweet and salty is a culinary classic, and these homemade chocolate pretzels epitomize it perfectly. They are easily one of our most beloved no-bake dessert recipes, ideal for anyone looking for a quick and satisfying indulgence. We’re excited to guide you through making these fun and tasty treats in mere minutes. My family and I have been crafting these for years, and the process is genuinely super easy, making it a fantastic activity for kids and adults alike. From impromptu movie nights to elegant dessert tables, these simple chocolate pretzels fit right in.
These versatile treats are perfect for virtually any occasion. Beyond everyday snacking, I love customizing them for special events, like festive Shamrock Pretzels for St. Patrick’s Day or vibrant Red White and Blue Chocolate Covered Pretzels for patriotic celebrations. Their adaptability makes them a hit for holidays, birthday parties, bake sales, or even as thoughtful homemade gifts. Get ready to impress with minimal effort!
What You’ll Find in This Guide: Homemade Chocolate Pretzels
- Why You’ll Love This Easy Recipe
- Essential Ingredients for Chocolate Pretzels
- Creative Variations and Topping Ideas
- Step-by-Step Guide: How to Make Perfect Chocolate Covered Pretzels
- Frequently Asked Questions (FAQs)
- Expert Tips for Flawless Chocolate Dipped Pretzels
- More Delightful Pretzel Dessert Recipes
- Printable Chocolate Covered Pretzels Recipe Card
Why You’ll Love This Easy Recipe
This chocolate covered pretzel recipe stands out for its incredible simplicity and undeniable appeal. With just two main ingredients – pretzels and your favorite melting chocolate – it’s remarkably budget-friendly and requires minimal effort, making it accessible to even novice bakers. It’s a fantastic entry point into the world of homemade desserts, proving that you don’t need extensive baking experience or fancy equipment to create something truly delicious and satisfying.
Beyond its simplicity, these pretzels offer endless customization possibilities. They become a festive canvas for any time of year or occasion. Imagine bright, rainbow sprinkles for birthdays, autumnal colors and crushed toffee for fall festivities, or classic red and green for Christmas. The ability to easily adapt the decorations means you can enjoy a fresh take on this delightful treat no matter the season or theme. They’re also a wonderful way to use up leftover candy from holidays!
What truly makes **homemade chocolate covered pretzels** a beloved household favorite is the opportunity for family fun. Gathering together to melt chocolate, dip pretzels, and adorn them with sprinkles and drizzles creates cherished memories. Kids especially love getting creative with different colors and toppings, transforming a simple snack into a personalized masterpiece. It’s a wonderfully engaging and quick activity that results in a delicious reward for everyone involved, making it a perfect activity for a rainy afternoon or a festive holiday preparation.
Essential Ingredients for Chocolate Pretzels
The beauty of this recipe lies in its minimal ingredient list, proving that you don’t need a pantry full of specialty items to create something truly delicious. These fundamental ingredients form the perfect sweet and salty combination:
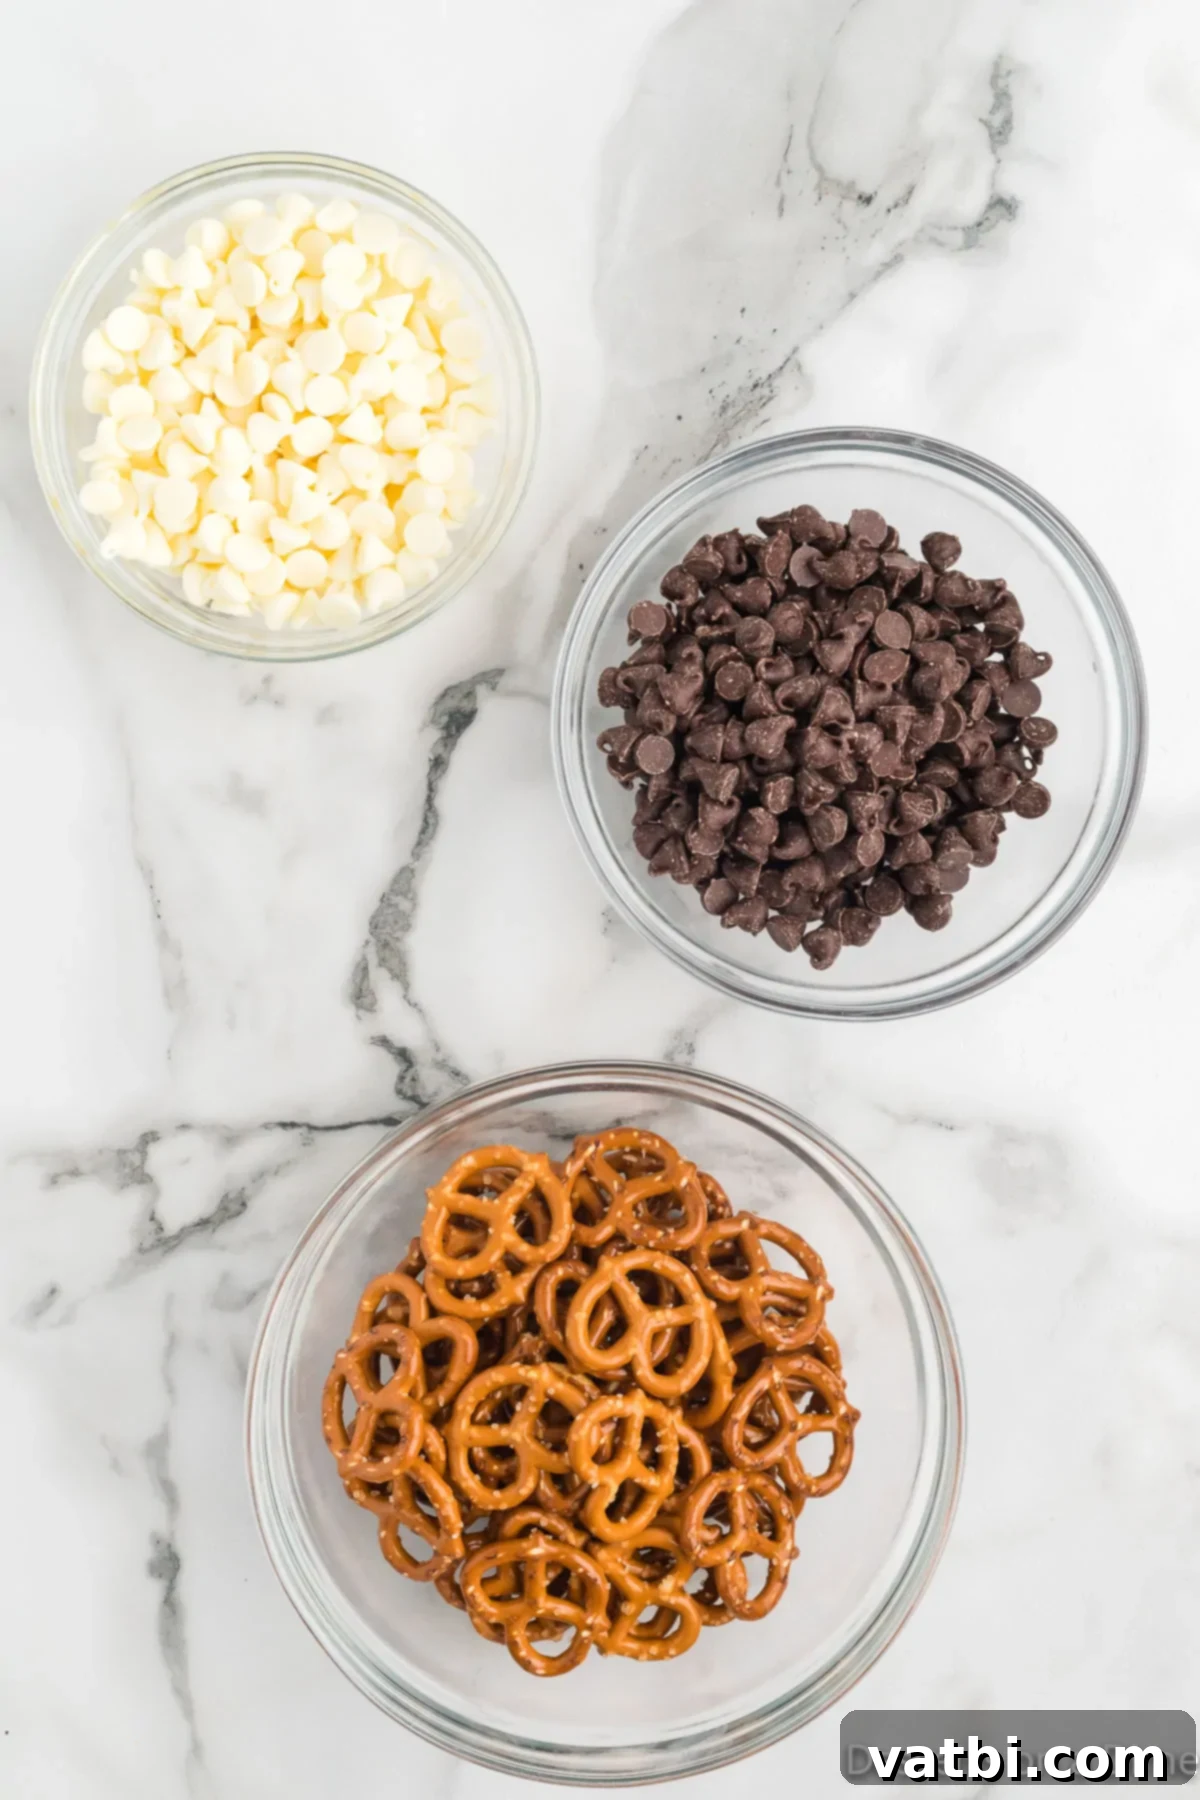
- Miniature Pretzel Twists: These classic pretzels offer the perfect bite-sized canvas for chocolate coating. Their twisted shape holds chocolate beautifully, and their inherent saltiness provides that crucial counterpoint to the sweetness of the chocolate. The crisp crunch of a fresh pretzel is essential for the best texture. While miniature twists are ideal for easy dipping and a perfect snack size, feel free to experiment with other shapes. You could use square pretzels (often called pretzel snaps or squares) for a flat, even surface, pretzel rods for a more substantial, elegant treat that can be fully coated, or even larger traditional pretzel twists for a bigger, more indulgent bite. Just ensure your chosen pretzels are fresh and not stale for optimal crunch and flavor.
- Chocolate Chips or Candy Melts: This is where the magic happens and where you can truly personalize your chocolate covered pretzels! We often use a combination of white chocolate and semi-sweet chocolate chips for a delightful contrast in both flavor and appearance.
- Chocolate Chips: High-quality chocolate chips (whether milk, dark, or semi-sweet) melt smoothly and offer a rich, authentic chocolate flavor. Brands like Ghirardelli, Guittard, or Callebaut often yield excellent results with a superior taste and texture. If using regular chocolate chips, adding a small amount of neutral oil (like vegetable or coconut oil) can help achieve a smoother, thinner coating, similar to the consistency of candy melts.
- Candy Melts: These are a fantastic option, especially if you’re looking for vibrant colors or a very smooth, easy-to-work-with coating that sets quickly and hardens well without tempering. Candy melts come in a wide array of colors, making them perfect for holiday-themed pretzels or matching party themes. They are also less prone to seizing than traditional chocolate, making them a beginner-friendly choice for perfectly coated pretzels.
You’ll find the complete, precise ingredient list with specific quantities conveniently located at the bottom of this post within the printable recipe card. Don’t forget to check it for exact measurements and any additional optional toppings!
Creative Variations and Topping Ideas for Chocolate Covered Pretzels
One of the most exciting aspects of making **homemade chocolate covered pretzels** is their incredible versatility. Once you’ve mastered the basic dipping technique, the possibilities for customization are virtually endless. Get creative with different types of chocolate and an array of delightful toppings to suit any taste, holiday, or special occasion. These variations can transform a simple snack into a gourmet treat or a festive party favor.
- Experiment with Different Types of Chocolate: Don’t limit yourself to just one kind! Each chocolate offers a distinct flavor profile and visual appeal:
- Dark Chocolate: For a sophisticated, less sweet treat with a hint of bitterness that perfectly complements the salty pretzel. Ideal for a more adult palate or pairing with coffee.
- Milk Chocolate: A classic, creamy, and sweet choice that’s a universally loved combination with pretzels. This is often the most popular option for children and those who prefer a traditional sweet treat.
- White Chocolate: Offers a smooth, sweet, and milky flavor, often serving as a great base for colorful additions. You can also tint white chocolate with food coloring (oil-based for best results) to create custom colors for themed treats like pink for Valentine’s Day or green for St. Patrick’s Day.
- Other Flavorful Melts: Explore options like peanut butter chips, caramel chips, or butterscotch chips for adventurous flavor combinations. These melts can add another delicious layer of complexity to your chocolate pretzels.
- Top with Your Favorite Sprinkles: Sprinkles are the easiest way to add instant visual appeal and a touch of festivity. This is perfect for customizing your pretzels for specific holidays or events:
- Holiday Sprinkles: Use classic red and green for Christmas, spooky orange and black for Halloween, cheerful pastels for Easter, or patriotic red, white, and blue for national holidays.
- Birthday Sprinkles: Rainbow jimmies, colorful nonpareils, or edible glitter instantly make them party-ready and exciting for celebrations.
- Themed Sprinkles: Look for sprinkles shaped like hearts, stars, or even tiny animals to match a specific party theme or personal preference.
- Utilize Various Pretzel Shapes: The texture and crunch remain consistent, but the presentation and dipping ease change with different shapes:
- Pretzel Rods: Excellent for dipping almost entirely, creating a substantial and elegant treat. They are also easier to handle for full coverage and make a great canvas for intricate drizzling.
- Waffle Pretzels (Pretzel Snaps): Their flat, open surface is perfect for layering toppings, creating intricate designs, or making “pretzel sandwiches” with caramel or peanut butter.
- Large Pretzel Twists: For a bigger, more indulgent sweet and salty experience, these offer more surface area for chocolate and toppings.
- Incorporate Crushed Candy, Cookies, or Nuts: This is a fantastic way to elevate your pretzels and use up leftover pantry items or holiday candy. Just crush your chosen topping and sprinkle it generously over the wet chocolate immediately after dipping to ensure it adheres. Some popular and delicious choices include:
- M&M’s: Mini M&M’s or crushed regular ones add a satisfying candy crunch and a burst of colorful chocolate.
- Oreo Cookies: Crushed Oreos (either the classic dark chocolate or Golden Oreos) create a delightful cookies-and-cream effect.
- Candy Bars: Crushed pieces of popular candy bars like Butterfingers (for a crunchy peanut buttery texture), Heath Bars (for toffee bits), or Snickers (for peanuts and caramel) add layers of flavor.
- Nutter Butter Cookies: For peanut butter lovers, crushed Nutter Butters on chocolate pretzels are a dream come true, intensifying the peanut butter flavor.
- Peppermint Candy: Crushed candy canes or starlight mints are perfect for a festive, cool, and minty winter treat, especially on white chocolate.
- Toffee Bits: Add a buttery, crunchy texture that pairs wonderfully with both milk and dark chocolate.
- Add Chopped Nuts or Seeds: For a more sophisticated touch and added natural texture and flavor:
- Pecans, Walnuts, Almonds: Finely chopped, they add a rich, earthy, nutty flavor that complements the chocolate beautifully. Lightly toast them beforehand for even more depth.
- Toasted Coconut Flakes: For a tropical twist, toasted coconut flakes add a subtle sweetness and chewy texture.
- Sprinkle with Flaky Sea Salt: A final dusting of flaky sea salt (like Maldon) on top of the wet chocolate intensely magnifies the sweet and salty dynamic, elevating the flavor profile significantly and adding a gourmet touch. This simple addition can make a huge difference.
Step-by-Step Guide: How to Make Perfect Chocolate Covered Pretzels
Making these delightful sweet and salty treats is incredibly straightforward, but following these simple steps will ensure your **chocolate covered pretzels** turn out perfectly every time – glossy, evenly coated, and delicious. Get ready for a fun and rewarding kitchen adventure!
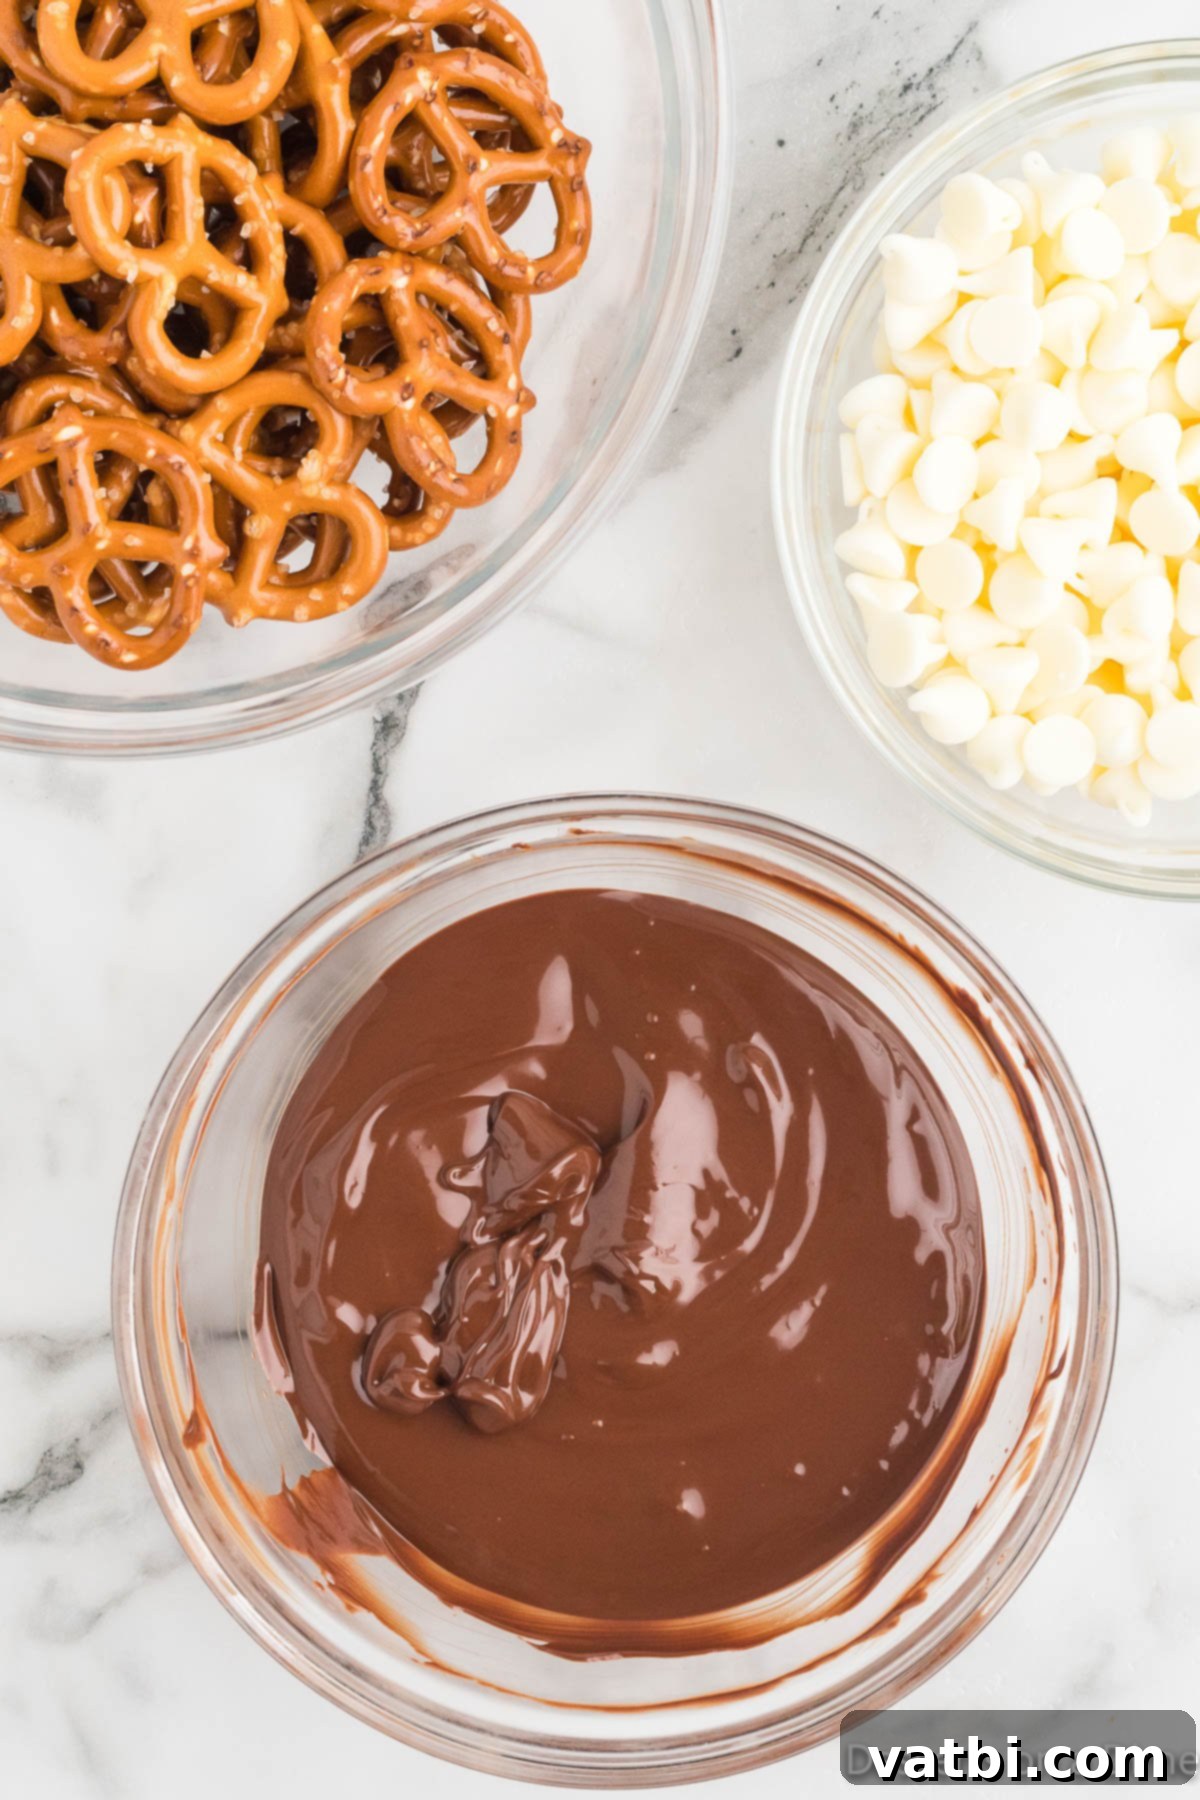
Step 1. Prepare Your Milk Chocolate. Begin by placing your chosen chocolate, such as milk chocolate chips, into a clean, dry microwave-safe bowl. It’s crucial to melt chocolate gently to prevent scorching and seizing. Microwave in short bursts, typically 30-second intervals. After each interval, remove the bowl and stir the chocolate thoroughly, even if it doesn’t look melted yet. Continue this process until the chocolate is completely smooth, luscious, and free of any lumps. Patience here is key for achieving a glossy, dippable consistency.
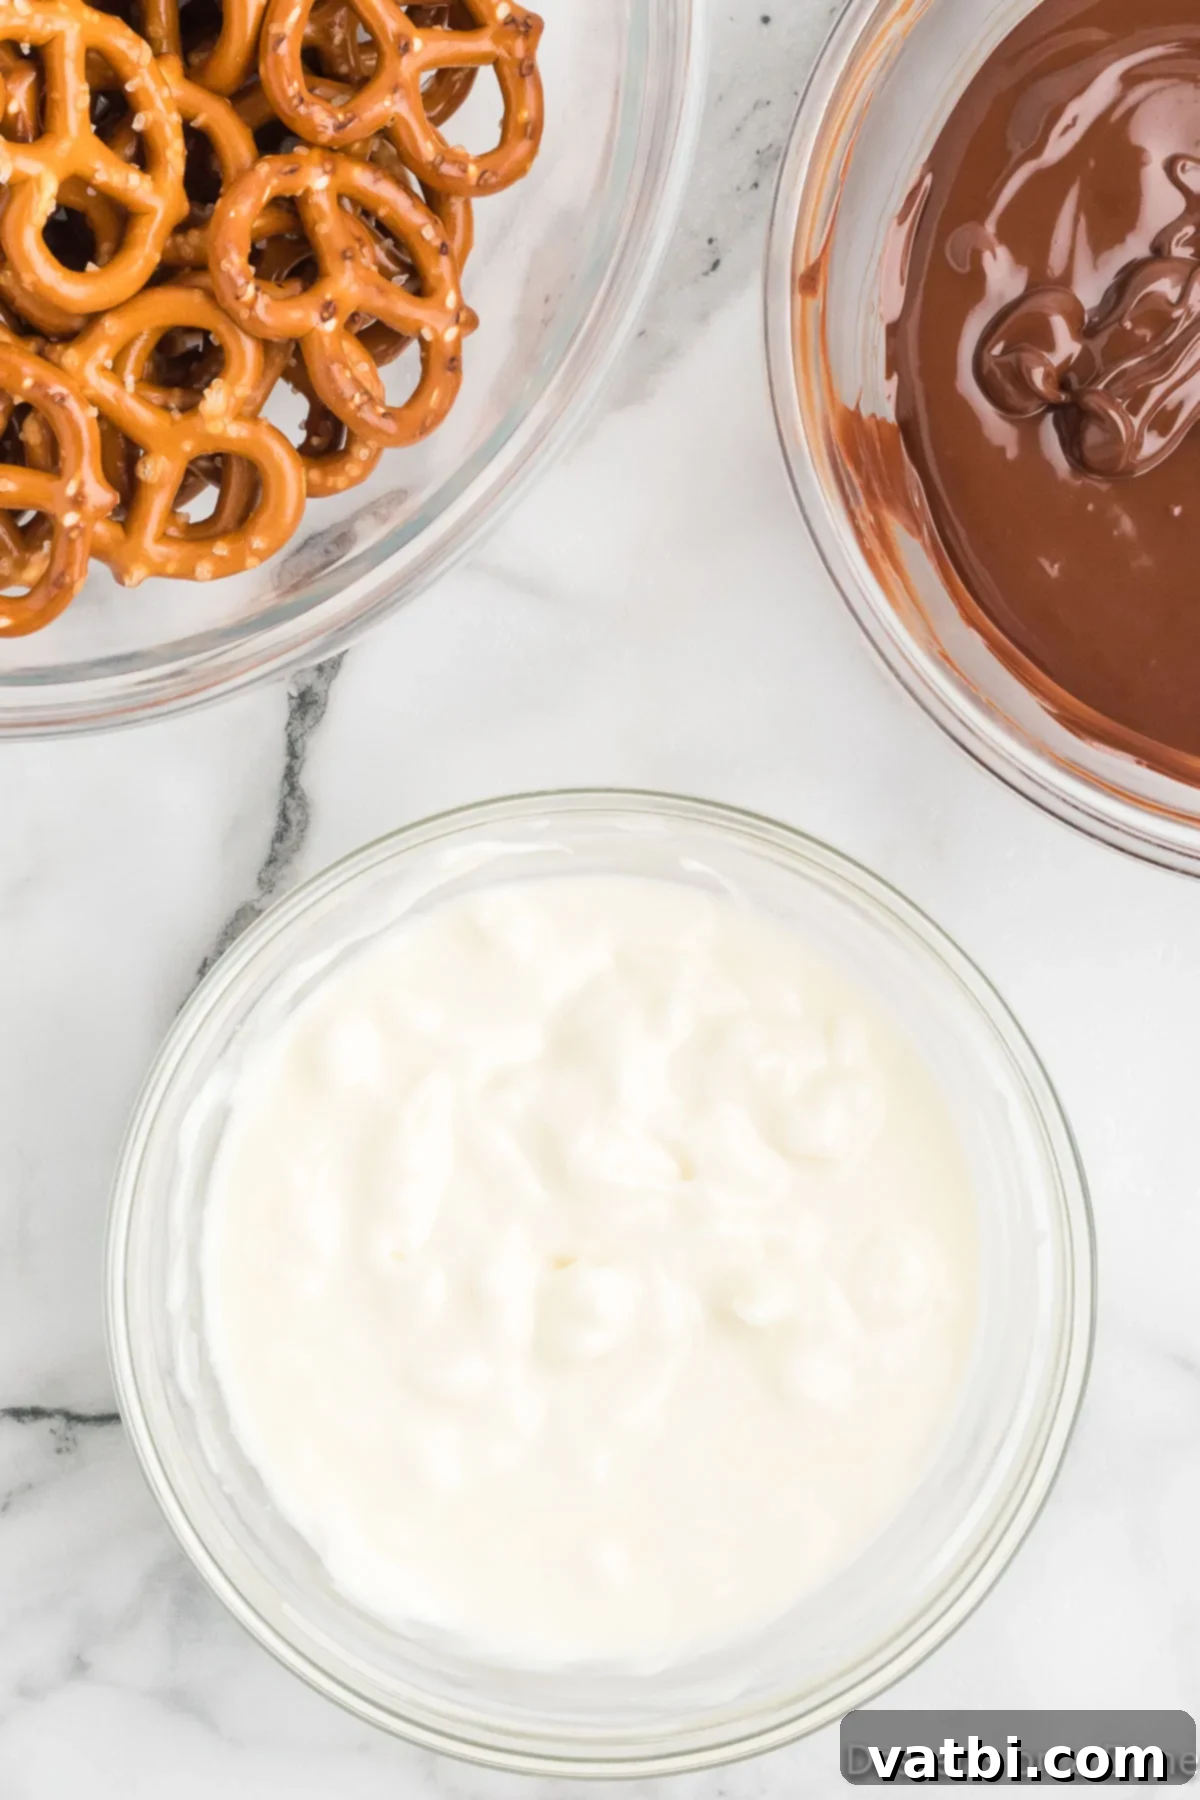
Step 2. Melt Additional Chocolate (White Chocolate). If you’re using multiple types of chocolate, such as white chocolate, repeat the melting process in a separate, clean, and dry microwave-safe bowl. Place the white chocolate chips or candy melts into their bowl and melt in 30-second intervals, stirring well each time, until perfectly smooth and fluid. Having different colors allows for beautiful contrasting drizzles and a more varied final presentation for your chocolate pretzels.
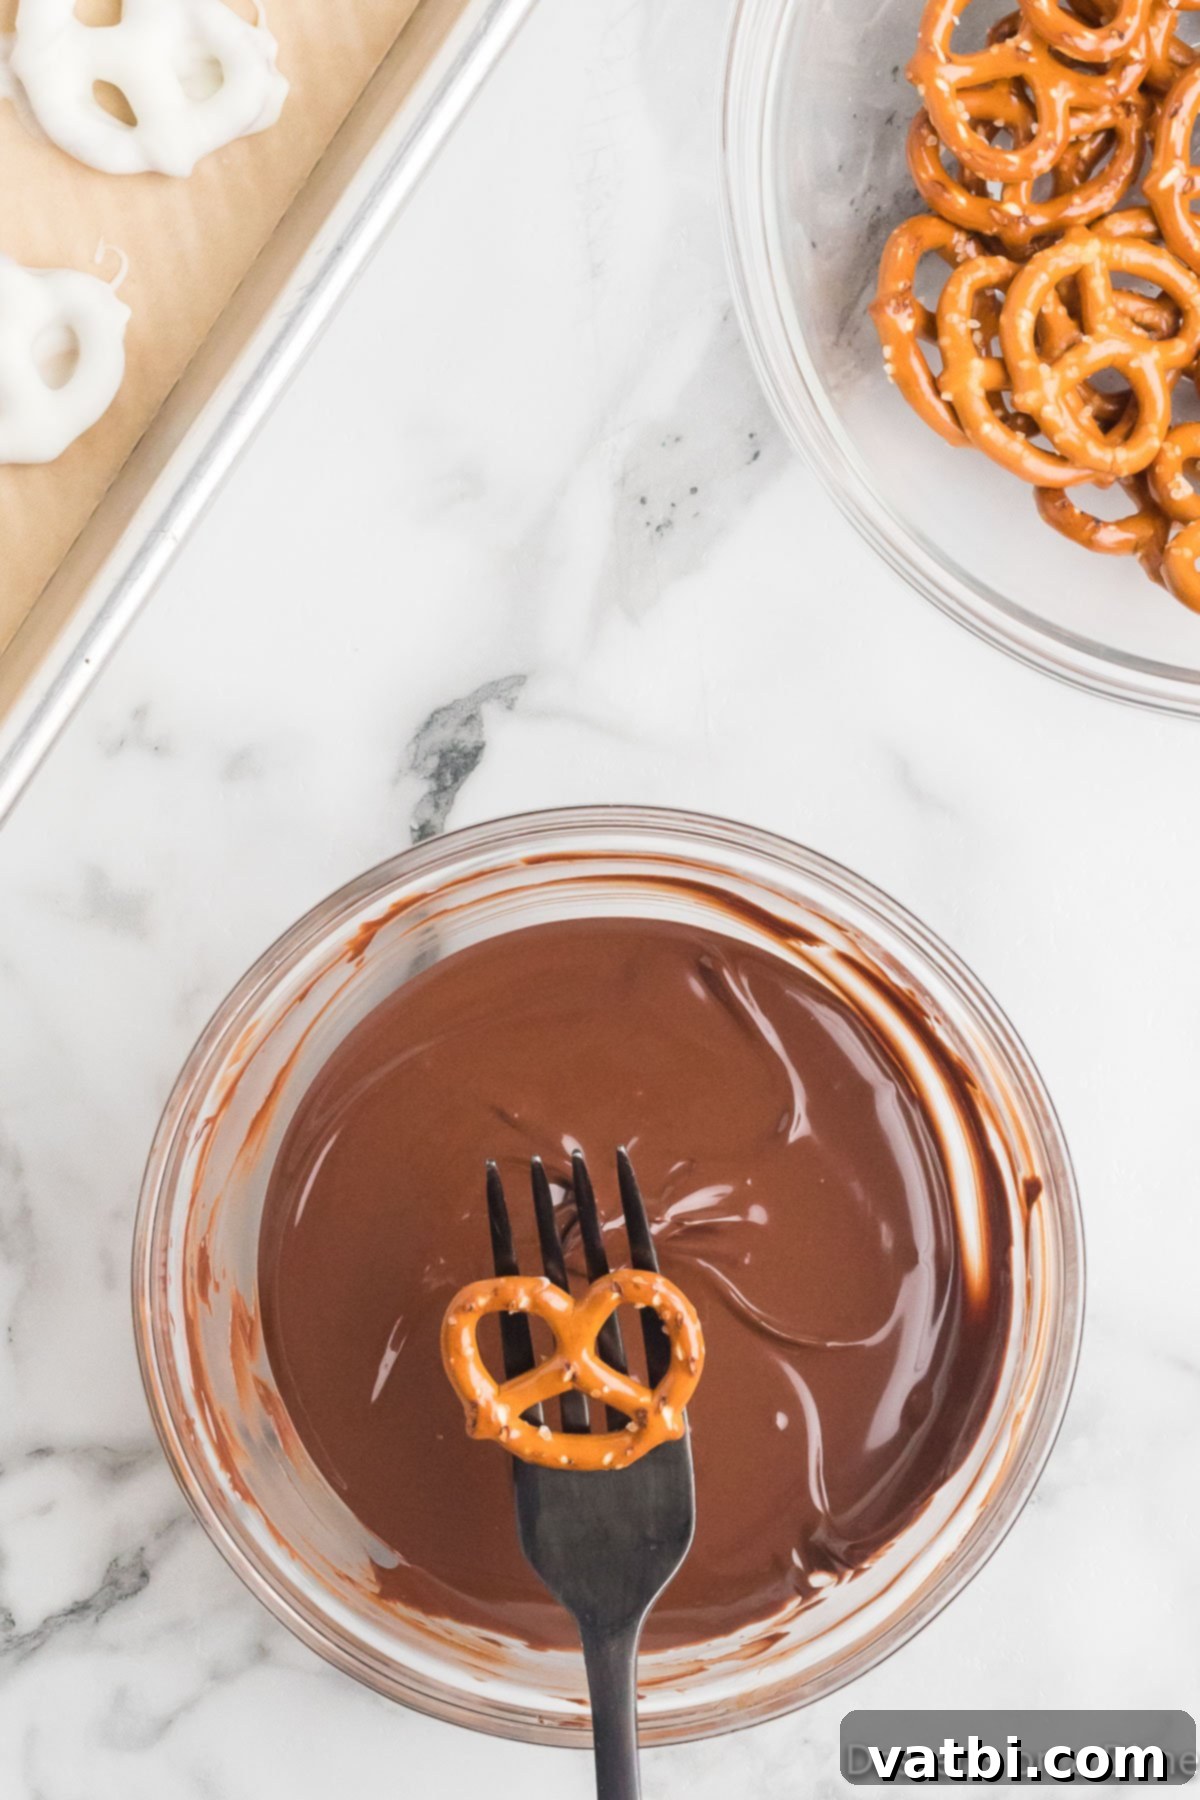
Step 3. Dip in Milk Chocolate. Once your milk chocolate is perfectly melted and smooth, it’s time to start dipping! Using a fork for dipping is highly recommended as it allows excess chocolate to drip off easily, preventing thick, clumpy coatings. Gently submerge about half or two-thirds of a miniature pretzel twist into the melted milk chocolate. Lift it out, tapping the fork lightly against the side of the bowl to remove any excess chocolate, ensuring a neat and even coating. This technique helps achieve that professional, crisp finish.
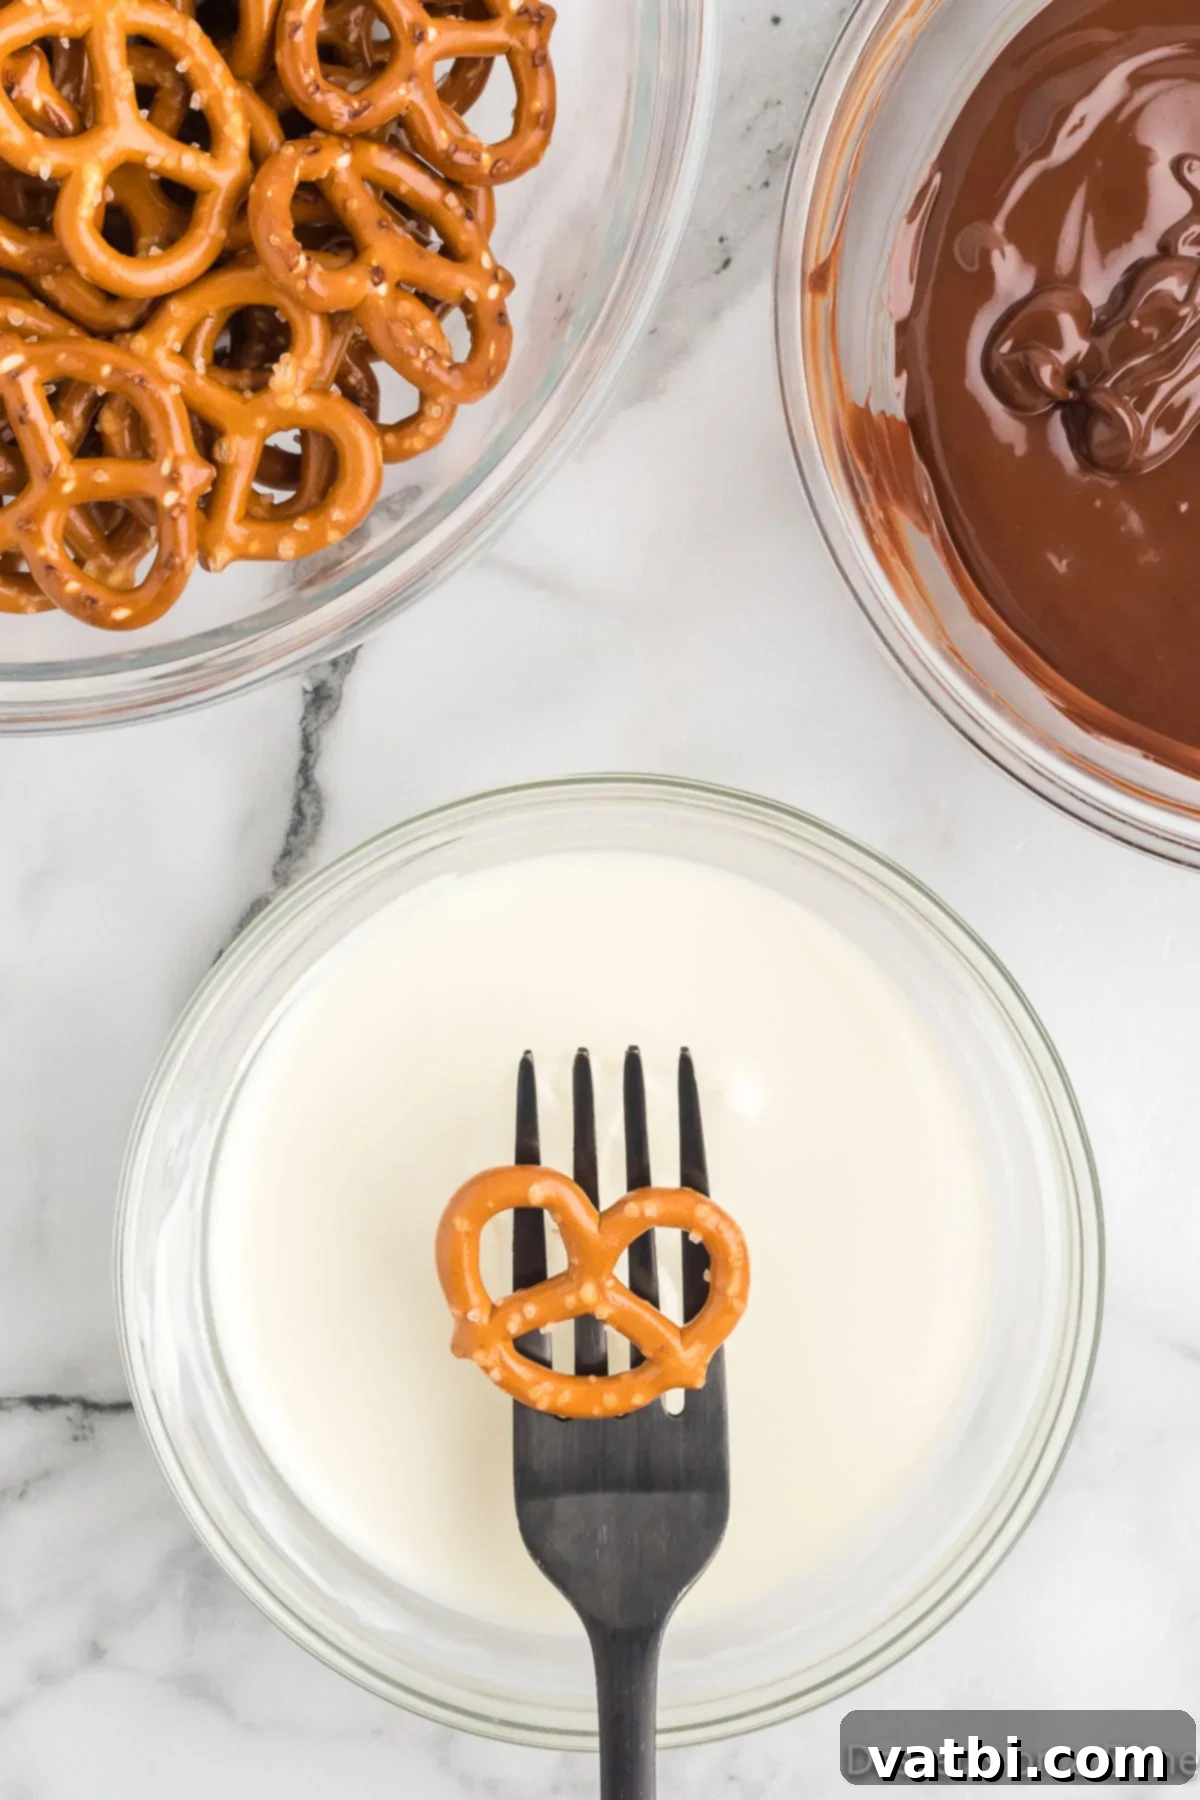
Step 4. Dip in White Chocolate. Similarly, take another pretzel and dip it into the melted white chocolate. Follow the same technique: submerge, lift, and tap gently to allow any extra chocolate to drip away. This dual-color approach not only adds visual interest but also offers a variety of flavors for your sweet and salty pretzels. Work efficiently but carefully, as the melted chocolate will begin to set as it cools, making dipping more challenging.
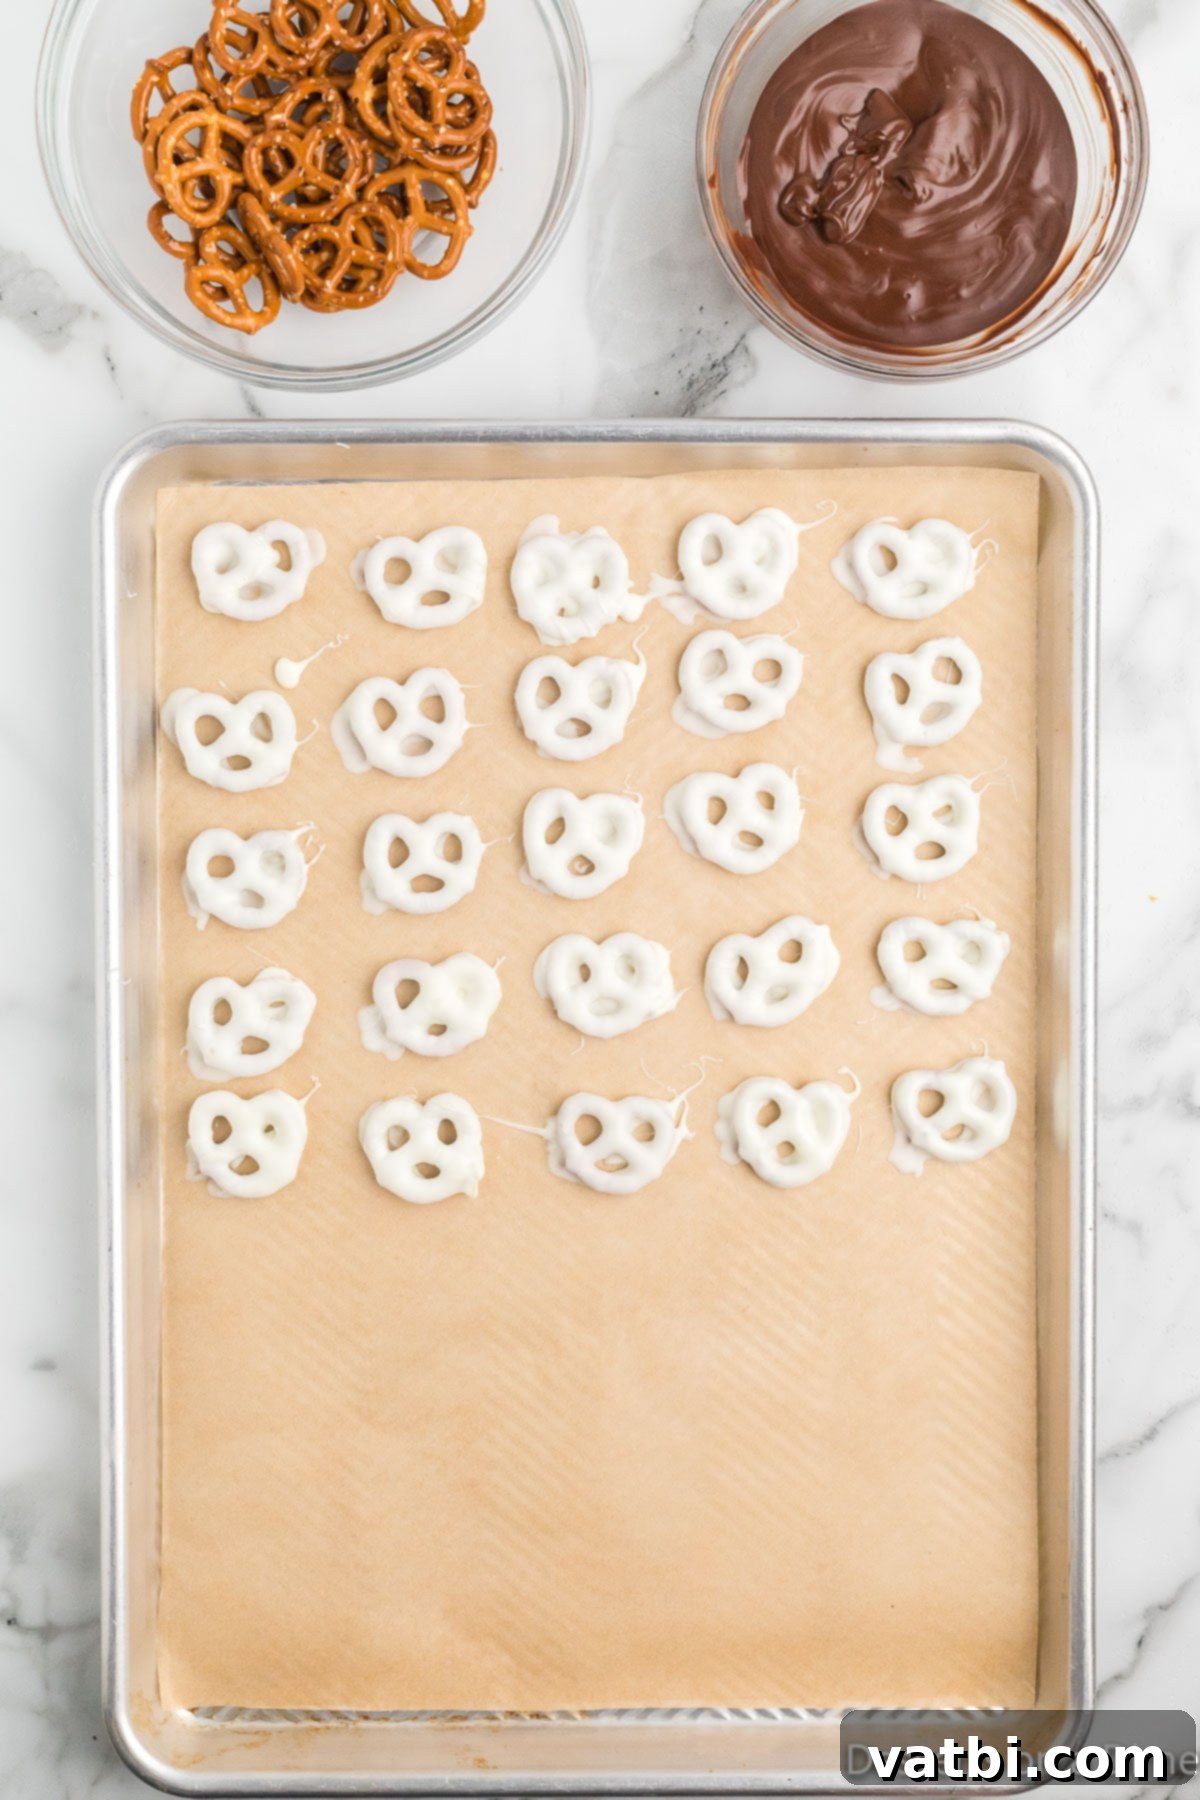
Step 5. Arrange on Baking Sheet. As you dip each pretzel, carefully place it onto a baking sheet that has been lined with parchment paper or wax paper. This crucial step prevents the chocolate from sticking to the tray as it sets, making removal effortless and cleanup a breeze. Ensure there’s a little space between each pretzel to prevent them from fusing together as the chocolate hardens.
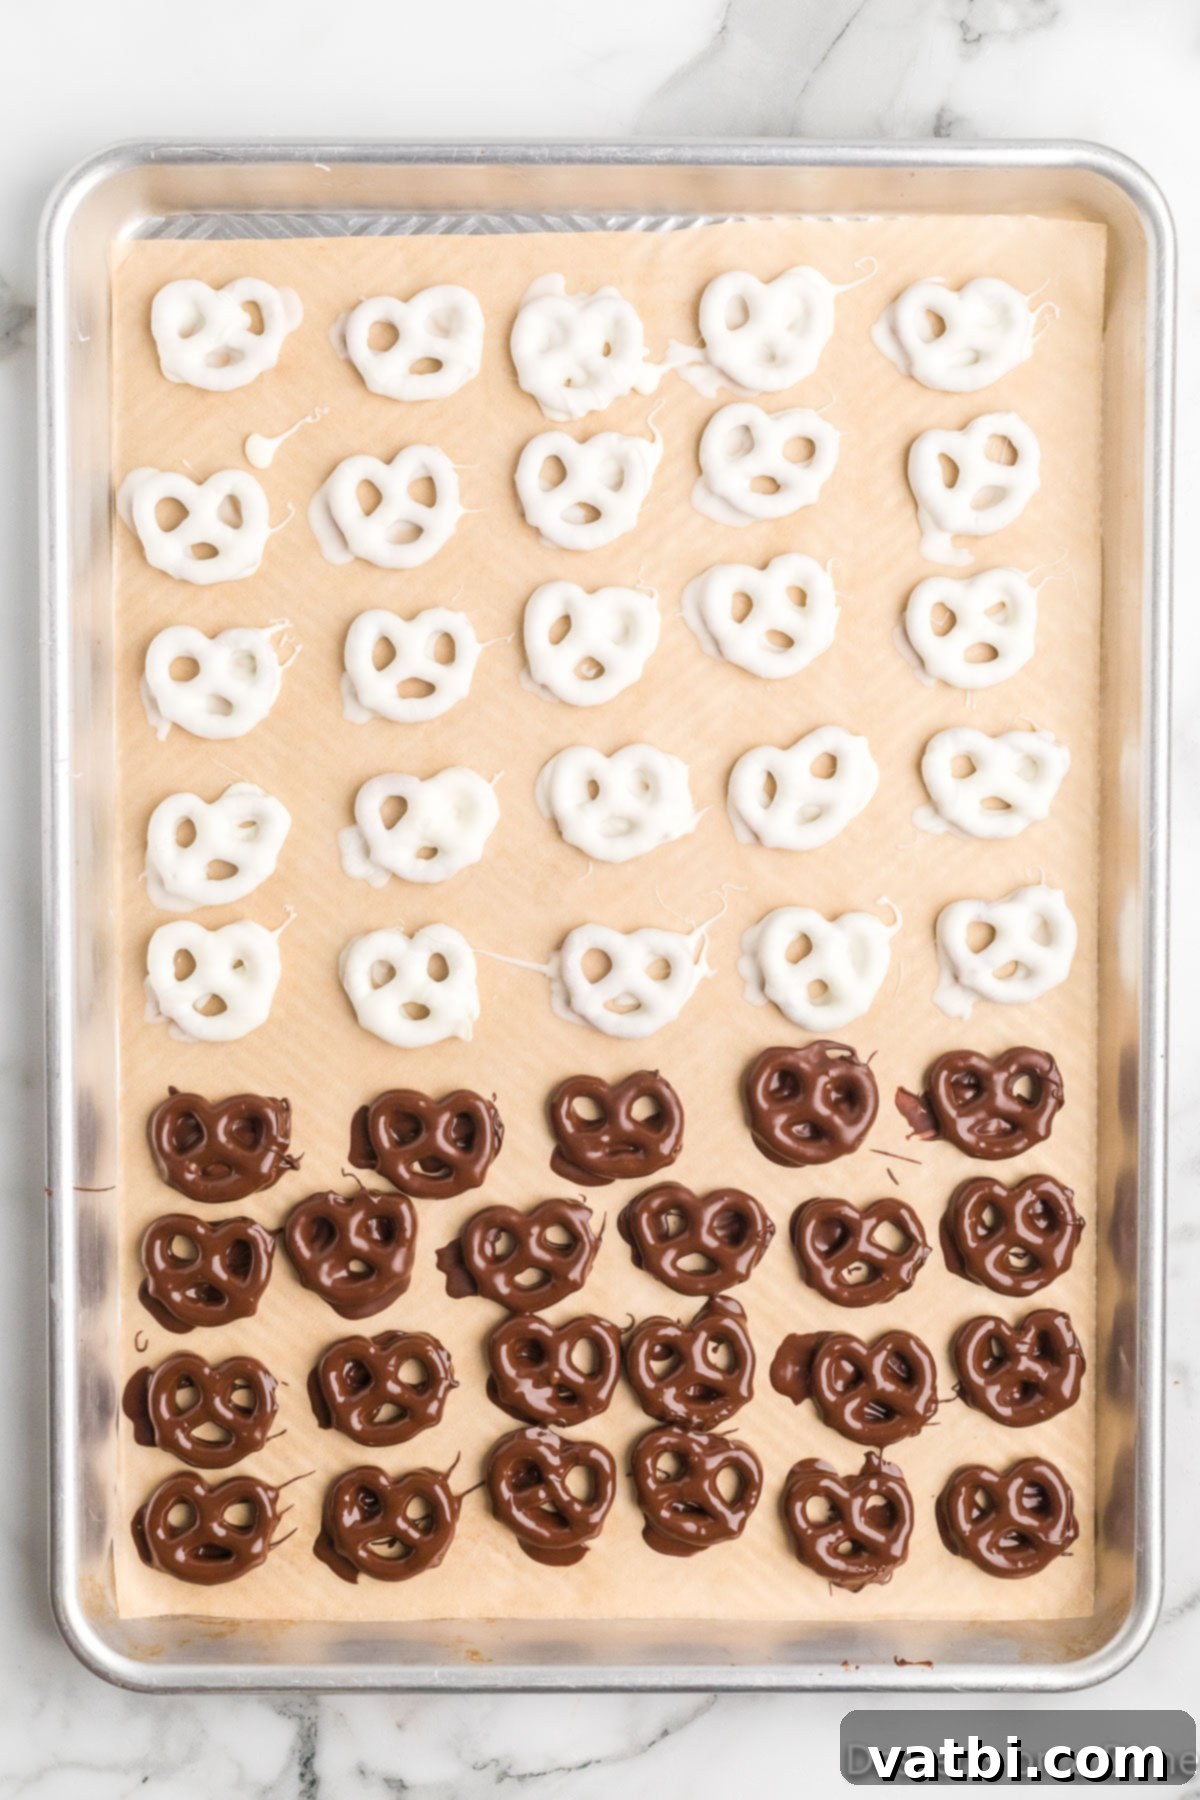
Step 6. Continue Dipping & Topping. Continue the process of dipping all your pretzels, alternating between milk and white chocolate as desired. Arrange them neatly on your prepared baking sheets. This is also the ideal time to add any sprinkles, crushed candies, nuts, or sea salt toppings. Ensure you sprinkle these additions over the chocolate while it’s still wet and tacky, as this guarantees they will adhere beautifully to your chocolate covered pretzels. If you wait too long, the chocolate will set, and your toppings won’t stick.
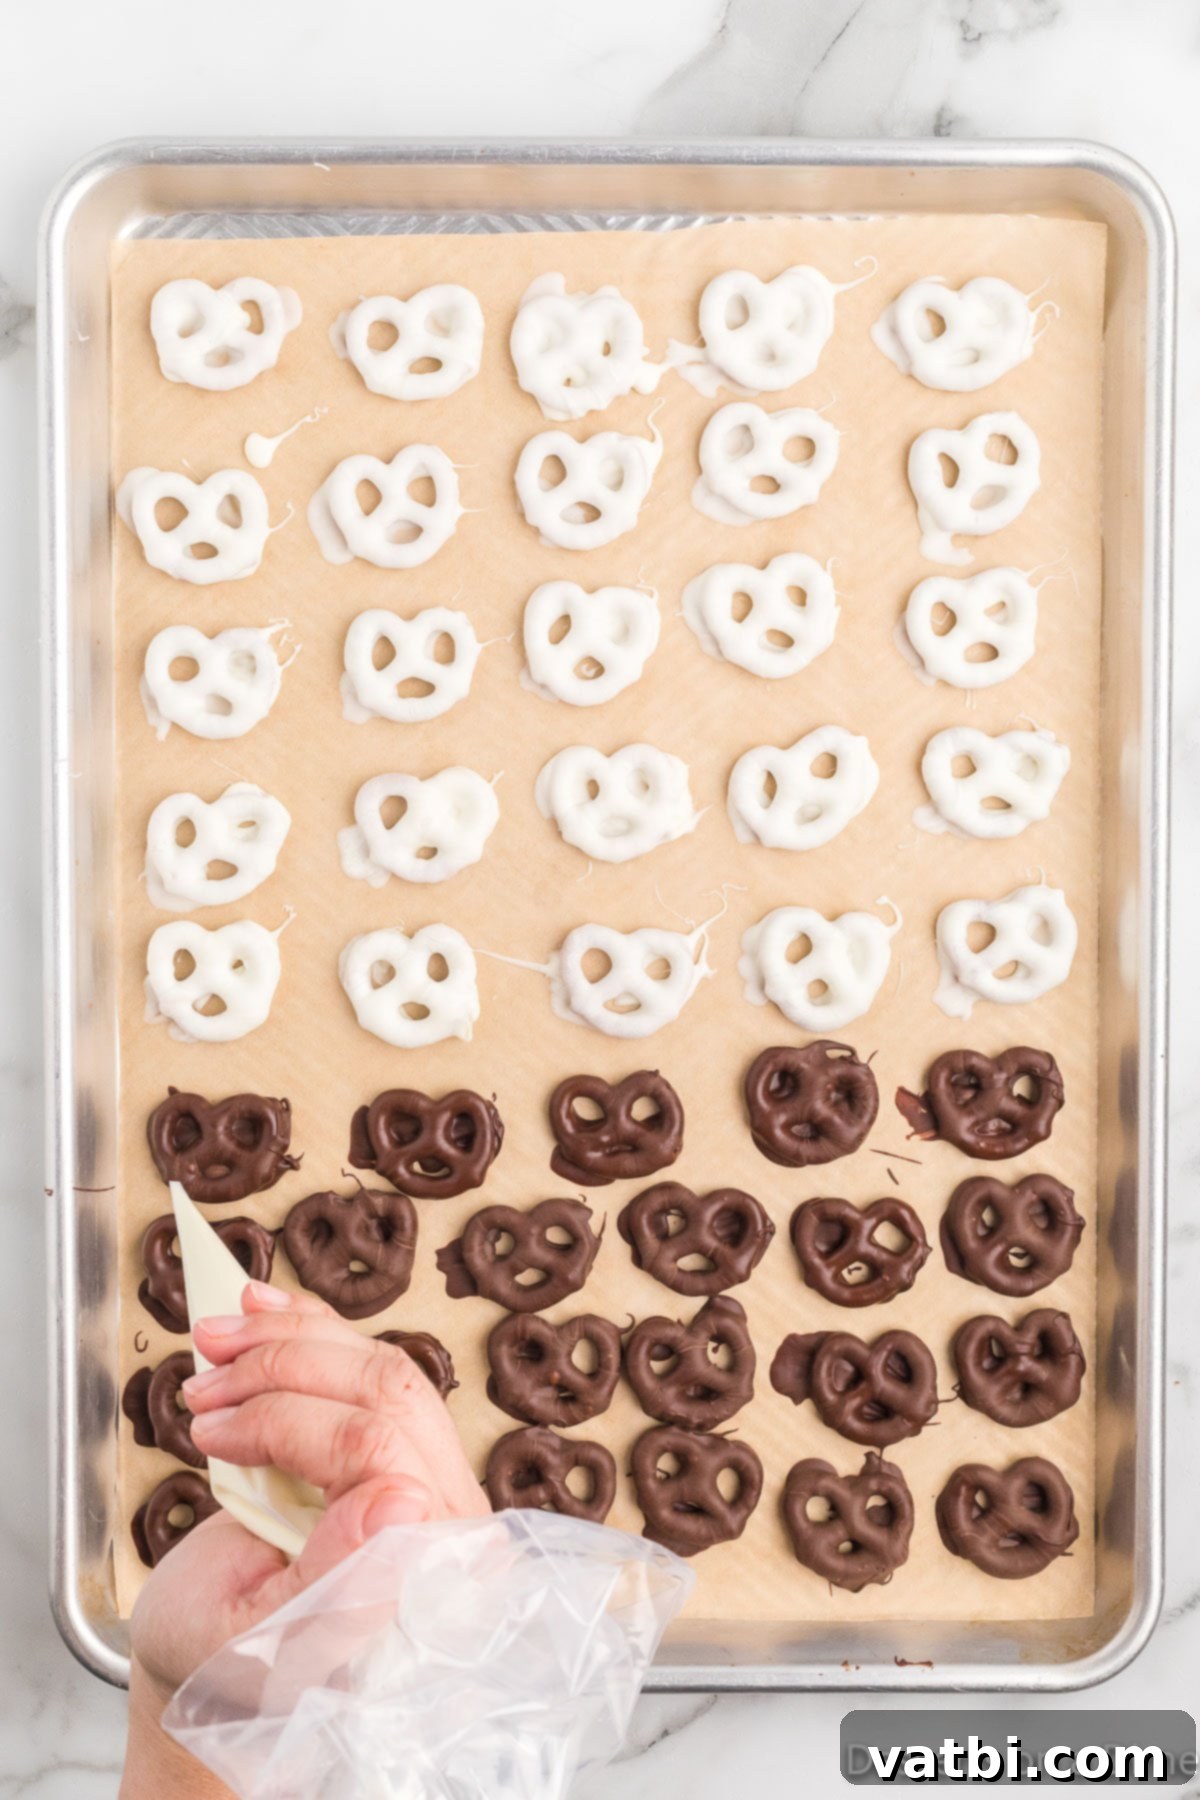
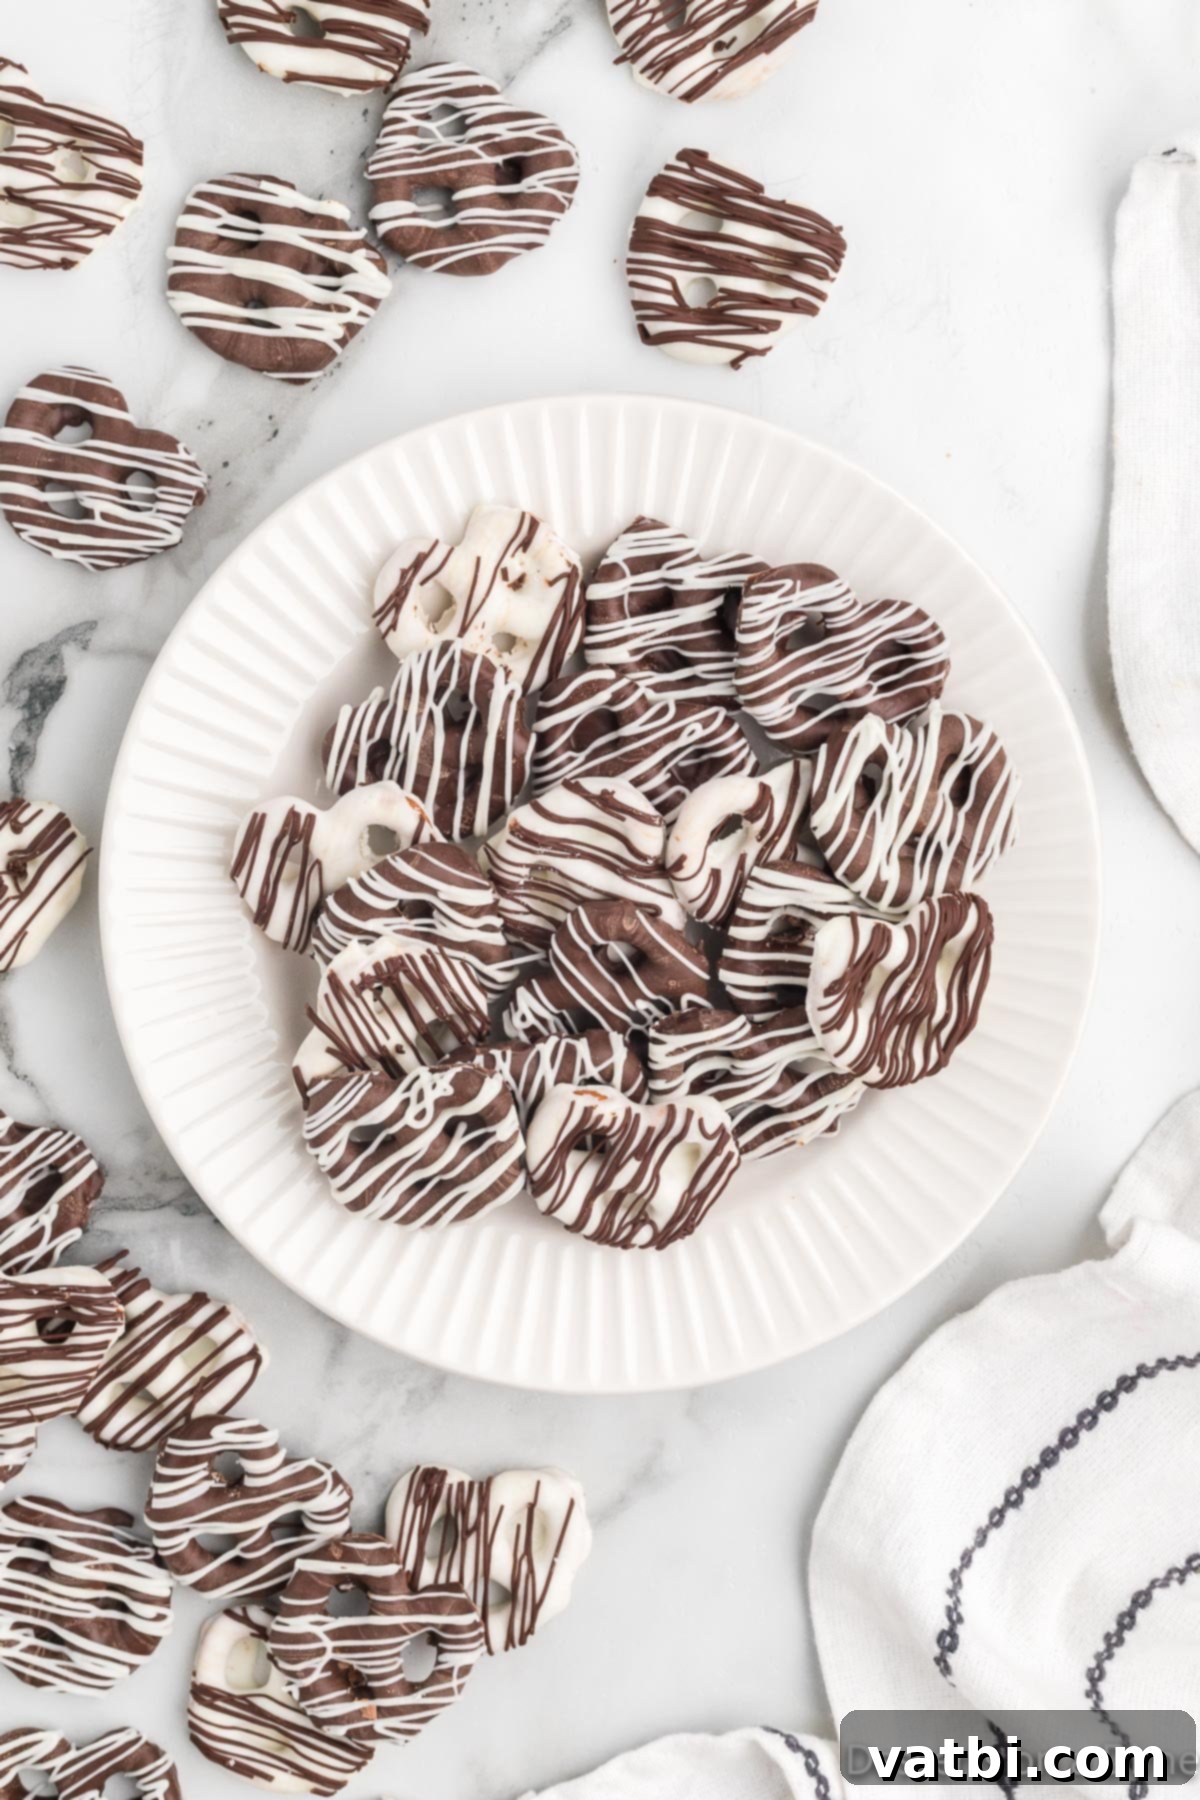
Step 7. Drizzle with Contrasting Chocolate. For an extra touch of elegance and flavor, allow the initial chocolate coating to set slightly (about 10-15 minutes at room temperature). This prevents the drizzled chocolate from blending into the base layer. Then, using the opposite type of melted chocolate (e.g., white chocolate drizzle on milk chocolate pretzels, and vice versa), use a fork, a small spoon, or a piping bag with a very small tip to create delicate drizzles, zigzags, or swirls across each pretzel. This adds visual appeal and a delightful layering of flavors and textures.
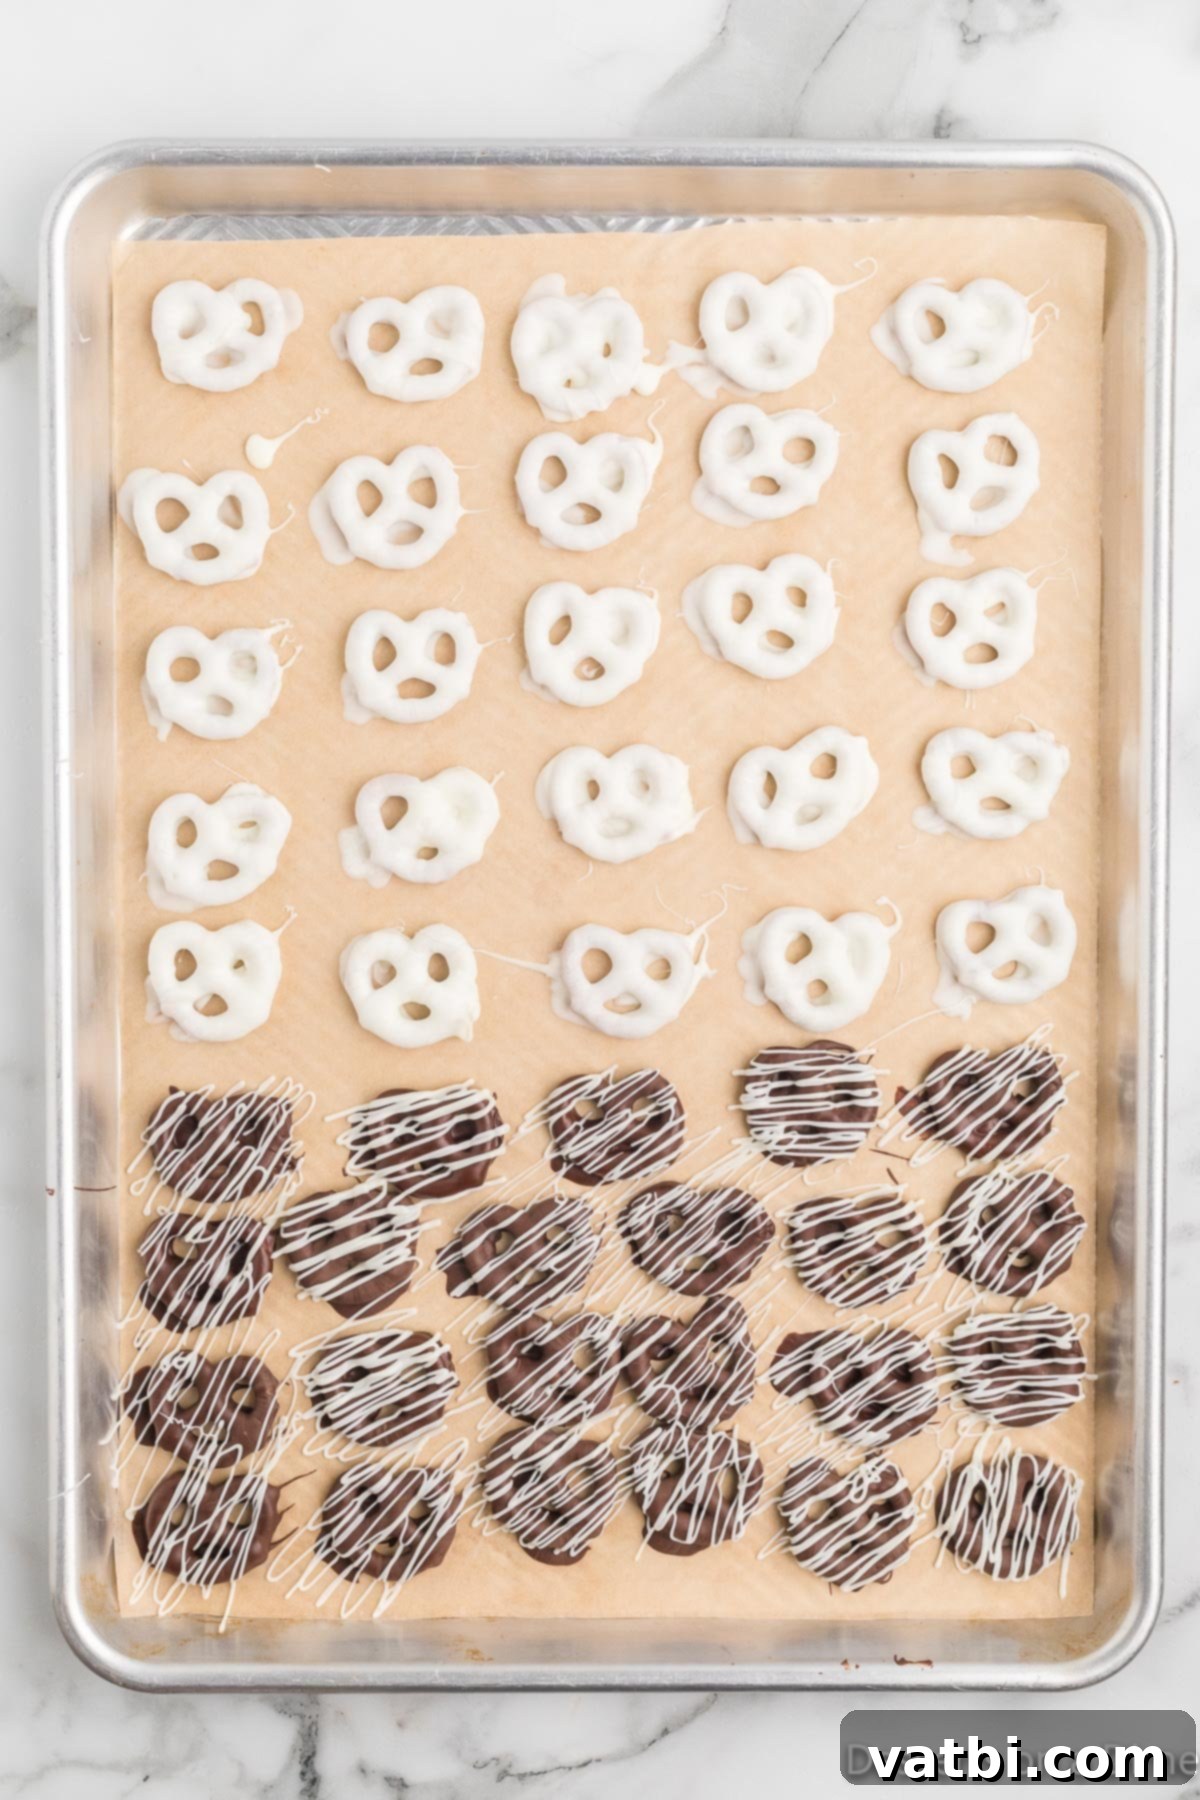
Step 8. Allow to Set Completely. Once all your pretzels are dipped, decorated, and drizzled to your heart’s content, let them set completely until the chocolate is firm to the touch. This can take approximately 30 minutes to an hour at cool room temperature. To significantly speed up the process, you can carefully transfer the baking sheet to the refrigerator for about 15-20 minutes until the chocolate is fully firm. Once thoroughly set, they are ready to be enjoyed, packaged as gifts, or stored for later!
Frequently Asked Questions (FAQs) About Chocolate Covered Pretzels
We’ve gathered some common questions to help you master these delicious sweet and salty treats, ensuring you have all the information you need for perfect results every time:
It is generally not necessary to refrigerate chocolate covered pretzels for storage. They will stay fresh and crisp when stored in an airtight container at cool room temperature for up to 2 weeks, sometimes even up to 3 weeks if properly sealed. Keeping them at room temperature preserves their crisp texture best. However, if you live in a particularly warm or humid climate, or if your home tends to be warm, placing them in the refrigerator can help prevent the chocolate from melting, becoming sticky, or developing “bloom” (a whitish film that can appear due to temperature fluctuations, though it’s harmless). We personally prefer to place them in the refrigerator, as it often helps the chocolate set faster and keeps them extra firm and satisfyingly crisp, especially during warmer months. Just be sure to bring them to room temperature for a few minutes before serving if preferred.
Absolutely! These chocolate covered pretzels are an excellent make-ahead treat, making them perfect for busy schedules, party planning, or holiday preparations. When stored correctly in an airtight container at room temperature (or refrigerated in warm conditions), they typically stay fresh for up to 2 to 3 weeks without losing their quality or crunch. This means you can prepare a large batch well in advance to save time and stress closer to an event. Preparing them ahead allows the chocolate to fully set and the flavors to meld beautifully, ensuring they are ready to impress whenever you need them. For gifting, ensure they are fully set before packaging to prevent sticking.
Chocolate seizing (becoming thick, clumpy, and grainy) is a common issue usually caused by even a tiny amount of water coming into contact with melted chocolate, or by overheating. To avoid this, ensure all your bowls, spatulas, and utensils are completely dry before they touch the chocolate. When melting in the microwave, always stick to short 30-second intervals and stir well after each. If using a double boiler, make sure the bottom of your chocolate-holding bowl doesn’t touch the simmering water, and no steam escapes from the pot into the chocolate. If your chocolate does seize, you can sometimes rescue it by stirring in a teaspoon of neutral-flavored vegetable oil or shortening at a time, until it becomes smooth again. While it might not be perfectly temper-quality, it will be suitable for dipping pretzels.
For the best results with chocolate covered pretzels, we highly recommend using high-quality chocolate chips, baking chocolate bars, or candy melts. Candy melts are formulated specifically for dipping and coating, setting quickly with a smooth, firm finish, and are available in a wide variety of colors. They are very easy to work with and rarely seize. If using traditional chocolate chips or baking chocolate bars, consider adding about ½ to 1 teaspoon of a neutral-flavored oil (like vegetable oil, refined coconut oil, or shortening) per cup of chocolate. This helps to thin the chocolate slightly, achieving a smoother, more even coating that’s easier to work with and sets beautifully. Avoid using chocolate syrup or chocolate spreads, as these will not set properly.
Once your chocolate covered pretzels have completely set and are firm to the touch, they should be stored in an airtight container. A Tupperware-style container or a tin with a tight-fitting lid works perfectly. Layer the pretzels between sheets of parchment paper or wax paper if you are stacking them to prevent sticking. Store them in a cool, dry place away from direct sunlight. As mentioned, refrigeration is optional but can be beneficial in warm climates for a firmer chocolate coating. Properly stored, they can maintain their freshness and crispness for up to 2-3 weeks, making them a great snack to have on hand.
Expert Tips for Flawless Chocolate Dipped Pretzels
Achieving perfectly coated and beautifully decorated **chocolate covered pretzels** is simple with a few insider tricks. These expert tips will help ensure your treats are not just delicious, but also visually stunning every single time, making your homemade creations look professionally made:
- Ensure Chocolate Melts Completely and Smoothly: The foundation of perfect chocolate covered pretzels is perfectly melted chocolate. Before you even think about dipping, make sure your chocolate chips or candy melts are completely smooth, free of any lumps, and have a fluid, consistent texture. If it’s too thick, it won’t coat the pretzels evenly, leading to a clumpy finish. If it’s not smooth enough, your pretzels will have an uneven, unappealing texture. Take your time during the melting process for the best results.
- Smooth Out Thick Chocolate: If, after melting, your chocolate or candy melts appear too thick or are not flowing smoothly enough for easy dipping, a simple trick is to add about ½ teaspoon of neutral-flavored vegetable oil, refined coconut oil, or shortening. Stir it in thoroughly until you reach a consistency that easily coats the pretzels without being too heavy or dripping excessively. Start with a small amount and add more sparingly if needed, as adding too much can make the chocolate greasy or prevent it from setting properly.
- Avoid Overheating the Chocolate: This is a crucial step! Overheating chocolate can cause it to seize (become thick, clumpy, and grainy), burn, or separate, rendering it unusable. Always melt chocolate in short 30-second intervals in the microwave, stirring vigorously after each. For larger batches or if you prefer more control, a double boiler (a heatproof bowl set over a pot of simmering water) offers a gentler, more controlled melting method, preventing direct heat contact. Watch your chocolate closely and remove it from the heat as soon as it’s mostly melted, stirring to melt any remaining chunks with residual heat.
- Dip Pretzels Immediately: Once your chocolate is melted to perfection and has reached the ideal consistency, work quickly and efficiently! Melted chocolate and candy melts will start to harden as they cool, so have all your pretzels ready to dip right away. Prepare your workstation beforehand with all ingredients, your lined baking sheet, and any toppings at arm’s reach. This proactive approach ensures a smooth and continuous dipping process.
- Utilize a Fork for Dipping and Draining: A fork is your absolute best friend when dipping pretzels, especially miniature twists. Spear a pretzel with a fork, submerge it into the melted chocolate, and then gently tap the fork against the side of the bowl. This action is critical as it allows any excess chocolate to drip off through the tines of the fork, preventing unsightly pools of chocolate around your pretzel on the baking sheet and ensuring a cleaner, more elegant, and evenly coated treat. It’s much more efficient and less messy than using tongs or your fingers.
- Prepare Your Baking Sheet: Always line your baking sheet with parchment paper, wax paper, or a silicone baking mat. This step is essential to prevent the chocolate covered pretzels from sticking to the tray as they set, making removal effortless and cleanup a breeze. The non-stick surface ensures your beautifully coated pretzels can be lifted off without any breakage or loss of chocolate.
- Master the Drizzle Tip: If you’re planning to drizzle your pretzels with a contrasting chocolate color (e.g., white chocolate drizzle on milk chocolate base), allow the initial chocolate coating to set for approximately 10 to 15 minutes at room temperature first. This slight setting time helps ensure that the drizzled chocolate sits distinctly on top of the base layer rather than blending into it, creating crisp, defined lines and a more appealing visual effect. For a precise drizzle, you can put the melted chocolate into a piping bag with a tiny hole, or simply use a fork and let it drip in thin streams.
- Cool Completely Before Storing: Patience is a virtue here! Before you even think about moving your delicious chocolate covered pretzels into a storage container, ensure they are completely dried and the chocolate is fully set and firm to the touch. Storing them too soon can cause them to stick together, smudge the delicate chocolate coating, or even “bloom” (develop a whitish film due to temperature changes or moisture, although harmless, it’s less aesthetically pleasing).
- Use a Deep, Narrow Bowl for Dipping: For efficient dipping, especially with pretzel rods or if you have a lot of pretzels, a deep, narrow bowl is often better than a wide, shallow one. It allows you to submerge more of the pretzel with less chocolate, reducing waste and making the dipping process smoother and faster.
- Experiment with Quality Ingredients: While this recipe is incredibly simple, the quality of your chocolate and pretzels can significantly impact the final taste and texture. Investing in good quality chocolate chips or candy melts will yield a richer flavor and a smoother, more luxurious coating that truly elevates these simple treats to something special.
More Delightful Pretzel Dessert Recipes to Try
If you’ve fallen in love with the irresistible sweet and salty crunch of these chocolate covered pretzels, you’re in for an even bigger treat! The versatility of pretzels in desserts extends far beyond just dipping. Explore these other fantastic pretzel-based recipes that offer unique flavors and textures, perfect for any occasion, from casual snacking to elegant entertaining:
- Rolo Pretzel Turtle Recipe: An incredibly simple yet decadent treat featuring chewy caramel Rolo candies melted between crispy miniature pretzels and often topped with a pecan or another nut. It’s a delightful sweet, salty, and nutty explosion in every bite, requiring minimal effort but delivering maximum flavor.
- Strawberry Pretzel Dessert Recipe: A beloved layered dessert that beautifully balances flavors and textures. It combines a salty, buttery pretzel crust with a creamy, rich cheesecake-like filling, and is topped with a vibrant, sweet strawberry gelatin layer filled with fresh fruit. This refreshing dessert is perfect for potlucks, summer gatherings, or any time you need a crowd-pleasing dish.
- Easy Rolo Pretzel Bites Recipe: Similar to the pretzel turtles but often utilizing mini pretzel snaps, these quick bites are made with Rolo candies melted directly onto pretzels, creating a gooey, irresistible snack that’s perfect for movie nights, casual get-togethers, or a quick sweet fix. They are incredibly addictive and even easier to make than the full turtles!
- Football Chocolate Covered Pretzel Cookies: Get ready for game day with these cleverly themed treats! These combine the crunch of pretzels with the sweetness of cookies and the richness of chocolate, all decorated to look like mini footballs. They are perfect for sports fans, tailgate parties, or any casual celebration where you want to add a fun, edible touch.
We truly hope you enjoy making these simple but incredibly delicious **chocolate covered pretzels**. There’s something so satisfying about creating a treat that looks impressive but is so easy to achieve. Give this recipe a try, get creative with your toppings and variations, and don’t forget to come back and leave a comment! We love getting your feedback and hearing about your sweet and salty creations. Happy snacking and happy baking!
Pin
Chocolate Covered Pretzels
Ingredients
- 50 miniature pretzel twists
- 12 ounces chocolate chips or candy melts – We used 6 ounces of white chocolate and 6 ounces of semi-sweet chocolate.
Instructions
-
Place the chocolate chips or candy melts in a microwave-safe bowl. If you are using different colors or types of chocolate, use separate bowls for each to keep them from mixing. Ensure all bowls and utensils are completely dry.
-
Microwave in short 30-second intervals, making sure to stir thoroughly after each interval. Continue until the chocolate is completely melted and beautifully smooth and fluid. Avoid overheating to prevent seizing.
-
Dip each miniature pretzel twist into the melted chocolate. We recommend using a fork to gently submerge the pretzel and then tap the fork lightly against the side of the bowl. This helps remove any excess chocolate, ensuring a clean and even coating. For decoration, you can then drizzle contrasting colors of chocolate over the dipped pretzels (after the first layer has slightly set), or add sprinkles/toppings while the chocolate is still wet.
-
Carefully place the chocolate-covered pretzels onto a cookie sheet that has been lined with parchment paper or wax paper. This prevents sticking and makes cleanup much easier. Ensure there is space between each pretzel.
-
Allow the pretzels to set until the chocolate is completely firm to the touch. This will take approximately 1 hour if left at cool room temperature. To speed up the process, you can place the baking sheet in the refrigerator for about 20-30 minutes.
-
Once fully set, serve your delicious homemade chocolate covered pretzels immediately, or store them in an airtight container for up to 2 weeks for continued freshness. Ensure they are completely dry before storing to prevent sticking or bloom.
Nutrition Facts
Pin This Now to Remember It Later
Pin Recipe
