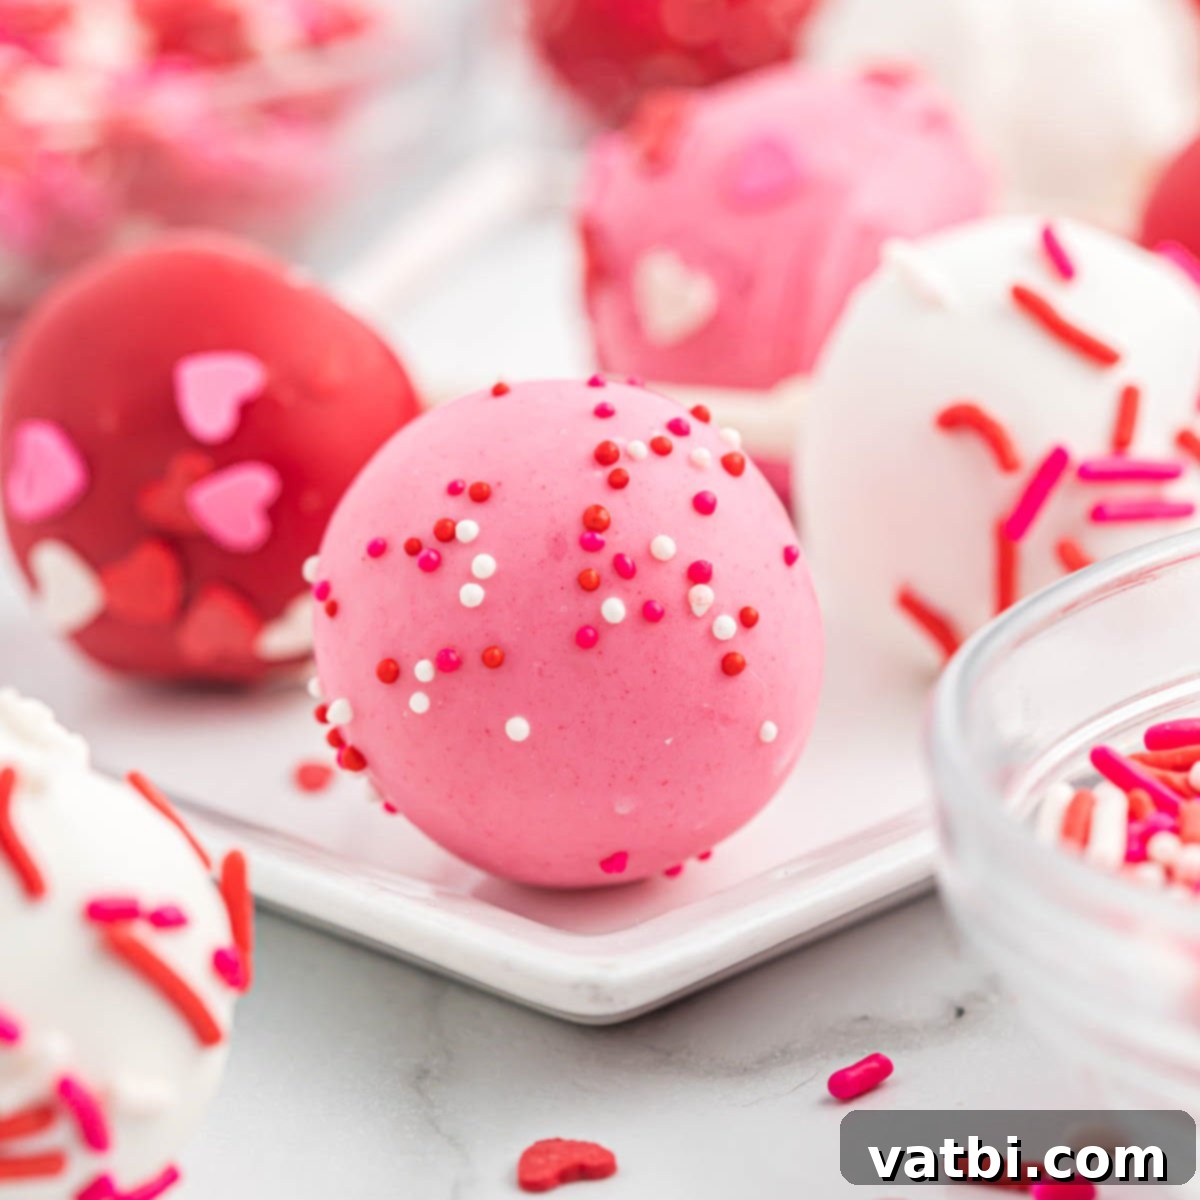
Irresistibly Easy Valentine’s Day Cake Pops: A Sweet Guide to Festive Treats
Get ready to spread some love and sweetness this Valentine’s Day with these incredibly easy and utterly adorable Valentine’s Day Cake Pops! These delightful little cake balls are the perfect treat for kids and adults alike, offering a burst of flavor and a charming festive look. You’ll be amazed at how simple it is to create these bakery-quality treats right in your own kitchen, all with minimum fuss and maximum fun. They’re not just delicious; they’re also a beautiful way to celebrate the season of love.
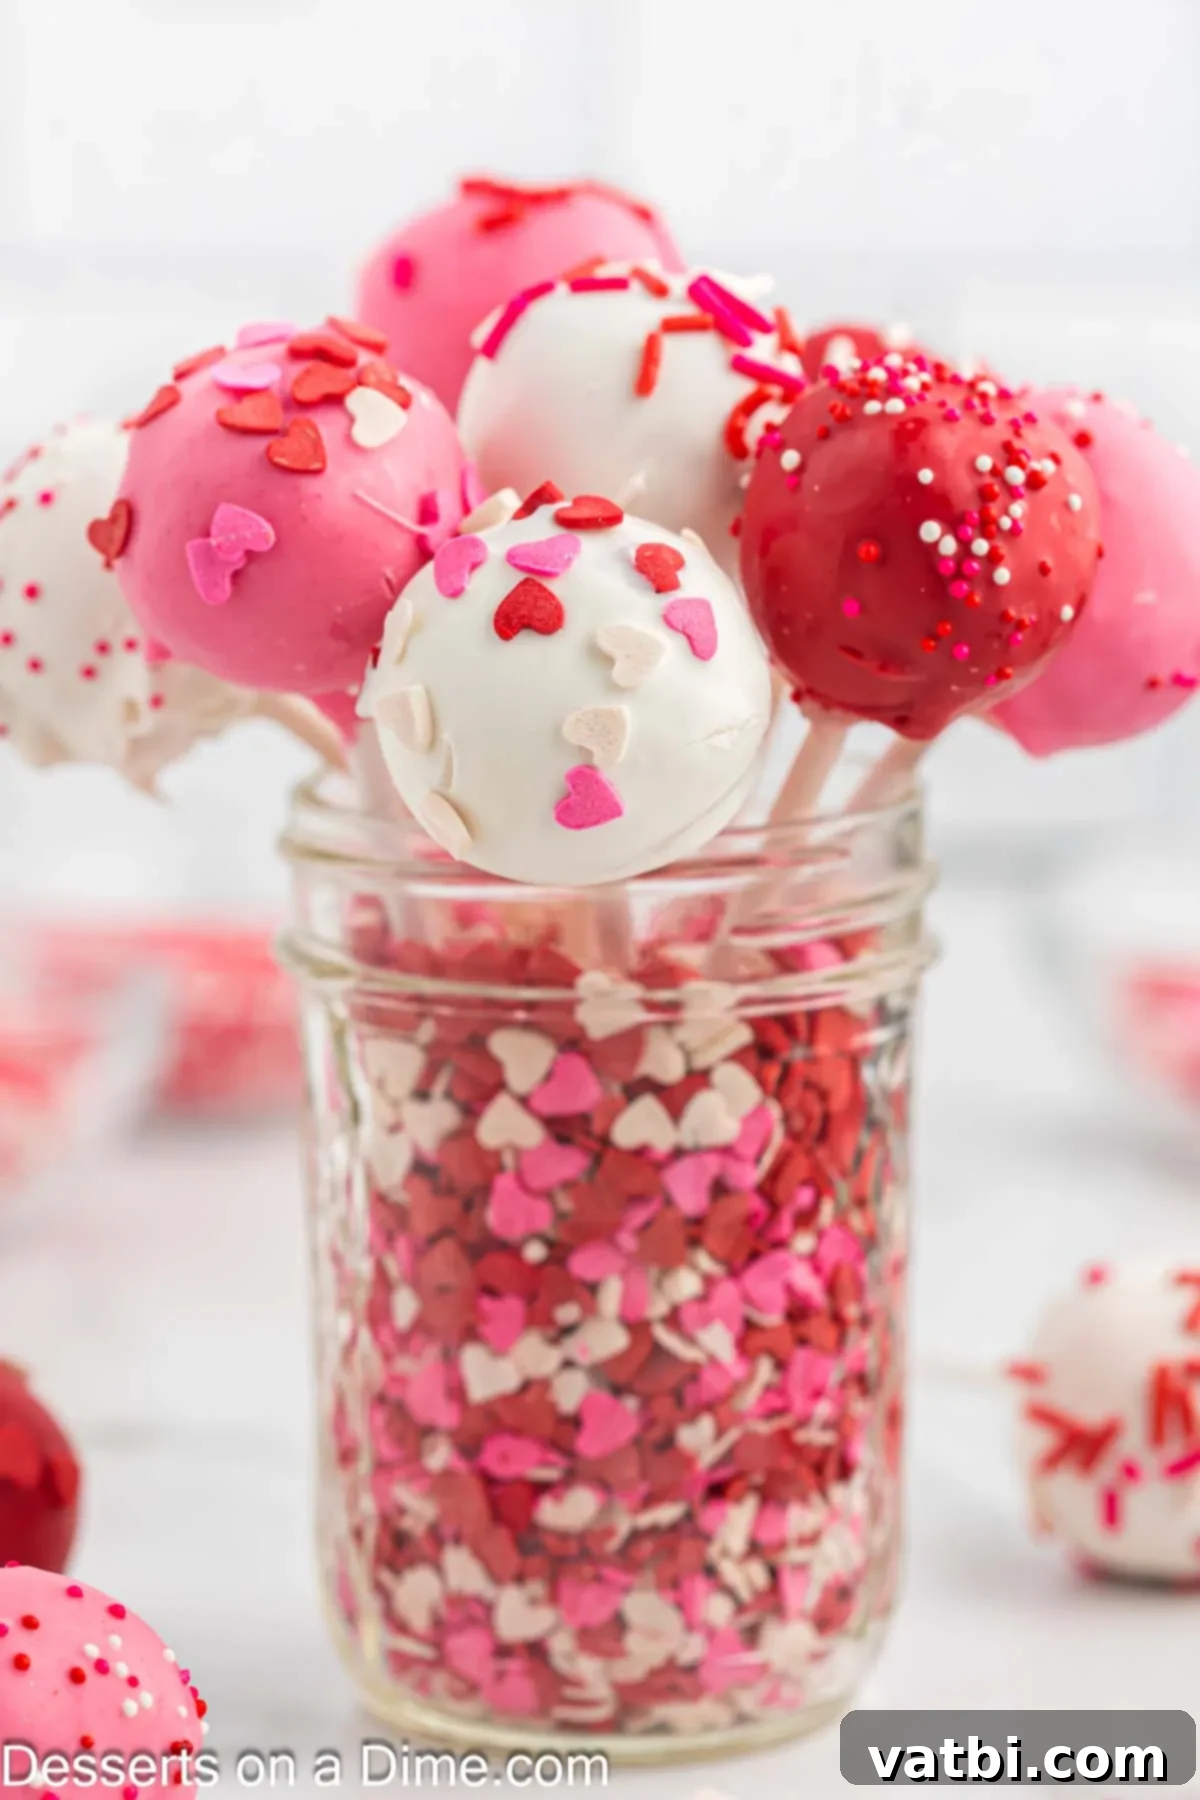
Transform a simple cake recipe, or even a convenient box mix, into these fabulous cake pops specifically designed for Valentine’s Day. This particular method is celebrated as one of the Best Cake Pop Recipes because it’s incredibly easy to fit into even the busiest schedules. If you’re looking for more exciting cake pop flavors, be sure to try our popular Cookie Dough Cake Pops and indulgent Oreo Cake Pops for year-round fun. Beyond cake pops, another delightful Valentine’s dessert to consider is our Valentine’s Day Chocolate Covered Oreos, offering another quick and charming option.
Table of contents
- Why This Recipe Works
- Ingredients for Valentine’s Day Cake Pops
- Equipment Needed
- Delicious Variations to Try
- Step by Step Instructions for Perfect Cake Pops
- Storage Tips for Freshness
- Pro Tips for Cake Pop Success
- FAQs About Valentine’s Day Cake Pops
- More Delicious Valentine’s Treats
Why This Valentine’s Day Cake Pop Recipe Works So Well
This recipe isn’t just easy; it’s designed for success, making it a favorite for both novice and experienced bakers looking to create something special for Valentine’s Day. Here’s why these cake pops are a guaranteed hit:
- It utilizes a simple cake mix. The foundation of this recipe is a convenient box cake mix, which drastically cuts down on prep time without sacrificing flavor. This means less time baking from scratch and more time decorating and enjoying your creations. Using a cake mix also ensures consistent results every time, making it perfect for a stress-free baking session.
- Festive, fun, and irresistibly cute. Each cake pop, adorned with vibrant pink, red, and white candy melts and sprinkles, is incredibly cute and perfectly encapsulates the spirit of Valentine’s Day. They are not only ideal for holiday celebrations but also make charming additions to baby showers, birthday parties, or any event where a touch of sweetness and cheer is desired. Their visual appeal makes them a showstopper on any dessert table.
- Budget-friendly baking. Creating these homemade treats will save you a significant amount of money compared to purchasing them from a high-end bakery. With readily available and affordable ingredients, you can produce a large batch of beautiful cake pops for a fraction of the cost, making them an economical choice for gifting or serving a crowd.
- Perfect for gifting and sharing. Individually portioned and easy to hold, cake pops are an excellent choice for edible gifts. Package a few in a small box or cellophane bag with a ribbon, and you have a thoughtful, homemade present for teachers, neighbors, friends, or loved ones. Their portability also makes them ideal for potlucks and school events.
- Highly customizable. As you’ll see in our variations section, this recipe is a fantastic canvas for creativity. You can easily change the cake flavor, frosting, and decorations to suit any taste preference or theme, ensuring your cake pops are always unique and exciting.
Ingredients for Your Delightful Valentine’s Day Cake Pops
Gathering your ingredients is the first step to creating these delightful cake pops. Here’s what you’ll need, with a few notes on selection:
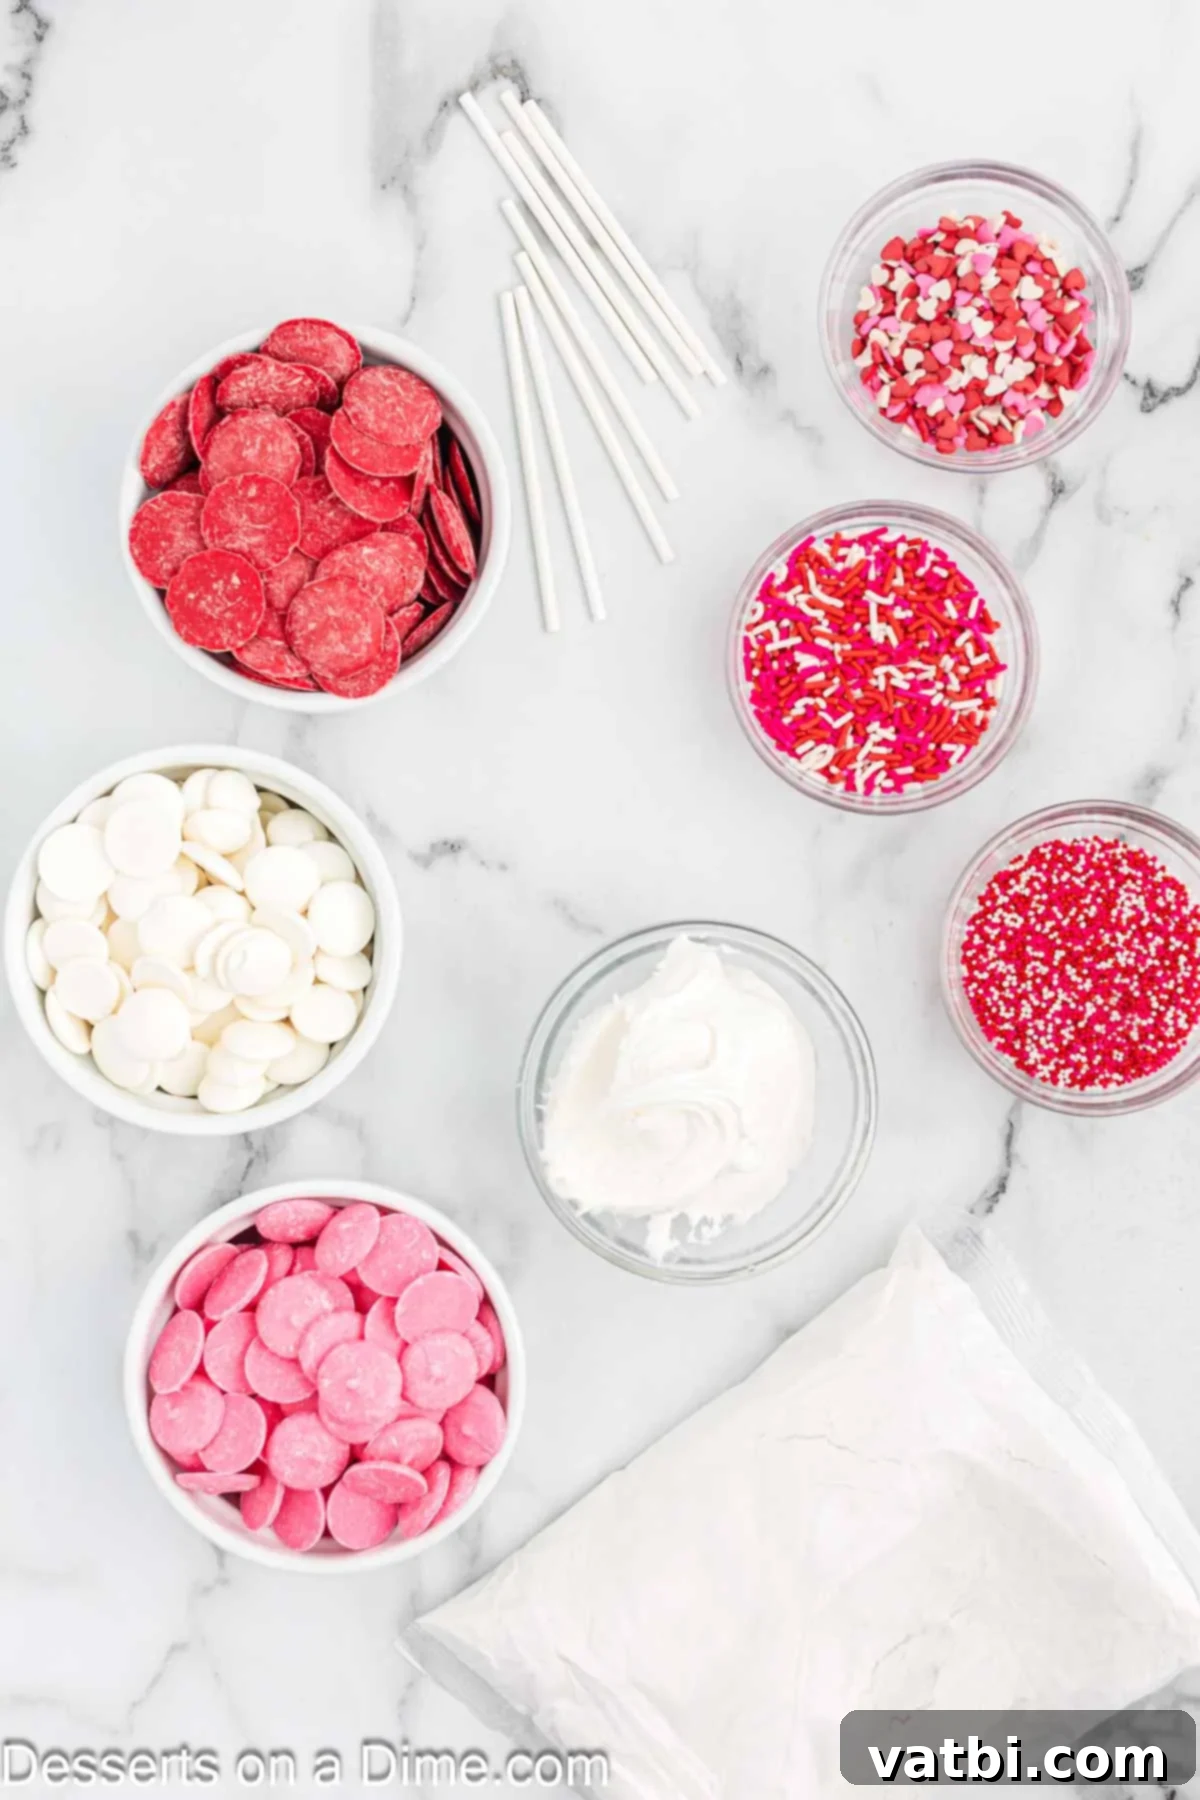
- White Cake Mix: Any standard brand will work perfectly. While white cake is classic for Valentine’s Day as it beautifully showcases the colored candy melts, feel free to experiment with other flavors like strawberry, red velvet, or even chocolate for a different twist. Remember to have the additional ingredients listed on your cake mix box ready (typically eggs, oil, and water).
- White Frosting: We use store-bought white frosting for ultimate convenience, as it provides the perfect binder and adds moisture to the cake crumbs. However, if you prefer, a homemade vanilla buttercream or cream cheese frosting would also be delicious. Just ensure it’s not too thin, as you need a thick consistency to hold the cake balls together.
- Candy Melts (White, Pink, and Red): These are crucial for the festive Valentine’s Day colors. Candy melts are specifically designed to melt smoothly and harden quickly, providing a professional-looking coating. You’ll need separate bowls for each color. If you can’t find specific candy melts, you can use white chocolate chips or almond bark tinted with oil-based food coloring (water-based colors will cause the chocolate to seize).
- Valentine’s Day Sprinkles: This is where you can truly let your creativity shine! Choose a mix of red, pink, and white sprinkles in various shapes – hearts, nonpareils, jimmies, or even edible glitter. Apply them immediately after dipping to ensure they stick to the still-wet candy coating.
- Lollipop Sticks: These are essential for holding your cake pops. You can typically find them at craft stores like Hobby Lobby, party supply stores, or in the baking aisle of larger supermarkets. Choose sticks that are sturdy enough to support the cake balls.
- Eggs and Vegetable Oil: These are generally required to prepare your boxed cake mix. Check the specific instructions on your cake mix box for exact quantities.
For a complete and precise list of ingredients with exact measurements, please scroll down to the printable recipe card at the bottom of this post.
Essential Equipment for Making Cake Pops
Having the right tools on hand will make the cake pop creation process even smoother and more enjoyable:
- 9×13 inch baking pan: For baking your cake.
- Large mixing bowl: To crumble the cake and mix with frosting. A stand mixer can also be used.
- Cookie scoop (1.5-2 tablespoon size): Ensures uniform cake ball size, which is important for even dipping.
- Parchment paper: Prevents cake balls from sticking to the sheet pan and makes cleanup easier.
- Sheet pan: For chilling the cake balls.
- Microwave-safe bowls: For melting the candy melts (one for each color).
- Styrofoam block or a tall glass with rice/sugar: To hold the cake pops upright while the coating dries.
- Fork or toothpick: Useful for guiding excess candy melt off the cake pops.
Delicious Variations to Personalize Your Cake Pops
While the classic white cake and colorful candy melts are perfect for Valentine’s Day, this recipe is incredibly versatile. Don’t hesitate to get creative and customize your cake pops to suit any occasion or preference!
- Cake flavors galore. Don’t limit yourself to white cake! Explore other exciting flavors like rich red velvet cake mix (a natural for Valentine’s Day), decadent chocolate cake, vibrant strawberry cake, or even a fun Funfetti cake mix for extra sprinkles inside. Each flavor will bring a unique taste experience to your cake pops.
- Frosting creativity. Instead of plain white frosting, consider using a Homemade Cream Cheese Frosting Recipe for red velvet cake pops, a rich Cinnamon Buttercream for a spiced twist, or a delightful chocolate frosting. You can also tint your white frosting with gel food coloring to match your candy melt colors for an extra pop of color when bitten into.
- Embrace homemade cake. For those who enjoy baking from scratch, feel free to substitute the box mix with your favorite homemade cake recipe. A homemade Red Velvet Sheet Cake Recipe or a vanilla bean cake would make these cake pops truly gourmet. Just ensure the cake is completely cooled before crumbling.
- Diverse dipping coatings. Beyond the classic candy melts, you can use good quality chocolate chips (milk, dark, or white) mixed with a tiny bit of coconut oil or shortening to achieve a smooth, dippable consistency. You can also drizzle contrasting chocolate colors over the set candy melts for an elegant finish.
- Sprinkle wonderland. The sprinkle aisle is your oyster! Experiment with different types of Valentine’s sprinkles, such as small heart candies, sanding sugar for a subtle shimmer, edible glitter, or even mini chocolate chips. For other holidays, simply swap out the Valentine’s sprinkles for seasonal alternatives.
- Shape-shifting cake pops. While round balls are traditional, you can get creative with shapes. Using small cookie cutters (like mini heart cutters) after the mixture is chilled can create heart-shaped cake pops. Just ensure the shapes are sturdy enough to hold the stick.
- Adding extra crunch. Mix finely chopped nuts (like pecans or walnuts) into the cake and frosting mixture for added texture, or roll the freshly dipped cake pops in crushed cookies (like Oreos or graham crackers) for an extra layer of flavor and crunch.
Step by Step Instructions for Perfect Valentine’s Day Cake Pops
Follow these detailed steps to create beautiful and delicious cake pops that will impress everyone!
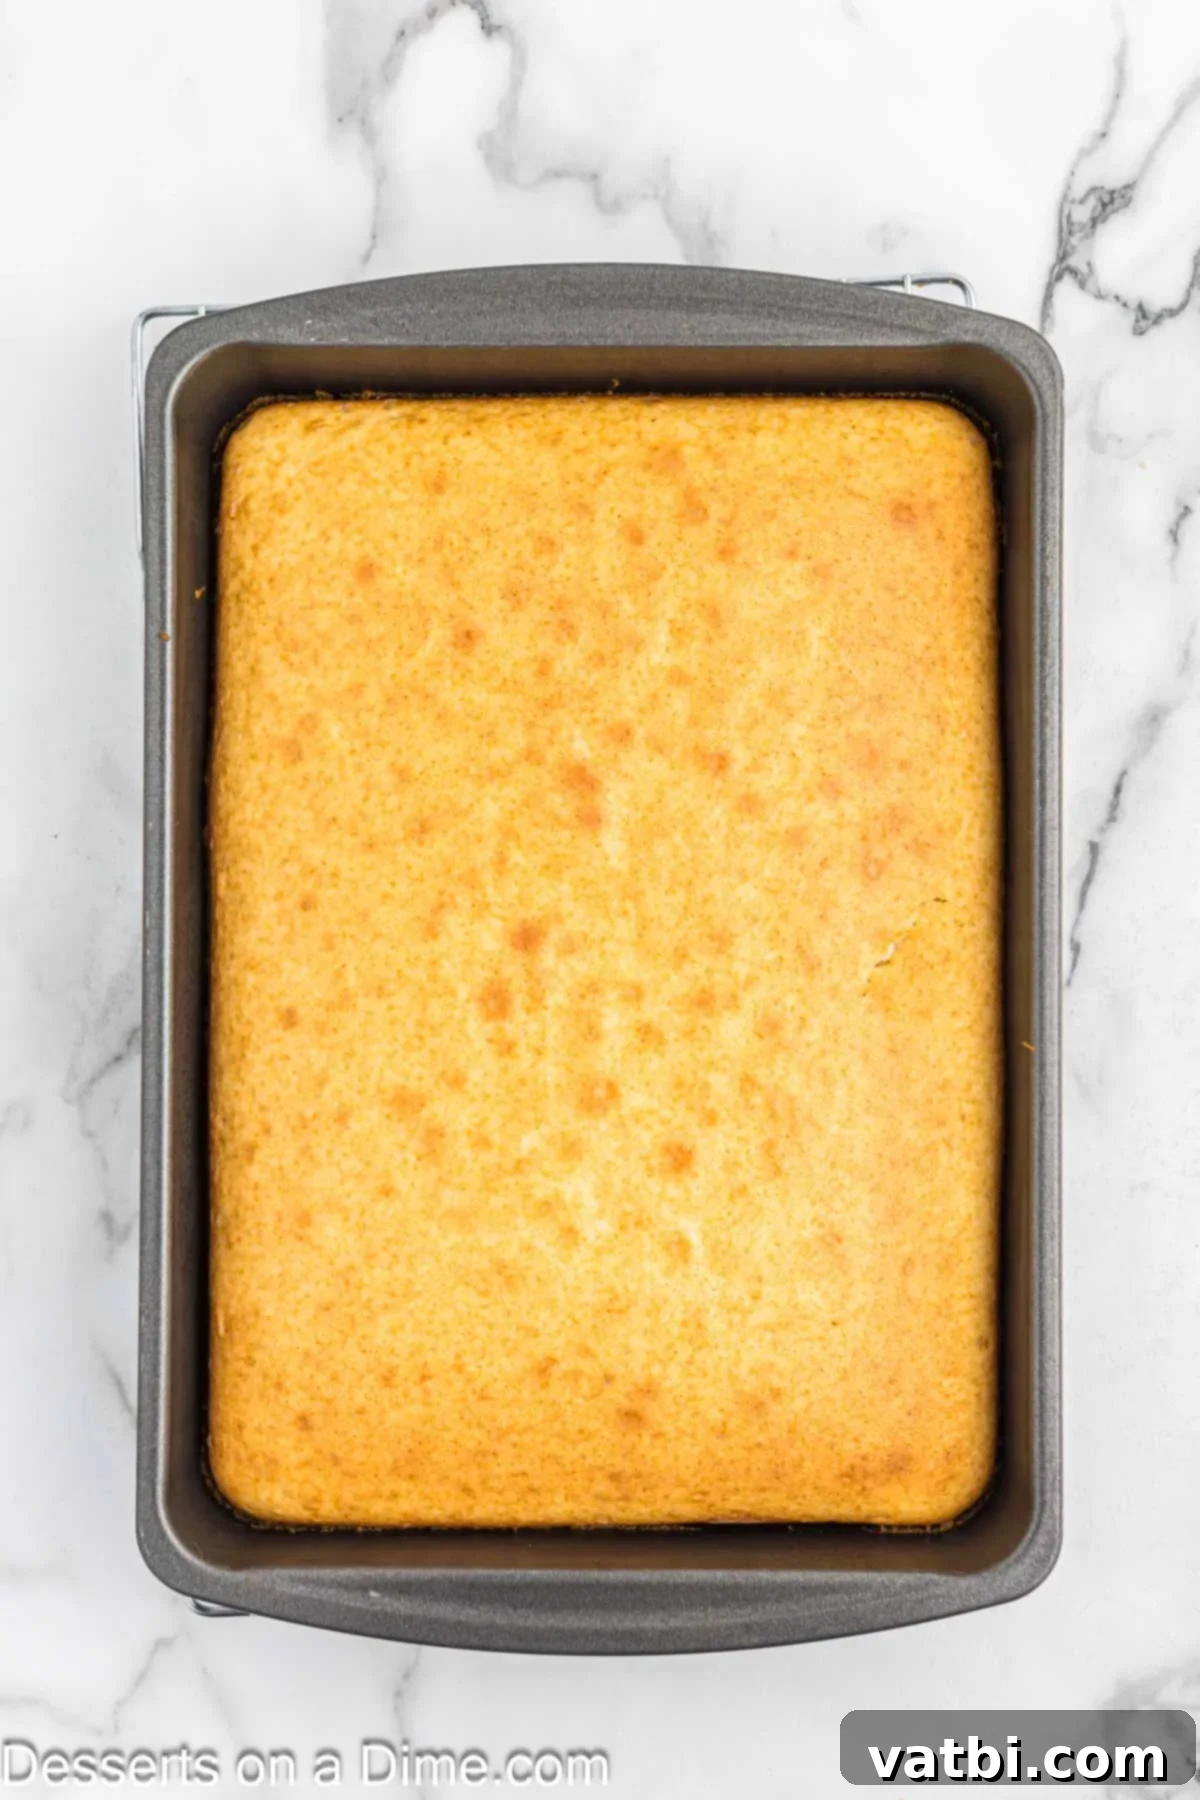
Step 1: Prepare and Bake the Cake. First, follow the package directions for your chosen cake mix to prepare the batter. Pour the batter into a 9×13 inch baking pan and bake according to the instructions. Once baked, remove the cake from the oven and allow it to cool completely at room temperature. This step is crucial for the cake pop’s final texture.
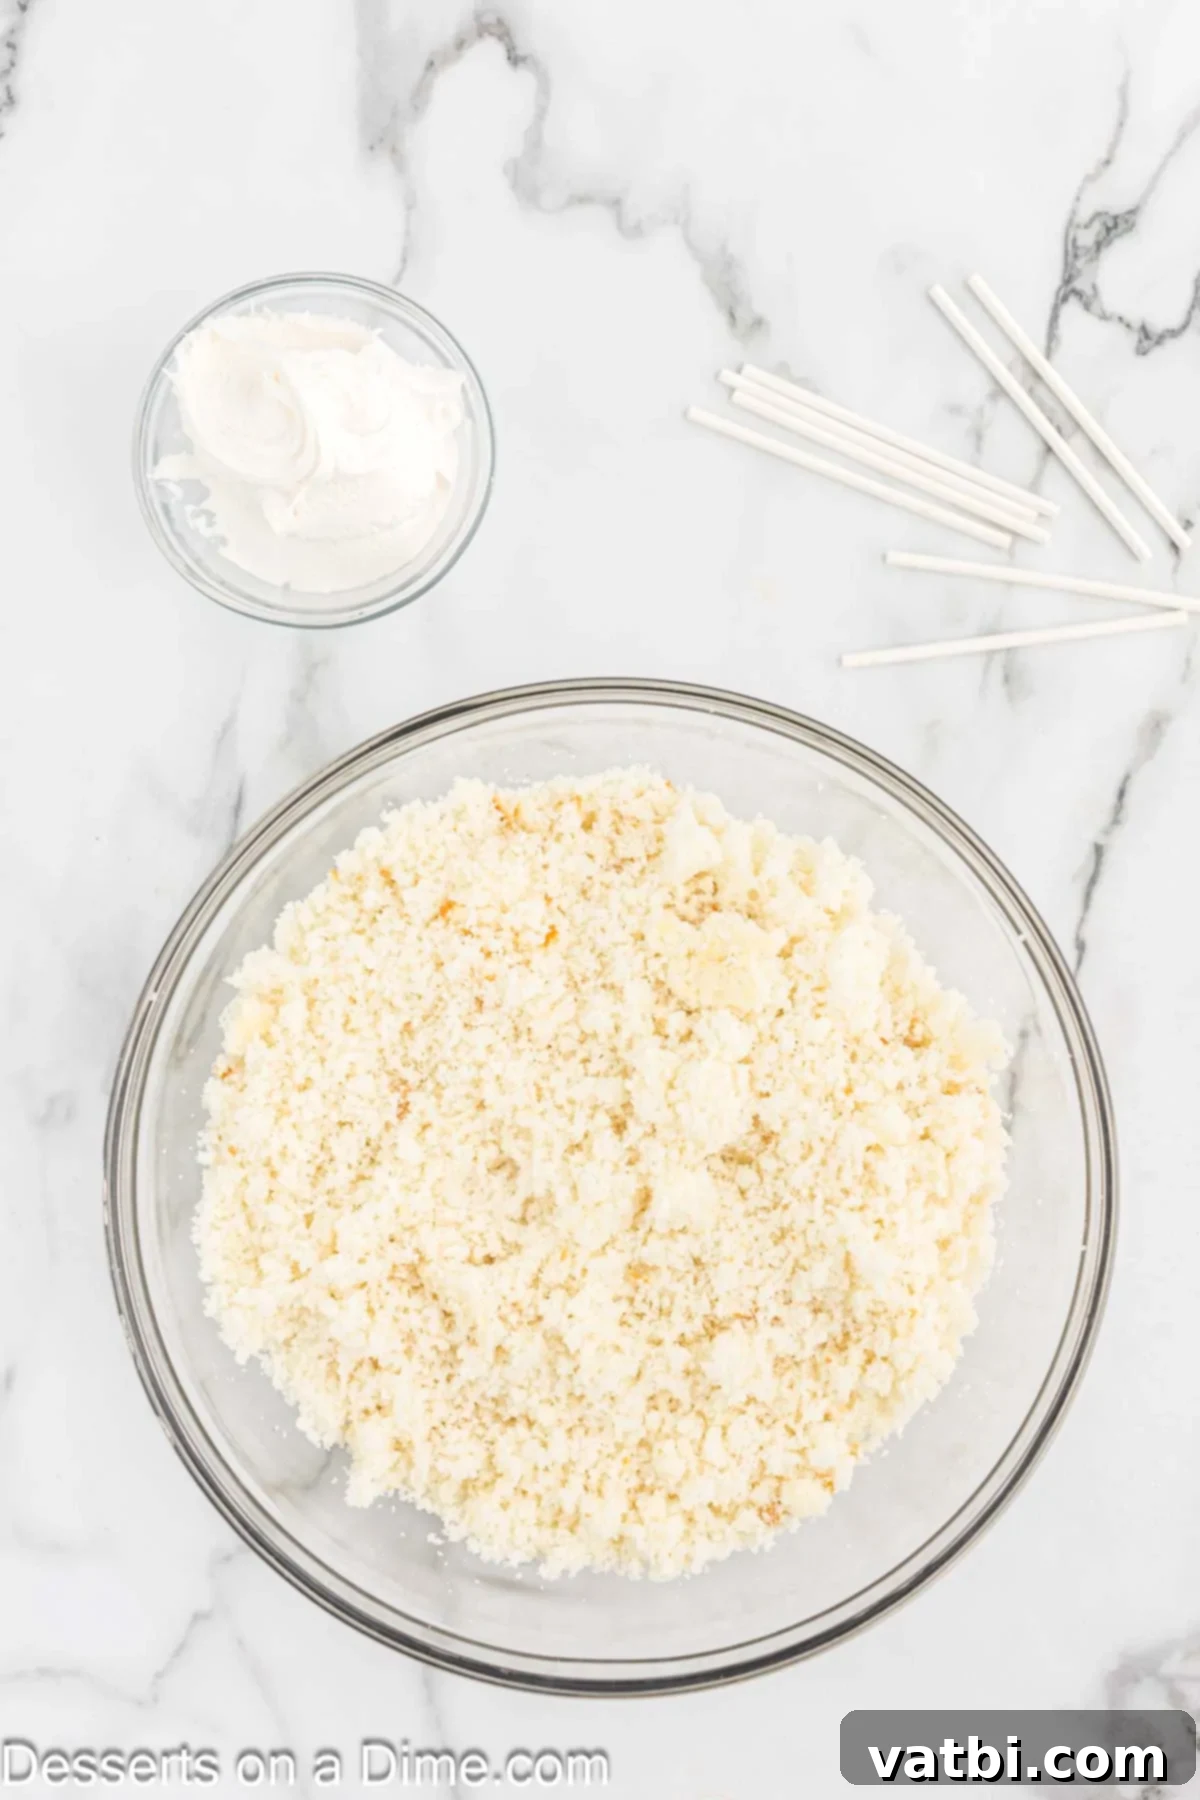
Step 2: Crumble the Cooled Cake. Once your cake is thoroughly cooled, carefully remove it from the pan. Using your hands, gently remove and discard any firm, brown outside layer from the cake. This ensures a softer, more uniform texture for your cake pops. Crumble the remaining, softer cake into a large mixing bowl until it resembles fine crumbs. Ensure there are no large lumps.
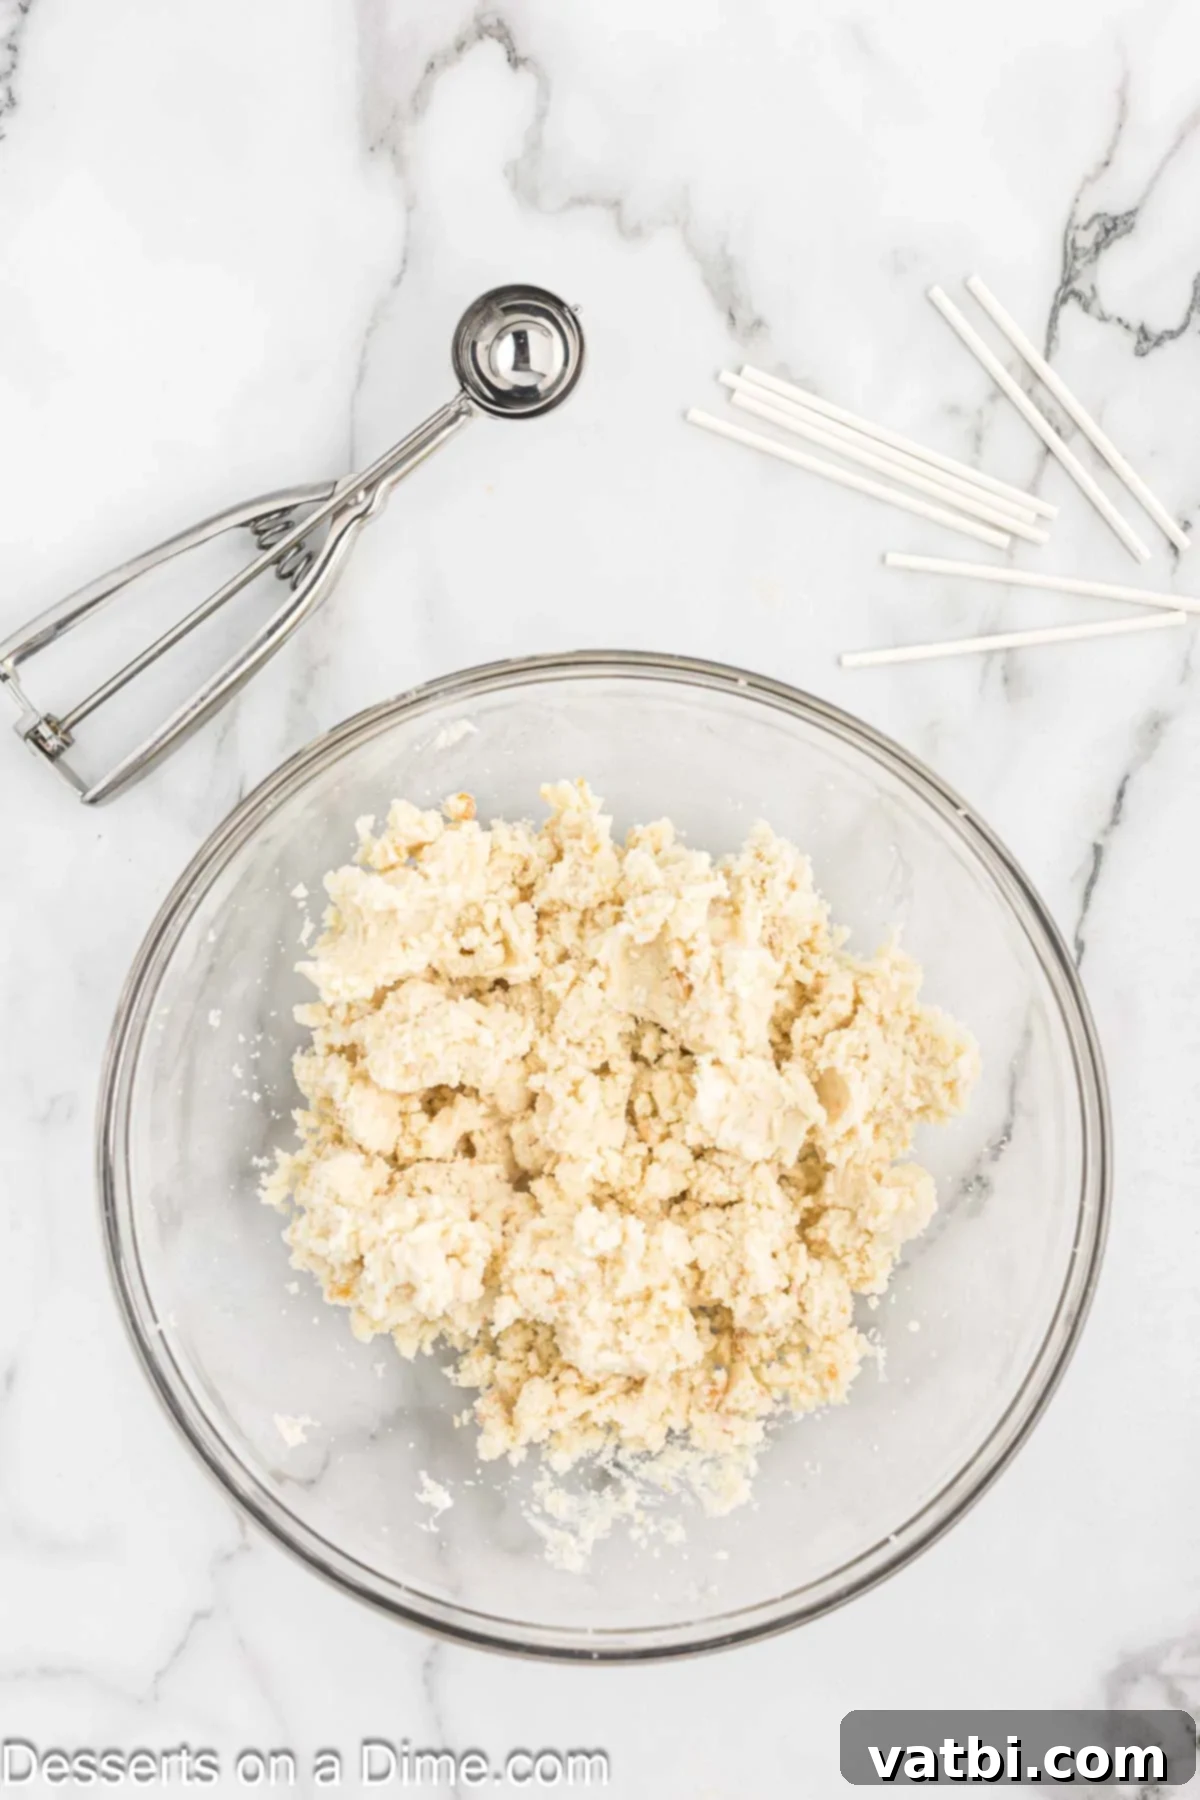
Step 3: Combine Cake Crumbs with Frosting. Add the white frosting to the crumbled cake in the large mixing bowl. Begin stirring everything together by hand, or use a stand mixer with a paddle attachment on low speed. Continue mixing until the frosting is evenly distributed and the mixture comes together to form a moist, dough-like consistency that can be easily rolled into balls. Resist the urge to add more frosting than specified, as too much will make the cake pops overly soft and difficult to work with.
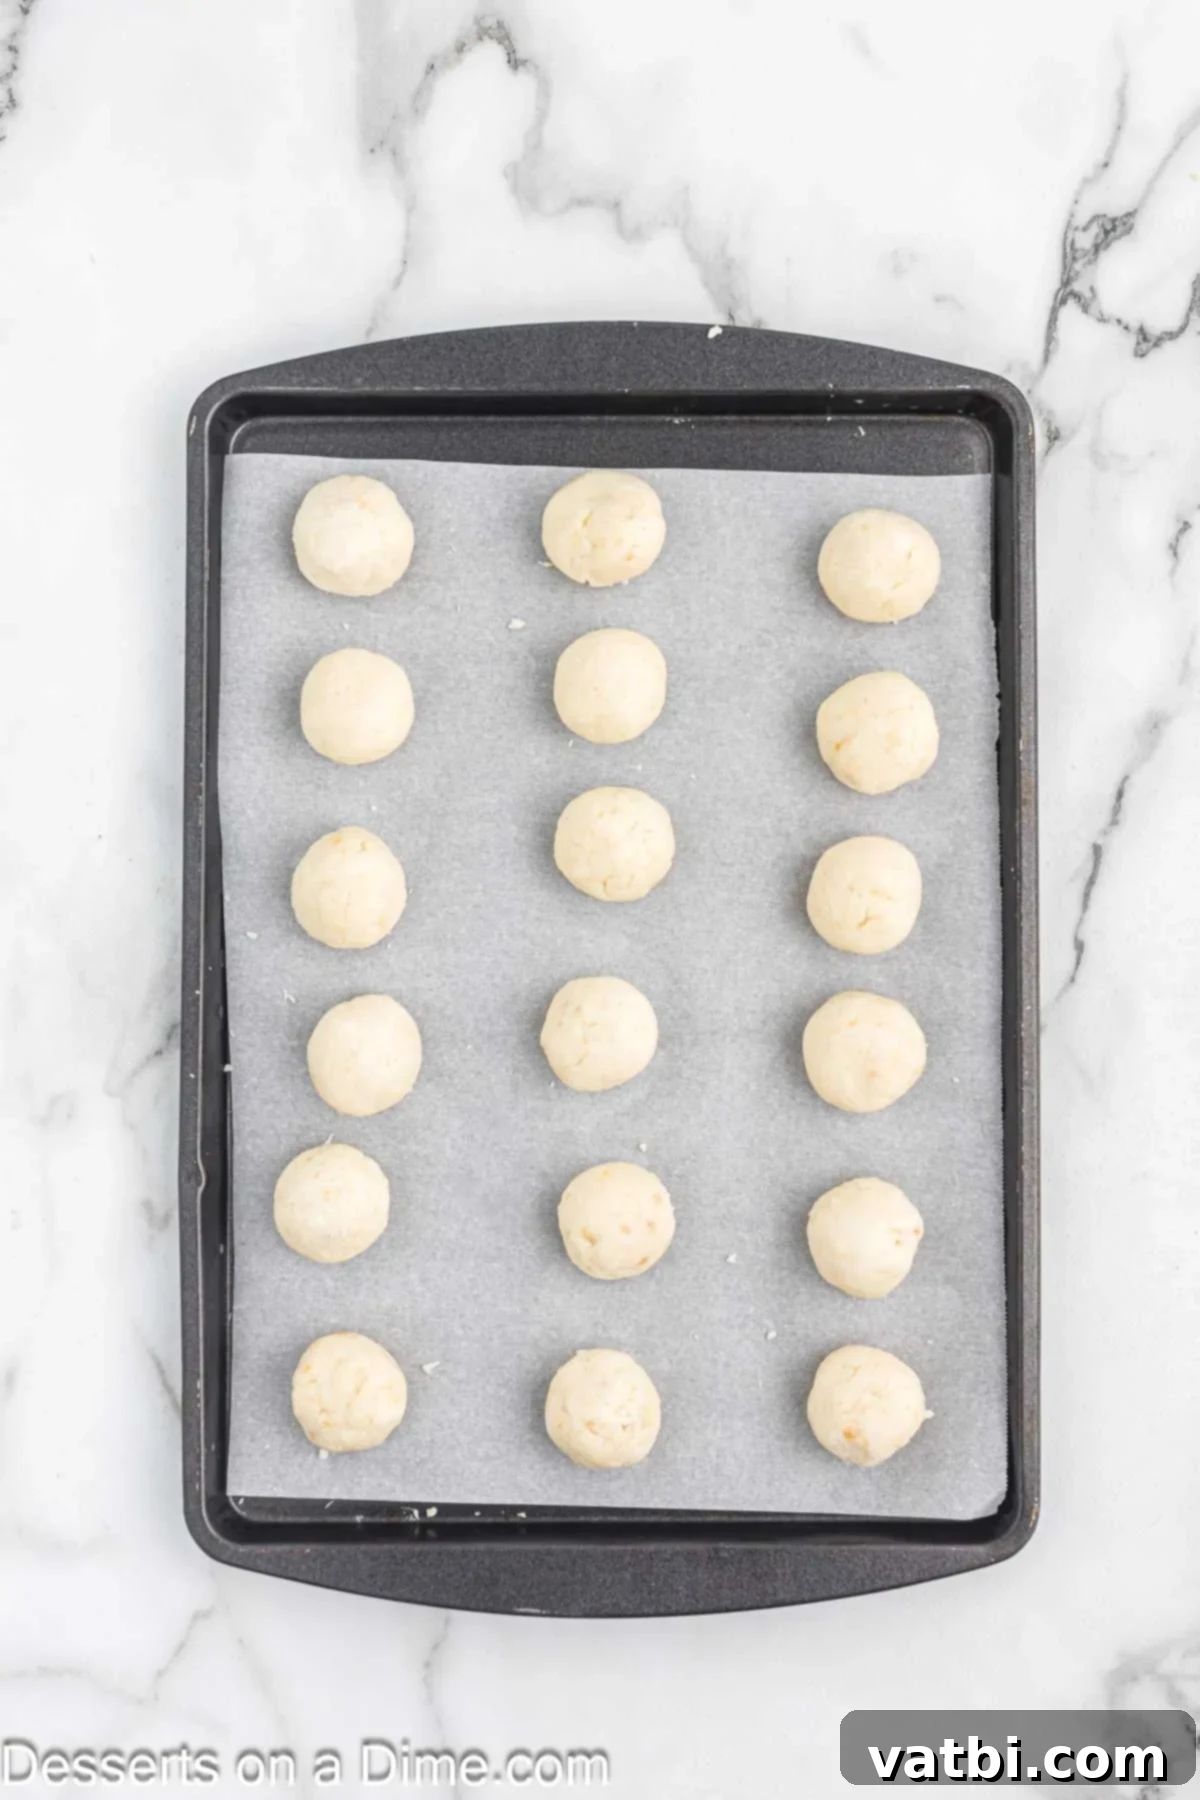
Step 4: Form the Cake Balls. Using a cookie scoop (approximately 1.5-2 tablespoons), portion out the cake mixture. Then, use the palm of your hand to roll and smooth each portion into a compact, round cake ball. Aim for uniformity in size for consistent dipping results. Place the formed cake balls onto a baking sheet lined with parchment paper. Once all balls are formed, place the sheet pan in the refrigerator or freezer for 15-30 minutes to chill thoroughly.
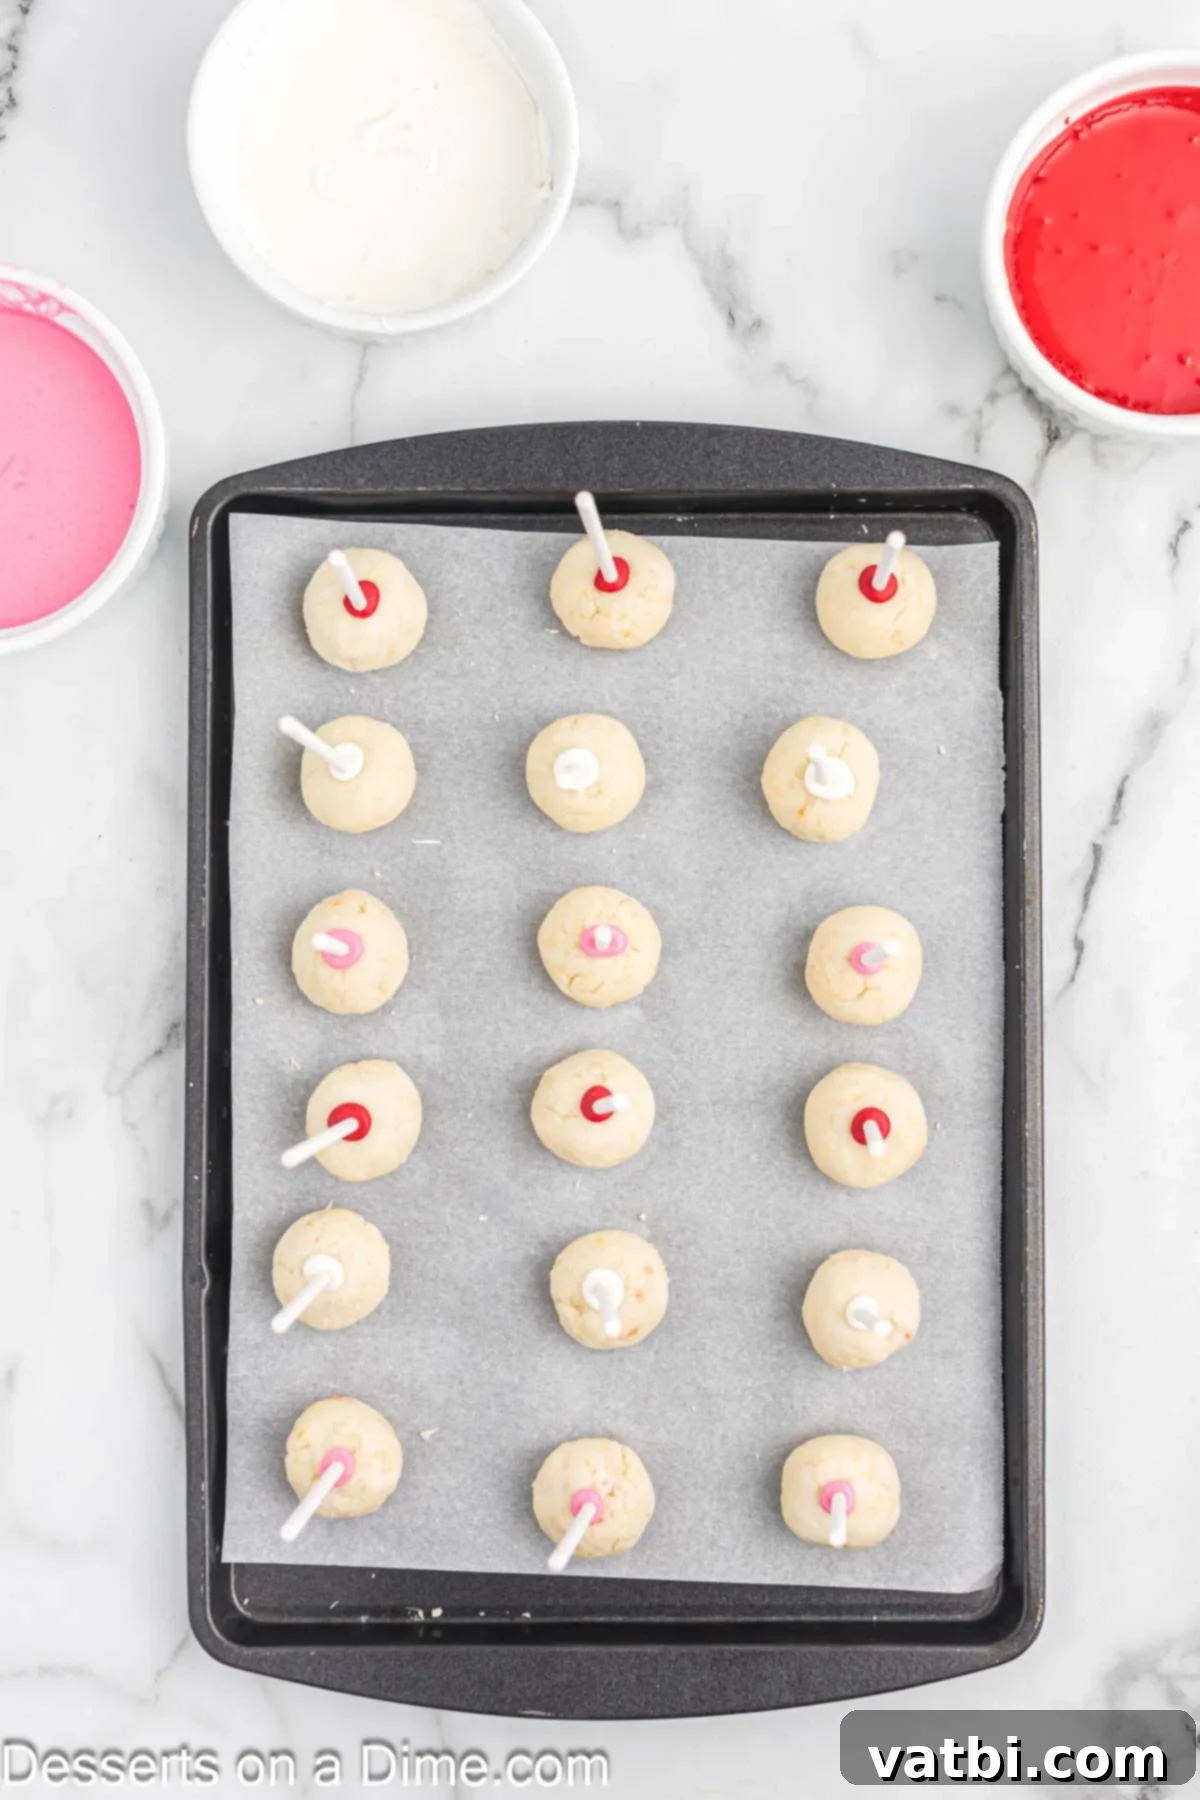
Step 5: Prepare Sticks and Chill Again. While the cake balls are chilling, melt one color of candy melts in a small, microwave-safe bowl. Heat for 30-second intervals, stirring well after each interval, until fully melted and smooth. Dip the tip of each lollipop stick or cookie stick into the melted candy (this acts as “glue”) and then insert it about halfway into each chilled cake ball. Return the cake balls with sticks to the freezer for another 10-15 minutes. This step is crucial for the sticks to adhere securely and for the cake balls to firm up before the main dipping.
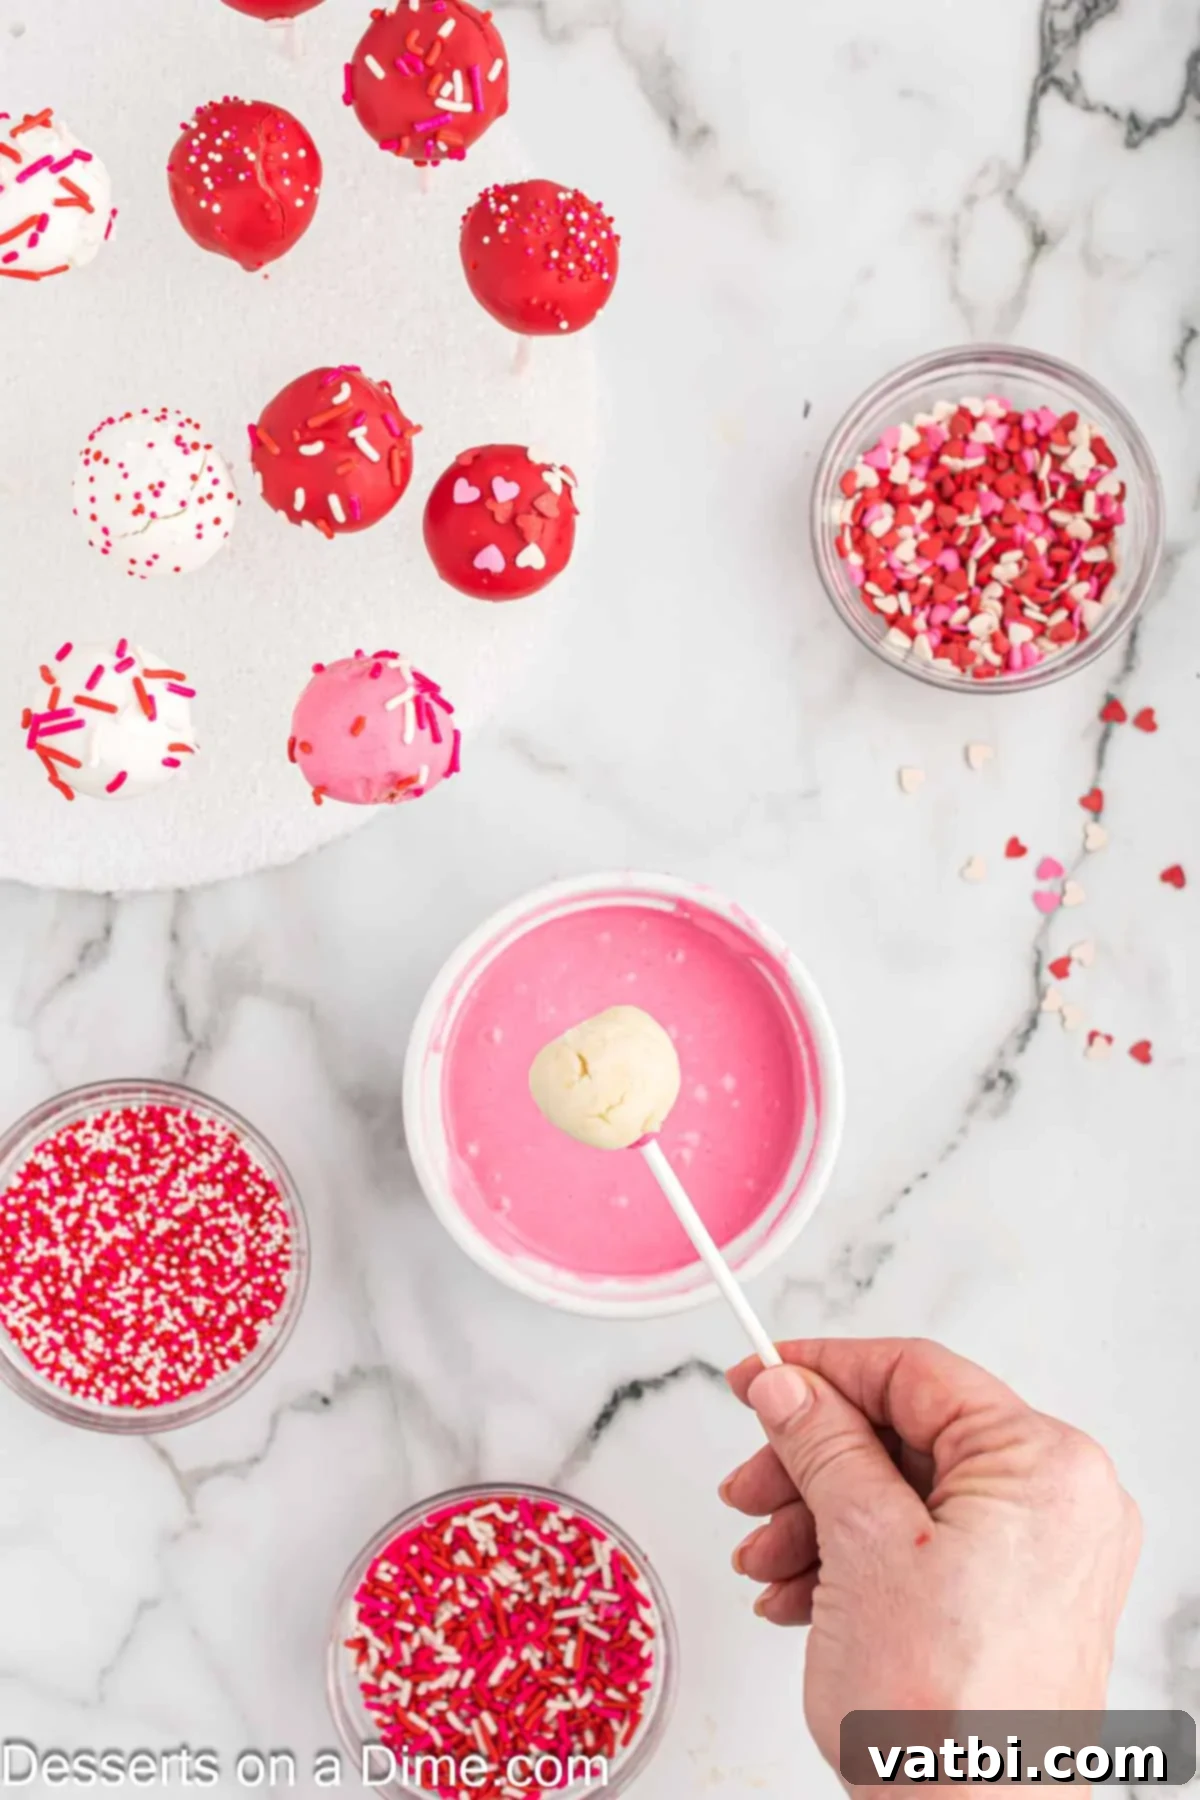
Step 6: Melt Remaining Candy and Dip. Remove the cake pops from the freezer. Melt your remaining pink and red candy melts in separate microwave-safe bowls, following the same 30-second interval method. If your initial “glue” candy has solidified, re-melt it. Working with one cake pop at a time, dip it entirely into your desired color of melted candy. If using shallow bowls, you might need to spoon the candy over the cake pop to ensure complete coverage.
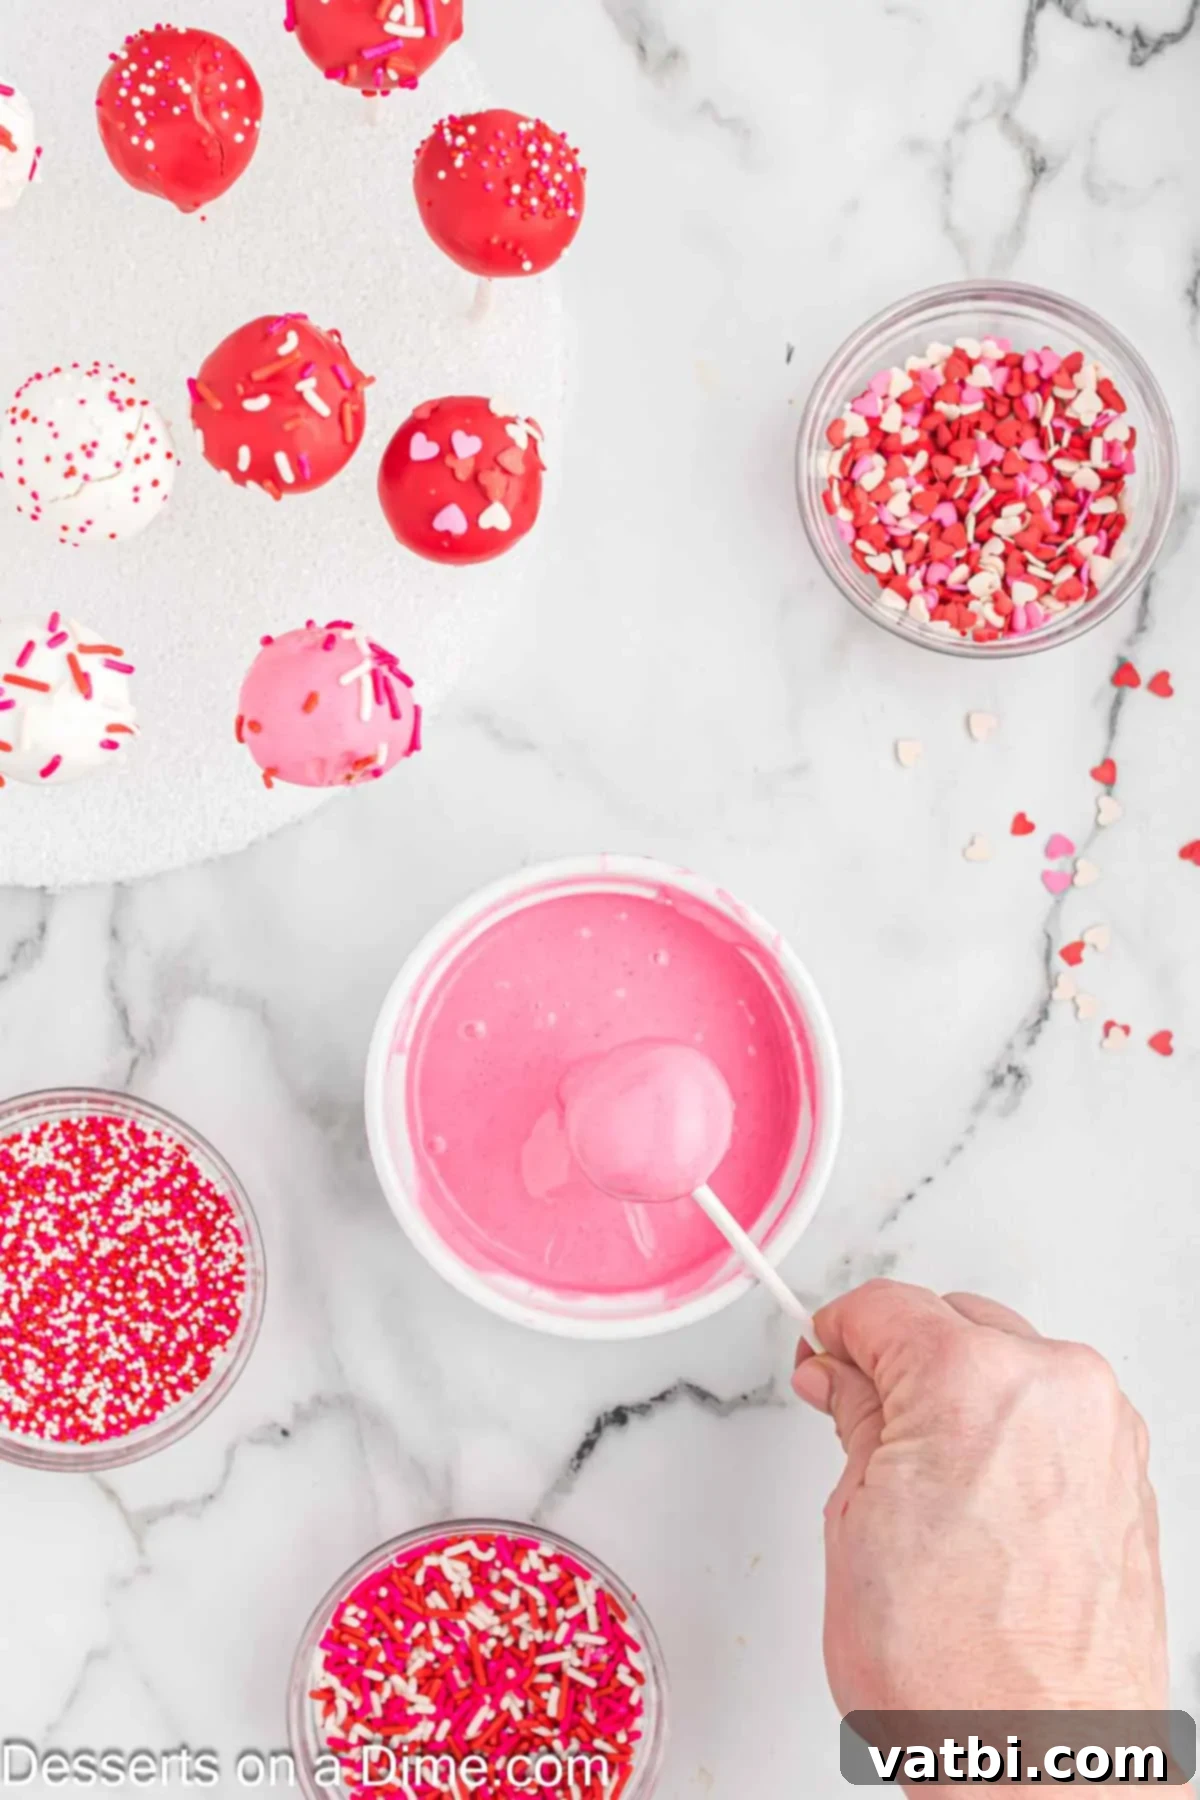
Step 7: Achieve a Smooth Coating. After dipping, gently tap the stick against the edge of the bowl to allow any excess melted candy to drip back into the bowl. Rotate the cake pop slowly as you tap to ensure an even and smooth coating. You can use a fork or toothpick to help guide any stubborn excess candy back into the bowl, ensuring a clean, professional finish.

Step 8: Decorate and Set. Immediately after dipping and tapping off excess candy, hold the cake pop upright and sprinkle it generously with your chosen Valentine’s Day sprinkles. The candy coating dries quickly, so work fast! Place the stick of the decorated cake pop into a block of Styrofoam (or a tall glass filled with rice or sugar) to hold it upright while the candy coating completely sets and dries. Repeat the dipping and decorating process with the remaining cake pops, rotating between the white, pink, and red candy melts for a variety of festive colors. Once all cake pops are completely dry and firm, they are ready to be served and enjoyed!

Storage Tips for Valentine’s Day Cake Pops
Proper storage is key to keeping your cake pops fresh and delicious for longer. Once the candy coating has fully set, place any leftover Valentine’s Day Cake Pops in an airtight container. Refrigerate them for up to 1-2 weeks. For optimal flavor and texture, allow them to come to room temperature for about 15-20 minutes before serving. You can also stack them carefully in layers, separated by parchment paper, to prevent them from sticking together or damaging the decorations.
Pro Tips for Achieving Perfect Cake Pop Success
Making cake pops can be a breeze with a few expert tricks up your sleeve. These tips will help you avoid common pitfalls and ensure your Valentine’s Day Cake Pops turn out beautifully every time:
- Mind the frosting ratio. This is perhaps the most critical tip. Resist the urge to add too much frosting to your cake crumbs. If the mixture is too wet, the cake balls will be soft, sticky, and difficult to roll and stay on the stick. The ideal consistency is like moldable play-dough – firm enough to hold its shape but still pliable. If you accidentally add too much, you can try adding a few extra dry cake crumbs or even some crushed plain cookies to absorb moisture.
- Chill thoroughly. Do not skip the chilling steps! Refrigerating or freezing the cake balls before inserting the sticks and again before dipping is essential. Cold cake balls are much firmer, making them easier to handle, less likely to fall off the sticks, and more resilient to the warmth of the melted candy, resulting in a smoother coating.
- Choose the right dipping container. When melting your candy, use a deep, narrow, microwave-safe bowl or mug. This allows you to fully submerge the cake pop in one swift motion, ensuring an even coat with minimal effort. If you only have a shallow container, you may need to use a spoon to gently pour and spread the melted candy over the entire cake pop to ensure full coverage.
- Don’t overheat candy melts. Candy melts can seize or become too thick if overheated. Always melt them in short 30-second intervals in the microwave, stirring well after each one, until they are smooth and fluid. If they become too thick, add a tiny bit of shortening or a special candy melt thinning agent (like paramount crystals) to achieve the desired consistency. A double boiler method on the stovetop also provides more controlled heating.
- Work quickly with sprinkles. Candy melts dry relatively fast, especially on cold cake pops. Have your sprinkles ready and apply them immediately after dipping each cake pop. If the coating starts to set before you add sprinkles, they won’t stick.
- Use a Styrofoam block for drying. A Styrofoam block is invaluable for holding your cake pops upright while the candy coating sets. If you don’t have one, a tall glass filled with uncooked rice or sugar can also work to keep your cake pops standing without smudging.
- Smooth cake balls for a perfect finish. Before chilling, take the time to roll each cake ball until it’s perfectly smooth. Any bumps or imperfections will be magnified once dipped in the candy coating. Smooth cake balls lead to smooth, professional-looking cake pops.
- Work in batches. If you’re making a large quantity, consider working in smaller batches. This prevents all your cake balls from warming up at once and gives you enough time to dip and decorate each one before the candy coating sets.
Frequently Asked Questions About Valentine’s Day Cake Pops
Here are answers to some common questions you might have when making these festive cake pops:
Absolutely! These cake pops are wonderful for making ahead, which is perfect for busy schedules. You can prepare them 2 to 3 days in advance if desired. Just be sure to store them properly in an airtight container and keep them refrigerated to maintain their freshness and shape. For best results, let them come to room temperature for a few minutes before serving.
Lollipop sticks are the ideal choice for making cake pops. They are specifically designed for this purpose, offering good stability and holding up well with the weight of the cake ball and coating. You can find them in various lengths at craft stores or baking supply sections.
For vibrant colors and a smooth, easy-to-work-with coating that sets quickly, we highly recommend using candy melts. They come in a wide range of colors, including the festive pink, red, and white perfect for Valentine’s Day. Alternatively, you can use almond bark or good quality chocolate chips. If using chocolate chips, melt them with a teaspoon of coconut oil or shortening per cup of chocolate to thin the consistency, making them easier to dip and ensuring a smooth finish.
There are a few common reasons. The cake balls might not have been chilled sufficiently, making them too soft. The stick might not have been dipped in melted candy first (the candy acts as “glue”). Or, the cake mixture itself might be too moist due to too much frosting. Ensure thorough chilling and dip the stick tip into candy before inserting.
To achieve a smooth coating, ensure your candy melts are perfectly melted (not too hot, not too thick). Dip the chilled cake pop into the candy melt quickly and deeply, submerging it completely. Then, gently tap the stick against the rim of the bowl, allowing all excess candy to drip off. Rotate the pop as you tap for an even coat. Working quickly is key before the candy begins to set.
Yes, you can! Once fully set and decorated, place the cake pops in a single layer on a parchment-lined baking sheet and freeze until solid. Then transfer them to an airtight freezer-safe container or bag. They can be frozen for up to 1-2 months. Thaw them in the refrigerator overnight or at room temperature for a few hours before serving.
More Delicious Valentine’s Treats to Sweeten Your Day
If you’re looking for more ways to celebrate Valentine’s Day with delicious desserts, check out these other fantastic recipes:
- Valentine’s Day Brownies
- Valentine’s Day Dirt Cake Recipe
- 55 Valentine’s Day Cakes
- 45 Best Valentine’s Day Cookies
- Valentine’s Day Rolo Pretzel Turtles
- Valentine’s Day Cupcakes
We hope you love making and sharing this delightful Valentine’s Day Cake Pops recipe. They are truly a festive treat that brings smiles to everyone. Please take a moment to try the recipe, and don’t forget to leave a star rating and a comment below to share your experience!
Pin
Valentine’s Day Cake Pops
Ingredients
- 1 box White Cake Mix
- *Plus ingredients to prepare the cake on the back of the box (eggs, oil, water)
- 1/3 cup White Frosting
- 6 ounces White Candy Melts
- 6 ounces Pink Candy Melts
- 6 Ounces Red Candy Melts
- Various Valentine’s Day Sprinkles
- Lollipop Sticks
Instructions
-
Make cake and bake according to box instructions in a 9X13 pan. Then let the cake cool at room temperature completely.
-
Remove the cake from the pan. Remove the brown outside layer from the cake and discard it. Crumble up the remaining cake into a large bowl until it resembles fine crumbs.
-
Add the frosting to your crumbled cake and stir everything together until well combined and the mixture forms a dough-like consistency.
-
Shape the mixture into about 24-36 cake balls (depending on your desired size) using a cookie scoop for uniformity. Place them on a parchment paper-lined cookie sheet and chill for 15-30 minutes.
-
Place each color of candy melts into separate small microwave-safe bowls. Microwave for 30 seconds, then stir. Continue to heat in 30-second intervals, stirring between each, until each color of candy melts is fully melted and creamy.
-
Dip each lollipop stick into one color of melted candy (this acts as glue) and then insert them about halfway into the chilled cake balls. Place them back in the freezer for 10-15 minutes to secure the sticks.
-
Remove cake pops from the freezer. Dip each cake pop into a color of melted candy melts (re-melt candy if it has solidified). Ensure the candy covers the cake pop completely. Allow excess melted candy to drip off back into the bowl by gently tapping the stick.
-
Immediately after dipping, top with your Valentine’s Day sprinkles before the candy dries. Place the stick of the cake pop into a block of Styrofoam to allow the candy coating to set.
-
Continue this process until all the cake pops have been covered and decorated. Once the candy coating is completely dry and firm, they are ready to serve and enjoy!
Recipe Notes
Nutrition Facts
Pin This Now to Remember It Later
Pin Recipe
