Easy & Delicious Valentine’s Day Sugar Cookies: Heart-Shaped & Perfectly Decorated
There’s nothing quite like the joy of creating homemade treats, especially when they’re as charming and festive as these Valentine’s Day Sugar Cookies. These delightful heart-shaped cookies are not only incredibly fun to make but also taste delicious and look absolutely beautiful, making them a perfect addition to any celebration of love. They are sure to be a hit at any Valentine’s Day party, serving as adorable conversation starters or heartfelt gifts.

Every Valentine’s Day gathering deserves these cute conversation heart cookies. They truly are adorable and offer a wonderfully enjoyable sugar cookie recipe to prepare. This stands out as one of the Best Valentine’s Day Cookies you can make, offering a surprisingly easy process that yields impressive results.
The magic of homemade cookies lies in their unparalleled taste and the special memories created in the kitchen. Involve the kids in the baking and decorating process to make lasting memories with fun Valentine’s Day Desserts. Beyond these charming sugar cookies, we also love whipping up Valentine’s Day Dirt Cake and indulging in rich Valentine’s Day Brownies. For a treat that transcends the holiday, our Chocolate Dipped Sugar Cookies are a year-round favorite.
Table of contents
- Why This Recipe Works
- Icing Perfection
- Ingredients for Perfect Cookies
- Creative Variations
- Step-by-Step Instructions for Dough & Baking
- How to Decorate with Royal Icing
- Pro Tips for Success
- Frequently Asked Questions (FAQs)
- More Valentine’s Day Dessert Ideas
Why This Recipe Works for Stunning Valentine’s Cookies
This recipe is designed for success, yielding perfectly shaped, tender sugar cookies every time. You can effortlessly make an assortment of vibrant colors for truly gorgeous and eye-catching cookies. The easy-to-follow, step-by-step instructions ensure a simple baking and decorating process, even for beginners. Beyond their beautiful appearance, these Valentine’s Day sugar cookies boast an incredible flavor profile – a classic, buttery sweetness that everyone adores. The key lies in the careful balance of ingredients and precise steps that prevent spreading, resulting in cookies that hold their intricate heart shapes beautifully, ready for your creative touch.
Icing Perfection: The Royal Icing Advantage
The reason these cookies truly shine, especially for decorative purposes, is the use of royal icing. Unlike traditional buttercream, royal icing dries to a smooth, hard finish, making it ideal for piping intricate designs, adding vivid colors, and allowing for easy stacking and transport without smudging. It creates a beautiful, glossy canvas for your Valentine’s messages and patterns, ensuring your cookies look professionally made and taste as good as they look.
Essential Ingredients for Perfect Valentine’s Day Sugar Cookies
Crafting delicious sugar cookies starts with high-quality ingredients and proper preparation. Here’s a closer look at what you’ll need and why each component is important:
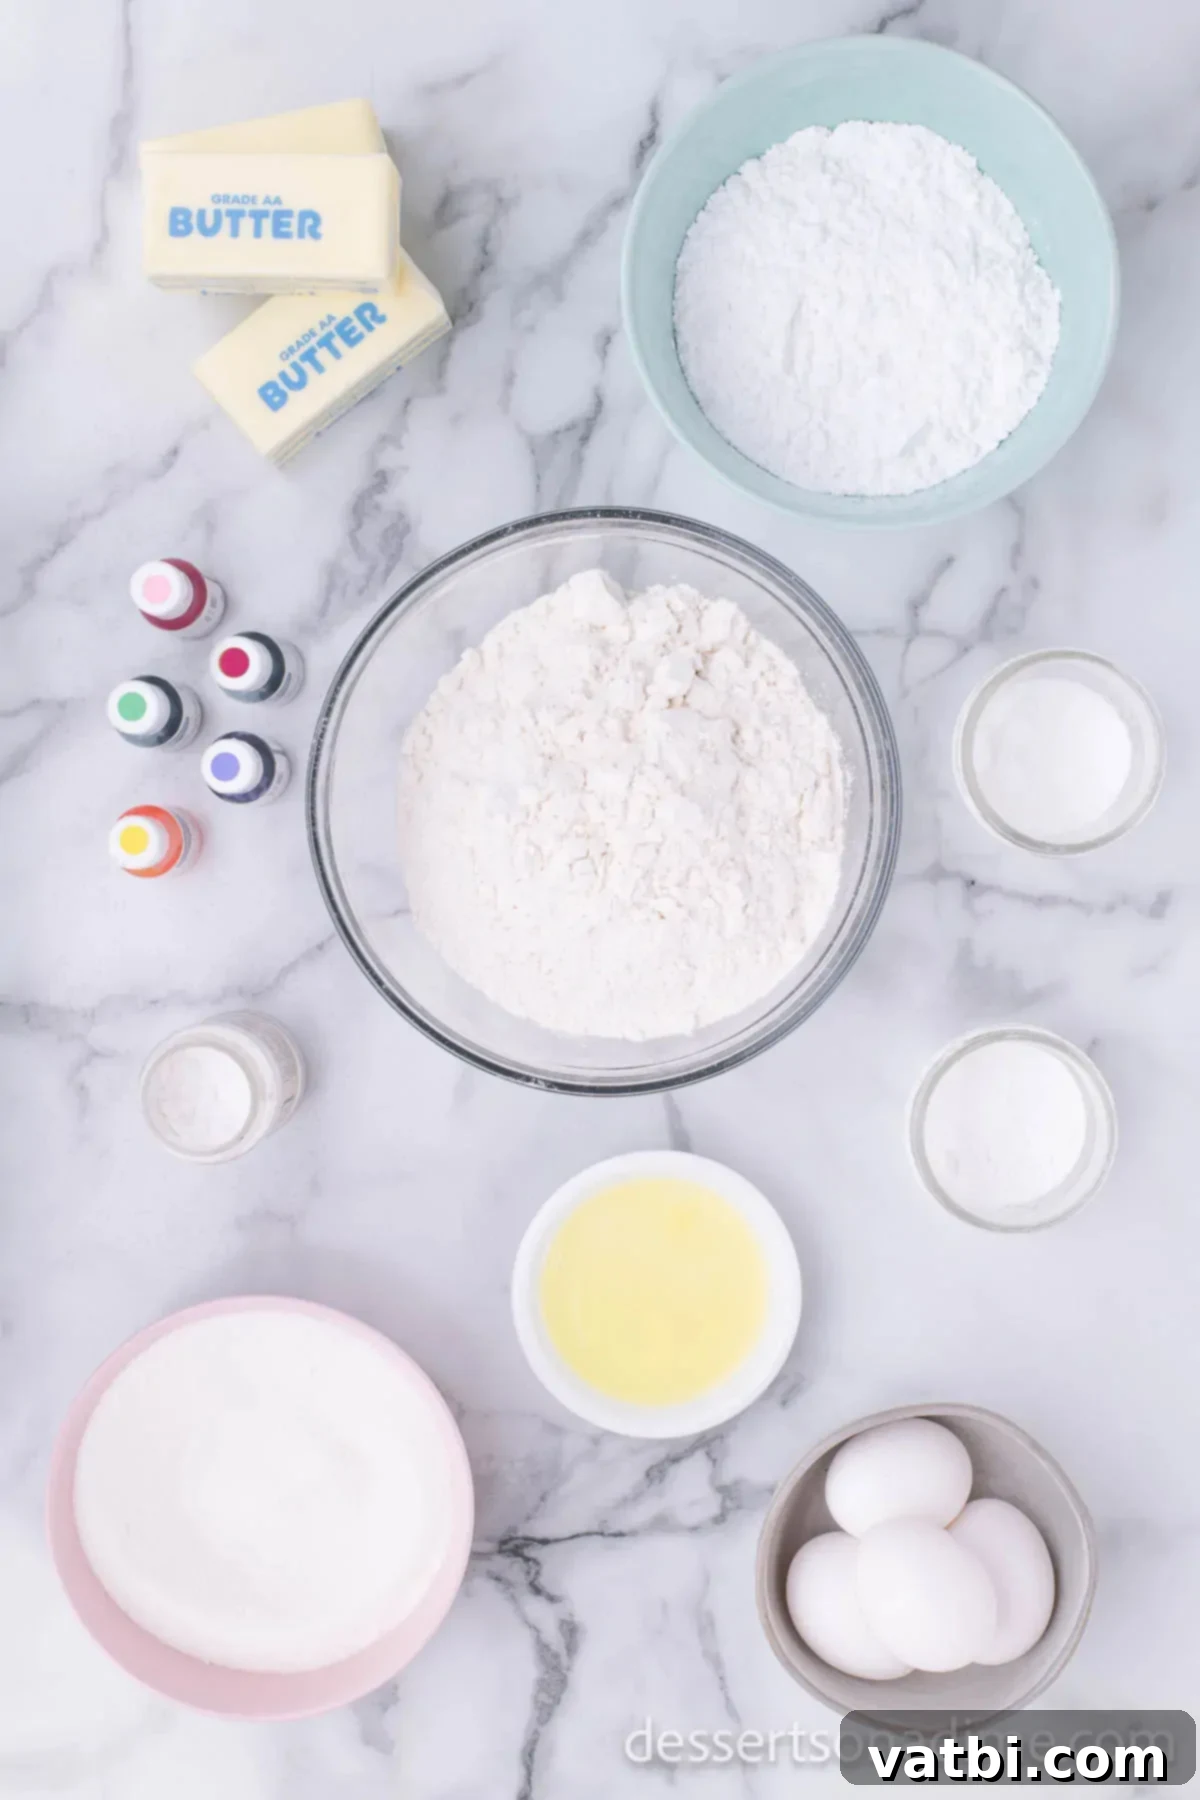
- All-Purpose Flour: The foundation of our cookies. For accurate measurements and a tender crumb, always spoon the flour into your measuring cup and level it off with a straight edge, rather than scooping directly from the bag, which can compact the flour and lead to dry cookies.
- Baking Powder: This leavening agent helps the cookies rise slightly, giving them a pleasant chewiness. Always ensure your baking powder is fresh and not expired for optimal results. An easy test is to mix a teaspoon with a bit of hot water; it should bubble vigorously.
- Large Eggs: It’s crucial for eggs to be at room temperature when adding them to the batter. Room temperature eggs emulsify better with the butter and sugar, creating a smoother, more uniform dough and a more consistent cookie texture.
- Unsalted Butter: Softened at room temperature. Using unsalted butter gives you control over the salt content in the recipe. Softened butter creams beautifully with sugar, incorporating air for a light, tender cookie.
- Granulated Sugar: Provides sweetness and helps achieve that classic sugar cookie texture.
- Salt: A pinch of salt balances the sweetness and enhances all the other flavors in the cookie.
Icing Ingredients for Smooth Royal Icing
- Egg Whites: The protein in egg whites is what gives royal icing its characteristic structure and ability to dry hard. You’ll only need the whites for the icing; feel free to discard the yolks or save them for another culinary use.
- Powdered Sugar (Confectioners’ Sugar): This fine sugar is essential for a smooth, lump-free icing. Sift it thoroughly before use to remove any clumps, ensuring your icing is perfectly silky for decorating.
- Cream of Tartar: This acidic ingredient helps stabilize the egg whites, producing a stronger, more stable royal icing that holds its shape better and dries faster.
- Gel Food Coloring: Gel food colorings are highly concentrated, allowing you to achieve vibrant colors without adding excess liquid, which could thin out your icing. Choose your preferred colors to match your Valentine’s Day theme.
The complete ingredient list with precise measurements can be found in the recipe card at the bottom of this post.
Creative Variations to Customize Your Sugar Cookies
While the classic Valentine’s Day sugar cookie is delightful on its own, there are many ways to customize this recipe to suit your taste and occasion. Feel free to experiment with these variations:
- Different Frosting Types: If royal icing isn’t your preference, or you’re looking for a softer, creamier topping, traditional frostings are a fantastic alternative. You can easily spread or pipe delicious Strawberry Buttercream Frosting for a fruity twist, or opt for a rich and tangy Homemade Cream Cheese Frosting. Both offer a different texture and flavor profile that pairs wonderfully with sugar cookies.
- Flavor Extracts: Elevate the cookie dough with different flavor extracts. A teaspoon of almond extract in the dough will add a sophisticated, nutty undertone, while a good quality vanilla bean paste can intensify the classic vanilla flavor. Consider lemon extract for a brighter, citrusy note, or even a hint of peppermint for a refreshing surprise.
- Festive Sprinkles: Before the royal icing sets, or by mixing them into softer frostings, add a touch of whimsy with sprinkles. Beyond classic red, pink, and white, explore various shapes like tiny hearts, edible glitter, or metallic dragees to make your cookies even more enchanting. Add them right after applying the flood icing for best adherence.
- Cookie Cutters: While hearts are iconic for Valentine’s Day, don’t limit yourself! Use other romantic shapes like arrows, cupids, or even simple circles with festive stencils to expand your cookie collection.
Step-by-Step Instructions for Dough & Baking
Follow these detailed steps to create your perfect Valentine’s Day sugar cookies. Precision in each stage will ensure the best results:
- Step 1: Preheat the Oven. First, preheat your oven to 325 degrees Fahrenheit (160 degrees Celsius). This ensures the oven is at a consistent temperature when the cookies go in, preventing uneven baking.
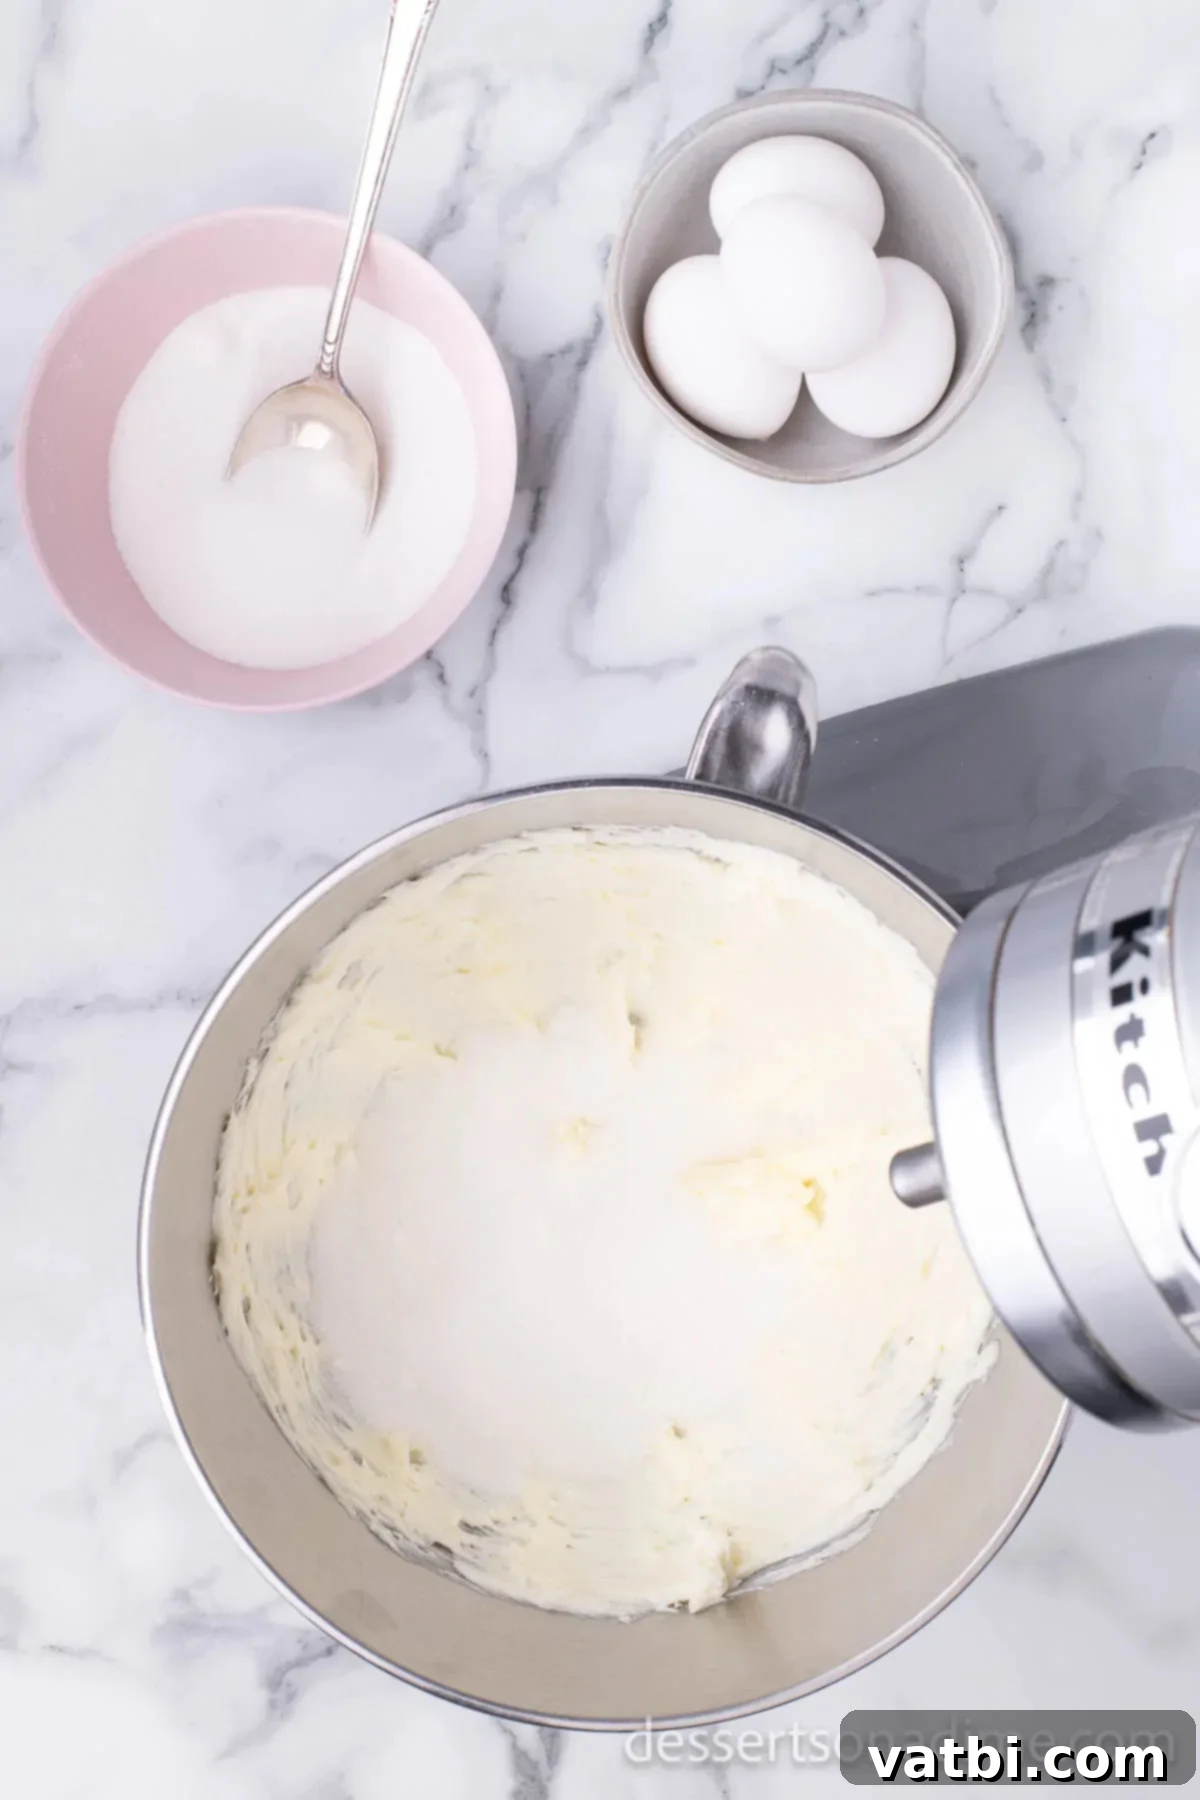
Step 2: Cream Butter and Sugar. While the oven is warming up, take your softened unsalted butter and granulated sugar and add them to a large mixing bowl. Using an electric mixer (stand mixer with paddle attachment or a hand mixer) on medium-high speed, cream this mixture together. Continue mixing until it becomes light, fluffy, and completely smooth, with no grainy texture when rubbed between your fingers. This step incorporates air, contributing to the cookies’ tender texture.
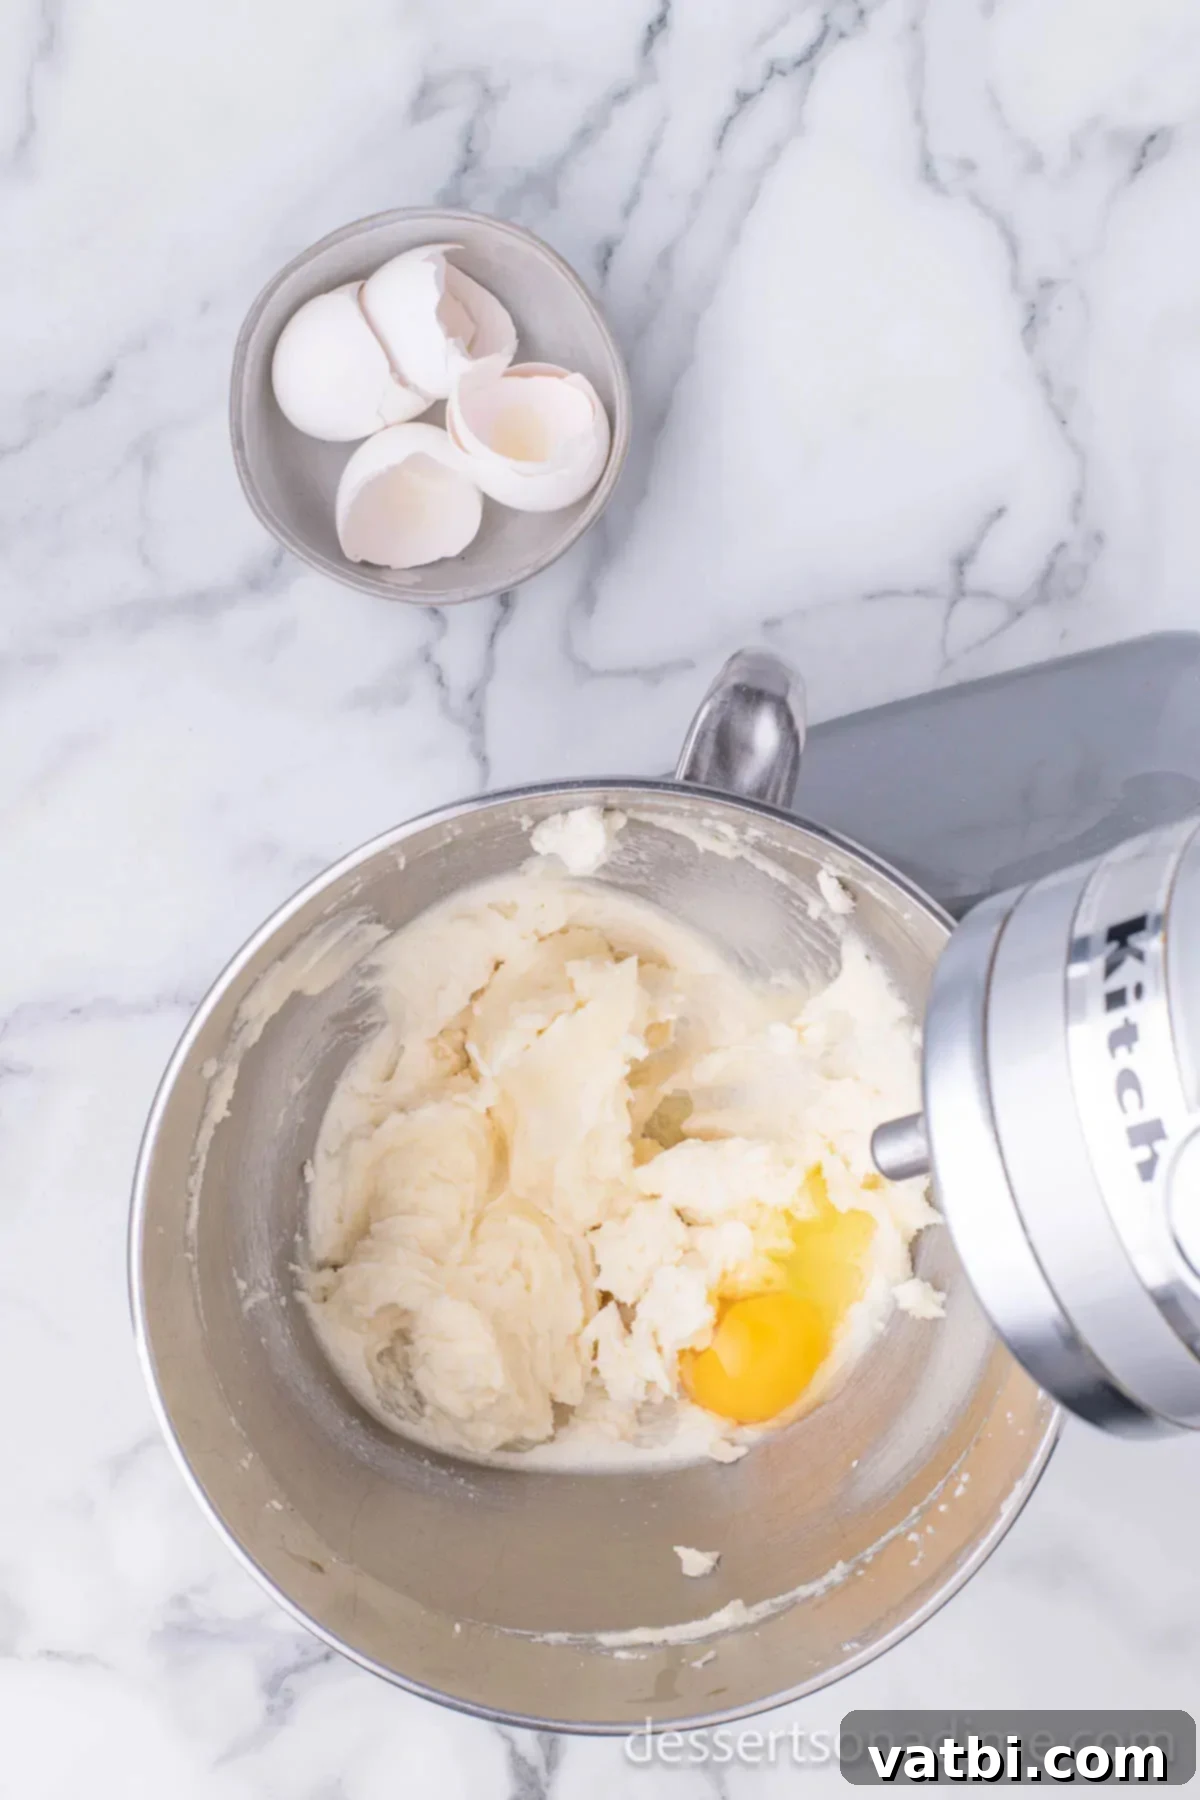
Step 3: Add Eggs. Next, add the large, room-temperature eggs, one at a time, to the creamed butter and sugar mixture. After each egg is added, mix everything thoroughly until fully incorporated. Adding them individually helps maintain the emulsion and ensures a homogeneous dough.
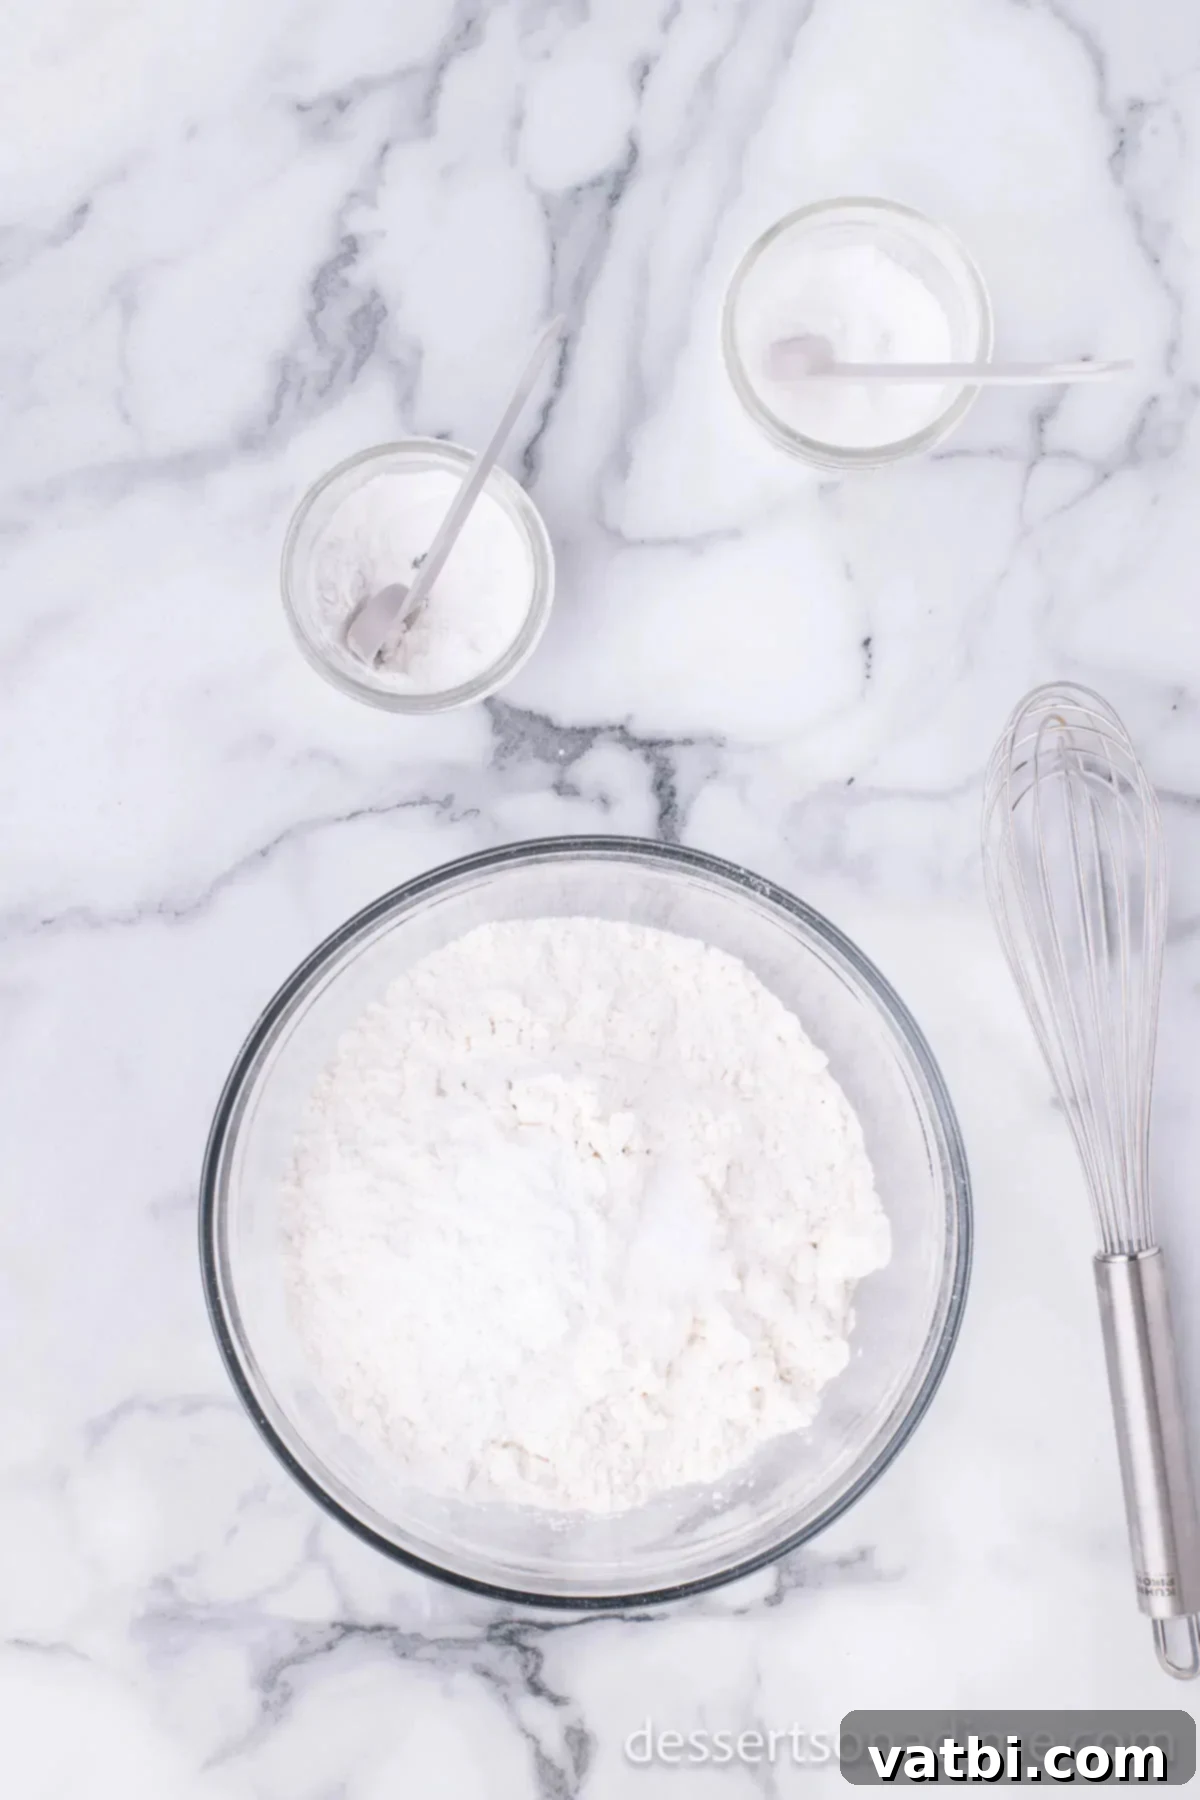
Step 4: Sift Dry Ingredients. In a separate medium bowl, sift together the all-purpose flour, baking powder, and salt. Sifting ensures that these ingredients are evenly distributed and aerated, preventing lumps in your dough and contributing to a light, tender cookie.
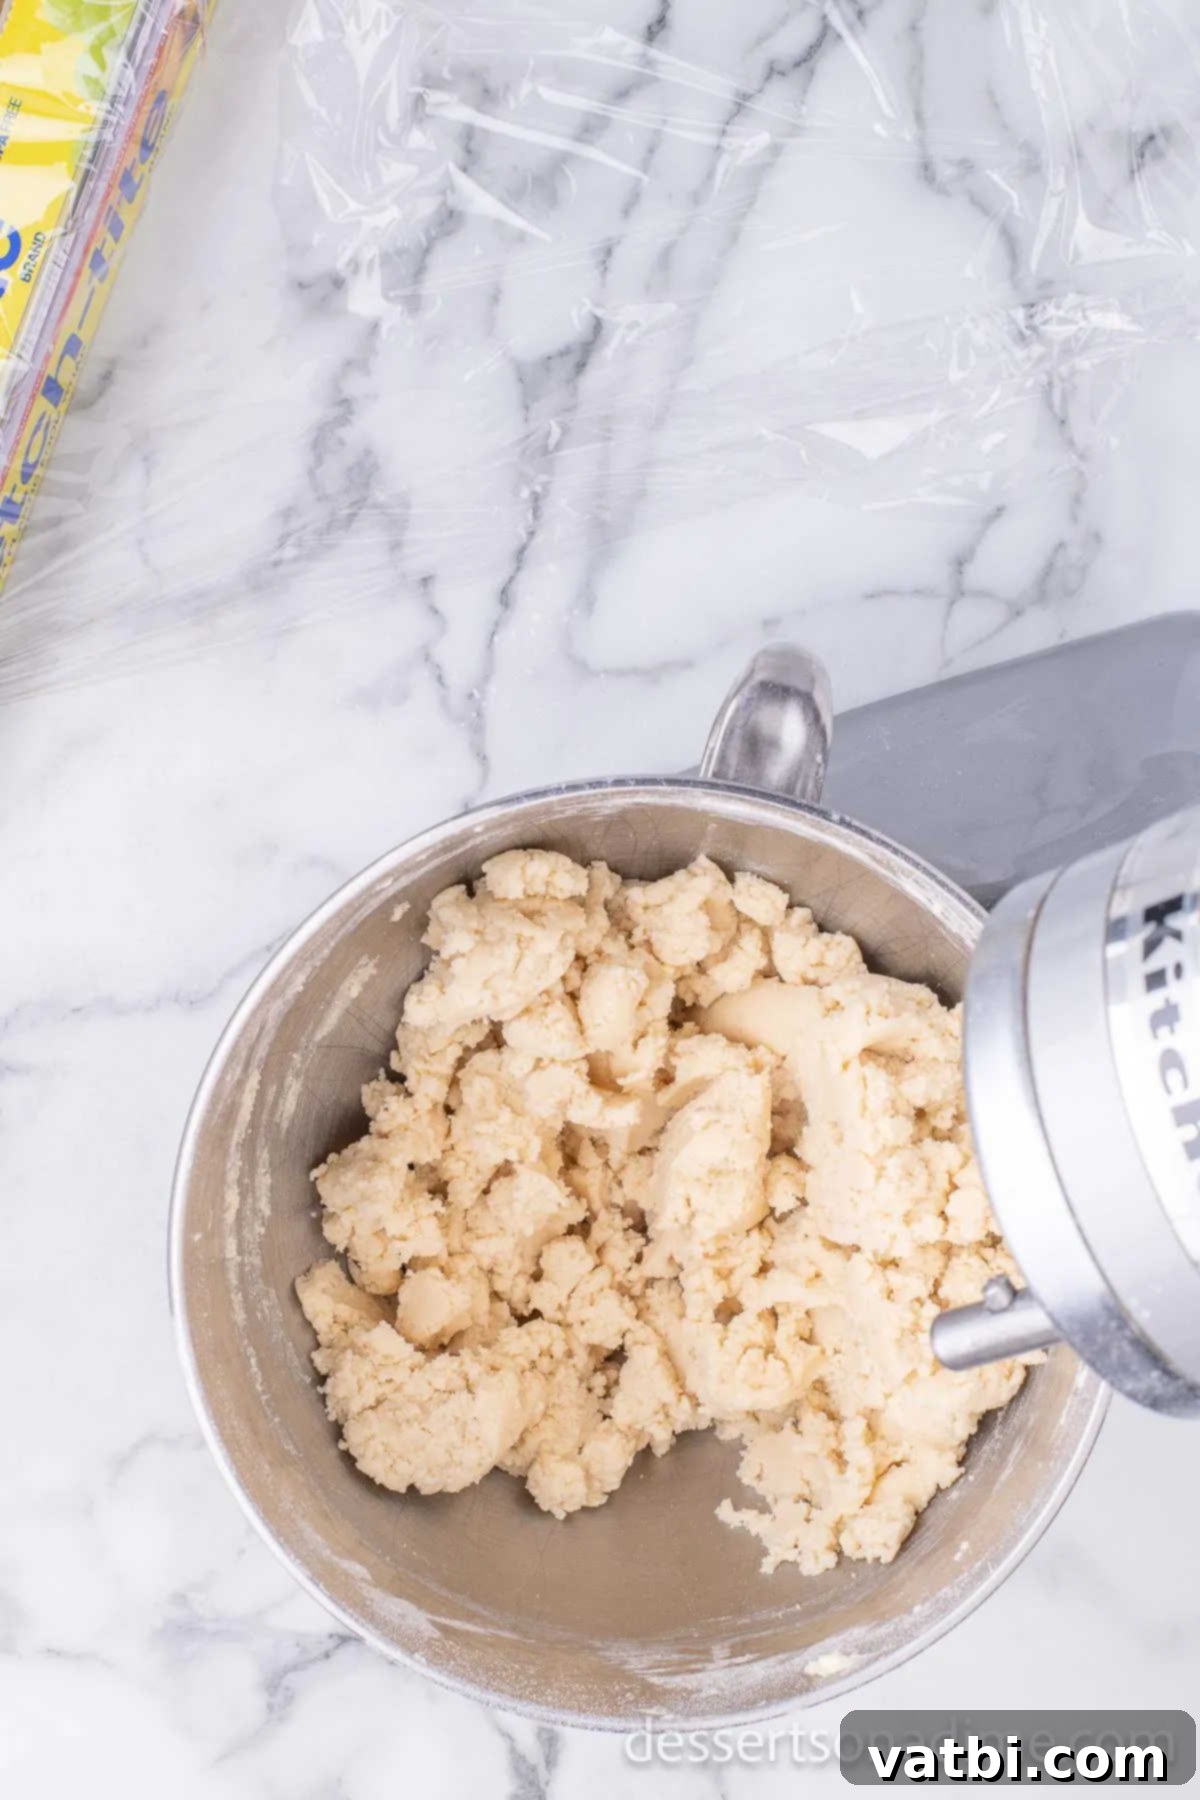
Step 5: Combine Wet and Dry Mixtures. Once sifted, gradually add the dry mixture to the wet mixture in your stand mixer. Combine until just blended, using a paddle attachment on low speed. Be careful not to overmix, as this can develop the gluten too much, resulting in tough cookies. Stop mixing as soon as no dry streaks of flour remain.
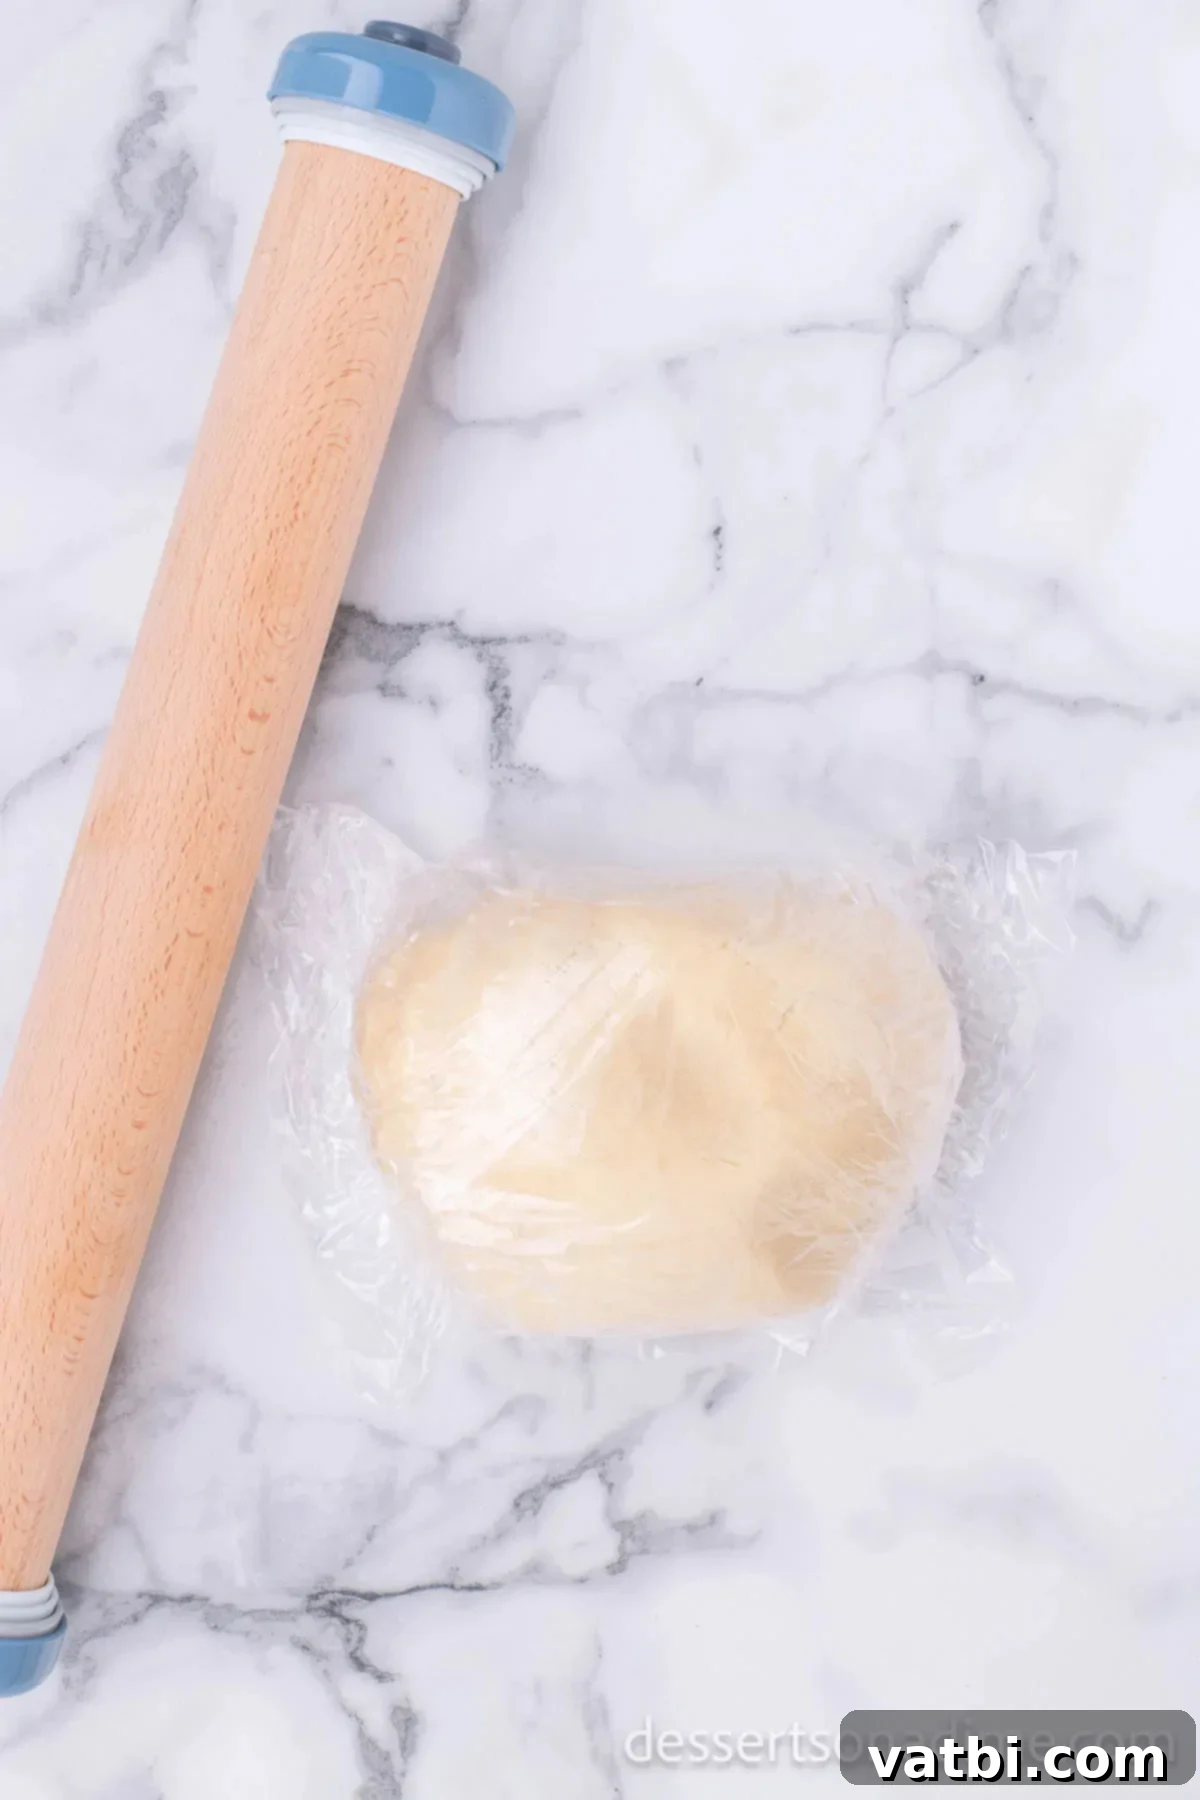
Step 6: Chill the Dough. Now, form the sugar cookie dough into a cohesive ball. Flatten it slightly into a disc, then wrap it tightly in plastic wrap, ensuring the entire dough ball is covered to prevent drying out. Refrigerate for at least 6 hours, or ideally, overnight. Chilling is a critical step that firms up the butter in the dough, preventing the cookies from spreading too much during baking and helping them retain their cut-out shapes perfectly. The dough should be very firm when you remove it.
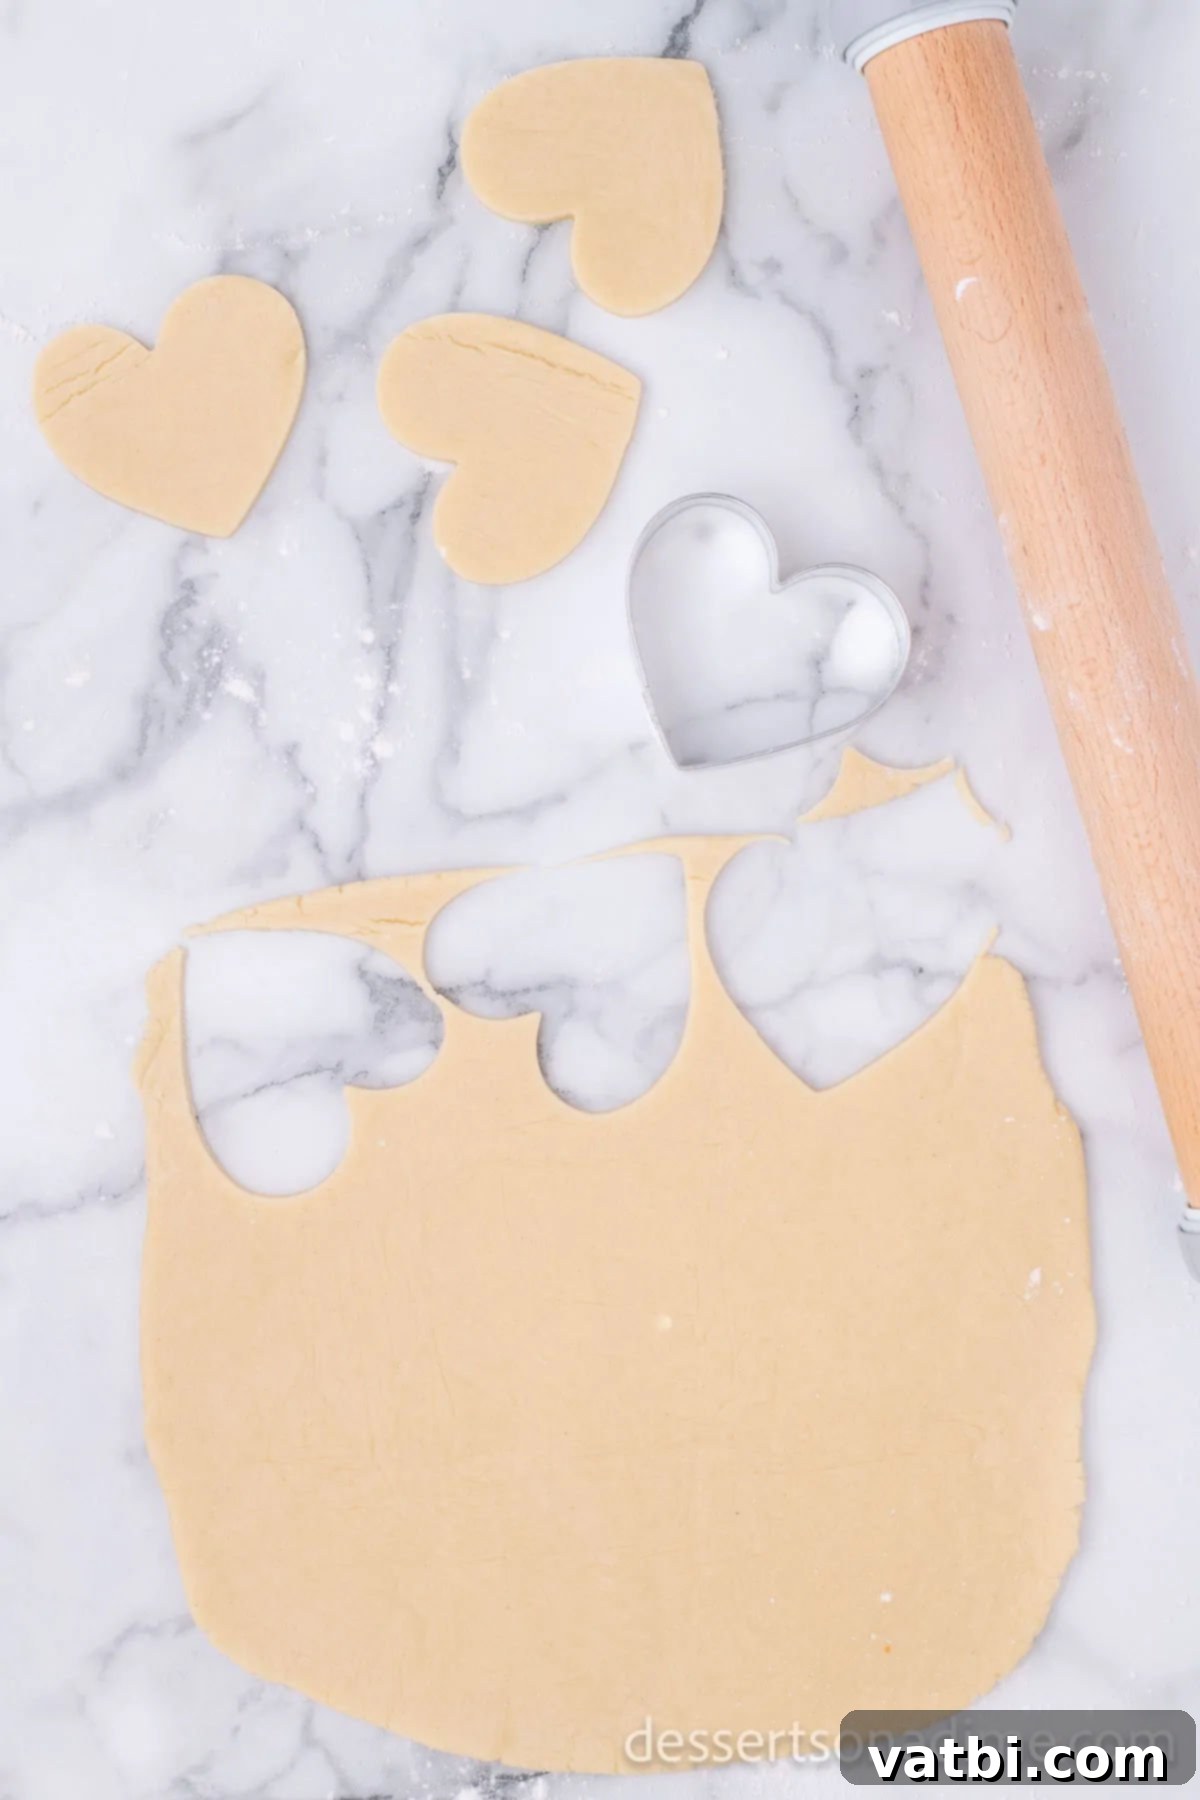
Step 7: Roll and Cut Cookies. Once the dough is properly chilled, remove it from the refrigerator and let it sit at room temperature for about 10-15 minutes to soften slightly, making it easier to roll. Lightly dust your work surface with flour, and also lightly flour your rolling pin to prevent sticking. Roll the dough to an even thickness, about 1/4 inch. Use a heart cookie cutter (or your preferred festive shapes) and start cutting out your cookies. Re-roll any dough scraps only once or twice to avoid overworking the dough.
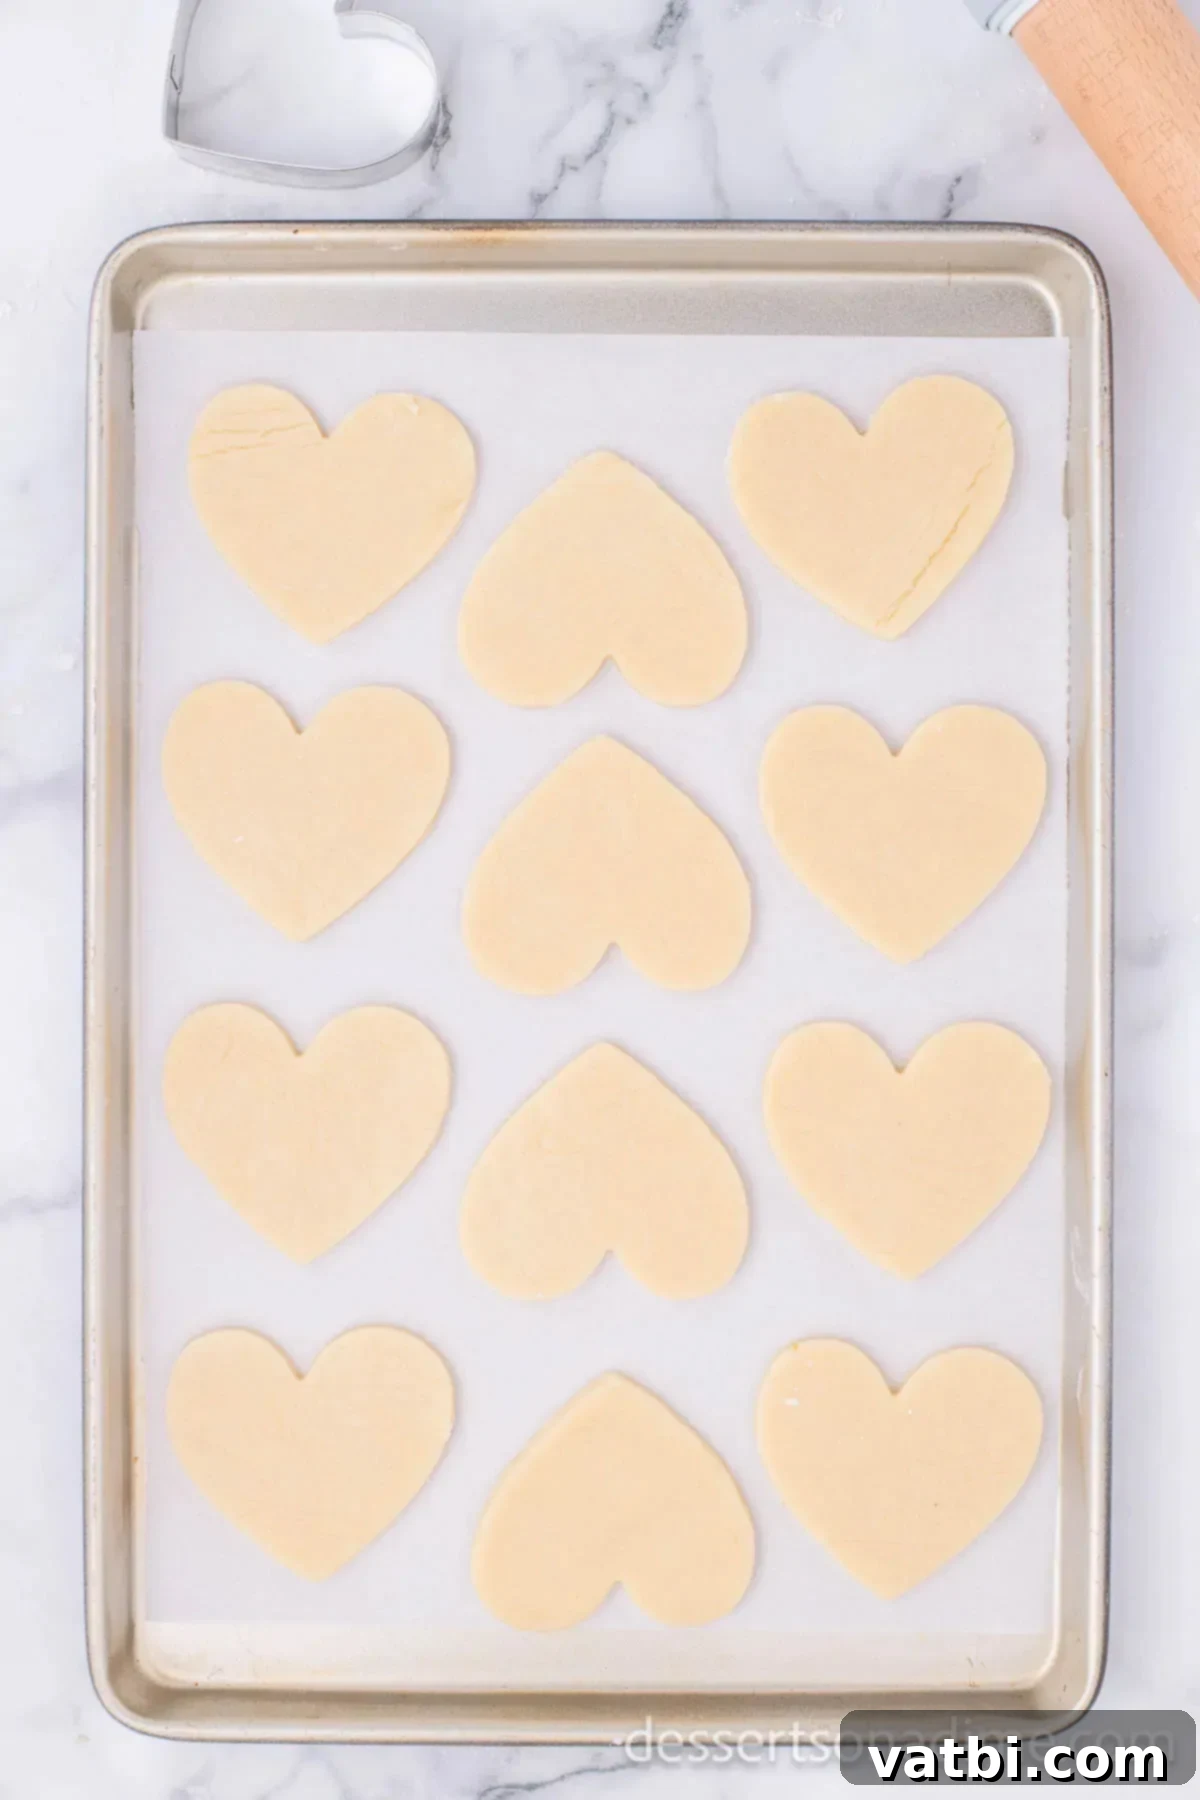
Step 8: Prepare for Baking. Line your baking sheets with parchment paper or a silicone mat. Carefully transfer the cut-out cookies onto the prepared baking sheet, leaving about 1 inch between each cookie to allow for slight spreading. Using a thin metal spatula can help move delicate shapes without distorting them.
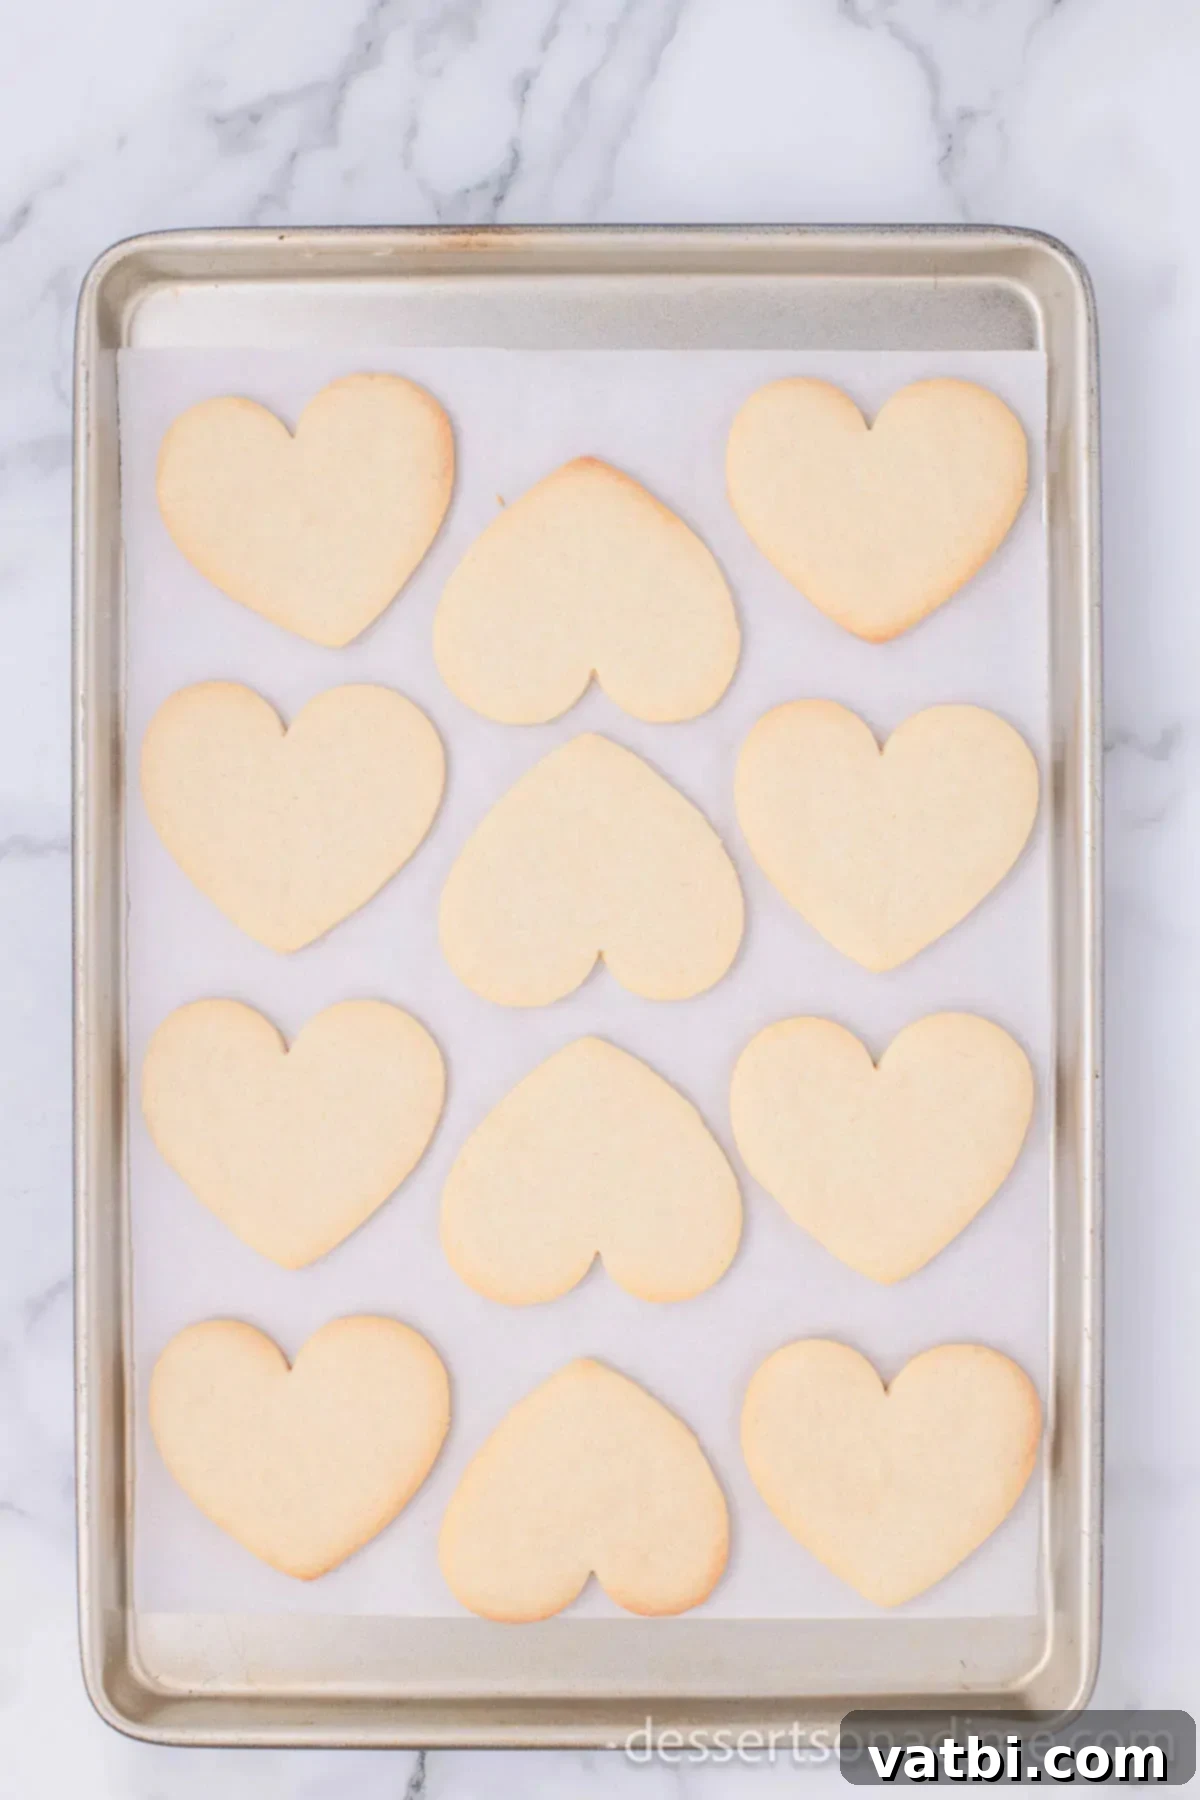
Step 9: Bake and Cool. Finally, bake the cookies in your preheated oven at 325 degrees Fahrenheit for 8 to 10 minutes. The baking time can vary slightly depending on your oven and cookie thickness, so watch for the edges to be lightly golden brown. The centers should still be soft. Immediately remove the cookies from the hot baking sheet and place them on a wire rack to cool completely. This prevents over-baking and allows them to firm up. They must be entirely cool before you begin icing to prevent the icing from melting or sliding.
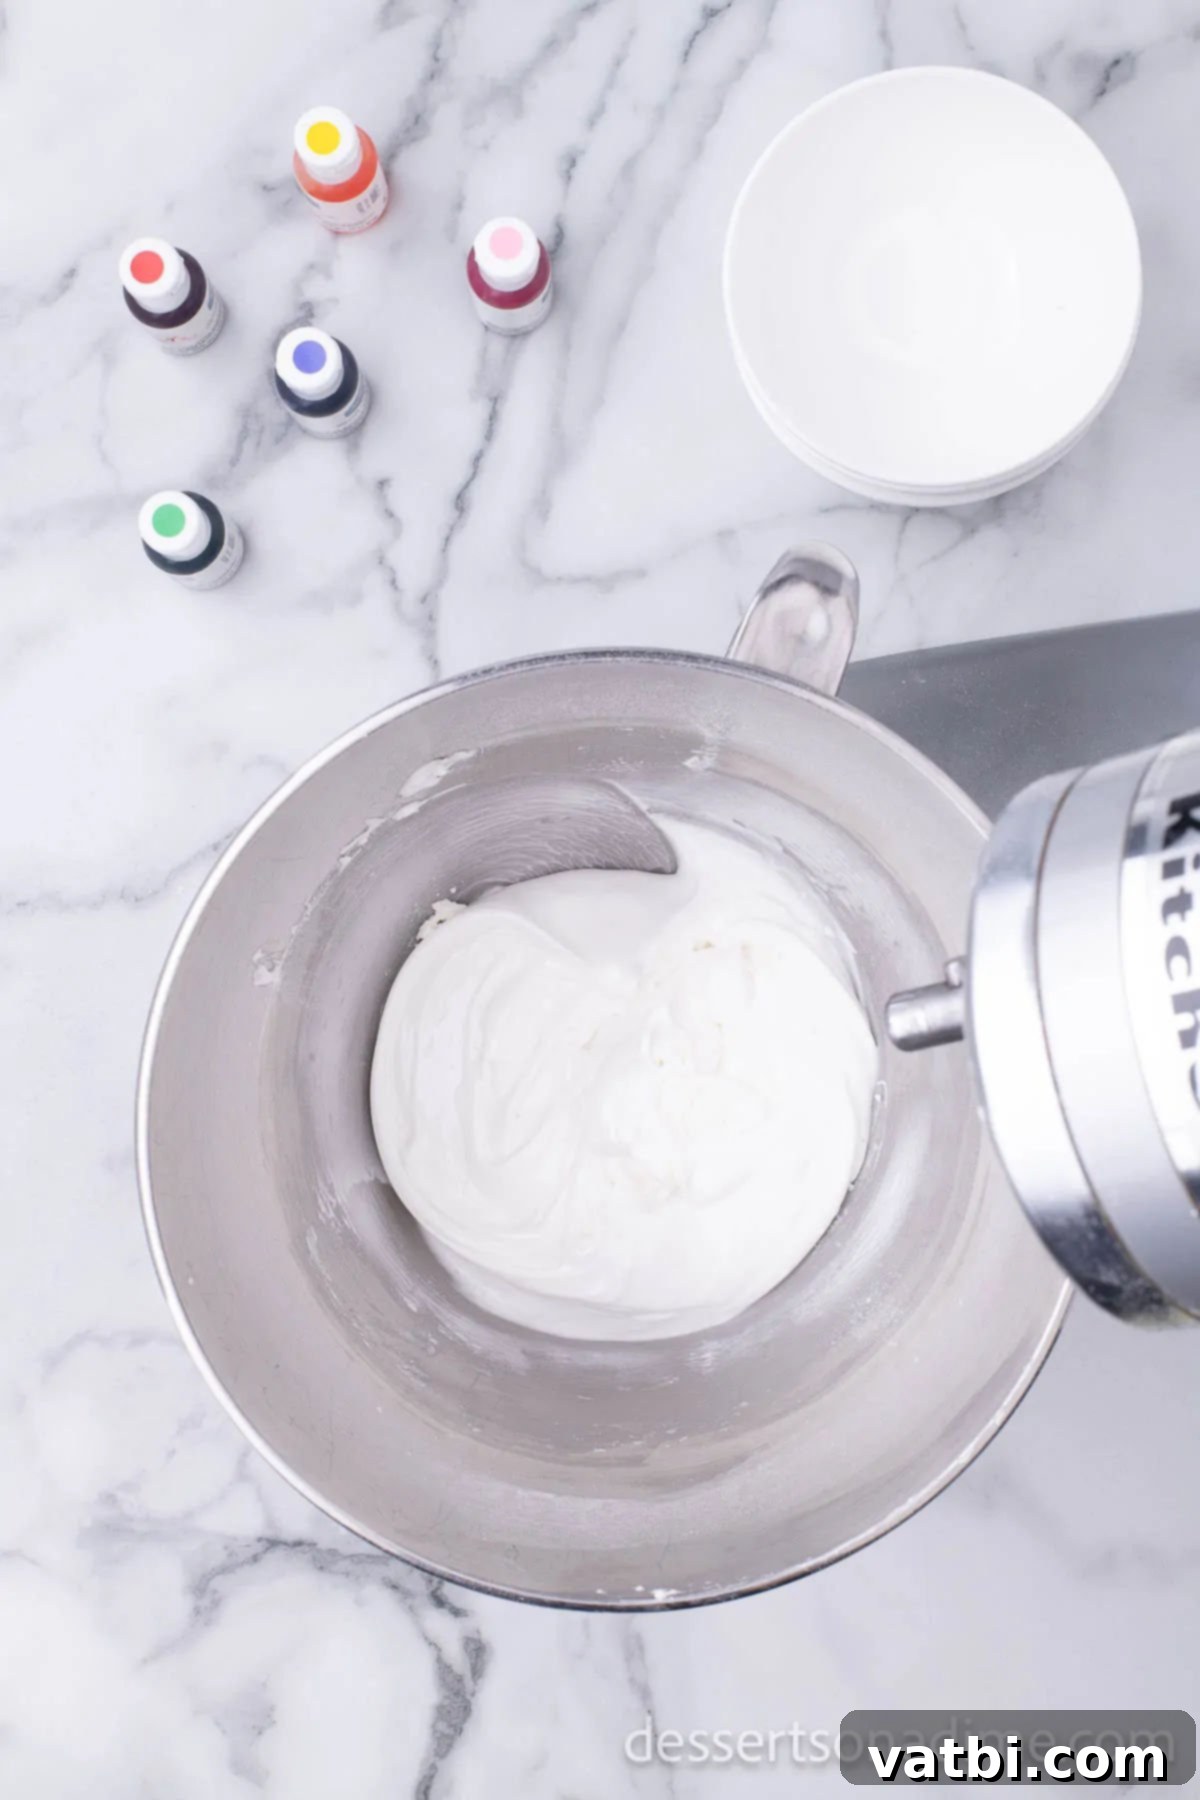
Step 10: Prepare Royal Icing. While the cookies are cooling, prepare your royal icing. In a clean mixing bowl, combine the egg whites, powdered sugar, and cream of tartar. Beat on medium speed for about 4 minutes with a hand mixer or stand mixer until the icing reaches a stiff consistency. To check consistency for flooding, you want a “15-second consistency”: if you drag a knife through the icing, the line should disappear within 15 seconds. If it’s too thick, add a tiny bit of water (a few drops at a time); if too thin, add ¼ cup more powdered sugar until the desired consistency is achieved.
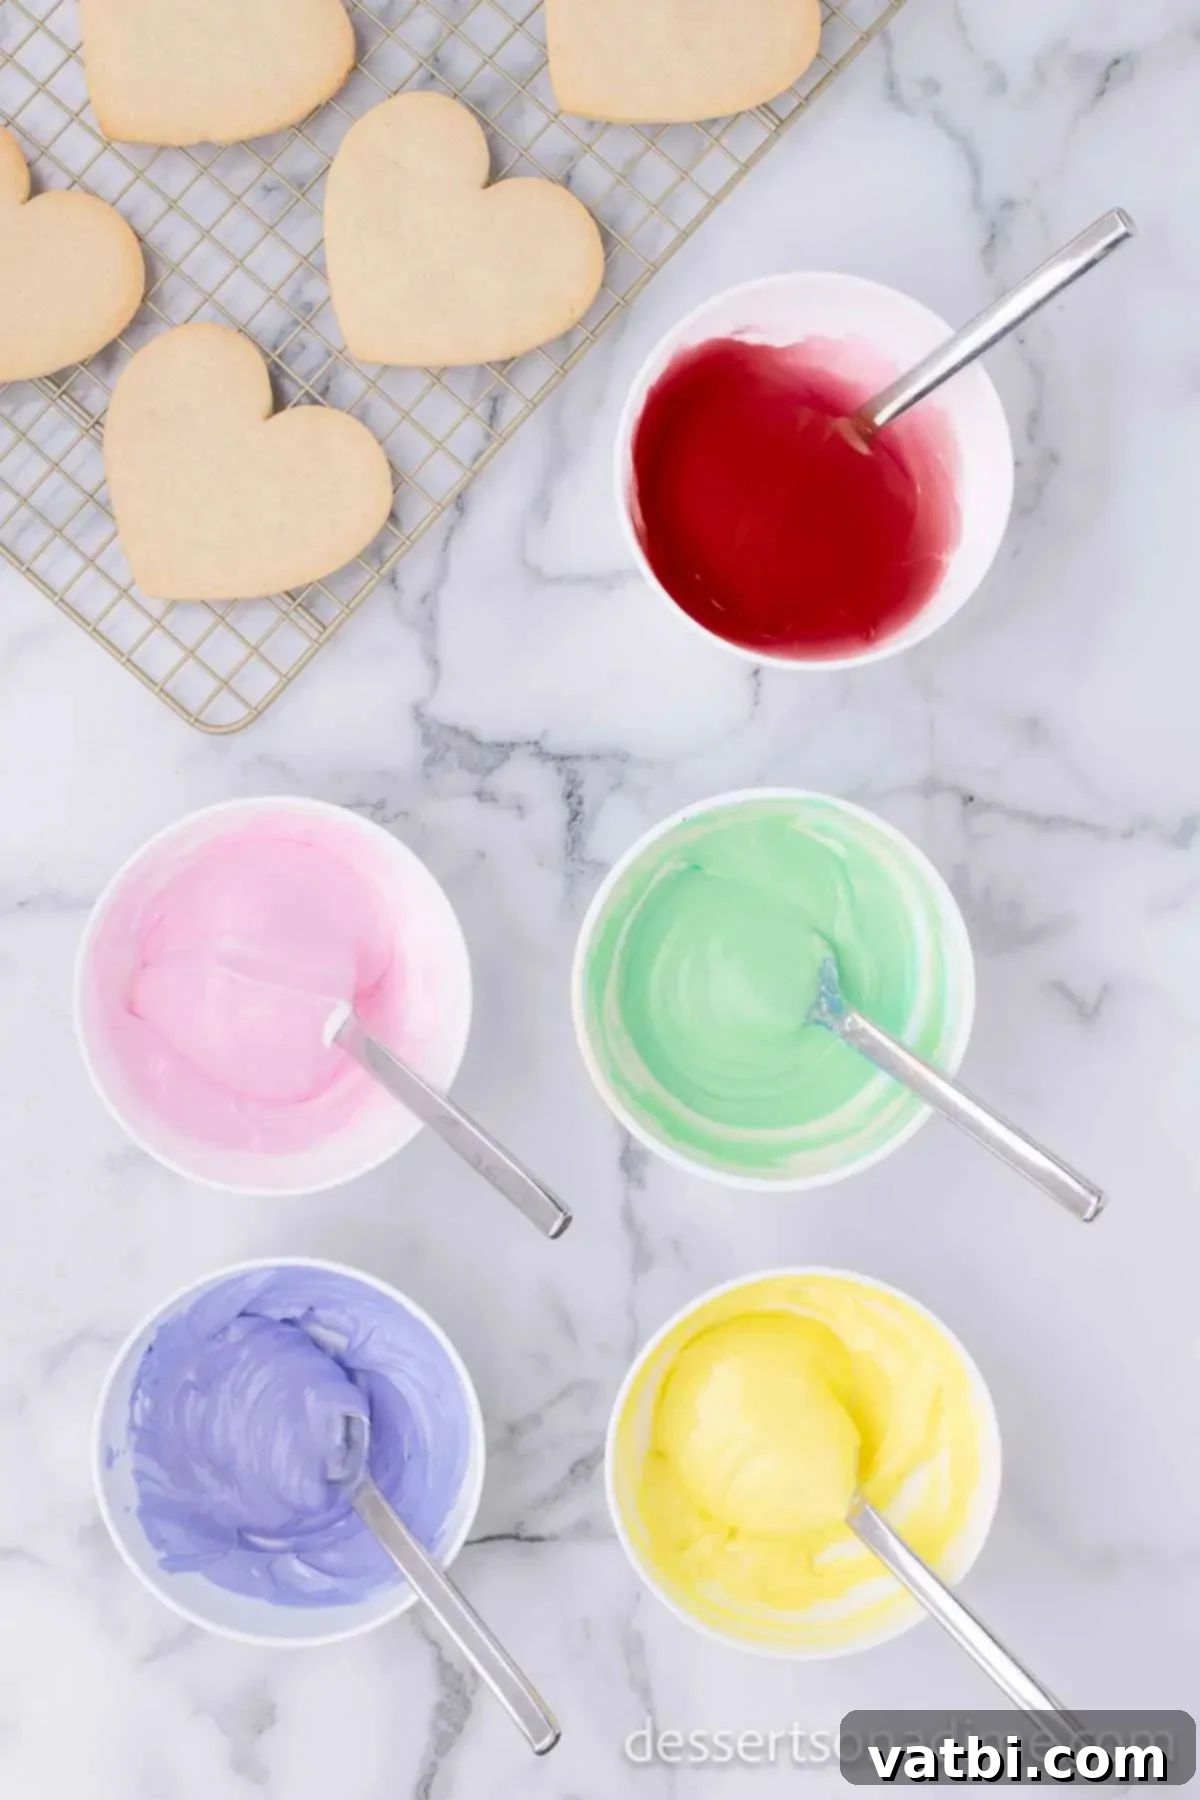
Step 11: Color the Icing. Next, separate the prepared royal icing into several small bowls – one for each color you plan to use. Stir your chosen gel food coloring into each bowl until you achieve the desired hue. For Valentine’s Day, pastel colors like pink, yellow, purple, and green work beautifully for the base, reserving a darker red for writing messages. Gel food coloring provides vibrant colors without thinning the icing.
How to Decorate Your Valentine’s Day Sugar Cookies
Decorating these cookies is where the real fun begins! With royal icing, you can achieve beautiful, professional-looking designs.

Step 1: Outline and Flood with Pastel Icing. Transfer your pastel-colored icings into separate piping bags, ideally fitted with a small round tip (like a PME #1.5 or Wilton #2). First, outline the perimeter of each cookie with the icing. Once the outline is complete, “flood” the inside of the outline by filling it with a slightly thinner consistency of the same color icing (you can achieve this by adding a few drops of water to a portion of your outlining icing). Use a small clean brush or toothpick to gently spread the flood icing to the edges and pop any air bubbles. The key is to work quickly so the icing doesn’t start to dry before you fill the entire cookie. Allow this base layer of icing to cool and set completely for at least 2 to 3 hours, or even longer, before attempting to add any further decoration.

Step 2: Add Messages and Details. Once your base icing has fully hardened, it’s time to add your heartfelt messages or intricate details. Place the red icing (or your chosen darker color) into a piping bag fitted with a very fine tip, such as a Wilton #1. You can now elegantly write your favorite Valentine’s Day sayings in the center of each cookie, or create delicate outlines and patterns. Some classic ideas include “Love,” “BFF,” “Cutie,” “XOXO,” “Call Me,” “Hug,” and “Kiss.” You can also draw small hearts, dots, or stripes.
- Step 3: Allow Writing Icing to Set. After you have finished all your writing and detailing, it is crucial to let this final layer of icing cool and set completely. This usually takes another 2 to 3 hours, or even up to 6 hours depending on humidity. Make sure that you do not cover the cookies during this drying period, as this can trap moisture and prevent the icing from hardening properly.
Once all layers of icing are dry, your beautiful and delicious Valentine’s Day sugar cookies are ready to be admired, shared, and enjoyed!
Pro Tips for Perfect Valentine’s Sugar Cookies
Achieving bakery-quality sugar cookies isn’t difficult with a few helpful tips:
- Allow Icing to Cool and Set Before Writing: Patience is truly a virtue when decorating with royal icing. Rushing this step will lead to smudged designs and colors bleeding into each other. Ensure each layer of icing is completely dry and hard to the touch before adding subsequent layers or writing. This typically means allowing 2-3 hours for a base flood layer, and another 2-3 hours for detail work.
- Chill the Dough Thoroughly: This is arguably the most important step for beautifully shaped cookies that don’t spread. Refrigerating the dough for at least 6 hours, or preferably overnight, allows the butter to firm up and the gluten to relax. This results in cookies that hold their shape perfectly in the oven. If your dough isn’t firm, your heart shapes might turn into blobs.
- Use Room Temperature Ingredients: For the cookie dough, softened butter and room-temperature eggs are essential. They combine more easily and create a smoother, more emulsified dough. This smooth consistency contributes to a tender, uniform cookie. If your butter is too cold, it won’t cream properly; if it’s too warm, the dough might become greasy.
- Don’t Overbake the Cookies: Sugar cookies are best when they are slightly soft and chewy. They should only be lightly browned around the very edges. If you wait for them to be golden all over, they will be dry and crispy. Remember that cookies continue to cook slightly on the hot baking sheet even after being removed from the oven.
- Sift the Dry Ingredients: Always sift your flour, baking powder, and salt together. This process removes any lumps from the flour and evenly distributes the leavening agent and salt, ensuring a consistent texture throughout your cookies and preventing pockets of unmixed ingredients.
- Measure Flour Correctly: As mentioned, spoon and level your flour rather than scooping. Too much flour is a common culprit for dry, crumbly cookies.
- Use Parchment Paper or Silicone Mats: These not only prevent sticking but also promote even baking and easy cleanup. They are invaluable for delicate cookie shapes.
- Don’t Overwork the Dough: After adding the dry ingredients, mix just until combined. Overmixing develops the gluten, making the cookies tough rather than tender.
- Even Thickness is Key: When rolling out your dough, aim for a consistent thickness (around 1/4 inch). This ensures all cookies bake evenly. Use rolling pin guides if you have them.
- Have Fun! Baking and decorating should be an enjoyable process. Don’t stress too much about perfection. The joy is in the creation and sharing!

Frequently Asked Questions (FAQs)
Once the royal icing has completely cooled and hardened on your heart sugar cookies (this can take several hours, so be patient!), store them at room temperature in an airtight container. Layer them carefully, ideally with parchment paper between layers to protect the delicate icing. Stored this way, the cookies will remain fresh and delicious for 5 to 7 days.
Absolutely! These cookies are excellent for freezing, whether plain (unfrosted) or decorated. If freezing decorated cookies, ensure the icing is totally cool and hard before preparing them for the freezer.
To freeze, arrange the cookies in a single layer on a baking sheet and flash freeze them for about 30 minutes until solid. Then, transfer them to a freezer-safe container, separating each layer of cookies with parchment paper to prevent sticking and protect the decorations. This method helps maintain their beautiful appearance.
The cookies will keep for up to 3 months in the freezer. When you’re ready to enjoy them, allow them to thaw slowly in the refrigerator overnight or at room temperature for a few hours. This gradual thawing helps prevent condensation from affecting the icing.
Several factors can cause sugar cookies to spread. The most common reasons are using butter that is too soft (or even slightly melted), not chilling the dough long enough (or at all), or having too much flour in your recipe, or an oven that isn’t at the correct temperature. Ensure your butter is softened but still cool to the touch, and always chill your dough for the recommended time to prevent spreading. Also, make sure your oven thermometer is accurate.
To achieve a beautiful glossy finish on your royal icing, ensure you are using fresh egg whites and finely sifted powdered sugar. Also, allow your icing to dry slowly at room temperature, ideally in a low-humidity environment. Avoid placing them in the refrigerator, as the moisture can cause dullness or ‘blooming’ (white spots). A fan can help speed up the drying process gently, without causing dullness.

Try More Delightful Valentine’s Day Desserts
If you’re looking to expand your holiday baking repertoire, explore these other fantastic Valentine’s Day dessert recipes:
- Valentine’s Day Cake Mix Cookies: Super easy and customizable, perfect for quick festive baking.
- Valentine’s Day Poke Cake Recipe: A moist and flavorful cake with a beautiful surprise inside.
- Chocolate Heart Cupcakes: Rich chocolate cupcakes adorned with charming heart decorations.
- Valentine’s Day Chocolate Covered Pretzel Rods: A delightful salty-sweet treat that’s fun to dip and decorate.
- 35 Valentine’s Day Cupcakes: A comprehensive collection of ideas to inspire your cupcake creations.
We are confident everyone will adore this Valentine’s Day sugar cookies recipe. It’s a sweet way to spread love and joy! Try it today, create beautiful memories, and please leave a comment and recipe rating to let us know how yours turned out. Happy baking!
Pin
Valentine’s Day Sugar Cookies
Ingredients
- Cookie Ingredients:
- 5 C flour
- 2 tsp baking powder
- 1 tsp salt
- 1 1/2 cup unsalted butter softened at room temperature
- 2 cups granulated sugar
- 4 eggs
- Icing Ingredients:
- 2 egg whites
- 1 cup powdered sugar
- 1/2 tsp cream of tartar
- Gel Food Coloring
Instructions
-
COOKIE INSTRUCTIONS:
-
Preheat oven to 325 degrees F.
-
Cream the soft butter with the sugar until the combination is smooth not grainy to the touch in a mixing bowl.
-
Add all 4 eggs at one time. Continue to mix.
-
Sift the four, baking powder, and salt together. Add the dry mixture to the wet mixture. Continue mixing to make sure all ingredients are thoroughly blended.
-
Make the dough into a ball, wrap it in cling wrap completely covering the entire dough ball.
-
Put in the refrigerator for about 6 hours or overnight.
-
Check to see if the dough is firm. Pull the cookie dough out of the refrigerator and sit it out to soften up a bit.
-
Put flour out on the wood cutting board, rub flour on the rolling pin, and work some flour into the batter (if needed), a heart cookie cutter begin to make your cookies.
-
Line the cookie sheet with parchment paper.
-
Using a metal spatula move the cut cookies to the parchment lined cookie sheet.
-
Bake at 325 degrees F for 8-10 minutes until the cookies are lightly browned around the edges.
-
Check to see if the cookies are thoroughly baked.
-
Take the cookies off of the cookie sheet and put on a wire rack to cool completely.(About 10 minutes).
-
ICING INSTRUCTIONS:
-
Combine all ingredients in a mixing bowl mixing on medium speed for 4 minutes. (except your food coloring). If icing is not stiff enough add ¼ C powdered sugar until the icing is to a 15 second consistency. Which means that when you slice a spatula across the top of the icing, it would take 15 seconds to disappear.
-
Separate the icing into 5 small bowls. Mix the icing with the food gel coloring of your choice. I used for the cookies – pastel colors: pink, yellow, purple and green and then the final bowl is for the writing and I chose a darker color of red (but you can use any color that you prefer).
-
Place the pastel icing in piping bags and place the pastel icing on the cookies. Let this icing cool completely (2-3 hours).
-
Then place the red icing in a decorated bag fitted with tip #1 and write your favorite Valentine’s Day sayings in the center of each cookie. Some that I love using are Love, BFF, Cutie, XOXO, Call Me, Hug, Kiss, etc.
-
Then allow the writing icing to cool completely (2-3 hours).
-
Do not cover the cookies while the icing is cooling.
-
After the icing has cooled completely, store at room temperature in an air tight container for up to 5-7 days.
Nutrition Facts
Pin This Now to Remember It Later
Pin Recipe
