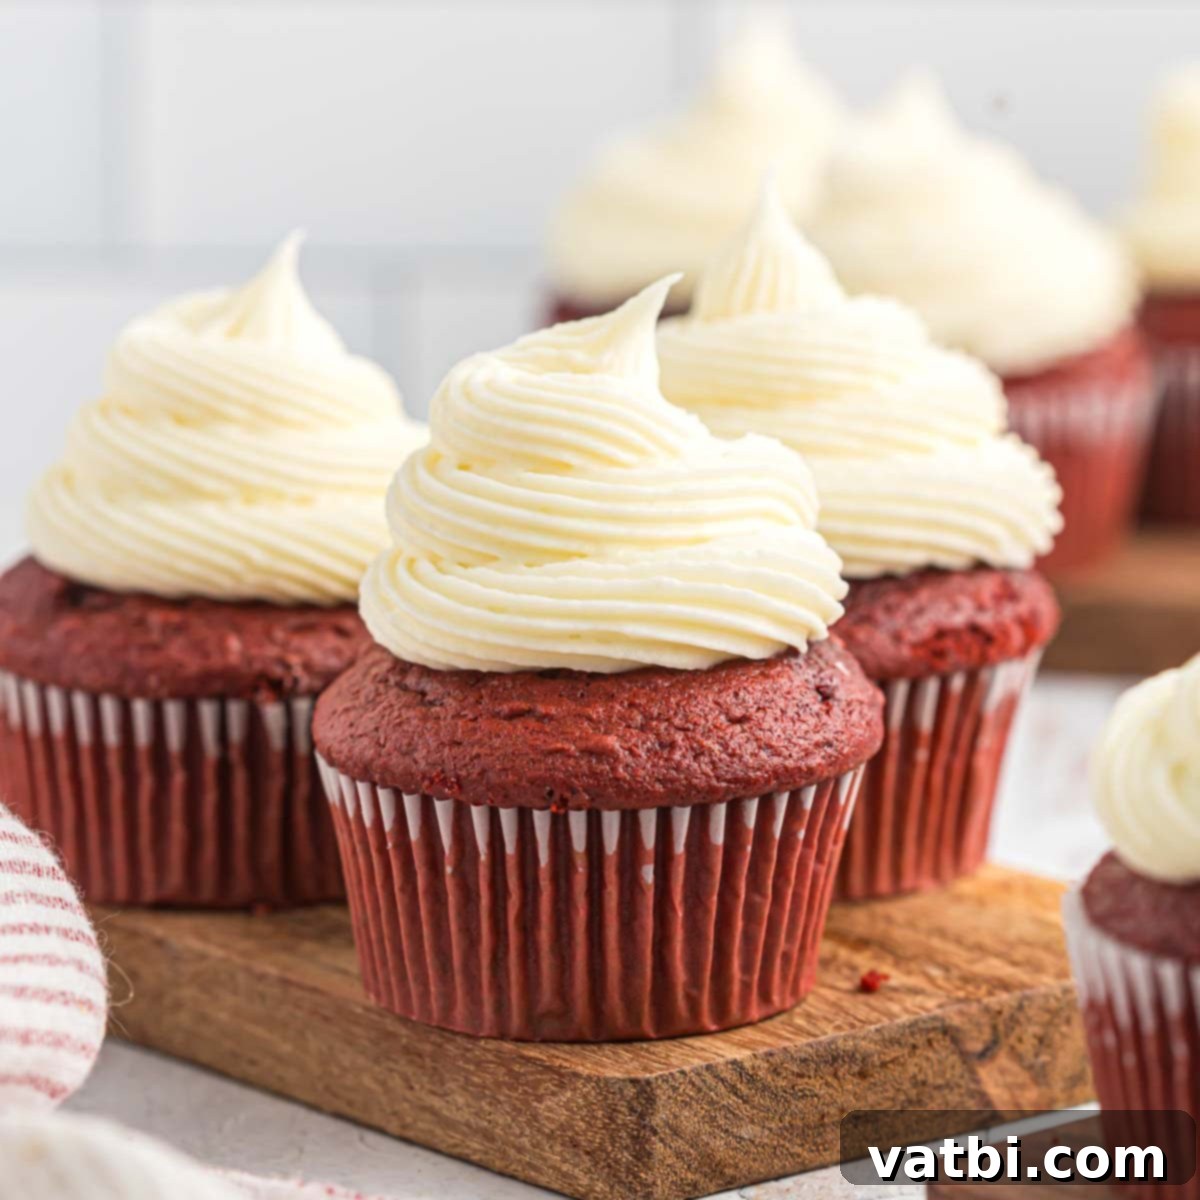
Ultimate Homemade Red Velvet Cupcakes with Tangy Cream Cheese Frosting: A Classic Recipe
Prepare to delight your taste buds with the Ultimate Red Velvet Cupcake Recipe. These cupcakes are celebrated for their distinctive flavor, stunning vibrant red hue, and an incredibly moist, tender crumb that simply melts in your mouth. Crowned with a generous swirl of rich, tangy cream cheese frosting, this classic dessert is a true showstopper. Whether you’re a seasoned baker or just starting, this easy-to-follow recipe ensures perfect results every time, making it ideal for celebrations, special occasions, or simply satisfying that deep-seated craving for a truly exceptional treat.
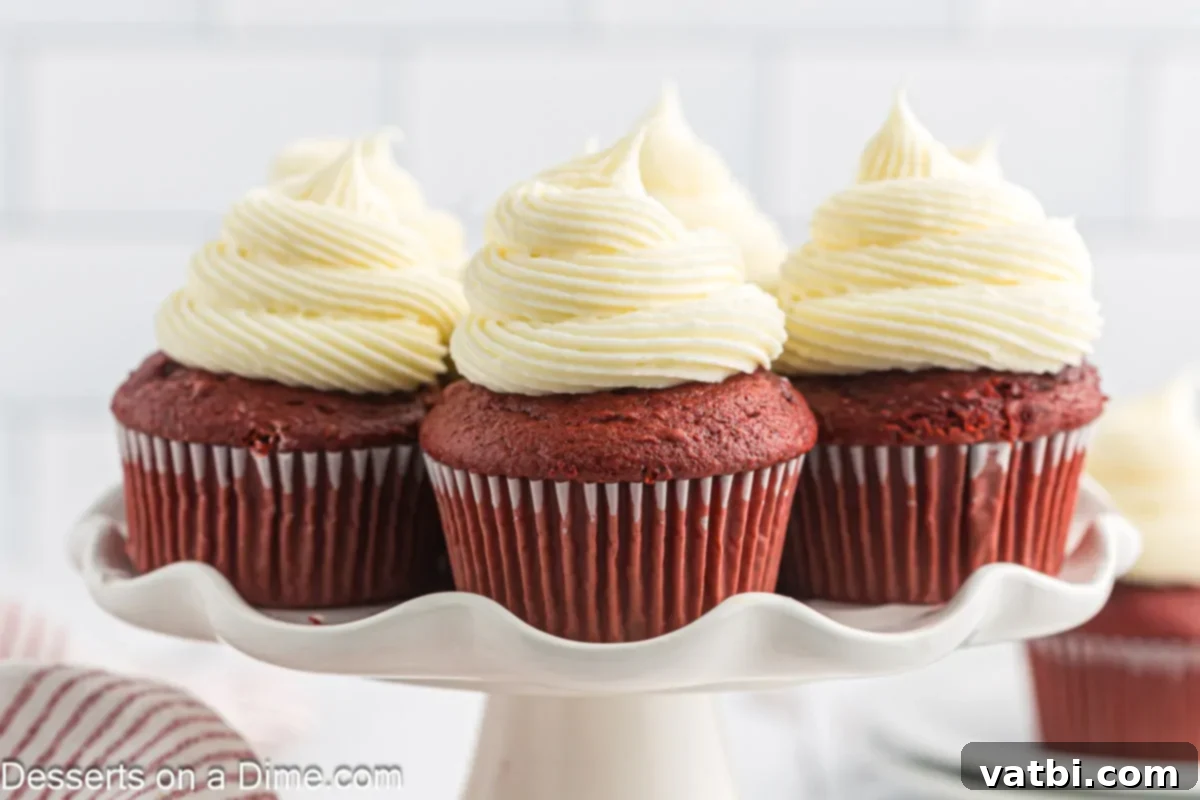
If you’re searching for a dessert that perfectly balances a tender texture with a subtle yet distinct cocoa flavor, these red velvet cupcakes are your ultimate answer. Each bite offers a harmonious blend of sweetness and a slight tang from the buttermilk, all complemented by the luxurious, creamy, and irresistible cream cheese frosting. This recipe goes beyond just baking; it’s about creating an experience—a moment of pure dessert bliss that captivates both the eyes and the palate. Forget store-bought options; homemade red velvet cupcakes deliver unparalleled flavor and freshness.
Beyond these delightful cupcakes, explore other red velvet favorites:
Mini Red Velvet Cheesecake Bites,
Classic Red Velvet Pound Cake, or
Irresistible Red Velvet Cake Balls.
For quick cravings, try our Speedy Red Velvet Mug Cake and Decadent Red Velvet Funnel Cake.
And for a seasonal twist, our Pumpkin Cheesecake Cupcakes are always a hit!
What’s in this post: Best Red Velvet Cupcake Recipe
- Why You’ll Adore These Red Velvet Cupcakes
- Key Ingredients for Perfect Red Velvet Cupcakes
- Step-by-Step: How to Bake Red Velvet Cupcakes
- Crafting the Silky Cream Cheese Frosting
- Pro Tips for Red Velvet Cupcake Success
- Frequently Asked Questions About Red Velvet Cupcakes
- More Irresistible Red Velvet Creations
- Discover More Easy Cupcake Recipes
- Full Red Velvet Cupcake Recipe Card
Why You’ll Adore These Red Velvet Cupcakes
- Unrivaled Moist and Fluffy Texture: This recipe leverages the magical combination of buttermilk and baking soda. The acidity in the buttermilk reacts with the baking soda, creating tiny air bubbles that result in an incredibly tender, light, and moist crumb that stays fresh longer than many other cupcake recipes. It’s the secret to that characteristic red velvet softness.
- Perfectly Balanced Subtle Chocolate Flavor: Unlike a traditional chocolate cupcake, red velvet has a unique, mild cocoa taste. We use just the right amount of cocoa powder to provide a hint of chocolate without overpowering the distinct vanilla and buttermilk notes. This delicate balance is what makes red velvet so special and beloved.
- Stunning Vibrant Red Color: The iconic red hue is achieved with the addition of red food coloring. While traditionally a result of the chemical reaction between natural cocoa and acidic ingredients, modern cocoa often prevents this. Our recipe ensures a consistently rich and beautiful red that makes these cupcakes visually appealing and truly festive.
- Ideal for Festive Celebrations: With their striking color and delightful flavor, these red velvet cupcakes are perfect for almost any special occasion. They are particularly popular for Christmas, Valentine’s Day, birthdays, anniversaries, or any event where you want to impress your guests with a beautiful and delicious dessert.
- Infinitely Superior to Store-Bought Mixes: While convenient, pre-packaged mixes simply cannot replicate the depth of flavor, perfect texture, and overall homemade goodness of this scratch-made recipe. You’ll taste the difference in every single bite – a rich, authentic flavor that you and your loved ones will crave again and again.
Key Ingredients for Perfect Red Velvet Cupcakes
Crafting the perfect red velvet cupcake starts with selecting the right ingredients. Each component plays a vital role in achieving the desired texture, flavor, and vibrant color that defines this beloved dessert. Below is a closer look at the essential elements you’ll need, along with tips for best results.
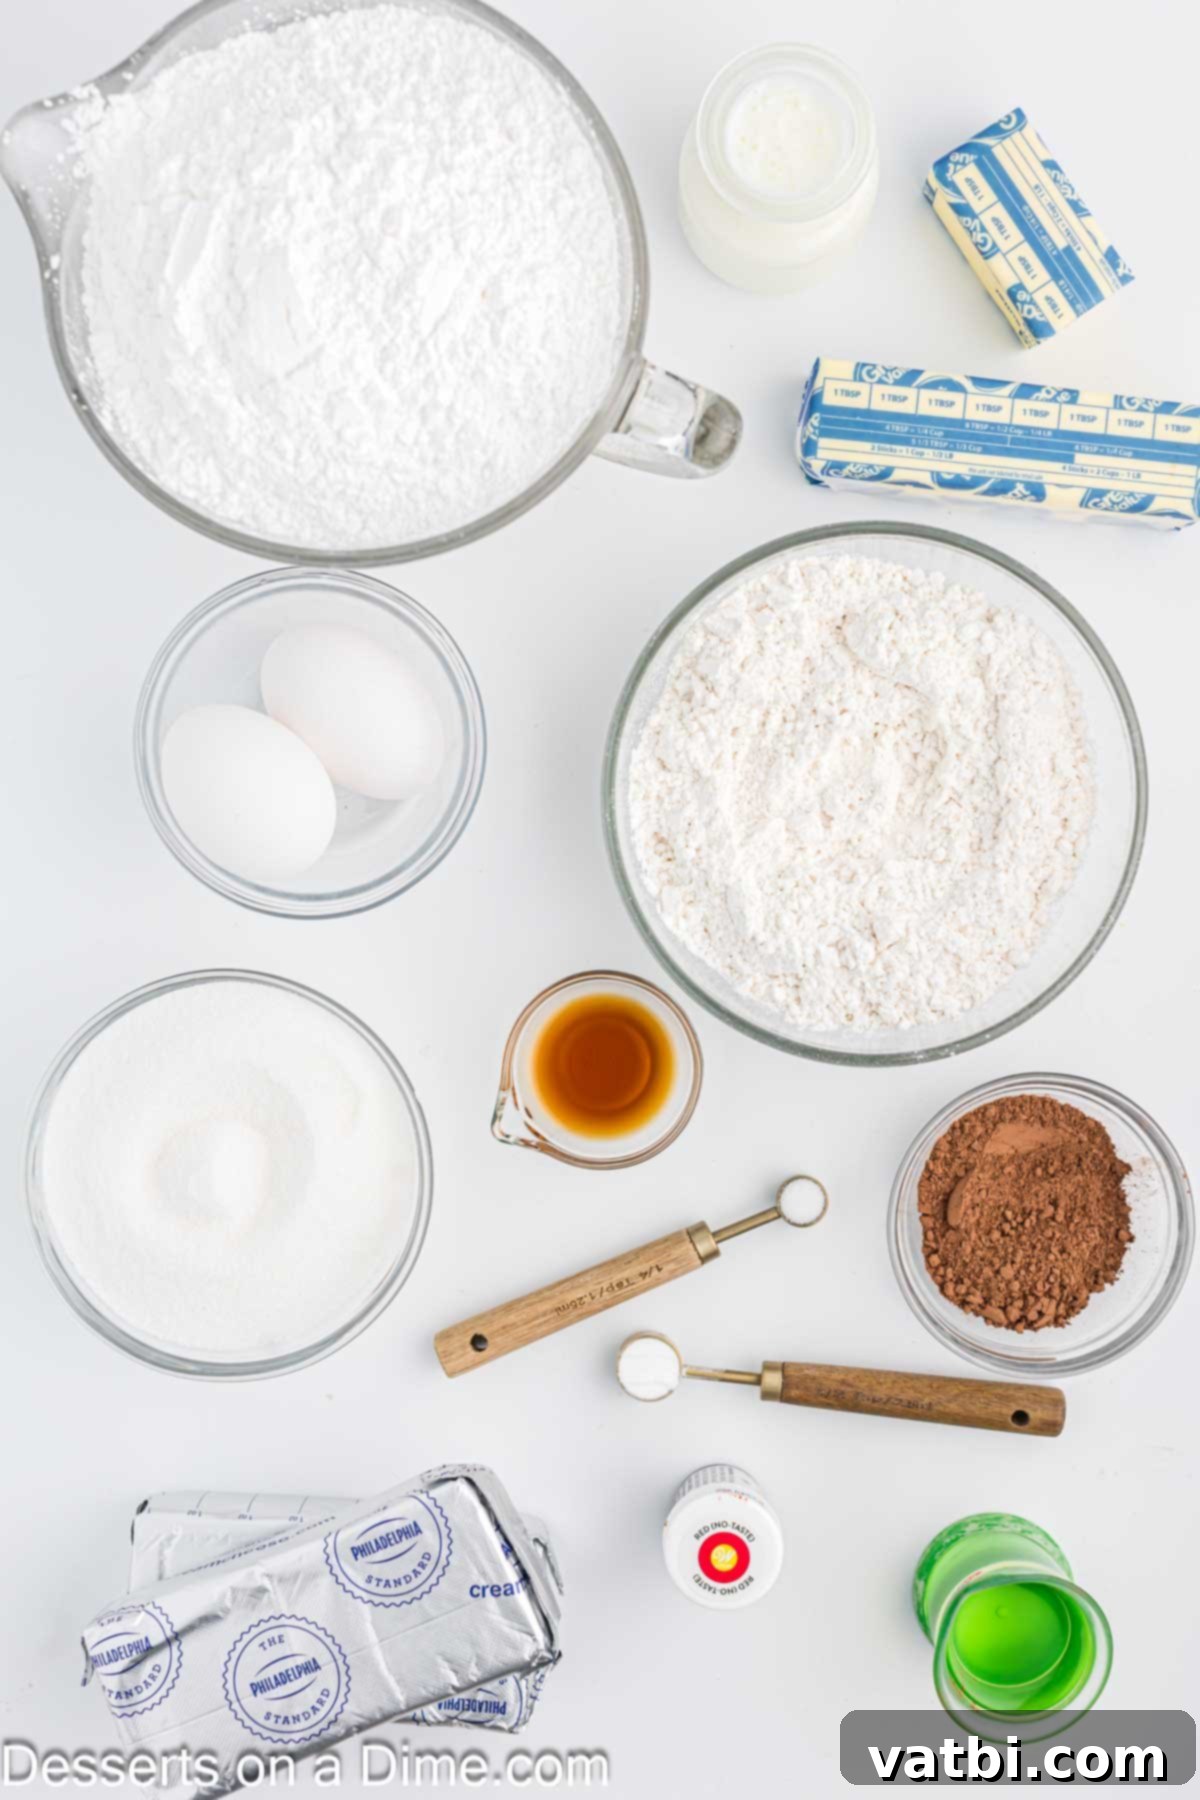
For the Cupcakes
- Cake Flour: This is our secret weapon for an incredibly tender and fine crumb. Cake flour has a lower protein content than all-purpose flour, which results in a softer, lighter cupcake. If you don’t have cake flour, you can easily learn how to make a substitute for cake flour at home using all-purpose flour and cornstarch.
- Baking Soda: Essential for leavening and reacting with the acidic buttermilk to create that signature fluffy texture. Ensure your baking soda is fresh for optimal results. For more options, check out the Best Baking Soda Substitutes.
- Cocoa Powder: We use unsweetened cocoa powder to give a subtle chocolate undertone without making the cupcakes taste like a standard chocolate cake. It also contributes to the rich color, especially when combined with red food coloring.
- Buttermilk: A key ingredient that provides moisture, tenderizes the crumb, and gives red velvet its characteristic tangy flavor. The acidity in buttermilk is crucial for activating the baking soda, ensuring your cupcakes rise beautifully and remain moist.
- Vanilla Extract: Use pure vanilla extract for the best flavor. It enhances all the other flavors in the cupcake, adding depth and warmth. Artificial vanilla won’t give you the same rich taste.
- Red Food Coloring: For that truly iconic vibrant red, a good quality red gel food coloring is recommended. Gel colors are more concentrated than liquid, so you’ll achieve a deeper hue without adding too much moisture to your batter.
- Butter and Oil: Combining softened butter with vegetable oil provides the best of both worlds: butter for flavor and oil for an extra moist texture.
- Eggs: We use egg yolks for richness and moisture, and then whip the egg whites separately to fold into the batter, which contributes to the cupcakes’ light and airy structure.
For the Cream Cheese Frosting
- Cream Cheese: The star of the frosting! It’s crucial that your cream cheese is softened to room temperature. This ensures a smooth, lump-free frosting that’s easy to spread or pipe. Cold cream cheese will result in a clumpy frosting. Full-fat cream cheese is recommended for the best texture and flavor.
- Unsalted Butter: Also softened to room temperature, butter provides richness and helps stabilize the frosting.
- Powdered Sugar (Confectioners’ Sugar): Sifting the powdered sugar is highly recommended to prevent lumps and achieve that silky-smooth frosting texture.
- Vanilla Extract: Again, pure vanilla extract elevates the flavor of the cream cheese frosting, adding a lovely aromatic note.
You can find the precise measurements for all ingredients listed in the comprehensive recipe card at the bottom of this post, ensuring you have everything you need for baking success.
How to Make Red Velvet Cupcakes: A Step-by-Step Guide
Baking these red velvet cupcakes from scratch is a rewarding experience. Follow these detailed steps to ensure perfectly moist, flavorful, and beautiful cupcakes every time. Remember, precise measurements and proper technique are key to achieving bakery-quality results at home.
- Step 1 – Prepare Your Baking Station: Start by preheating your oven to 350 degrees F (175 degrees C). This ensures the oven is at the correct temperature when your batter is ready. Then, line 16 muffin tins with paper cupcake liners. These liners not only make for easy cleanup but also give your cupcakes a professional look.
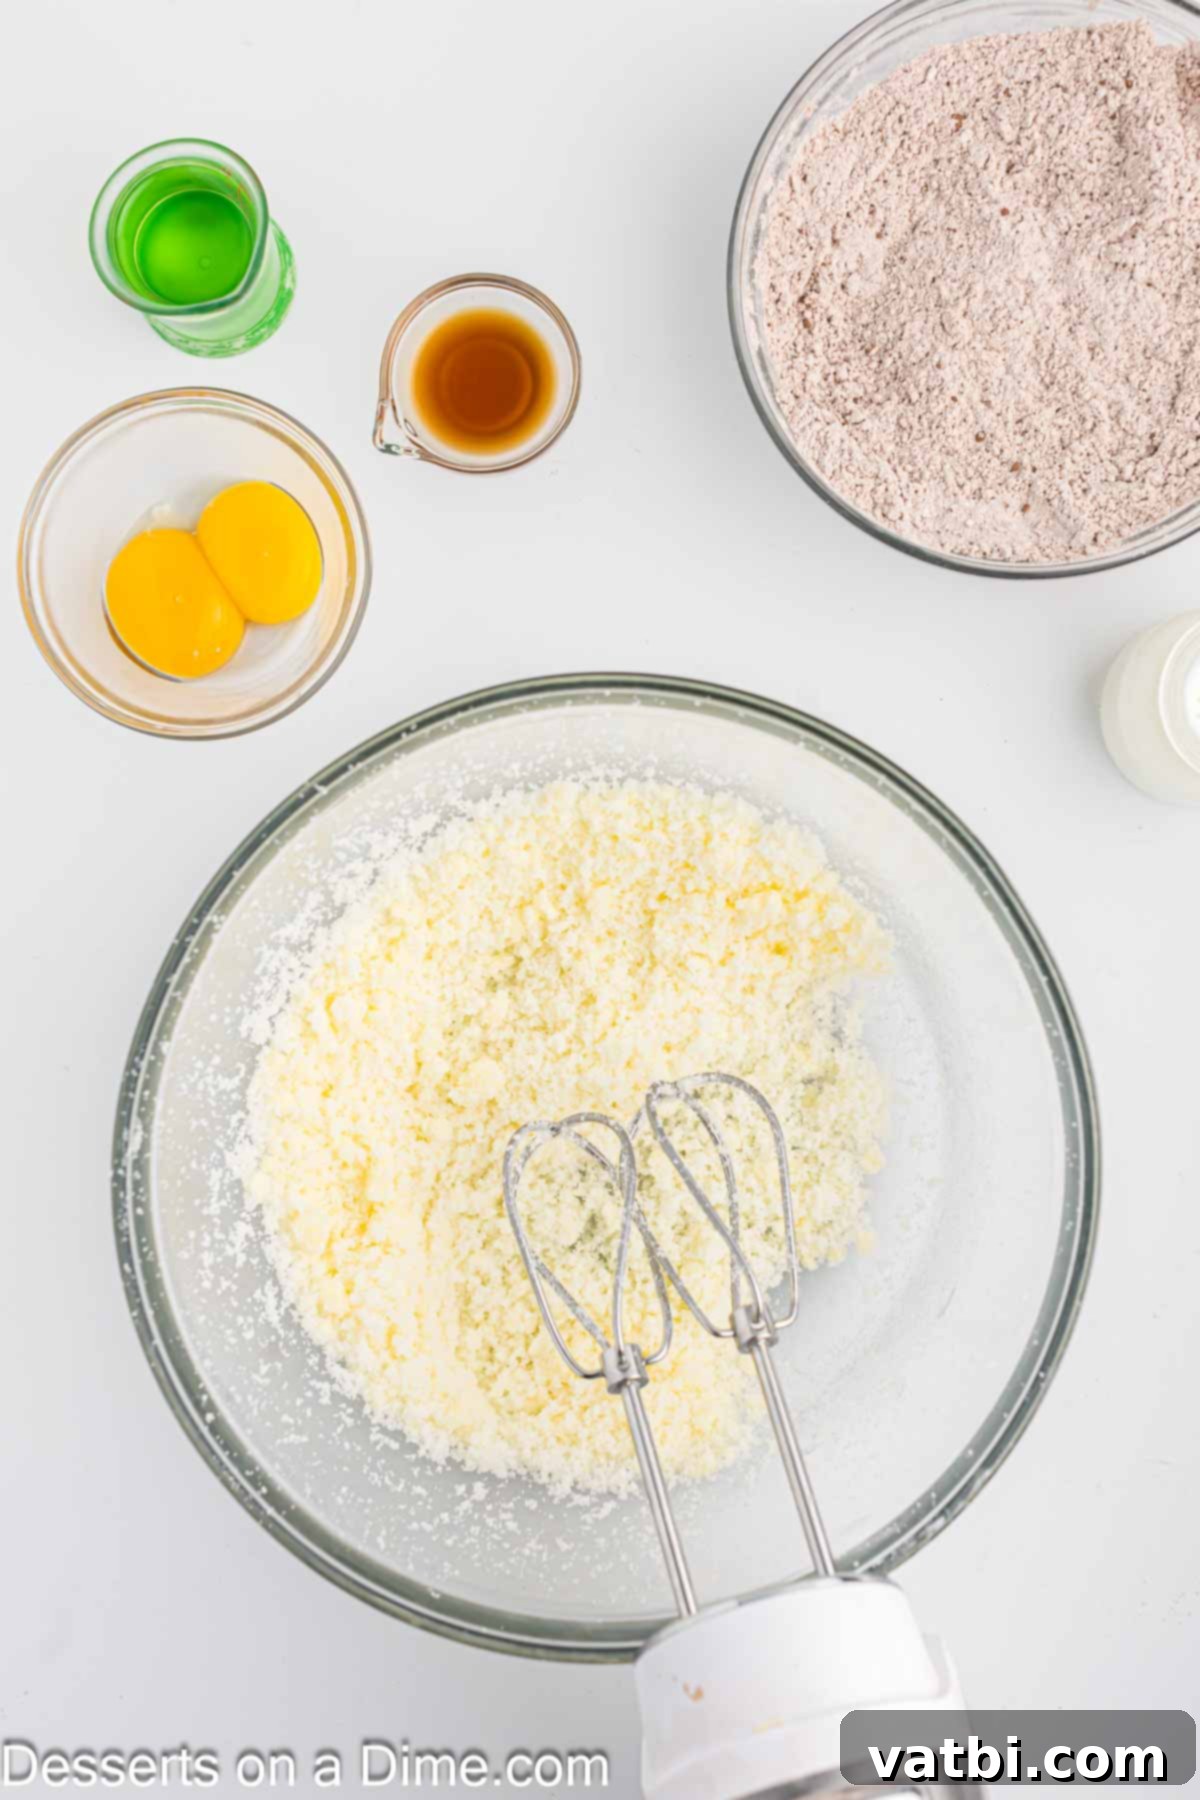
Step 2. Sift and Combine Dry Ingredients: In a large mixing bowl, whisk together the cake flour, baking soda, cocoa powder, and salt. Sifting these ingredients ensures they are well combined and free of lumps, leading to a smoother batter and a more even cupcake texture. Set this bowl aside for later.
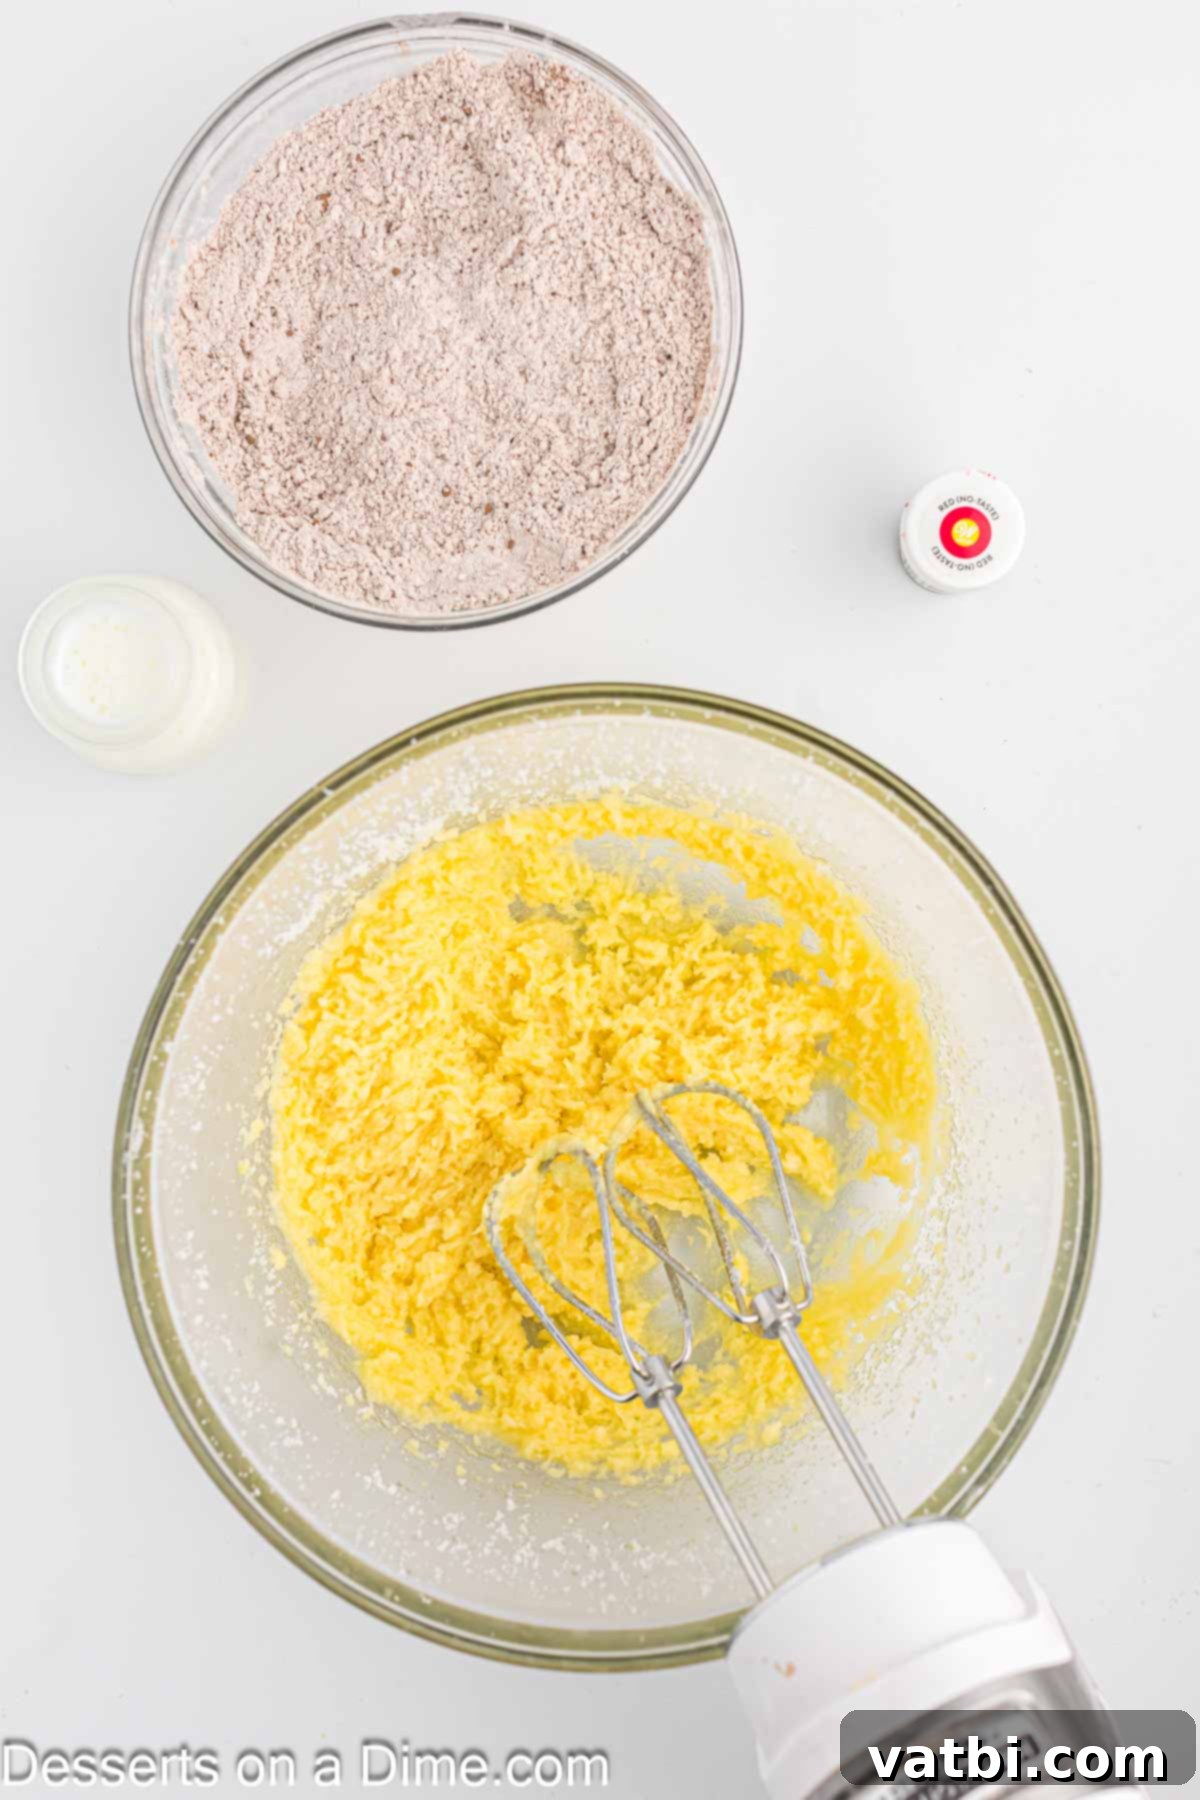
Step 3. Cream Butter and Sugar: In a separate, larger bowl, using either a stand mixer with the paddle attachment or a hand mixer, cream together the softened butter and granulated sugar. Beat on medium-high speed until the mixture is light, fluffy, and pale in color. This process incorporates air, which contributes to the cupcakes’ tender texture.
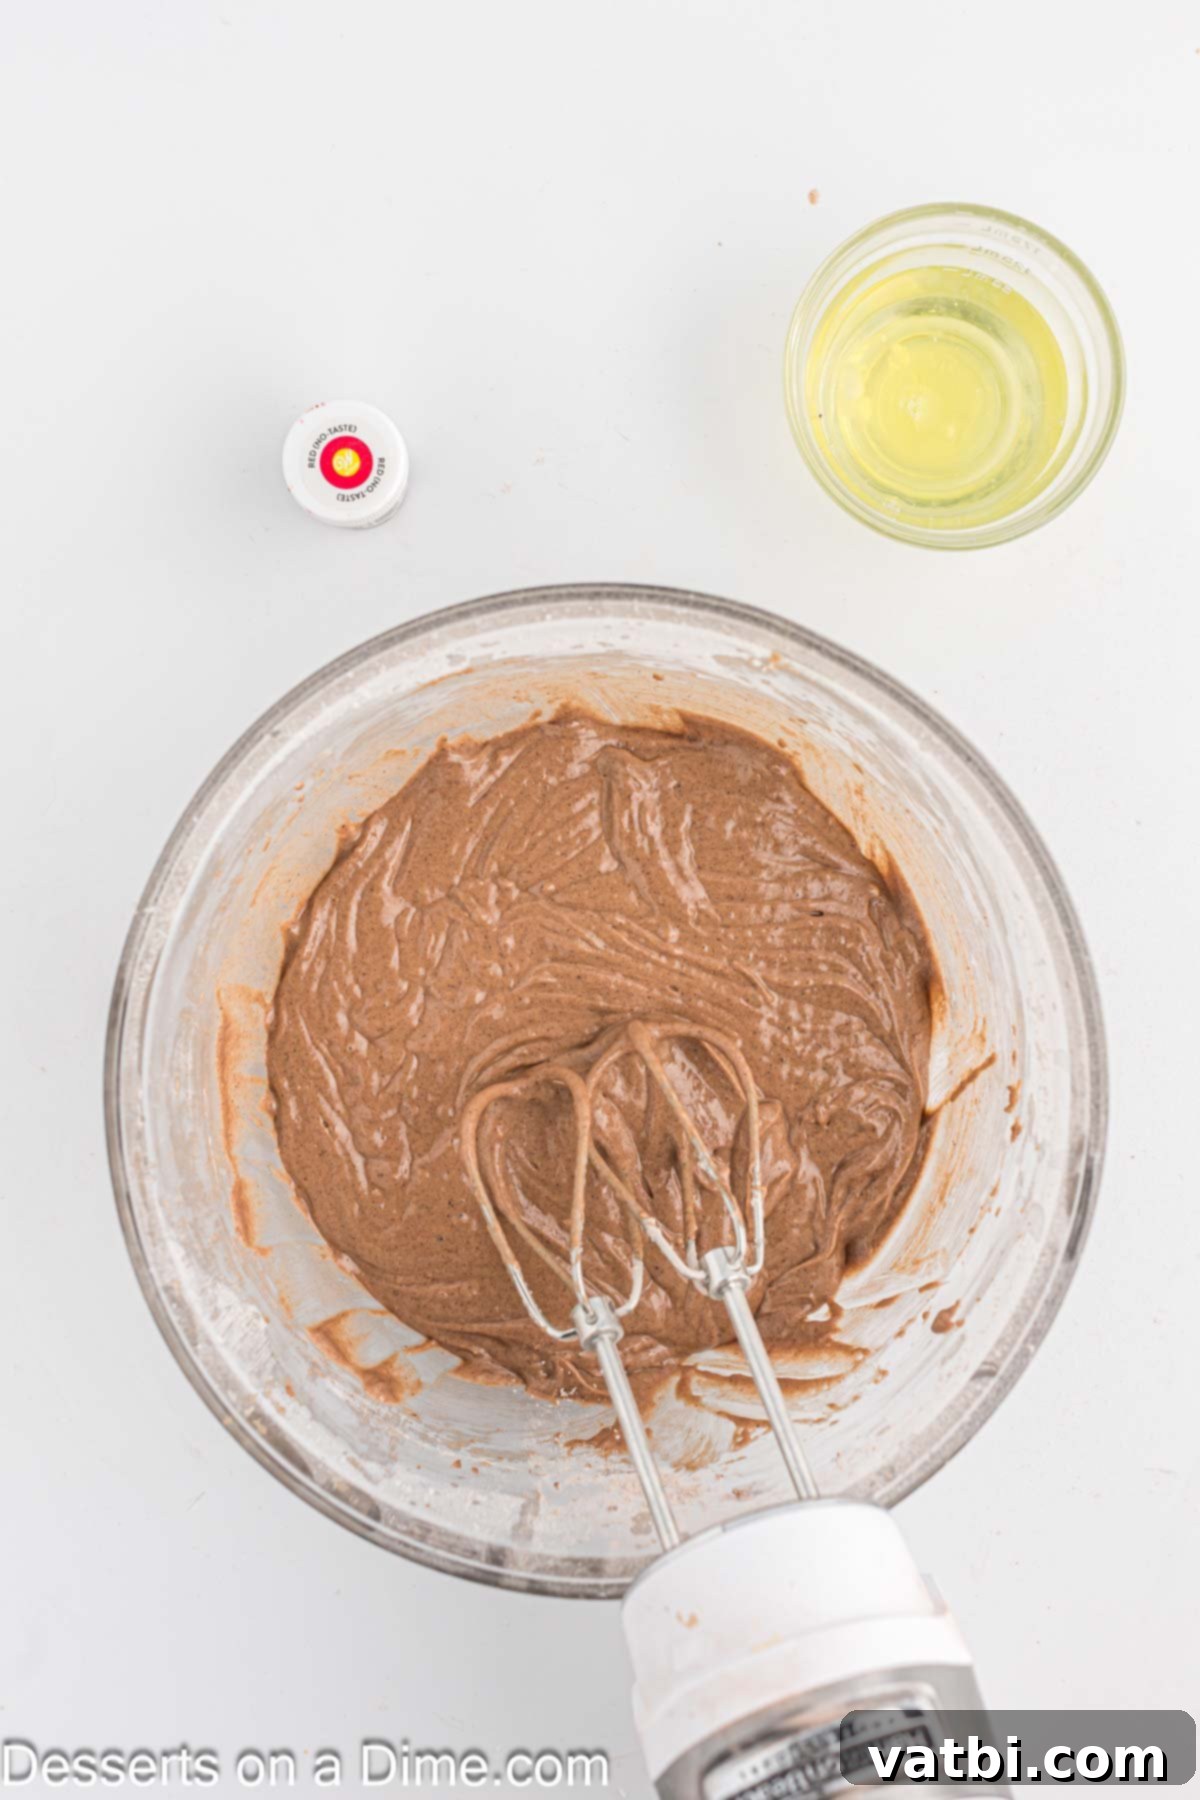
Step 4. Incorporate Wet Ingredients: Next, add the vegetable oil, egg yolks (making sure to save the egg whites for a later step!), and vanilla extract to the creamed butter and sugar. Mix on medium speed until these ingredients are thoroughly combined. Use a spatula to scrape down the sides and bottom of the bowl periodically to ensure everything is evenly incorporated.
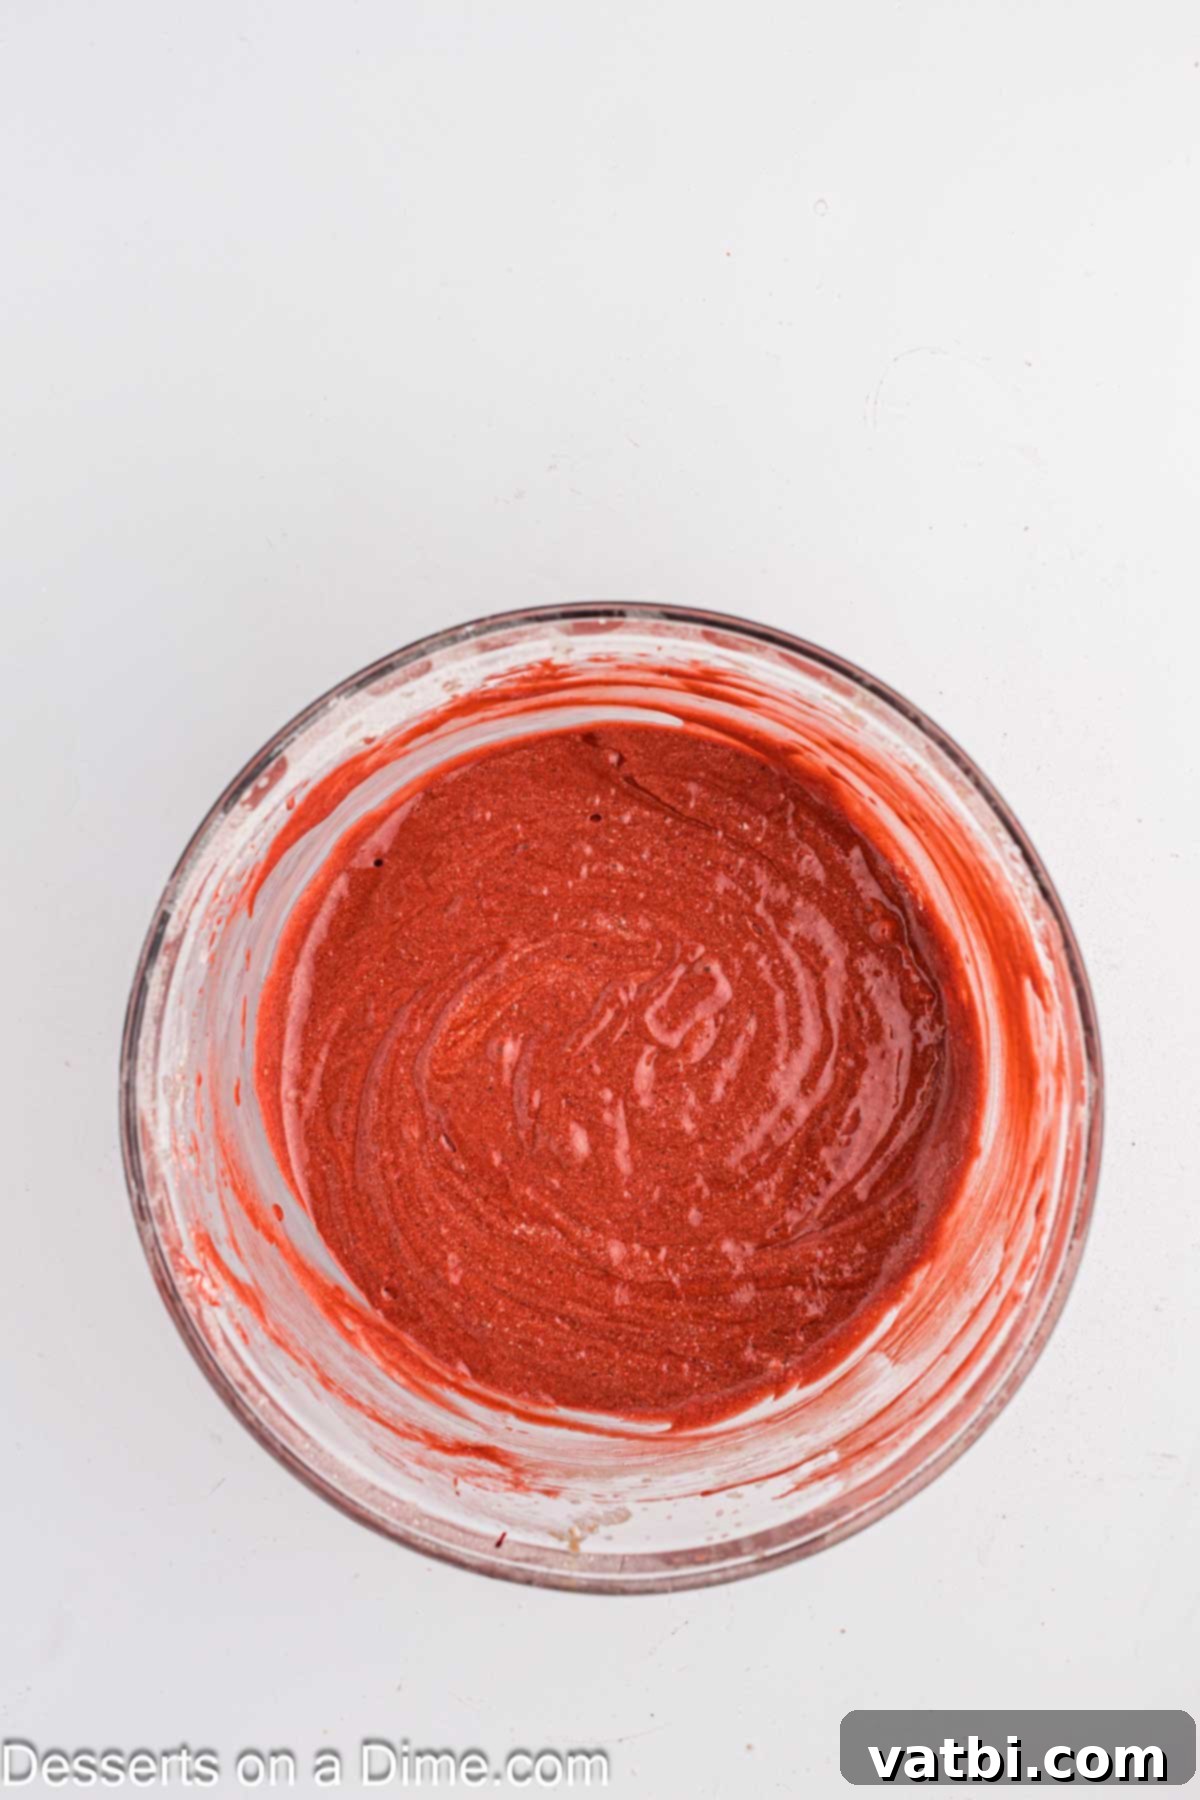
Step 5. Alternate Dry and Wet, Add Color: Slowly begin to add the dry ingredient mixture (from Step 2) alternately with the buttermilk, starting and ending with the dry ingredients. Mix on low speed just until combined after each addition. Be careful not to overmix! Once the batter is mostly combined, add the red gel food coloring. Start with 2 teaspoons and add more if needed until the batter reaches your desired vibrant red hue.
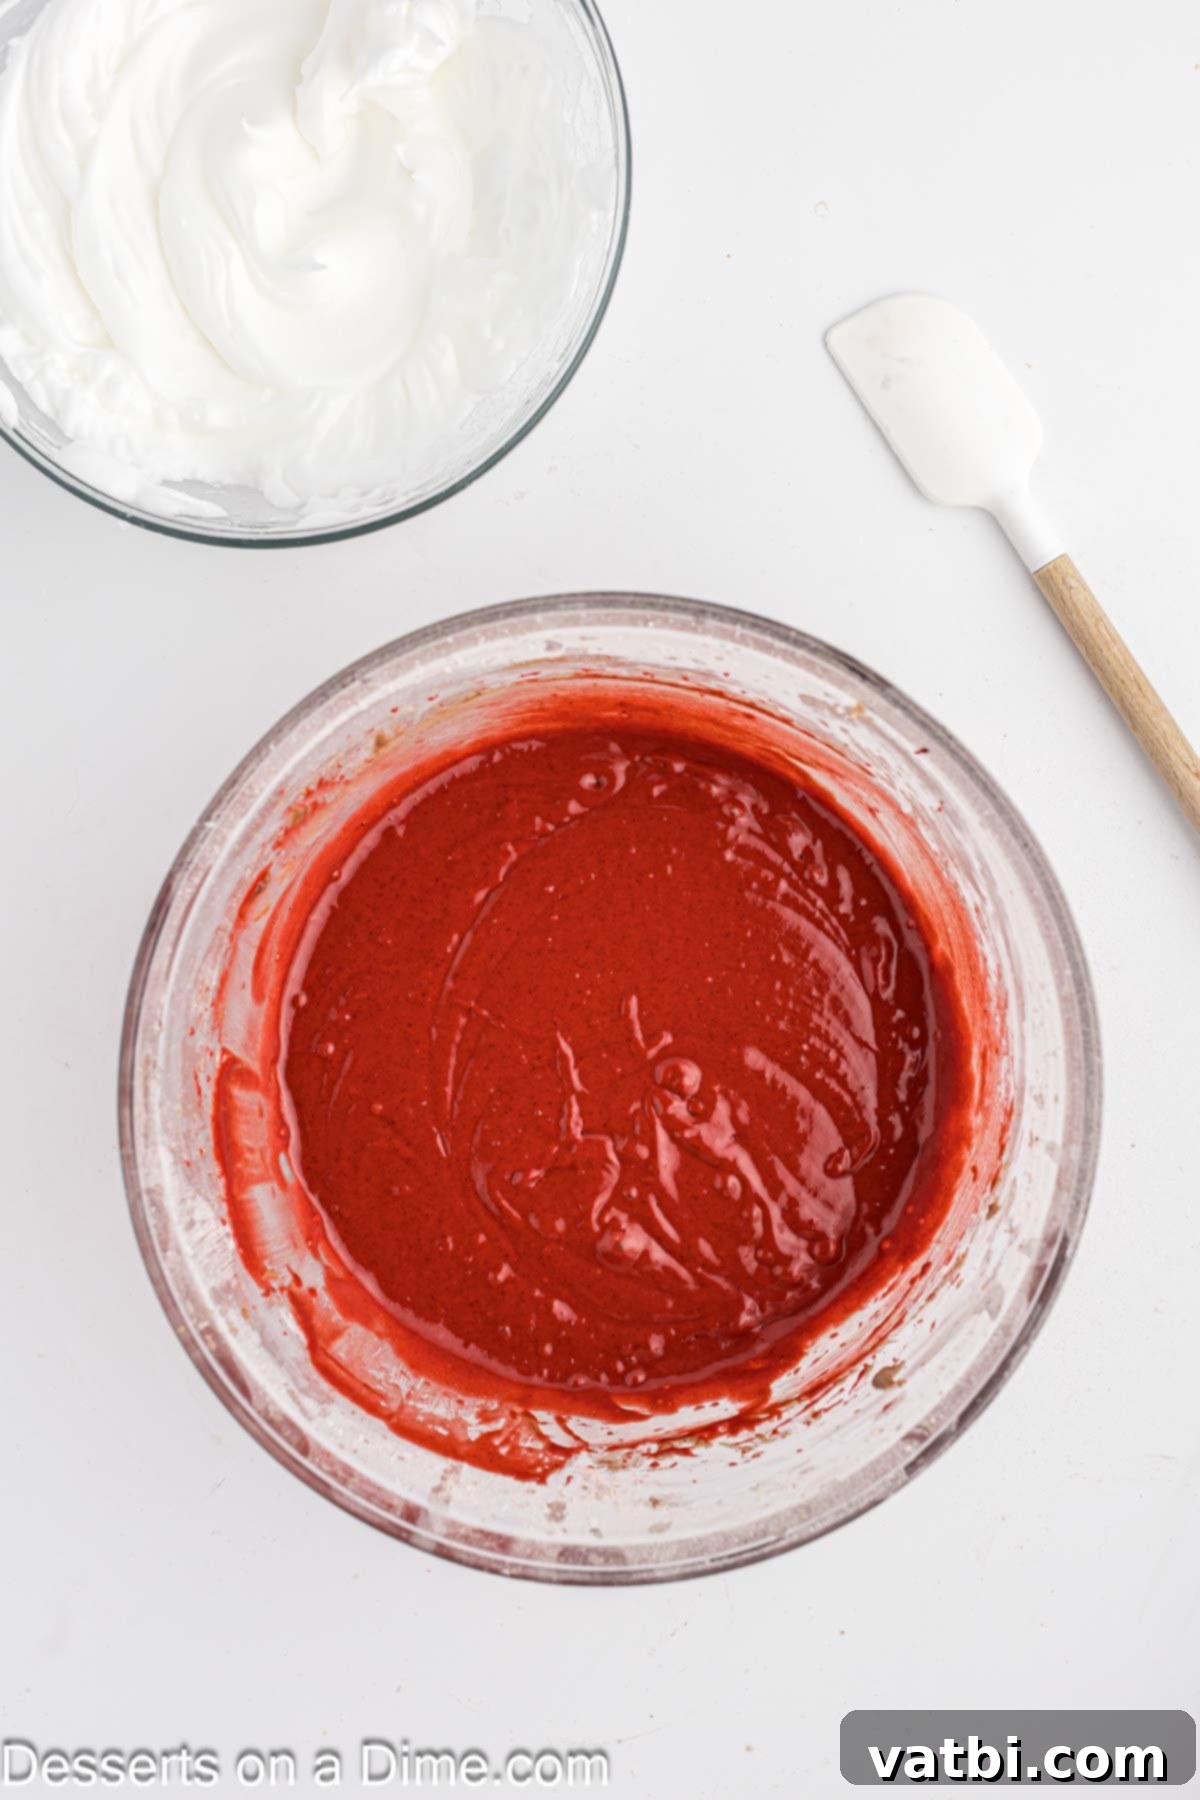
Step 6. Fold in Egg Whites: In a separate, clean mixing bowl, beat the reserved egg whites until they form soft, light, and fluffy peaks. Carefully, using a spatula, gently fold these whipped egg whites into the red cupcake batter. This step adds extra lightness and airiness to the cupcakes. Be gentle to maintain the air you’ve incorporated.
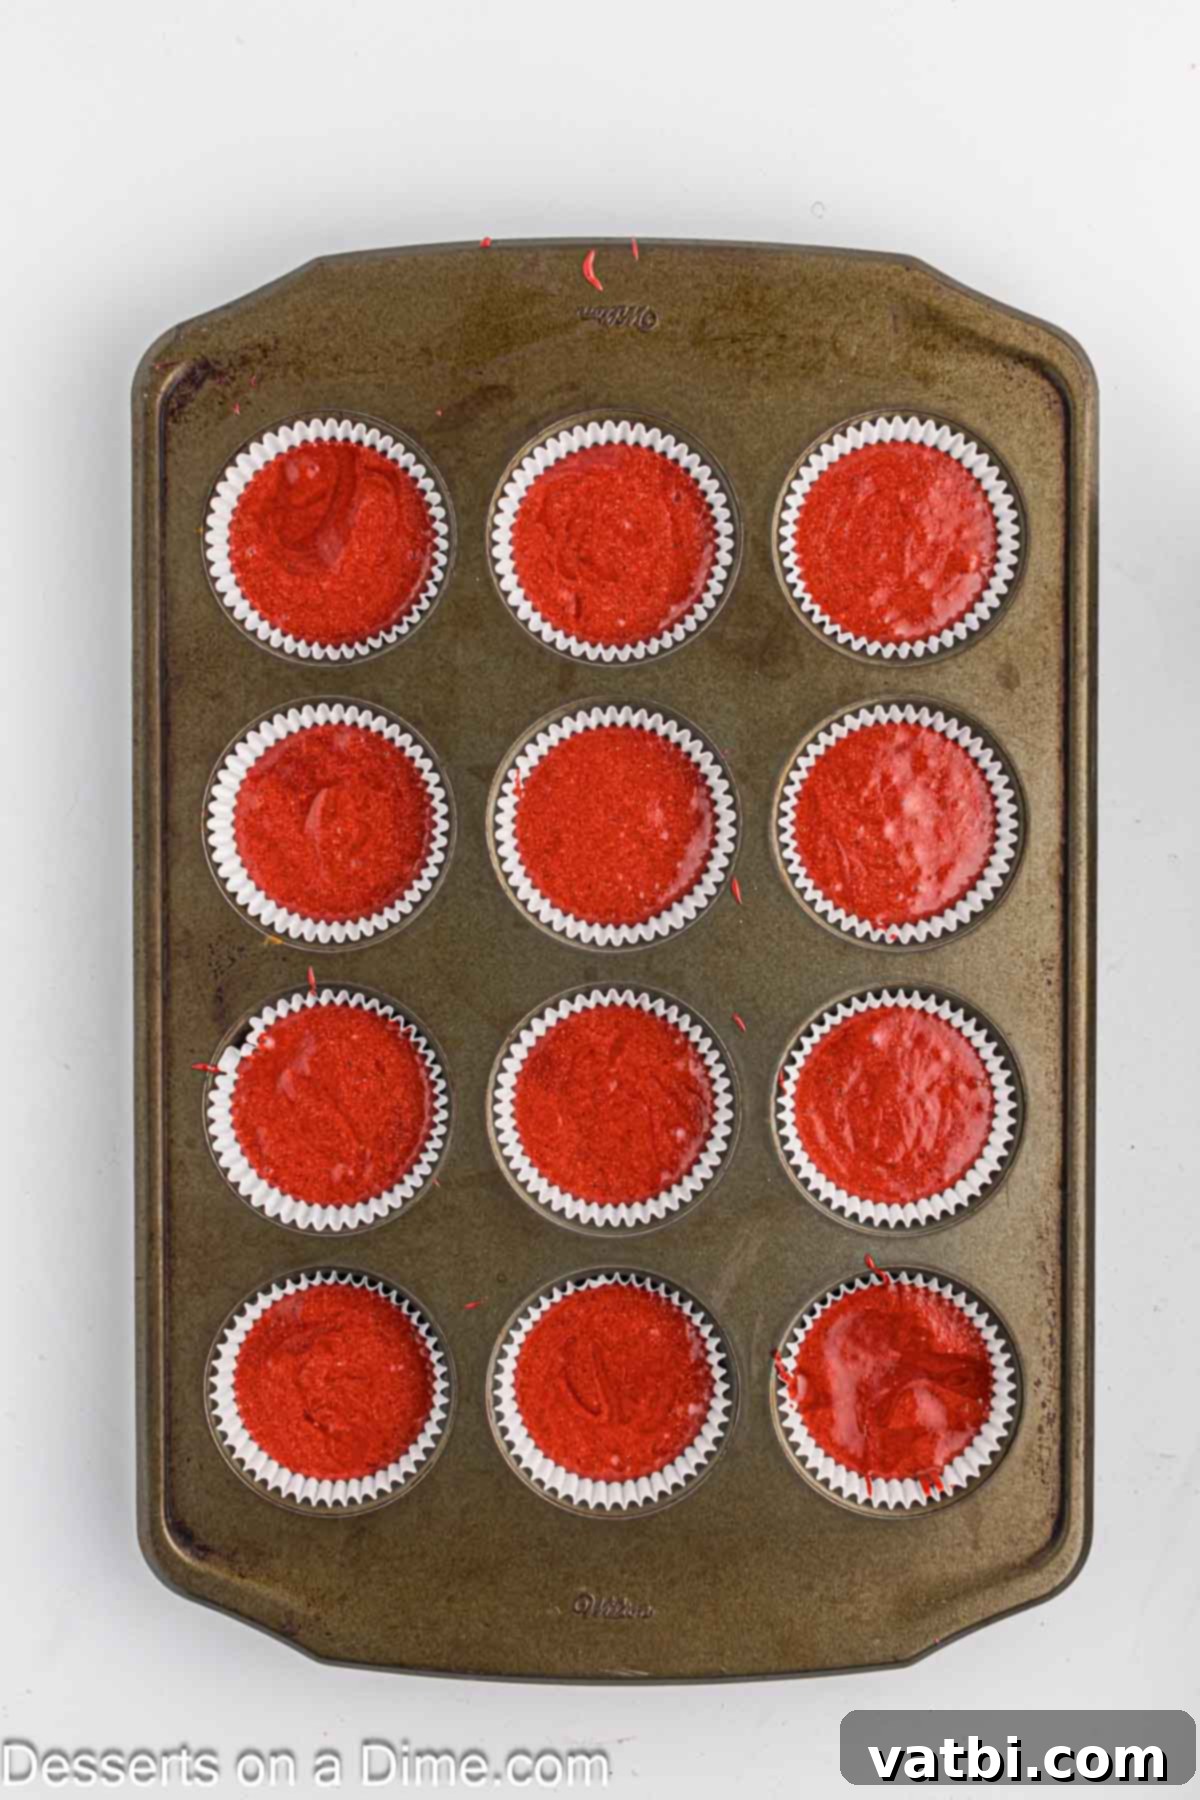
Step 7. Fill Cupcake Liners: Evenly distribute the cupcake batter among the 16 lined muffin tins. A cookie scoop or ice cream scoop works wonderfully for this, ensuring consistent sizing and baking. Fill each liner about two-thirds full to allow for proper rising.
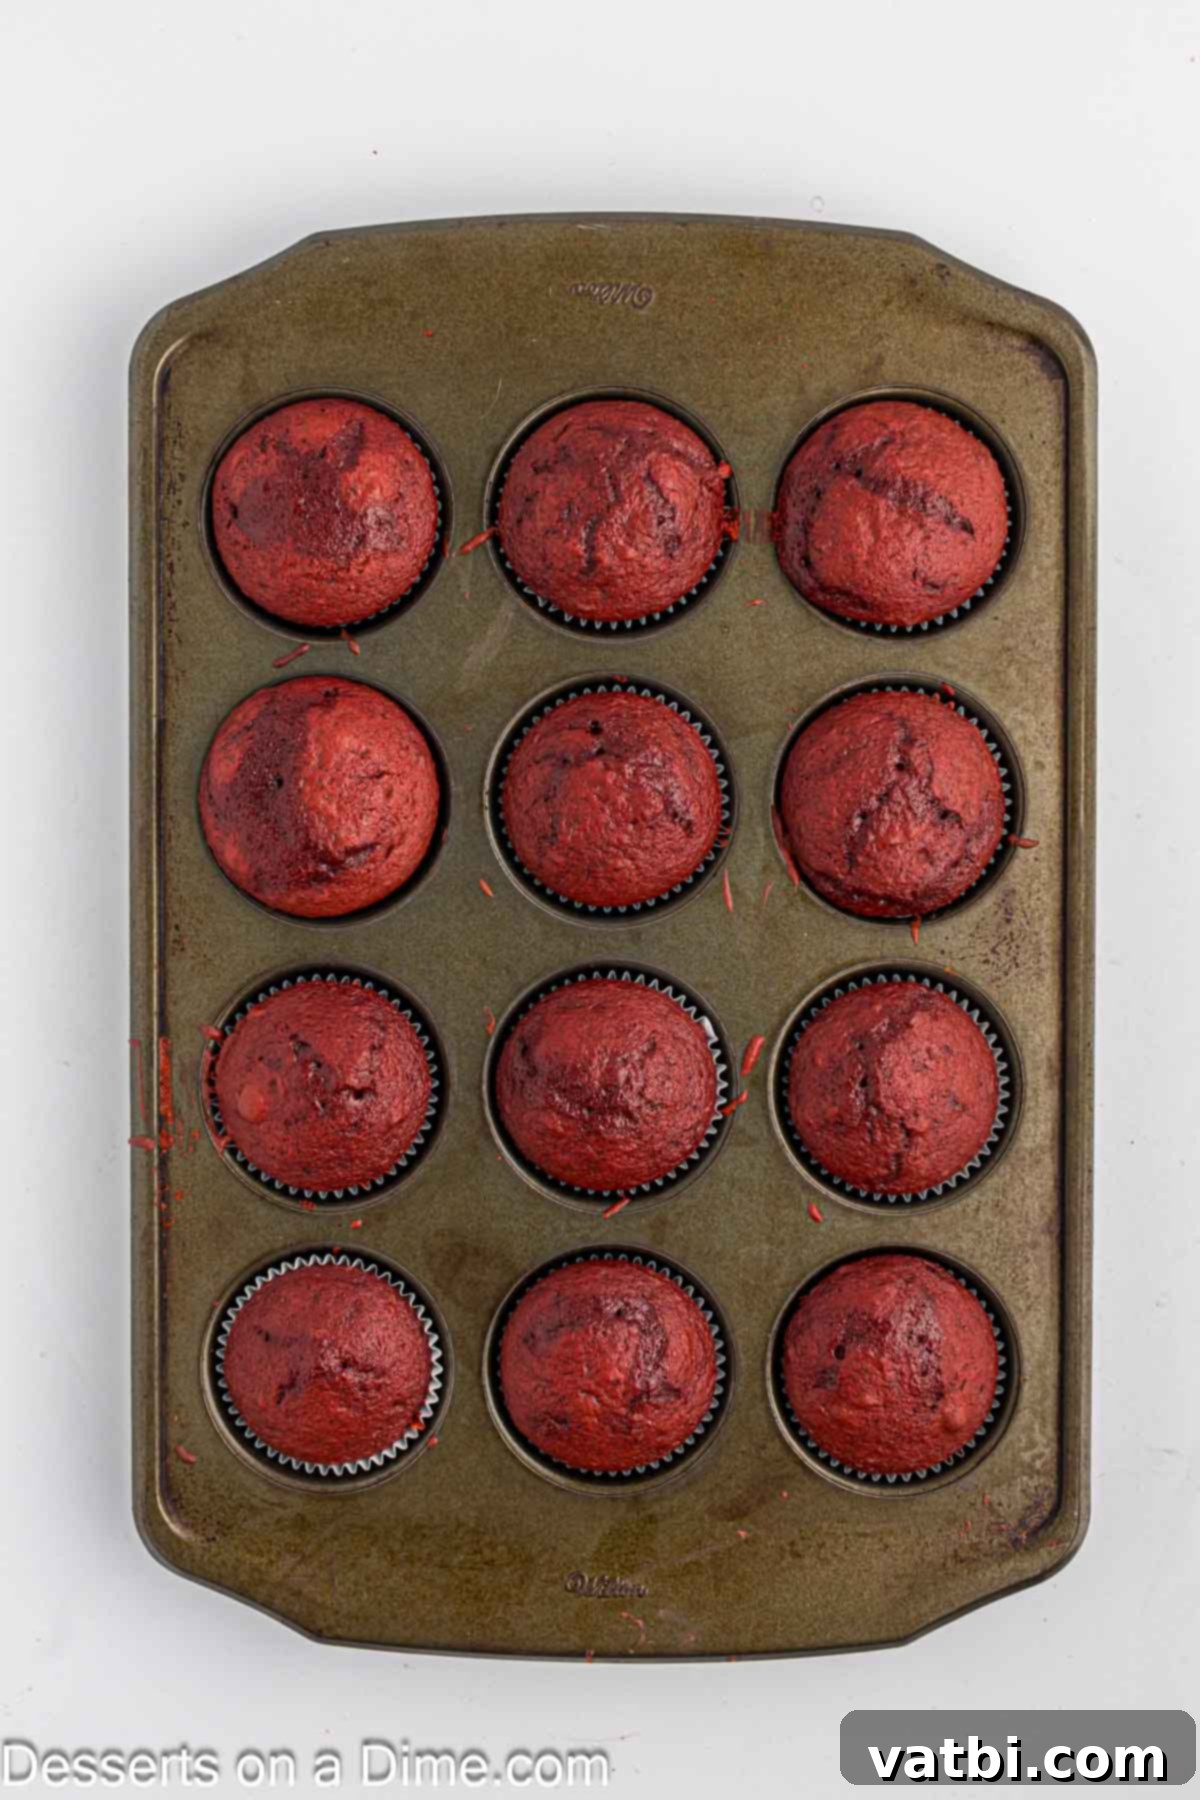
Step 8. Bake to Perfection: Place the muffin tins in the preheated oven and bake the cupcakes for 15-18 minutes. To check for doneness, insert a toothpick into the center of a cupcake. If it comes out clean or with a few moist crumbs, they are ready. Avoid overbaking, as this can lead to dry cupcakes.
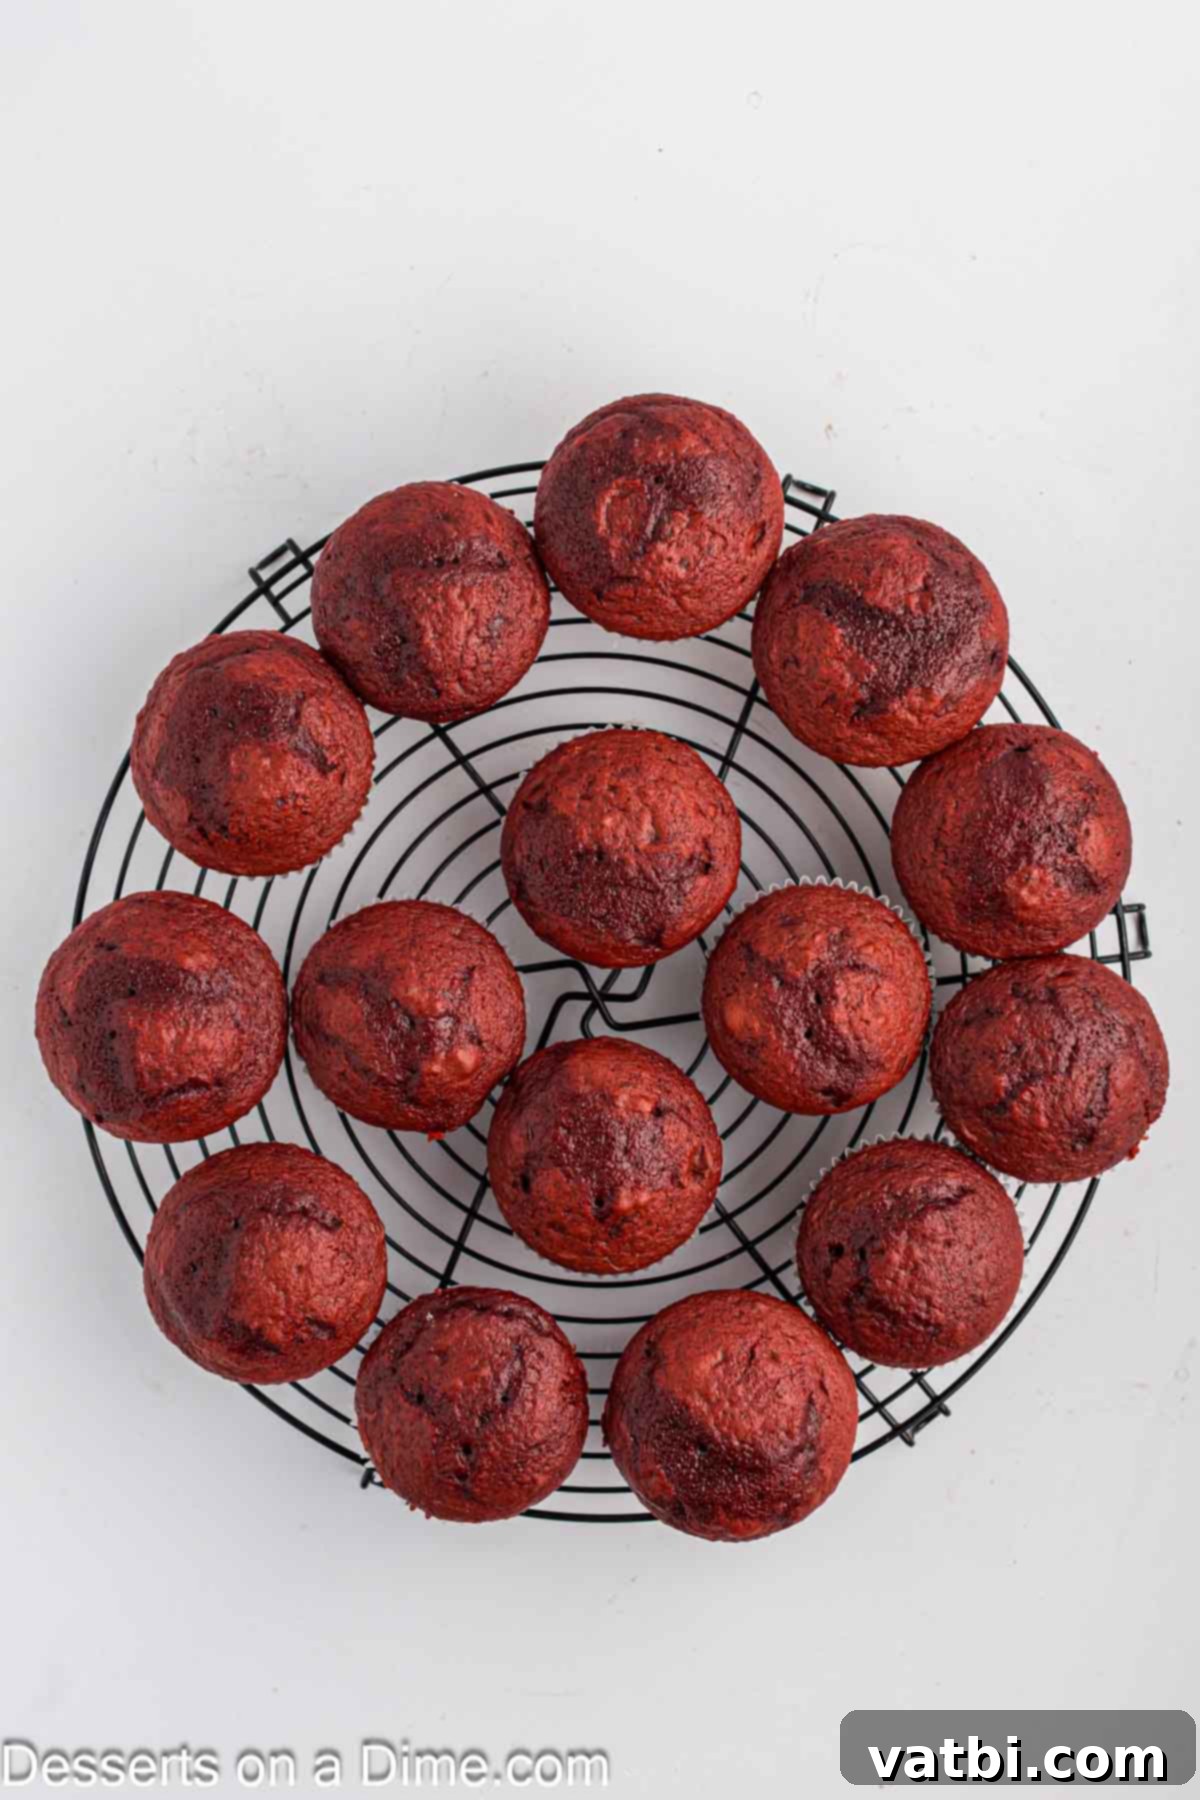
Step 9. Cool Completely: Once baked, remove the cupcakes from the oven and let them cool in the muffin tins for a few minutes. Then, transfer them to a wire rack to cool completely. This is a crucial step! Attempting to frost warm cupcakes will result in melted, messy frosting.
Crafting the Silky Cream Cheese Frosting
No red velvet cupcake is complete without its iconic, tangy, and sweet cream cheese frosting. It’s the perfect complement to the subtle cocoa notes of the cake. We absolutely love making homemade frosting for all our cakes and cupcakes. This Cream Cheese Frosting Recipe is incredibly simple to whip up with just four basic ingredients, and once you try it, you’ll likely never go back to store-bought again!
- Step 1 – Soften and Beat Cream Cheese: Ensure your cream cheese is thoroughly softened to room temperature. This is essential for a smooth, lump-free frosting. In a large mixing bowl, beat the softened cream cheese with a stand mixer (or hand mixer) on medium speed until it’s completely smooth and creamy, with no lumps remaining.
- Step 2 – Add Butter: Introduce the softened unsalted butter to the bowl. Continue beating the mixture until the butter is fully incorporated and the mixture is light and fluffy. Scrape down the sides of the bowl as needed to ensure even mixing.
- Step 3 – Gradually Add Powdered Sugar: With the mixer on low speed, gradually add the sifted powdered sugar, one cup at a time. Mix well after each addition until fully combined. Once all the sugar is added, increase the speed to medium-high and beat until the frosting is smooth, thick, and wonderfully creamy. This may take a few minutes.
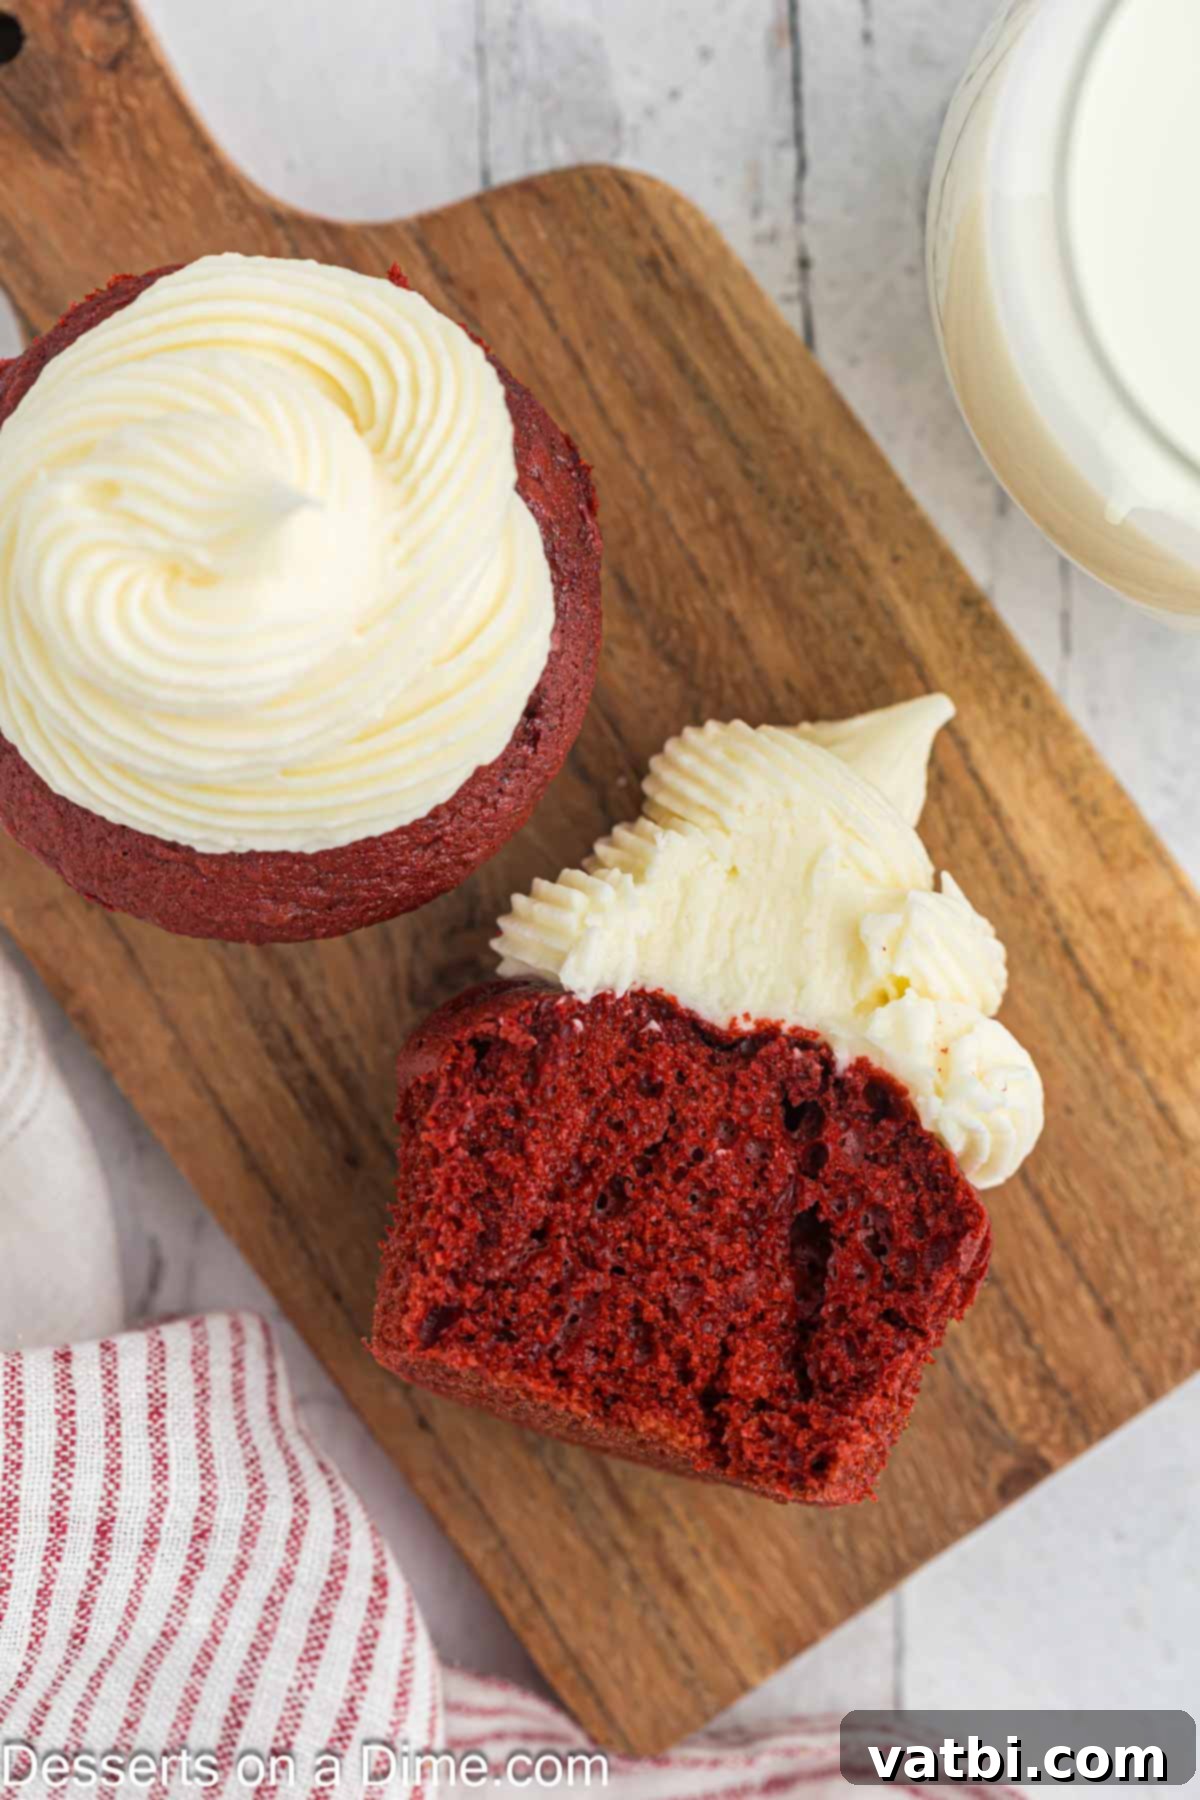
- Step 4 – Finish with Vanilla and Frost: Stir in the vanilla extract until just combined. Be careful not to overmix at this stage. Your luxurious cream cheese frosting is now ready! Once your red velvet cupcakes are completely cool, use a piping bag or an offset spatula to generously top each cupcake with this amazing frosting.
While using store-bought frosting is an option for convenience, making cream cheese frosting from scratch gives you complete control over the ingredients, allowing you to adjust sweetness and consistency to your preference. It truly elevates the entire red velvet experience.
Pro Tips for Red Velvet Cupcake Success
Achieving bakery-quality red velvet cupcakes at home is easier than you think, especially with these expert tips. These small adjustments can make a big difference in the final taste, texture, and presentation of your delicious dessert.
- Use a Cookie Scoop for Uniformity: To save time and ensure all your cupcakes bake evenly and look consistent, invest in a good set of stainless steel cookie scoops. Using a scoop to portion the batter into each liner ensures every cupcake is the same size, resulting in a professional appearance and consistent baking times. This simple tool makes baking much easier and more enjoyable.
- Choose the Right Mixer: While a hand mixer will certainly get the job done, we highly recommend using a stand mixer with the paddle attachment. Stand mixers provide consistent power and free up your hands, making the creaming of butter and sugar, and the mixing of batter, much more efficient. If you bake frequently, it’s an excellent investment that you’ll use constantly.
- Ensure Cupcakes Are Fully Cooled Before Frosting: This tip cannot be stressed enough! Attempting to frost warm or even slightly warm cupcakes will cause your beautiful cream cheese frosting to melt and slide right off. Always allow your cupcakes to cool completely on a wire rack before you even think about applying the frosting. Patience here pays off!
- Room Temperature Ingredients are a Must: For optimal mixing and emulsion, it’s crucial to bring all your cold ingredients—like butter, eggs, and cream cheese—to room temperature before you start baking. Room temperature ingredients combine more smoothly, creating a more uniform batter and a lighter, fluffier texture in your finished cupcakes and a smoother frosting. Plan ahead by setting them out at least an hour before you begin.
- Red Food Coloring for the Iconic Hue: The amount of red food coloring can vary depending on the type you use (liquid vs. gel) and your desired vibrancy. We generally recommend gel food coloring as it’s more concentrated and won’t thin out your batter. While you can technically omit it, the iconic red velvet color is part of its charm. Adjust to your preference for a deeper or lighter shade.
- Do Not Overmix the Batter: Overmixing develops the gluten in the flour, leading to tough, dense cupcakes. Once you add the dry ingredients and buttermilk, mix only until just combined. A few small lumps are perfectly fine and often preferred for a tender crumb.
- Cupcake Liners for Easy Cleanup: Always use cupcake paper liners in your muffin pan. They make cleanup incredibly easy and prevent the cupcakes from sticking. If you happen to be out of liners, be sure to generously spray your muffin pan with cooking spray or grease and flour each cavity to prevent sticking.
- Versatile Cake Recipe: This exact recipe can easily be scaled up to make a stunning red velvet cake! If you prefer a layered cake, simply divide the batter between two or three round 9-inch cake pans and adjust the baking time (usually 25-30 minutes for an 8 or 9-inch layer cake). This will give you the beautiful, distinct layers that red velvet cake is famous for.
- All-Purpose Flour Alternative: While cake flour yields the best results for a truly tender cupcake, you can substitute it with all-purpose flour if that’s all you have on hand. For a slightly softer texture with all-purpose flour, you can remove 2 tablespoons of flour per cup and replace it with 2 tablespoons of cornstarch. This mimics the lower protein content of cake flour.
Frequently Asked Questions About Red Velvet Cupcakes
Got questions about baking, storing, or enjoying your red velvet cupcakes? We’ve got answers to some of the most common queries to help you make and keep your treats perfect.
Due to the cream cheese frosting, these red velvet cupcakes require refrigeration. Once your cupcakes have cooled completely and are frosted, place them in an airtight container. Storing them this way in the refrigerator will keep them fresh and delicious for about 5 days. Before serving, we recommend letting them sit at room temperature for about 15-30 minutes to allow the frosting to soften slightly and the cake to become more tender.
Yes, absolutely! Red velvet cupcakes freeze beautifully, making them excellent for meal prep or enjoying later. To freeze, ensure the cupcakes have cooled completely to room temperature. It’s best to freeze them unfrosted if possible. Wrap each individual cupcake tightly in plastic wrap, then wrap them again in aluminum foil. This double layering helps prevent freezer burn and keeps them fresh. They can be stored in the freezer for up to 2-3 months.
When you’re ready to serve, thaw the cupcakes in the refrigerator overnight. Once thawed, you can then apply the cream cheese frosting fresh, ensuring the best taste and texture.
When stored properly in an airtight container in the refrigerator, Red Velvet Cupcakes will maintain their freshness and deliciousness for approximately 5 days. For the best experience, we always like to bring them to room temperature for a short period before serving. This allows the cake to become tender and the frosting to achieve its ideal creamy texture.
For more general cake storage tips, also see How Long Does Birthday Cake Last.
More Irresistible Red Velvet Creations
If you’re a fan of the unique flavor and vibrant look of red velvet, you’ll love exploring these other delicious recipes from our collection:
- Classic Red Velvet Cake: The traditional large-format cake, perfect for a crowd or a grand celebration.
- Easy Red Velvet Cookies Recipe: Chewy, soft cookies with that signature red velvet flavor, often topped with cream cheese frosting.
- Decadent Red Velvet Brownies: A rich, fudgy brownie with a hint of cocoa and a beautiful red hue.
- Red Velvet Puppy Chow (Muddy Buddies): A fun, no-bake snack mix with a festive red velvet twist.
- Red Velvet Rice Krispie Treats: A colorful and easy no-bake treat that’s perfect for kids and adults alike.
- Creamy Red Velvet Ice Cream: A delightful frozen dessert that captures the essence of red velvet in every scoop.
Discover More Easy Cupcake Recipes
Cupcakes are the ultimate individual dessert – easy to serve, fun to decorate, and always a crowd-pleaser. If you enjoyed making these red velvet beauties, you’ll love these other simple and delicious cupcake recipes:
- S’mores Cupcakes Recipe: Capture the campfire magic in a cupcake, complete with toasted marshmallow topping.
- Girl Scout Cookie Thin Mint Cupcakes Recipe: The beloved cookie flavor transformed into a minty chocolate cupcake.
- Homemade Twix Bar Cupcakes: Your favorite candy bar reinvented as an indulgent cupcake.
- Best Vanilla Cupcake Recipe: A foundational recipe for perfectly fluffy and flavorful vanilla cupcakes.
- Rich Chocolate Peanut Butter Cupcakes: The classic pairing of chocolate and peanut butter in a delightful cupcake form.
- Irresistible Salted Caramel Cupcakes: Sweet and salty perfection with a rich caramel drizzle.
Once you try this incredible red velvet cupcake recipe, you’ll understand why it’s a timeless classic. Go ahead, bake a batch, and experience the joy of homemade goodness. Don’t forget to leave a comment below to share your experience; I love hearing from you and seeing your delicious creations!
Pin
Best Red Velvet Cupcake Recipe
15 minutes
15 minutes
30 minutes
16
American
Dessert
483
Carrie Barnard
Ingredients
For the Cupcakes:
- 1 1/3 cups cake flour
- 2 Tablespoon Cocoa Powder
- 1/2 tsp baking soda
- 1/4 tsp salt
- 1/4 Cup Butter Softened
- 1 cup Sugar
- 1/4 cup Vegetable Oil
- 2 Large Eggs
- 1 tsp Vanilla Extract
- Red Food Coloring
- 2/3 cup Buttermilk
For the Cream Cheese Frosting:
- 16 ounces cream cheese (softened)
- 1/2 cup unsalted butter (softened)
- 6 cups powdered sugar (sifted)
- 1 teaspoon vanilla extract
Instructions
For the Cupcakes:
-
Preheat the oven to 350 degrees Fahrenheit (175°C) and line 16 muffin tins with paper cupcake liners.
-
In a large mixing bowl, whisk together the cake flour, baking soda, cocoa powder, and salt. Sifting these ingredients is recommended for a smoother batter. Set this dry mixture aside.
-
In a separate, larger mixing bowl, using either a stand mixer with a paddle attachment or a handheld mixer, cream the softened butter and granulated sugar together until they are thoroughly mixed, light, and fluffy (this usually takes approximately 1-2 minutes).
-
Next, add the vegetable oil, egg yolks (remember to save the egg whites!), and vanilla extract to the creamed mixture. Mix until these ingredients are well combined. Use a spatula to scrape down the edges and bottom of the bowl to ensure everything is incorporated.
-
Gradually add the dry ingredients mixture and the buttermilk to the wet ingredients, alternating between the two. Begin and end with the dry ingredients. Mix on low speed just until each addition is combined. Be careful not to overmix the batter.
-
Once the batter is mostly combined, add approximately 2 teaspoons of red gel food coloring. Continue mixing until the batter achieves your desired vibrant red color. You can add a little more if a deeper hue is preferred.
-
In a separate, clean mixing bowl, beat the reserved egg whites until they are light, fluffy, and form soft peaks.
-
Gently fold the beaten egg whites into the red batter using a spatula. Fold until they are just combined, being careful not to deflate the air you’ve incorporated. Do not over mix at this stage.
-
Pour or scoop the batter evenly into the 16 cupcake liners in your muffin pans, filling each about two-thirds full.
-
Bake for 15-18 minutes, or until a toothpick inserted into the center of a cupcake comes out clean or with a few moist crumbs.
-
Allow the cupcakes to cool in the muffin tins for a few minutes before transferring them to a wire rack to cool completely. It’s essential that they are fully cooled before applying frosting.
For the Cream Cheese Frosting:
-
Ensure the cream cheese is softened to room temperature. In a large mixing bowl, beat the cream cheese with an electric mixer until it is smooth and lump-free.
-
Add the softened unsalted butter to the bowl with the cream cheese. Continue to beat until both ingredients are thoroughly combined and the mixture is smooth and light.
-
With the mixer on low speed, slowly add the sifted powdered sugar, one cup at a time, mixing after each addition until fully incorporated. Continue adding until the frosting reaches a thick, smooth, and creamy consistency.
-
Finally, mix in the vanilla extract until just combined. Your delightful cream cheese frosting is ready! Top each completely cooled cupcake generously and enjoy!
Recipe Notes
Nutrition Facts
Pin This Now to Remember It Later
Pin Recipe
